HOLIDAY DONATION DRIVE - SUPPORT MSW - DO YOUR PART TO KEEP THIS GREAT FORUM GOING! (Only 51 donations so far out of 49,000 members - C'mon guys!)
×


ScottRC
-
Posts
559 -
Joined
-
Last visited
Content Type
Profiles
Forums
Gallery
Events
Everything posted by ScottRC
-
 Definitely go with the laser cut grates. I have this kit and was wondering what to do with it. Using the hull and scratching the rest sounds like fun. I following your build with renewed interest.
 -
The Dupont glue has the fumes like Ambroid and produced strands to when the applicator was pulled away, by the time I was done building, the model looked like it was attacked by a spider. The stuff was also hot, put too much on and it would melt the plastic. I remember building a 1/72 Japanese float plane one night, and the next morning, the pontoon and wings were melted from using too much glue. Those old glues taught me how using less it better than using more. Things are a lot different today with CA glue pens and liquid cements that are applied with brush and syringe applicators.
- 44 replies
-
- 3
-

-
- Thermopylae
- Revell
- (and 3 more)
-
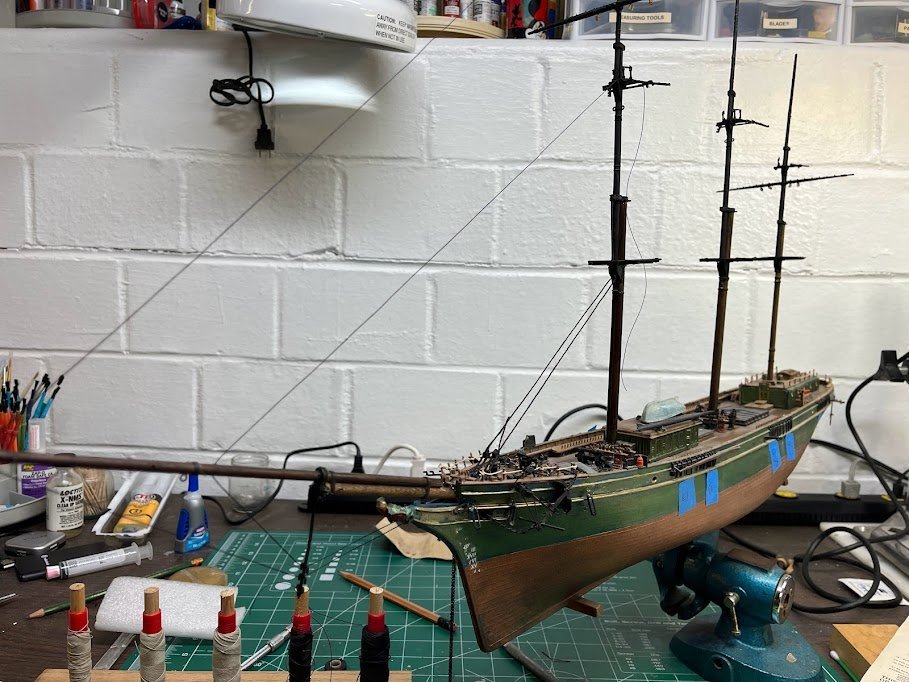
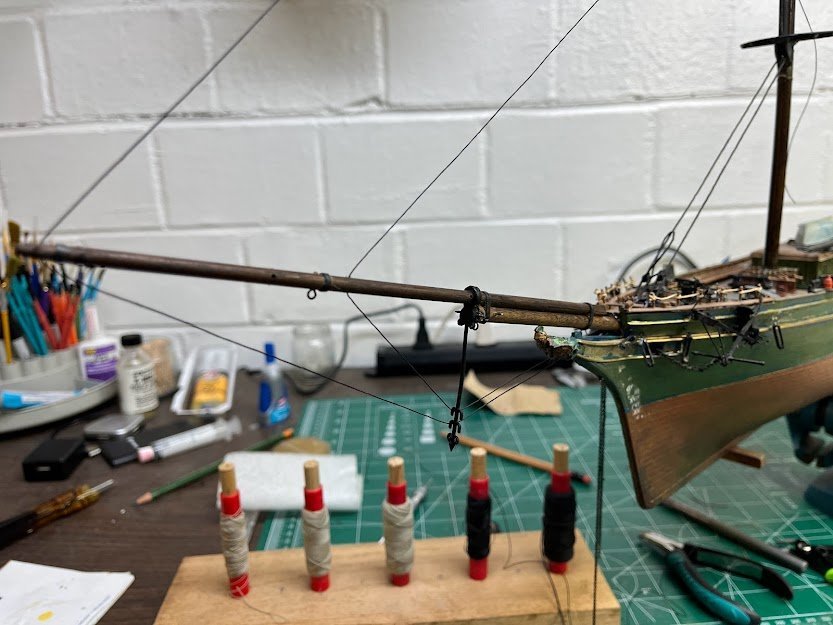
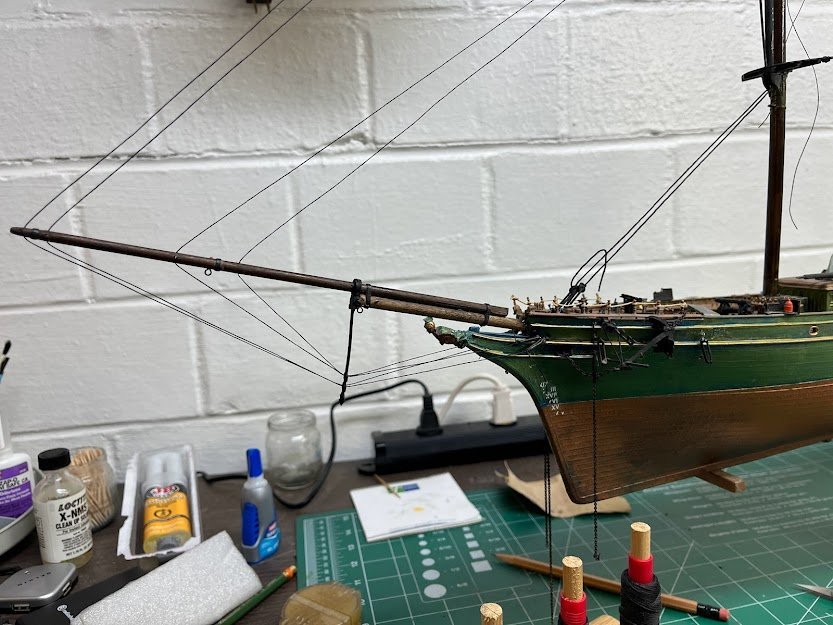
Started the forward standing rigging. Its been a challenge to come up with a sequence with so much already done. I have been replacing all the old plastic eyelets with brass since the original ones are so brittle. This entire model was built with Dupont and Testors tube cement. I'm using the kits instructions for rigging. Trying to use any other rigging plan will probably make me want to not proceed with this project.
- 44 replies
-
- 3
-
-
- Thermopylae
- Revell
- (and 3 more)
-
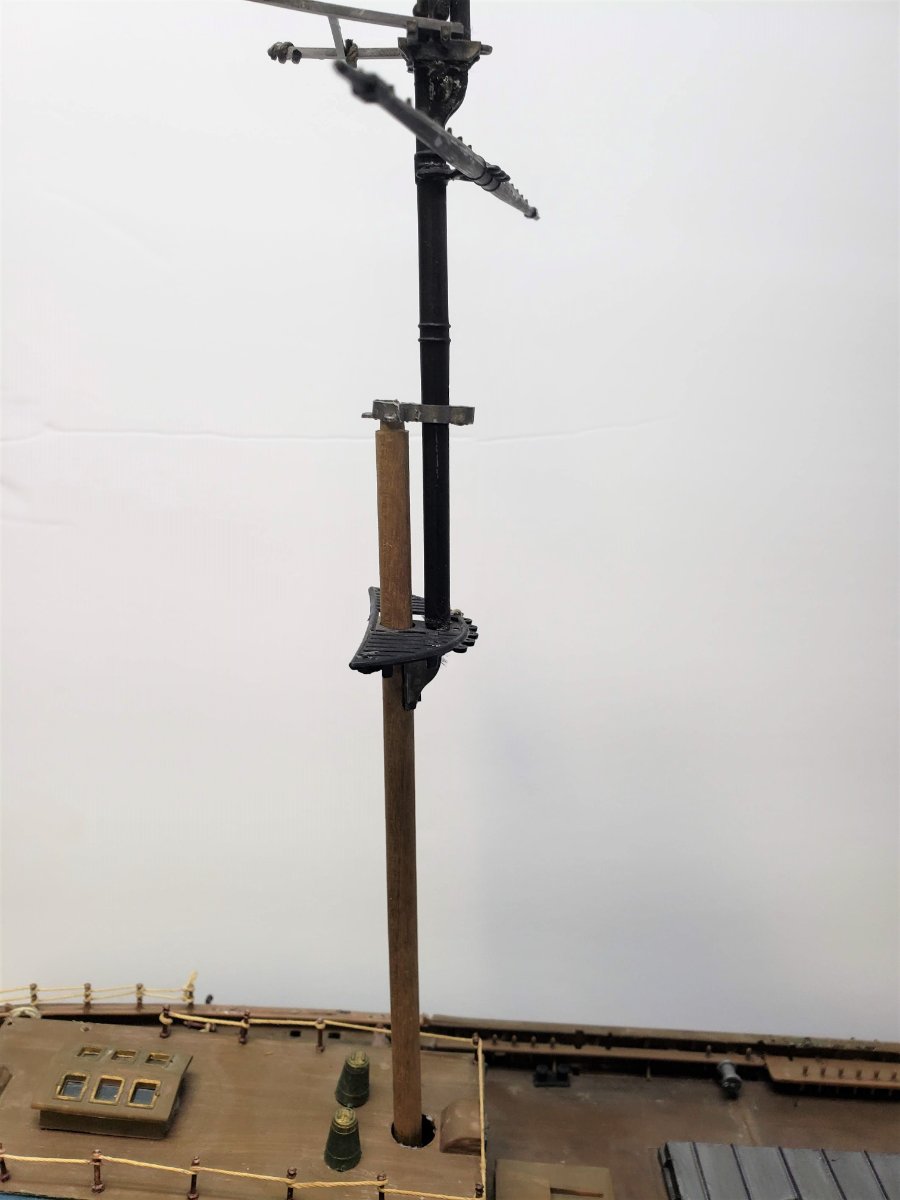
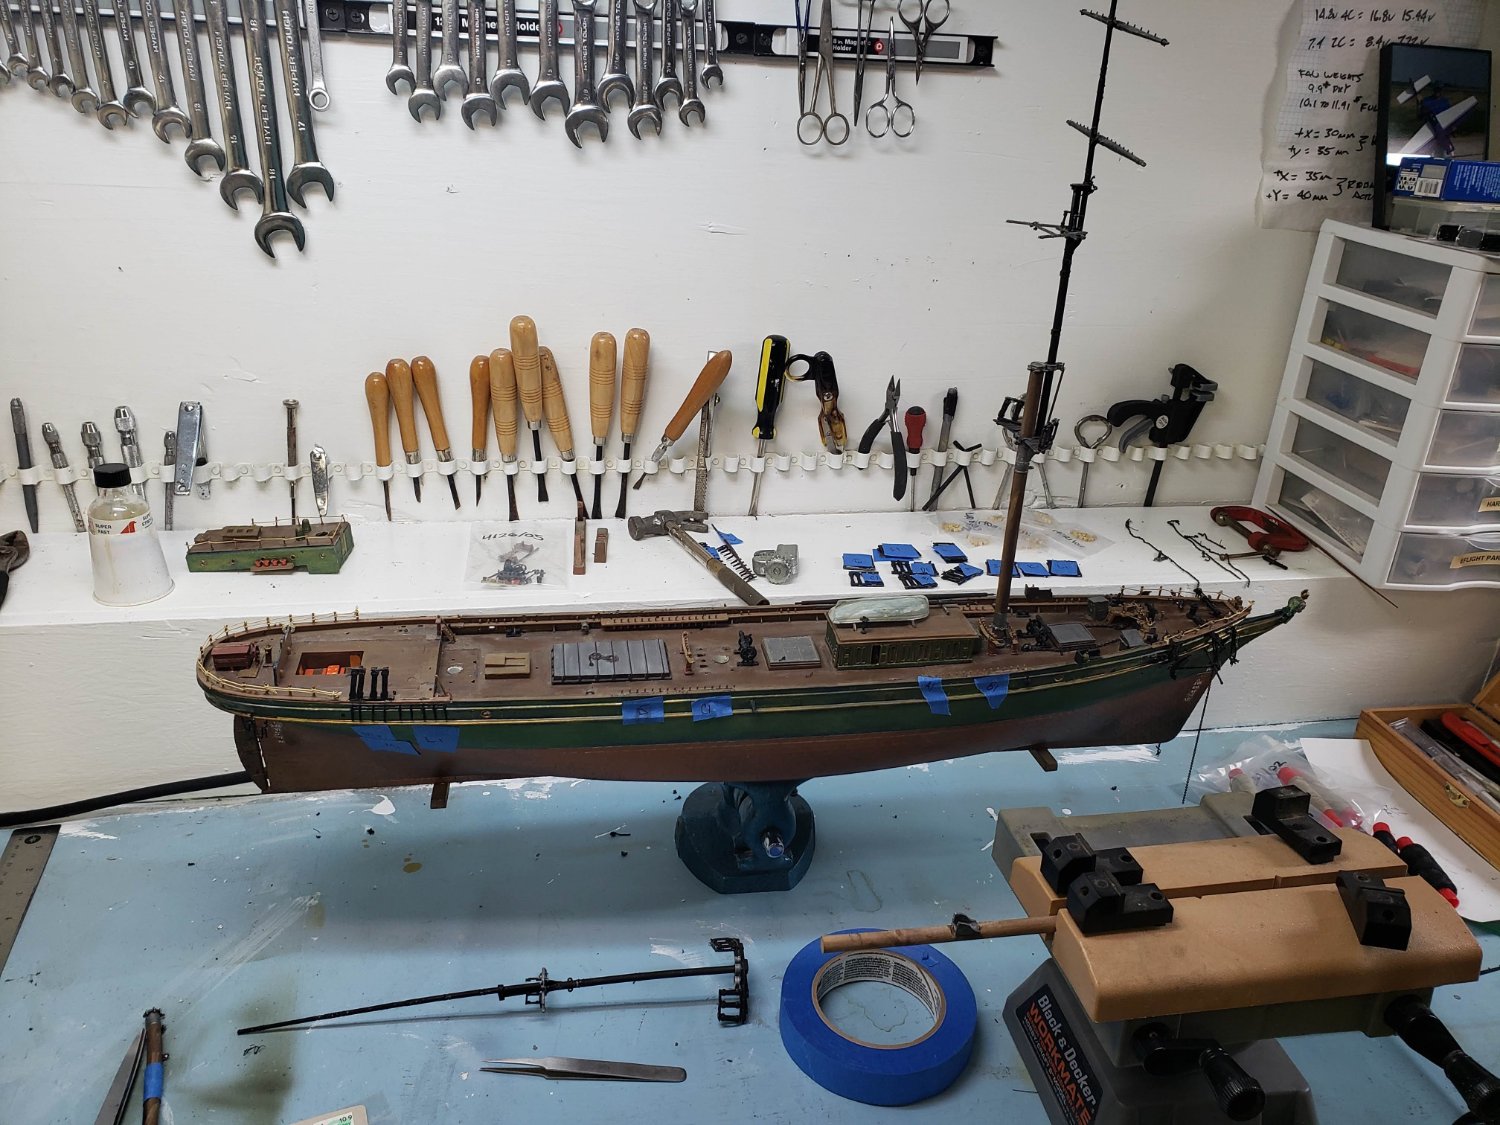
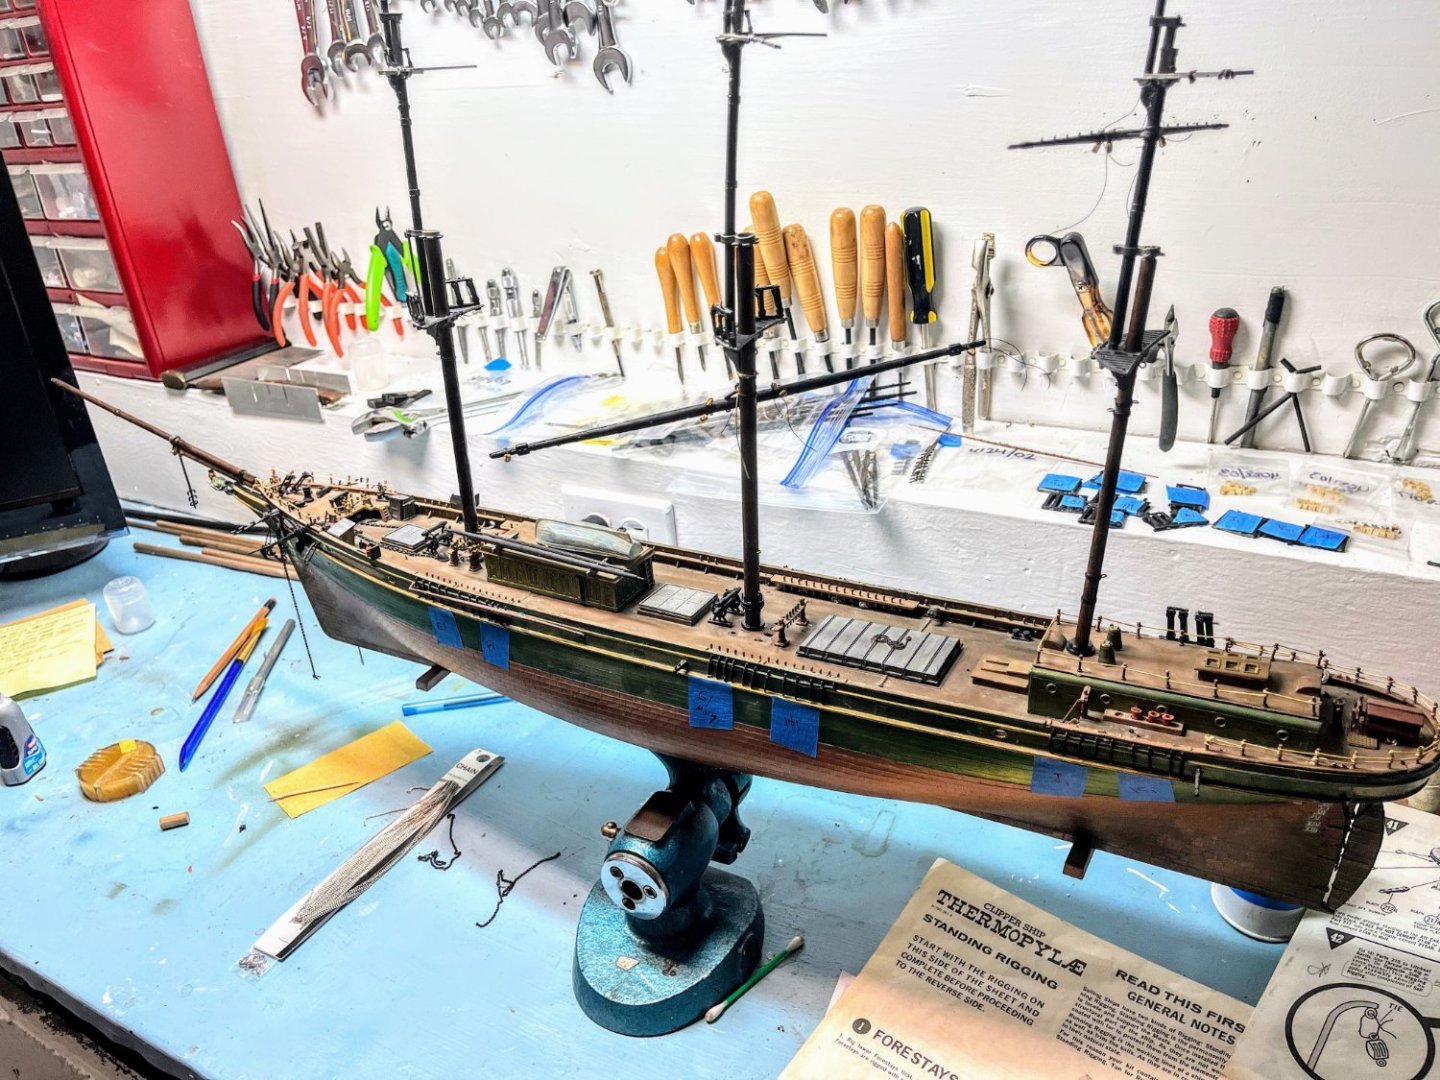
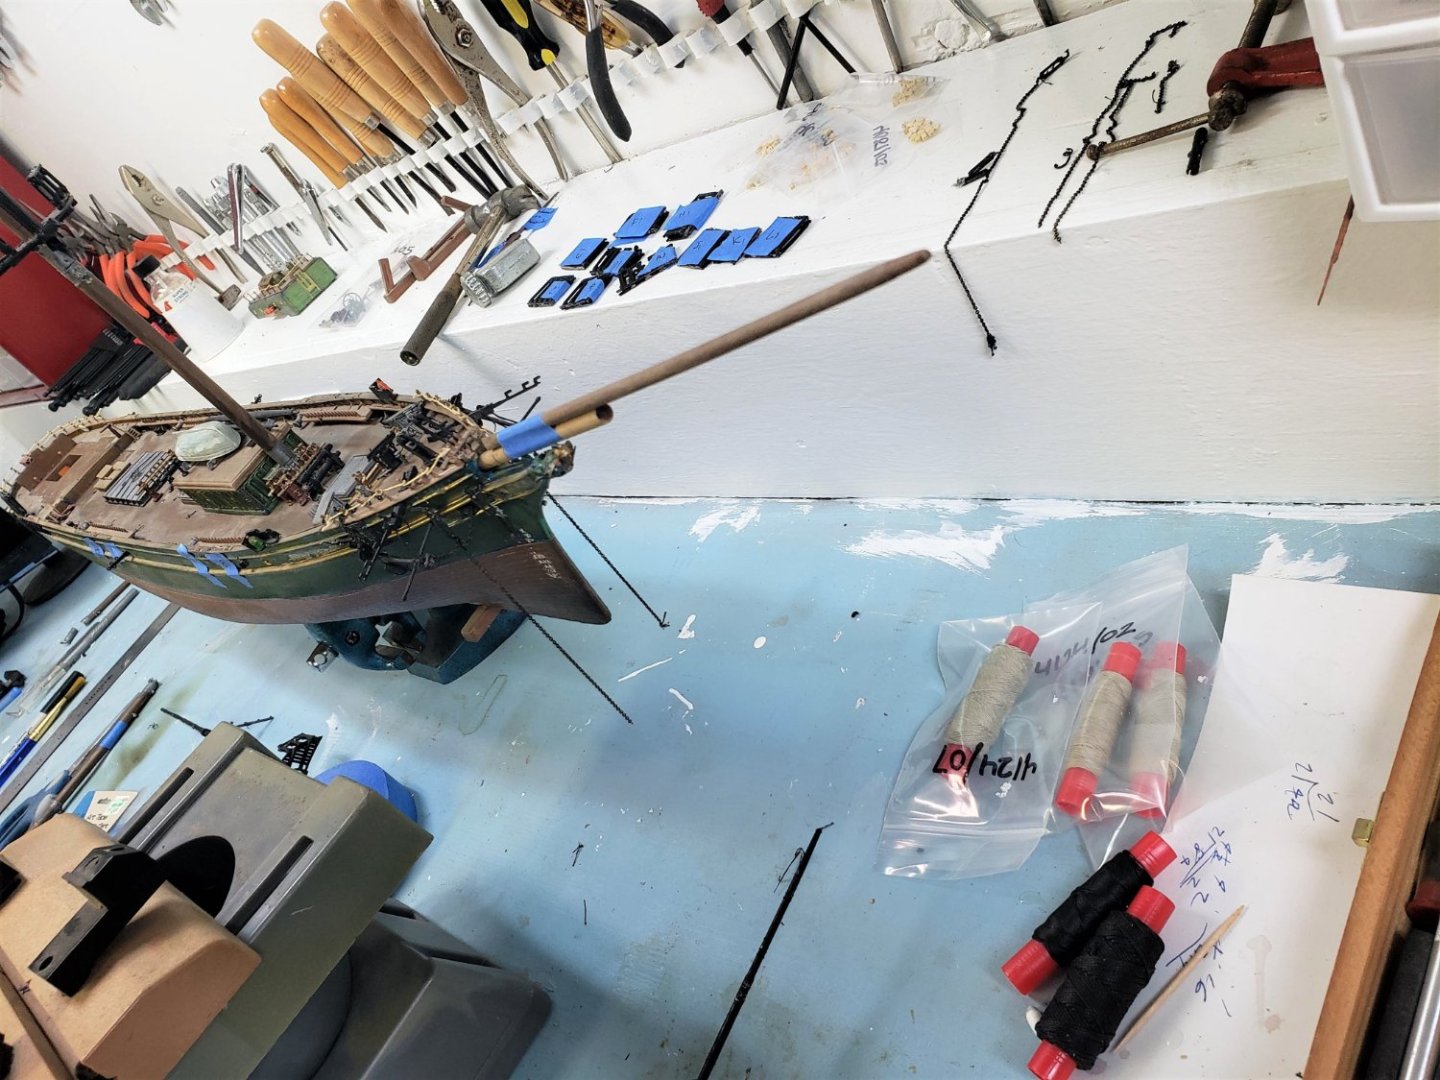
Its been a long time, but I got the new lower masts built and setup along with a new bowsprit. I snapped this picture off before going to work this morning of my current state of progress. I know its not much, but at least I feel I accomplished something.
- 44 replies
-
- 5
-
-
- Thermopylae
- Revell
- (and 3 more)
-
That is a well build looking model that would be a nice restoration project.
-
My shop has low ceilings and I am clumsy, so I can relate to this Vlad. I'm mastering the art of rebuilding bowsprits. You'll get it sorted out and fixed. You are doing such a fine job on her.
-
I have been using the Paasche VLS 3 for over thirty-five years. Its is double action and is adaptable for very fine to wide heads and needles. Its also siphon feed and has been great for small and large projects. It takes a little to set up, but once its dialed in, its fantastic. Its also at a decent cost.
-
What the head cement is really good for is securing seizing, which is what is practically done when tying a fly.
-
I was turned on to using fly tying head cement after watching my father in law use it tying flies. Its designed for thread and dries flat with one coat, or apply several for more gloss, moisture resistant, and stays pliable. It injects easily through a syringe or it can be brushed on.
-
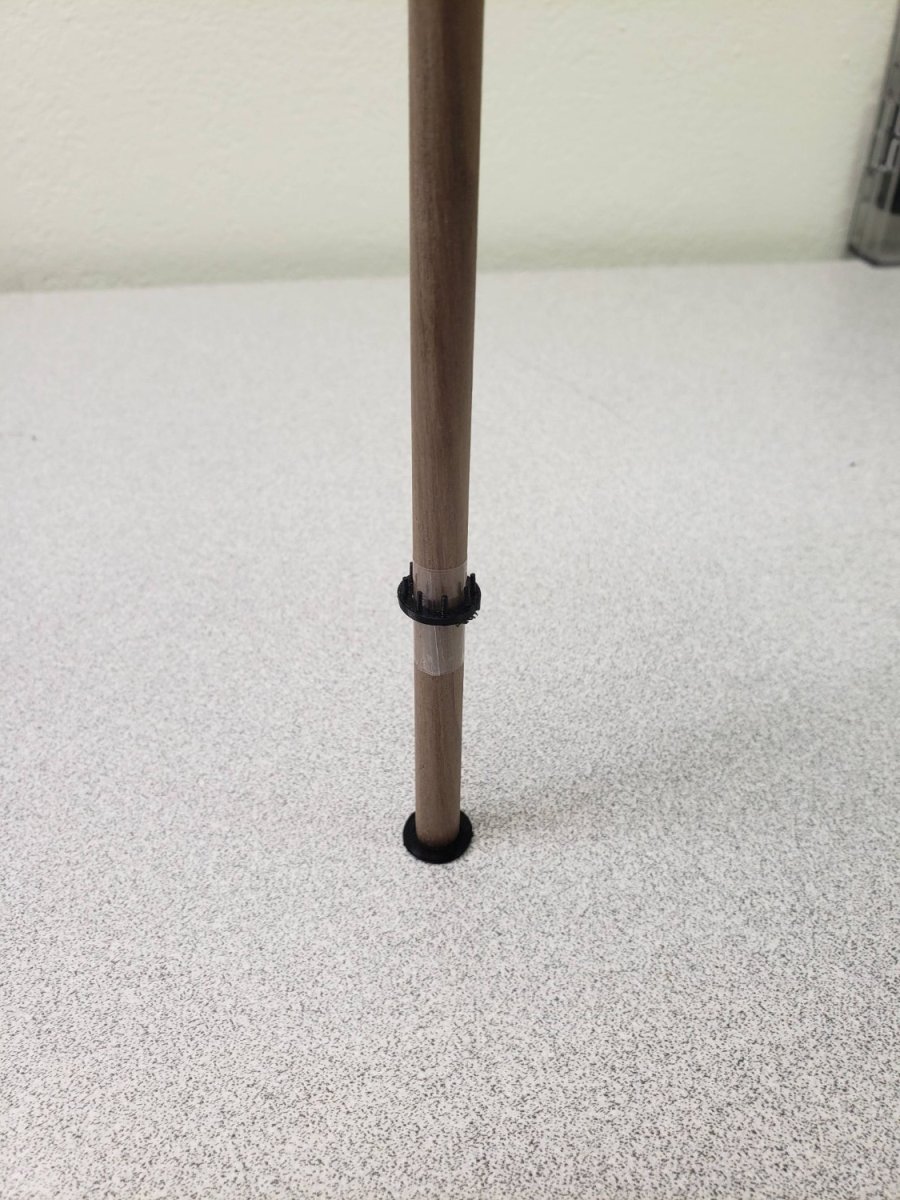
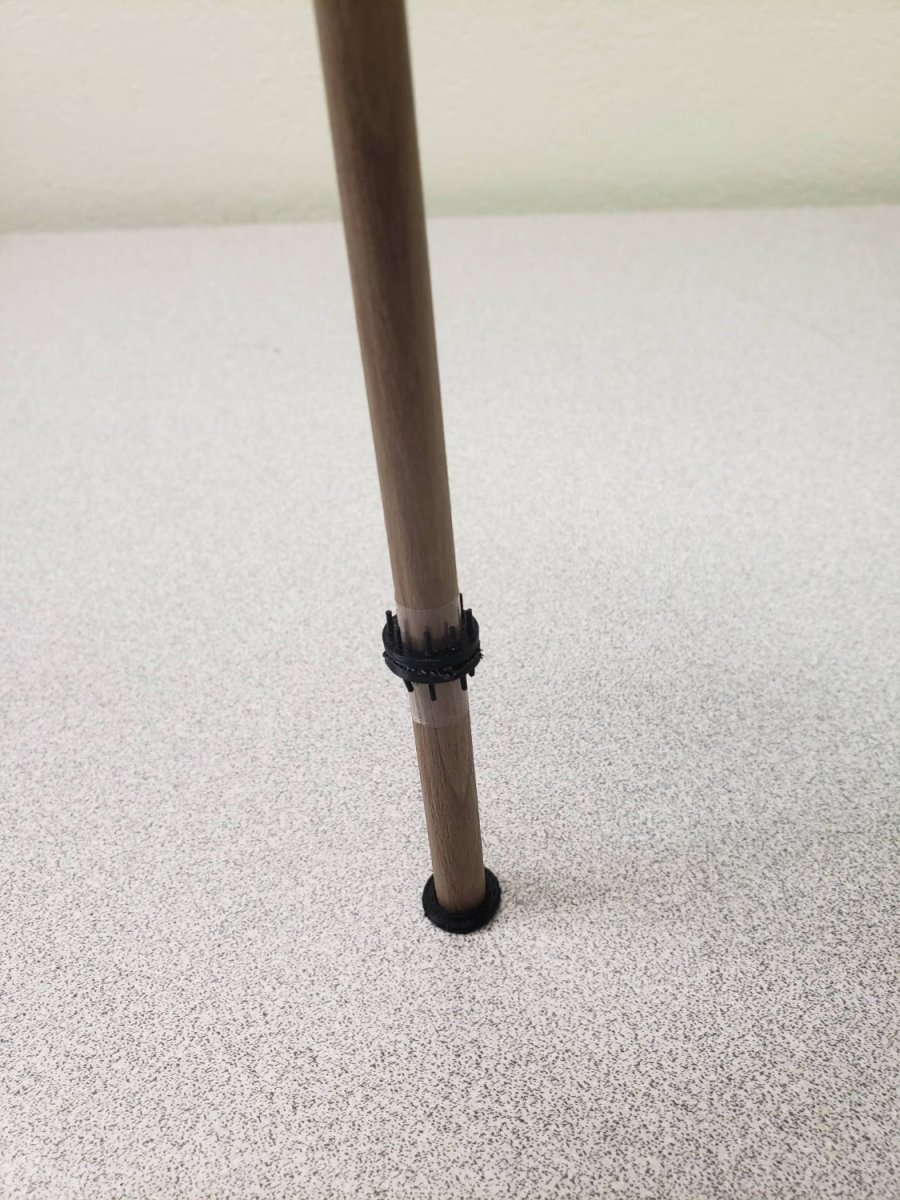
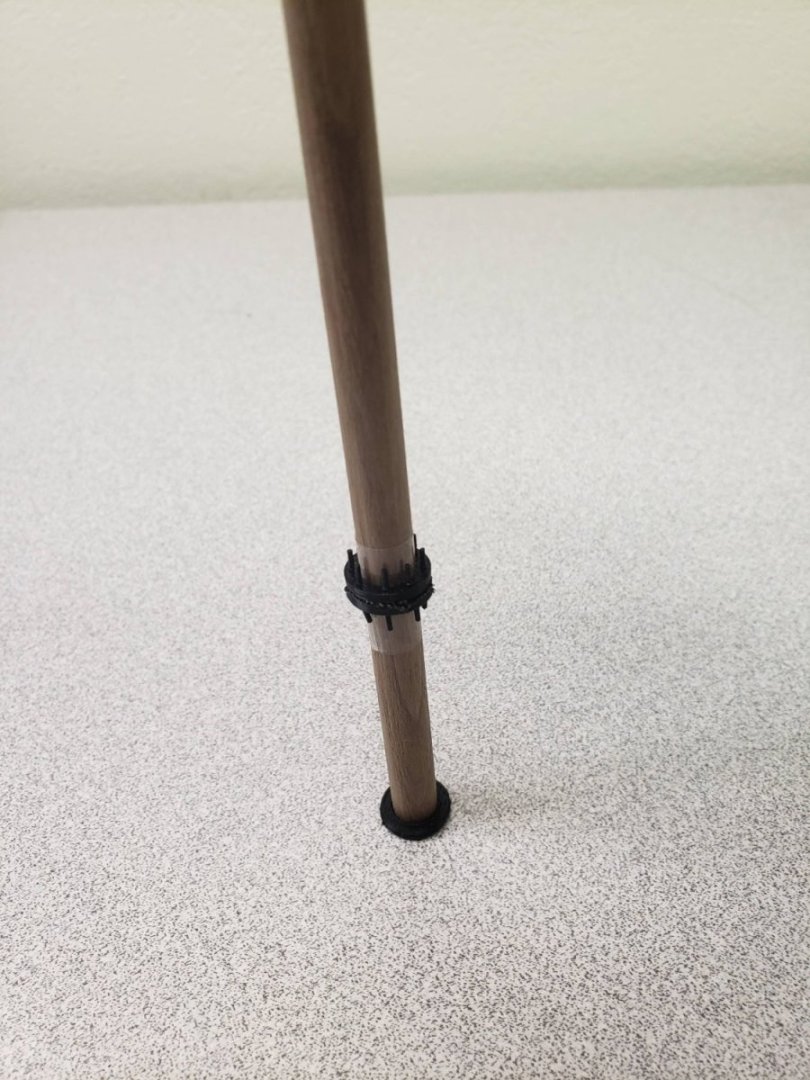
I started making the mast steps, hoop, pintles, and pinrails for the masts on my 3D printer.

- 44 replies
-
- 2
-
-
- Thermopylae
- Revell
- (and 3 more)
-
I am learning that once you go with wood, its hard to ever use plastic again.
- 44 replies
-
- 2
-
-
- Thermopylae
- Revell
- (and 3 more)
-
Kevin, Your mast bands, hoops and cheek blocks are outstanding. I need to fabricate all new mast details on my Thermopylae rebuild, and have thought of 3D printing these details except my printer is FDM, so the detail tolerance is limited.
-
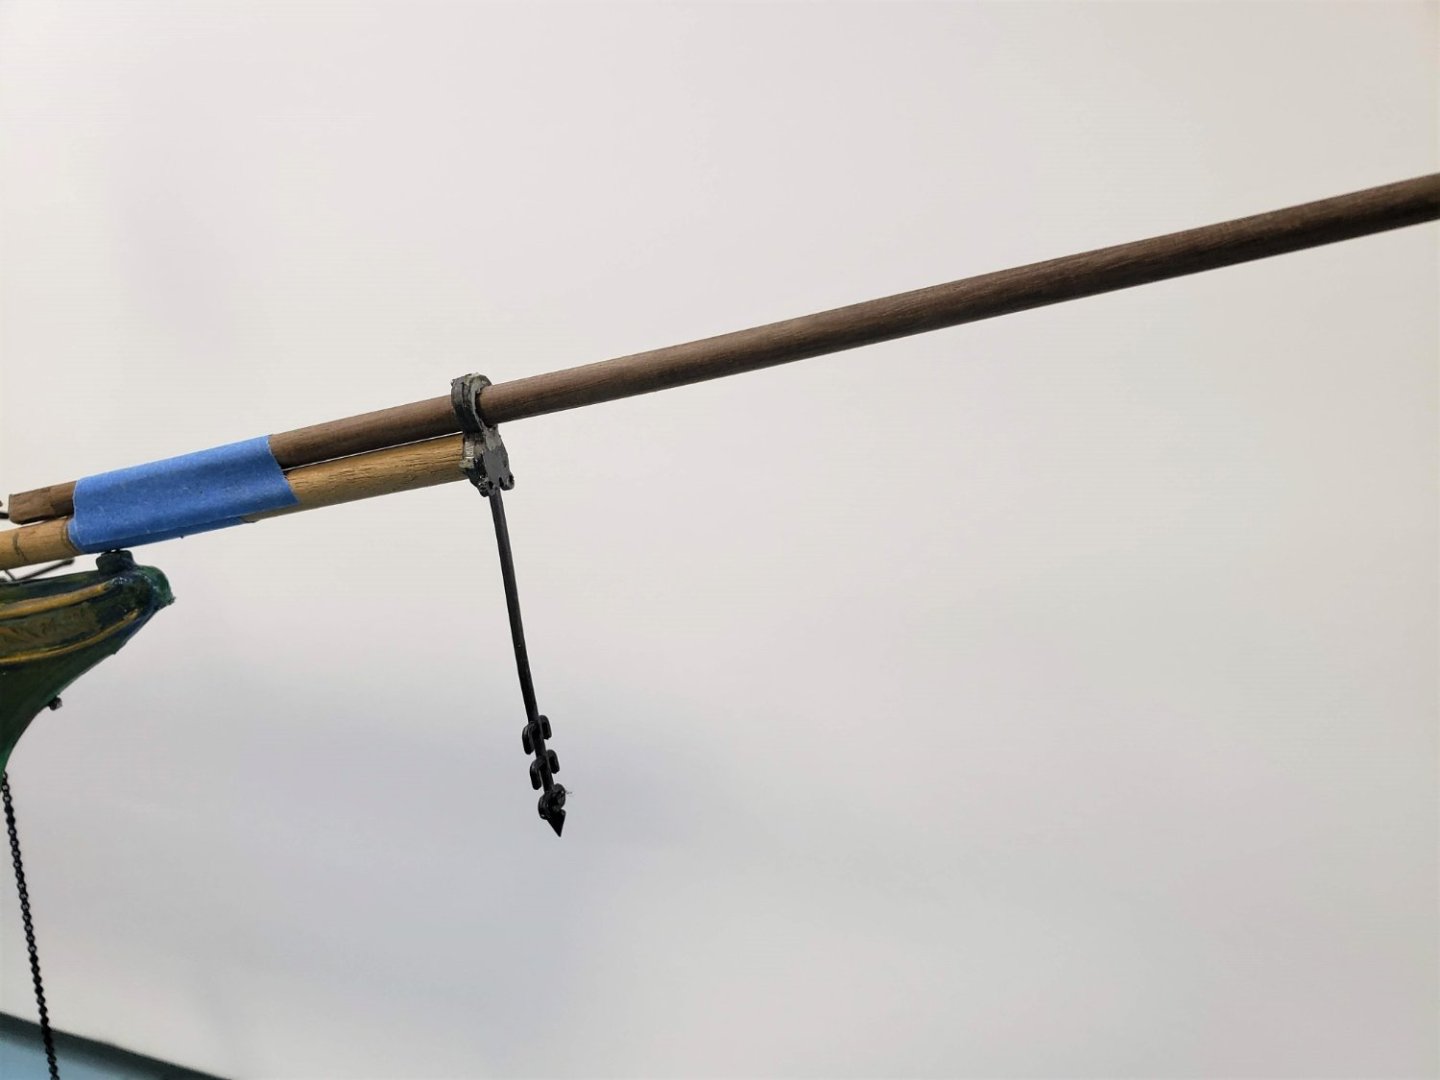
Dry test fitting of the parts I have shaped so far. The Dolphin Stryker needed some cleaning up and re-drilling and fits right up to my fabricated parts.
- 44 replies
-
- 3
-
-
- Thermopylae
- Revell
- (and 3 more)
-
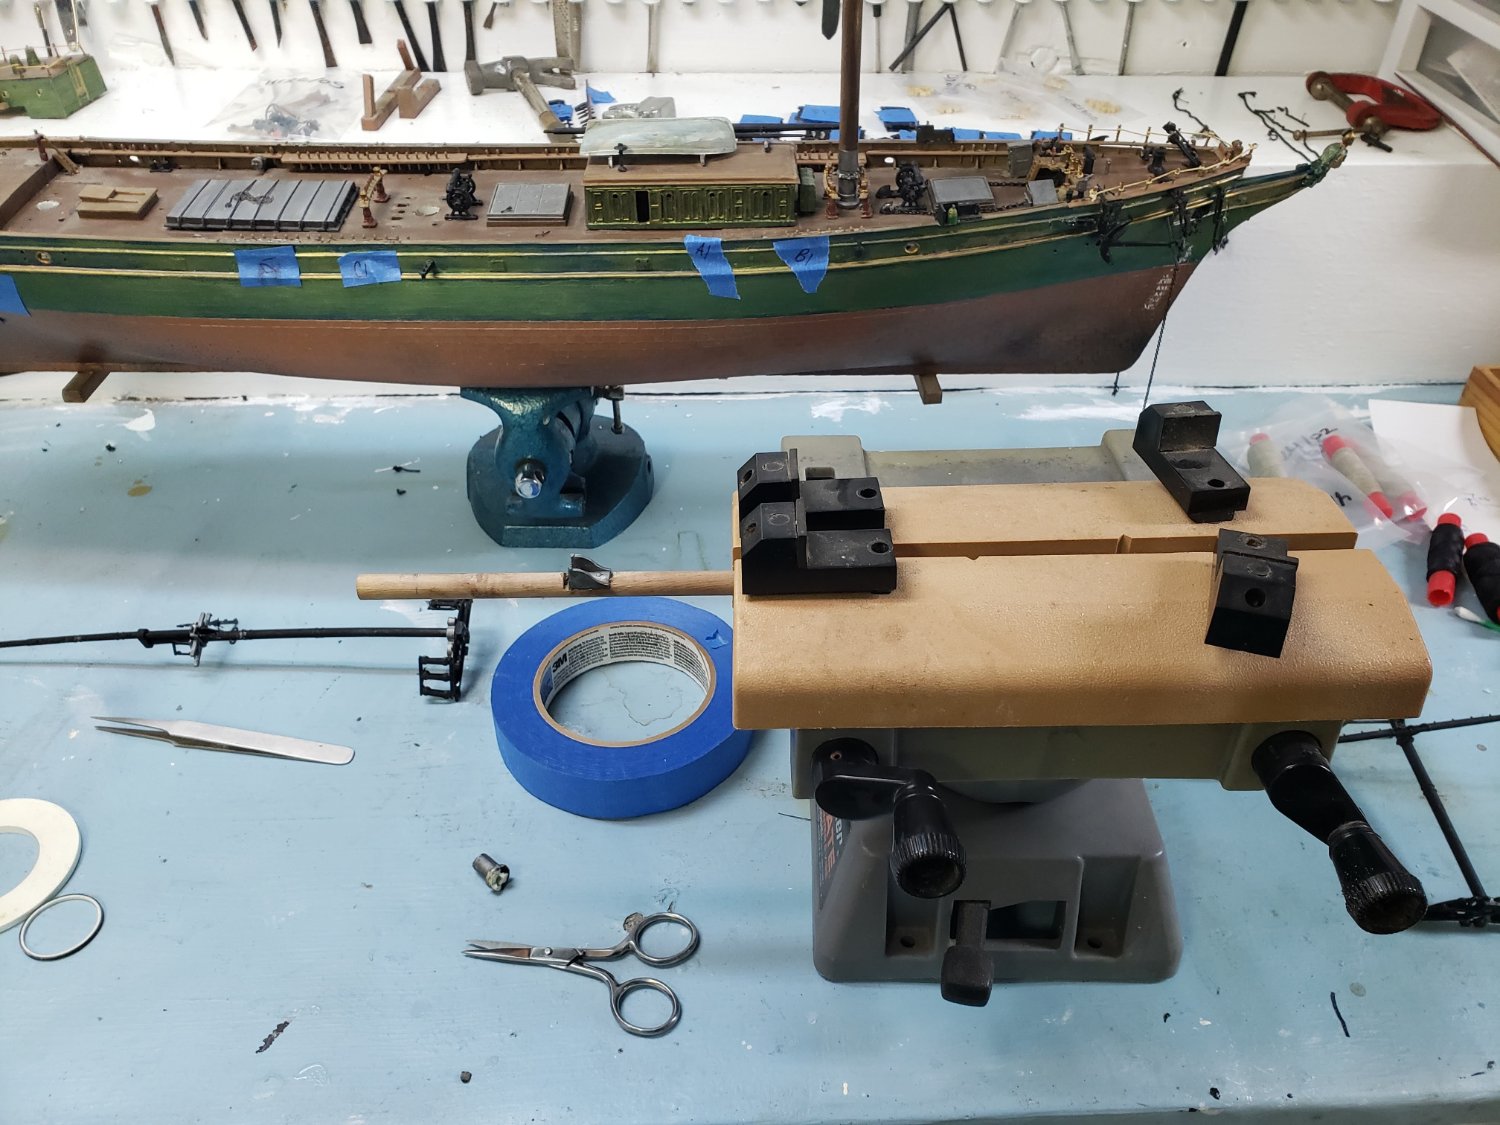
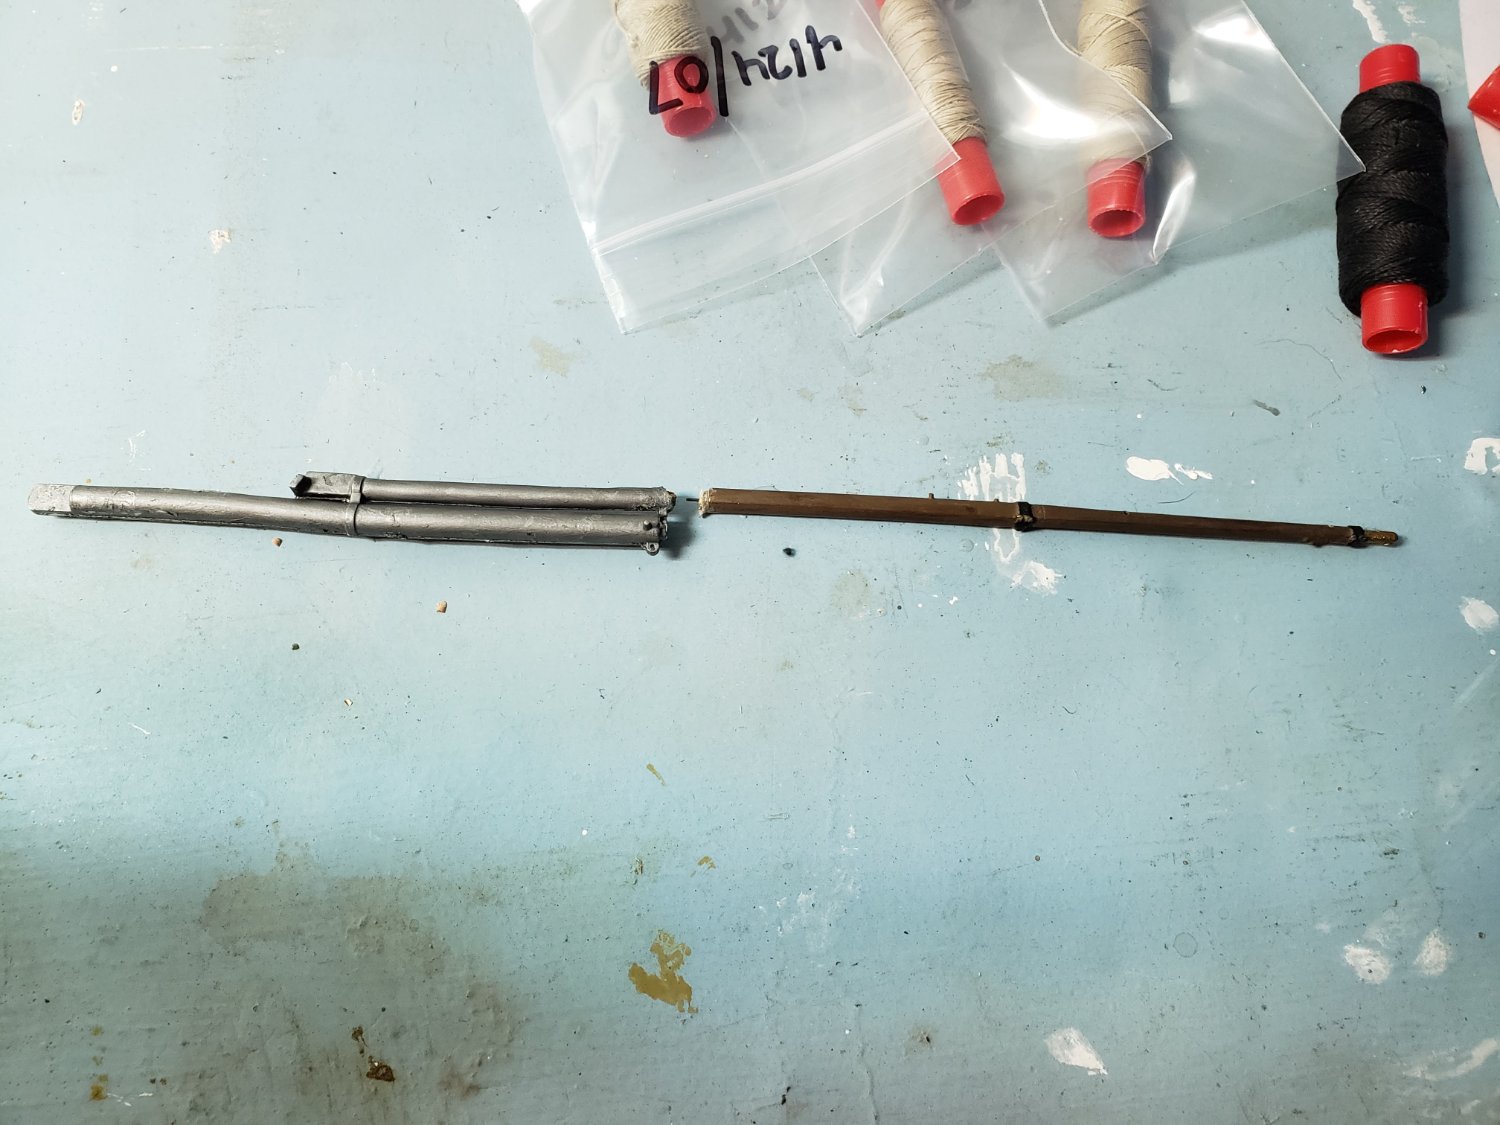
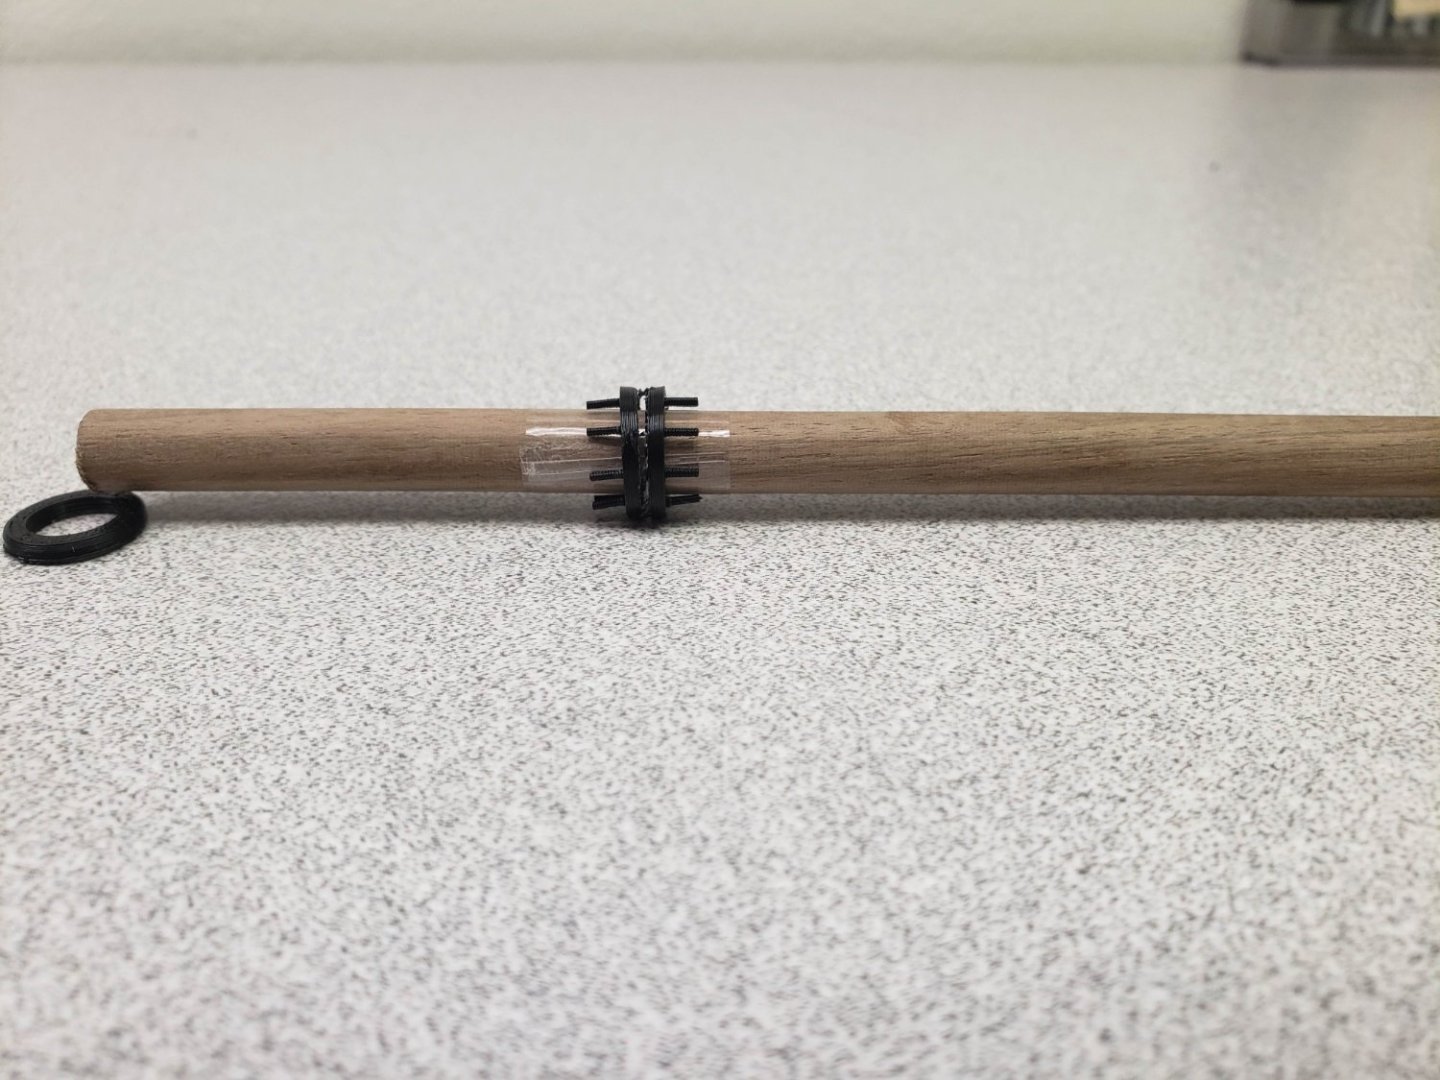
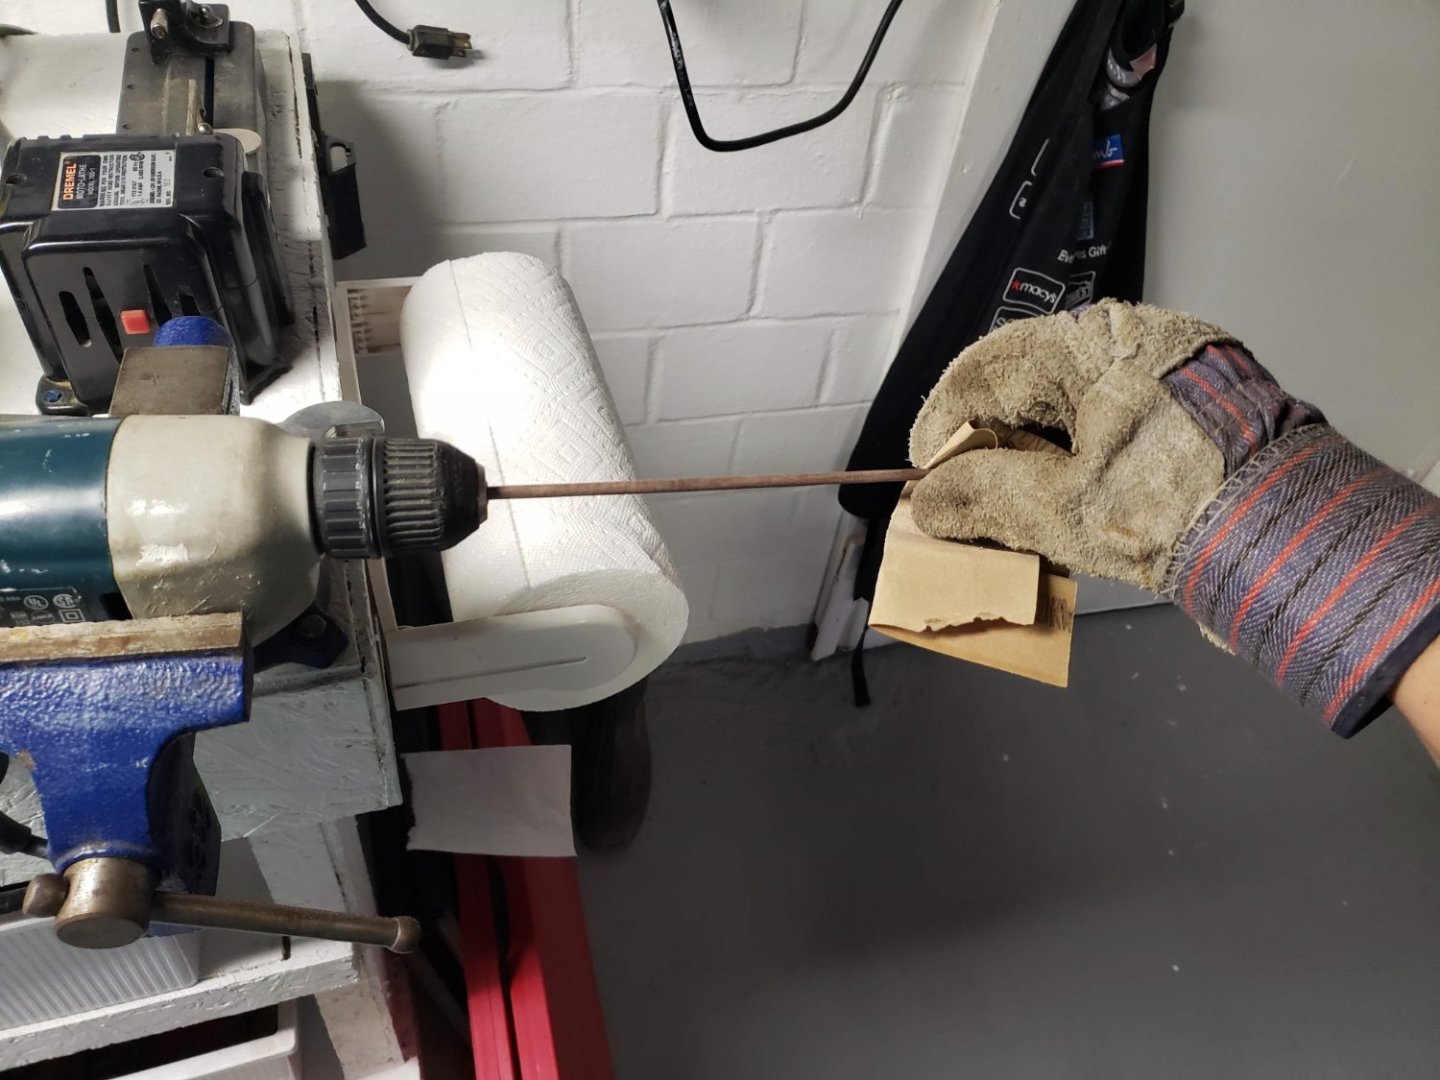
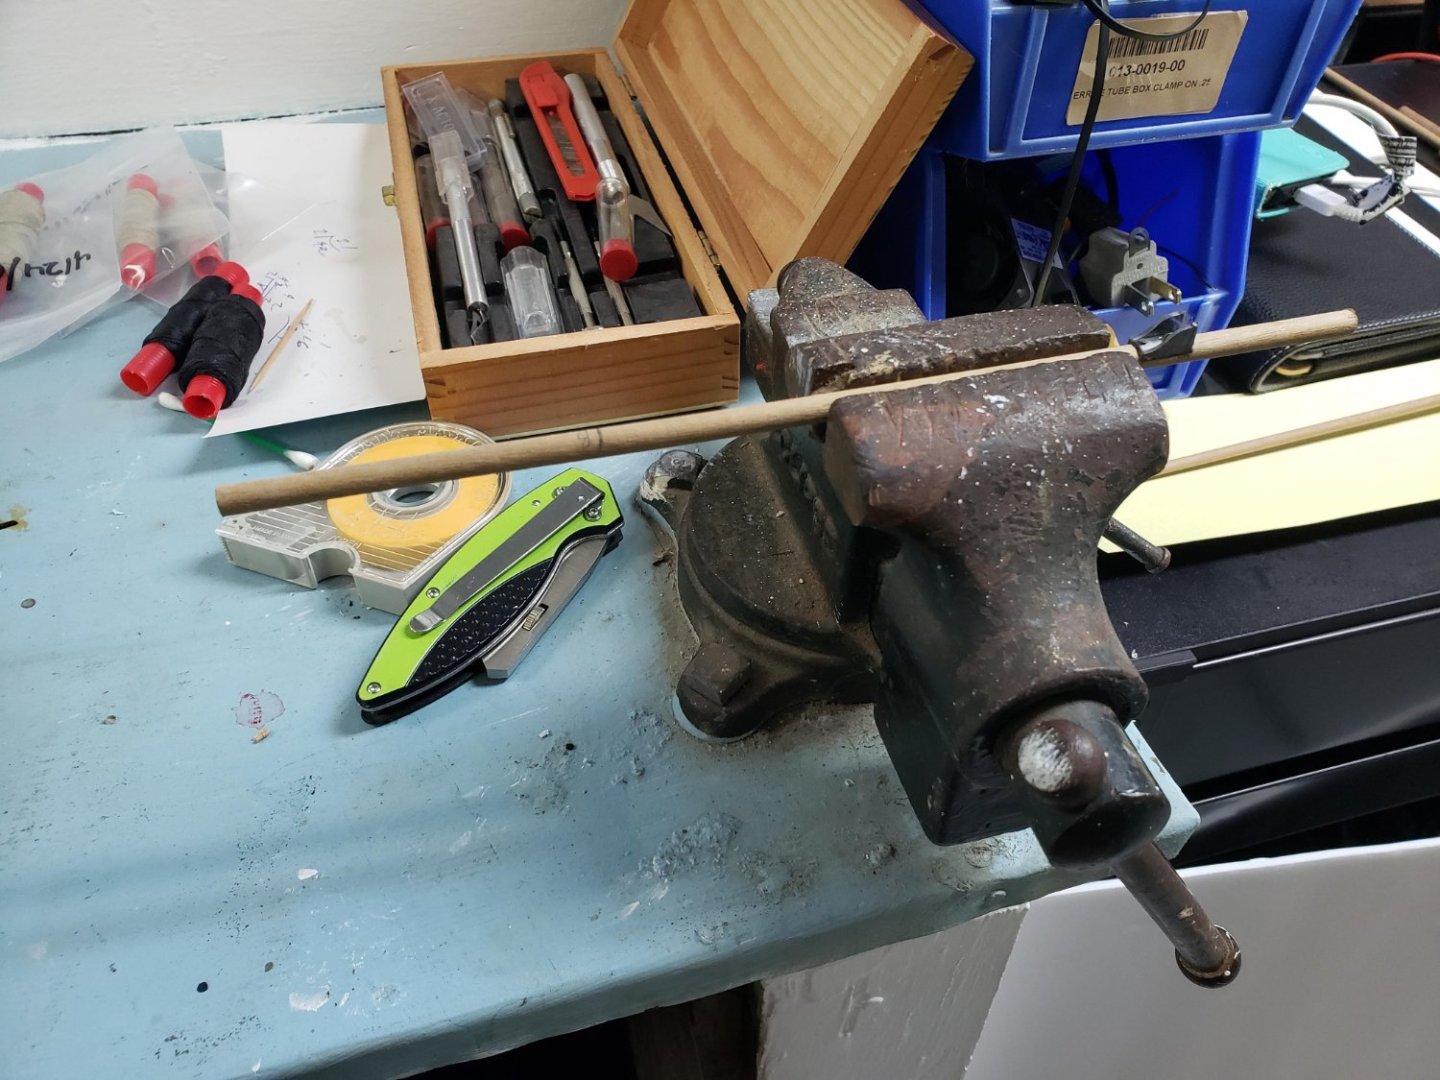
Started building a new bowsprit. Its too long for the lathe so I resorted to the old power drill technique. I think I am getting the hang of it.
- 44 replies
-
- 2
-
-
- Thermopylae
- Revell
- (and 3 more)
-
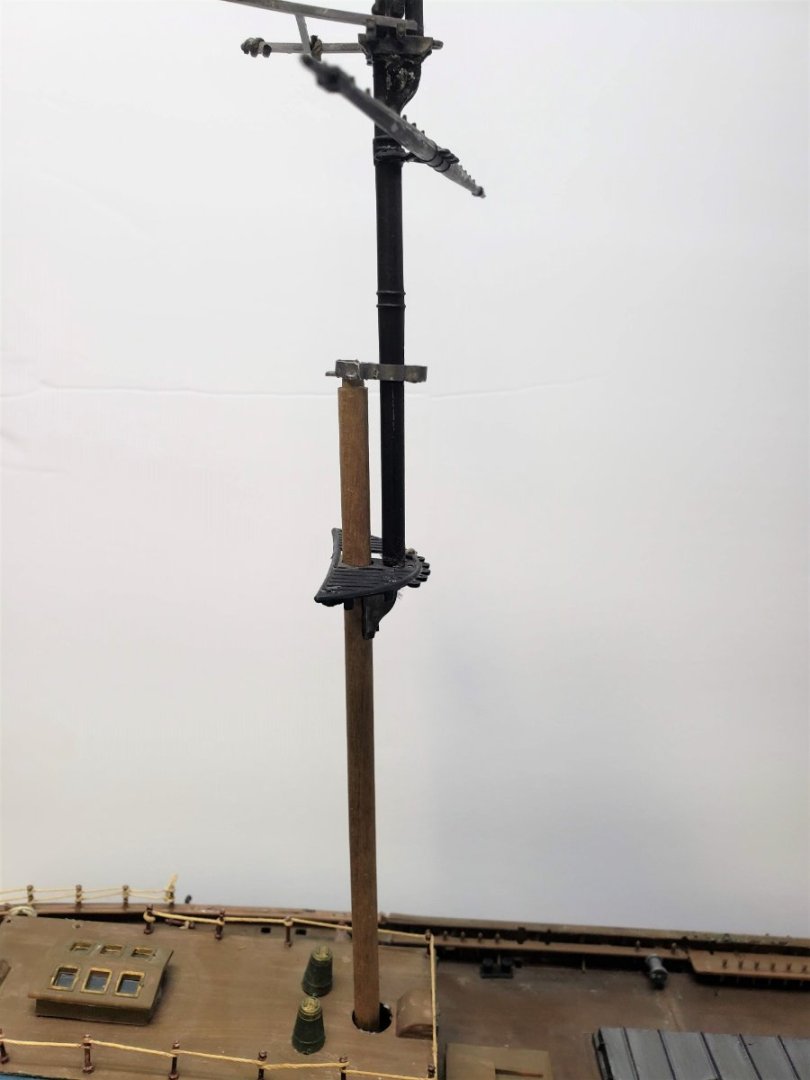
First test fit of the main seems to be going well. Cross tree fit is good and a little more trimming on the top for the mast caps for a perfect fit. Full photo of the dry fitting of the masts. I am quite pleased at how well the natural color of the walnut will match the pre-painted plastic parts that I am not replacing.


- 44 replies
-
- 2
-
-
- Thermopylae
- Revell
- (and 3 more)
-
First test fit of the mizzen, so far, so good. A little more filing and the mast cap should fit right on.
- 44 replies
-
- 2
-
-
- Thermopylae
- Revell
- (and 3 more)
-
Worked on the lower masts this weekend and also the new bowsprit. I had to order some stock brass rod and wire and also ordered a couple of packages of brass rings for the banding and comings. Both the new lower main and mizzen have been cut and are now being fitted out.


- 44 replies
-
- 2
-
-
- Thermopylae
- Revell
- (and 3 more)
-
Nice brasswork.
-
Are your models of the Essex from kits? I am a big fan of the Essex and so far have only been able to obtain the old 5/64 scale Model Shipways kit which is pretty much a block of wood to start a scratch project with. I too end up in need of small blocks and deadeyes.
-
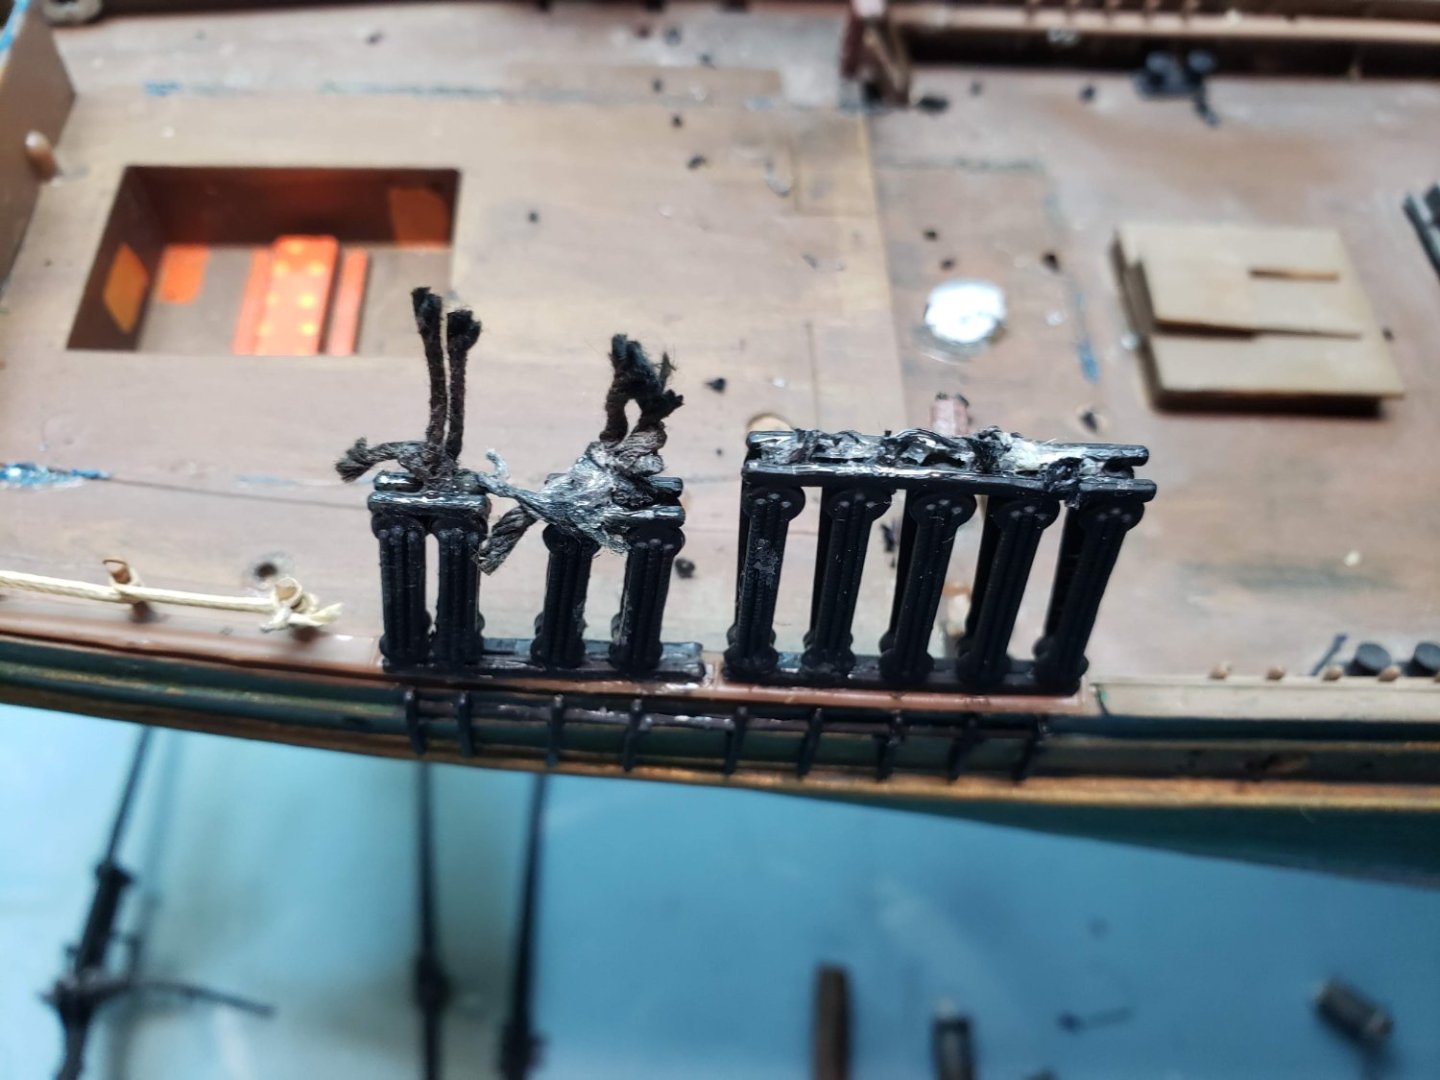
I am hoping to be able to salvage the deadeye assemblies. We will see. The majority have a lot of glue mixed with cotton thread in them.

- 44 replies
-
- 2
-
-
- Thermopylae
- Revell
- (and 3 more)
-
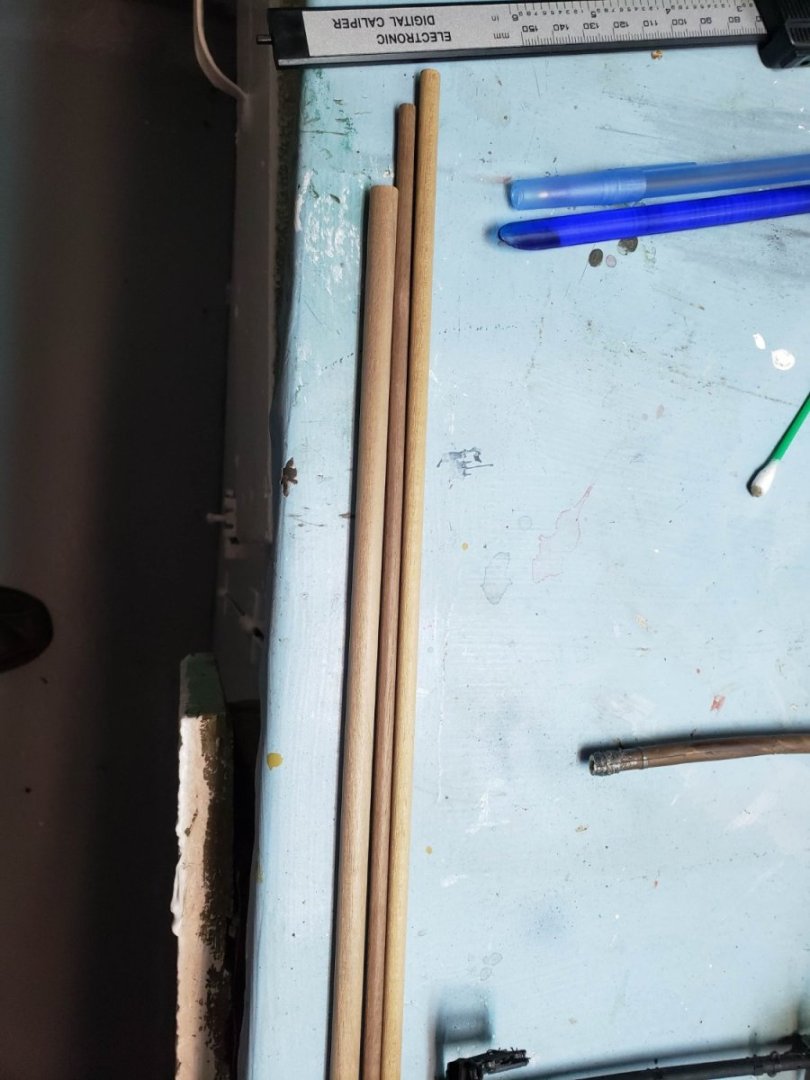
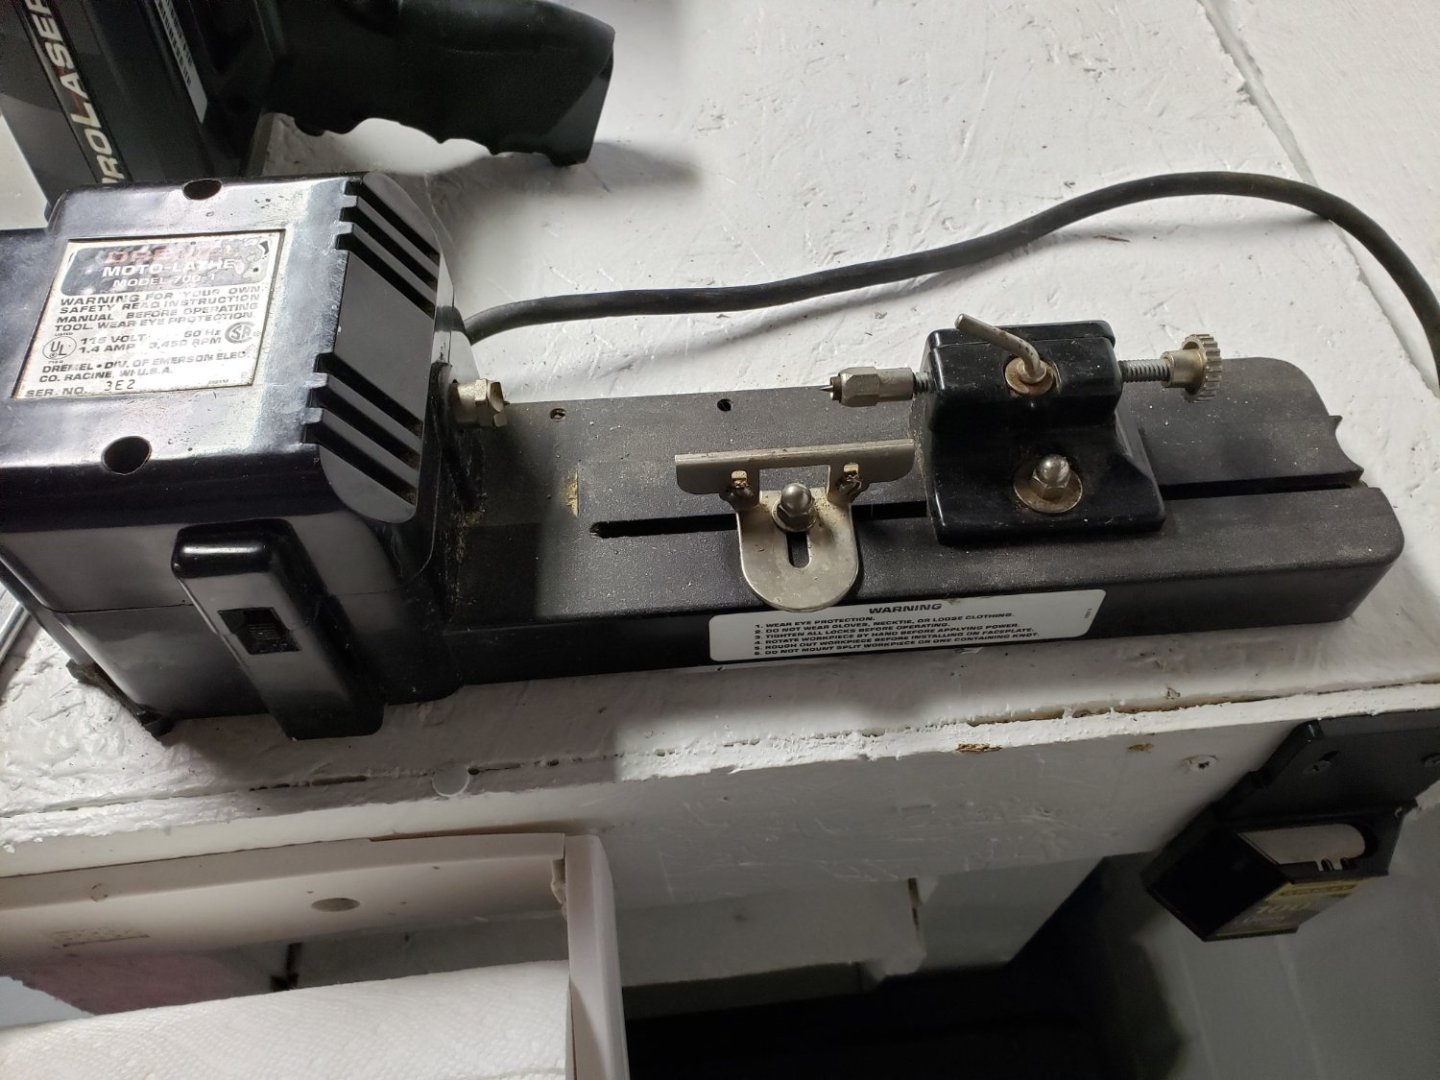
The walnut dowels I ordered came in. I plan to use these for a new lower main and mizzen, and will build a new bowsprit. I haven't used the lathe in many moons and look forward to making new parts with it. The bowsprit was a complete mess and needs replaced. The Dolphin Striker however can be re-used.
- 44 replies
-
- 2
-
-
- Thermopylae
- Revell
- (and 3 more)
-
Got the mizzen and main masts taken off and stripped. The main was pretty brittle and the plastic crumbled under the least amount of pressure. Both the lower main and lower mizzen were warped extremely bad and it looks heat related from either exposure to direct sunlight, or too much glue. Anyway, I am slowing removing all the old rigging and trying what I can to save the deadeyes.


- 44 replies
-
- 2
-
-
- Thermopylae
- Revell
- (and 3 more)
-
I'm impressed you did all the modeling in Blender alone, I use it for animation and rendering but have not had the patience to 3D model in it. You are very talented with your skills, both modeling and in 3D printing.
- 399 replies
-
- 4
-
-

-
- cutty sark
- revell
- (and 2 more)
-
Rob, Congratulations on a fine representation. Your rigging skills and attention to scale are impressive. I hope a museum will take you up on your offer, it will make a fine historical display and others should enjoy it. I hope someday to make it back up to the Bremerton area and hopefully will get to see it in person. Scott