HOLIDAY DONATION DRIVE - SUPPORT MSW - DO YOUR PART TO KEEP THIS GREAT FORUM GOING! (Only 51 donations so far out of 49,000 members - C'mon guys!)
×


ScottRC
-
Posts
559 -
Joined
-
Last visited
Content Type
Profiles
Forums
Gallery
Events
Everything posted by ScottRC
-

Sopwith F.1 Camel by jablackwell - Model Airways - WOOD
ScottRC replied to jablackwell's topic in Non-ship/categorised builds
Hi John, Sorry about your father, I lost mine a few years back and he was like yours in that he support me both through my hobby and my career. I have been following your detailed build log because I have love of bi planes and am planning on building possibly a 1/4 or 1/6 scale Sopwith in a few years. I see you share your workshop with a set of Ludwigs. I also share mine with a Ludwig Standard and just purchased a complete set of Pearl Sessions. To your build, I am amazed how strait everything came out without the use of jigs. Since all the rigging is so detailed, maybe I missed it, but do the ailerons operate? -
I am glad you are doing this build log and would like to say that you are coming along very well and addressing some issues that I have been coming across as well with solid hull kits. hopefully, I can get back to some ship modeling and to a solid hull of the Sea Witch. I think it was wise of you to go with the primer on the hull. Gloss lacquers or enamels do not work well with adhesives, so you end up either sanding the gloss finish or using a primer to create a surface the adhesive can "bite" into. Best regards, Scott
- 258 replies
-
- 3
-

-
- harriet lane
- model shipways
- (and 1 more)
-
Cutty Sark by NenadM
ScottRC replied to NenadM's topic in - Build logs for subjects built 1851 - 1900
Hello Nenad, I have been away for a few months, and have enjoyed catching up with your posts and the nice work you have been doing on the ships boats and life in Serbia. Cheers, Scott- 4,152 replies
-
- 5
-
-
- cutty sark
- tehnodidakta
- (and 1 more)
-
I got started with reading the whole Hornblower series in High School. Alexander Kent's, a pseudonym for Douglas Reeman, and who just passed away recently, Bolitho series has almost the same storyline as Hornblower. Both authors are easy to read. Reeman also wrote a series of books about the Royal Marines, Merchant Marine, and the Royal Navy in WW2. I just finished the O'Brien series. Took me awhile to get into his writing style. I felt he could be quite winded with either too many details, but once I got the feel of his prose, I took a big liking to his novels.
-
Great start. I did the same thing in college. I built the Revell Santa Maria in my dorm room, used acrylics and pastels. Kept my rigging chops up. Count me in to follow along on your progress.
-
I wanted to update a recent experience I had this past few weeks. Over the years, I used "Headly's" fly head cement, which is epoxy based and has an odor than will drop a fly a 1000 yards, has a quick cure time, and required acetone to clean up. I dropped my jar and it broke so I went to the outdoor store to pick up another bottle and they informed me they no longer carry it. They gave me a water based, non toxic head cement called "Loons Clear Head". And they are correct, not a odor at all. Better yet, I can put it in a hypo needle and apply it and then wash out the needle with hot water to reuse. It has a slower cure time but can spray a dab of their water based solvent on the area of application and it cures almost instantly. The epoxy based cement always had a high gloss when cured, this new cement dries dull. I am about 70% through putting the sails on my Constitution and have used it on all my knots and seizes on the mizzen with happy results.
-
I have been using fly tying "head" cement for years. My father in law tied flies and when he was teaching me to do it, all I thought was what a wonderful adhesive this was for seizing. Most cements had a strong odor, but pretty much all today are oderless. I have not tried Fixament.
-
Thanks Doc for the link. I think I got what I needed. Scott
-
I am so glad to see this build log, for I have this same kit that I really want to start in the near future. I will be watching with full interest. Scott
- 49 replies
-
- 1
-
-
- sea witch
- Scientific Models
- (and 2 more)
-
Glad I came across this thread for I just picked up one of these saws at a garage sale for $10 a few weeks ago. It was missing blades, the miter, and had about 25 years of dust on it but after cleaning it up, replacing a few missing nuts and a new power cord, it runs nice. I ended up using it a SKill 4" 44 tooth and a 4" riptide blade. Still pretty rough cutting for what I like to do. Also need a miter. I'll keep an eye out on ebay. Scott
-
I would have to admit, that looks like it would be an impressive builders model. I also liked the history of this type of ship and was surprised how many are still in service.
- 56 replies
-
- 4
-
-
- sd-14 cargo ship
- card
- (and 1 more)
-
In comparison to the testimony given by Captain Marshal, Its interesting that the testimony from the sailors sound so upbeat and that they were giving the enemy a good licking, like they are going to give a negative view of the fight to a bunch of admirals and senior captains.
-
Hi Chris, Long time since I've been here and wishing you well on this build. The stern galley looks wonderful. Very crisp and to scale. Cheers, Scott
-
Cutty Sark by NenadM
ScottRC replied to NenadM's topic in - Build logs for subjects built 1851 - 1900
Ah Nenad, they say life is a box of chocolates, and when we get our age, we look into a box full with many empty wrappers with just memories of enjoying the sweet chocolate. You are still fortunate, beautiful kids, a job, and your love of working with your hands and mind. I know how you feel, I lost parents, and although I have my wife, I have lost my child. Worse of it, it does seem to all come at once. But we get over it, the doldrums of life will again open up to some warm prevailing winds and we can sit down and enjoy building a sailing ship to take us to our thoughts and dreams and away from reality for awhile. Scott- 4,152 replies
-
- 7
-
-
- cutty sark
- tehnodidakta
- (and 1 more)
-
Nina by ScottRC - FINISHED - 1:75 scale - completed in 48 hours
ScottRC replied to ScottRC's topic in Plastic model kits
Might have taken 120 hours. With the help of Jim Beam, I was able to interpret the French instructions. -
Cutty Sark by NenadM
ScottRC replied to NenadM's topic in - Build logs for subjects built 1851 - 1900
She is looking wonderful Nenad.- 4,152 replies
-
- 5
-
-
- cutty sark
- tehnodidakta
- (and 1 more)
-
Hi Pat, Don't sweat losing a cannon or two, I have had many go shooting off into space never to be seen until the model is complete and I find the dog chewing up the lost part. If you don't find it, your jury rigged cannon should look fine. Scott
- 32 replies
-
- 1
-
-
- constitution
- revell
- (and 1 more)
-
I'm pulling up a seat and watching as well. Always been interested in Dursek kits and models of this period. Scott
-
Hi KP, Great tutorial on applying washes and tones. I know of a few new members who are doing plastic that I recommend seeing your posts. I see your setting up the shrouds off the kits deadeye assemblies. How are they secured? To the main rail or are they connected to the chain plates? Reason I ask is that I have set up the ratlines on the Thermopylae, Alabama, and Constitution using a similar technique. On the both the Thermopylae and Alabama, I did not have them secured enough and a while later, close to completion, they broke loose. There will be a lot of tension placed on them as the construction gets completed. Looks like you have them pinned in so I am curious how you did it. Scott
-
The stern is coming along really well. How is to work inverted though? I'd put something on backwards.
-
I call it a fantasy just to have the skills you have to build such a beautiful model.
-
Hi Charlie, You say those that come after you, well, I am planning on starting the Scientific SeaWitch in the near future and am very interested in trying your techniques. Scott
-
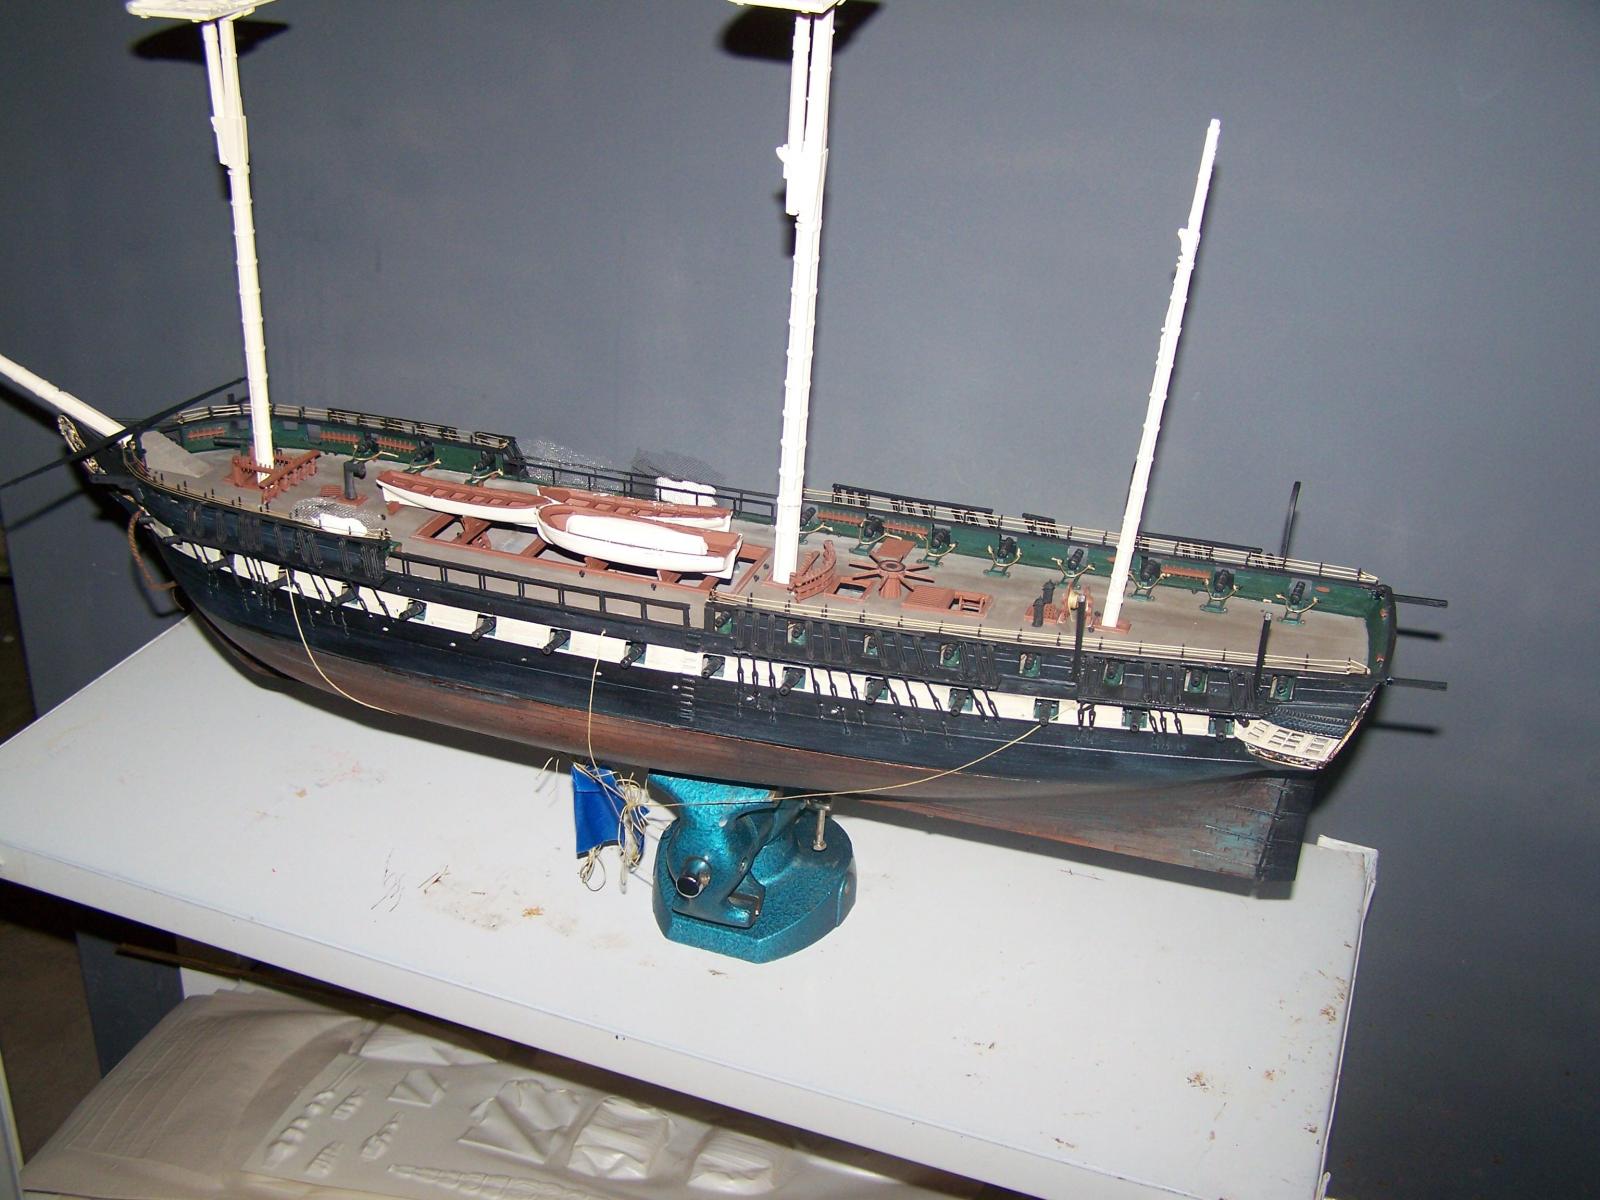
Good day Pat, got your PM and thanks I see you may not be ready to jump into the deep end of the pool, and that is perfectly ok. As I said, this kit is a wonderful 1st step into ship modeling without getting too bogged down. I would now suggest to build the kit and do the basic rig as per the instructions. This will allow you to test your level of confidence and patience. With the basic running rigging, the plastics ratlines should stay on without too much bending of the masts. If you do not have the following, get them: A good magnifying lamp, a set of tweezers, and a pair of small, sharp scissors. These tools will make rigging a much more enjoyable experience. Are you going with or without sails? It will affect how you position the spars. I am at the point of doing the sails of my 1/96 Connie right now so it would be easy to walk you through it. I'll try to dig up some of my old tutorials on painting decks. Work and taxes have me pretty busy this time of year but I should be able to post some pictures soon. But here is an early pic of my 1/96 Connie. I did a dark brown/black mix base coat and then an light gray wash and dry brushed antique white. I think I also did a more step by step instruction on a build log for my USS Lexington here on MSW, but I have to find it. My memory is pretty goofy right now due to work and tax time. On your deck, I would do a technique called "dry brushing", which i'm sure you might be familiar with. Get a flat, wide sable hair brush, dip it in some light gray or antique white paint, then with light strokes brush the paint across a scrap piece of plastic, paper, or cardboard until only very thin, light, dry coats of paint will result from the strokes. Then brush across your deck. This will tone down the contrast and will give a blending, weathered wood appearance.

- 32 replies
-
- 4
-
-
- constitution
- revell
- (and 1 more)
-
Hello Patrick, Welcome to the wonderful art of model ship building. You are starting with a great kit to get the "feel" of how a sailing ship would go together. I have built this particular model a few times and also used artistic license by painting it blue once, so don't worry about being accurate with colors, the point is to have fun and enjoy what you are accomplishing. I see your kit has the plastic ratlines. Please consider looking into rigging these yourself. Many of us here can talk you through it. The reason I say this is that these smaller Revell plastic kits, well, the masts like to flex and bend and trying to keep those plastic ratline assemblies from popping off as you rig is a big pain. Also, like on a full sized ship, rigging the shrouds and ratlines gives those plastic masts a lot more support, so when doing the standing, and later, the running rigging become much easier because the masts are not flexing all over the place. Overall, everything will look more to scale and you will be pleased with the results. For the deck, maybe give it a wash of black acrylic, then wipe the acrylic off while its still wet, this will stand out the deck seams, then give the deck a wash of light gray to tone and blend the wood brown, tan, and black. So keep up the good work and we will be here help you out if you need anything. Scott
- 32 replies
-
- 4
-
-
- constitution
- revell
- (and 1 more)
-
White Paint Issues
ScottRC replied to rynmss's topic in Painting, finishing and weathering products and techniques
White and Yellow, especially acrylics, are noted for the tendency to bleed and show brush marks or faded areas if airbrushing. I too am going to repeat what has been said. When painting light colors, especially on wood, make sure the wood is sealed and then paint a base coat of a light colored primer, I like Kiltz, Krylon, and Tamiya Mr Surfacer, then lay the top coat. You may still have to put on a second coat, but a good base of sealer and primer will allow the top coat to apply evenly and you will have a nice, balanced finish. Also make sure the brush is the correct type and will load up well and discharge the paint evenly with your stroke. Too many us us will stir, shake, and then start thinning the paint when in fact we are not using the correct type of brush. For large areas, such as the bottom of a hull, I pretty much use the airbrush. On plastic modern ships, I do almost all my painting with an airbrush, but for wooden models and models of period sailing ships, I like to use a brush because I like the artistic affects I can do with paint on wood better with a brush.