ScottRC
-
Posts
559 -
Joined
-
Last visited
Content Type
Profiles
Forums
Gallery
Events
Everything posted by ScottRC
-
 Good to hear from you again Sjors. And better news to hear that you have a space to model in. Looked pretty cramped in you old dwelling. Look forward to seeing some new progress. Cheers, Scott
- 1,616 replies
-
- 4
-

-
- caldercraft
- agamemnon
- (and 1 more)
-
Great work on the bowsprit and dolphin striker and making them out of wood. You won't be disappointed when it comes to rigging.
- 53 replies
-
- 1
-
-
- cutty sark
- revell
- (and 1 more)
-
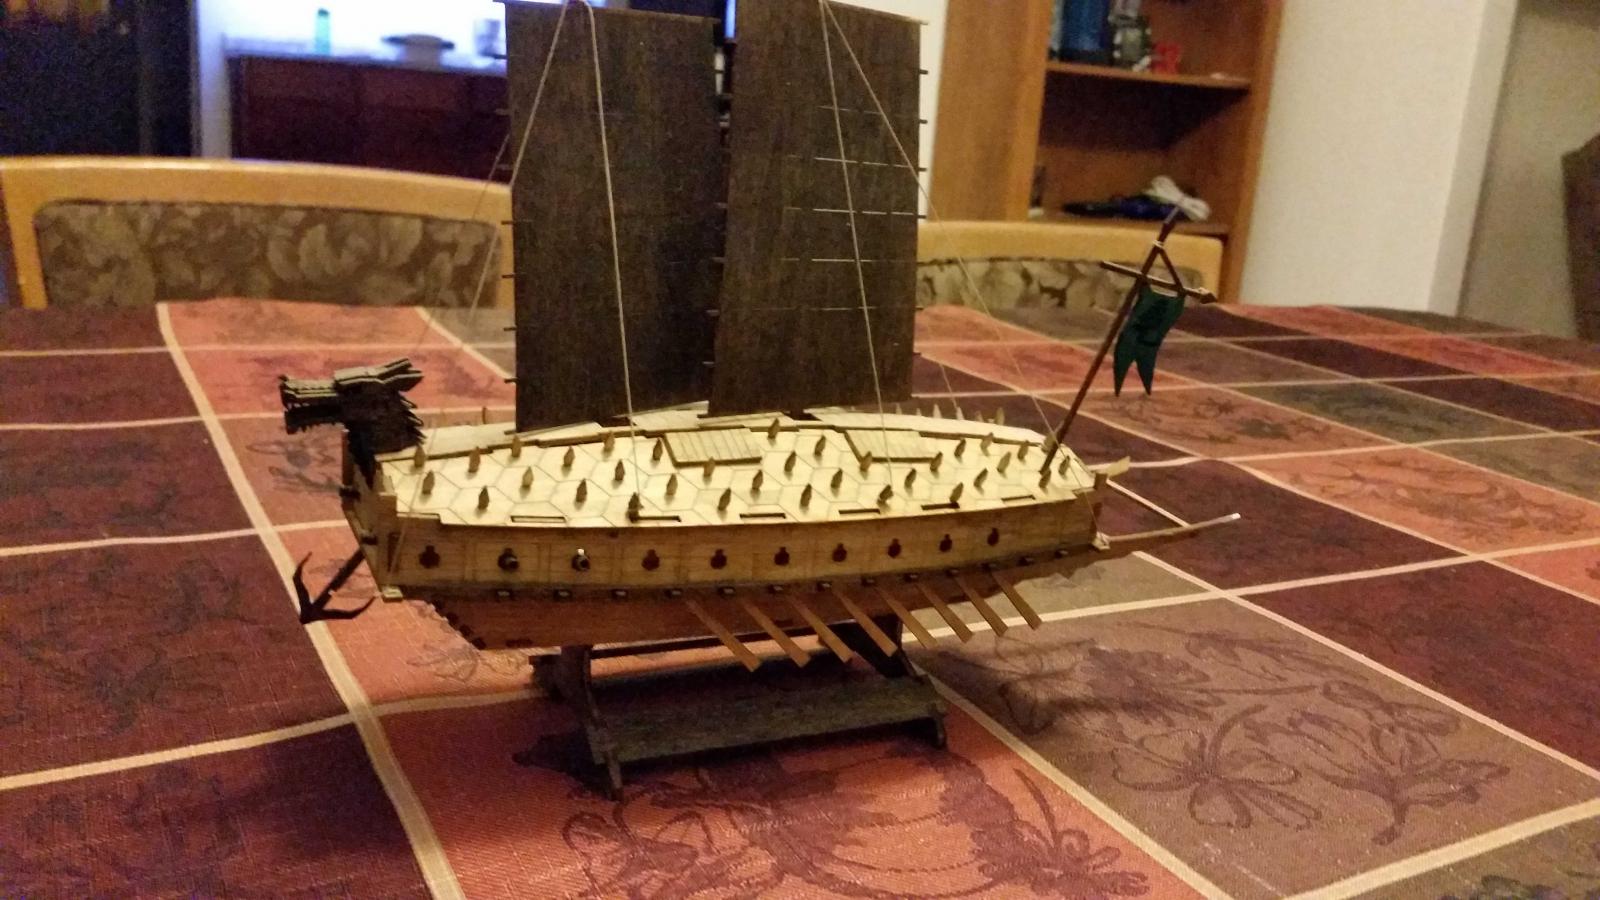
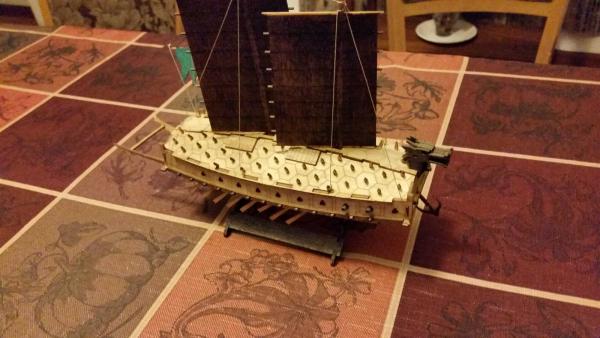
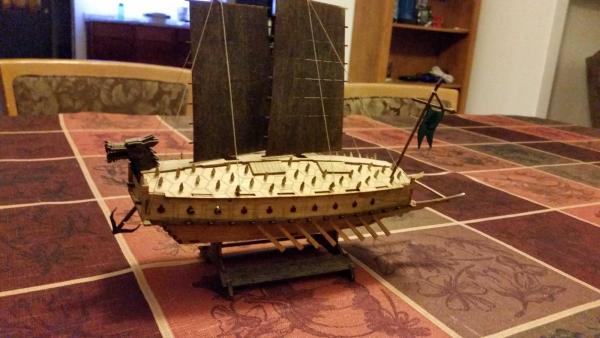
Hi Wim, I just came across your build and was extremely interested and impressed. I have been hosting a pair of Korean college kids and they gave me the small Geobukseon kit as a gift. I built it and was now interested in someday doing a more scale version. So your build log has my complete attention. Also watched the "Admiral", very good movie and a must watch if building this subject. We all hear about the European and Mediterranean naval engagements and ship design, but the Asian conflicts and navel design not so much. Regards, Scott
- 97 replies
-
- 3
-
-
- Turtle Ship;
- Korean Turtle War Ship
- (and 1 more)
-
Hi Chris, Just came across your build here and wanted to offer you words of encouragement, mainly so that I might be so inspired to get off my duff and start back on my Endeavor. Started the bloody thing back in 03 and kinda hit a mental block on what to do next. Like you, I have been fighting what to do with the gunwales midships. I planed at a angle the quarter deck but the waist is still an issue. So your question is a common one.

-
All I can say is WOW!
-
Cutty Sark by NenadM
ScottRC replied to NenadM's topic in - Build logs for subjects built 1851 - 1900
Welcome back Nenad- 4,152 replies
-
- 2
-
-
- cutty sark
- tehnodidakta
- (and 1 more)
-
Cutty Sark by NenadM
ScottRC replied to NenadM's topic in - Build logs for subjects built 1851 - 1900
We are all here for you my friend. Take time, grieve, share if you want, we will be here to listen. Scott- 4,152 replies
-
- 6
-
-
- cutty sark
- tehnodidakta
- (and 1 more)
-
I'll be watching too. I got the old Entex version of this kit in my stash and I keep telling myself I'm going to build it. Does the bottom of the hull come pre-painted? Hmmm, Revell did the same think with a number of their large kits.
-
Info request on Titanic kit (edited by admin0
ScottRC replied to gleason's topic in Plastic model kits
I have a 1976 version made by Entex. There have been a number of revisions by different kit brands that I lost track of who released what and when from this tooling. -
Galleon by tuciship
ScottRC replied to tuciship's topic in - Build logs for subjects built 1501 - 1750
Looks really nice, except it seemed to had wings added to it in one picture. -
Man Bob, you are doing a fantastic job. I'm on the main mast Jeers and lifts on my 1/96 Constitution build and to me its a tight working space, Thanks for the close up pictures, they are a help. Your working in a smaller scale yet make it look so easy, neat, and clean. Scott
-
Old ships transporting horses and wagons???
ScottRC replied to NAZGÛL's topic in Nautical/Naval History
Hi Matti, See if you can find a copy of the Hornblower A&E episode called the Fireships. In it there is a segment where they are loading cattle by barging them out to the boat and using the same method as Chuck's model depicts. It also addressed cleaning, feeding, and the problem of watering large animals in such cramped conditions. -
Welcome Steven. You may be new to shipbuilding, but judging from your shop, tools, and the work your doing so far, your talented with wood and building things.
- 34 replies
-
- 1
-
-
- flying fish
- model shipways
- (and 1 more)
-
Cutty Sark by NenadM
ScottRC replied to NenadM's topic in - Build logs for subjects built 1851 - 1900
Know exactly what you are saying here, been there, done that too many times.- 4,152 replies
-
- 2
-
-
- cutty sark
- tehnodidakta
- (and 1 more)
-
From my experience, I never had lift problems with the Tamiya tape. I have had lifting using blue 3M painters tape.
- 42 replies
-
- 1
-
-
- Constitution
- Revell
- (and 1 more)
-
Tamiya does sell Mr. Surfacer 1000 in a spray can and its great stuff. I cannot get Mr. Surfacer easily and prefer to use automotive spray primer from the auto store. It comes in light gray, dark gray, black, and white and both fine and heavy filling application. Never had any problems on styrene or resin.
-
Good to hear from you as well Robbyn, I feel for what you are going through, had My father pass away a while back and trying to finish my 85 year old house. We gutted it as well. Still need to do the kitchen since, well, its takes a small fortune to redo one. Hope the smell of sawdust and fresh drywall keeps you longing to start back on the Syren. Scott
-
I used a heat gun to bend mine after all the pieces were glued together but soaking in hot water might be safer. Your correct Phillip, you will need to put reinforcement strips under the seams.
-
As far as the decks, I assembled them as on piece to fill the seams evenly and to set the correct deck camber, however, going this route calls for some planning and set up of the hull halves. It was not a problem to assemble the lower deck and hull halves at the same time, but had to leave the upper hull halves unglued so that the halves could flex enough to accept the upper deck. This was a problem for me since I tied all my lower guns up so I have to assemble the lower deck and hull all at once.
- 7 replies
-
- 1
-
-
- constitution
- revell
- (and 1 more)
-
I'll follow along as well.
-
I'll be following along with your build as well. Since I am in the process of building my second Revell kit. One kit was like yours, the 1976 version without sails and now a 1980 release with sails. The only problem with this kits is dealing with the deck seams.
- 42 replies
-
- 1
-
-
- Constitution
- Revell
- (and 1 more)
-
Cutty Sark by NenadM
ScottRC replied to NenadM's topic in - Build logs for subjects built 1851 - 1900
Great work Nenad, your research and patience is really paying off.- 4,152 replies
-
- 1
-
-
- cutty sark
- tehnodidakta
- (and 1 more)
-
Great progress. I too am also into rockets but never built the Saturn V. In regards to the outer hull planking, what size of strips did you plank the hull with?