-
Posts
24 -
Joined
-
Last visited
Content Type
Profiles
Forums
Gallery
Events
Everything posted by gmctaggart
-
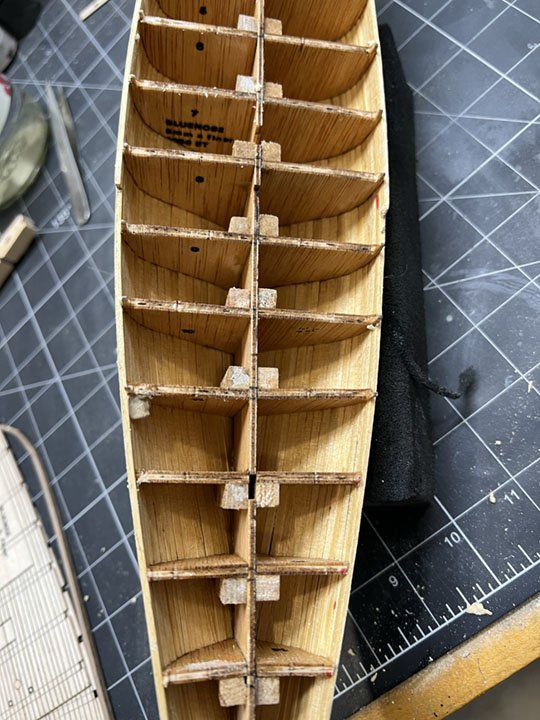
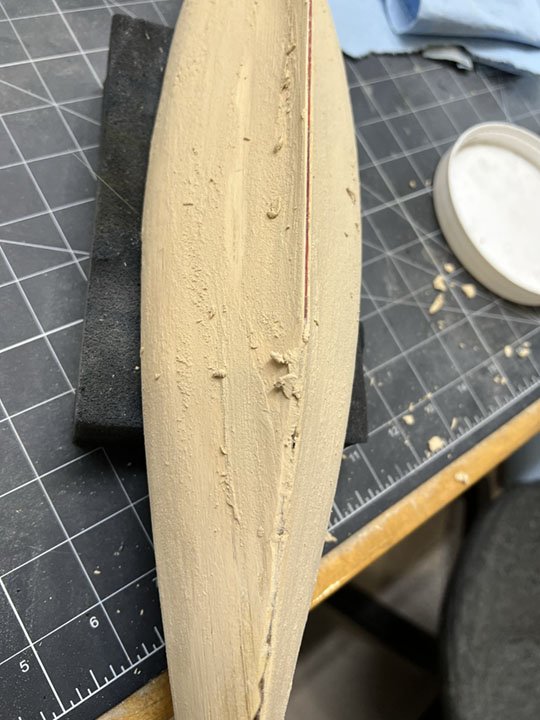
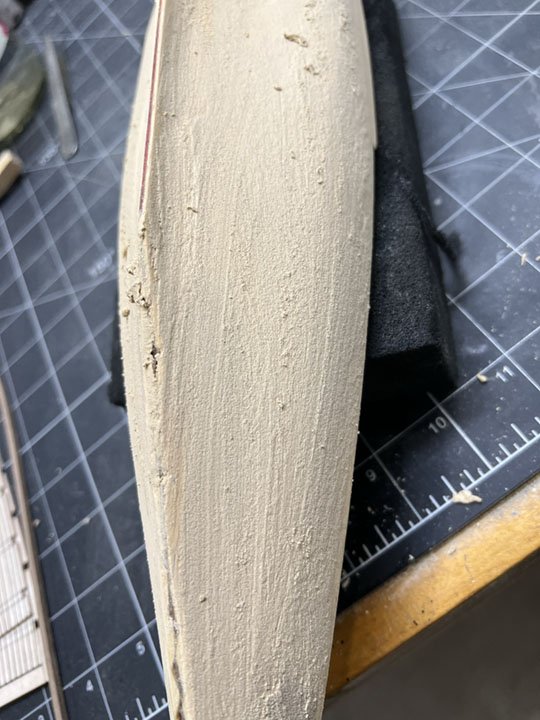
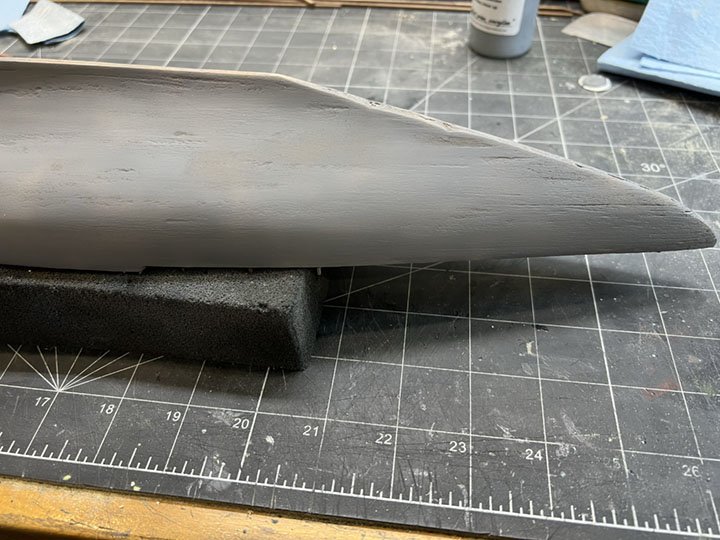
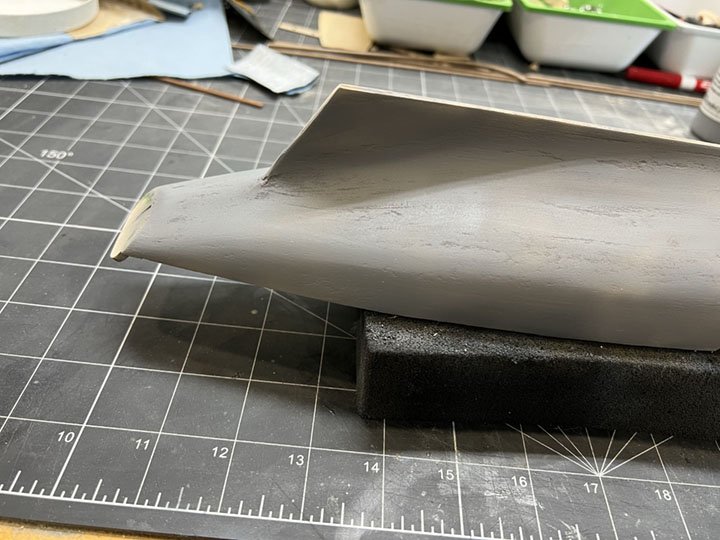
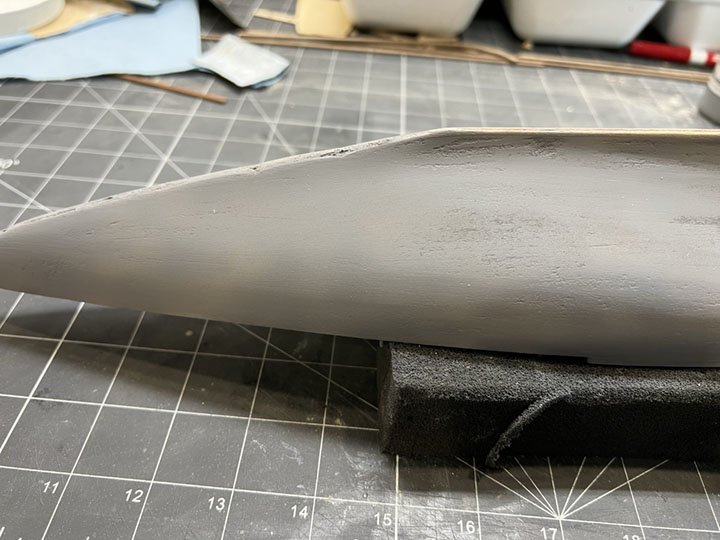
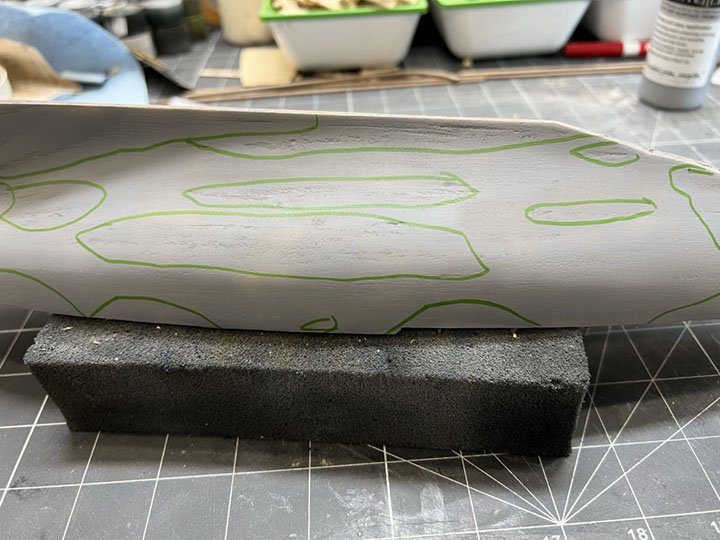
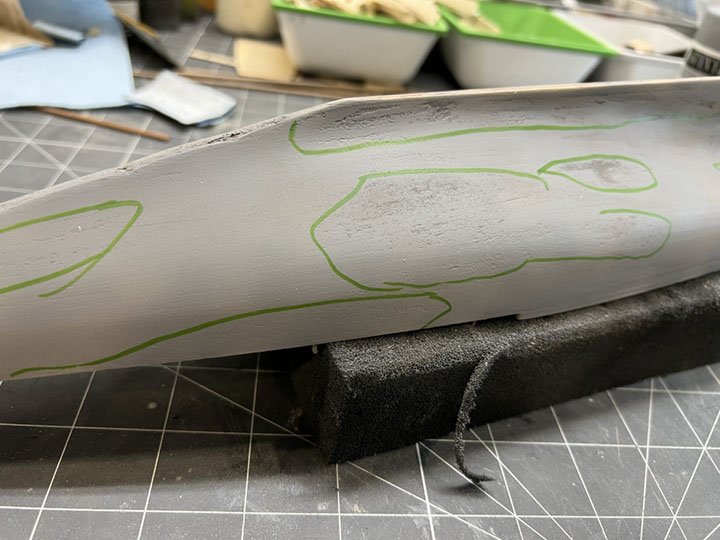
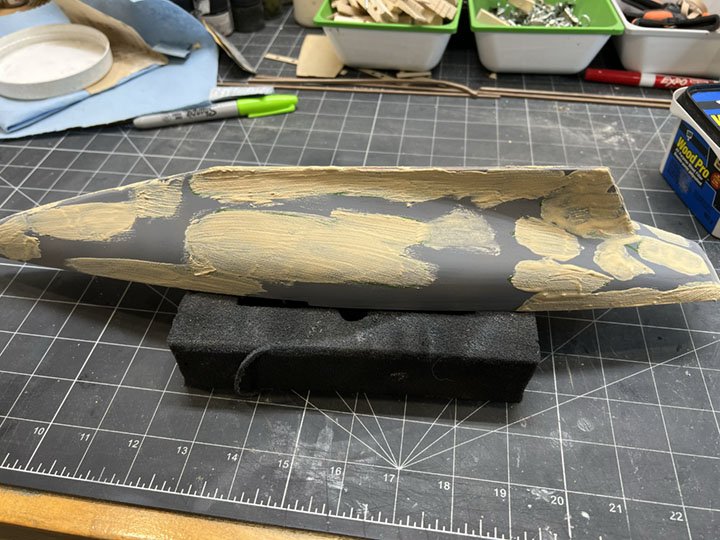
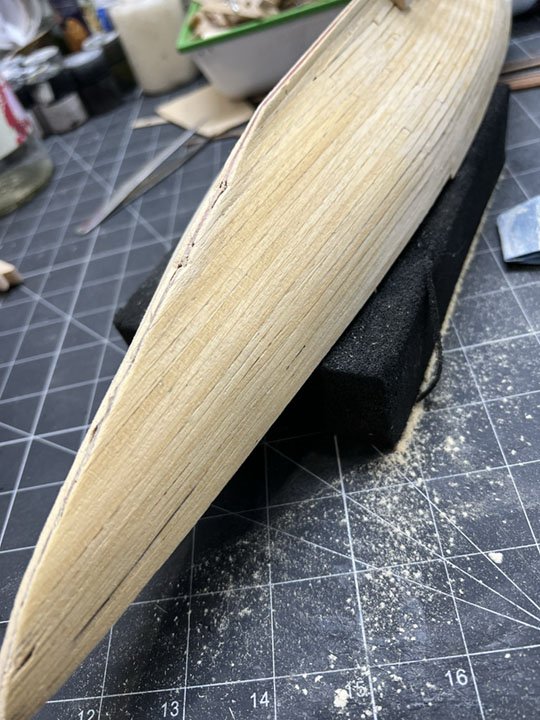
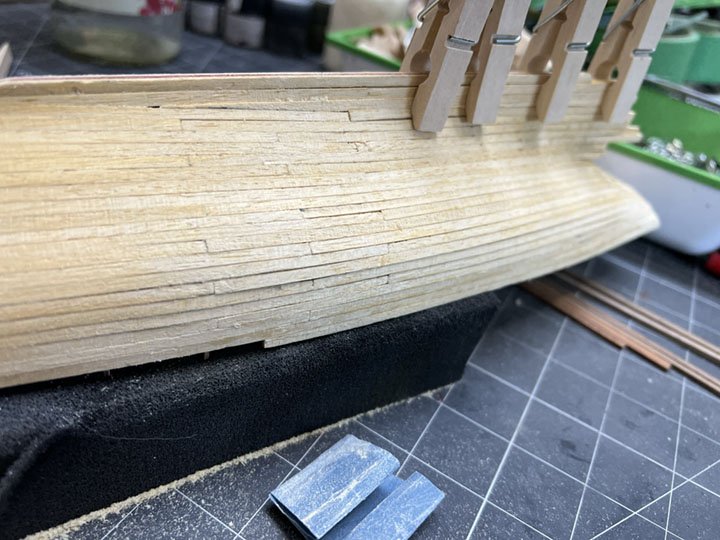
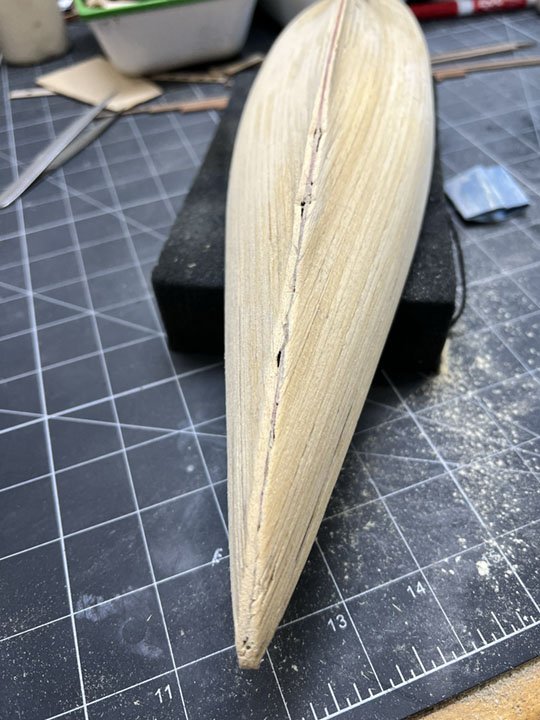
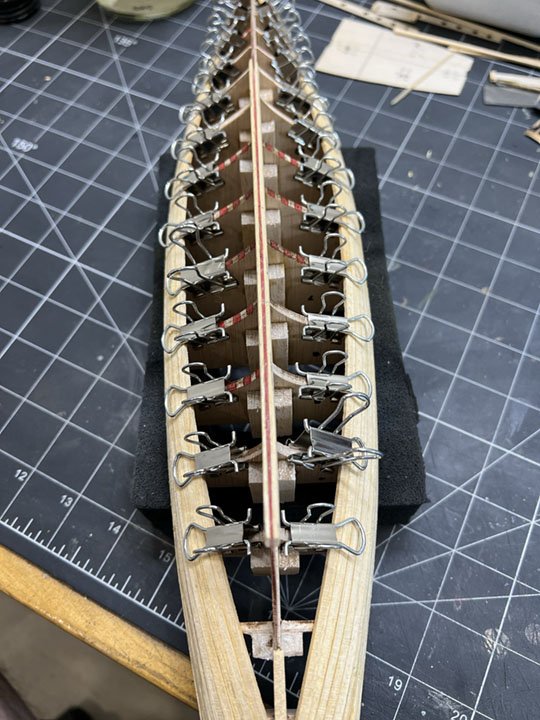
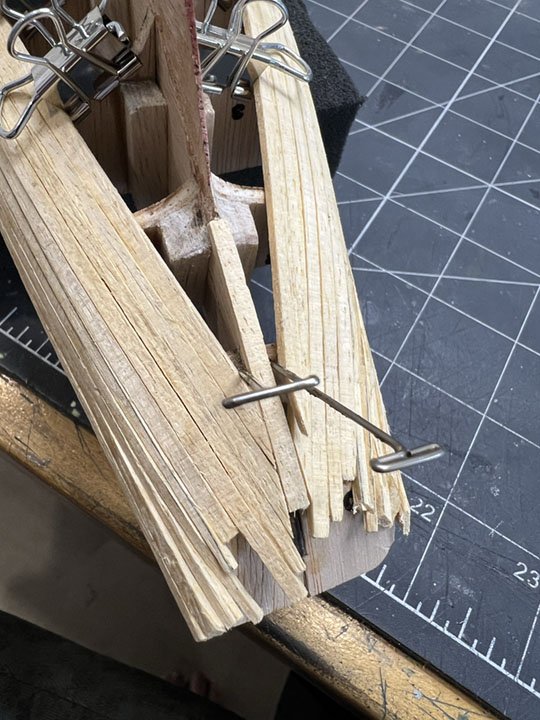
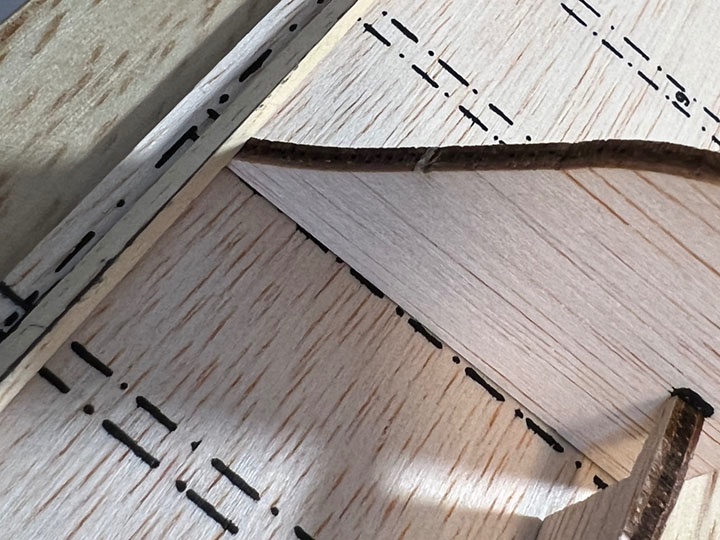
Another update. Over the last few days I continued to work on the hull. My goal is to get it 80% smooth and then add the keel and bulwark and feather in the last 20%. I am hoping this will avoid damage to these areas. My first step was to add a clear varnish to the inside of the planking and the bulkheads. This will hopefully stabilize the moisture content and avoid twisting as the planks dry. Excess planking was cut off and a rough sanding with 80 grit sand paper took place to even out the planking. The rough texture provide some tooth for the application of wood filler, thinly applied across the planks. This was left to dry for a couple of days and was then sanded to shape as well as smoothly as I could knowing I would do this several times. An acrylic primer was sprayed over the hull to help seal in the wood but importantly to highlight areas where the wood grain and divots are still showing. In closely examine the hull, I highlighted areas that needed to be smoothed over and then using a stiff brush and slightly watered down filler applied this over the areas of concern. Hopefully there will be enough adhesion to the hull that subsequent sanding will not impact the filler. Anyways, thats where things are. Thanks for reading Gord
-
Thanks again John. I will definitely explore glue for filling gaps. I was able to find time this week to work on the hull and made some good progress. The planking took a bit of time but I was able to complete it. So another milestone completed. I've started trimming off the excess and sanding the high spots. Now begins the sand, fill and paint cycle. Thanks for following. Gord
-
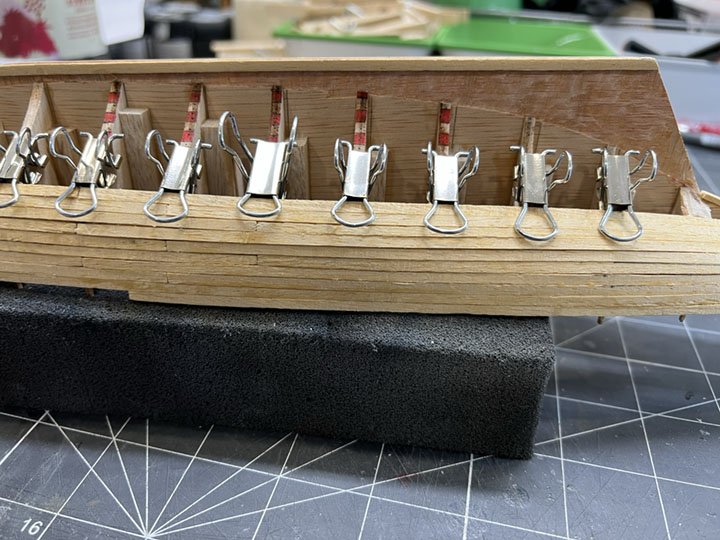
Thanks John, yes it has been awhile but it has given me a chance to refine some of my modelling skills which I am hoping will improve the quality of this project. Now for a quick update showing continued progress of the planking. I am getting about 2 to 3 rows a day, so hopefully in a week or so, I should be done with the planks. The wood I am using is very inconsistent in width and thickness which is creating some small gaps. I am currently debating between using a wood putty or bondo to fill the gaps and create a smooth finish so welcome thoughts on this. Gord.
-
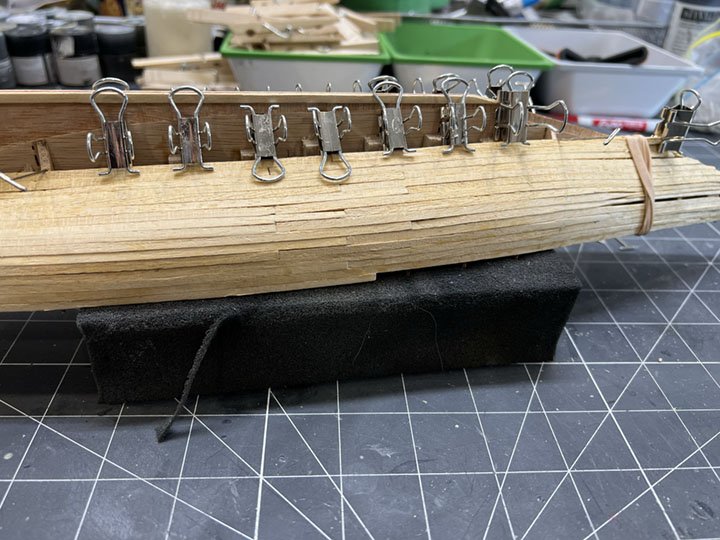
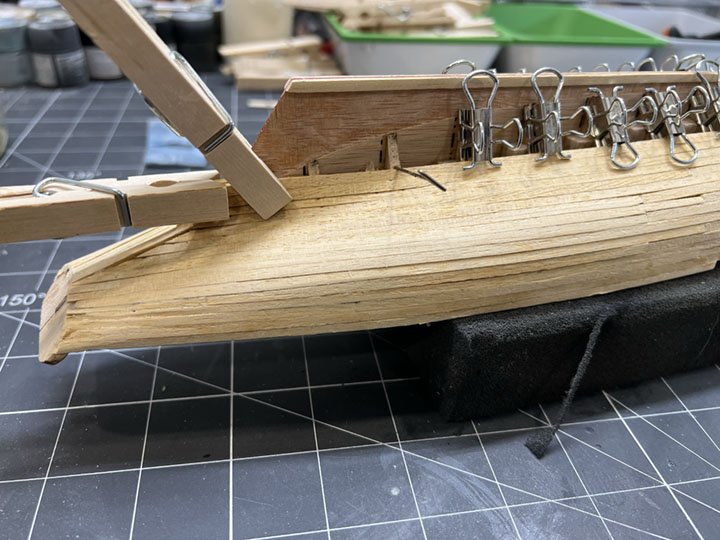
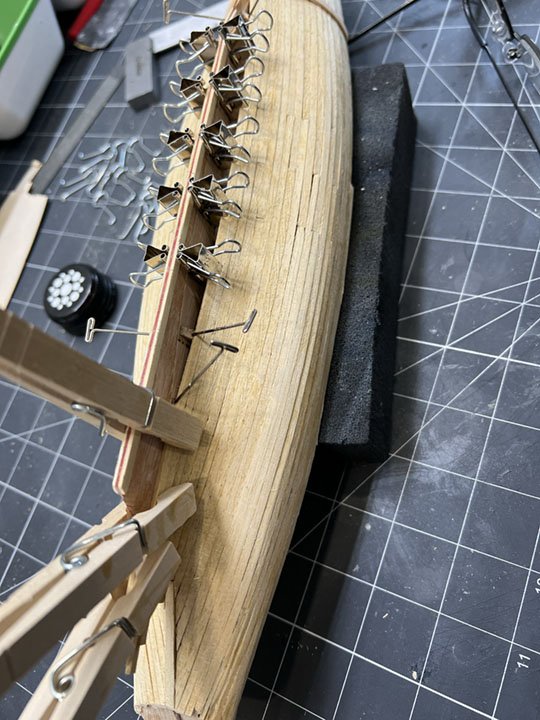
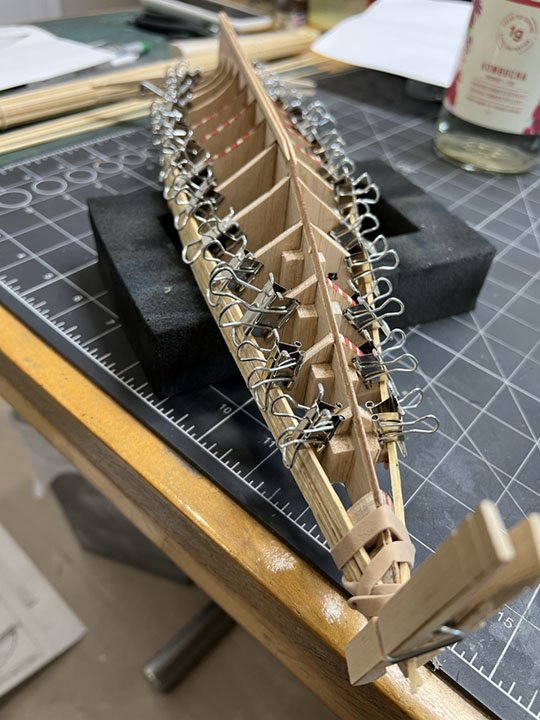
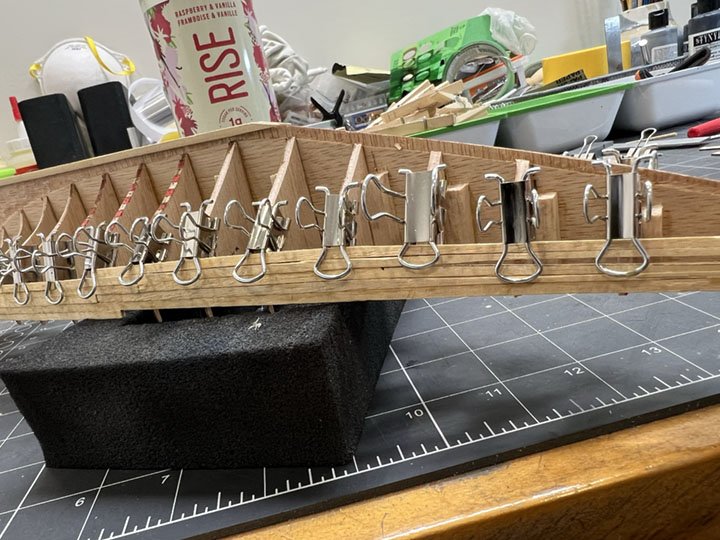
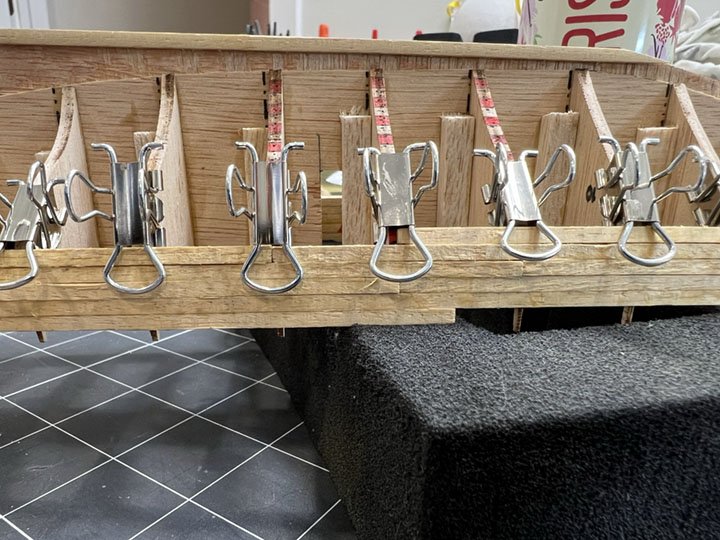
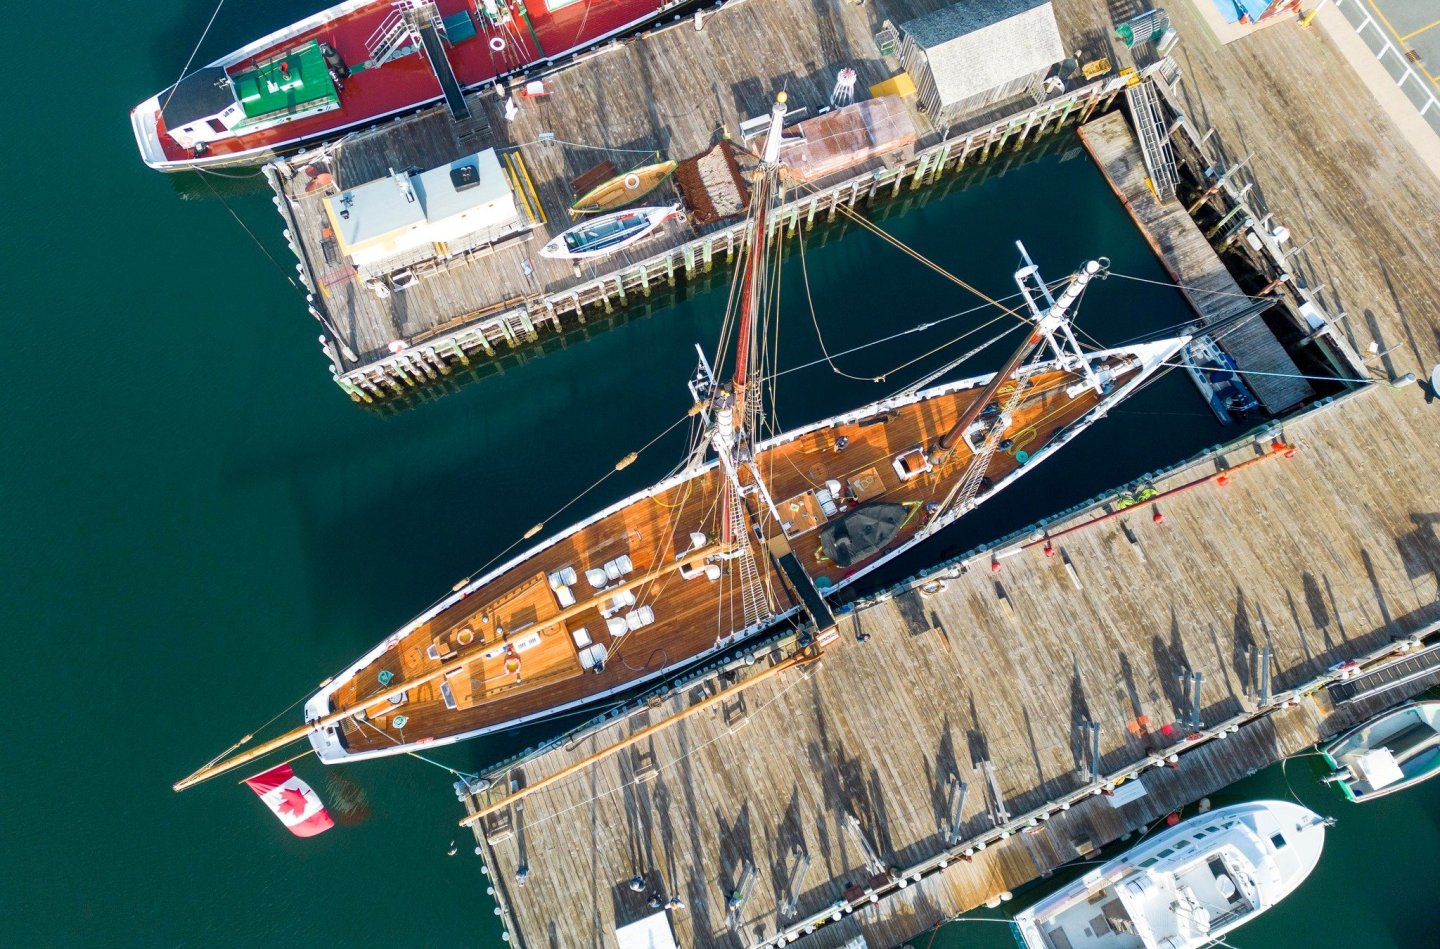
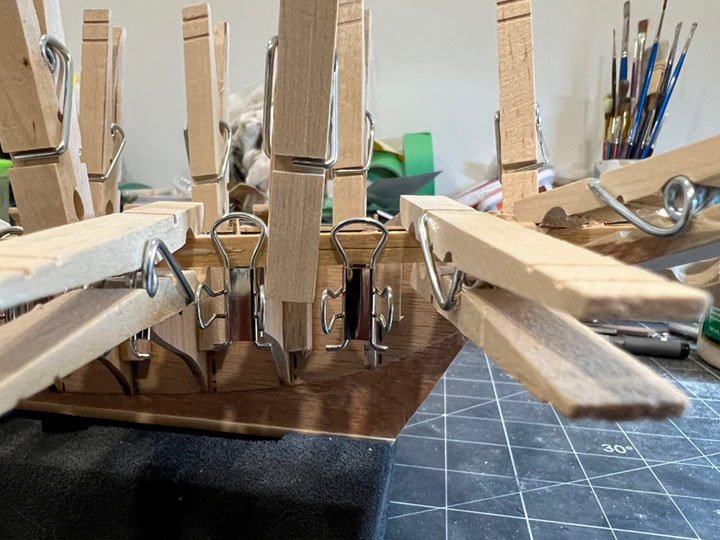
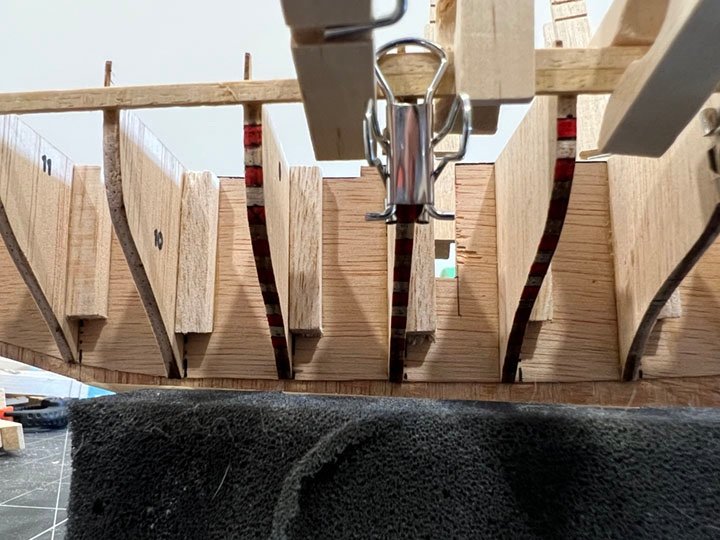
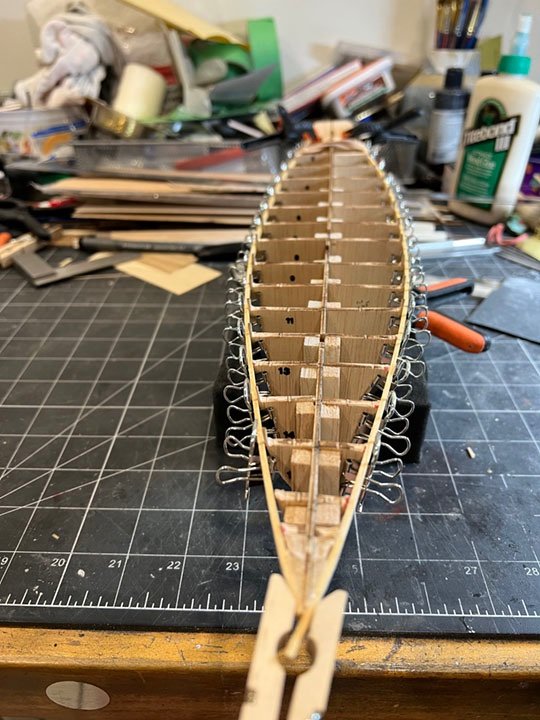
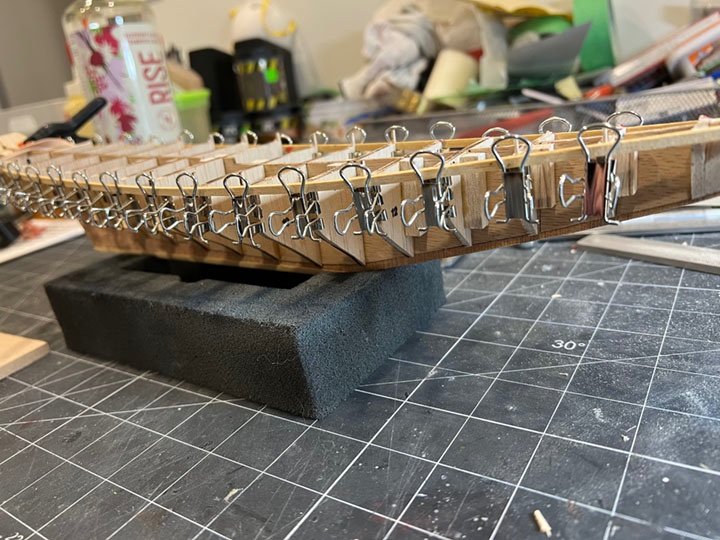
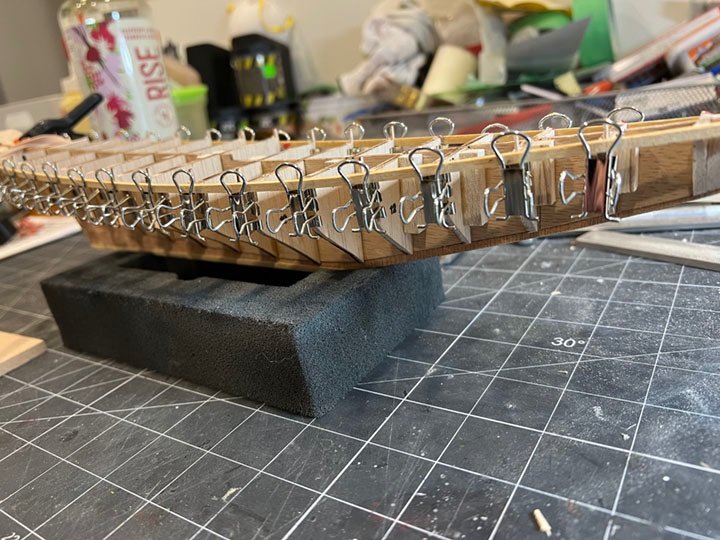
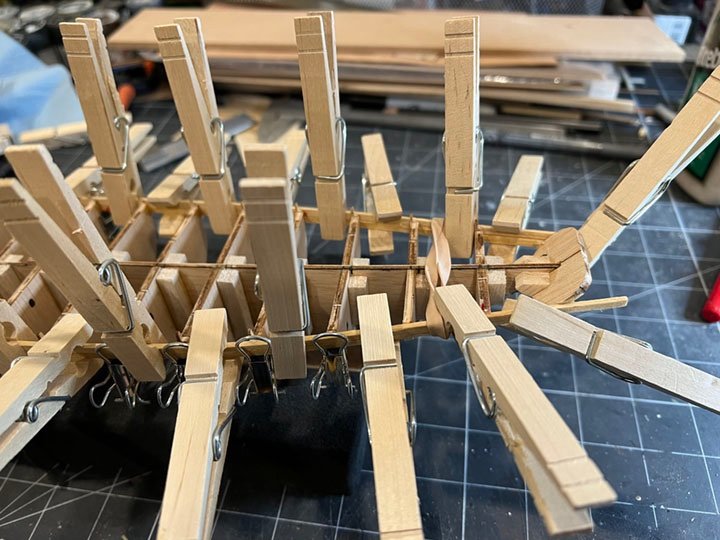
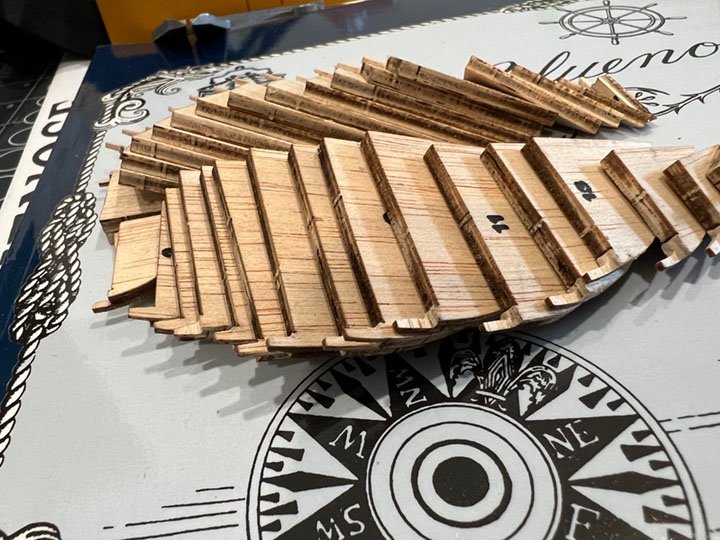
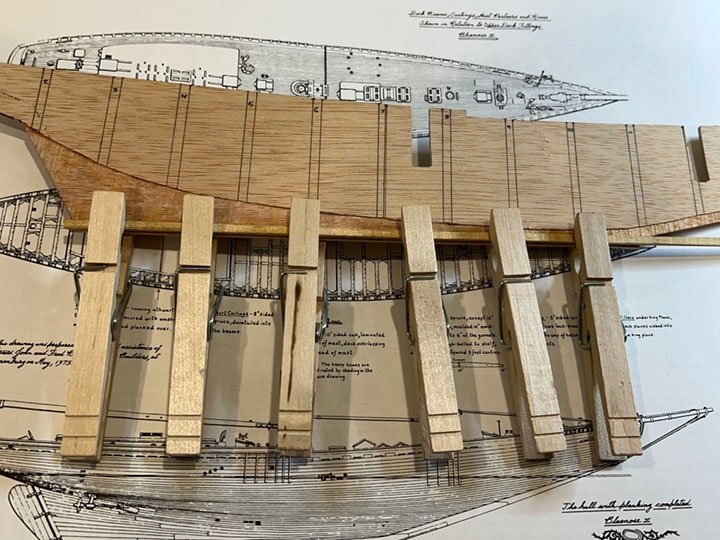
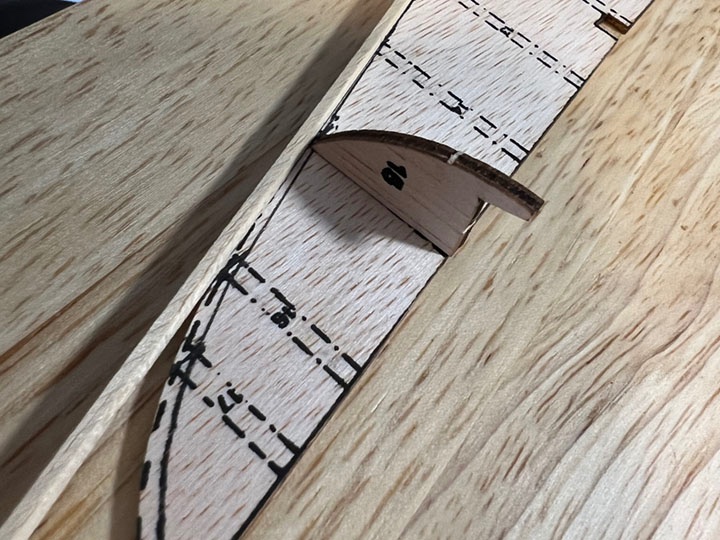
Im finally back to this build. After a year hiatus it feels like it's time to revisit this project. Since my last post I have advanced the planking. I marked out the planks on the bulkheads and figured out where I need to add strakes. So far the paper clip and clothes line pins are doing well for keeping the planks tights and secure while the glue dries. I have also decided to split the planks in half, laying fore and aft of centre as separate planks, offsetting the butt joints to keep from having a vertical line running through the planking. I have also trimmed down some of the planks at the ends to allow for the addition of strakes. it seems like things are going well but definitely not as clean as I would have liked and I suspect there will be a bunch of sanding and filling to get the hull looking right. As the line of planks dry, I have also started to look at the cabin structure. Comparing it against my reference and photos of the current ship, it looks like the length of the cabin is different. Using software, I tiled an overhead picture of the ship and scaled the photo to get an approximate new length. I am not sure if I will make the adjustment yet but it might be good to base the layout of the deck based on the current ship. At any rate something I will continue to ponder as continue the planking. Thanks for reading
-
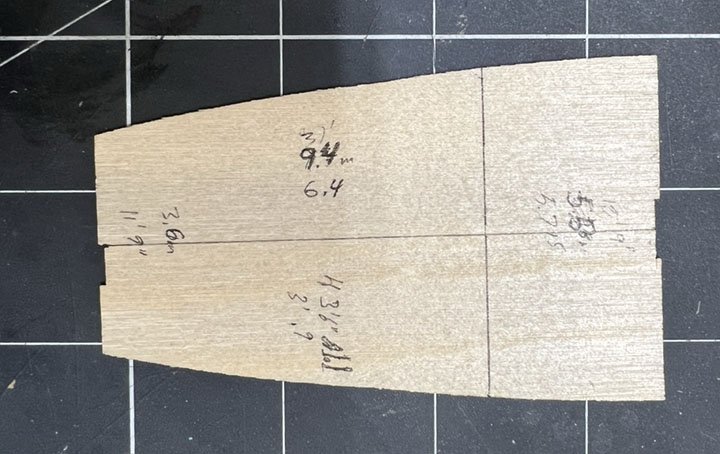
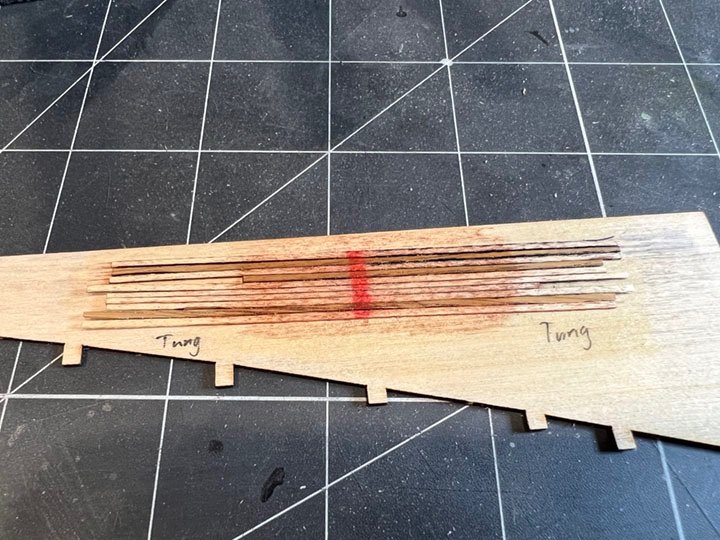
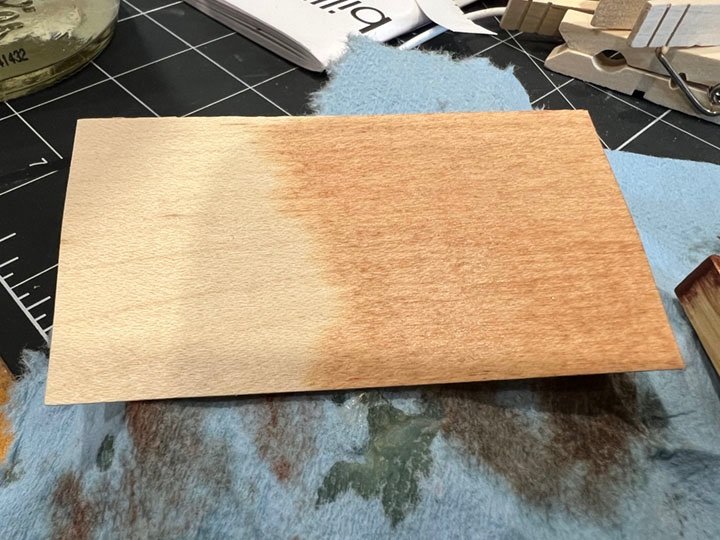
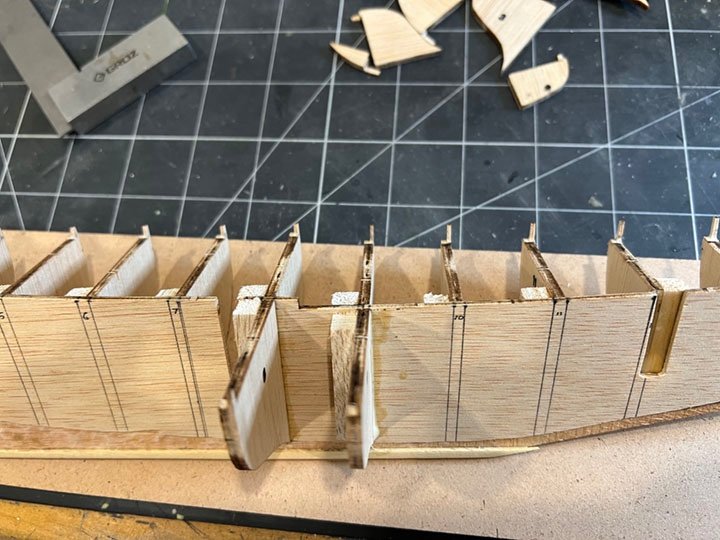
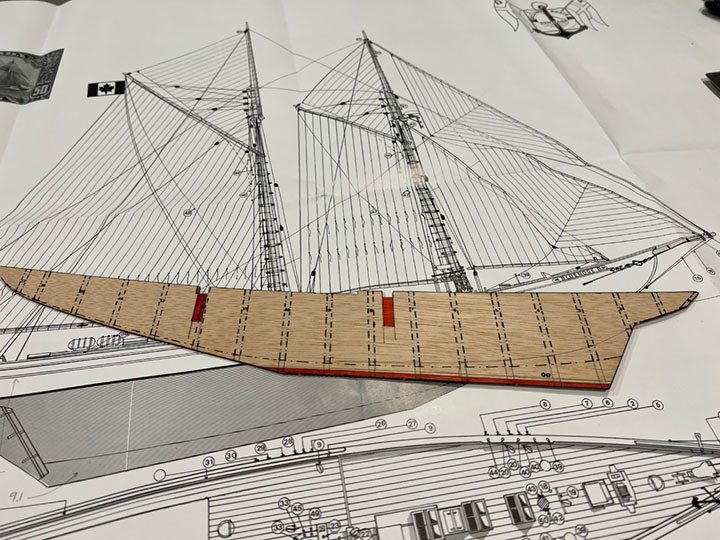
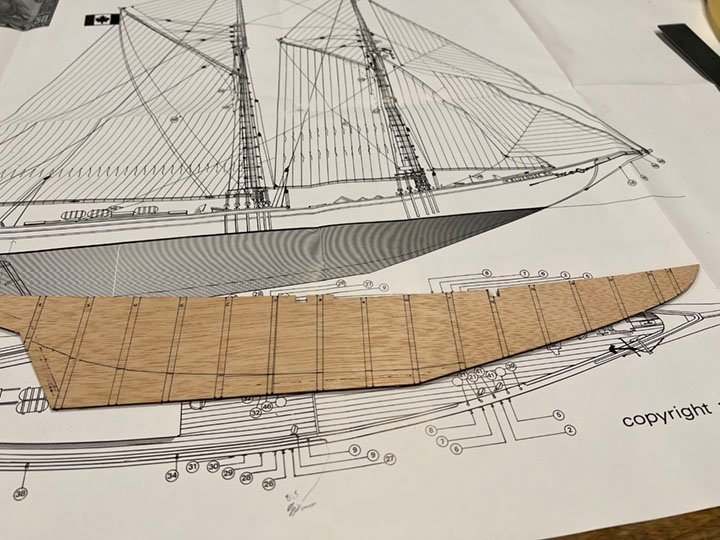
John, Thanks again for your thoughts on this So keeping what you have said in mind I started with the bulwarks. This was done as a single plank on both sides and located inline with the foredeck and about 1 plank lower than the aft deck. During installation I made sure to check the alignment of the false keel and pull and prod it until it was nice and straight. This was left to set for 24 hours. Afterwards I started to mark the bulkheads to show the different planking lines. Finally I added a few additional planks. While waiting on the planking to set I started to play with the deck planks. I made a test piece from 1mm strips. I tested using marker, charcoal and pencil on the edges. I also adhered the planks with the tight bond glue. I also tested it with some oak strips. This was then coated with tung oil, and golden pecan stain. From this I could see that the 8B pencil is likely the best to use. While the charcoal was easier to apply, it tended to move more during the sanding, and cleaning. I also applied the stain and a coating of clear varnish to a blank card to see if it would show up better. Thanks for reading. Gord
-
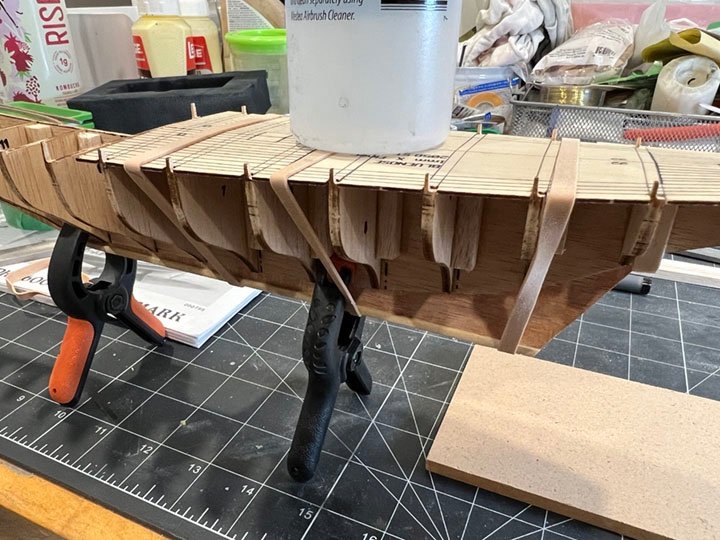
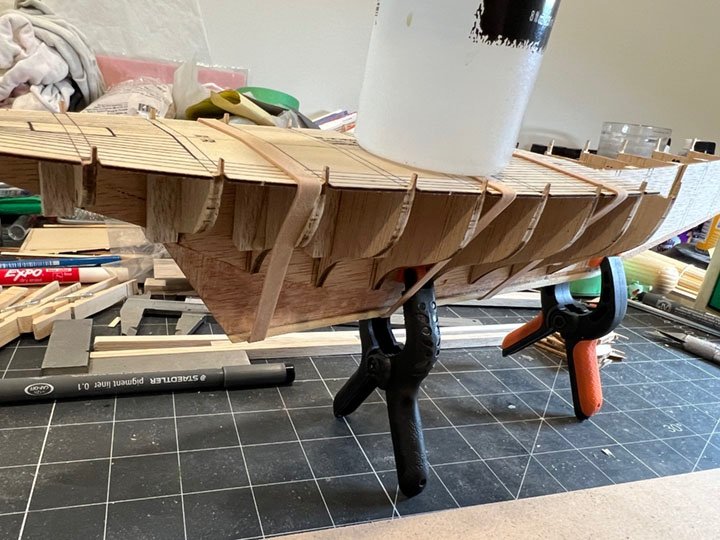
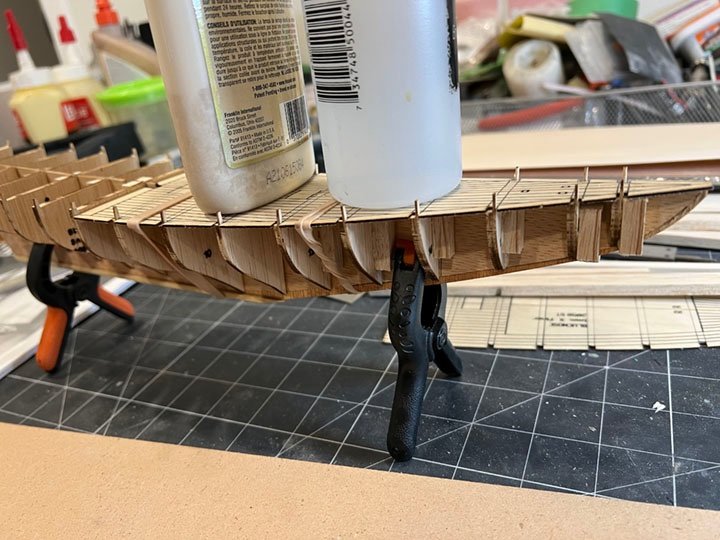
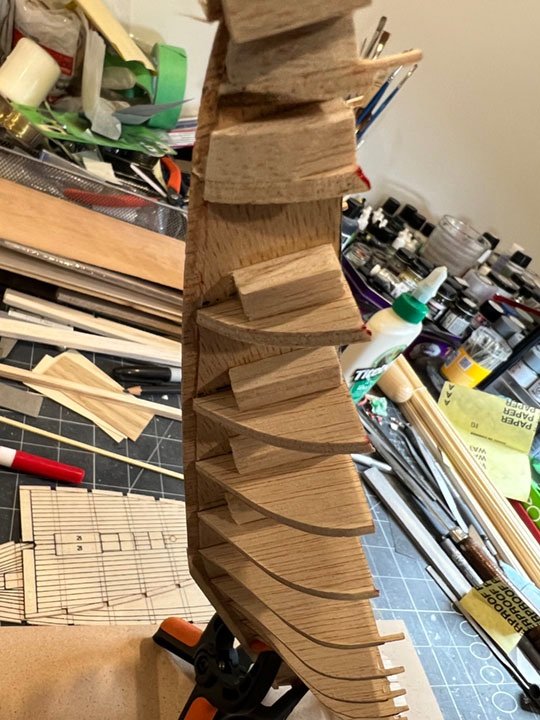
John, thanks for your encouragement. I am impressed with how your build is going so appreciate your thoughts on this one. So for the current update. I continued to attach the bulkheads, transitioning to the starboard side. Starting again with midship and allowing these to fully cure before moving on to the other bulkheads. These are being installed parallel to the port side using the false deck to help keep the spacing accurate. I would then use weight and elastic bands on the false deck to assist in keeping the bulkheads straight as the glue cured. Once everything was set I then started the process of fairing the bulkheads. I used an electrical sander to get the rough angle. I tried to be as careful as possible but ended up losing a few of the stanchions. This wasn't unexpected since they are so small, but frustrating since they will need to replaced later. The rest of the bulkheads were filed to shape and checked with a baton to avoid any odd height differences. Everything looks good so I am hoping that the planking will run smoothly. I also tweaked the edges of the deck so they are now inline with the bulkheads. With bulkheads faired, I then added some balsa to the bow and some more to the stern as well as adding the transom plywood. This will set overnight and a final fairing will take place once everything is set. Its all coming together but the thin false keel is curving out of true. I hope this will not be too much of an issue since I can use the false deck to pull everything back into square. Let me know if you have any thoughts to whether this will work or if I should look at some other methods to get back inline. More to come in the next few days. Thanks for reading. Gord
-
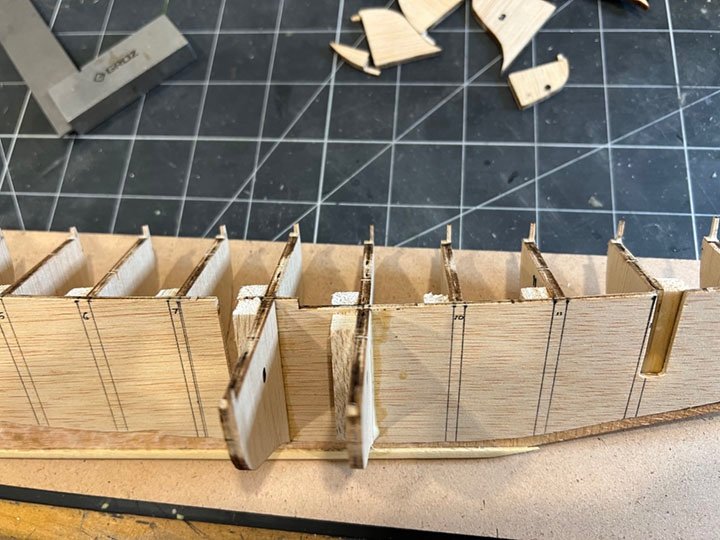
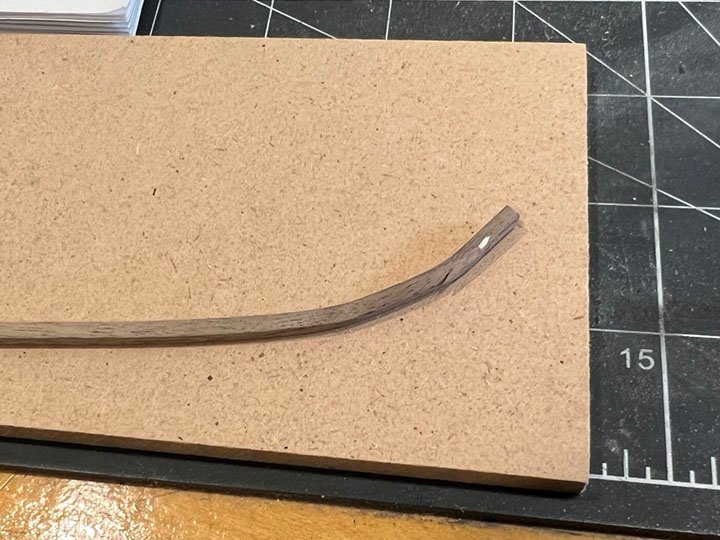
Thanks John for joining in. I think the model shipways kit is set up to give you a great result. This one definitely requires modifications and scratch building, which is partly why I thought I would give it a go. Quick update. I took the stem out of the jig. Its holding its shape well. The only issue is a small crack at the curve. It doesn't look like it will compromise the whole thing. I may be able to sand and shape the defect out since the bow has a distinctive bevel. I have started to install the bulkheads. While I had originally thought to use the marks on the kit, I realized that this didn't exactly line up with the notches in the deck where the stanchions pass through. As a result I used the false deck as a guide to position the bulkheads and then ensure that it was square to its neighbour. It took a bit more time but the result seem to be working. I also went to a local Lee Valley store where I purchased some veneer. I have few options to choose from but I am hoping to use the veneer on the deck. Strangely enough I think the business card pack costing $4.50 might actually work the best. It has minimal grain, is very light and seemed to cut easily. It is 3 1/2" long or almost 30 scale feet. I have started to research on the ideal adhesive so would welcome any insight as to what others have used and what to be careful of. I was thinking on contact cement or some other solvent based adhesive vs water based one to avoid any warping or buckling. I am currently using tight bond III for this build. Appreciate any thoughts on this. Thanks for following. Gord
-
Nice work. Will follow with interest. Gord
- 389 replies
-
- bluenose
- model shipways
-
(and 1 more)
Tagged with:
-
Beautiful build so far. Love the fine detail that you have put into it. Will follow this with interested. Gord
- 84 replies
-
- Corsaro II
- Corel
-
(and 1 more)
Tagged with:
-
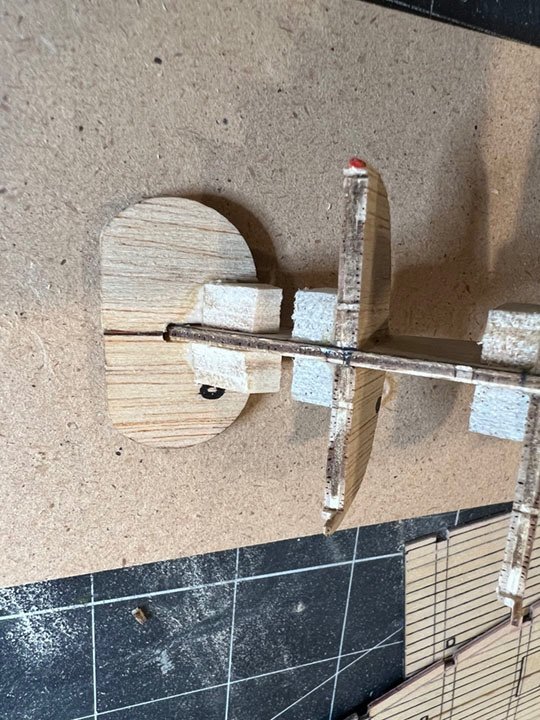
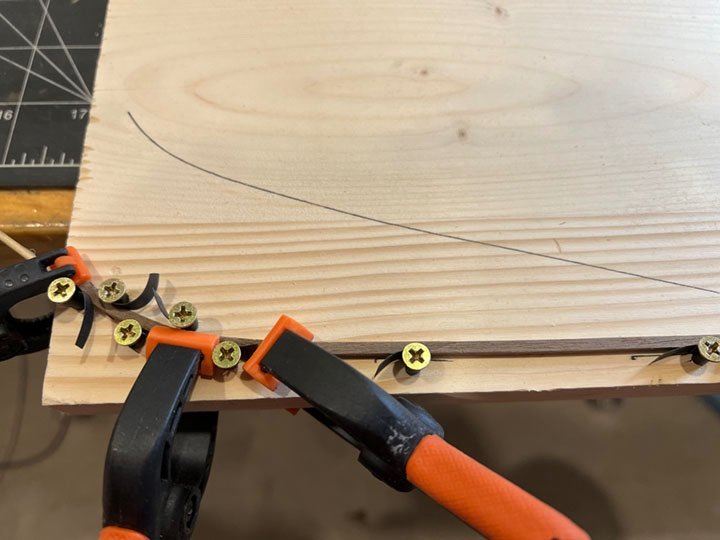
Moving along. After a nice break, its back to the Bluenose. I spent a bit of time cleaning up the stanchions so that they are closer in scale to the real ship. I also double checked the width of the deck and realized that it is wider than the dimensions in the book. Without doing major reworking to the shape of the bulkheads I decided to work with what I have and minimize the discrepancies when possible. The keel has been roughly cut with the stem put into a jig. The stem was soaked for just over an hour in hot water and set onto a board to dry. Small screws wrapped in electrical tape will help to hold the shape while clamps hold everything square. While this is setting I added the first layer covering over the false keel. Finally I added two of the midship bulkheads. Since the connection to the false keel is quite minimal, I used some 1/4" sq. balsa to increase the bonding area and keep things square and solid. More to come. Thanks for reading. Gord
-
Great job. This one is on my list to tackle, though I have considered scratch building instead of a kit. Thanks for sharing. Sincerely, Gord
- 8 replies
-
- St Roch
- Billing Boats
-
(and 1 more)
Tagged with:
-
Looks like a neat project. Nice work so far and I am looking forward to how this progresses. Sincerely, Gord
-
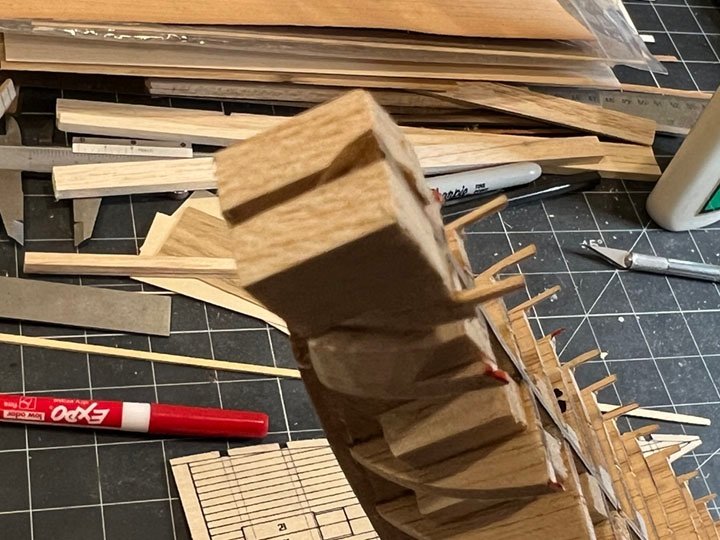
Quick update. Started to cleanup the bulkheads. One of the issues with bulkheads is the stanchions are too large. They tend to be 3mm x 2mm but need to be closer to 1.5mm x 1.1mm and so I am slowly and carefully working through each of them to file and cut them down. I am leaving a small nub at the original size so the plywood deck will locking place with the bulkheads. Later I will need to add in false stanchions as there are only a quarter of them in the kit. This should keep me busy for a bit. Thanks for Reading Gord
-
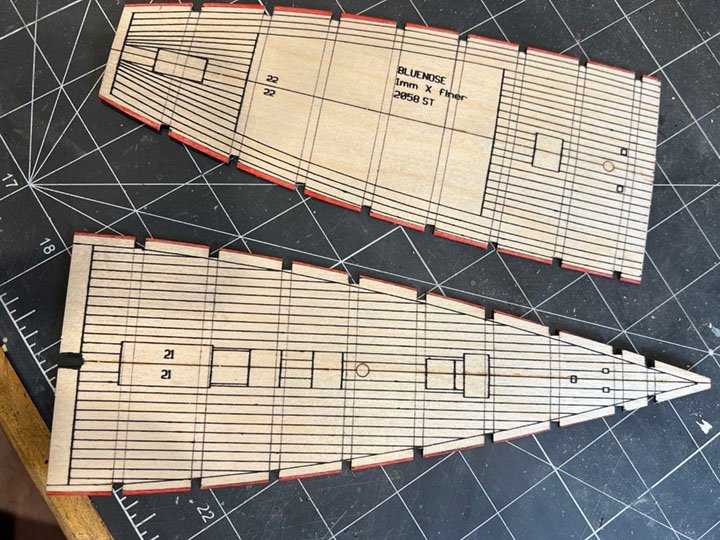
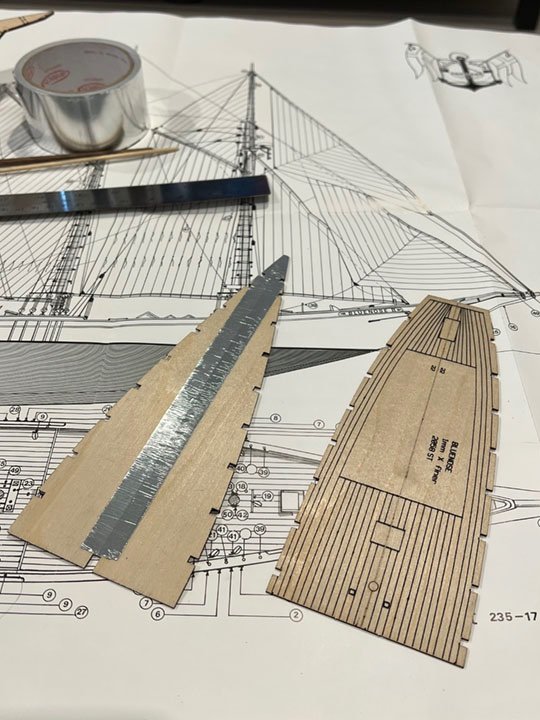
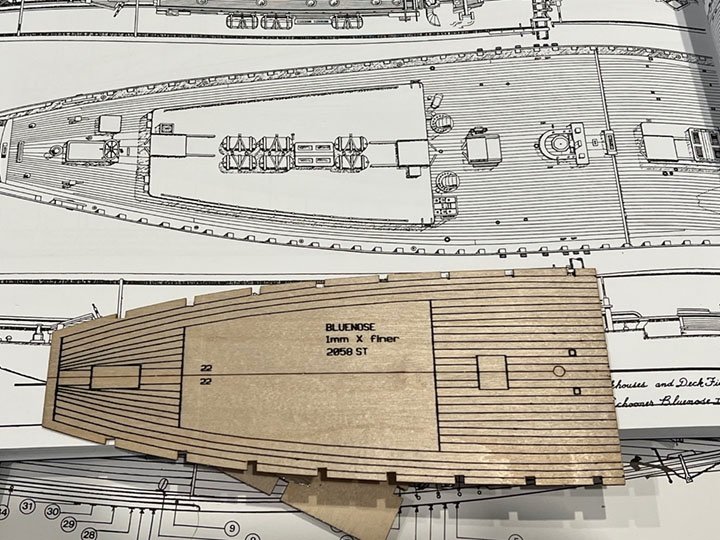
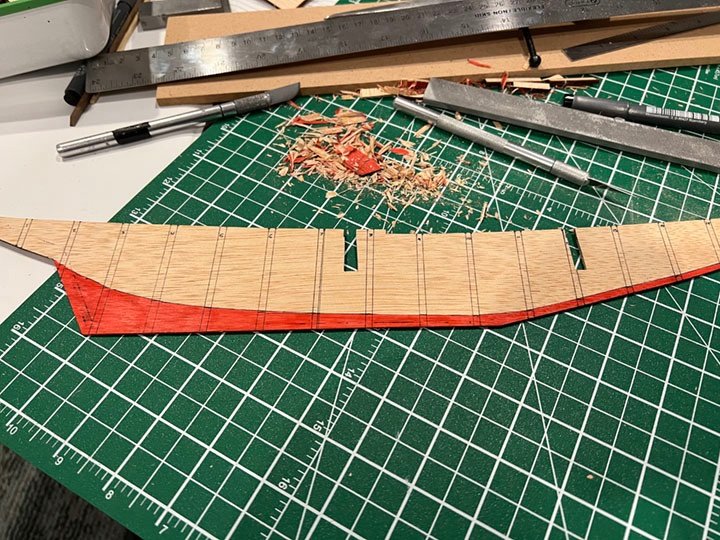
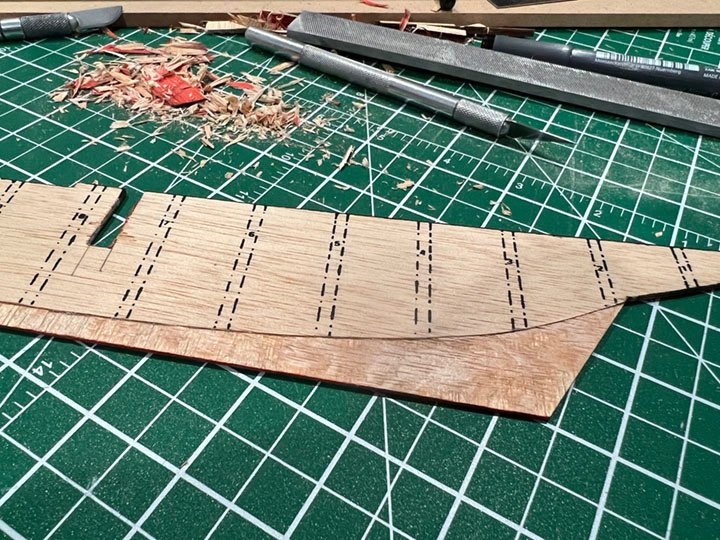
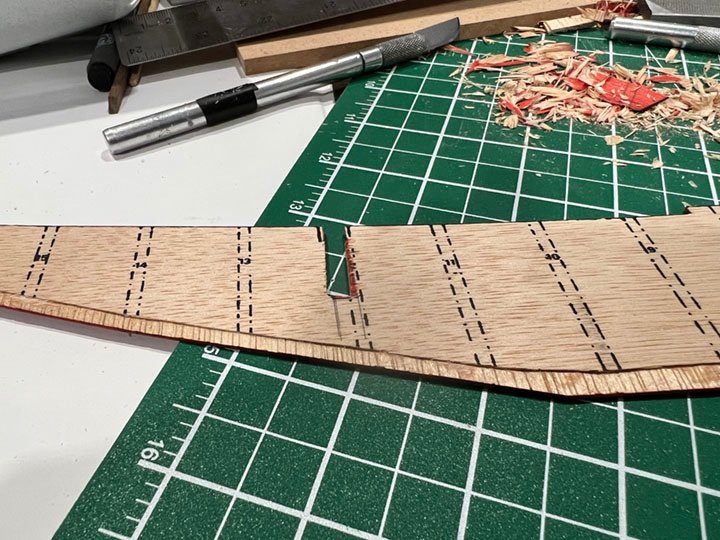
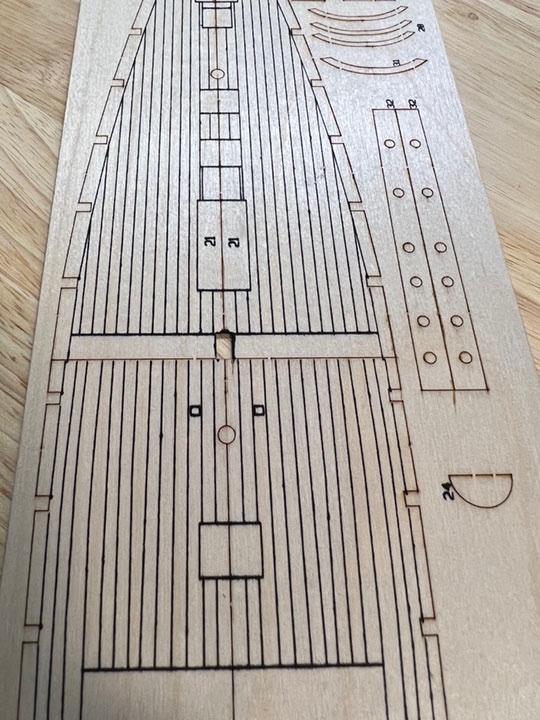
First step was to check the measurements in the book to the kit. In general everything seems to be ok however the main issues is related to the keel. The keel is 12" wide and almost 3' deep however in dry fitting its clear that kit doesn't match. So first thing was to use a single false keel vs to two half that are specified in the instructions. I then marked bearding and rabbet lines. Marking were then transferred to the other side. To get the deeper keel, 2mm was cut from the false keel and I will add a 3mm x 4mm walnut keel to the bottom. Finally I deepened the holes for the main and foremast. In looking at the deck I am not happy with the lines marked on the ply as they don't match the actual ship and so will mill out some stock to use later in the build. The deck is also produced in halves and so I applied a strip of foil tape to keep them together. Finally I rough cut up the false keel. Next step is to clean up the false keel and start adding the bulkheads. Thanks for reading. Gord
-
Finally. Back to it. Cleared off a few projects and can now start to focus on this one. Thankfully this gap in time allowed me to hunt down a reference book that will help with some of my questions. It also allowed me to scrape a bunch of images from the internet so I have some reasonable references. Super excited to see where this goes. Gord
-
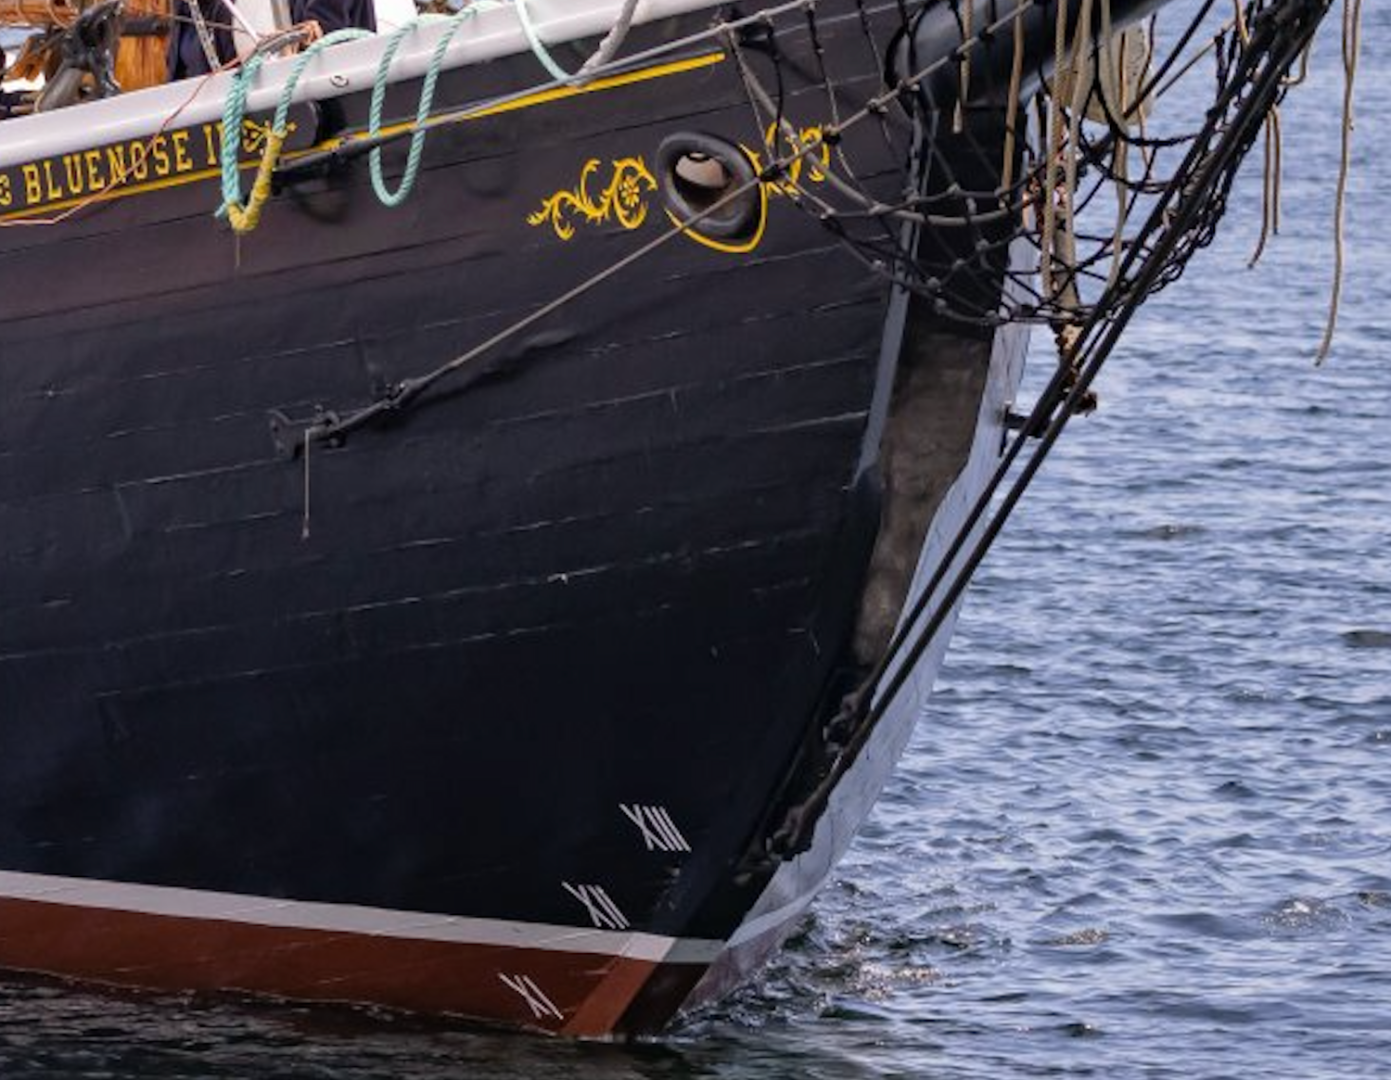
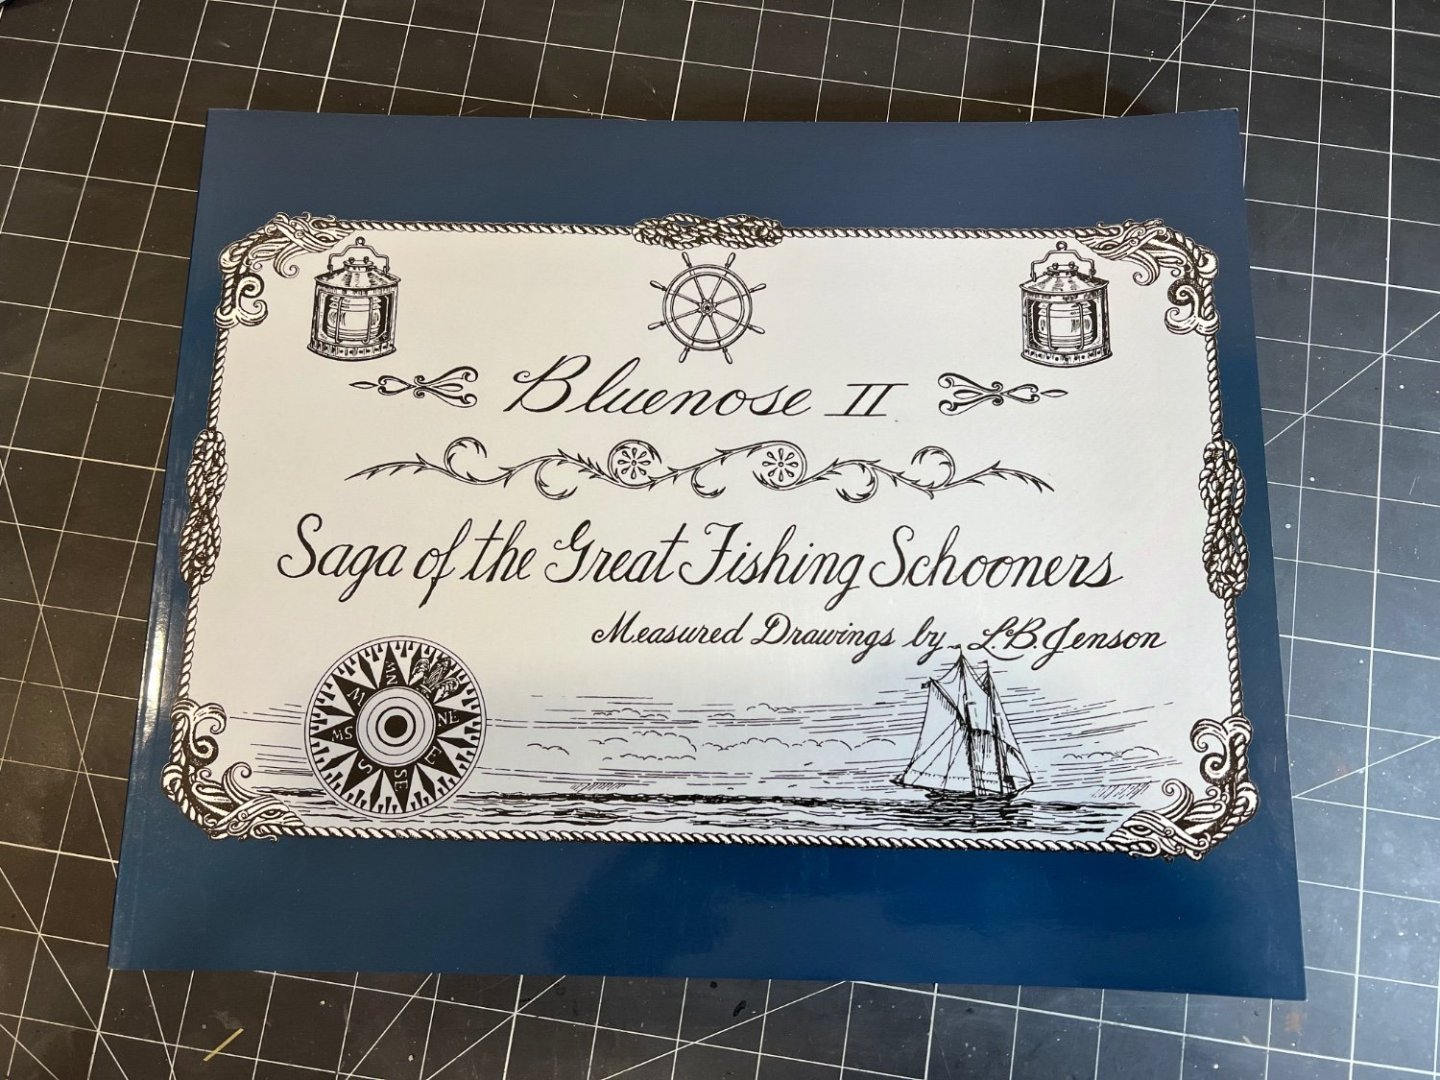
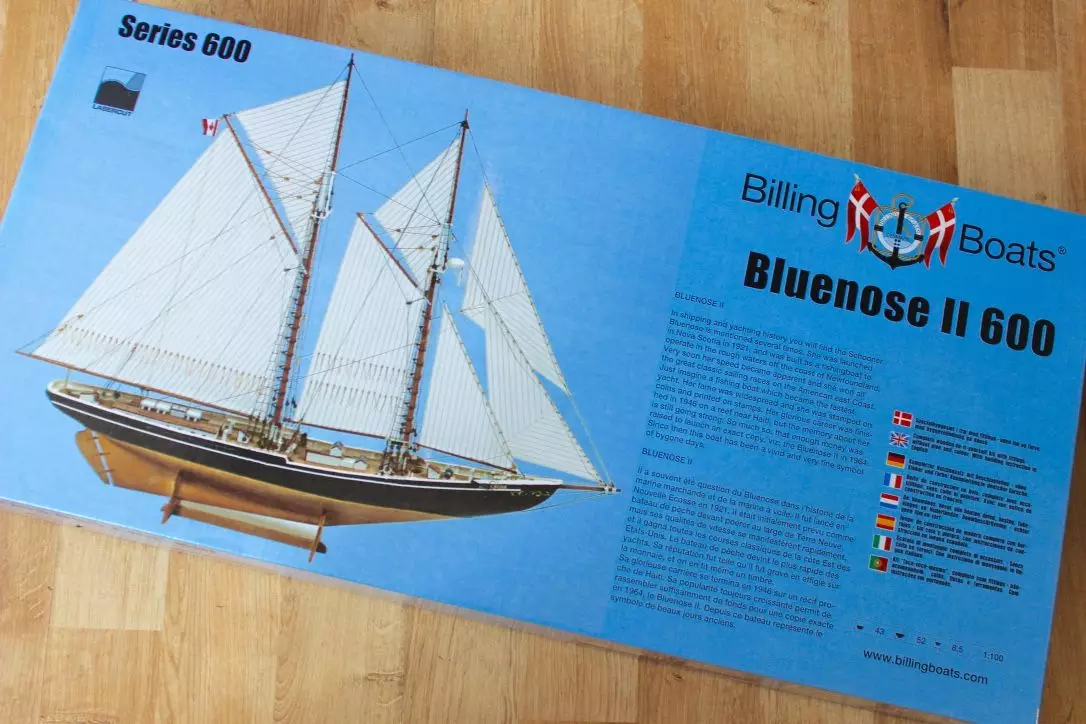
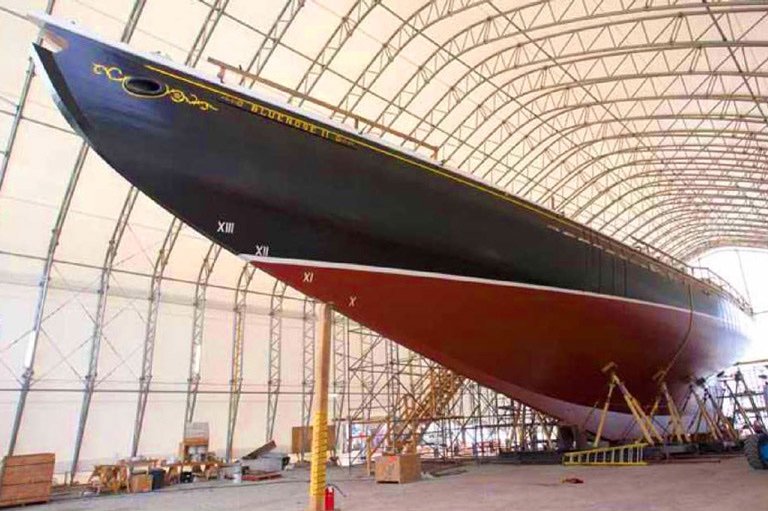
Yes, another Bluenose, and yes another new guy to MSW. I have been lurking for awhile and I am at the point of starting my second build, thus the starting of this log. I have a lot of experience with plastic models and have also completed a wood ship (Artesania Latina's Virginia 1819). The ship was an introduction to wood ship building and I have since collected a number future kits as well starting to developing more detailed drawings for future scratch build projects. Like everything I see this as a progression of skill building and challenges so that once I get to stage where I am ready to do a scratch built POF / skeletonized ship, I will be ready for it. Thus why I am staring Bluenose II. The kit (Bluenose II No 600 from Billings Boats) itself is fairly straight forward, mixing laser cut ply and strip wood with plastic, brass and copper. Instruction are very brief at 1 page of description and 11 of diagrams. The kit also has a double side slightly larger than A1 sheet with 1:100 diagrams for rigging, plan and side view. Billings shows this as an advanced beginner and I would agree. You need to have some experience and spend some time looking at other builds and instructions such as those from Shipways to help formulate an approach to building the ship. In general, I will build this using the material provided with a few key exceptions. First, Billing has you build the as 2 separate halves; framing, and planking followed by glueing the 2 halves together once done. The main concern I have for this that the keel ends up being 4mm thick if the planking stops short and just under 8mm if it continues making the scale keel the equivalent of 400mm - 800mm (15" - 31"). Hard to be a fast ship with something that fat under the ship. So the solution is to use one false keel versus the 2 pieces. In addition I will add rabbets and shape the planking so that it blends into the plywood keel. The result should be closer to 200mm (8"). I am not total sure the keel width and so hopeful someone can fill me in on this so I can adjust. The whole thing will be painted so I am really looking for a smooth surface to work with. Second, pictures of the actual ship show a pronounced keel at the bow and all the way to the stern with a deep keel midship. Planking per Billings would have the planks terminate at the edge of the keel. To address this I will add additional strips to the false keel to make it more pronounced and visually look closer to actual ship. While this may not be dimensionally accurate, visual accuracy is my goal here. Third, The above points will have an impact on the deck width. Also problematic is the printed lines for the planks onto the plywood deck as they are out of scale and inconsistent. The solution is to sand the outer edges of the deck. This will lose about 2mm or the equivalent 200mm (4") from the breadth. The alternative is to fir out the frames 1mm on either side. Interested to know what others think of these options. Finally, Wherever possible, I will add missing details, replace plastic parts with wood and rig the ship closer to the real ship. I like the challenge presented in working at the smaller scale and seeing if I can bring the same level of detail that I have on my plastic work to that of wood. It might be said, Why not invest in plans or a better ship kit to gain the accuracy and this makes sense however this is effort that I am saving for future projects so the goal here is to build and replace in areas that are relatively straight forward while not expending unnecessary effort on what is essential a project ship. I appreciate any feedback and thoughts on this project. Don't hesitate to call like it is, I have thick skin and as said above, this is not necessarily about making the perfect display ship, but about learning new skills and getting better at the craft. Sincerely, Gord
About us
Modelshipworld - Advancing Ship Modeling through Research
SSL Secured
Your security is important for us so this Website is SSL-Secured
NRG Mailing Address
Nautical Research Guild
237 South Lincoln Street
Westmont IL, 60559-1917
Model Ship World ® and the MSW logo are Registered Trademarks, and belong to the Nautical Research Guild (United States Patent and Trademark Office: No. 6,929,264 & No. 6,929,274, registered Dec. 20, 2022)
Helpful Links
About the NRG
If you enjoy building ship models that are historically accurate as well as beautiful, then The Nautical Research Guild (NRG) is just right for you.
The Guild is a non-profit educational organization whose mission is to “Advance Ship Modeling Through Research”. We provide support to our members in their efforts to raise the quality of their model ships.
The Nautical Research Guild has published our world-renowned quarterly magazine, The Nautical Research Journal, since 1955. The pages of the Journal are full of articles by accomplished ship modelers who show you how they create those exquisite details on their models, and by maritime historians who show you the correct details to build. The Journal is available in both print and digital editions. Go to the NRG web site (www.thenrg.org) to download a complimentary digital copy of the Journal. The NRG also publishes plan sets, books and compilations of back issues of the Journal and the former Ships in Scale and Model Ship Builder magazines.


