HOLIDAY DONATION DRIVE - SUPPORT MSW - DO YOUR PART TO KEEP THIS GREAT FORUM GOING! (Only 13 donations so far - C'mon guys!)
×


DaveBaxt
-
Posts
1,324 -
Joined
-
Last visited
Content Type
Profiles
Forums
Gallery
Events
Everything posted by DaveBaxt
-
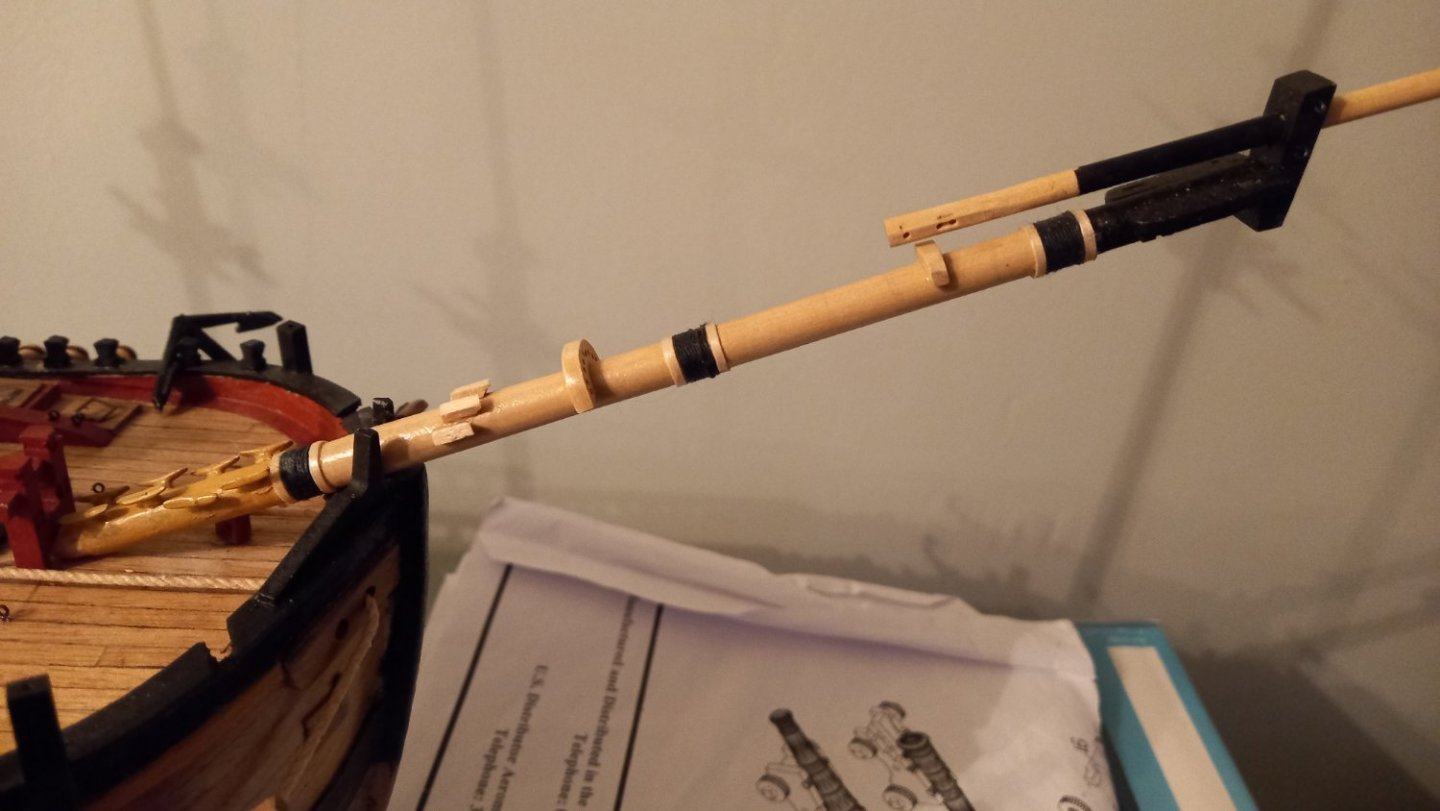
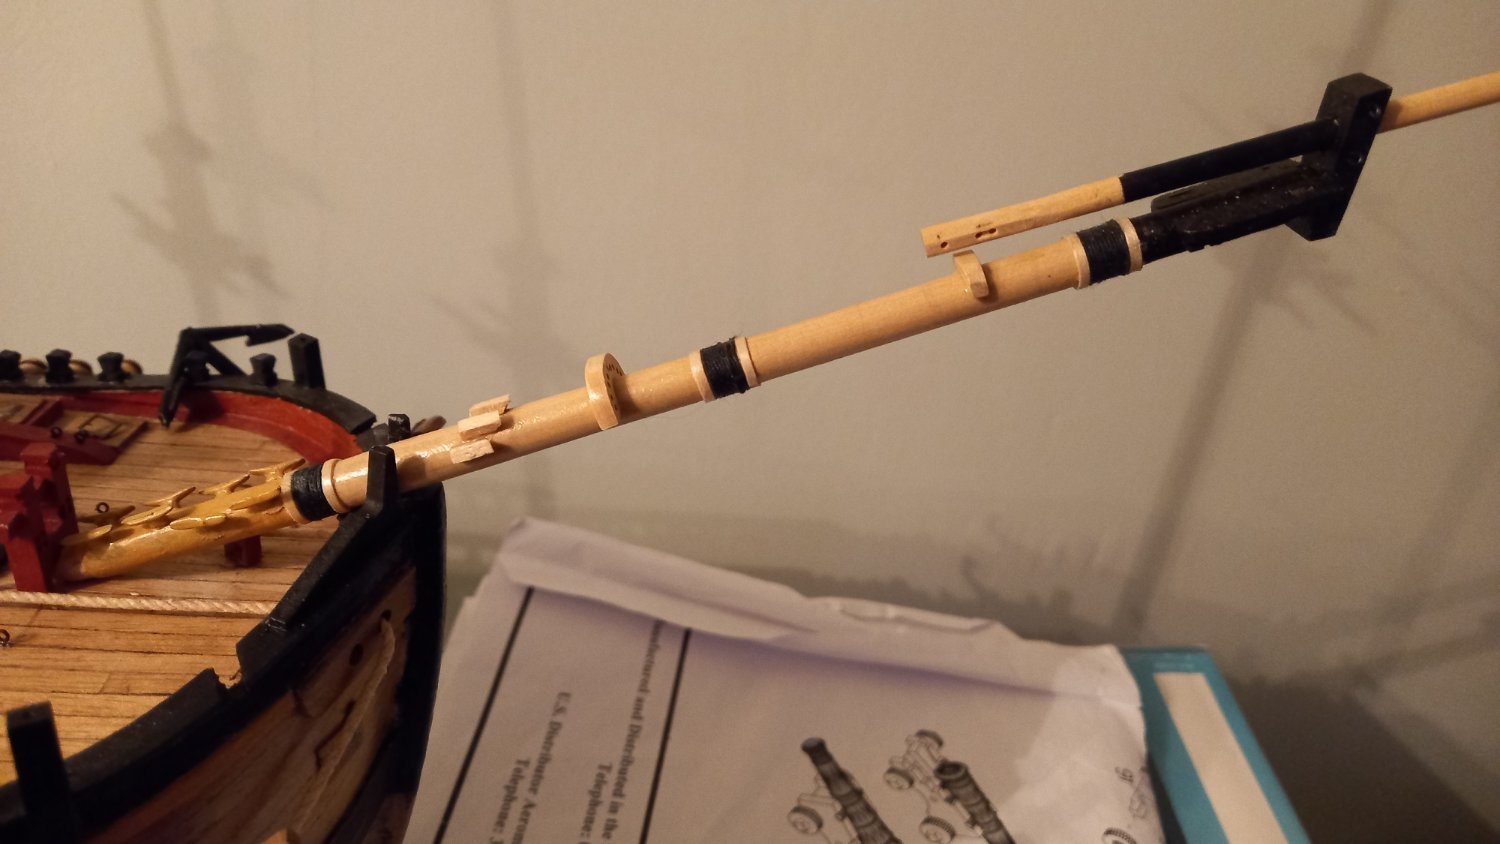
A few more bits a pieces added to the bowsprit including the cleats for the gammoning, fairlead, wooden bands and woldongs. All fairly straight forward other than a bit tricky getting the wooden bands to stay in place . I ended up using two spots of CA whhere the two ends meet and then running a bead of superphatic glue on the inside of the bands before running 0.5mm black thread for the woldings. Just a few more cleats for the Stays and preventer stays and then the collars to complete. Next will I will be moving onto carrying out ptetty much the above to the main,fore and mizzen masts. Starting with the fitting of the cheeks to the main and fore masts.
.thumb.jpg.5d1b863f7cff1d7b1a028ddb281f041f.jpg)
-
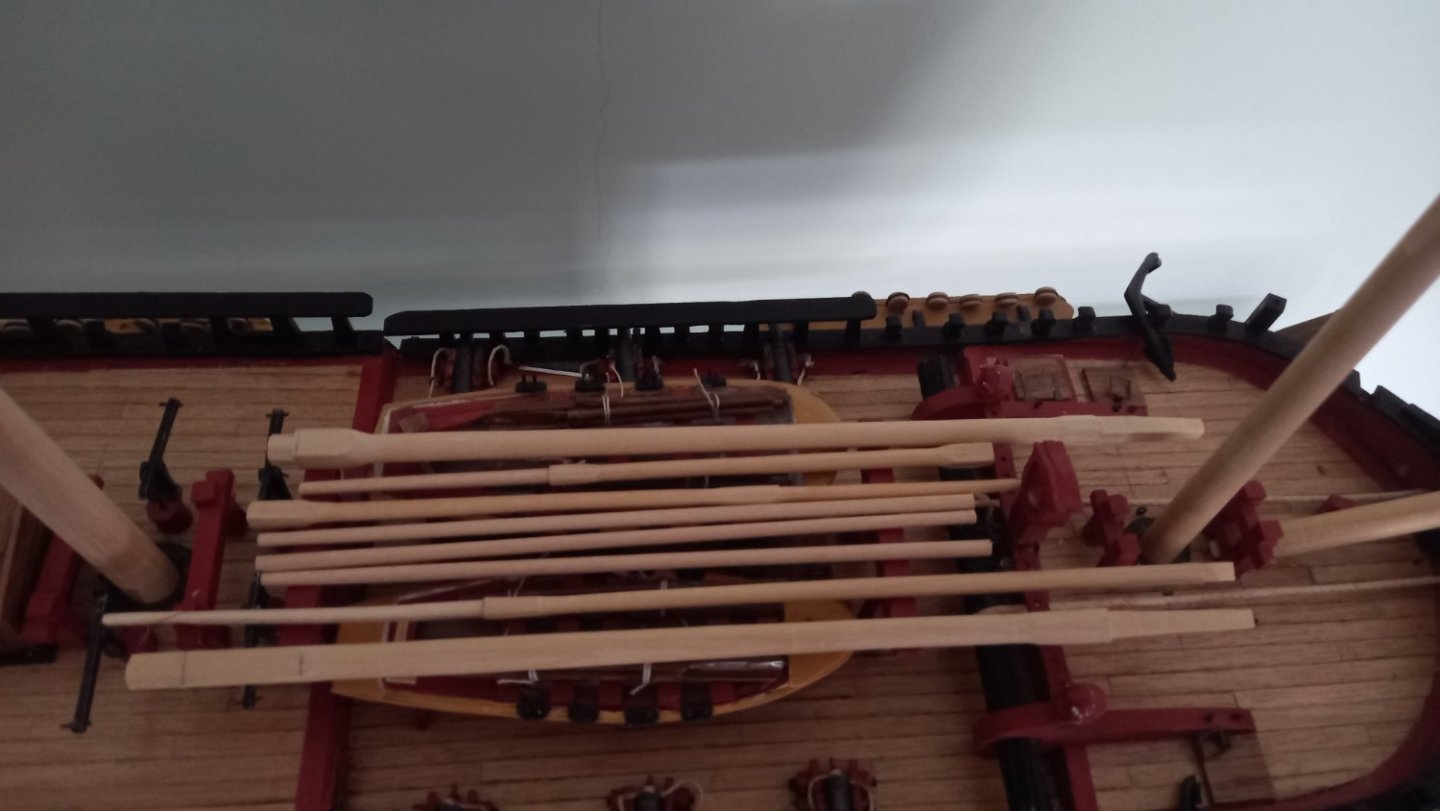
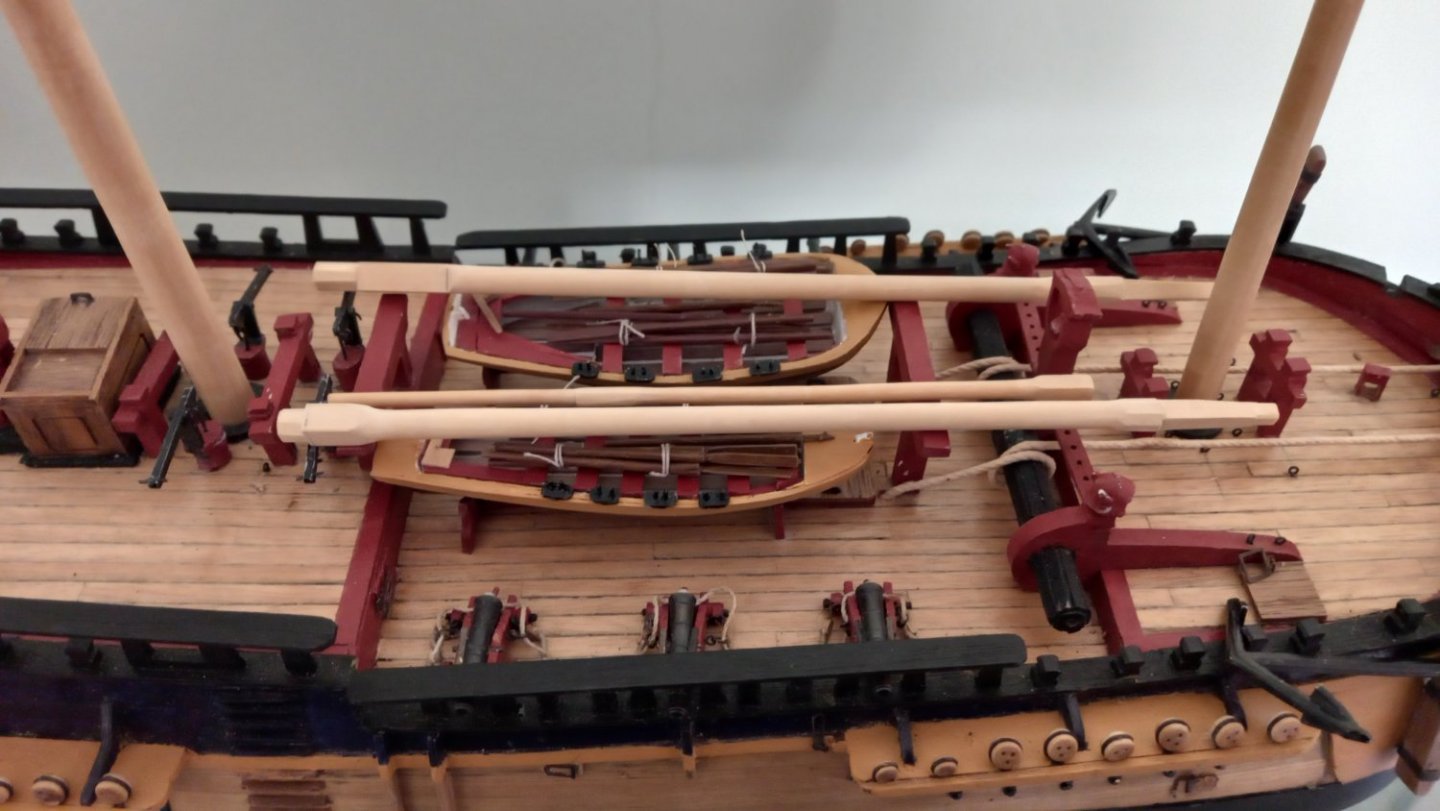
Completed the spare masts including the spare stunsaol booms. I stiil need to attatch the lower stunsail booms to the channels but all in good time. I have also done some work on the bowsprit and Jibboom but still need to add the cleats and fairlead saddle. Also fro Lees book there are no iron bands only rope woldings with wooden rings on each side as per the other masts other than the iron bands on the caps. For the bowsprit bees I made my own as per lees book and also fitted some bees blocks. which helped to secure the bees. I also made the bowsprit cap too. Here is a few photos of this weeks work. Doesn't seem a lot but there you go.


-
Size of Rope and Serving for Stropping blocks
DaveBaxt replied to Peter6172's topic in Masting, rigging and sails
Some nice looking cannon and the blocks look nice too! Keep up the good work. -
Sorry if this has already been asked before but can you give us a link to where you got the copper tape from and what is the scale of the tiles? I am not having much luck trying to source this in the UK. any links would be fantastic. How do you work how much tape do you need? Thank you and by the way fantastice looking job and thank you for sharing. Best regards Dave
-
Hope you get sorted with the boxwood but if you are living in Malaysia perhaps there may be a problem with differences in humidity as you can confirm it is very high humidity where you live and not so high here in the uk. Not sure if its more of a problem going the other way high to low and not low to high humidity. Good luck
-
Regards Box wood and where to get it. I am not sure where you are from but here in the uk I and a few others are get it from here https://shop.exotichardwoods.co.uk/boxwoods/page/5/ If you tell them its for model ships they might sort you some best quallity stuff. They also do some 8mm thick. I have recently made some masts out of it. If you are not from the uk then perhaps some of our American friends can help you here. Some really nice planking there. I look forward to see how you resolve the problem with the high stern area. Good luck. Dave
-
I really like the look of that jig you made for the ladders on a 3 D printer. Making ladders is somthing I struggle with and need more practice. I like the way you used a different way of positioning the gun ports on the outer first planking. You deffinately have some terriific ideas and perhaps might try some of these when I come to build my Diana. All is looking great so far. Best of luck.
-
Great to see another build log of the Diana by Caldercraft and one I would like to follow from the beginning, live as it were. I like how you did the blocks fore and aft but more than usual ie as soon as the area where the planks start to bend. In the past I have always had to add filler in this area after the first layer of planks have been layed.. I too was think of adding blocks nearer to midships so think you will get a better smoother curve with your planking. Great idea too for the tree nails. Well done. Keep up the good work and I look forward to your progress. Best regards Dave
-
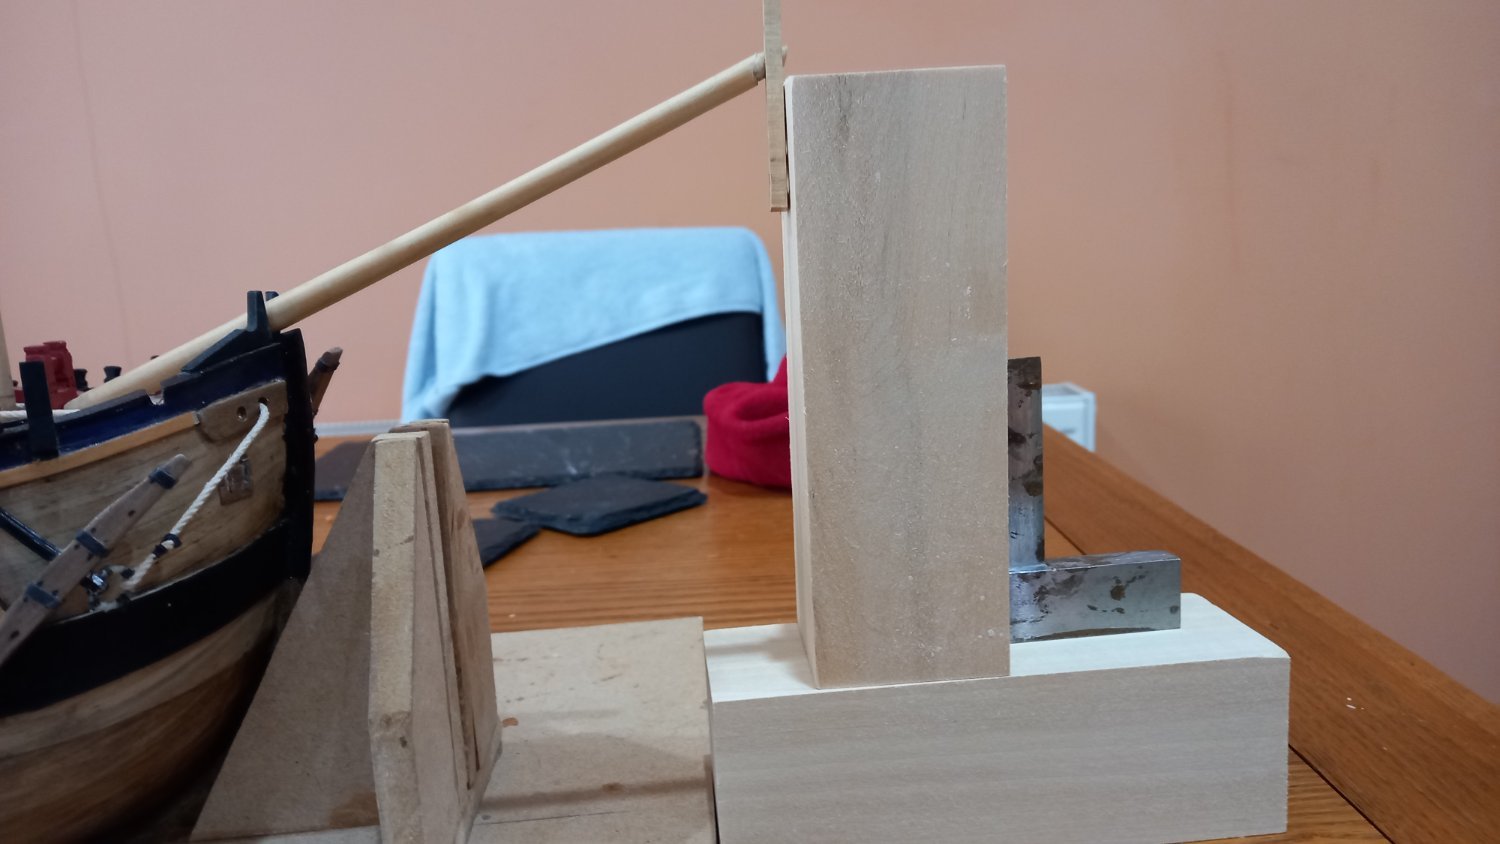
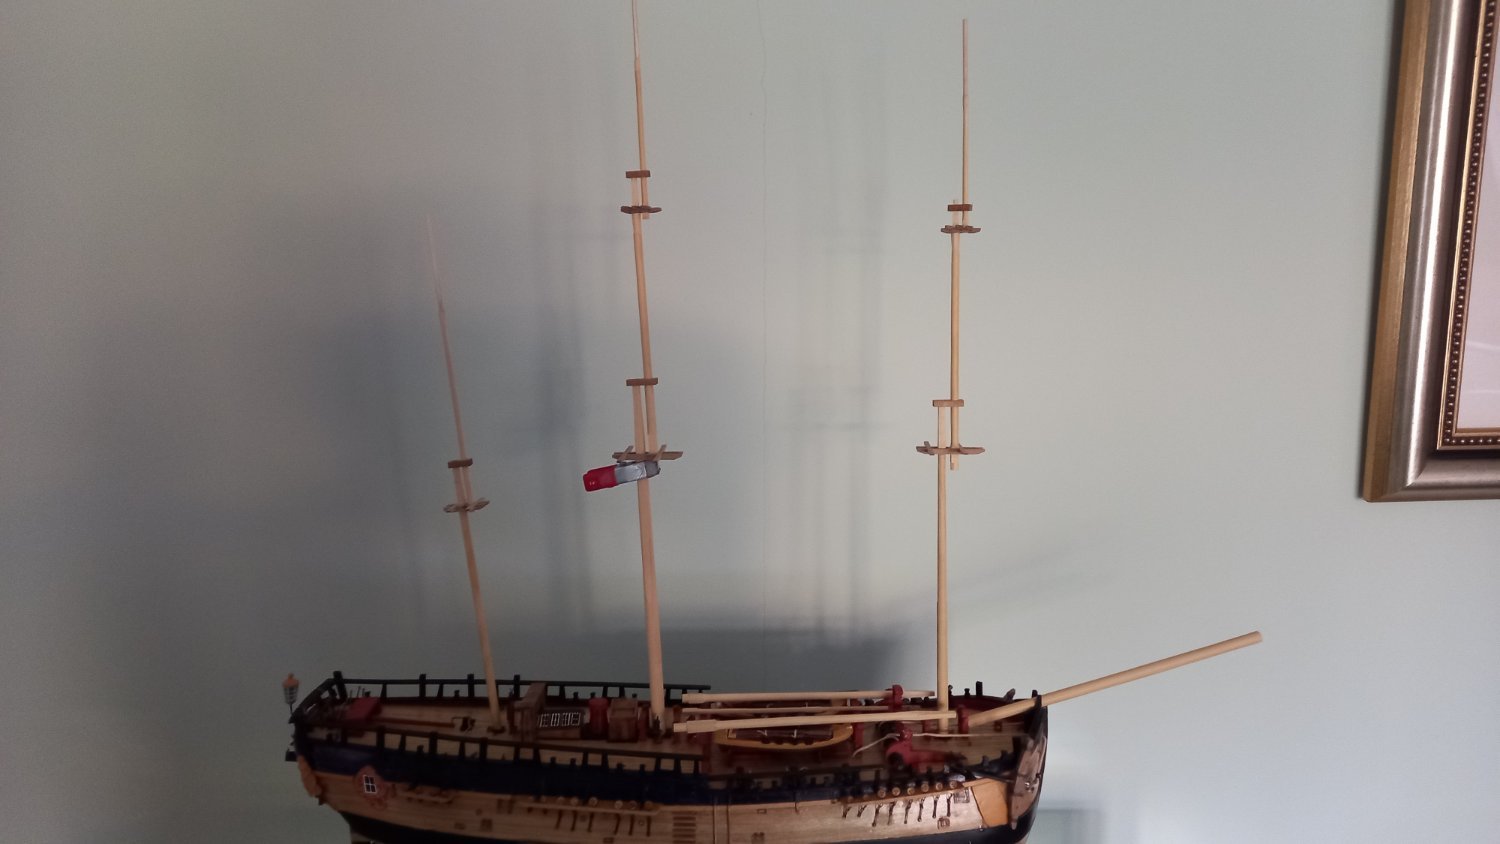
After adjusting the main mast to that of the which I think would be the correct position above the real keel some 30mm lower than before and also corrisponds with similar t the Caldercraft length. Here the resemblence stops as all other masts are in line with Lees book. However the lower masts also resemble RC Anderson book 'The rigging of ships in the days of the sprit sail' whereby the cap of the fore mast is in line of the main mast 3/4 of the head. Also the mizzen cap is in line with the top of the main mast. This allows clearance of mizzen shrouds of the bulwark rail. Now moving onto the Spritsail and again following lees book for length and shape ets. What I cannot make my mind up is regarding how many woldings . Lees book suggests between 3 and 6 and I have decided on perhaps 4 . Also Iron hoops are for a later date and replacing the woldings . However the AOTS and other references show Iron hoops but no woldings. So I cannot make my mind up. Any suggestions in this area would be welcome. Further check in Lees book page 183 for all other ships after 1745 gives the bowsprit mast as 0.63x the main mast which worke out at just over 202mm. This seems way longer than the Caldercraft dimentions. However I also checked with Monfeld's book which is even longer and worked from the breadth of the ship. I have therefore decided to continue using Lees book for reference as much as possible.

-
Thank you for your kind words and good to hear you are having a go too. Doing it from square stock gives you a different choice of wood instead of the soft very grainy wood supplied in the kits, not discounting that they are all warped, or at least the ones I received were. I have cheated a bit using a lathe but as Allan said with a bit of practice you can achieve pretty good masts without one and I am hoping to move away from the machines as much as my skills will allow. It is quite enjoyable using the miniture had tools . I look forward to you starting the HMS Snake, another ship that I too am interested in doing. At ther moment I am still leaning towards the Diana, also by Caldercraft and will end up bashing quite a lot.( as I have the AOTS Diana book) .
-
p.S Well spotted Steve. I have just checked the sizes of all the masts and guess what. I forgot to allow for the difference in depth of the mastsin the model compaired to that of the Lees calculations! Ggggrrr! It would apear that Caldercraft model is not too far out, at least for the lower main mast anyway. So will need to either make a new one or adapt the one I have already made. Due to the taper and the machines flats for the cheeks being now too long as well. I will probably have to make a new one. I will also need to adjust the heights of both the fore and mizzen lower masts to suit the main lower mast. Thank you once again Steve for helping me before I progressed too far and now there is not too much work to do again even though I probably need the practice.
-
Thank you Allan your input is always welcome and truely appreciated. I think my next set of tools will be a decent set of chisels and using this for tapering the square mast heads is something else I would like to try. I still need lots more practice with the hand tools but in the mean time using a milling machine is much more accurate at least it is for me personally but definately would like try other methods. Best regards Dave
-
Hello Steve and thanks for your input. I have yet to make some adjustments to the final height of the lower masts. I worked all the lengths useing Lees book from the main mast and that from the breast of the ship and then worked out all the other masts as per lees book..There could also be an issue with the height in which the lower masts sit on the false keel rahter than in reality just above the true keel.I thought I had subtracted the difference from this but will check again.The fore masts need to come up slightly iso the cap is 2/3rd up the main mast head. The miizzen lower cap is in line with the floor of the main mast . I checked to see if the mizzen shrouds clear the rails bulwarks and they do.Hope this makes sense. Best regards Dave
-
Thank you Gregory. Dividing head, also made by Proxxon and is listed as an accessory .
-
Thanks for youtr input Sam. Its always good to see another Endeavour Build. So I will keep an eye open for your blog
-
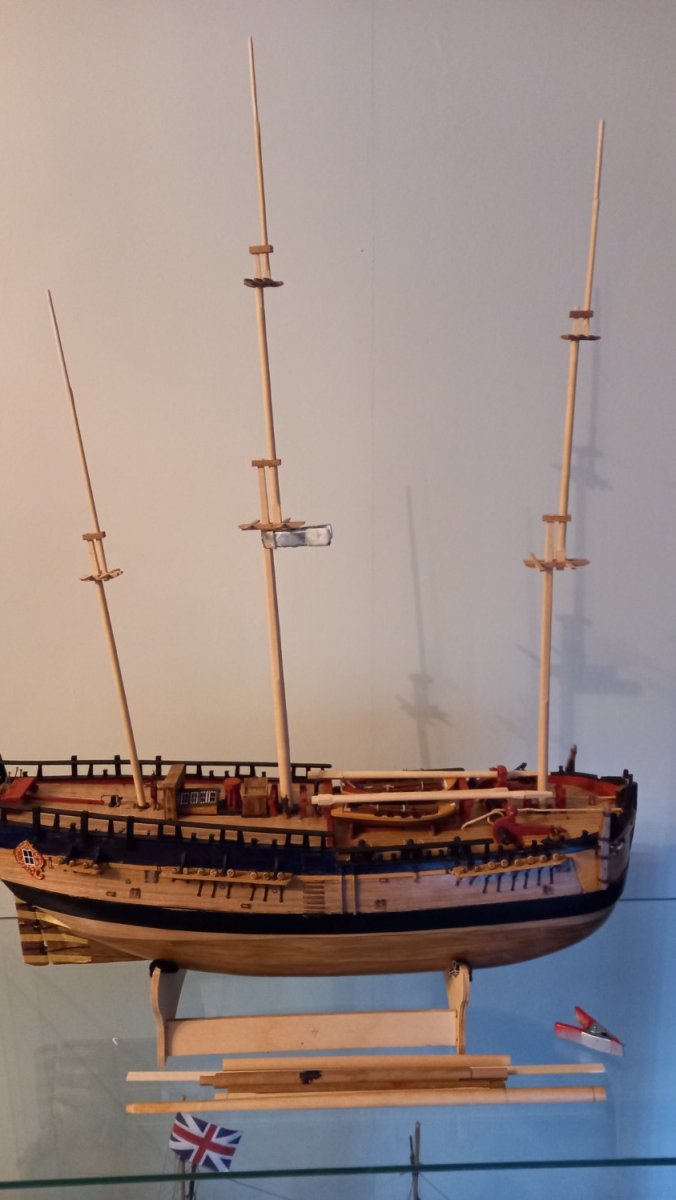
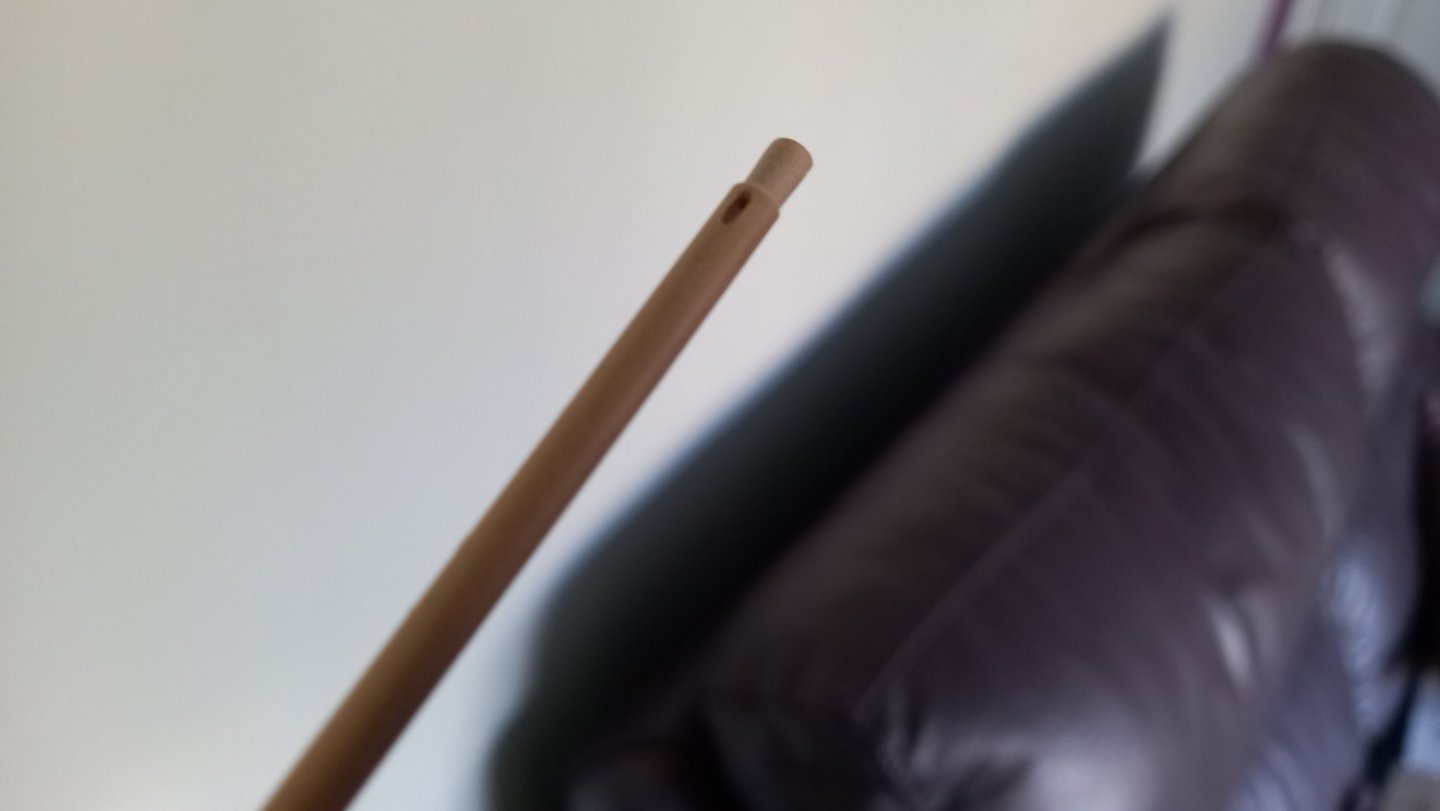
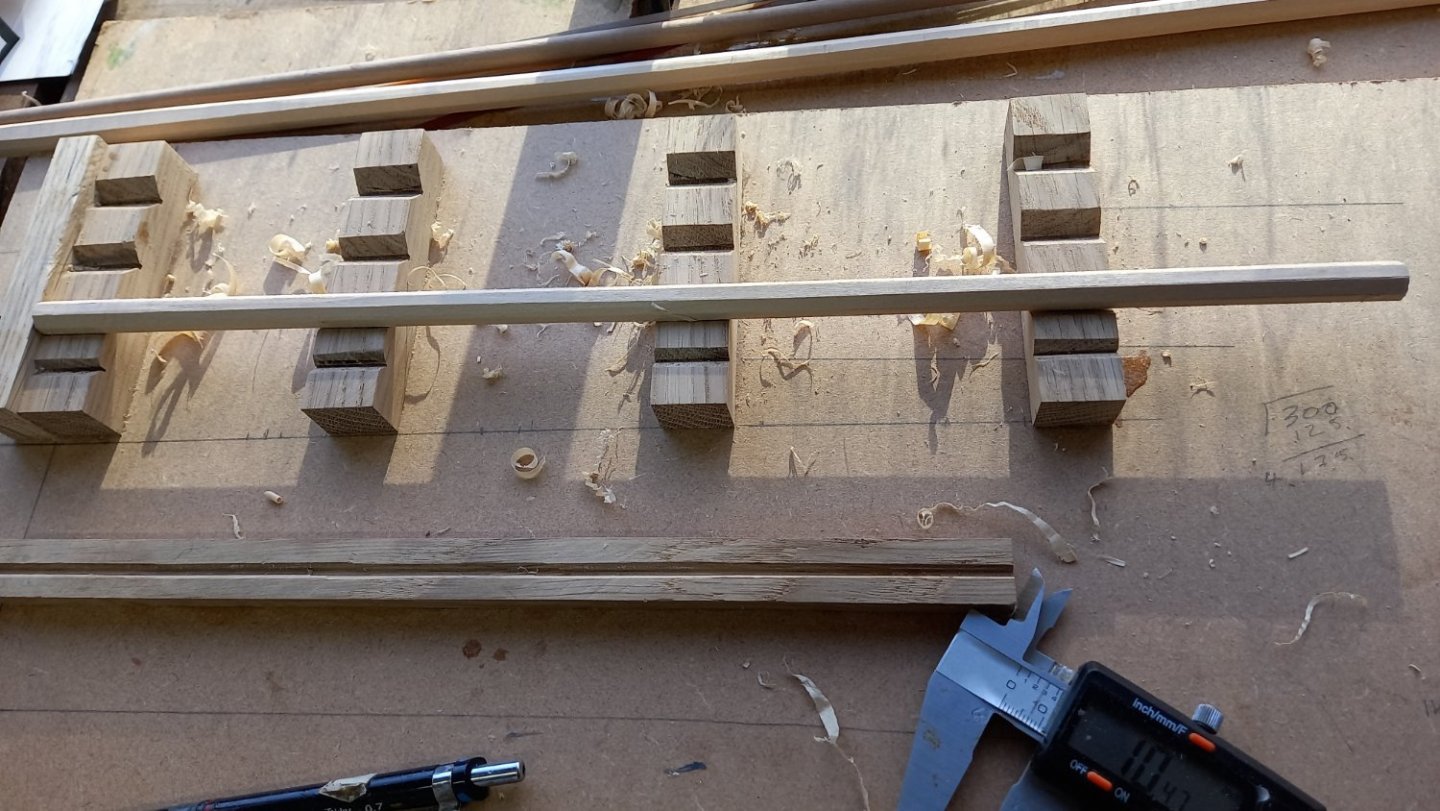
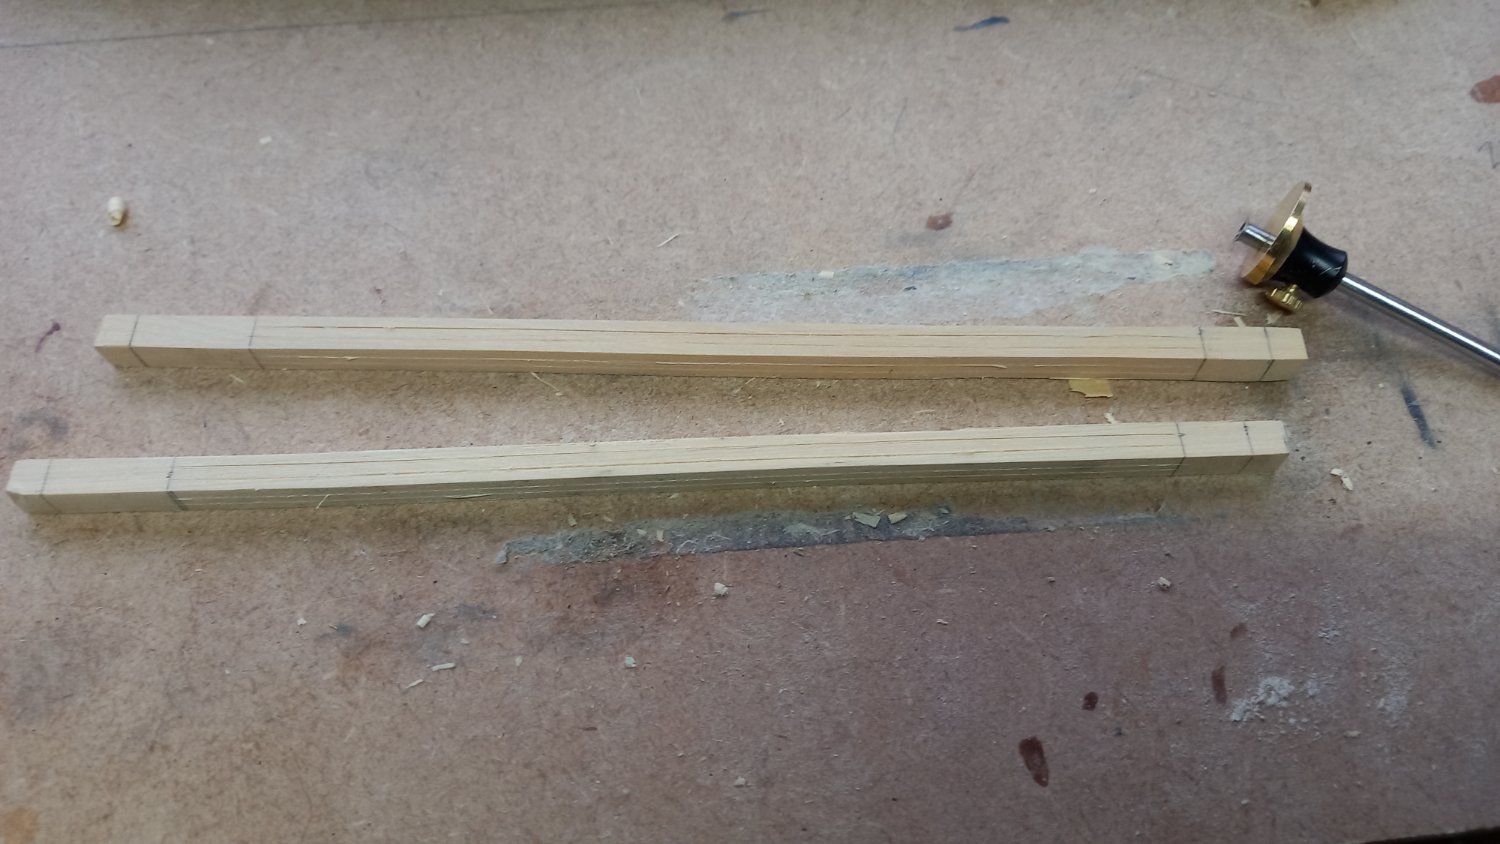
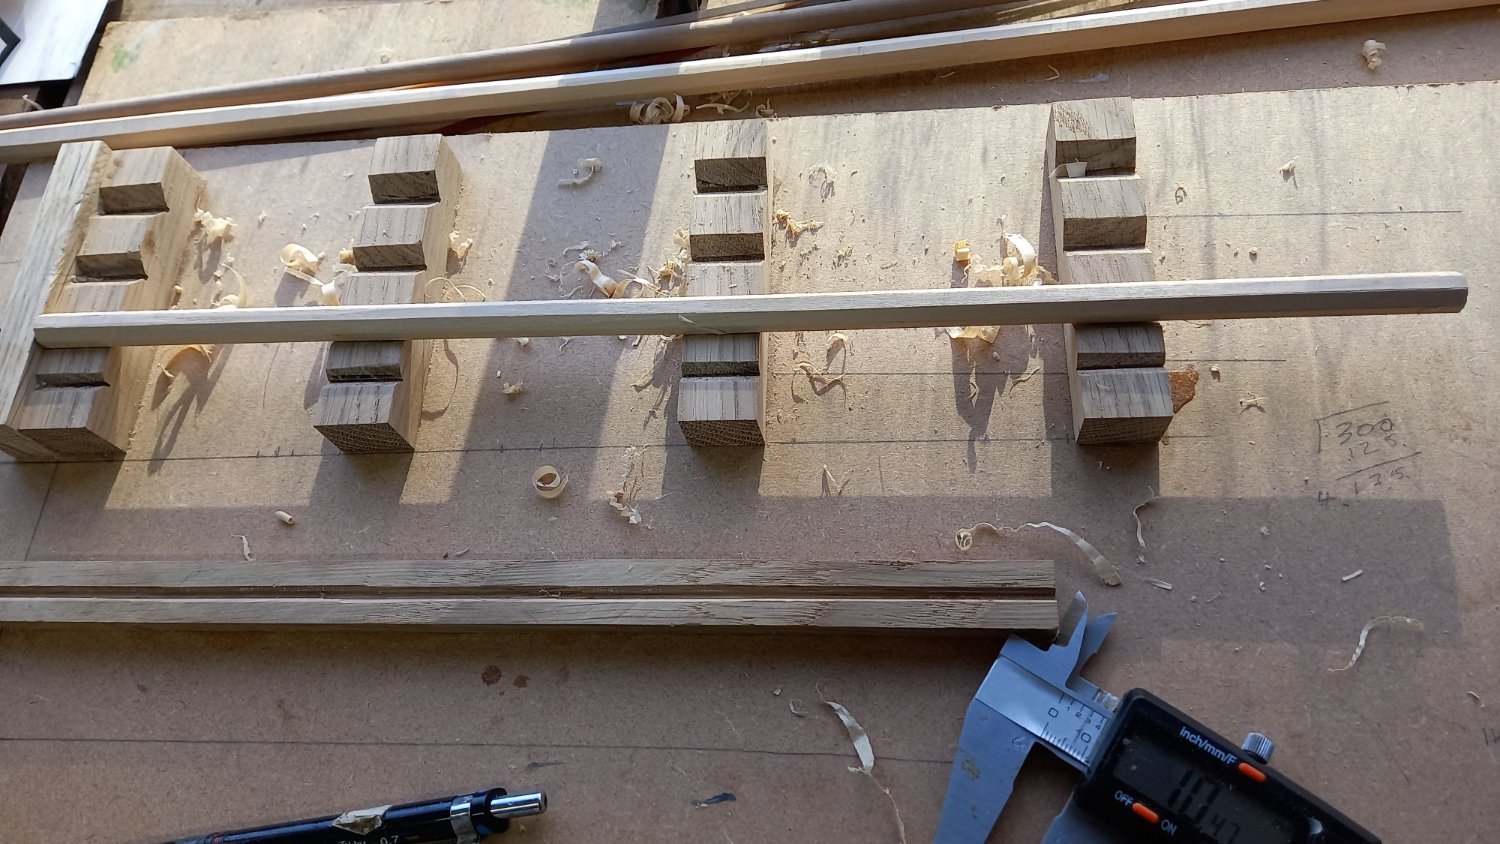
Masts Made a good start on the Masts using Lees book 'The Masting and Rigging of English Ships of War' for all the sizes . I did however compaired the design with the AOTS drawings which were slightly different but used this design instead. I made all the masts from boxwood planks and cut off square section and using the 7:10:7 formular to then trim the square section into an octogon and then rounded off using a miniture block plane and sanding on a small Proxxon lathe. The flats for the cheeks on the lower masts were acheived by using a Proxxon Milling machine as were then octogon sections for the mast blocks and square section for the mast head. The tapers on the mast heads were achieved by stepping using the milling machine and then filing to gave a taper. Although the above work took me longer than it probably would of using hand tools than using machines instead . I personally though it made a better job than what I could have done by hand. Here is a few photos of the progress. This is the first time I have made the masts from square stock but after a bit of practice, I found it quite relaxing and enjoyed using the various machines. I have made a start on the spare masts but still got a few more to make As you can see from the above photos I used the kits Trestle trees and cross trees and I intend to use the kits floors and some other parts made out of walnut as these areas will be painted black and are quite good. I have still got a lot more work to do such a fitting the cheeks, woldings and iron straps to the lower masts. I also have to make the holes for the sheaves and fid holes in the topsail masts which might be tricky trying to make them look realistic. Anywway here is the work so far.


.thumb.jpg.fad9ad14def4f80bf30721b76b8b3bc4.jpg)

-
I found this part of the Bounty build very tricky and I think you have made a very good effort and looks good. Well done and keep up the excellent work.
-
Derek you have done a lot of work sinse the last time I managed to take a look. You really work so fast considering how beautiful your work is. The deck fittings are coming along nicely and them gun carrages are superb to mention just a few.I f I could create something half as good I would be more than pleased with myself. Keep up the excelent work and I look forward to watching your progress. Best regards Dave
- 345 replies
-
- 1
-

-
- Duchess Of Kingston
- Vanguard Models
- (and 1 more)
-
Hope your method works out for you. Further to what Allan has suggested .If you get a chance have a look at Chucks videos on marking off the planks then cutting them to fit . Also not forgetting edge ways bending. with a bit of practice the planks will fit much better. Sorry if you are already aware of this otherwise.I hope this helps. Keep up the good work. Best regards Dave
- 79 replies
-
- 1
-

-
- Endeavour
- Artesania Latina
- (and 1 more)
-
I tried pencil first but it did not work for me but ended up using permanent marker and just doing one at a time. This sounds like a long process but one you get the hang of it it is not too bad. I ave since tried this on Tanganika wood as well as walnut and it works fine on both. What ever wood you are using try it out on a few test pieces and the try using what ever you are using on top ie varnish , sand and seal to ensure the dried permanent marker doesnt spread into the grain when mixed with your top coat of choice. I used sand & sealer and it worked fine for me. Good luck and let us know how you get on. Dave
-
I tried pencil first but it did not work for me but ended up using permanent marker and just doing one at a time. This sounds like a long process but one you get the hang of it it is not too bad. I ave since tried this on Tnganika wood as well as walnut and it works fine on both. What ever wood you are using try it out on a few test peices and the try using what ever you are using on top ie varnish , sand and seal to ensure the dried permanent marker doesnt speread into the grain when mixed with your top coat of choice. I used sand & sealer and it worked fine for me. Good luck and let us know how you get on. Dave
-
Hounds and Cheeks for Endeavour finished in 1761
DaveBaxt replied to DaveBaxt's topic in Masting, rigging and sails
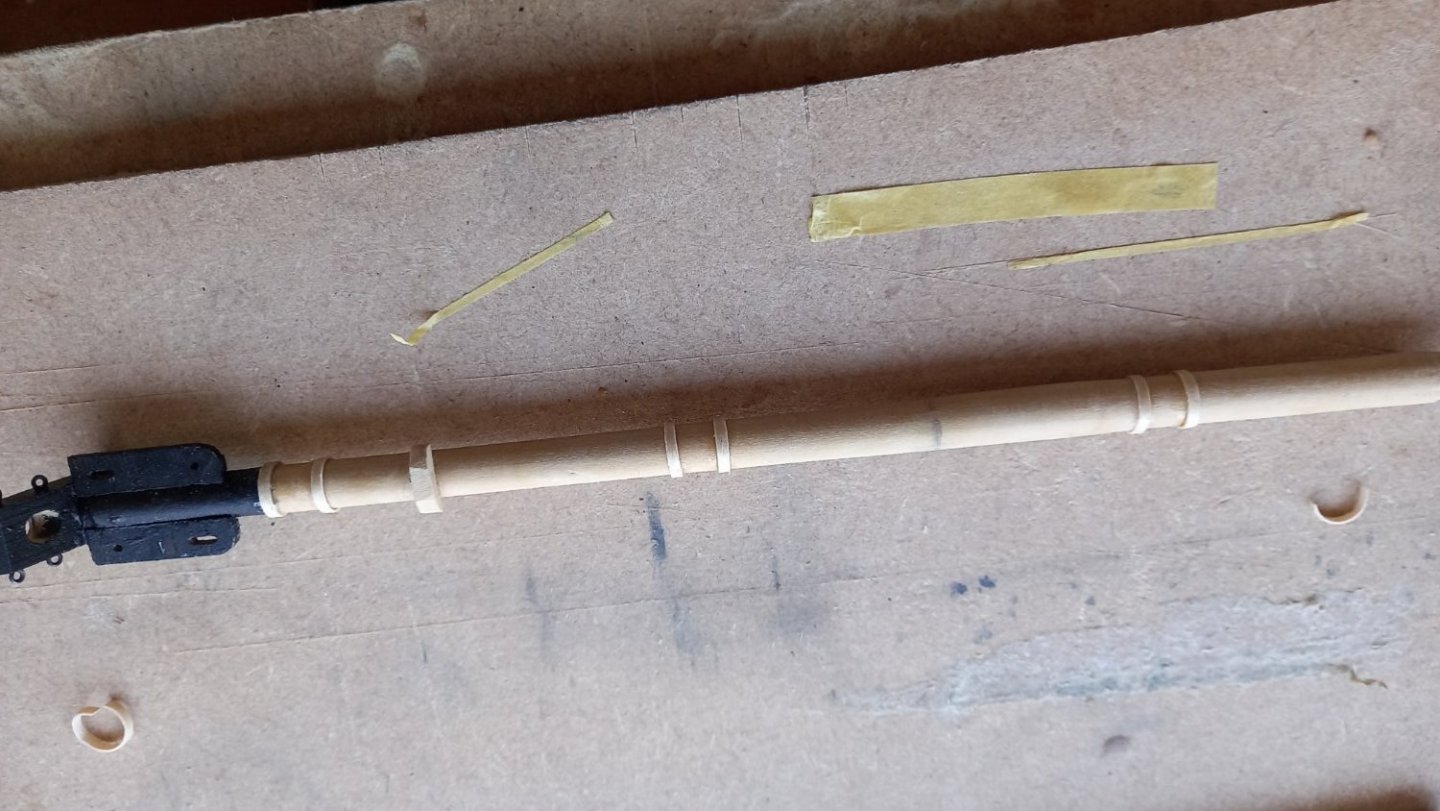
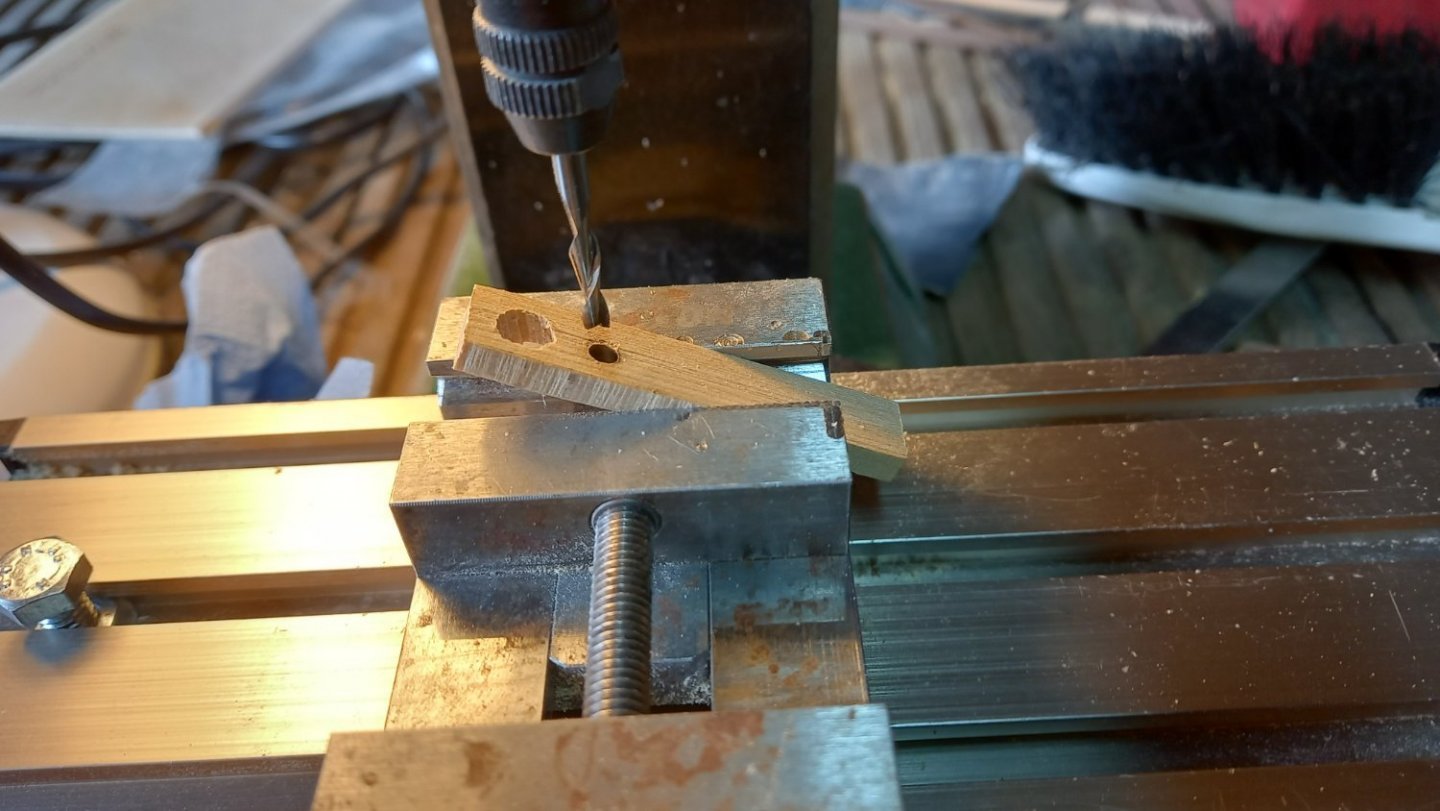
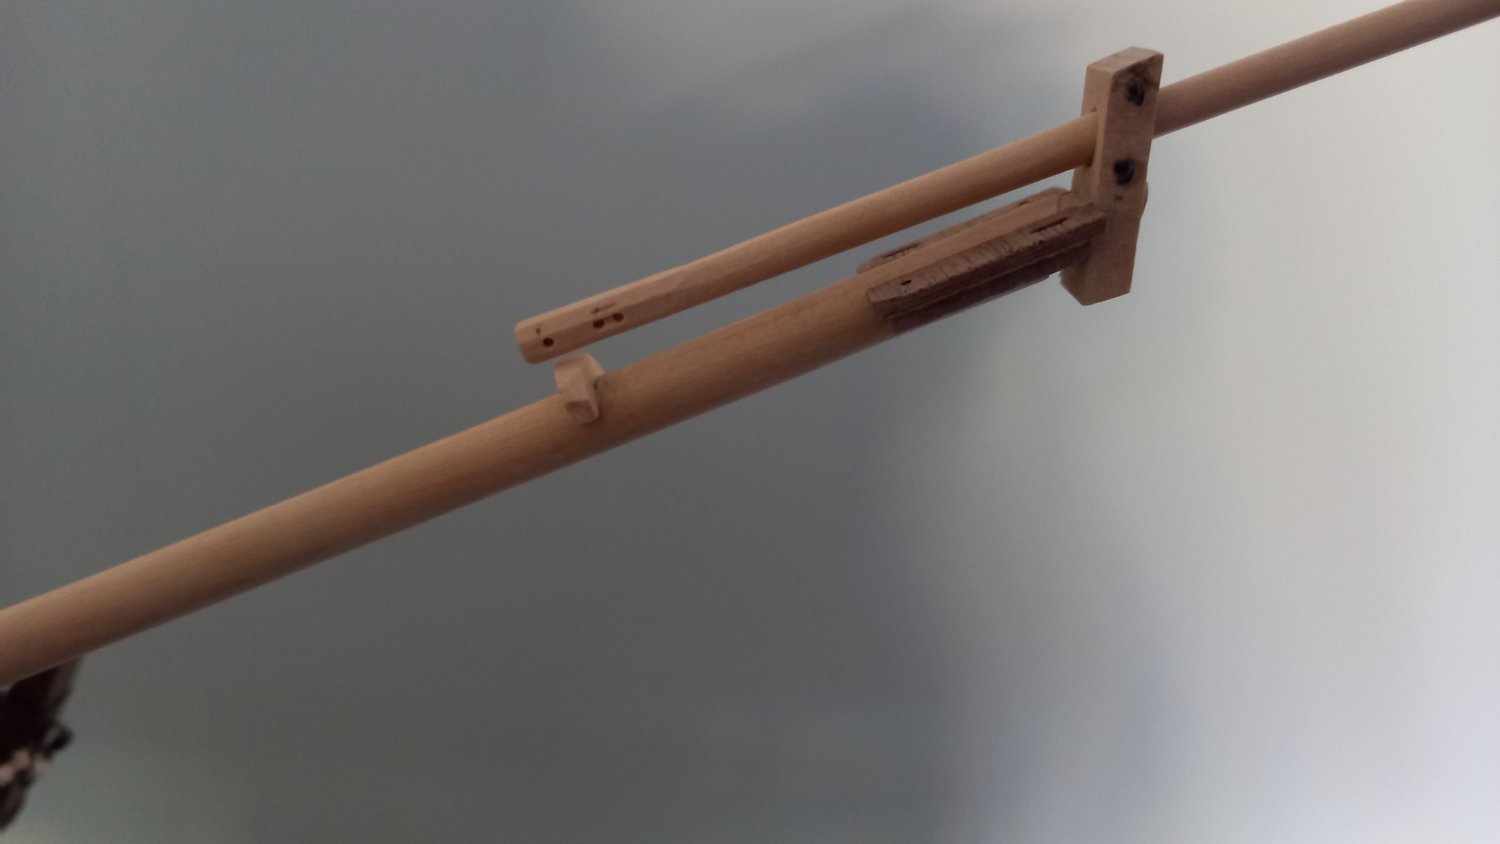
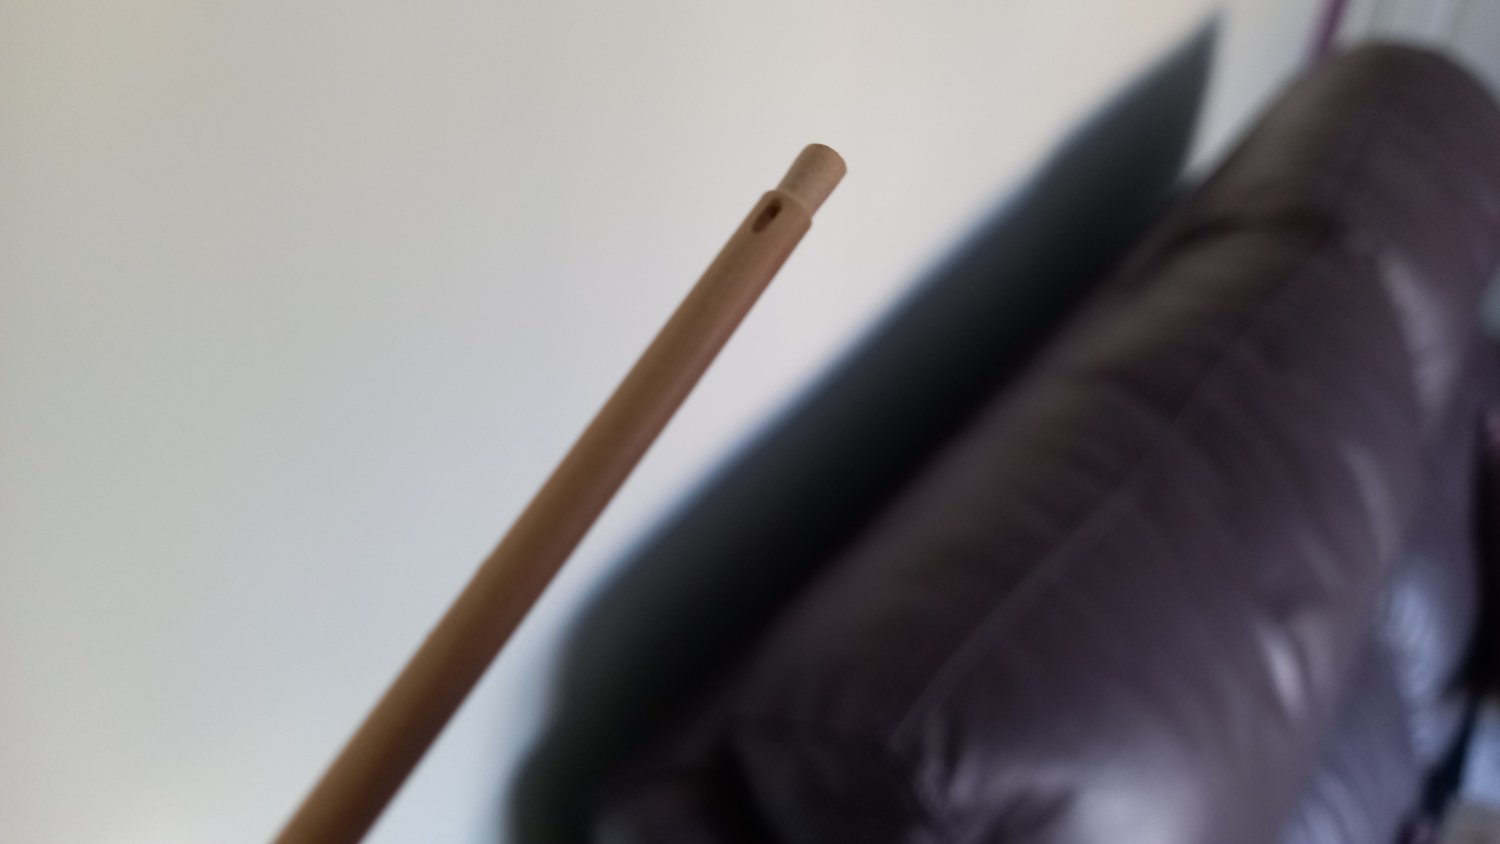
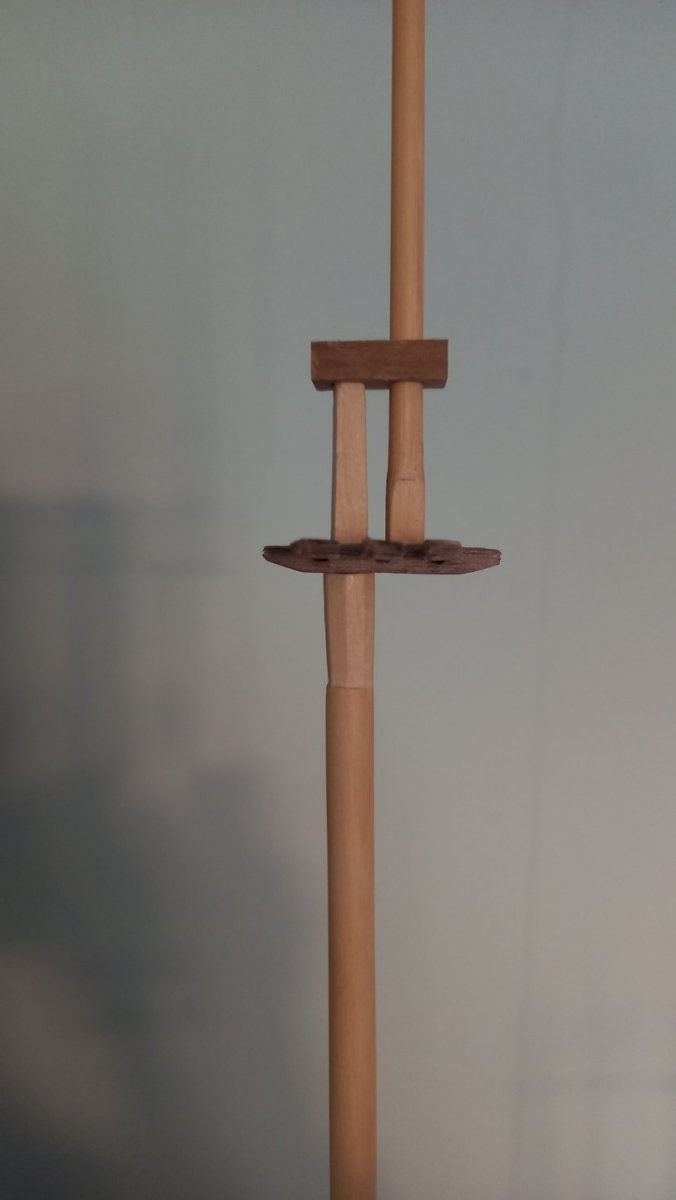
That sounds like a rally easy way to make one and something I will need to do if I make any models larger than the Endeavour. I have just managed to make a practice one, with the help of a miller and lathe. However I am limited to the length I can support the mast when using the miller and lathe. Here is a photo . Not perfect but only a trial run. I still need to taper mast a bit more and mill the flats for the cheeks. I have worked out the taper and then I have milled steps and finished off with a file. It worked out pretty well. I haven't had a chance to have a look at your easy way to do the mast but I will report back after I have had a chance to have a look. Allan you have been more than helpful and I appreciate all that you have done for me.Thank you . Dave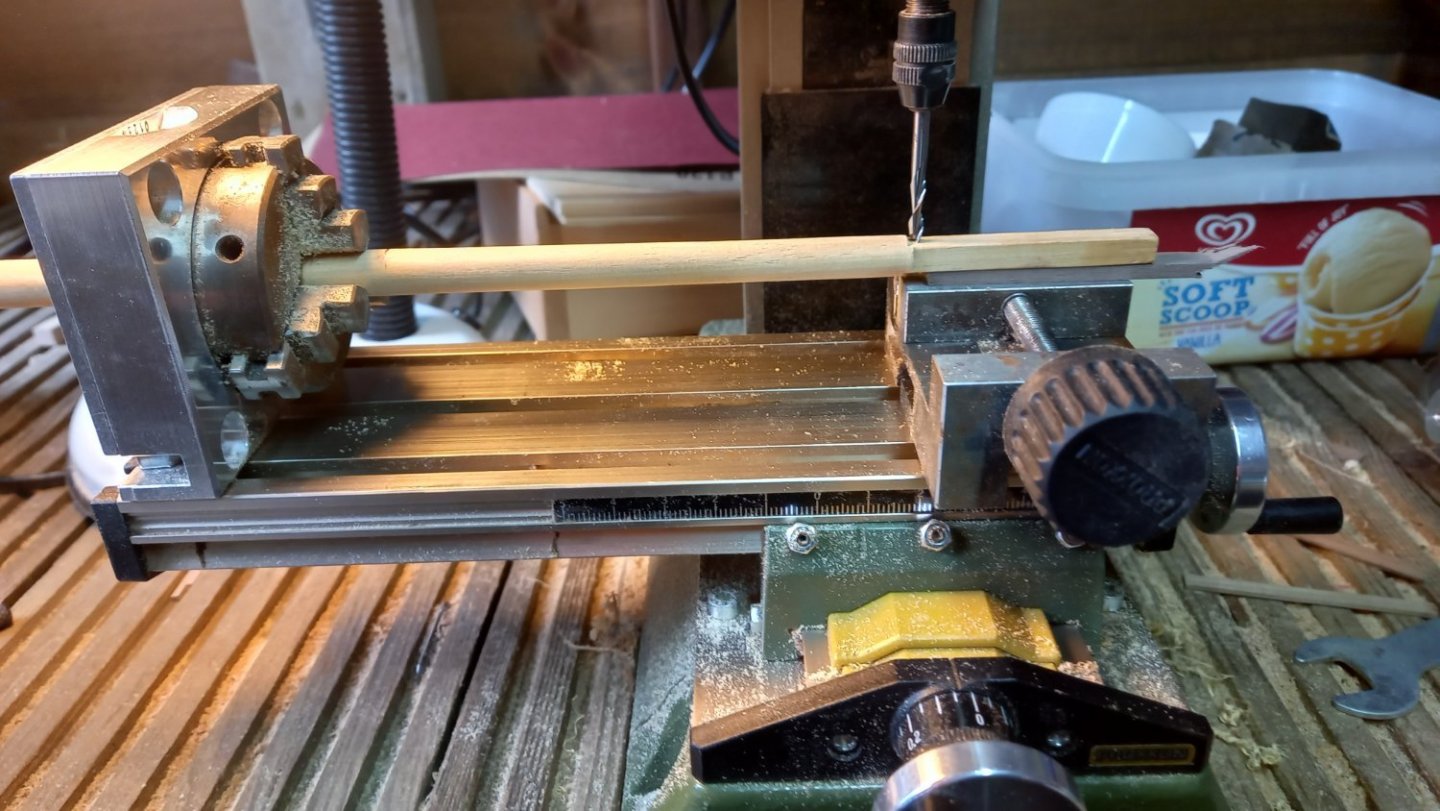
-
Hounds and Cheeks for Endeavour finished in 1761
DaveBaxt replied to DaveBaxt's topic in Masting, rigging and sails
Thanks Allan . I think that is what I meant as regards the height of the mizzen mast. I have just had a quick look at the last drawing you sent me and can see how complicated that the mast is put together and would like to try and make them like that in the future but for now ,I am not sure I have skills to build a mast like that. I have only just started trying building masts form square stock for the first time .it has definately given me a better idea of how its all put together though so should be to make a compromised mast ,if that makes sense. For the record the scale I am working to is, 1:64. What scale is the drawing you sent me. Best regards Dave -
Hounds and Cheeks for Endeavour finished in 1761
DaveBaxt replied to DaveBaxt's topic in Masting, rigging and sails
Thank you Allan for that excellent drawing which I can study at leasure. Regards the length of the Mizzen. I do believe you are correct. It is an error and I previously asked the question on another thread. I had problems with the shrouds clearing the bulwarks which was kindly pointed out to me by Shipaholic that the mizzen cap should reach the top of the main mast . Also Reference to Lees book also says it is much longer than what is suggested by Caldercraft. Thank you once again for efforts and patience for helping me clarify this. Best regards Dave -
Hounds and Cheeks for Endeavour finished in 1761
DaveBaxt replied to DaveBaxt's topic in Masting, rigging and sails
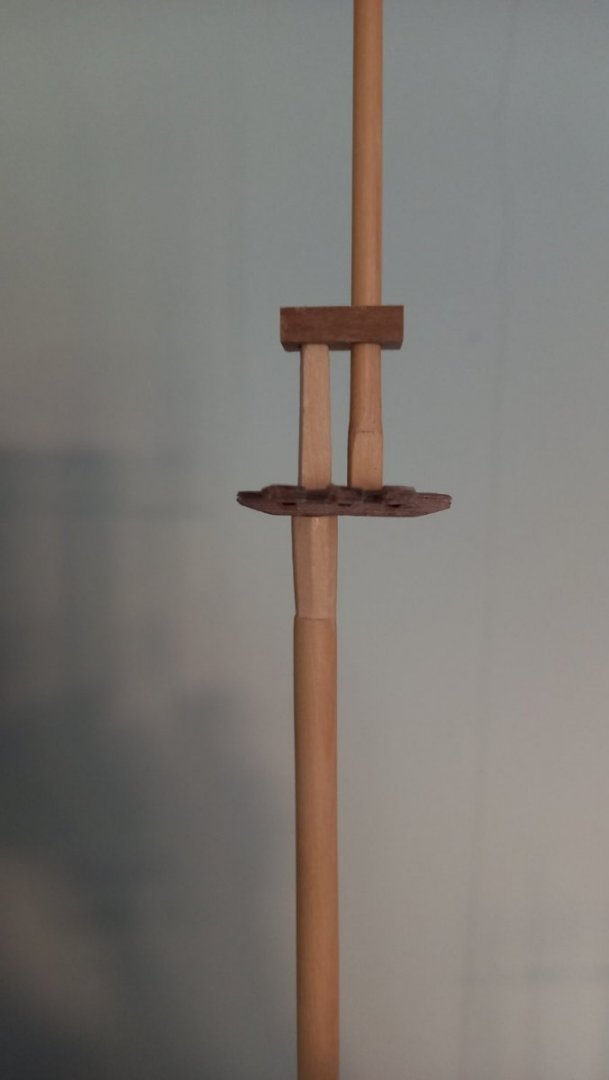
Thanks Allan that is really kind of you to take the time to do a drawing for me and hopefully I will then be able to get my head around it. It is interest how you say that there is a recess in the mast where the trestlle trees fit, that is if I get your meaning. When working out the taper of the mast at that particular and then doing the square on the top the square at that point is 7.1mm wide but the distance between the trestle trees is only 6 mm . So if I want to use the trestle trees supplied by Caldercraft then I will need to make a recess in the mast or make new trestle trees. Also the taper of the mast of 7.3 mm is required so that when made flat the cheeks should fit. Hope this makes sense. I have a number of scrap bits of dowel to practice on before I make the real thing from square boxwood stock. When reading the piece you sent me I noticed that a block was mentioned but I am not aware of such a thing or come across this. Perhaps you have an idea as then perhaps I would get what its all about.Best regards Dave

.jpg.81112fb4e595c54ae84608d67dbb55a1.jpg)


.jpg.32e3f55caa57d2a5c9bc07e14c05be4a.jpg)