
HOLIDAY DONATION DRIVE - SUPPORT MSW - DO YOUR PART TO KEEP THIS GREAT FORUM GOING! (Only 13 donations so far - C'mon guys!)
×


jct
-
Posts
1,519 -
Joined
-
Last visited
Content Type
Profiles
Forums
Gallery
Events
Everything posted by jct
-
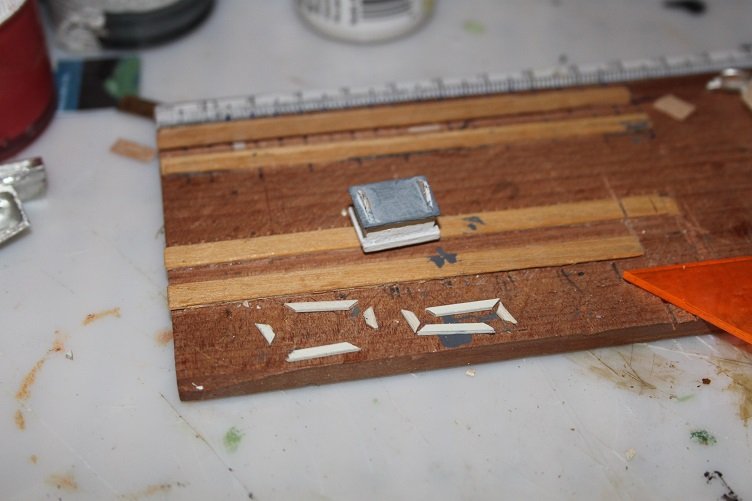
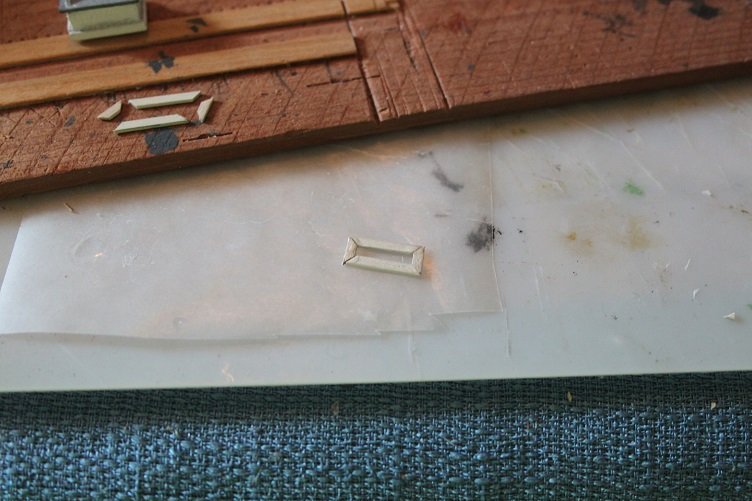
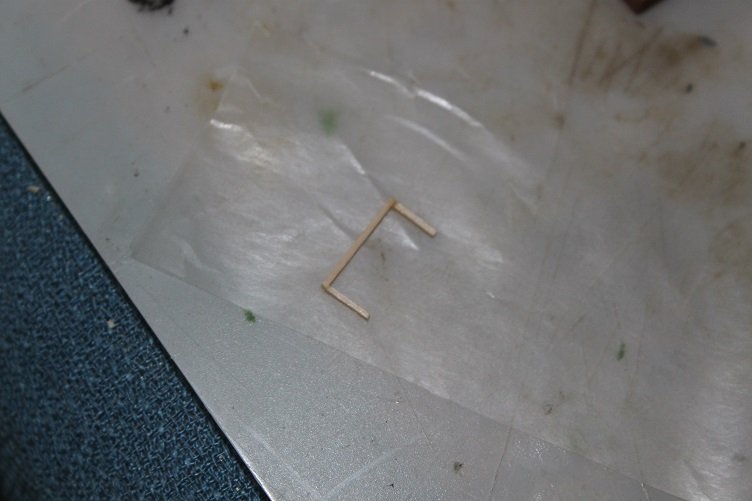
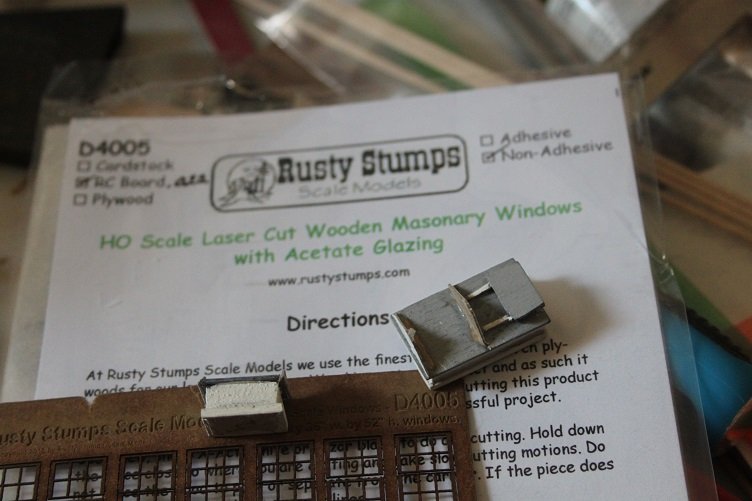
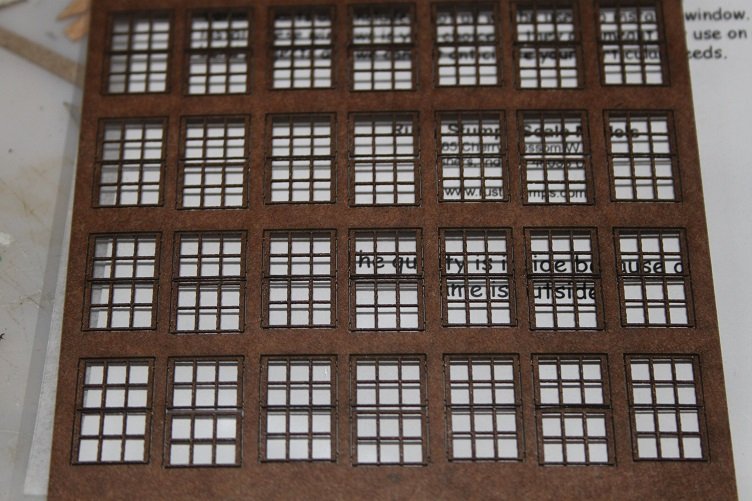
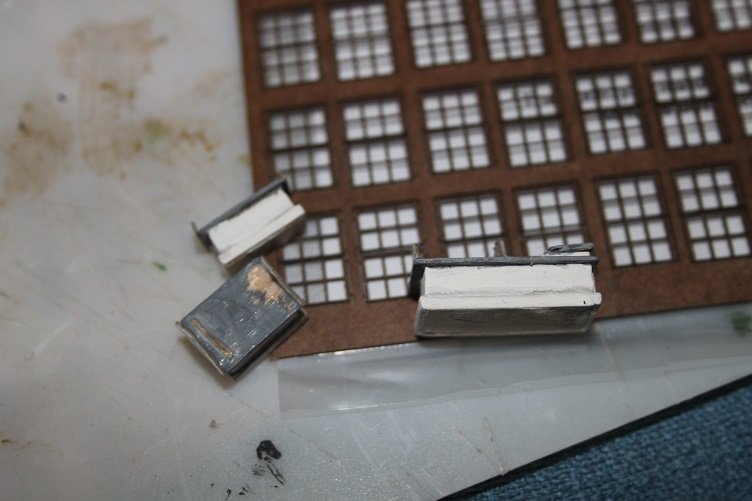
Hi everyone, Work has finally gotten back to some semblance of normal, which means it's still hectic but manageable, lol...so I got some time at the table, I wanted to scratch build frames for the skylights on the deck houses. After a couple attempts that I was not satisfied with I parked things for a bit... I was perusing the old interwebs and came across a site...Rusty Stumps, maker of model railroad stuff...I found some laser cut HO scale double hung windows on their site that looked interesting, and thought they just might fit the bill, so I decided to order them to take a look. I'm really happy with the product, very sharp and precise, relatively inexpensive with cheap fast shipping, very pleased. Those on the hunt for some semi-scratch material may well find this supplier worth a look. My first attempt seemed a little to thick... No room for mullions #2 difficult to square Rusty Stumps to the rescue Close up of the window frames A shot with the deck houses with the frames, should work out well...I'll keep you posted on the progress THX for your time and attention J
- 258 replies
-
- 7
-

-
- harriet lane
- model shipways
- (and 1 more)
-
Hi Len, Been following along...the weathering is superb, very impressive
- 296 replies
-
- 5
-
-
- chaperon
- model shipways
- (and 1 more)
-
No progress to report...unfortunately, work has kept me away from the table for weeks now with no end in sight. THX J
- 258 replies
-
- 2
-
-
- harriet lane
- model shipways
- (and 1 more)
-
looking really nice Denis, not so bad with the small stuff your own self, i see! Cabins are sweet
- 453 replies
-
- 8
-
-
- thermopylae
- sergal
- (and 1 more)
-
Thank you again sir...that's another reason I transfer measurements whenever i can, used to have better than 20/20 and now at times I feel like Mr. Magoo They turned out ok, I'm hoping to add a bit more detail to the carriages further on, may make some little accessories to accompany them too, ramers and the like. Thanks again
- 258 replies
-
- 1
-
-
- harriet lane
- model shipways
- (and 1 more)
-
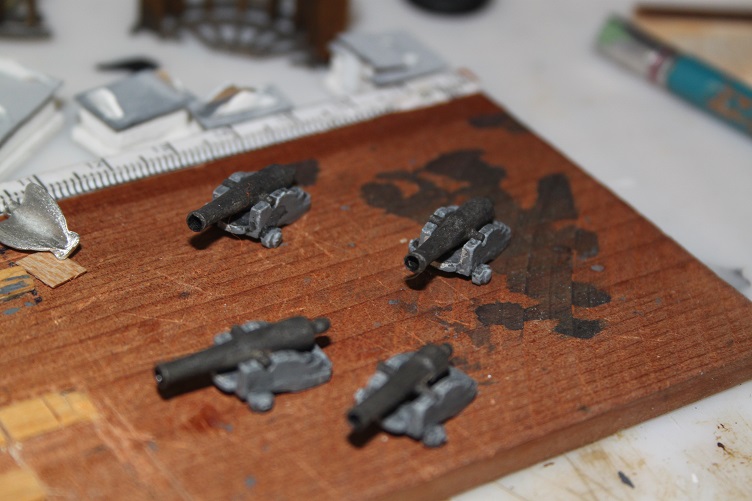
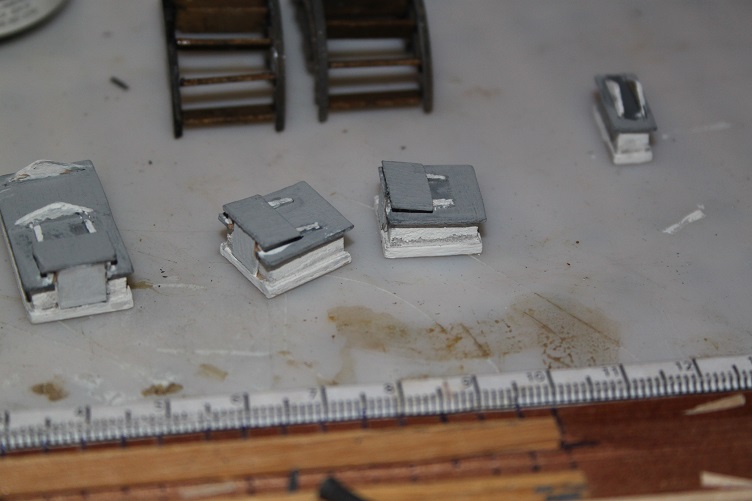
Thanks Popeye...the small scale is a challenge, but you can display more ships in a limited space I think it's kinda neat to see how much detail you can pack in...used to have a lot of fun with ho scale armor in plastic...teenie tiny dioramas. A few more pics: I painted the gun carriages a dark sea gray, influenced by some colorized pics I'd seen on line from the era, but they look a little dead and flat so I decided I try a little dry brush on them to see if they'd pop a bit here they are with the barrels set up Spent a little time painting out the hatchways and skylights...still have to make the "windows" Well that's it for now....thanks for your time and attention J
- 258 replies
-
- 8
-
-
- harriet lane
- model shipways
- (and 1 more)
-
Congrats Bob...she looks sweet, the ensign is a nice touch
- 277 replies
-
- 1
-
-
- model shipways
- 18th century longboat
- (and 1 more)
-
Hi Steve, Thanks for the comments, I'm using a product called Blacken-it, works on everything but stainless and aluminum...though I've had varying degrees of success with it. You can see it the pick above the stanchions blackened very well but the bits not so much. Be prepared to experiment THX J
- 258 replies
-
- 2
-
-
- harriet lane
- model shipways
- (and 1 more)
-
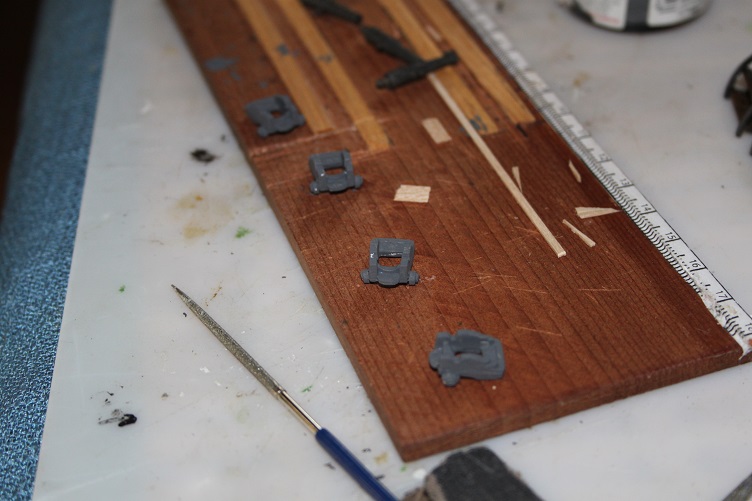
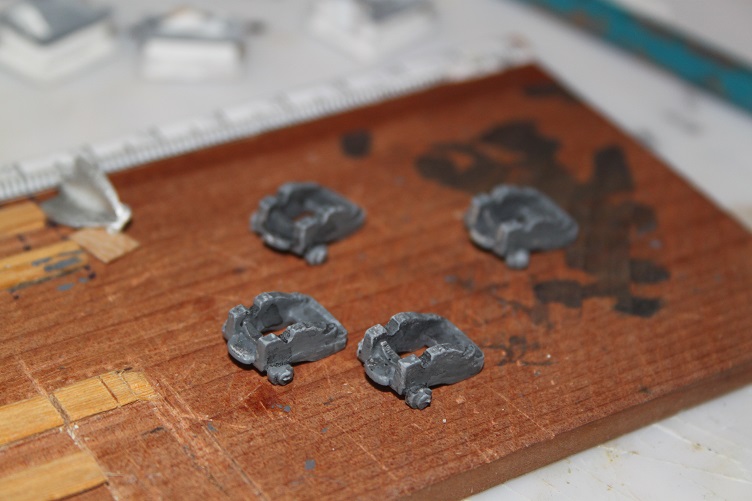
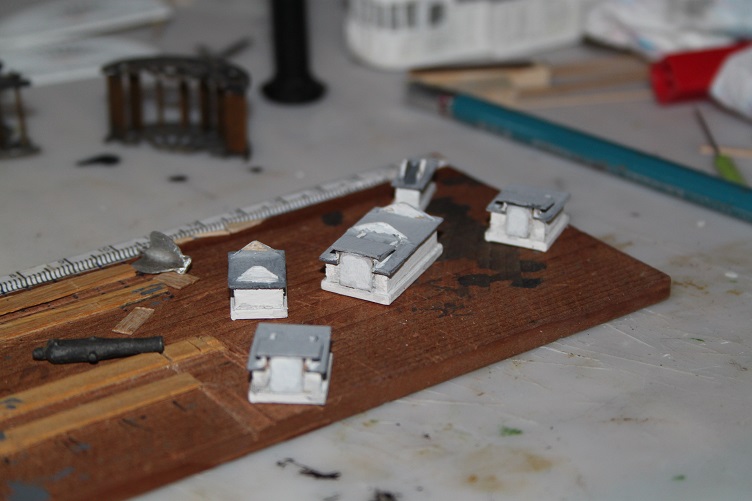
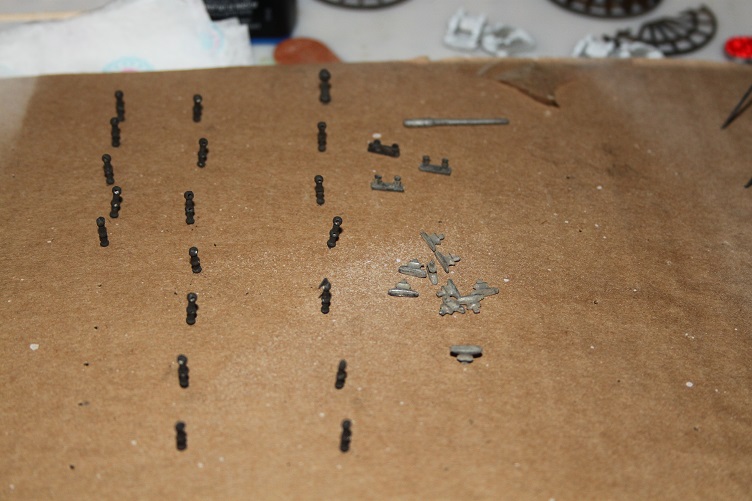
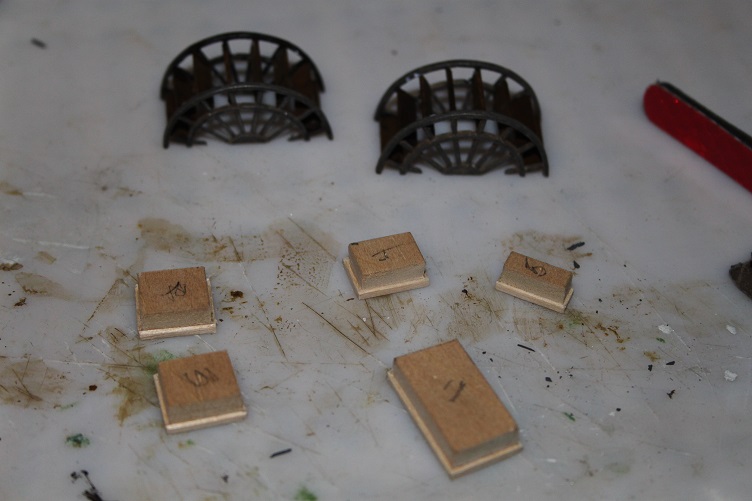
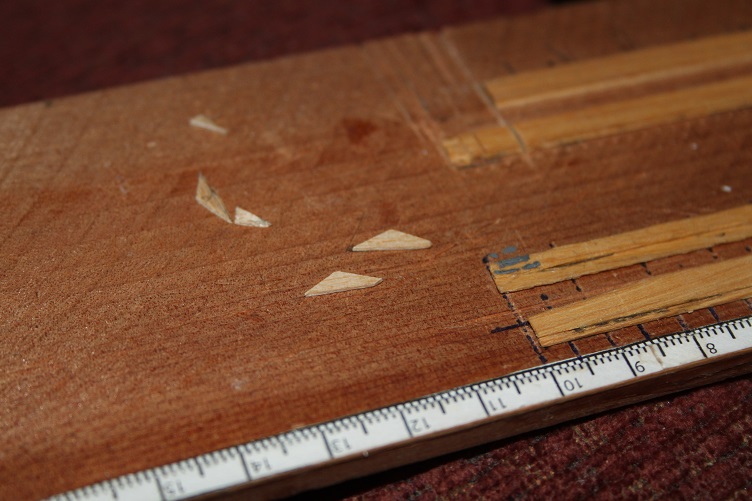
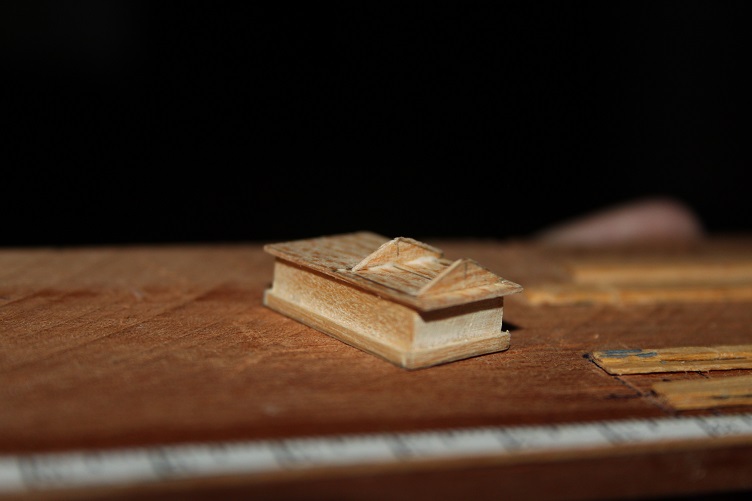
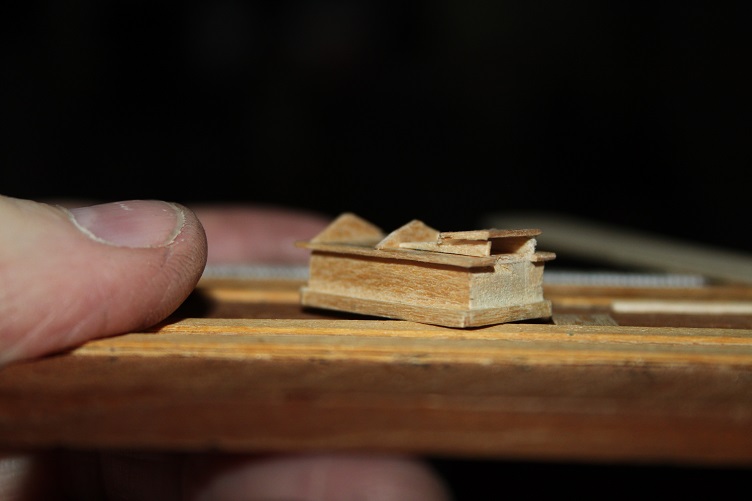
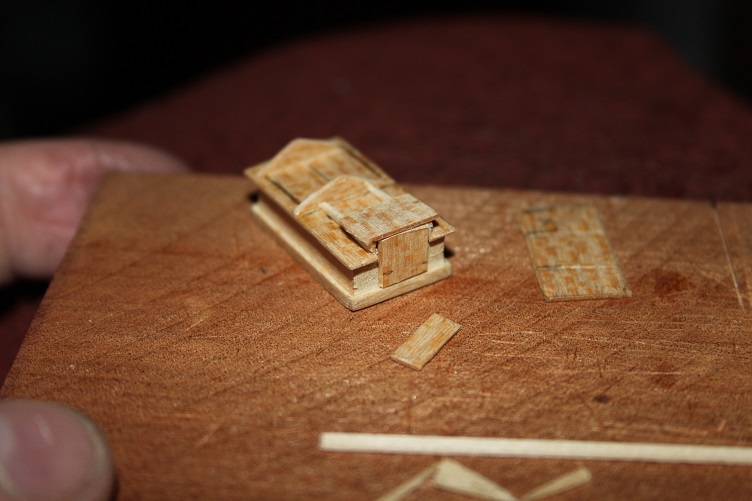
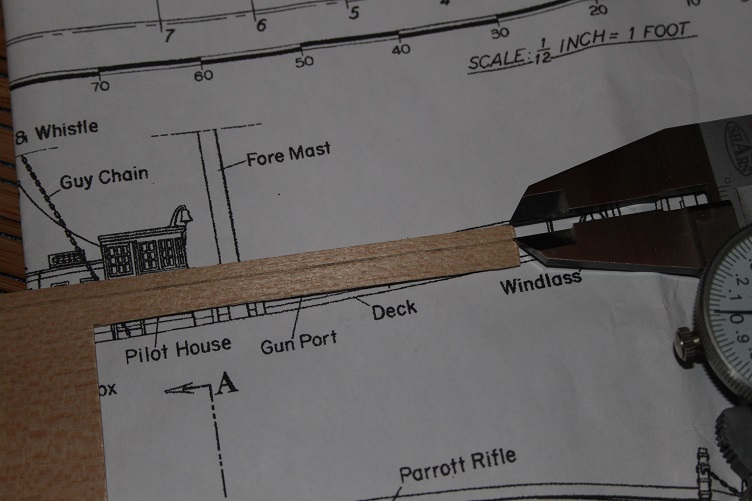
after finishing the pilot house I set about to complete the other hatchways and skylights...before that I decided to blacken the supplied hardware that would require it, some of the brittena metal parts took it very well but not others...not sure why that would be, also added the sponsons to the main deck the paddle wheels were also completed, the metal was blackened and the woods paddles stained a dark brown, these were really fiddly... using calipers the dimensions were transferred from the plans to basswood sheet to make the little odds and ends that made up the skylights/hatchways, I find this an easier method than measuring next steps will be to make the skylights and glaze and bar them but that's all for now, thanks for looking in J


- 258 replies
-
- 7
-
-
- harriet lane
- model shipways
- (and 1 more)
-
Thanks Steve...that won't happen for a while yet, I'm breaking the build down into subassemblies with the plan of adding them all together, there is not a lot of room on the deck and things get cluttered real quick, on my bench/table
-
Thank you sir...not perfect nor museum quality, but I can live with it, she looks really great from 2-3 ft.
- 258 replies
-
- 1
-
-
- harriet lane
- model shipways
- (and 1 more)
-
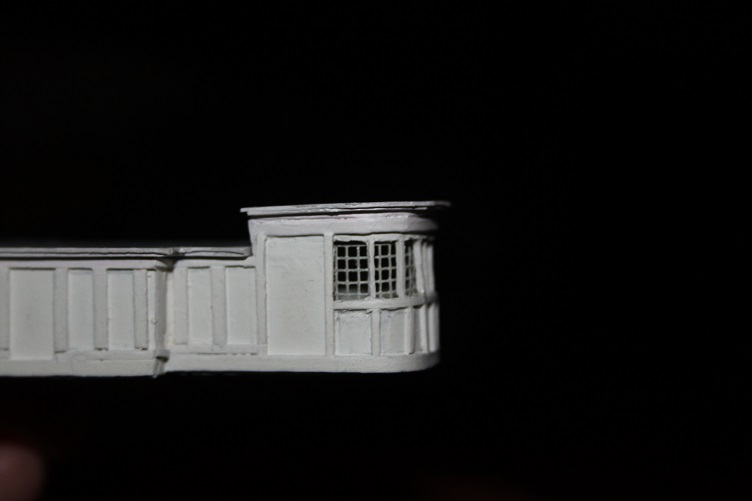
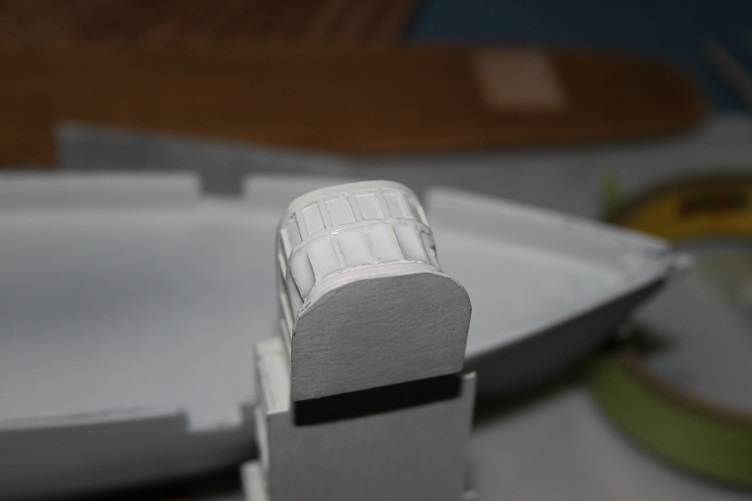
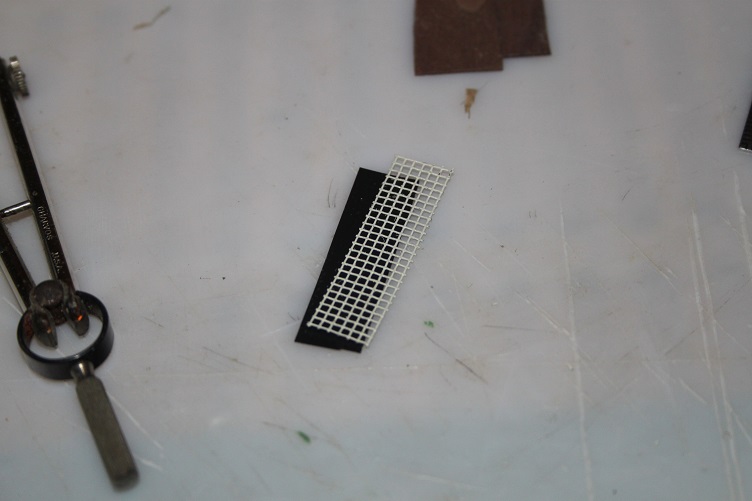
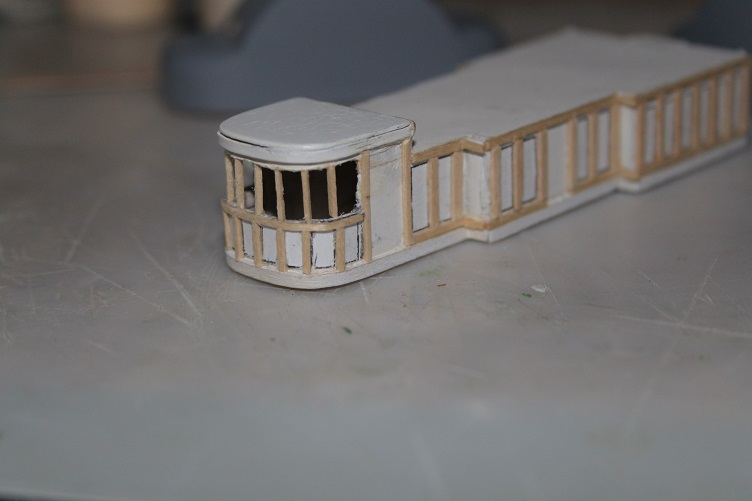
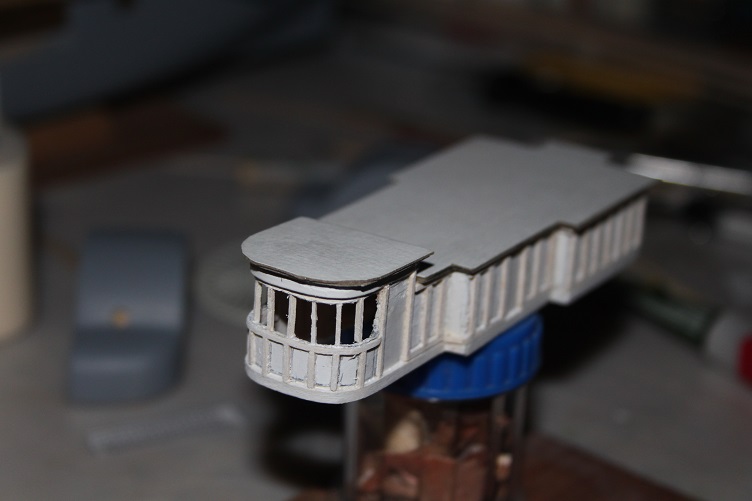
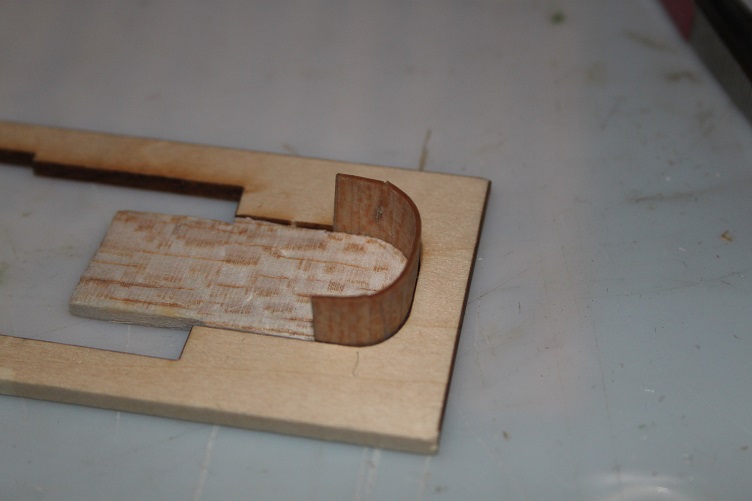
The Pilot House project has come to a satisfactory finish...least its good enough for me... The aforementioned screen was glued in from the bottom Microscale Kristal Klear was applied to the windows to simulate glass The finished Pilot House... ...still needs to have a coat of sealer applied and the roof detailed and painted, as you can see I went with the traditional white...the ivory I planned to use was bit to yellow for my taste. I'm currently debating whether to weather lightly or not... Well that's all for now... thanks for looking in J
- 258 replies
-
- 9
-
-
- harriet lane
- model shipways
- (and 1 more)
-
Hey Denis...if the interior of the boats is the only thing that is not correct you could always just scratch a tarpaulin for the ones on ht davits...that is unless you wish to detail the insides J
- 453 replies
-
- 7
-
-
- thermopylae
- sergal
- (and 1 more)
-
Thx Steve
-
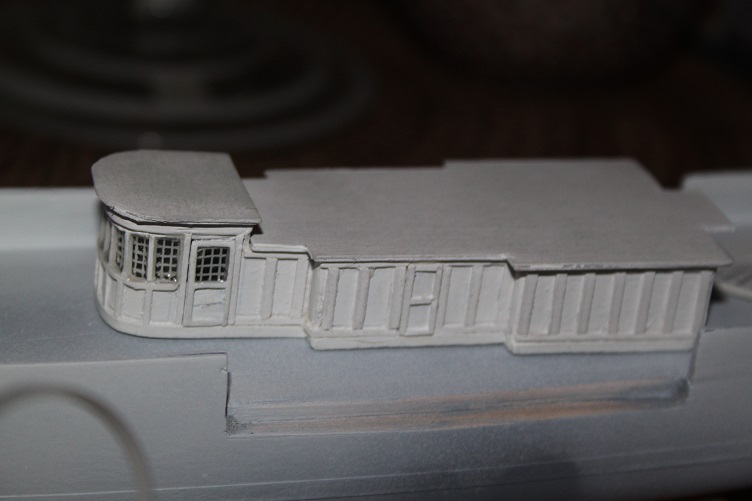
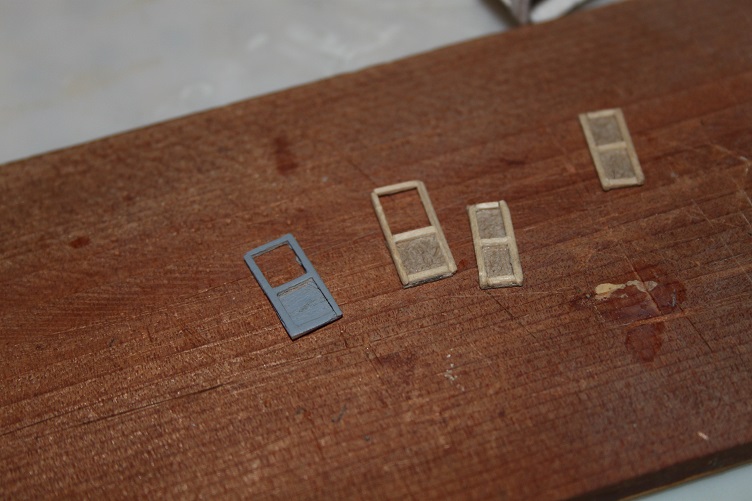
Hello all, I've haven't posted in awhile and contrary to what some may believe I have not fallen in a hole!! I figured I'd make my next post the near completed deck house... well the little deck house has turned out to be more of a challenge then I would have ever imagined... I think i've re-done it a total of 5 times at last count...and I was not happy with any of those iterations! Finally got something I'm pleased with...Pics follow: Here is the front end complete and the roof ready to attach This is mock up of what I plan for the windows and mullions I made some extra copies of the kit supplied deckhouse paneling, I glued it to the balsa sides to serve as templates for the wood paneling The front bracing was stripped away to allow for the future installation of the windows Photo Bombed!! Paneling going on Had to make some new doors...one was salvaged from one of the last strip downs Added the finished roof and got a coat of primer on ...still have a little touch up sanding to do, a couple more primer coats before the finish...I'm thinking of shooting the deck house an ivory shade as opposed to white, just to make it a bit different...all the other deck furniture would follow suit That's it for now, as always thanks for your time and attention


- 258 replies
-
- 7
-
-
- harriet lane
- model shipways
- (and 1 more)
-
Very very nice turning into quite the show piece
- 277 replies
-
- 1
-
-
- model shipways
- 18th century longboat
- (and 1 more)
-
Hi Steve, thanks for stopping by...that is the plan
- 258 replies
-
- 1
-
-
- harriet lane
- model shipways
- (and 1 more)
-
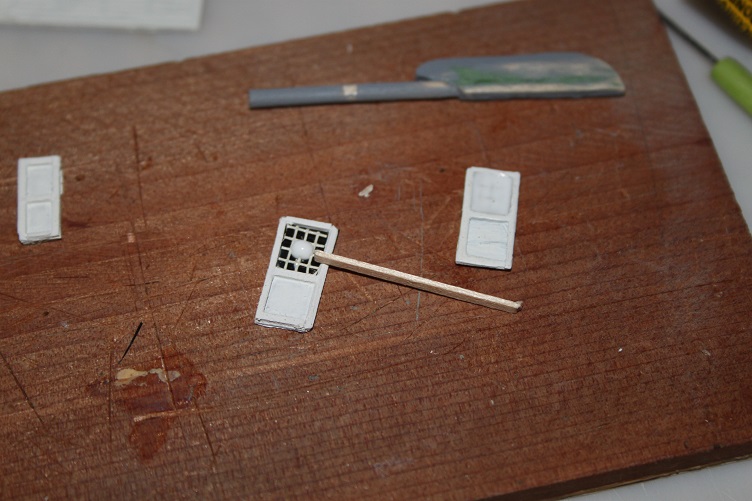
THX Pop, You got that right...I'm determined to get this pilot house to be a show piece, the doors are going to be a challenge, the technique I used last time kinda worked, still not as square as they need to be, gotta but more gray matter to use on that one. Na never crossed my mind, I'm of the opinion that most of us here consider this a place of camaraderie, and as such look to give and take advice...least that's how I see it
- 258 replies
-
- 1
-
-
- harriet lane
- model shipways
- (and 1 more)
-
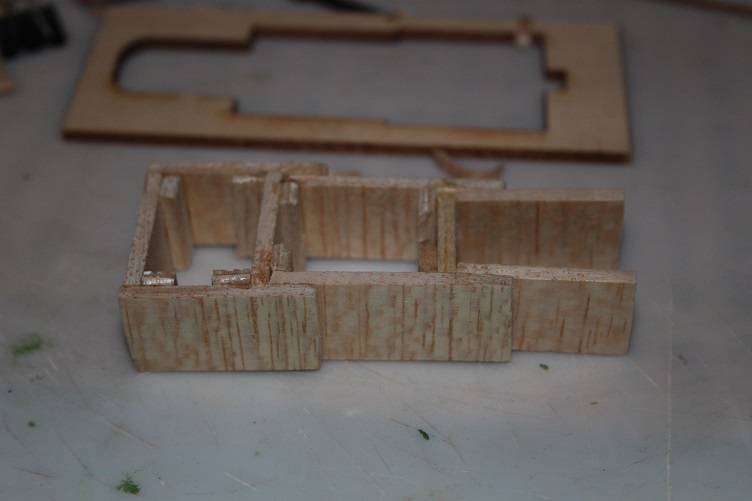
Had more time today so I continued with the new pilot house, the process continued adding walls and bracing until the front could be attached. The bucks used to form the front panel were glued in place and then trimmed back to allow space for the front walls. I used this technique to make some curved trim as well. Once the front end had set I used cardstock and white glue to make and attach the roof As you can see I still need to make the front raised roof, probably tomorrow. As always thanks for looking in J


- 258 replies
-
- 2
-
-
- harriet lane
- model shipways
- (and 1 more)
-
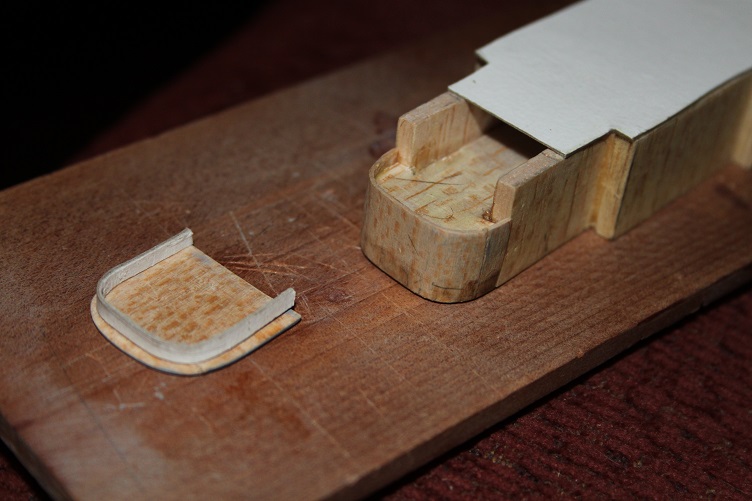
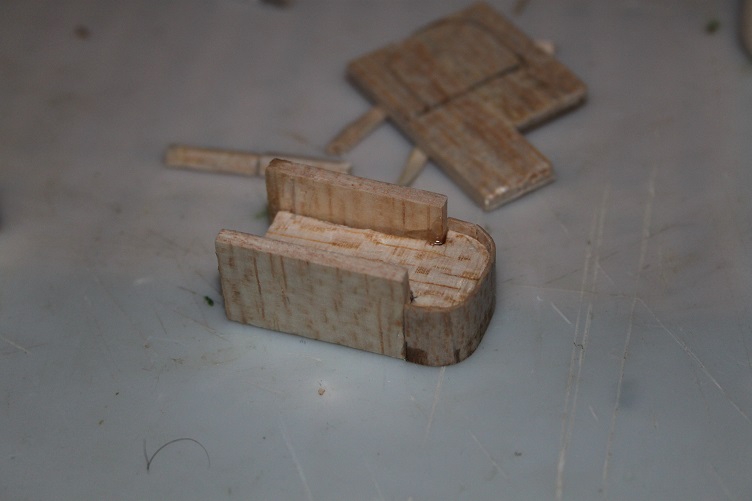
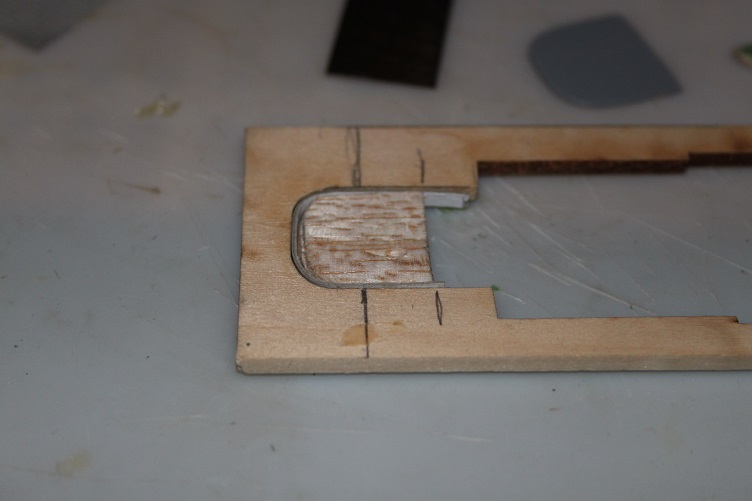
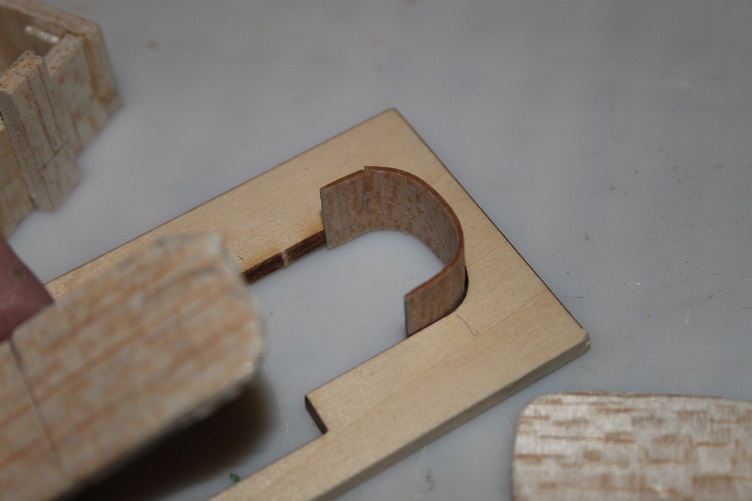
OK...I'm officially over the edge after putting another 10 or so hours into the new pilot house paneling, I'm scrapping it yet again... my mistake was leaving the original blank unprimed before applying the strip, it felt smooth but oh contrair' nasty...nasty, what tee's me of most is that I know better, primer will always show any defect, and there are plenty...so I'm following our good friend and mentors (Popeye) advice and scratching it from balsa, if will be filled and primed before adding strip...maybe even finished paint...prior to Pics follow: Here's what I thought would be the finished pilot house... ...and how it looked after priming So using the leftover deck house frame as a jig it's a fresh start walls were build up and bracing and corner blocks added where I thought it would help The front of the pilot house is curved...a real head scratcher...I decided to shape a couple bucks and soak some of the kit provided 1/32 basswood sheet to see if it would take the the bend So that's where she sits at this point...waiting for stuff the set up and dry before attaching the front panel and working up the roof...I'll post more once it gets to that point well that's it for now from Bat S--- Crazy Town


- 258 replies
-
- 2
-
-
- harriet lane
- model shipways
- (and 1 more)
-
Hey Denis...making fine head way I see, a quick question in your last post you mentioned working the stbd side then moving to port...any specific reason for this? I usually work plank by plank one side then the other? Is there any advantage to working up one full side? THX J
- 453 replies
-
- 7
-
-
- thermopylae
- sergal
- (and 1 more)