bobandlucy
-
Posts
512 -
Joined
-
Last visited
Content Type
Profiles
Forums
Gallery
Events
Everything posted by bobandlucy
-
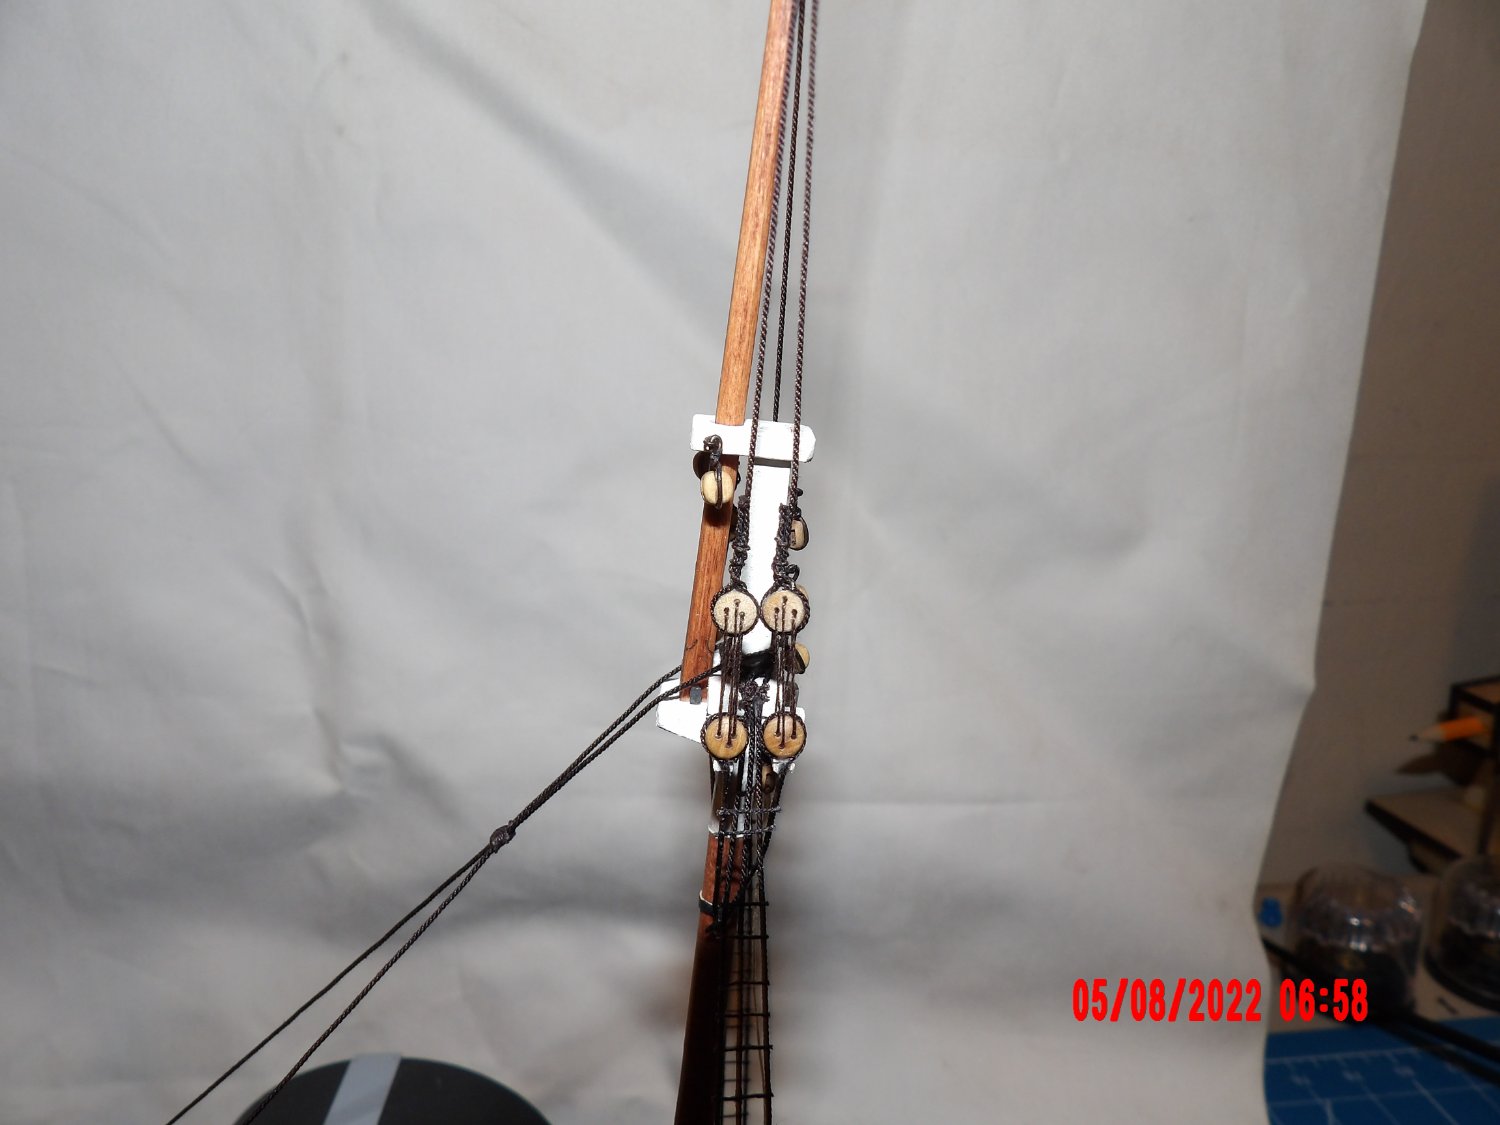
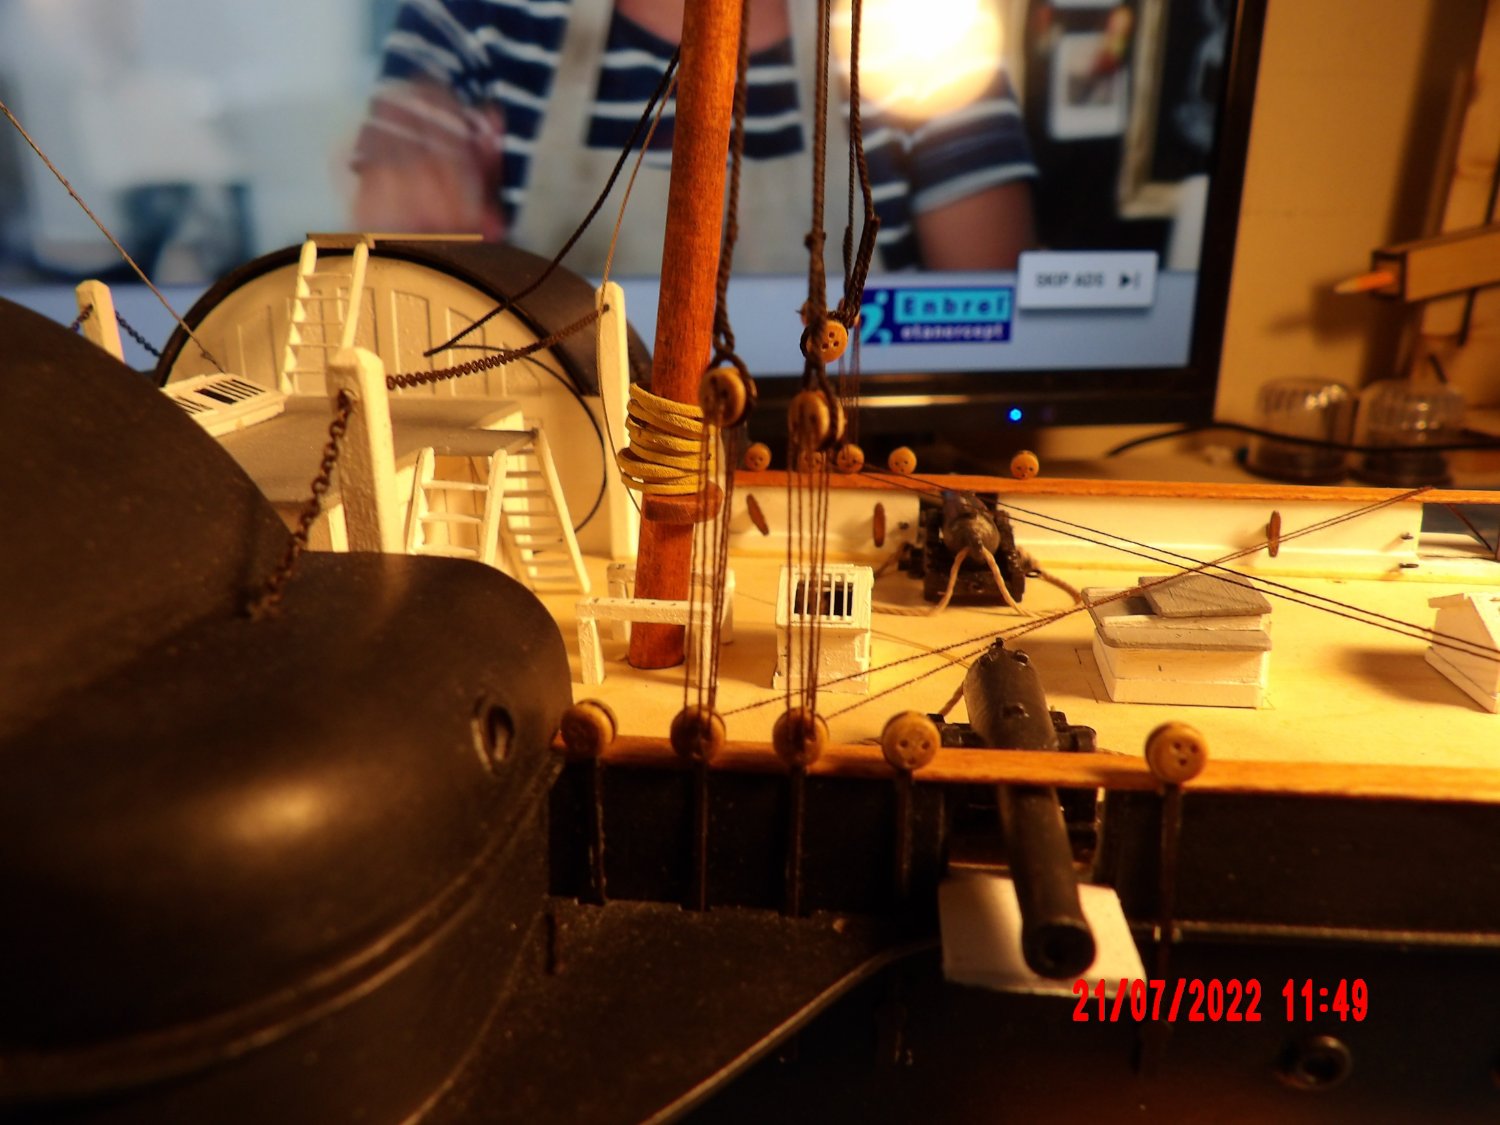
 Hung and rigged the main yard. Fun but nerve-wracking! Liked watching the interplay of the lines as they were tightened.


- 146 replies
-
- 6
-

-
- Harriet Lane
- Model Shipways
- (and 1 more)
-
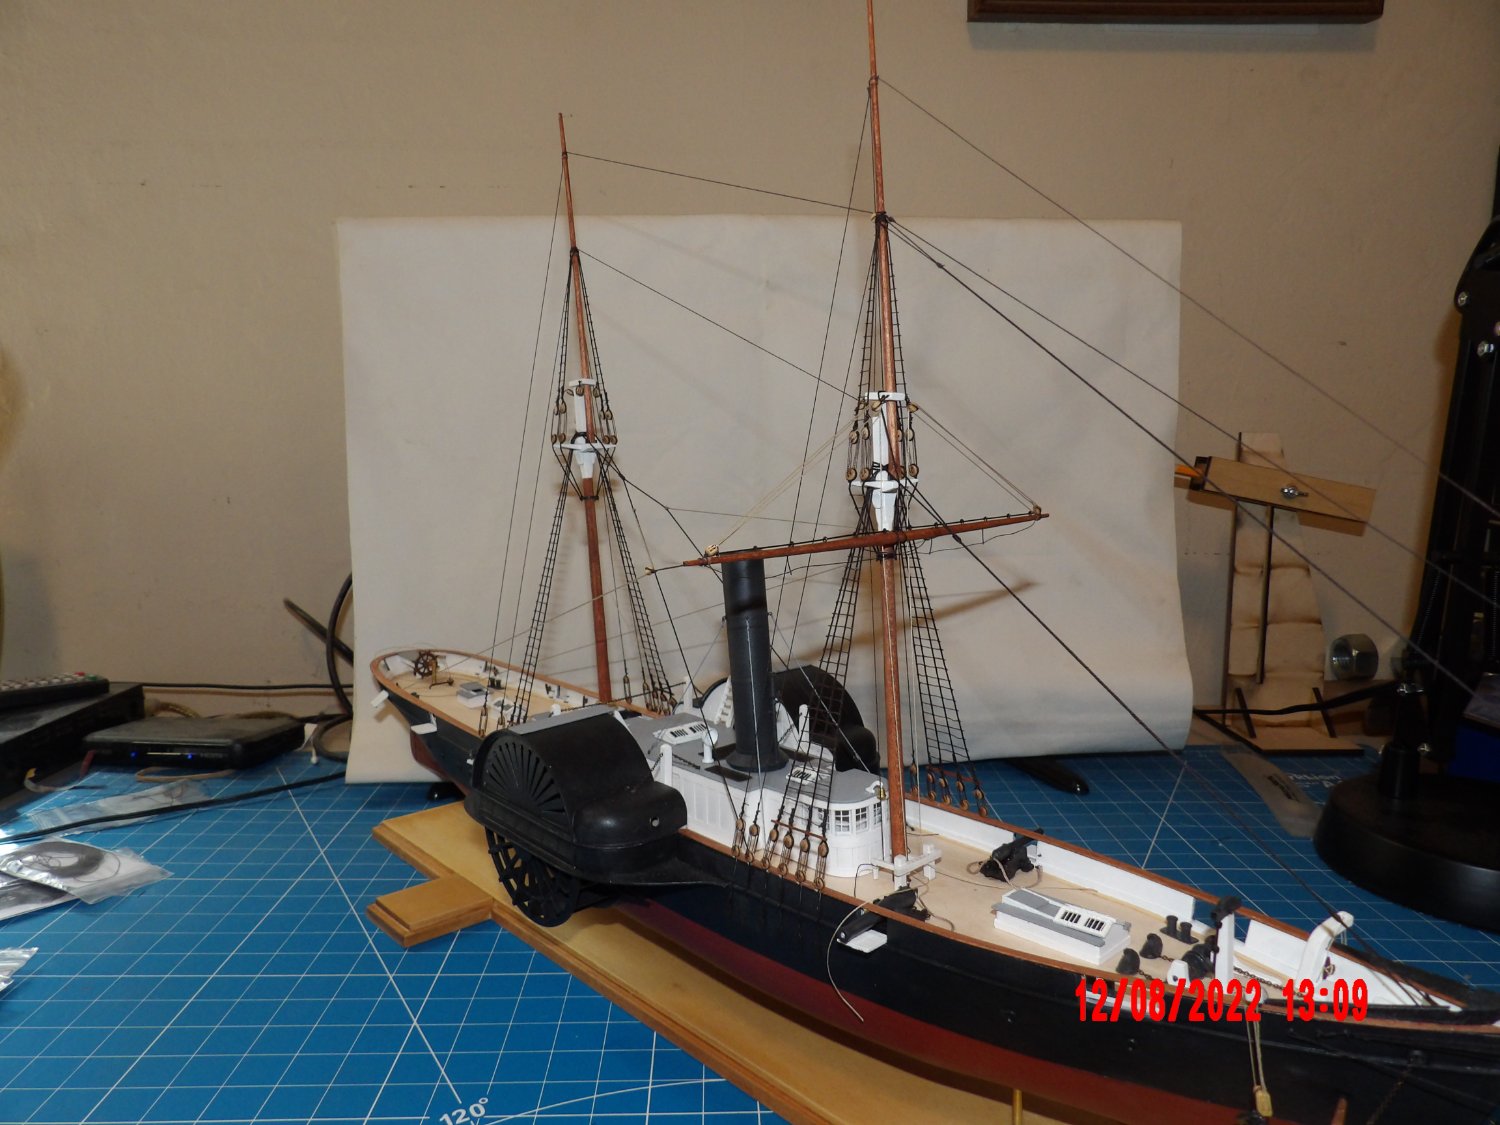
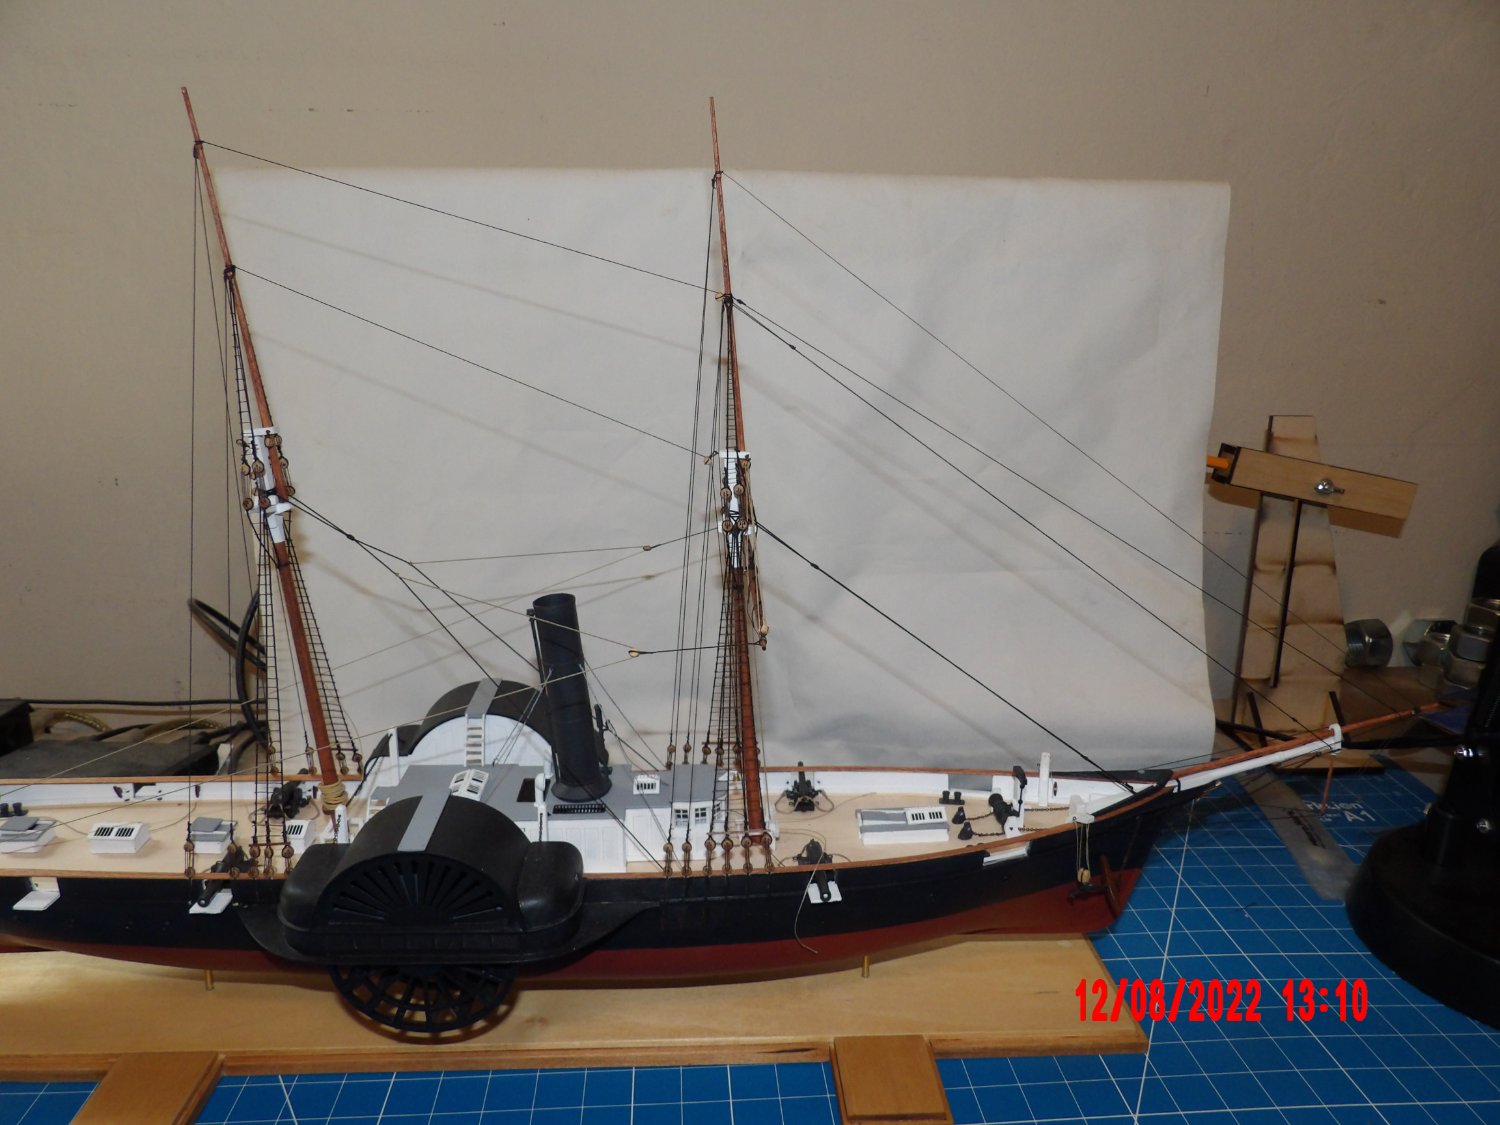
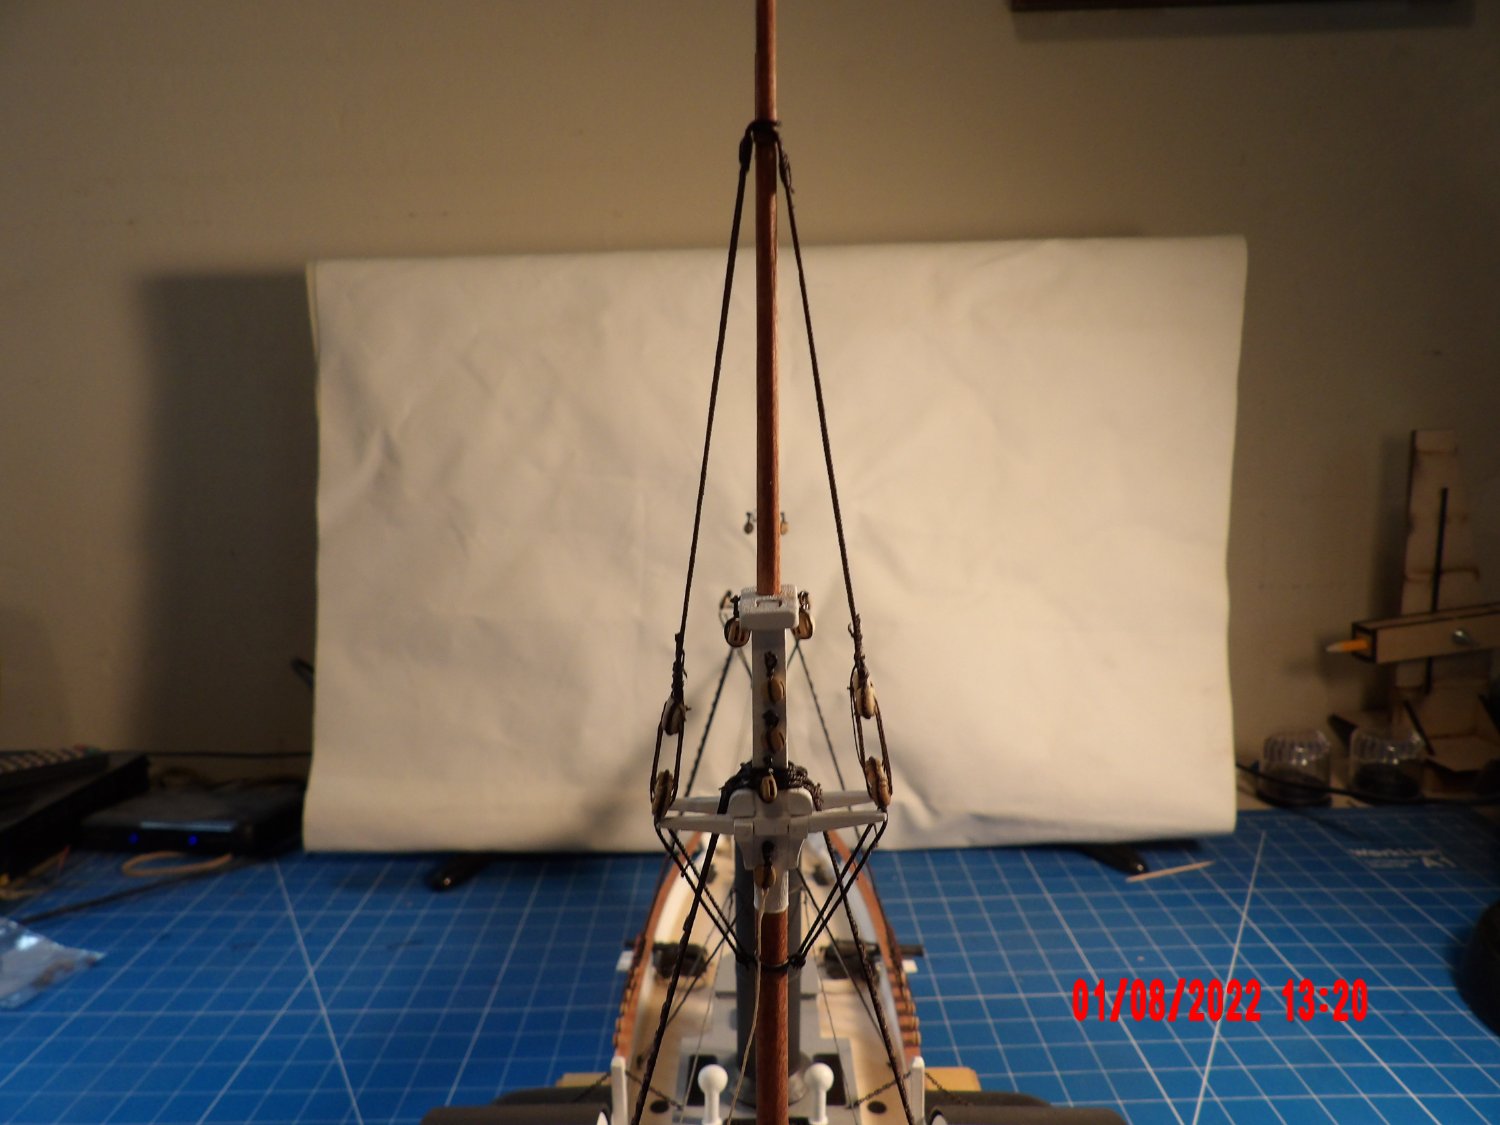
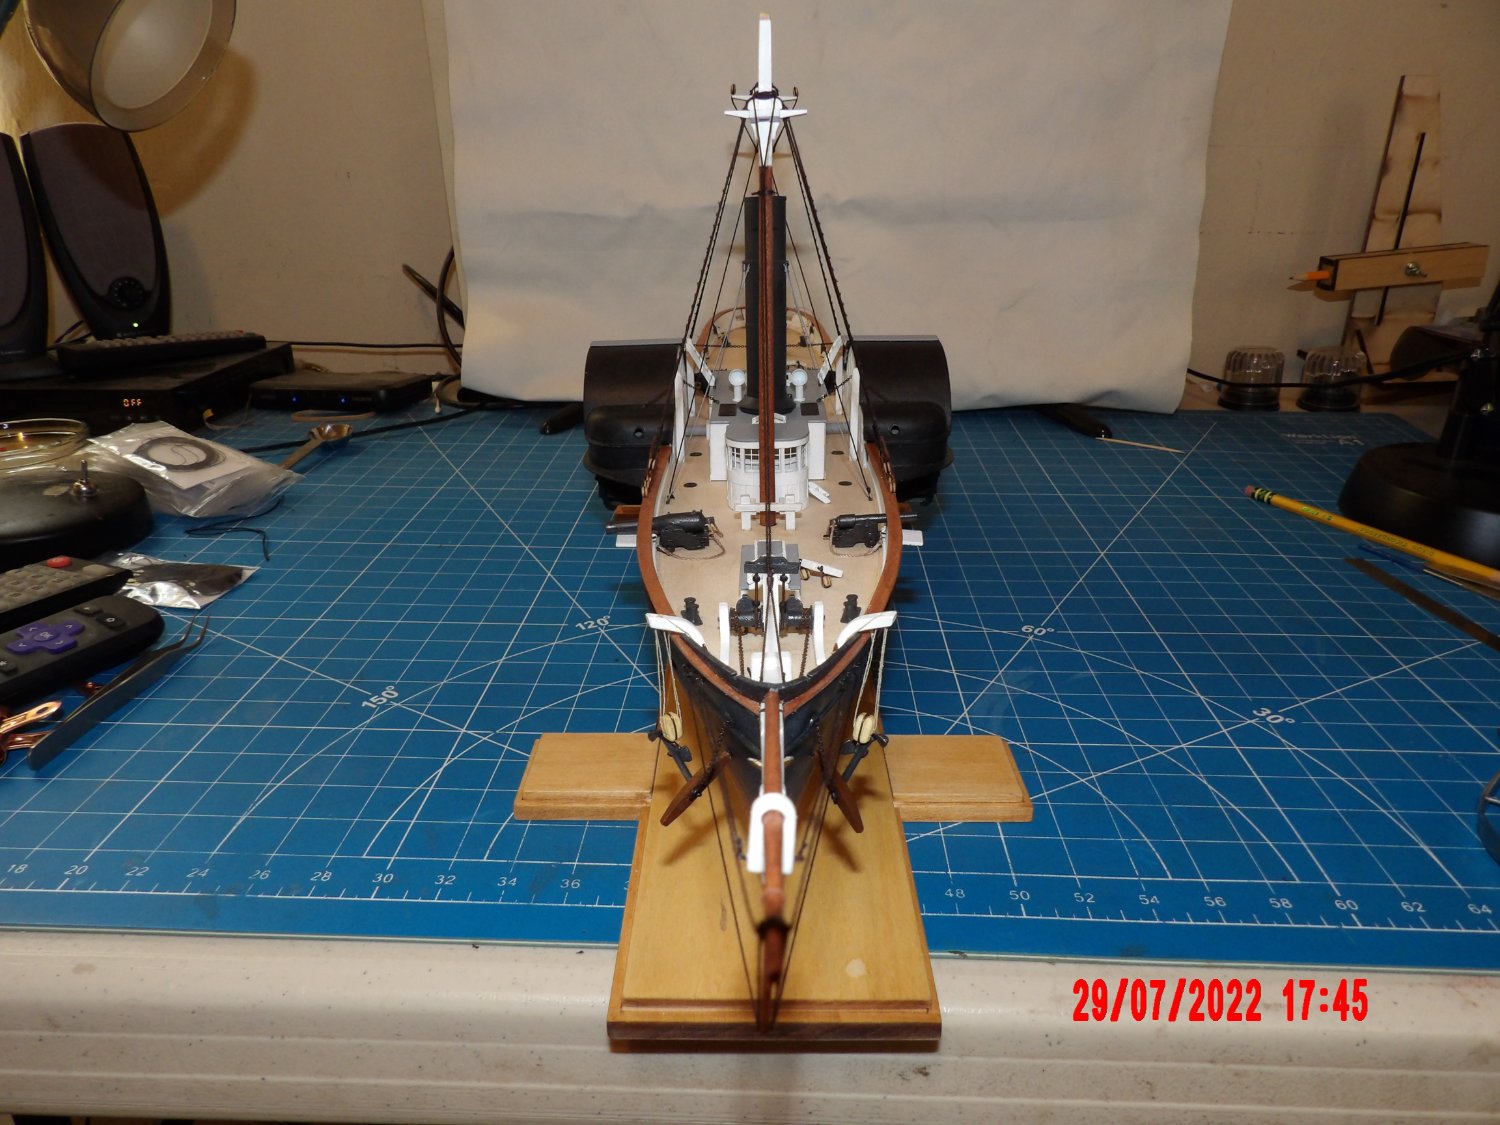
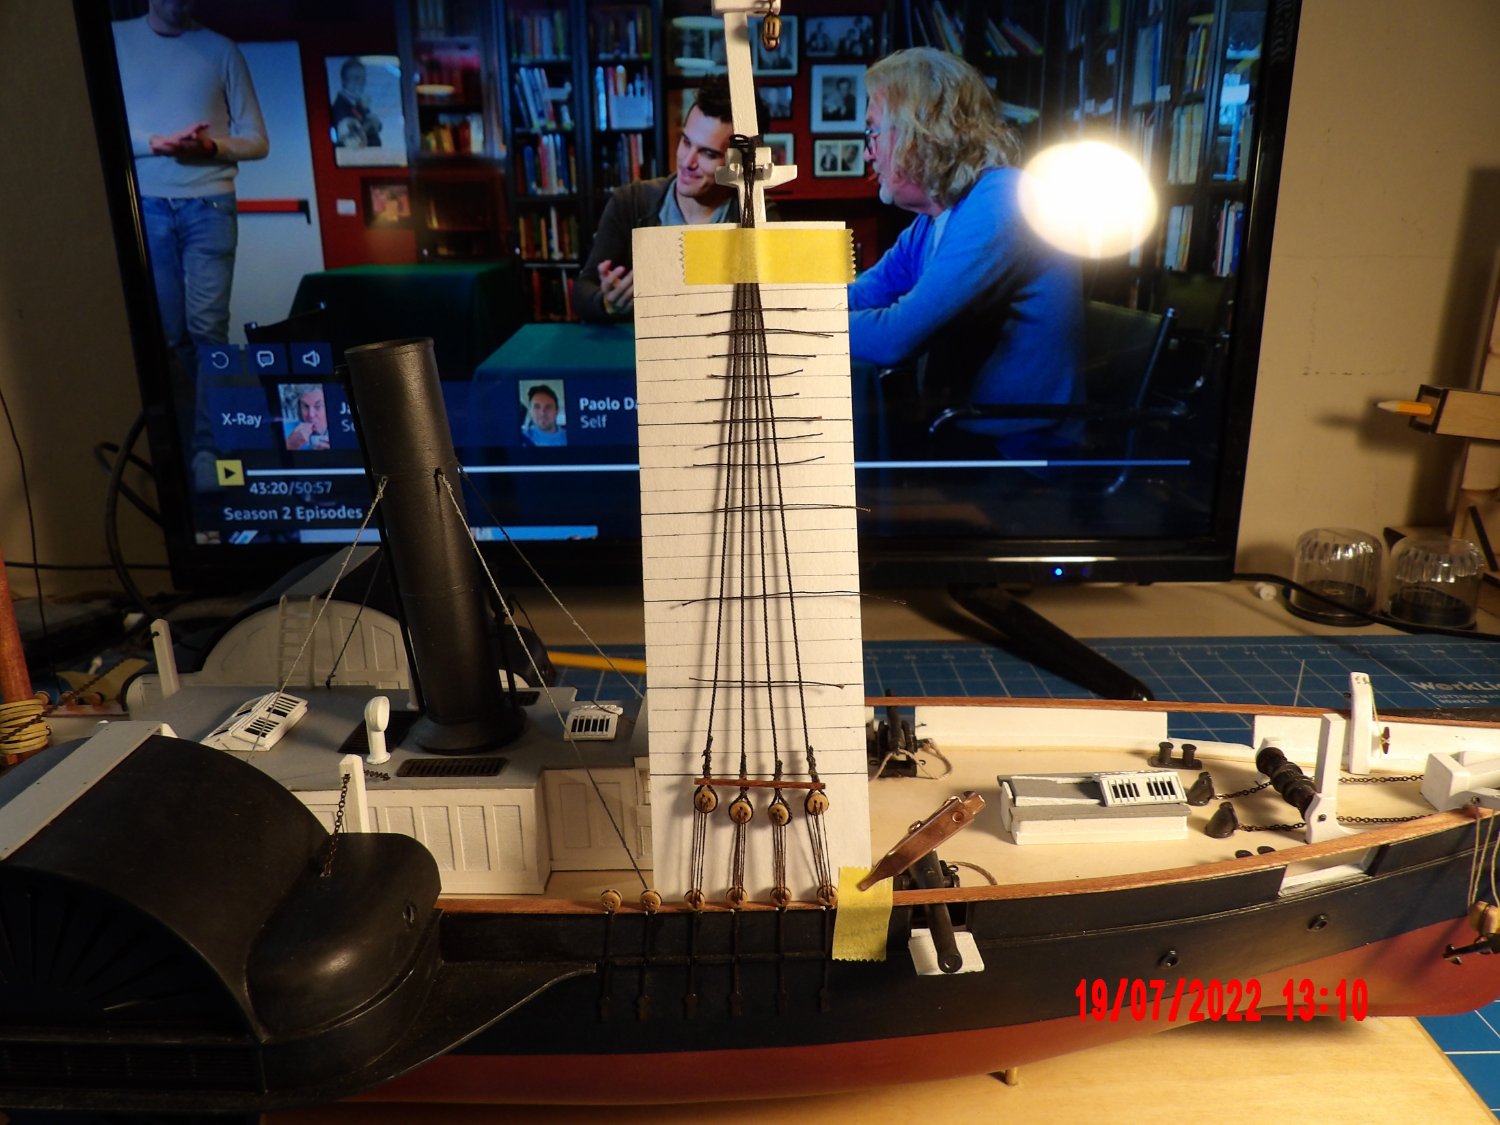
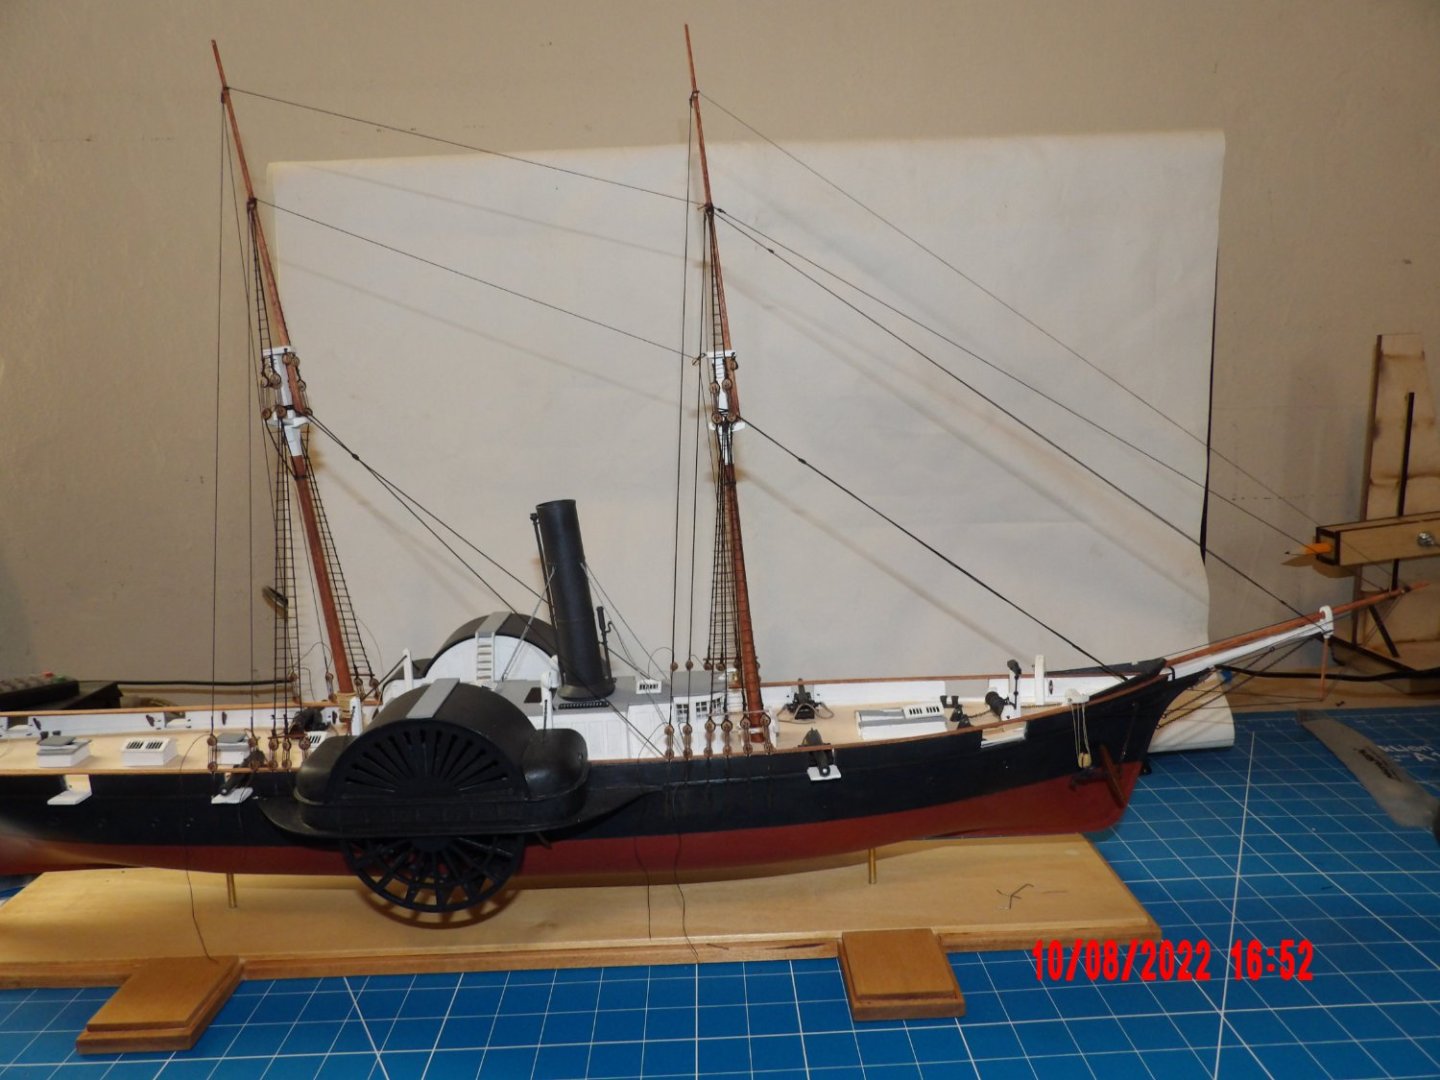
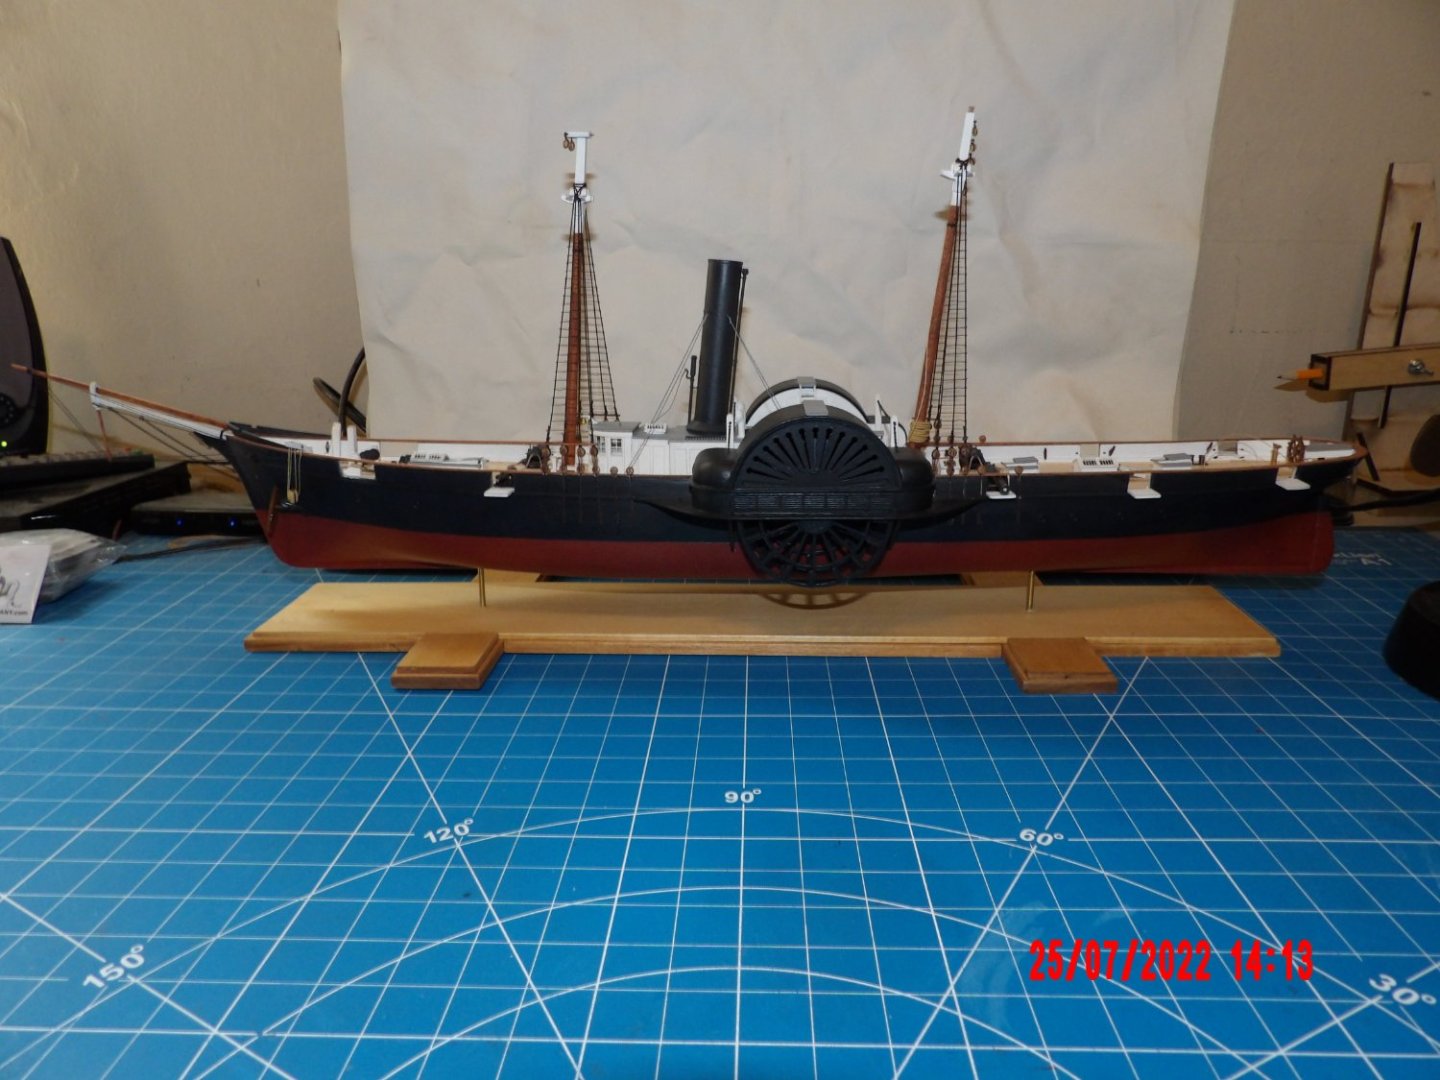
Standing rigging almost finished. The excitement builds. . .
- 146 replies
-
- 8
-
-
- Harriet Lane
- Model Shipways
- (and 1 more)
-
David, I understand. I am not at all bashing this kit. Just relating some of my obsessive thinking, the bane of having been a specifications writer. . . at least this hobby gives me a productive outlet. To the contrary, I highly recommend this kit and the rest of the series. I'm so glad I started with these. The instructions on modeling techniques have brought me pretty far in a relatively short period of time, and saved me from obsessing over the state of the world the last couple of years (mostly)! Bob
- 146 replies
-
- 3
-
-
- Harriet Lane
- Model Shipways
- (and 1 more)
-
Thanks, George and Gregg. George, the language is in the instructions. I'm not real concerned, just kind of illustrating how I can take a simple issue and make it complicated. Also clarifying things for myself. Learning how to puzzle out such things. To paraphrase kit designer David A., "If it looks right, it is right. . ." b
-
One thing I have really been struggling with is the size of the ropes. The manual, early on, gives sizes and model numbers only, but then as rigging becomes the main task, uses a variety of terms to describe line sizes: thin, thinner, light, thick, thicker, heavier, etc. Three sizes were supplied with the kit: 0.2 mm, 0.3 mm, and 0.45 mm- all in both dark brown and beige. The manual also called for 0.6 mm beige for rigging the guns; this was not supplied. I ordered this size in both brown and beige from Syren, and replaced the other kit-supplied line as well. I decided that four sizes are used throughout, but am not sure that is correct. The rigging plan attempts to show line weight by using double and single-line drawing, but I believe there are errors, such as the mast backstays shown the same size as the shrouds, which are called "heavier," while the backstays are identified as "thinner." I used 0.6 mm for the shrouds, based on appearance, the manuals' photos showing it around the deadeyes. I am taking what clues I can from the photos, rigging plan, and deciding what makes sense considering the size of blocks involved. This is what I am doing, for the most part: 0.2 mm = Thinner and light. 0.3 mm = Thin 0.45 mm = Thick 0.6 mm = Heavier and Thicker The "thick" size may be used only once, for the vangs, and since this size rope is supplied in both brown and beige, I am led to believe that my approach is wrong, there should have been only three sizes as supplied, with the gun rigging being an outlier in beige only. The manual also calls for "thread," for footropes, ratlines, lanyards, etc., which is defined as quilting thread in at least one instance, and I'm assuming that term is used consistently. Anyway, I think I'm in too deep now to correct this, if it is indeed wrong- and really, nothing looks "bad." I think consistency is the thing from here on out. Just an example of how I drive myself (slightly) crazy!
- 146 replies
-
- 3
-
-
- Harriet Lane
- Model Shipways
- (and 1 more)
-
Placed the upper shrouds. I must have miscounted, because I ran out of deadeyes and cannot complete the backstays. I'll do the ratlines, and then take a break while I wait for the mailing. I don't think it would be wise to go out of recommended order on the remaining rigging. Update: Oops, I see I had already posted similar above- I must be losing it. . . but this is with the foremast shrouds added. From my reading, it seems that it's a matter of preference whether to glue/not glue masts to the model. The instructions do not mention doing so, and I have not. As the rigging is added, things seem to be getting more stable, and I'm thinking that it's part of the challenge- as well as being more accurate as far as how a real ship is put together. I did not glue the topmasts to the doubling either. I'd be interested in hearing other's thoughts on this issue.
- 146 replies
-
- 11
-
-
- Harriet Lane
- Model Shipways
- (and 1 more)
-
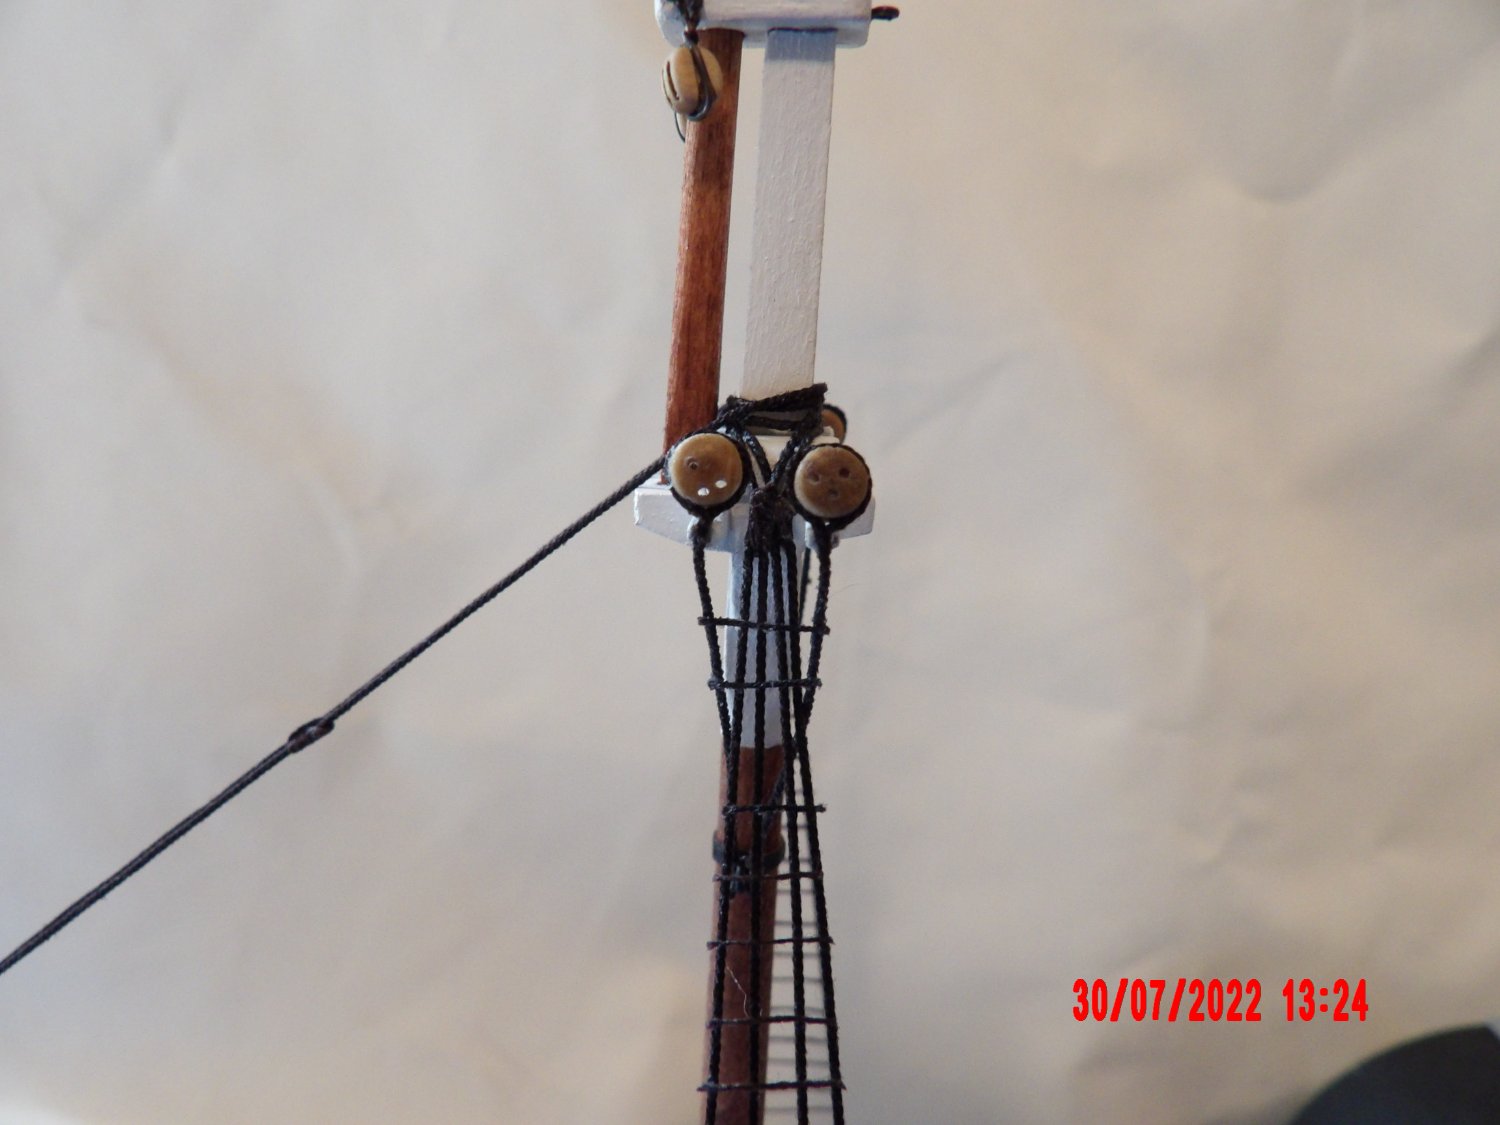
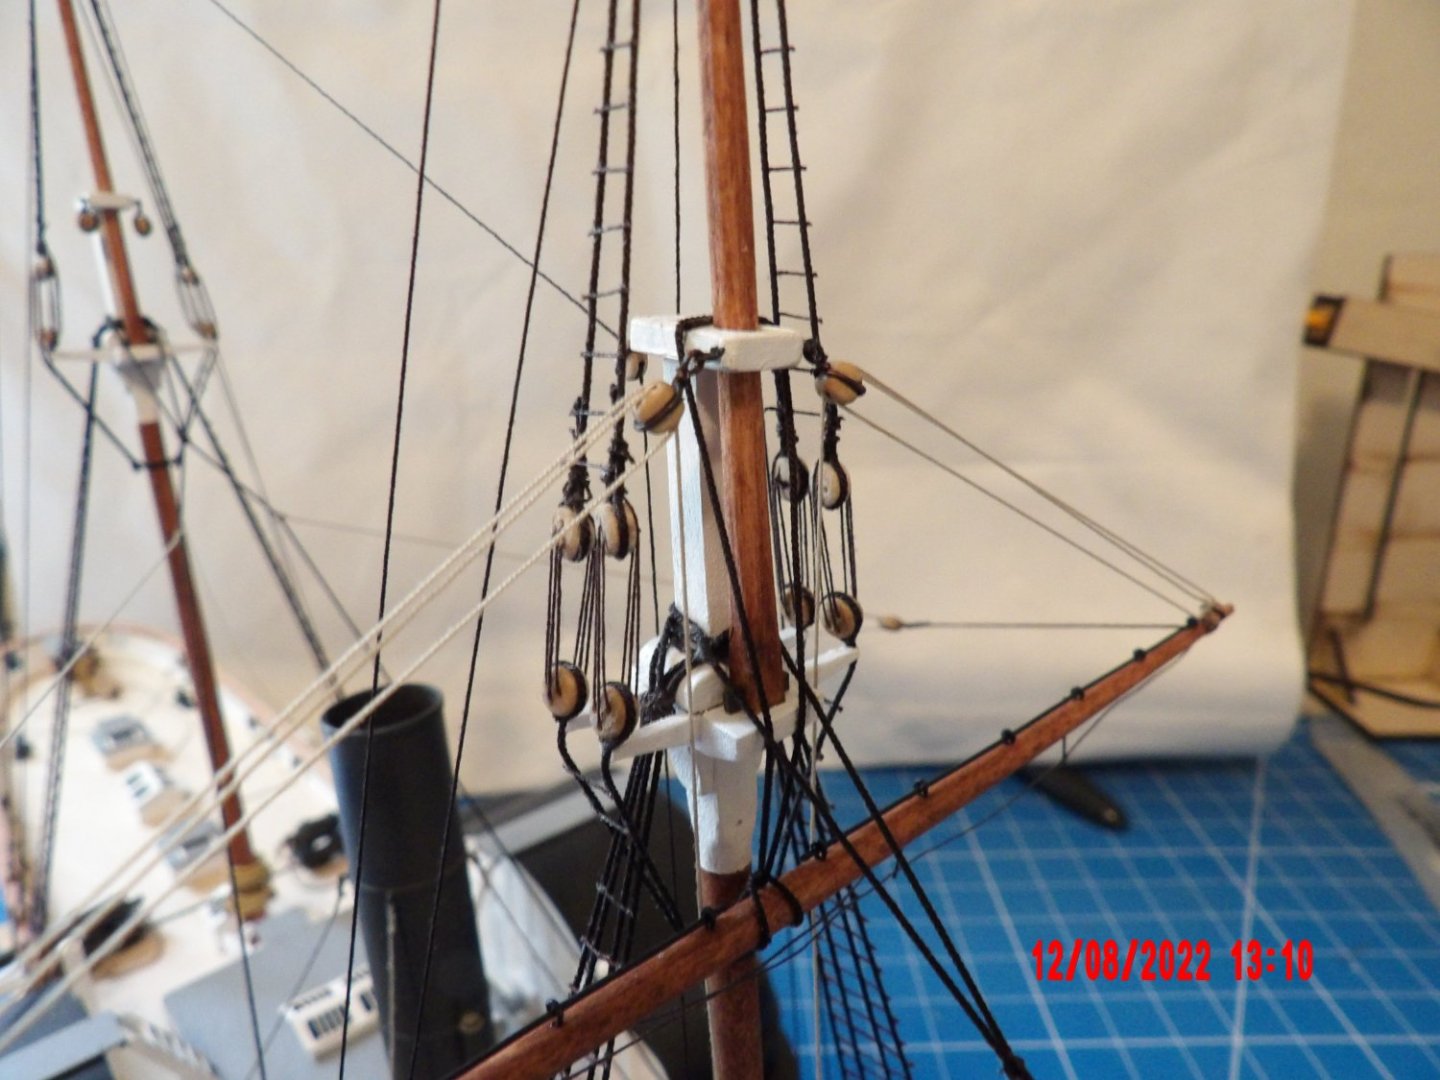
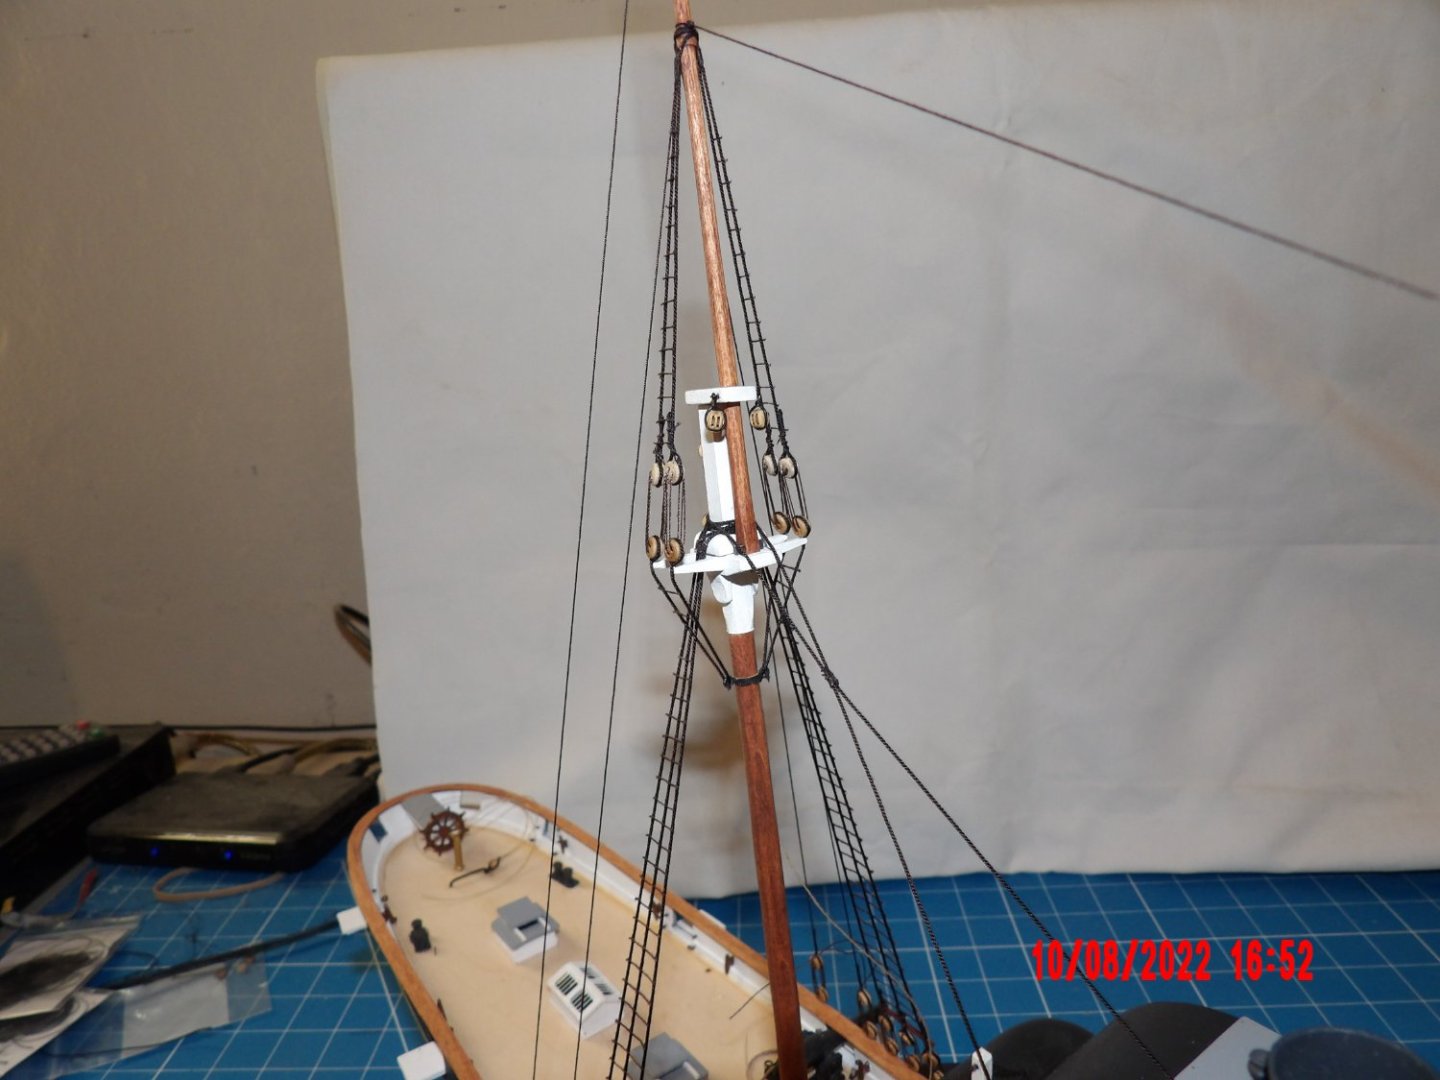
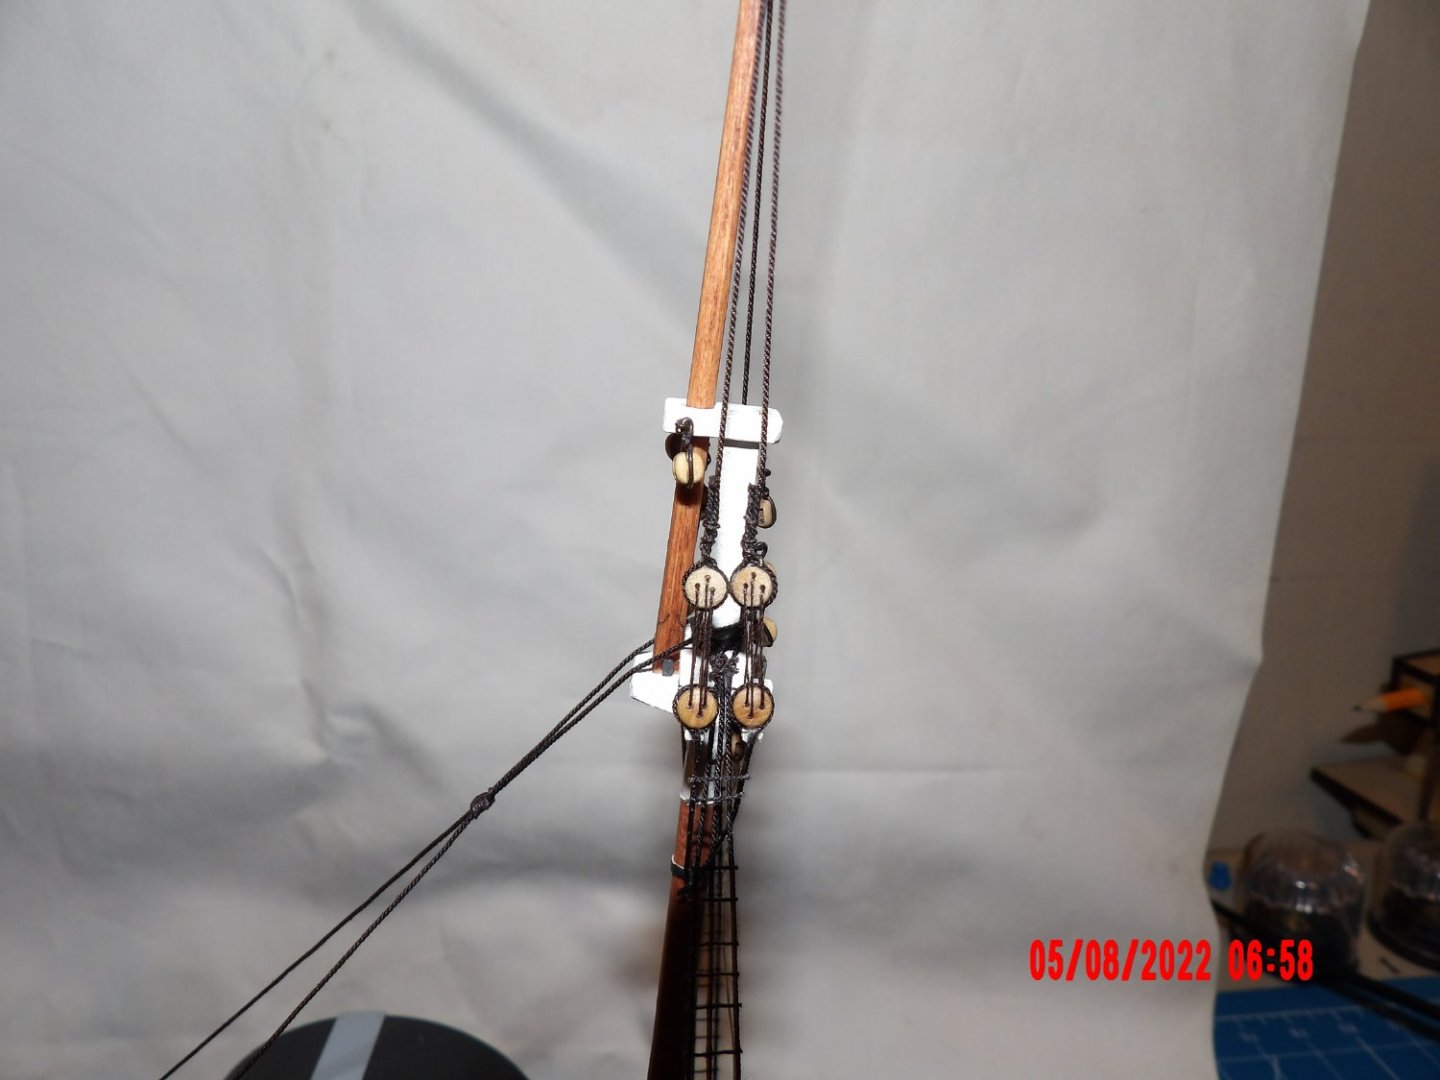
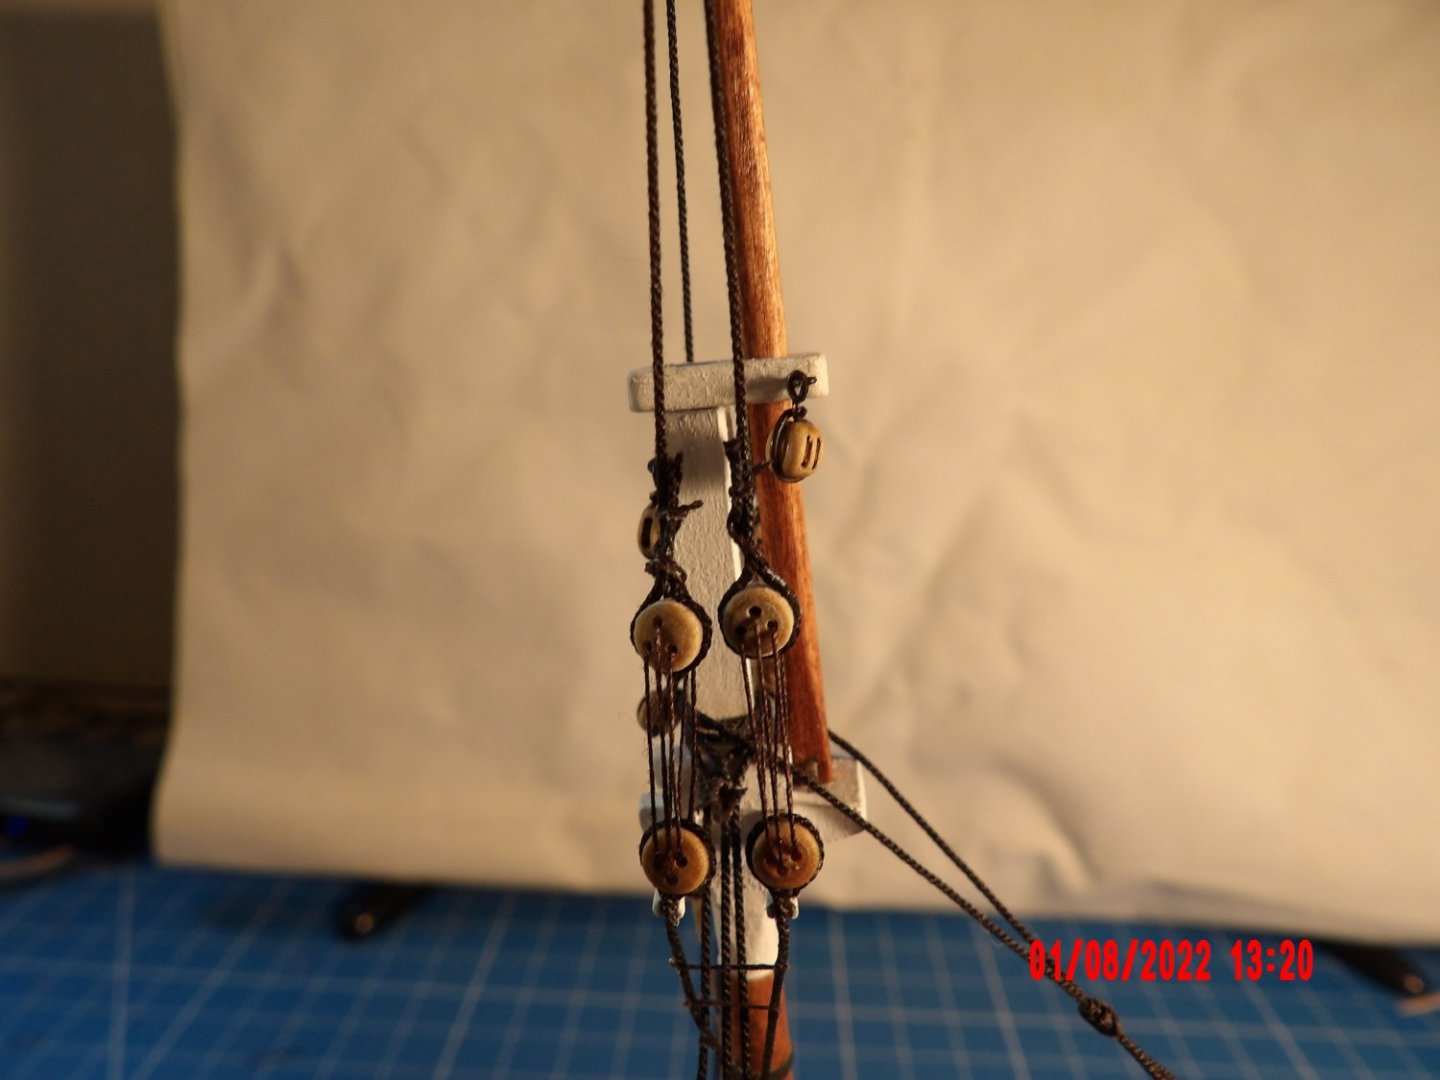
Added the upper shrouds to the mainmast. This is actually my third attempt, and I think I'll keep it. If I were to do it again, I'd make sure that the seizings on the shroud pairs matched on each side of the mast. Getting pretty good at seizing, at least off the model. Really improved when I began using a sewing needle, and when I learned to make sure that the lines remained parallel. Poor picture, I know. . . For setting the height of the upper deadeyes, I used the method linked by Carlos in his post above.

- 146 replies
-
- 9
-
-
- Harriet Lane
- Model Shipways
- (and 1 more)
-
Added the lower stays and began placing the deadeyes for the upper shrouds. Upper shroud futtocks and ratlines. The ratlines are hard to place with my elbow off the table, as my hand shake more. I can see things getting more difficult higher up. I will try stacking boards for support.


- 146 replies
-
- 9
-
-
- Harriet Lane
- Model Shipways
- (and 1 more)
-
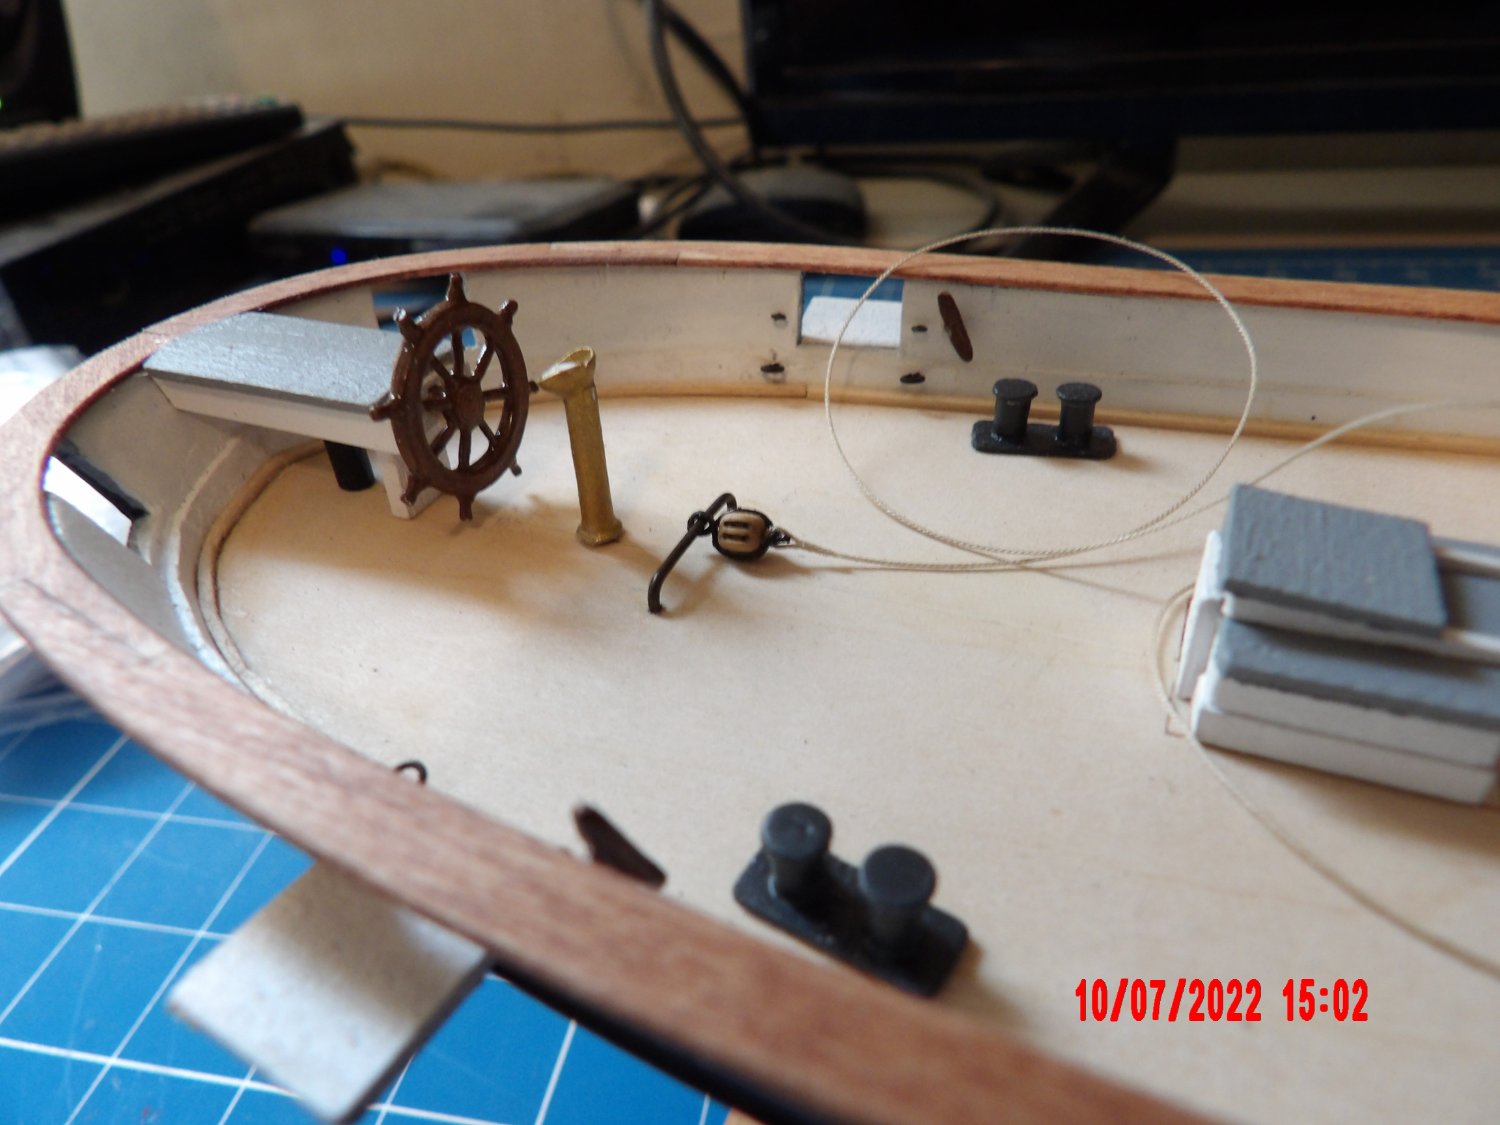
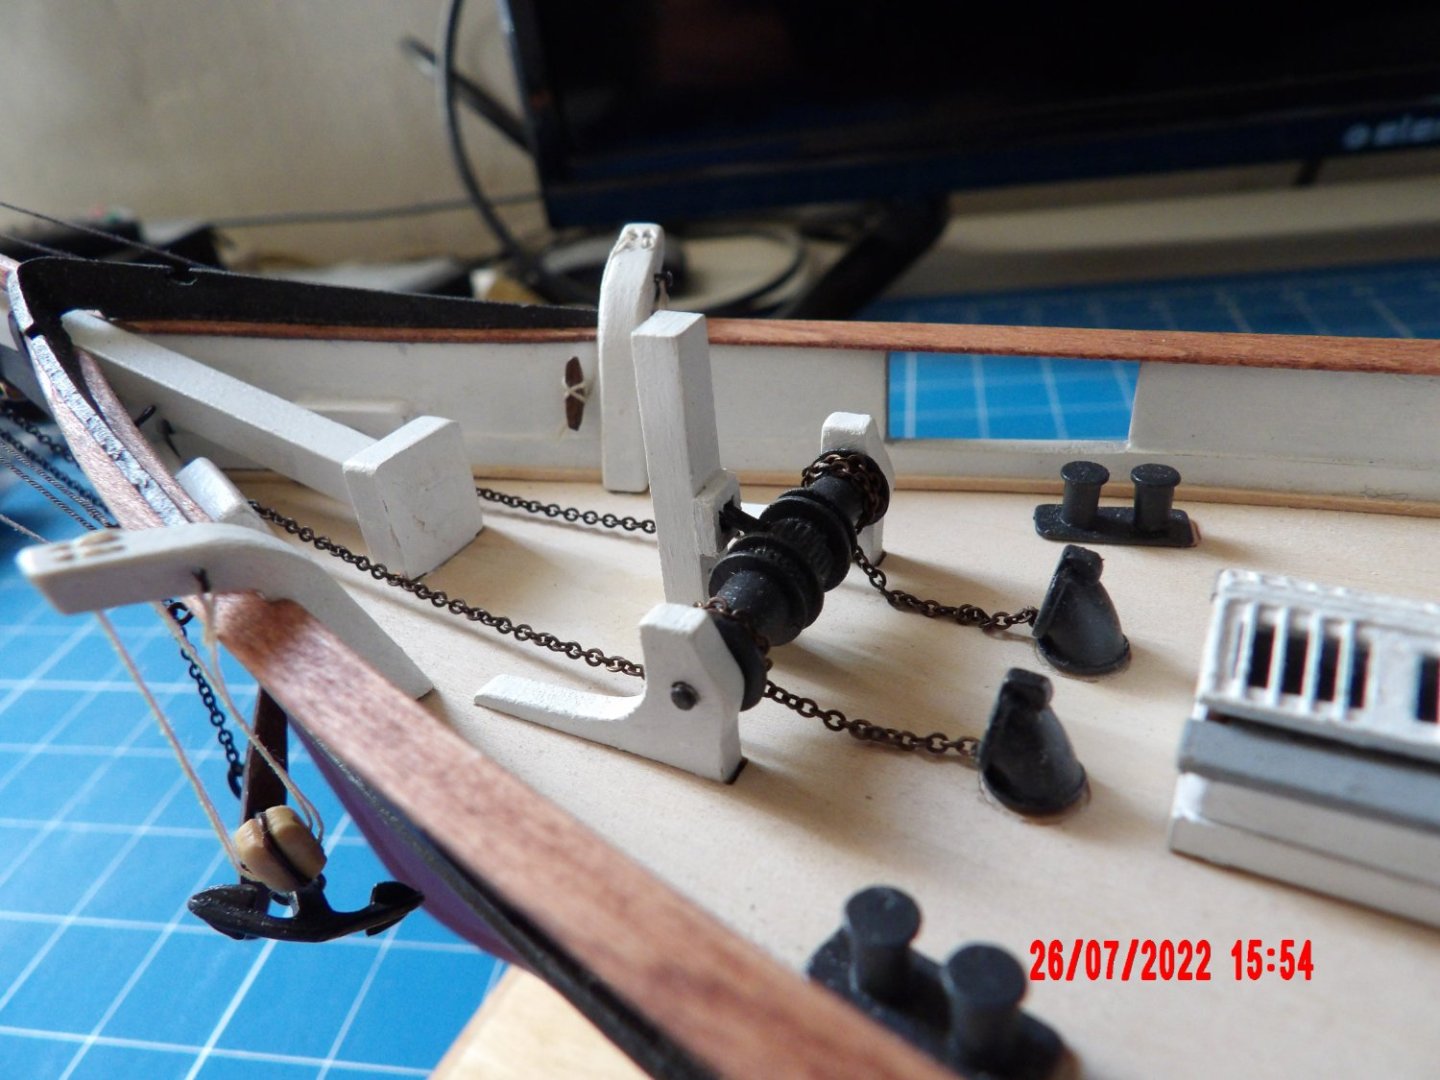
Finished the windlass mechanism. Do the dishes now? Or. . .
- 146 replies
-
- 6
-
-
- Harriet Lane
- Model Shipways
- (and 1 more)
-
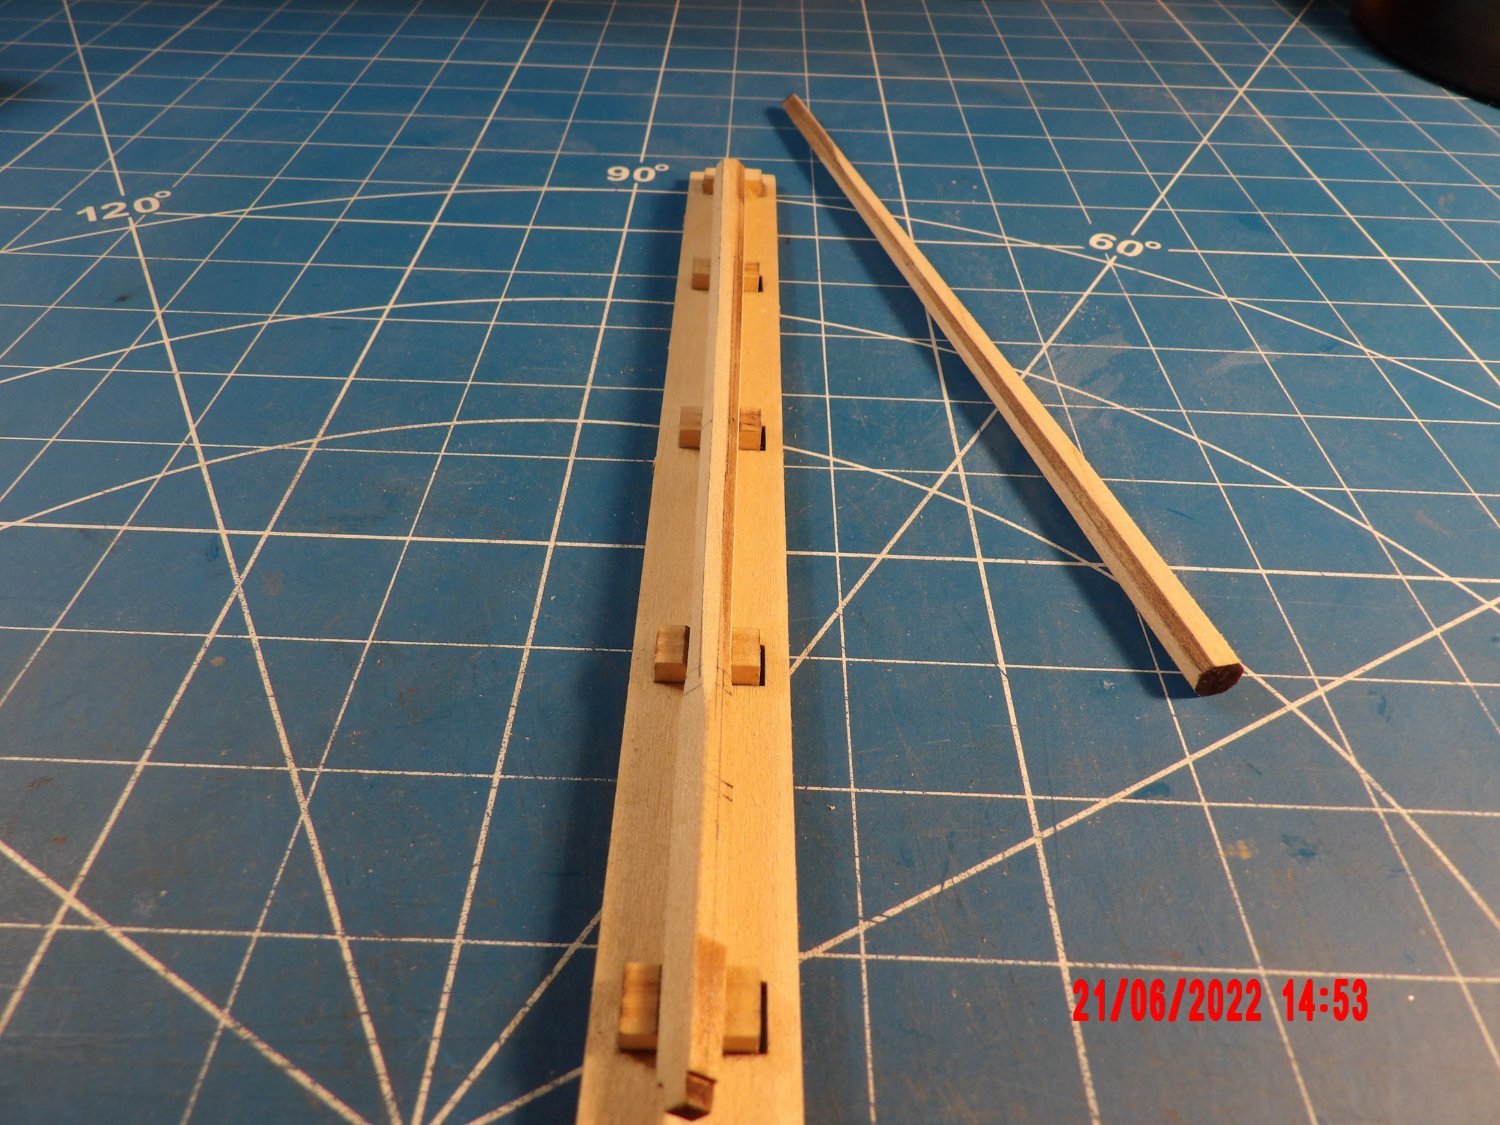
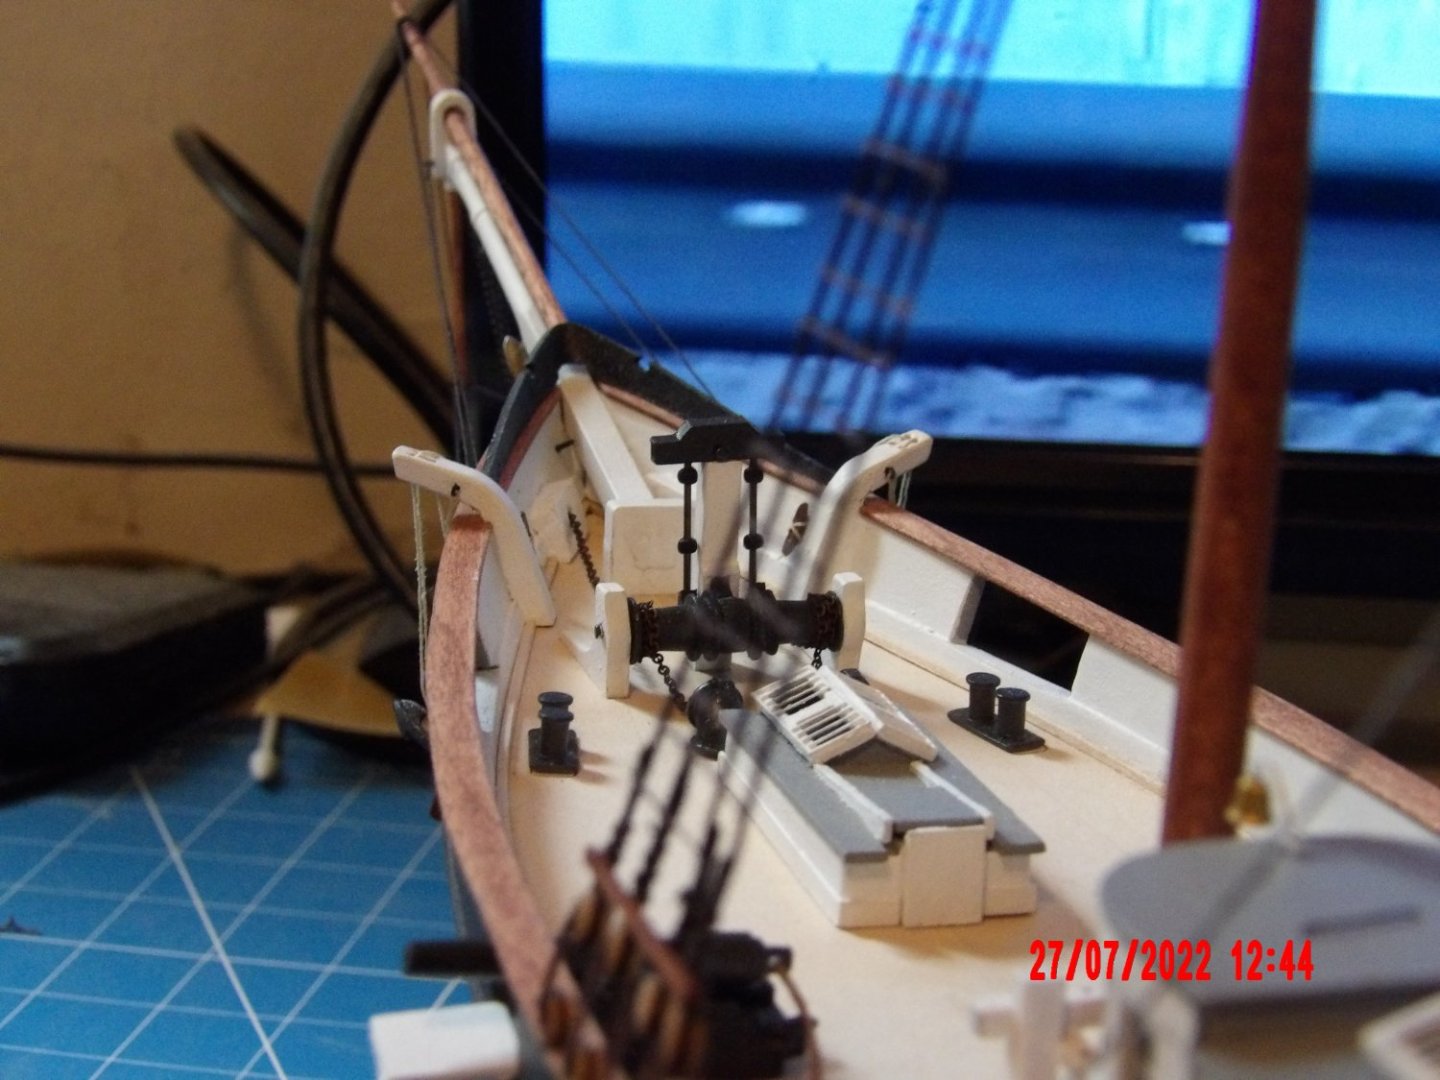
Thank you, David and Gary! And thanks to Carlo for the link. I'll remember that. I kept forgetting to finish the windlass. Some of the mechanism is to be scratch-made. I added the pawl, and began work on the crosshead. The dishes will have to wait. . . For the crosshead, I glued some basswood planking scrap over 1/16" square stock, with an overhang at each end. Came out pretty nice.
- 146 replies
-
- 7
-
-
- Harriet Lane
- Model Shipways
- (and 1 more)
-
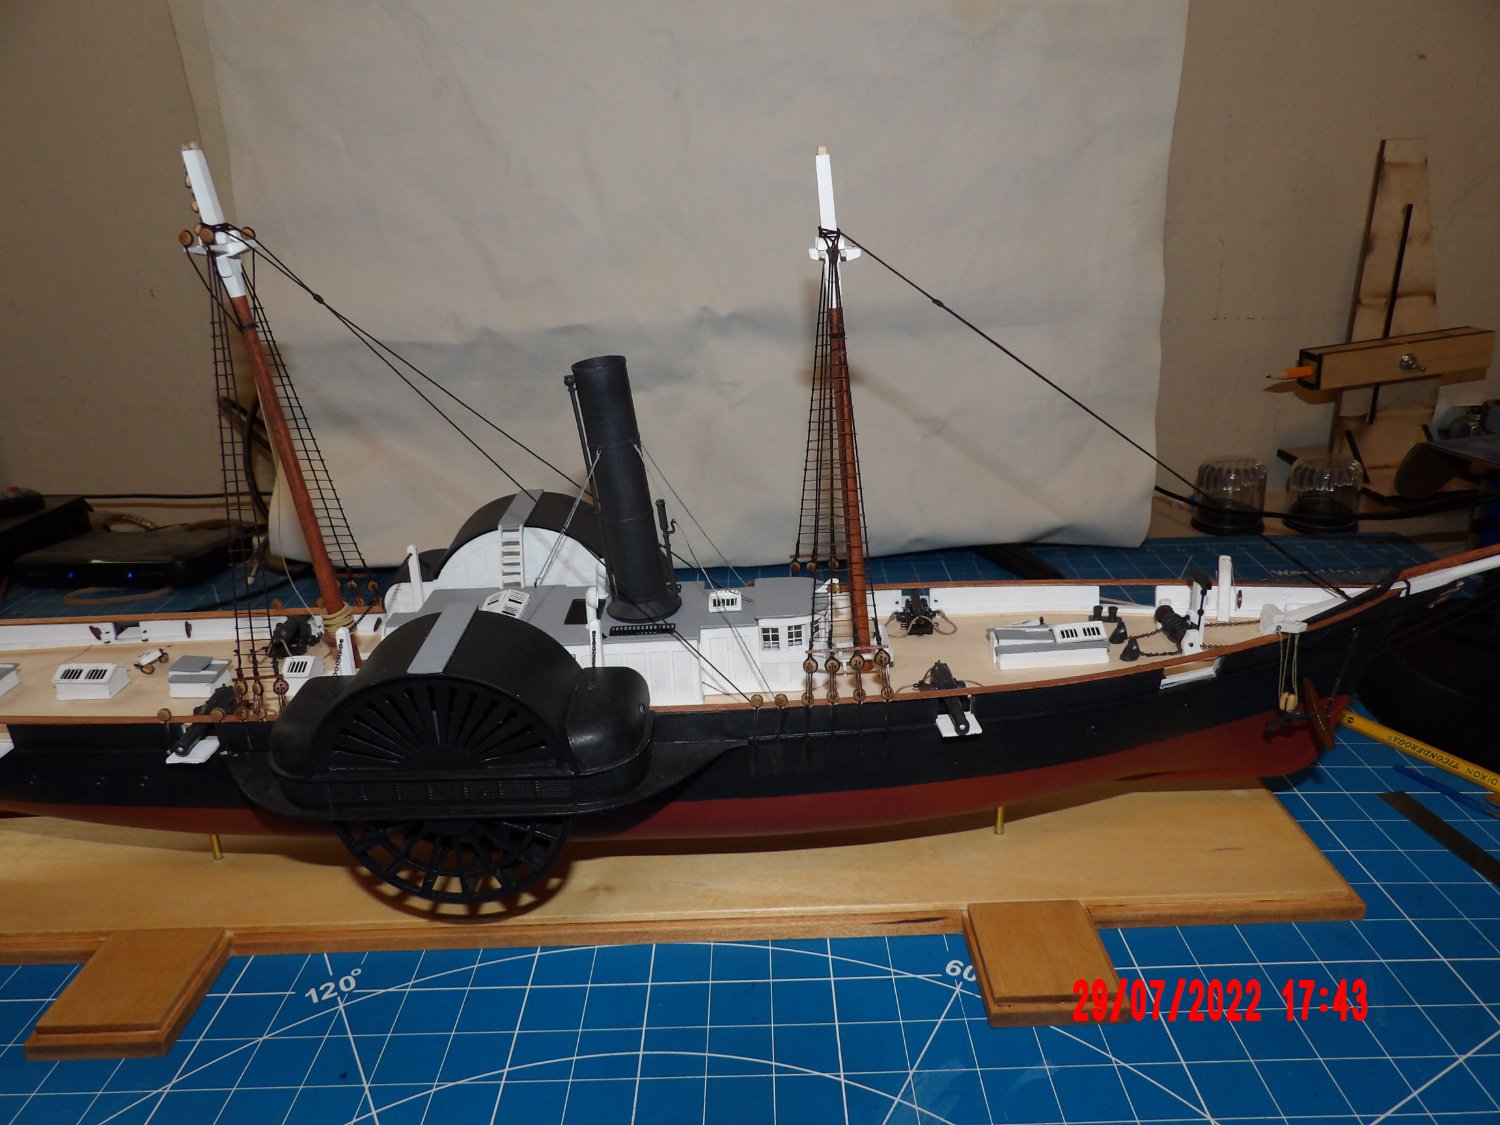
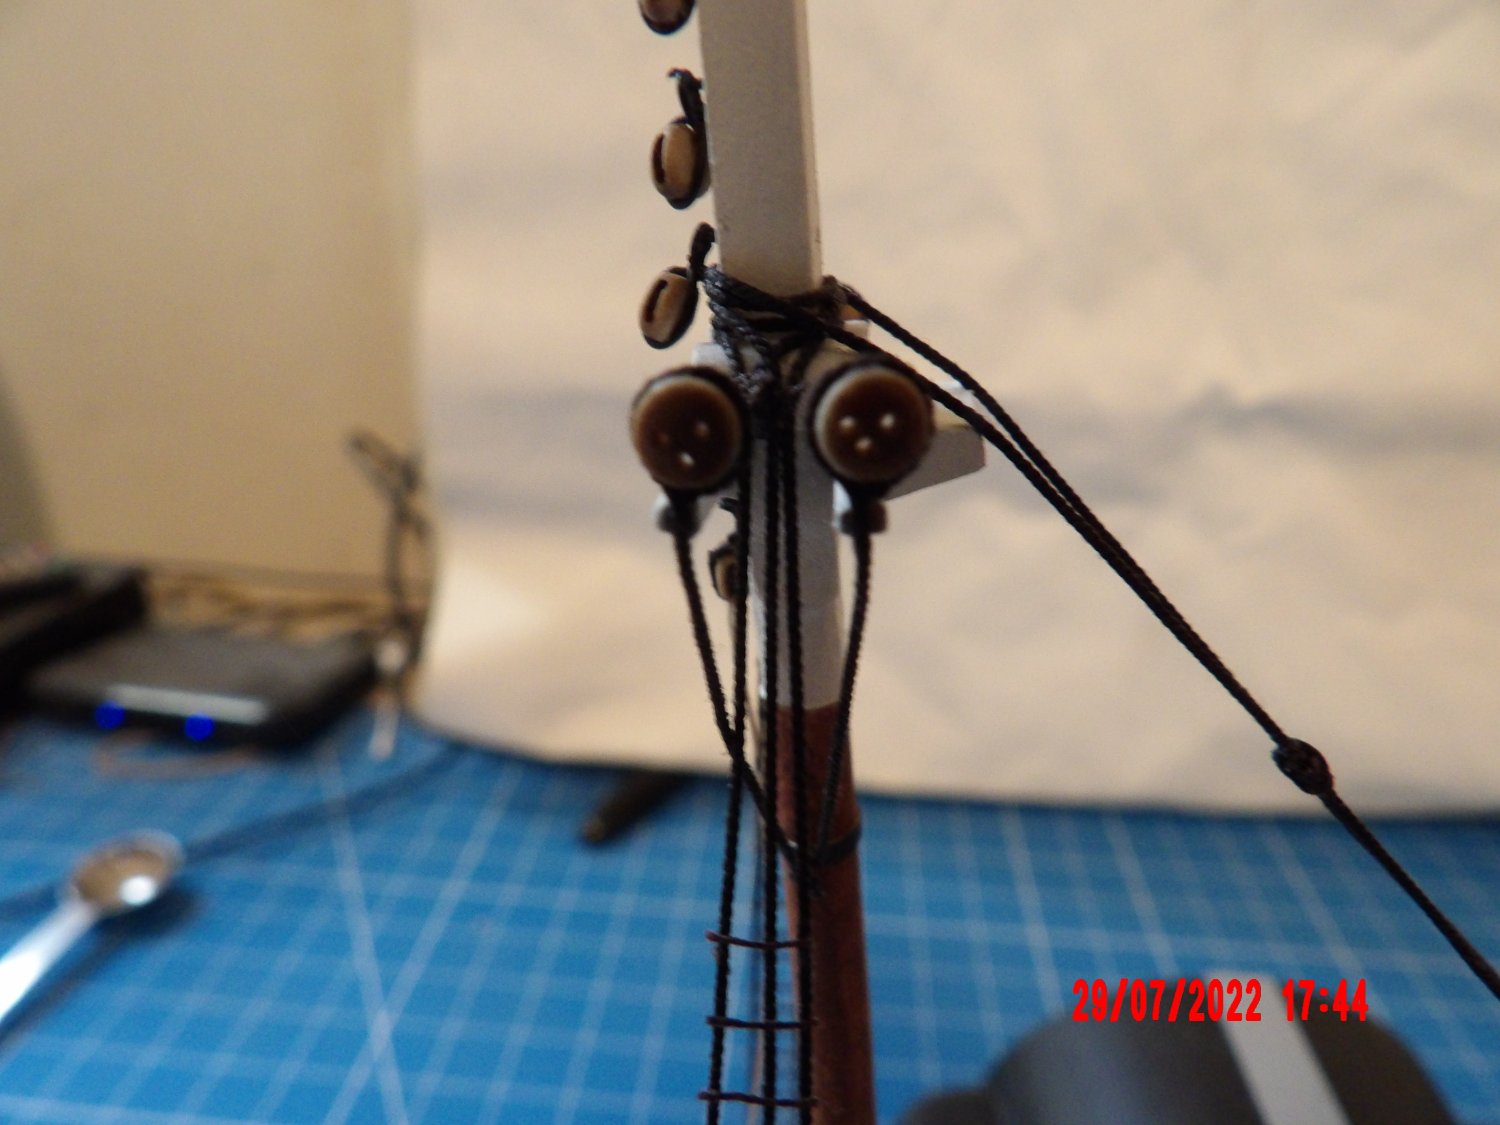
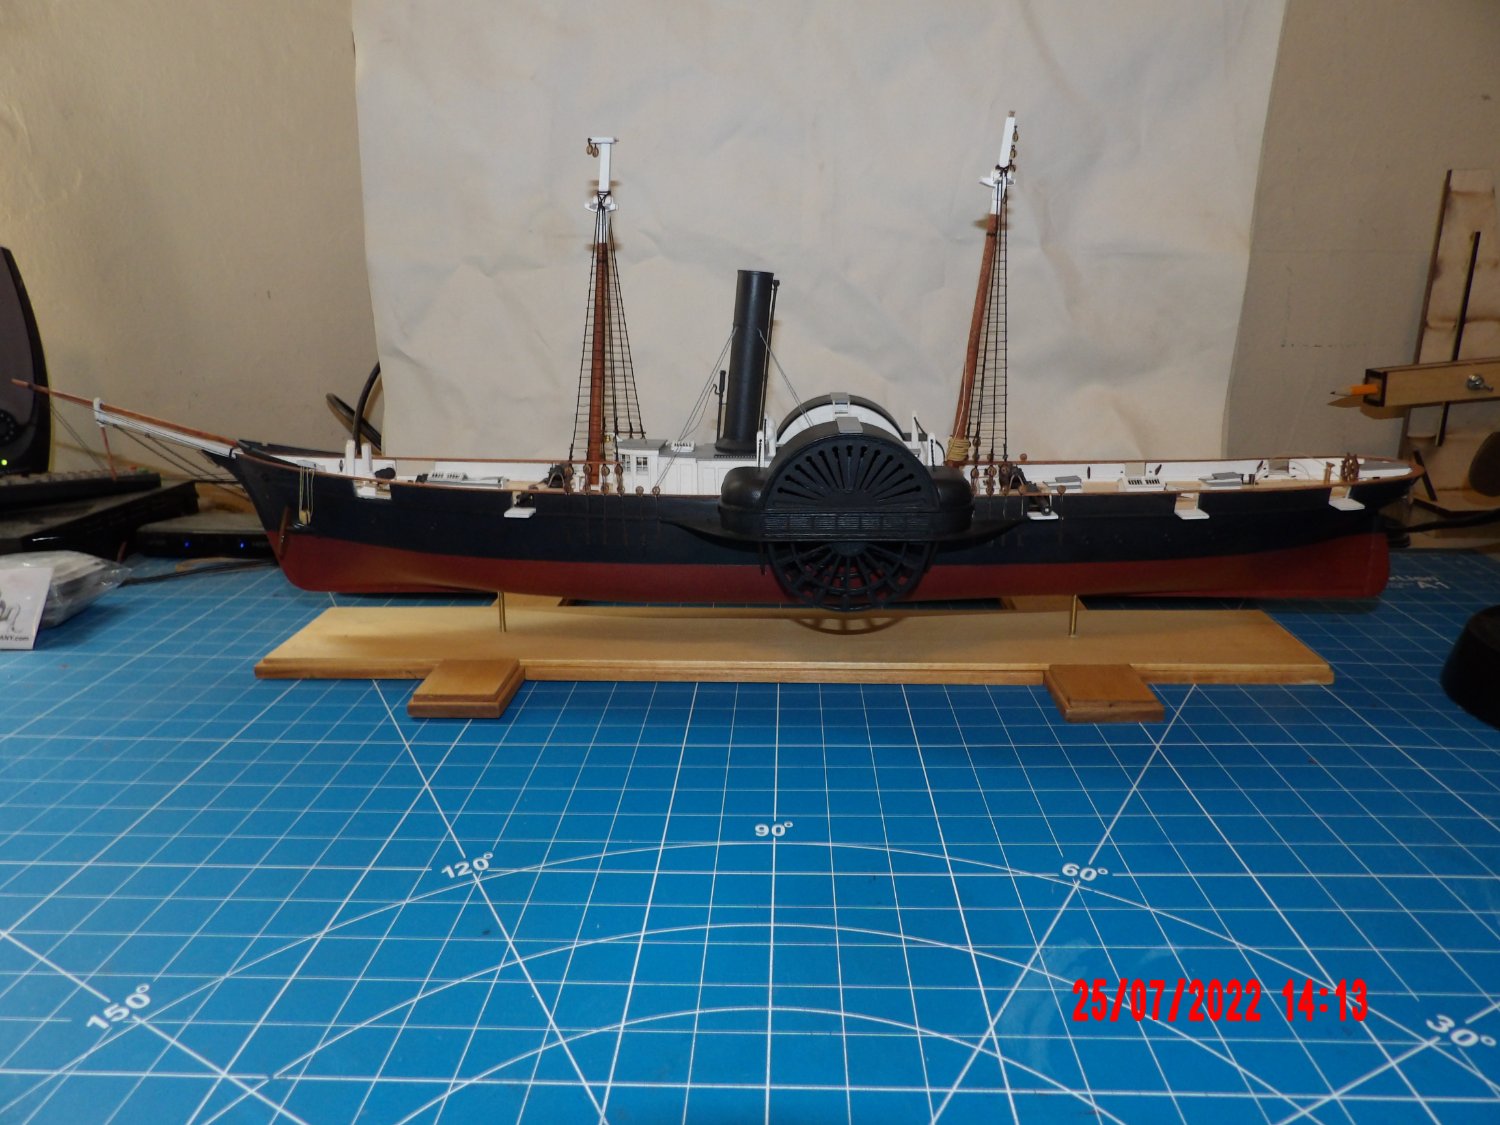
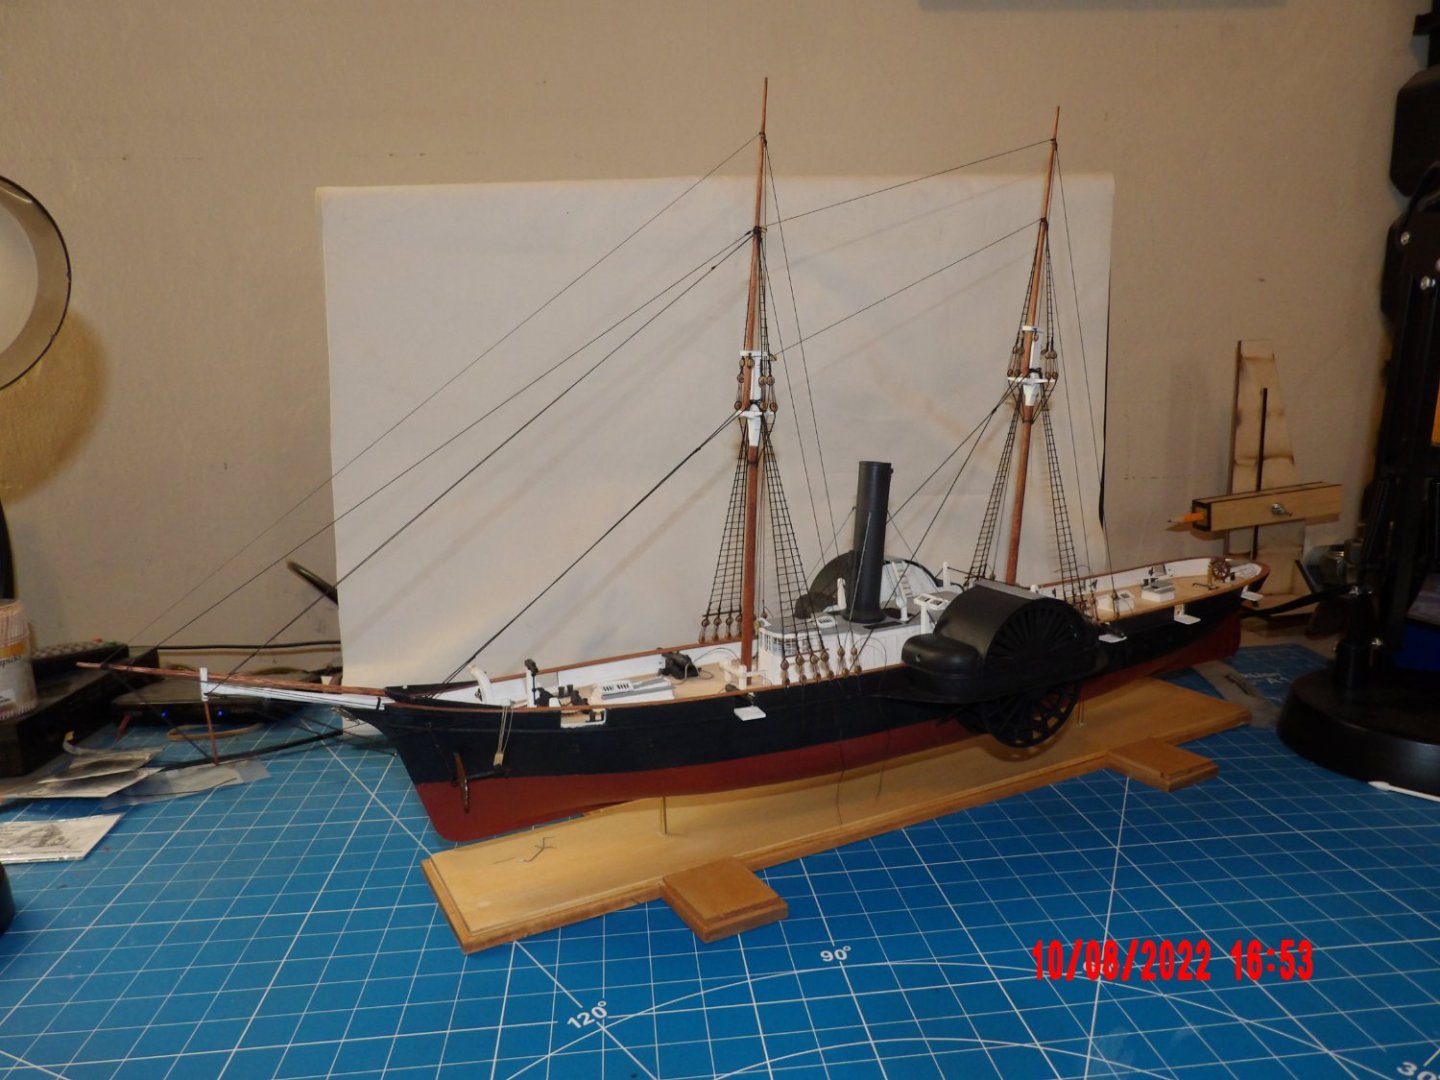
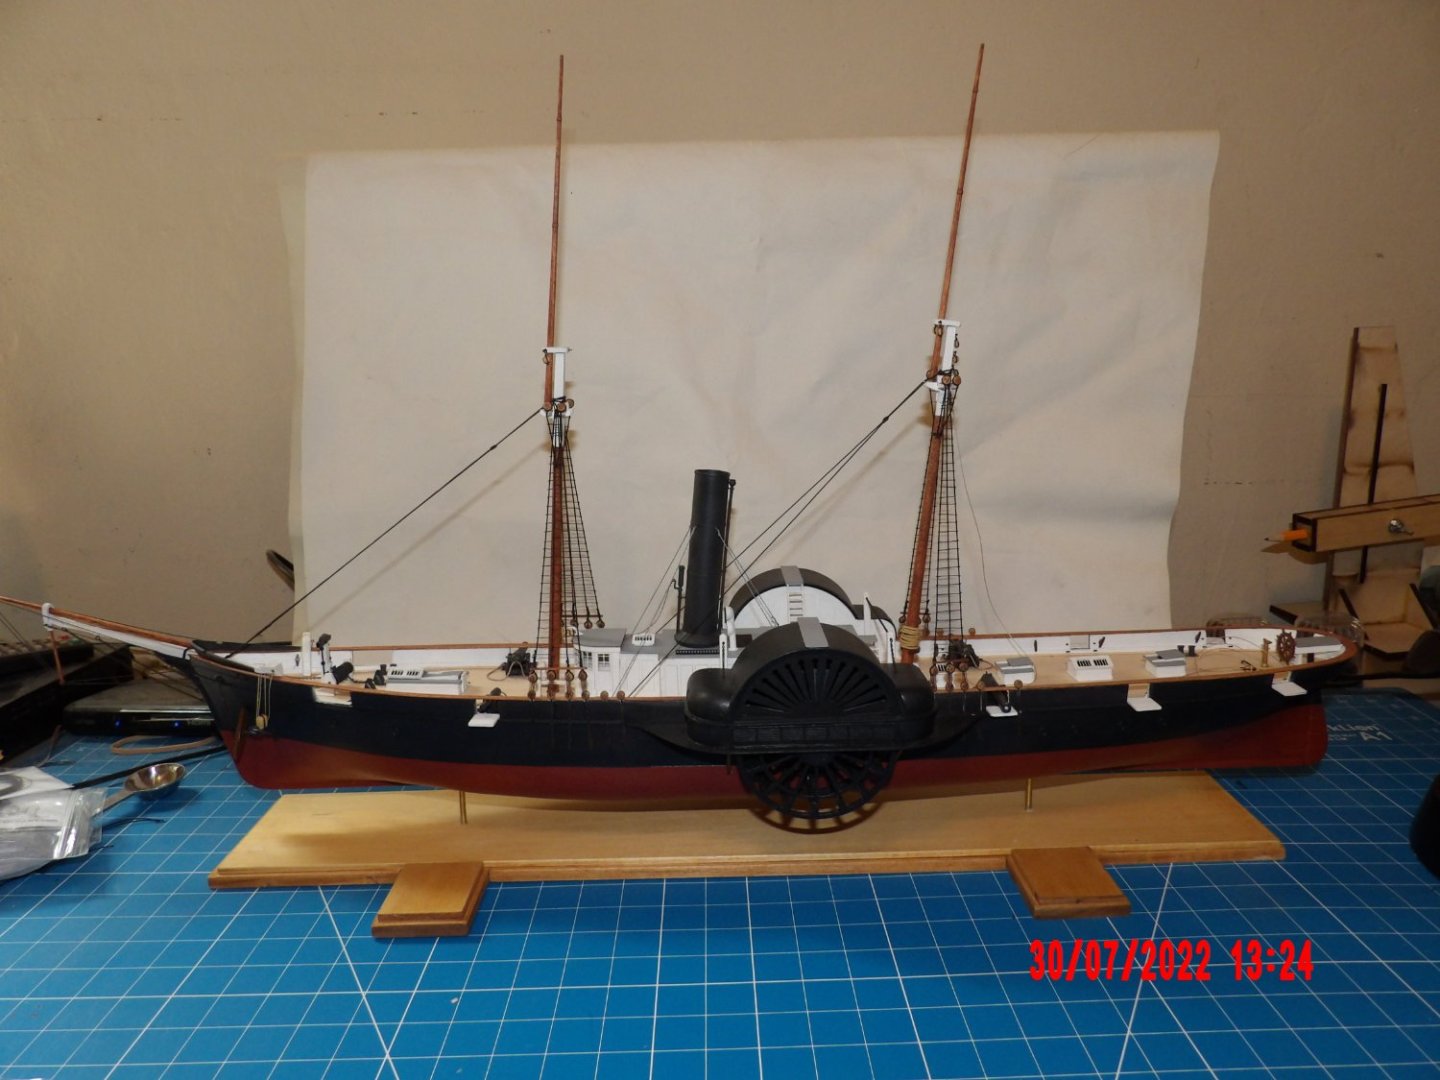
Finished the second attempt at the lower shrouds/deadeyes, and ratlines. Still not perfect, but much, much better. The foremast is really parallel to the funnel, for some reason it appears otherwise in the pictures- I had to go check again! The mainmast needs a little less rake, but will be corrected when I add the stays. I ordered more of the larger diameter Syren line, I'll need it for the stays, and may leave things alone for a couple of days. Maybe do the dishes or something like that. . .

- 146 replies
-
- 11
-
-
- Harriet Lane
- Model Shipways
- (and 1 more)
-
Very interesting project! And like you, although I became proficient in AutoCad at work as a designer, I always missed the days of drafting on paper- so much more satisfying somehow. . .
- 536 replies
-
- 1
-
-
- Quadrireme
- radio
- (and 1 more)
-
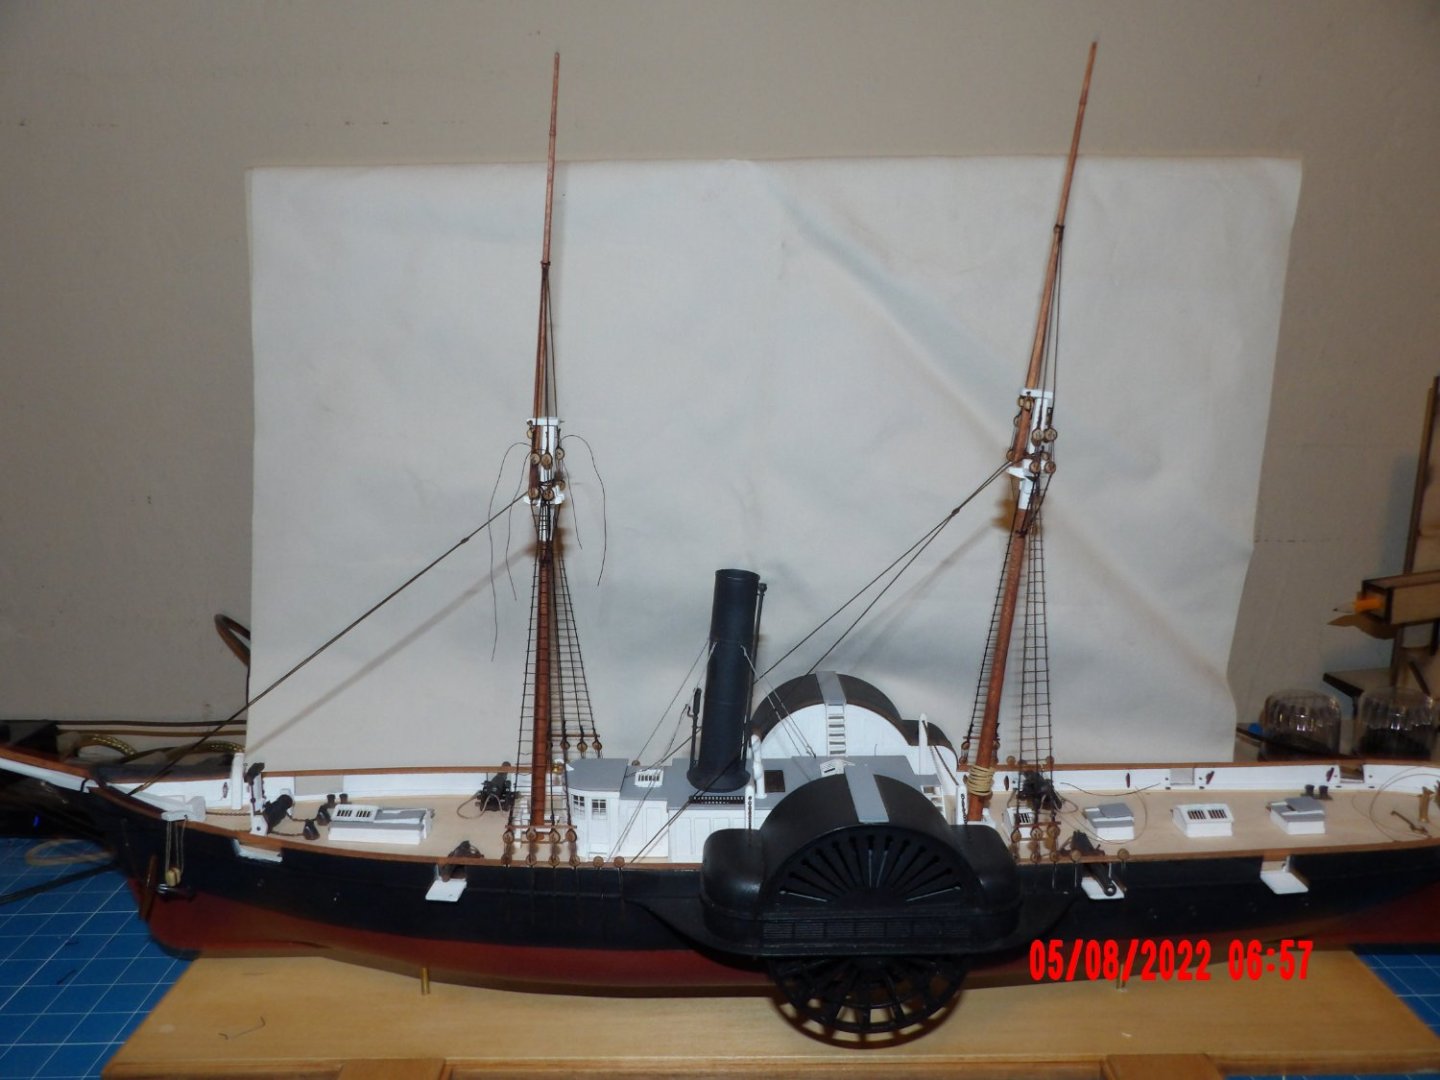
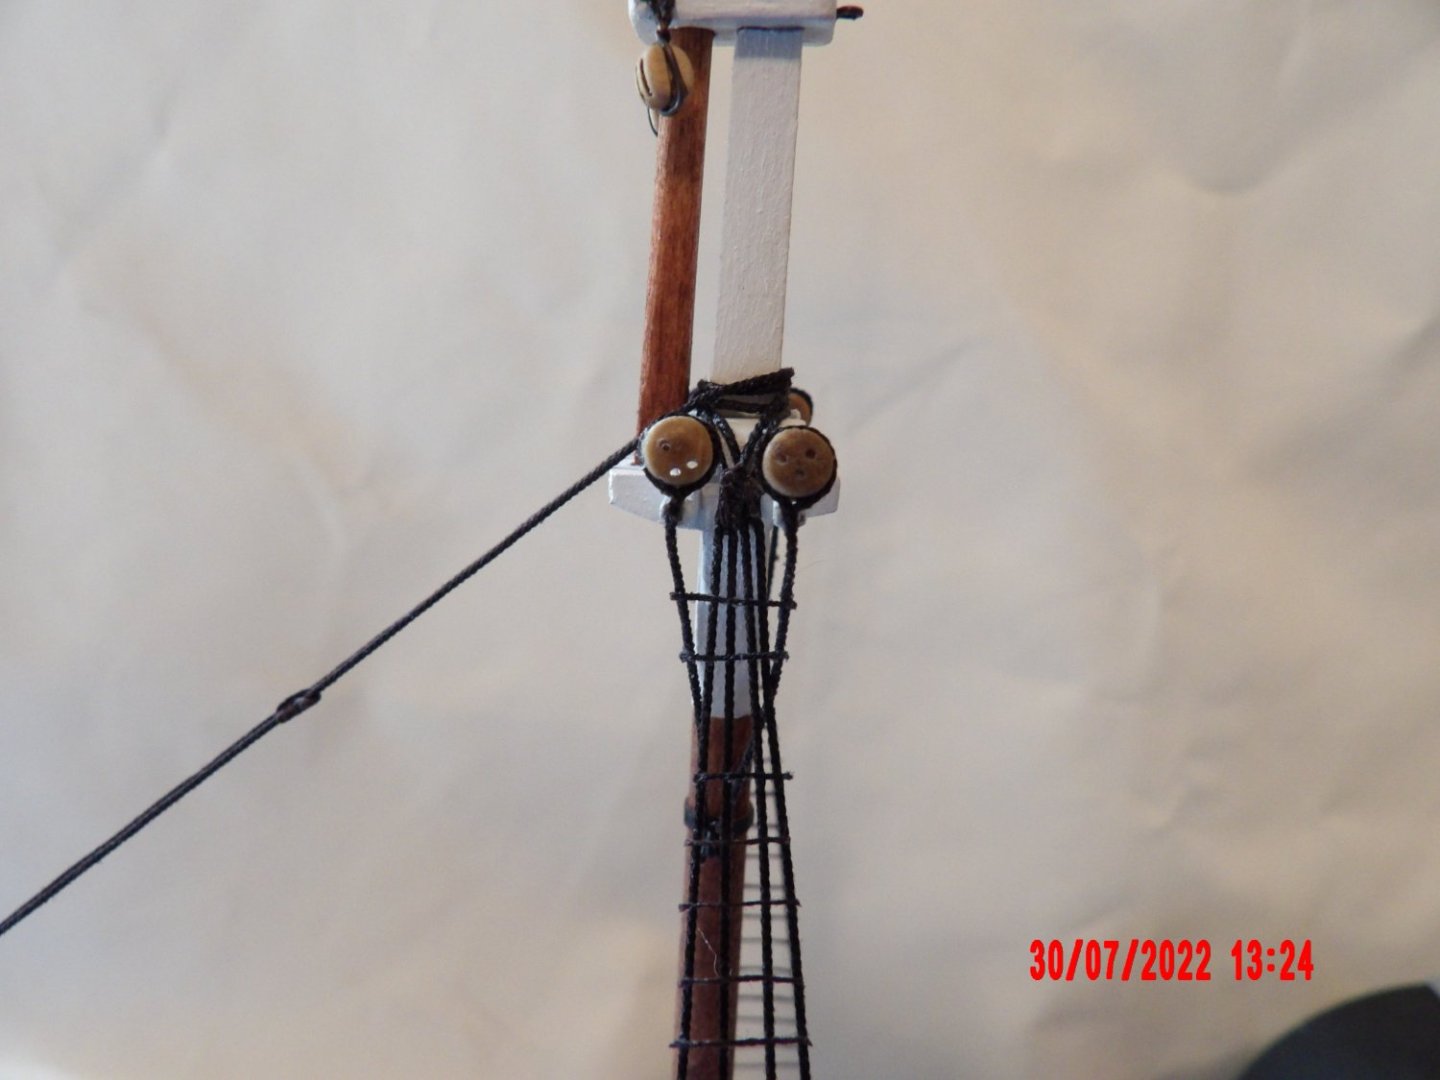
Gregg, the backdrop is just an ordinary index card. I moved on to the shrouds/upper deadeyes for the main mast. The deadeyes came out even higher than for the fore mast. I ripped the mainmast rigging out. Second try on the first two shrouds was closer to design. Deadeyes are still not aligned perfectly, but the distance between upper and lower deadeyes is closer to plan. When I get these and the ratlines finished, I will rip out the work on the foremast and redo. I'll end up scrapping some hours of work, but any time in the shop is quality time, and I won't regret the loss in time as much as the remorse I know I would feel not having fixed this, when the model is finished.

- 146 replies
-
- 7
-
-

-
- Harriet Lane
- Model Shipways
- (and 1 more)
-
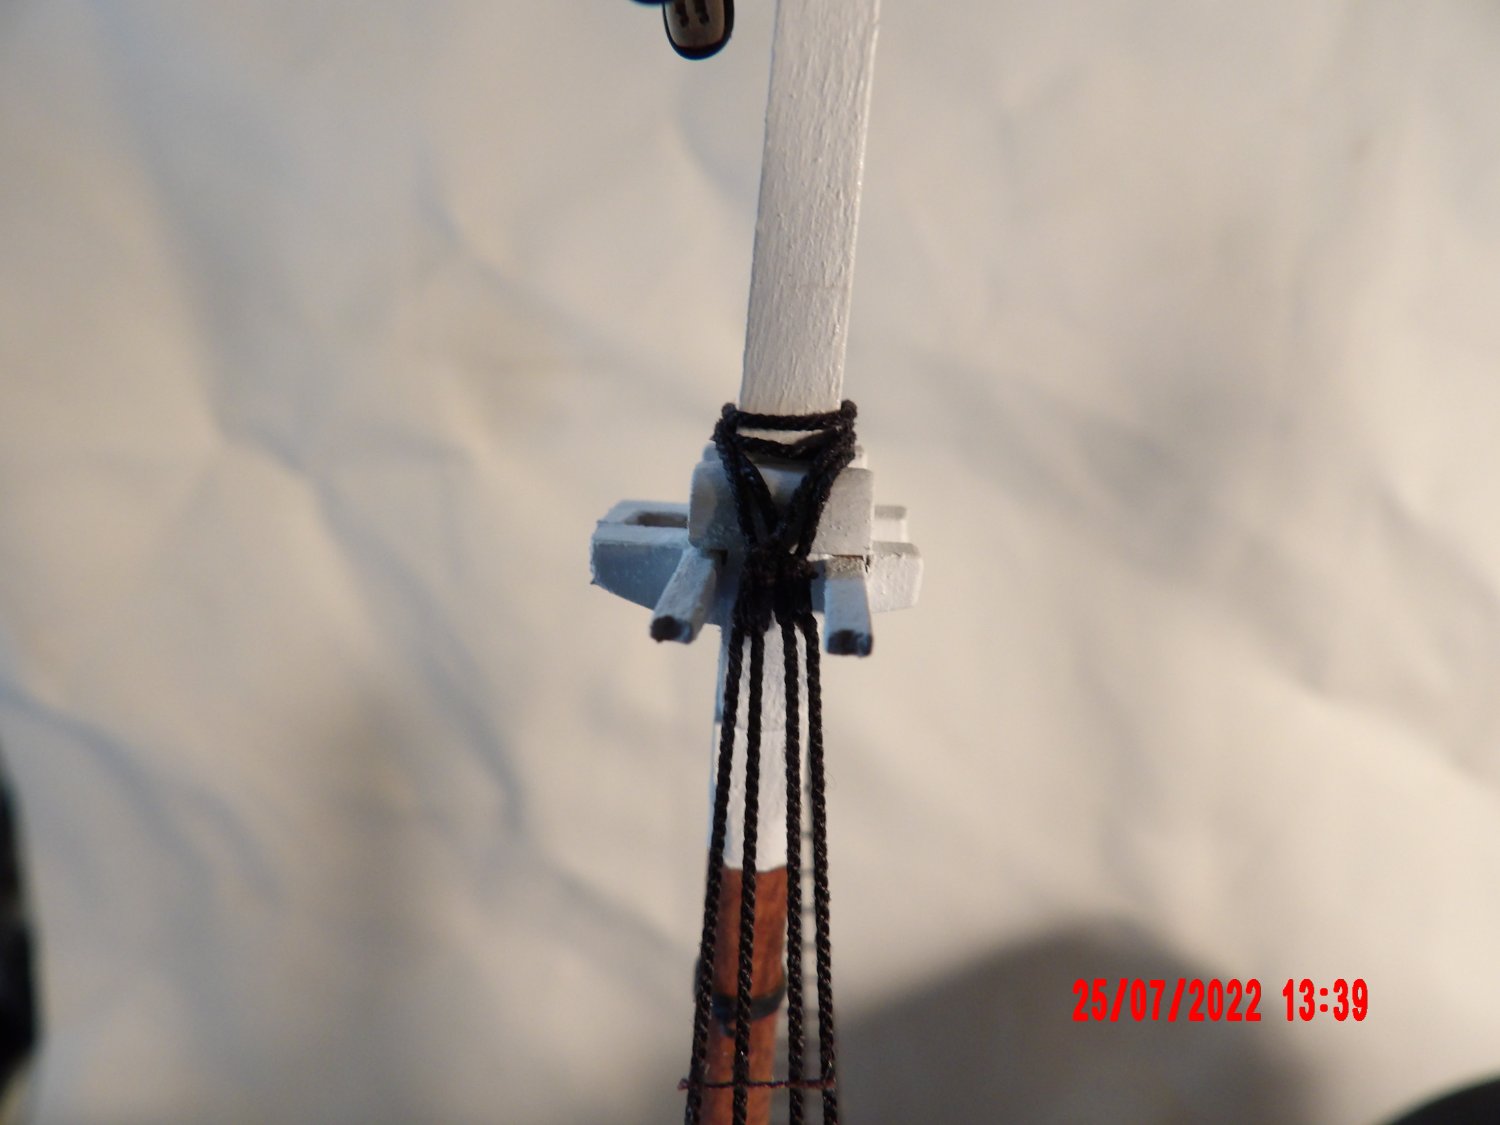
Installed the foremast shrouds. Jumped ahead a little and did the ratlines on one side as well. As you can see, my upper deadeyes did not fall in a straight line (the other side is better), and are perhaps a bit higher than design, due to my measuring length of the shrouds from the outer end of the loop at the mast, rather than from the seizing. I also ended up with a "crossing" at the top- if I had noticed this, I would have reversed the position of the shroud pairs. However, this was all very difficult- I will accept the results!

- 146 replies
-
- 9
-
-
- Harriet Lane
- Model Shipways
- (and 1 more)
-
Gregg, the eyebolts are 1/32" inside eye, bent around a drill bit held in vise. b
- 146 replies
-
- 1
-
-
- Harriet Lane
- Model Shipways
- (and 1 more)
-
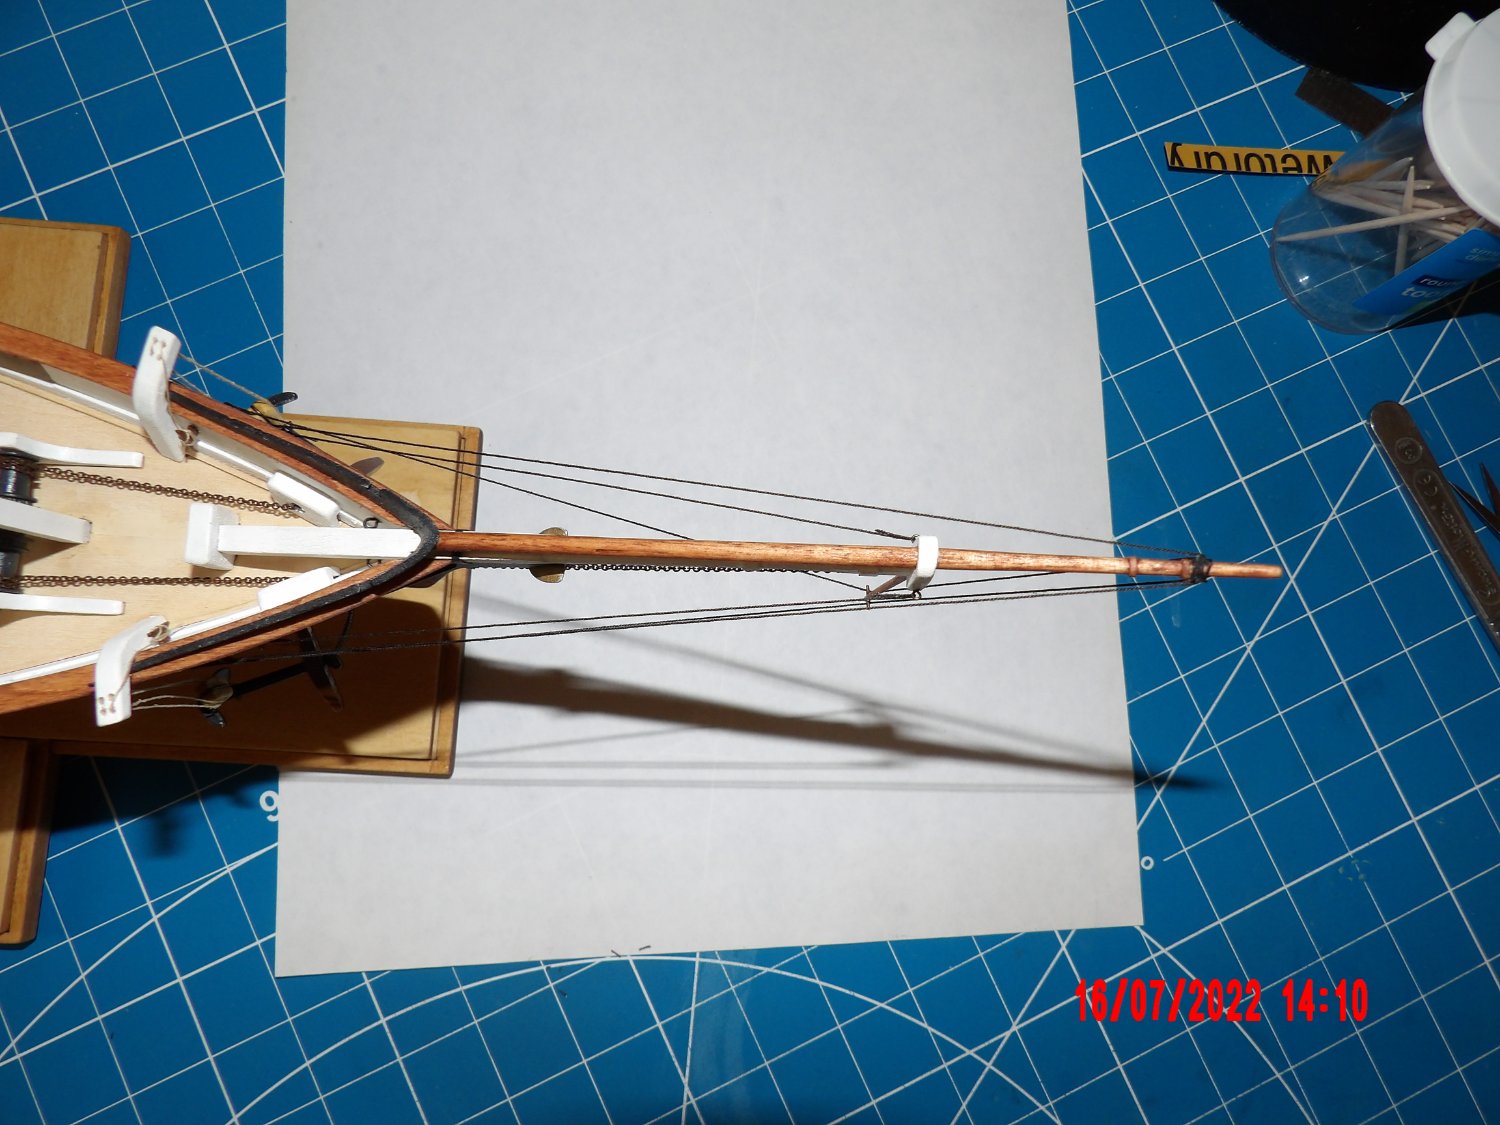
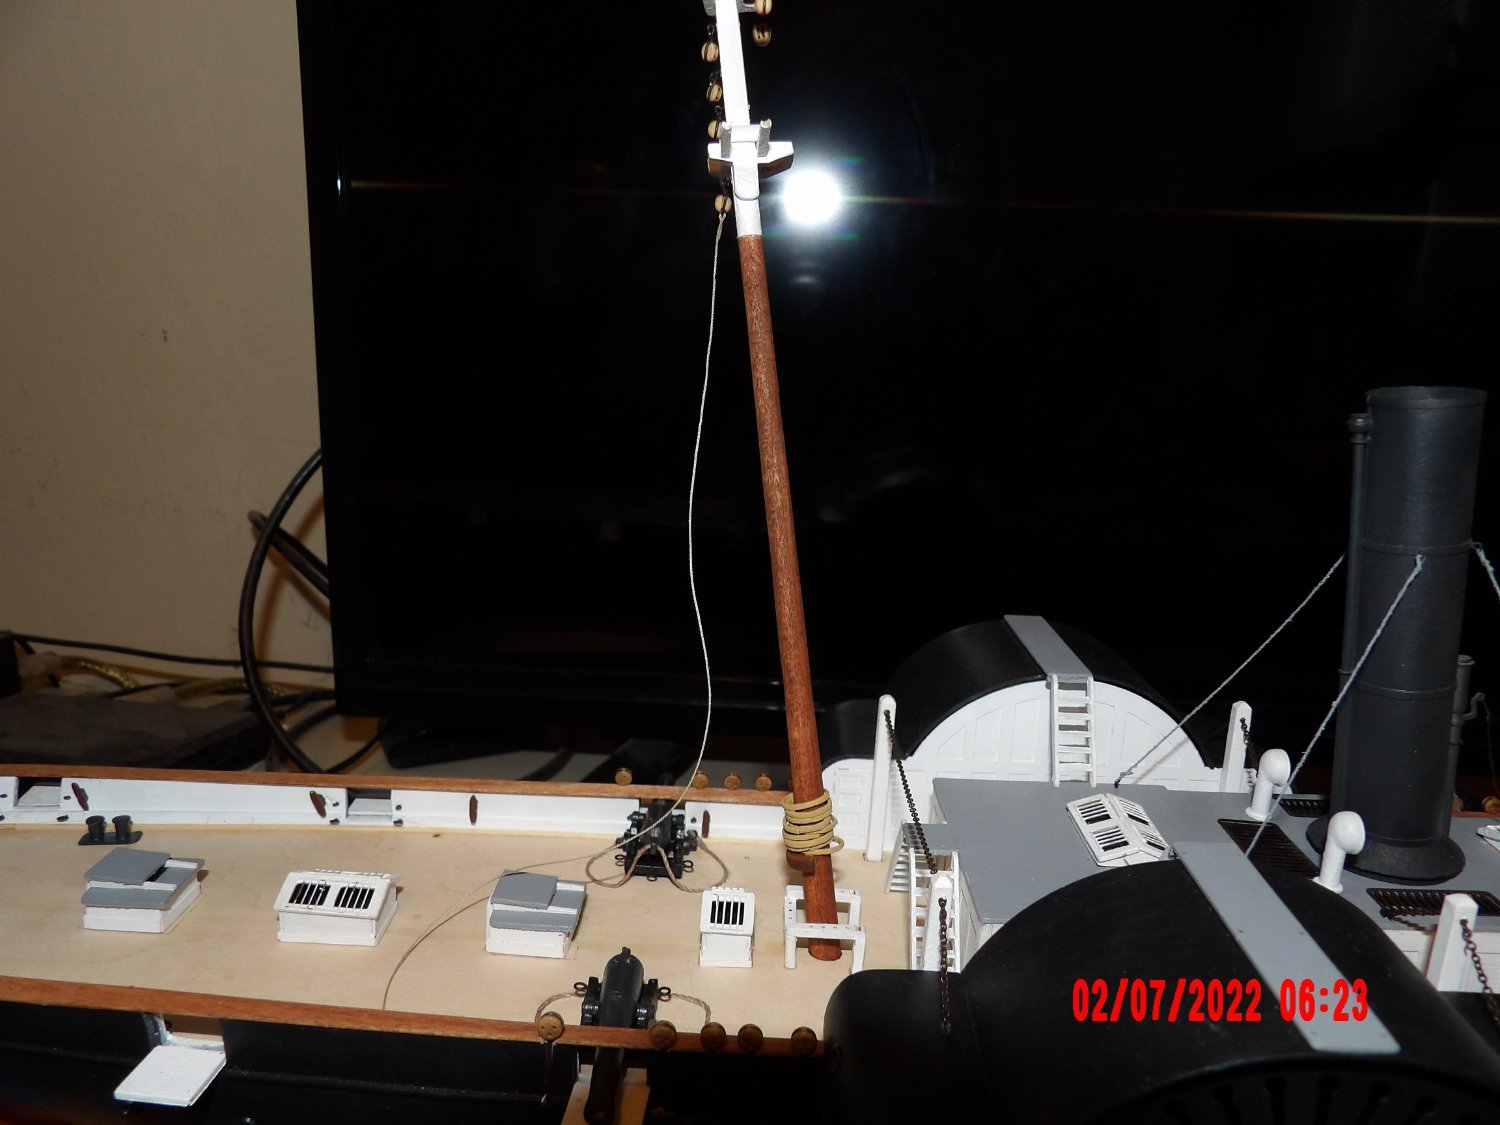
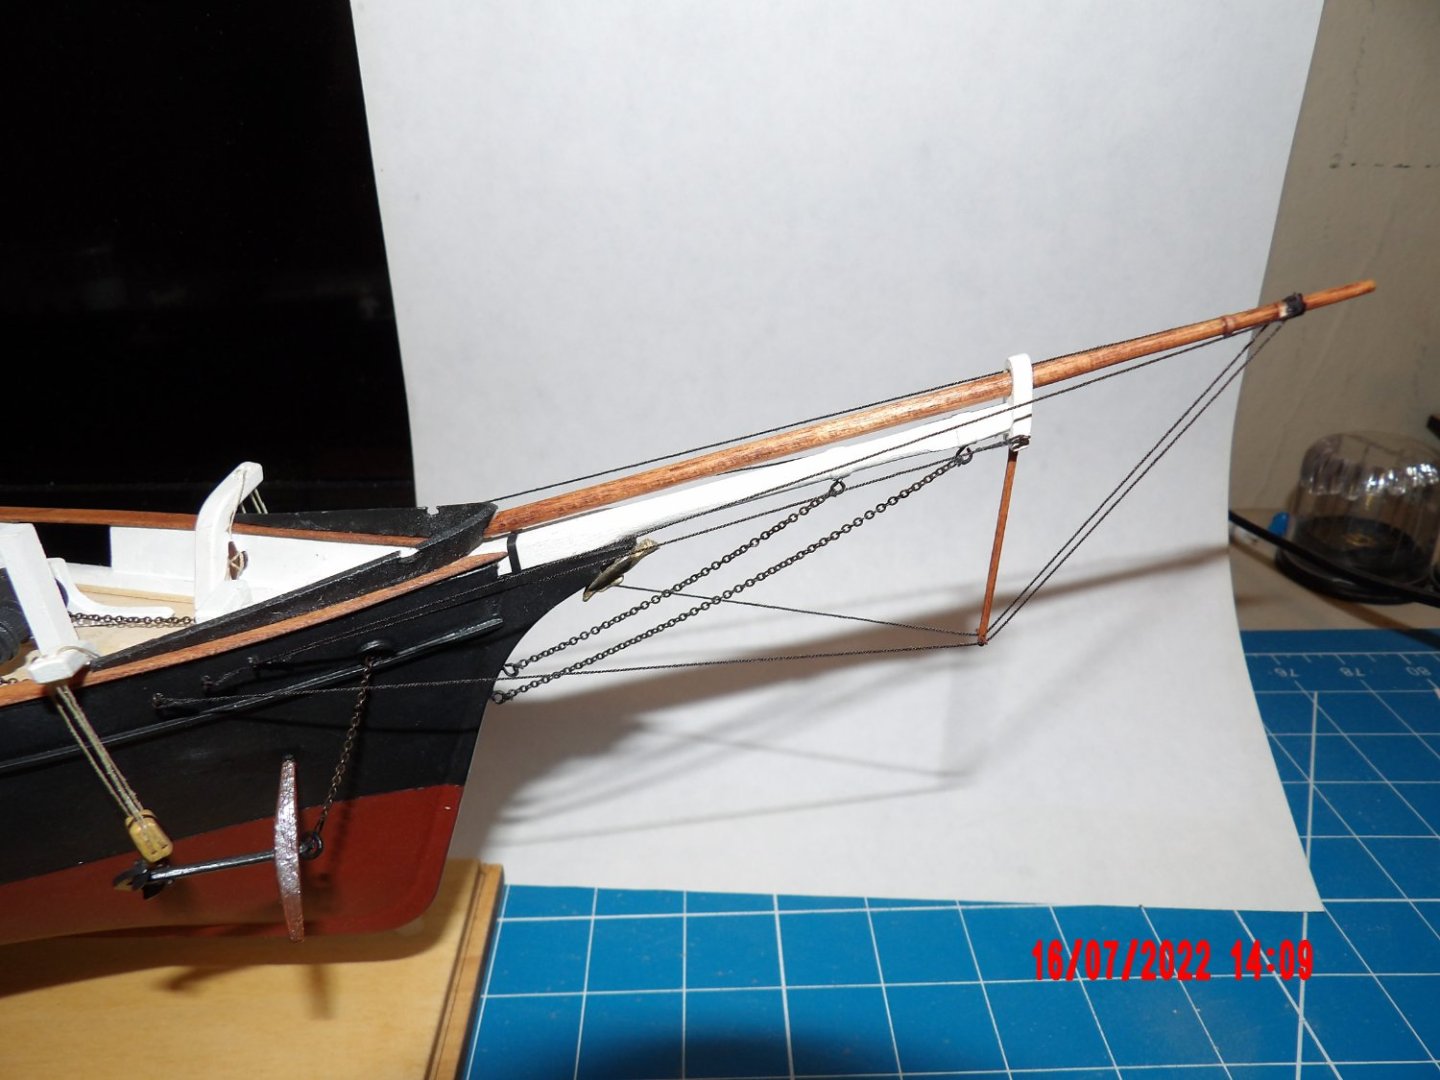
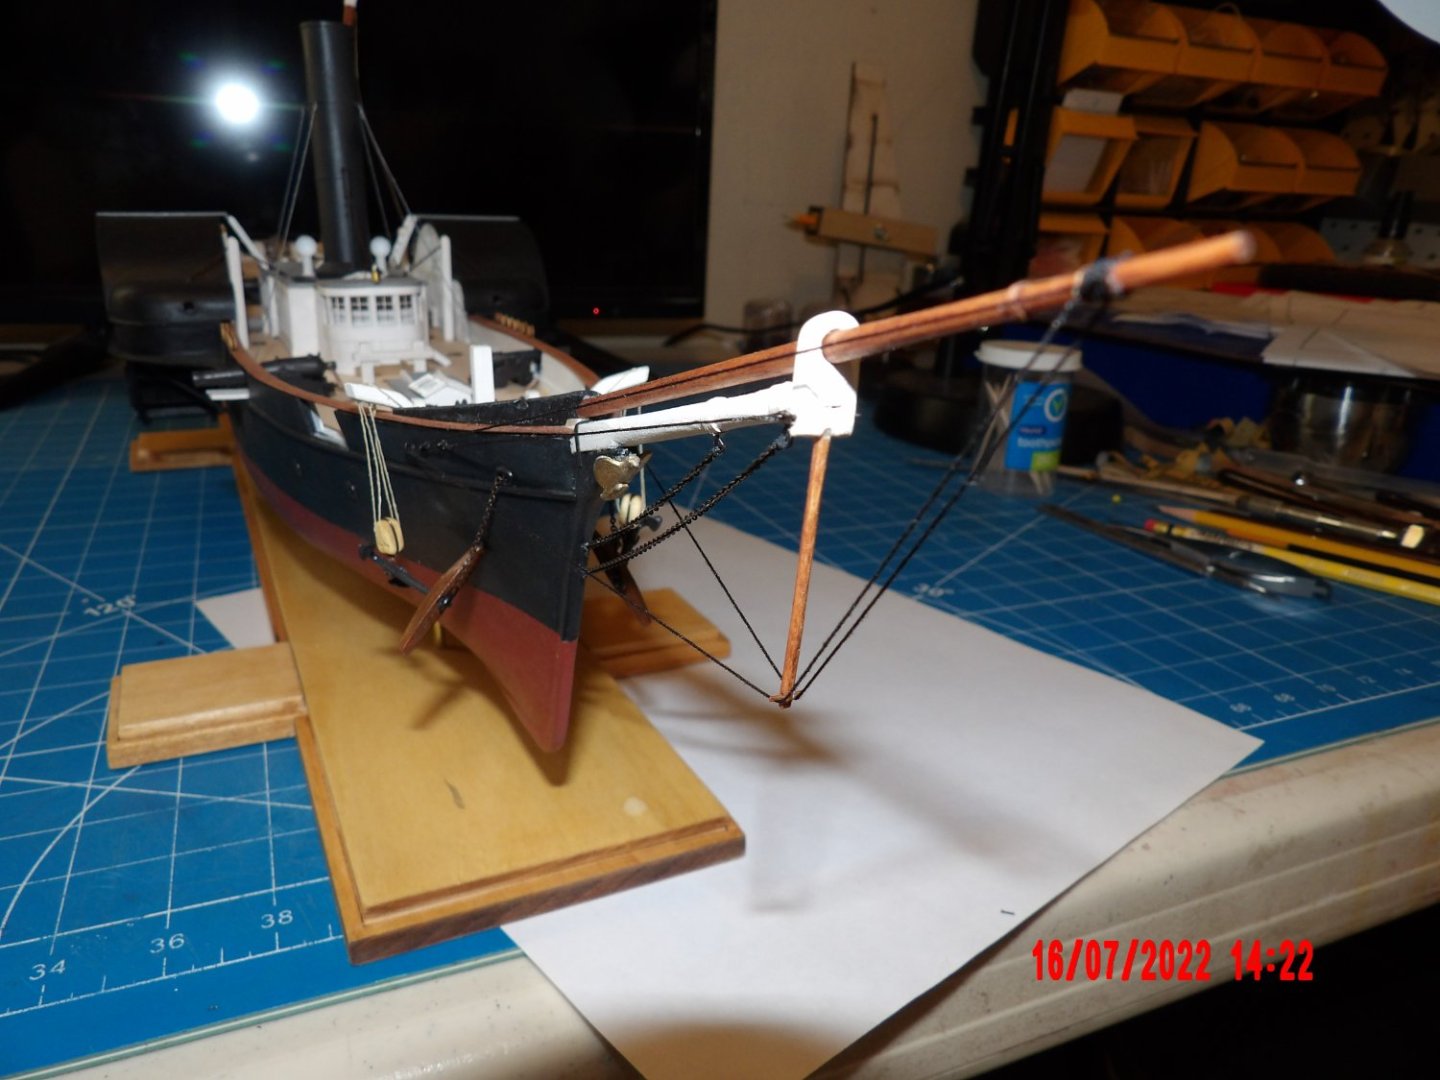
Bowsprit rigging. Must remember to breathe. . .

- 146 replies
-
- 7
-
-
- Harriet Lane
- Model Shipways
- (and 1 more)
-
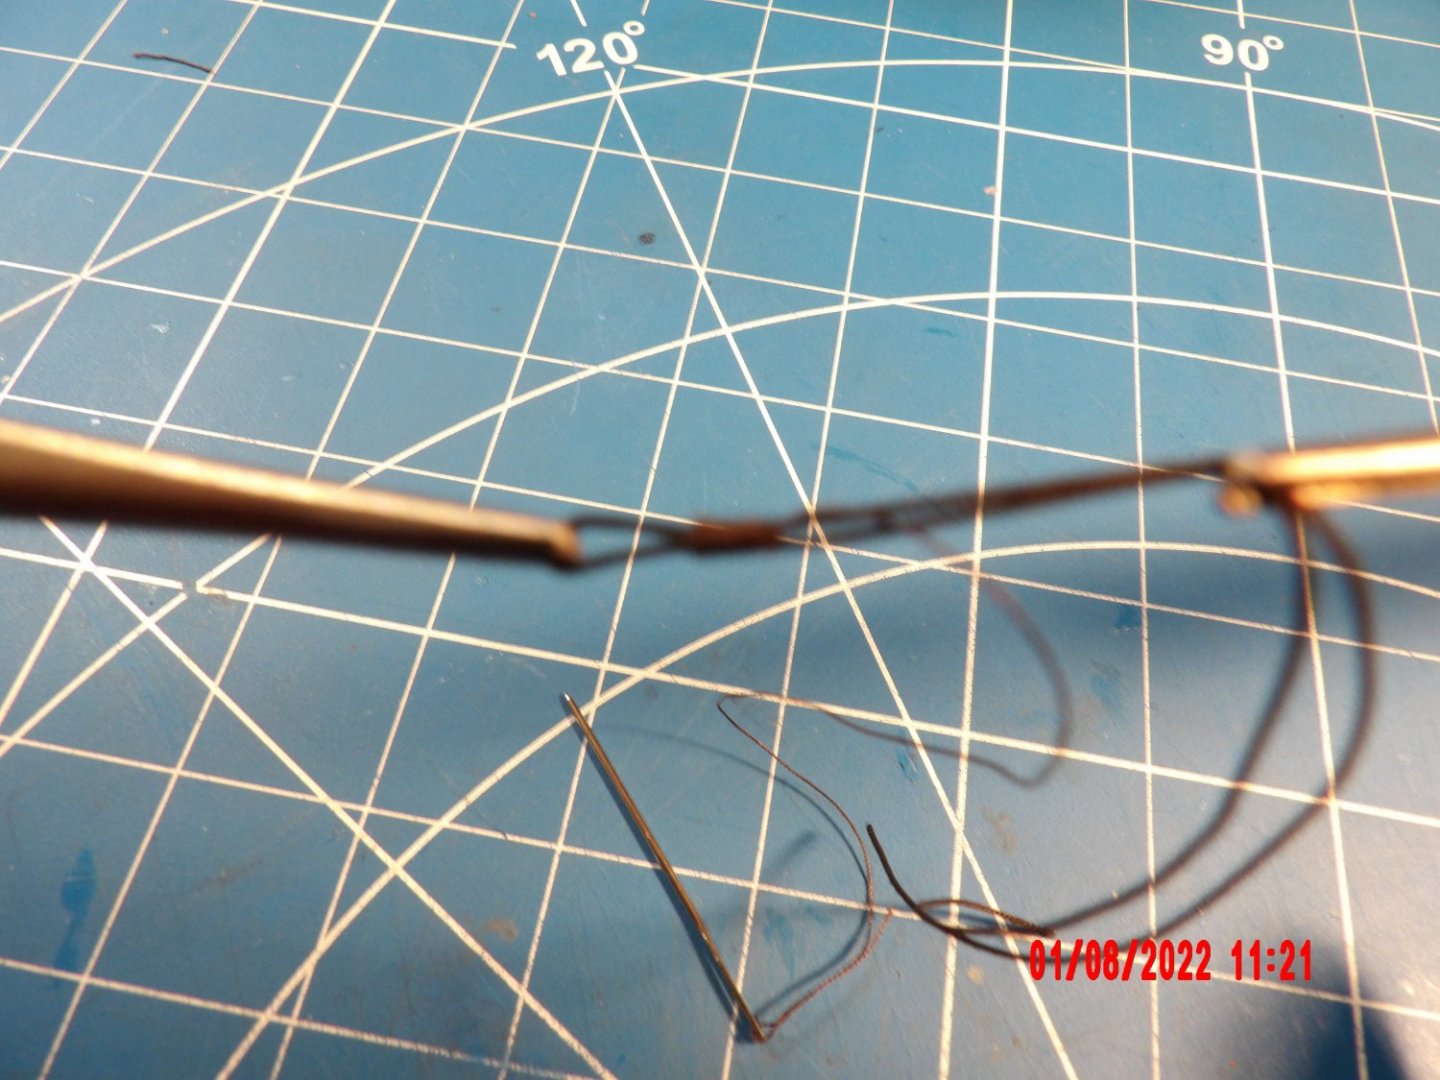
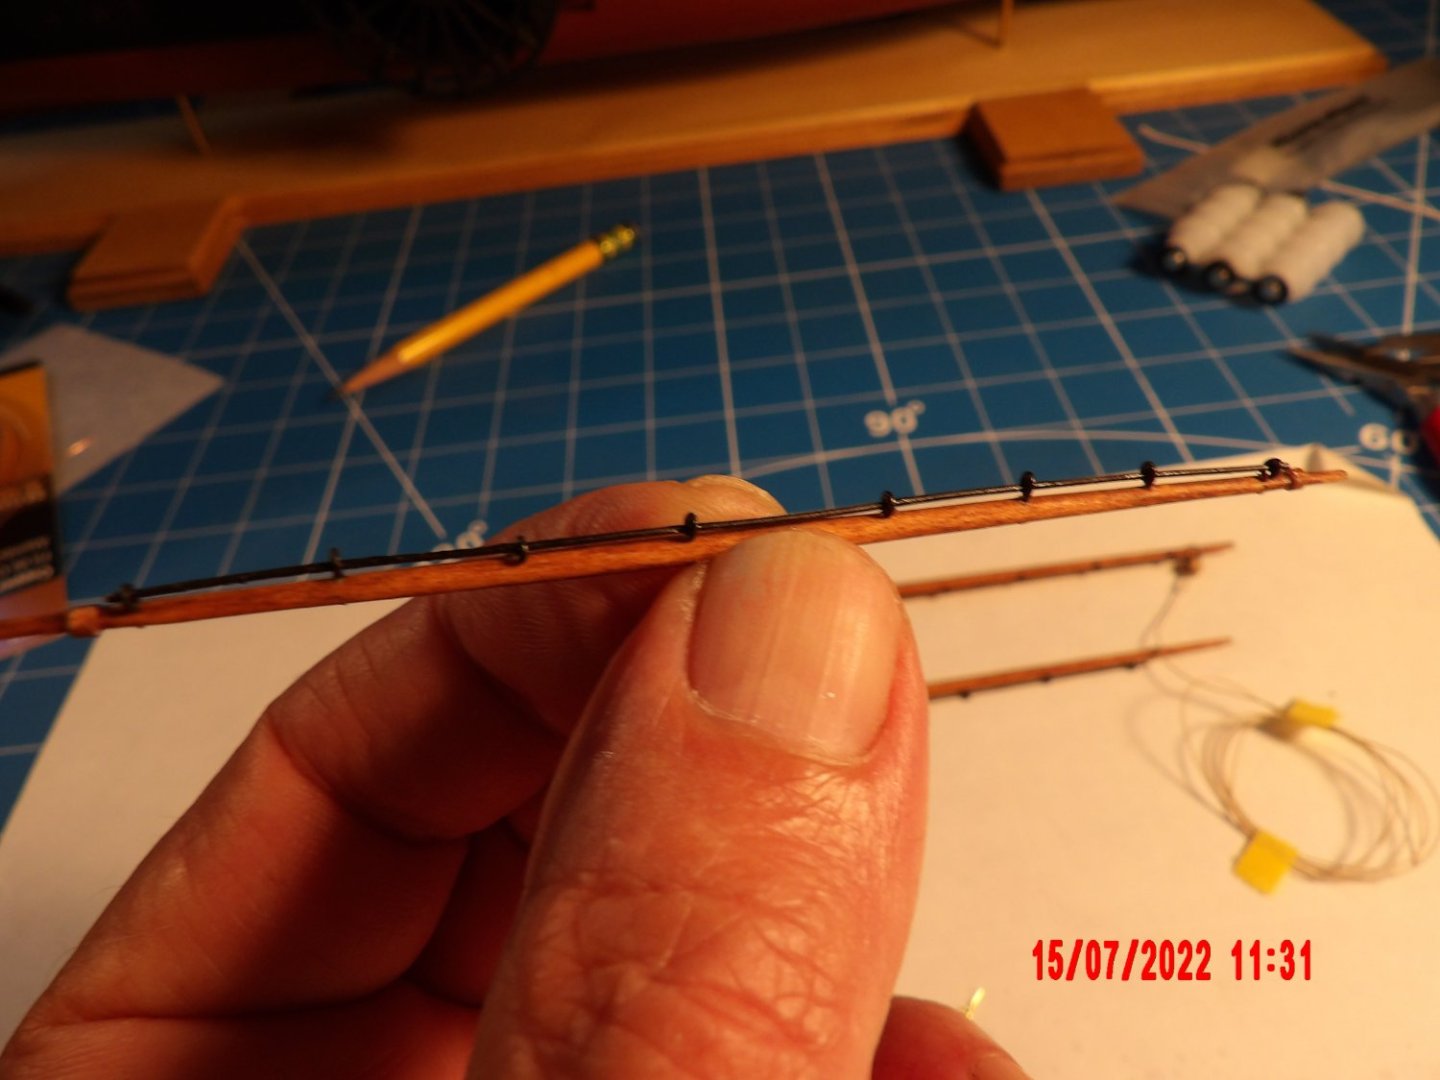
Completed fitting the yards (except for the foot ropes), using my homemade eyebolts. I did find some 26 gauge half-hard brass wire and am using that. I couldn't be happier with these yards- this is really delicate work, and I think this is the best I can do at this point.
- 146 replies
-
- 8
-
-
- Harriet Lane
- Model Shipways
- (and 1 more)
-
Though I hate taking things out of sequence, there is always something to do. Added the blocks to the gaff. I thought stropping the 1/8" blocks with wire was difficult, until I encountered both 1/8" and 3/32 on this gaff, stropped with rope. This required the highest magnification I have available. . . Installed the traveler.


- 146 replies
-
- 4
-
-
- Harriet Lane
- Model Shipways
- (and 1 more)
-
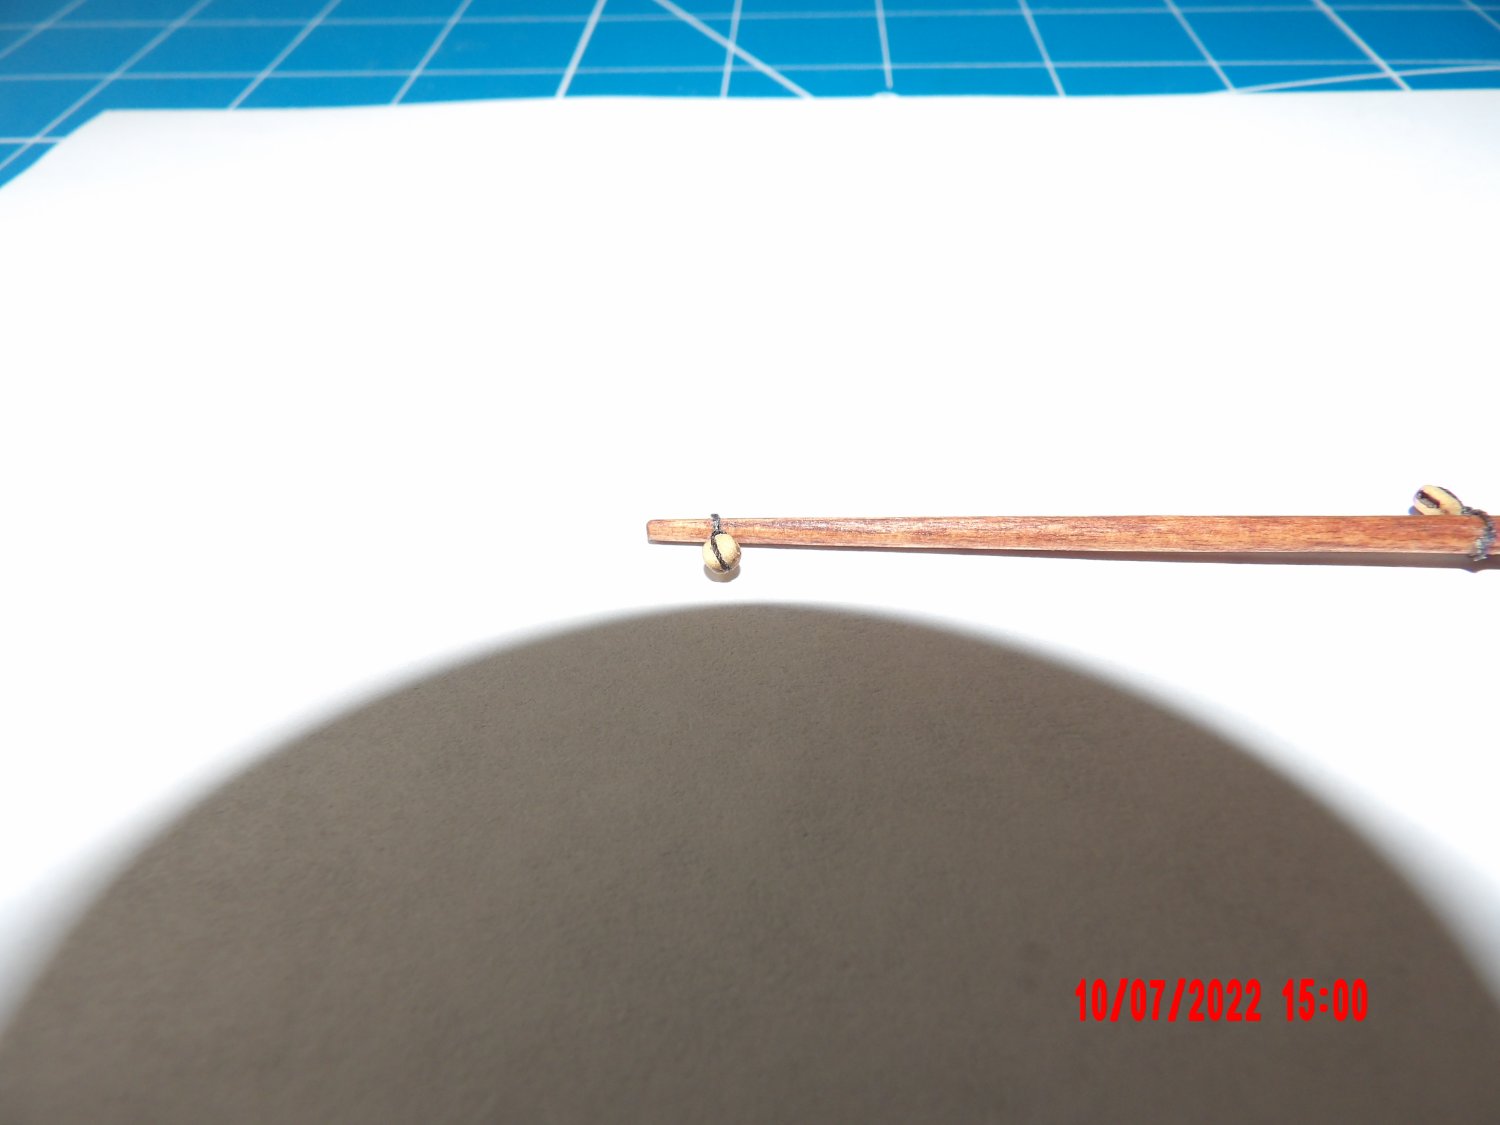
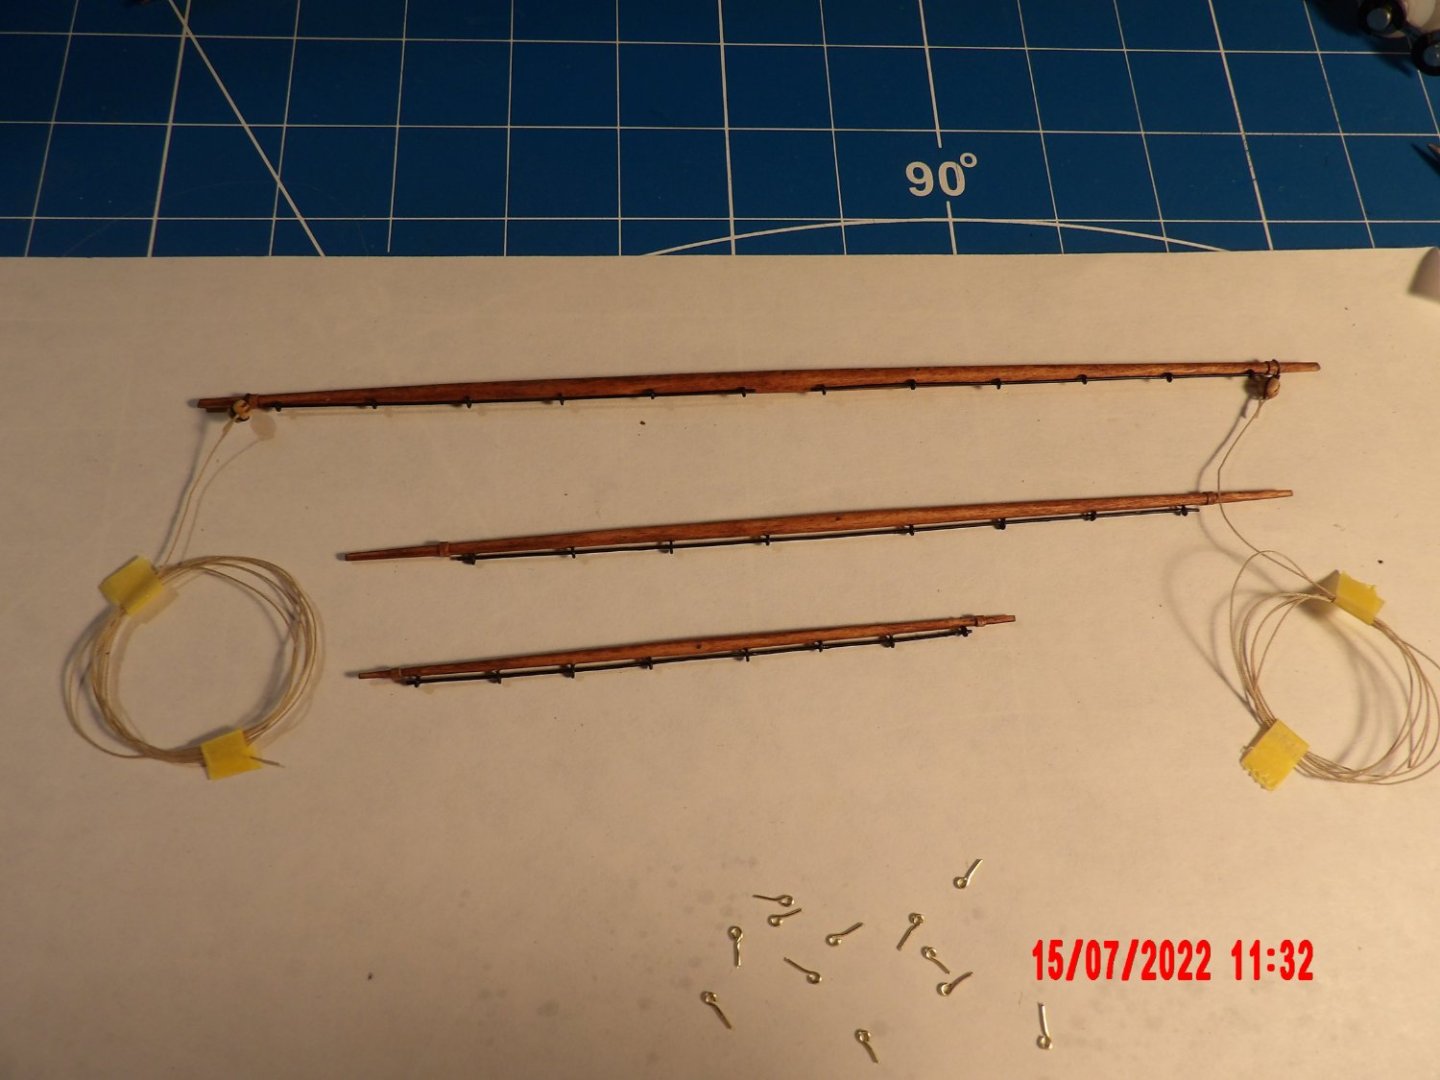
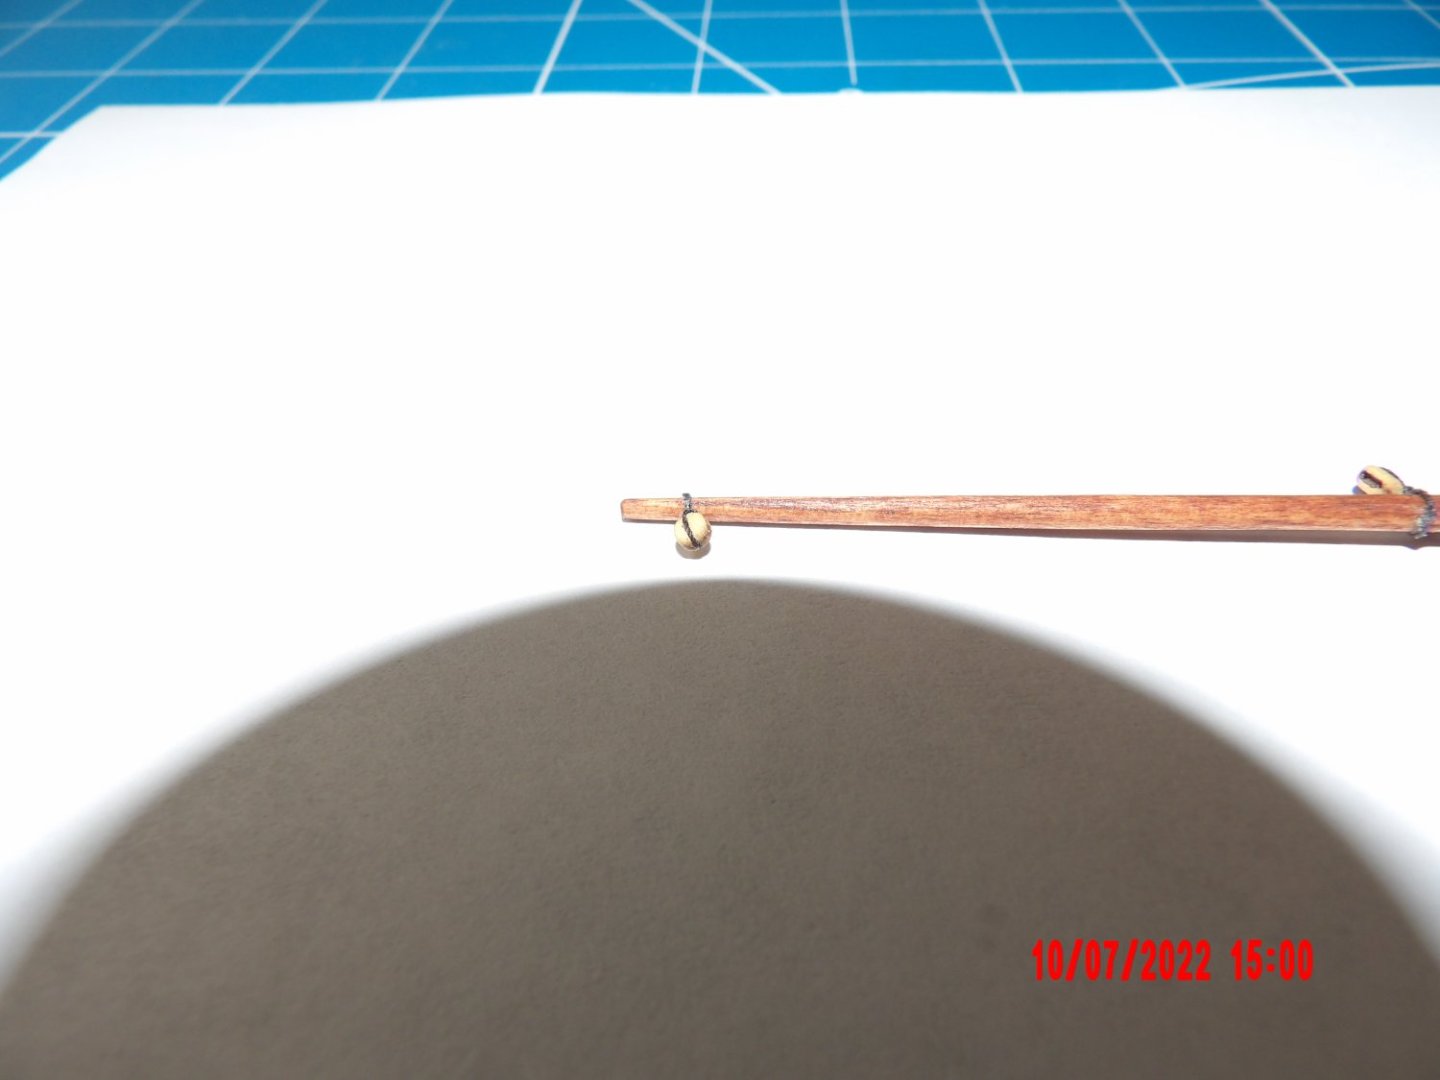
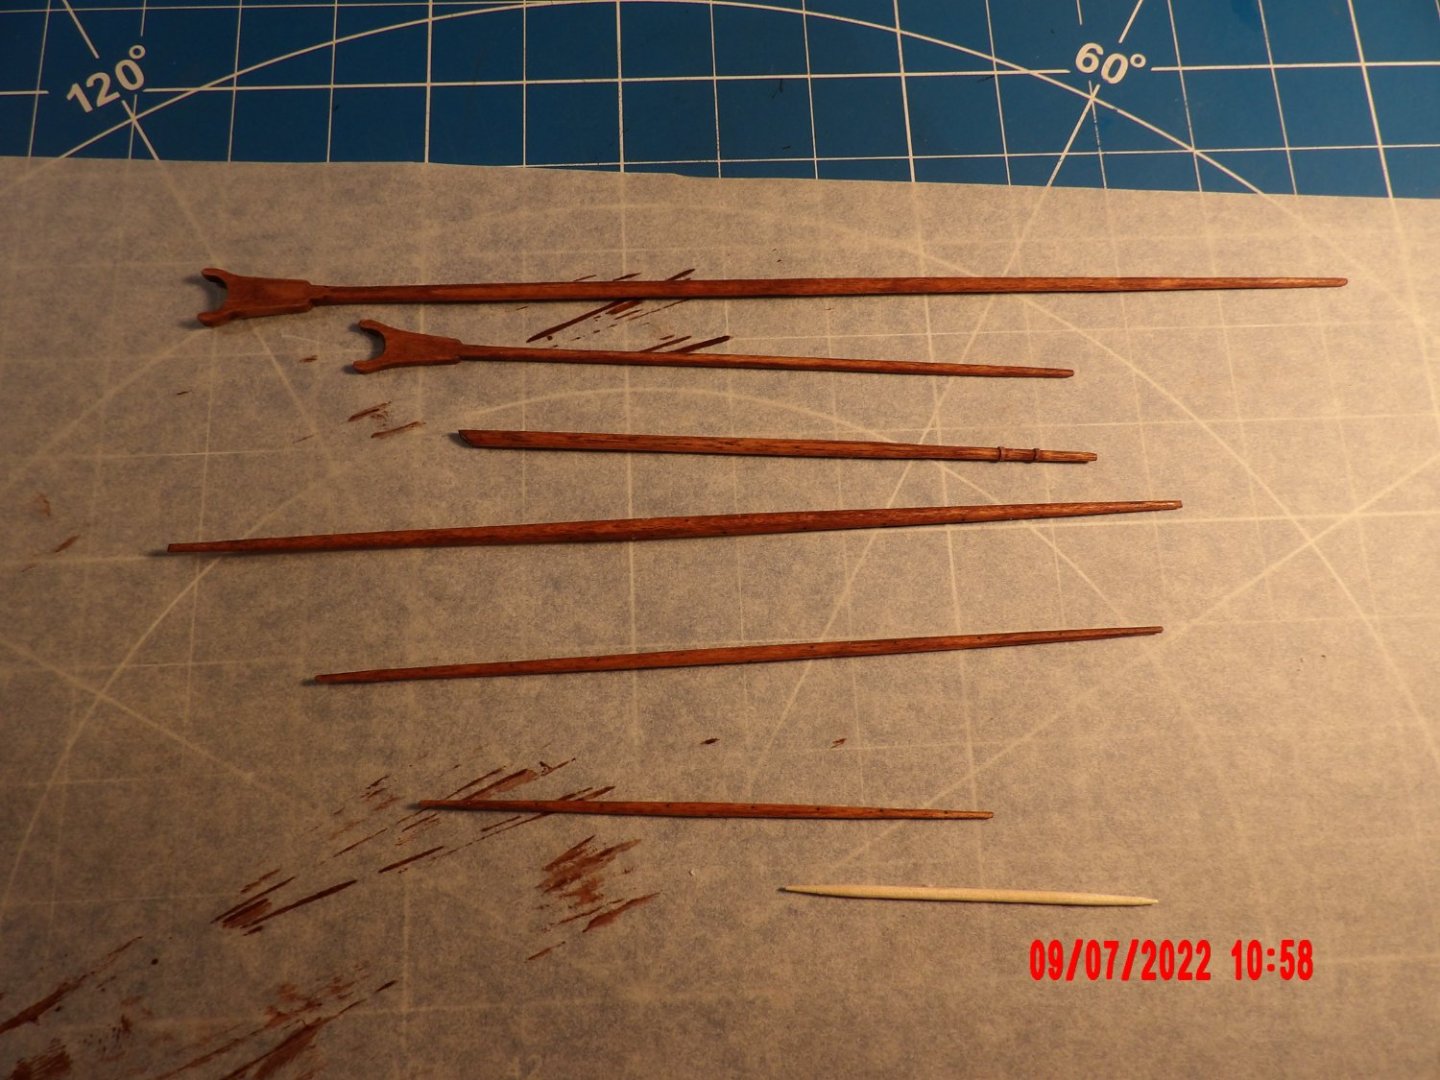
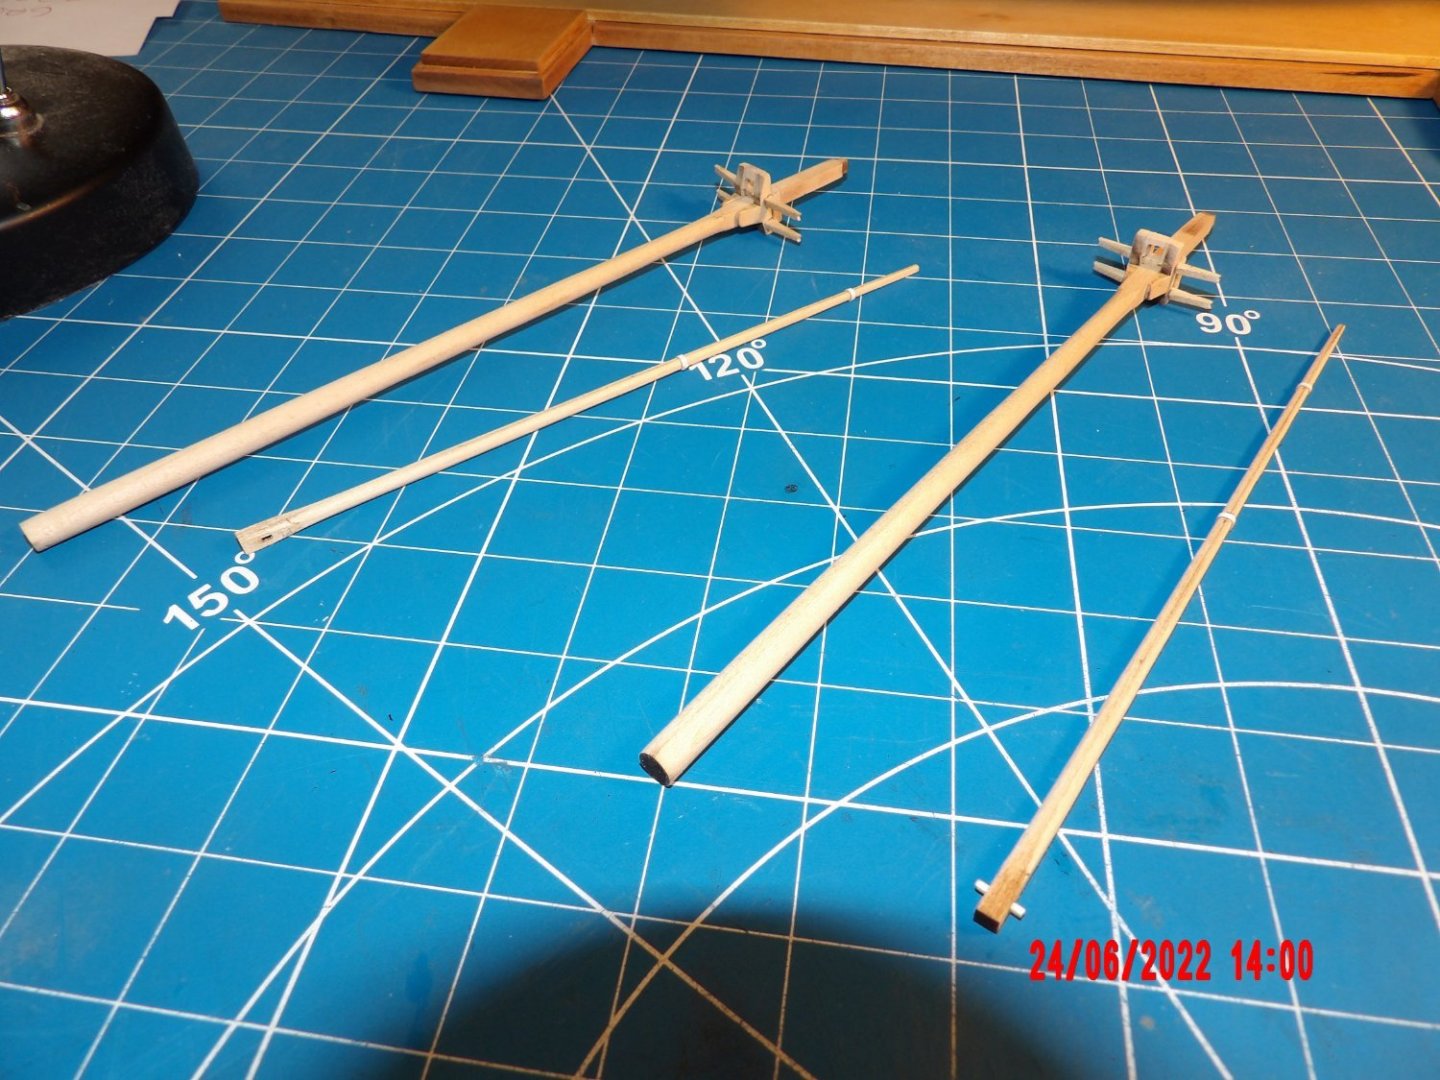
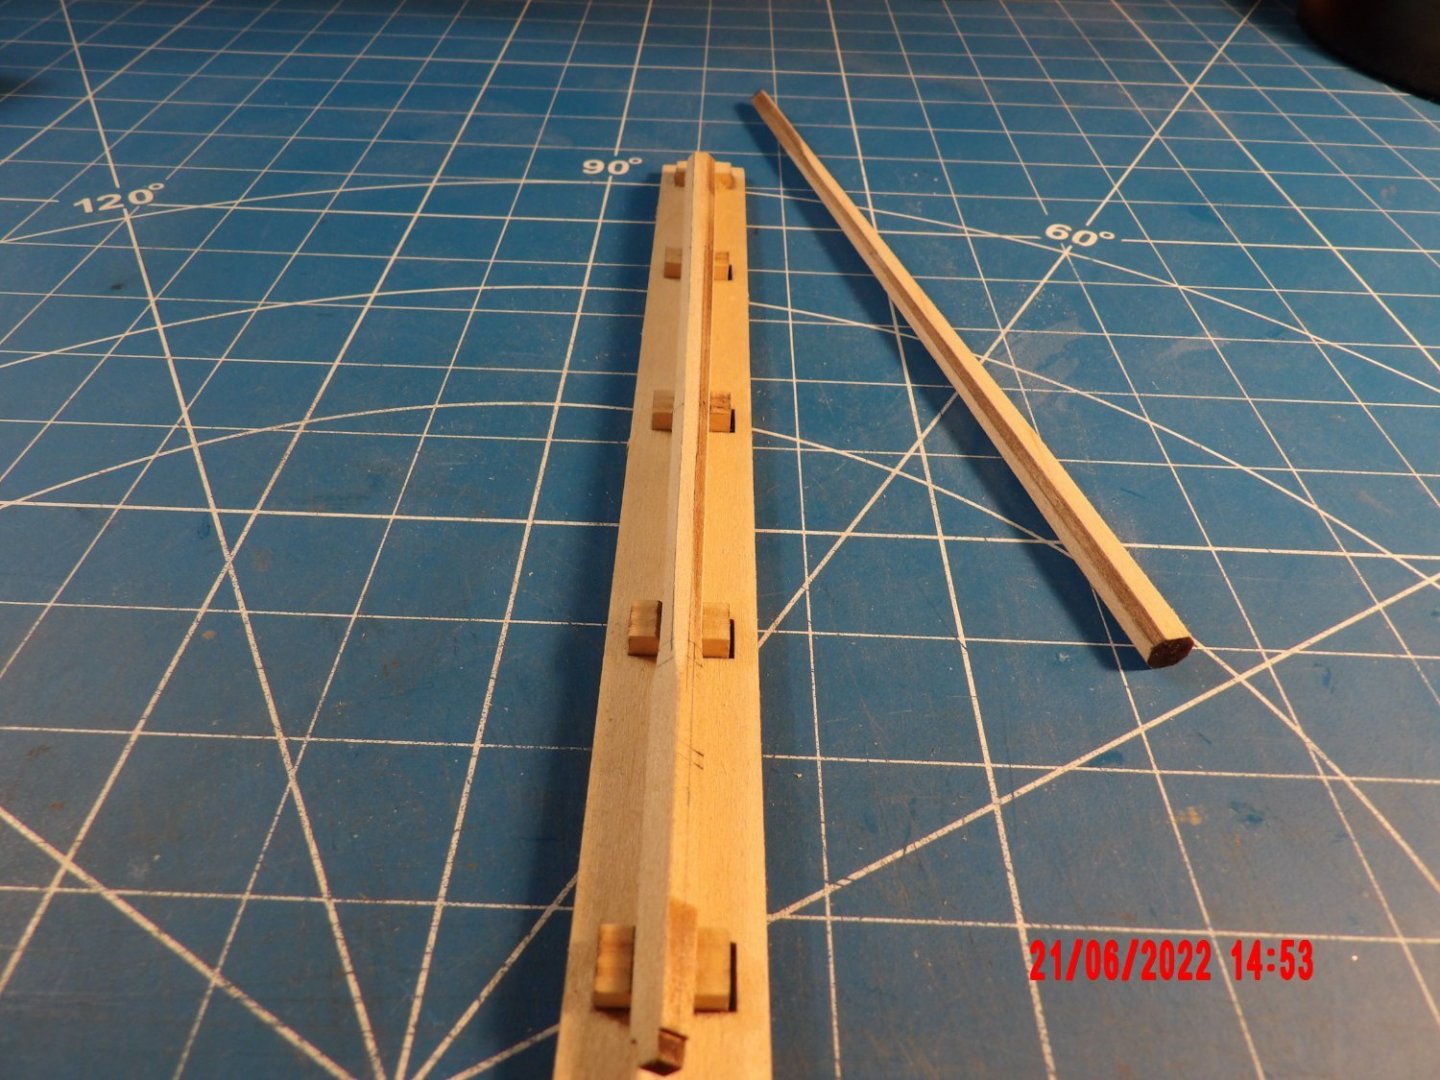
Boom, gaff, and three yards shaped. I'm pretty happy with these, and no longer fear shaping from rectangular (in fact I enjoy it). Toothpick shown for scale. I broke a couple of the yards while shaping, and used the spares provided. Very delicate at the arms. The jibboom from the kit is tapered incorrectly. It is supposed to begin taper 2/3 of its length forward, but the laser-cut sides begin taper at about 1/3 length. This resulted in a very loose fit at the bowsprit cap. I made a replacement from 1/8" dowel. Still have not received the small eyebolts from ME, and I'll need them to continue. Other suppliers also seem to be out of them. I can make a pretty good eyebolt from the soft copper wire I have, but do not want to attempt to use it in these spars. I ordered some half hard copper wire which should arrive tomorrow, hopefully it is more suitable.
- 146 replies
-
- 3
-
-
- Harriet Lane
- Model Shipways
- (and 1 more)
-
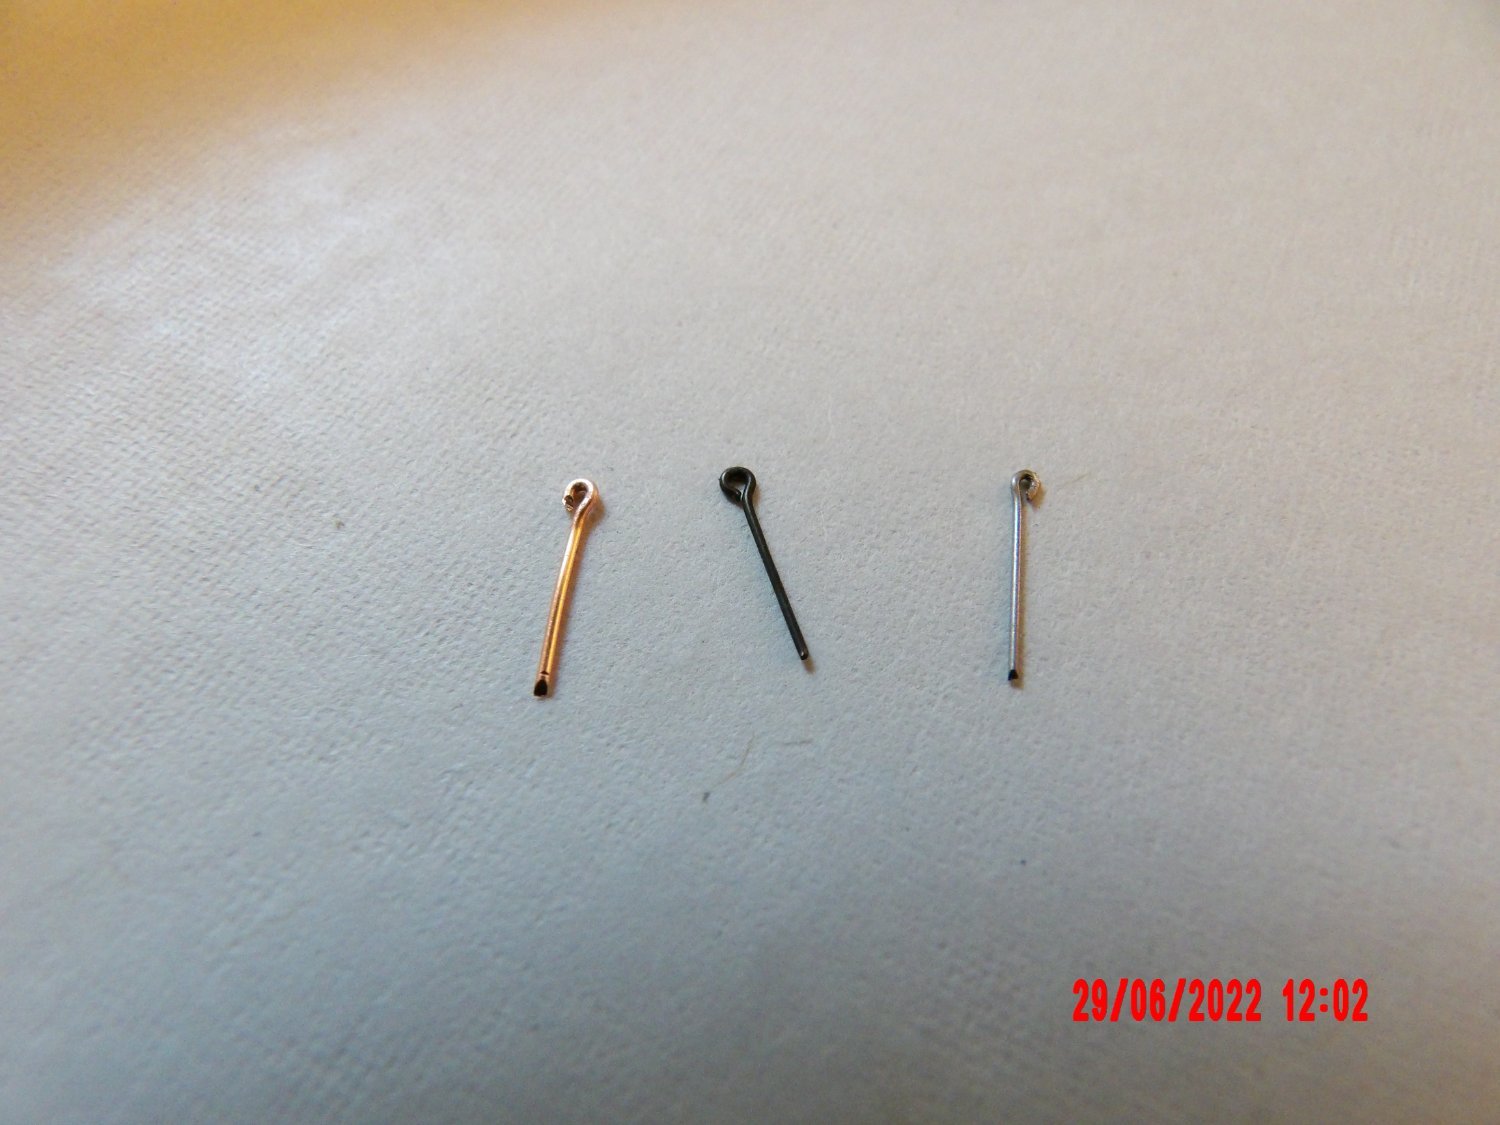
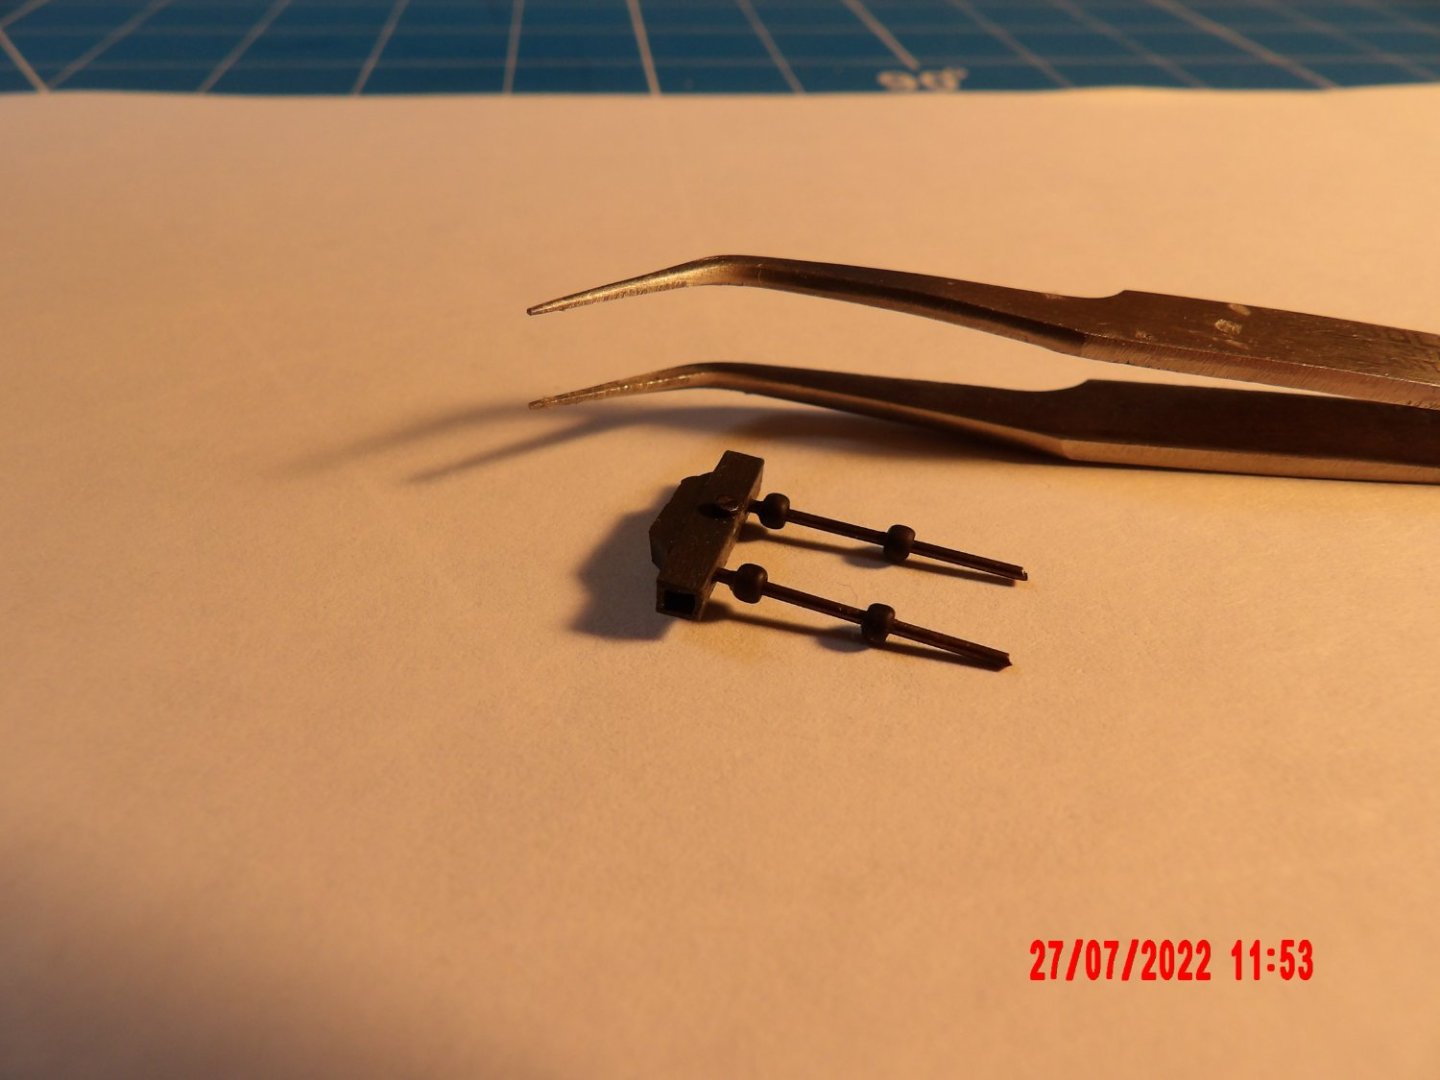
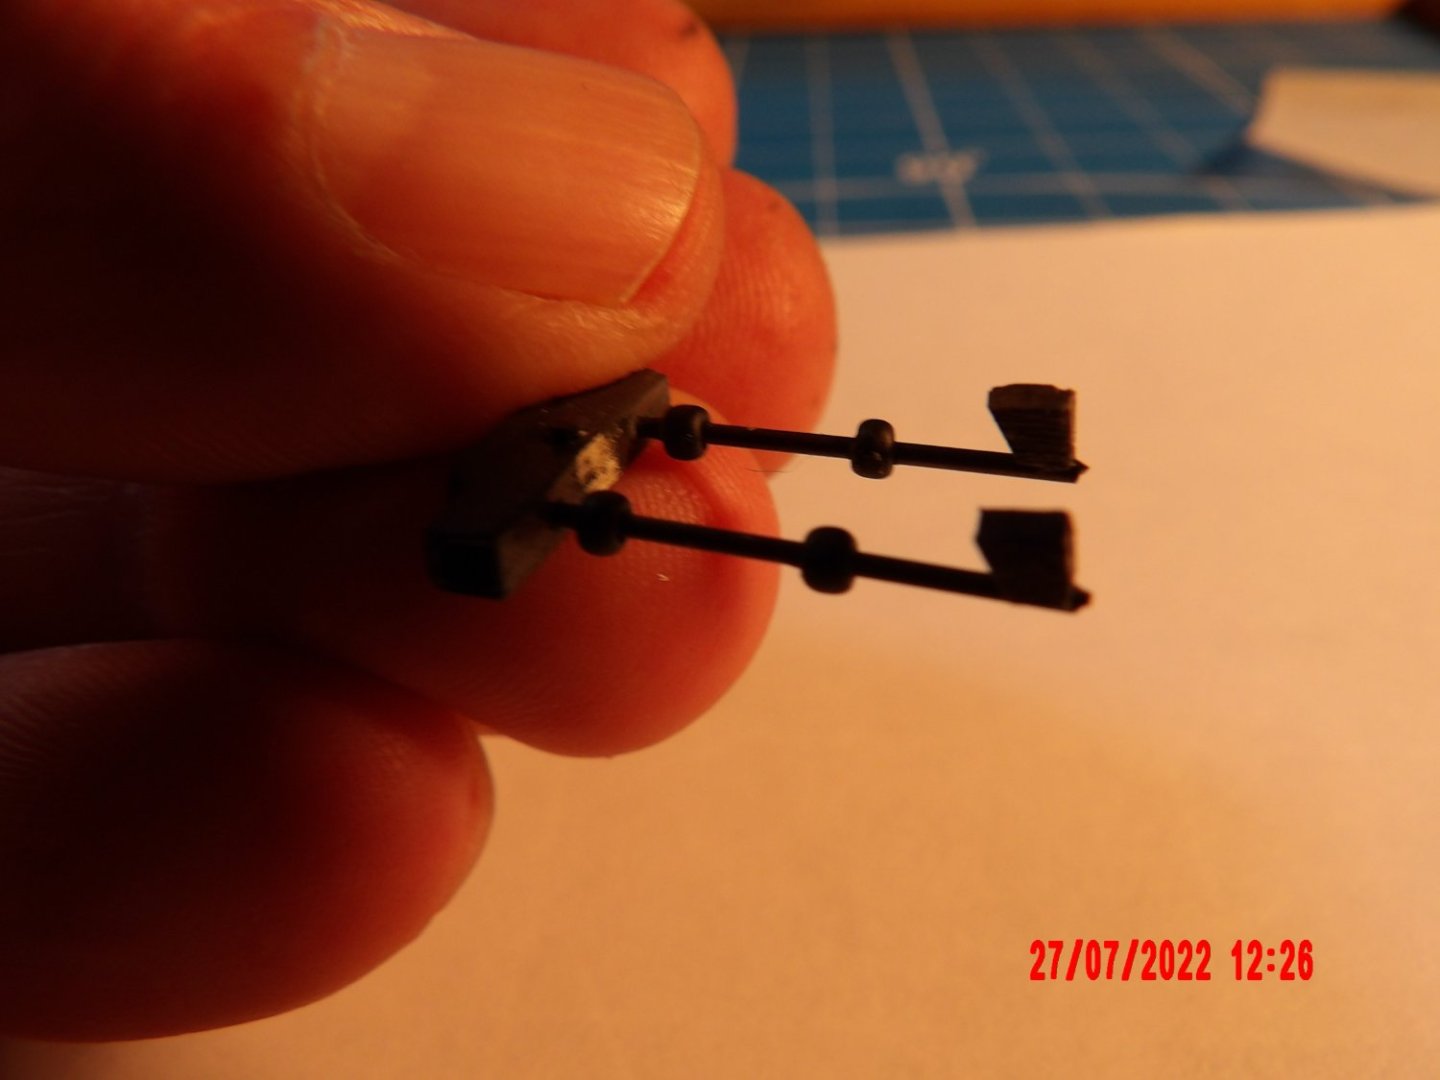
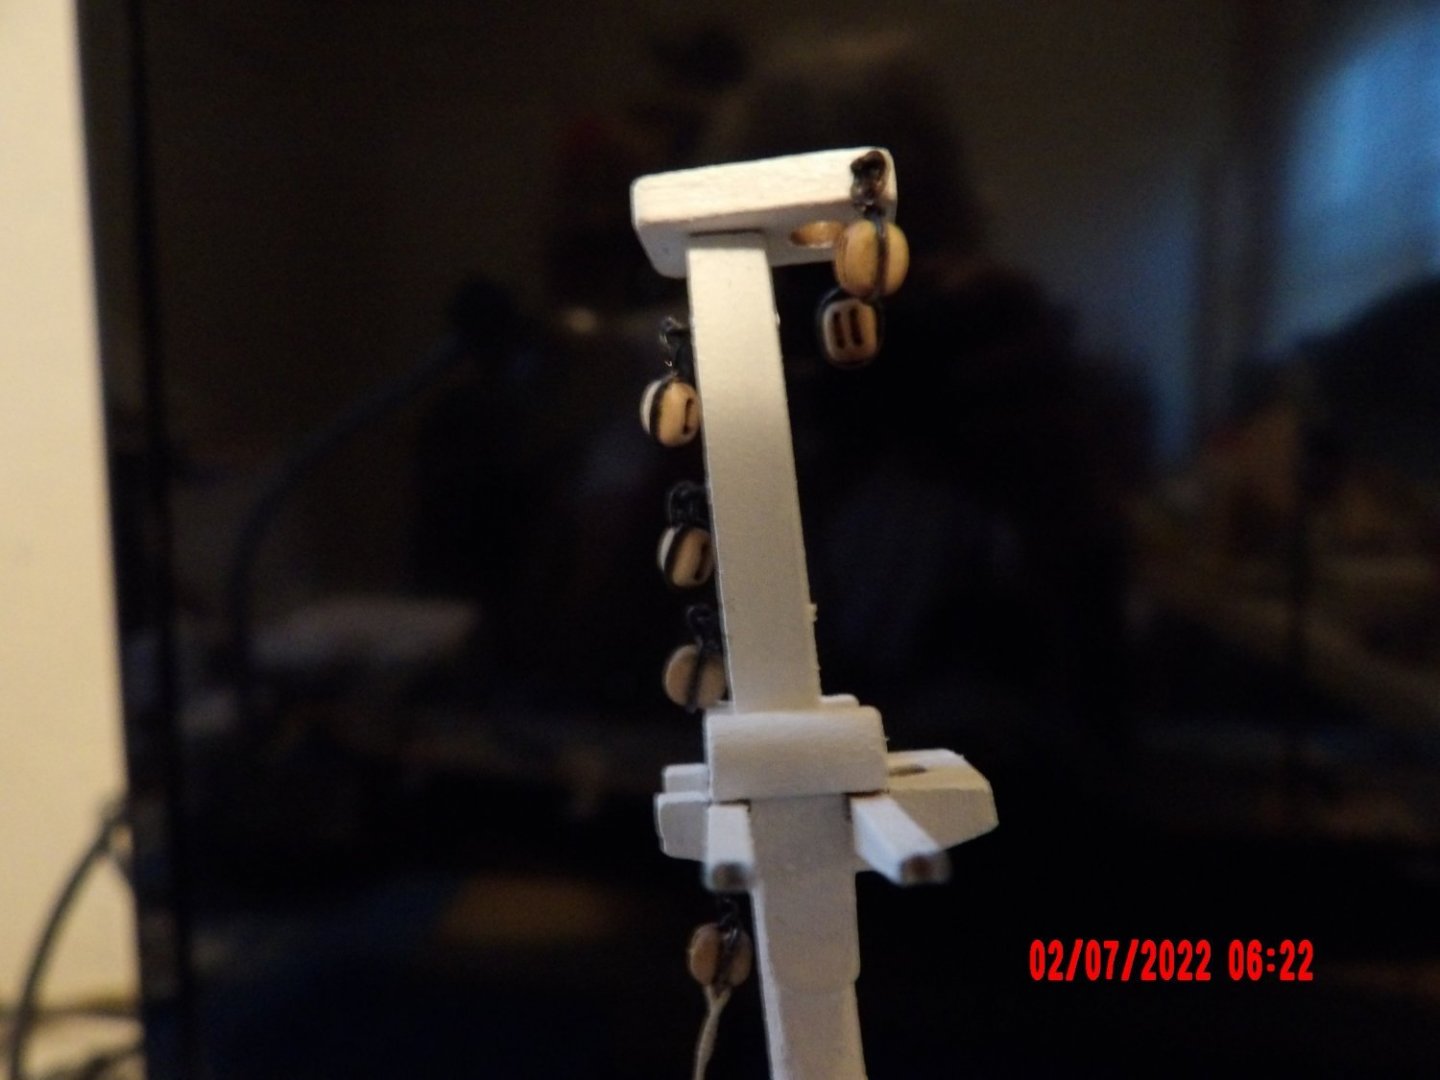
I used the last of the small (1/32") eyebolts. I think the parts list interchanged the quantities for medium and small. I've ordered more, but they've been on backorder for over a month. So I am trying different methods of making my own. In the picture below, the first is one I made using soft 24 ga. copper wire. The one in the middle is the kit-supplied, which I had already blackened, and the last is one I made of very hard "music" wire, from the hardware store. The kit came with only a foot length of 24 ga. wire which I assume is for the stropping. Might be enough for some, but not for me! Fortunately, it is readily available and relatively cheap at the hardware store. The main (aft) mast with blocks added, using the last of the kit eyebolts. I'm learning (once again) that attention must be paid to the final block orientation when bending the stropping hooks- I goofed, and ended up changing the 3 eyebolts on the aft side of the mast to a horizontal position (should be vertical) to correct my mistake. No one I know will notice. . . I'm using Syren blocks and rope. This is the fore mast cap with my homemade soft copper eyebolts. I hope the ME ones get here quick, because I think they look better, and are certainly easier to deal with. I did not want to set up for blackening for just these two bolts, so painted them with somewhat poor results. Even the blackened ones are needing some paint touchup after manhandling them with pliers while stropping. I need some plastic-tipped needle nose or some thing else for doing this. . .


- 146 replies
-
- 8
-
-
- Harriet Lane
- Model Shipways
- (and 1 more)
-
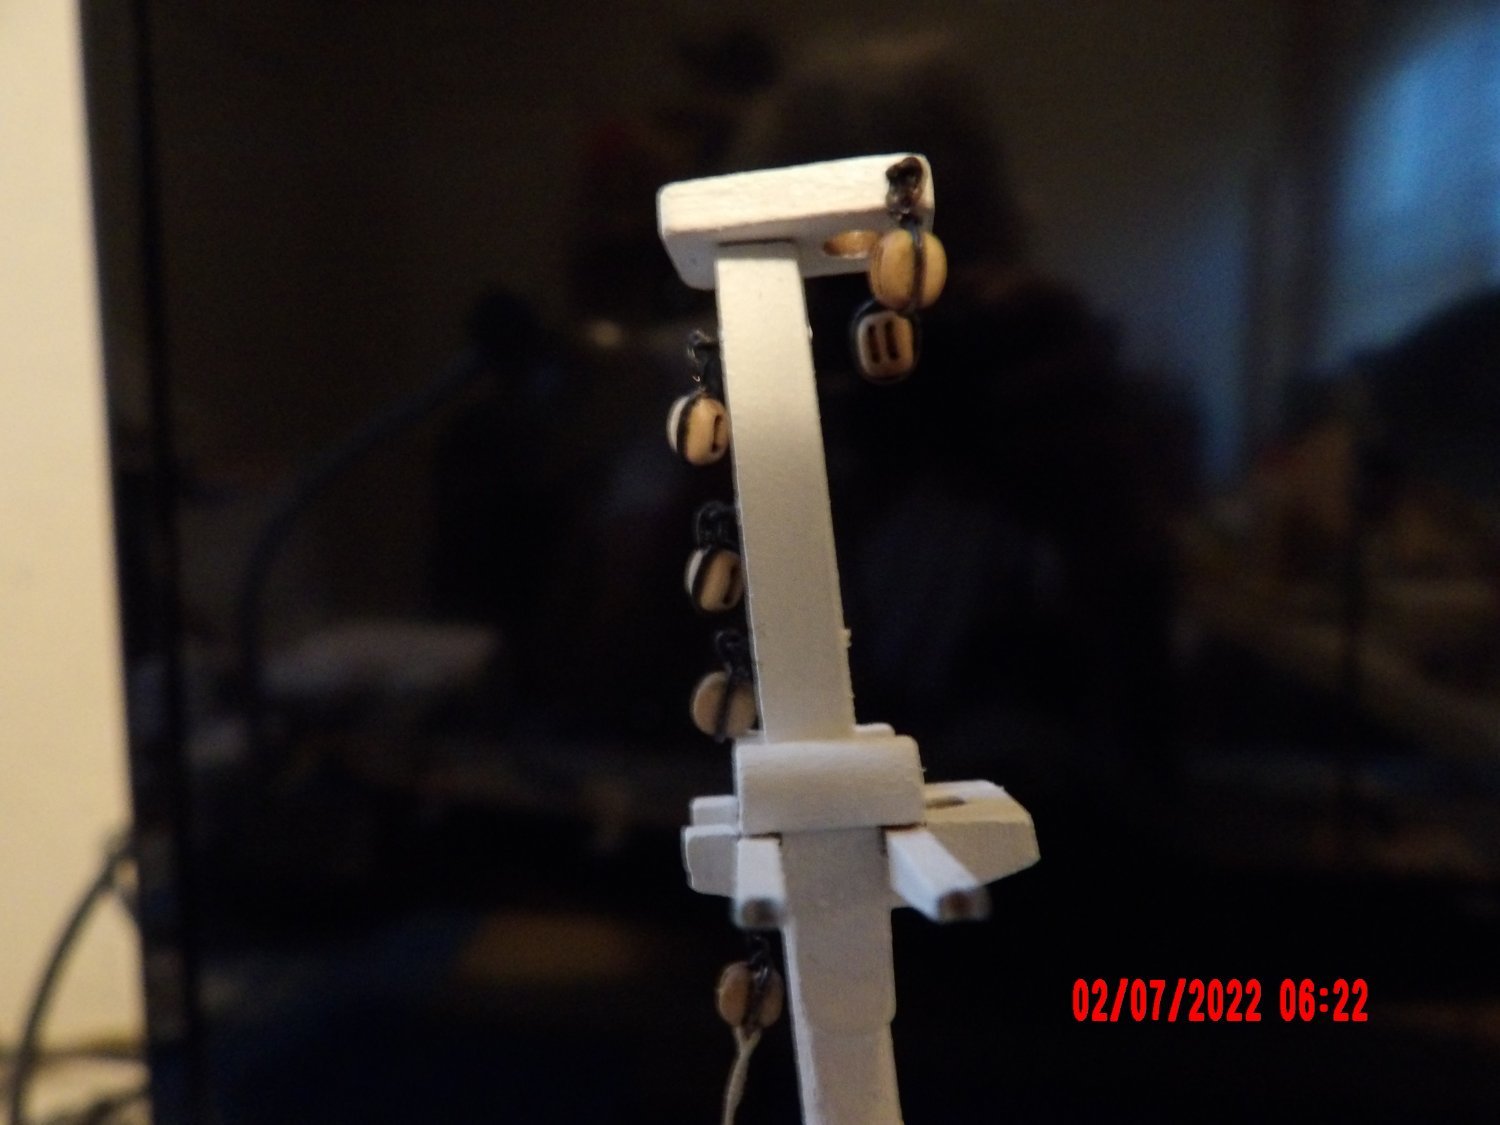
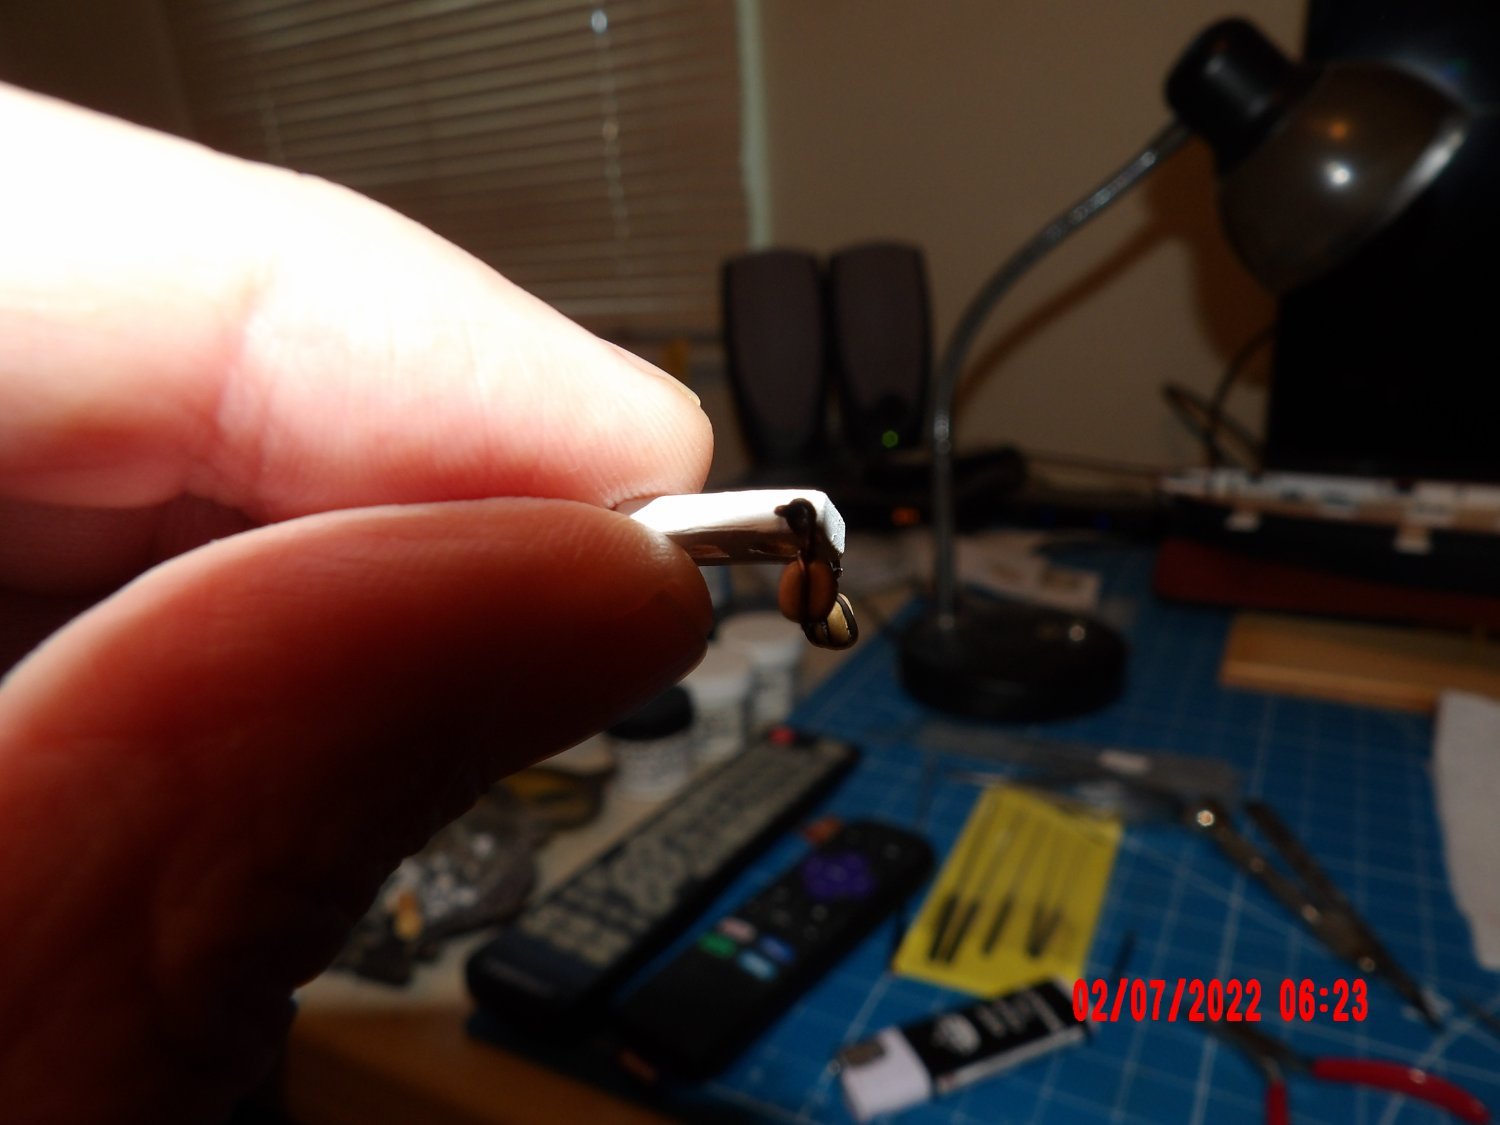
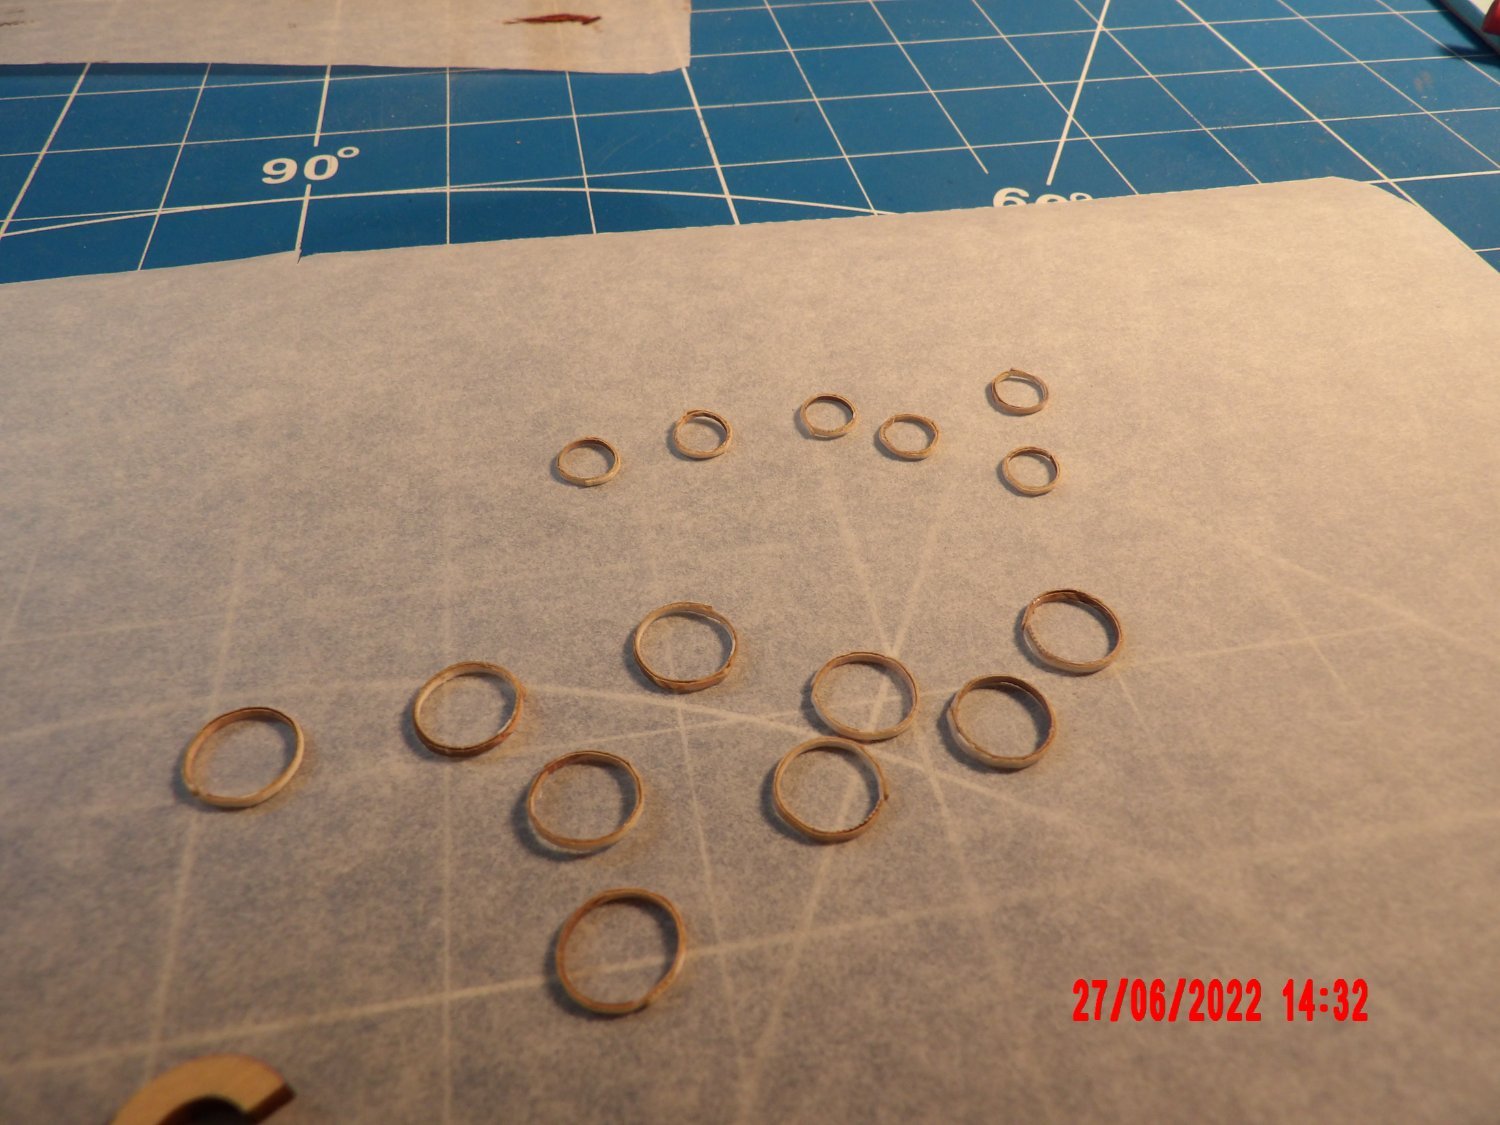
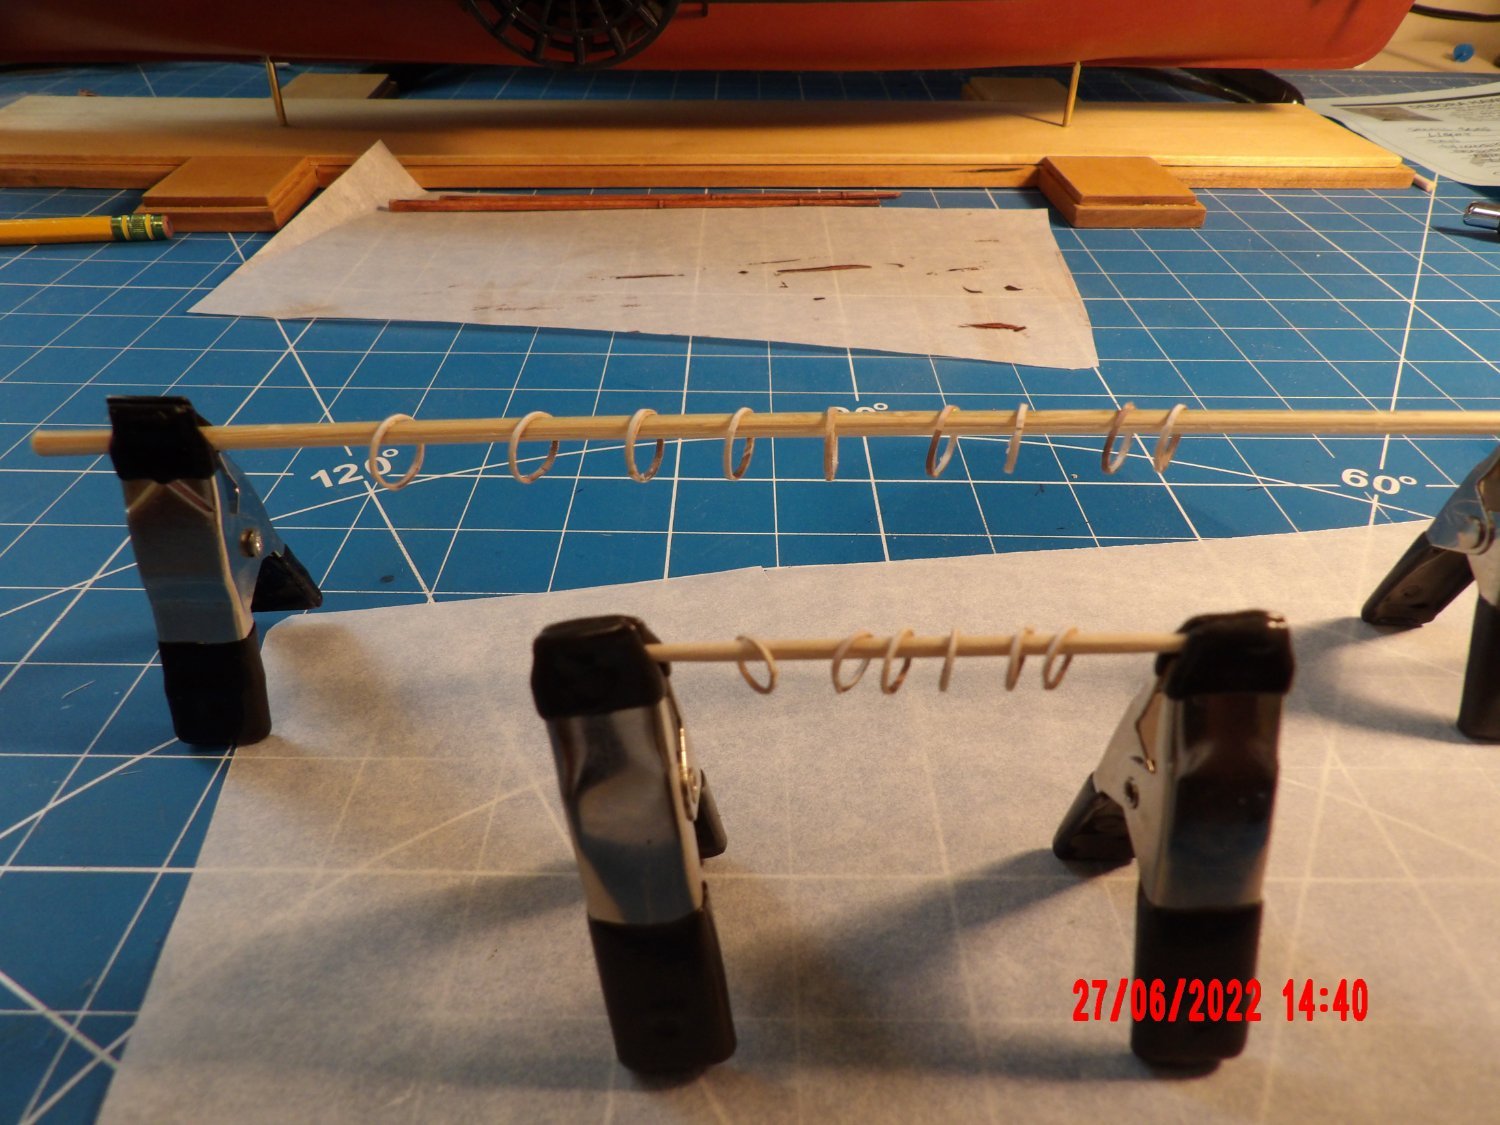
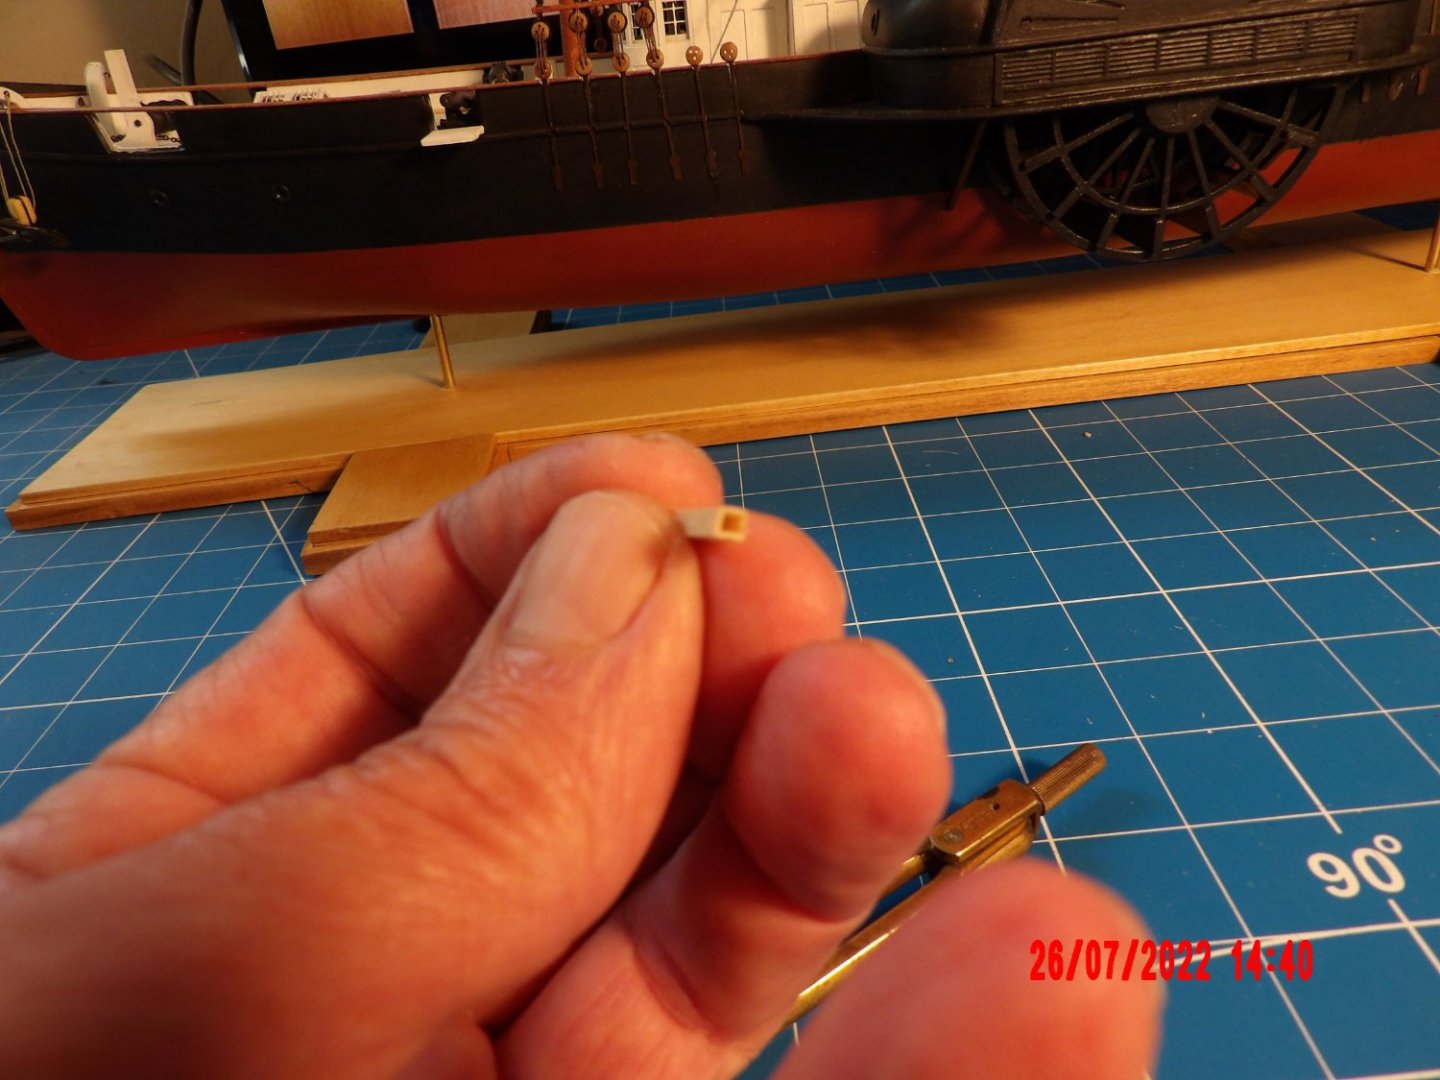
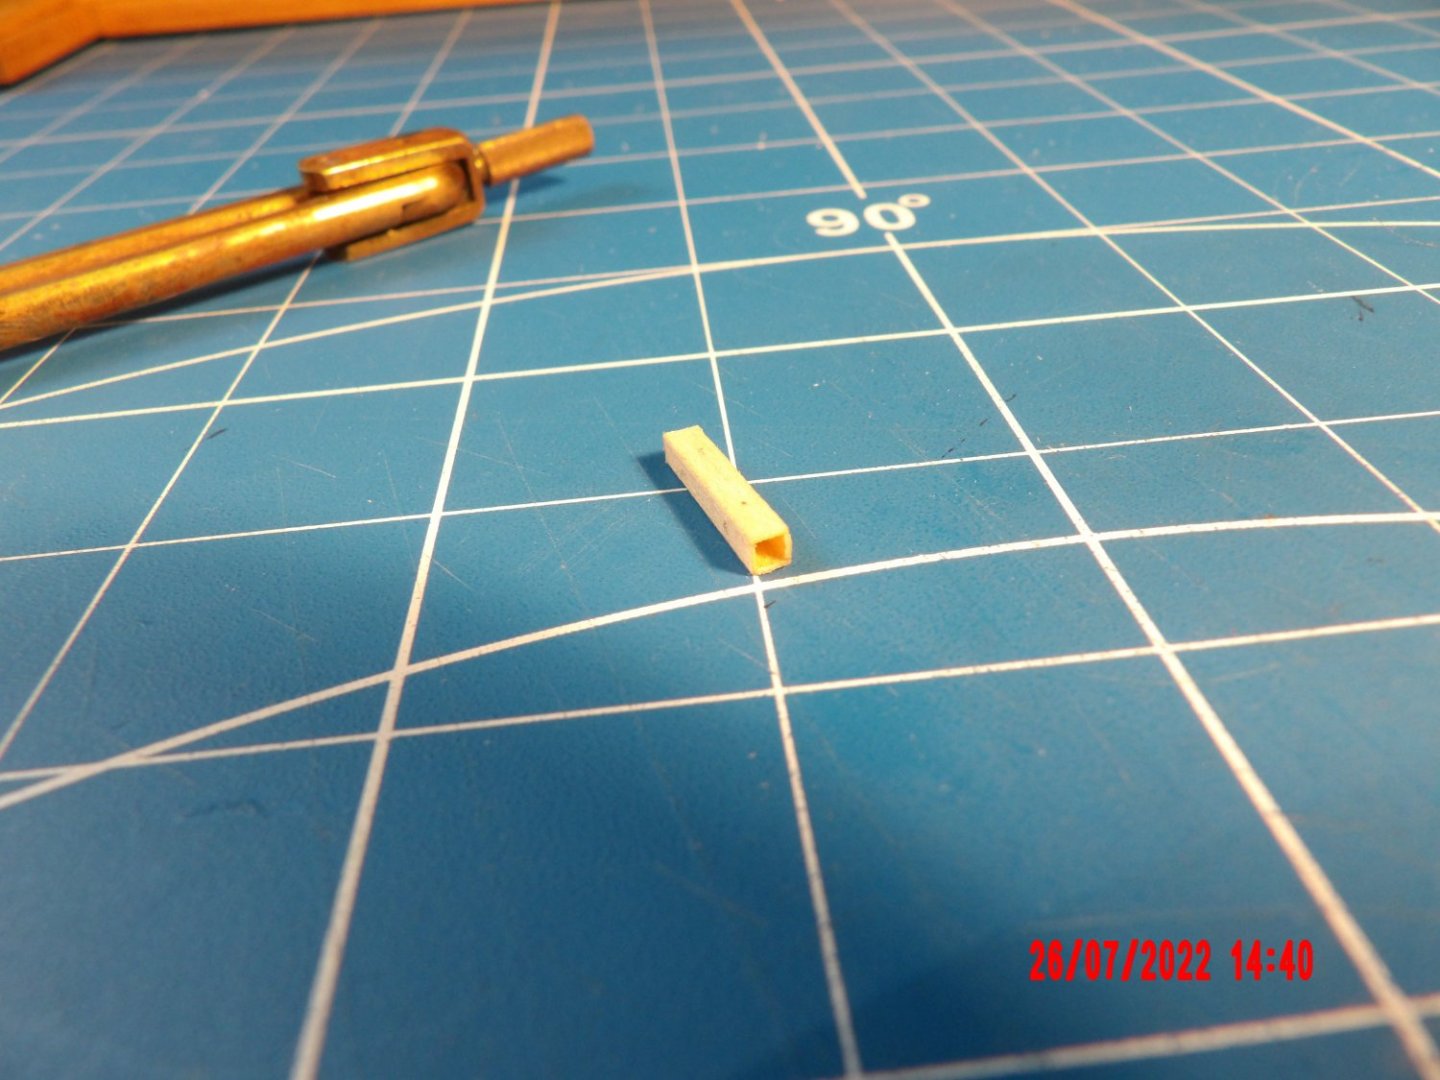
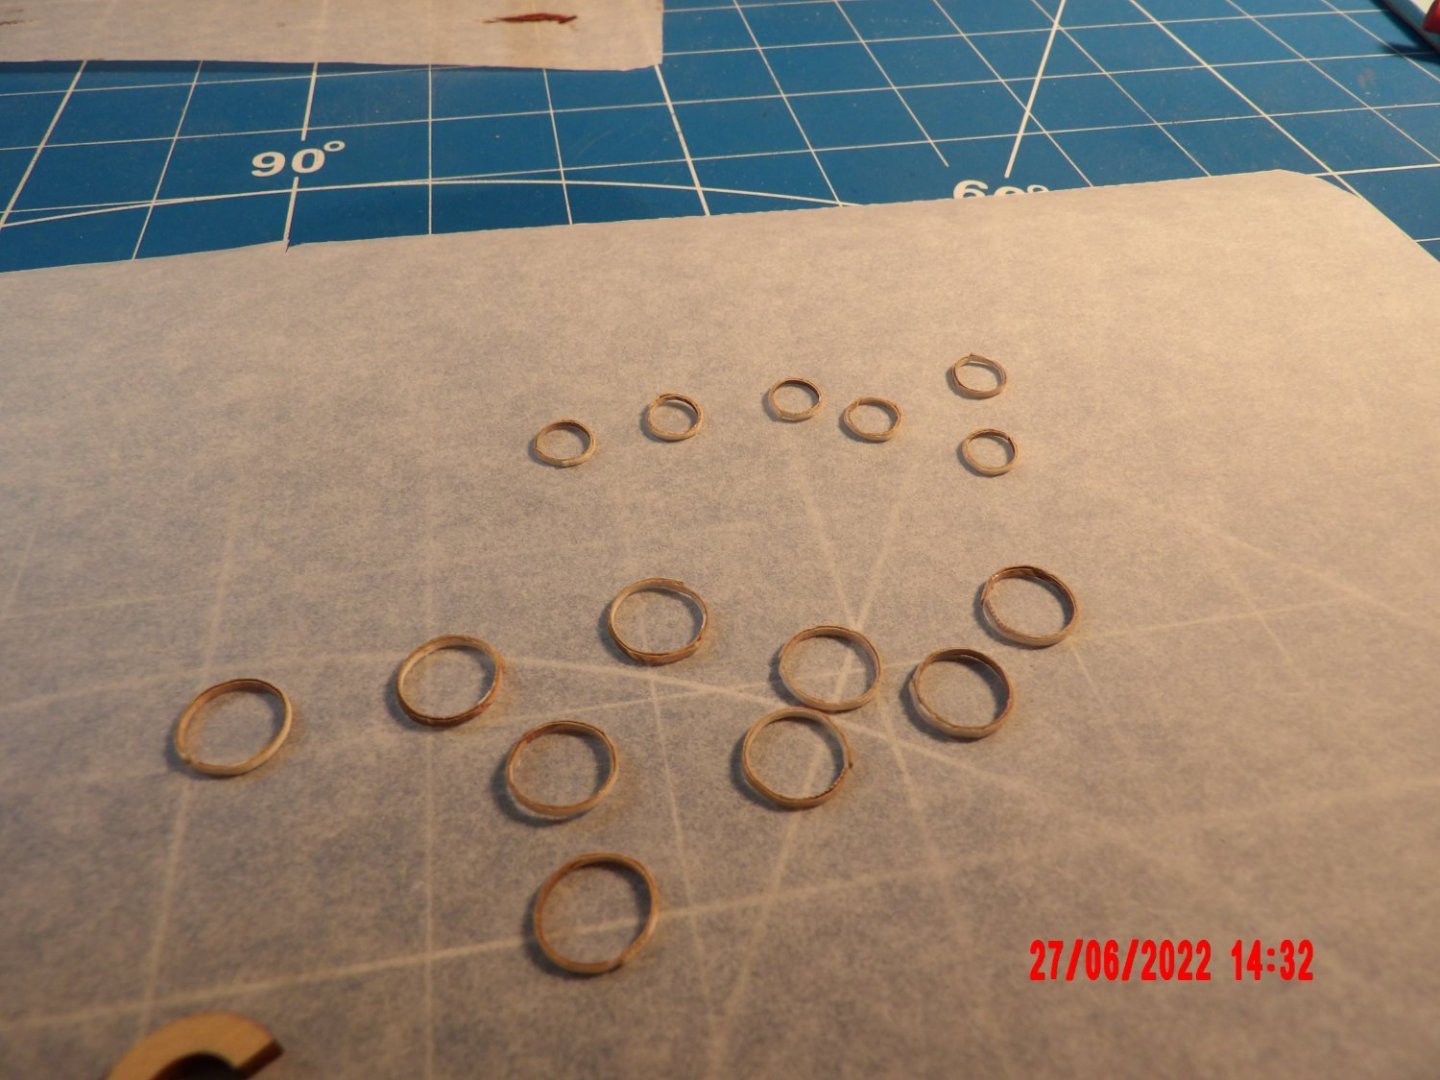
Made the mast hoops today. Very difficult at first, they are made from paper strips.


- 146 replies
-
- 5
-
-
- Harriet Lane
- Model Shipways
- (and 1 more)
-
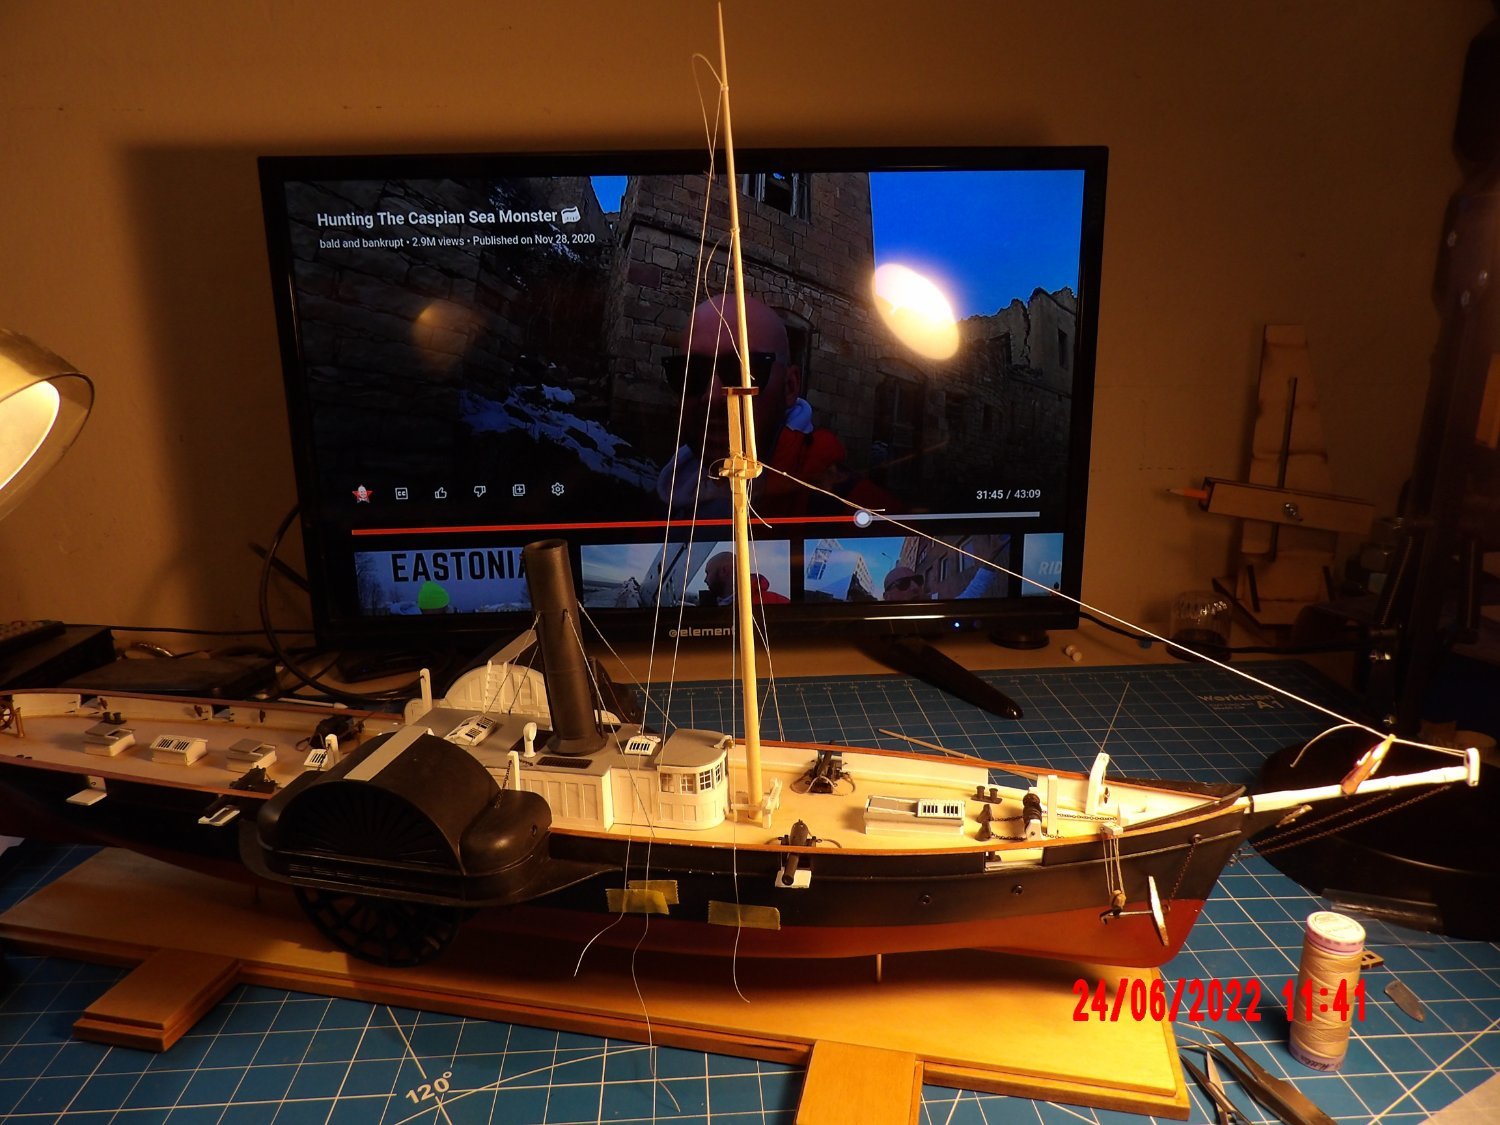
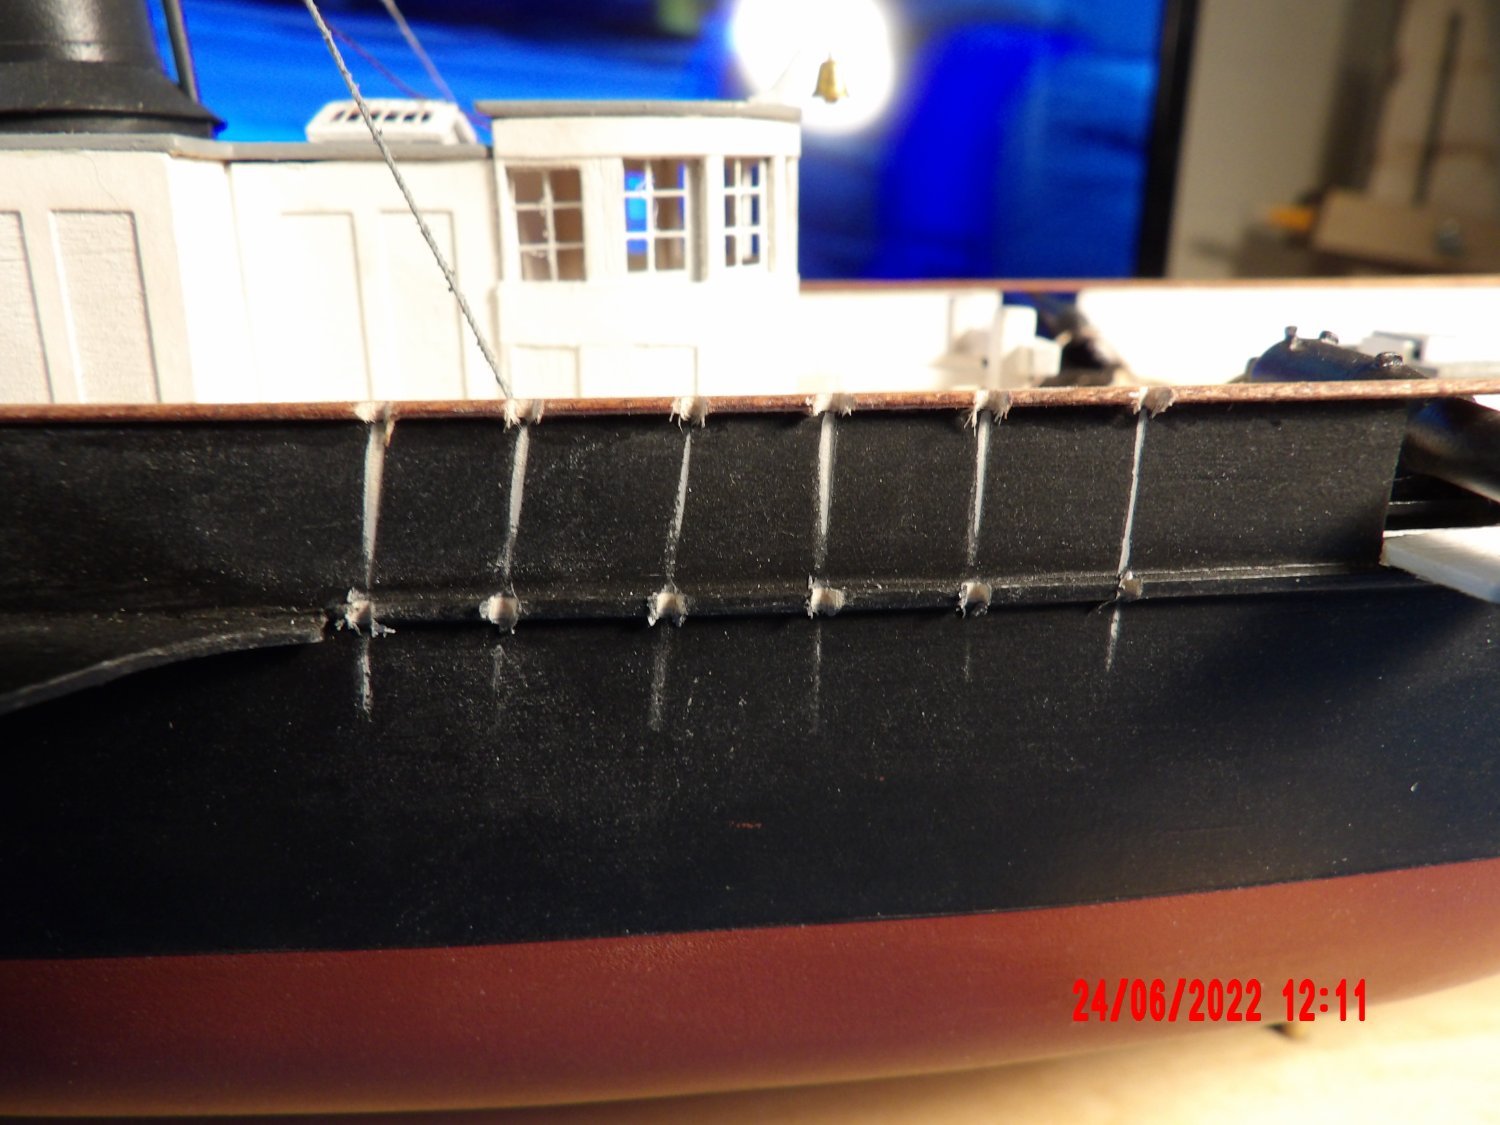
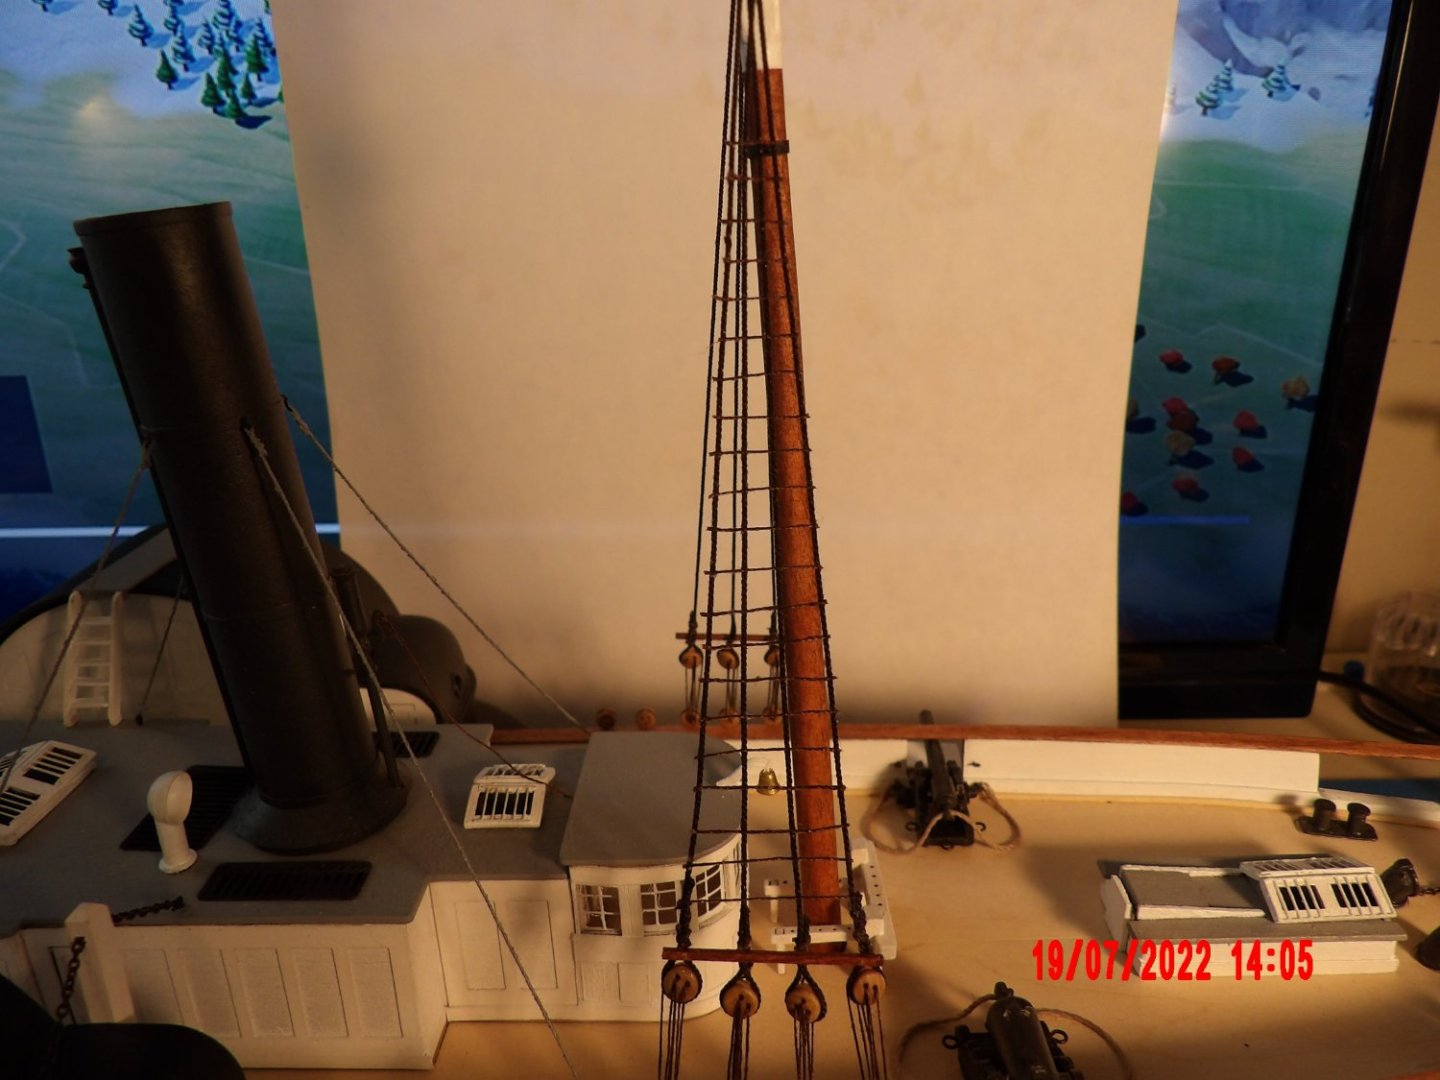
Finished shaping the upper and lower masts. Completed installation of the forward chains/deadeyes.


- 146 replies
-
- 9
-
-
- Harriet Lane
- Model Shipways
- (and 1 more)
-
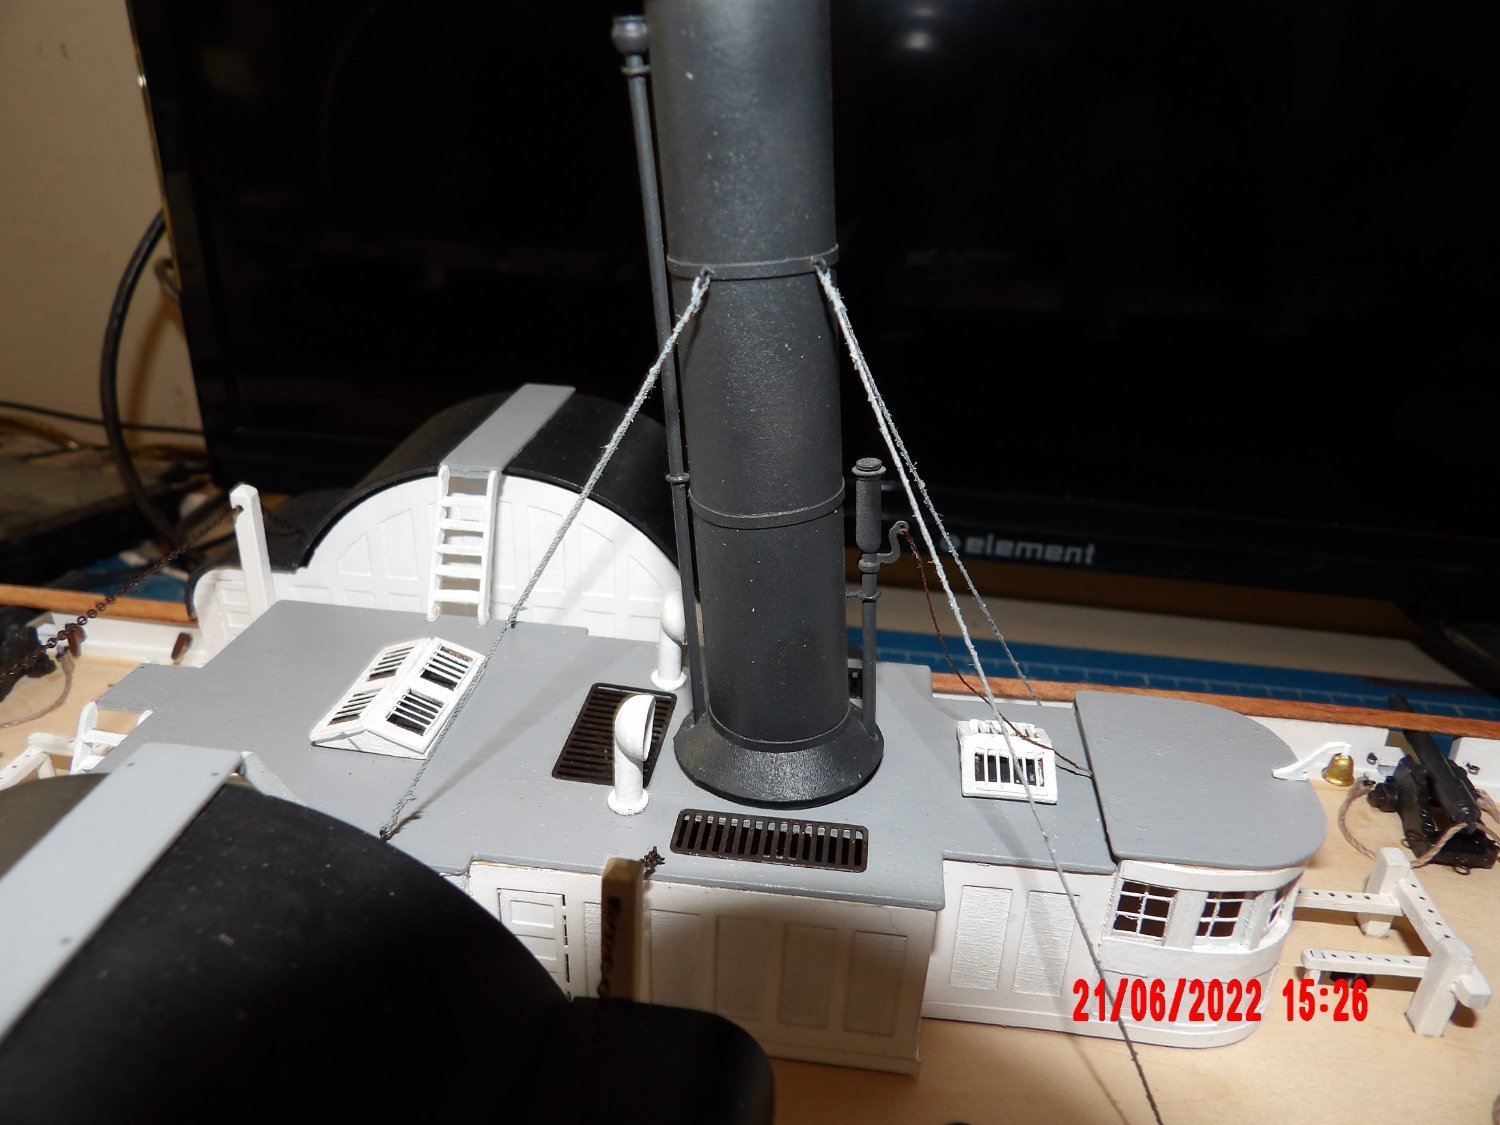
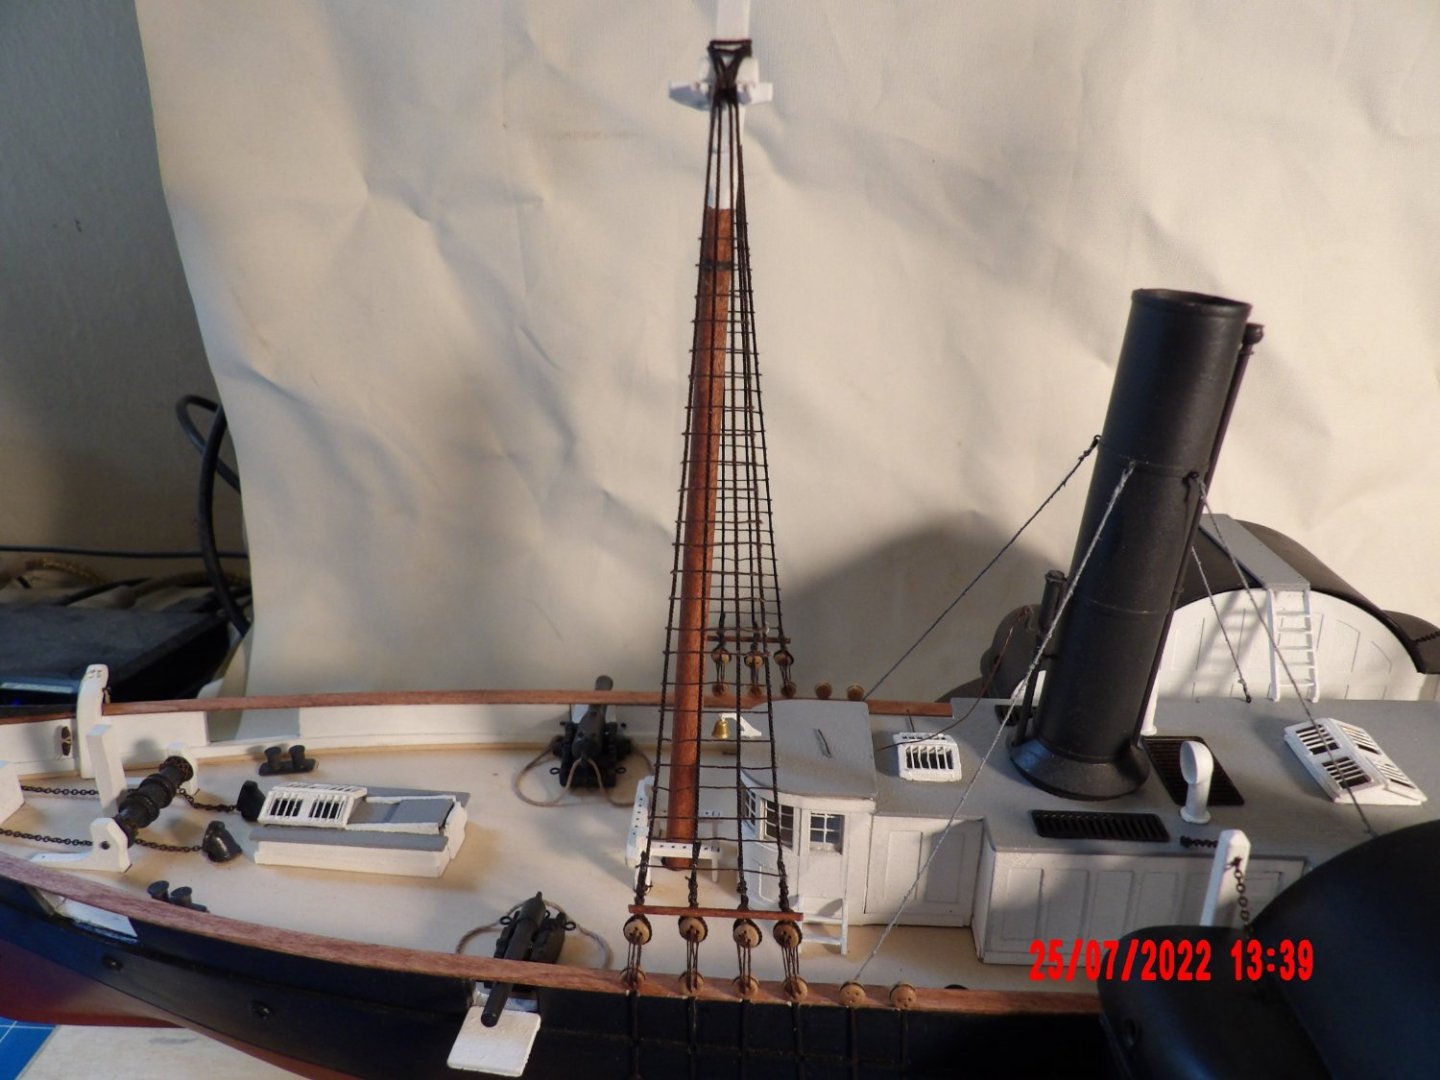
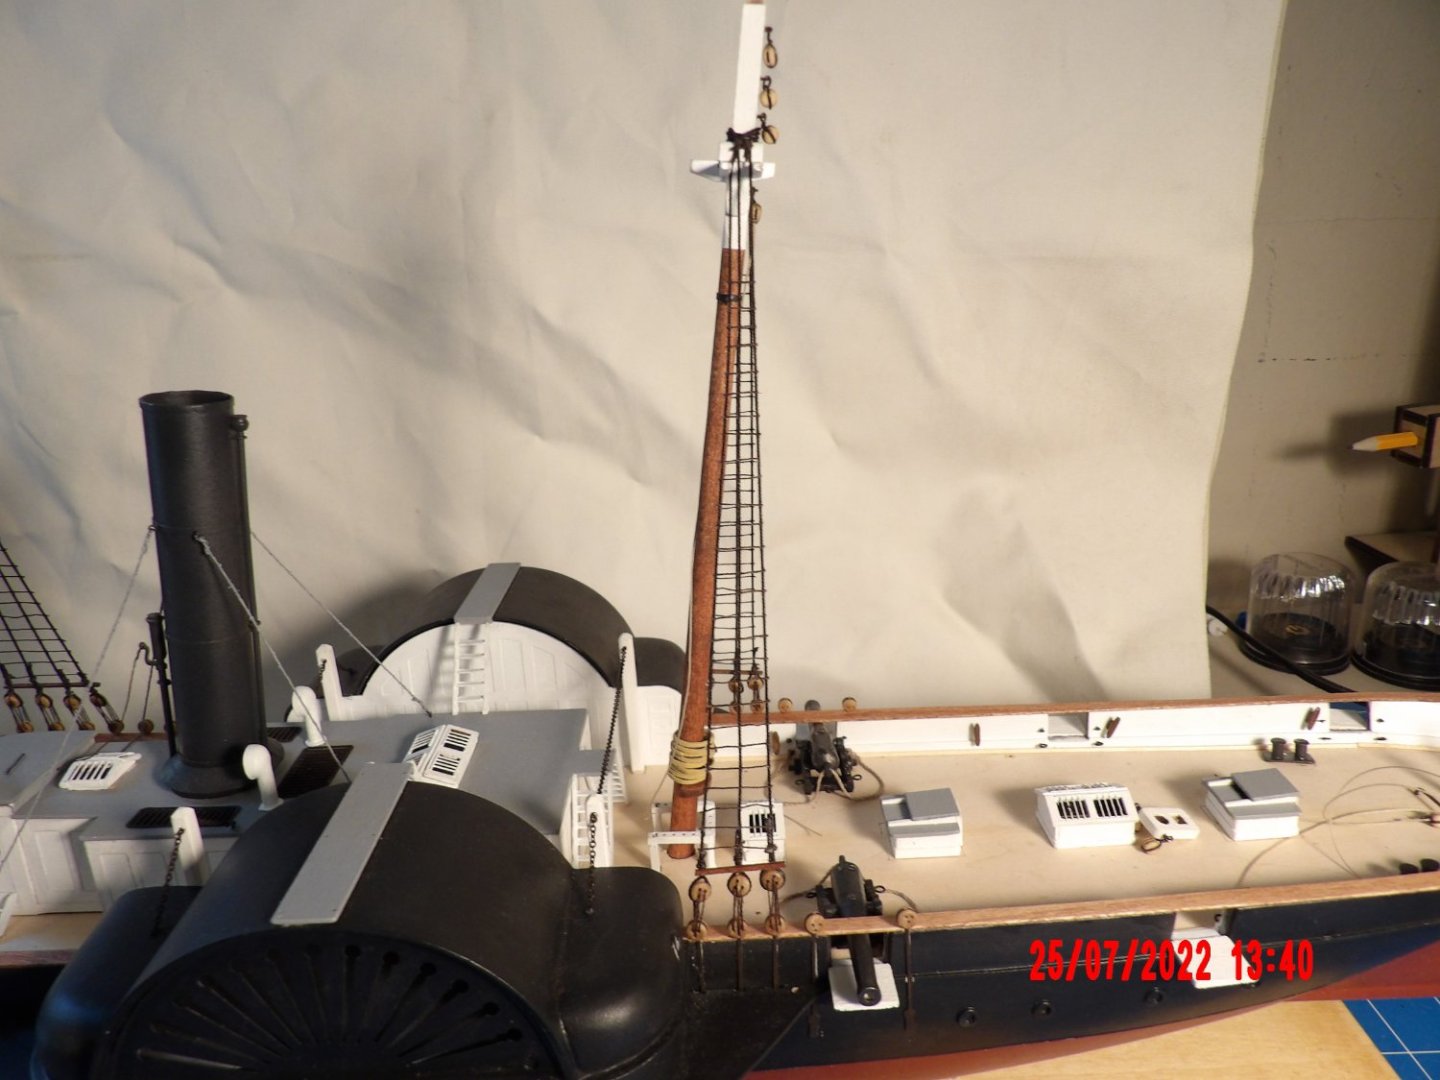
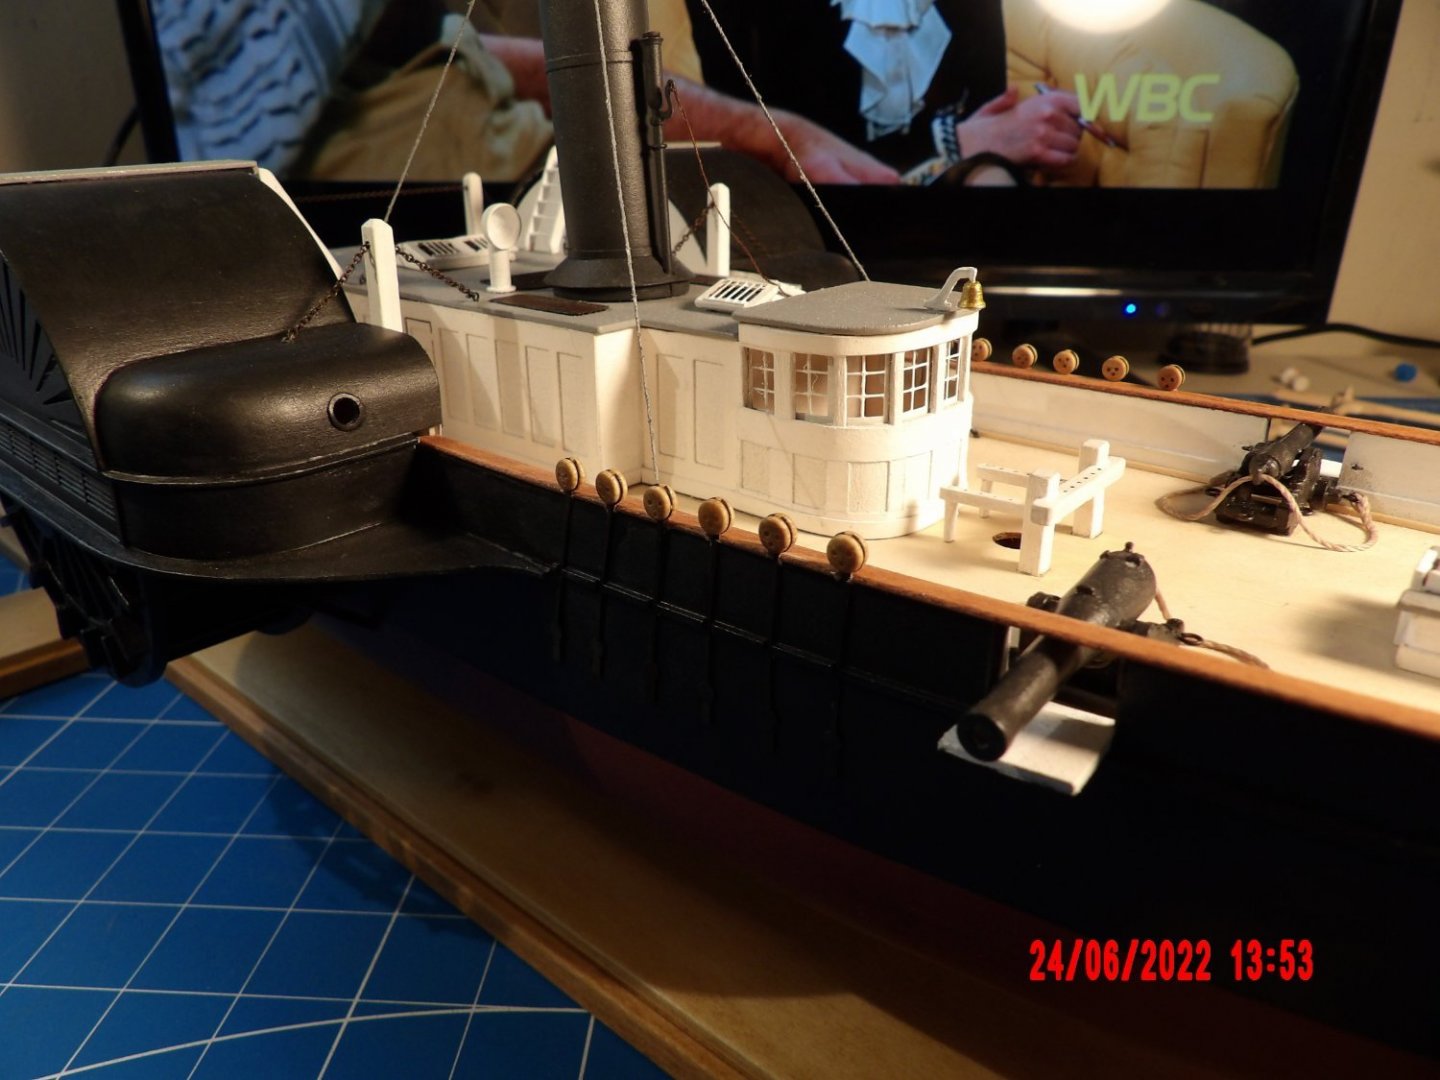
Installed the funnel guys, whistle operating rope, and bell. Began shaping the lower masts.


- 146 replies
-
- 7
-
-
- Harriet Lane
- Model Shipways
- (and 1 more)
-
Gary, looking at your Lobster Smack, you'll do better!