bobandlucy
-
Posts
512 -
Joined
-
Last visited
Content Type
Profiles
Forums
Gallery
Events
Everything posted by bobandlucy
-
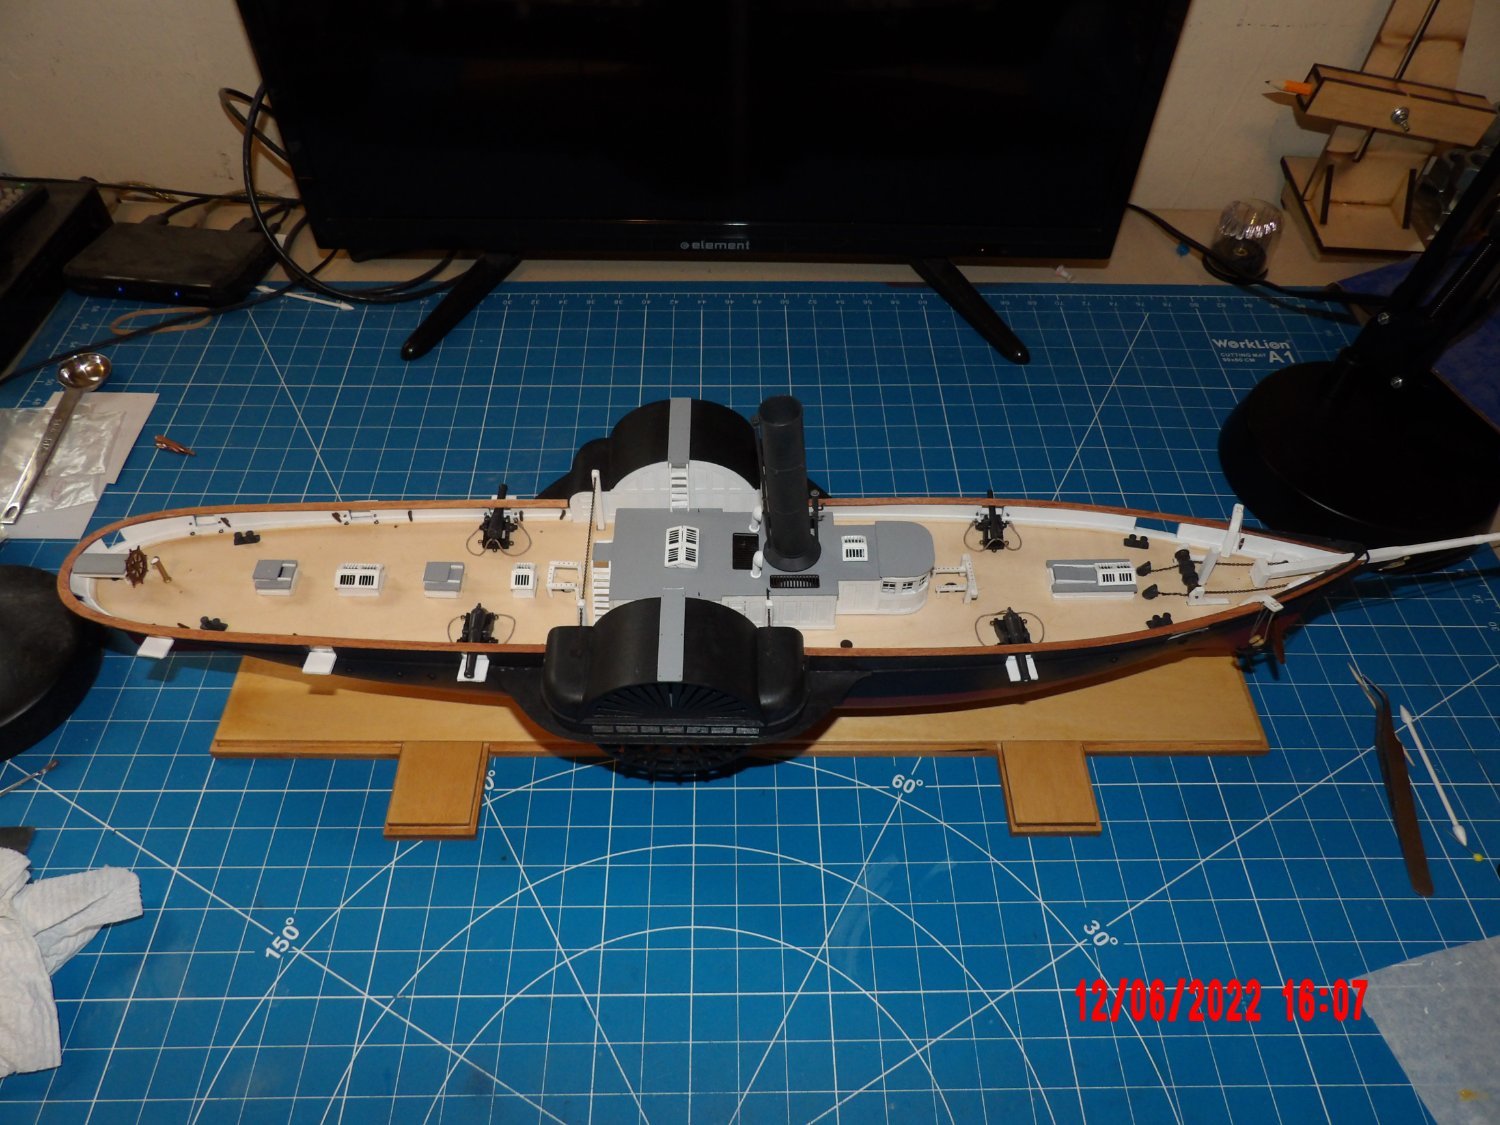
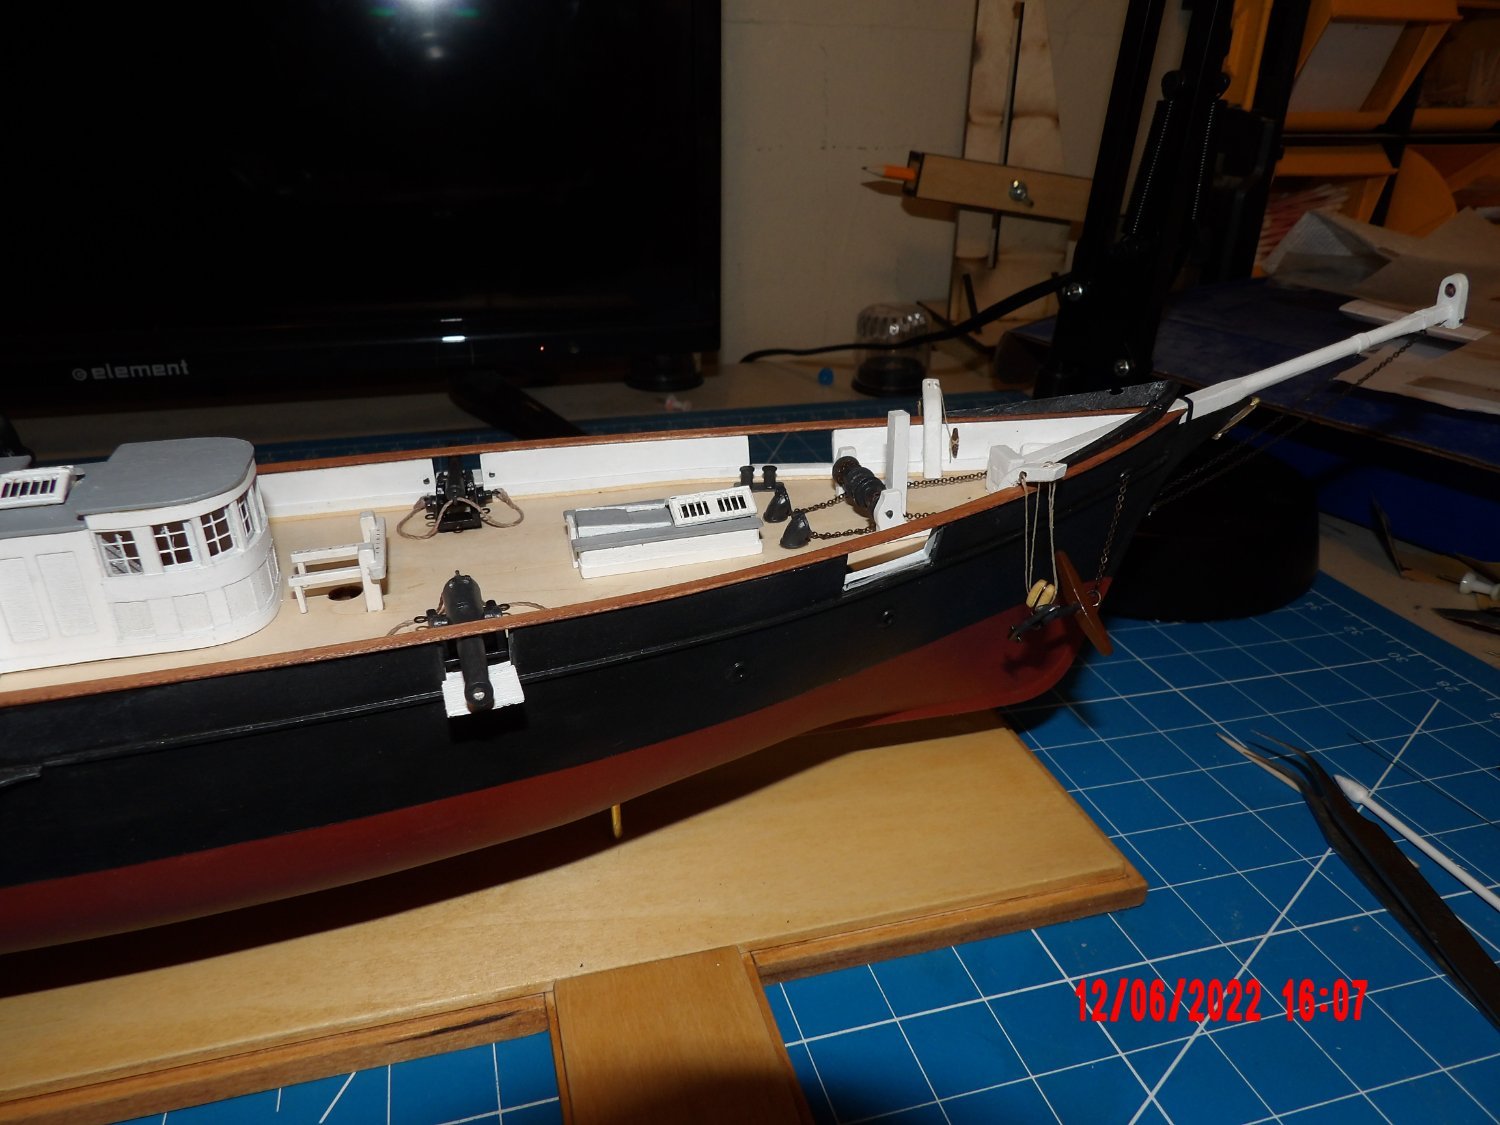
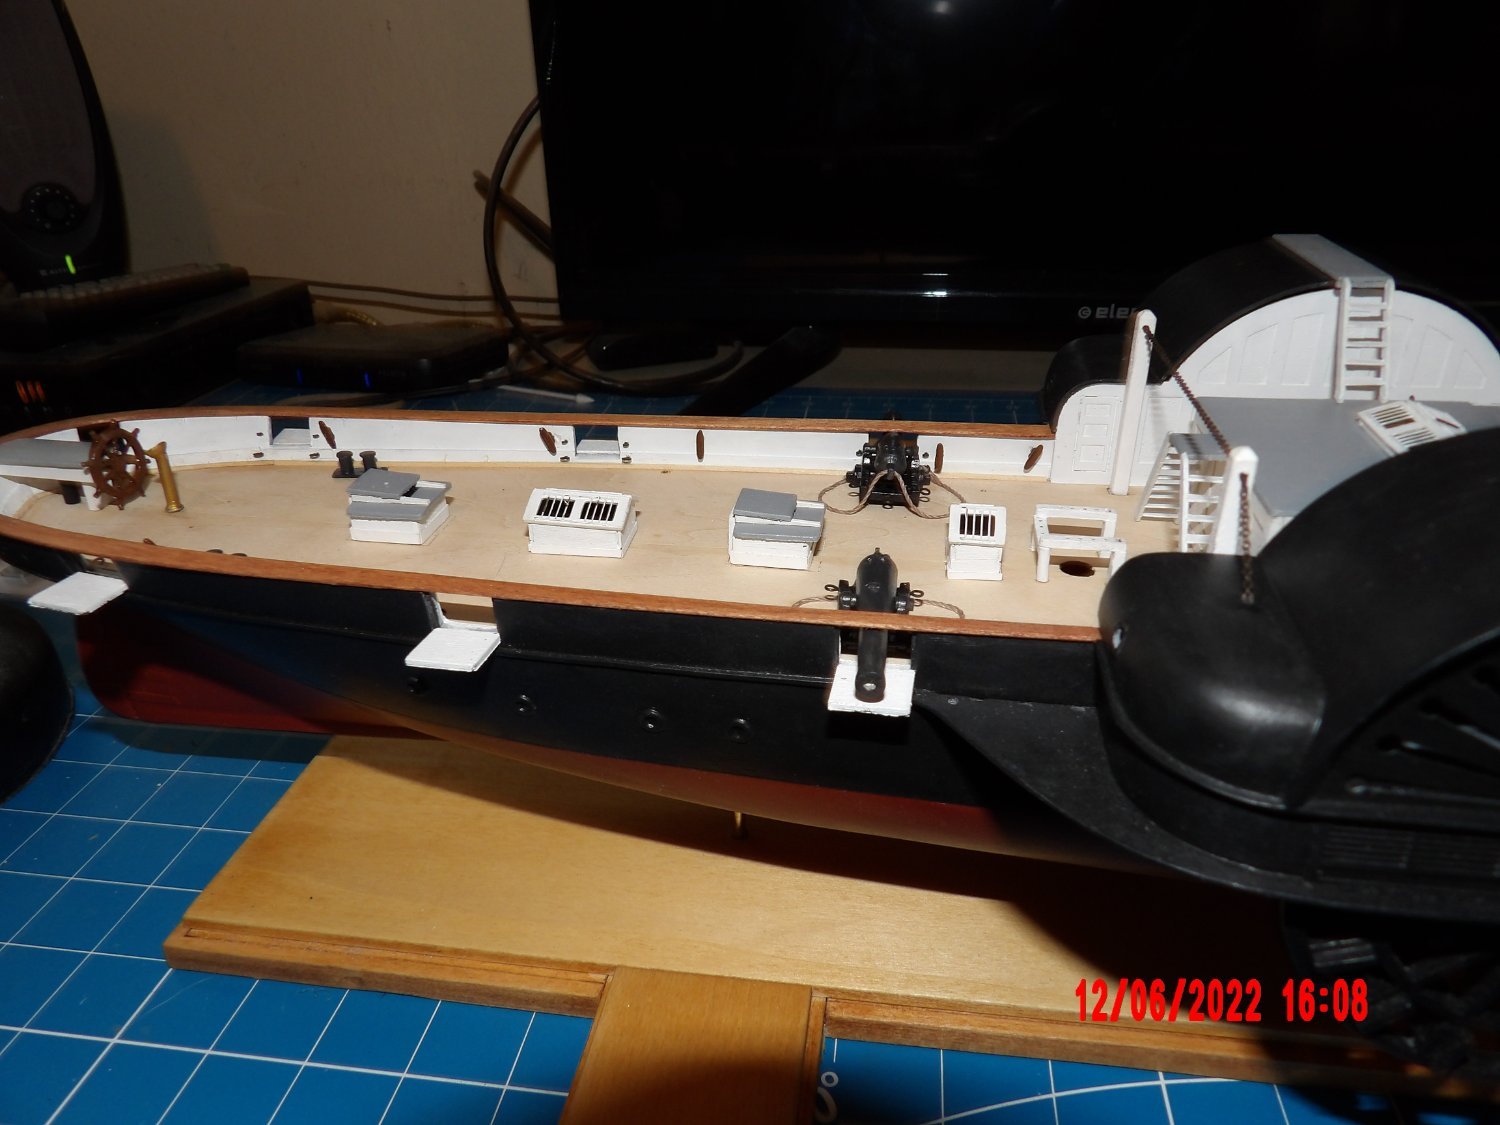
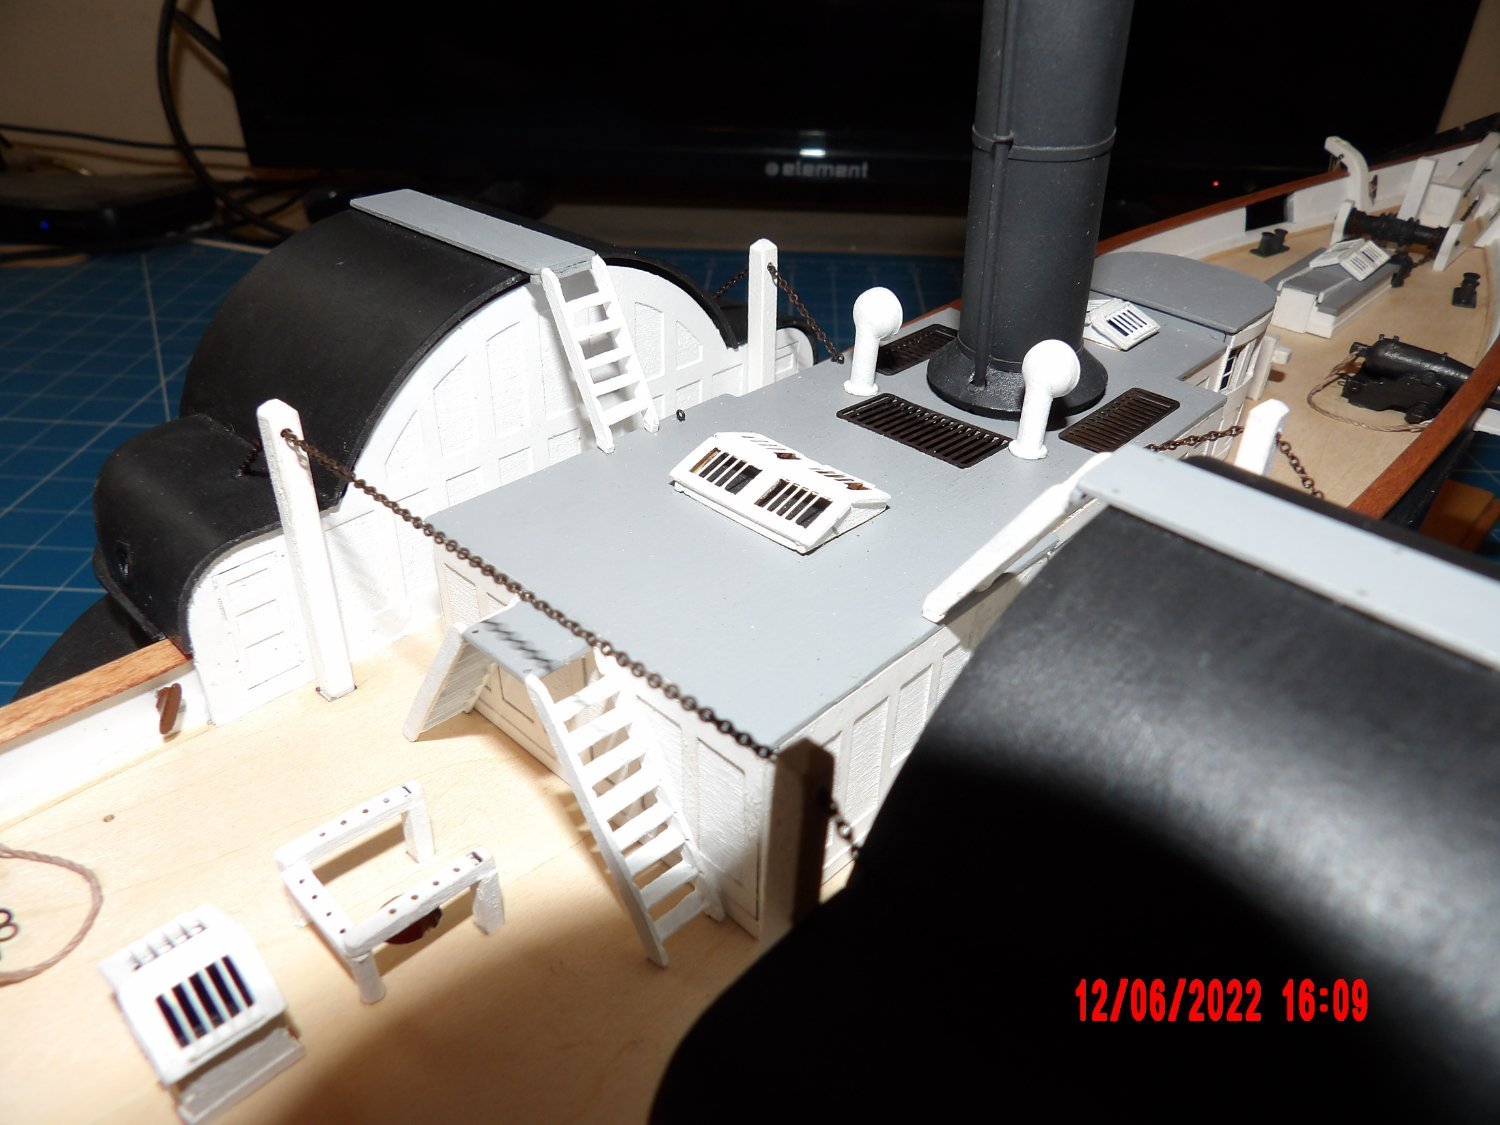
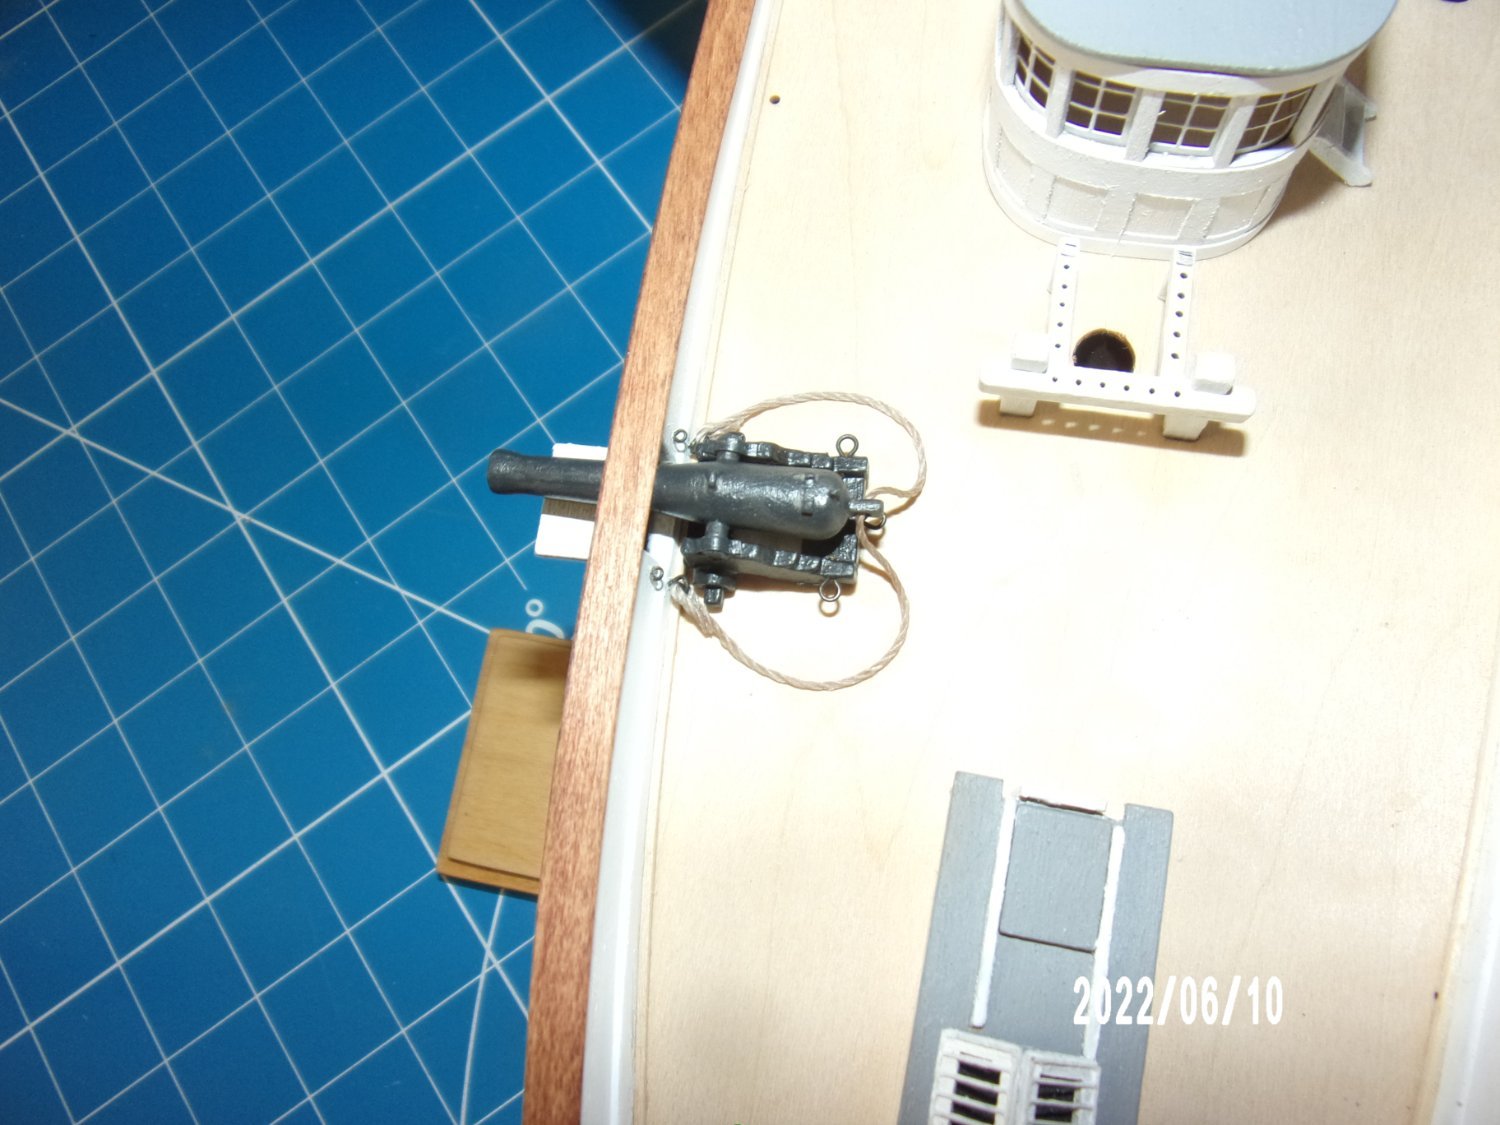
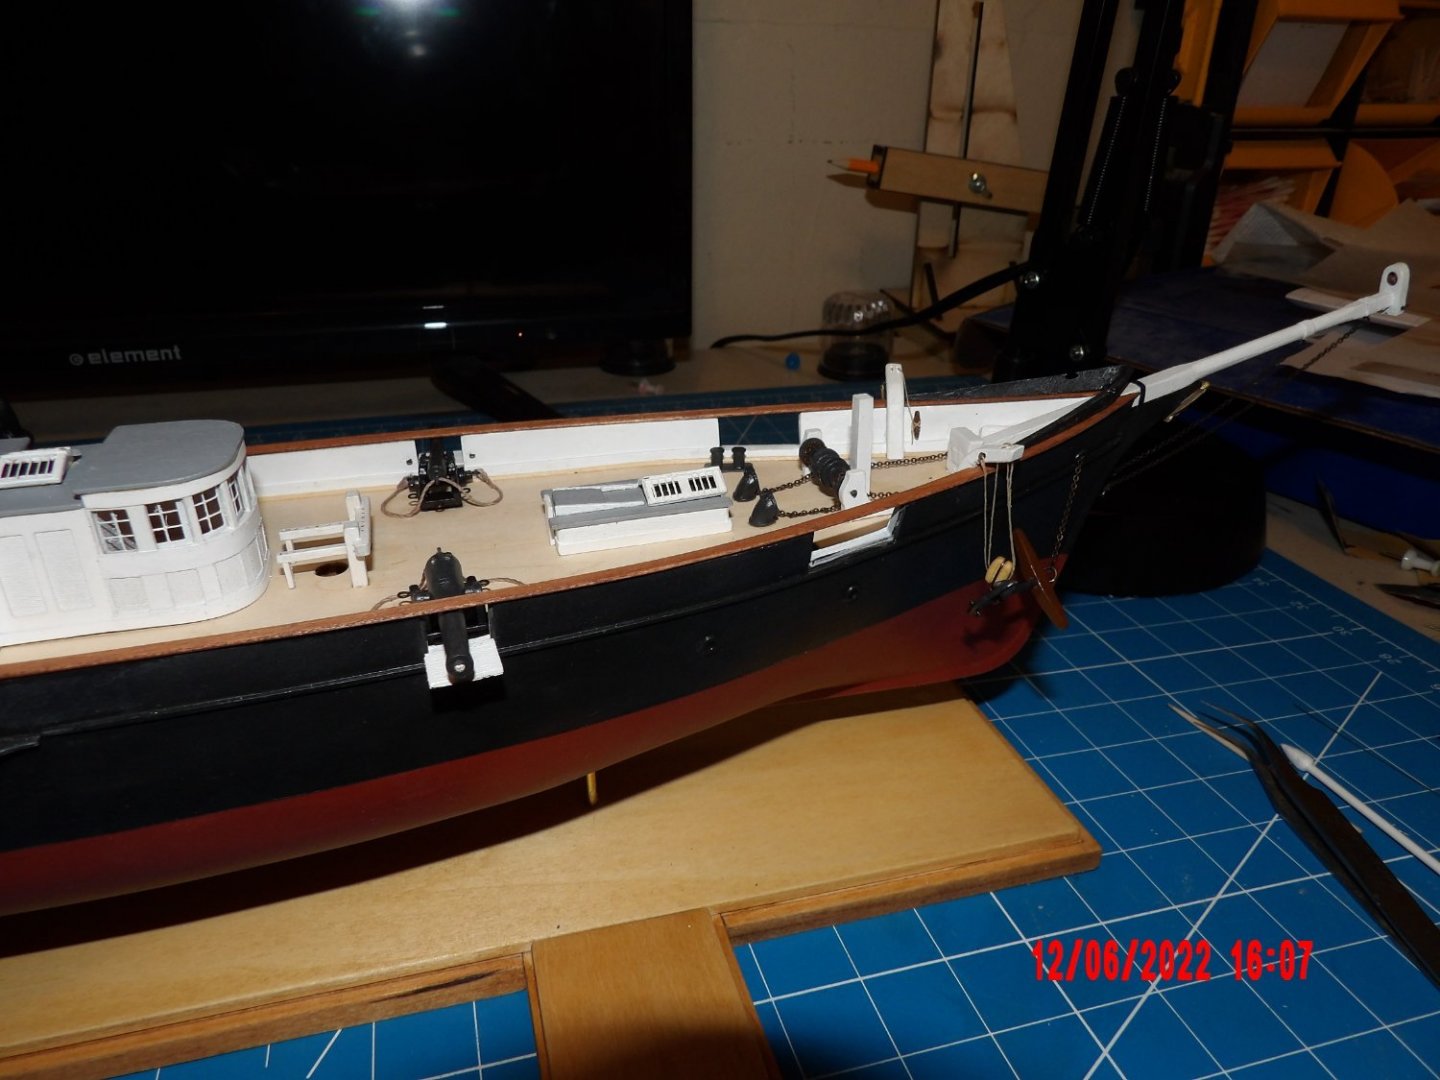
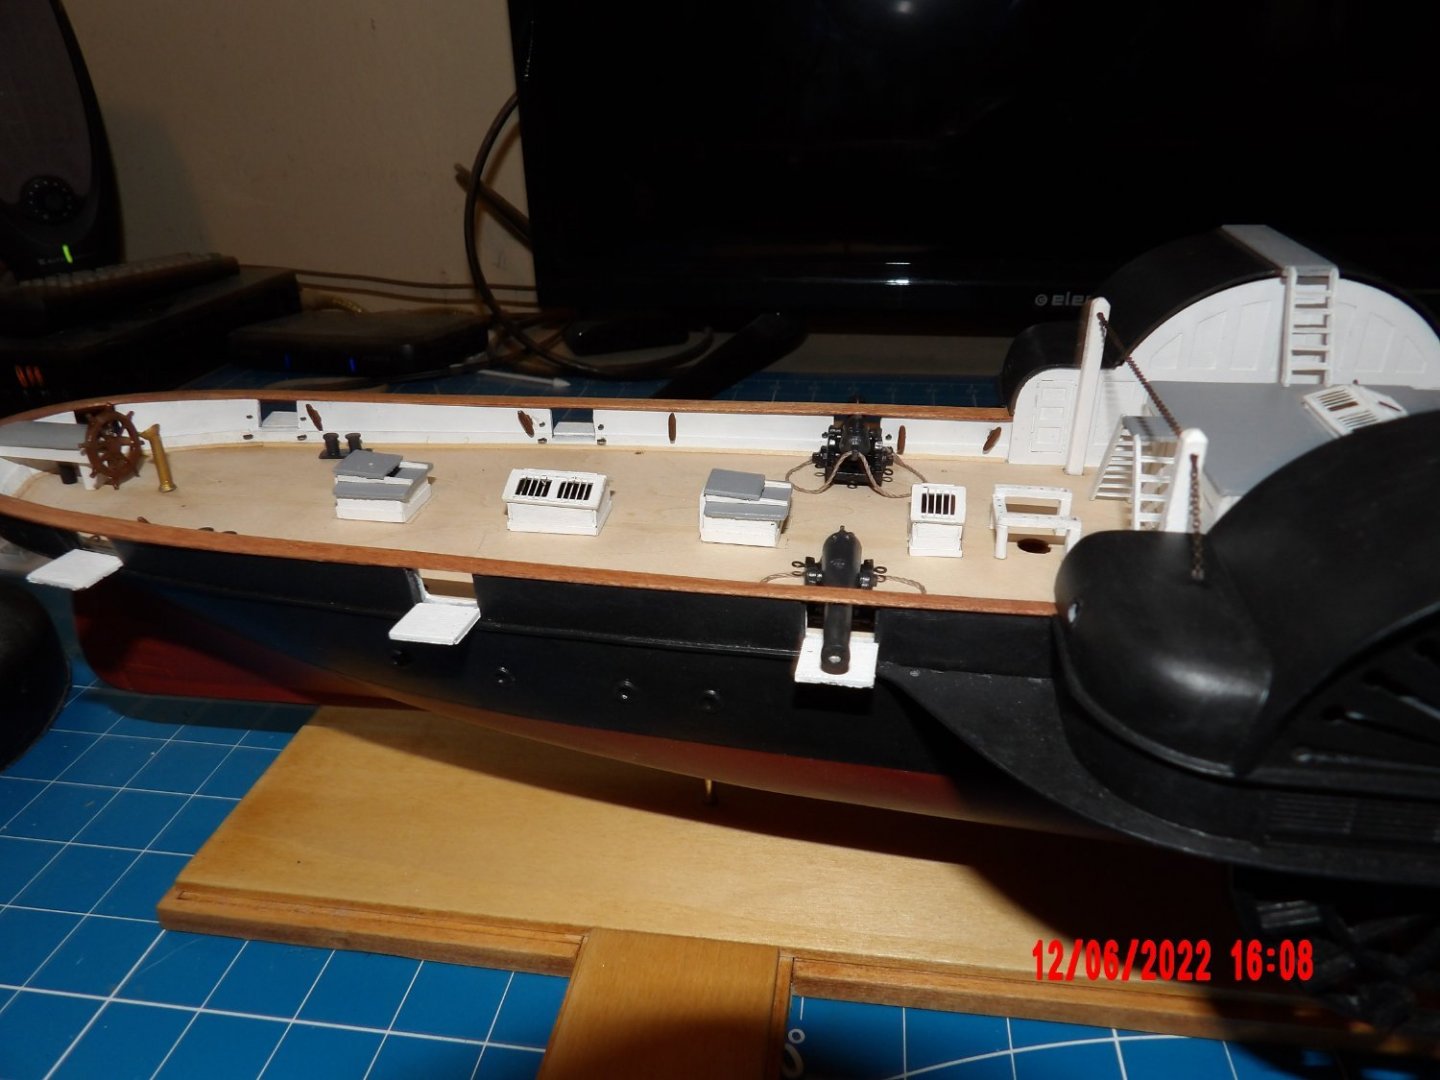
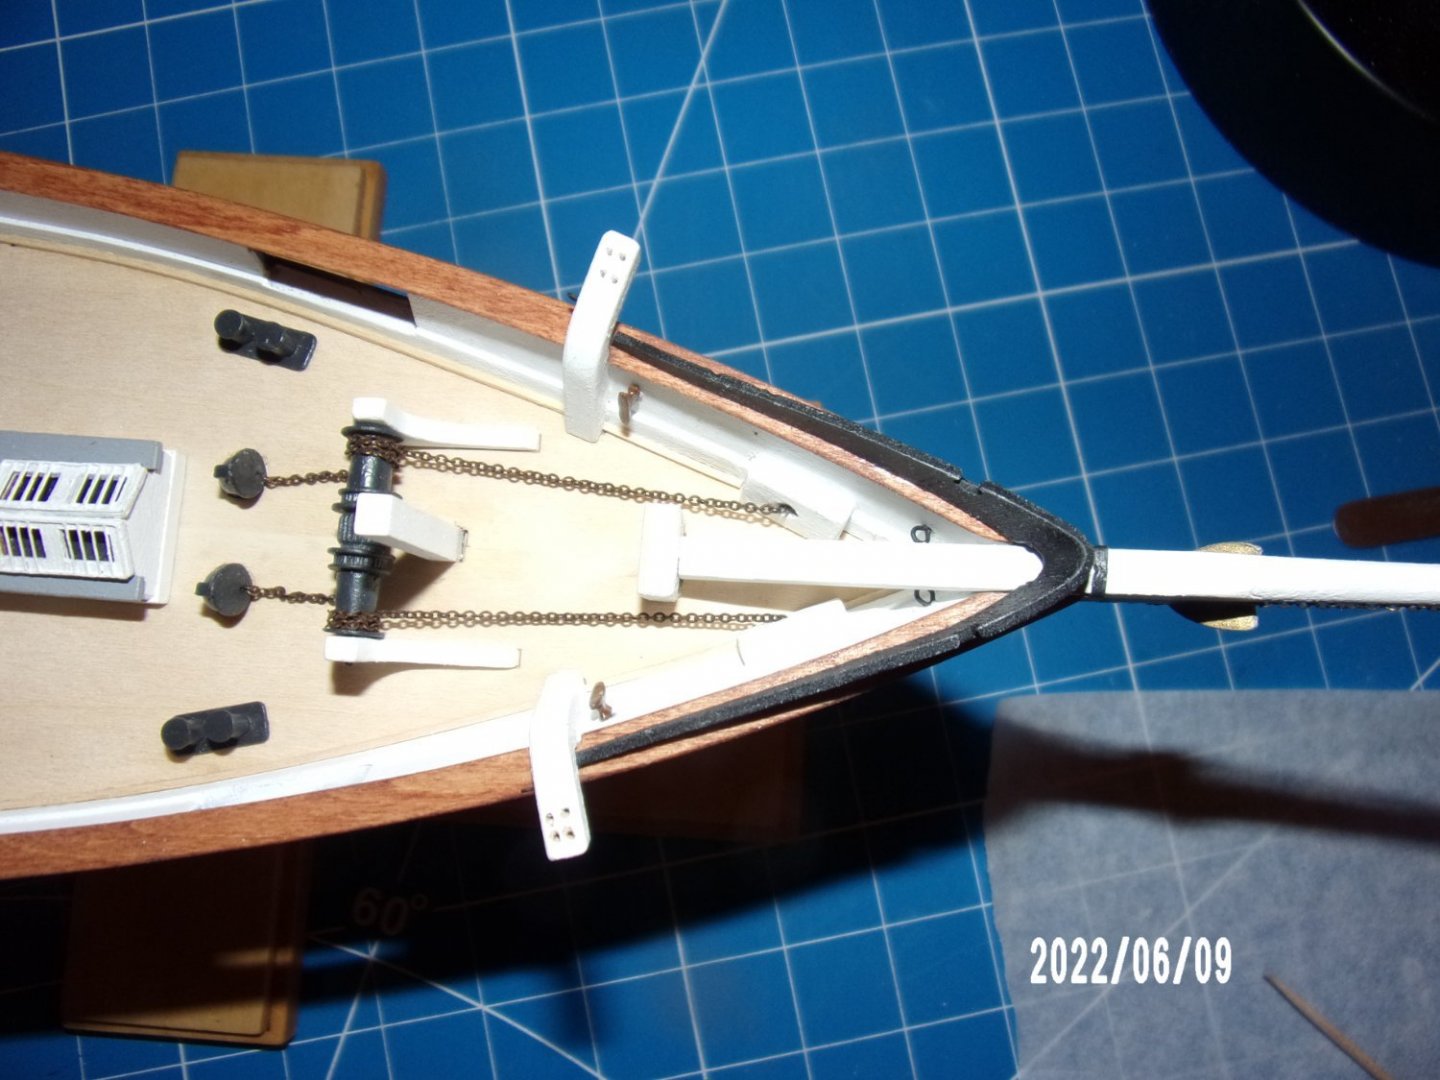
 Installed the remaining 3 guns and the "sponson" (wheel and water closet assembly) support chains. The chains were challenging, as they are supposed to be without slack. Eventually, I found that if I glued them at all points of contact it was better. At the king posts, I drew the chains through leaving a little slack, then applied CA gel to 2-3 chain links, then pulled them taut with the gelled links going into the hole in the posts.. This seems to be working. I'm not sure if the four empty gun ports would have had guns, or if they moved the four guns around as needed. Just need to install the funnel guy cables, whistle operating rope, and bell- then will be moving on to masts and rigging. Seems like a turning point in the project. To this point, I am pleased that I could do a fairly decent job!
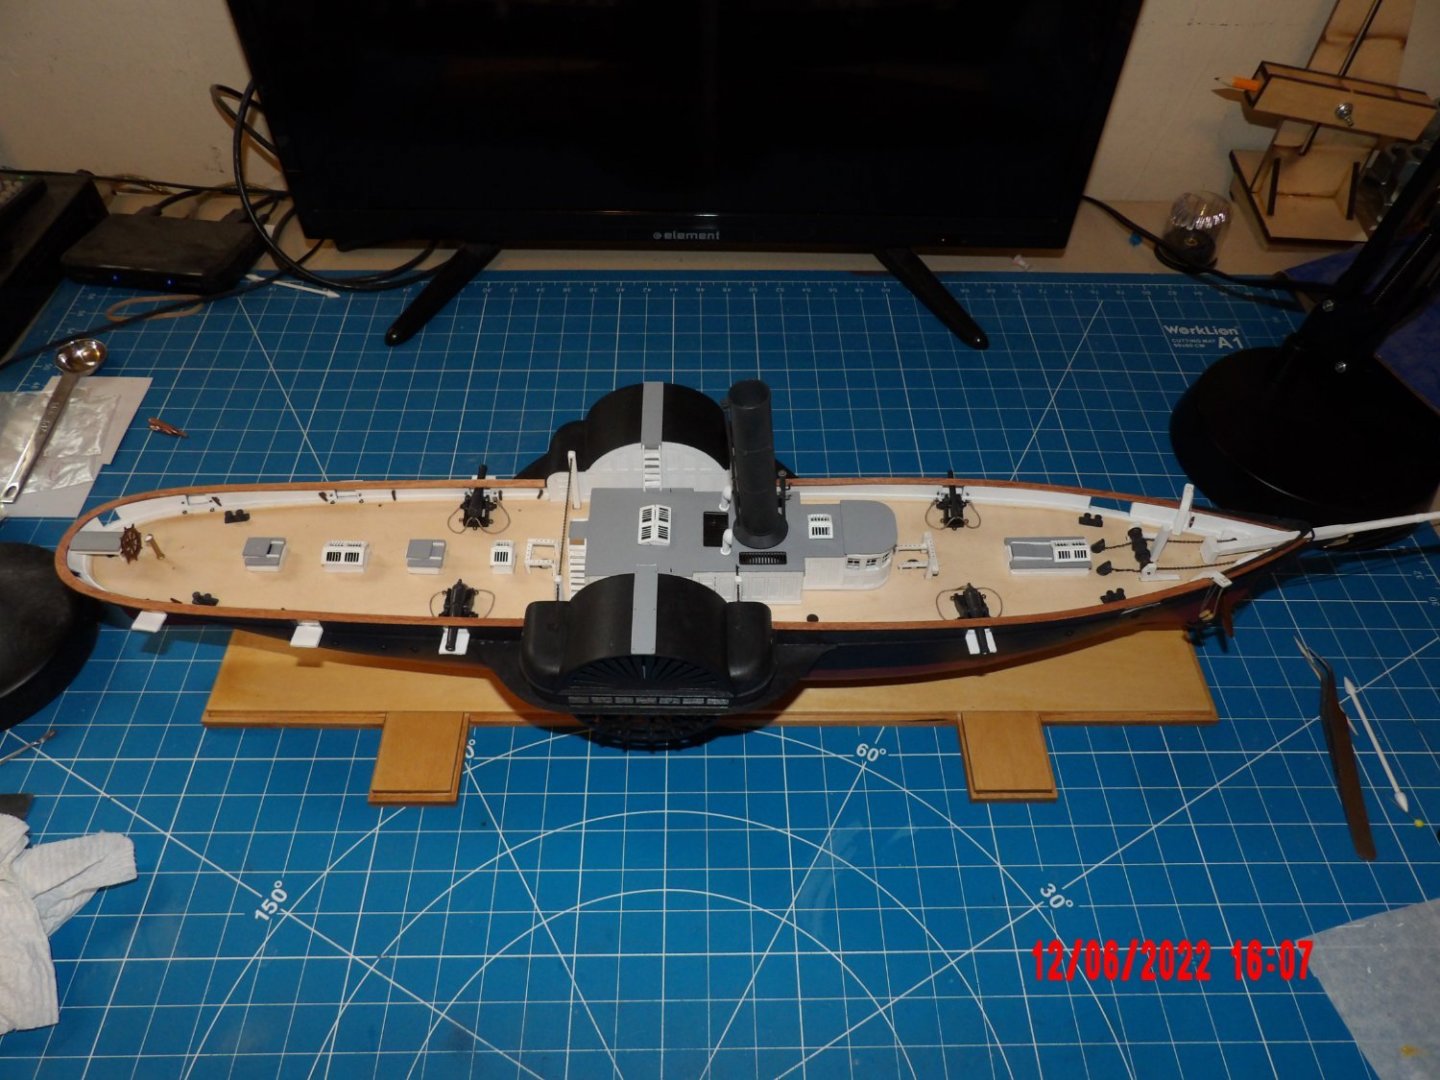


- 146 replies
-
- 9
-

-
- Harriet Lane
- Model Shipways
- (and 1 more)
-
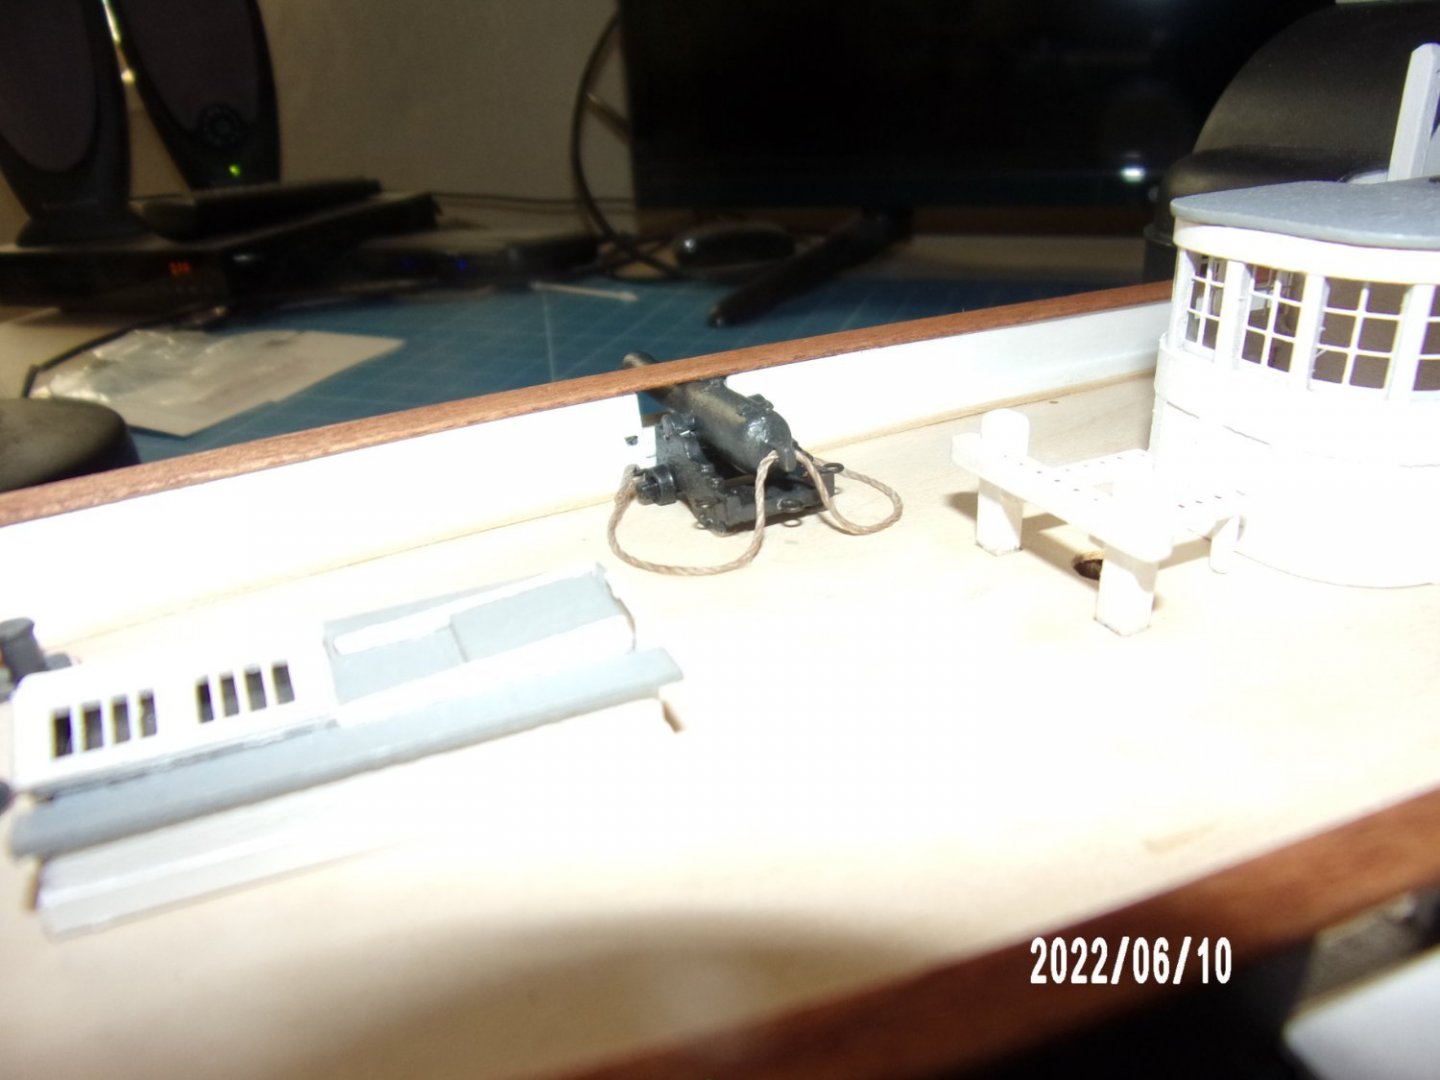
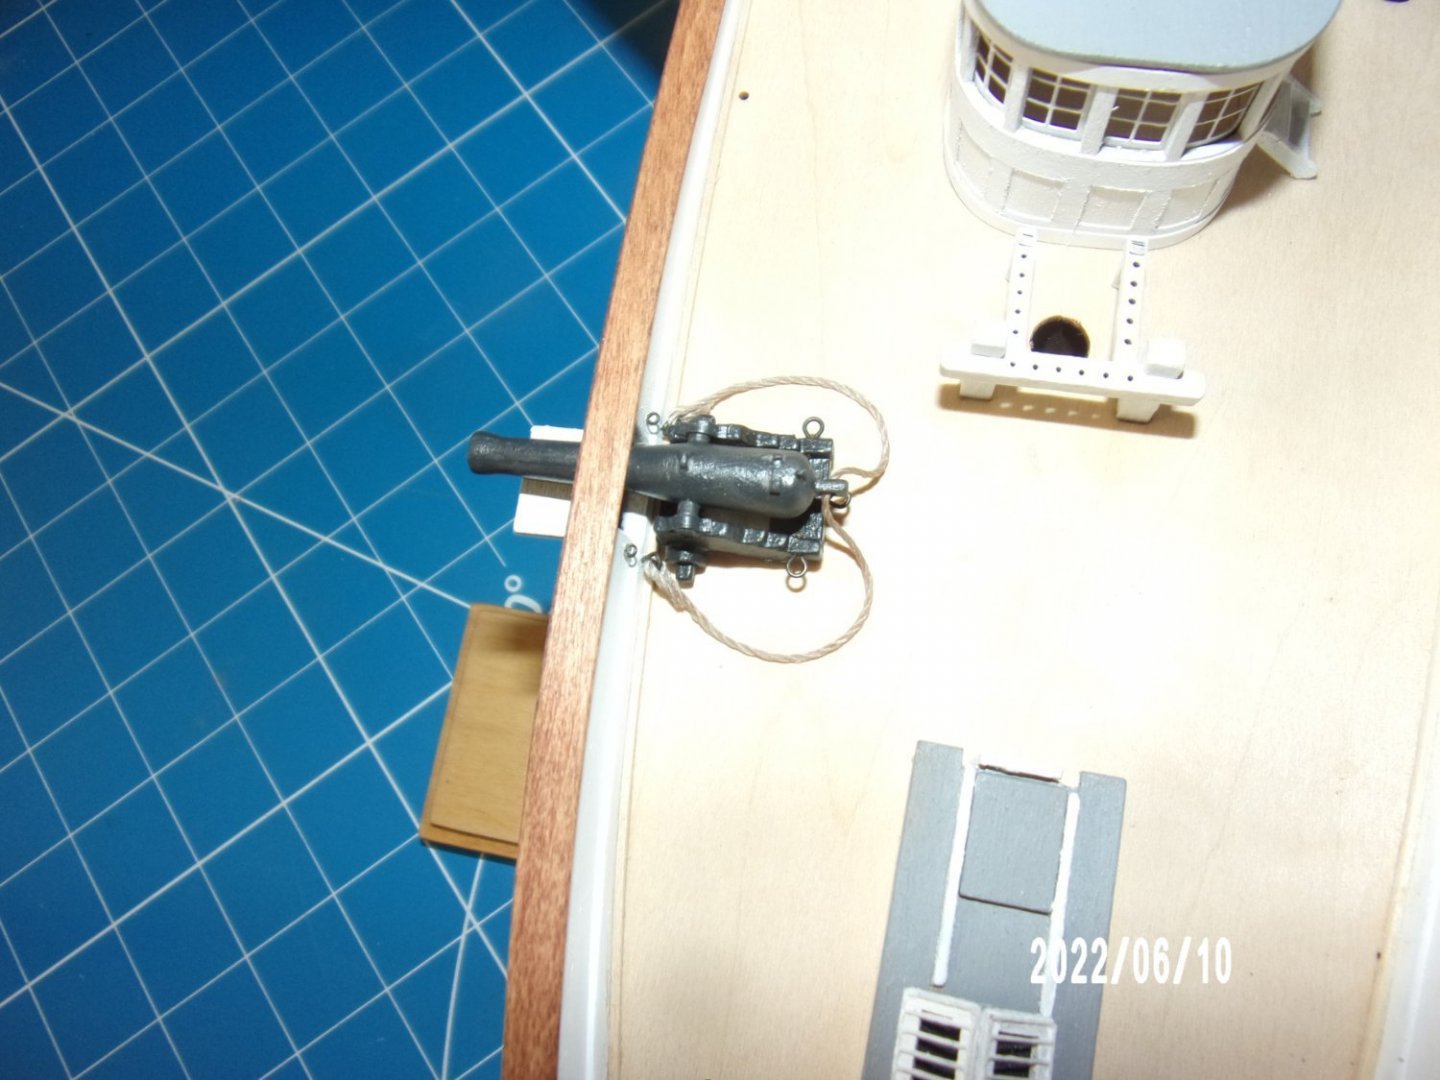
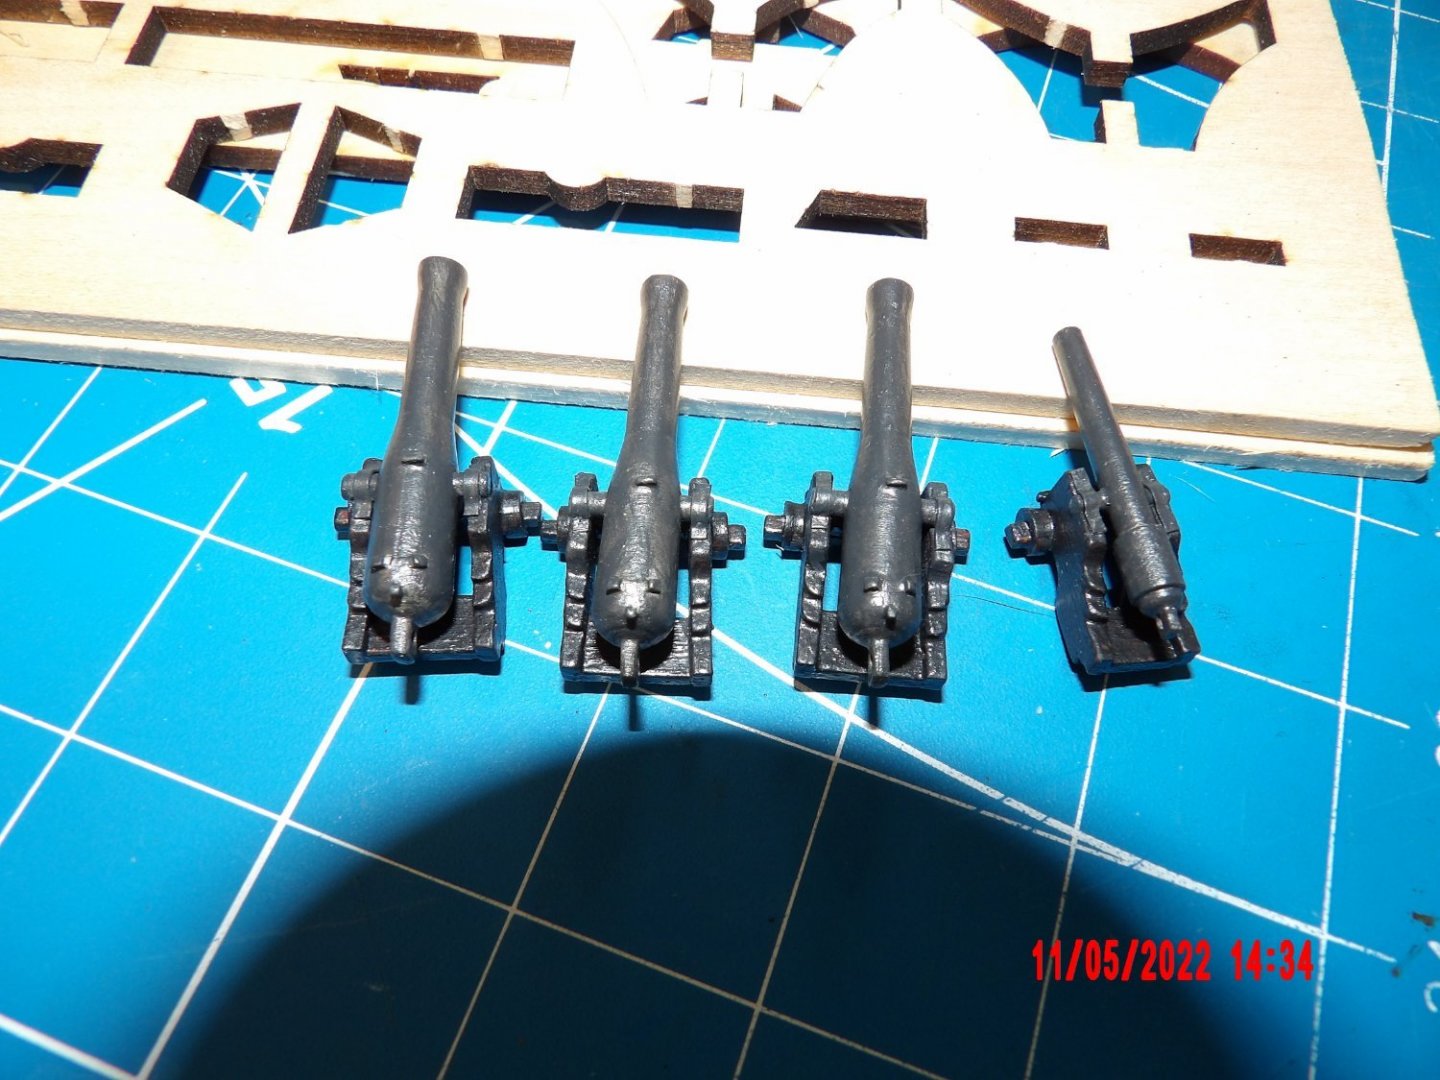
Installed the first of the guns. The instruction manual has some good tips for taming the ropes. I have Syren rope for the rest, but am using the kit supplied rope for the gun rigging. It's quite "springy," but was able to get a pretty good result.
- 146 replies
-
- 5
-
-
- Harriet Lane
- Model Shipways
- (and 1 more)
-
I was lucky to have been sent four copies of the bow fairlead. Lucky because I broke three of them. Instructions are to soak the bent area and bend around a 1/8" dia. dowel. On the fourth try I bent the piece around a 1/8" dia. hard brass rod, heated with a torch. Not perfect, but it's done. There is a notch provided on the fairlead which is meant to accommodate the bowsprit. Since my bowsprit is close to flush with the bulwark rails, a gap is left. I'm not sure if I should attempt to fill the gap.
- 146 replies
-
- 4
-
-
- Harriet Lane
- Model Shipways
- (and 1 more)
-
Thanks for noticing, David! The stern area, so far, was the most difficult. Both the planking and the spirketting. I ripped out my first attempt at the spirketting. Second try was much better. Here's a better view: It amazes me how strong it all became in the end.
- 146 replies
-
- 6
-
-
- Harriet Lane
- Model Shipways
- (and 1 more)
-
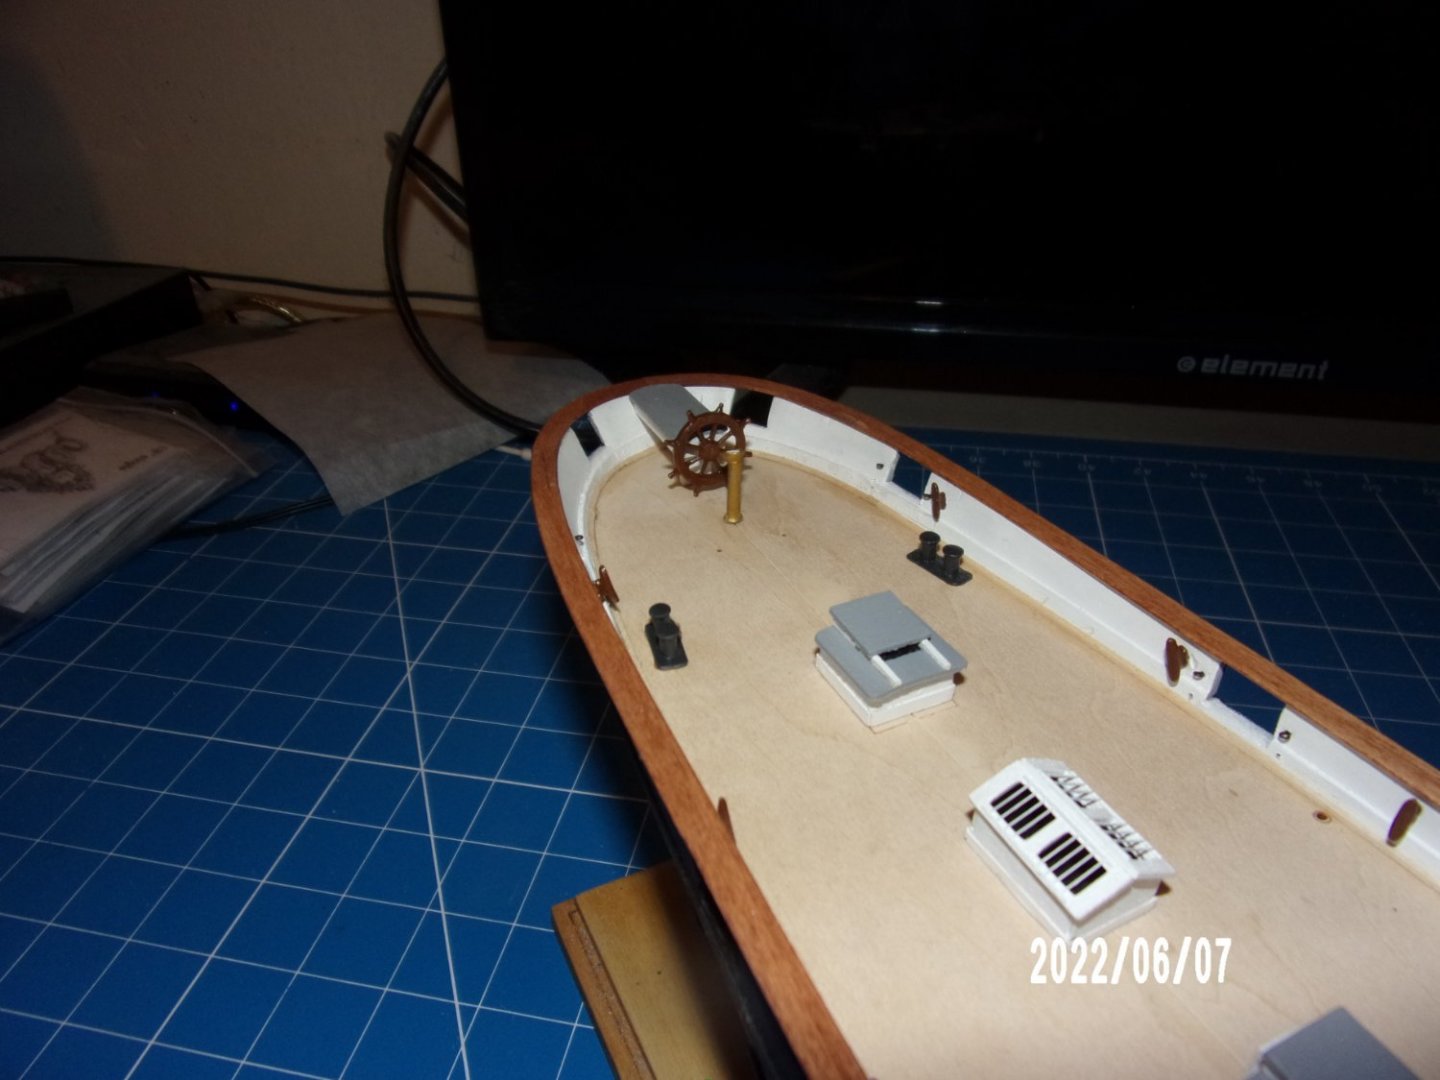
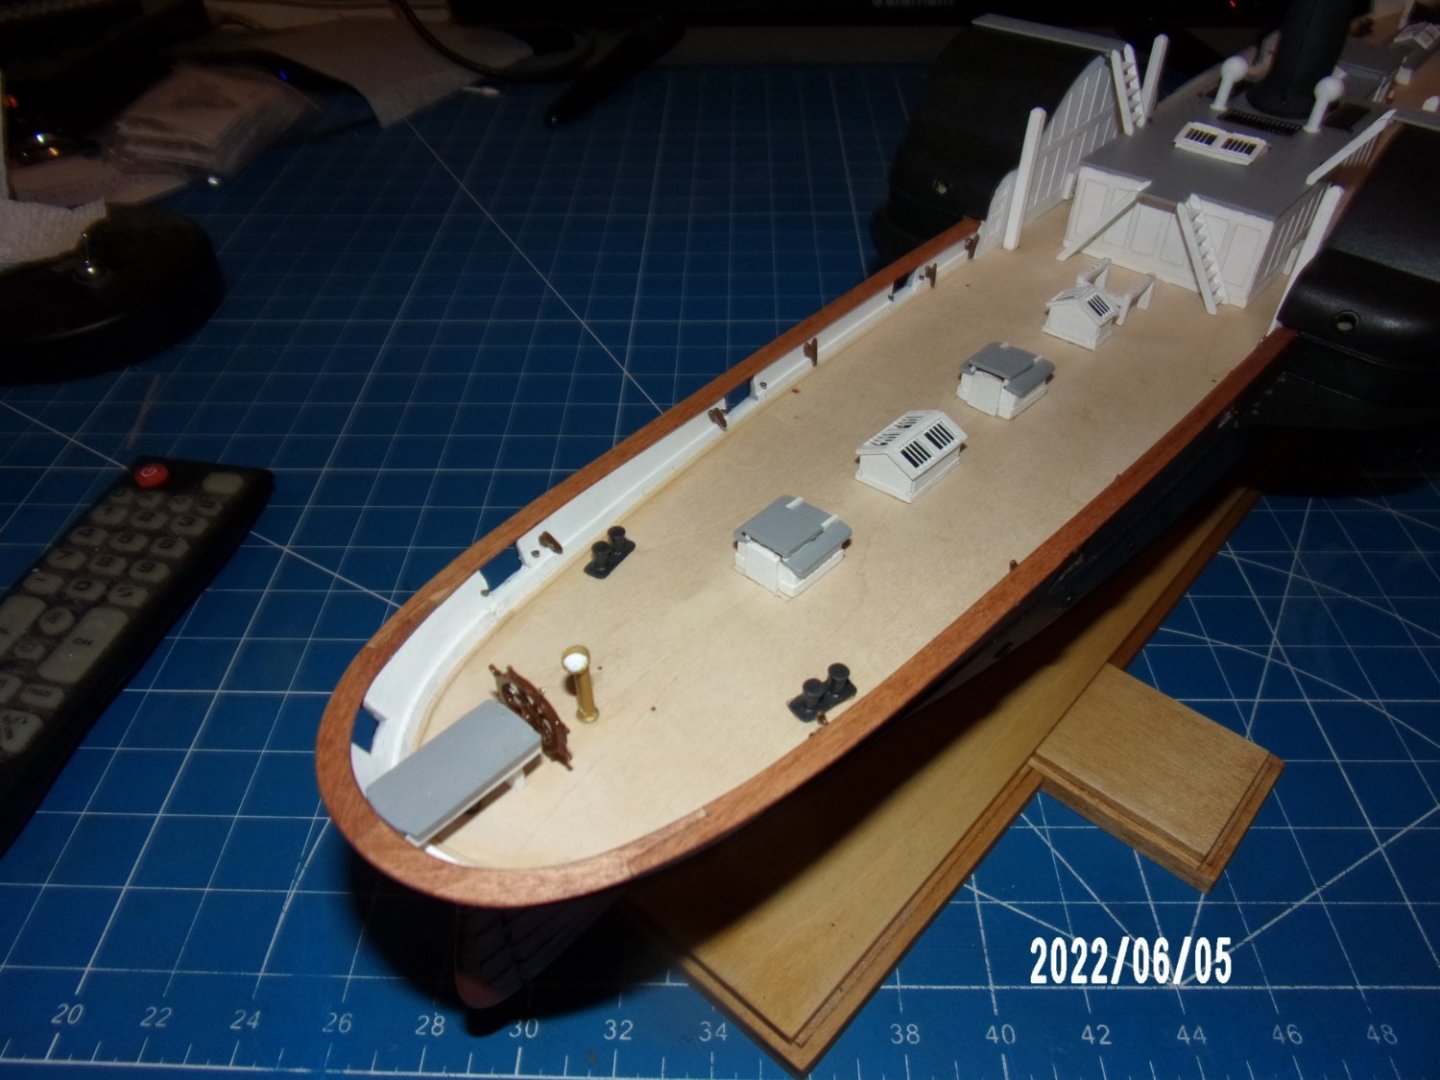
Thanks, David. I don't see how it would be possible to construct a model like this one without encountering some dimensional issues, and I enjoy solving problems the best I can. I'm happy with this one so far! The biggest challenges are ahead, with the masting and rigging. I'll probably slow to a crawl at that point, but am looking forward to it. Installed the aft bulwark rails and finished the steering housing yesterday. I think they came out well. The wheel arrived just in time. It was a little too large to fit, so I cut the hand holds back a little so it was not interfering with the deck.
- 146 replies
-
- 7
-
-
- Harriet Lane
- Model Shipways
- (and 1 more)
-
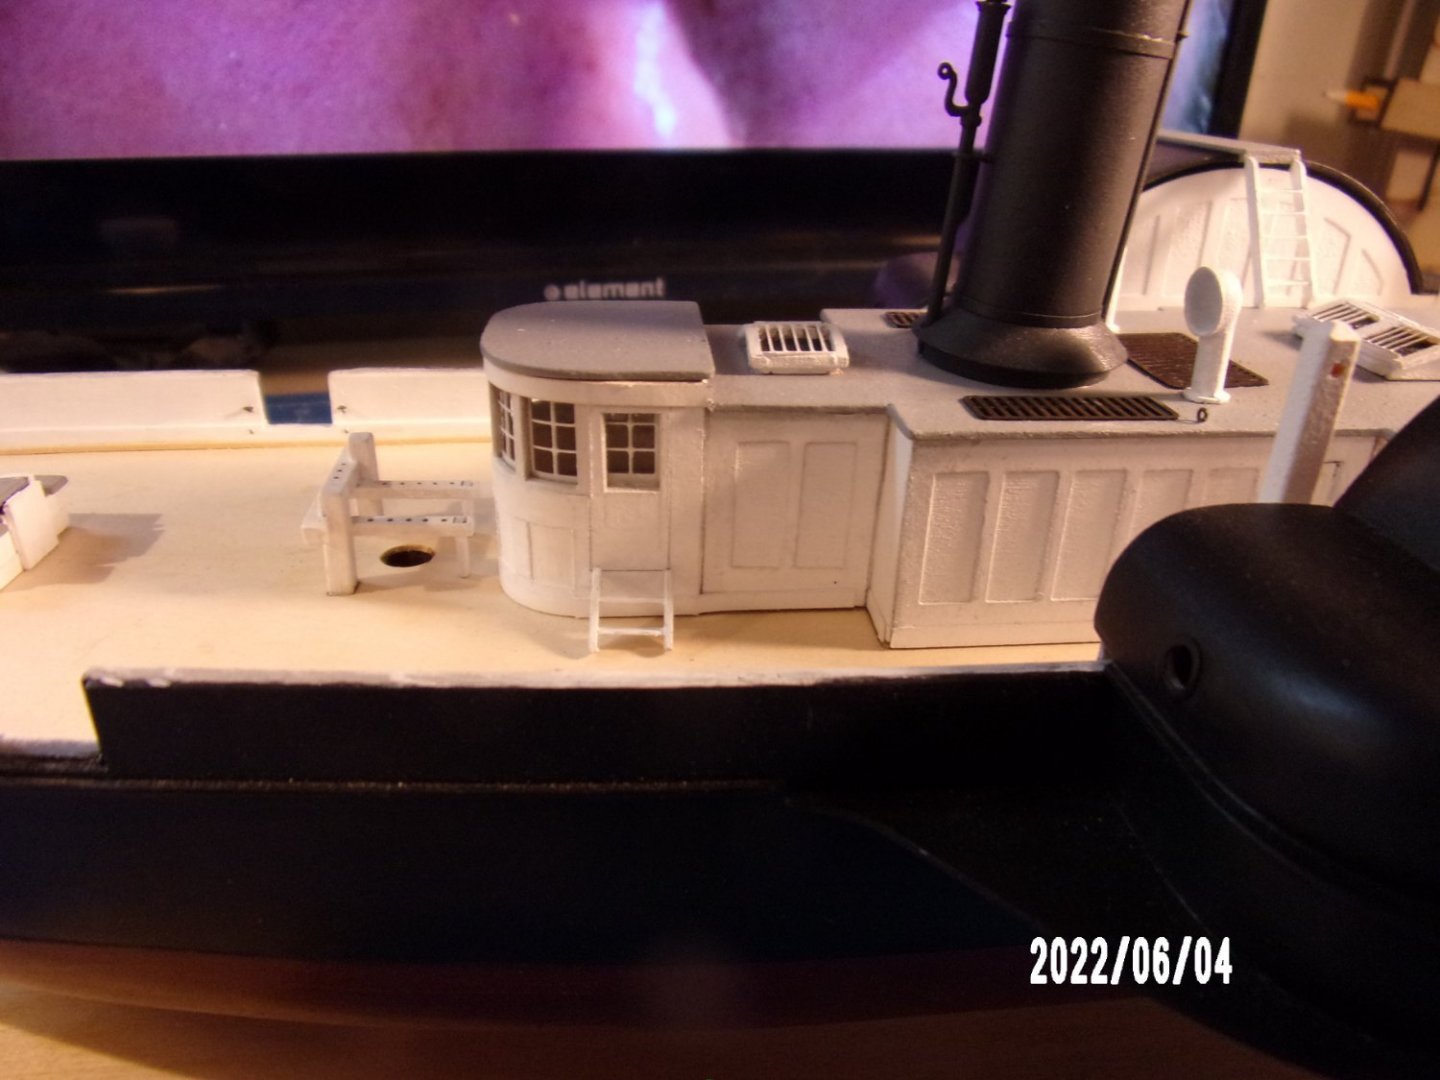
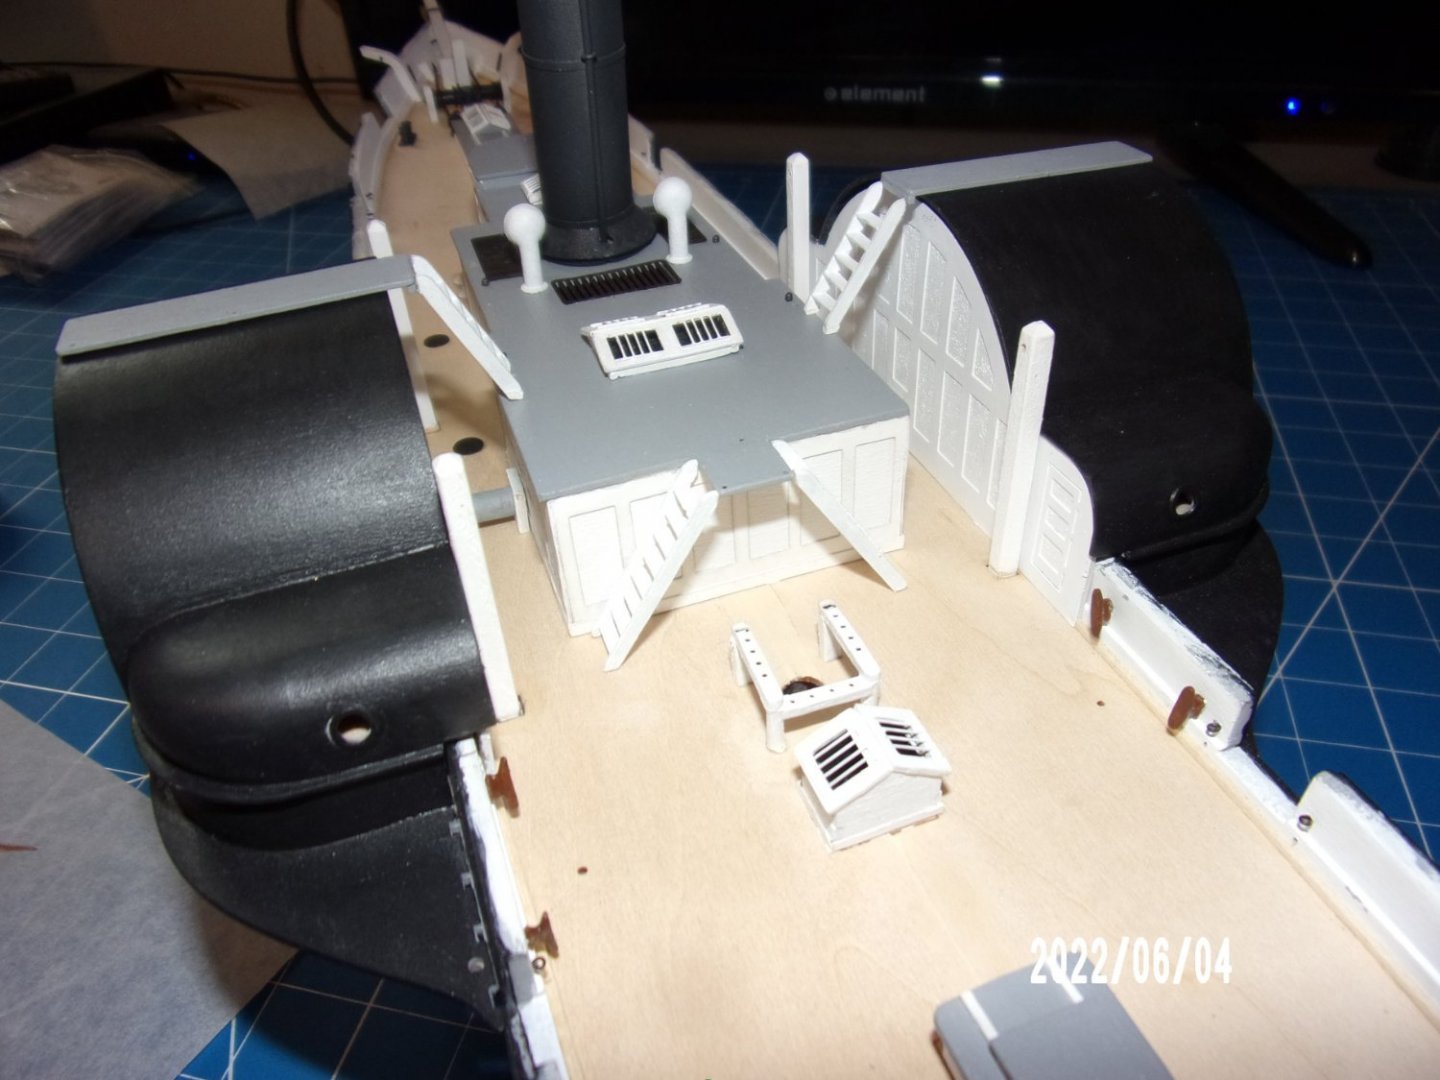
Well, I made my own card part for the reveals on the pilot house. It's not exactly the same as the supplied part, but I think it will do. You can see that I was not completely successful in closing the gap at the intersection of the building with the deck. Installed the cabin vents, skylights, air intakes, wheel housing walkways, bulwark cleats and the remaining deck structures. I'm working on the steering housing now. After that the bulwark rails. I really messed up in not installing the wheel axles/bearings prior to gluing the cabin to the deck, but managed to sneak them in OK. The stairs leading from the roof to the walkways on top of the wheel housings did not quite reach far enough, so I added ledgers to the walkways, and glued wood strips to the bottoms of the stair stringers. There was a dimensional problem with the stairs at the rear of the cabin, and had to sand away the roof overhang so that the stairs would fit.

- 146 replies
-
- 10
-
-
- Harriet Lane
- Model Shipways
- (and 1 more)
-
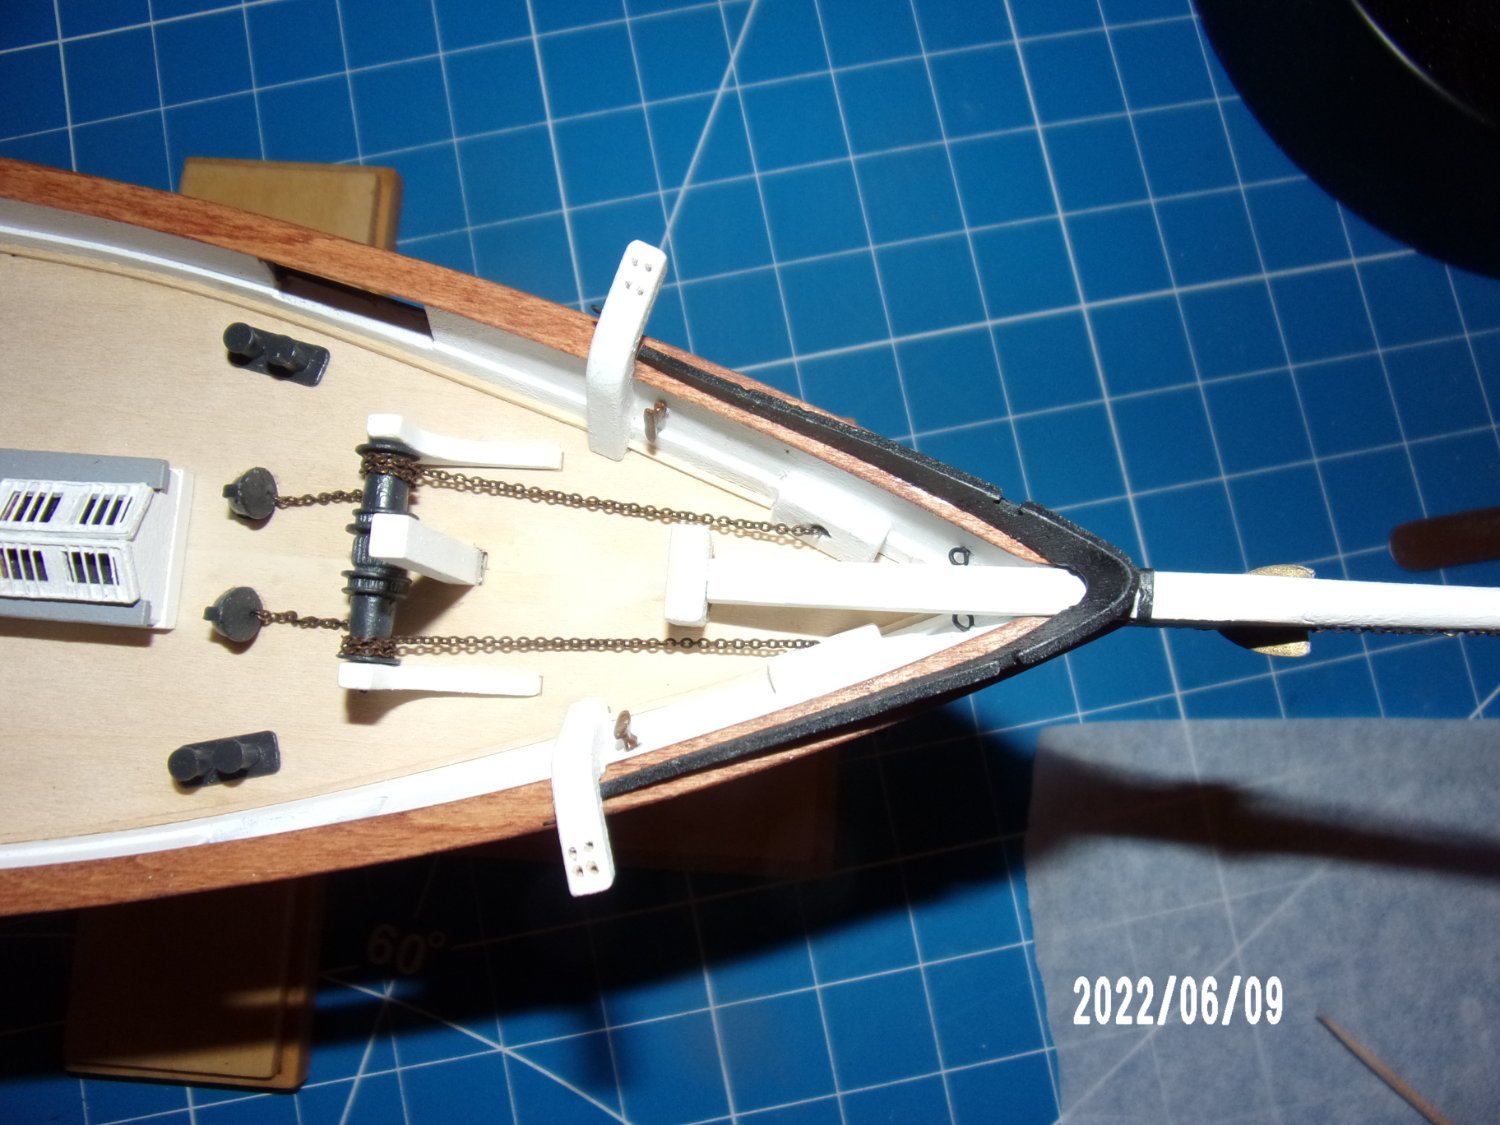
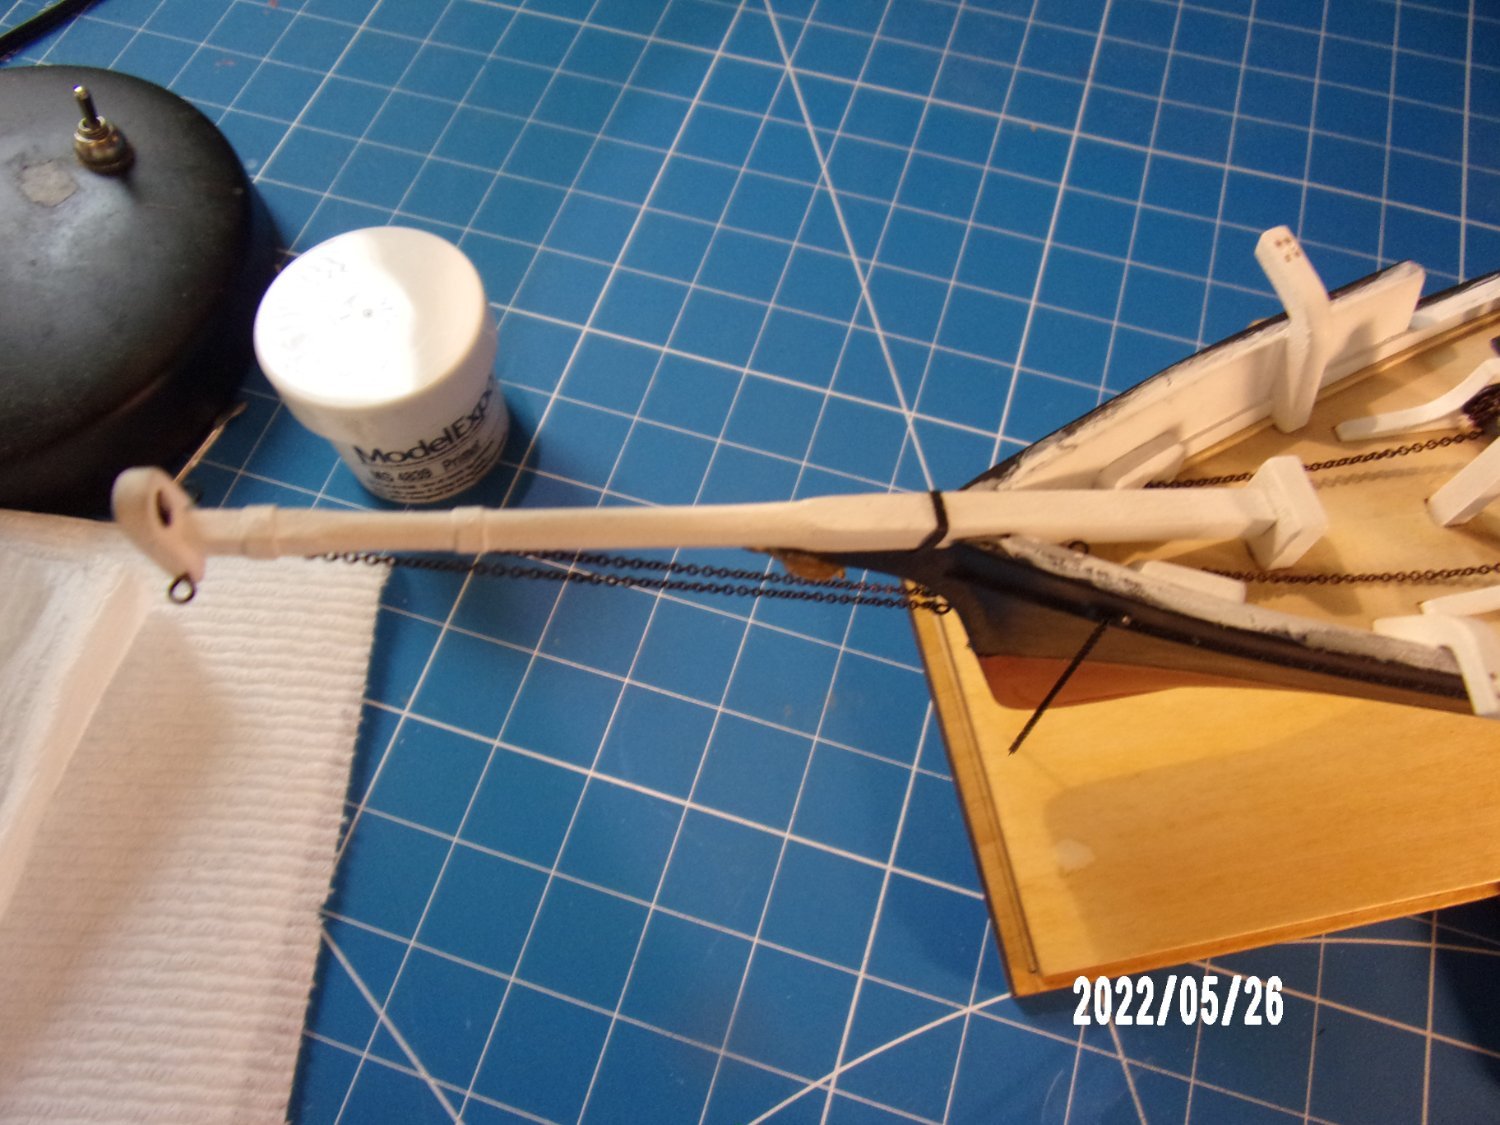
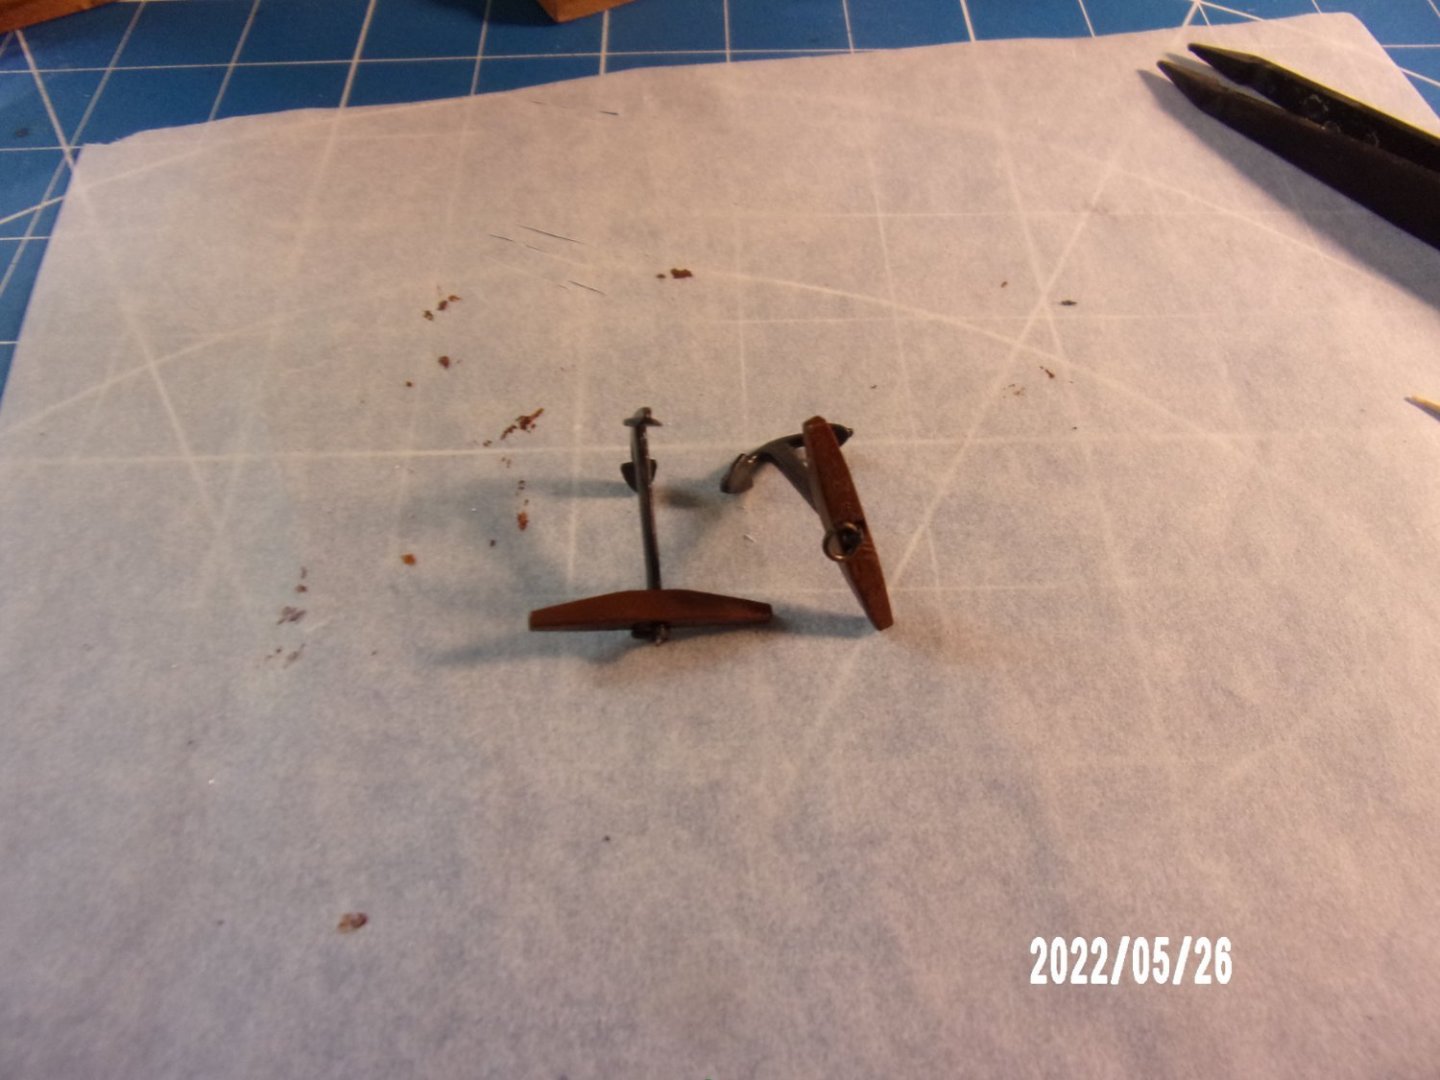
Made and installed the bowsprit and bobstays. Anchors:

- 146 replies
-
- 5
-
-
- Harriet Lane
- Model Shipways
- (and 1 more)
-
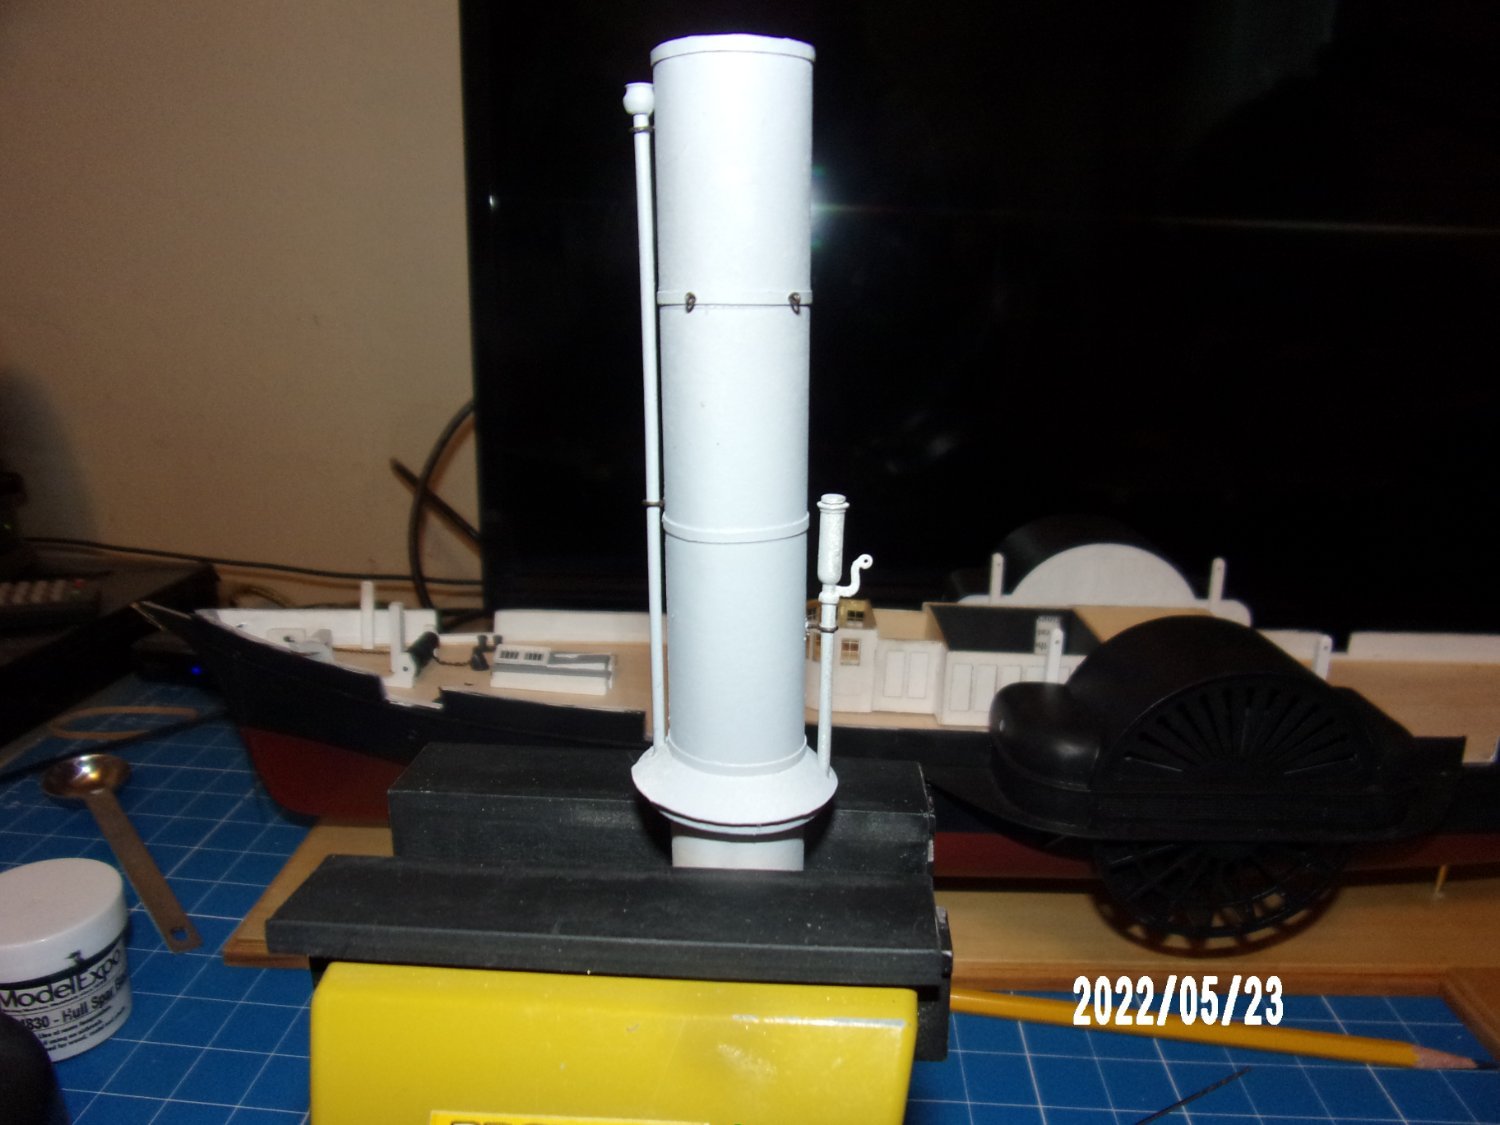
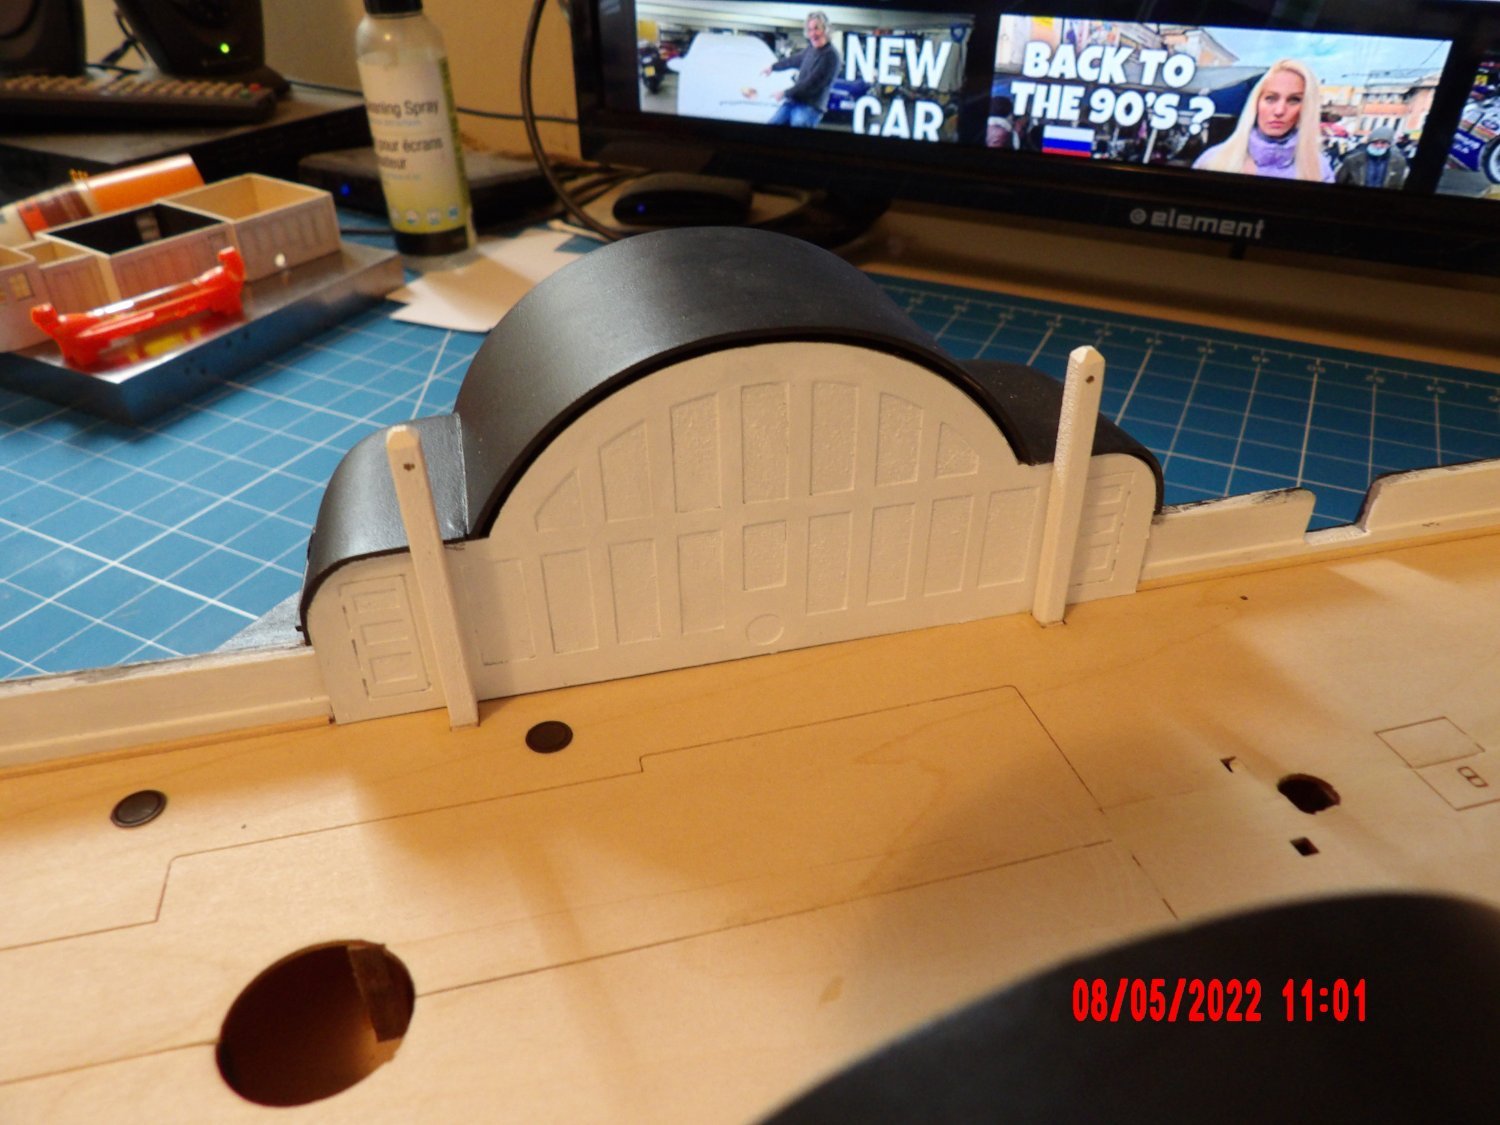
I just noticed in the photo above that I had forgotten to mask the upper wheel housing fan-shaped PE part as I had intended to do, before spraying primer on the rest of the assembly, and thus sprayed gray primer into the blackened interior. So, at certain angles and lighting, it looks like the enclosure had a lighter colored interior floor- when of course in reality there would be no floor at all. I am considering risking masking things up and spraying the PE area again with black. Opinions? Finished funnel assembly primed and ready to paint black: Painting the roofs. The three rectangular openings (for gratings) had to be cut out, they only had location lines. I used my scalpel and they came out pretty clean. The numerals on the piece were burned completely through. No harm done.

- 146 replies
-
- 8
-
-
- Harriet Lane
- Model Shipways
- (and 1 more)
-
I spent some time blackening eyebolts and some of the remaining PE parts. I think I've got this down now. Soak in acetone, into pickling solution, into baking soda solution, back into acetone and then the blackening agent. Dry fitting the pilot house/roof/funnel. I was happy to see that the angle for the funnel is built in to the offset holes in the pilot house roof and deck. Trying to decide if the tic marks for eyebolts/guys on the paper funnel ended up in the right place. . . I really screwed up the pilot house. Did not get the outer wall curved portion centered, and the doors are not equidistant from the demising wall. When the stairs below the doors are added, they will be offset from one another and apparent when viewed from above. So, I'm thinking to install the stairs only on the "good side," and treat the other as a window. I also botched the card sheet part for the reveals on the pilot house, and I seem to have trouble getting this replacement part, in particular, so may try to make my own. So, this area represents my biggest blunder so far on this model. I'm leaning toward living with it. Now the pressure is off! The building does not sit perfectly on the deck. I will try to close the gaps with paper skirting.

- 146 replies
-
- 8
-
-
- Harriet Lane
- Model Shipways
- (and 1 more)
-
Looks good! I broke the mast step also. It looks like the one you made has the grain running lengthwise, that should be stronger. On mine, I forgot the bottom closure piece and rested the mast on the hull (I just took it out of the case to look). But I did that because I'd already glued in the step. If you haven't, it would not be much trouble to add the closure.
-
Very Nice! I like the accent piece at cabin front, and you did much better with the roof than I did. I found that rigging this one is fun and I'm sure you'll enjoy it too.
- 26 replies
-
- 1
-
-
- muscongus bay lobster smack
- Model Shipways
- (and 1 more)
-
Gary, thanks for the complement. I selected this model because I wanted to complete the instructional series. It has not disappointed in that respect. It has been a great challenge to my skills, and I'm happy to have met the challenge so far (mostly). I also find it visually pleasing. Because it is a longer-term project, the parts problems so far have not been crippling. I am trying to keep the best attitude I can- something I'm not famous for. . . It's funny how much patience I easily muster in the shop, and how I struggle with the same when dealing with other issues. I do wish that ME had done a better job in developing the parts list, and identifying the parts simply missing, perhaps having someone build the model using the kit as sold. ME has indicated that they are taking my comments, doing their own due diligence, and making revisions to the parts list and kit contents as required. I wish it could happen faster, but they are a large company with many offerings and many customers. In my own working life, I saw how client service can become kind of a juggling operation as a company grows in size, so I am somewhat sympathetic. I also am a bit disappointed that my two inventories (first one parts list against the materials supplied, second the manual against the parts list) did not reveal all of the missing parts. In doing this work I realize how tough this is. I spent a good chunk of time, and still missed some items. If I had caught all of them early, I'd probably have them in hand now. So, I'm sorry if my comments have deterred you from tackling this model- I am only reporting my experience, but waiting until the bugs are worked out might not be a bad idea. Kind of like buying a new-issue car. bob
- 146 replies
-
- 5
-
-
- Harriet Lane
- Model Shipways
- (and 1 more)
-
Made the gun carriages and installed the guns. Went to rig them and guess what? The rope specified in the manual with part number is not included in the parts list and was not supplied. Another request to ME has been made. Maybe it can be sent this year. . . guns in bags and pinned to the cork board!
- 146 replies
-
- 6
-
-
- Harriet Lane
- Model Shipways
- (and 1 more)
-
Thank you David. Your assessment is very meaningful to me. I am settling down a bit, and accepting what comes as far as the parts list errors. There's always something else to do while waiting for the mailings. I've decided that the time in the shop is the gift of this hobby. It really doesn't matter that much what particular bit I am working on. I have a cork board with completed bits in zip bags pinned for addition to the model at the appropriate time. And I have another model to begin if it comes to that. But that option is probably a ways off. Bob
- 146 replies
-
- 4
-
-
- Harriet Lane
- Model Shipways
- (and 1 more)
-
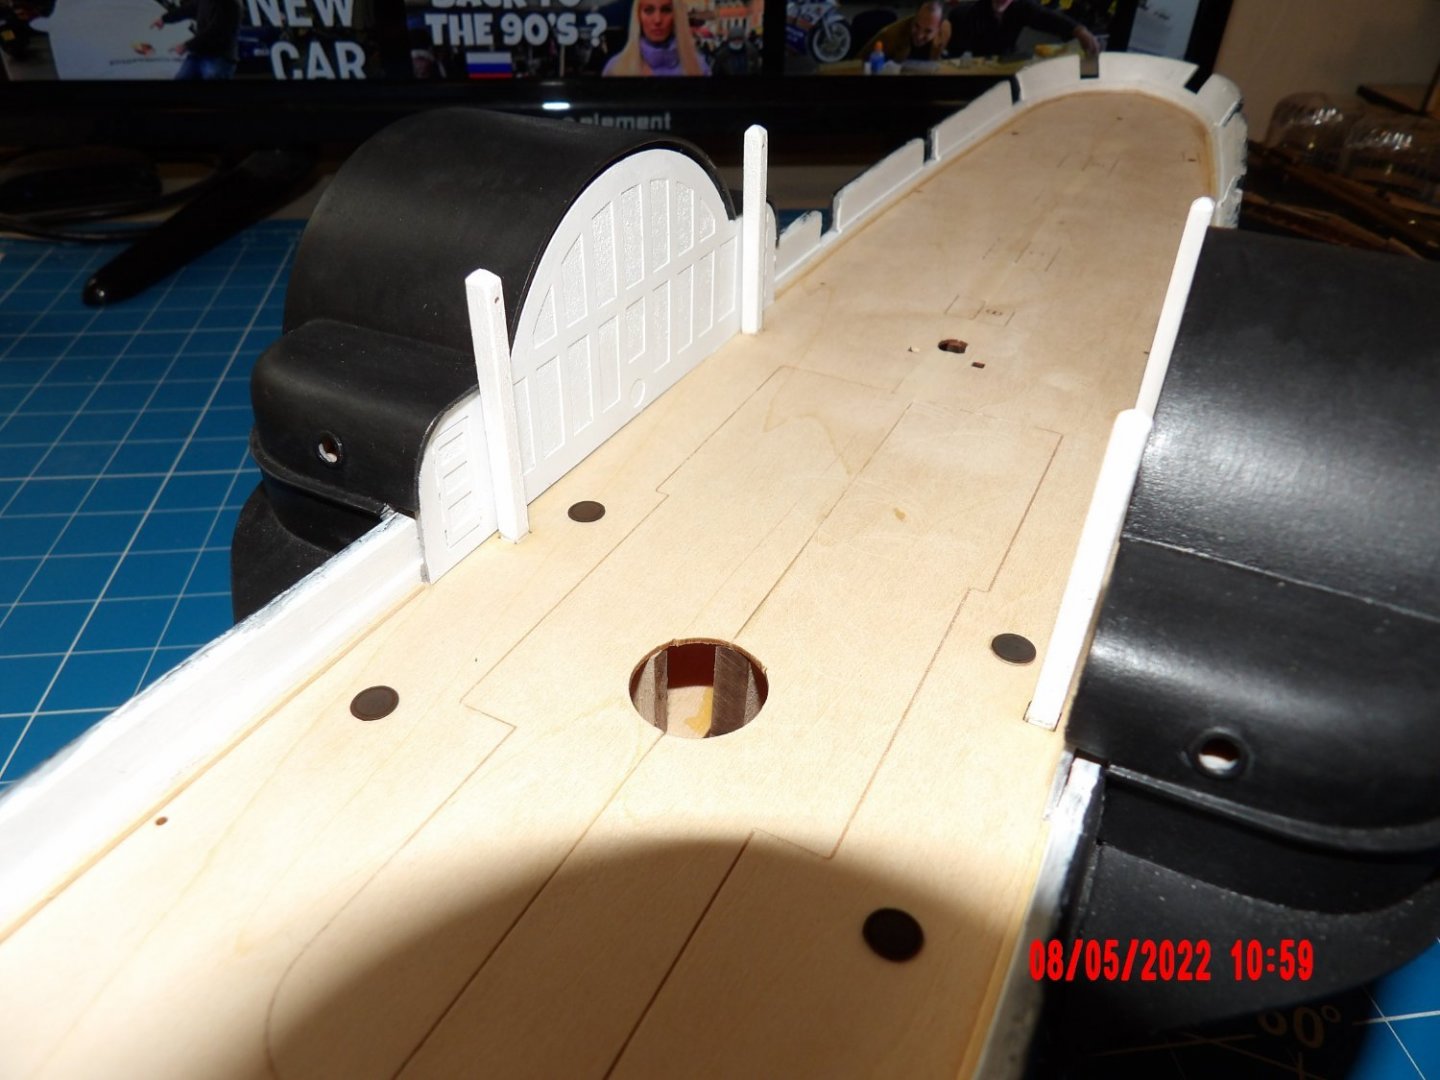
Some little progress. . . The wheelhouse bulkhead, king posts and coaling hatches: Installed the first of the anchor chains: And now back to doing random off-ship details as I wait for more parts. I think I'll work on the cannons!

- 146 replies
-
- 8
-
-
- Harriet Lane
- Model Shipways
- (and 1 more)
-
I really like the looks of this boat. . . particularly the supports for the overhanging portion of the second deck.
- 238 replies
-
- 2
-
-
- Robert E Lee
- steamboat
- (and 3 more)
-
Sorry to hear about your Mom. May be inevitable but it's still hard. Boat looks good- I like your color scheme. I think it's the first for this model I've seen with a contrasting color on the rub rail. Bob
- 26 replies
-
- 2
-
-
- muscongus bay lobster smack
- Model Shipways
- (and 1 more)
-
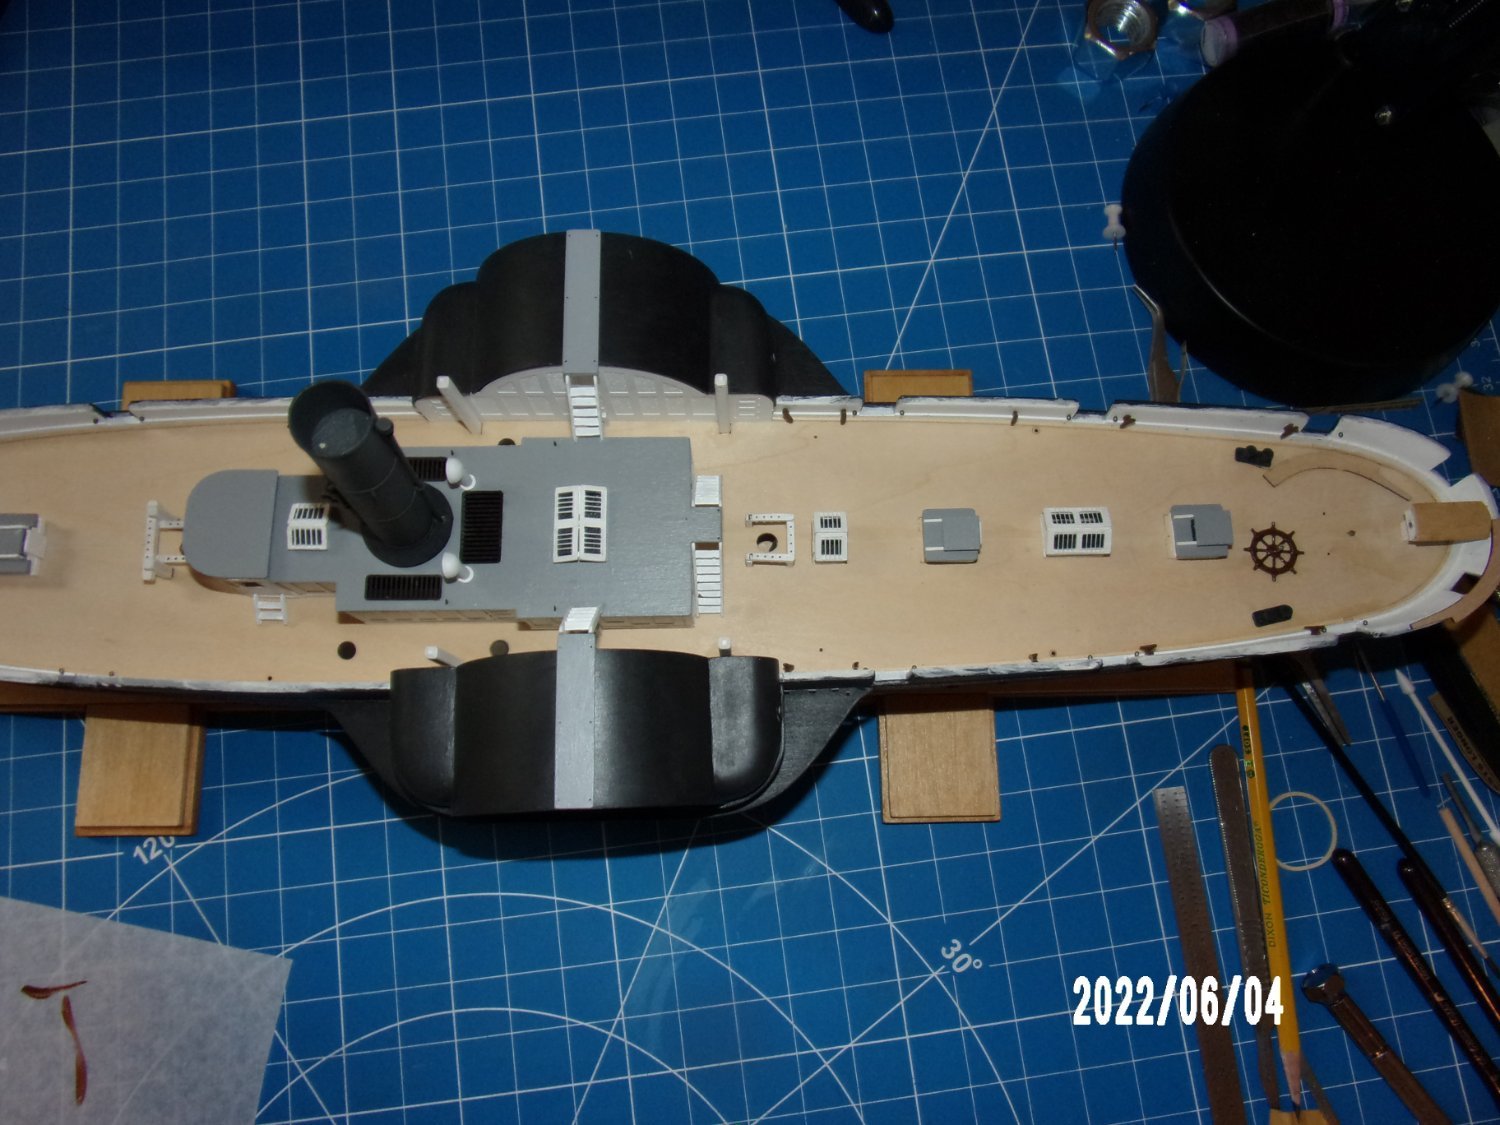
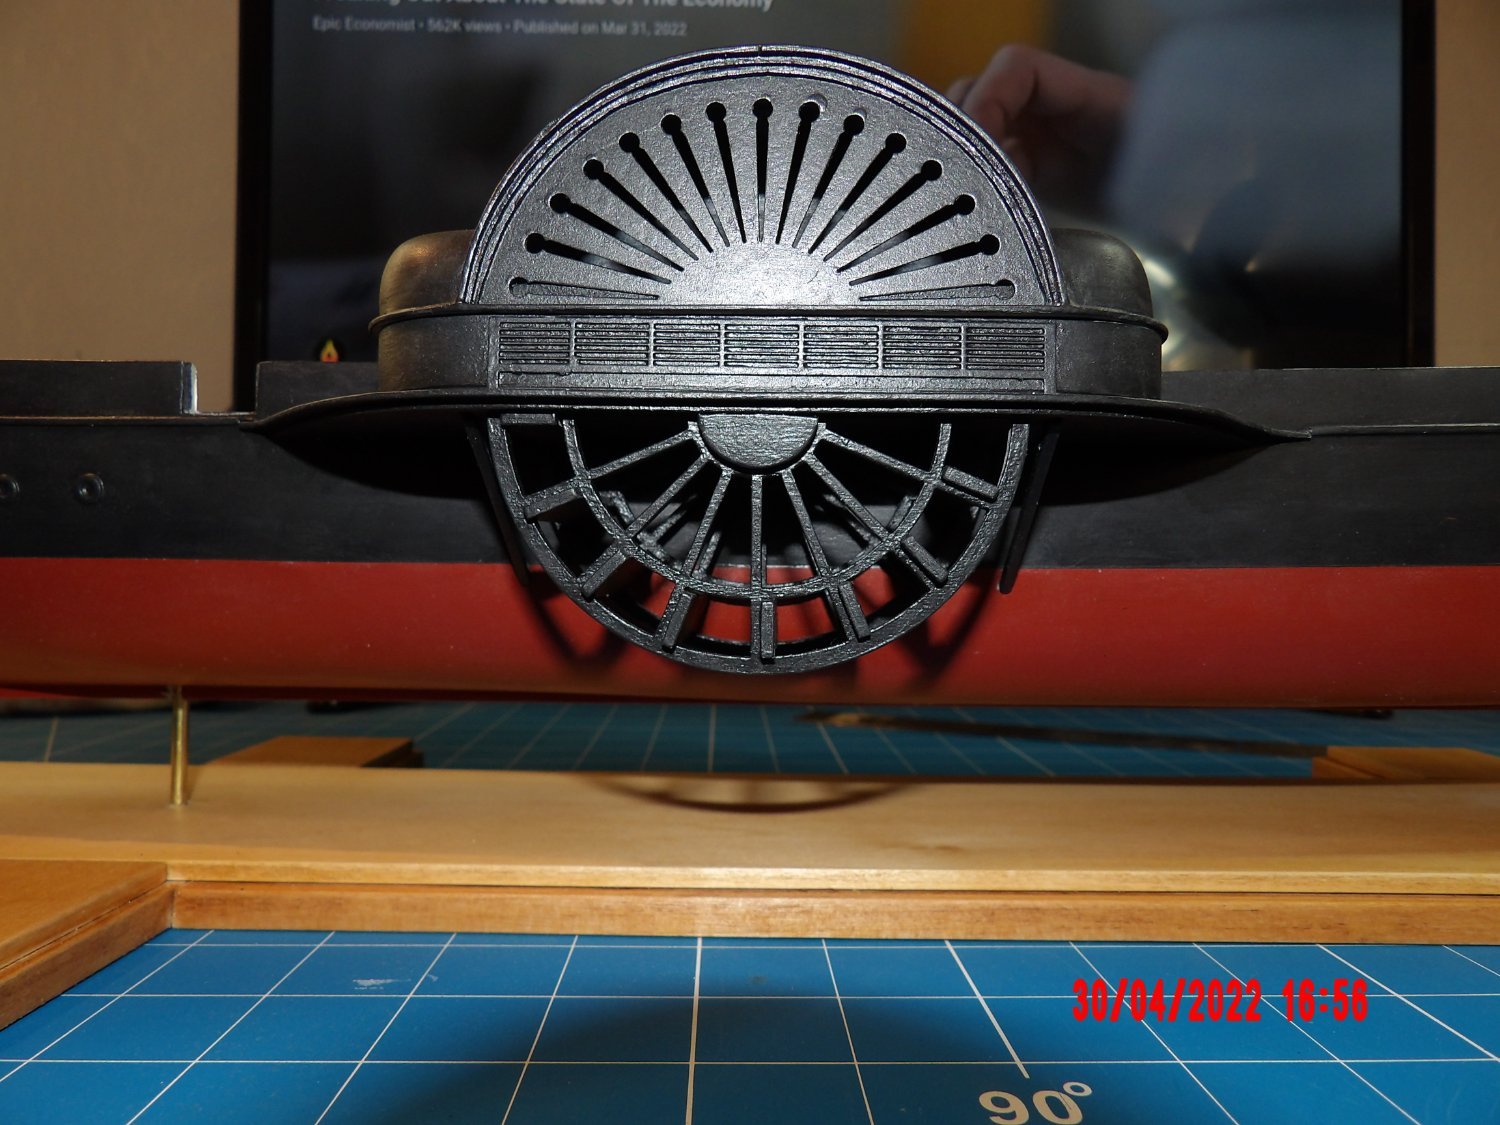
Added the upper wheelhouses and I am again struck by the elegance of design in this ship. If you follow the line of the center wheel housing downwards you'll see that it aligns with the support arms for the lower wheel assembly to create a beautiful line. For a warship, at least to me, this is unexpected. I'm so glad that this ship was selected as the fourth in this instructional series. This little structure at the location of the forward mast is very delicate! So pleased with the result.

- 146 replies
-
- 9
-
-
- Harriet Lane
- Model Shipways
- (and 1 more)
-
The interior furnishings look excellent!
-
My reef points did not hang vertically. I tell myself they are flapping a bit in the wind. Yours certainly give a better appearance. . .
- 90 replies
-
- 1
-
-
- Model Shipways
- muscongus bay lobster smack
- (and 1 more)
-
I have two of those Bessy clamps and will get more. I use them very often- because of their shape they can be used in areas other clamps won't reach. Bob
-
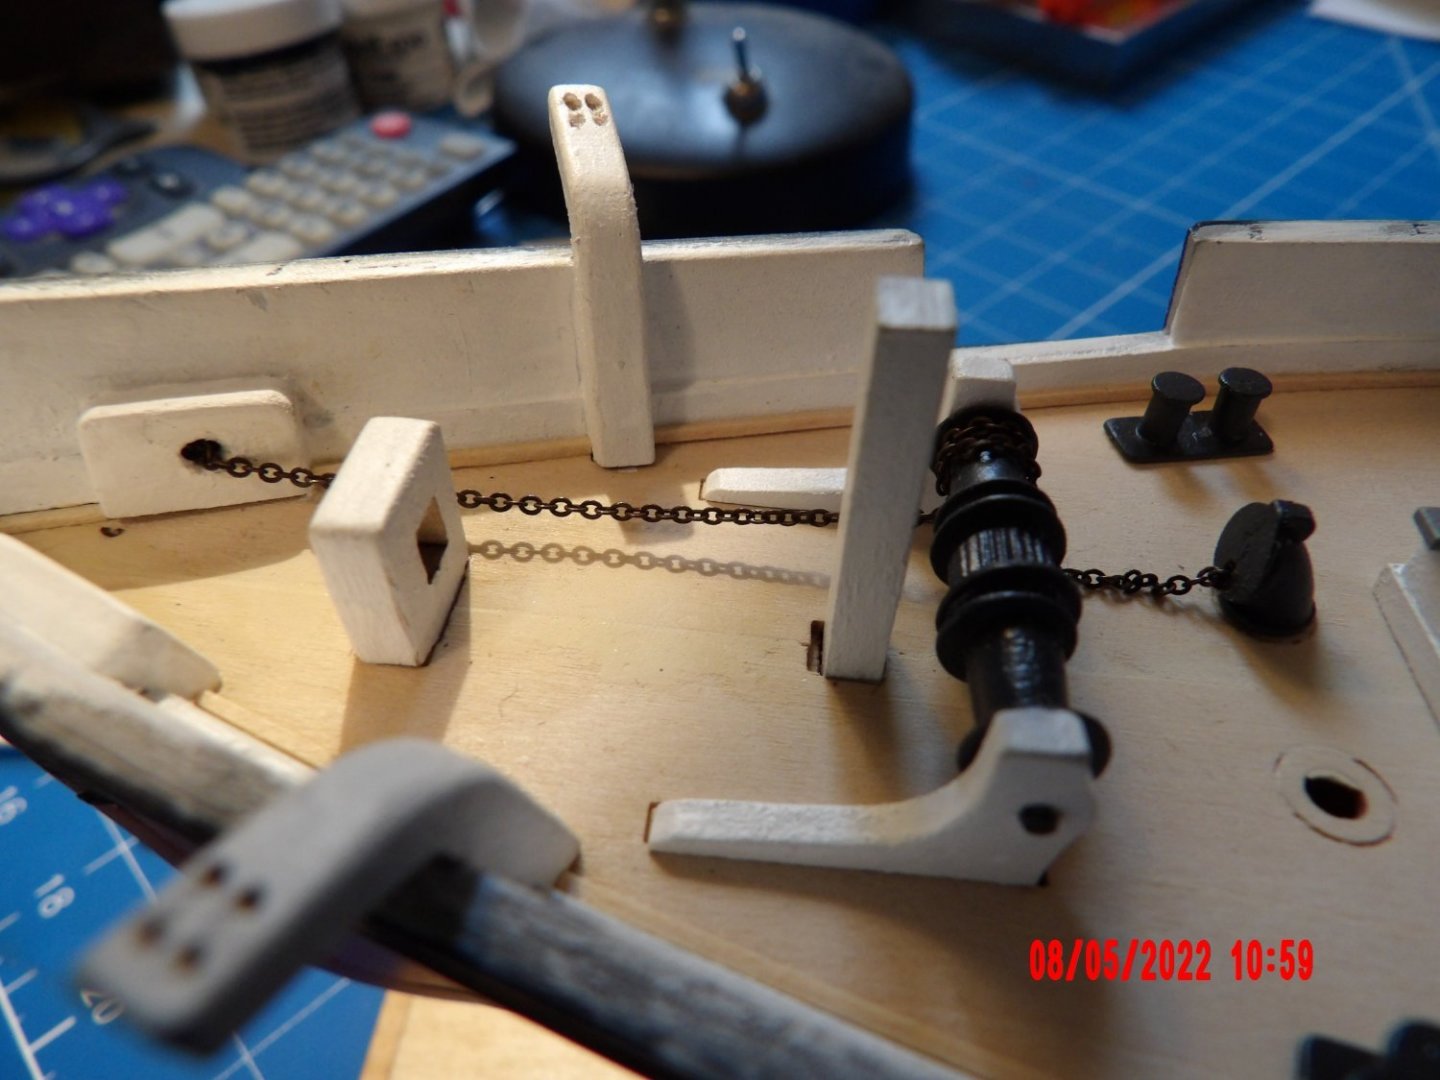
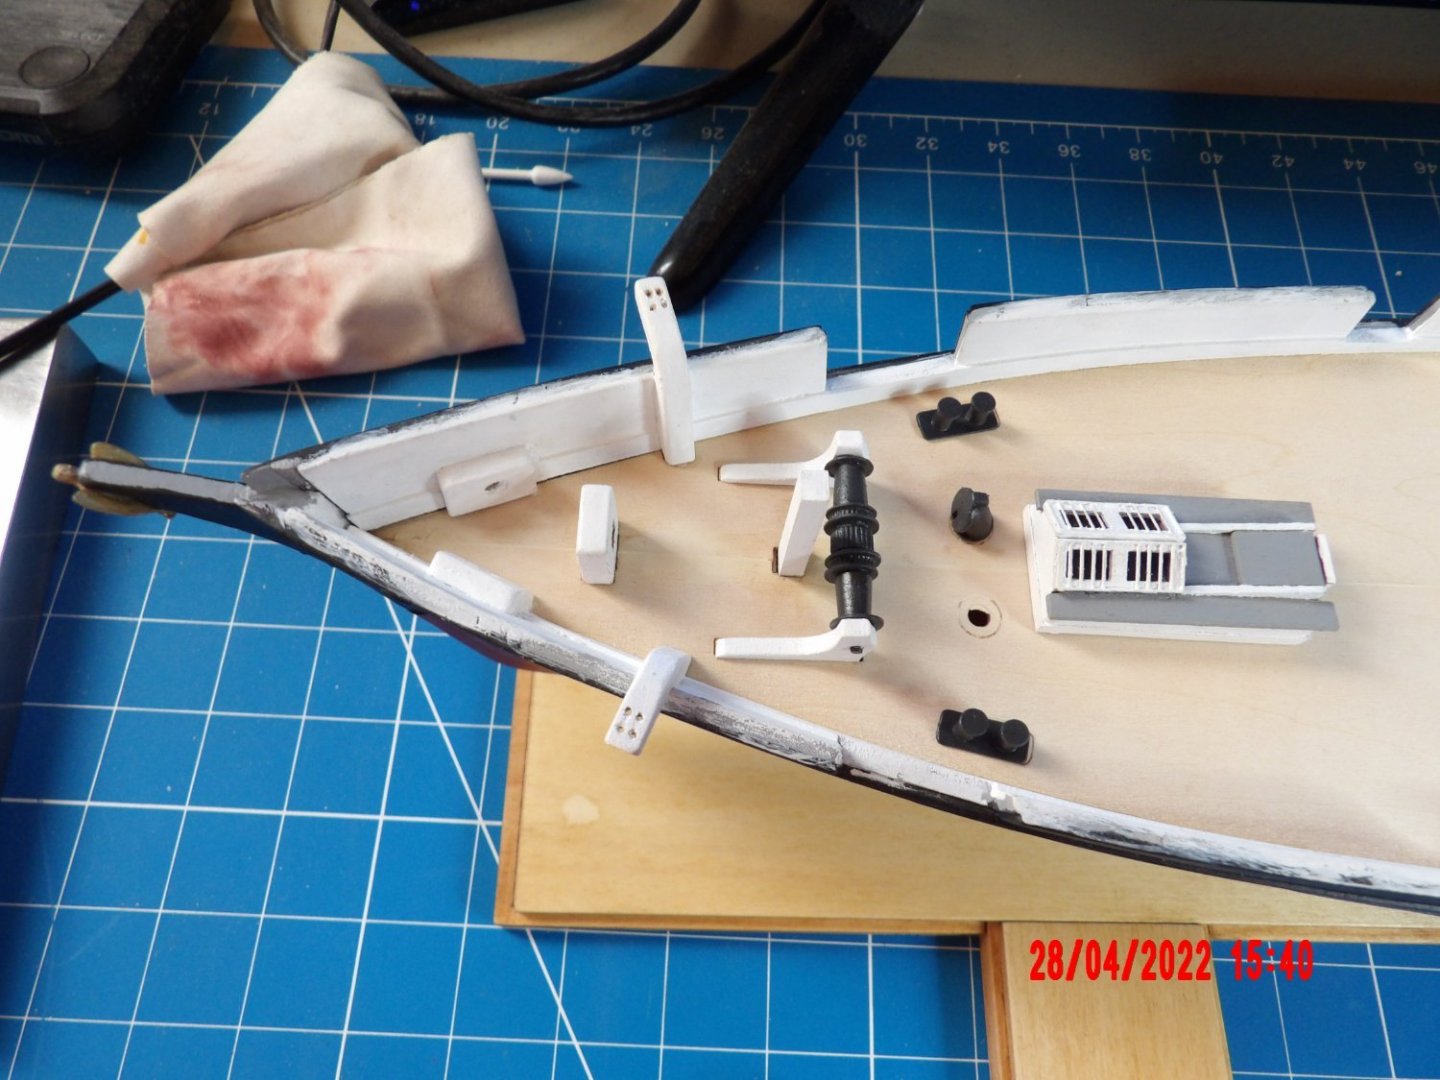
Some more progress, fun stuff! More work to be done on the windlass mechanism. One of the spurlings (cast pipe directing the anchor chains to below deck) is missing. Only one is indicated on the parts list, and only one was supplied- yet another request has been made to ME for the part. You can see that the skylight on the companion is not centered well, but this will not really be apparent when viewed from the side. I'm not going to sweat over it.

- 146 replies
-
- 9
-
-
- Harriet Lane
- Model Shipways
- (and 1 more)