bobandlucy
-
Posts
512 -
Joined
-
Last visited
Content Type
Profiles
Forums
Gallery
Events
Everything posted by bobandlucy
-
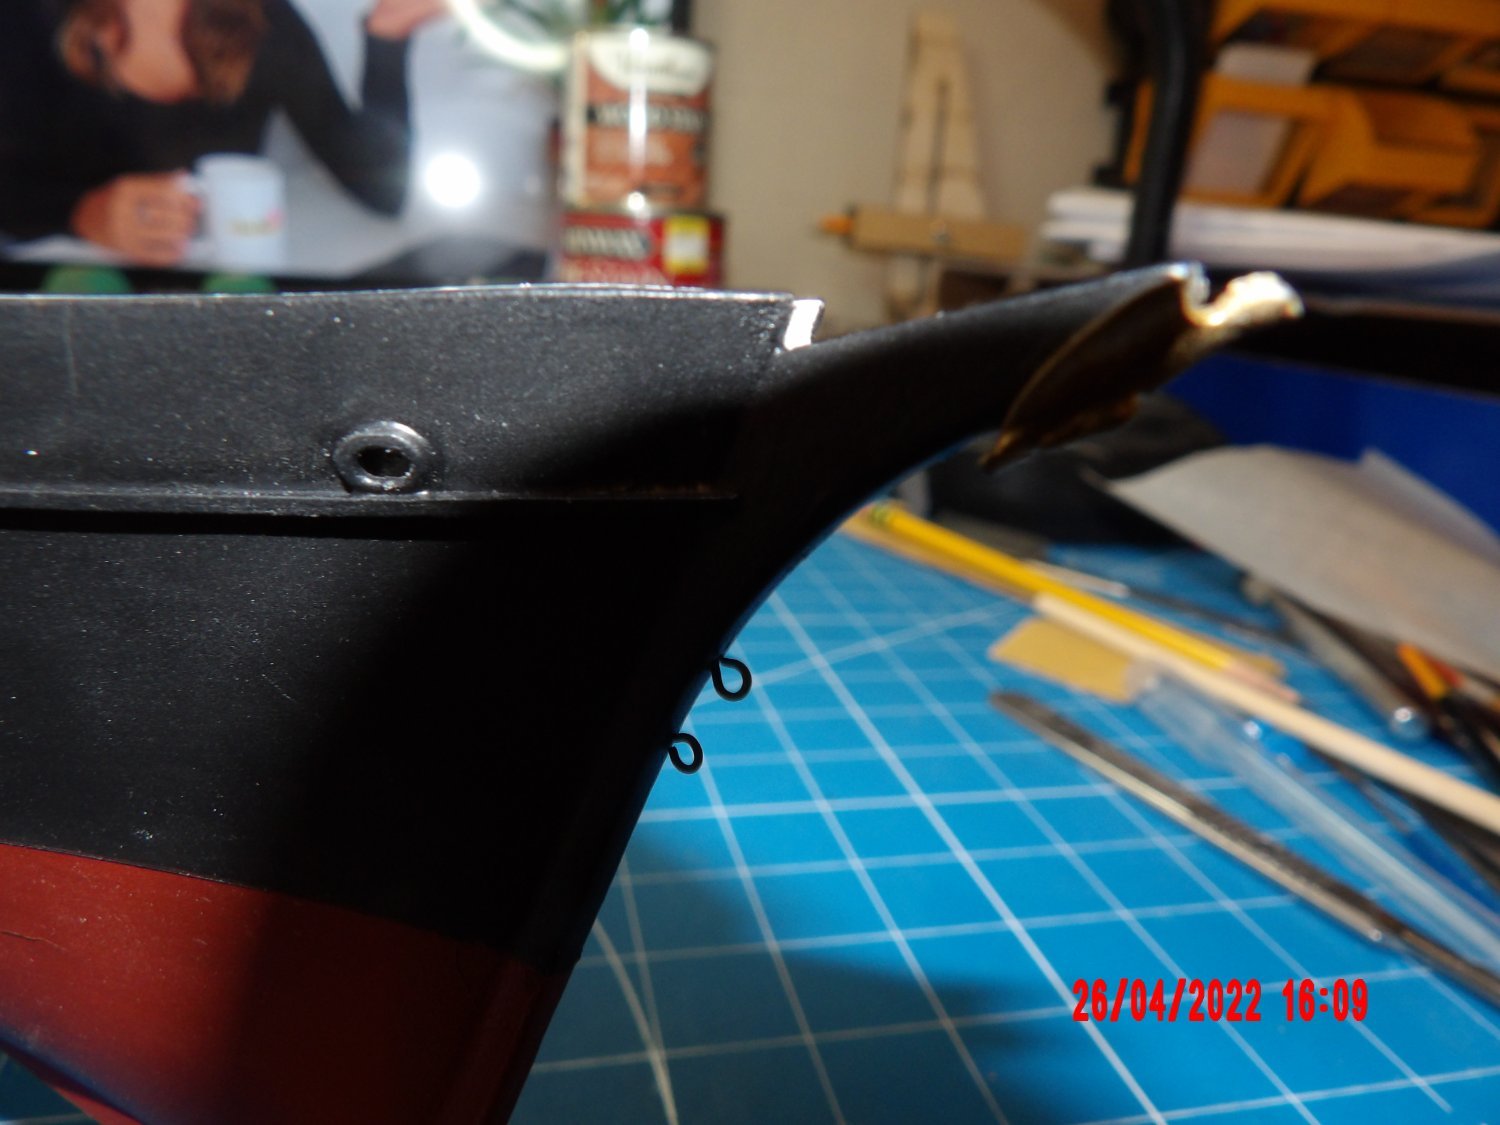
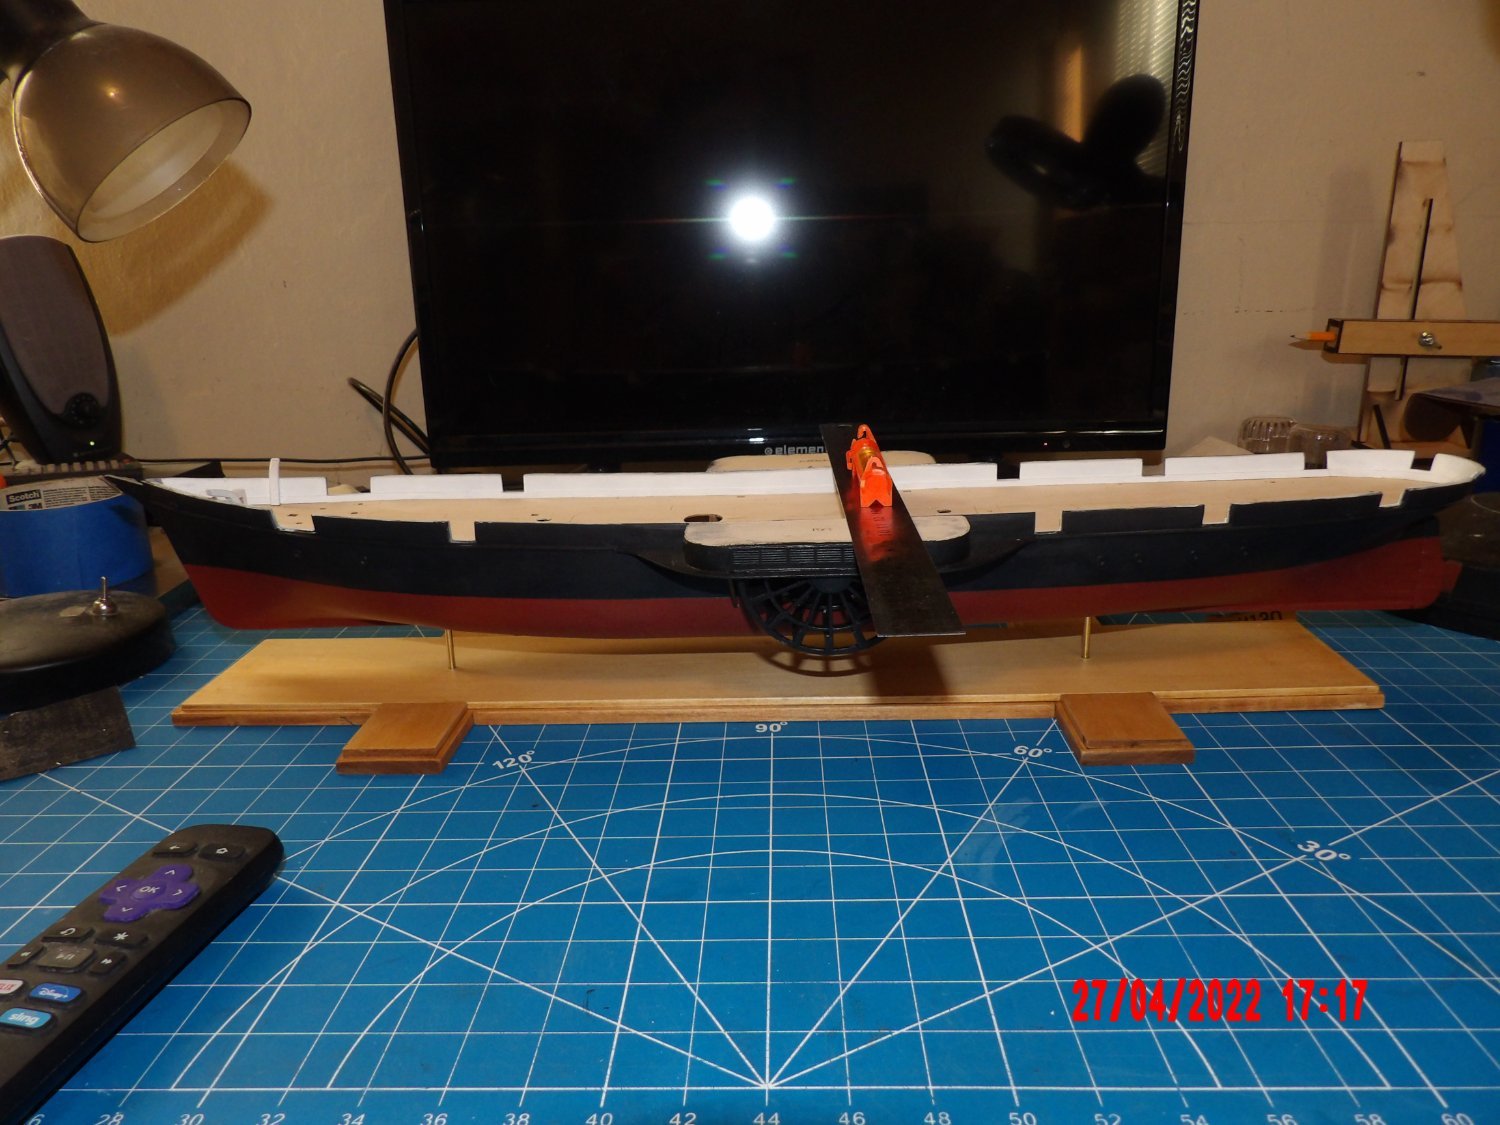
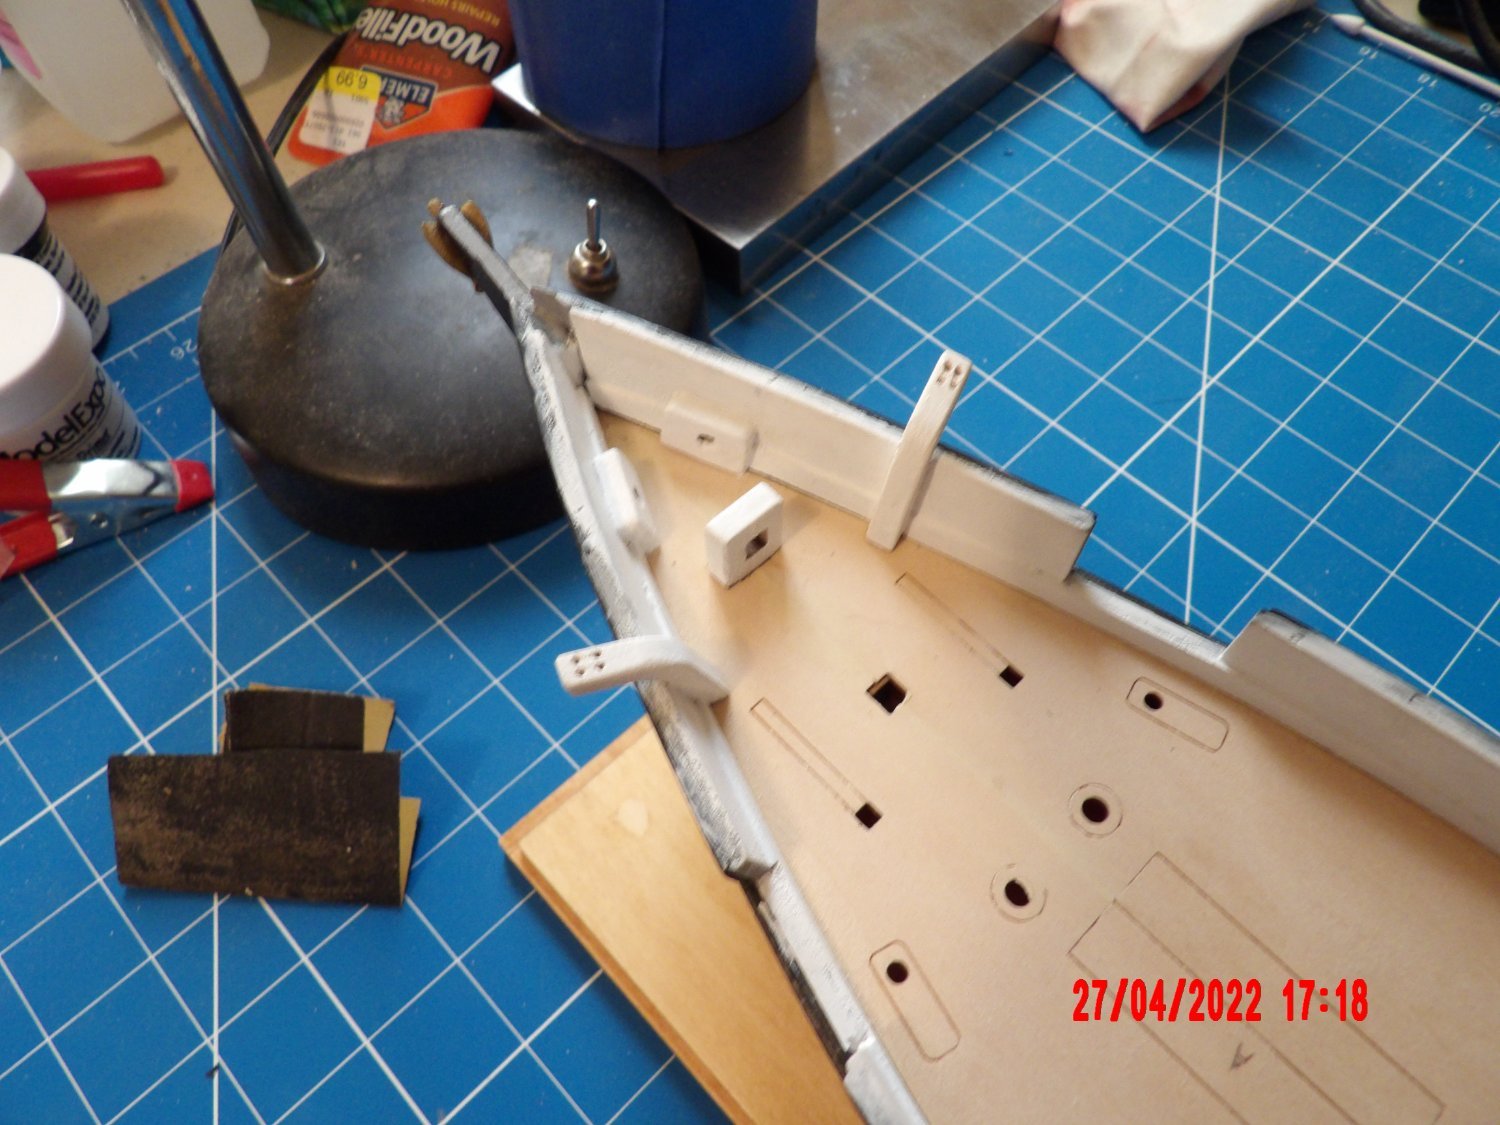
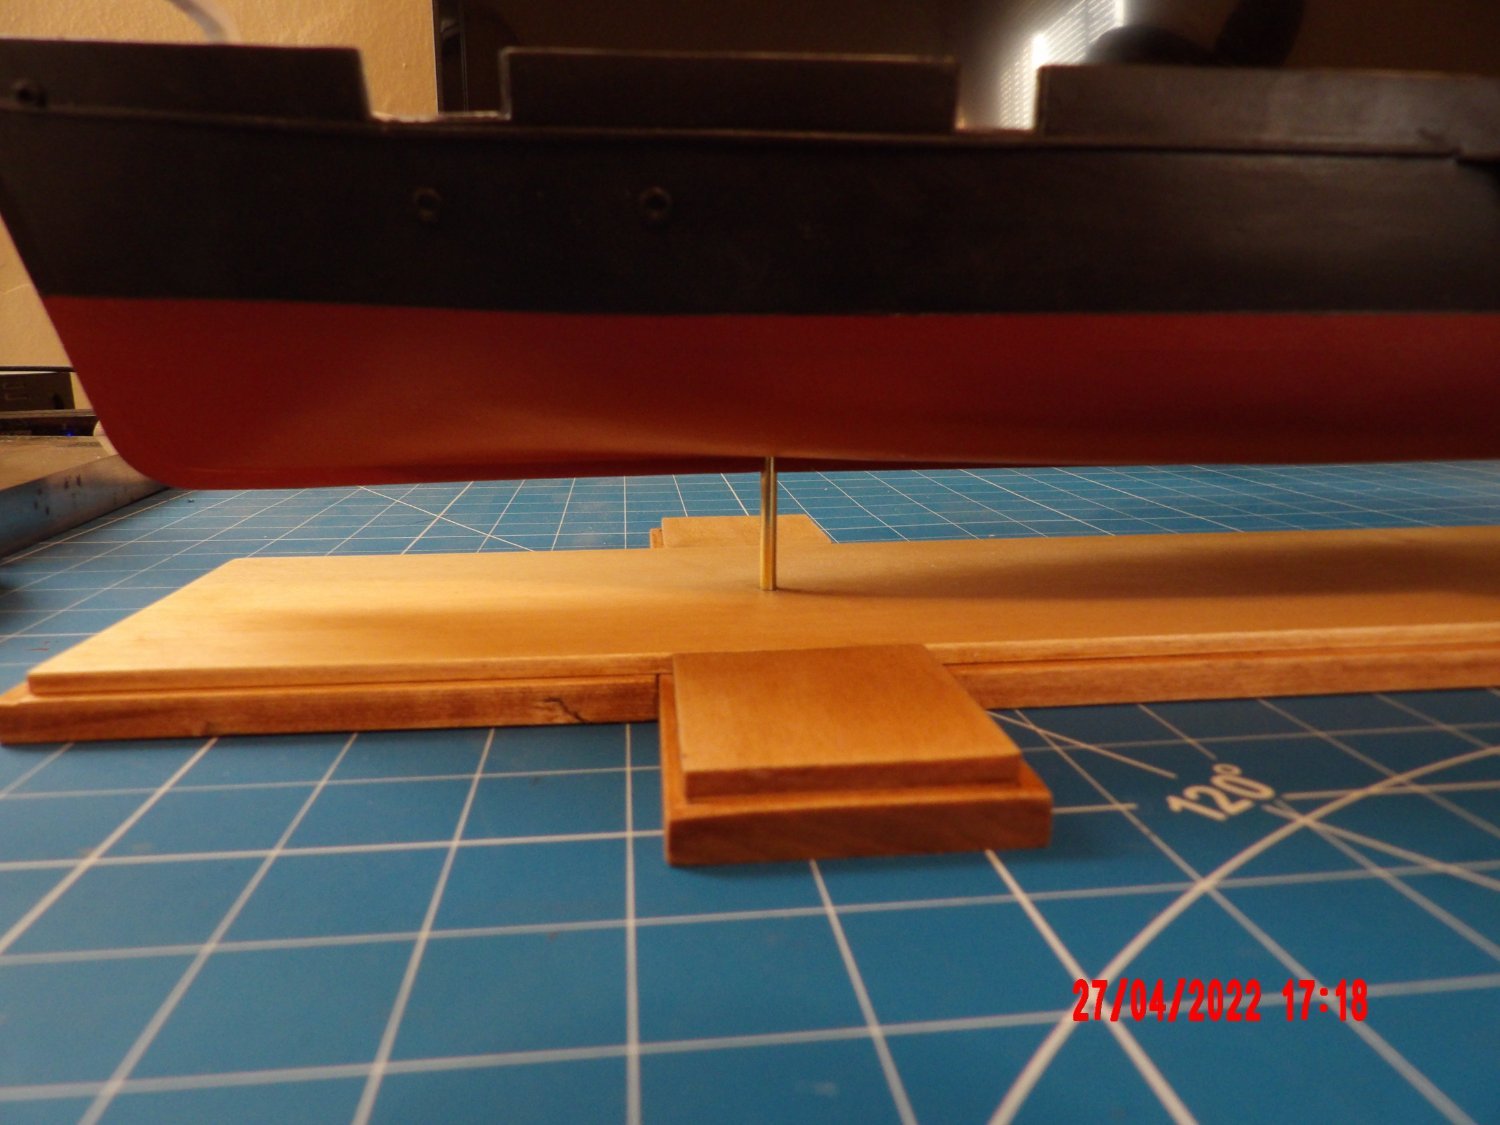
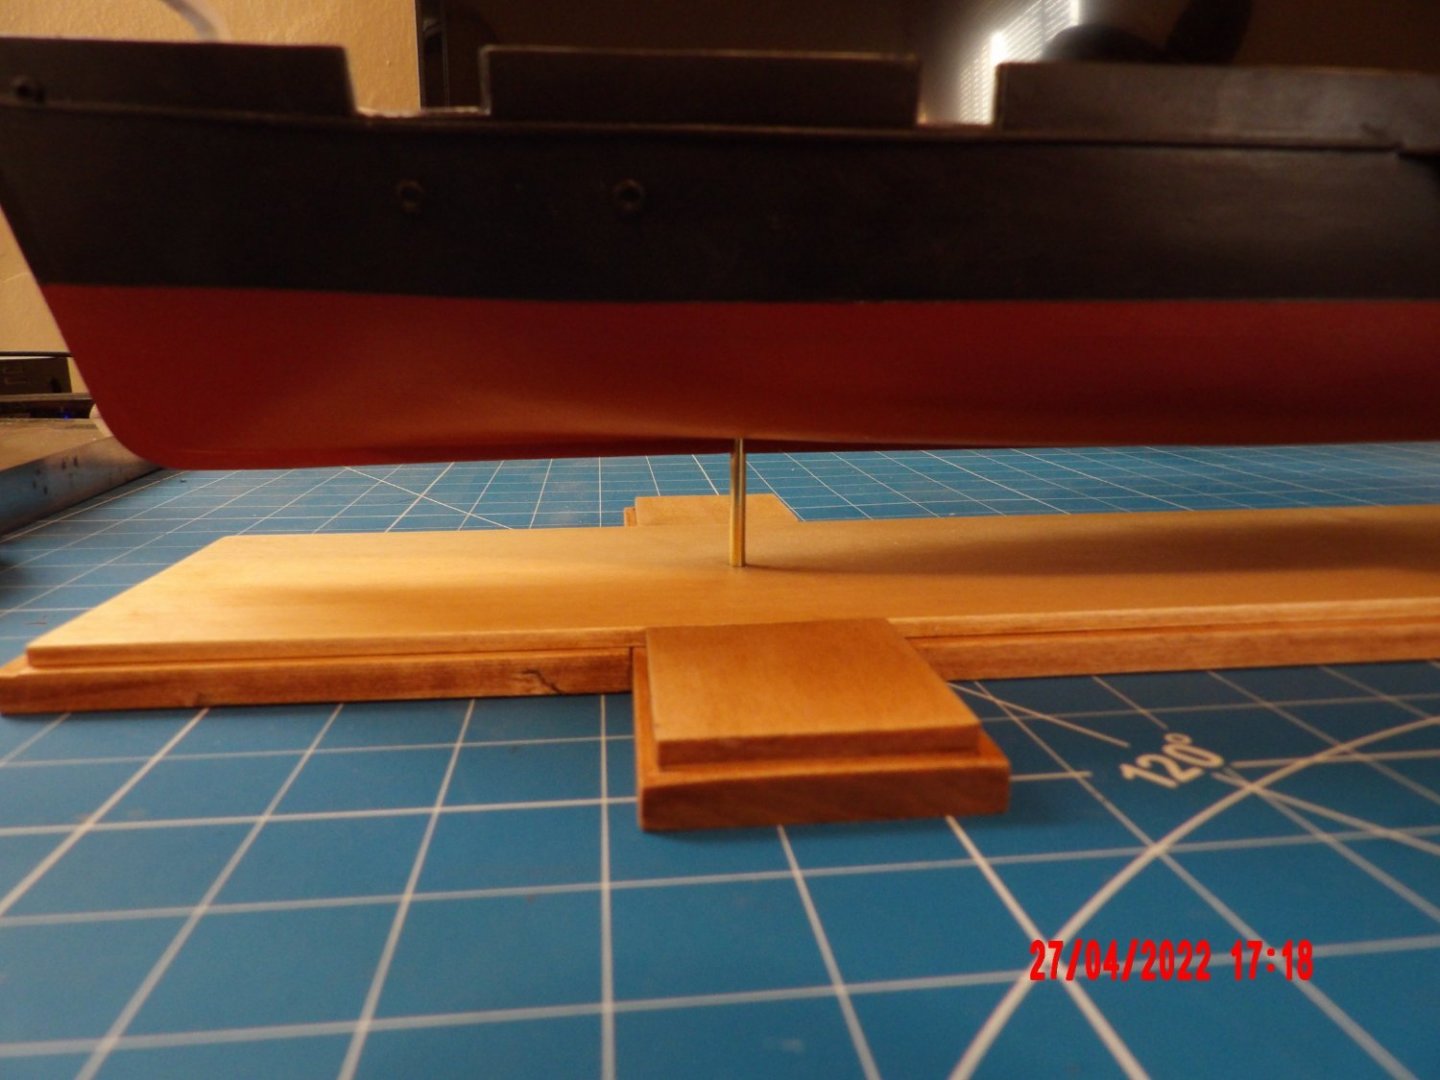
 Placed the bow eagle ornament, and added two eyebolts (my first chemical blackening). Mounted the ship on it's stand. Nerve-wracking but turned out OK, Replaced the kit's vertical wood support dowel with hard brass rod. Started to place some of the deck furnishings at the bow.


- 146 replies
-
- 10
-

-
- Harriet Lane
- Model Shipways
- (and 1 more)
-
All looks really good, Dan! This is a challenging model.
- 90 replies
-
- 1
-
-
- Model Shipways
- muscongus bay lobster smack
- (and 1 more)
-
What fun! I'd like to do RC working model one day. . .
-
Good so far and I will be following, as well as making a wood storage system similar, because I am in the same boat as you regarding scrap and other wood! Bob
- 158 replies
-
- 1
-
-
- chaperon
- Model Shipways
- (and 1 more)
-
Added the second lower wheel assembly and the deck. There will be some re-work of the spirketting and infill of the deck at the stern, due to my earlier over-extending the stern knuckle. Then I think that issue will be behind me. I'm pretty satisfied so far.

- 146 replies
-
- 11
-
-
- Harriet Lane
- Model Shipways
- (and 1 more)
-
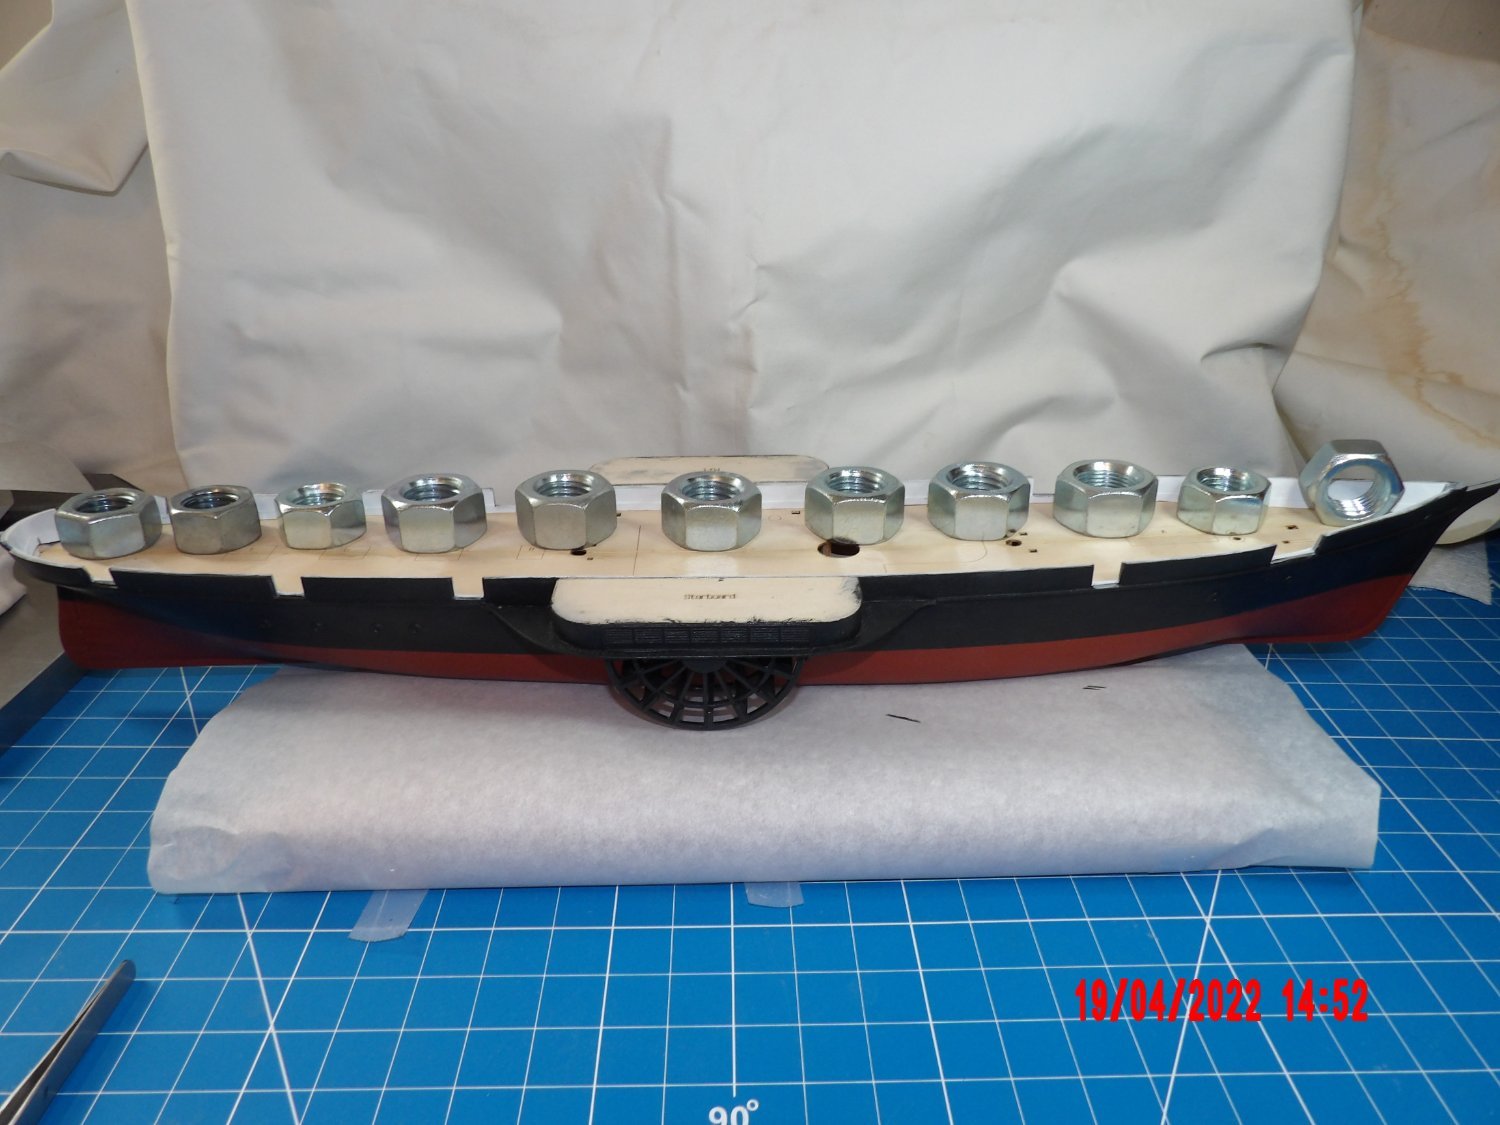
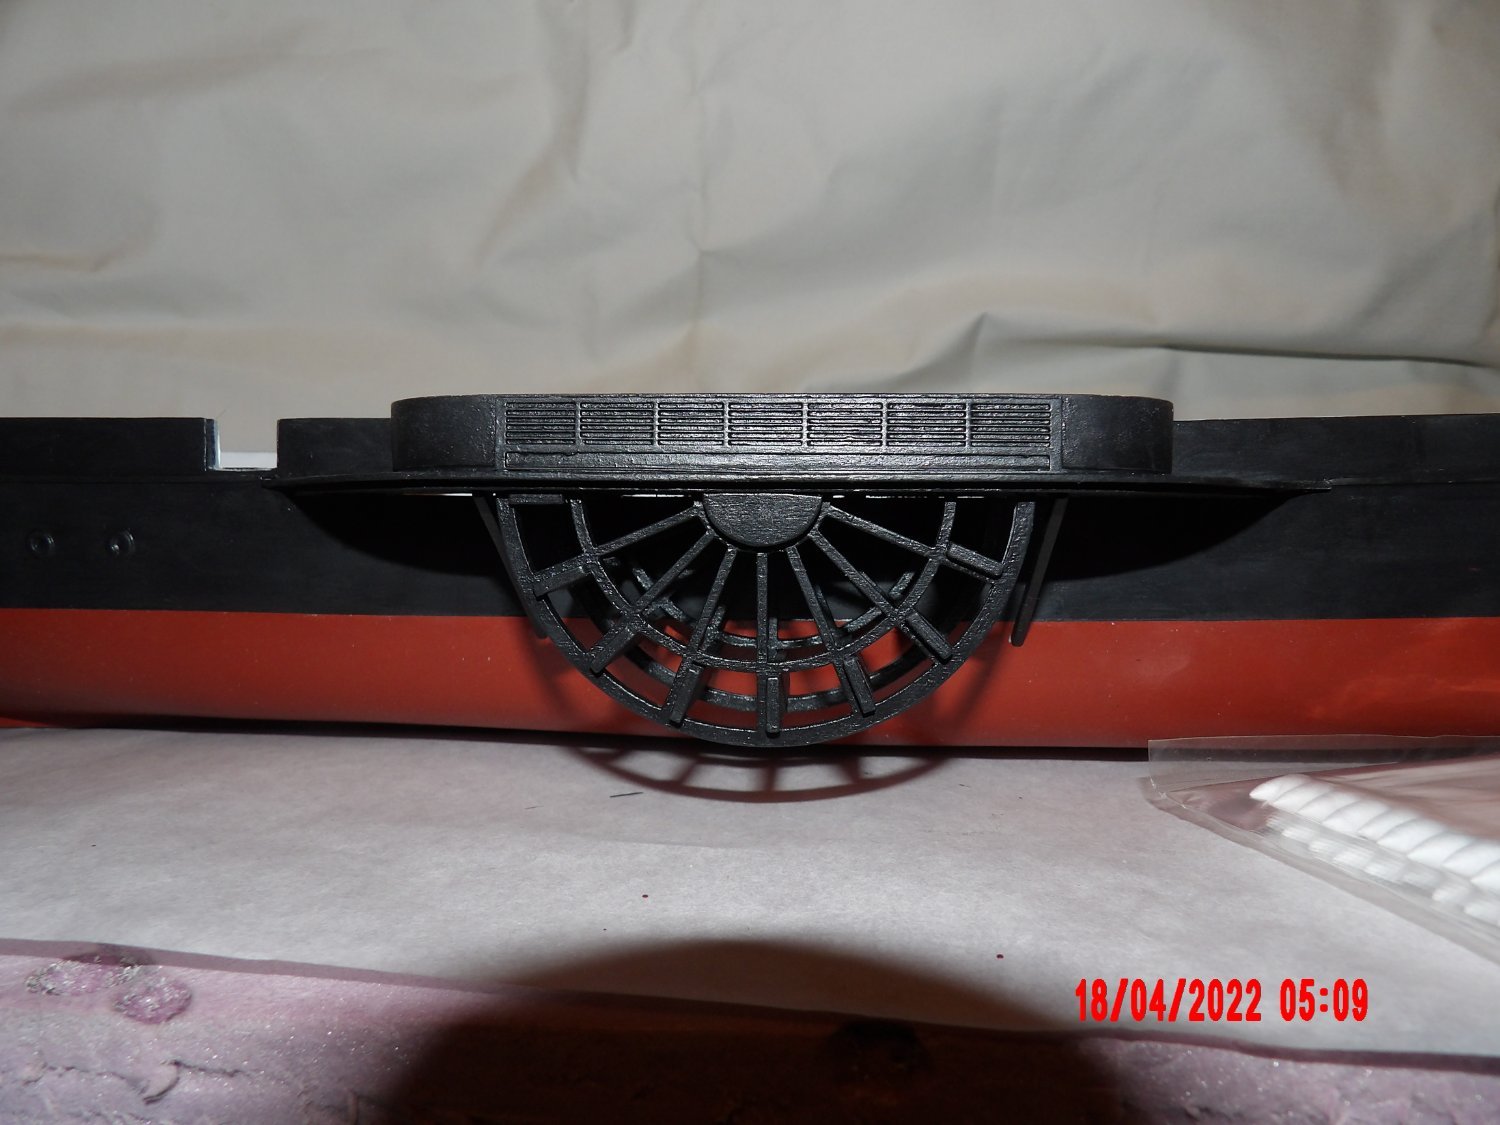
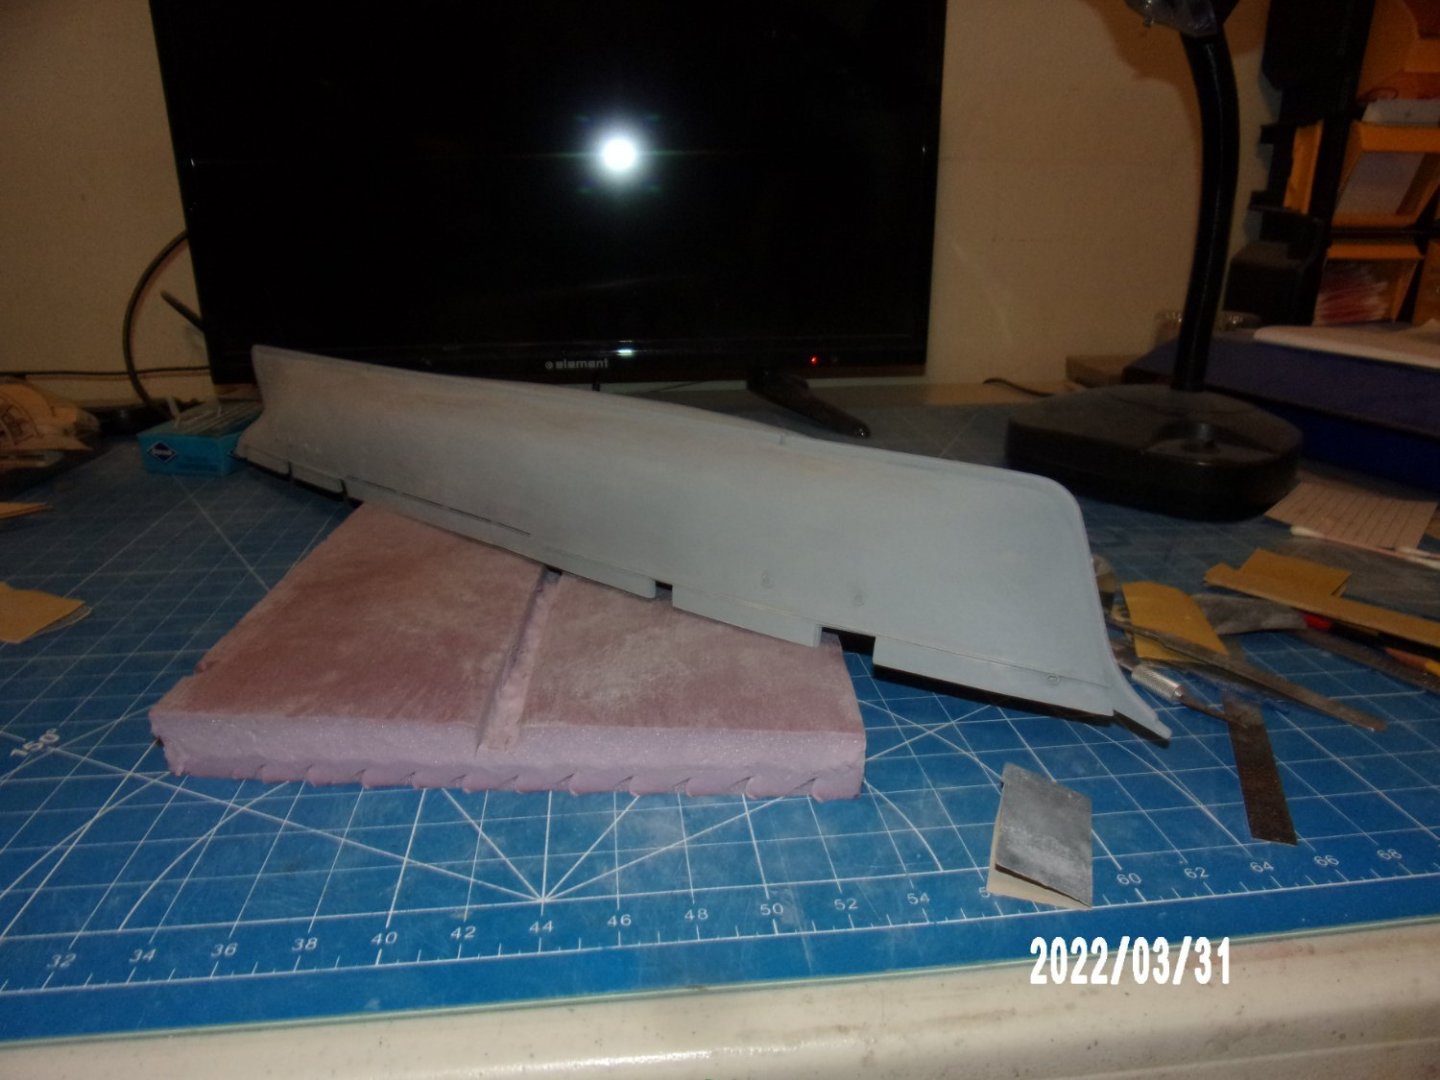
Thank you guys. Distance is forgiving. . . Hand-painted one of the lower wheel assemblies and added to the hull. This would have been much easier to spray paint, but I have read that the Model Expo paint is not suitable for airbrushing. I do have some Badger airbrushing paint on order, but that will take a while to get to me- and I want to keep moving forward. I think it came out pretty good. A gap is visible underneath the sponson deck. I don't want to try and fill this right now, as this gap will probably be closed or obscured by the addition of the deck. I will probably paint the edge of the deck black and see how that looks. If it needs more work, at least the deck will provide a backing for filler.
- 146 replies
-
- 12
-
-
- Harriet Lane
- Model Shipways
- (and 1 more)
-
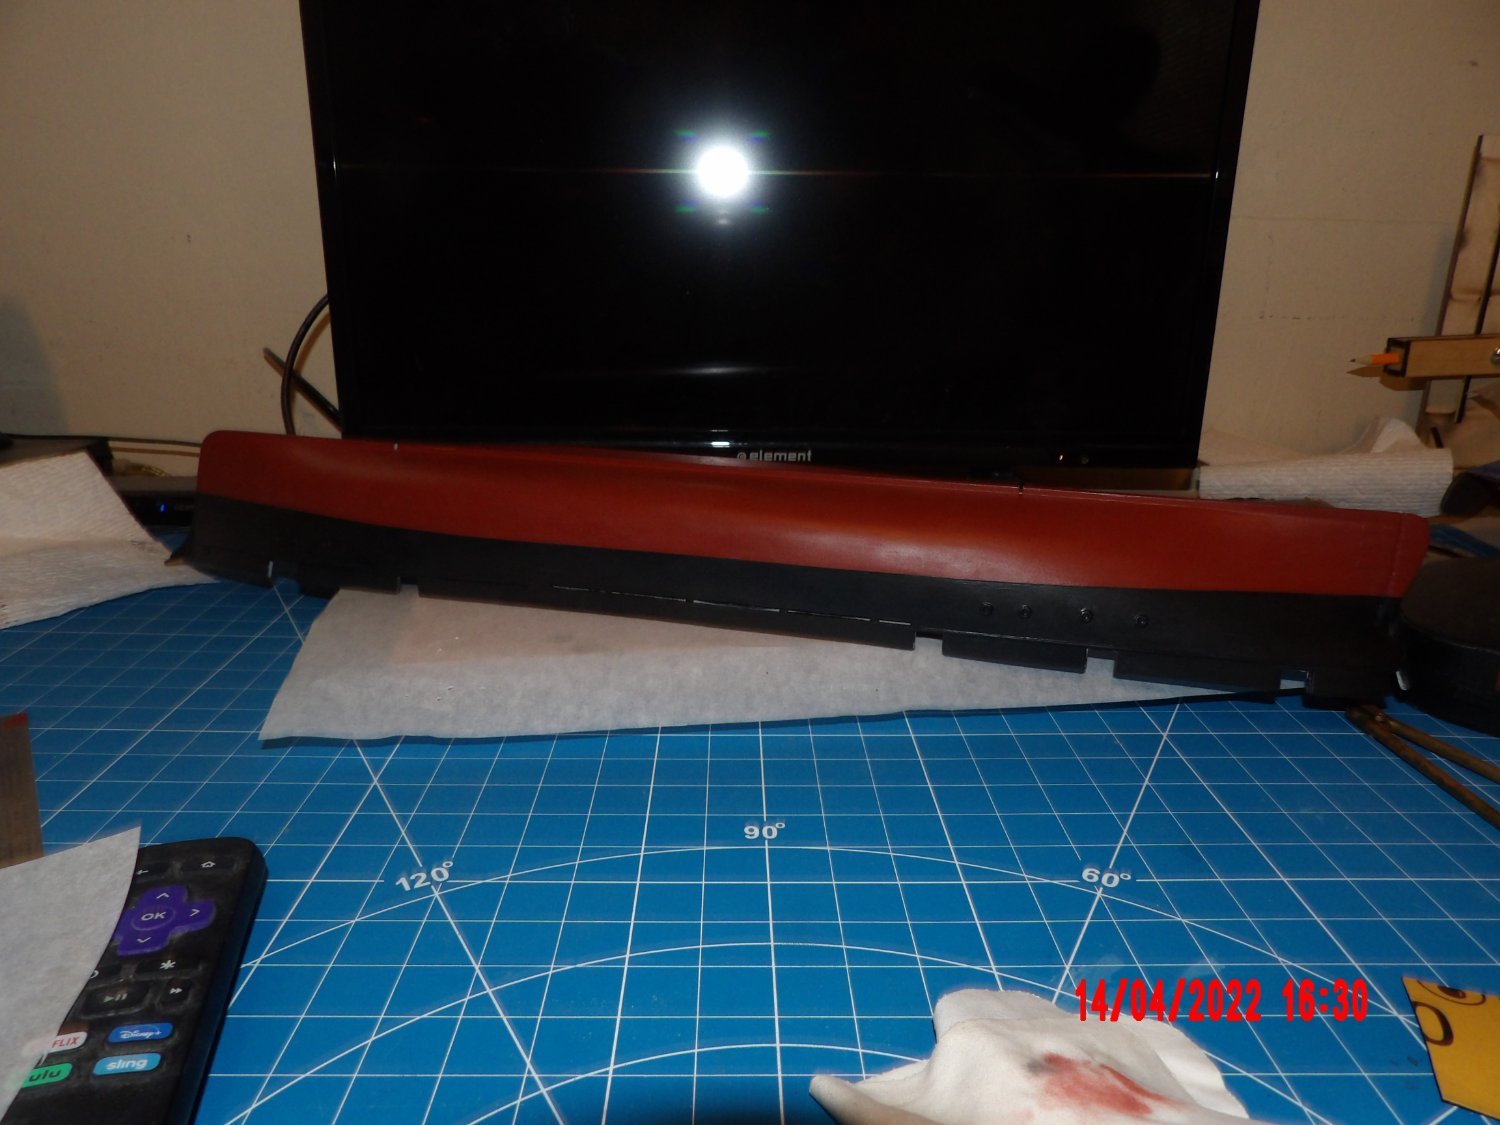
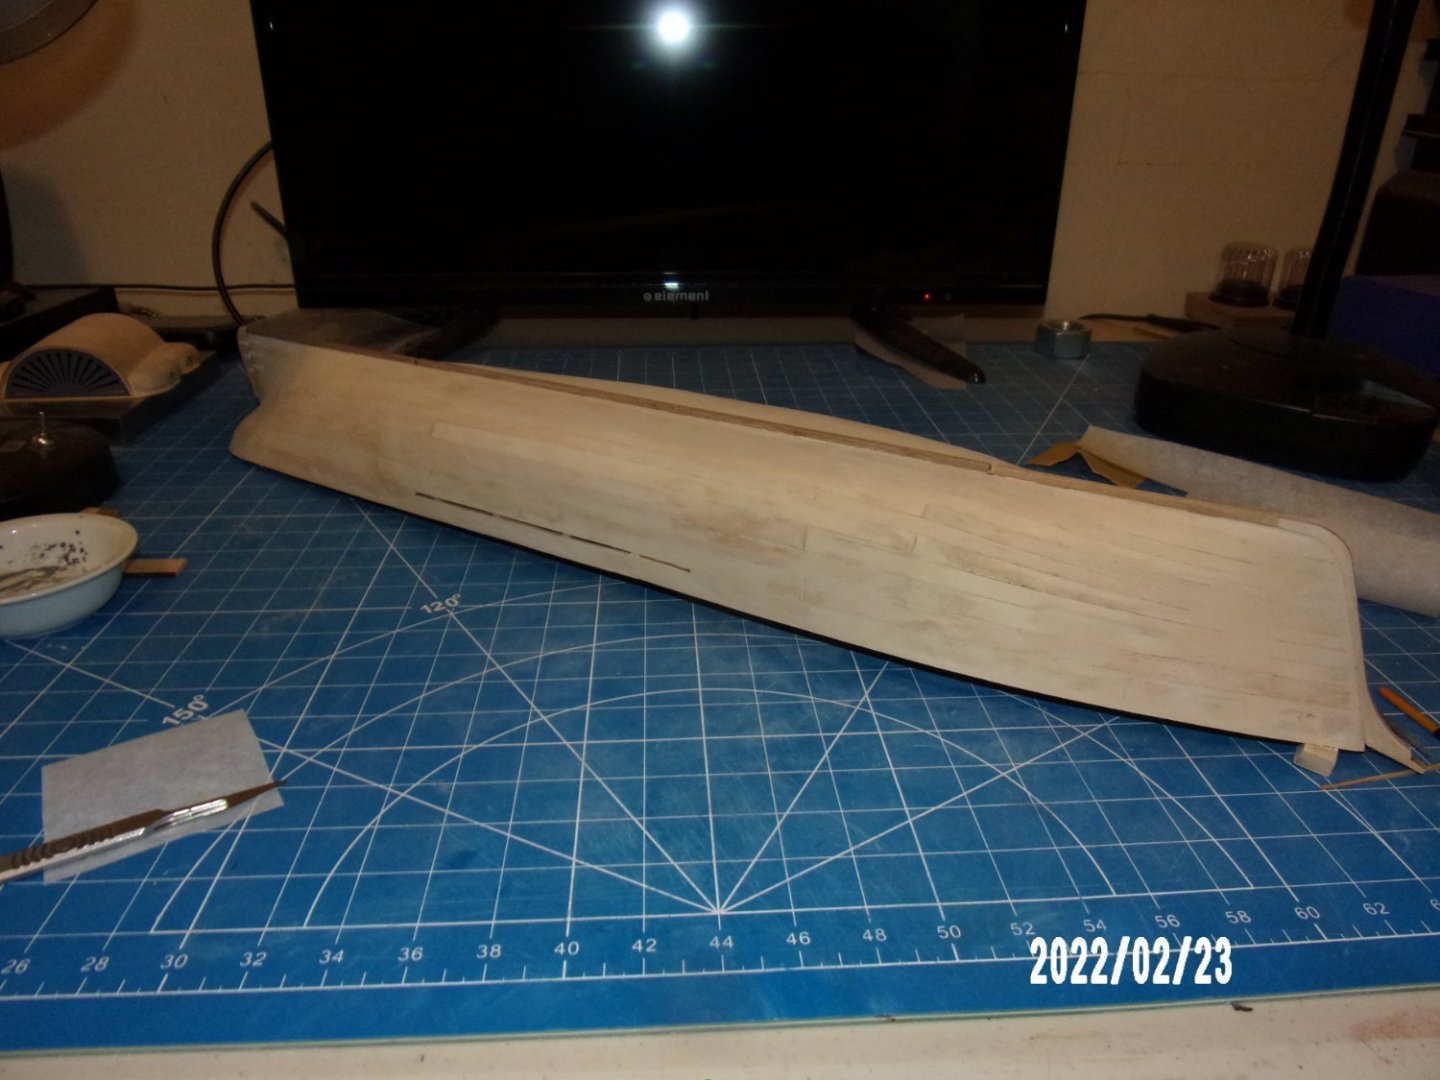
I raised the waterline at bow and stern as indicated in the manual. Painted the hull by hand, as the boat is too big to fit into my paint booth. Wish I hadn't! I was worried about thinning the ME gloppy paint for the airbrush. . . Anyway, I think it is passable, but is not as smooth as it should have been considering that the hull was looking pretty sweet after priming with rattle can. I did thin the paint some with water. Oh, well- I've given up on perfection, and really, I've seen and done worse. . . This model, for me is going to be all about the rigging!


- 146 replies
-
- 8
-
-
- Harriet Lane
- Model Shipways
- (and 1 more)
-
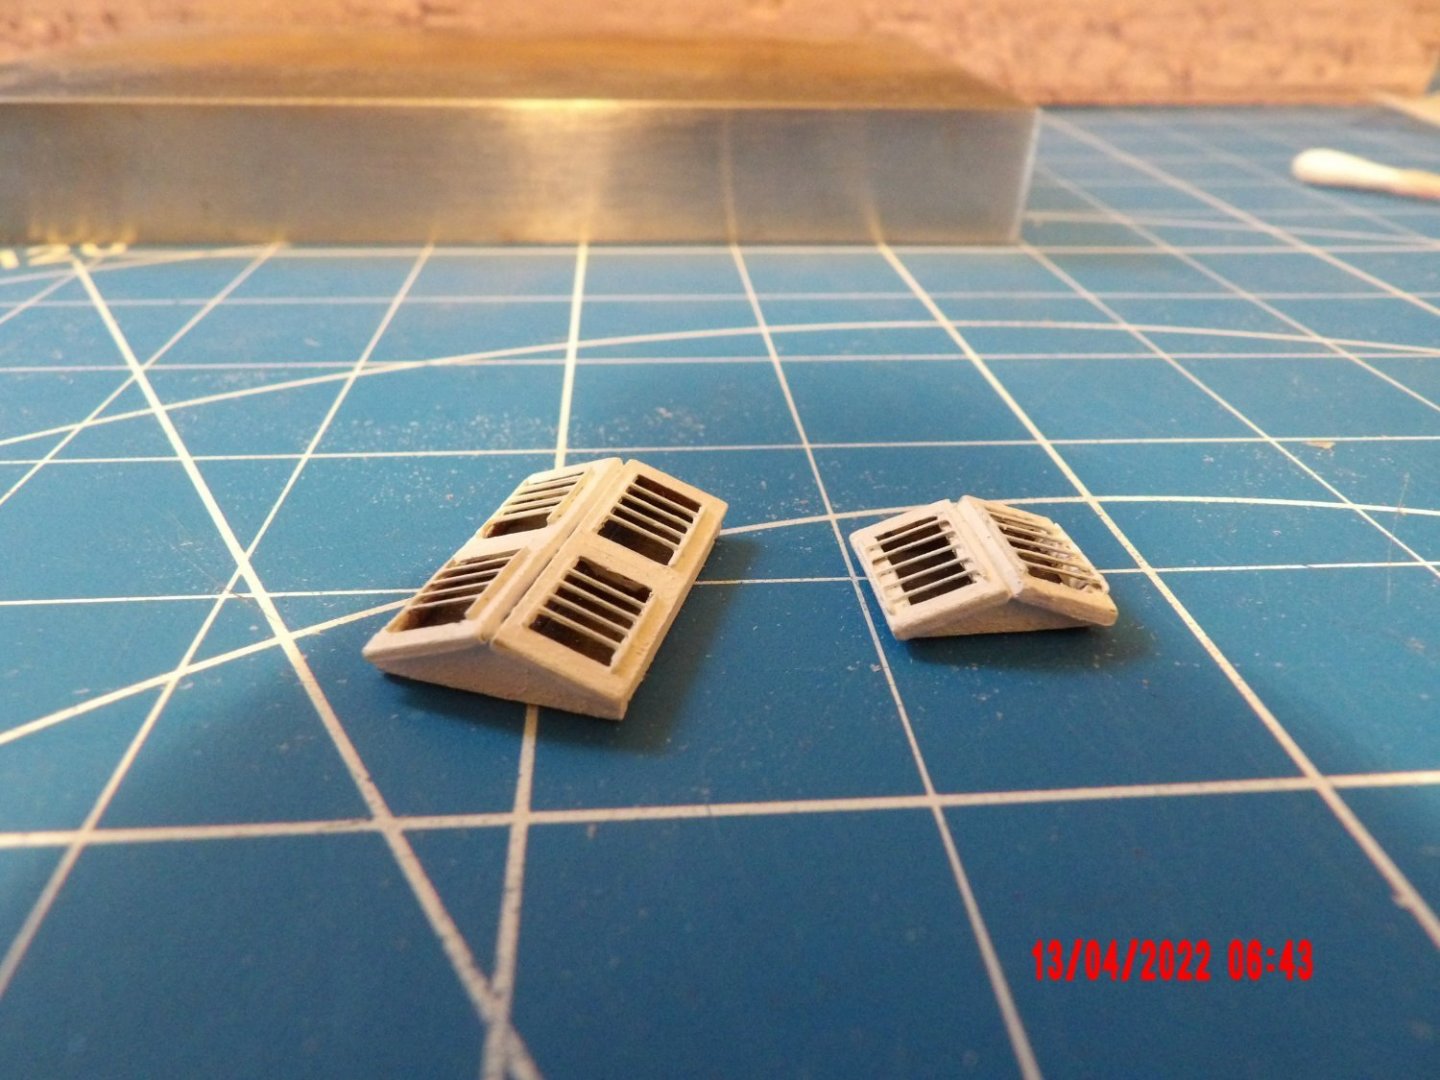
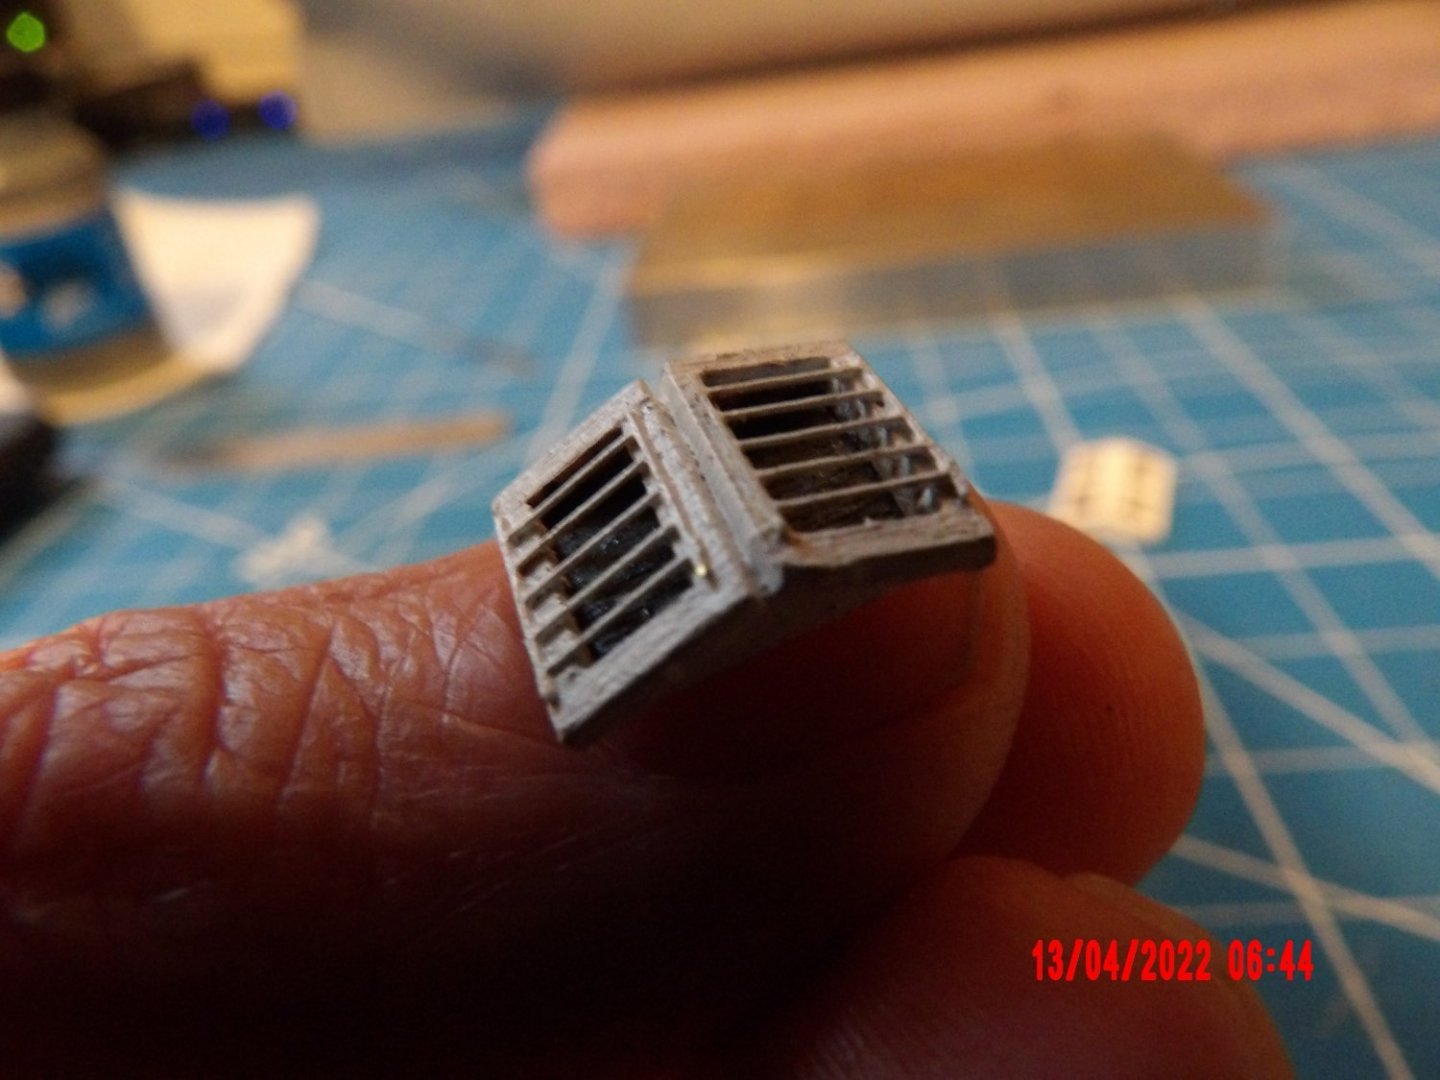
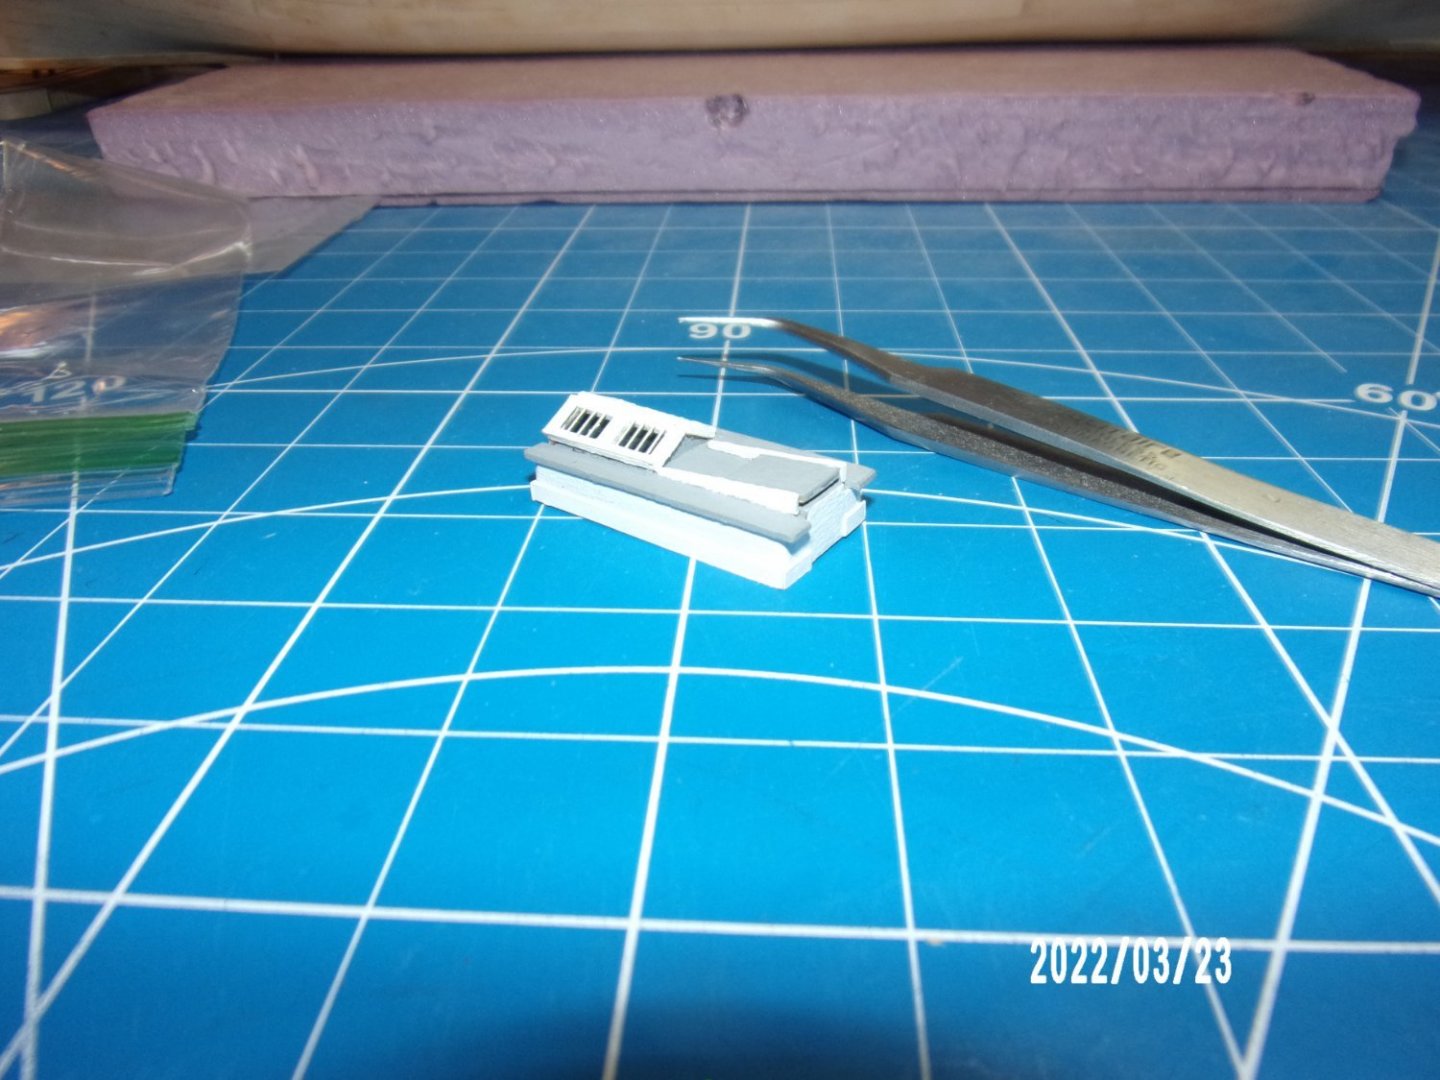
Made the two skylights for the pilothouse/cabins. The PE bar grilles for the double panels did not fit, so cut then in half and centered them in the openings. The small one was trickier than one would think! Naturally, I now see in the photos some needed paint touch-up. . .
- 146 replies
-
- 8
-
-
- Harriet Lane
- Model Shipways
- (and 1 more)
-
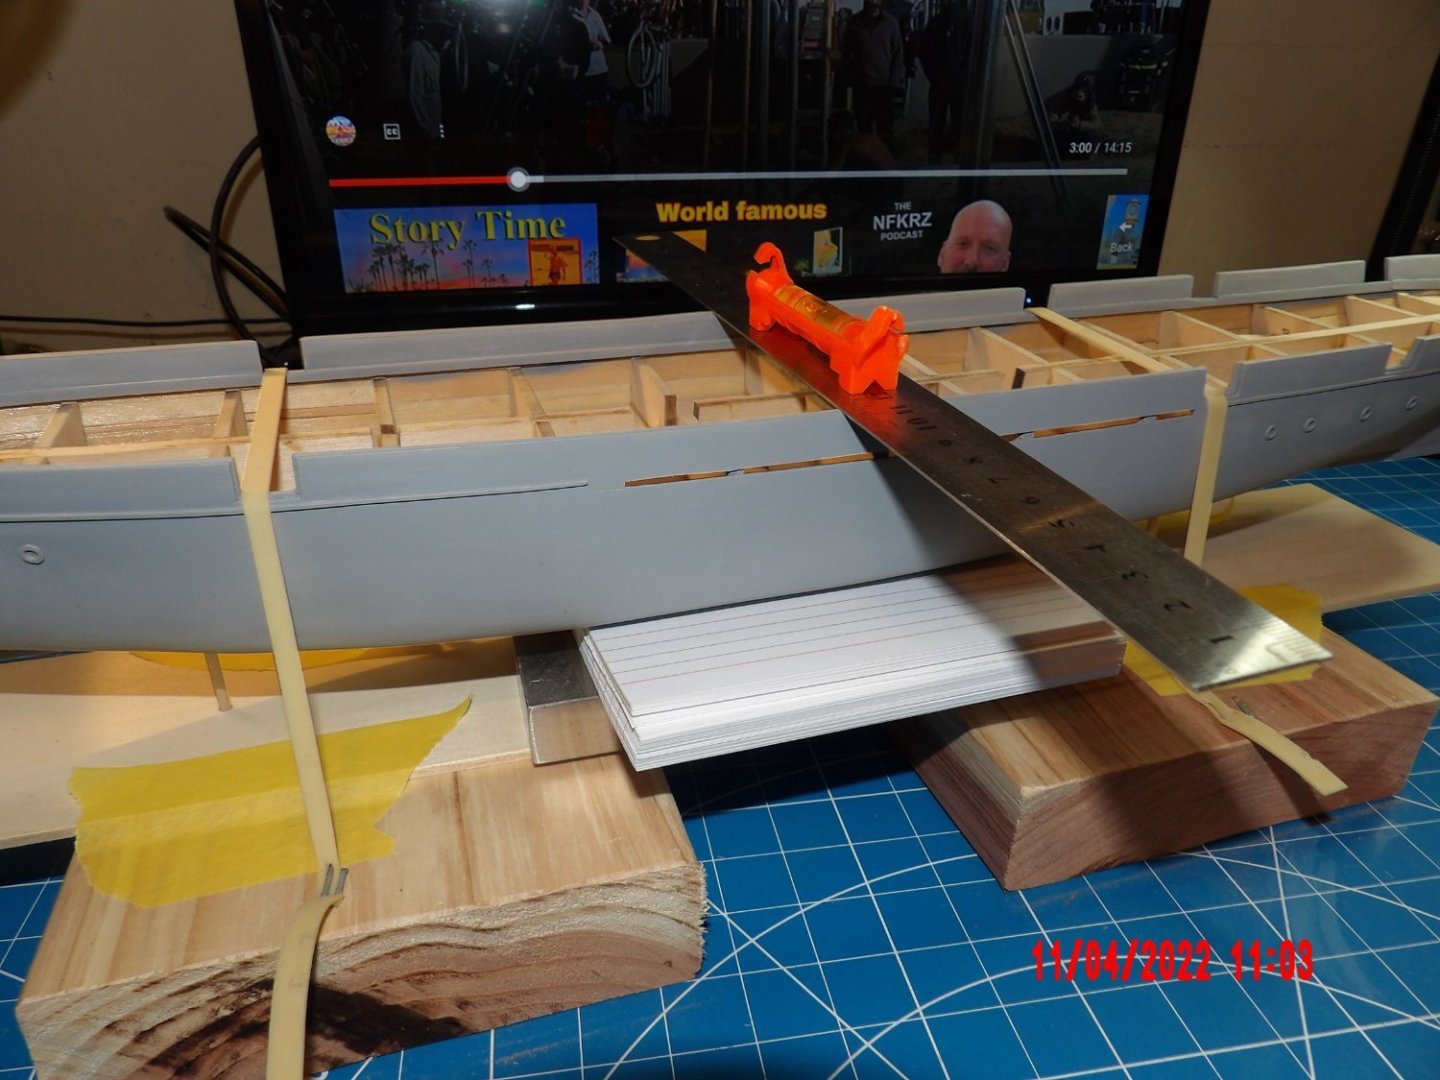
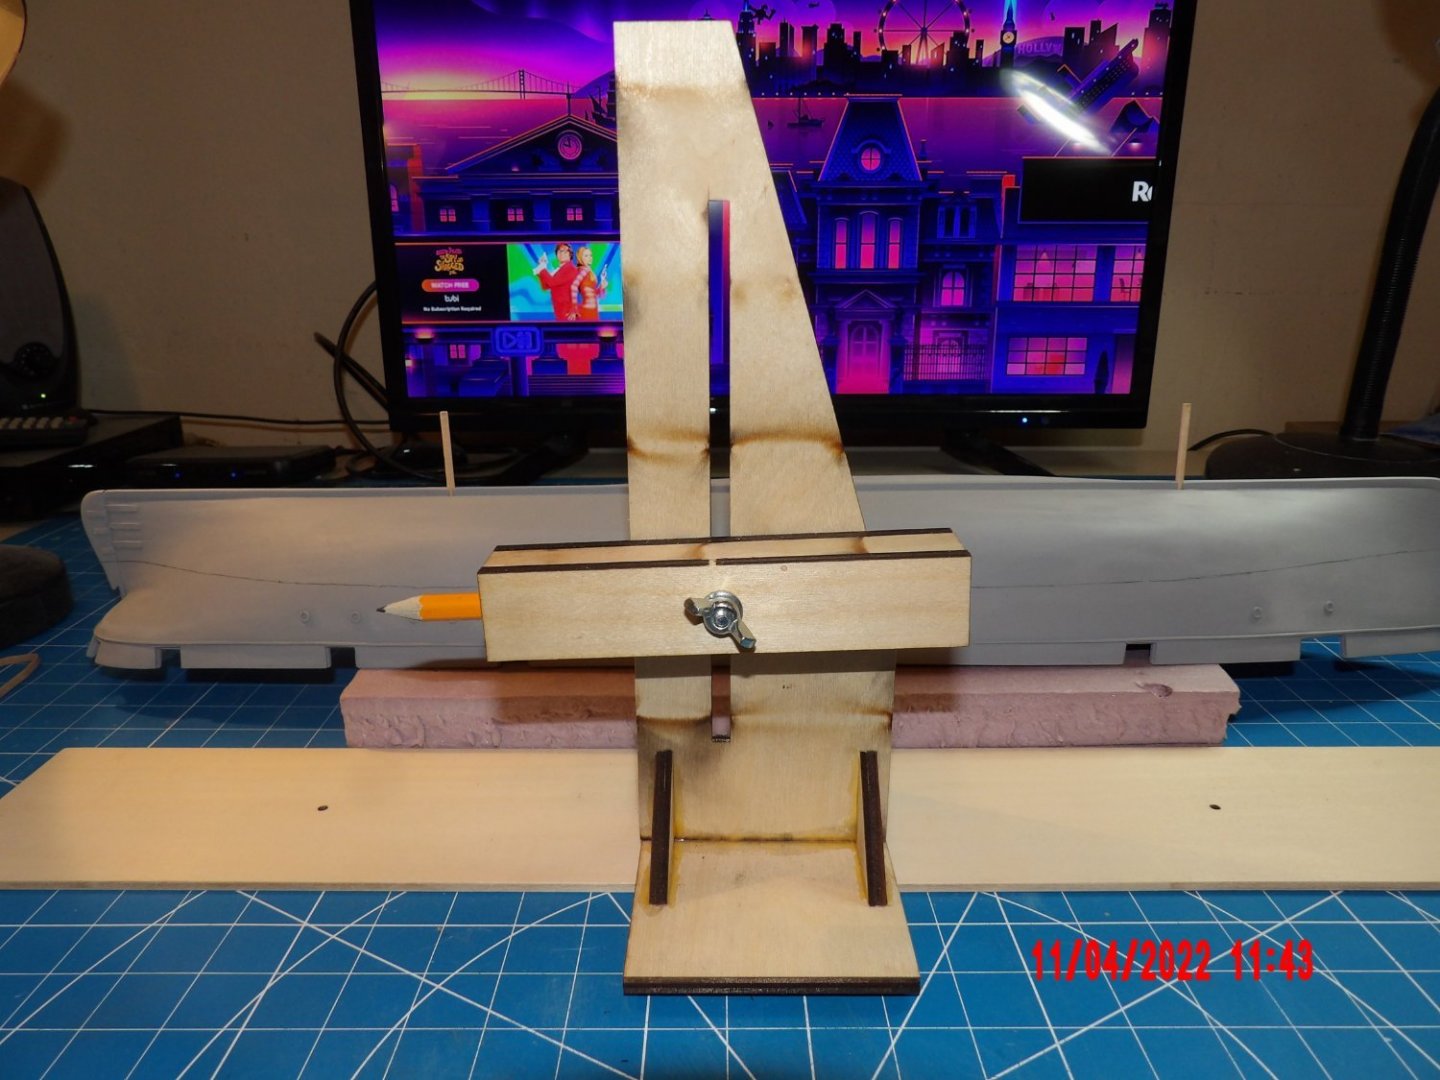
Drawing the waterline. I used the Model Expo waterline marker:
- 146 replies
-
- 6
-
-
- Harriet Lane
- Model Shipways
- (and 1 more)
-
Wow, great paint work!
-
I too had to adjust the size of the support brackets for the stable area barriers. I don't think the "crossing" configuration shown in one of the pictures is the intended final position, and subsequent pictures do not show it that way. The supports would have to be much deeper to accommodate the planks in that position, and walking space would be eliminated. Looks good so far! Bob
-
Ships' boats painted and the paper covers made and installed. Kind of jumping around as I'm still waiting for needed parts, including paint for the hull.
- 146 replies
-
- 7
-
-
- Harriet Lane
- Model Shipways
- (and 1 more)
-
Thanks, David. That makes sense. I did not sand the first coat- I guess after the second coat the general fuzziness of the bare, sanded basswood was highlighted and not made by the primer itself. Update: actually I do not remember if I sanded the first coat or not. . . I'm sleepless right now and maybe should stay out of the hobby room. The instruction manual does say to do as David says above, and anyway I should know this by now. I'll know what's up when I do the final coat of primer.
- 146 replies
-
- 1
-
-
- Harriet Lane
- Model Shipways
- (and 1 more)
-
Received the Tamiya gray primer, did first priming and filling. Applied second coat and sanded lightly with 400 grit paper. You can see I sanded through the primer in a few areas, but I believe that was caused by irregularities that needed sanding out. I thought the sanding was necessary because the primer leaves a definite "tooth" on the surface. The directions for the spray do not mention sanding between coats or at final coat, so I'm not sure if I'm doing the right thing. Maybe the roughness is meant for paint adhesion? Also, I'm not sure if I should be re-priming the entire hull or just the areas getting filler. . . but I'm doing the entire hull as uniform thickness may be important. Regardless, this primer is way better than what I had been using. Very small cans, it took most of a can for each coat. Expensive, but seems worth the cost. The lines showing between planks are almost completely gone now, the hull is very smooth. I see a couple of problem areas left and will do one more round, and then call it good.

- 146 replies
-
- 8
-
-
- Harriet Lane
- Model Shipways
- (and 1 more)
-
Got the rub rail installed and am ready to prime the hull. I'm considering using the airbrush vs. canned primer. Canned would certainly be easier, but if I go that route I will order the same primer as the designer used, as I was not happy with the last session using the stuff I have. I tend to get somewhat paralyzed by such decisions. . . Built the first companion as another delaying tactic, simple but difficult, if you know what I mean: I had missed the door; it is not mentioned in the instructions and is not shown here. I can't find a picture in the manual showing this item, but I have painted the piece white and will add before storing this item away to add to the deck in the future.
- 146 replies
-
- 5
-
-
- Harriet Lane
- Model Shipways
- (and 1 more)
-
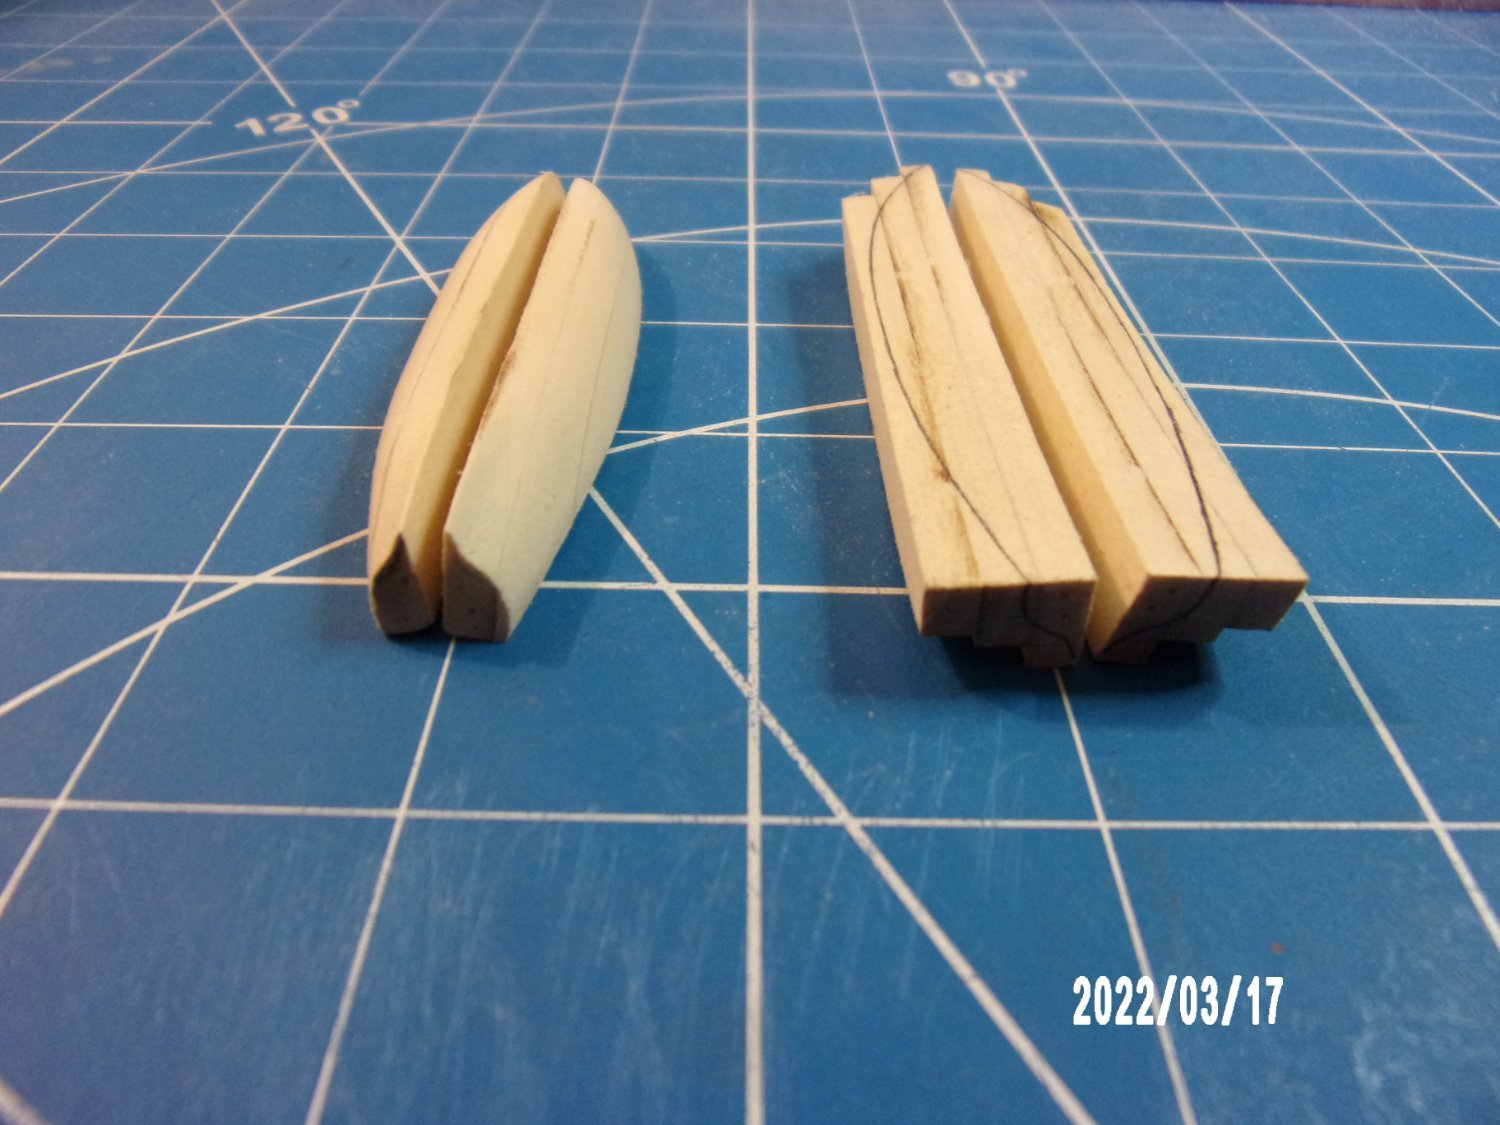
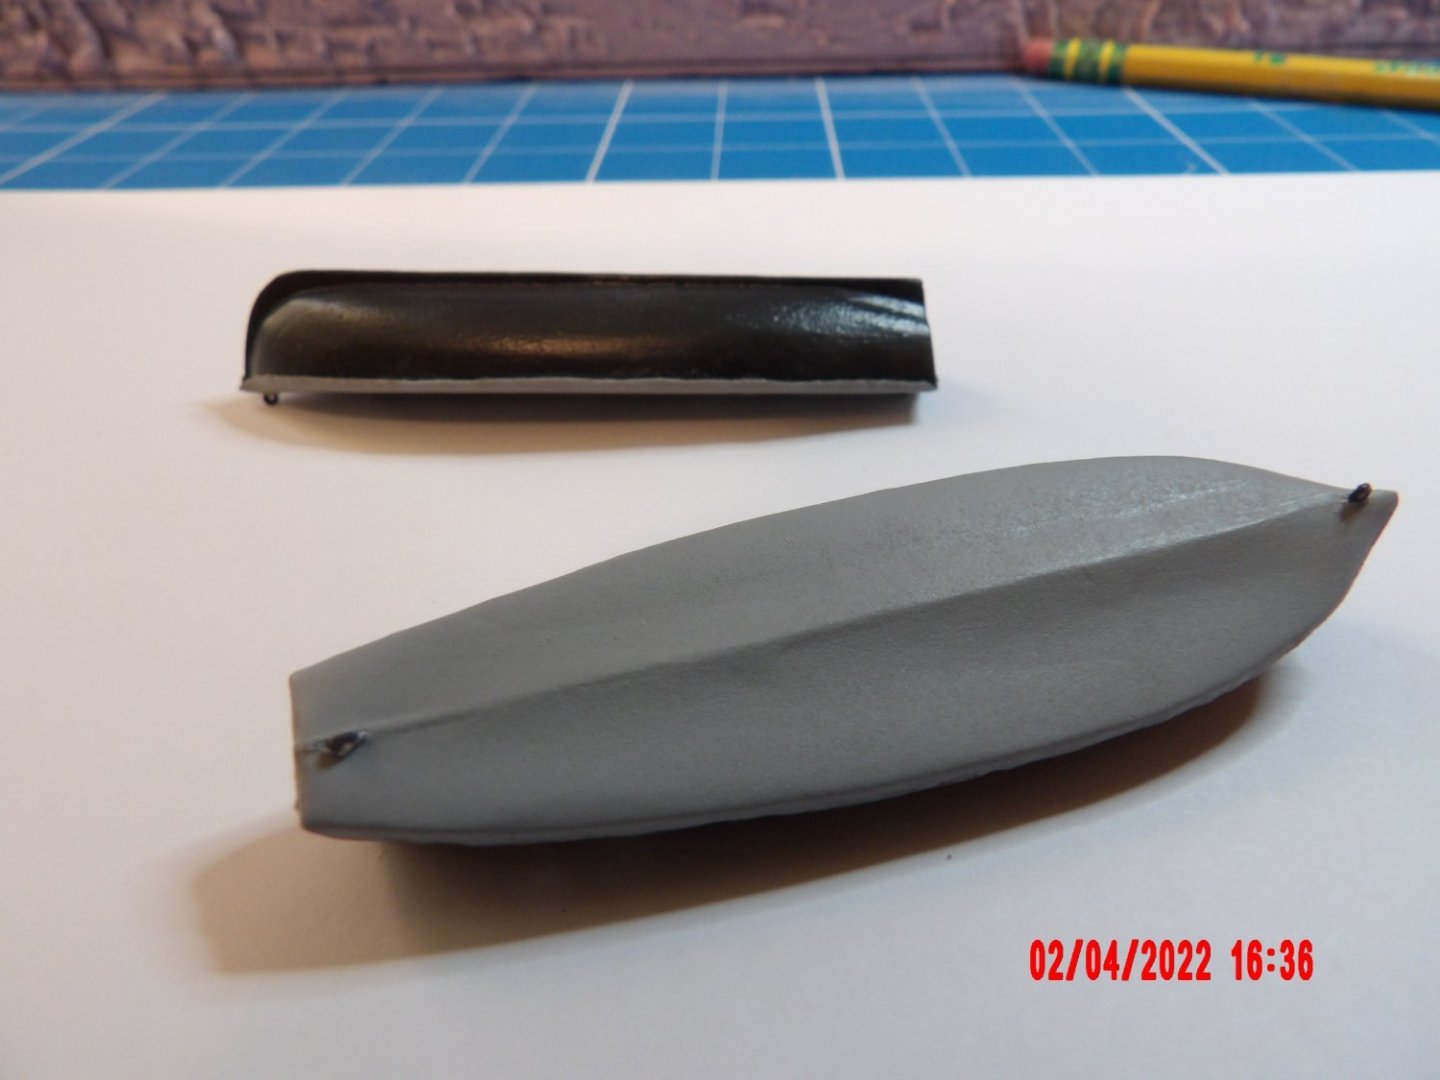
In yet another diversion, I started the ships' boats. Like the rounded portion of the water closets, these are shaped from solid wood assemblies made by gluing strips together, then carved/sanded to finish. Fun! I like having these little side projects to do while sorting out larger issues. First one is not perfect, but will do.

- 146 replies
-
- 6
-
-
- Harriet Lane
- Model Shipways
- (and 1 more)
-
Gary, it looks like the HL parts list will be re-done, hopefully not based on my input alone, as I might not have caught everything. . . I fully expect to have to make additional parts request(s). As long as I'm not ignored or slow-tracked, I'm fine with that. I do not want to deter you from trying this kit. I would not say that planking the HL is more difficult than the lobster smack, and for myself I want to complete the series for the instructional value. This one has a little work with card stock, more complex shaping of wood, and more extensive rigging. It's hard for me to see past this kit right now, but I'm sure I will feel more confident in investing in something complex using something other than basswood as the predominate material.
- 146 replies
-
- 1
-
-
- Harriet Lane
- Model Shipways
- (and 1 more)
-
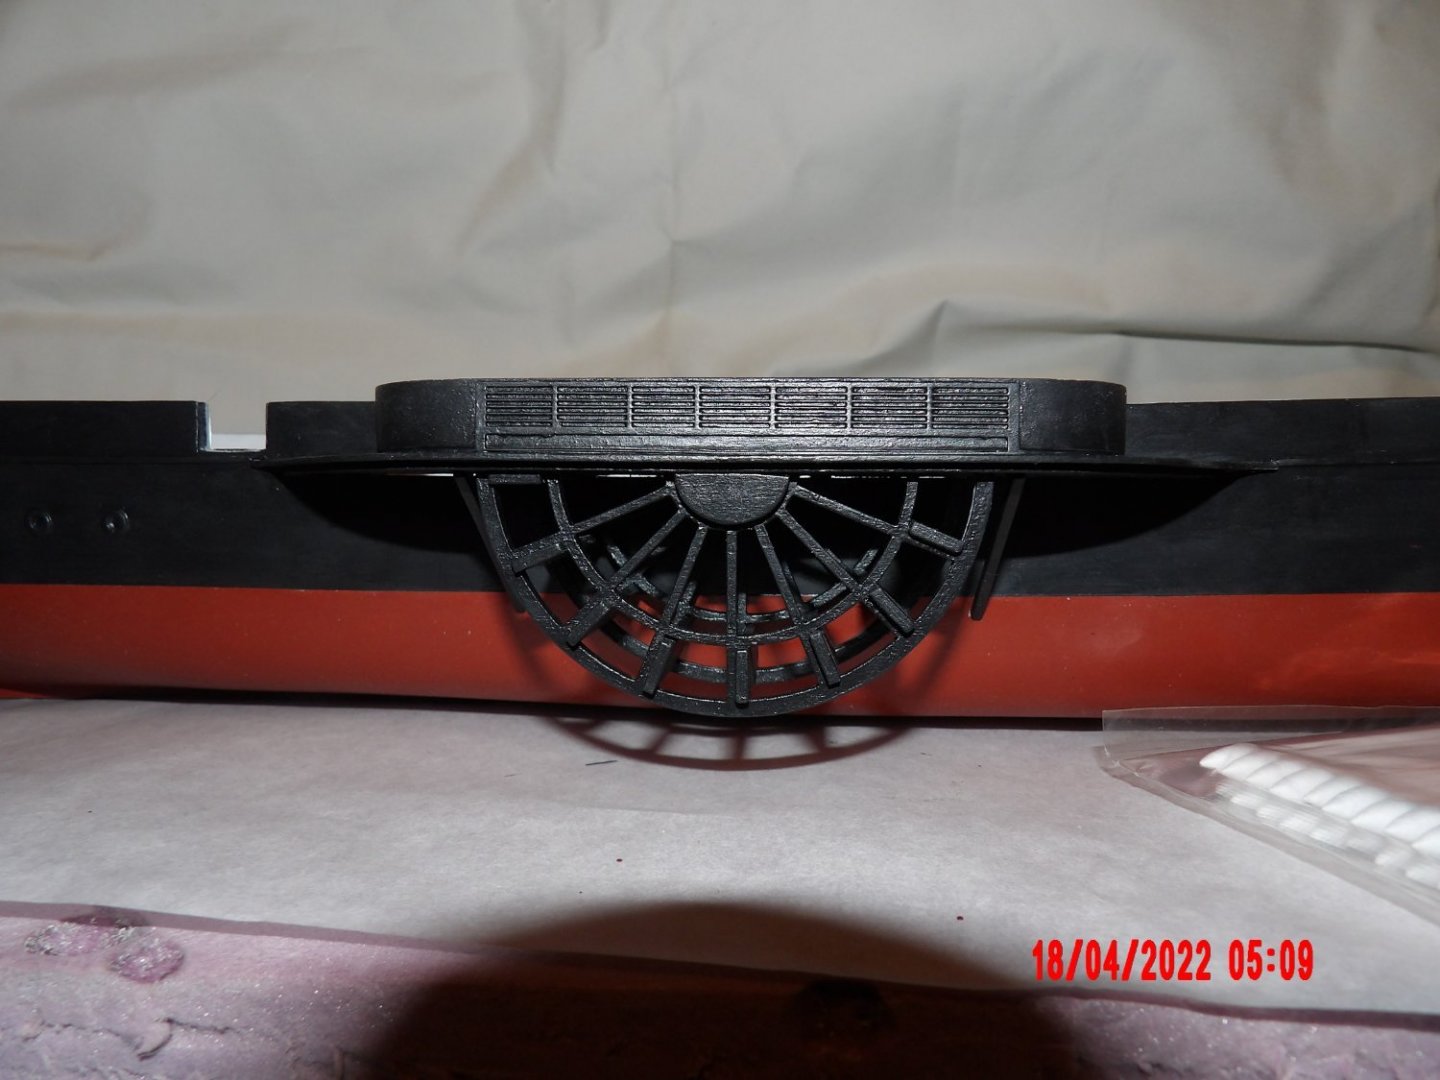
Thanks, Grant. I did kick this upstairs and got an almost immediate response from the ME President. Looks like I will get the missing parts soon, and that the parts list will be edited accordingly. Maybe ME's process will be improved also. I have only to add the hull rub rails and the hull will be ready for priming. I am also working on the lower portion of the paddle-box assemblies. Although probably not necessary, I lightly broke all the edges of the rims and spokes- it does feel better in the hand, although the work may not show when painted. When ready, I will prime the hull and paddle-boxes at the same time.

- 146 replies
-
- 8
-
-
- Harriet Lane
- Model Shipways
- (and 1 more)
-
I cut the gun ports out and added the stops to the openings. A 12 inch-long strip was supplied for the stops, which was not enough, but I found some leftover material from another model and used it to finish. Taking a razor saw to the model was a little nerve-wracking, but got through it OK! Added the hawse hole metal and the port holes, which I flattened as suggested. I decided a while ago to request the inner keel strips from ME, which were supplied in the thickness indicated in the parts list, which differed from the thickness given in the instruction manual. I used some other material which I had, but after all I did not get what I had paid for. I took care to describe the discrepancy, and received an email from the parts dept. asking me to use the proper form, which I had never noticed, in the future. I took quite a while, but eventually I was mailed the incorrect parts. Fortunately the parts can be used in another area where the kit was short on material. During this time I found that the outer keel material, also used in other places, was not on the parts list at all. I used some walnut left over from the riverboat model, but decided that it was time to reconcile the manual with the parts list (I did my initial inventory using only the parts list) and found seven more instances of missing parts either not included in the parts list or not supplied in the correct quantities, etc. I used the correct Form. Parts emailed me asking if I was wanting to purchase these items. I said no, and wrote an expanded explanation with part and page numbers from the manual for each part. No response yet. Kit designer David A. does a good job of identifying optional features for which one might have to obtain material on ones own. I am quite clear that if the manual refers to a part with a specific model number, and that part is not optional, it should have been included in the parts list and material provided as part of the kit. It is my understanding that ME develops the parts list from the manual written by the designer. Sorry for my long-windedness. I find no fault with the kit design and am really enjoying building it. I chalk this all up to this being a new kit, and that there is a new parts dept. guy. . . I will buy the parts if I have to in order to finish the project, but. . . Update 4-23-22 Just wanted to take a moment to say that Model Expo has sent me the missing parts I had identified. In addition, they have initiated on their own a new mailing of additional parts missing, identified in-house. I must have missed them in my inventory. I have spent a great deal of time in cross-checking, but this is still relatively new to me. It has been a difficult road, but I am happy to say they have stepped up to the plate and are attempting to correct mistakes. All is forgiven (mostly).
- 146 replies
-
- 6
-
-
- Harriet Lane
- Model Shipways
- (and 1 more)
-
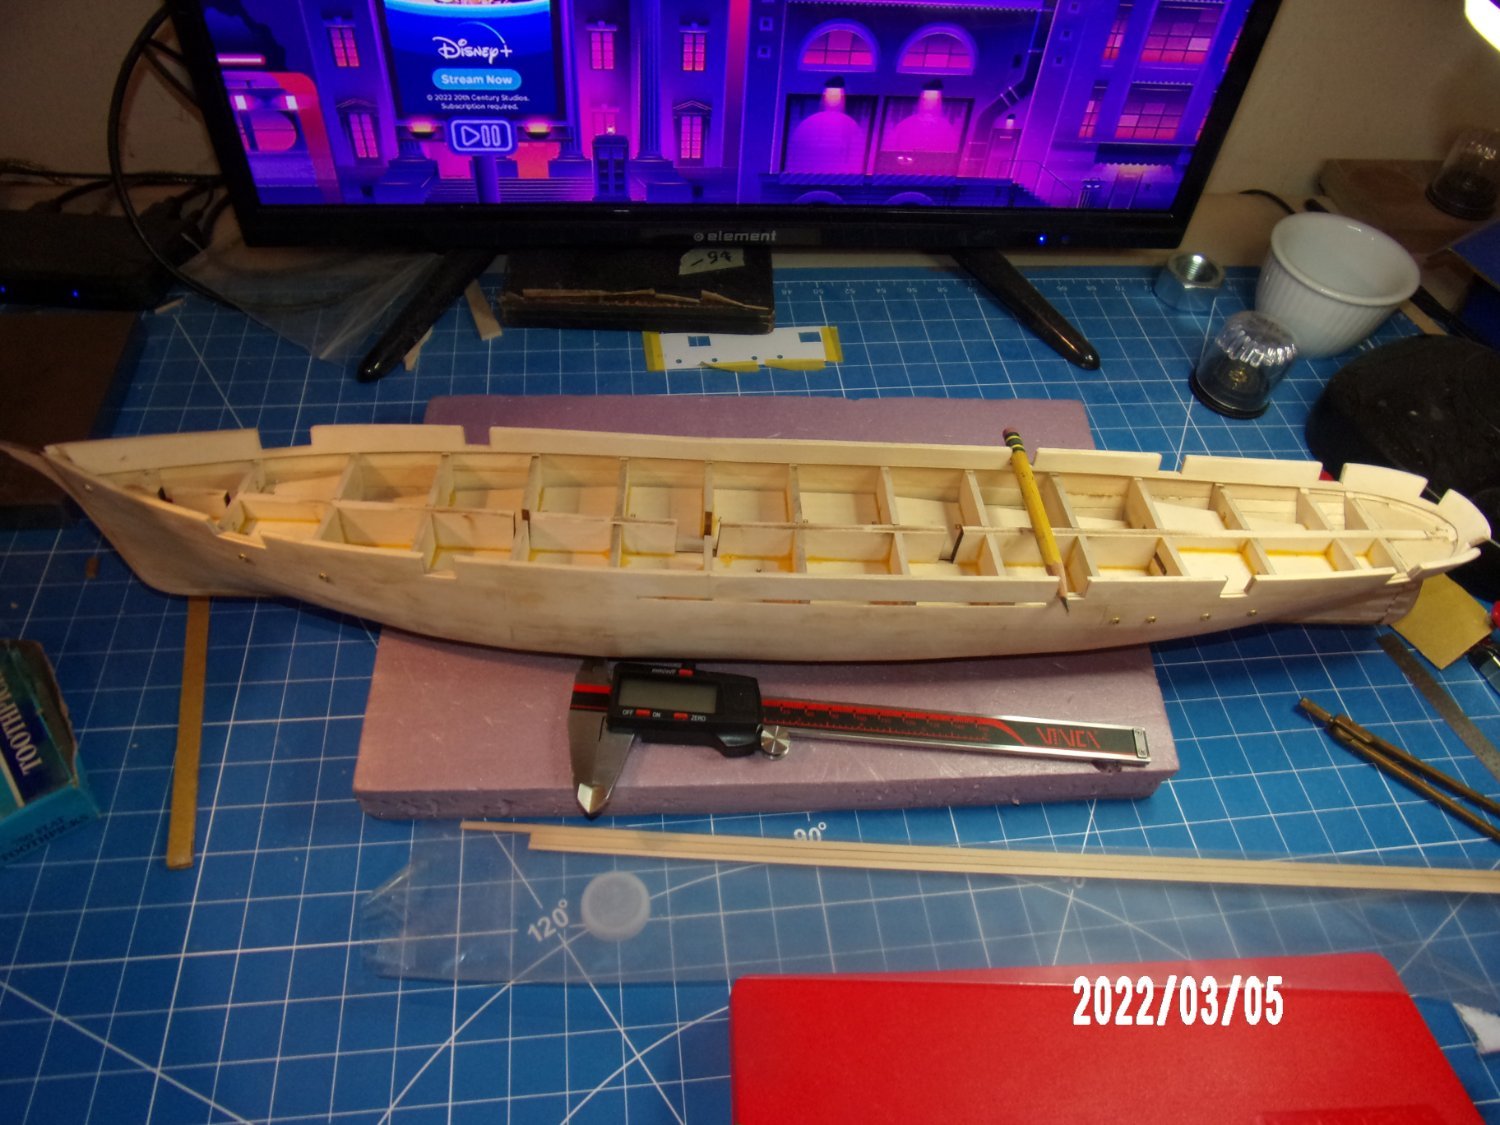
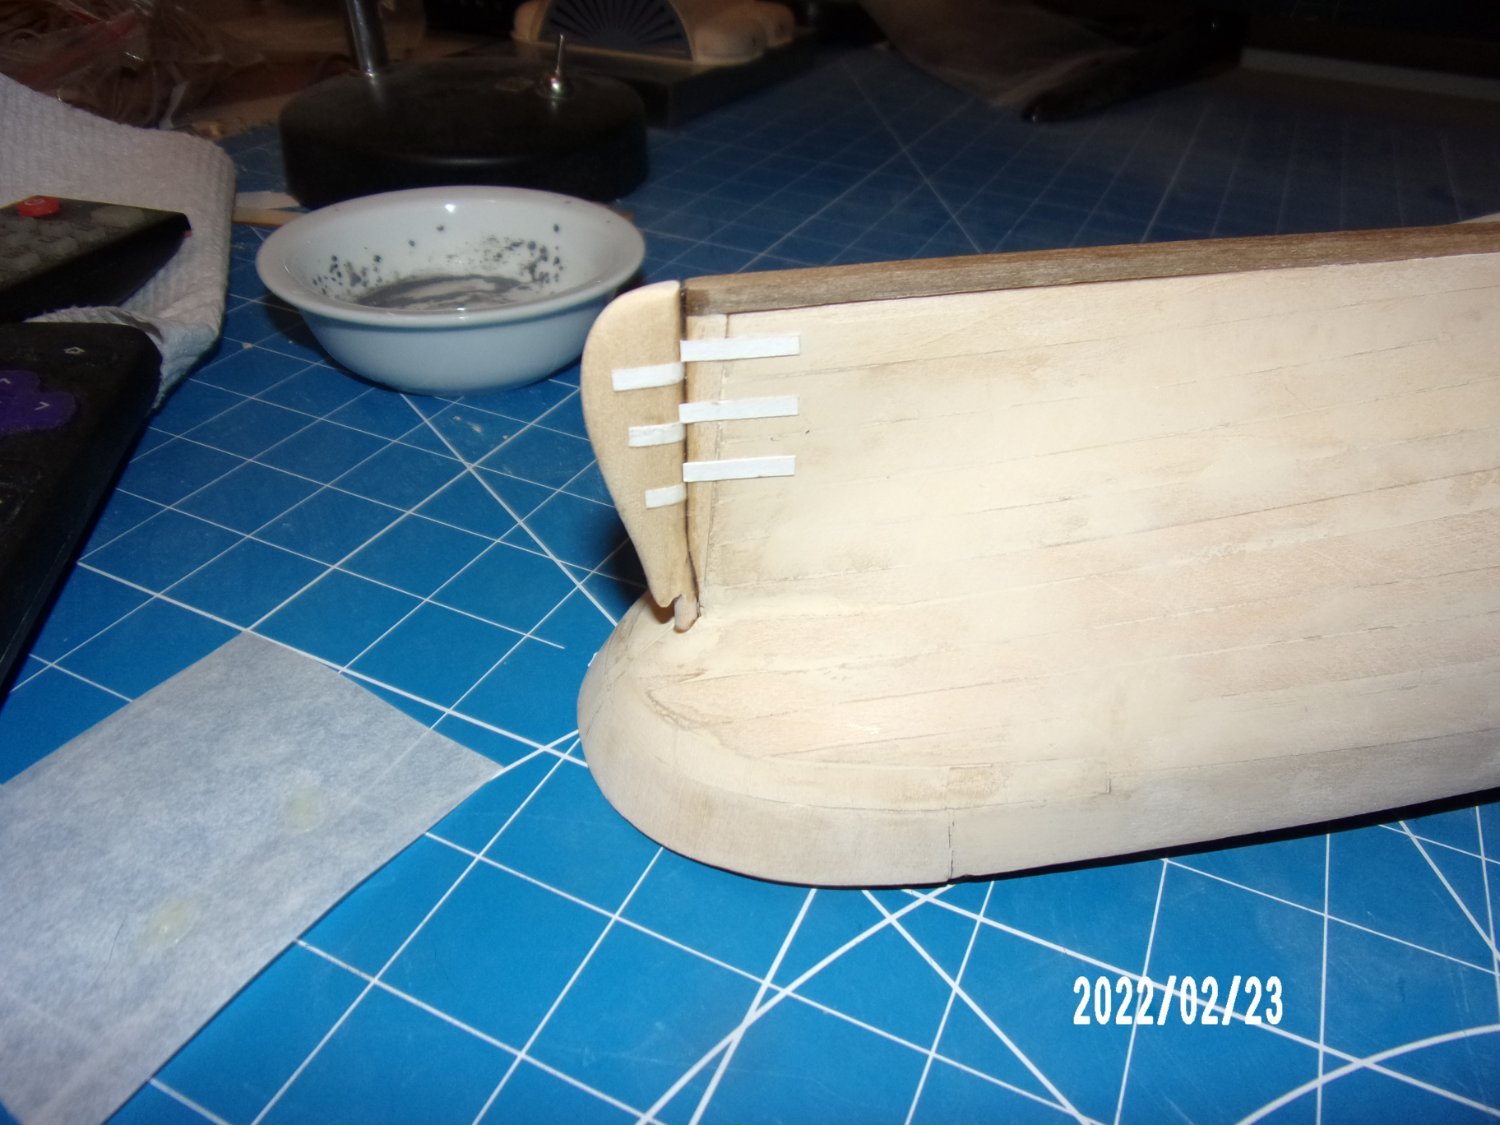
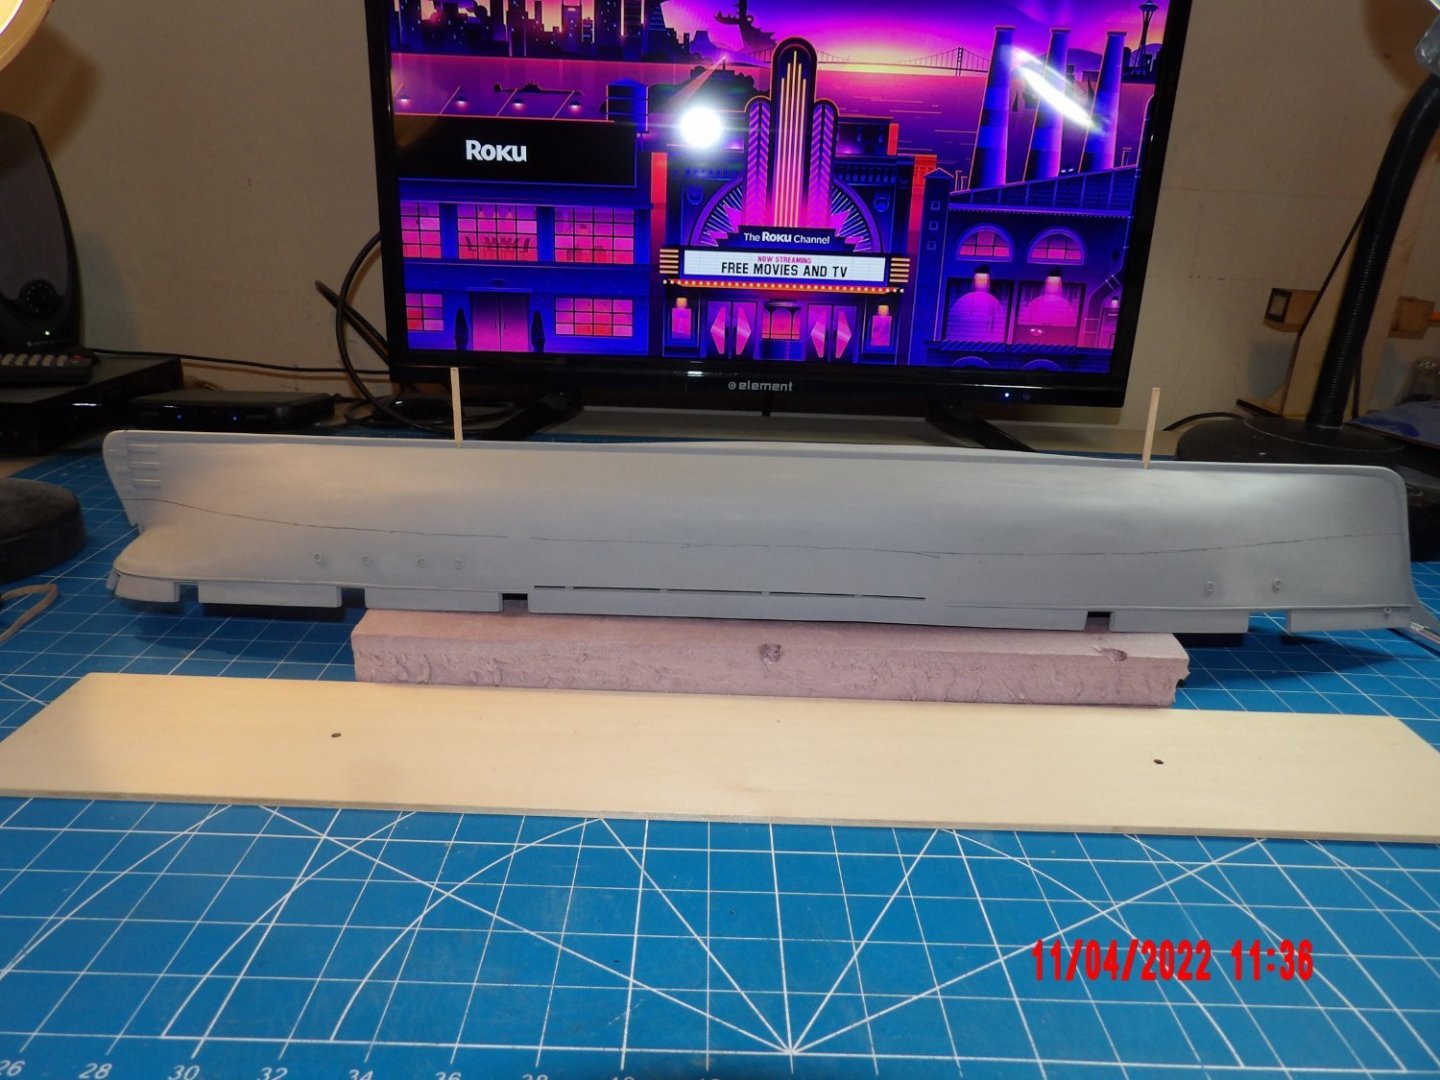
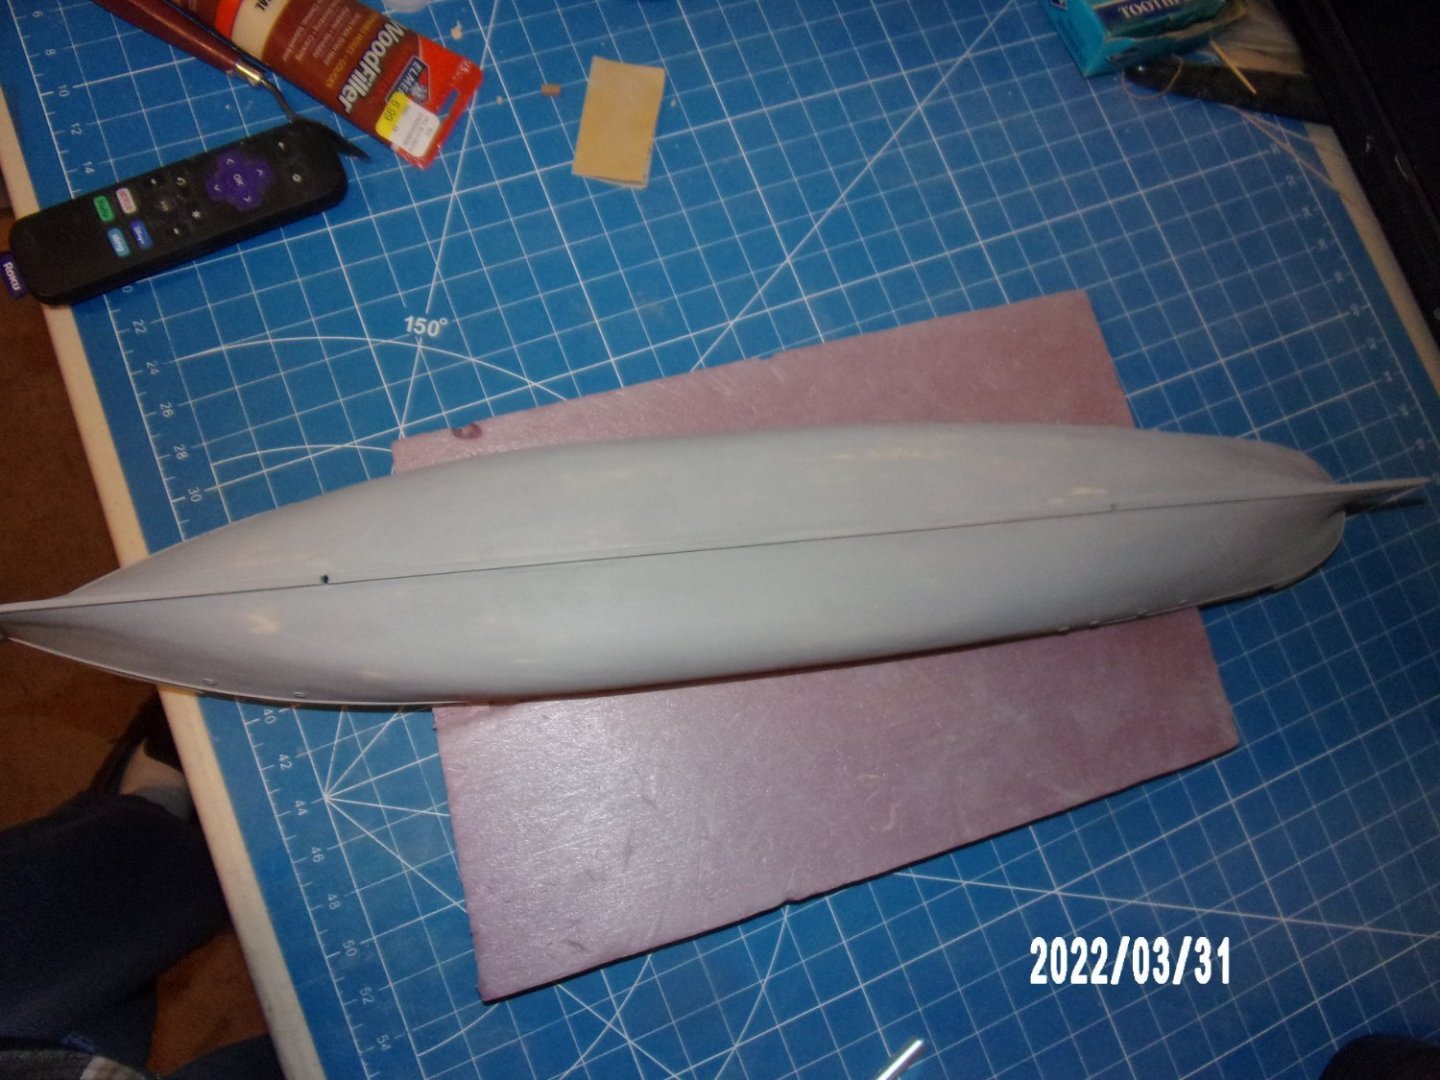
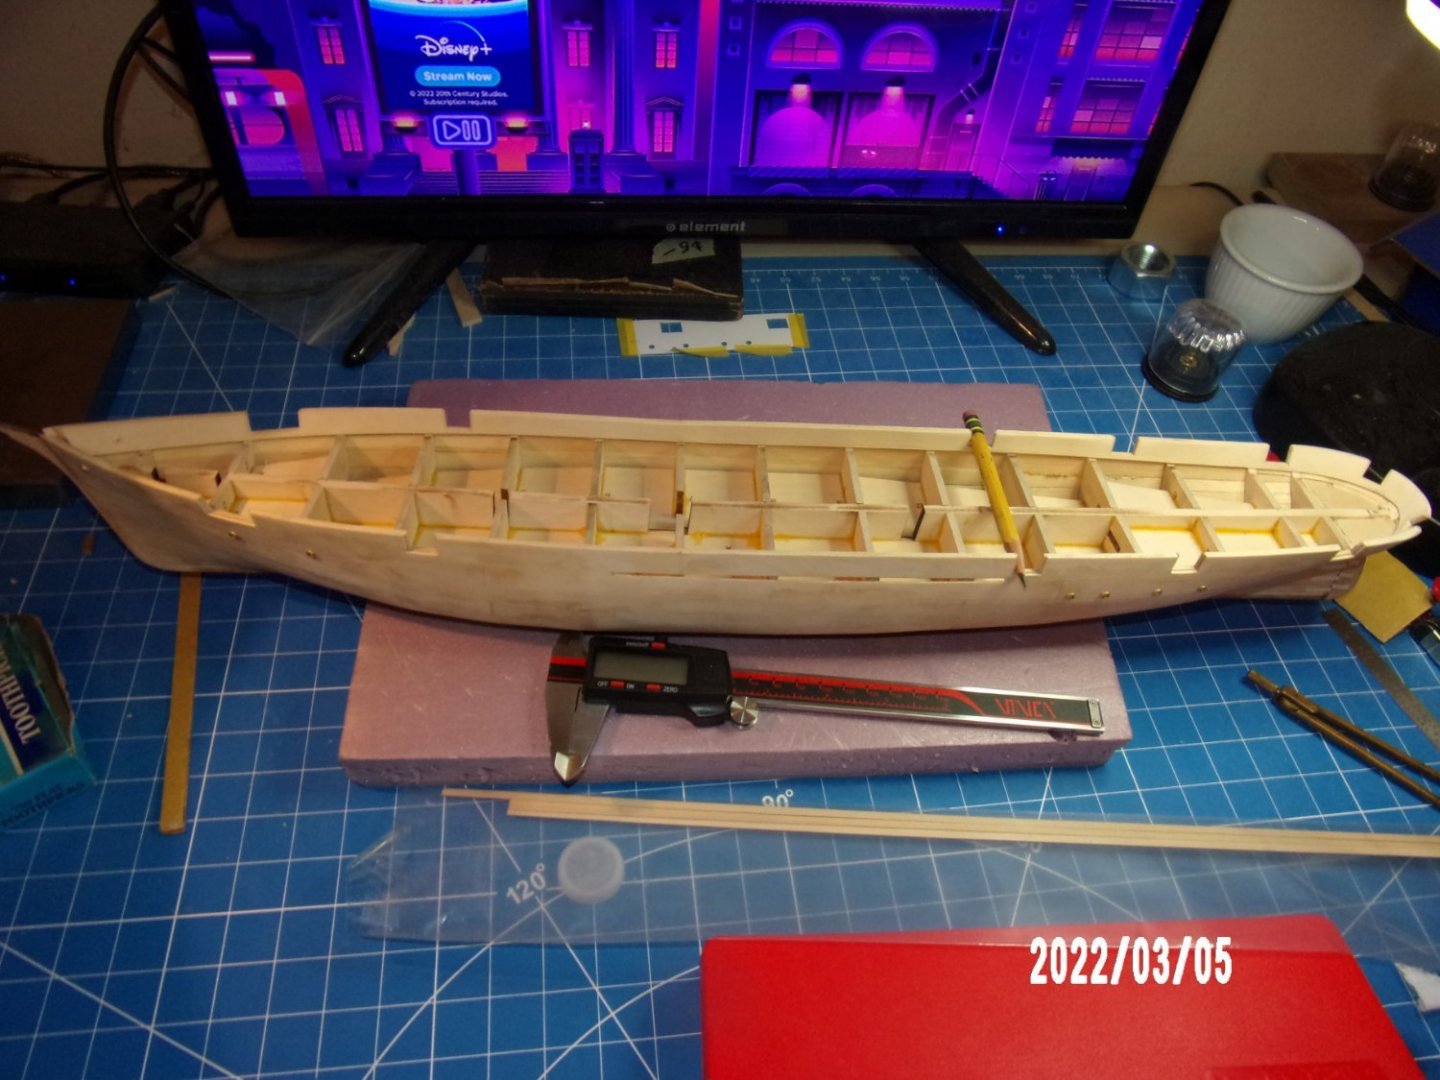
Added the keel, rudder and bow stem. The kit was missing the keel material, but once again, I had some walnut of the correct size. I had done a complete inventory, but used the parts list to do so, and there are some discrepancies between the manual and the parts list. Oh well. The hull is now very smooth after a round of filling with Elmer's and more sanding. I will wait to do more until after priming. Right now it looks like there will be very little additional work needed. Priming occurs later, after some more work on the interior.
- 146 replies
-
- 8
-
-
- Harriet Lane
- Model Shipways
- (and 1 more)
-
Thanks, David. Hoping the rest of it is on track. . .
- 146 replies
-
- 1
-
-
- Harriet Lane
- Model Shipways
- (and 1 more)
-
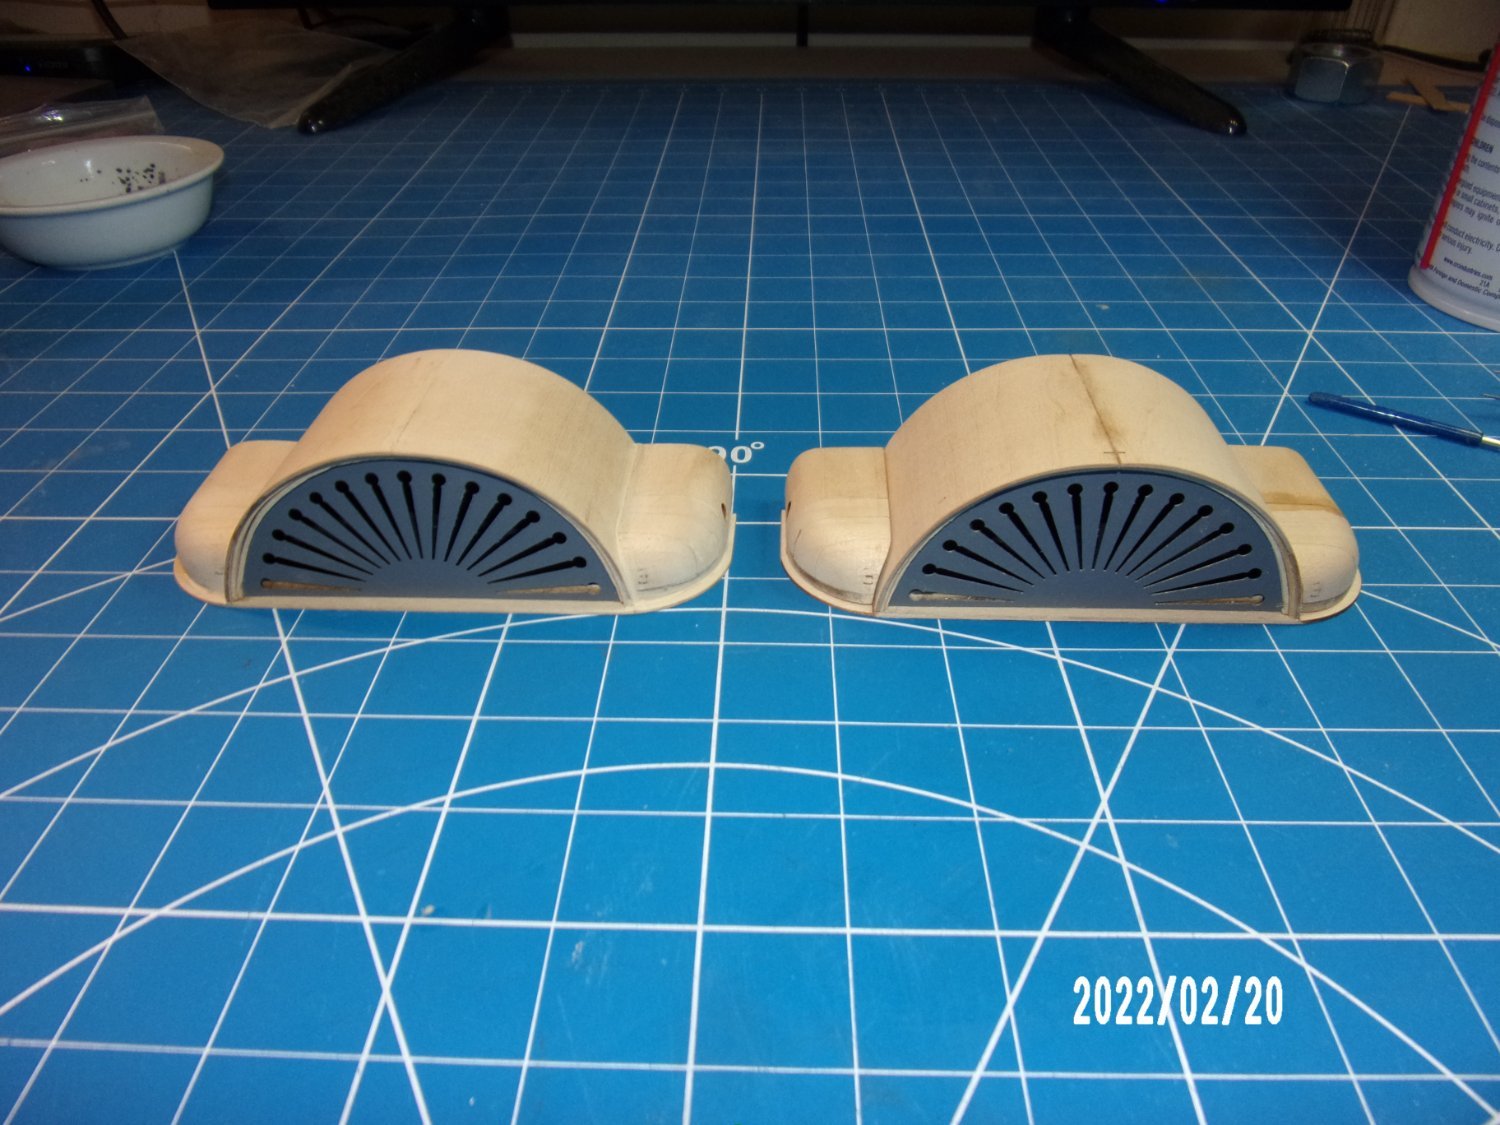
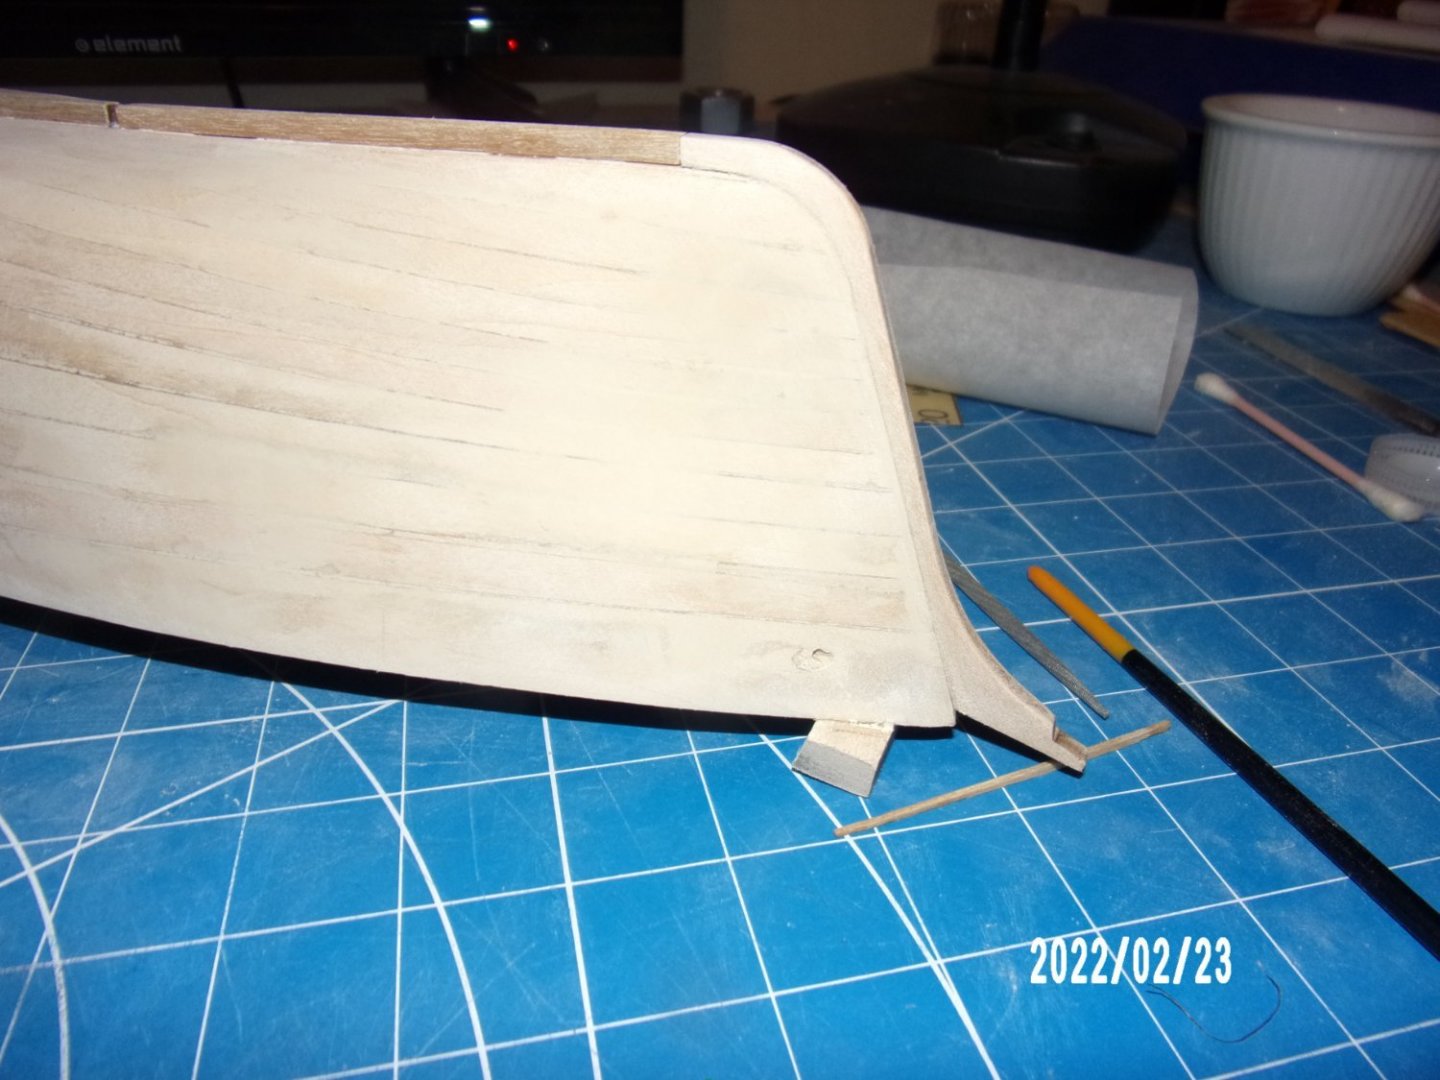
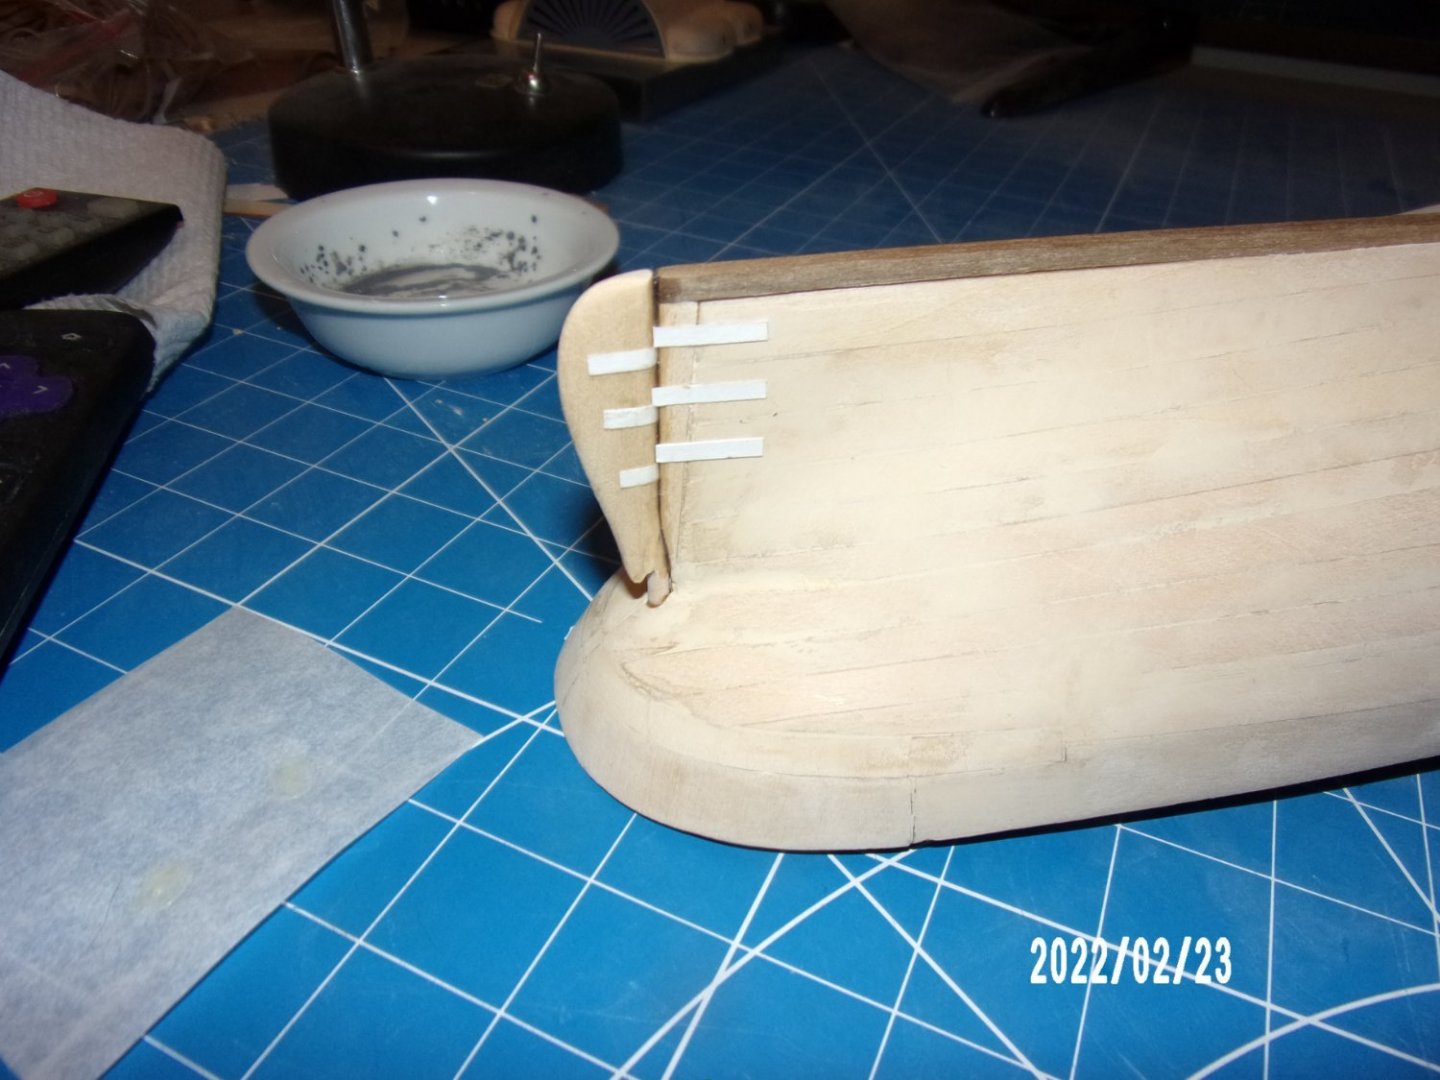
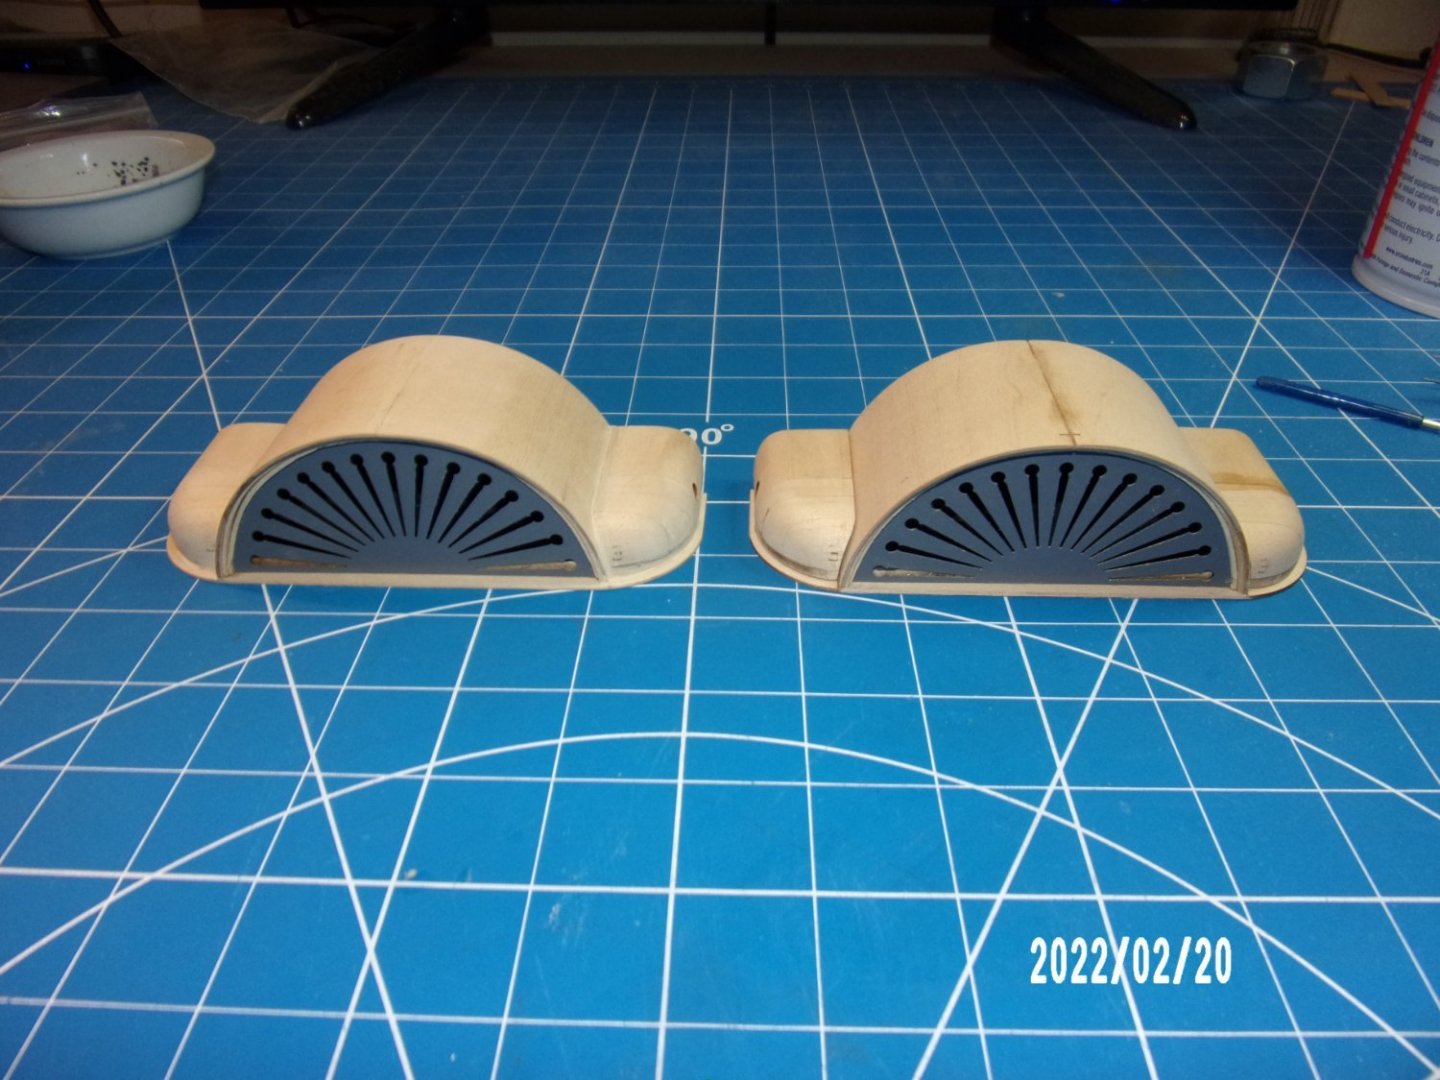
Thanks much, David. Working on the two upper wheel enclosures and water closets. Pictured is one filled and sanded and one awaiting filling (outboard view). Had a hard time getting it all to mate up. I was really uncertain of my ability to shape the water closets solid rounded outboard portions, but I think they turned out well, and I really enjoyed the process. I just hope the inboard area has some room for adjustment, as that is where the accumulated error shows most. . . but will wait until mounting to the hull and placing the inboard card bulkhead before making any adjustments. I used the rounded end of a flat toothpick to apply filler to the joints, and 220 grit sandpaper folded in half to sand the joints to a sharp angle, so as not to cut a groove. Did this slowly/gently under magnification and am happy with the results. I primed the PE grilles beforehand, as I did not want to spray the primer through the slots into the blackened interior- probably not necessary, but I was concerned. I will mask the PE prior to priming the rest of the assemblies.
- 146 replies
-
- 8
-
-
- Harriet Lane
- Model Shipways
- (and 1 more)