Glen McGuire
-
Posts
1,985 -
Joined
-
Last visited
Content Type
Profiles
Forums
Gallery
Events
Everything posted by Glen McGuire
-
 @BANYAN By the way, Pat, I have not ruled out your spear idea yet. I will revisit when I get further along with the Kraken head.
 -
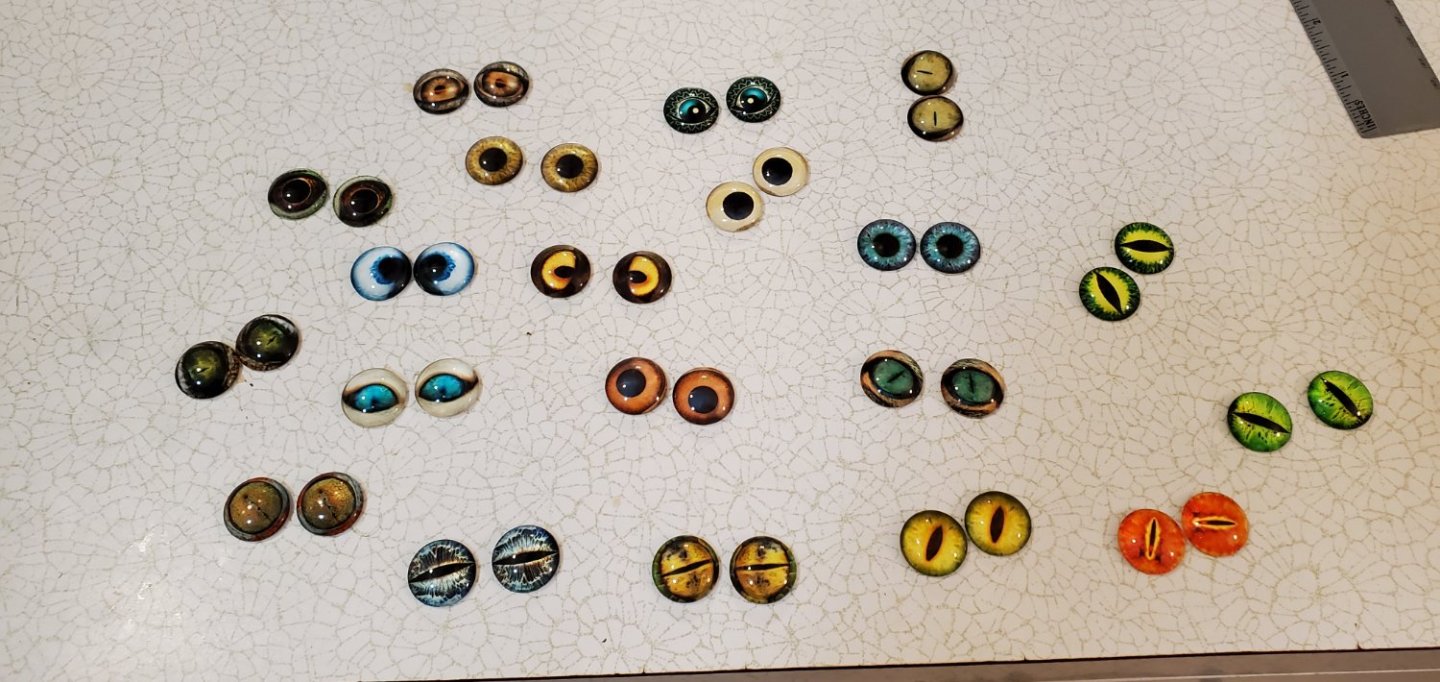
Hey Ian, I got 20 pairs of 20mm eyes to choose from off Amazon for $7. I have not decided on the exact pair yet. Waiting to see what the whole beast looks like after painting to decide which eyes will look best. The nightmares are every night, Gary! As far as this being the strangest build log on MSW right now, that's probably the highest compliment I've ever received!! 😃😃😃 On another note - seeing that you are also from Austin, how did your trees fare after the ice storm last month?

-
Thanks, Pat! But I think my sculpting career is going to start and end with this thing. I made the mistake of looking at it for too long right before I was going to bed last night and decided the tentacles were not oriented properly. So I broke them off and spent a couple of hours repositioning them, smudging stuff in all the cracks, and smoothing things out. Ugh! The more I work with clay, the more I like wood!
-
Beautiful work on your Avos, Przemek. Welcome to MSW!!
-
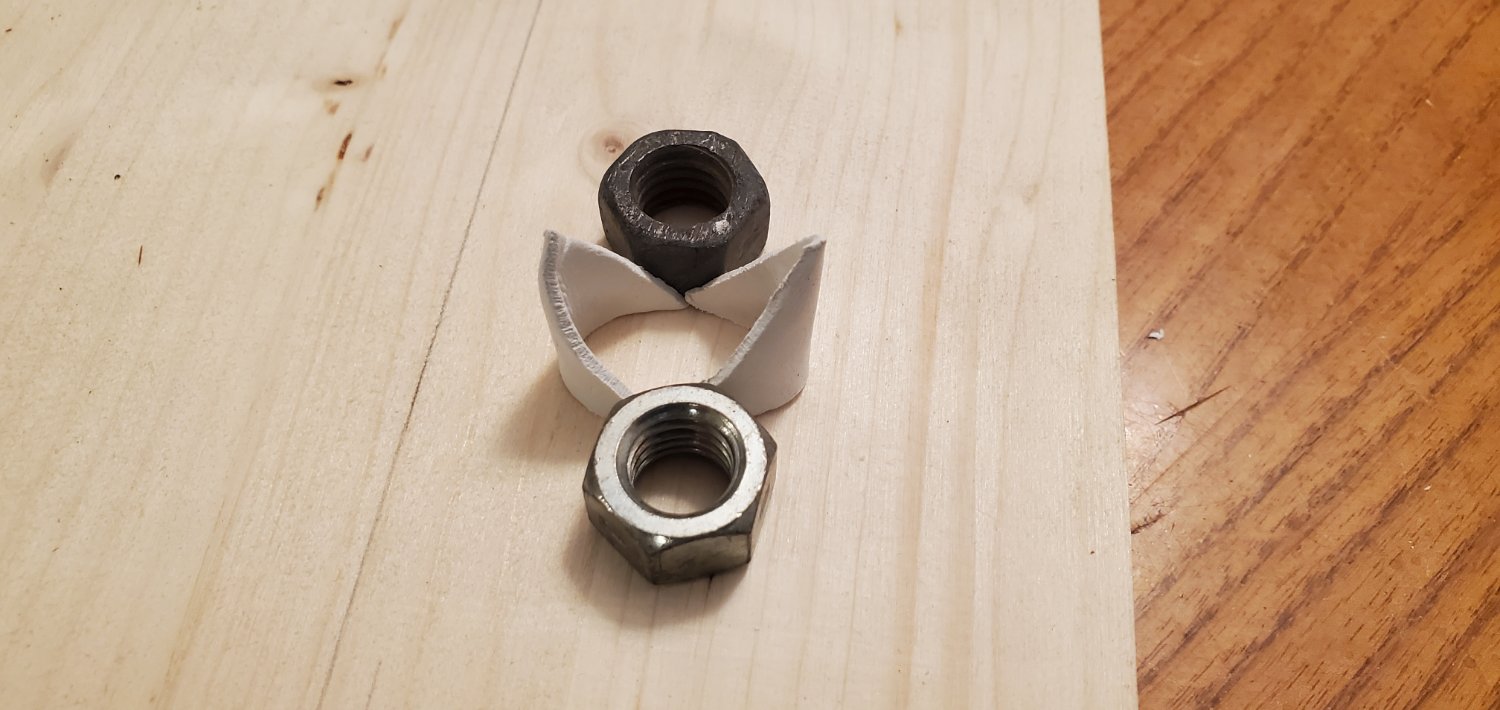
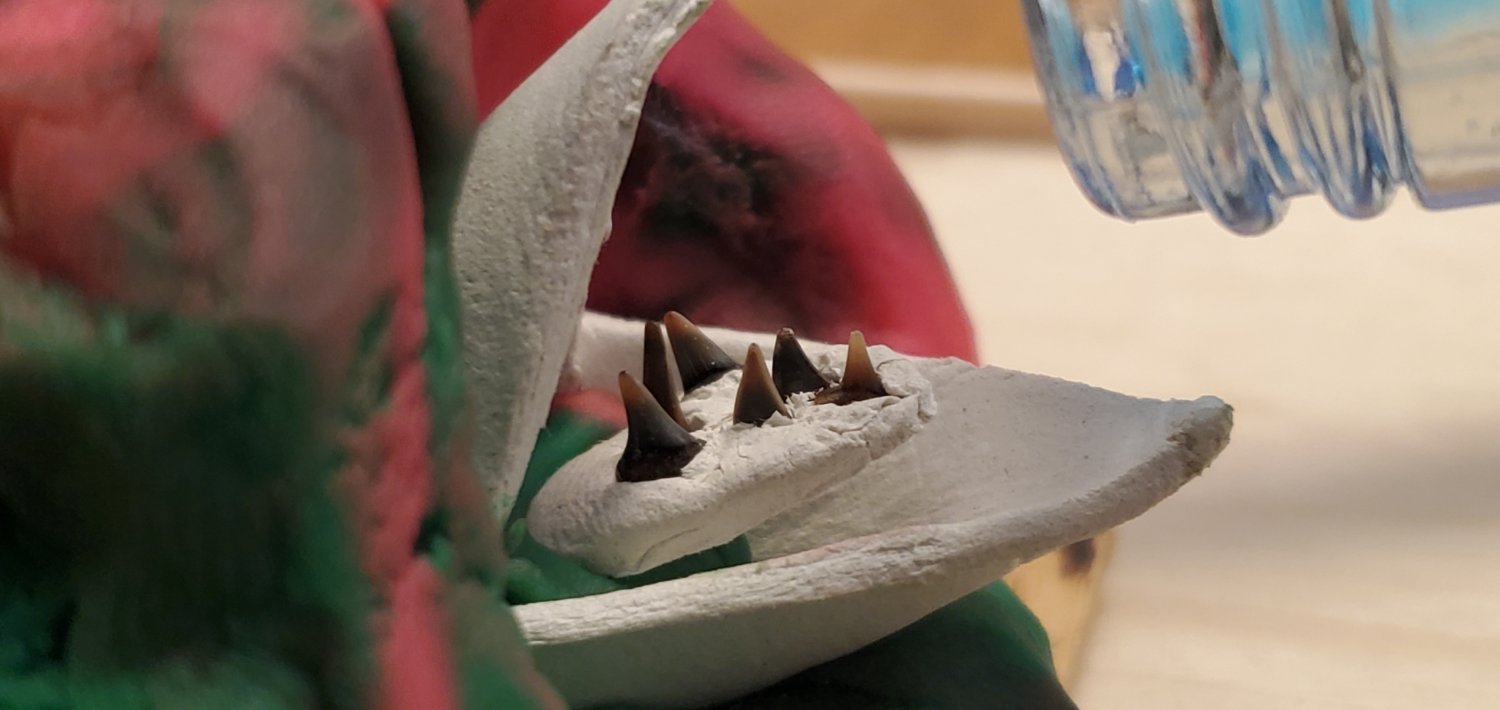
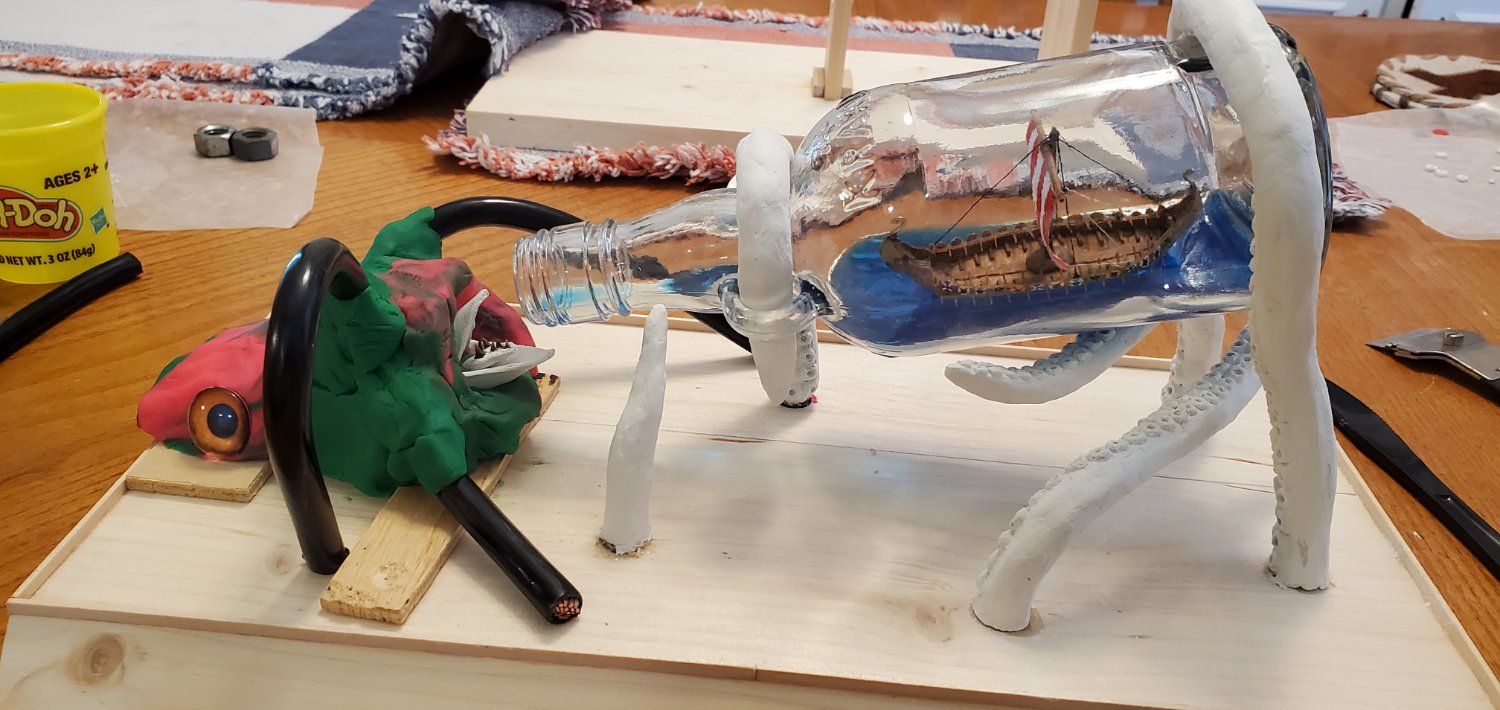
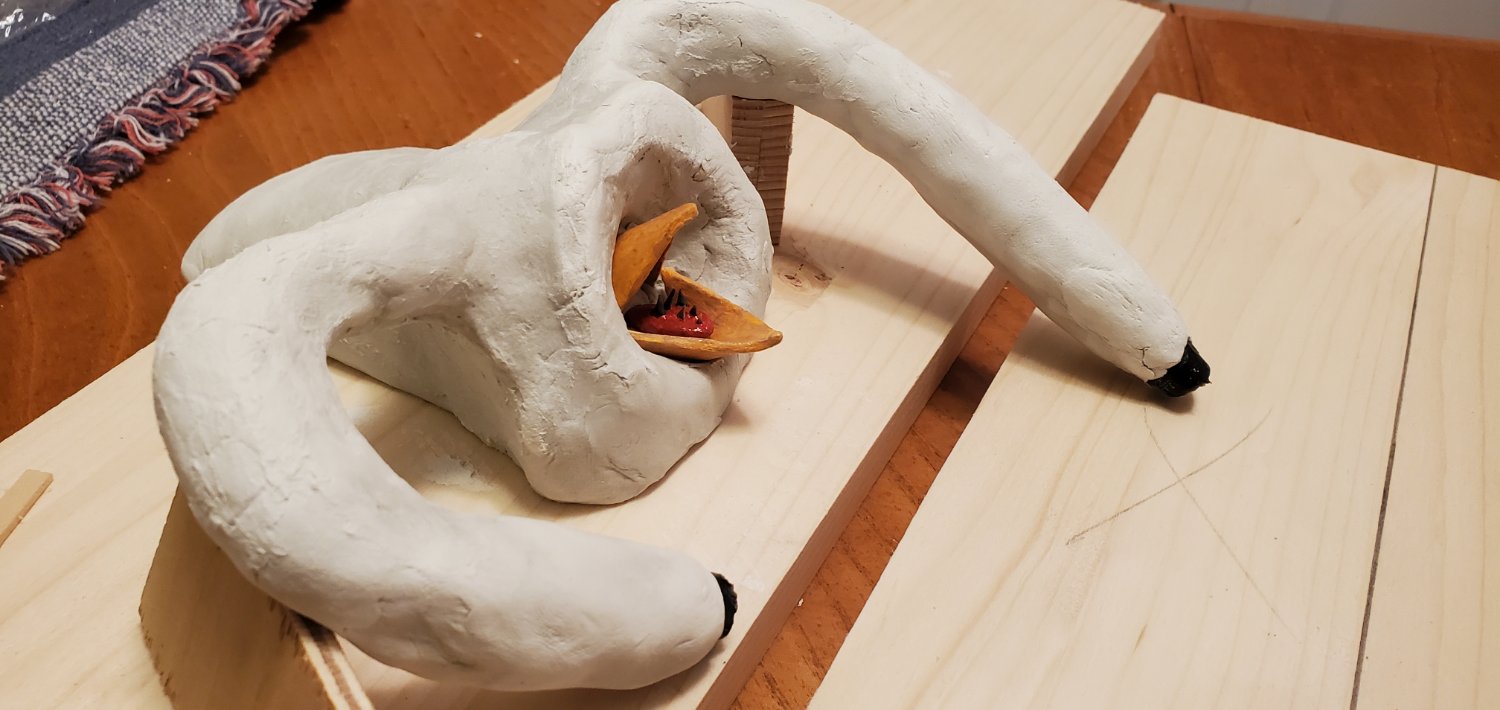
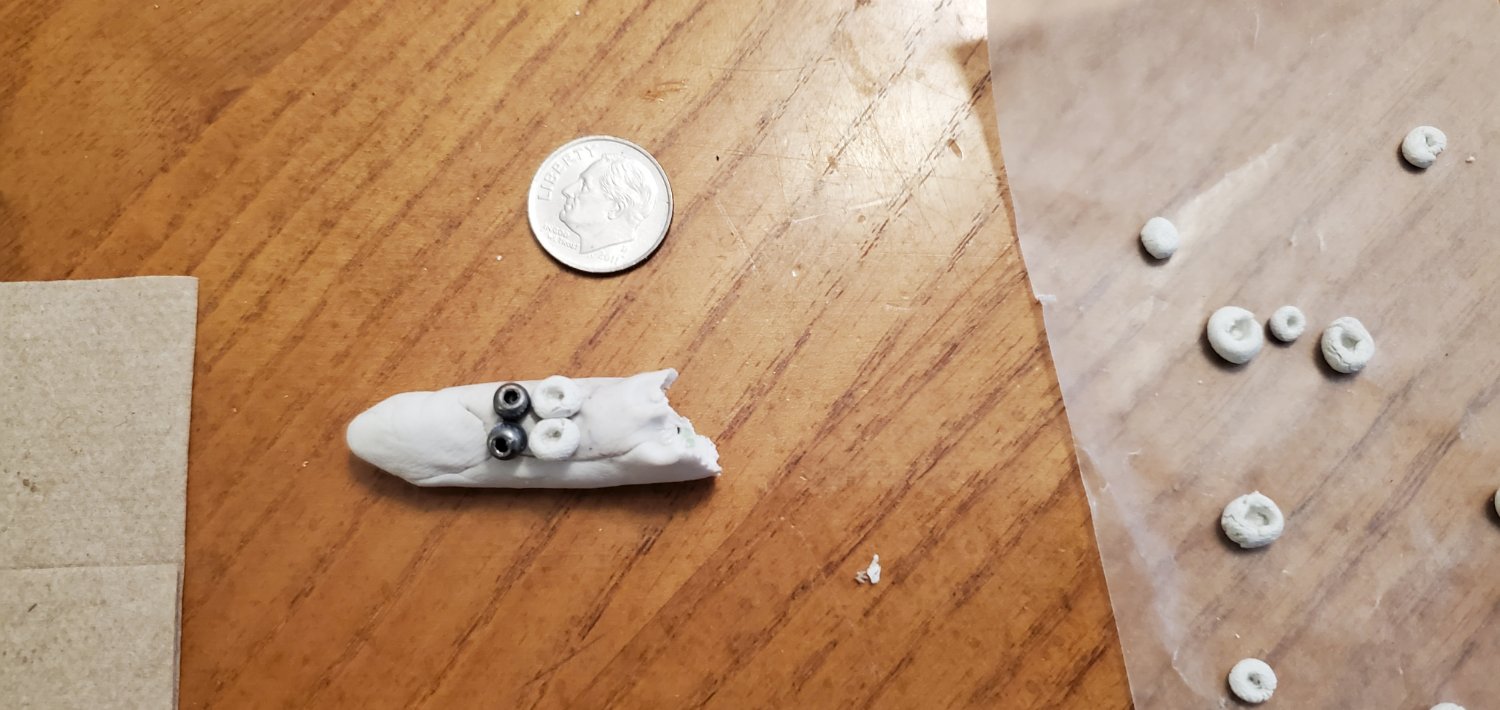
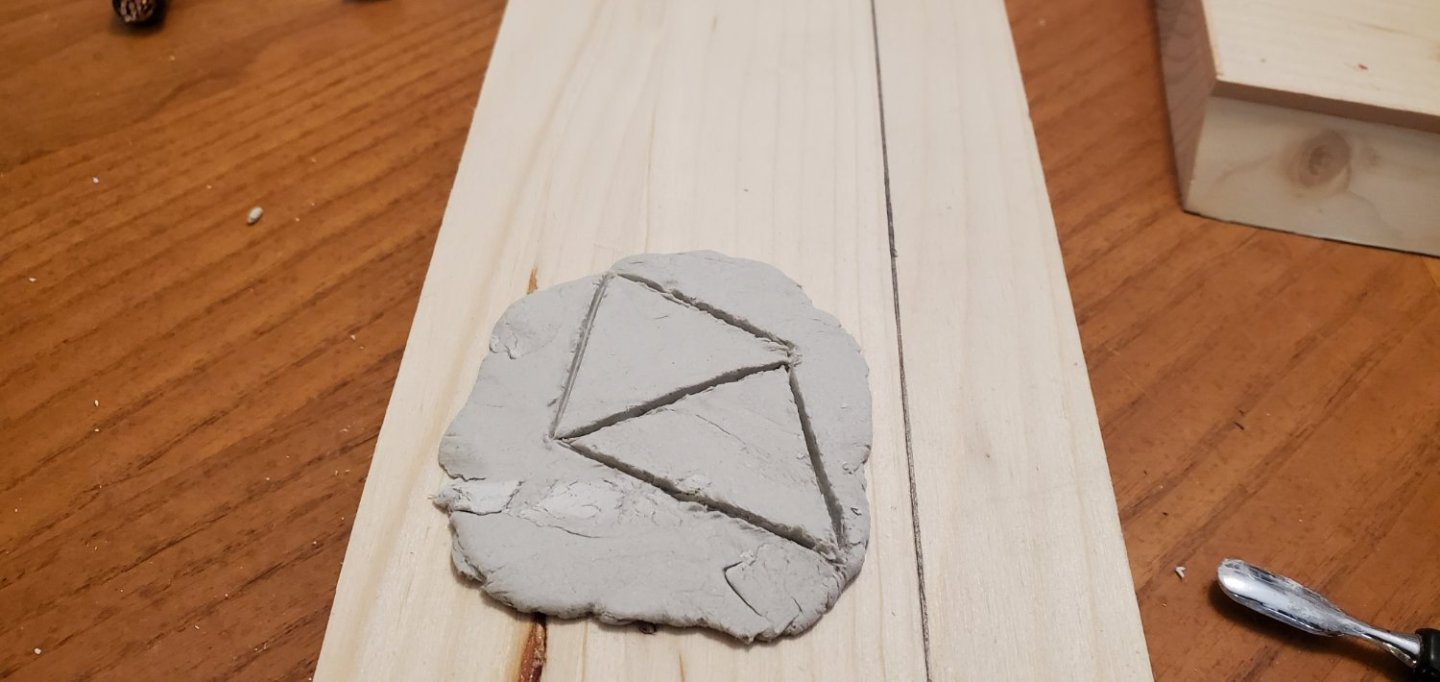
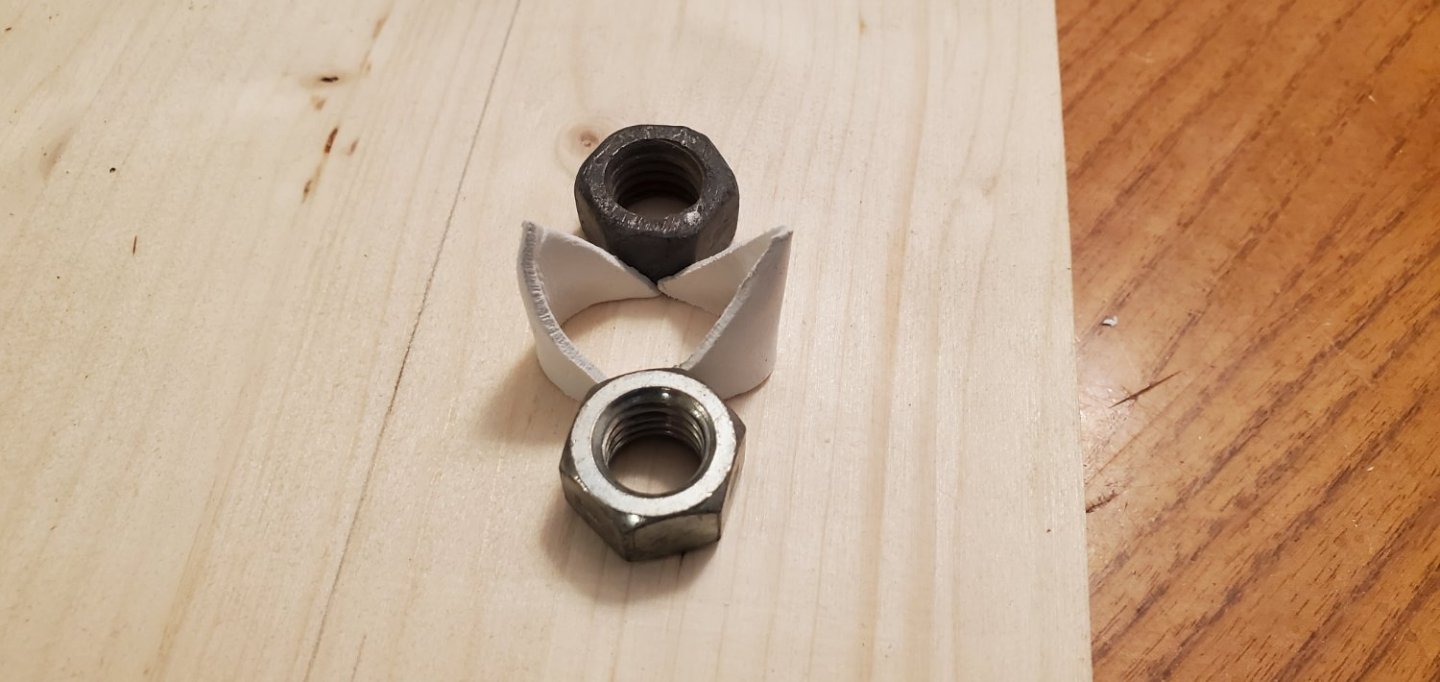
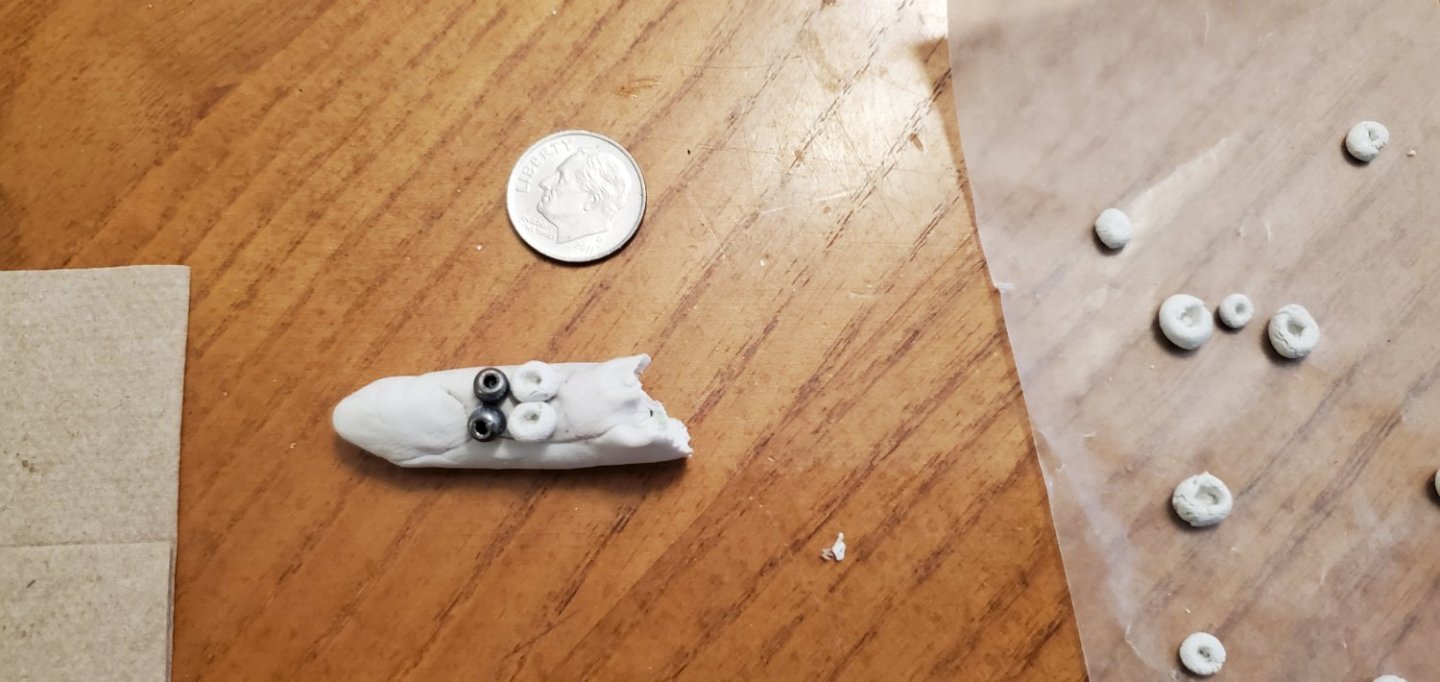
The crux of this project begins - making a reasonable looking Kraken head and mouth surfacing just out of the water. I decided to start with the mouth. From Jules Verne's description in 20,000 Leagues Under the Sea, he described the mouth as such: "The monster’s mouth—a beak made of horn and shaped like that of a parrot—opened and closed vertically. Its tongue, also of horn substance and armed with several rows of sharp teeth, would flicker out from between these genuine shears." For the "beak", I cut a couple of triangles from a thin layer of clay and folded the 2 ends toward each other to form the upper and lower halves. For the tongue, I was trying to figure out what to use for the "rows of sharp teeth" when an idea hit me. In 2015, my son and I took a vacation to the DC area and spent a couple of days driving down the southern coastline of Chesapeake Bay. We ended up spending most of a day swimming at a beach near the Calvert Cliffs. My son found dozens of these tiny shark teeth that had washed ashore. We found out later that these were prehistoric teeth and very common for that area. He had kept a bunch of the teeth and I thought they might be perfect for my Kraken. So I picked several of the smaller ones and stuck them in a clay tongue. Next, I decided to get a couple of cans of Play Doh to shape a rough Kraken head rather than wasting the more expensive modeling clay in case things totally bombed. I thought it was passable, so decided to forge ahead and start shaping the real thing. Here's where it is now. I will let it dry and then figure out what it needs to get to its final shape. Definitely some smoothing out. Maybe beef up the "shoulders' where the tentacles come out of the body. The 2 attached tentacles are not tapered at the ends as they will simply disappear into the water.


- 240 replies
-
- 14
-

-
I would not have notice the shingling boo-boo, unless you pointed it out. Too many other amazing details competing for my eyes' attention. And even if I had spotted it, I wouldn't have thought it was a mistake since it's uniform on both sides of the roof.
-
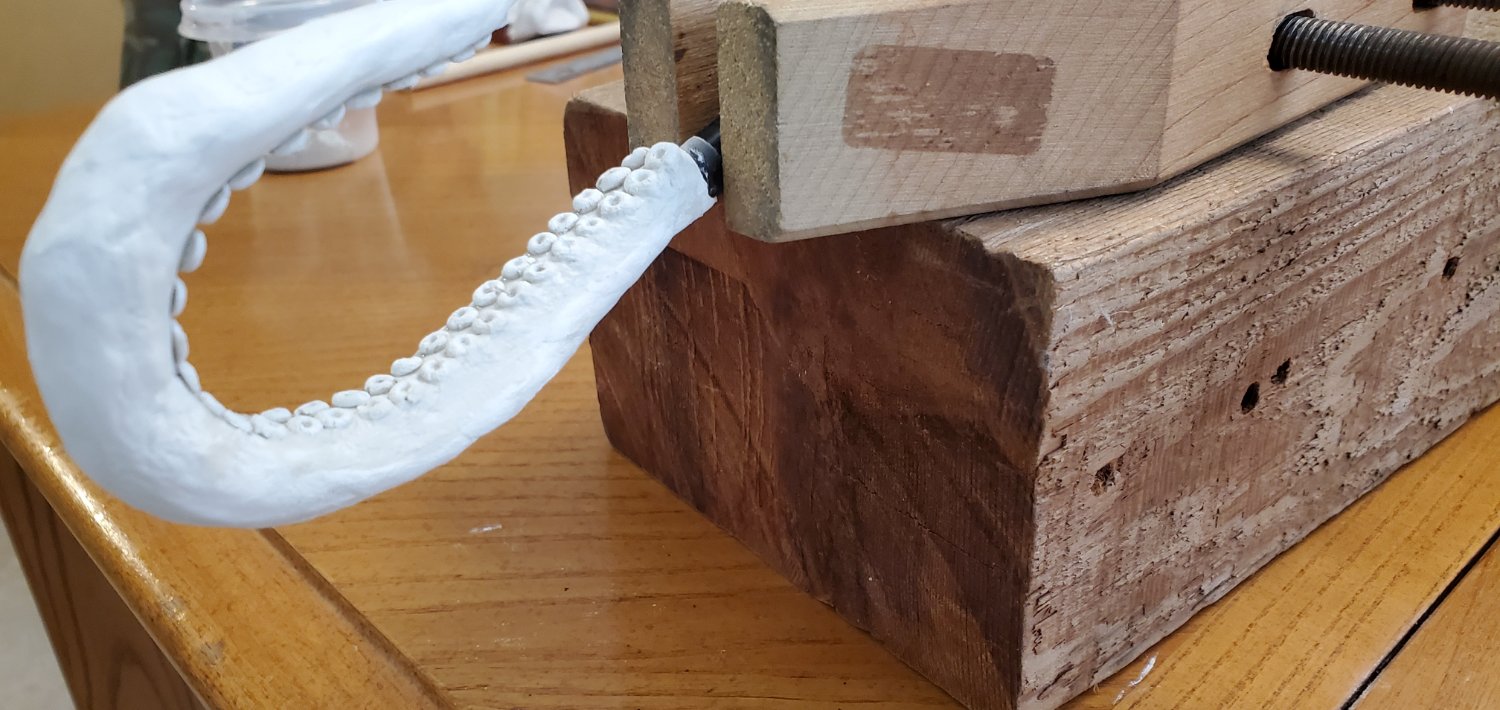
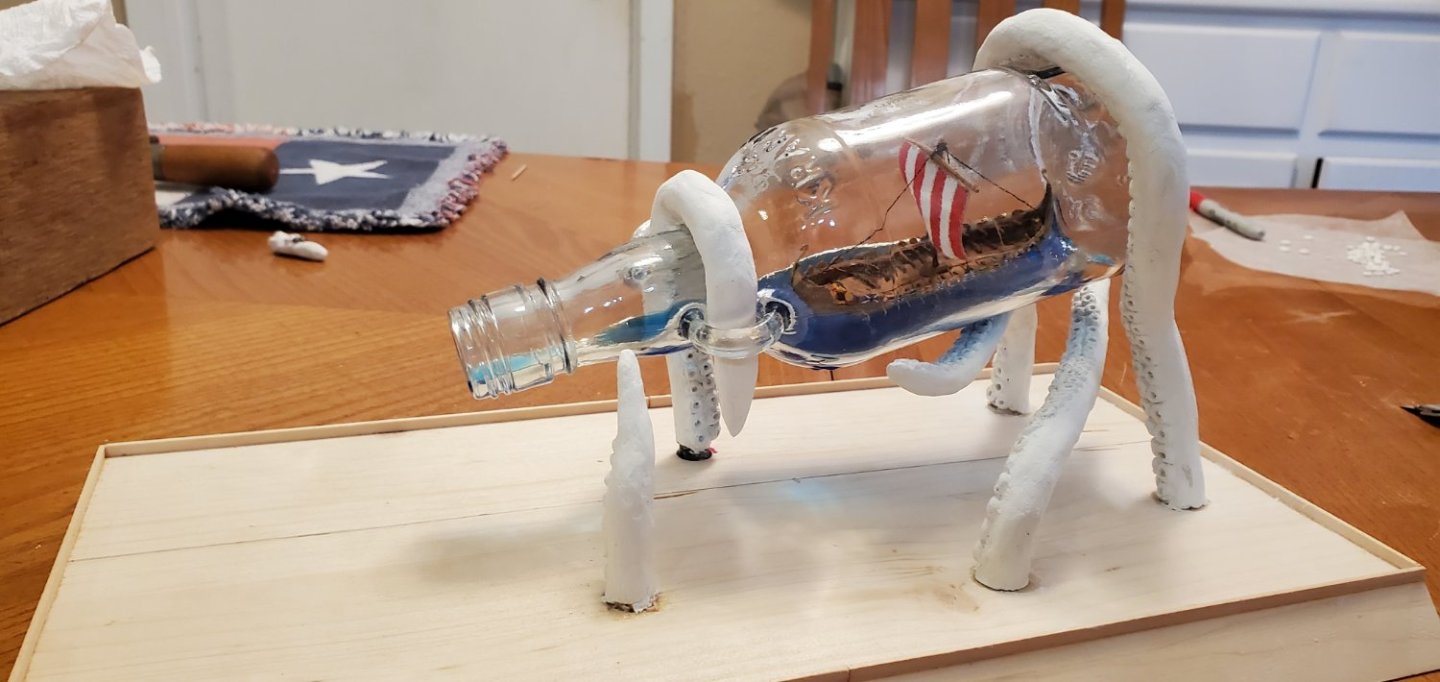
Thank you for the comments, particularly the ones that flatter my tentacles. Yes, tentacles. Whew! Thank you to @Keith Black for reminding me to run spell check! Speaking of tentacles, I added suckers to the longer ones sticking out of the base. But I was not quite satisfied. I thought the suckers looked glued on, rather than naturally extending from the body of the tentacles. So back to the Youtube videos where one showed how to fill in gaps and smooth transitions with what they called "slip". Interesting term, I thought. To make slip, you just add water to the clay till it becomes a paste. Then you just spread it on and let it dry. Sounds simple, but It took some experimentation to get just the right mixture. Surprisingly, the clay and water do not mix very easily. Hard to get the lumps out and get a good consistency. The first pic shows a tentacle right after I glued on the suckers. The 2nd shows what it looks like as I started adding the slip. The last pic shows all the tentacles cradling the bottle.


- 240 replies
-
- 15
-

-
-
How are you making the blocks and what are your shortcuts?
- 740 replies
-
- 2
-
-
- Tudor
- restoration
- (and 4 more)
-
This was a very interesting build to follow and the final result looks great. Well done, Robert!
-
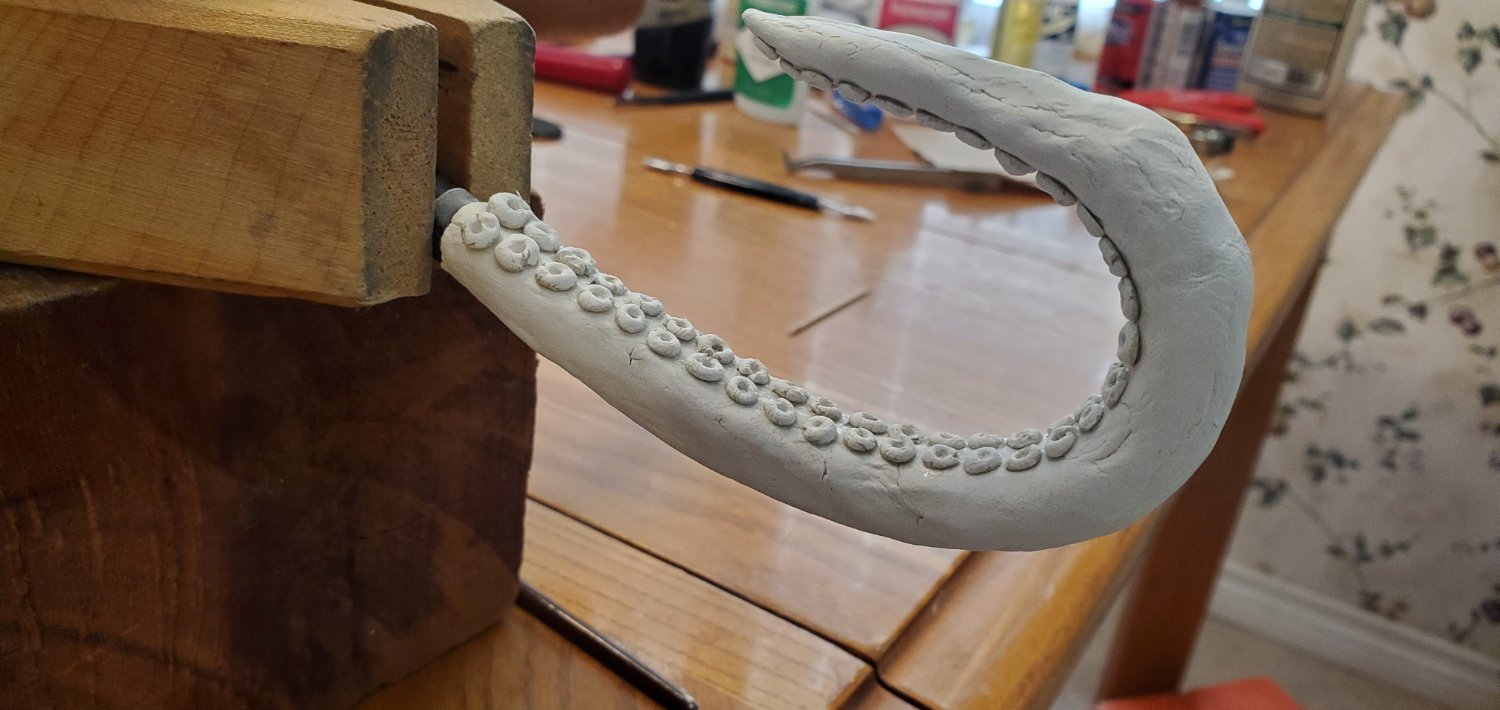
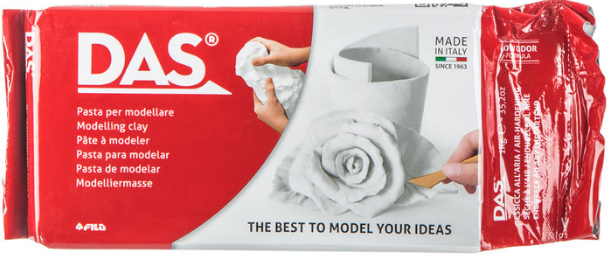
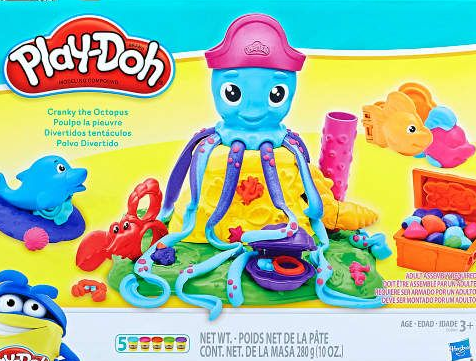
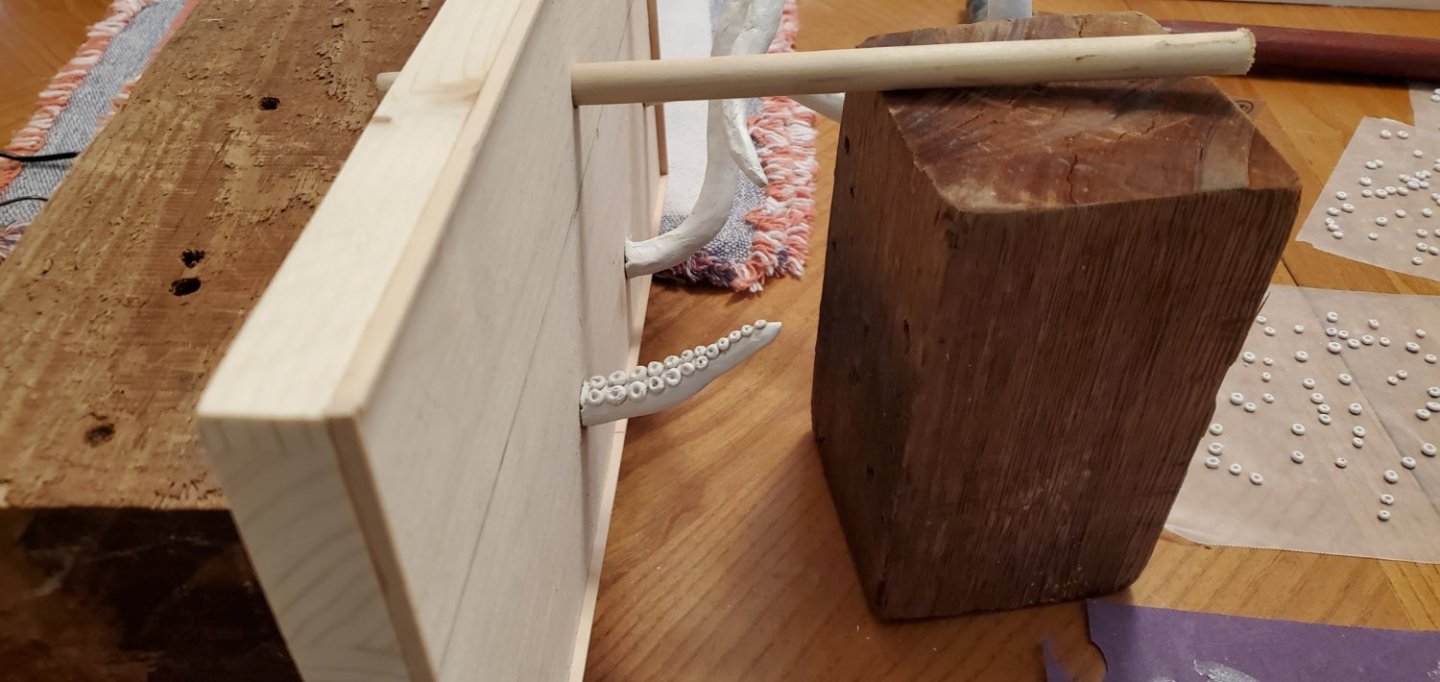
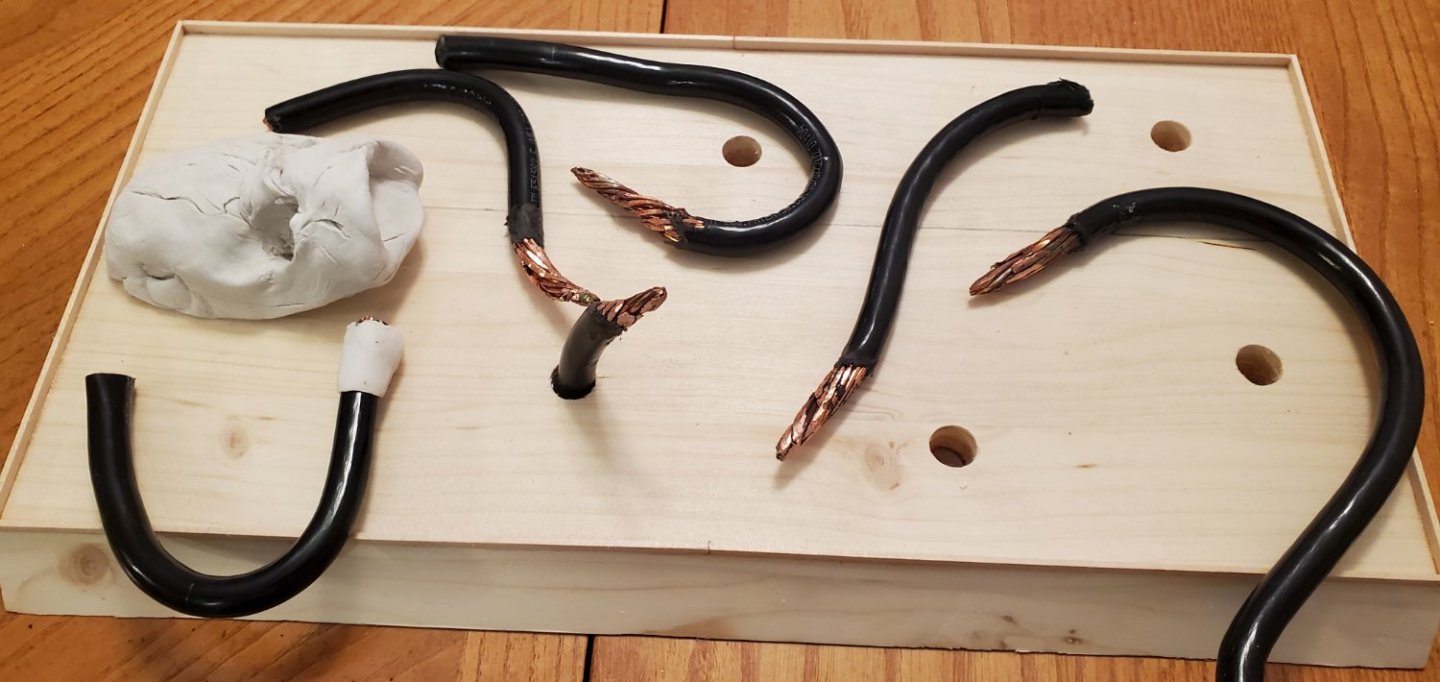
Time to try and bring this idea to life (or an untimely death!). I bought a 2 pound package of DAS air-dry modeling clay at Michael's, which is supposed to be good for beginners. Then a friend told me I was making this way too difficult. I should just go get a "Cranky the Octopus" Play-Doh set for this thing and be done with it!. Dang! Why didn't I think of that. But since I was so far down the road with my Youtube sculpting classes, etc, I decided to stick with the original plan. Here's the modeling clay I got. First step was adding a somewhat smooth layer of clay to the copper wire tentacles. I didn't smooth it out completely as I think variations and imperfections will make it look more realistic. Next was figuring out what to do with the suckers. First, I tried some beads, but I really did not like the way they looked. Too perfect. Too uniform. One of the Youtube tutorials I watched had a person making coral. They rolled the clay into little balls and made things that looked like suckers to me. So I tried that and I liked them better than the beads. Again, I wanted variation rather than uniformity. Here's a side-by-side. Once that decision was made, I spent a couple of hours rolling little clay balls of various sizes and indenting the centers. And here's what the shortest tentacle looks like with suckers added. I am using CA glue to attach them one at a time. Gonna be a long process!


- 240 replies
-
- 16
-

-
-
-
Welcome to the best place on the entire interweb!
-
As usual, Grant, you've got it figured out! These just arrived from Amazon ($7). Now it's just a matter of picking a pair! Probably let my color consultant friend decide.
-
Thanks for the comments and encouragement. I definitely need it for this part of the project! I have not made much actual progress in the past couple of weeks, as I've been trying out some various ideas (some good, some bad), and going to Youtube U for some clay sculpting lessons. But I think I've finally zeroed in on a plan, so I hope to get some real work done this week. Thanks, Ian. It did not occur to me to scuff the insulation up a bit. I had tested the clay on a small piece of the insulated wire before I saw your post and, surprisingly, it stuck quite well. However, I like your scuffing idea so I'm going to do that on the real ones. That's the first thing I tried to do on a practice tentacle. It looked ok, but I was worried about it cracking and/or breaking off. Yes - head and mouth and maybe eyes barely protruding out of the water. Of course that assumes I can sculpt something from the clay that does not look too ridiculous. A large assumption there! See pic below for very rough idea of what the head and mouth may (or may not) resemble! I repeat, it's a rough draft, so no laughing allowed! Yes to all of that, Steve! I stripped it as you said, then twirled the exposed end against the side of my bench grinder to taper the ends. A few wires got a bit unruly and had to be snipped, but overall I think the taper came out ok.
-
I know it's more work, but the sharp cone looks way better to me. It's going to be a prominent (but not dominate) feature of your presentation, so my opinion is that it would be well worth the extra effort. I also like where you positioned it in the drawing - close to the bottle for the more realistic look. I don't think you lose anything in the overall presentation by covering up more of the bottle's neck. Plus, like you said, the blade holes let light shine thru and give some visibility. My 2 cents anyway!
- 51 replies
-
- 3
-
-
- Sea Installer
- Bottle
- (and 1 more)
-
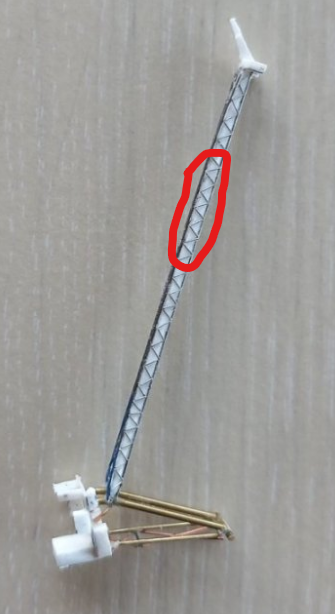
Looks fantastic! What did use for the lattice on the boom? Is that the 0.1mm copper wire?
- 51 replies
-
- 3
-
-
- Sea Installer
- Bottle
- (and 1 more)
-
Echo what everyone else says above - great to see you back at it, Mark!
- 505 replies
-
- 7
-
-
- vanguard models
- Sphinx
- (and 1 more)
-
Amazing job getting all those railroad ties in place with such uniform, even spacing. That had to be a lot harder than you make it seem!
-
Seriously??? OMG. That is unreal. And the worst timing. I hope everyone and everything is ok around you. As for the gap between the halves of the hull, I would not worry too much about that. Every single one of my bottle projects has flaws that I think are egregious at the time (including gaps like yours). But by the time I'm done, there's so much going on visually with the entire project, nobody ever notices them. Regardless, congratulations on getter her inside the bottle! Huge accomplishment! Fingers crossed that the small click you heard was something easily repaired.
-
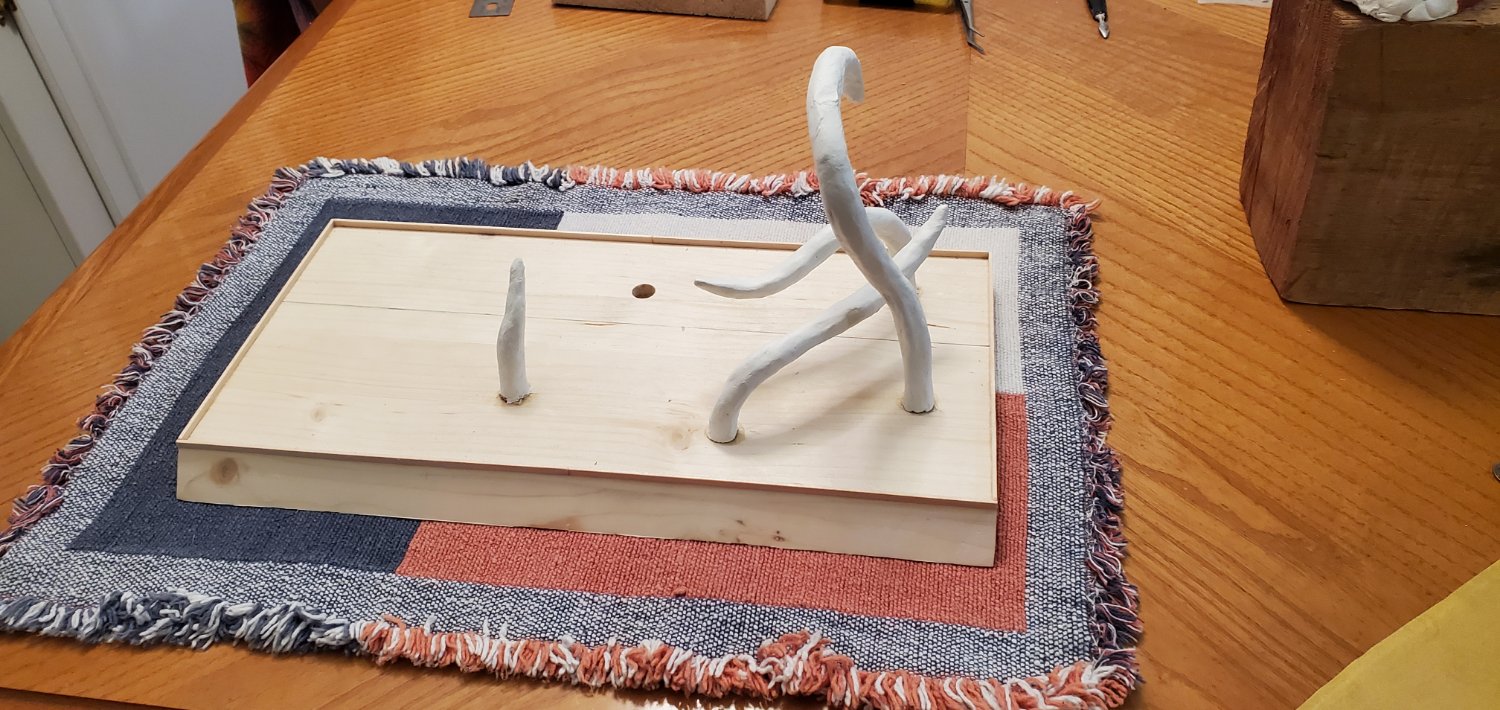
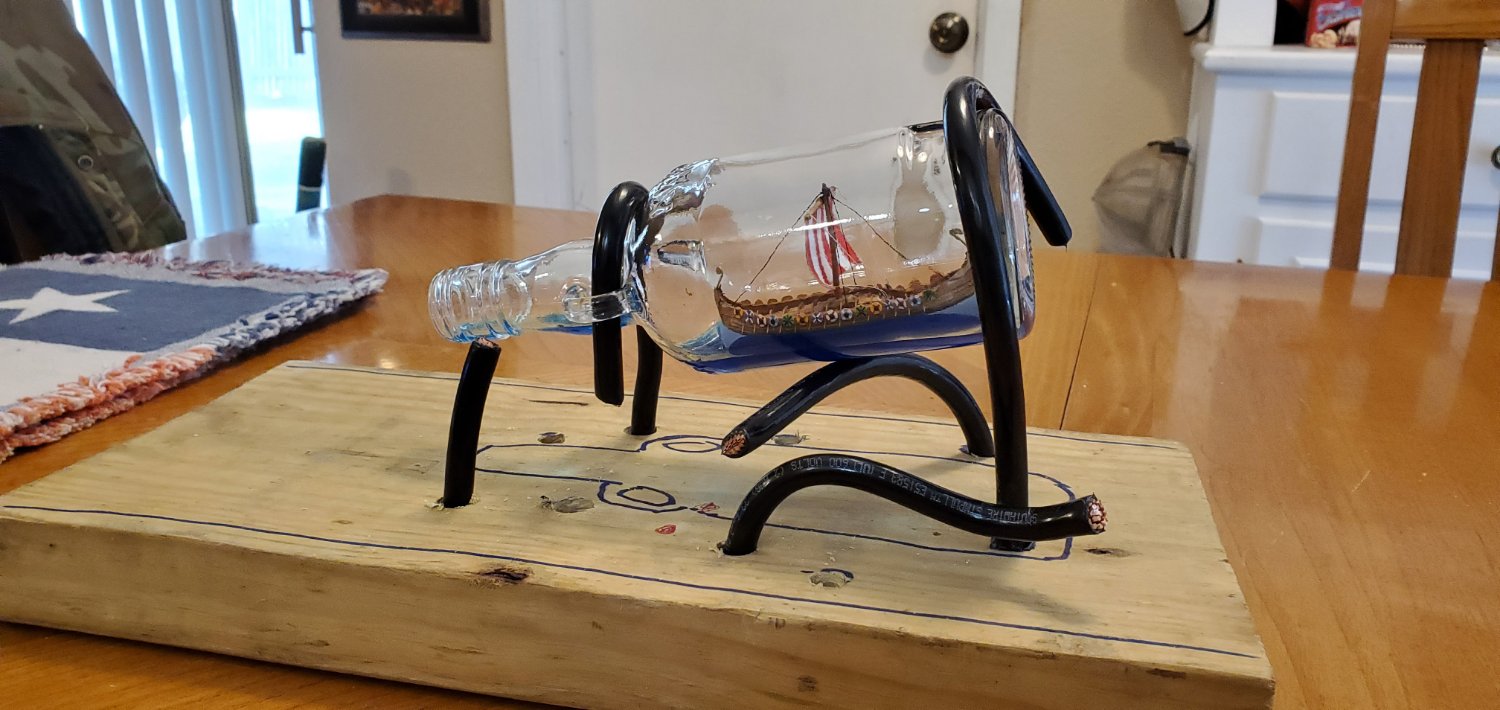
I decided to start the "hard bit", as @gjdale called it, with the tentacles. I could not find anything online resembling kraken tentacles that I was happy with. So I started playing around with other ideas. I needed something that was the right thickness and bendable, but also sturdy enough to hold up the bottle on its own. I finally landed on #2 AWG stranded copper wire from Home Depot for about $3/ft. I will coat the wire with a thin layer of modeling clay, taper the tips, and add some suckers.

- 240 replies
-
- 13
-
-
-
-
Thanks for the drawing. This is such a cool project. I really like the idea of the bottle acting as the nacelle of the turbine, if that is what you were describing in the last sentence above. Even if it was a short tower holding up the nacelle and short blades, I still think it would be a great look. A lot of what I do with my presentations is not to scale. I like to give an impression and let the viewers imagination put it all together. Regardless of what you decide, you are on your way to a very unique build!
- 51 replies
-
- 2
-
-
- Sea Installer
- Bottle
- (and 1 more)
-
I've got quite a collection now of homemade bottle tool now! I like your spreader tool. Looks like it worked well. So if I understand what you are doing, the platform legs of the sea installer will rest on the sand, and water will extend up the legs to just under the base of the sea installer?
- 51 replies
-
- 2
-
-
- Sea Installer
- Bottle
- (and 1 more)
-
Looking good so far! How long did it take your acrylic gel/sand seafloor to dry with your very clever air flow setup?
- 51 replies
-
- 2
-
-
- Sea Installer
- Bottle
- (and 1 more)
-
Lordy, you've got that right, Grant! If you don't hear from me in a month, send out the search and rescue team.