-
Posts
160 -
Joined
-
Last visited
Profile Information
-
Gender
Male
-
Location
Brampton, Ontario
-
Interests
Cycling , hiking , motorbike
Occasional few hours on model ship
Plastic models
Recent Profile Visitors
-
 Canute reacted to a post in a topic:
MV Europic Ferry 1967 by Ian_Grant - 1/96 Scale - 3D-Printed - Ferry
-
Looks great! How many spools of the plastic do you go through for these pieces?
- 24 replies
-
- ferry
- Europic Ferry
-
(and 1 more)
Tagged with:
-
 rookie reacted to a post in a topic:
MV Europic Ferry 1967 by Ian_Grant - 1/96 Scale - 3D-Printed - Ferry
-
 rookie reacted to a post in a topic:
MV Europic Ferry 1967 by Ian_Grant - 1/96 Scale - 3D-Printed - Ferry
-
 Canute reacted to a post in a topic:
HMS Lion by Ian_Grant - 1/150 - RADIO - RESTORATION - WW1 Battlecruiser
-
 Ian_Grant reacted to a post in a topic:
HMS Lion by Ian_Grant - 1/150 - RADIO - RESTORATION - WW1 Battlecruiser
-
 Keith Black reacted to a post in a topic:
HMS Lion by Ian_Grant - 1/150 - RADIO - RESTORATION - WW1 Battlecruiser
-
I also spent a lot of time looking for downloadable whaleboats pointed at both ends for Morgan my first one I did not realize was not for 3D printing so it did not slice well or print very well i also tried pulling apart the various pieces so I ended up just printing the bare hull with seats etc removed this can be done in blender. I think the top right window shows the separate parts and each can be deleted
- 235 replies
-
 Canute reacted to a post in a topic:
HMS Lion by Ian_Grant - 1/150 - RADIO - RESTORATION - WW1 Battlecruiser
-
 Ian_Grant reacted to a post in a topic:
HMS Lion by Ian_Grant - 1/150 - RADIO - RESTORATION - WW1 Battlecruiser
-
 Keith Black reacted to a post in a topic:
HMS Lion by Ian_Grant - 1/150 - RADIO - RESTORATION - WW1 Battlecruiser
-
 Glen McGuire reacted to a post in a topic:
HMS Lion by Ian_Grant - 1/150 - RADIO - RESTORATION - WW1 Battlecruiser
-
That is quite an upgrade from “teenage Ian” version well done!
- 235 replies
-
 davyboy reacted to a post in a topic:
HMS Lion by Ian_Grant - 1/150 - RADIO - RESTORATION - WW1 Battlecruiser
-
 Canute reacted to a post in a topic:
HMS Lion by Ian_Grant - 1/150 - RADIO - RESTORATION - WW1 Battlecruiser
-
Found this video of uss iowa turret being rotated recently looks like about 90 seconds through 180 degrees from starboard to port
- 235 replies
-
yes, the green metal table. No bike yet. wait till the spring since cant ride it over the winter looking at Kawasaki Eliminator 500 or the Vulcan S 650 (not sure about that one)
- 235 replies
-
I had forgotten Dad made the gun barrels. I remember the fold-up picnic table in Dad's workshop[ with the keel laid out.
- 235 replies
-
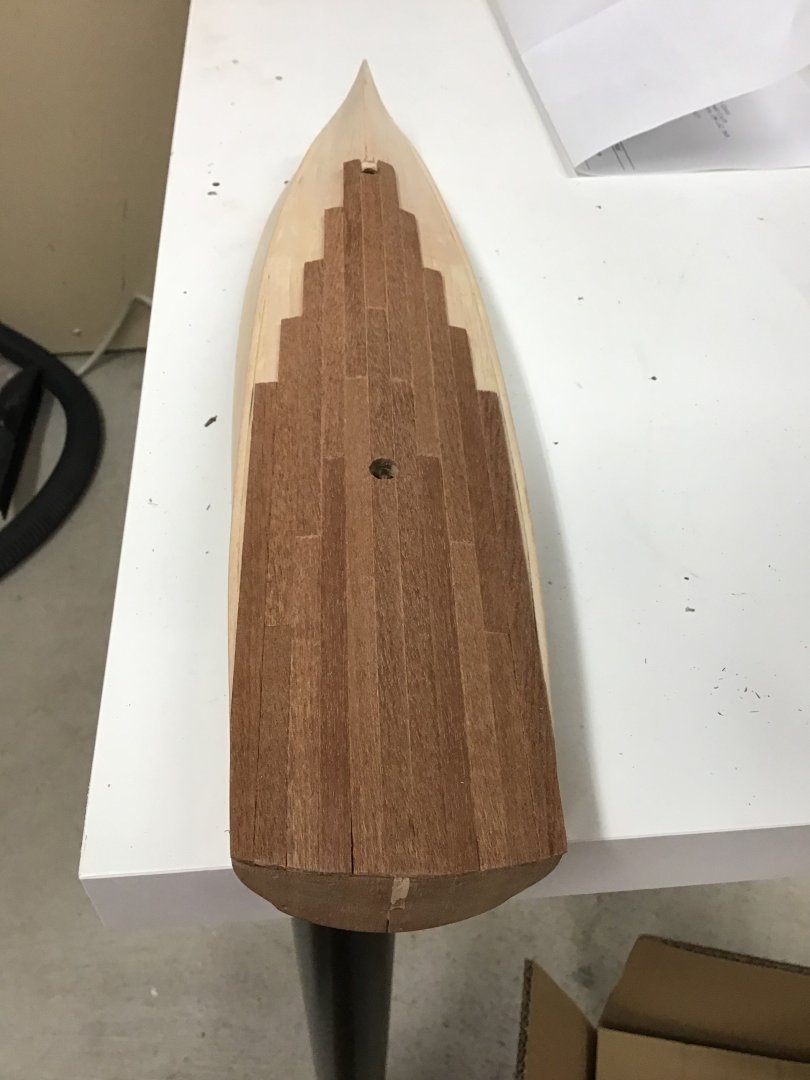
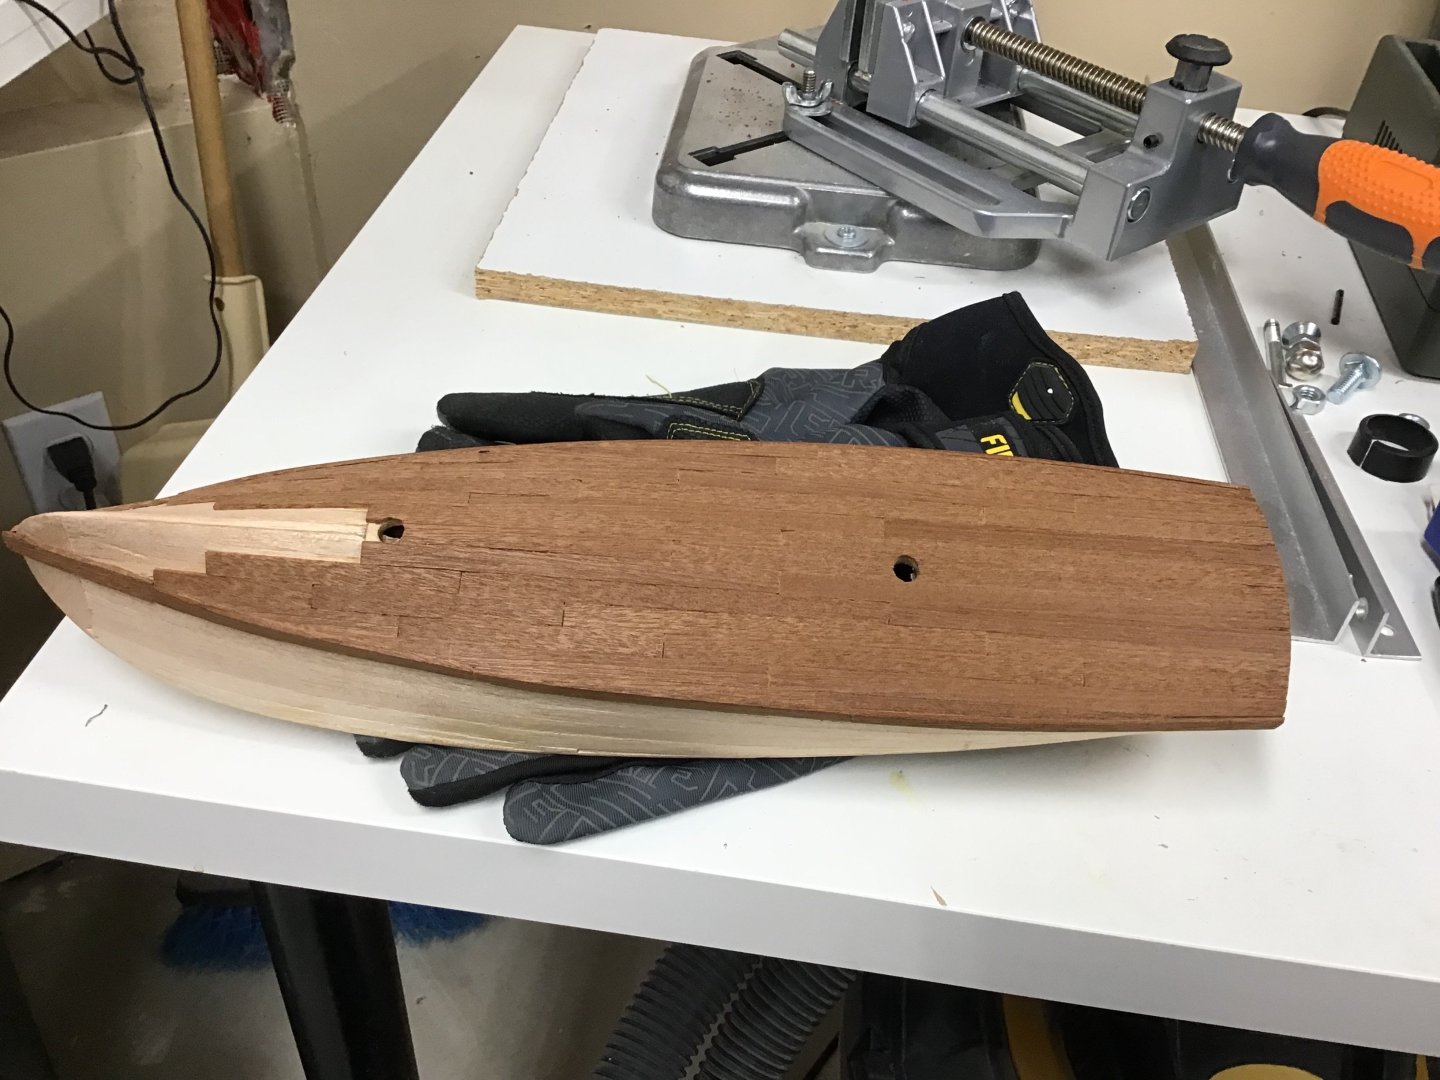
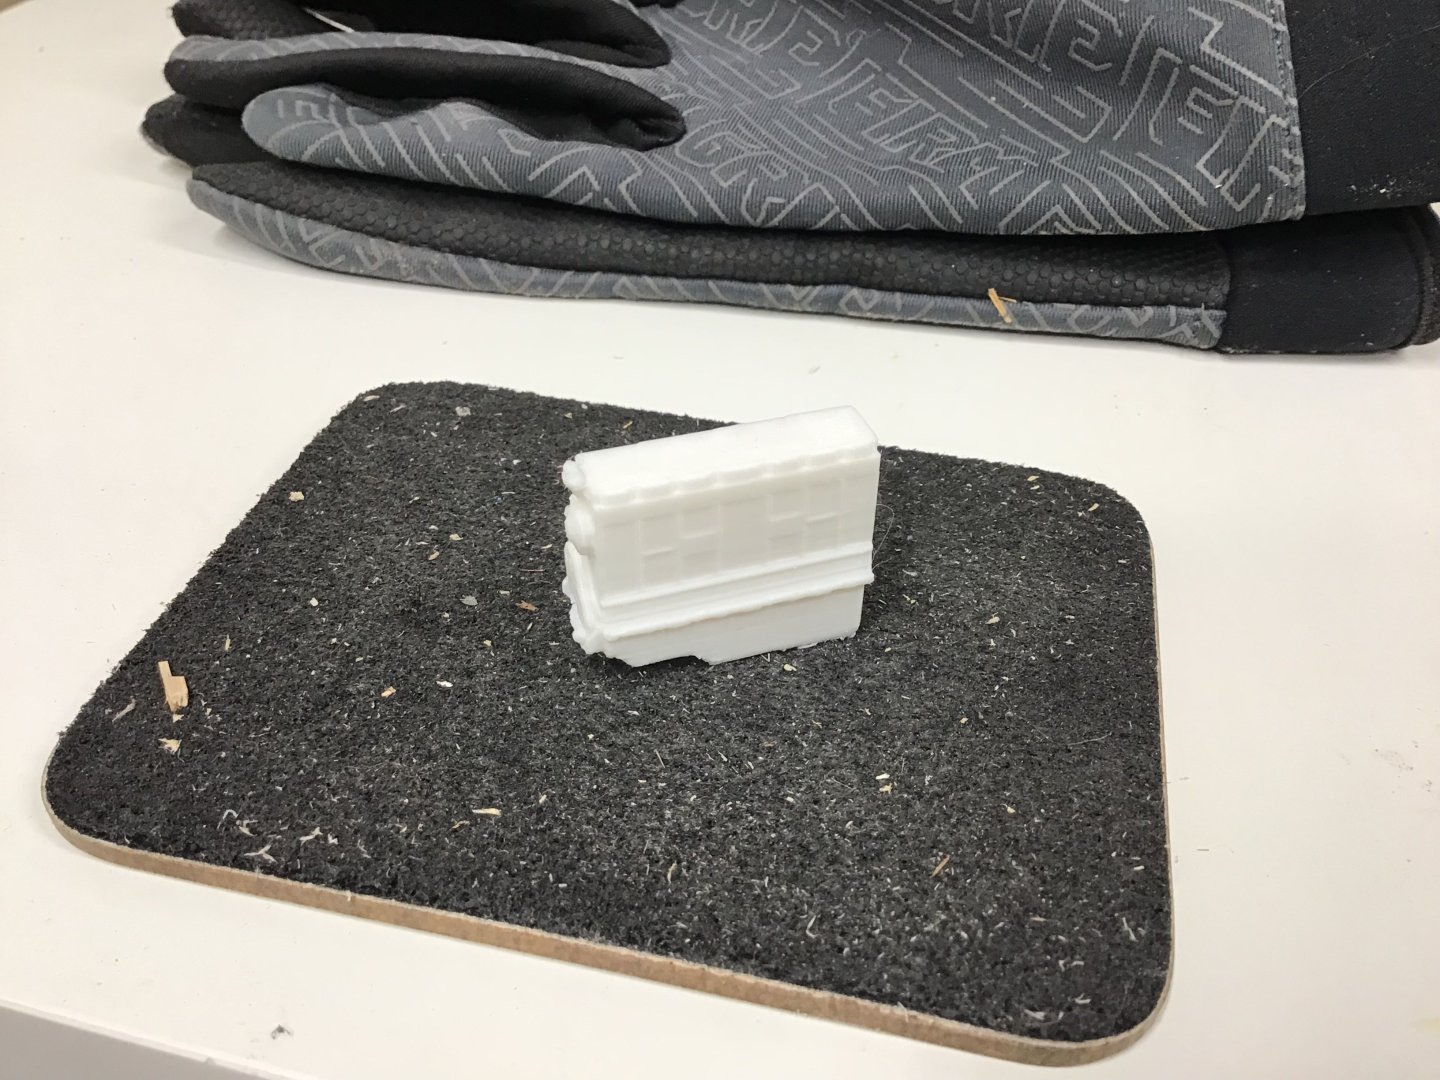
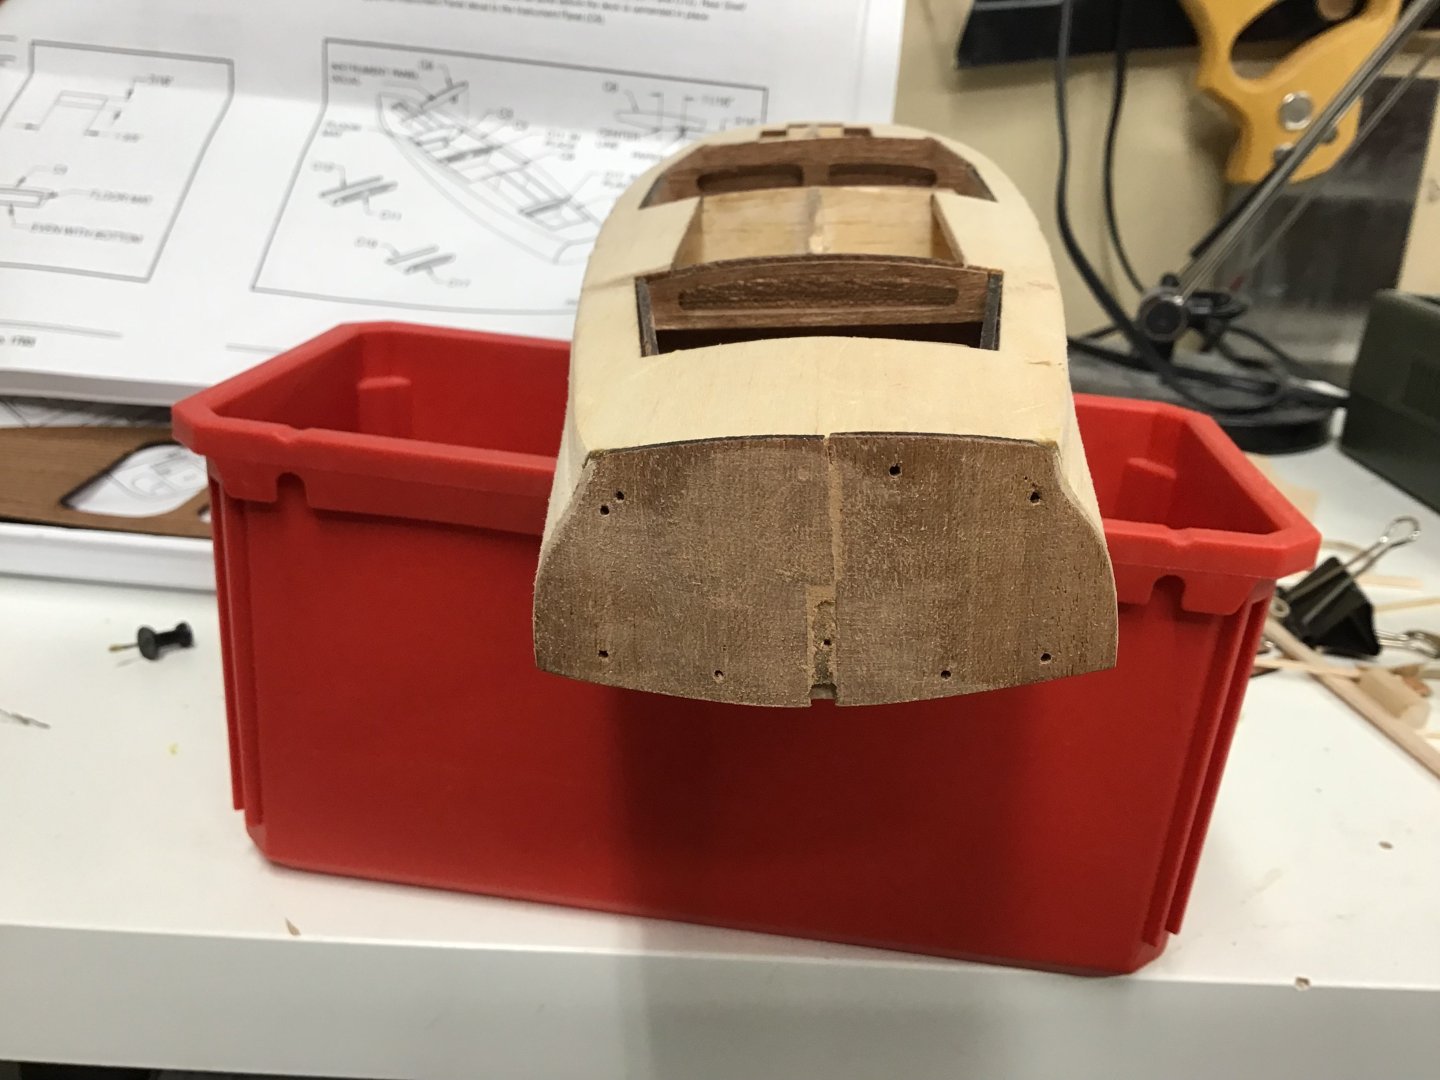
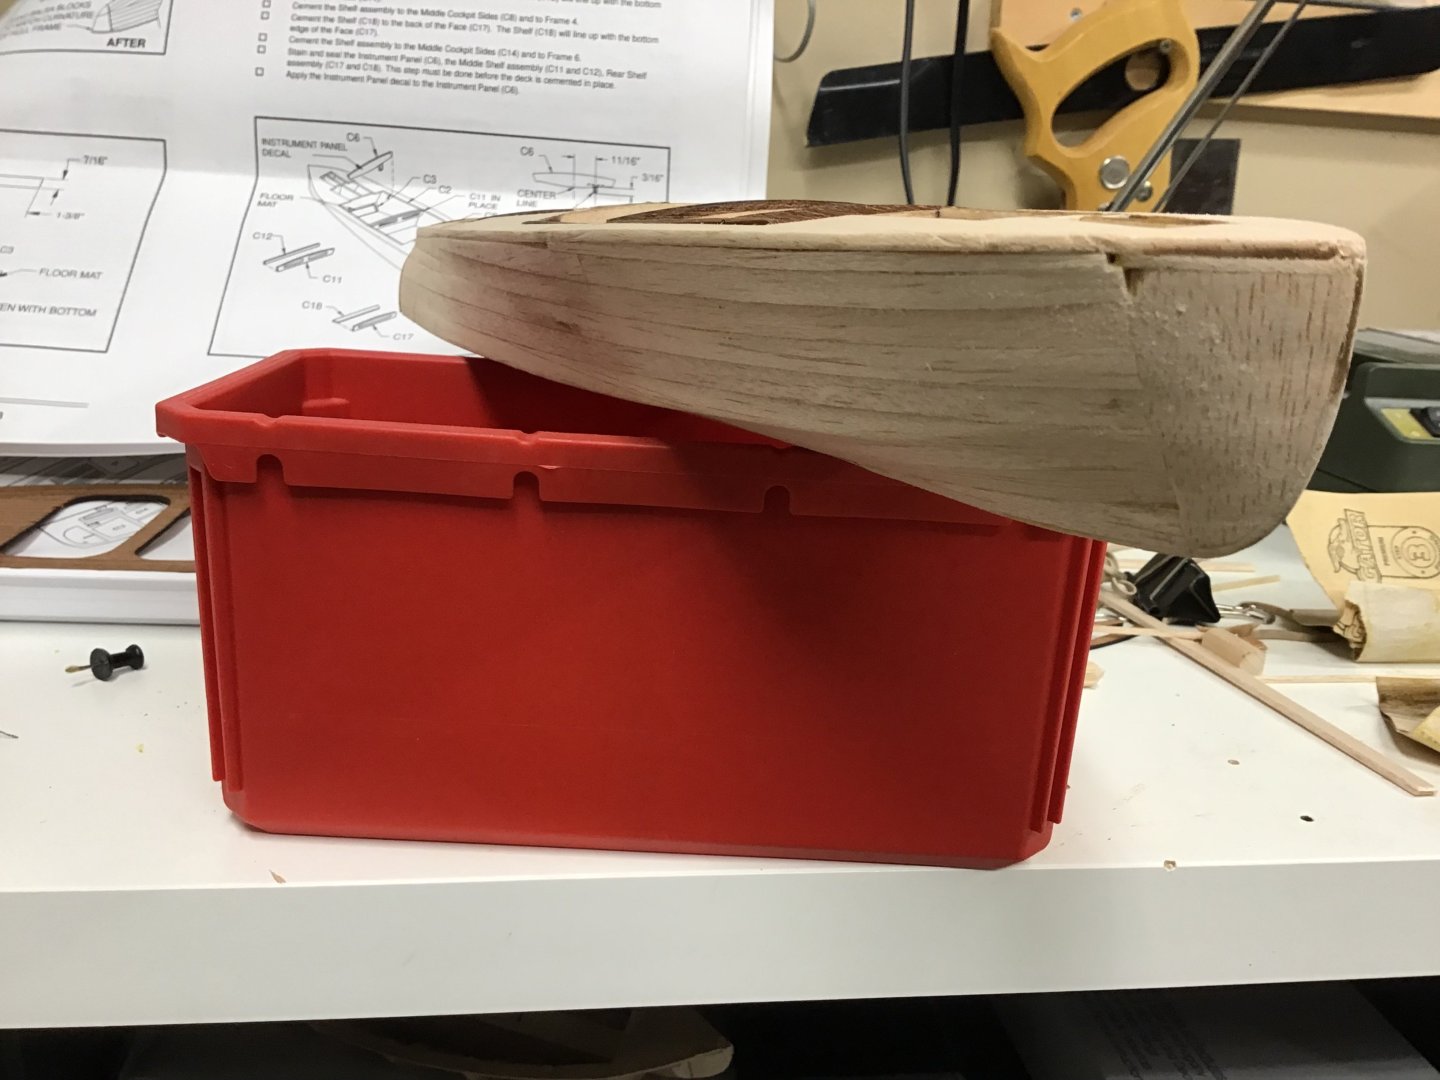
Managed to do a bit of the mahogany layer on bottom over the summer going about it in a strange way likely but I find the flat bottom quite different to the usual ship hull 9I also had an idea to add the engine and have the compartment open spent time looking at Chris Craft engines from the late 1930’s seems to be inline 6 usually I searched for 3D inline 6 engines and found a few sinam printing sample parts to see if they will work gone back to my Morgan for a change of pace for now
- 10 replies
-
- Dumas
- Chris-Craft
-
(and 1 more)
Tagged with:
-
Beautifully done Glen on my brother Ian’s ‘twigged’ it apparently is an informal British word meaning ‘to realize ‘ I did not realize it was not a common term either….. 🤔
- 235 replies
-
- Banshee II
- Bottle
-
(and 1 more)
Tagged with:
-
 rookie reacted to a post in a topic:
Banshee II by Glen McGuire - FINISHED - 1/700 - BOTTLE
-
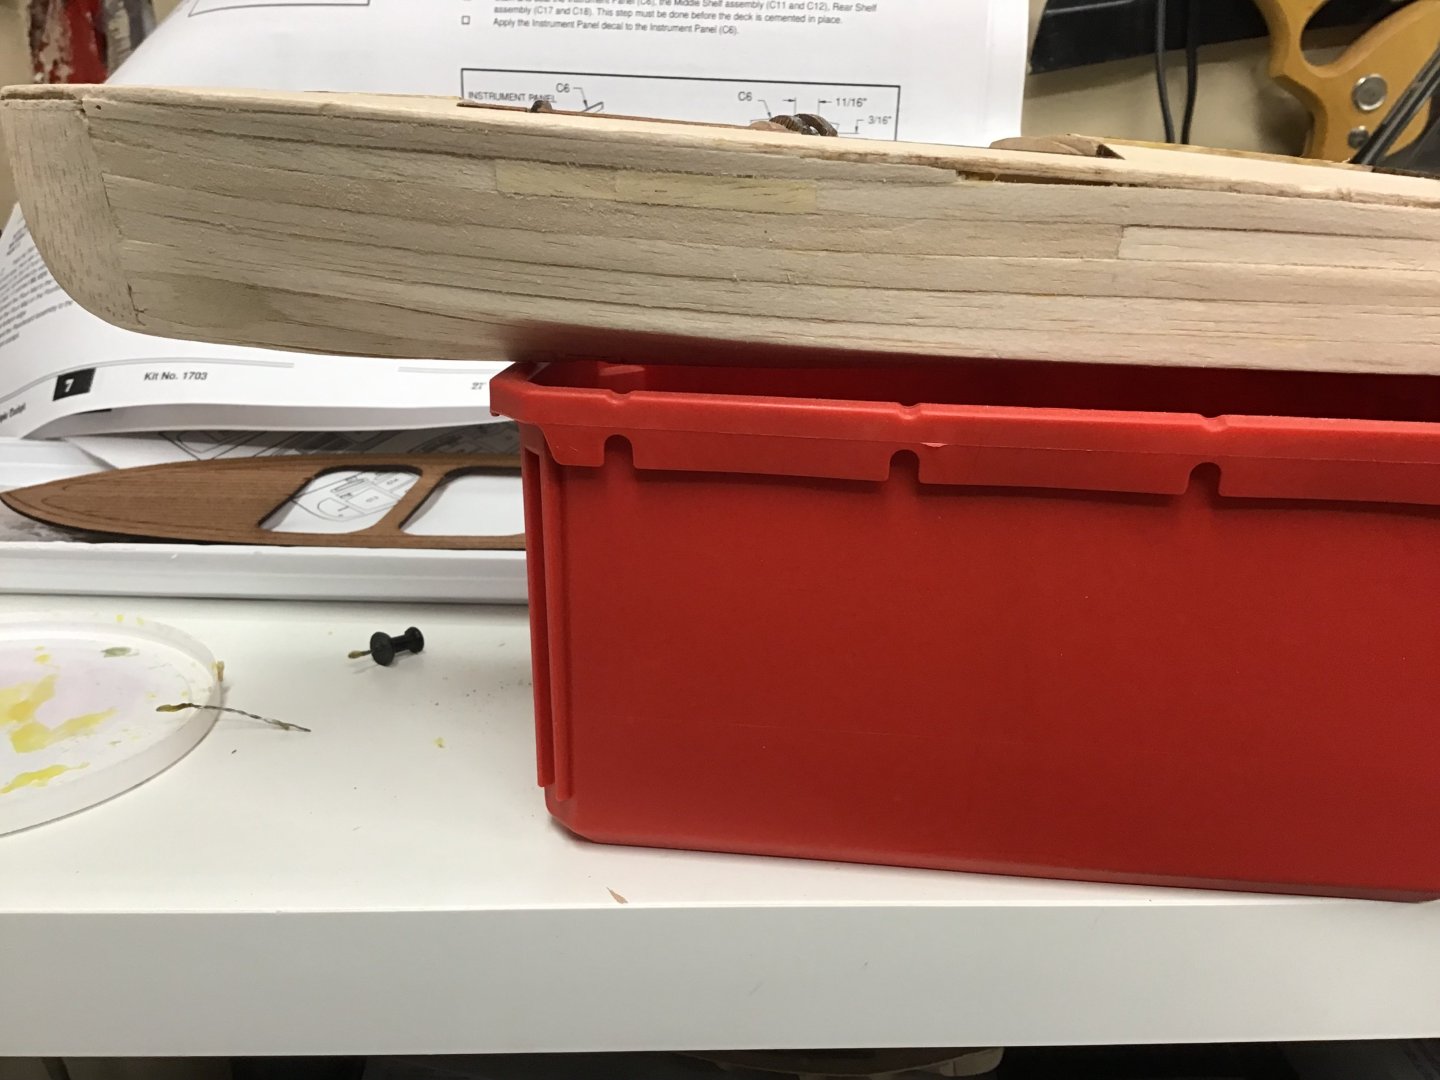
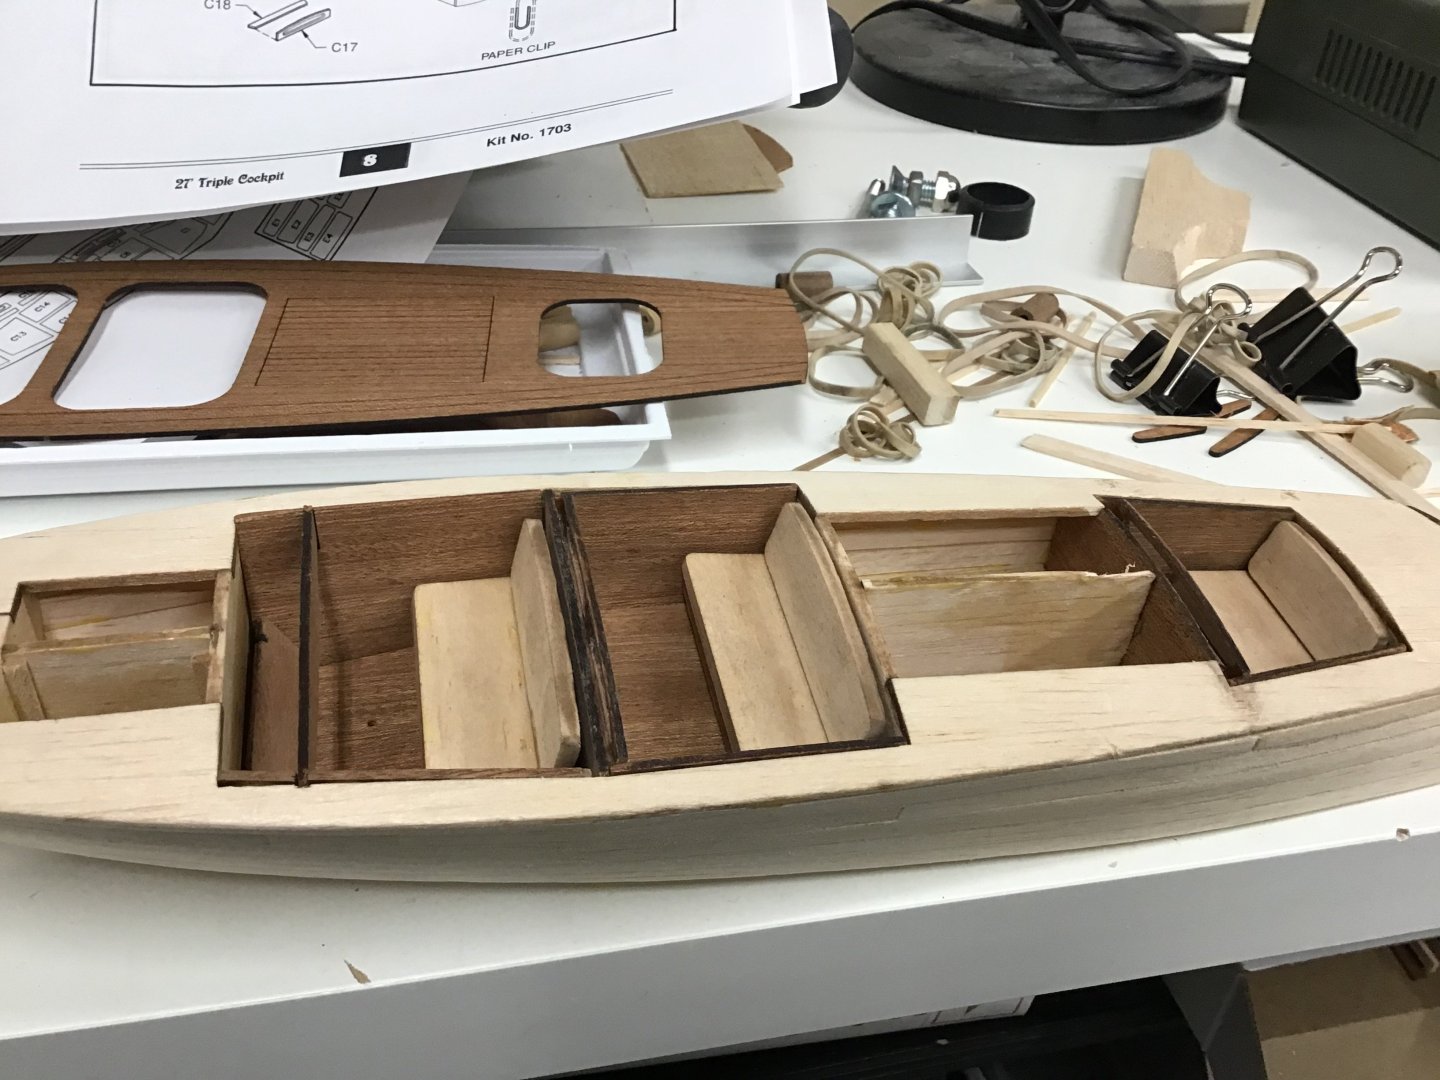
I finished the balsa layer of planking. still some shaping to do then I move on to mahogany layer. i also put together the seats. I have been thinking of ordering faux leather or real thin leather for the seat cushions to make it look more interesting.
- 10 replies
-
- Dumas
- Chris-Craft
-
(and 1 more)
Tagged with:
-
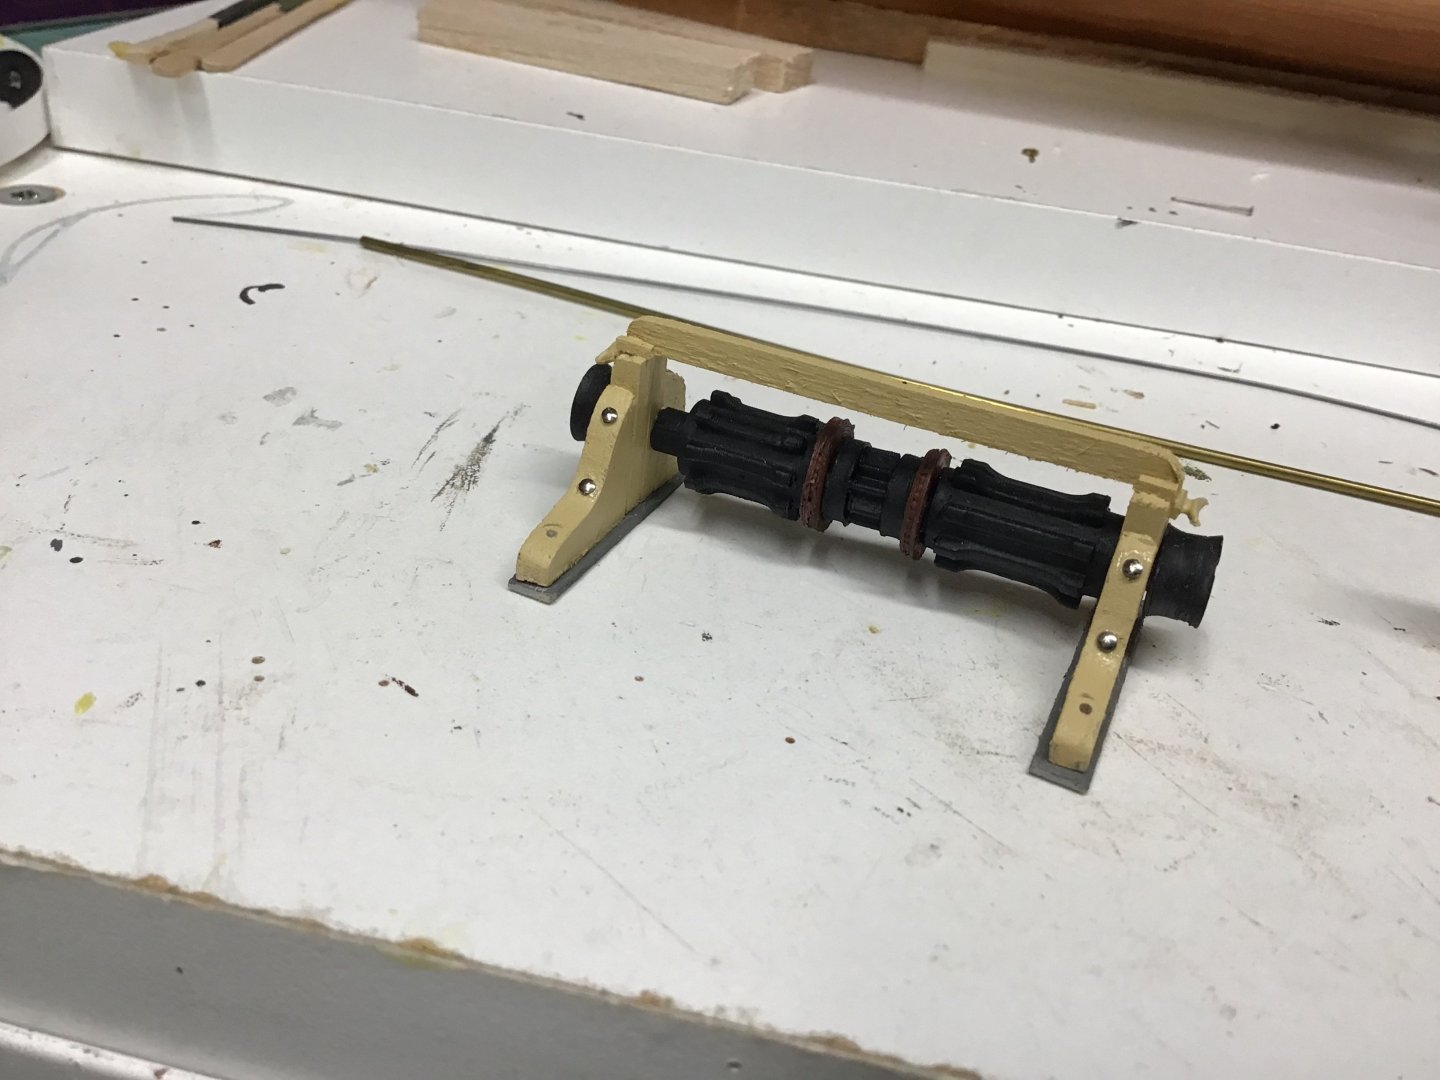
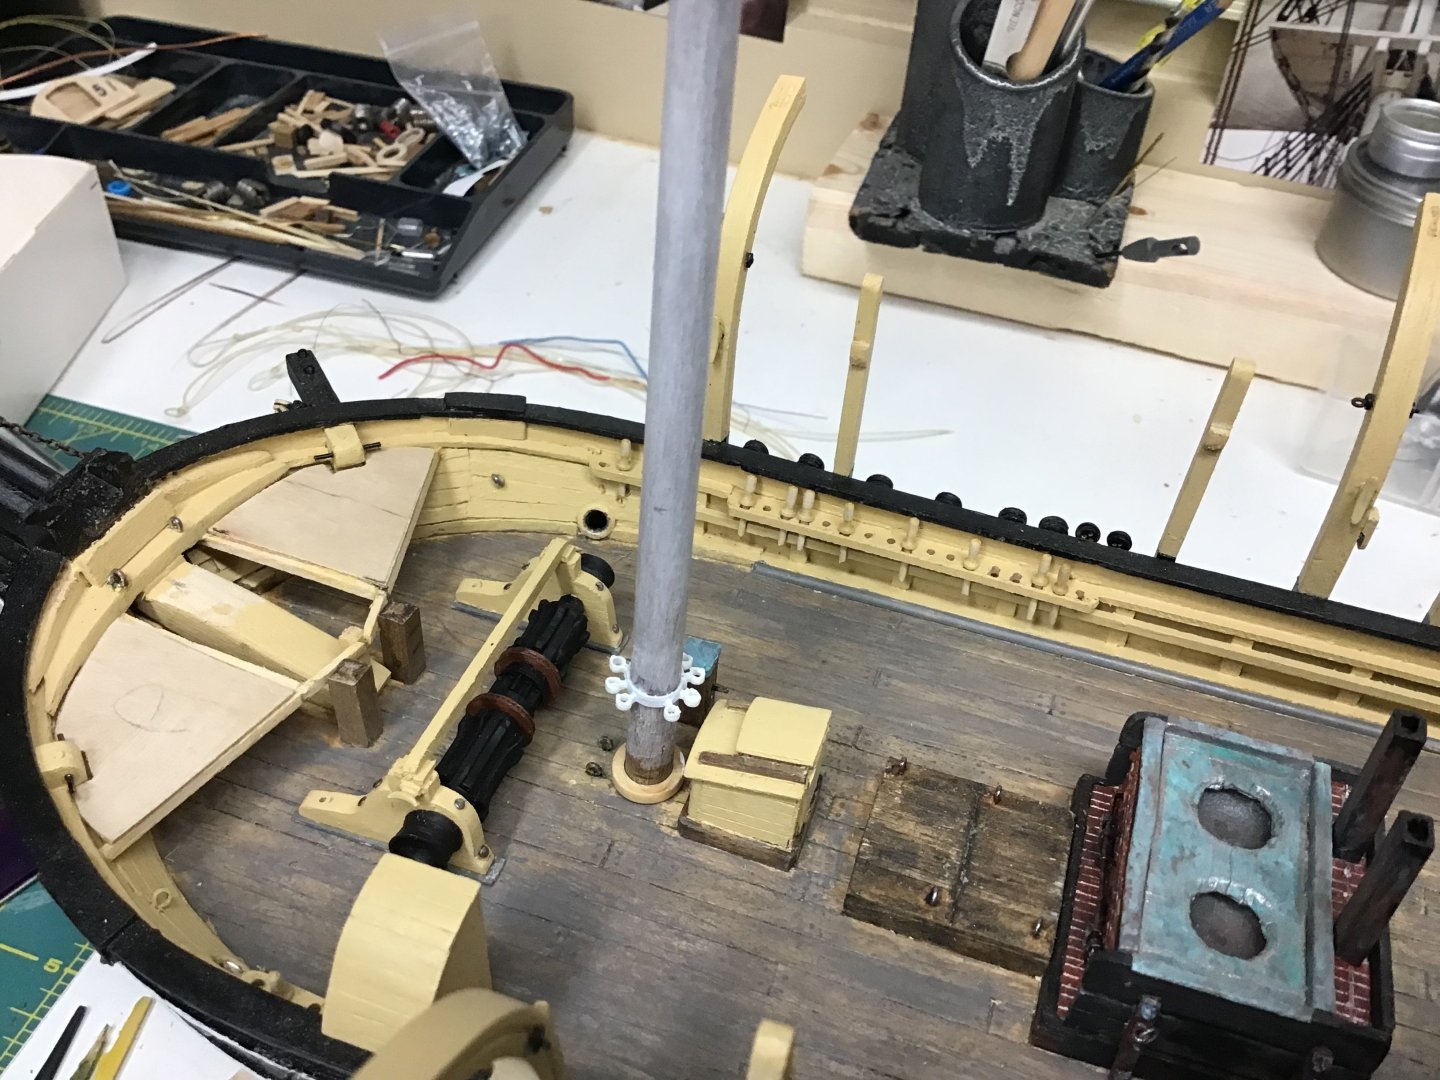
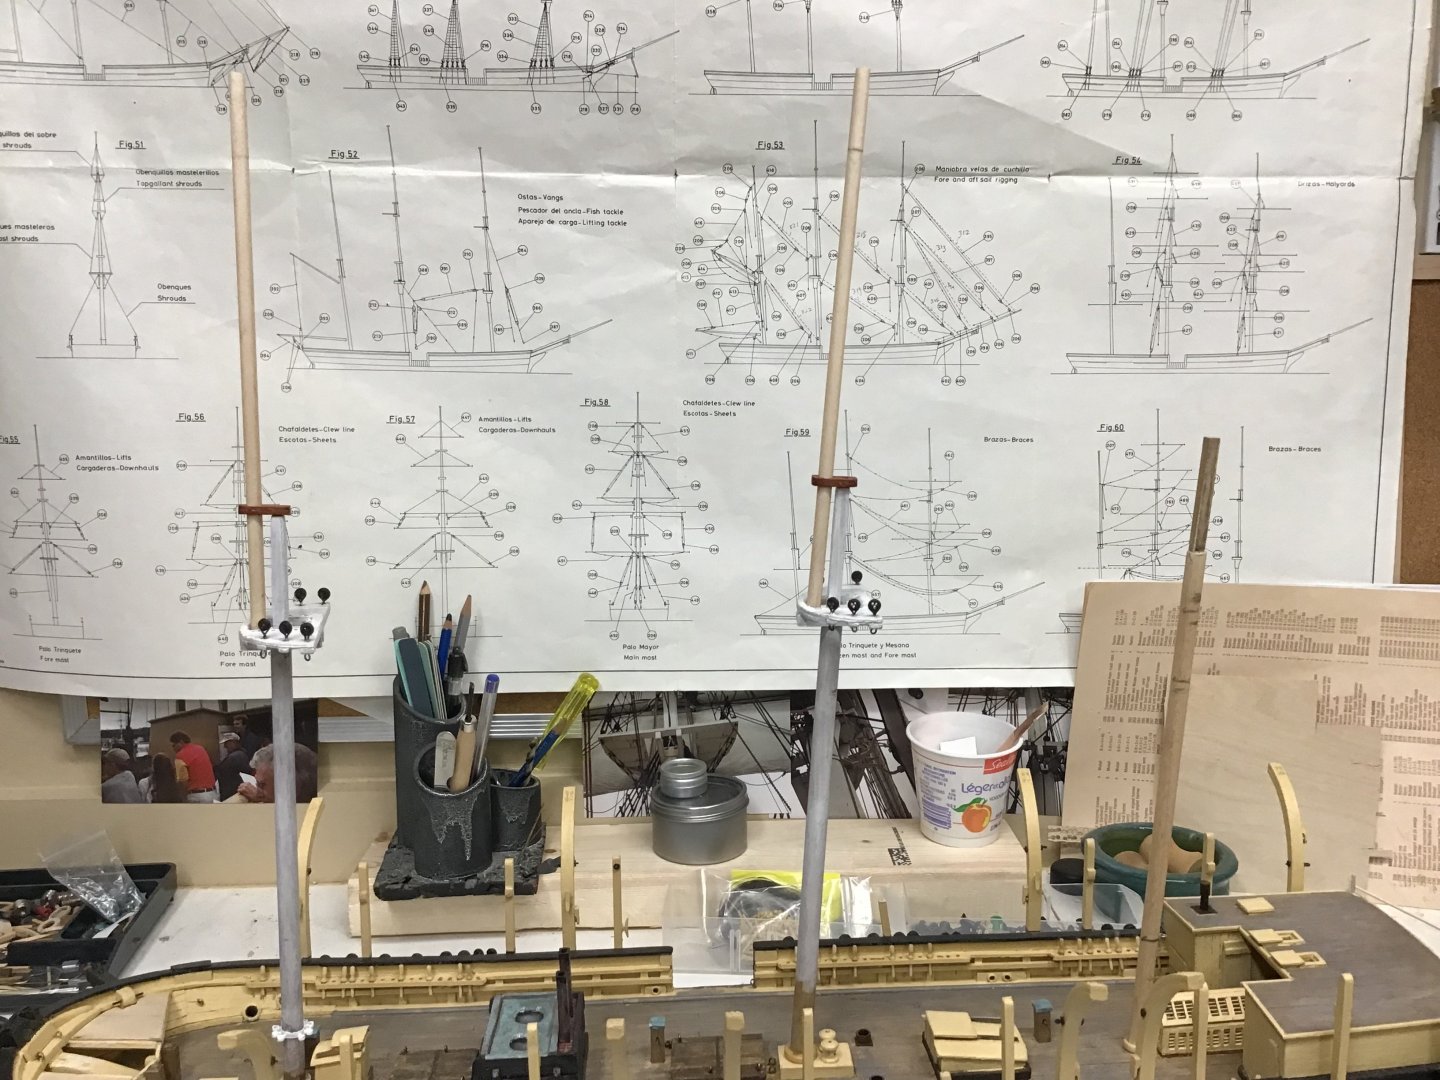
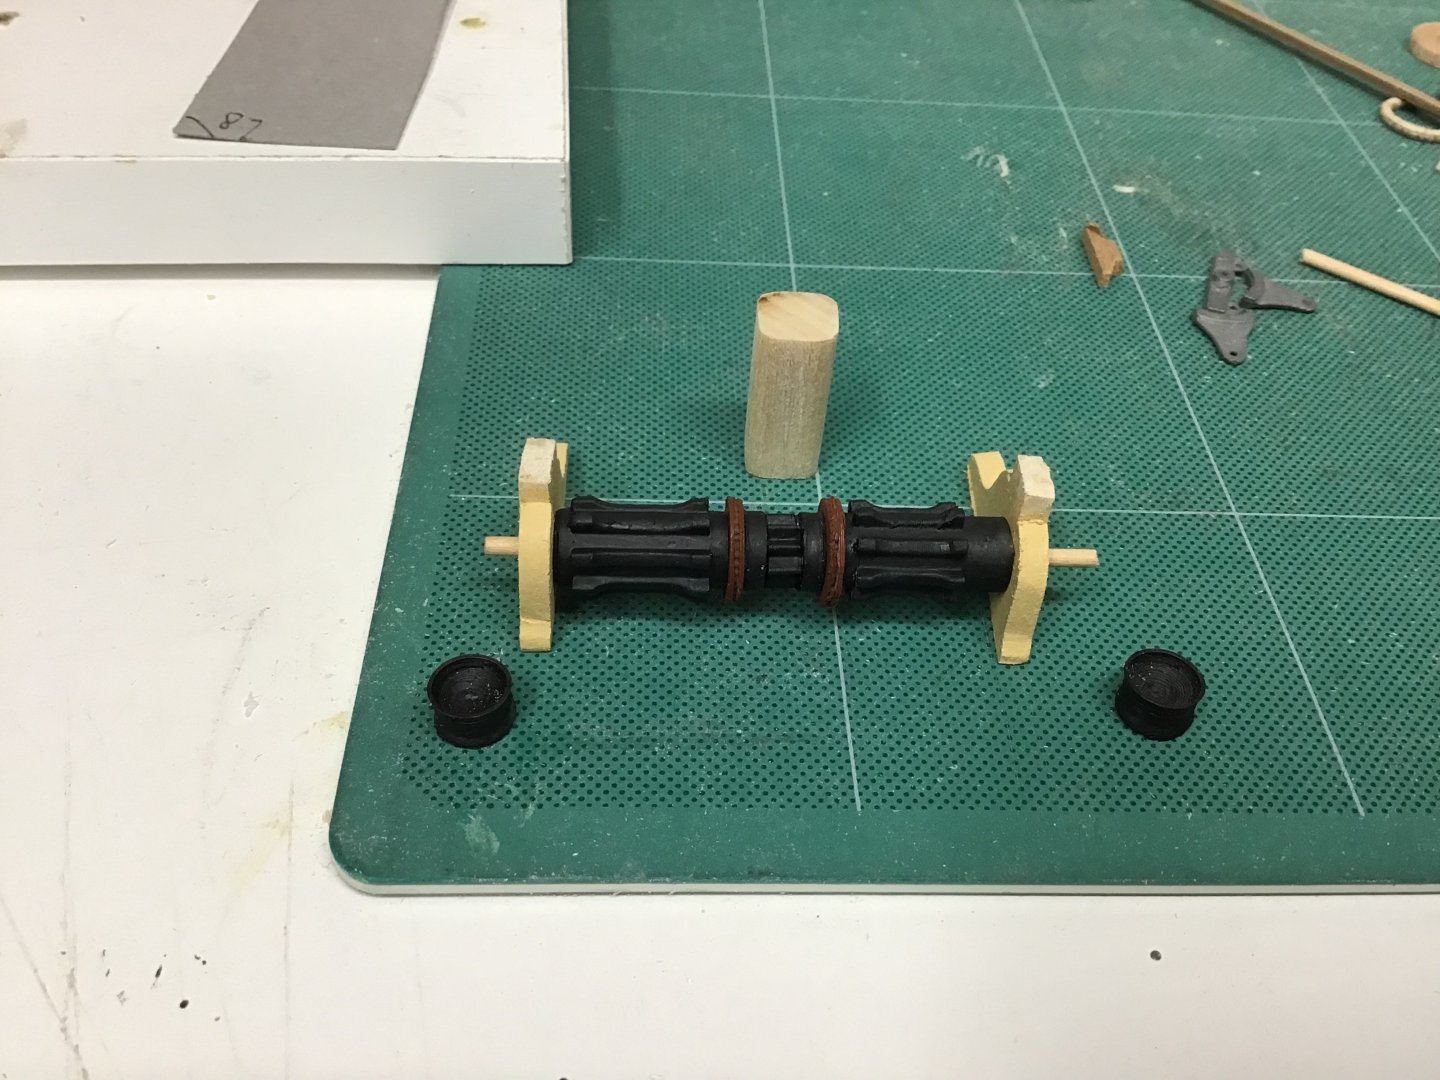
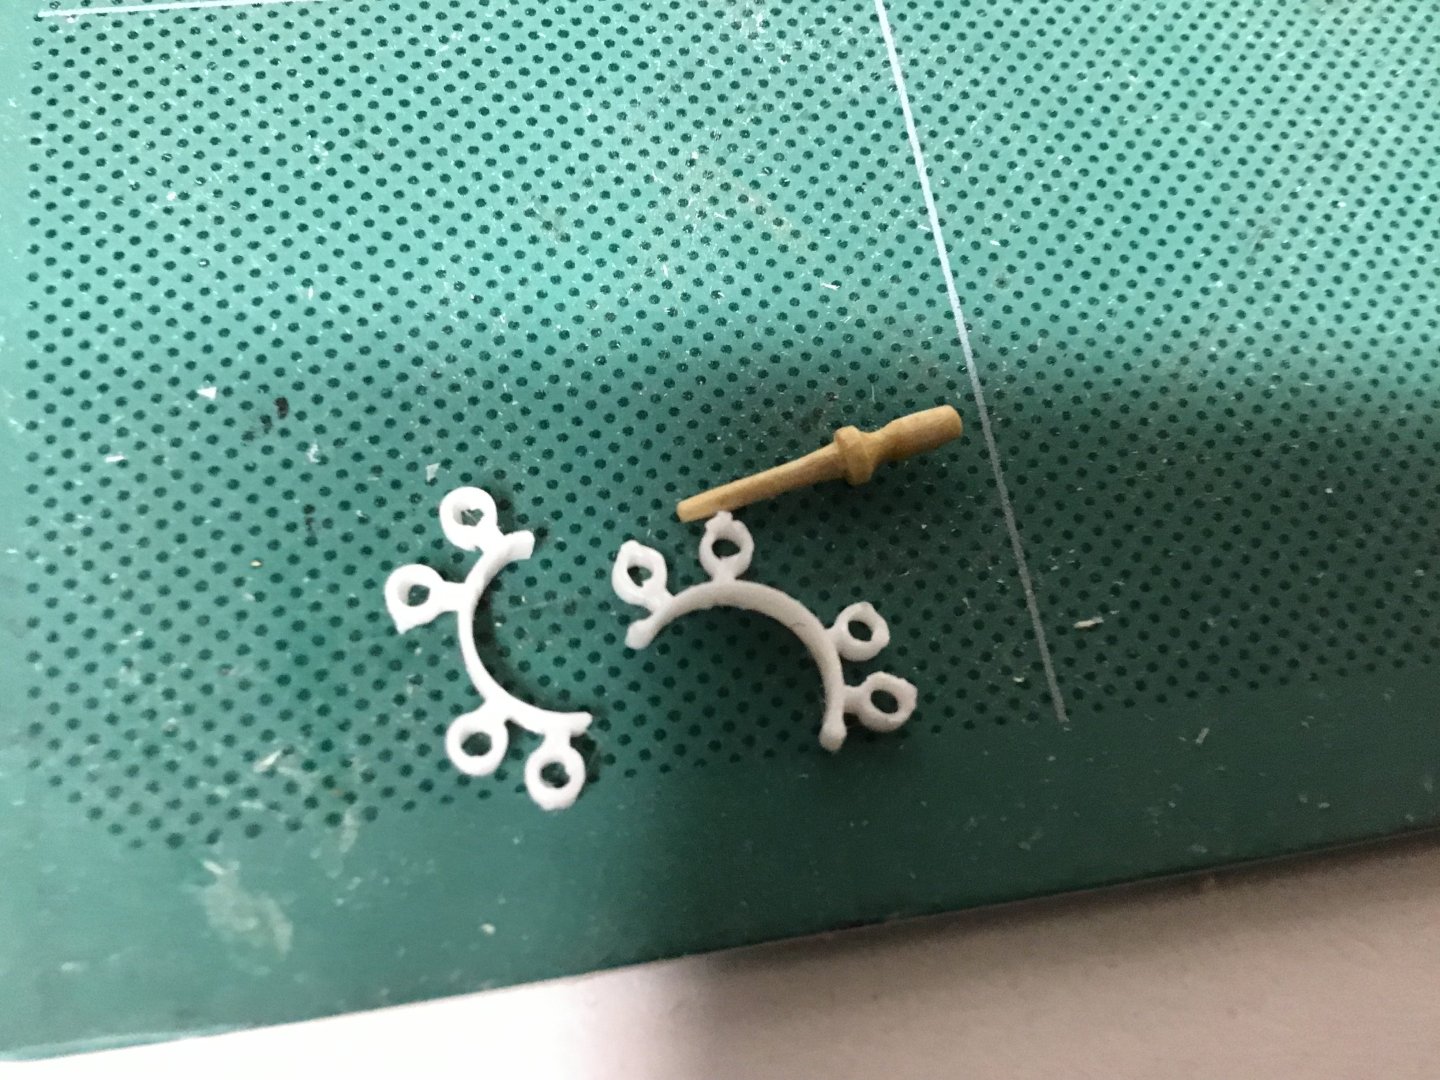
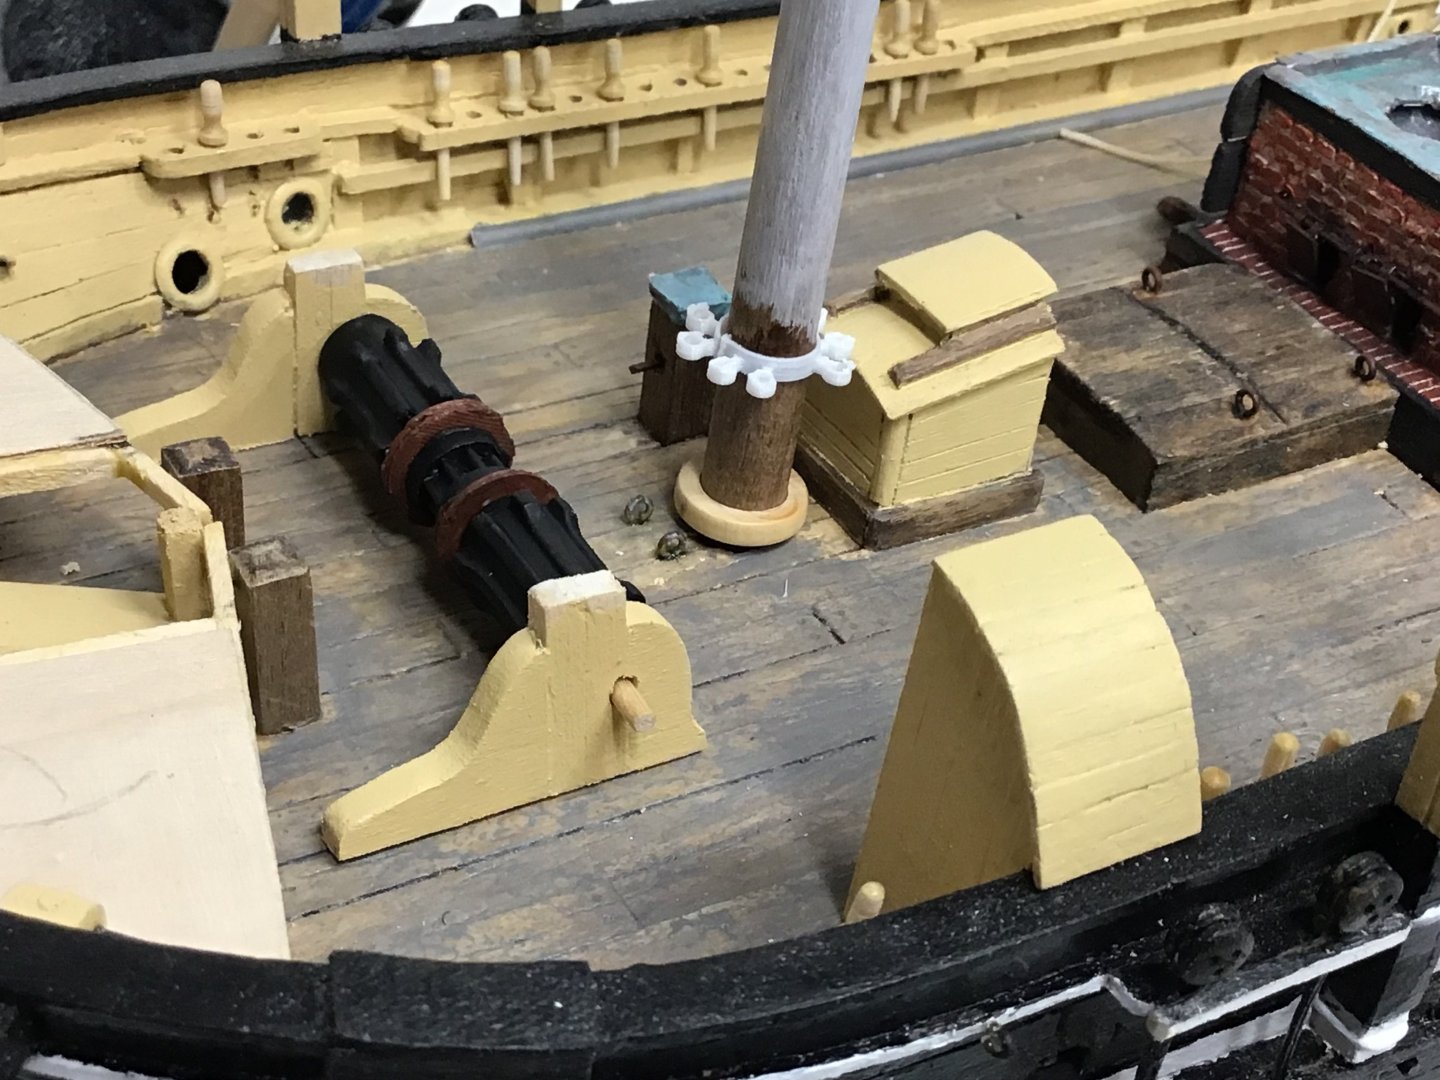
Well, after many attempts at 3D print I managed to make progress on the windlass and the foremast mast band i realized during this how far out if scale the belaying pins are on my model These would be baseball bats if not belaying ropes on my Morgan i may sand them smaller but then the pin rails would have giant holes ah well…
About us
Modelshipworld - Advancing Ship Modeling through Research
SSL Secured
Your security is important for us so this Website is SSL-Secured
NRG Mailing Address
Nautical Research Guild
237 South Lincoln Street
Westmont IL, 60559-1917
Model Ship World ® and the MSW logo are Registered Trademarks, and belong to the Nautical Research Guild (United States Patent and Trademark Office: No. 6,929,264 & No. 6,929,274, registered Dec. 20, 2022)
Helpful Links
About the NRG
If you enjoy building ship models that are historically accurate as well as beautiful, then The Nautical Research Guild (NRG) is just right for you.
The Guild is a non-profit educational organization whose mission is to “Advance Ship Modeling Through Research”. We provide support to our members in their efforts to raise the quality of their model ships.
The Nautical Research Guild has published our world-renowned quarterly magazine, The Nautical Research Journal, since 1955. The pages of the Journal are full of articles by accomplished ship modelers who show you how they create those exquisite details on their models, and by maritime historians who show you the correct details to build. The Journal is available in both print and digital editions. Go to the NRG web site (www.thenrg.org) to download a complimentary digital copy of the Journal. The NRG also publishes plan sets, books and compilations of back issues of the Journal and the former Ships in Scale and Model Ship Builder magazines.


