MORE HANDBOOKS ARE ON THEIR WAY! We will let you know when they get here.
×

(1)(1)(1)(2).jpg.a128ea4d7b02ebfc5d5eb6547e92106f.jpg)
PRS
-
Posts
372 -
Joined
-
Last visited
Content Type
Profiles
Forums
Gallery
Events
Everything posted by PRS
-
(1)(1)(1)(2).thumb.jpg.792ad774561d3d4f35888704cde27a8e.jpg) Not sure which railing you are referring to. The railing at the very rear is curved and only goes one way. I agree the instructions are lacking.
Not sure which railing you are referring to. The railing at the very rear is curved and only goes one way. I agree the instructions are lacking.- 43 replies
-
- 1
-

-
- Bluenose II
- Artesania Latina
- (and 2 more)
-
Good news Joe. I have sent you an email about the Cheerful Wood package if you can do it.
-
This is fantastic news! I am going to buy the wood kit for the Cheerful this week and if I cannot cut the planks myself I sure will be putting in an order. Prices look great also.
-
I see a covering iron there. You fly also?
-
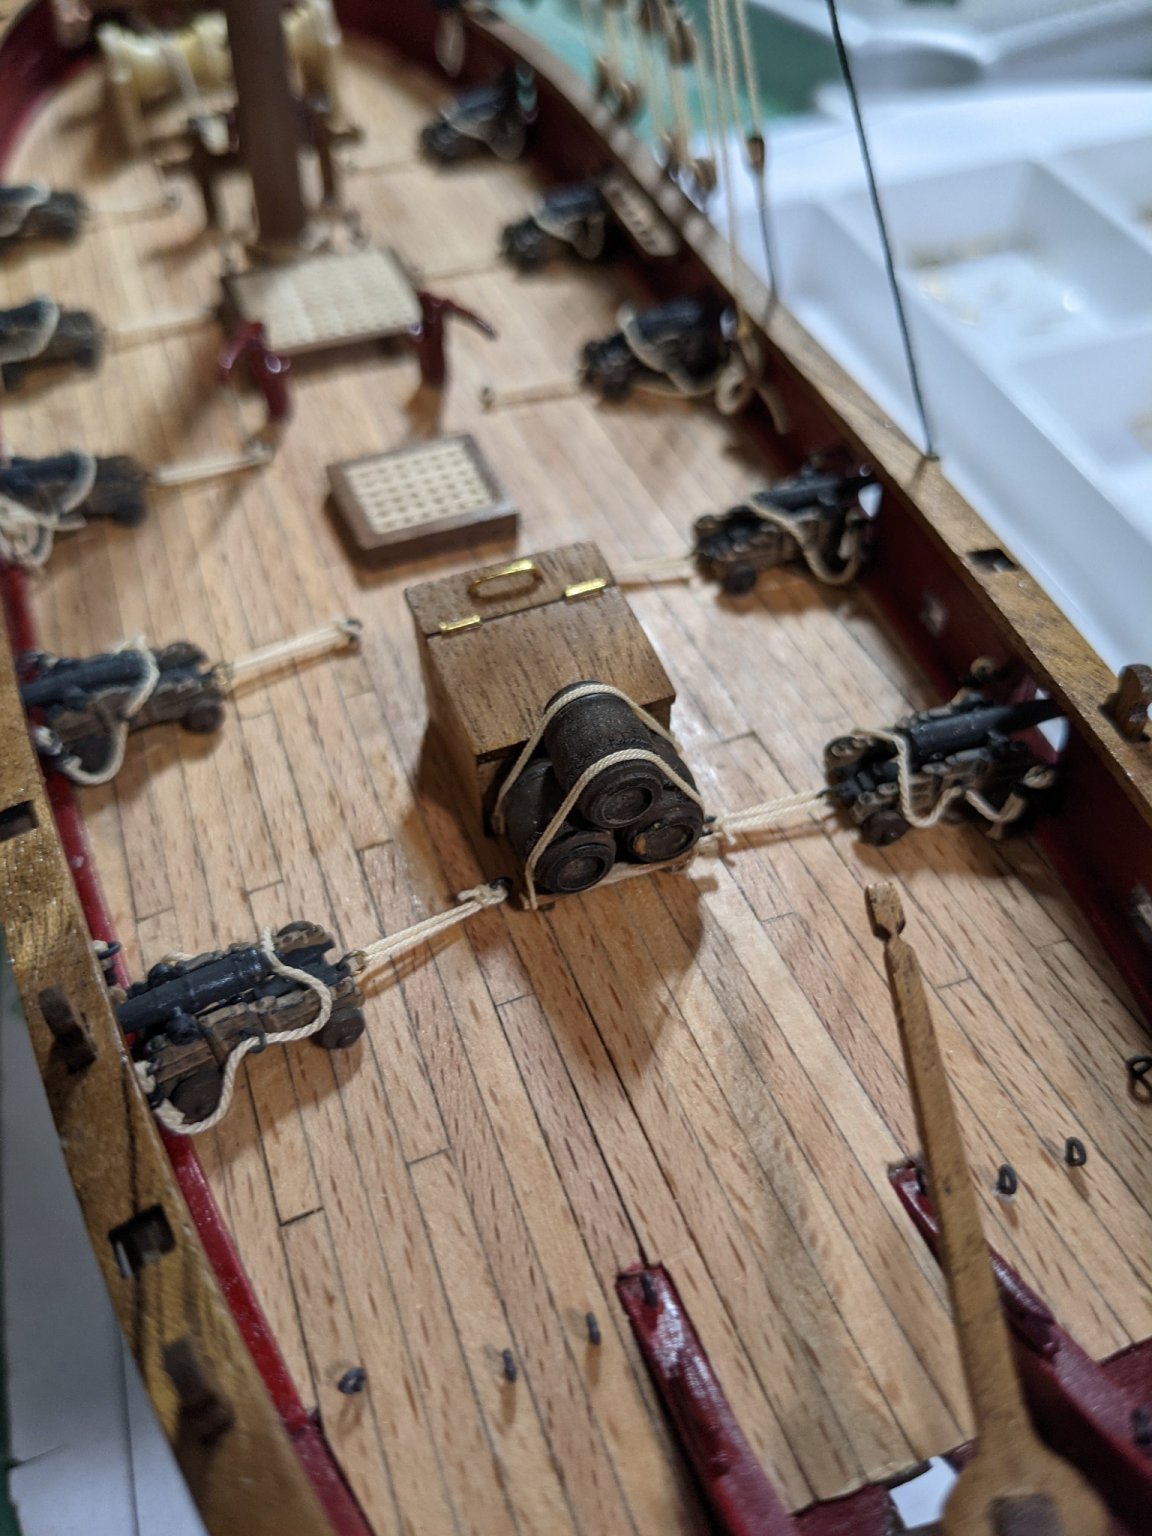
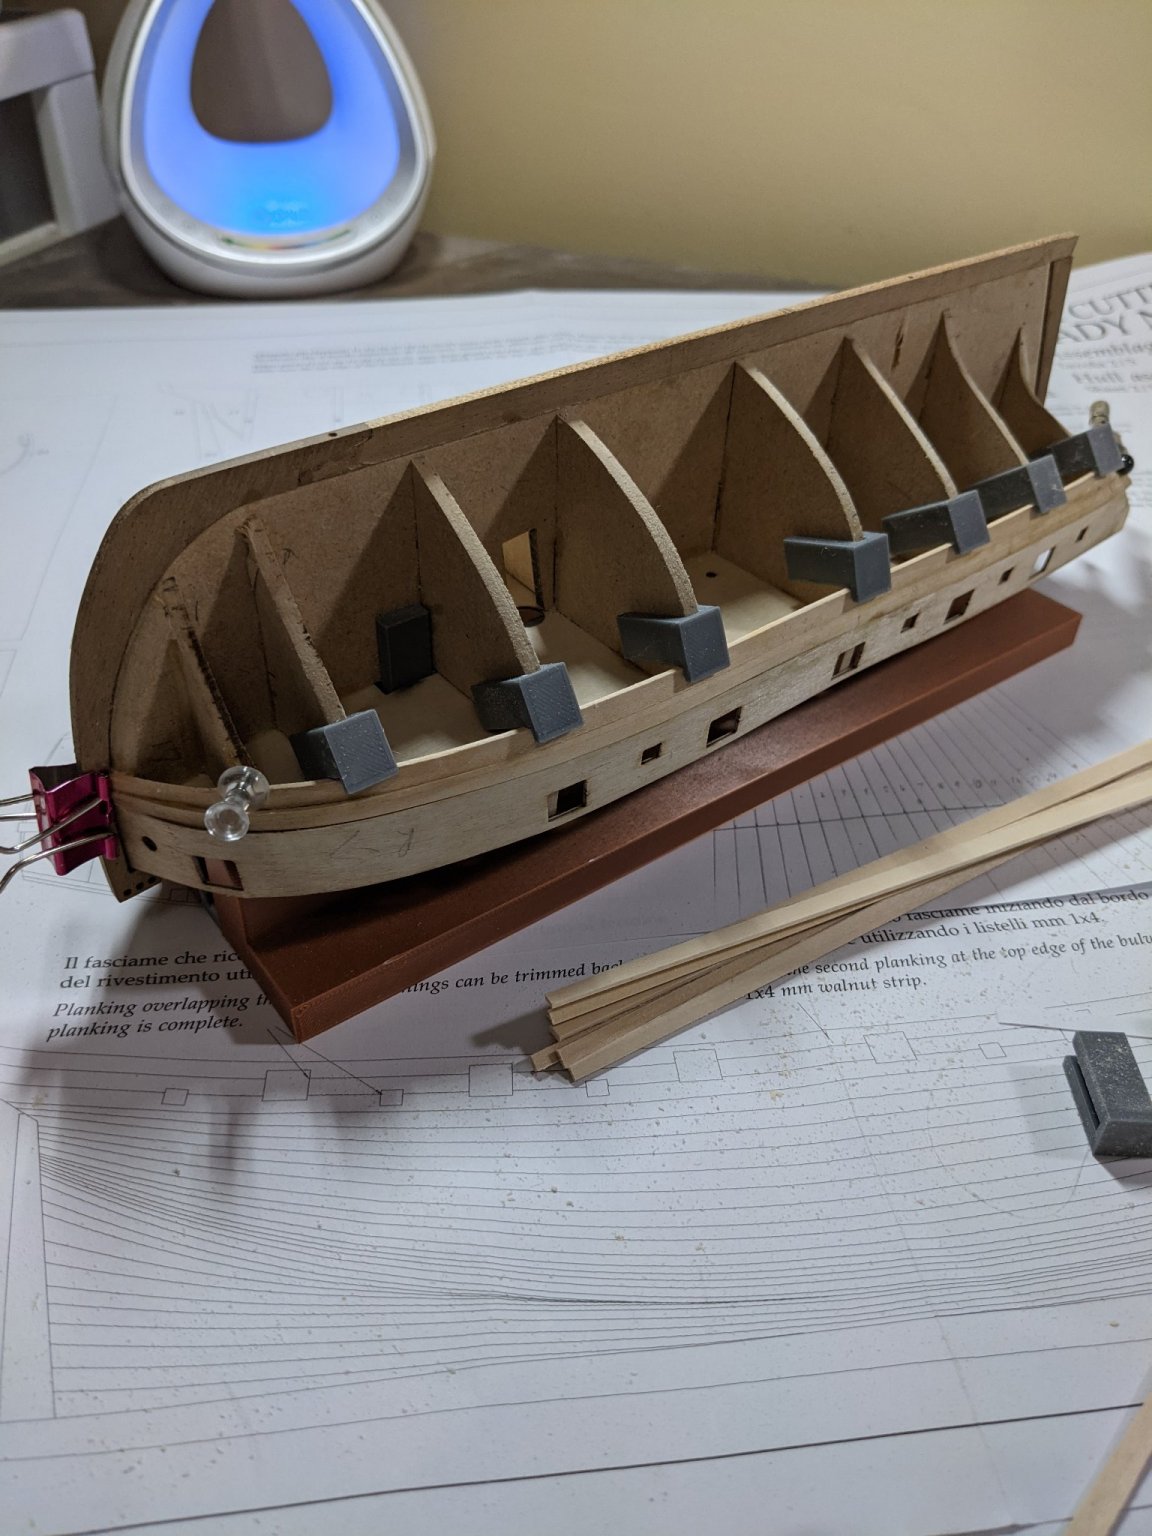
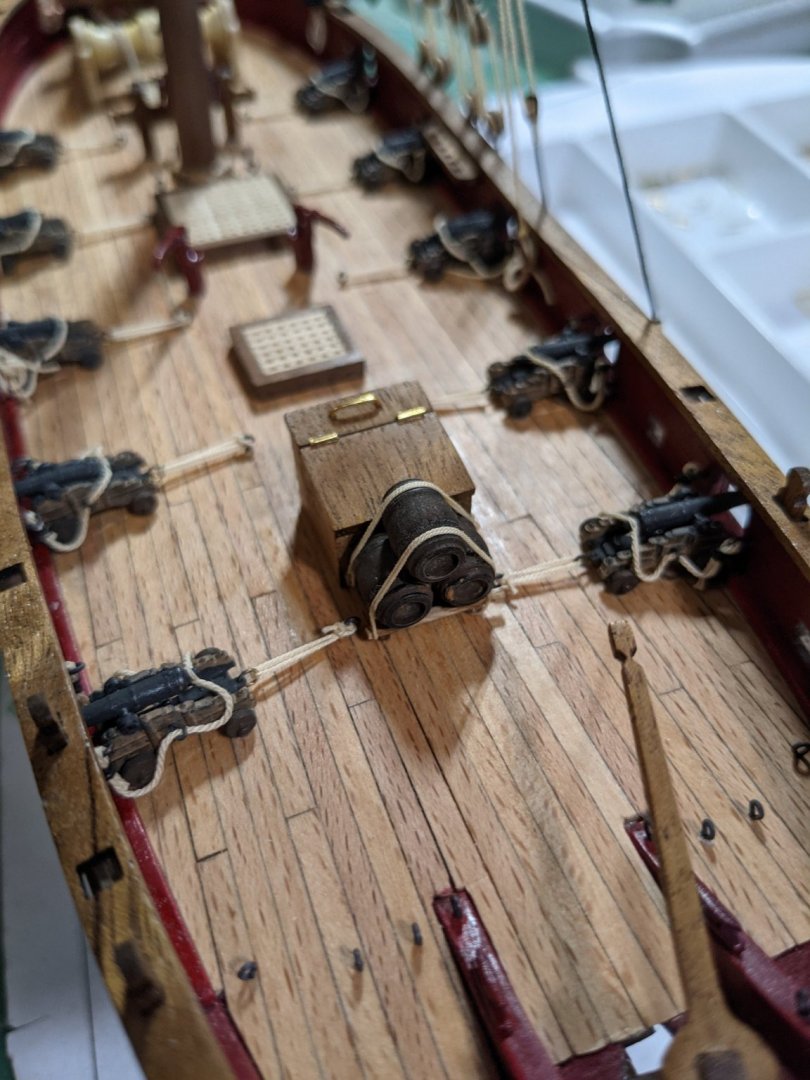
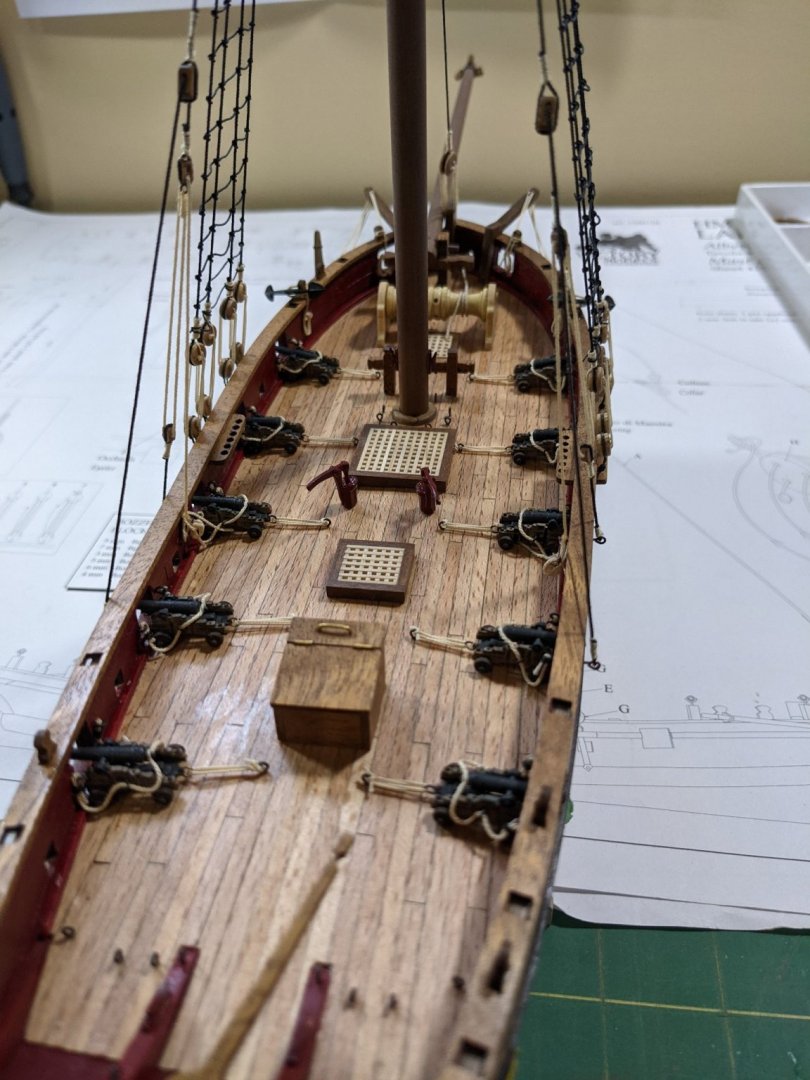
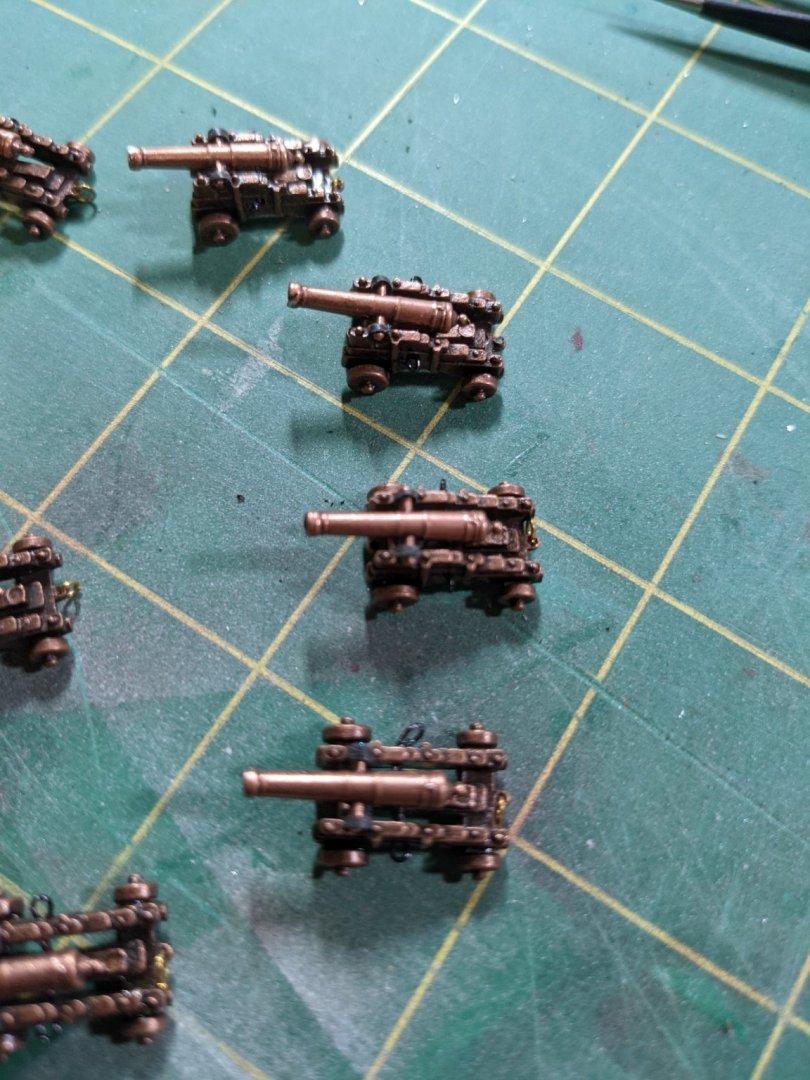
Decided to make a small carriage for 3 of the barrels and mounted them before going forward.
- 28 replies
-
- 4
-
-
- Amati
- Lady Nelson
- (and 2 more)
-
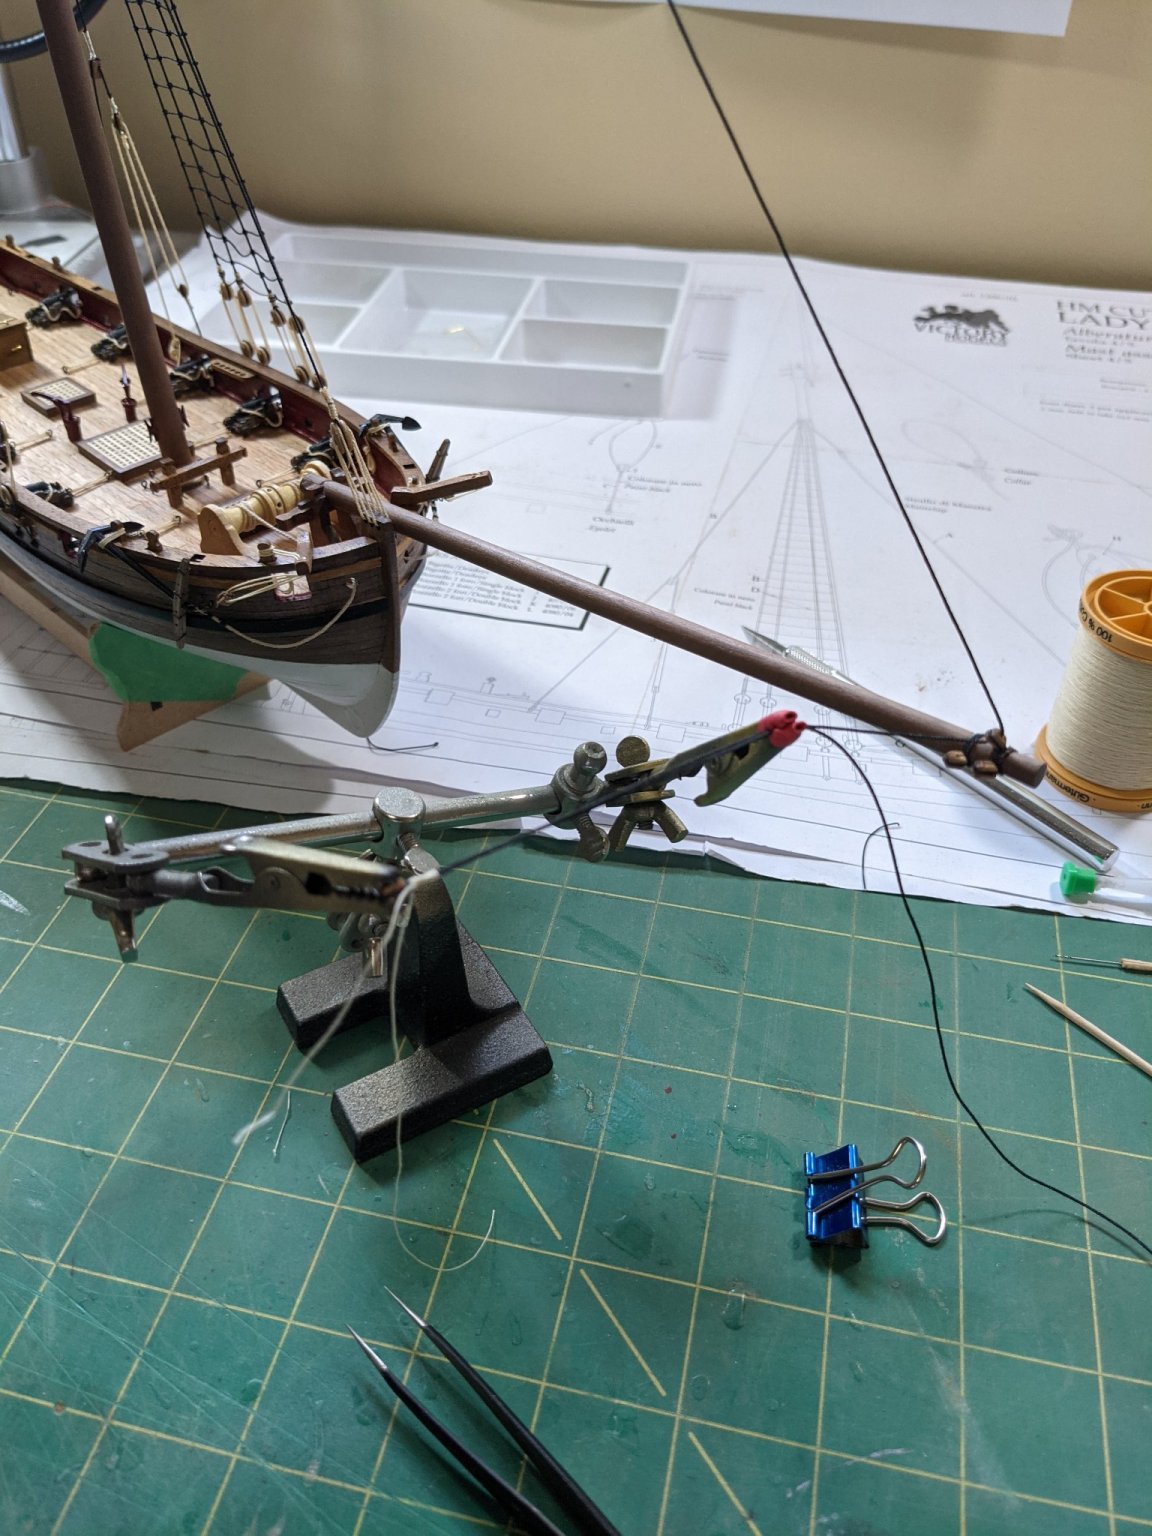
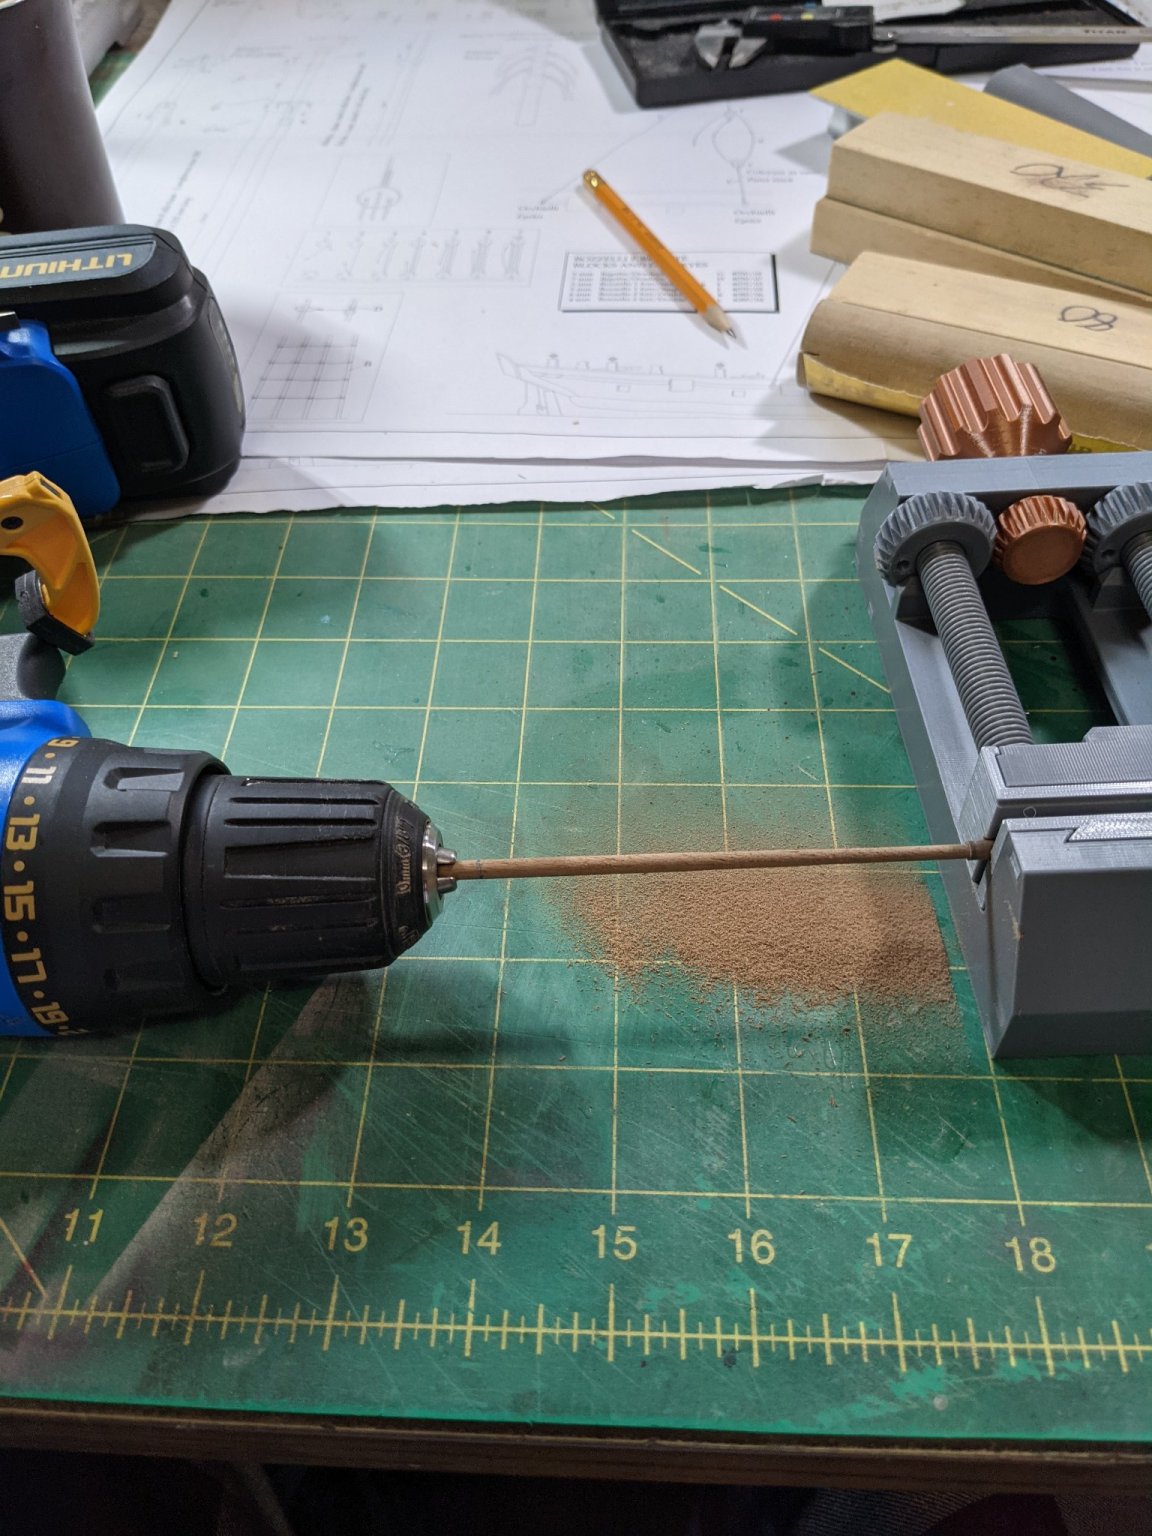
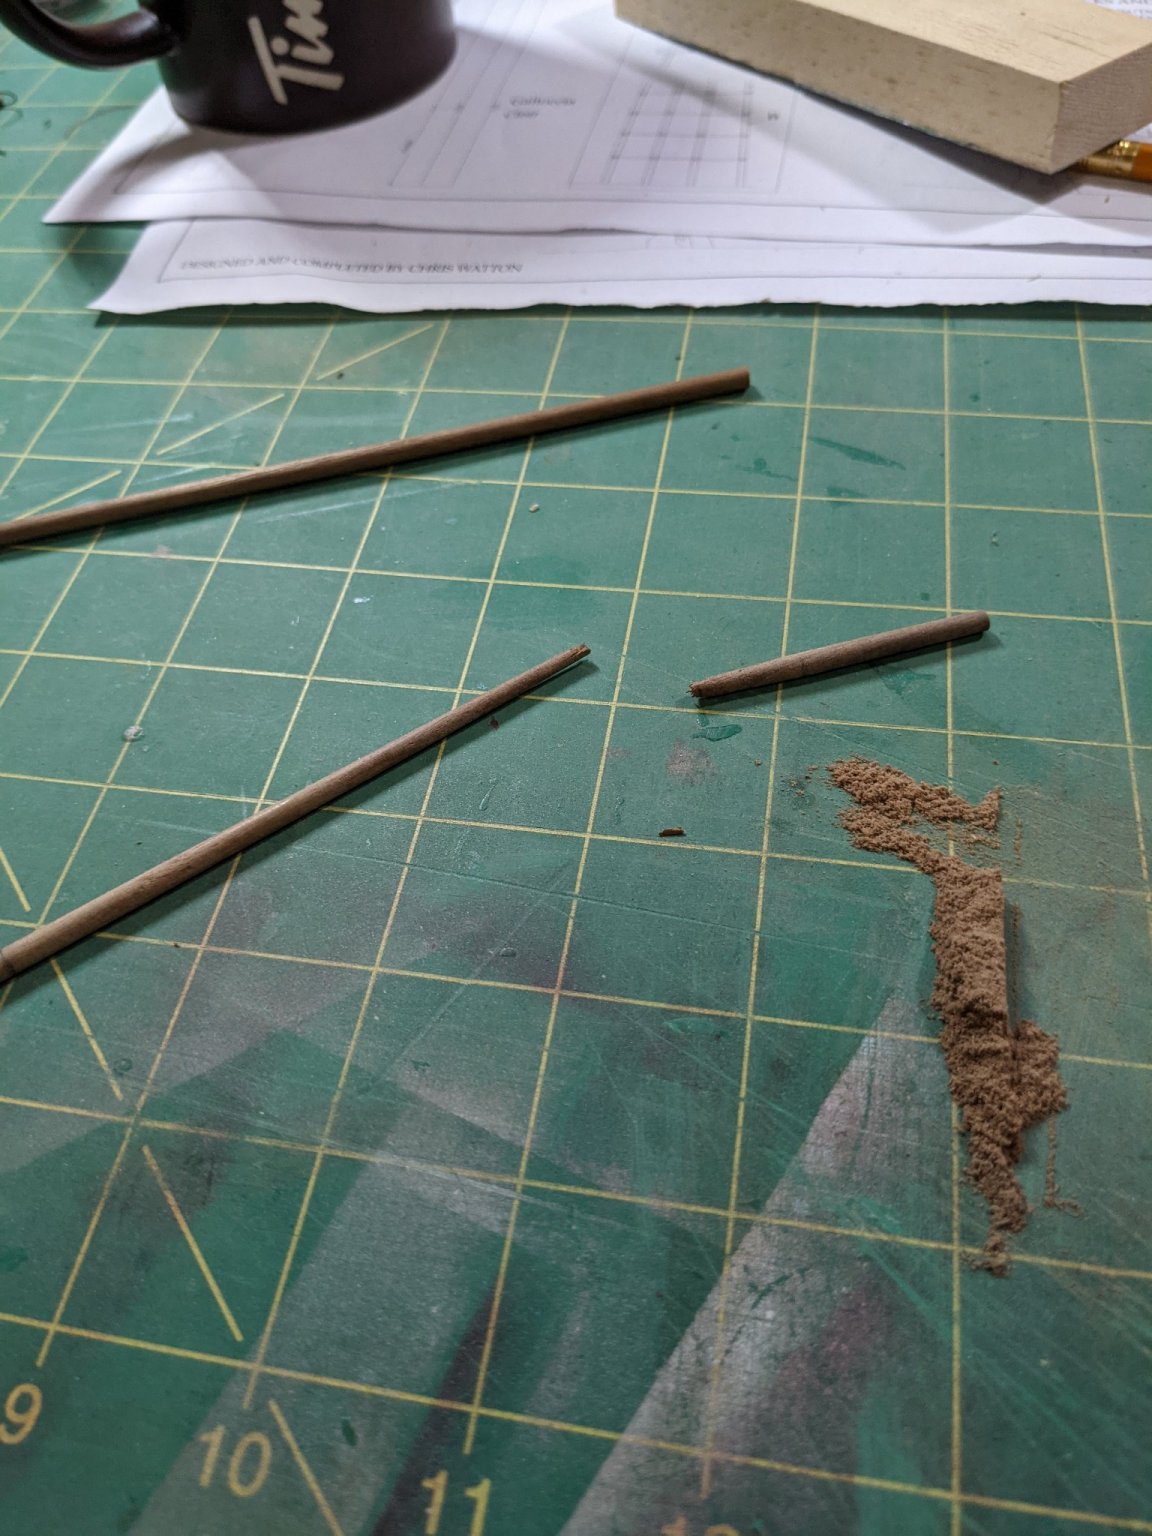
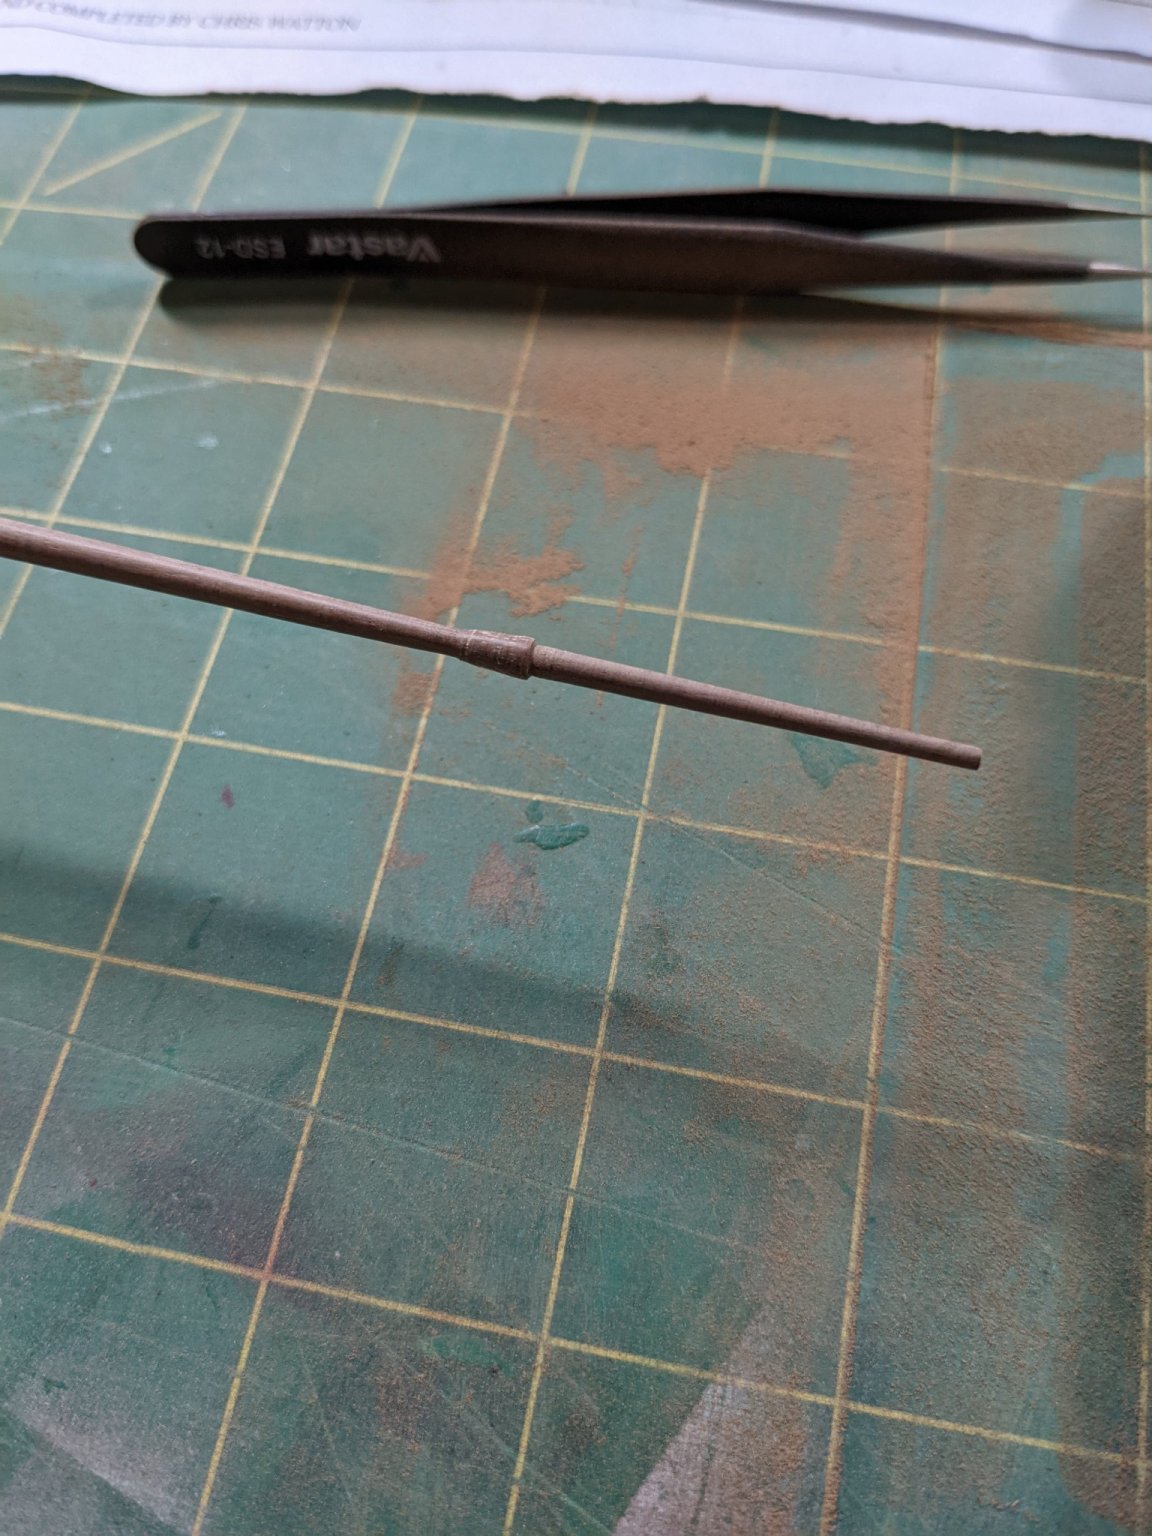
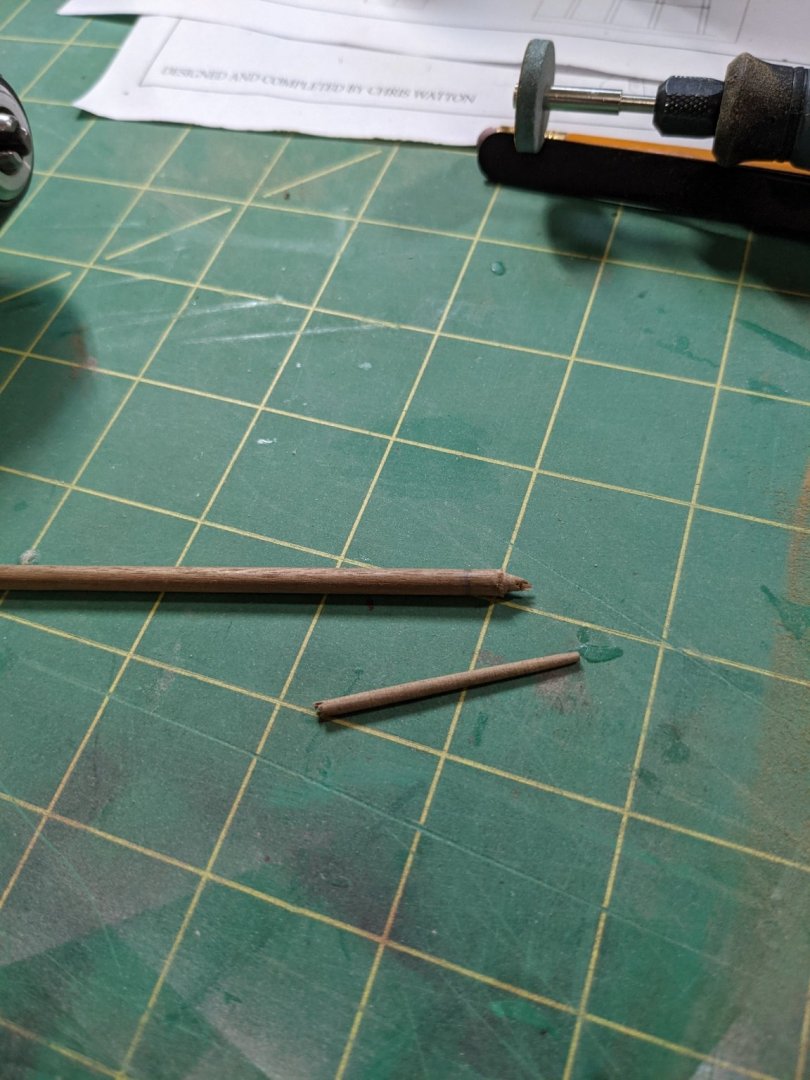
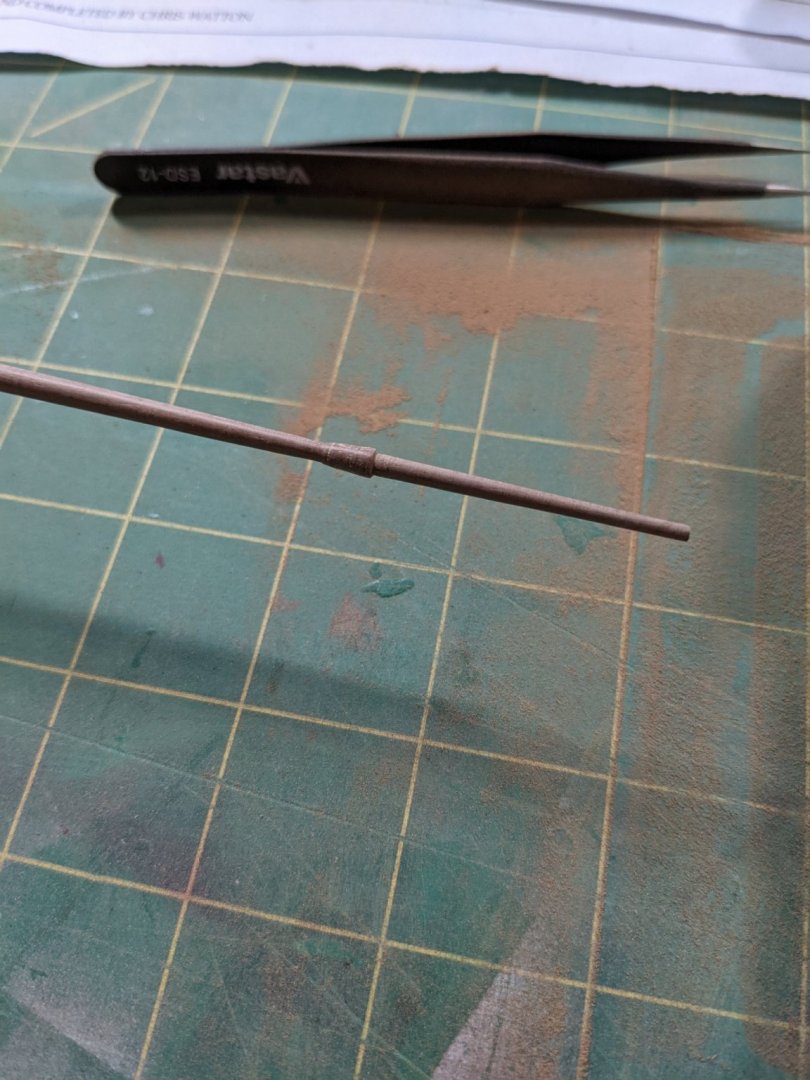
Turning the top mast piece with a drill and files: Broke first one as I got a little heavy handed. Lets try this again. Opps broke again! OK went and did a third and went very gentle. Third times a charm.


- 28 replies
-
- 3
-
-
- Amati
- Lady Nelson
- (and 2 more)
-
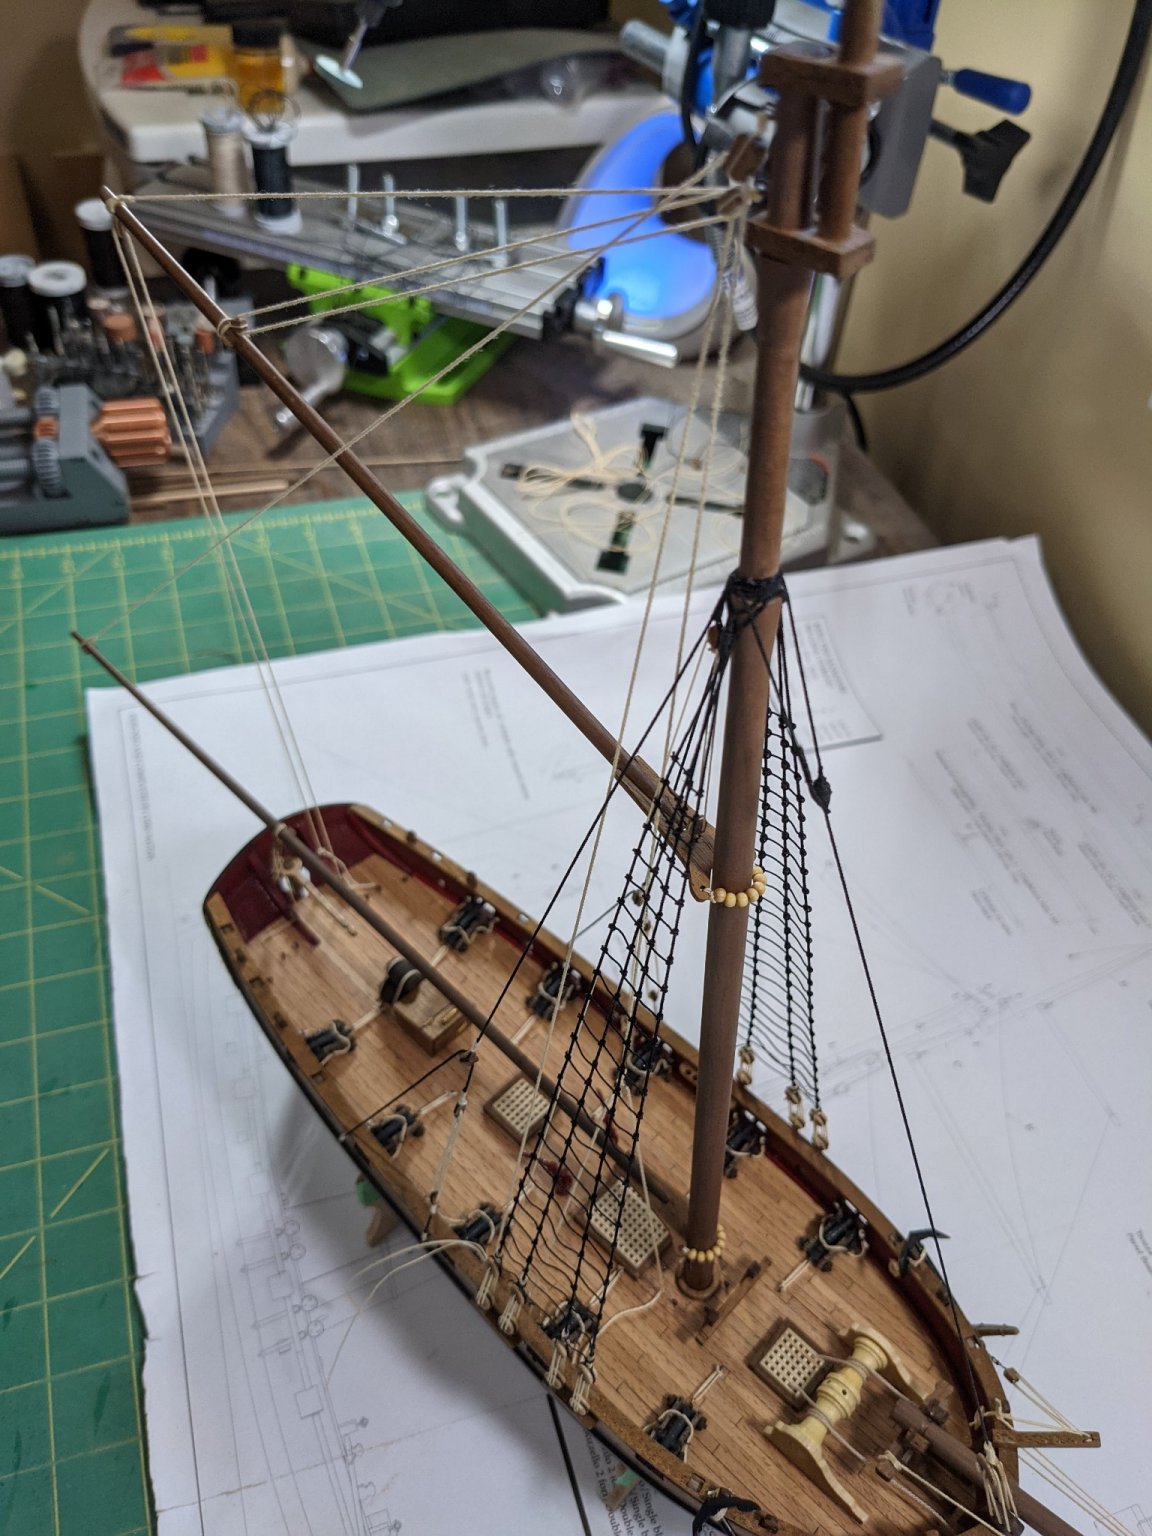
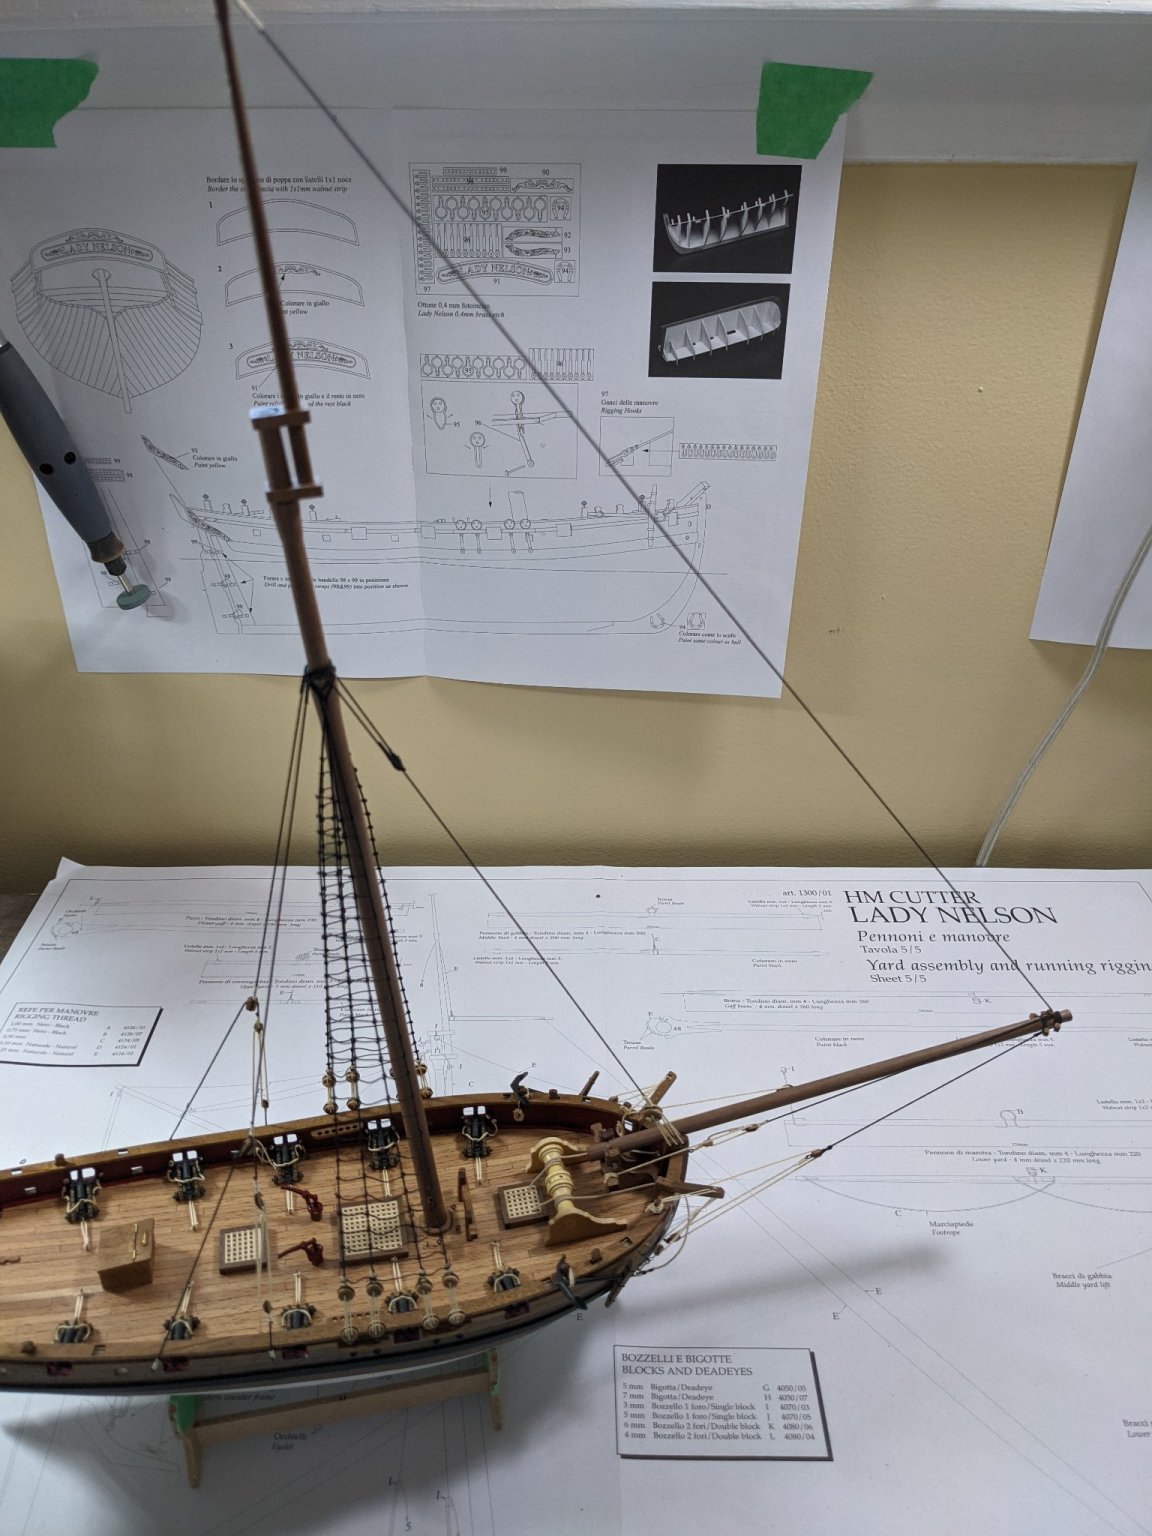
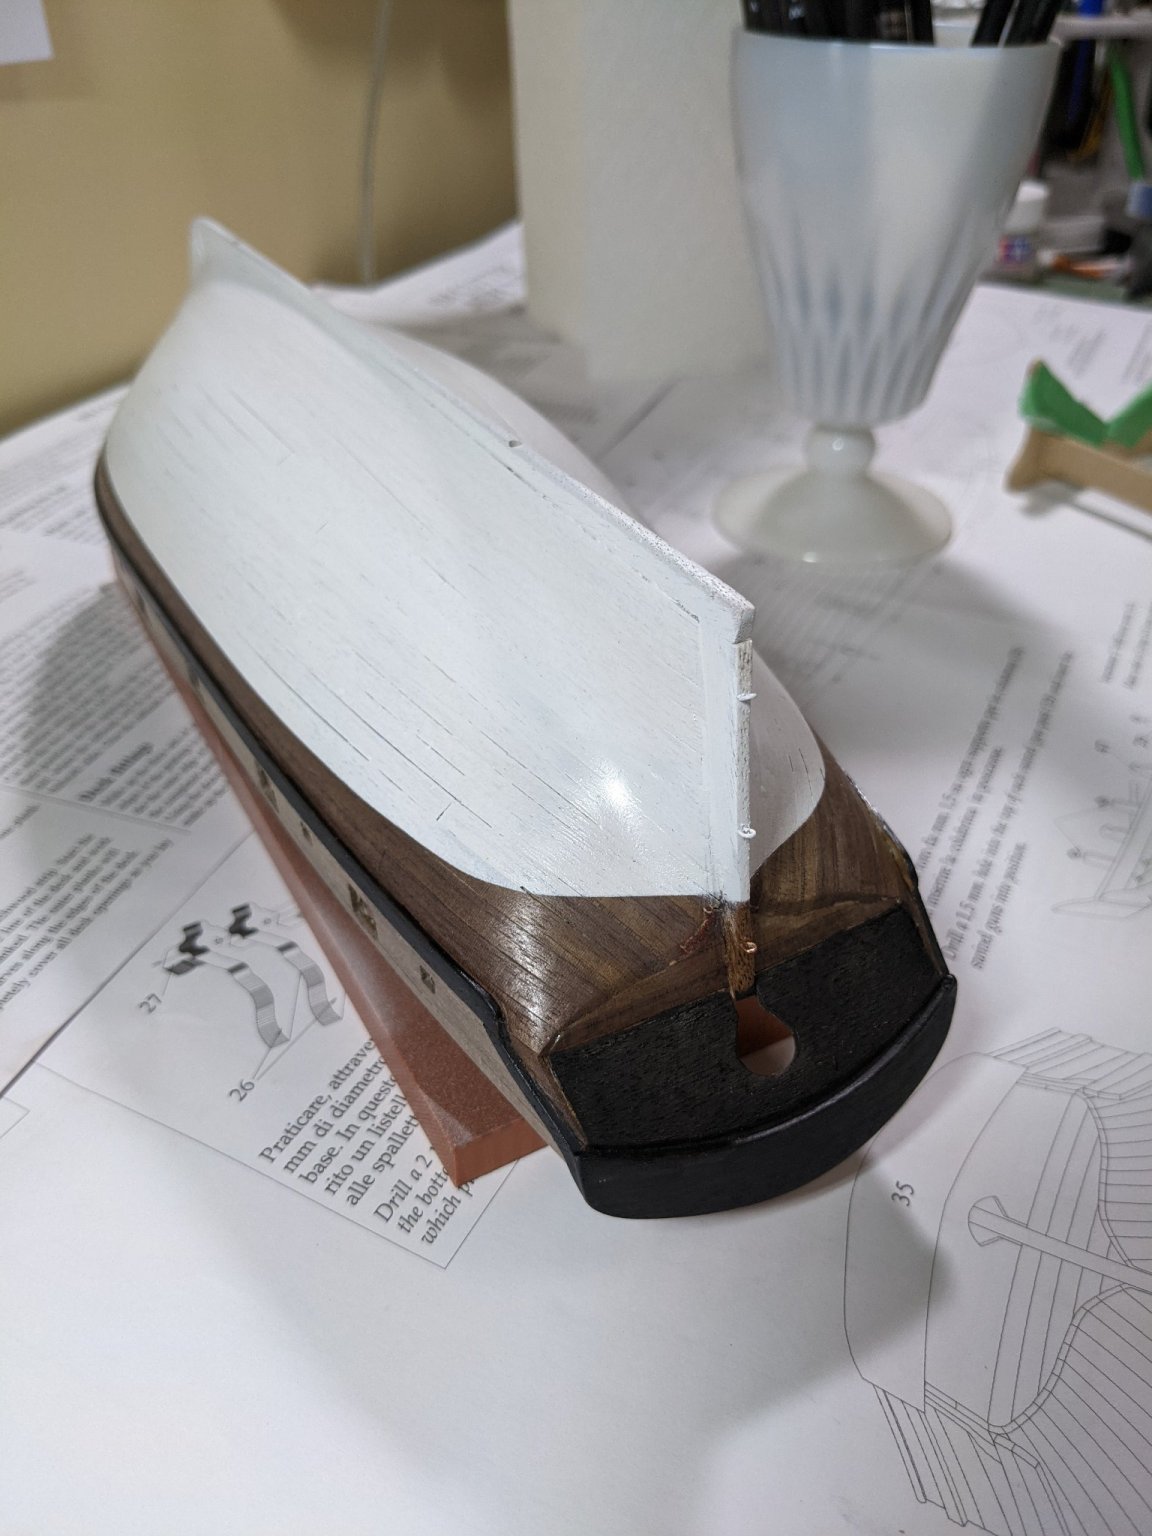
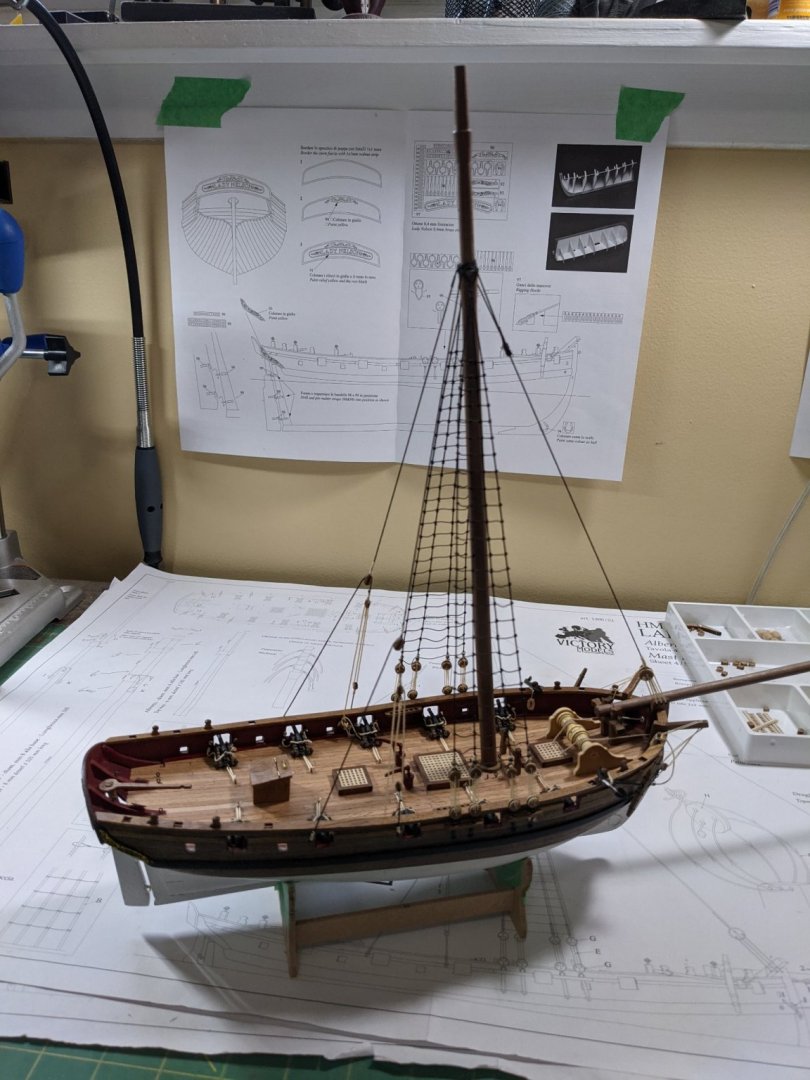
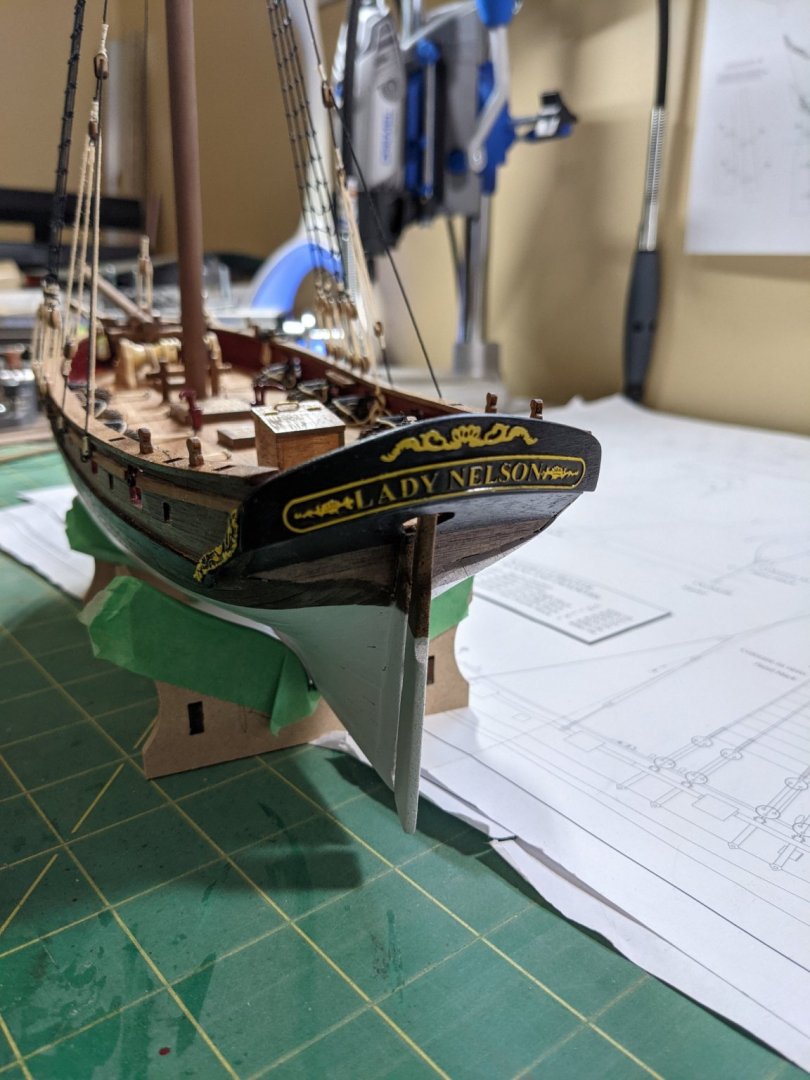
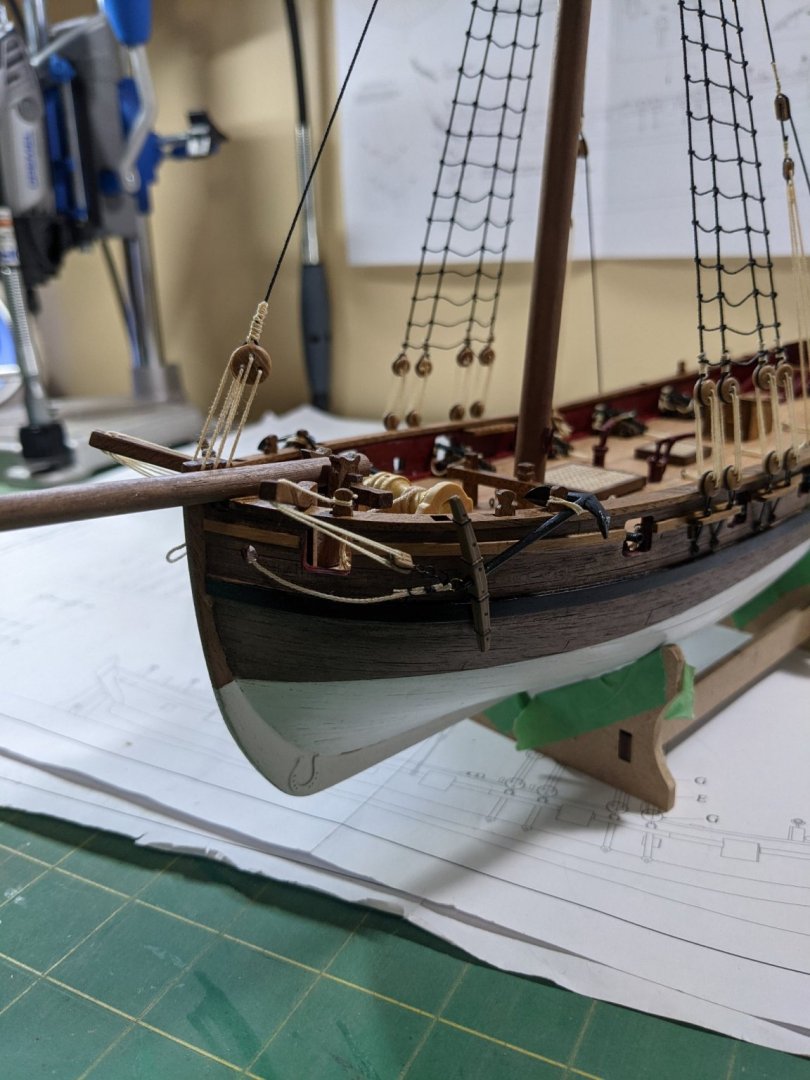
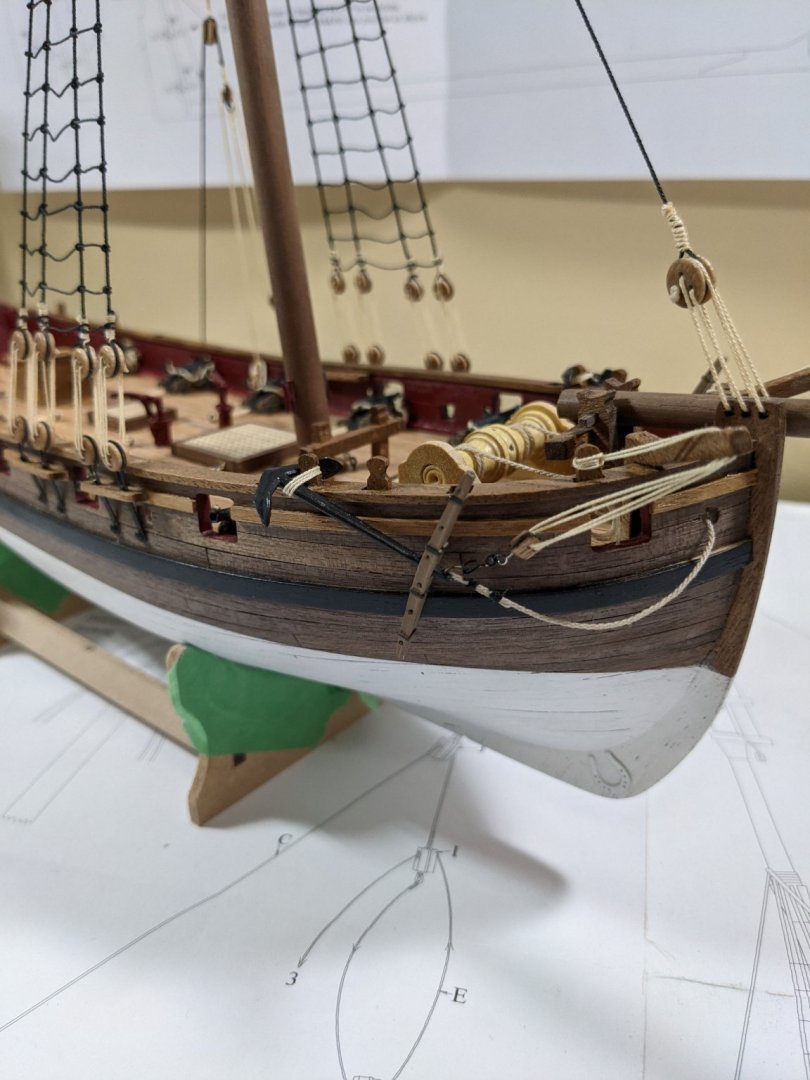
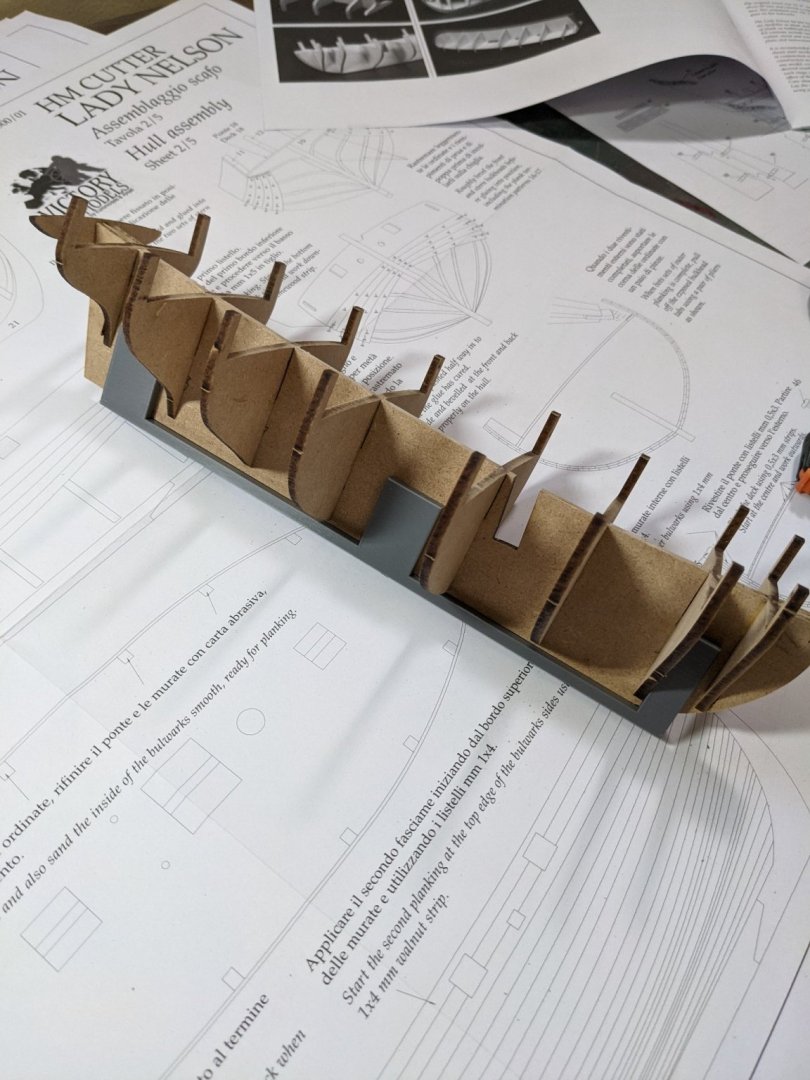
So catching up here is where I am at with the build so far.
- 28 replies
-
- 2
-
-
- Amati
- Lady Nelson
- (and 2 more)
-
Thanks Glenn. I have a large magnetic build board I use for my RC Aircraft builds.
- 28 replies
-
- 1
-
-
- Amati
- Lady Nelson
- (and 2 more)
-
Man these cannons are small! I used a small piece it wire sheilding to attach the cannons to the bases.
- 28 replies
-
- 1
-
-
- Amati
- Lady Nelson
- (and 2 more)
-
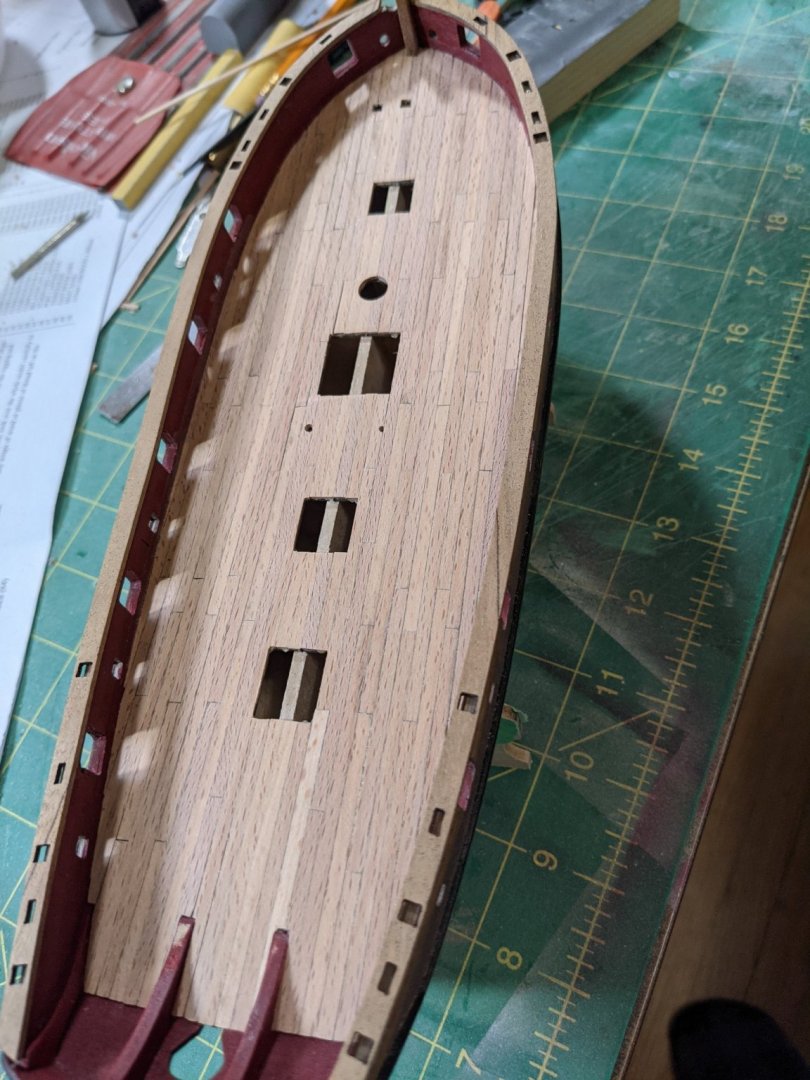
Deck planked and insides painted. ( I should have taken more pictures during these steps but wasn't sure I was going to do a log)
- 28 replies
-
- 1
-
-
- Amati
- Lady Nelson
- (and 2 more)
-
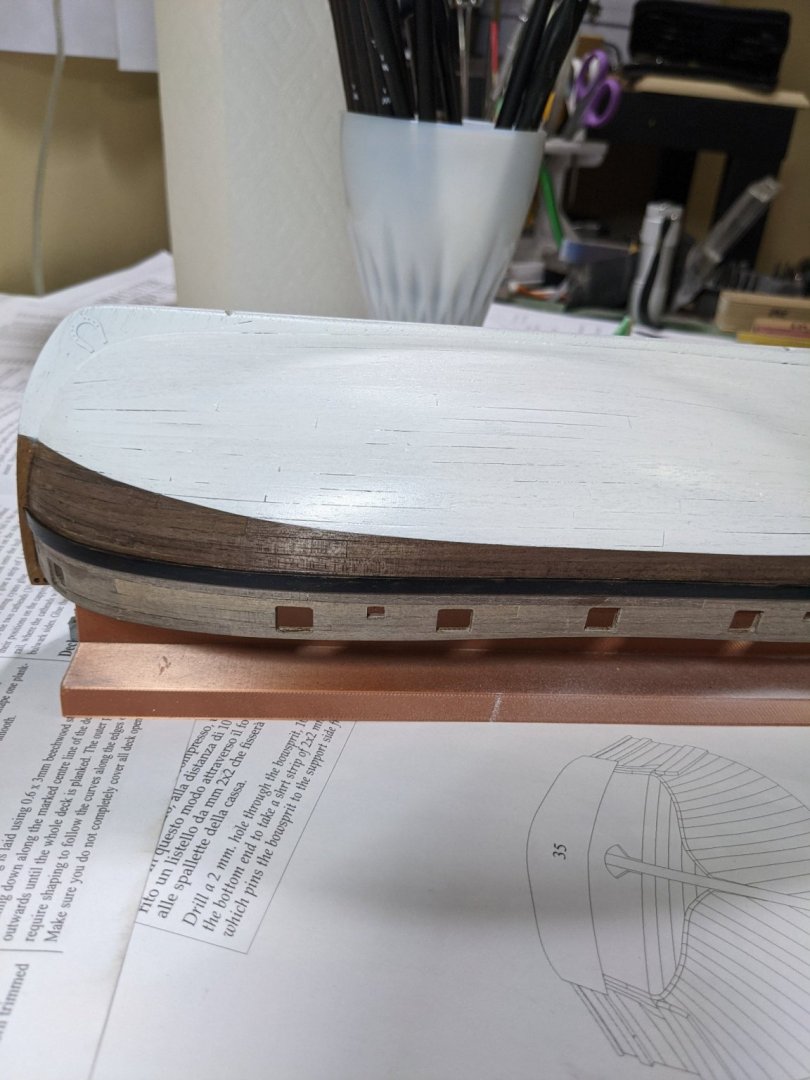
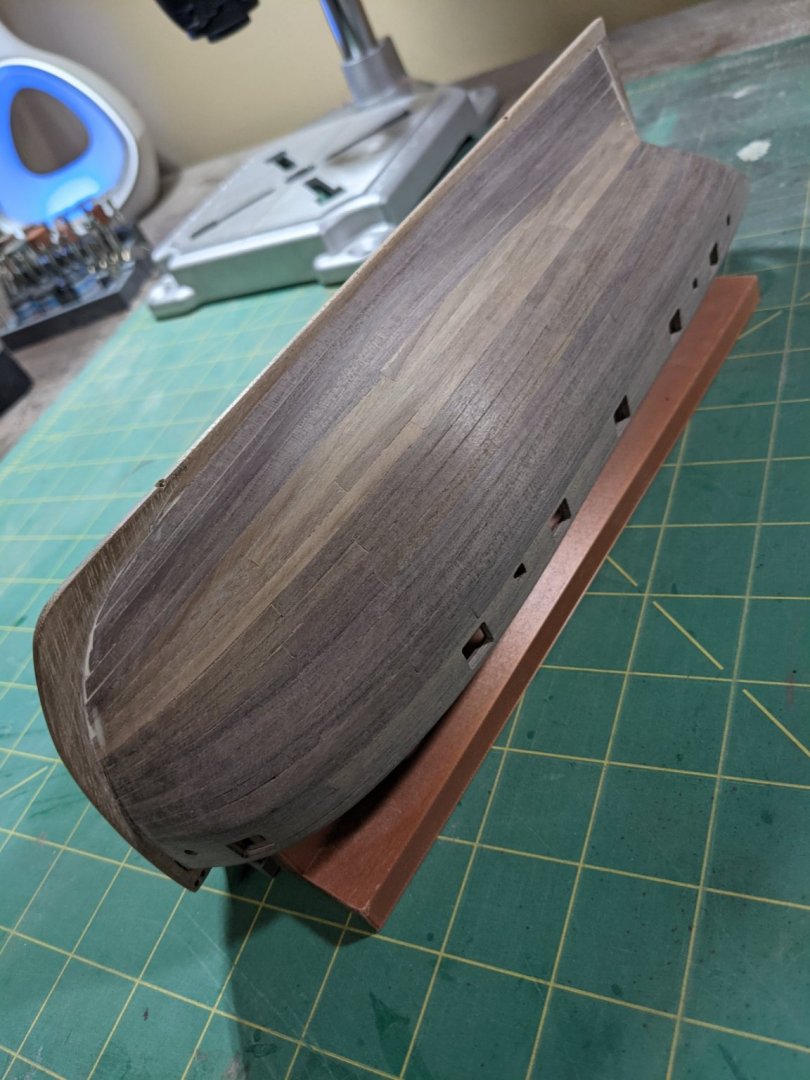
Wasn't worried about the different colors of the planking as I am painting the waterline anyway. Used Tamiya tape and Badger Styrens white for this as I had it.

- 28 replies
-
- 1
-
-
- Amati
- Lady Nelson
- (and 2 more)
-
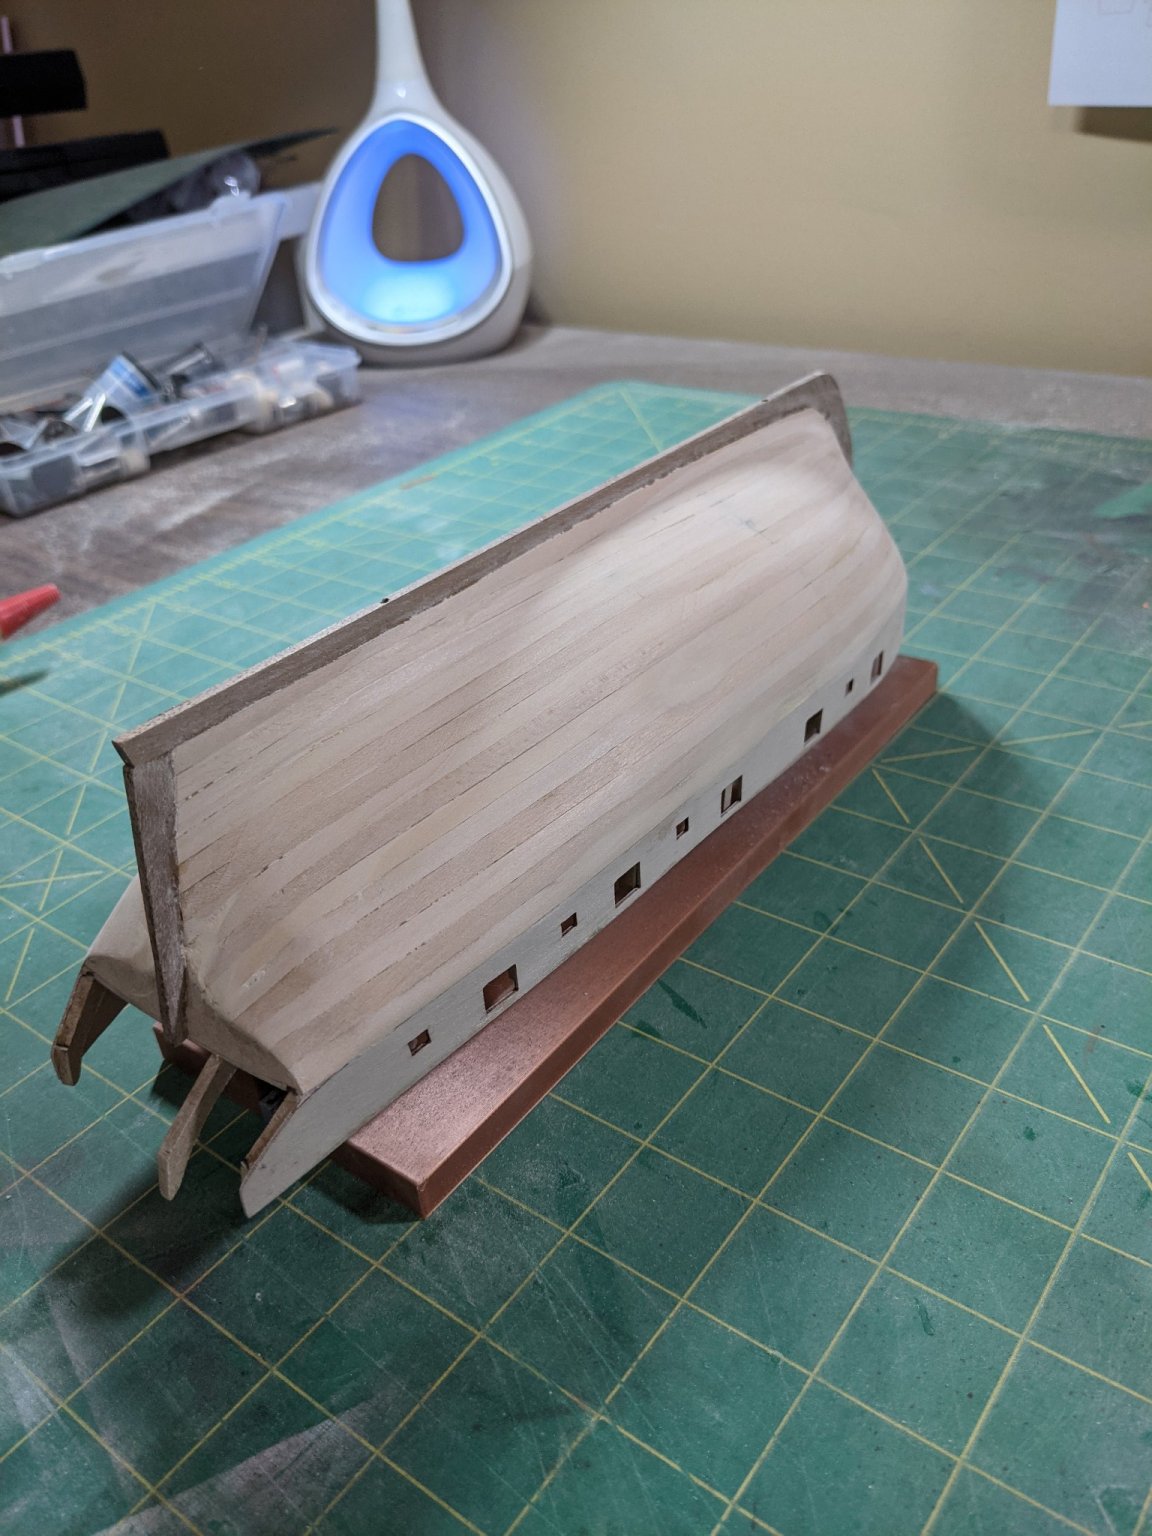
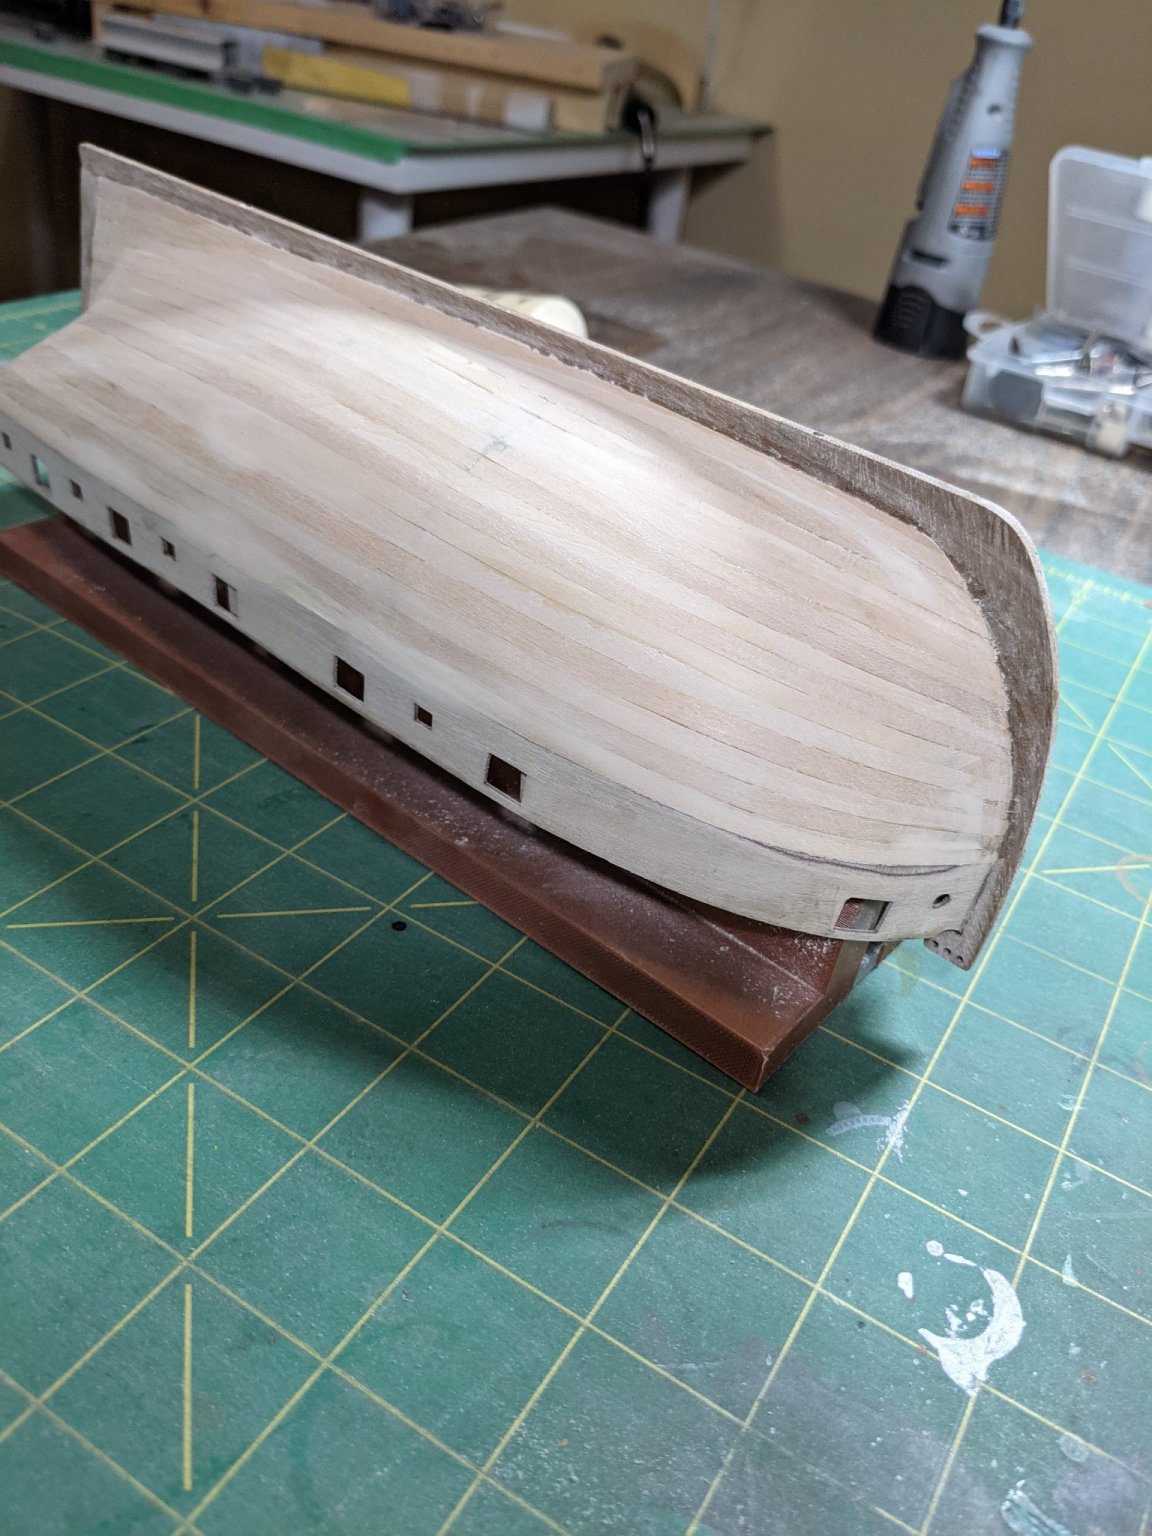
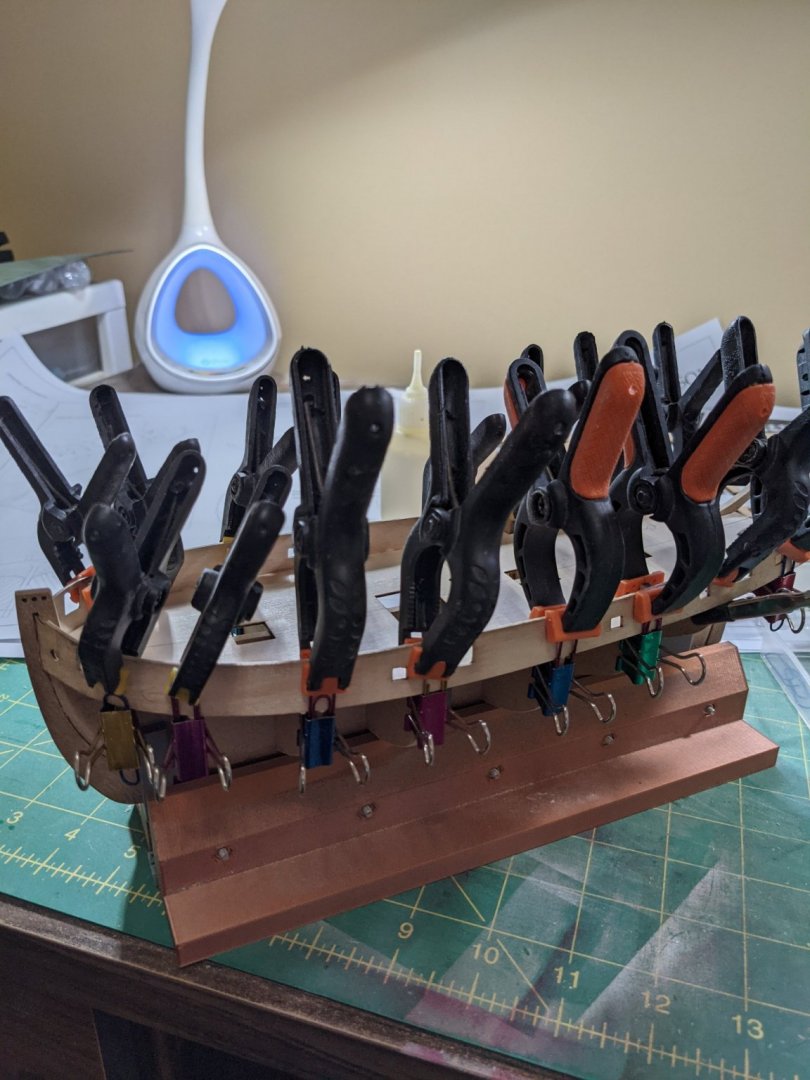
Second planking pictures and used the cutout I made for the gun port piece to help ben the planks.


- 28 replies
-
- 1
-
-
- Amati
- Lady Nelson
- (and 2 more)
-
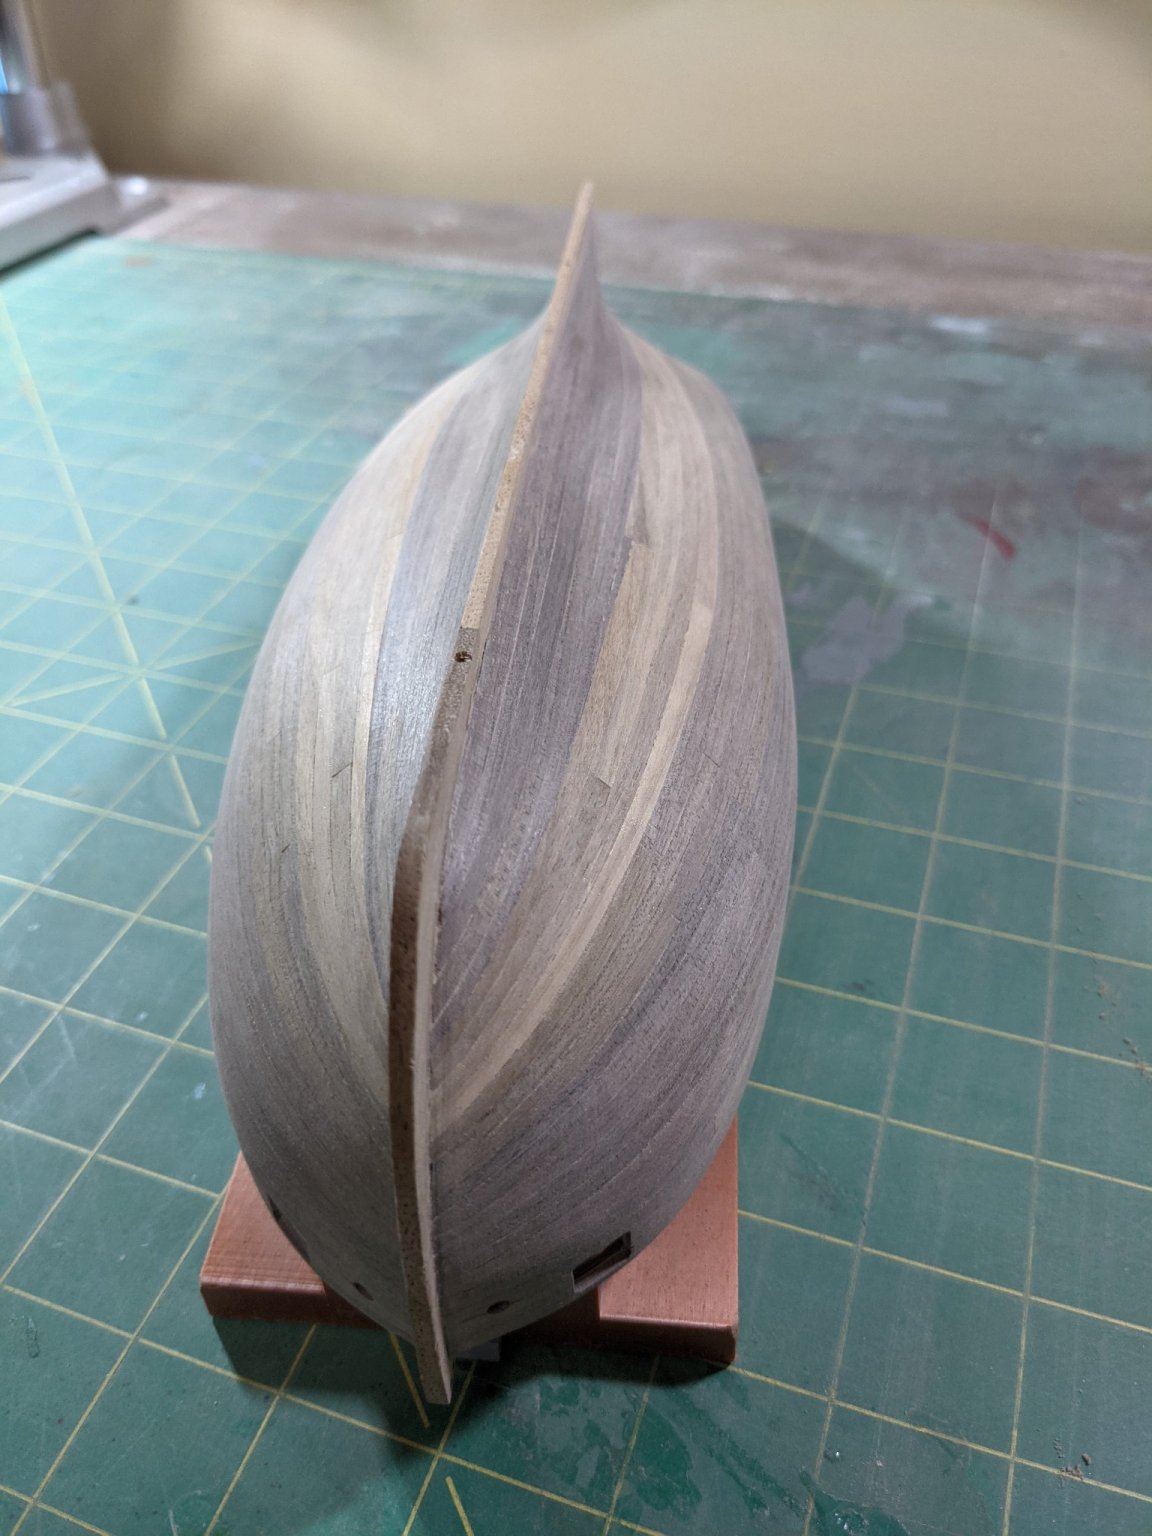
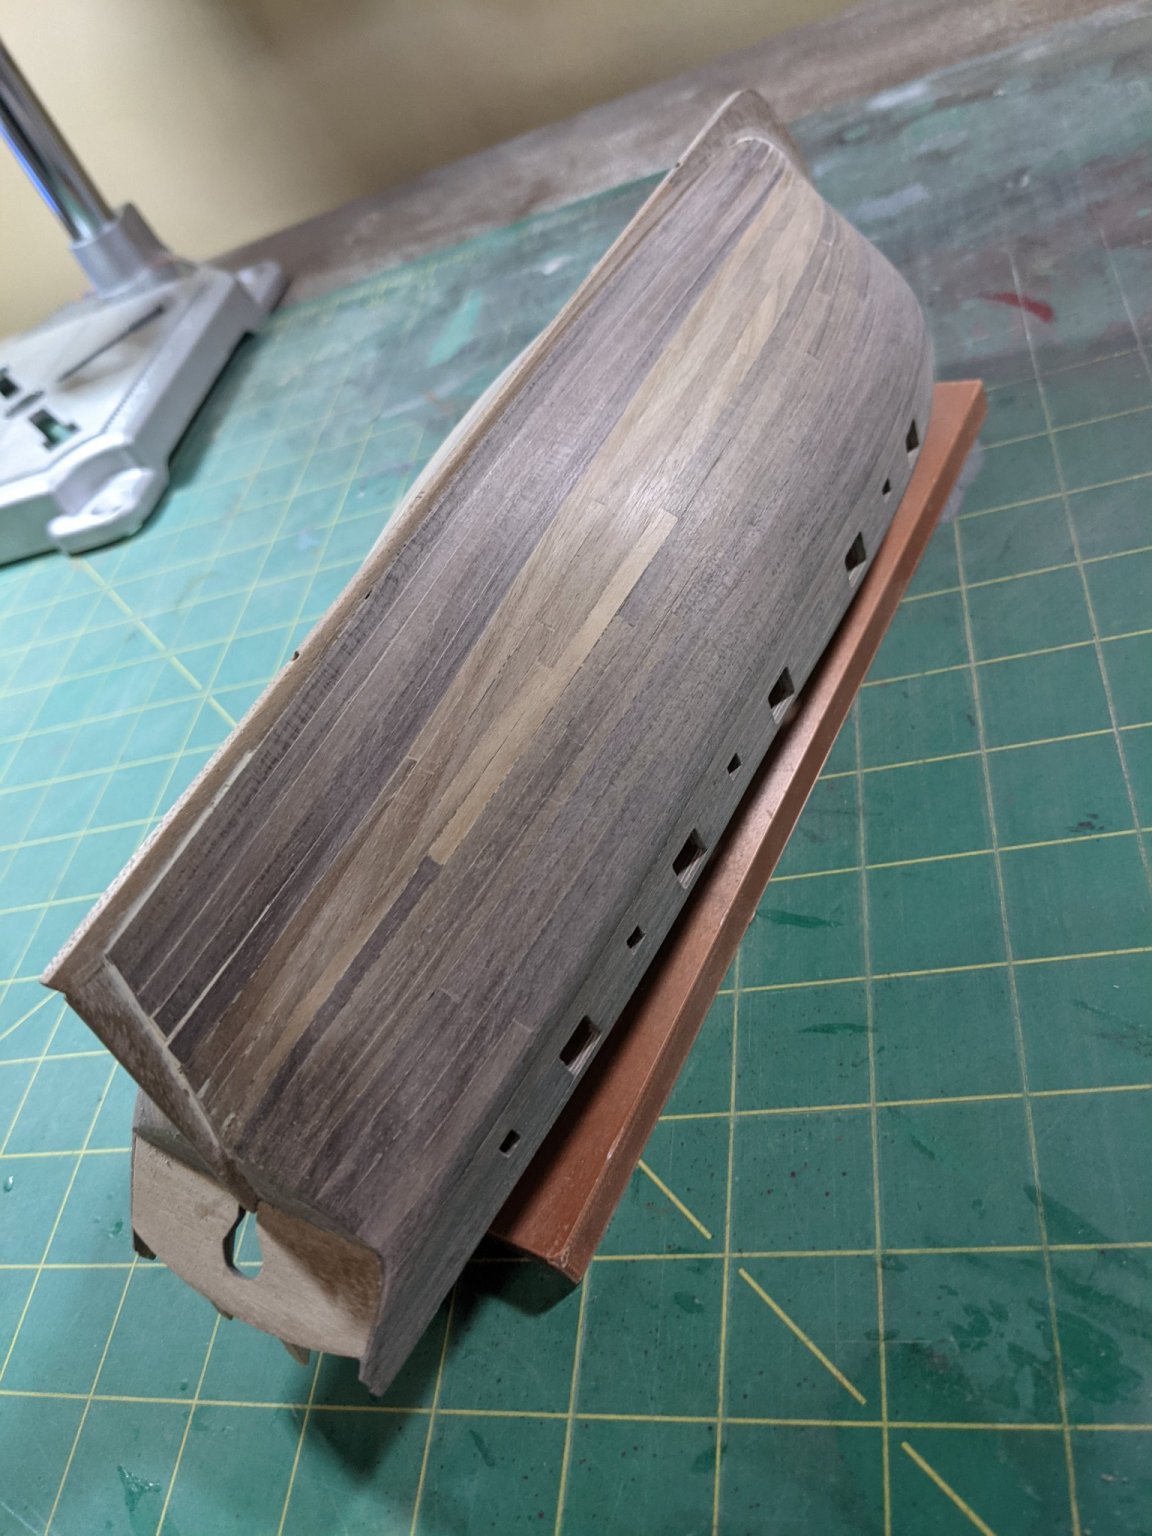
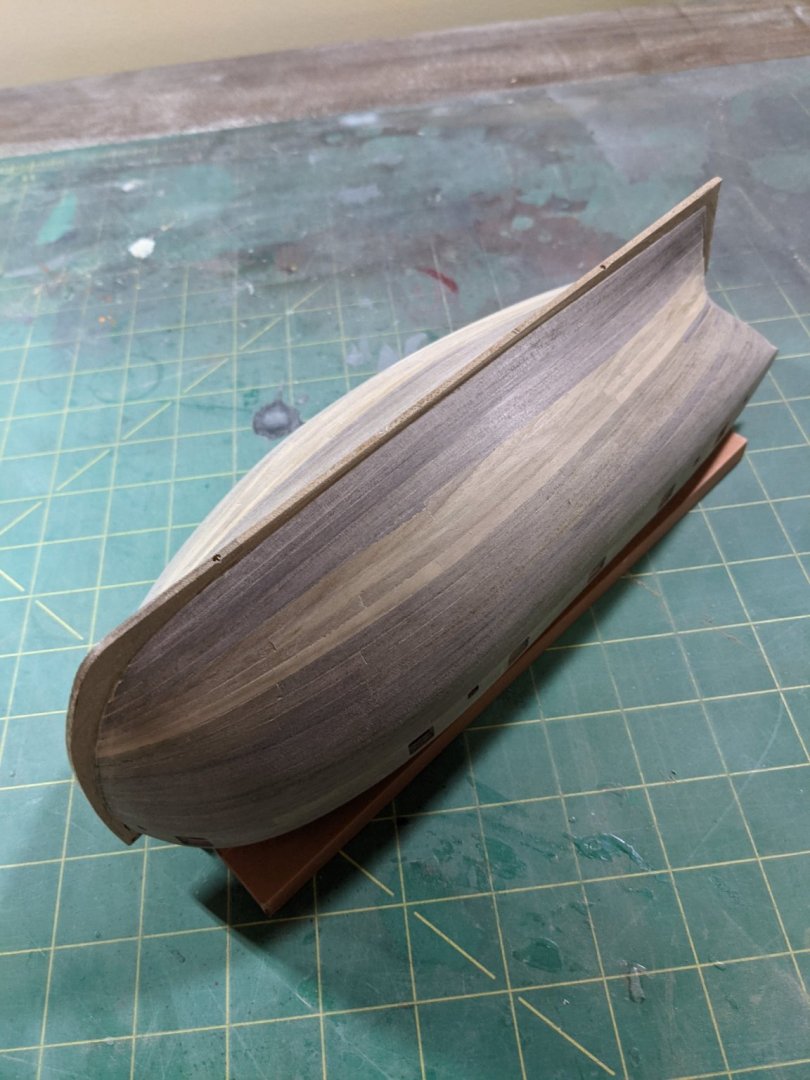
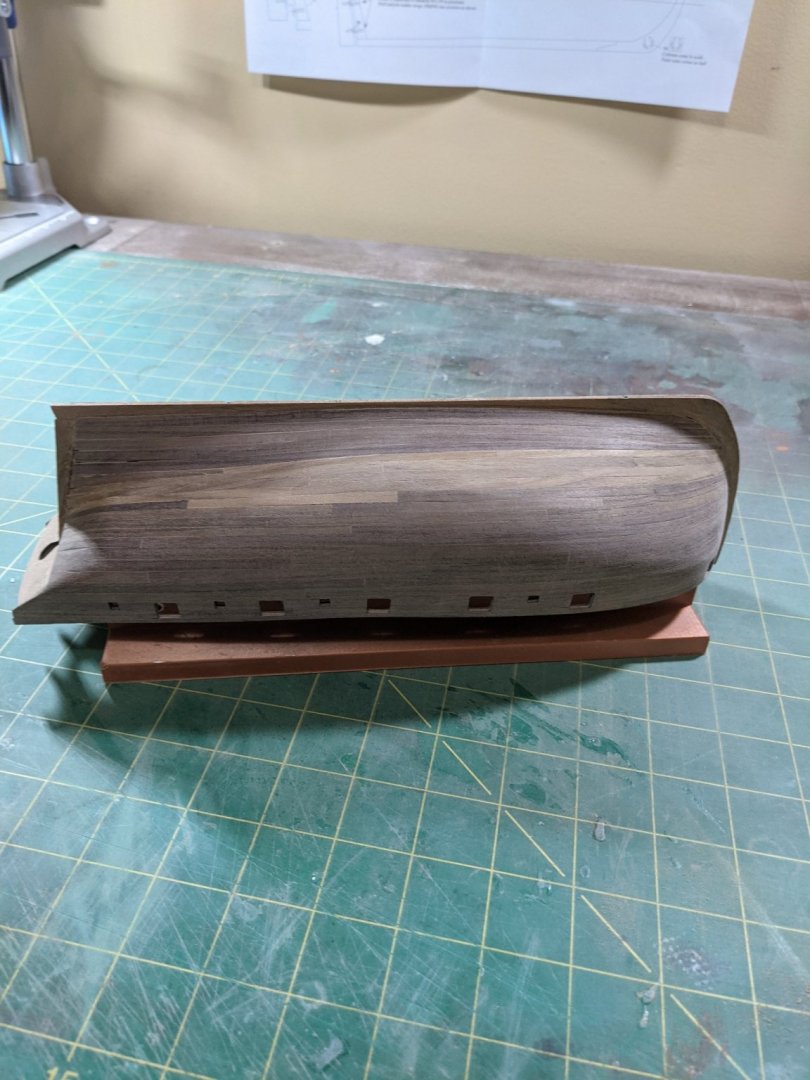
Not going to bore you with all the planking steps be here is the completed firs planking. I am happy with it so far.


- 28 replies
-
- 1
-
-
- Amati
- Lady Nelson
- (and 2 more)
-
Ran into and issue and forgot to make the rabit line so did that and started planking.

- 28 replies
-
- 1
-
-
- Amati
- Lady Nelson
- (and 2 more)
-
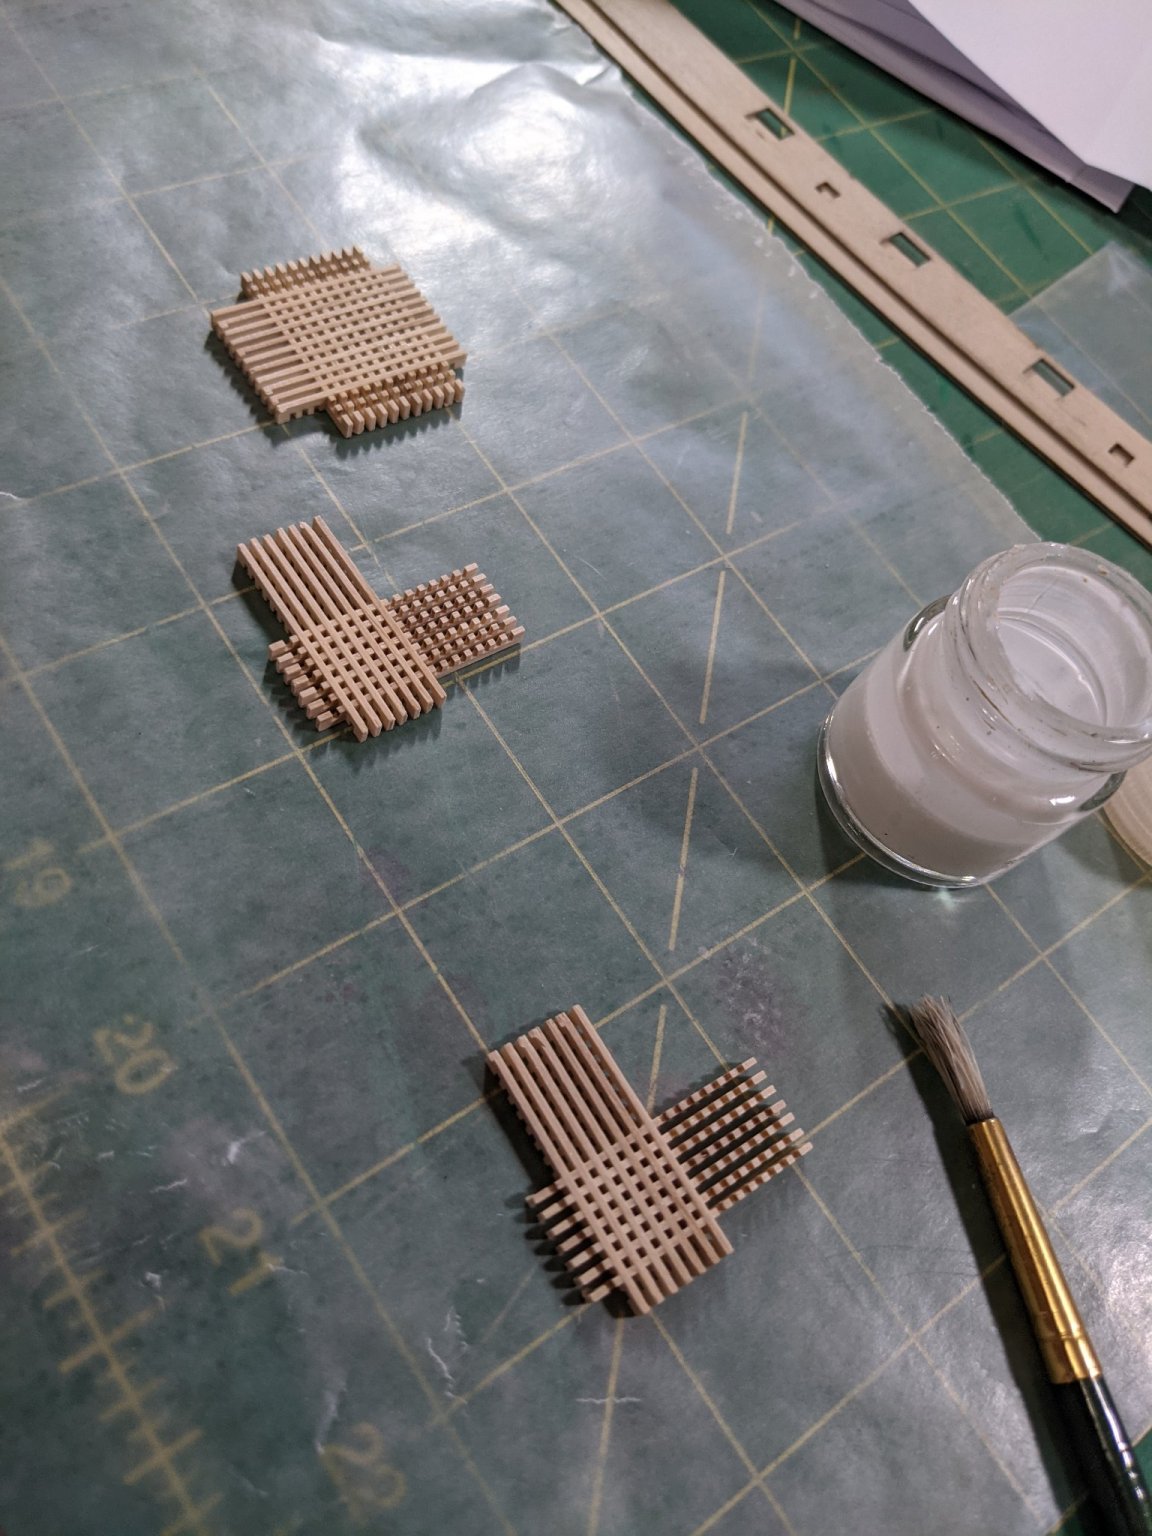
While all that was drying I made some of the deck furniture. To glue the gratings I used a 50-50 mix of modge podge and water and brushed it on. This worked real good and since it was satin and this it did hold quite well.


- 28 replies
-
- 1
-
-
- Amati
- Lady Nelson
- (and 2 more)
-
Side pieces glued on and left to dry. This went really well except a small crack on the port side around the forward gun port at the tope but with the planking it should not be noticeable and straighten out.
- 28 replies
-
- 1
-
-
- Amati
- Lady Nelson
- (and 2 more)
-
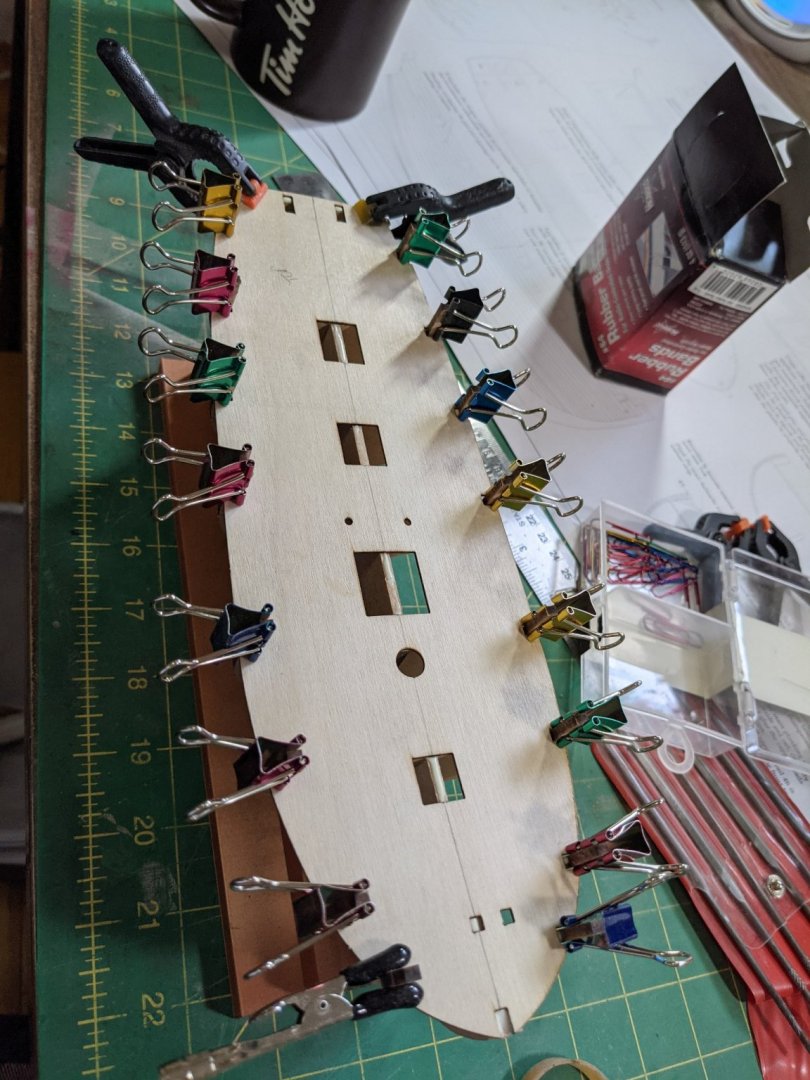
For the gun ports pieces I used the scrap to trace out the curve of the deck and cut the curve in a scroll saw. Wetted and clamped the pieces of this and used my iron to get them to lay with the curve and left them overnight to set.

- 28 replies
-
- 1
-
-
- Amati
- Lady Nelson
- (and 2 more)
-
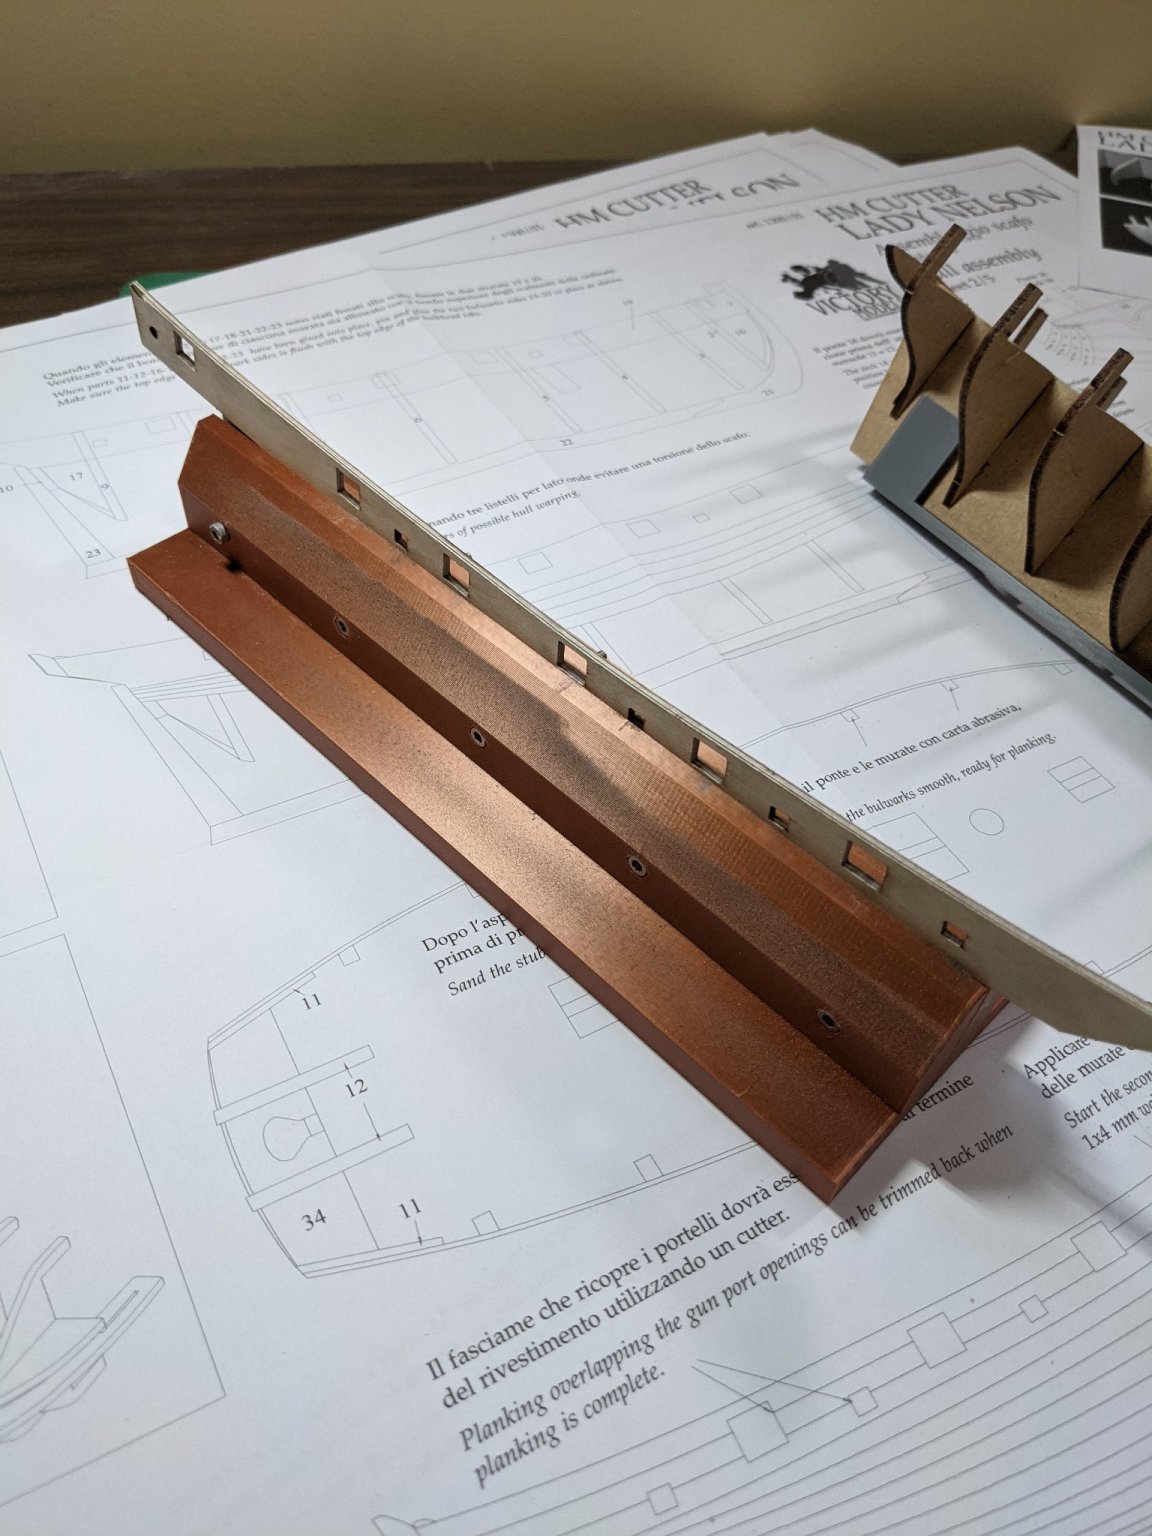
Attaching the false deck after making sure everything was perfectly square.
- 28 replies
-
- 1
-
-
- Amati
- Lady Nelson
- (and 2 more)
-
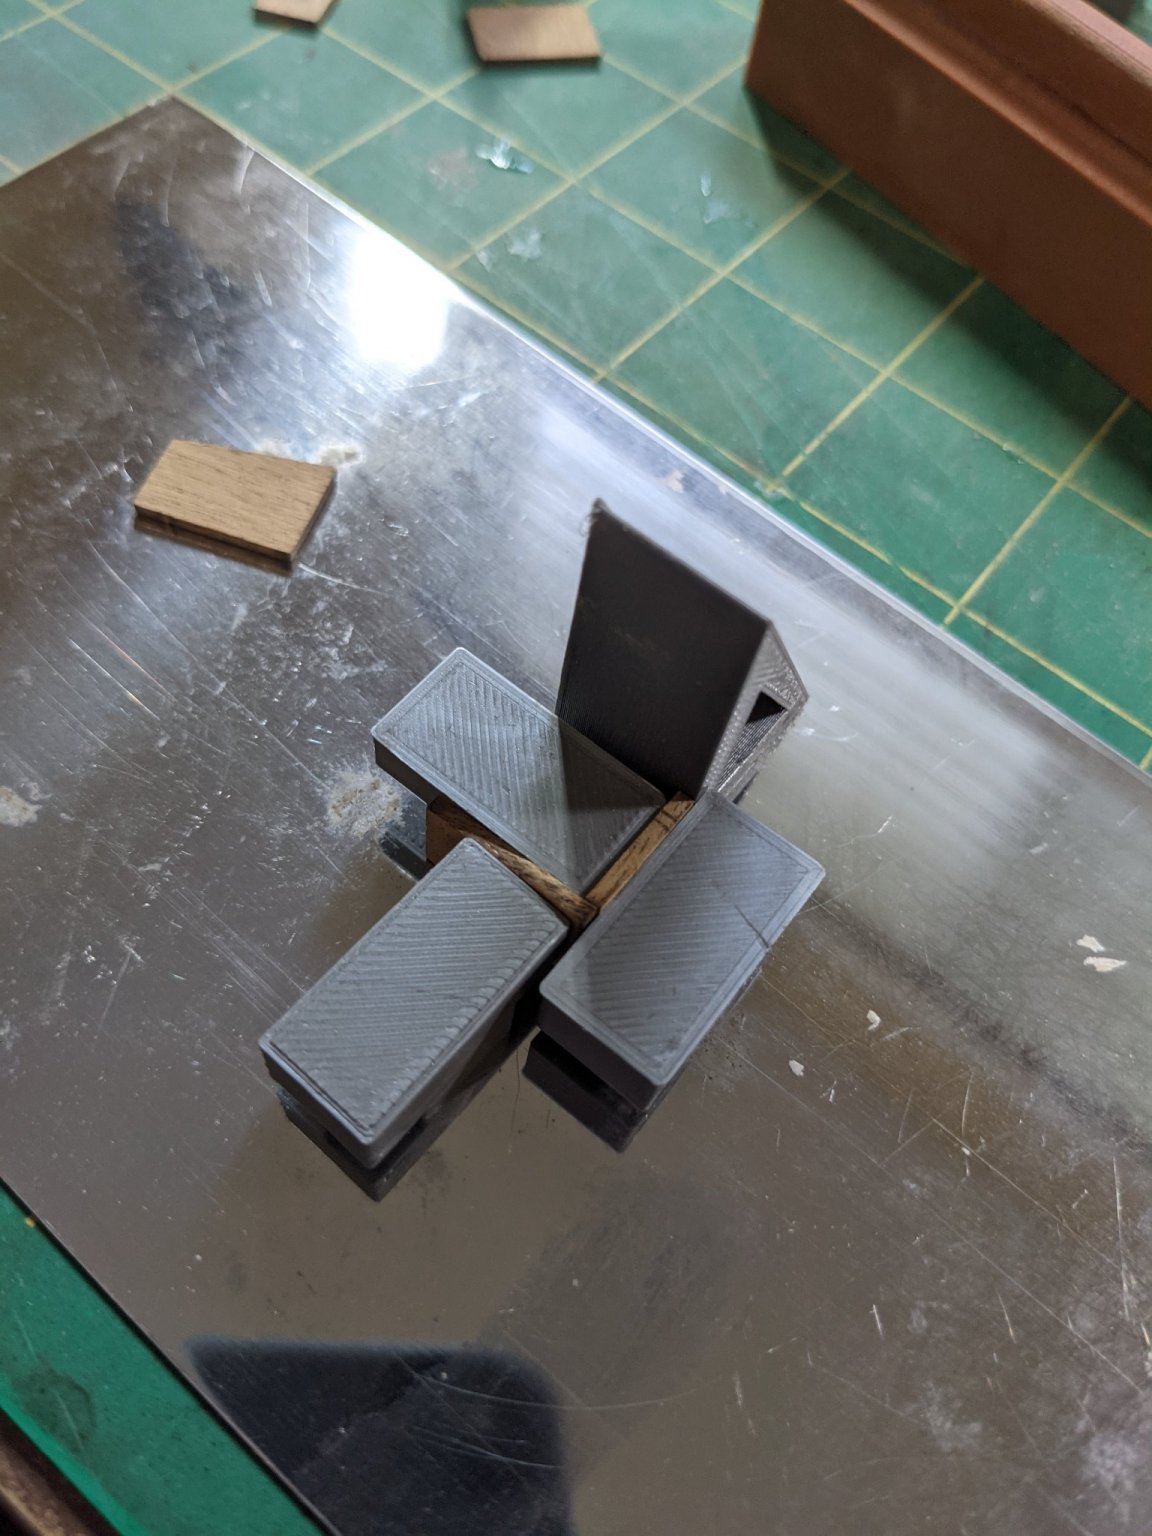
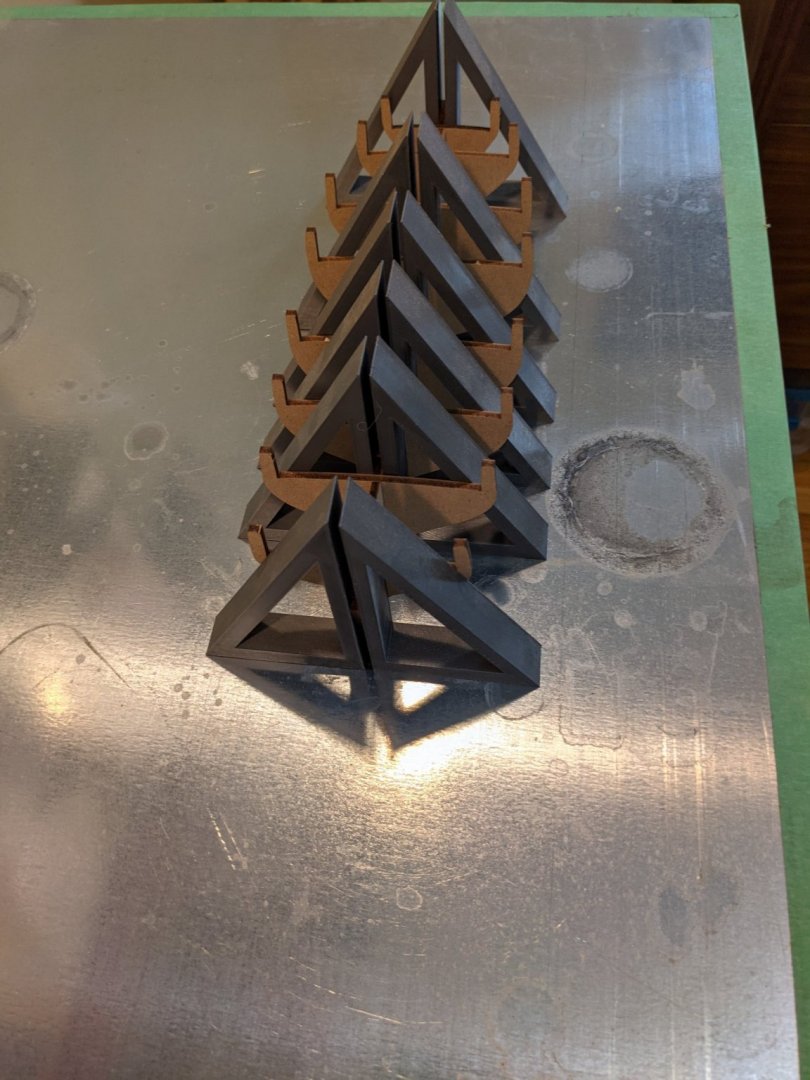
Printed up a small clamp to hold everything for working.

- 28 replies
-
- 1
-
-
- Amati
- Lady Nelson
- (and 2 more)
-
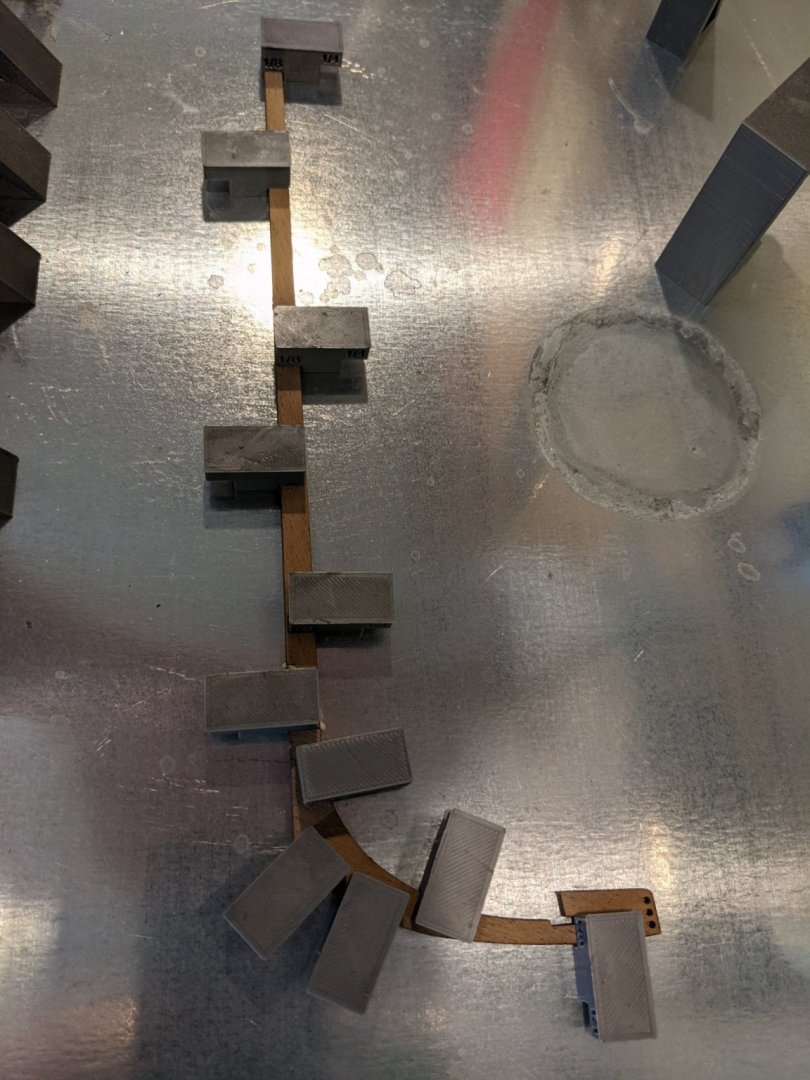
While the frame was drying overnight is did the same with the keel.
- 28 replies
-
- 1
-
-
- Amati
- Lady Nelson
- (and 2 more)
-
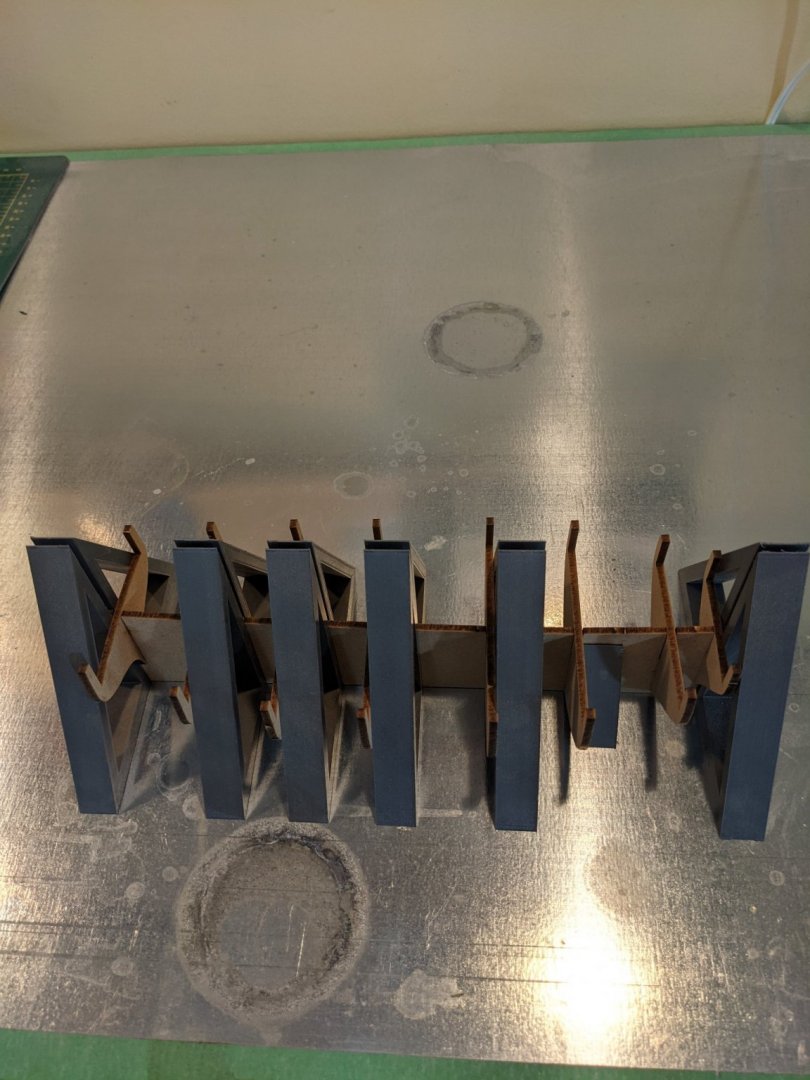
Here is the obligatory start and you will notice I used my magnetic build board to make sure I get everything straight.
- 28 replies
-
- 1
-
-
- Amati
- Lady Nelson
- (and 2 more)