(1)(1)(1)(2).jpg.a128ea4d7b02ebfc5d5eb6547e92106f.jpg)
PRS
-
Posts
372 -
Joined
-
Last visited
Content Type
Profiles
Forums
Gallery
Events
Everything posted by PRS
-
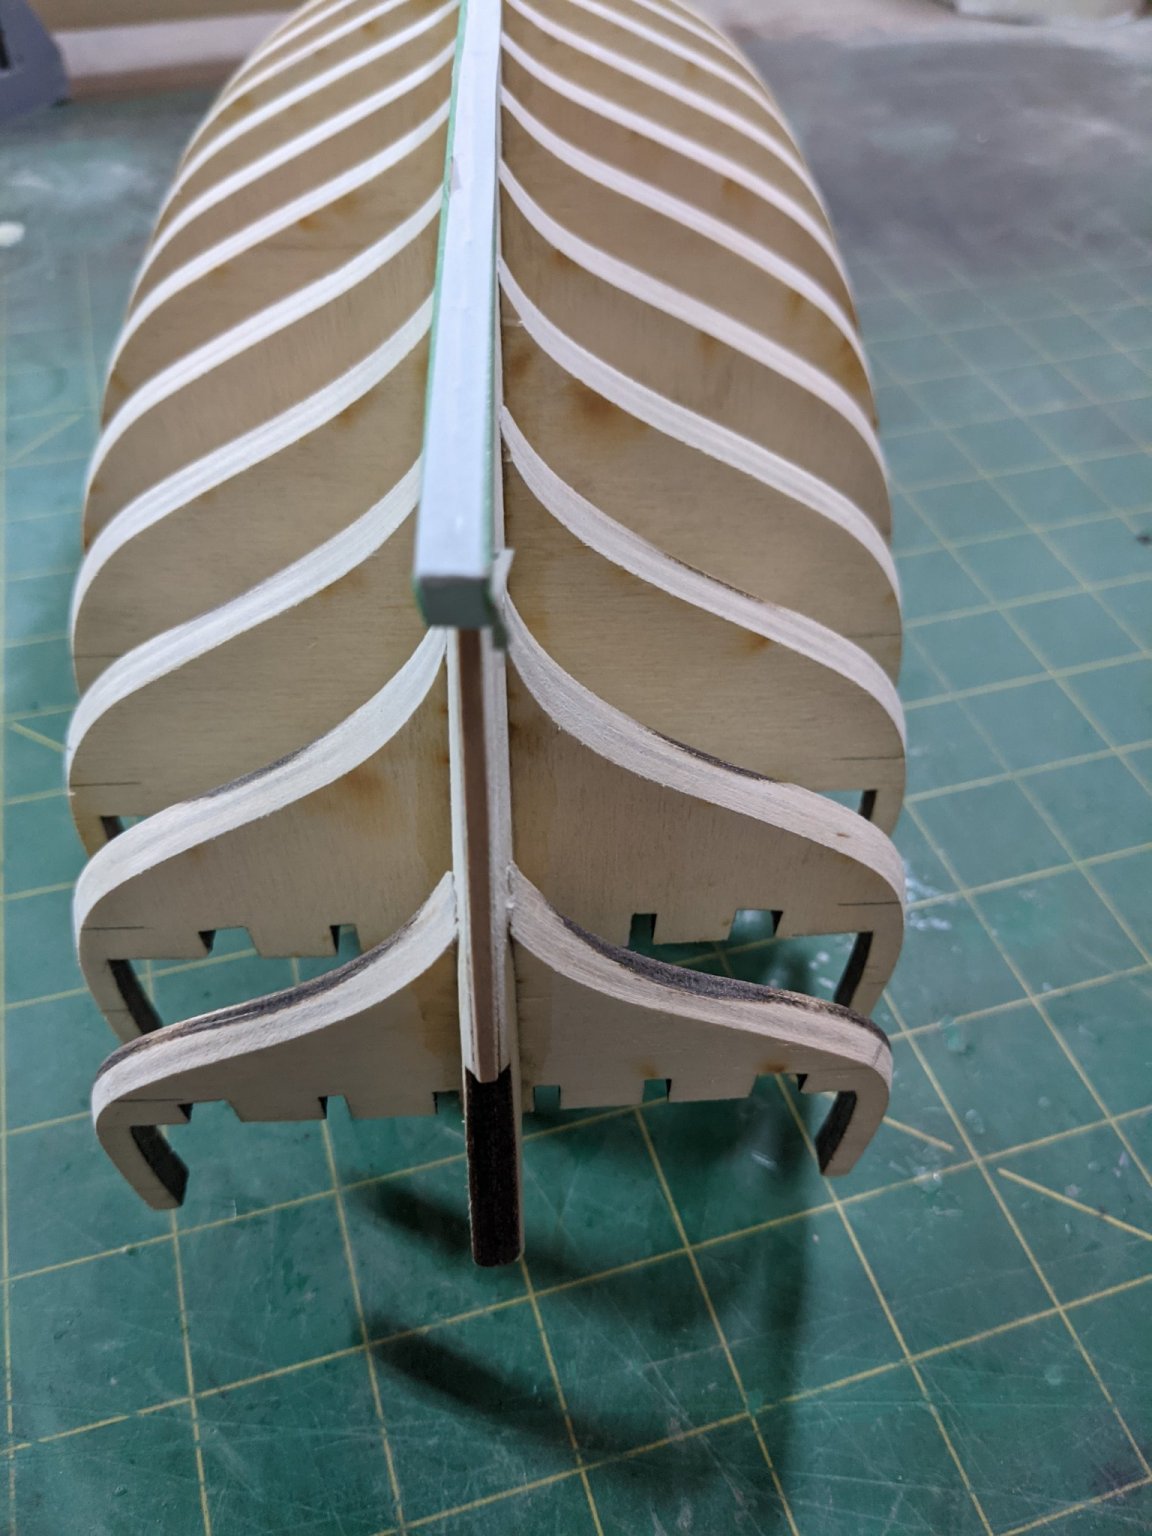
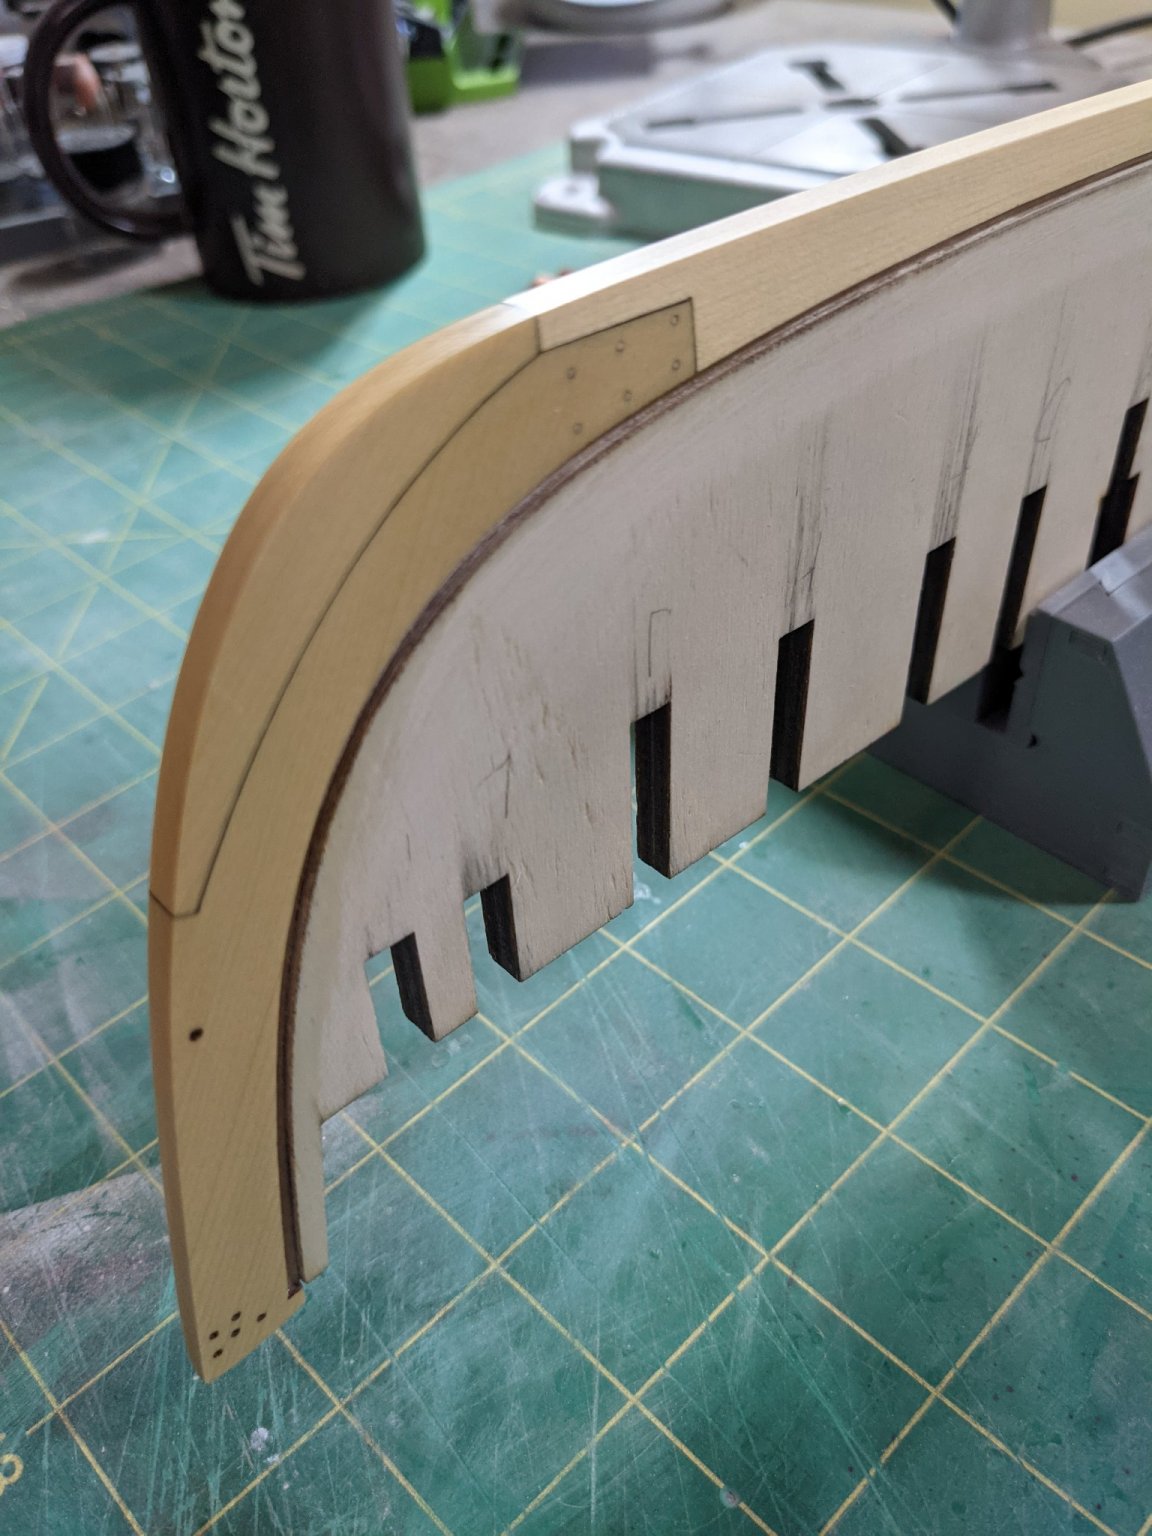
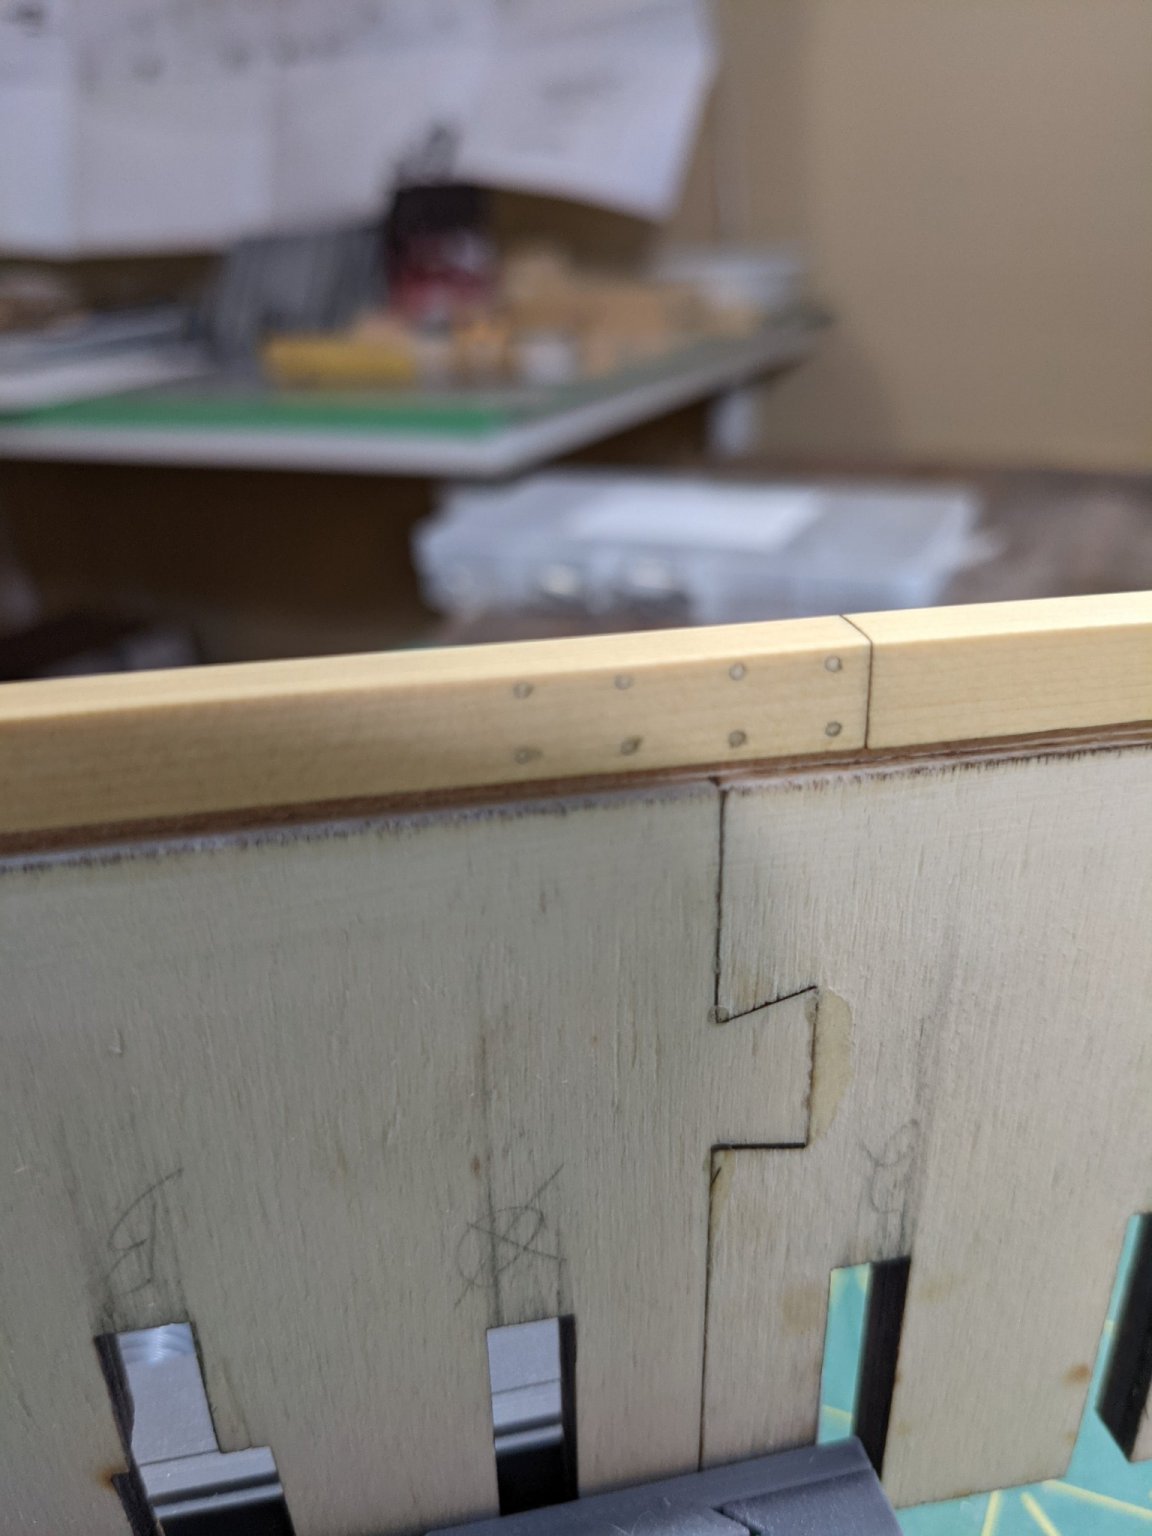
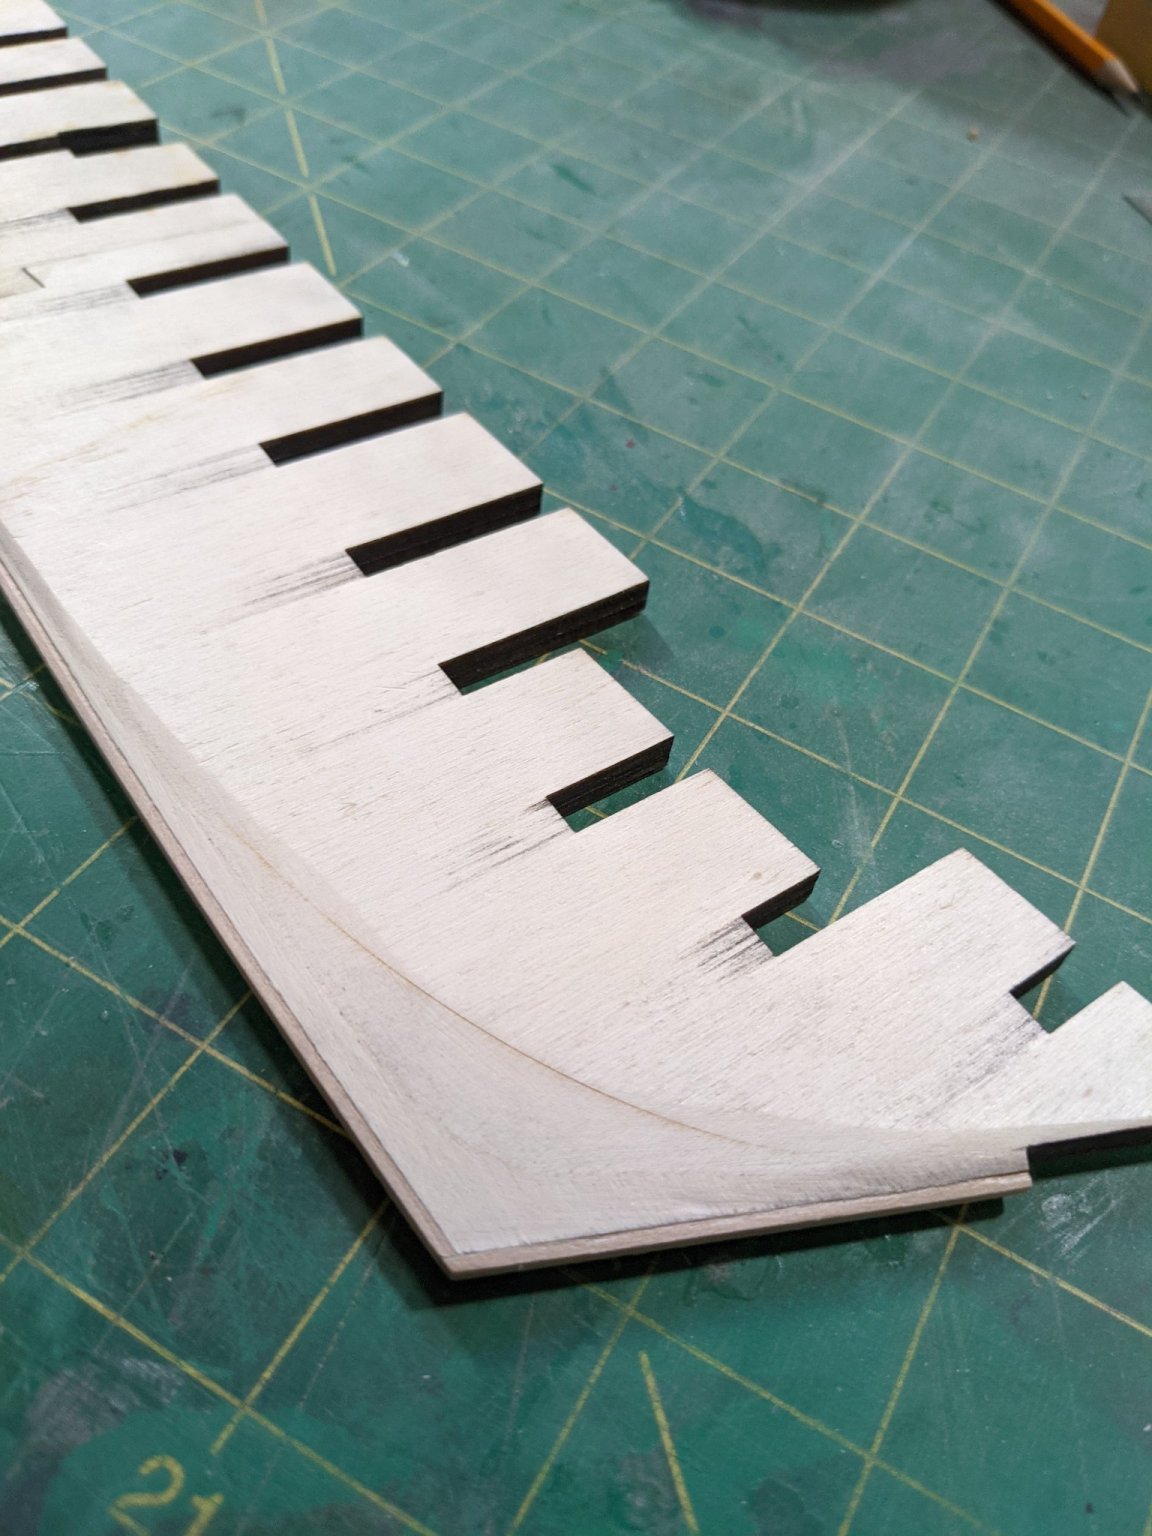
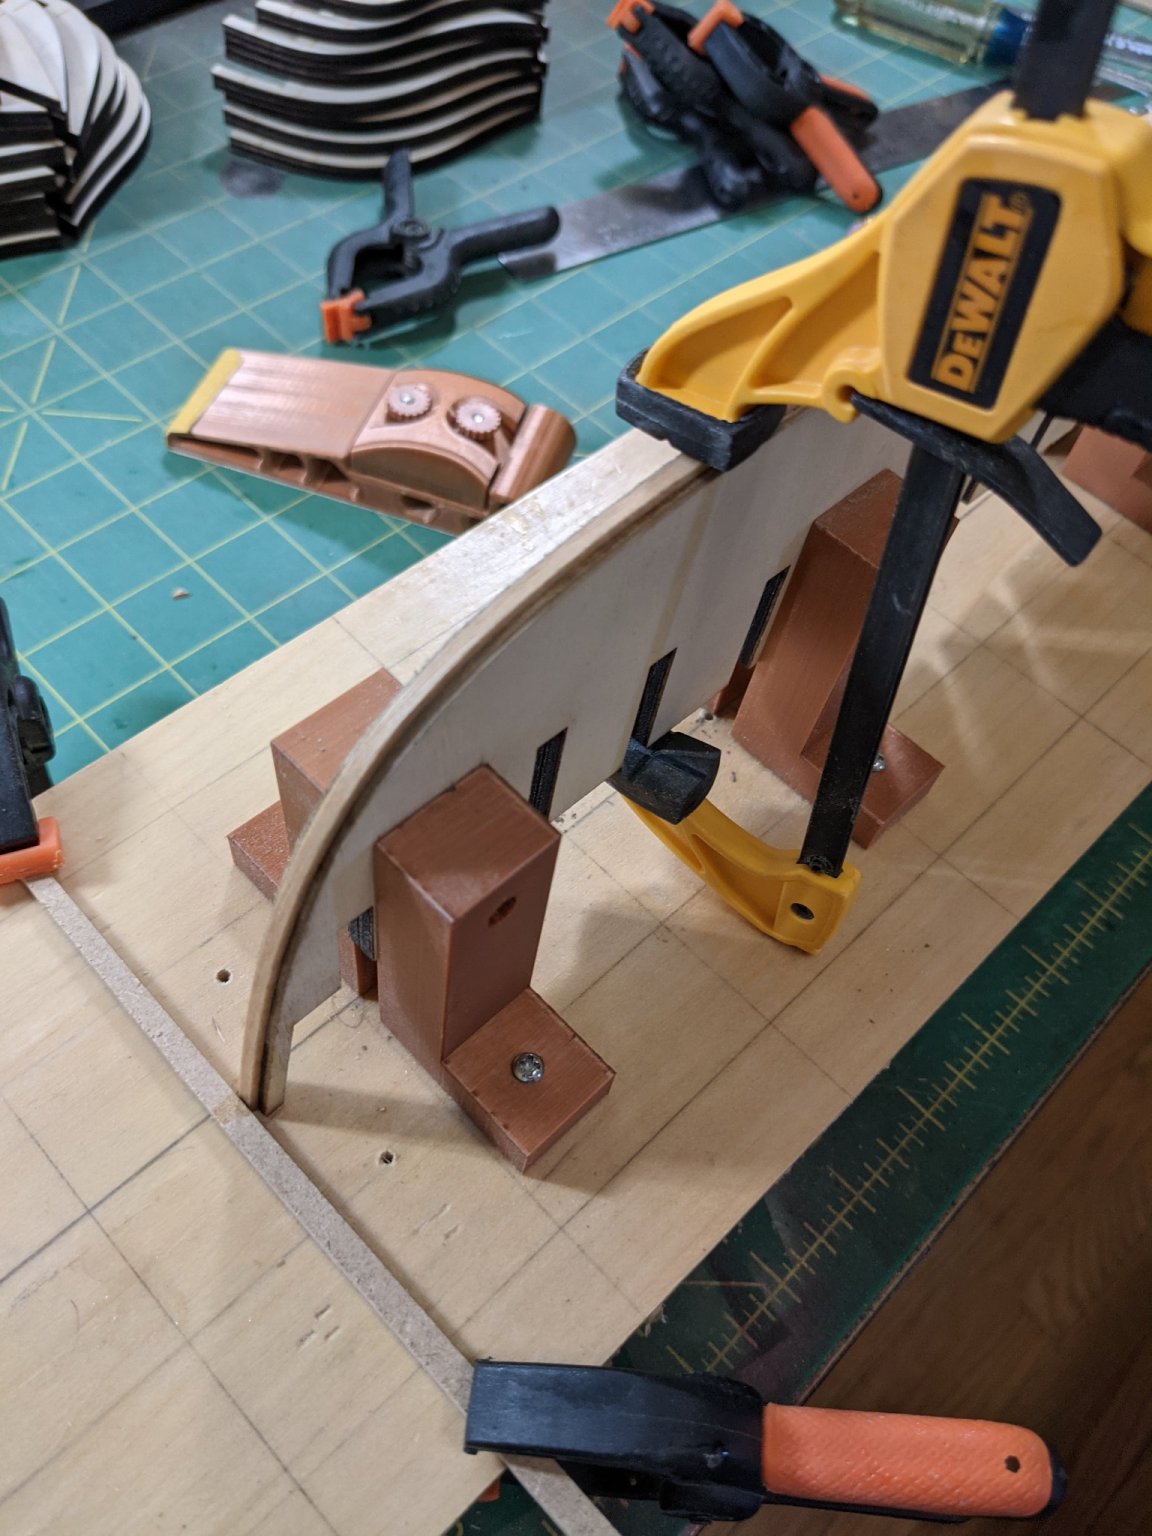
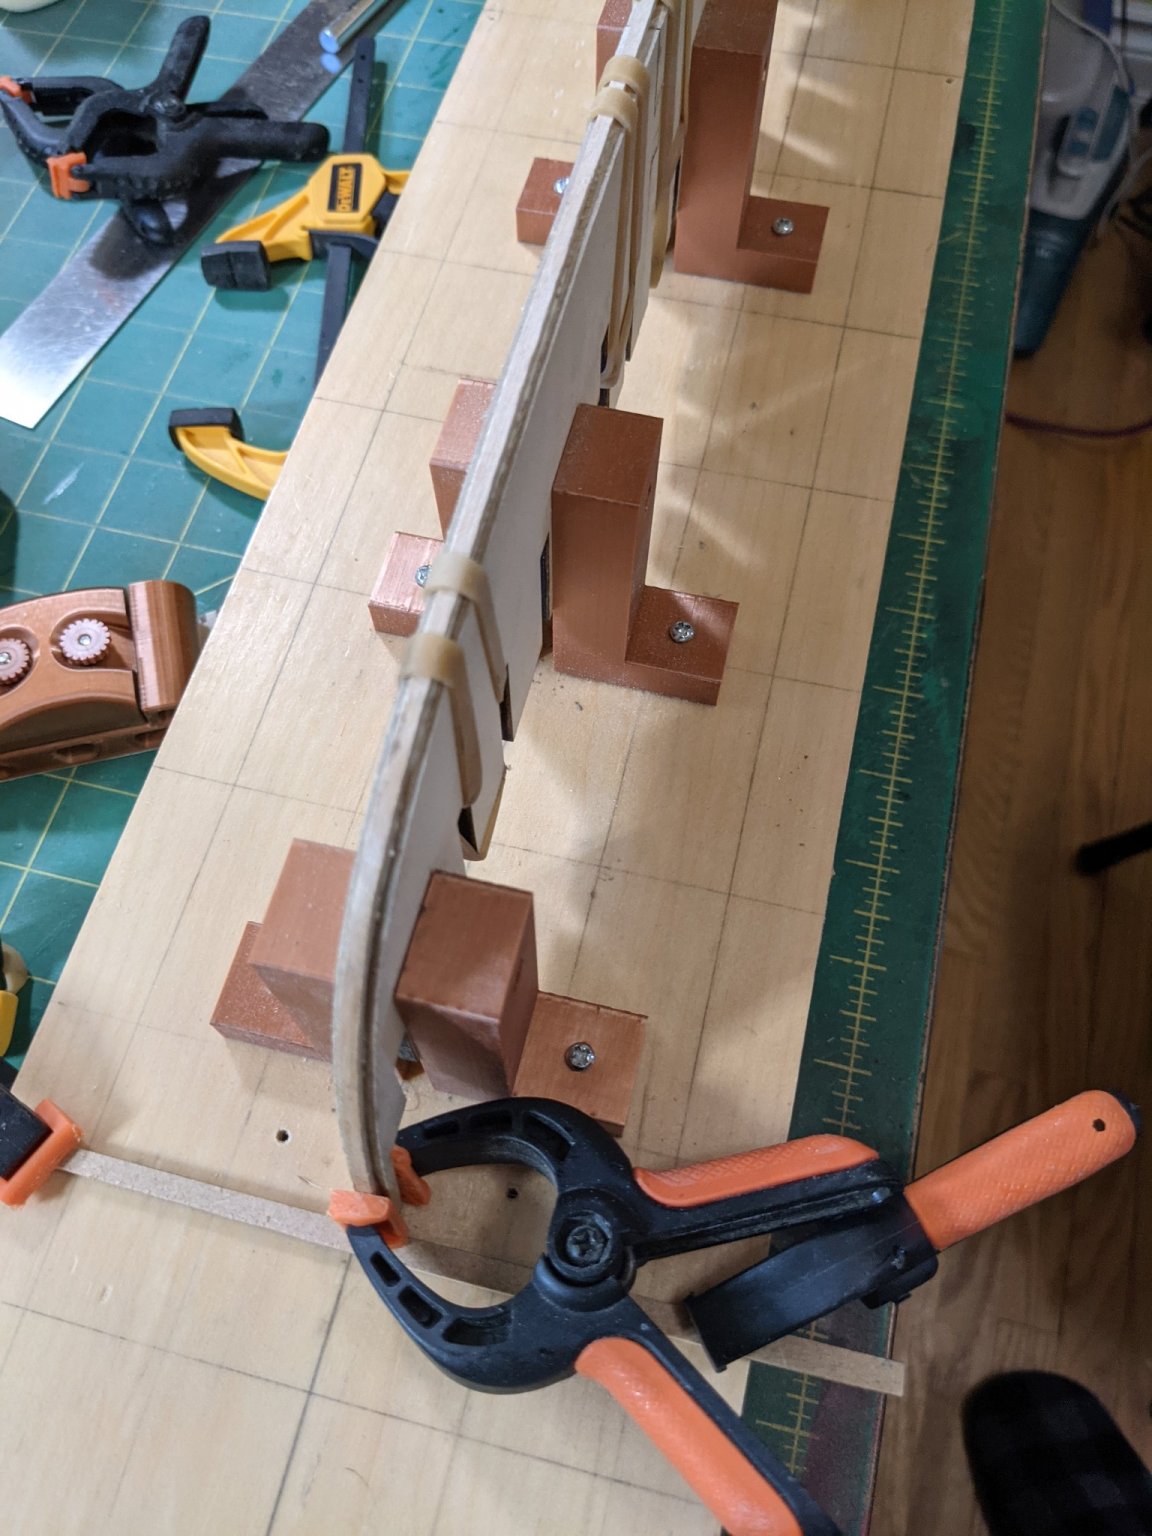
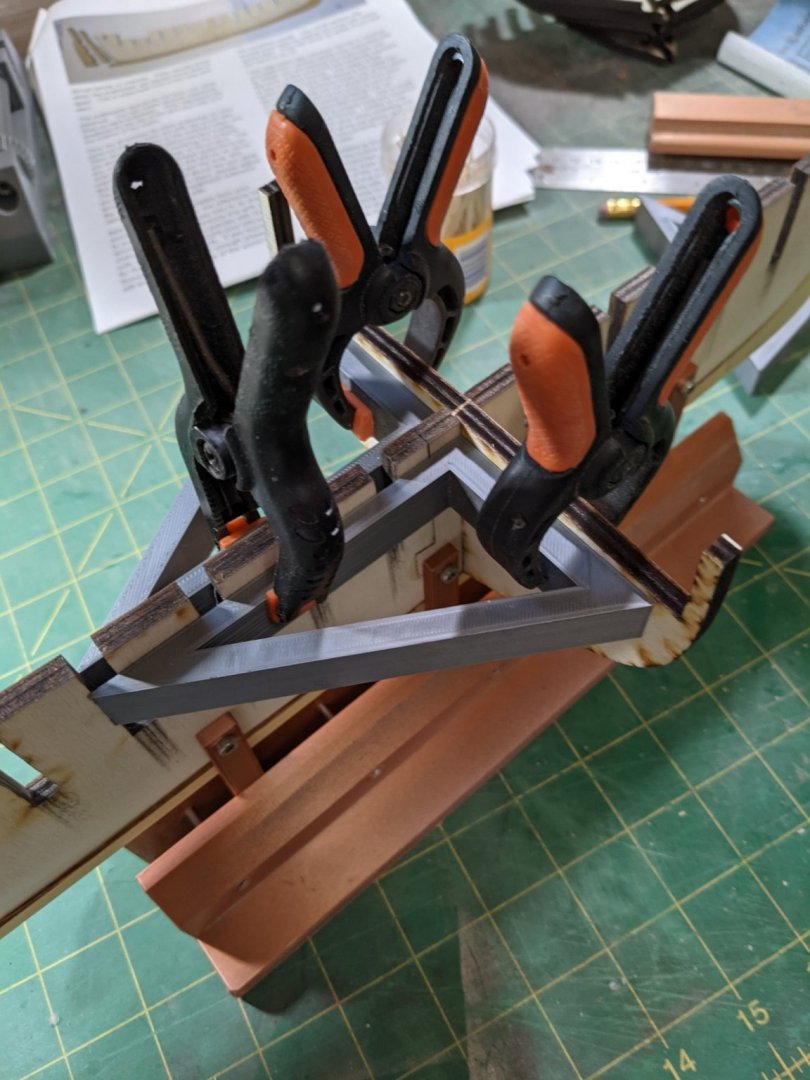
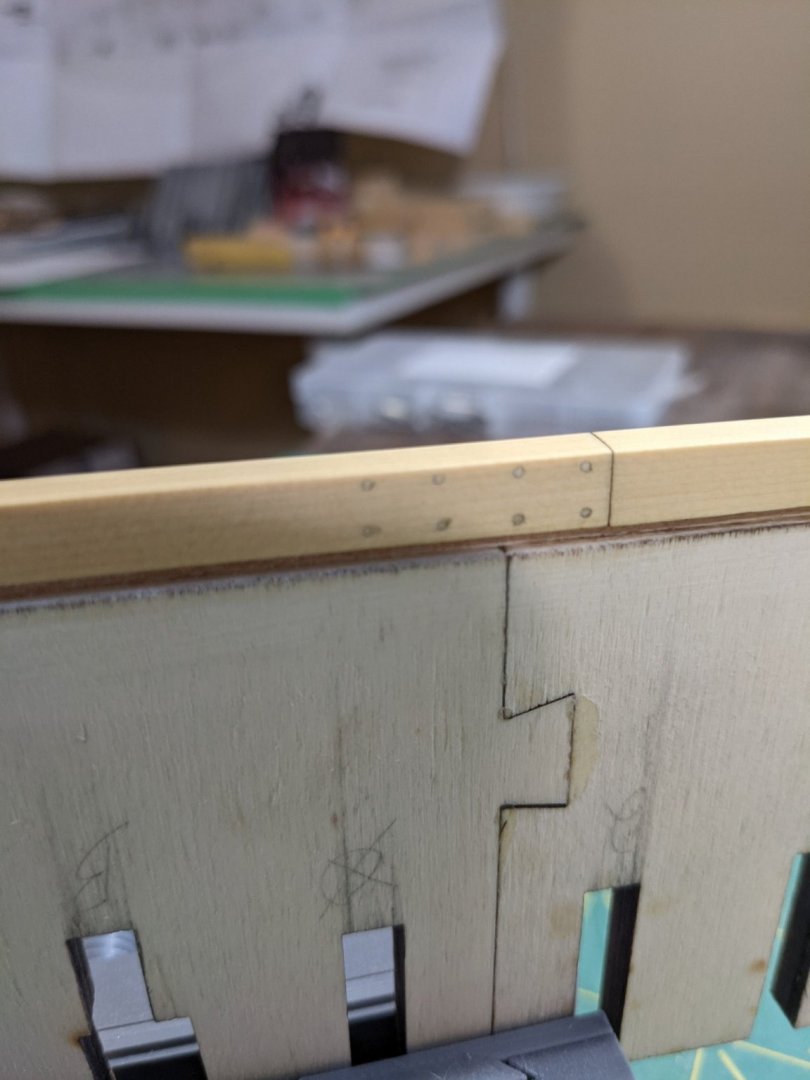
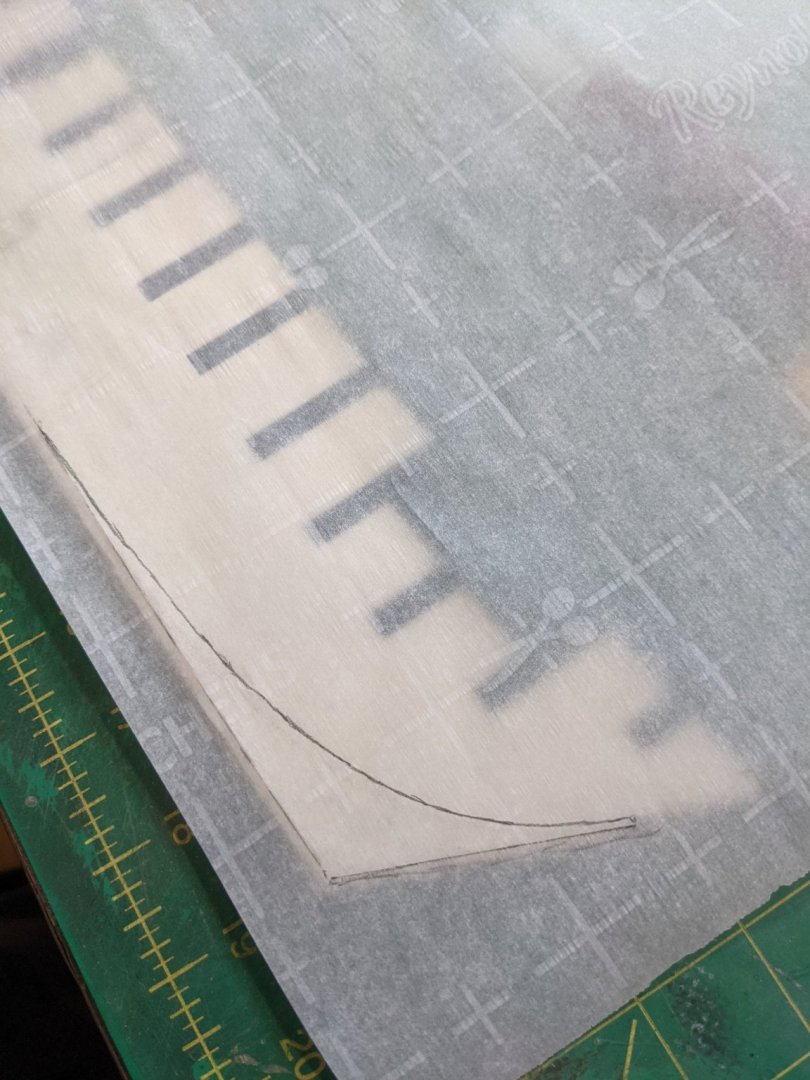
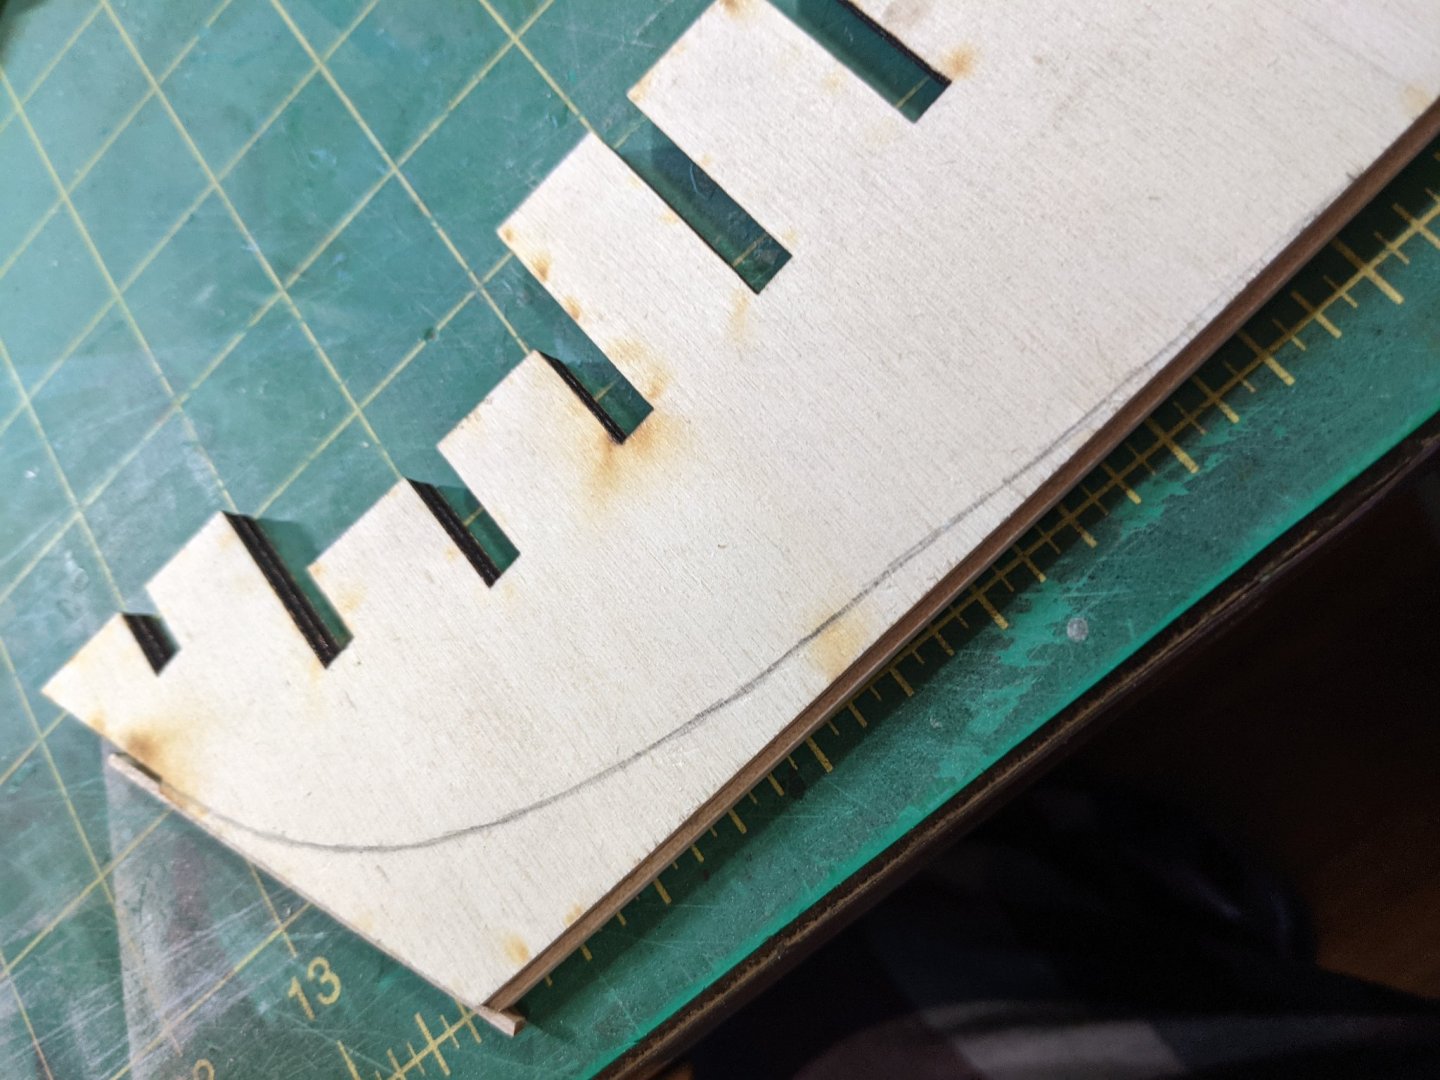
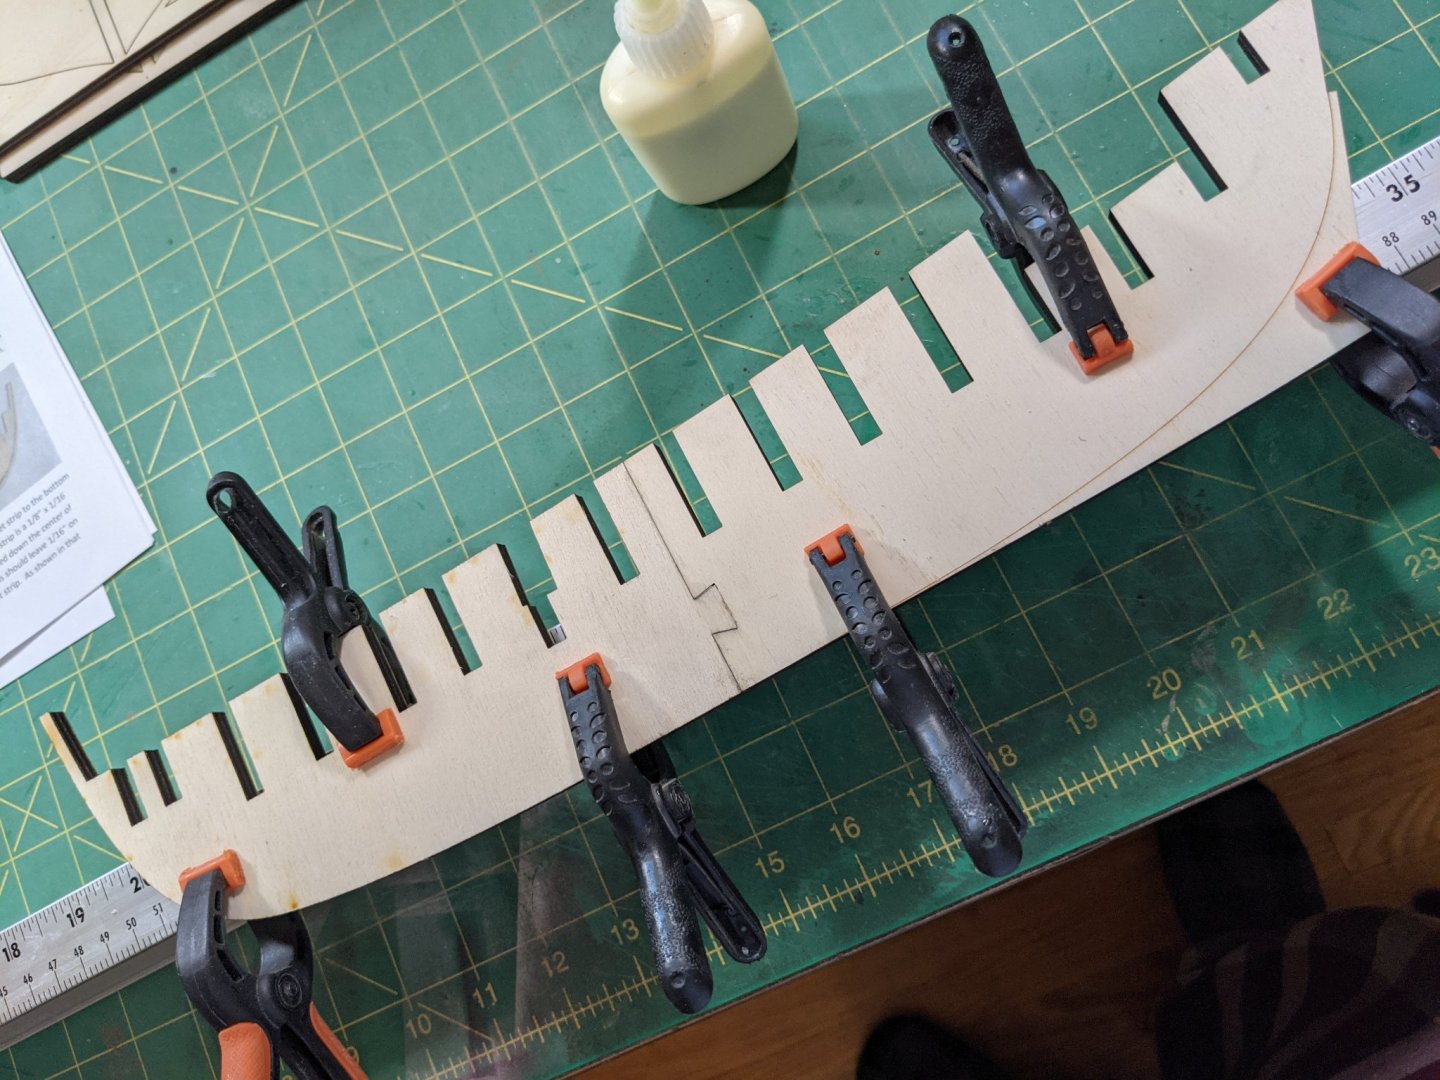
(1)(1)(1)(2).thumb.jpg.792ad774561d3d4f35888704cde27a8e.jpg) Before I complete all the fairing I wanted to have the stern pieces in as I think it will help me with the final shaping. Here I am stack gluing and then stack sanding the Z and ZZ pieces in. (every time I saw the ZZ lettering in I think Chuck should have marked them ZZ Top)
Before I complete all the fairing I wanted to have the stern pieces in as I think it will help me with the final shaping. Here I am stack gluing and then stack sanding the Z and ZZ pieces in. (every time I saw the ZZ lettering in I think Chuck should have marked them ZZ Top)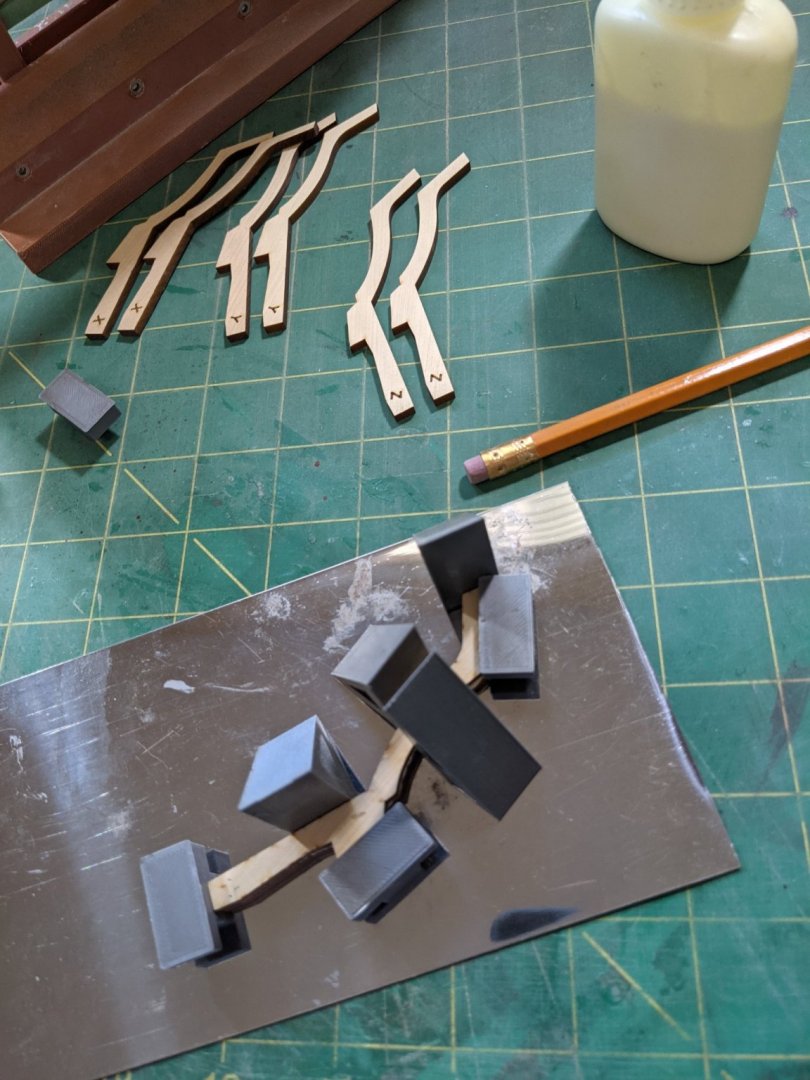
- 274 replies
-
- 6
-

-
- Cheerful
- Syren Ship Model Company
- (and 1 more)
-
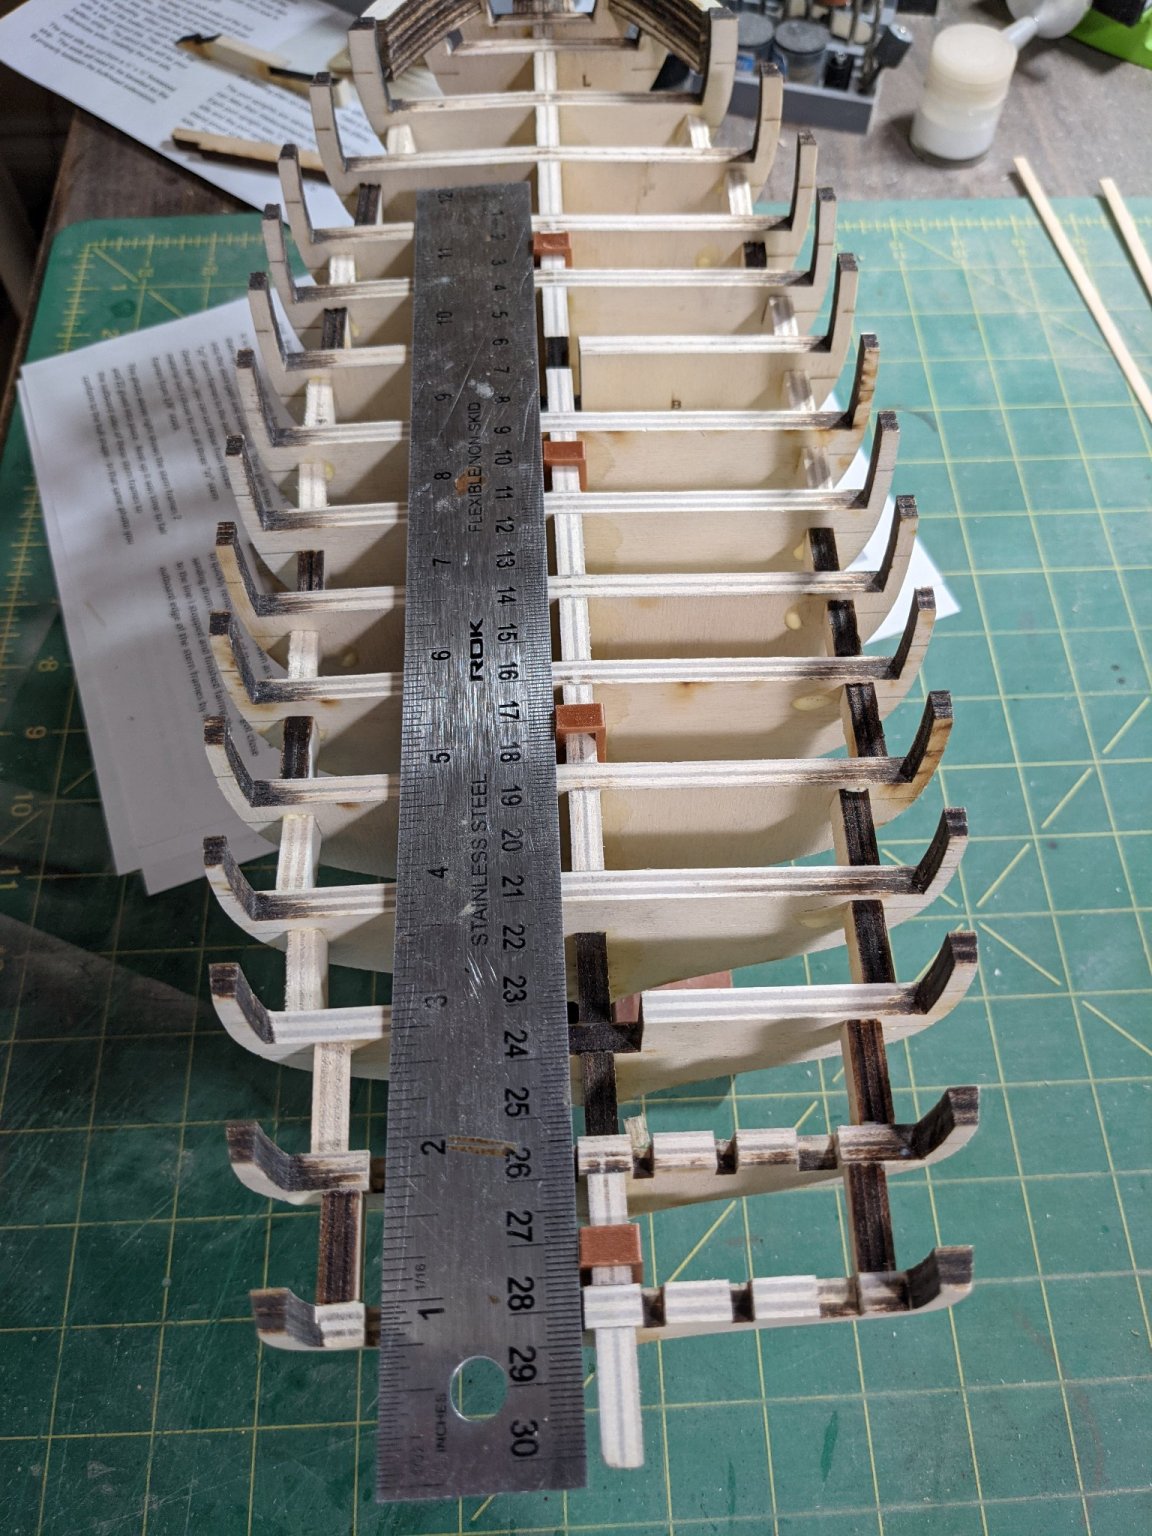
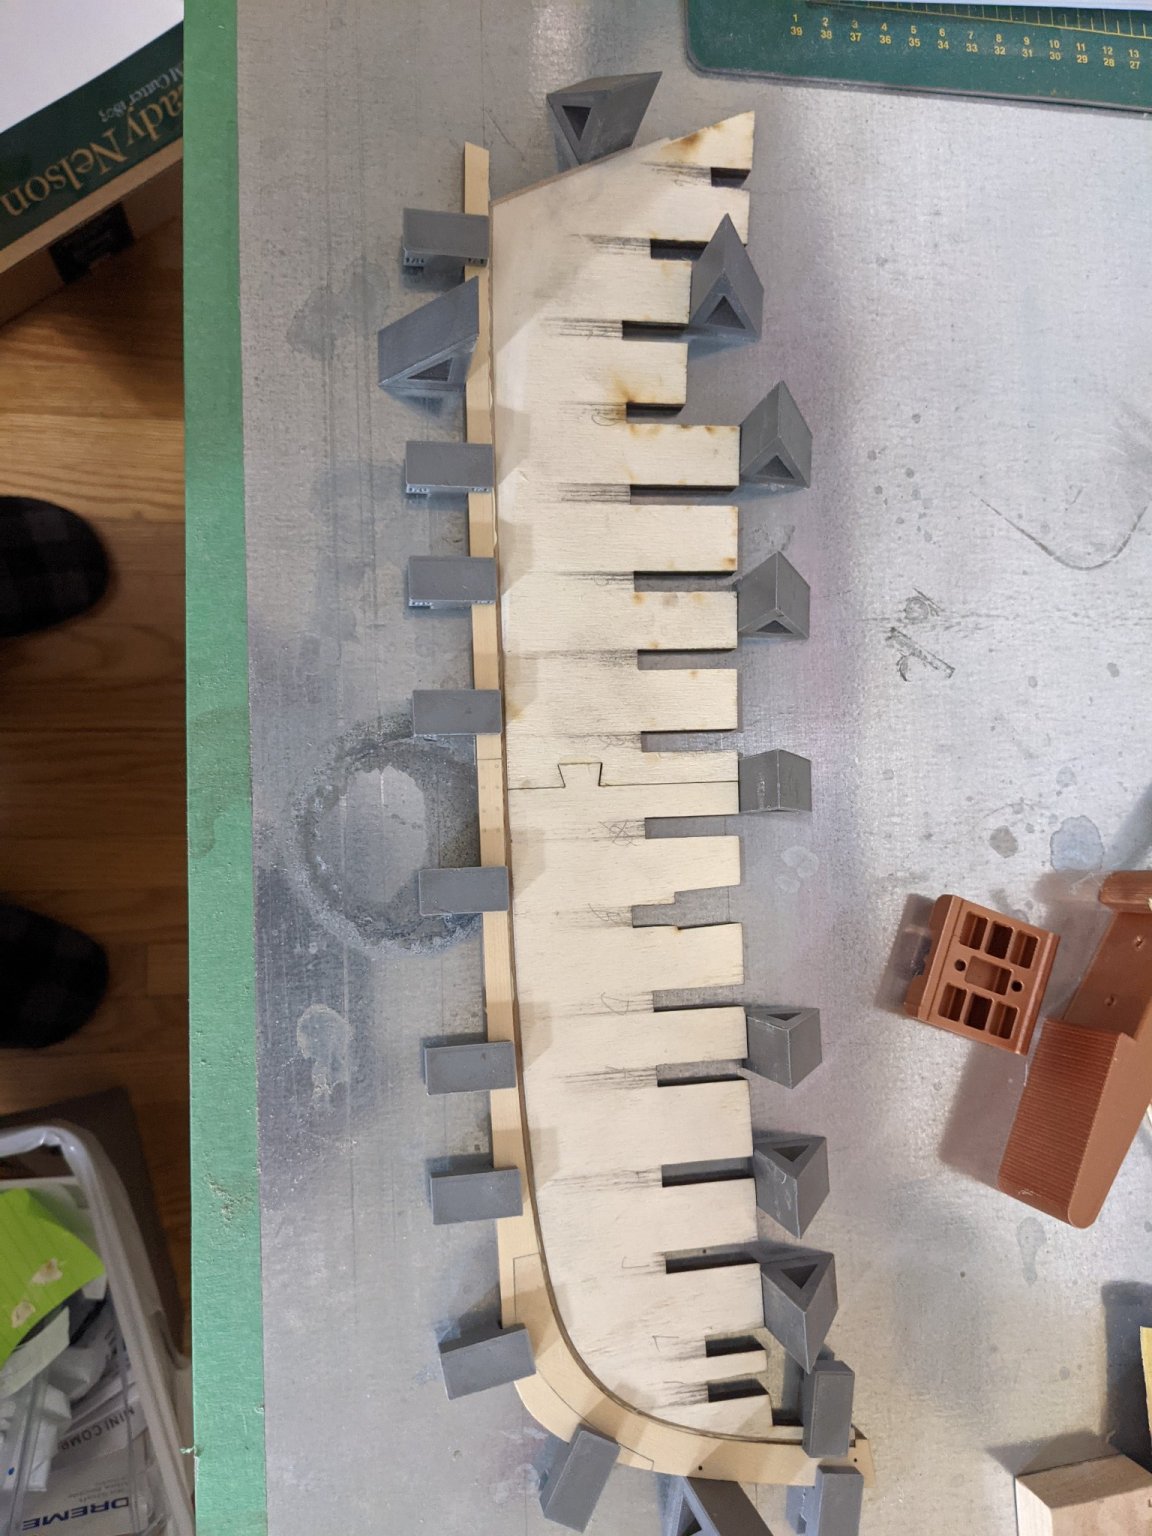
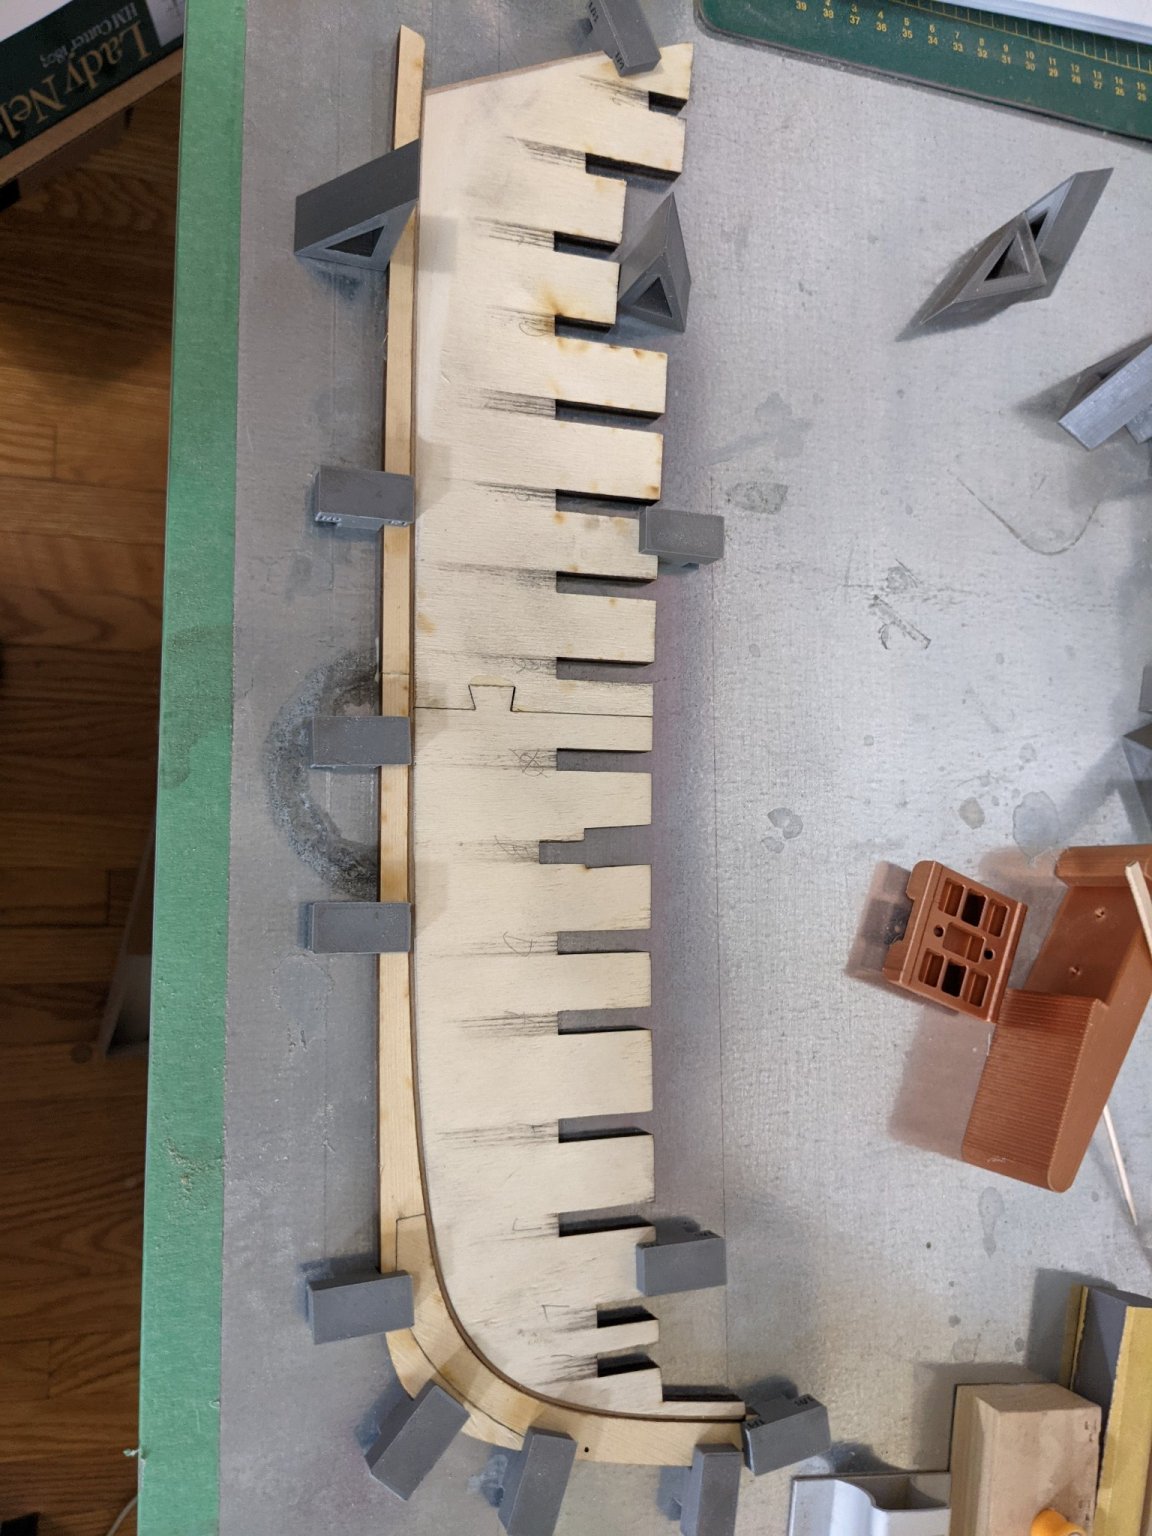
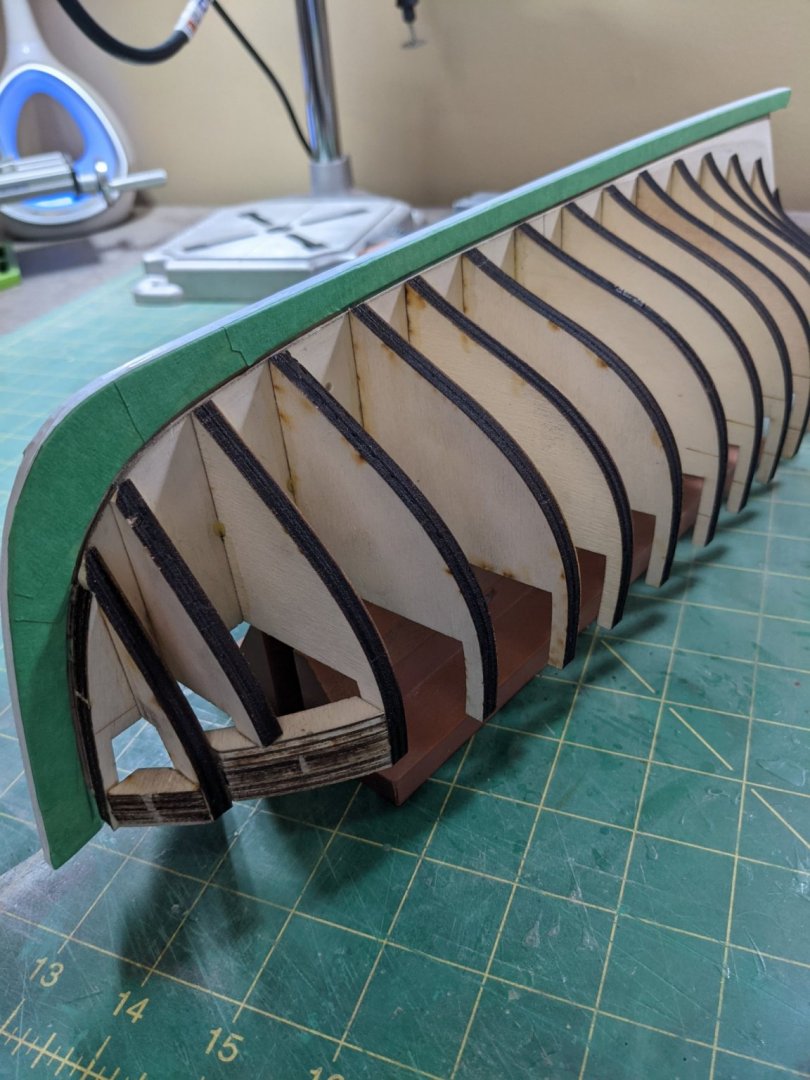
Noticed a slight twist at the stern so I corrected it by running some scrap pieces carefully between the bulkheads to take it out. Still more fairing to do as I am going to make sure it is right as Chucks instructions cover this in detail and stress how important this step is. I ended up removing some from the bow area as it caused a twist you can see in the picture and this relaxed it so it is straight.

- 274 replies
-
- 7
-
-
- Cheerful
- Syren Ship Model Company
- (and 1 more)
-
Yes I see that from the photos. Looks like more fairing to do. Good catch Glenn. Thanks for the advice.
- 274 replies
-
- 2
-
-
- Cheerful
- Syren Ship Model Company
- (and 1 more)
-
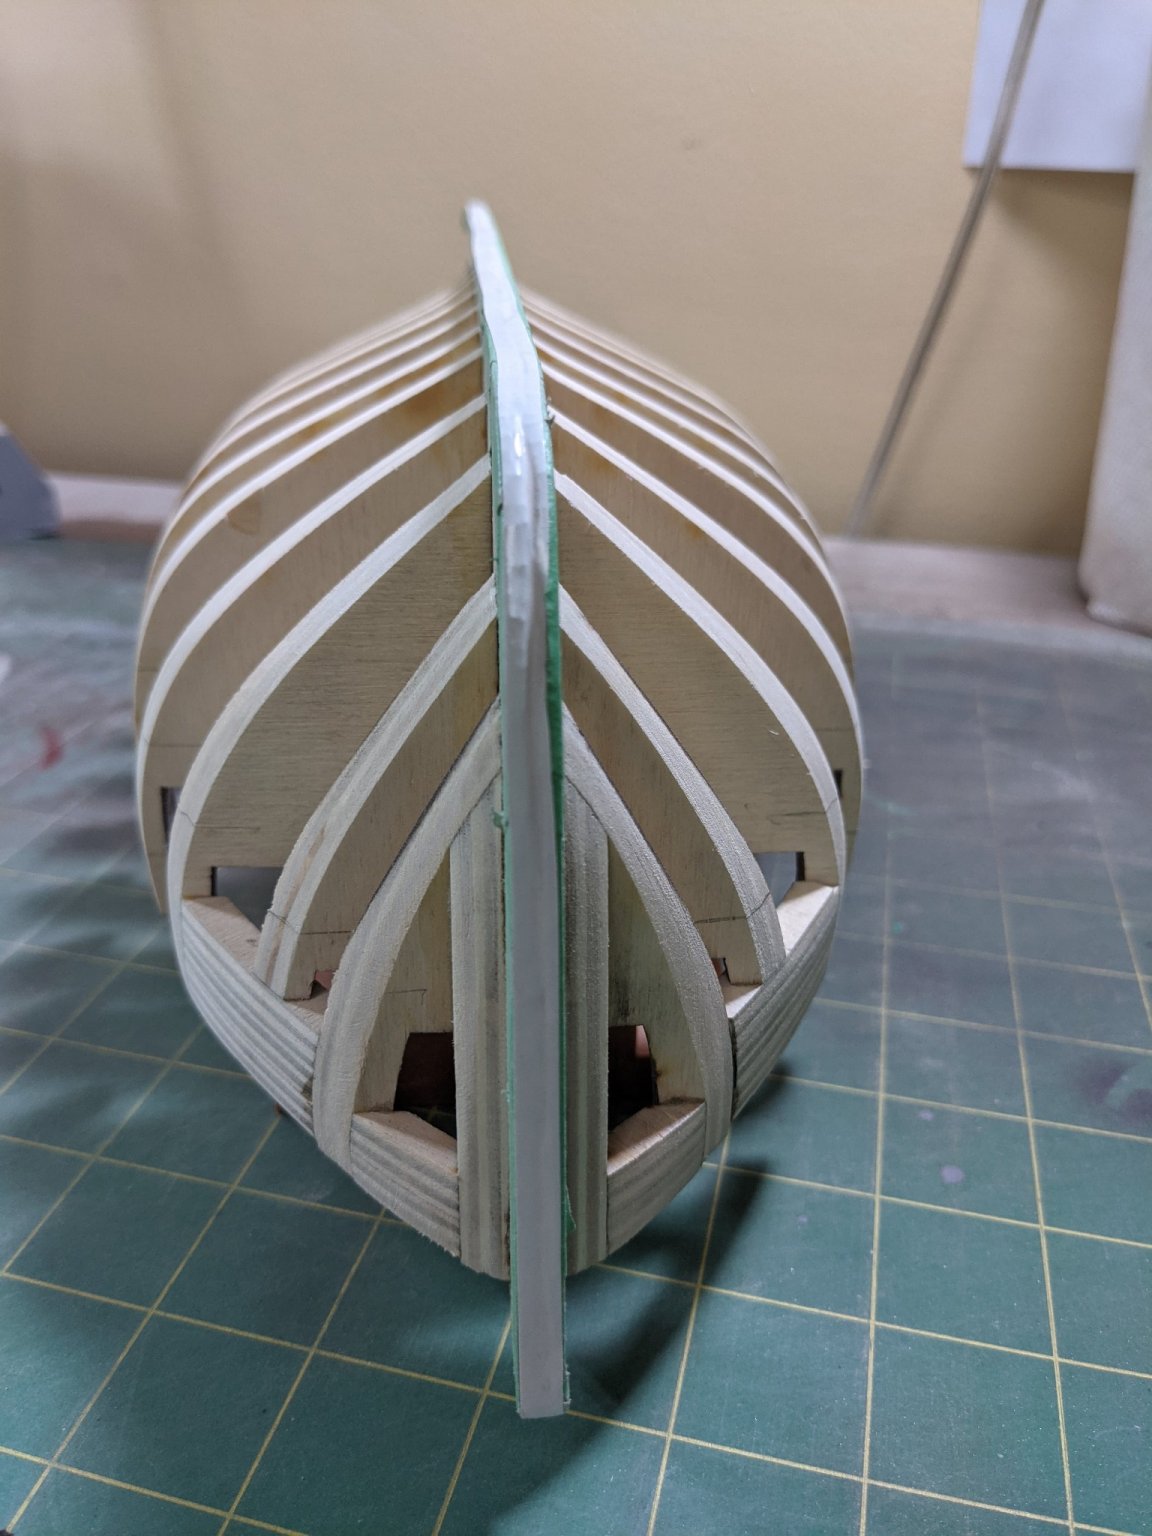
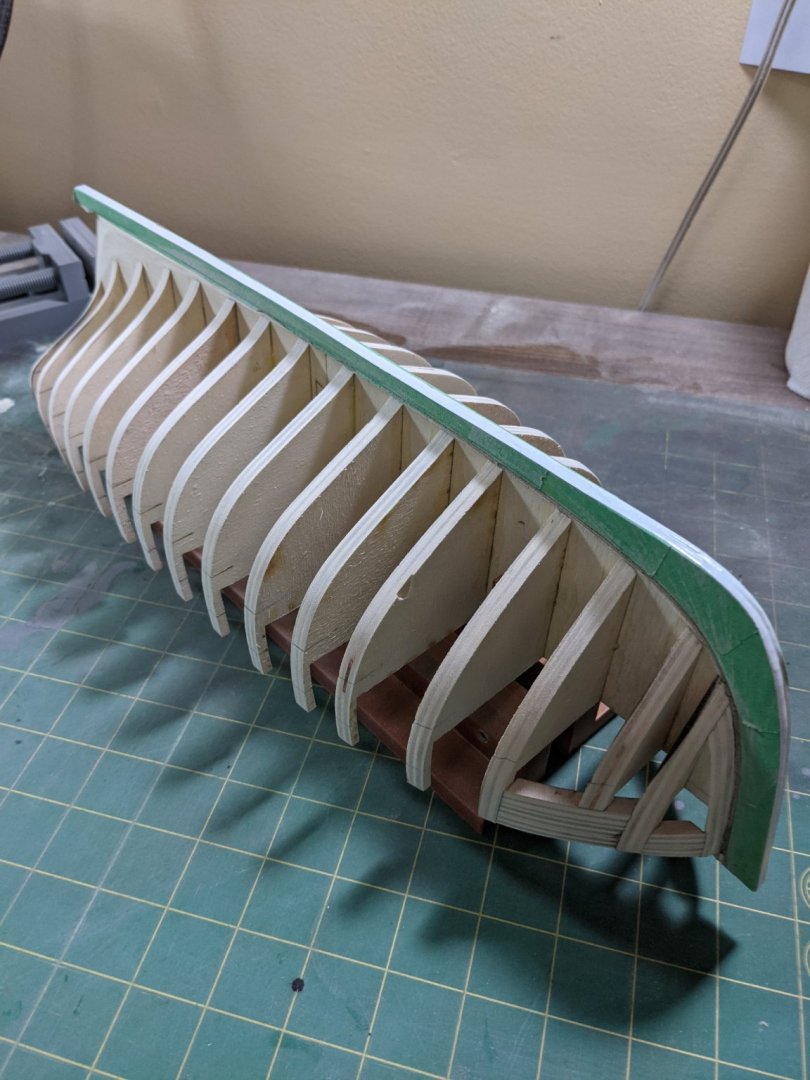
Following along with Glenn's and Chuck's builds and sanding sanding sanding... Not too bad as I like sanding for some reason. Took about ten hours worth of sanding so far and a few more hours to go I think. Have the bulkheads faired pretty good now. Started with 100 grit and then went to 220 grit. I eyeballed down the bulkheads against a dark background and this helps as you can see any parts that stick out. Will finish all of the fairing once I do the stern and the gun ports. (the second picture looks like a warp but that is an illusion of the camera angle)


- 274 replies
-
- 5
-
-
- Cheerful
- Syren Ship Model Company
- (and 1 more)
-
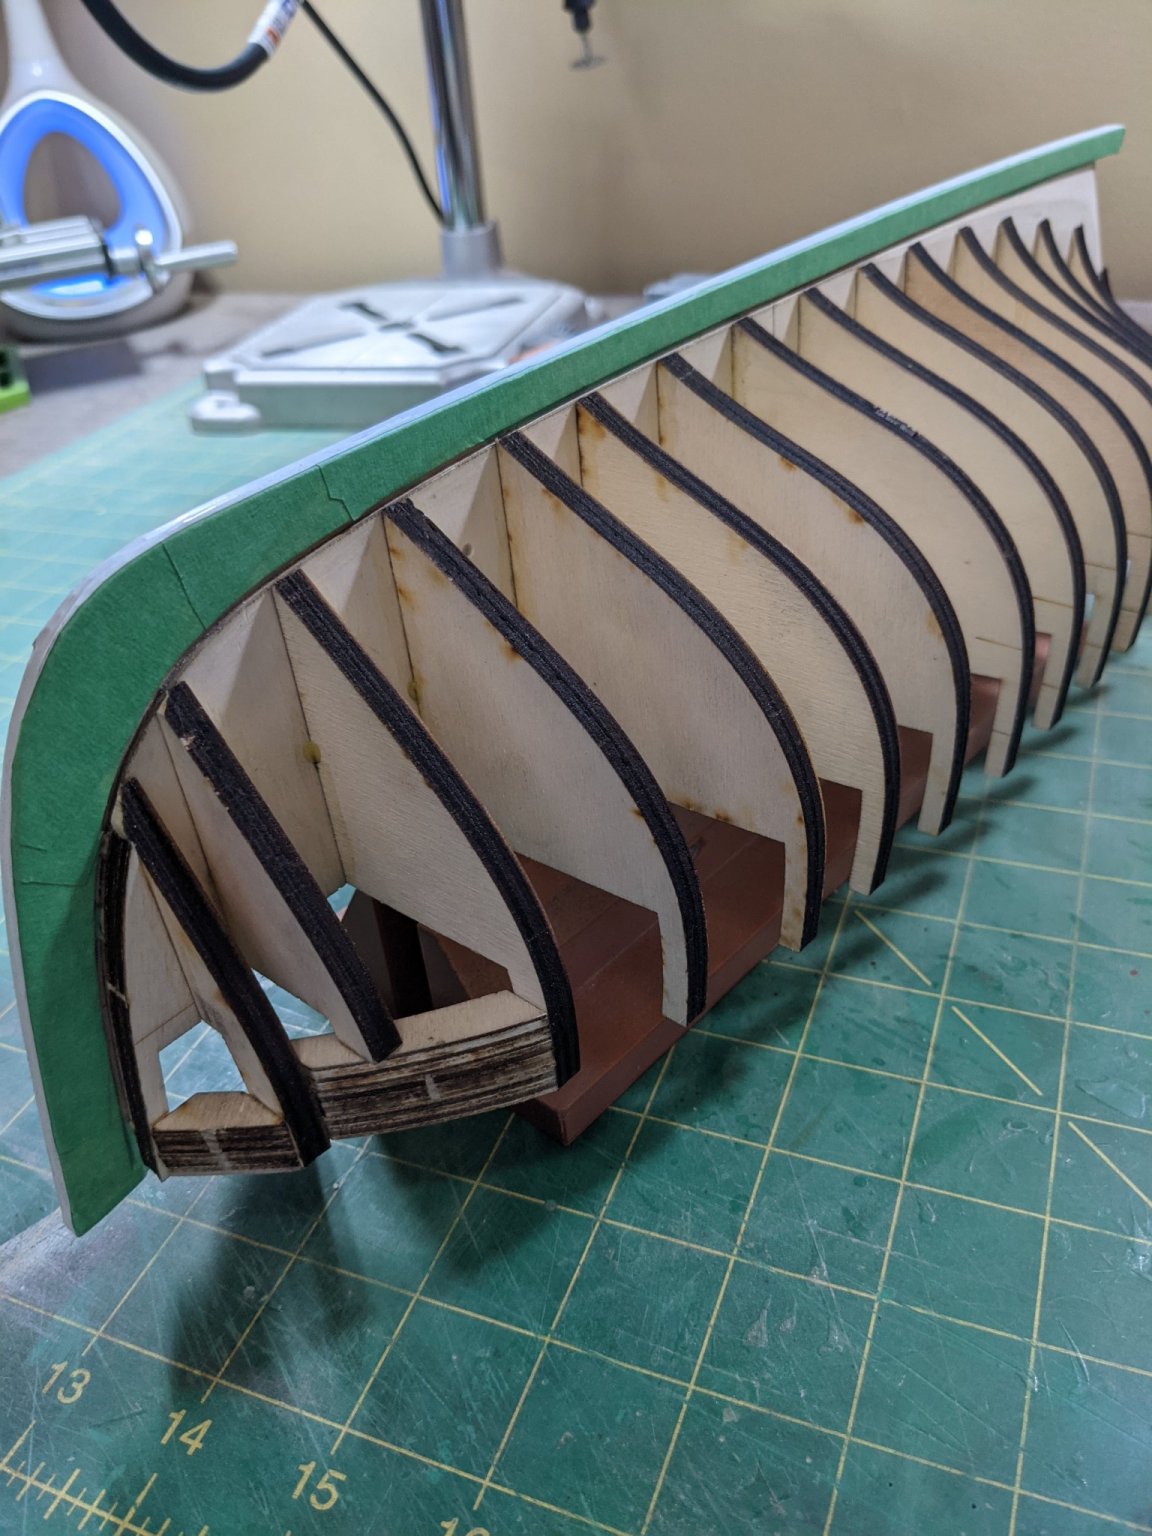
I have a question about the bow fillers. Do I need to fill these gaps at the top with some of the extra laser cut pieces I have? Also. What is the best way for fairing the hull? Start in the middle at the top? Ends first? How do you all feel is the best way?
- 274 replies
-
- 5
-
-
- Cheerful
- Syren Ship Model Company
- (and 1 more)
-
Have the keel all taped up to protect it. The wood sure does attract dirt.
- 274 replies
-
- 4
-
-
- Cheerful
- Syren Ship Model Company
- (and 1 more)
-
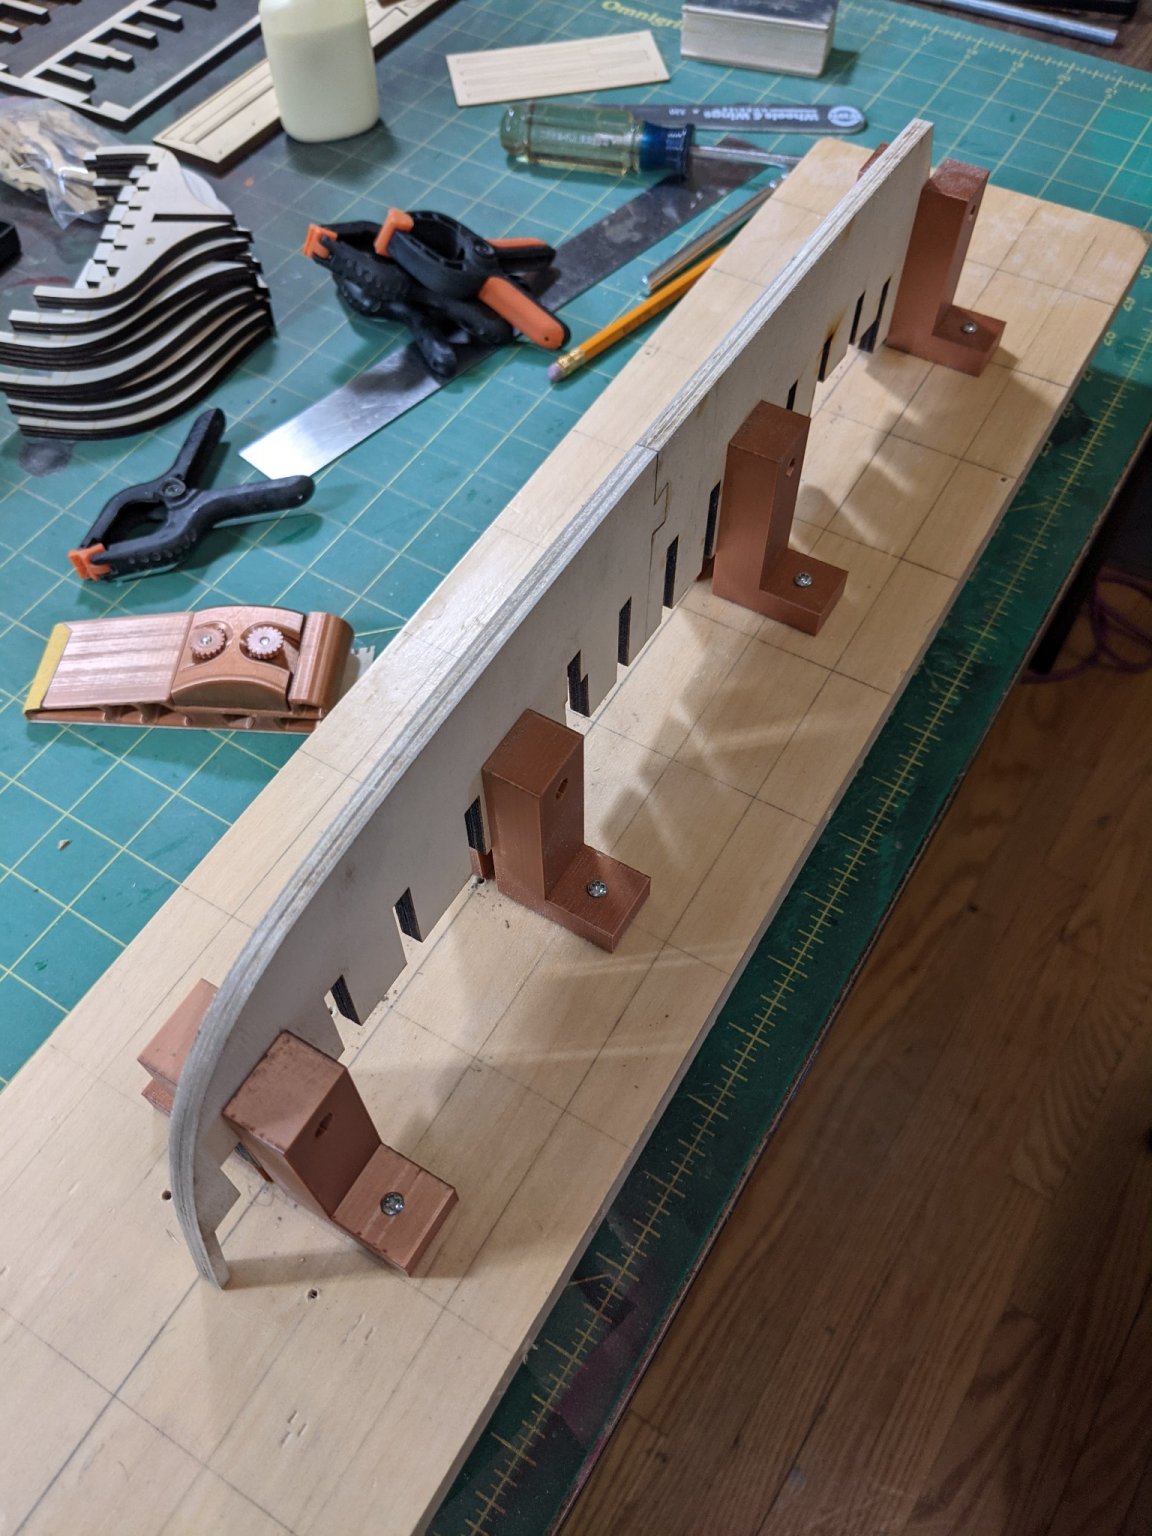
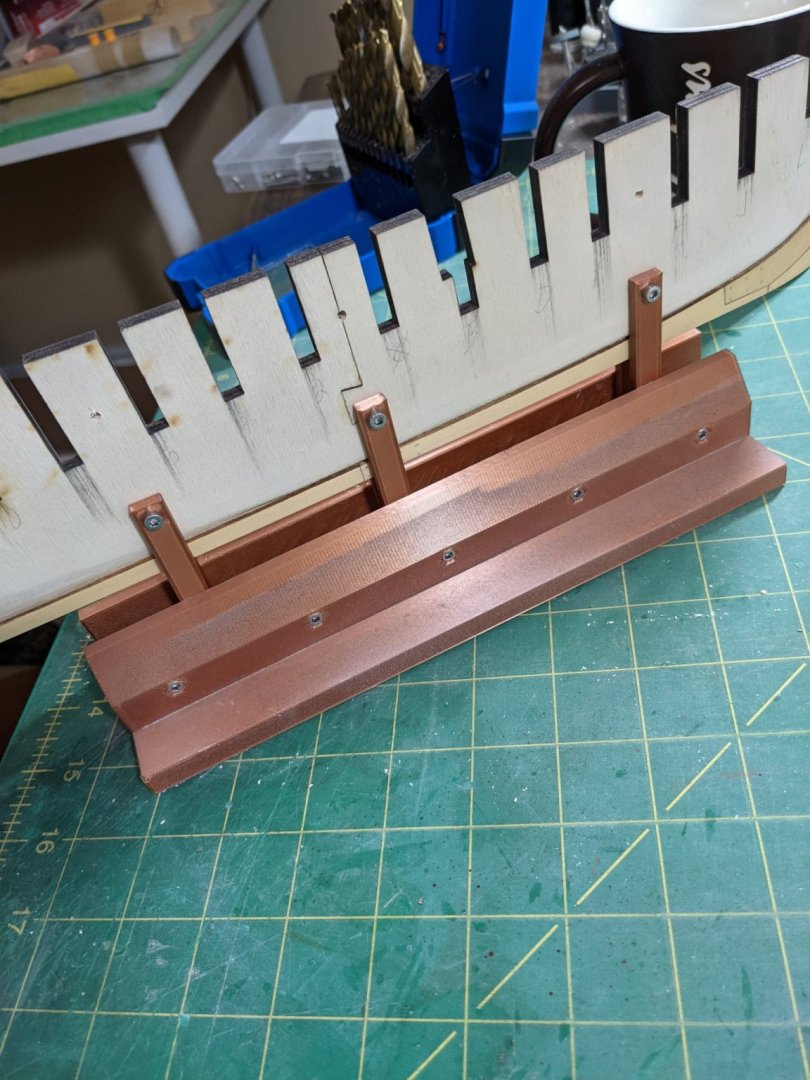
Attached the hull to a base so I can work on it from both sides and glued the bulkheads all on one at a time making sure they were square.

- 274 replies
-
- 6
-
-
- Cheerful
- Syren Ship Model Company
- (and 1 more)
-
Applied two coats of Wipe On Poly to the keel. That sure makes the yellow cedar stand out. I like the colour of the wood.

- 274 replies
-
- 3
-
-
- Cheerful
- Syren Ship Model Company
- (and 1 more)
-
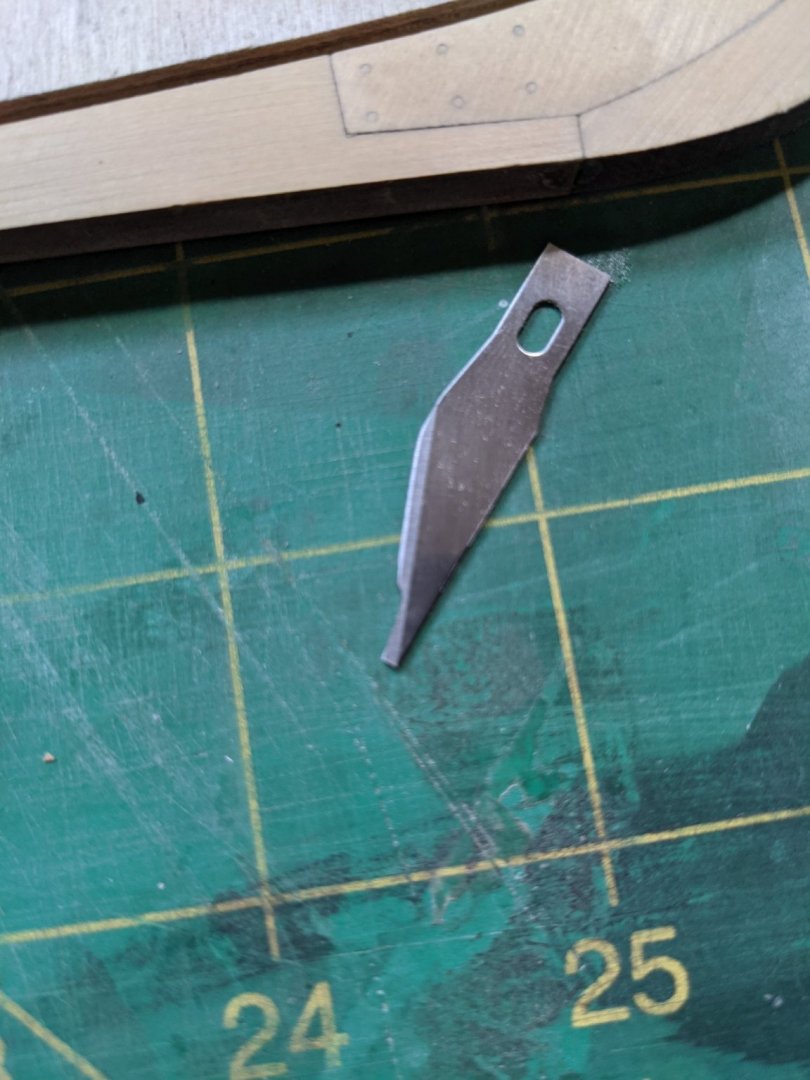
Thanks all. Made up a little scraper to clean any excess glue from the rabbit line and made sure I cleaned it all out.
- 274 replies
-
- 2
-
-
- Cheerful
- Syren Ship Model Company
- (and 1 more)
-
Man this looks great! I like the ratlines how you knotted them and will need to follow your rope coil instructions unless you want to come over and do mine when I am ready. I have beer.
- 778 replies
-
- 2
-
-
- cheerful
- Syren Ship Model Company
- (and 1 more)
-
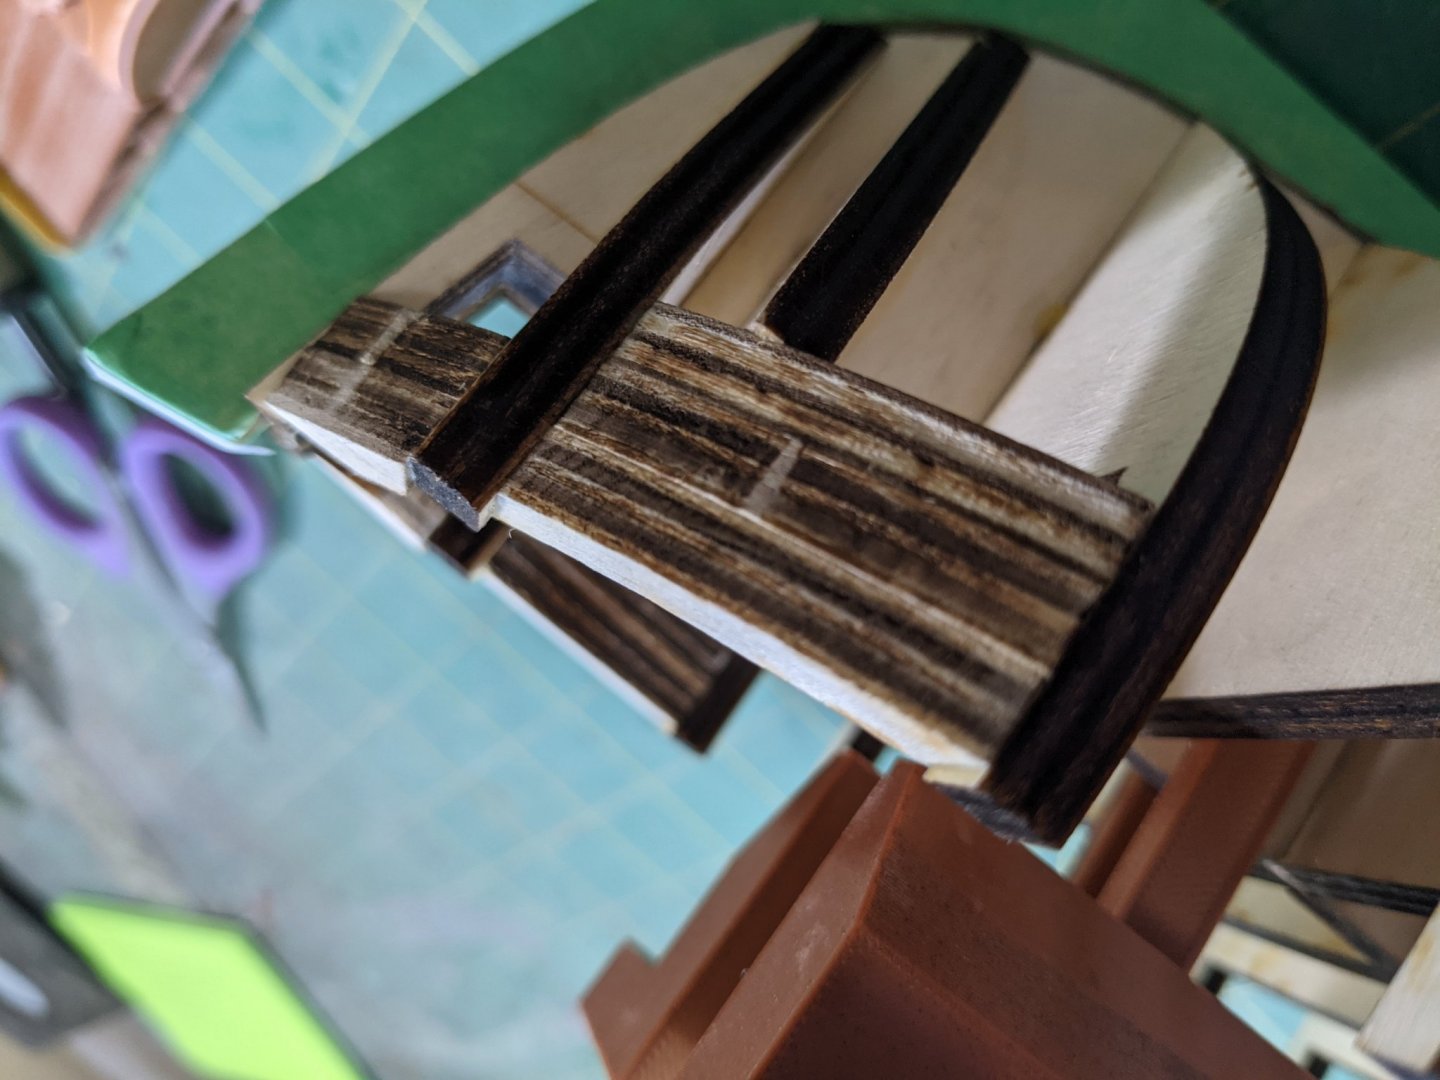
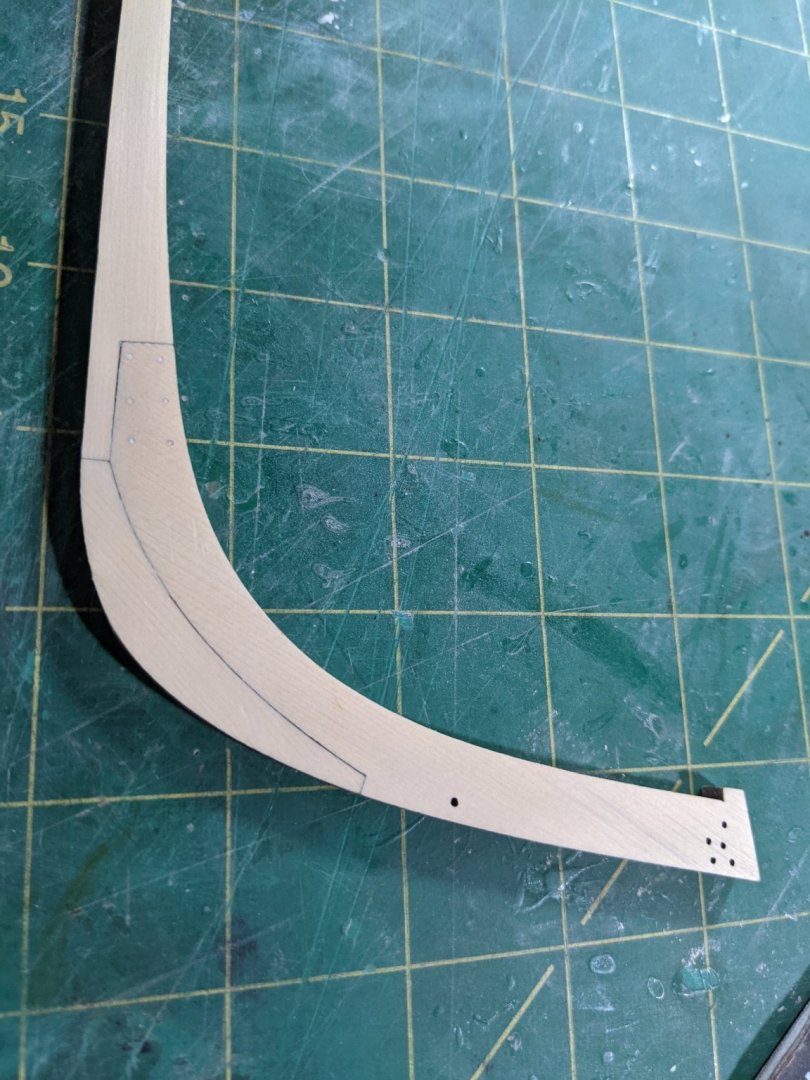
Once that was set I drilled and filled the treenail as suggested in the practium and then glued this to the hull former.

- 274 replies
-
- 6
-
-
- Cheerful
- Syren Ship Model Company
- (and 1 more)
-
Started on the keel and used the hull former to glue the three pieces together. Should I mention the perfect fit?

- 274 replies
-
- 3
-
-
- Cheerful
- Syren Ship Model Company
- (and 1 more)
-
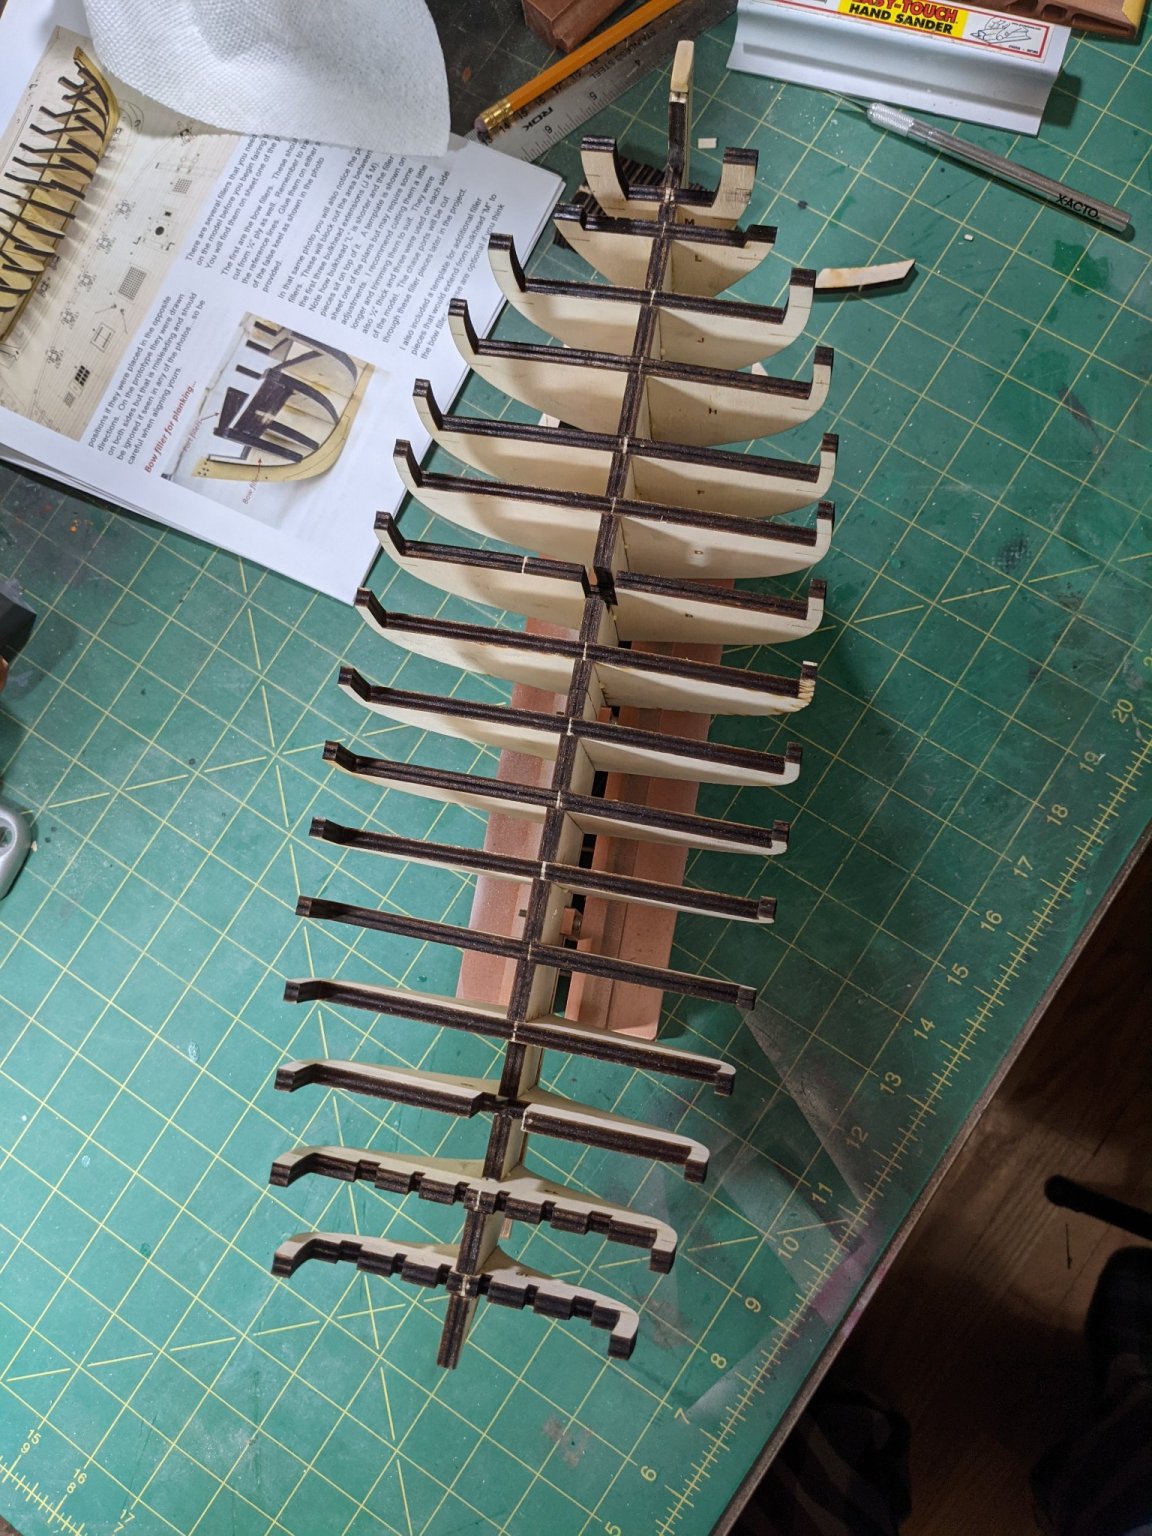
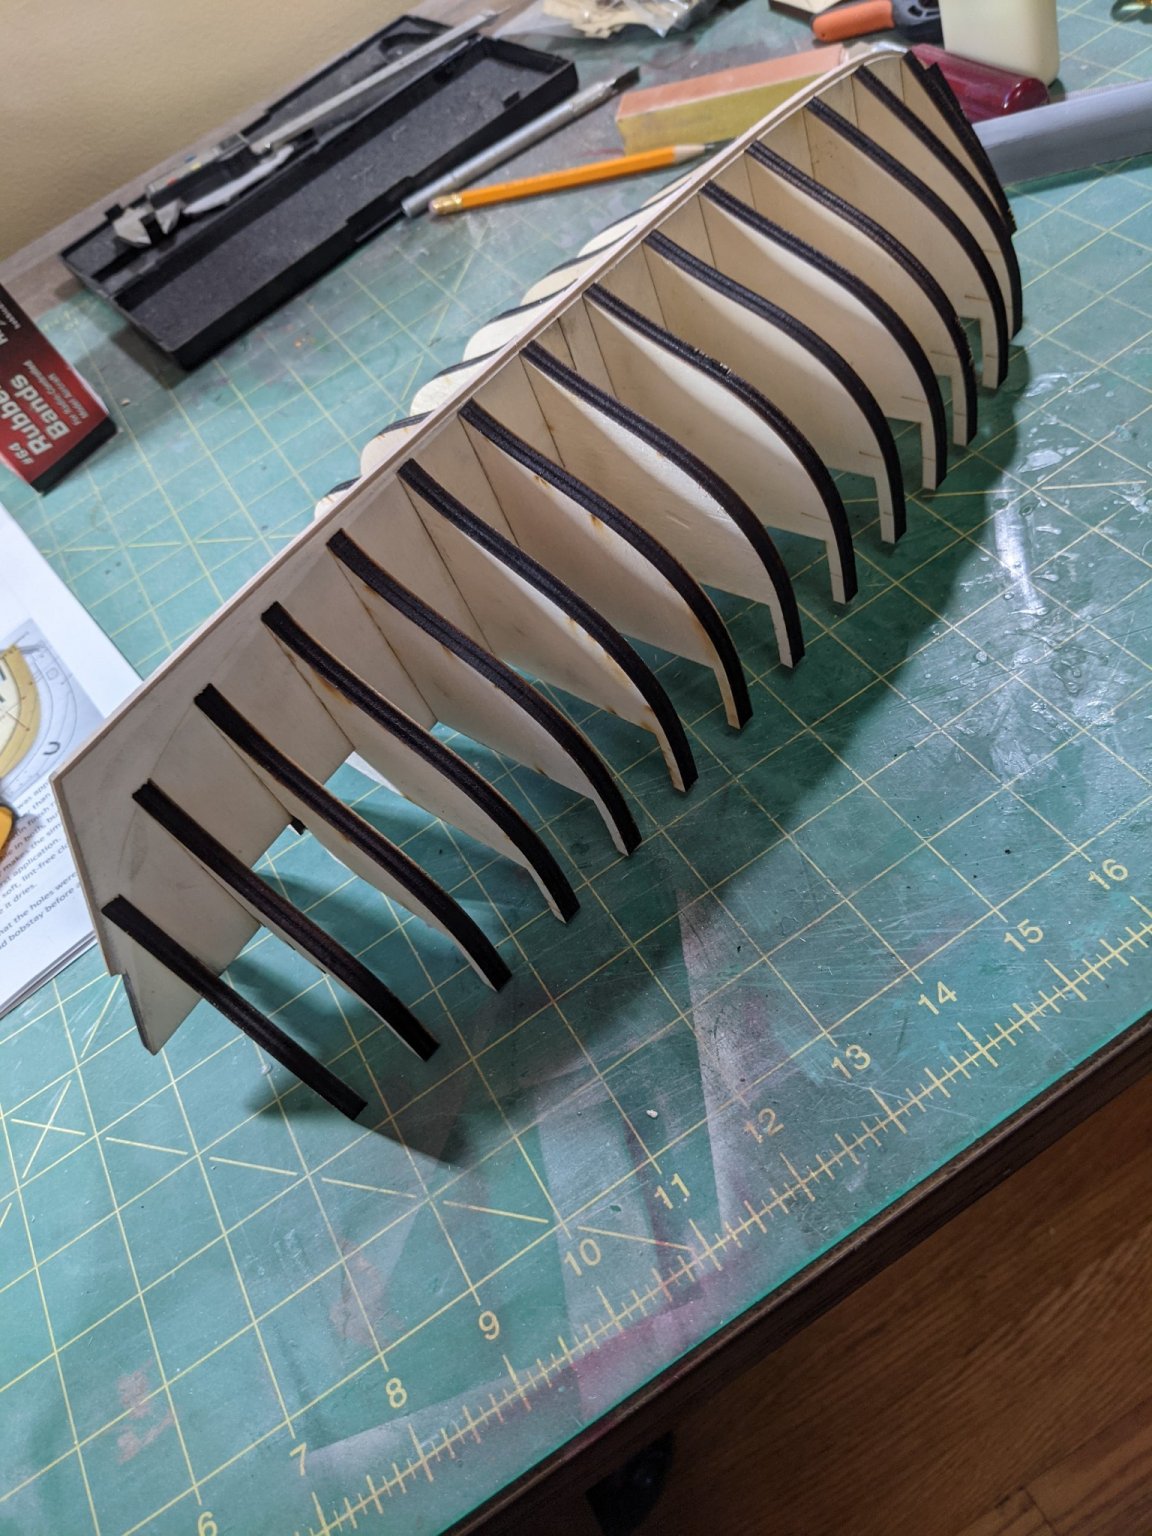
I knocked out all the formers and test fitted them thinking this will take a bit to get all even and square. Much to my surprise they all fit perfectly. No sanding needed at all and the friction fit was good. It will not take much glue to get these all in position. Might put them all on and then use a 50/50 mix of PVA and water to get into the joints and then double glue them after for strength. Look at all the formers!

- 274 replies
-
- 5
-
-
- Cheerful
- Syren Ship Model Company
- (and 1 more)
-
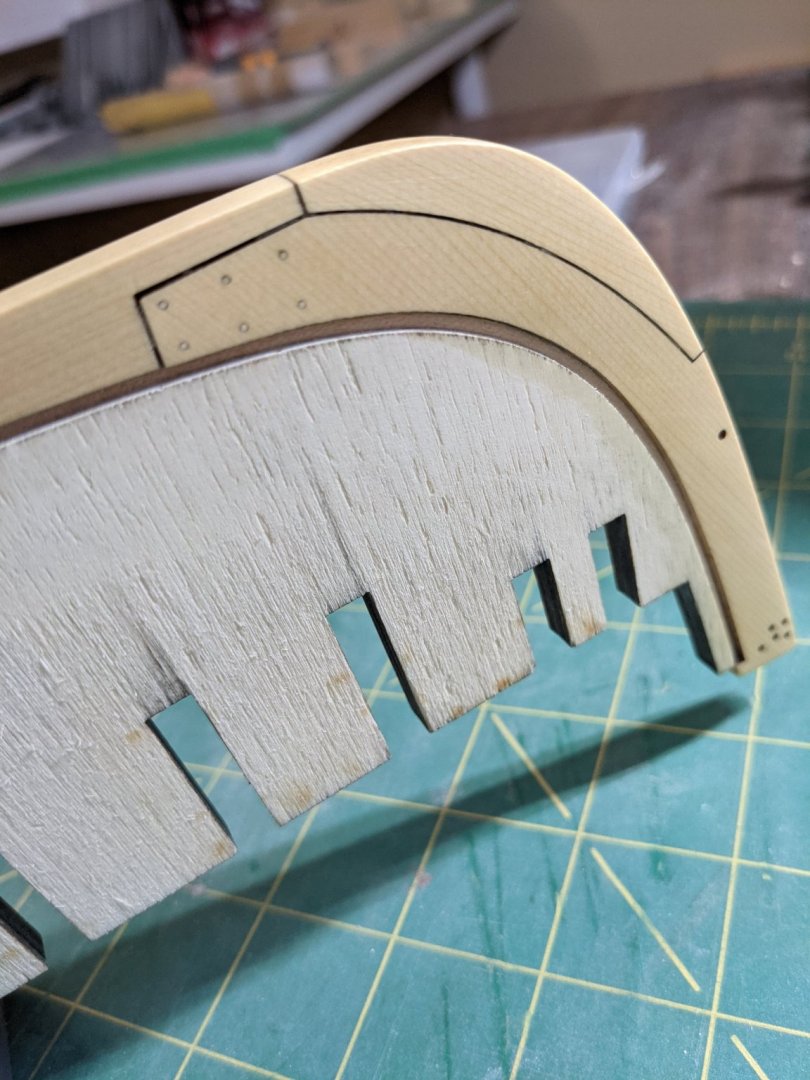
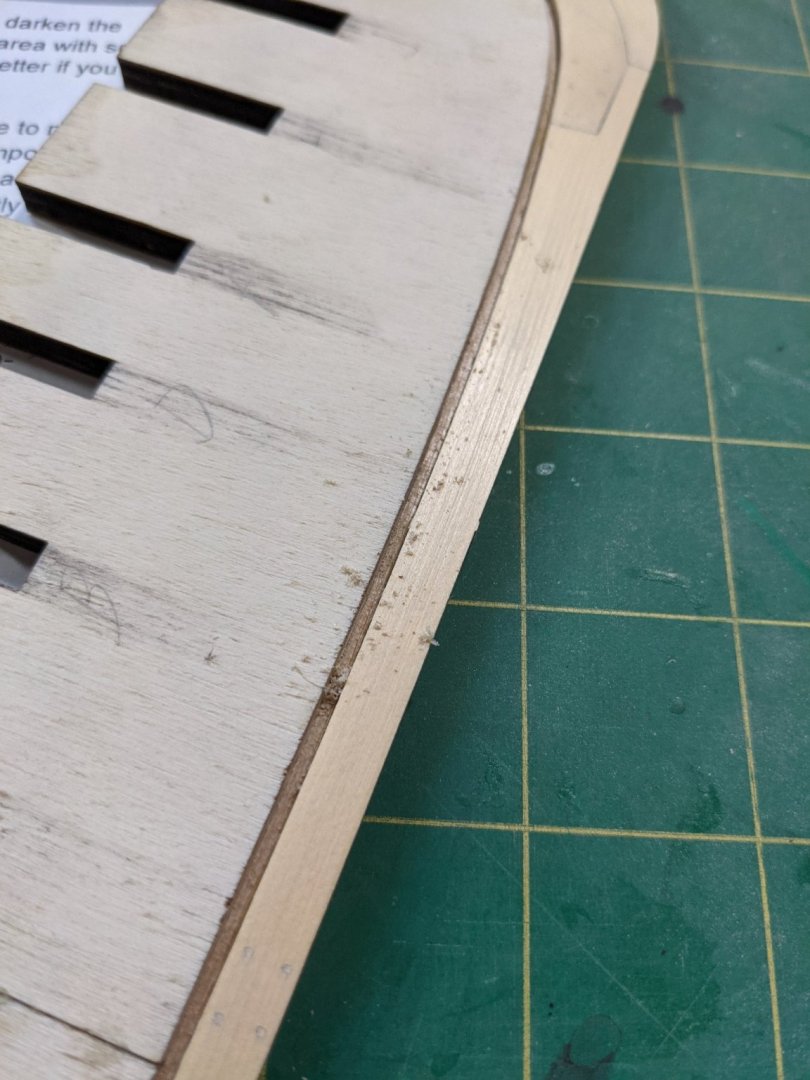
The hull former already has the rabbet line marked on one side so I traced it to the other side and just sanded it to shape as it was pretty easy with 150 grit going to 220 grit.
- 274 replies
-
- 5
-
-
- Cheerful
- Syren Ship Model Company
- (and 1 more)
-
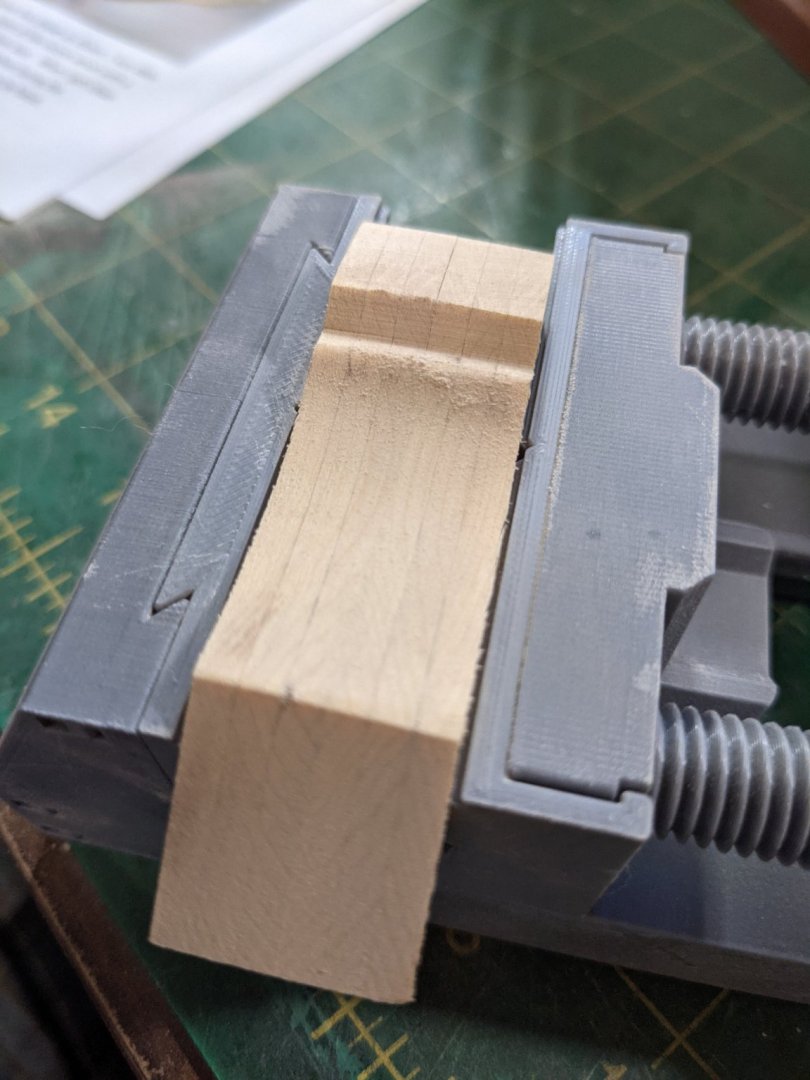
Next up was the 1/16 by 1/8 rabbet strip. I used the hull as a former and wet it and then ironed it down to take shape. Then glued it on and held down with rubber bands while it set up.


- 274 replies
-
- 4
-
-
- Cheerful
- Syren Ship Model Company
- (and 1 more)
-
First thing to do is test fit the hull pieces. I had zero warp and had to sand one of the inside table for a close fit. I glued these two pieces together on the back of a long square to make sure it was all straight.
- 274 replies
-
- 4
-
-
- Cheerful
- Syren Ship Model Company
- (and 1 more)
-
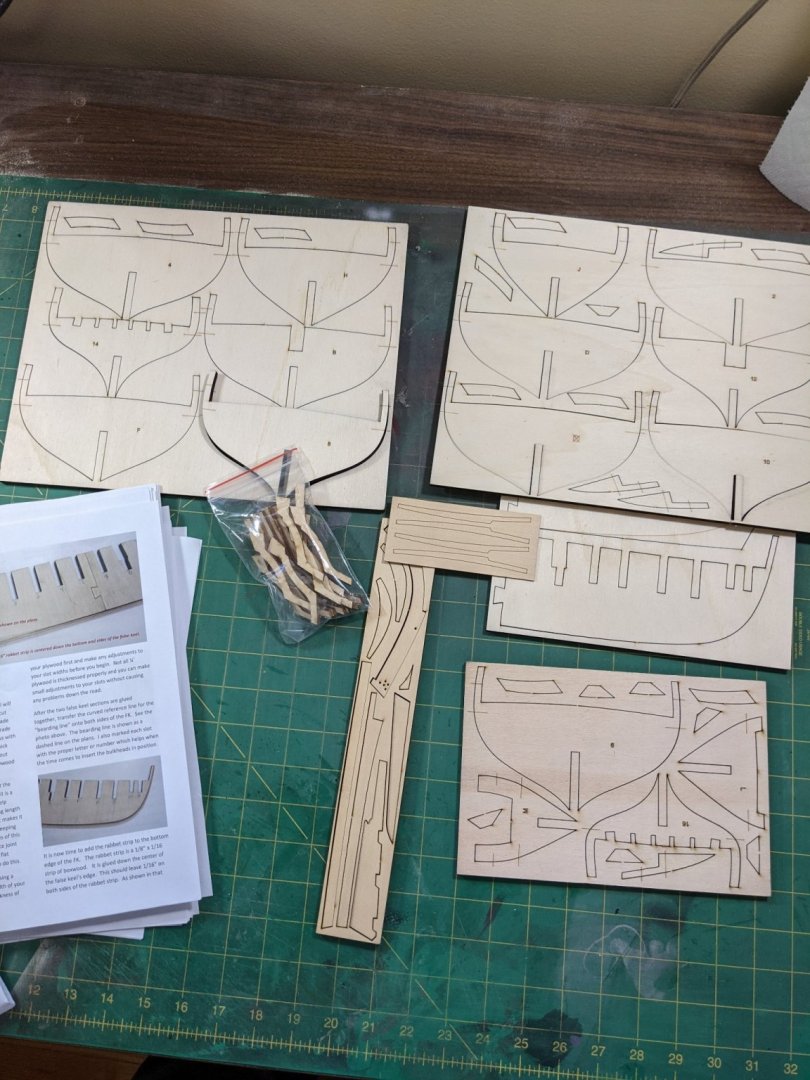
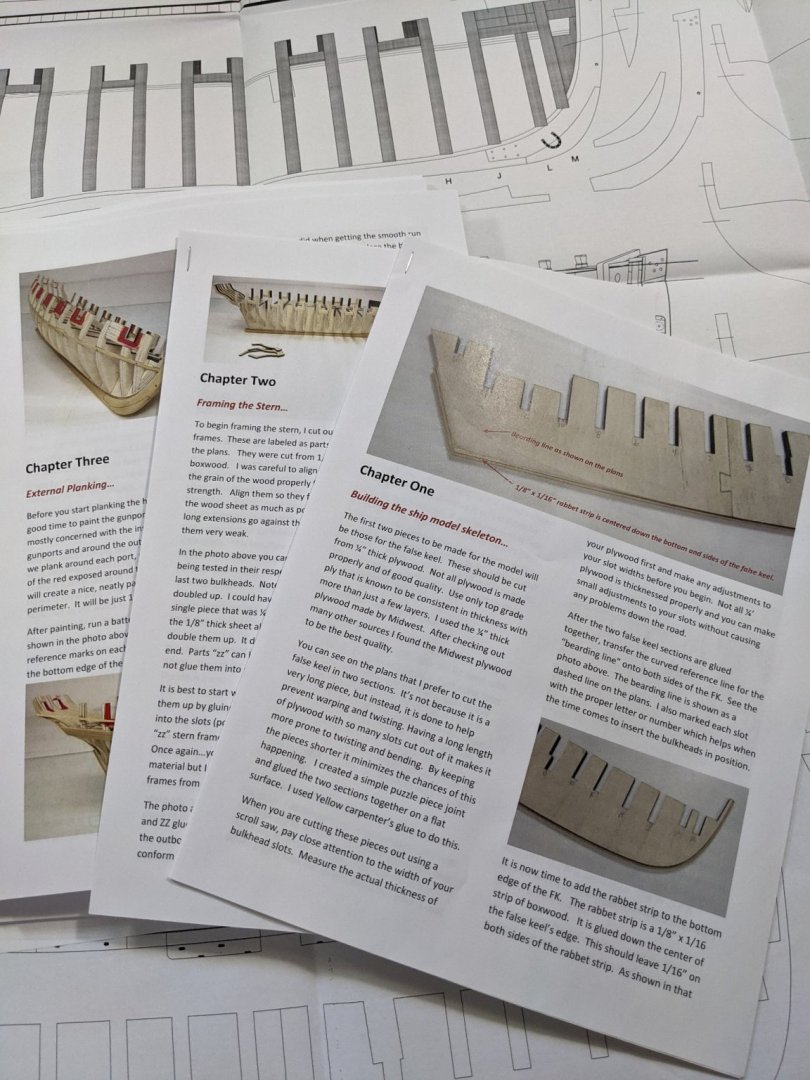
Not another Cheerful build? Yes I am exited to get started on this and wanted to share this. I ordered the starter kit which includes all the hull formers and plans. The laser cutting looks good and some of the pieces just fell right out of master. Each piece only has a couple small tabs to trim and there was very little burning on the back of the parts. The starter kit had 3 nice sheets of plans. I printed up all of the practicum in colour and each chapter is stapled together as there is a lot of information and would be too many pages to have them all in one book.

- 274 replies
-
- 5
-
-
- Cheerful
- Syren Ship Model Company
- (and 1 more)
-
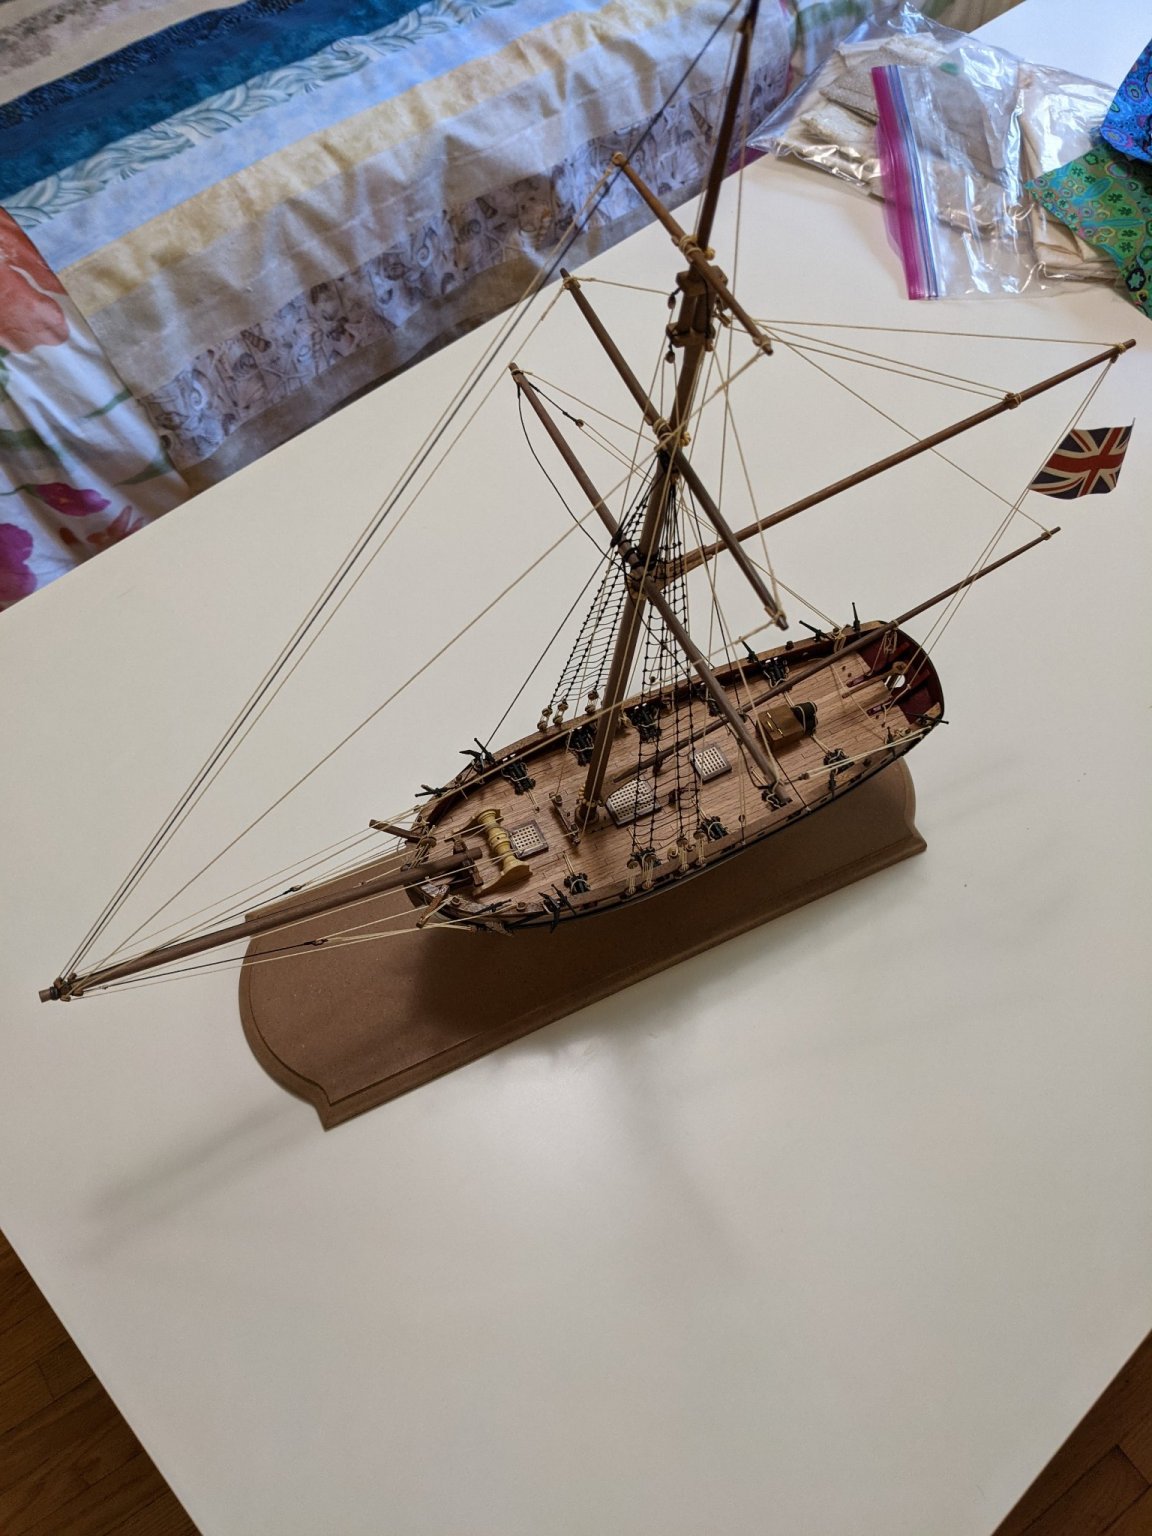
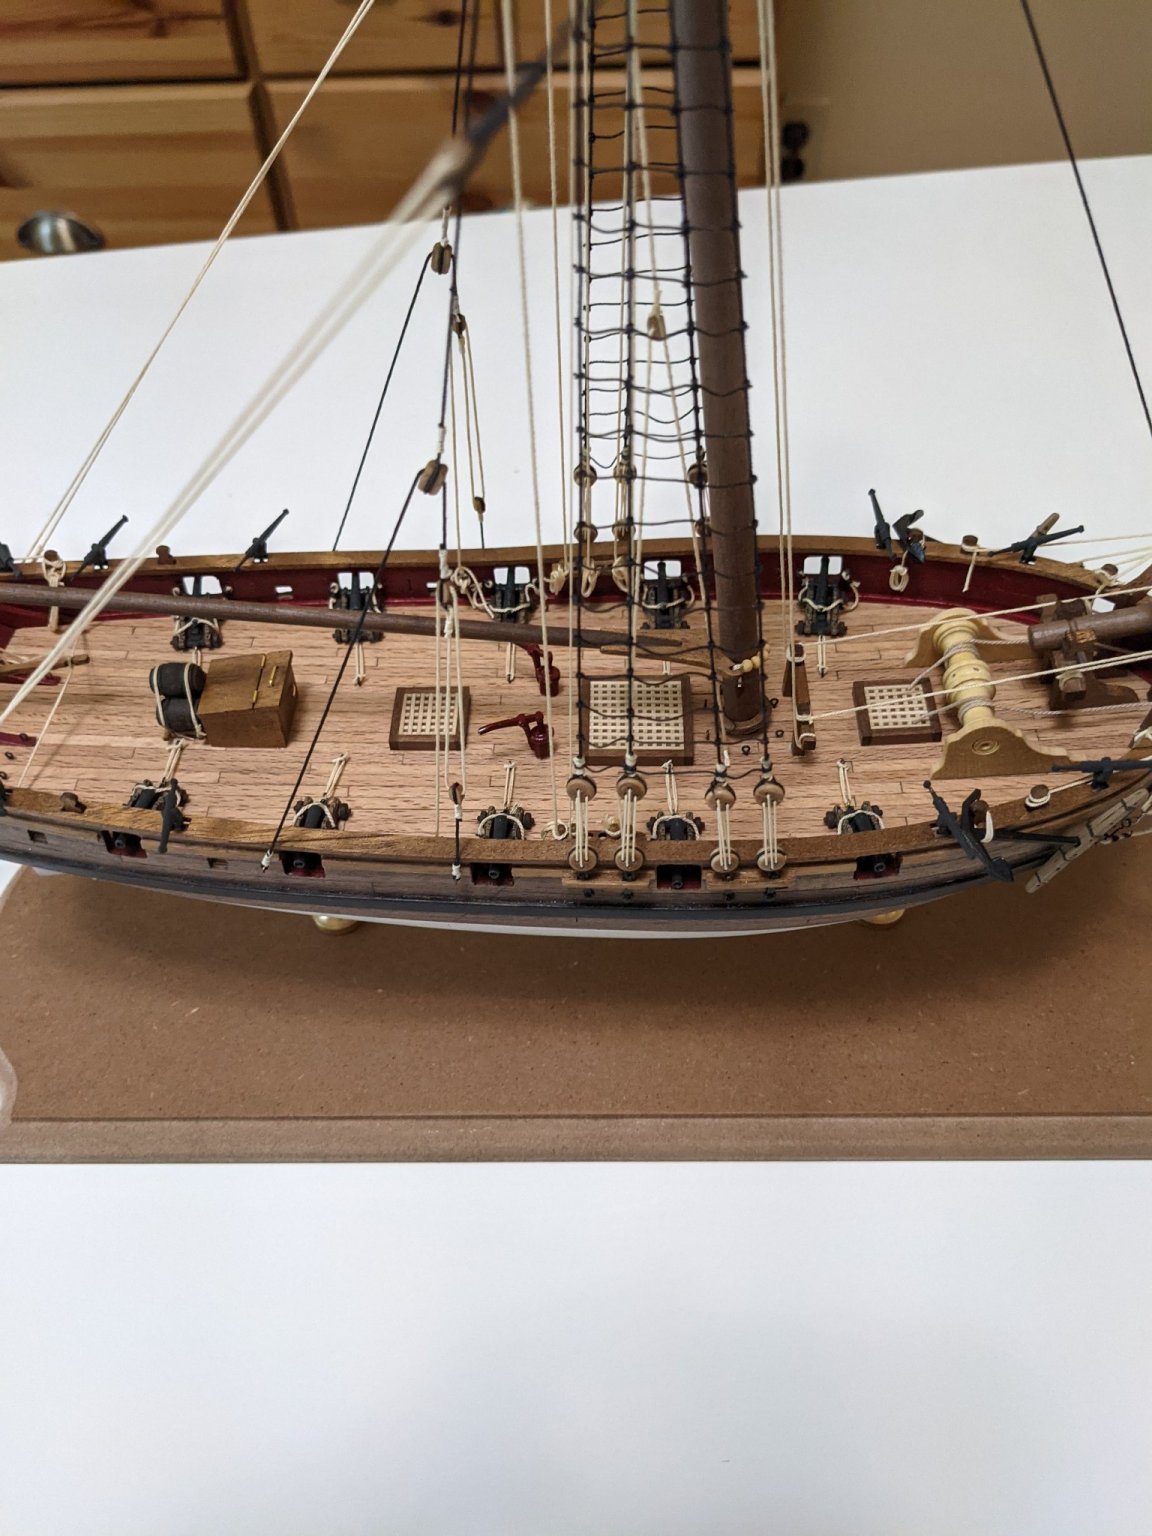
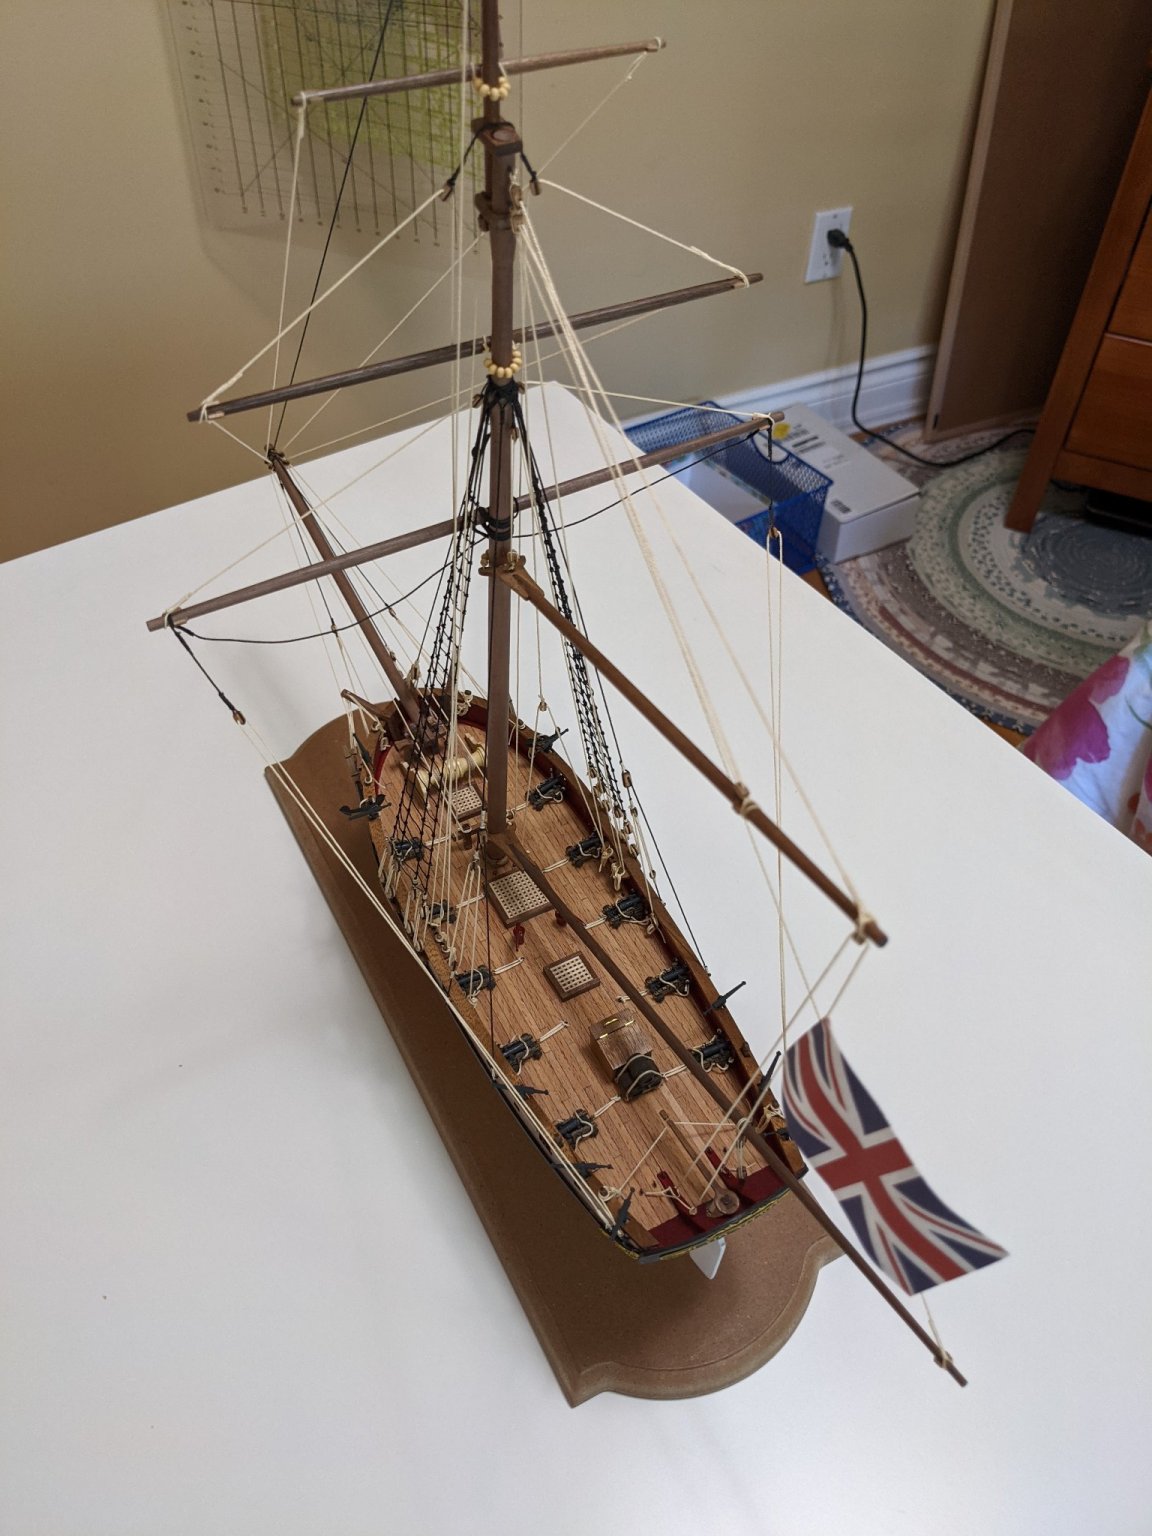
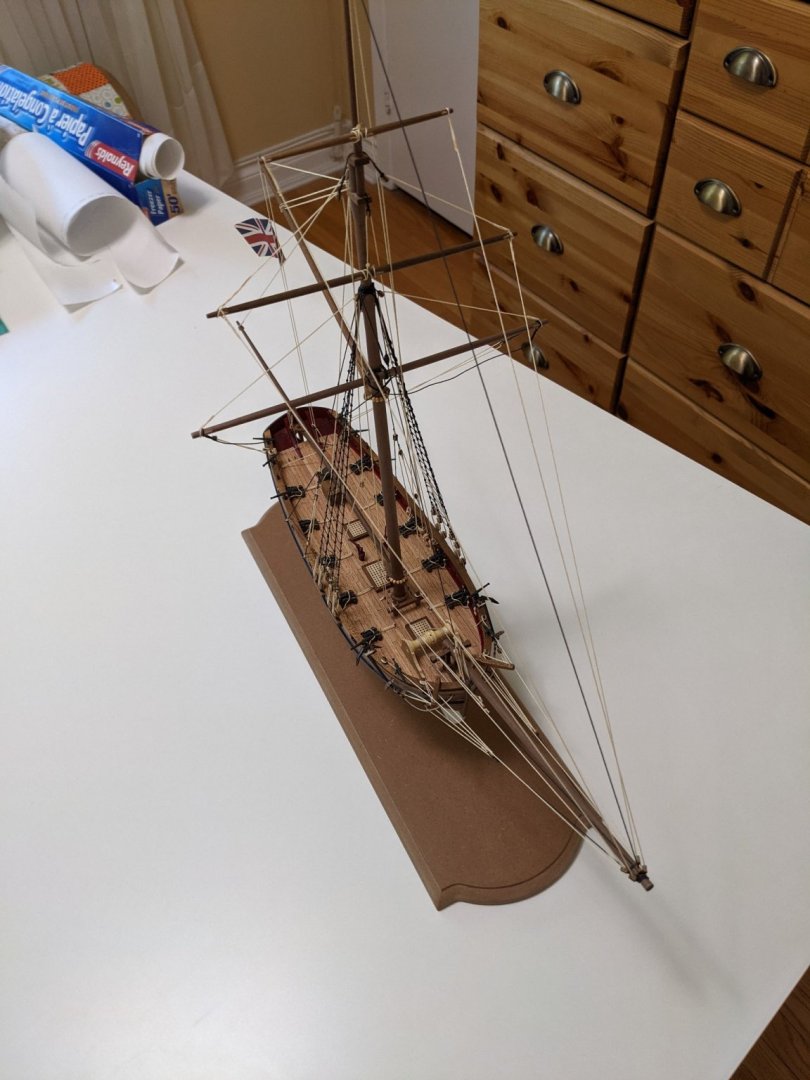
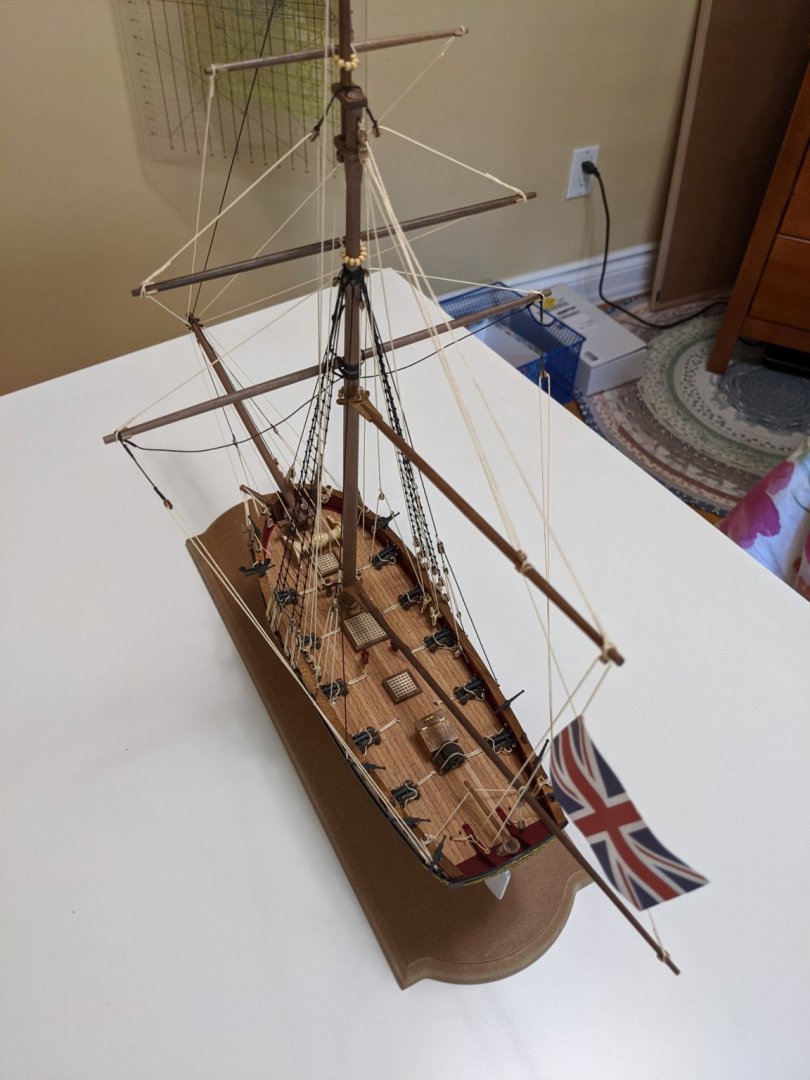
Finished this build. I like how it turned out and I learned a lot during the build. I know it wasn't a step by step build log as I wasn't sure I was going to post it because my skills are a little lacking.


- 28 replies
-
- 12
-
-
- Amati
- Lady Nelson
- (and 2 more)
-
Just read through the whole log and this is fantastic! You explanations and photos at top notch.
- 950 replies
-
- 2
-
-
- syren
- model shipways
- (and 1 more)
-
I see on a few build logs where some people pre-taper the hull formers by laying the smaller ones on the larger ones and drawing a line and sanding the taper. This looks like a good idea to me but is there anything I should be wary of or do you not thing it is a good way to do things?
-
A good place to buy silkspan is Brodak. https://brodak.com/silkspan-lite-white-only-2-sheets.html
-
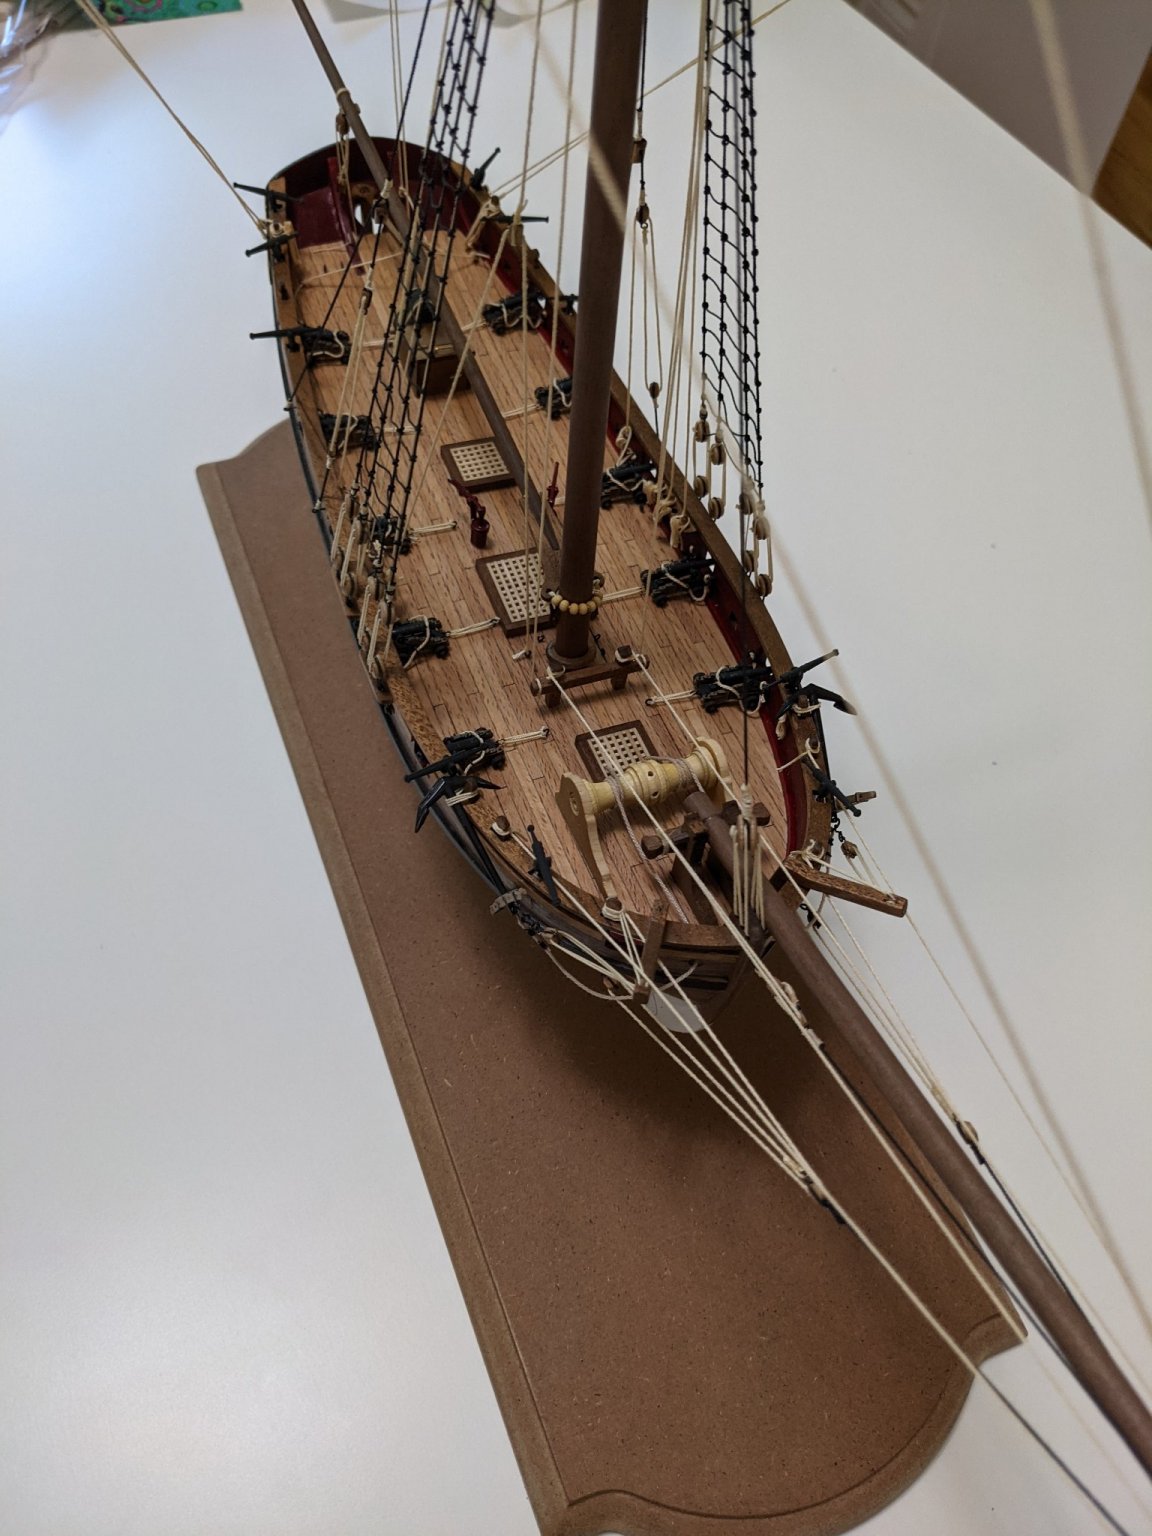
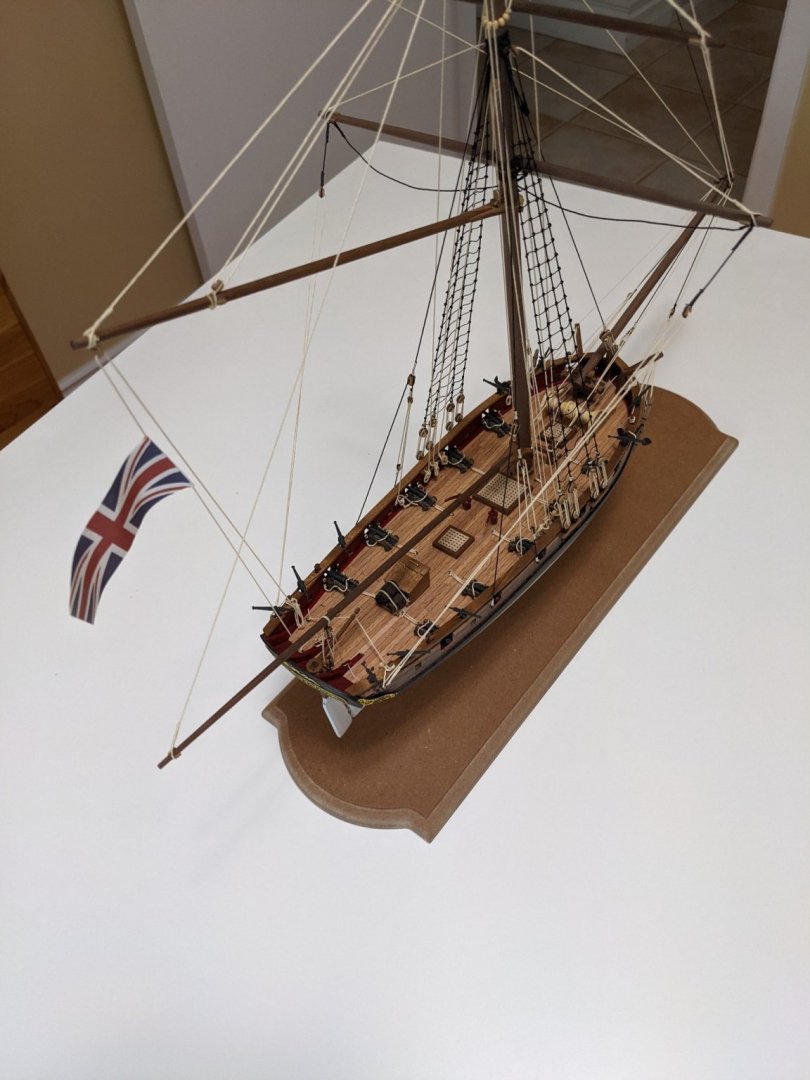
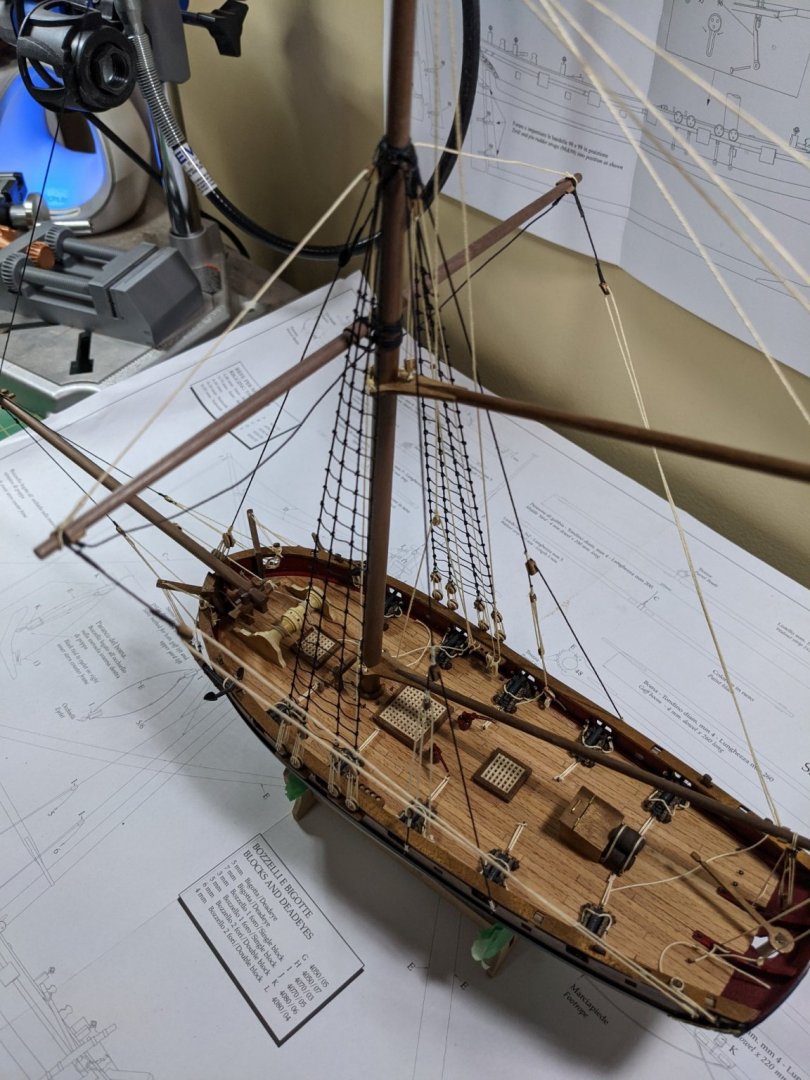
Finished one of the upper masts (don't know what it is called).
- 28 replies
-
- 3
-
-
- Amati
- Lady Nelson
- (and 2 more)
-
So exited! Ordered a cut wood kit from Joe for the Cheerful build. I don't have a table saw so this is great for me.
-
Balsa USA is a good supplier also. https://shop.balsausa.com/category_s/1043.htm Sig Manufacturing also. https://sigmfg.com/collections/balsa-sheets
-
All I can say is WOW! This is looking great and I like what you are doing. The minwax stain looks good.