(1)(1)(1)(2).jpg.a128ea4d7b02ebfc5d5eb6547e92106f.jpg)
PRS
-
Posts
372 -
Joined
-
Last visited
Content Type
Profiles
Forums
Gallery
Events
Everything posted by PRS
-
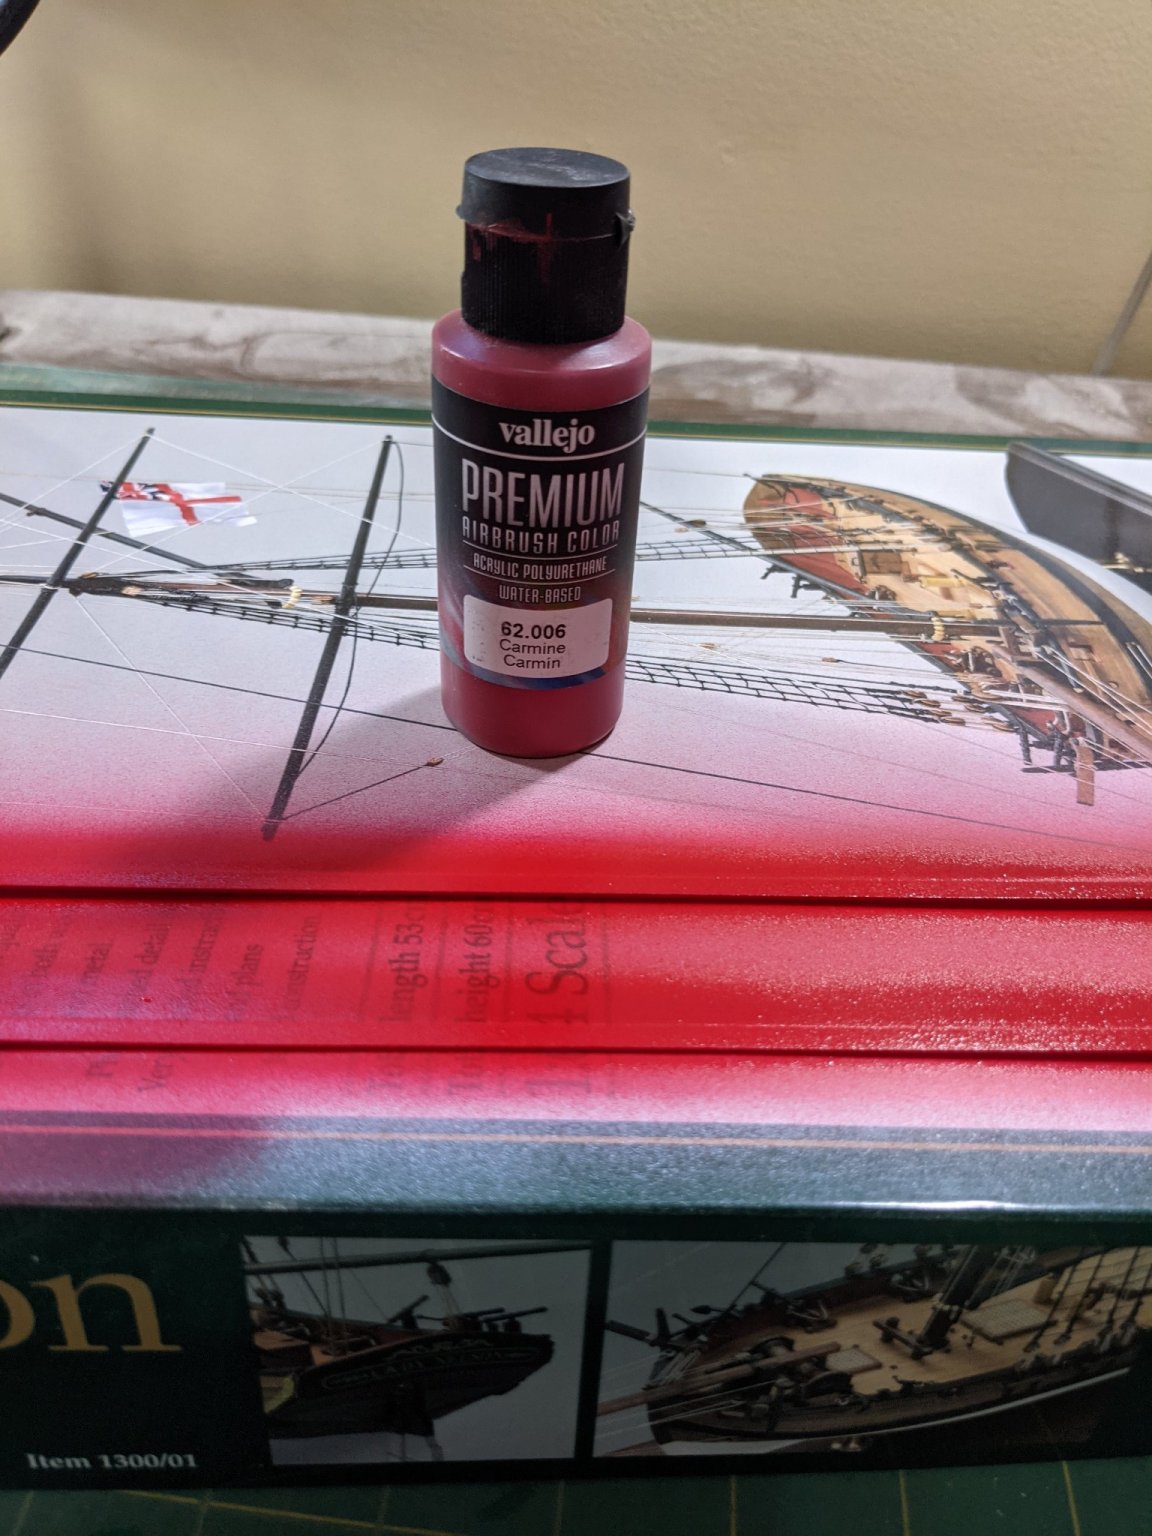
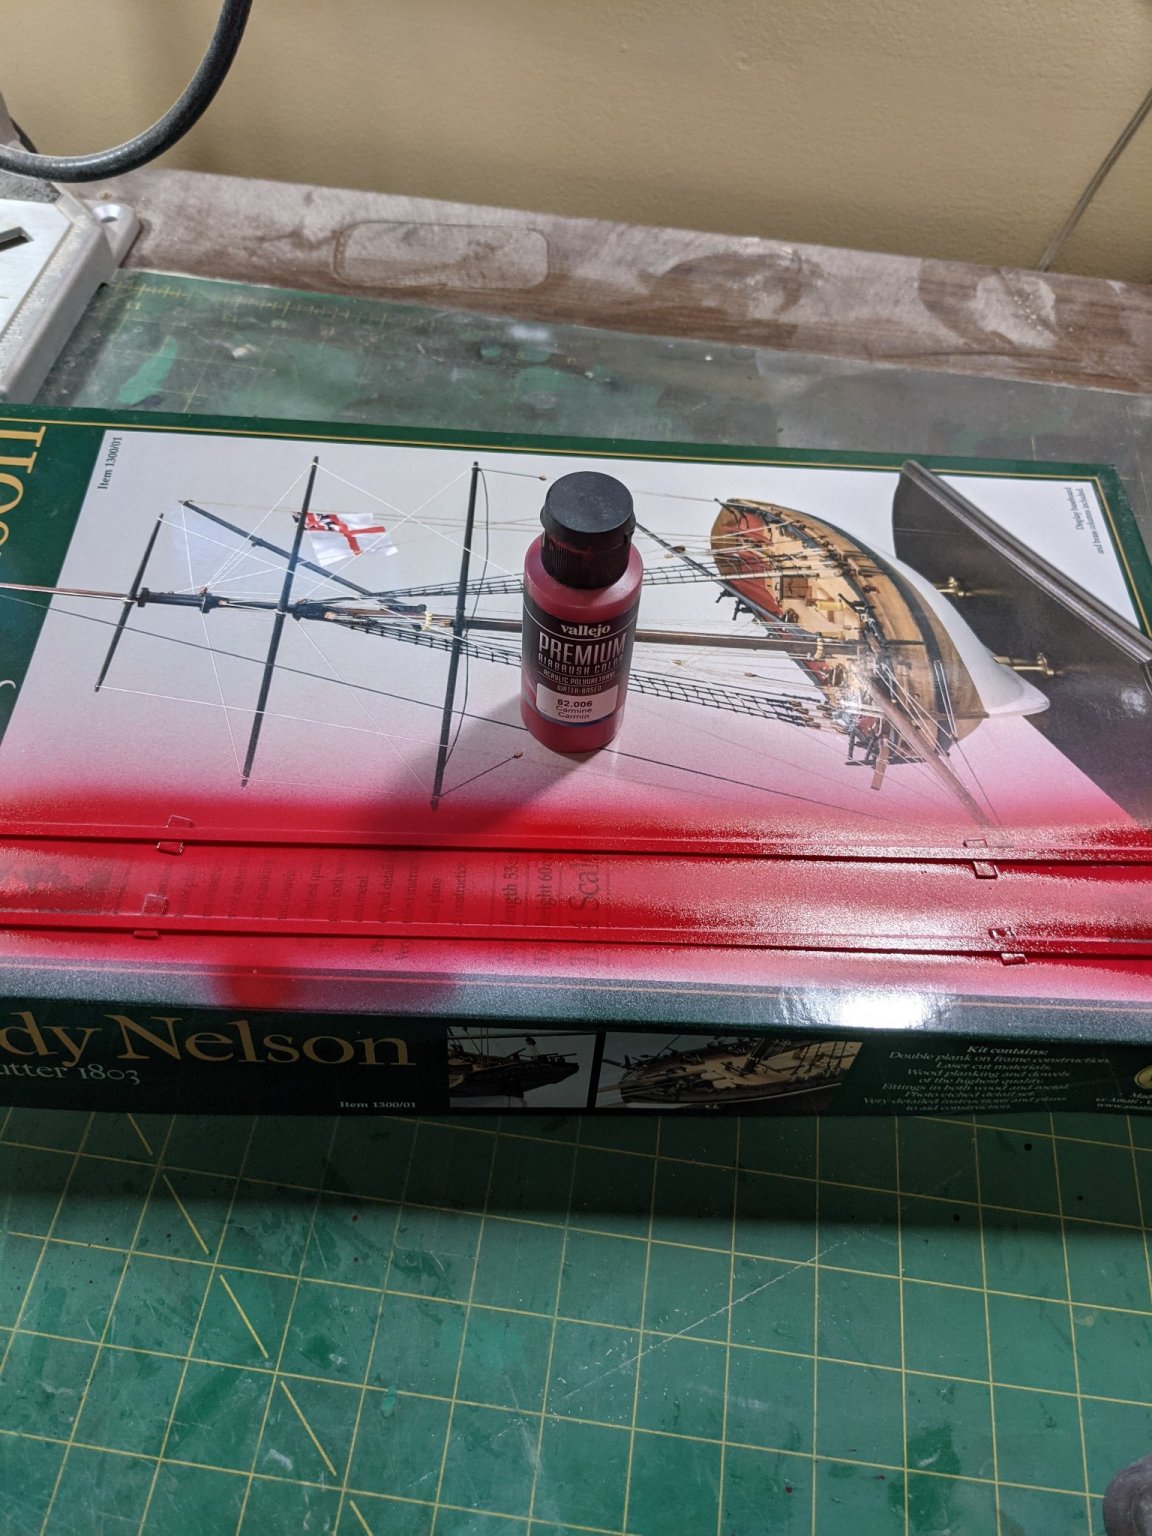
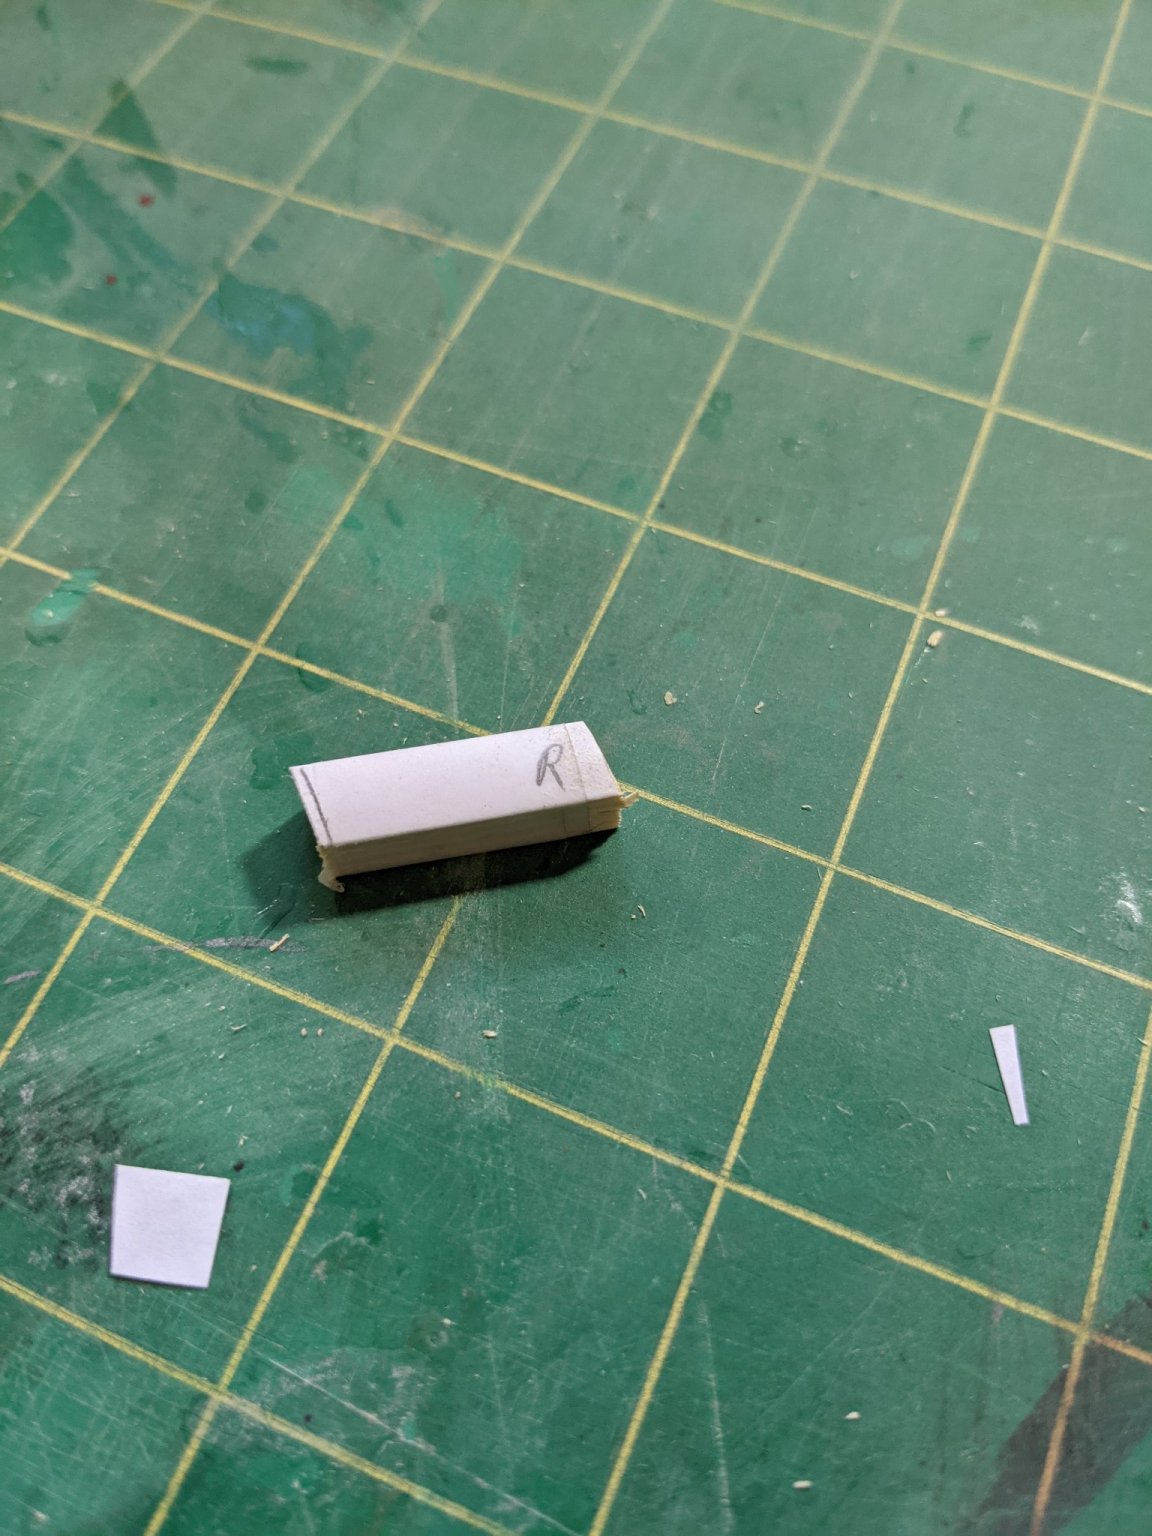
(1)(1)(1)(2).thumb.jpg.792ad774561d3d4f35888704cde27a8e.jpg) Pre painting the 1/32 pieces I am going to use to frame the gun ports. I will leave the paint to harden a couple days before using it so as not to make marks in it.
Pre painting the 1/32 pieces I am going to use to frame the gun ports. I will leave the paint to harden a couple days before using it so as not to make marks in it.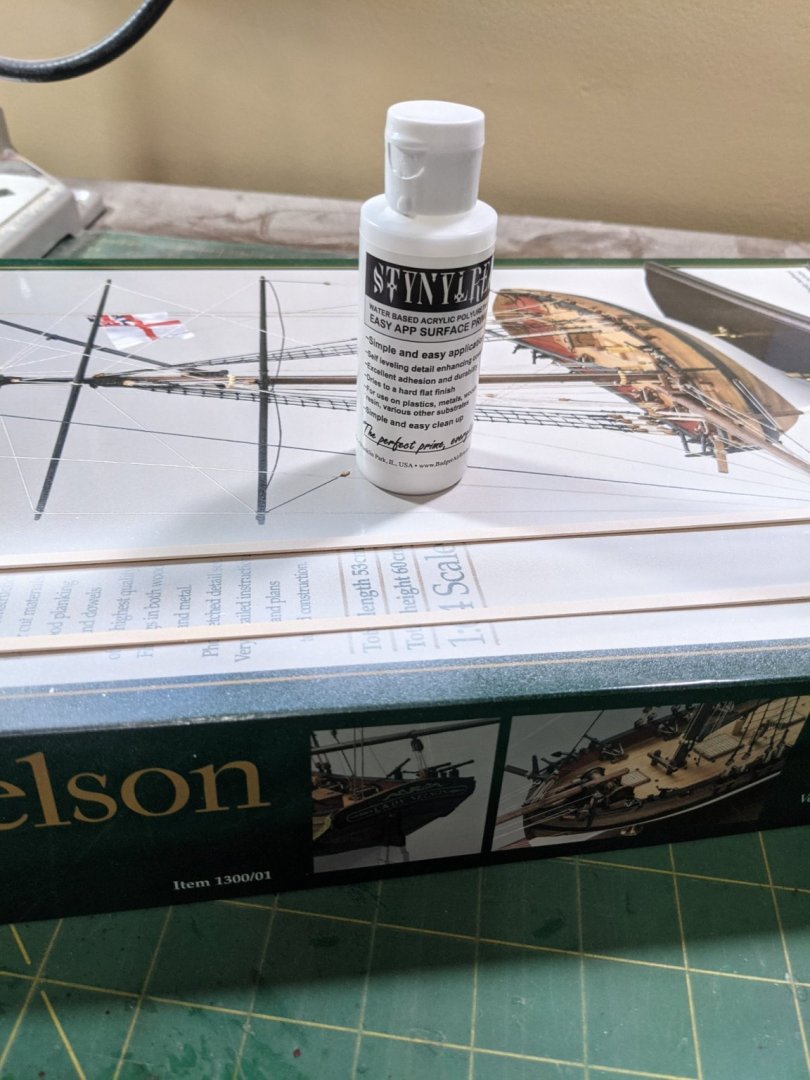

- 274 replies
-
- 5
-

-
- Cheerful
- Syren Ship Model Company
- (and 1 more)
-
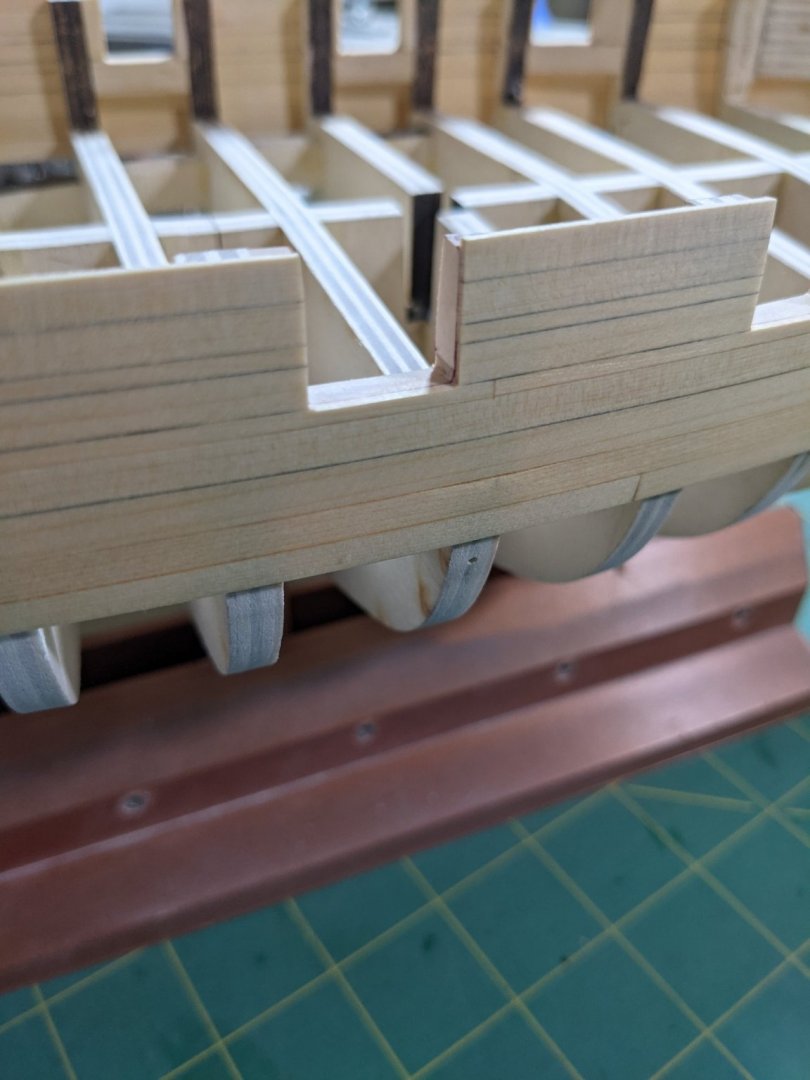
I have both sides upper planking done and the gun ports formed. Sanded everything down to 600 grit and one coat of wipe on poly. It sure brings out the colour of the yellow cedar.


- 274 replies
-
- 8
-
-
- Cheerful
- Syren Ship Model Company
- (and 1 more)
-
Yes it is a tight fit. Just that on the long runs without support at the stern the planks bend inwards when sanding. Maybe I am pressing too hard on sanding but I usually let the sandpaper do the work.
- 274 replies
-
- 1
-
-
- Cheerful
- Syren Ship Model Company
- (and 1 more)
-
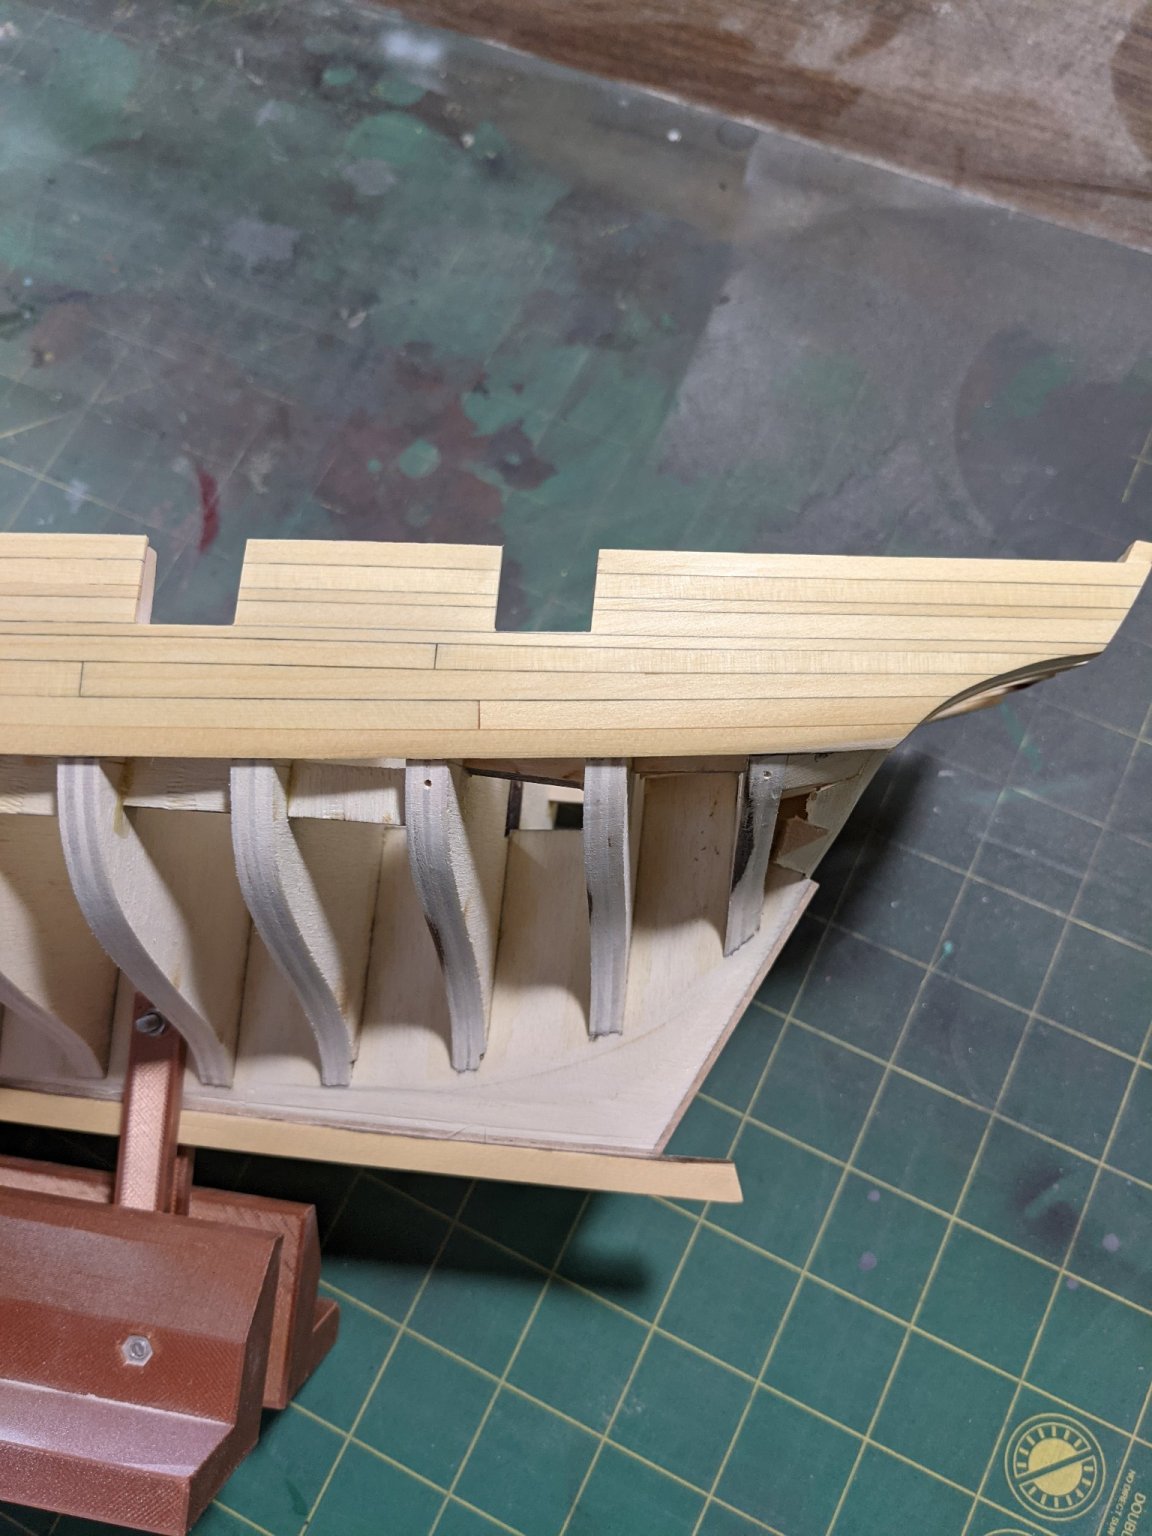
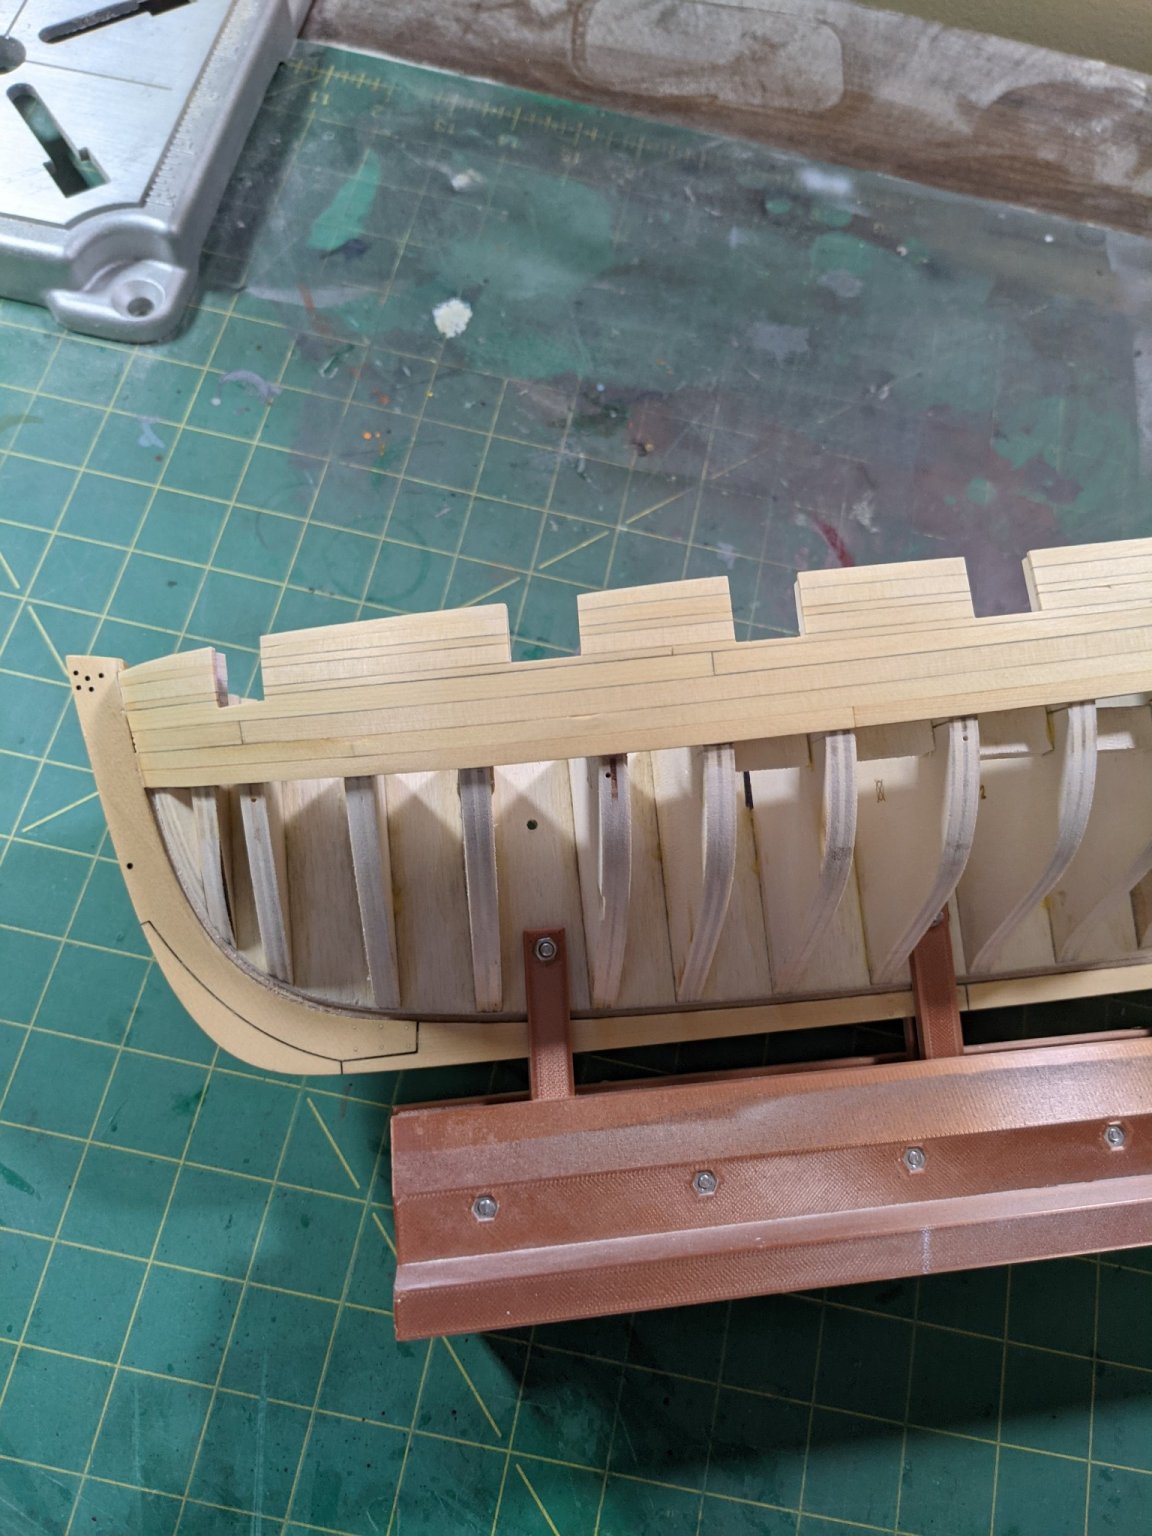
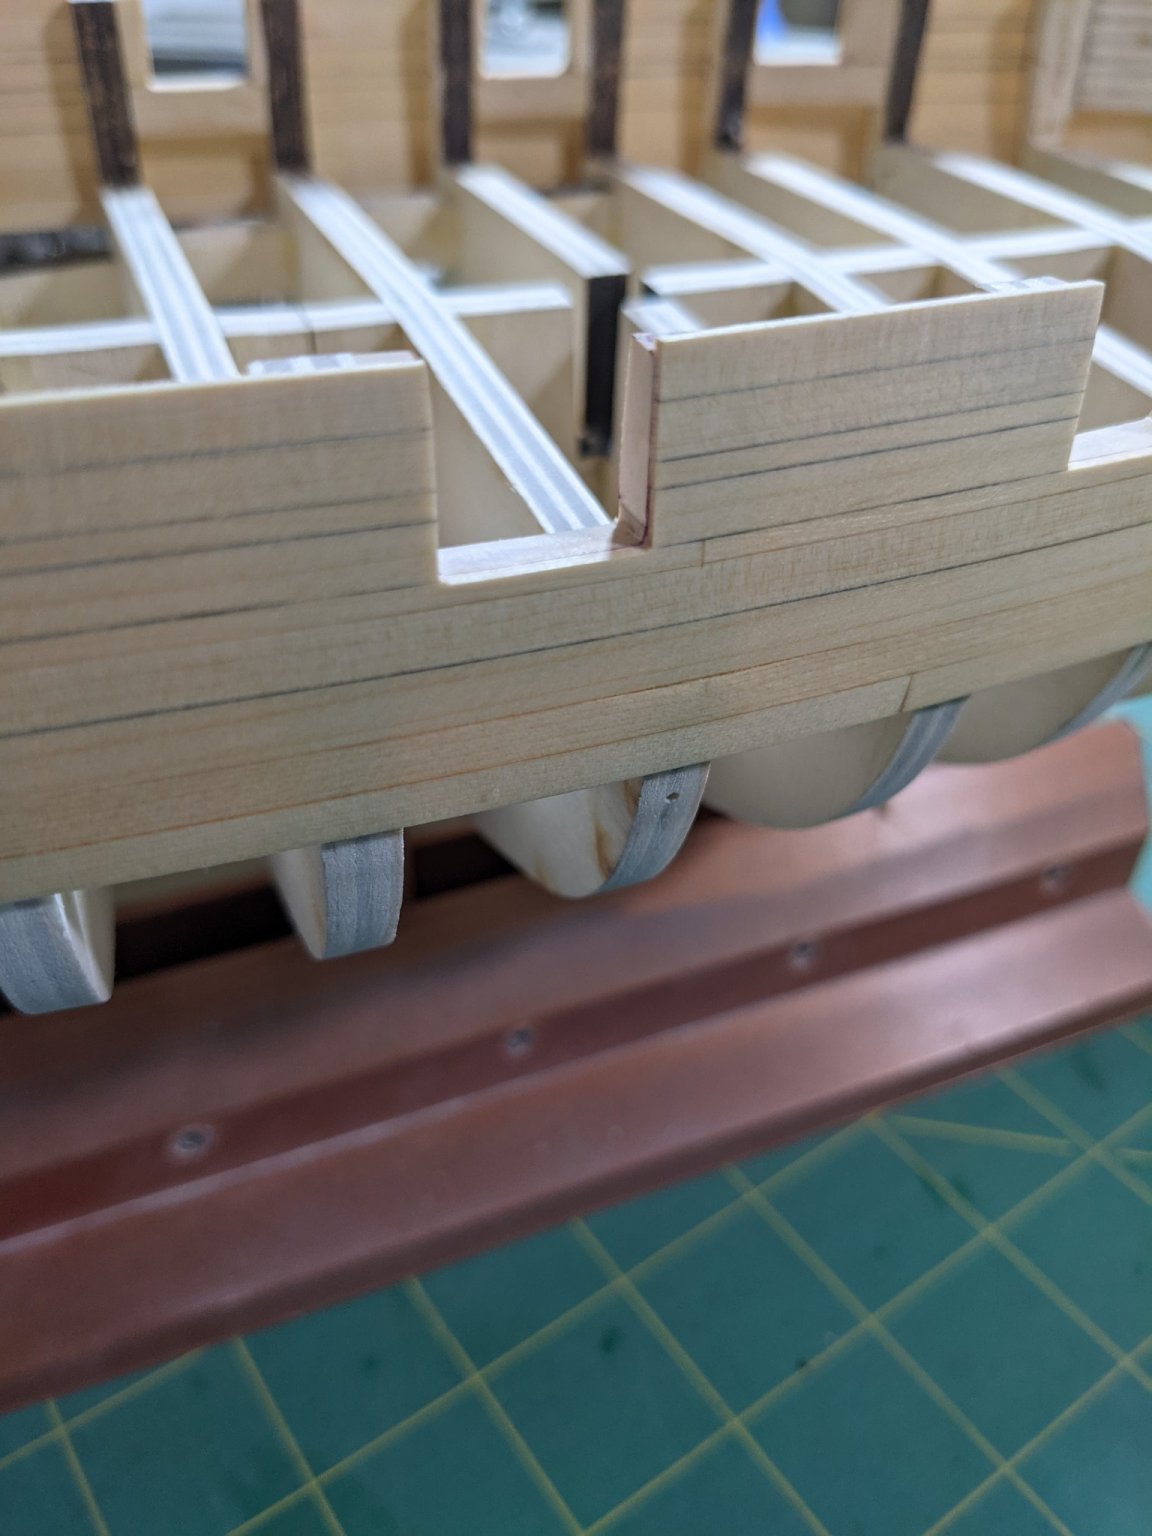
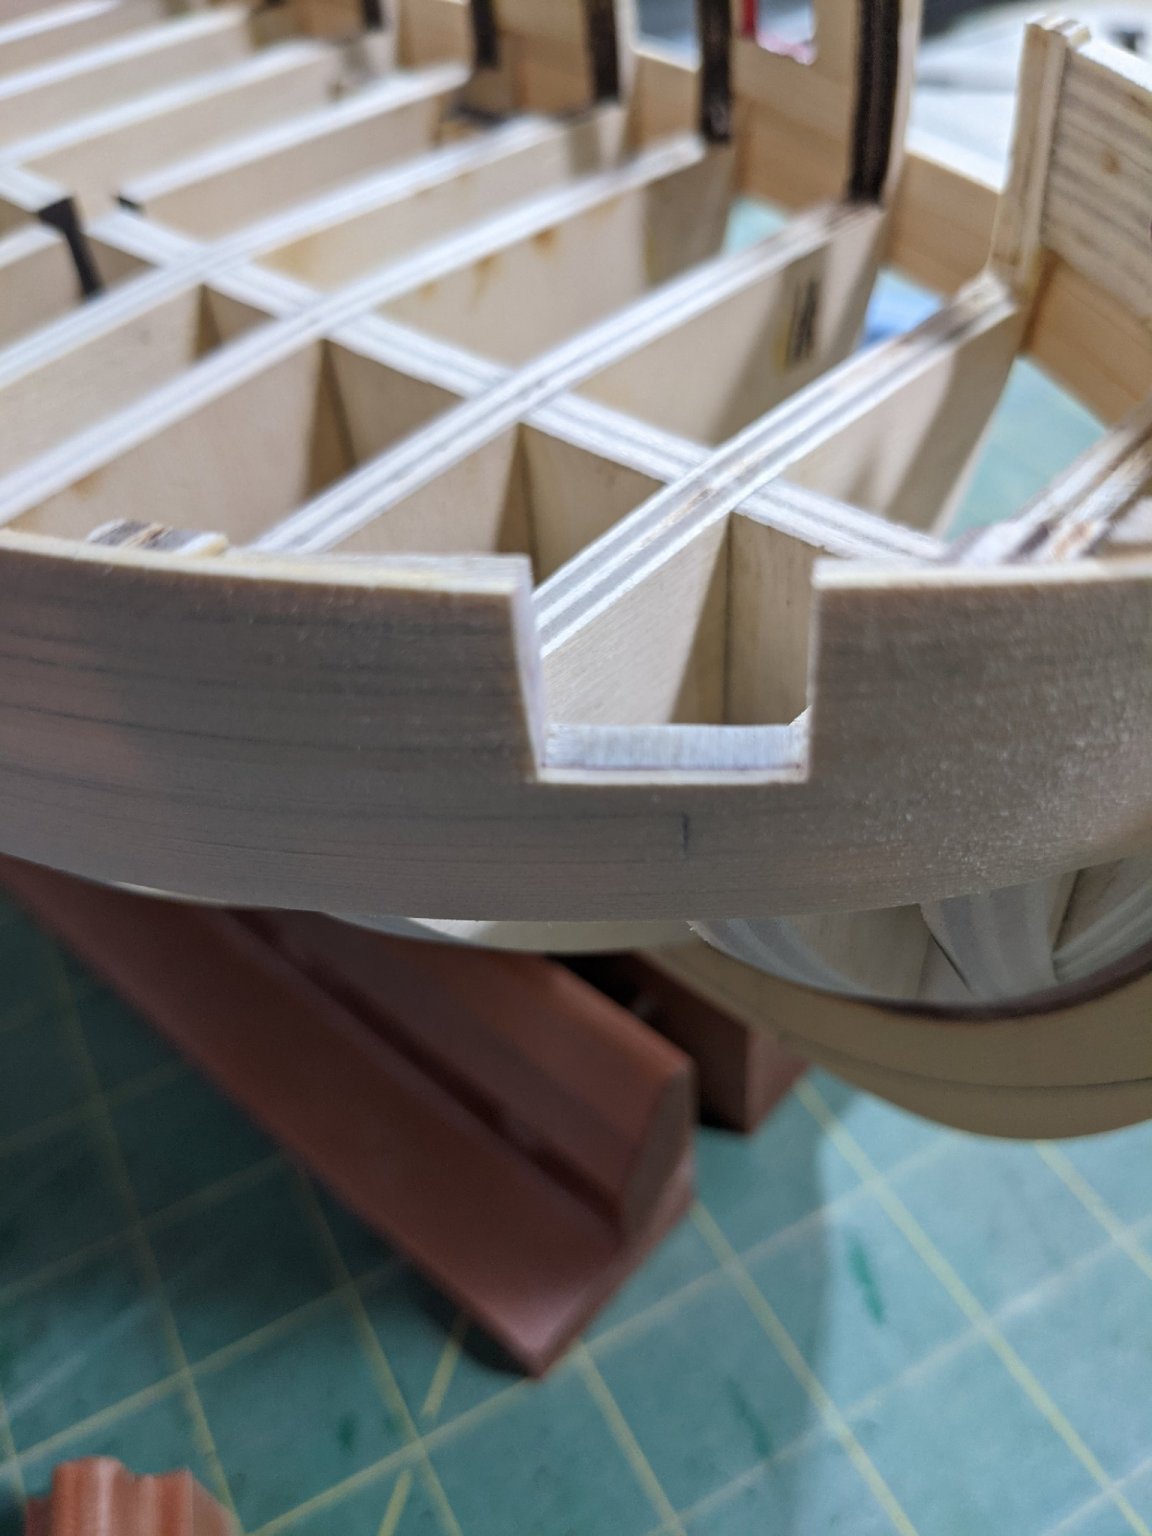
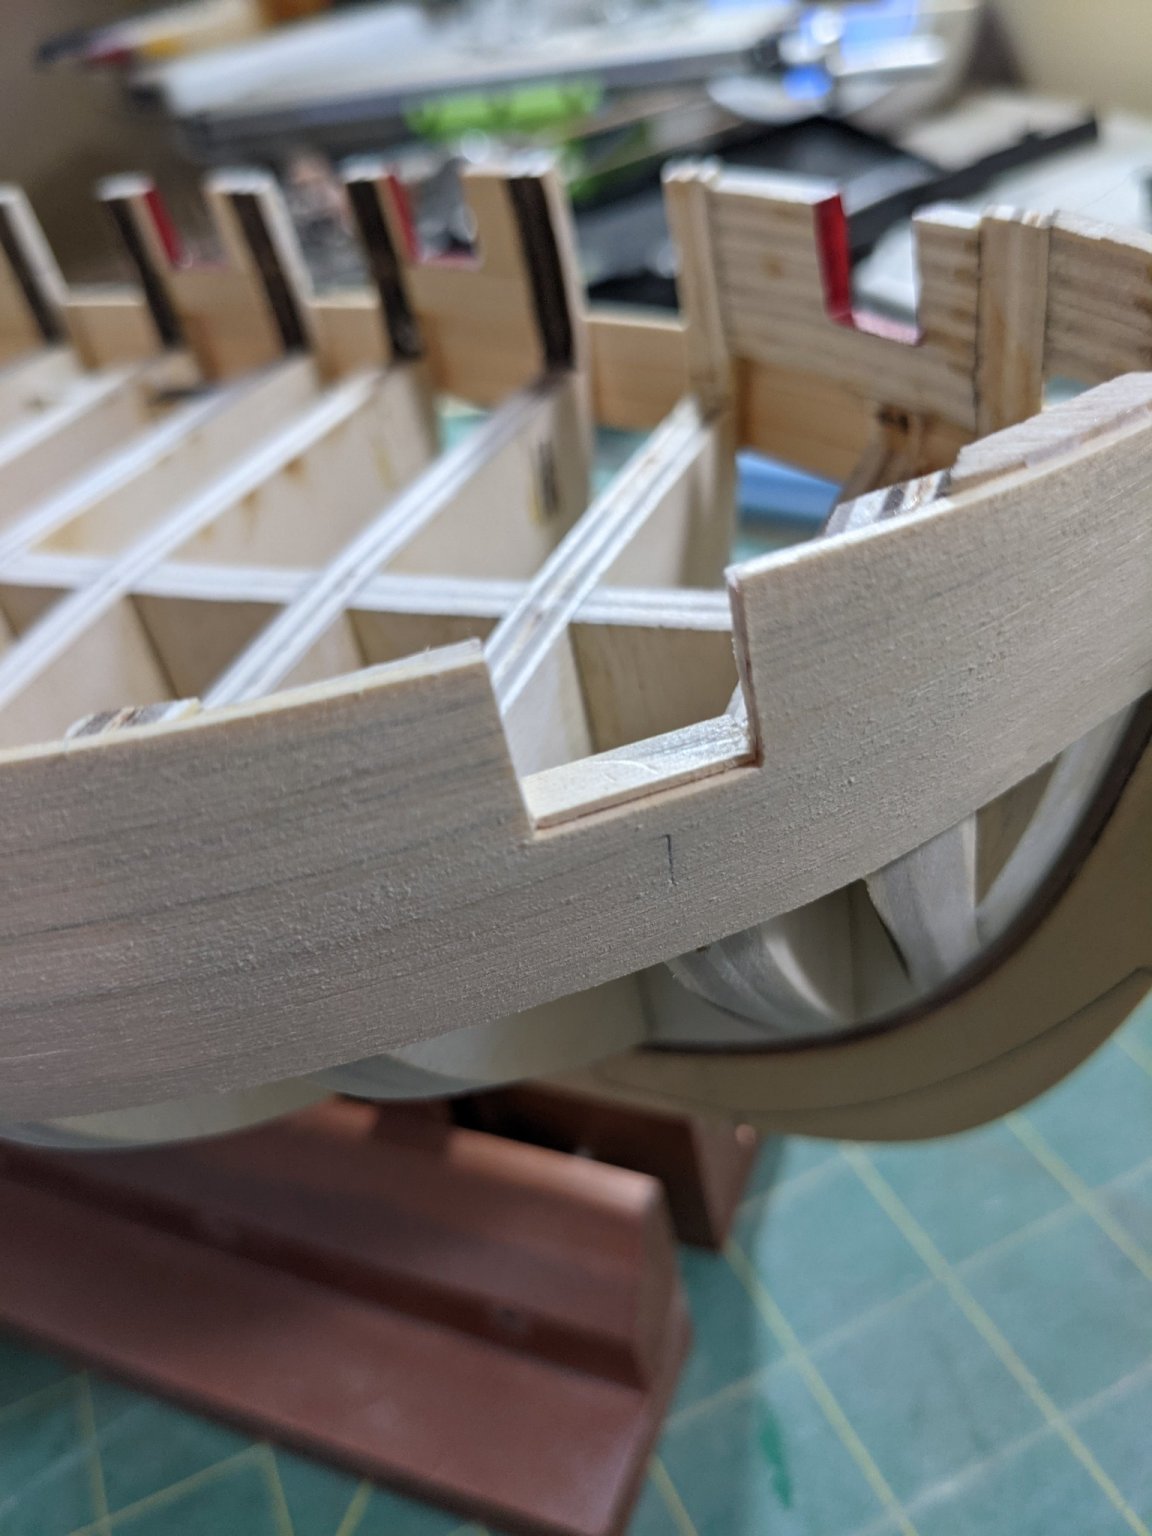
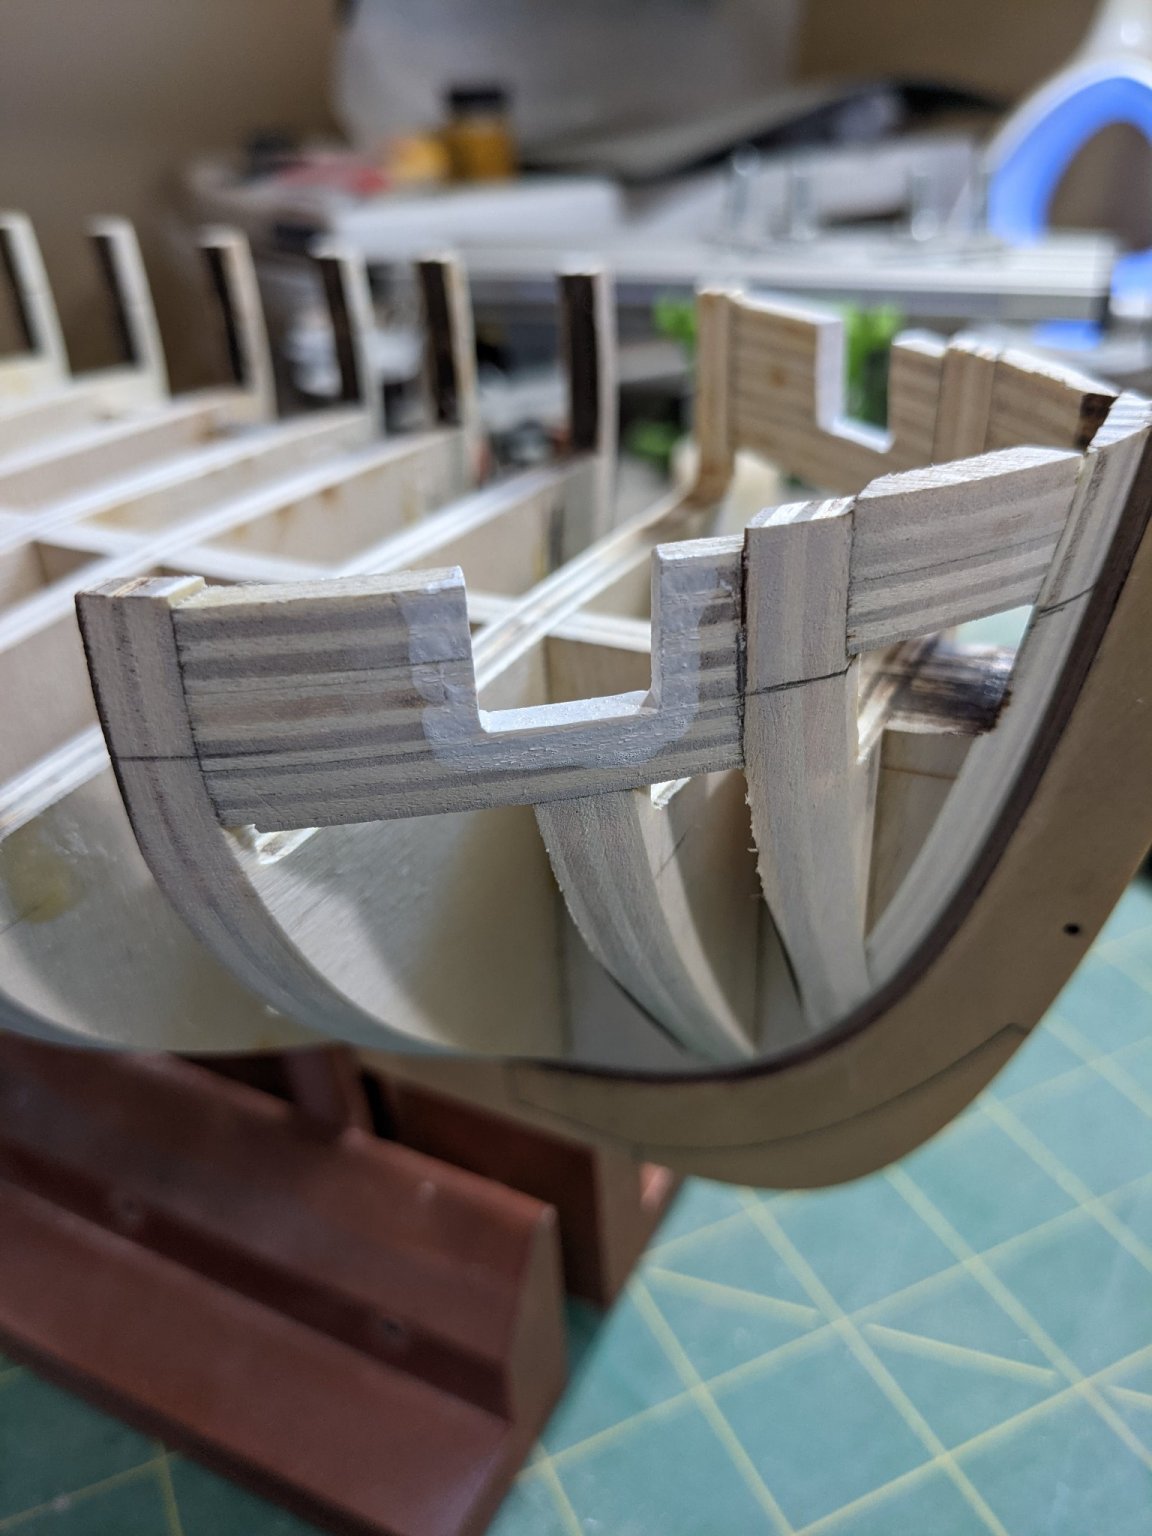
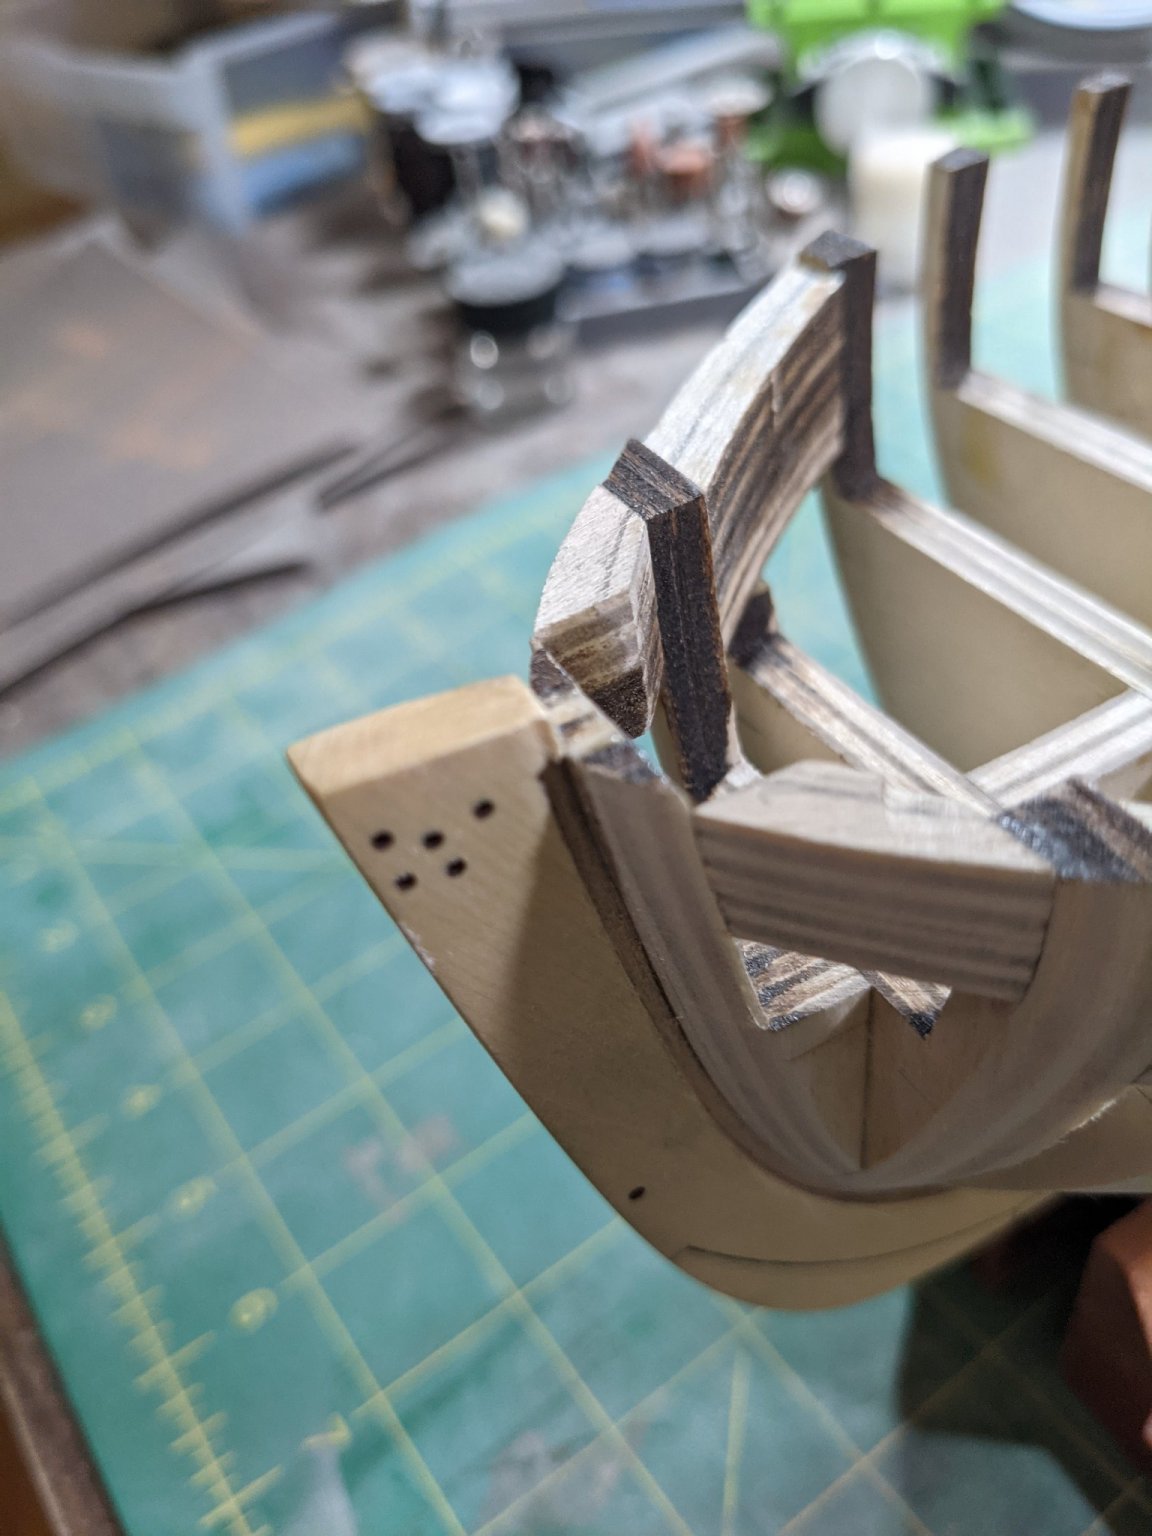
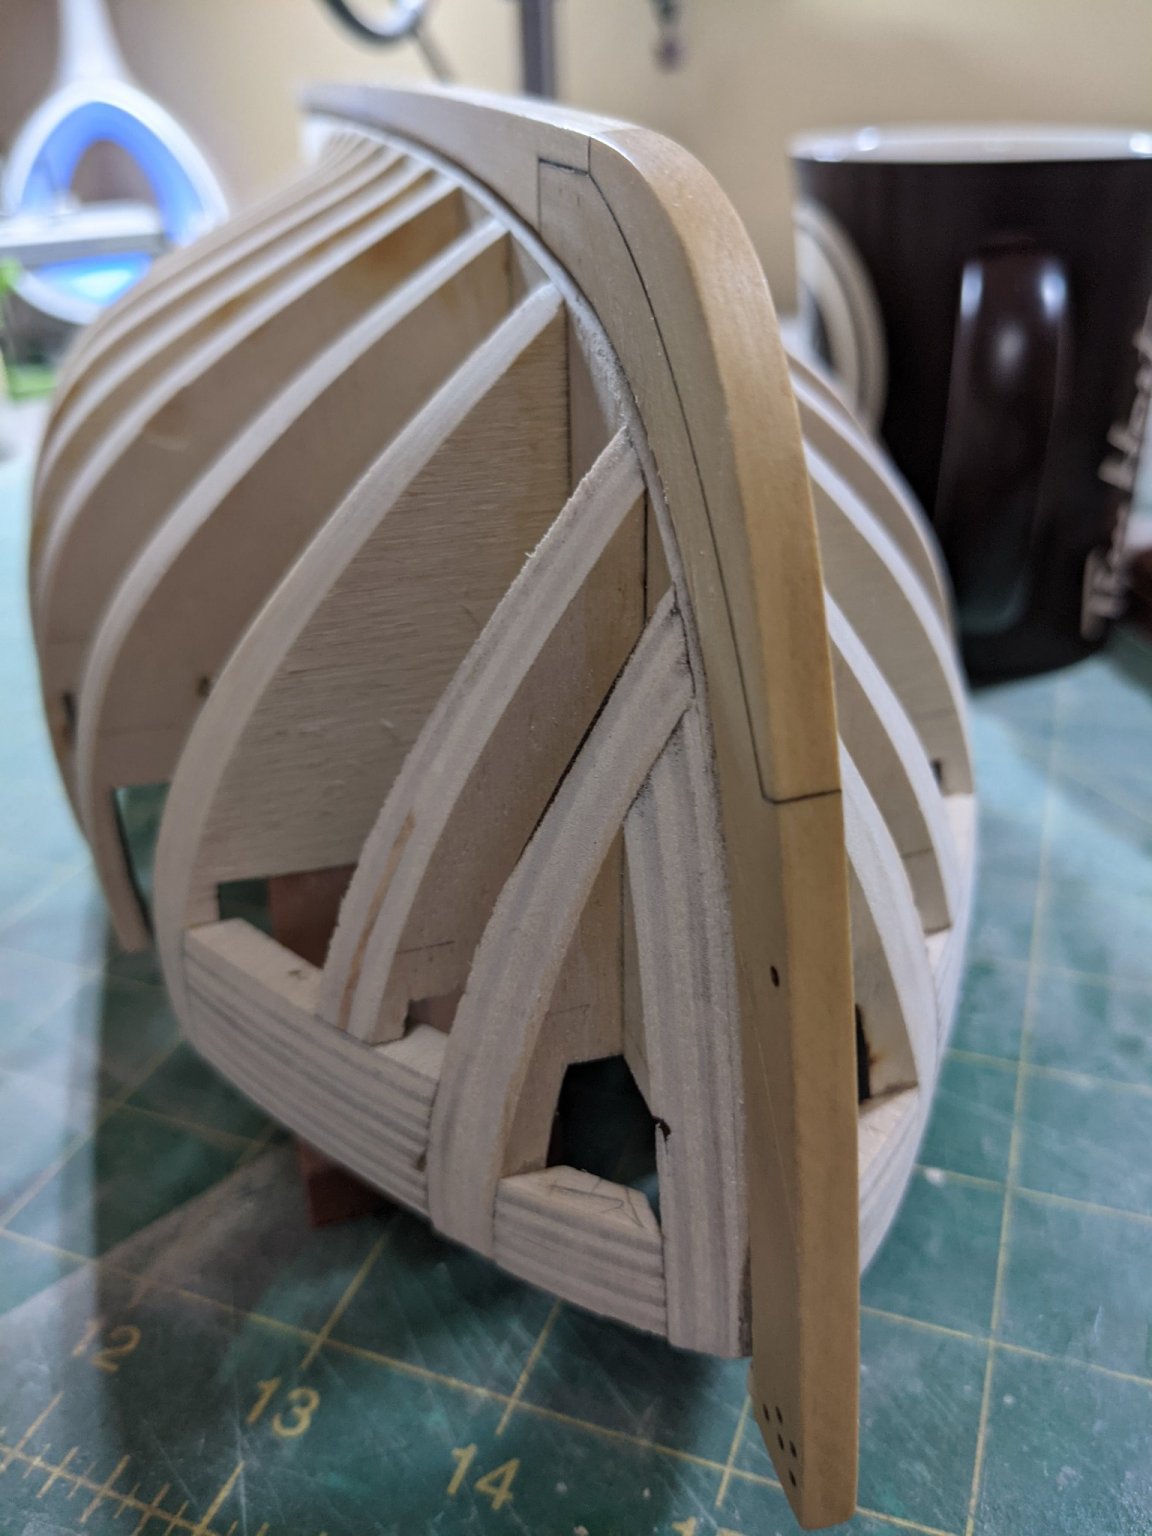
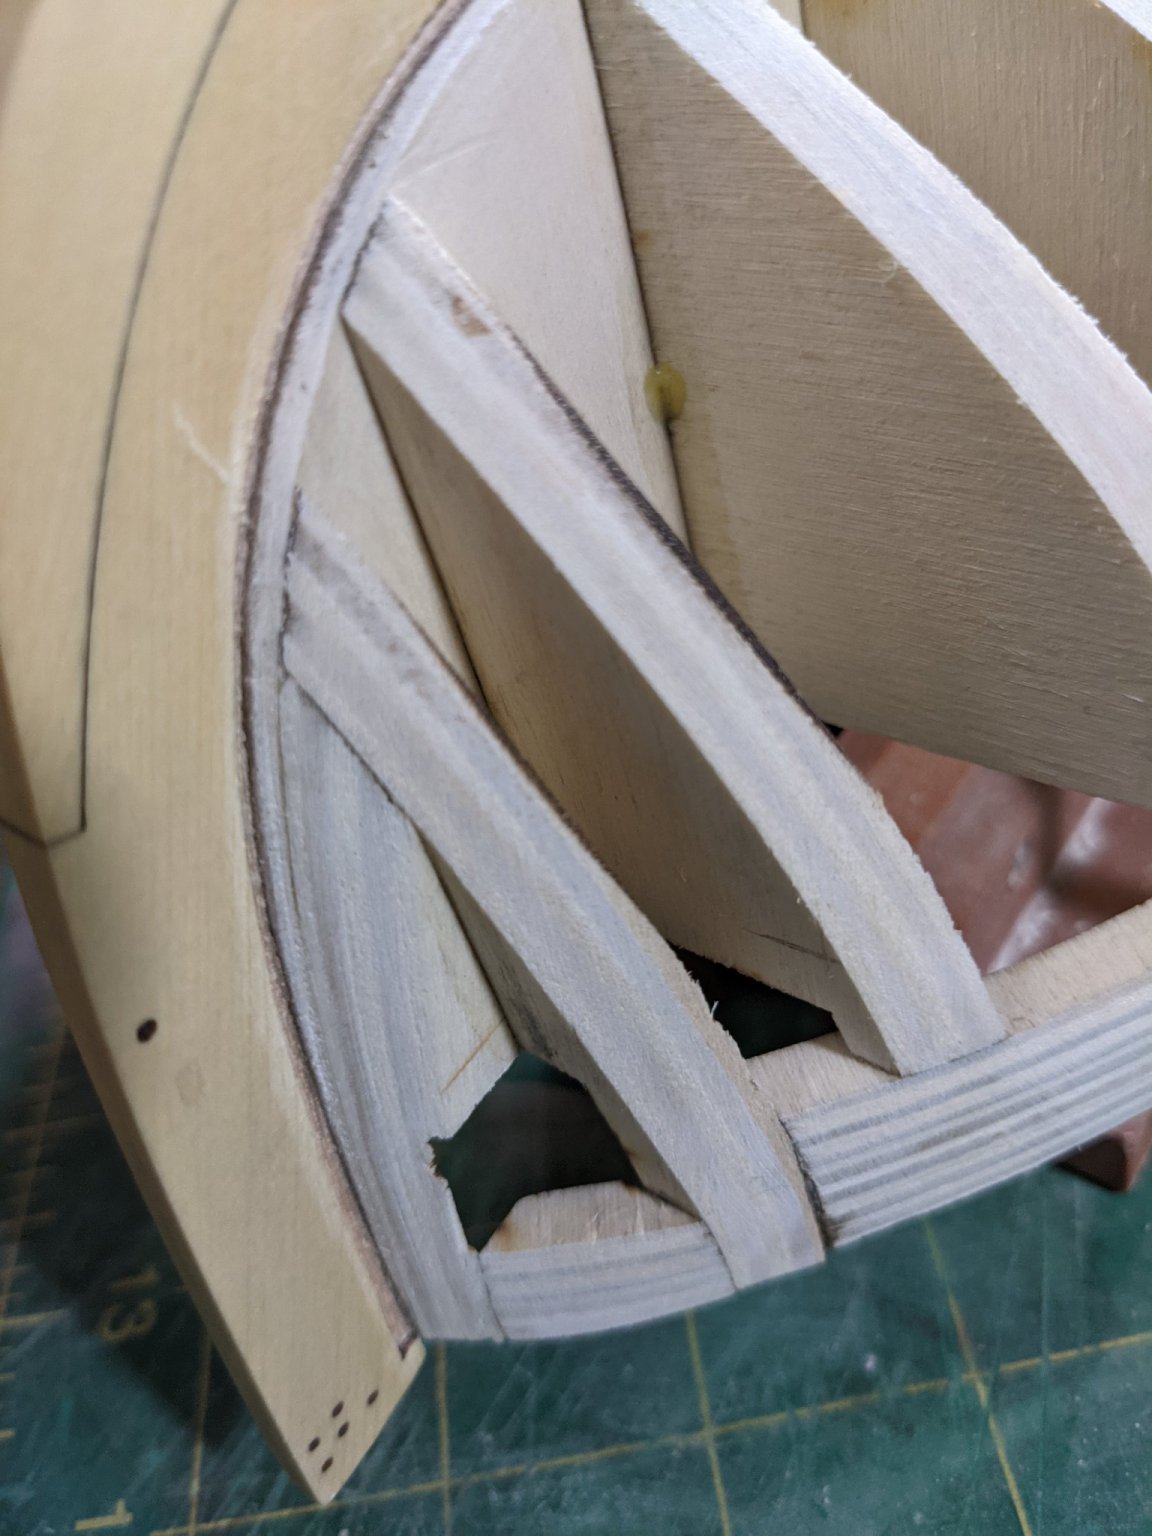
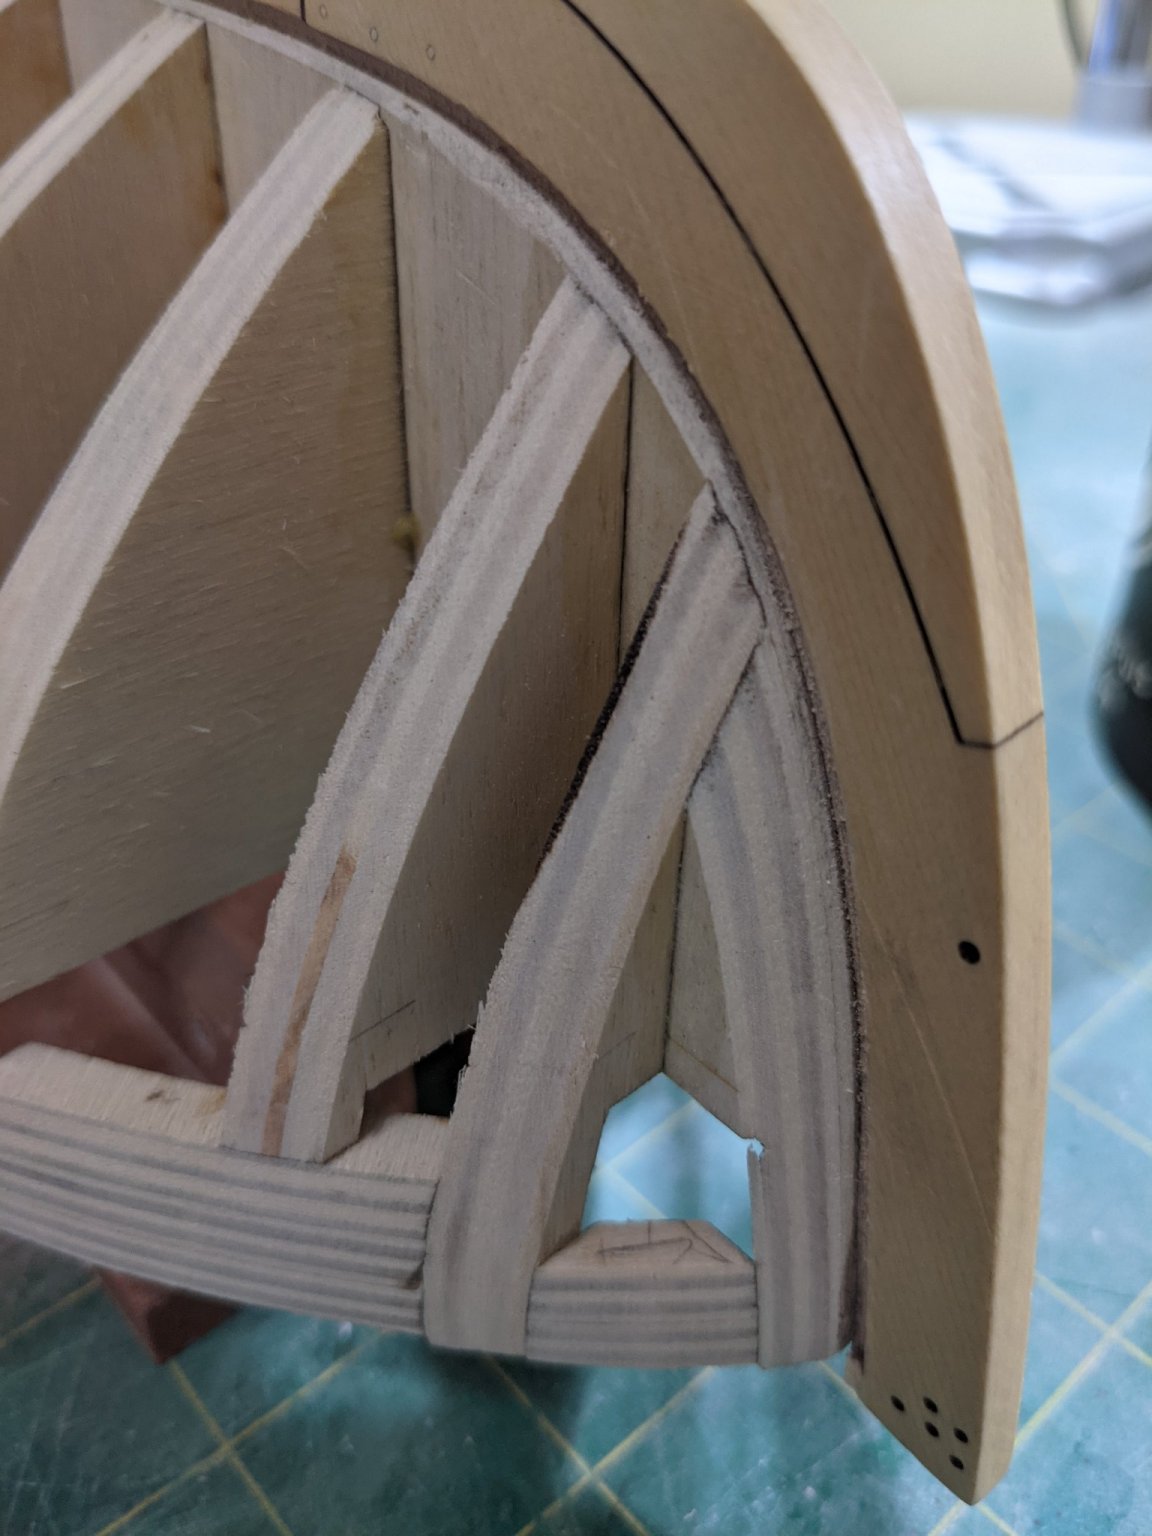
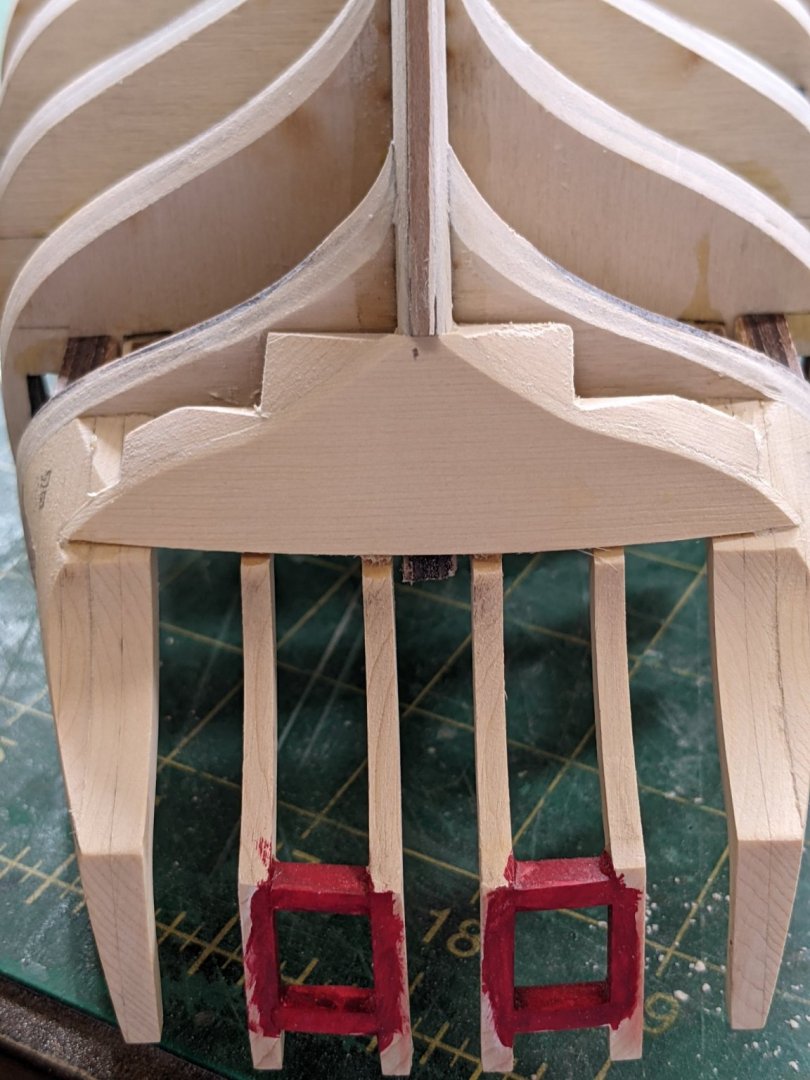
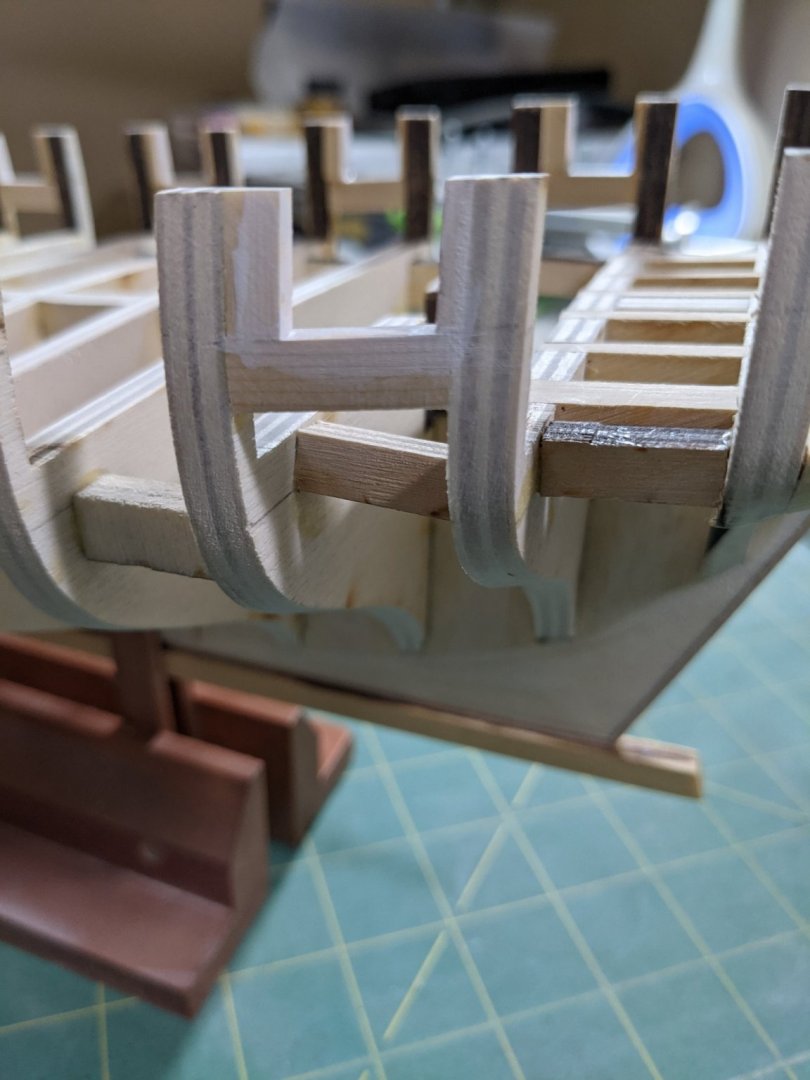
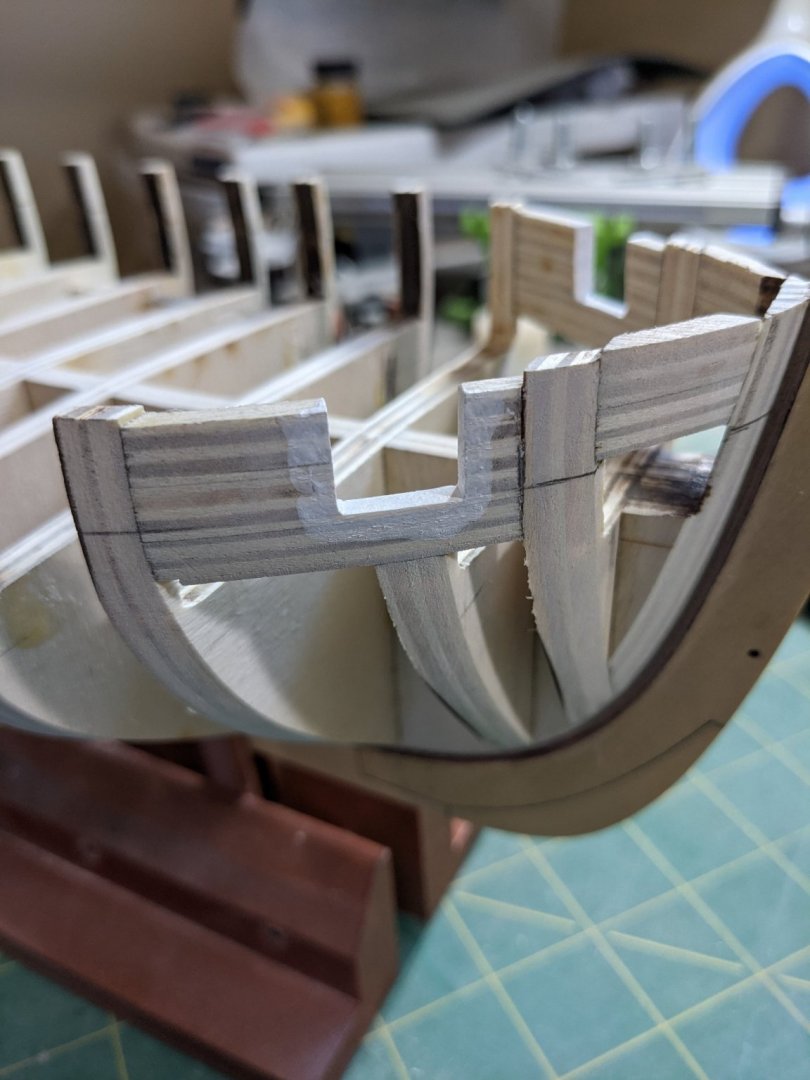
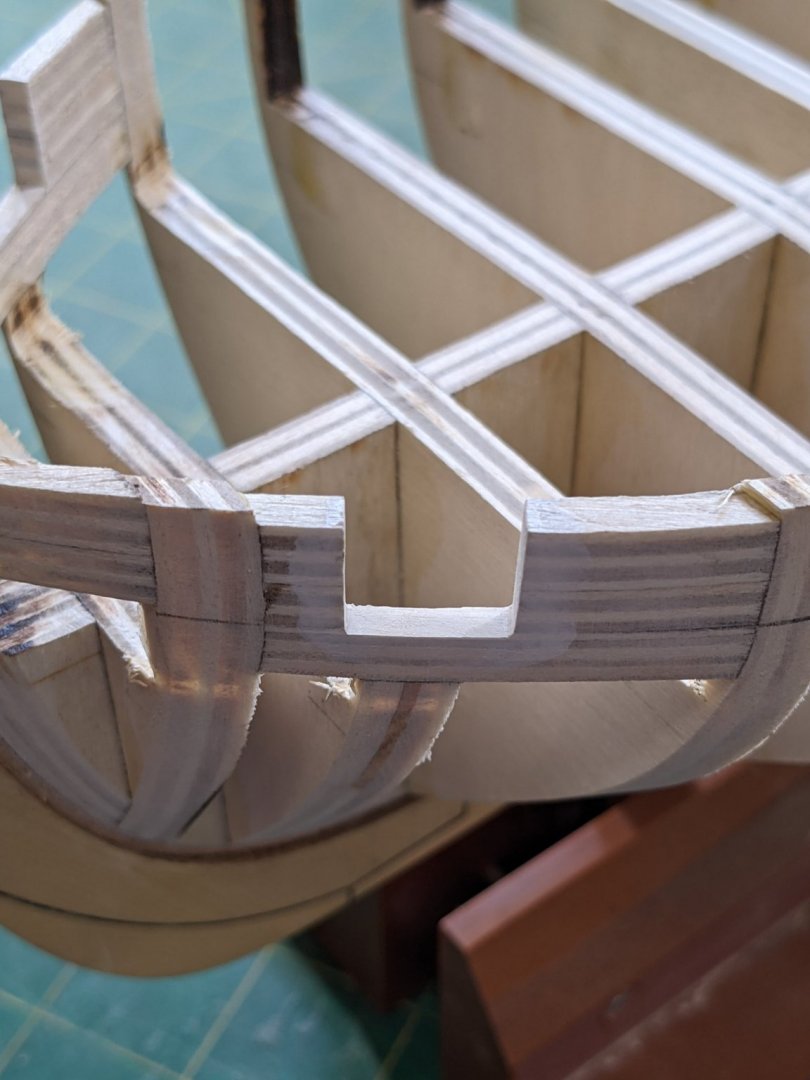
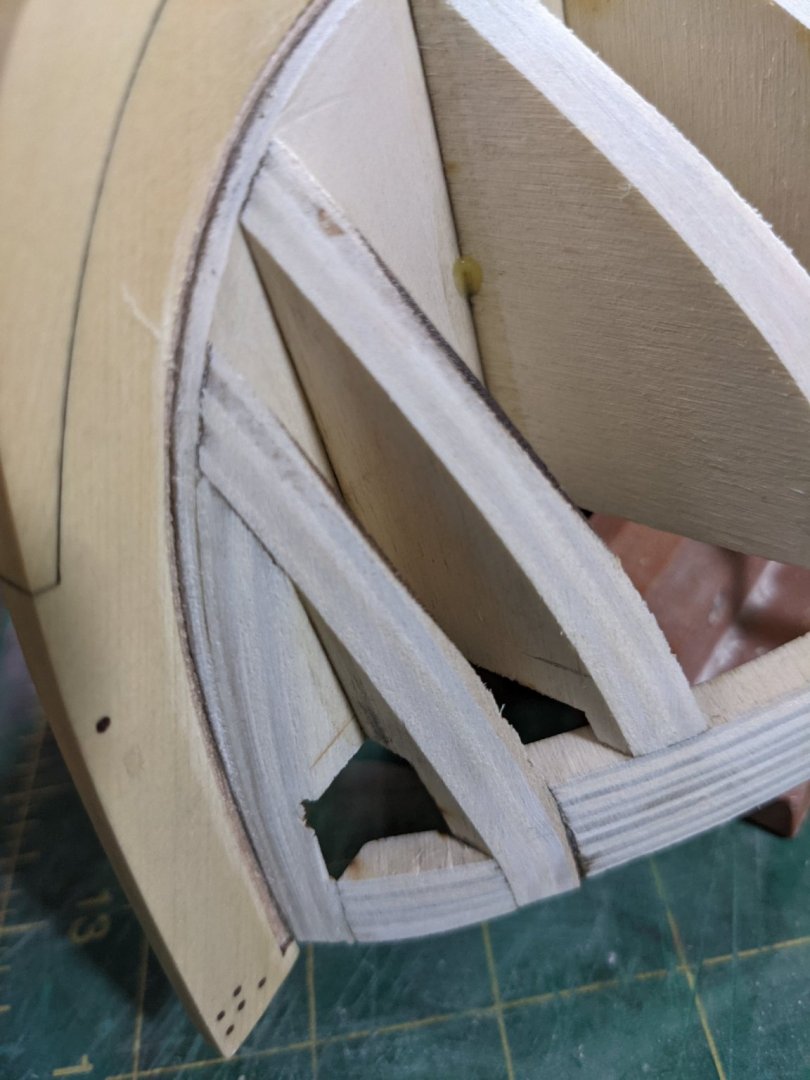
So I wasn't happy with the way the gun ports were coming out. I find it very difficult to line both edges up so it looked good to me. So what I am doing is sanding down the openings to the edge of the total port openings like so: And then I am going to frame the ports with 1/32 to create the set back of the inner parts of the ports. Here is a piece test fitted: Once I am ready for the framing pieces I will pre paint them before gluing in place and there will be just a little bit of touch up to do. I just have what I have done rough sanded with 150 grit right now and have a question: I notice when sanding that on the long runs of the planks especially at the rear right now the planks are bending in some when sanding since they are not edge glued. Do you apply some glue at the seams from the inside to keep everything stable? I was thinking to use some thinned wood glue and brushing it along the edges to help set this up a bit and make it stronger. Or does the wipe on poly set the pieces in place and act as a glue? Also I would like to thank everyone for the likes and comments as it keeps me motivated.


- 274 replies
-
- 10
-
-
- Cheerful
- Syren Ship Model Company
- (and 1 more)
-
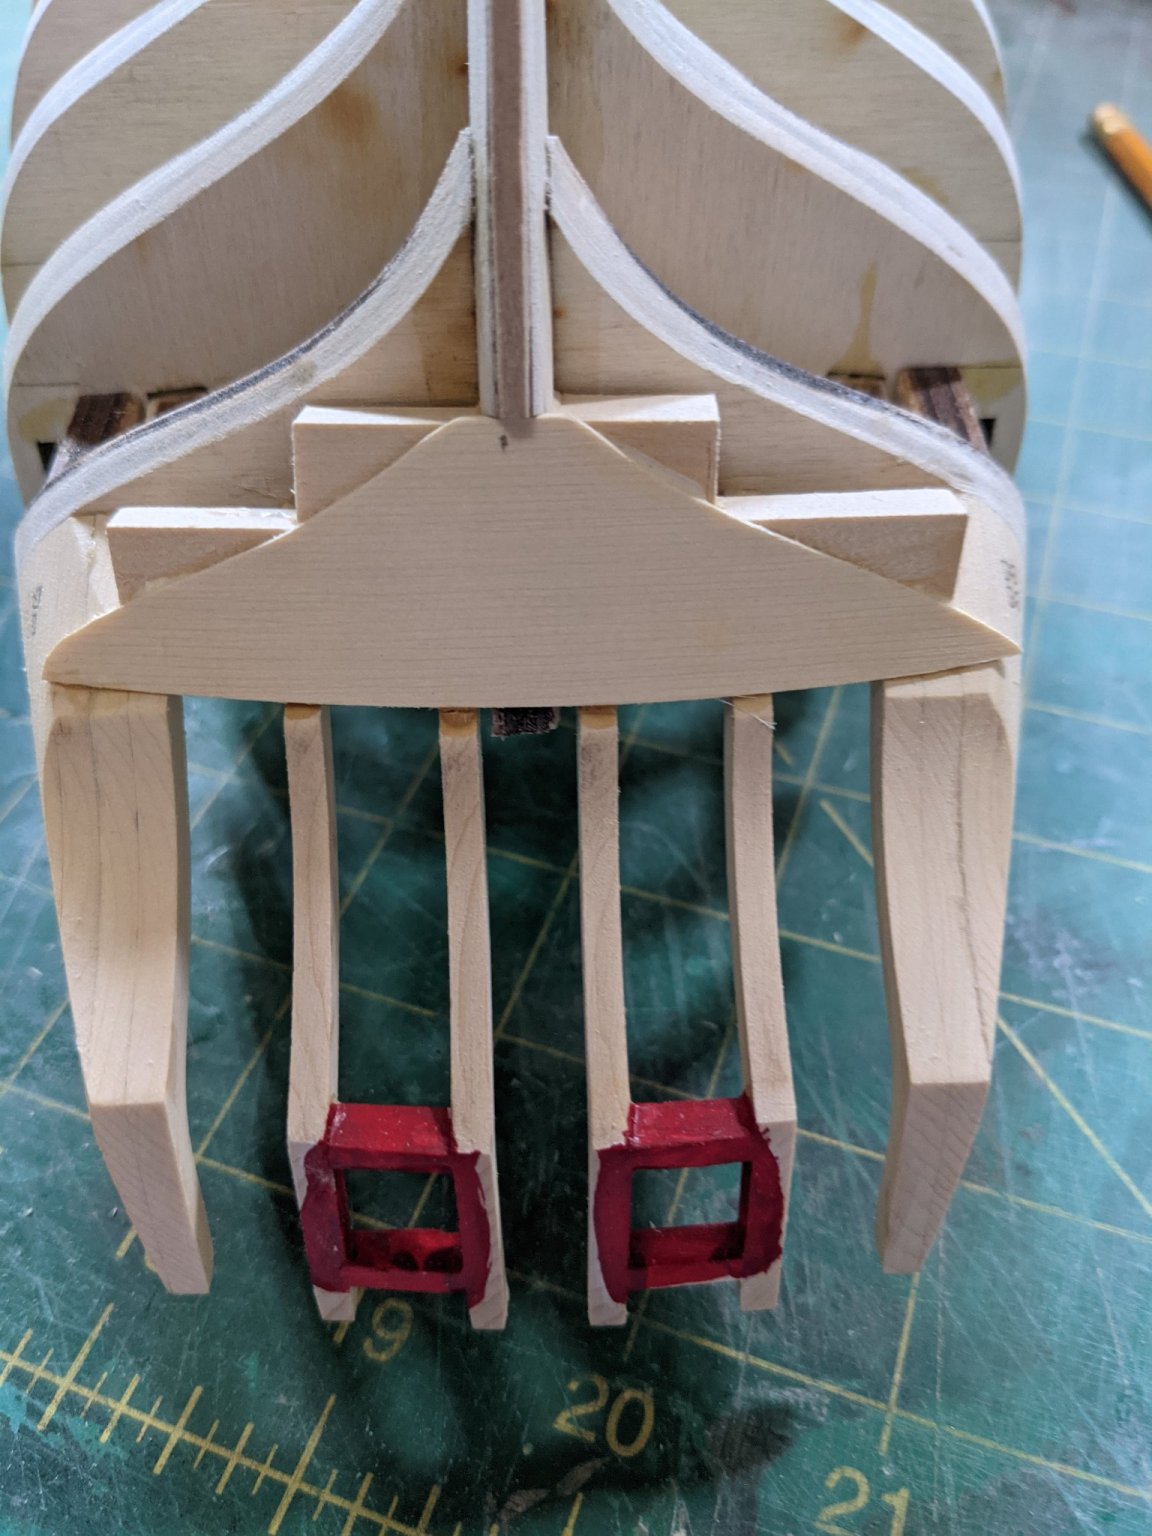
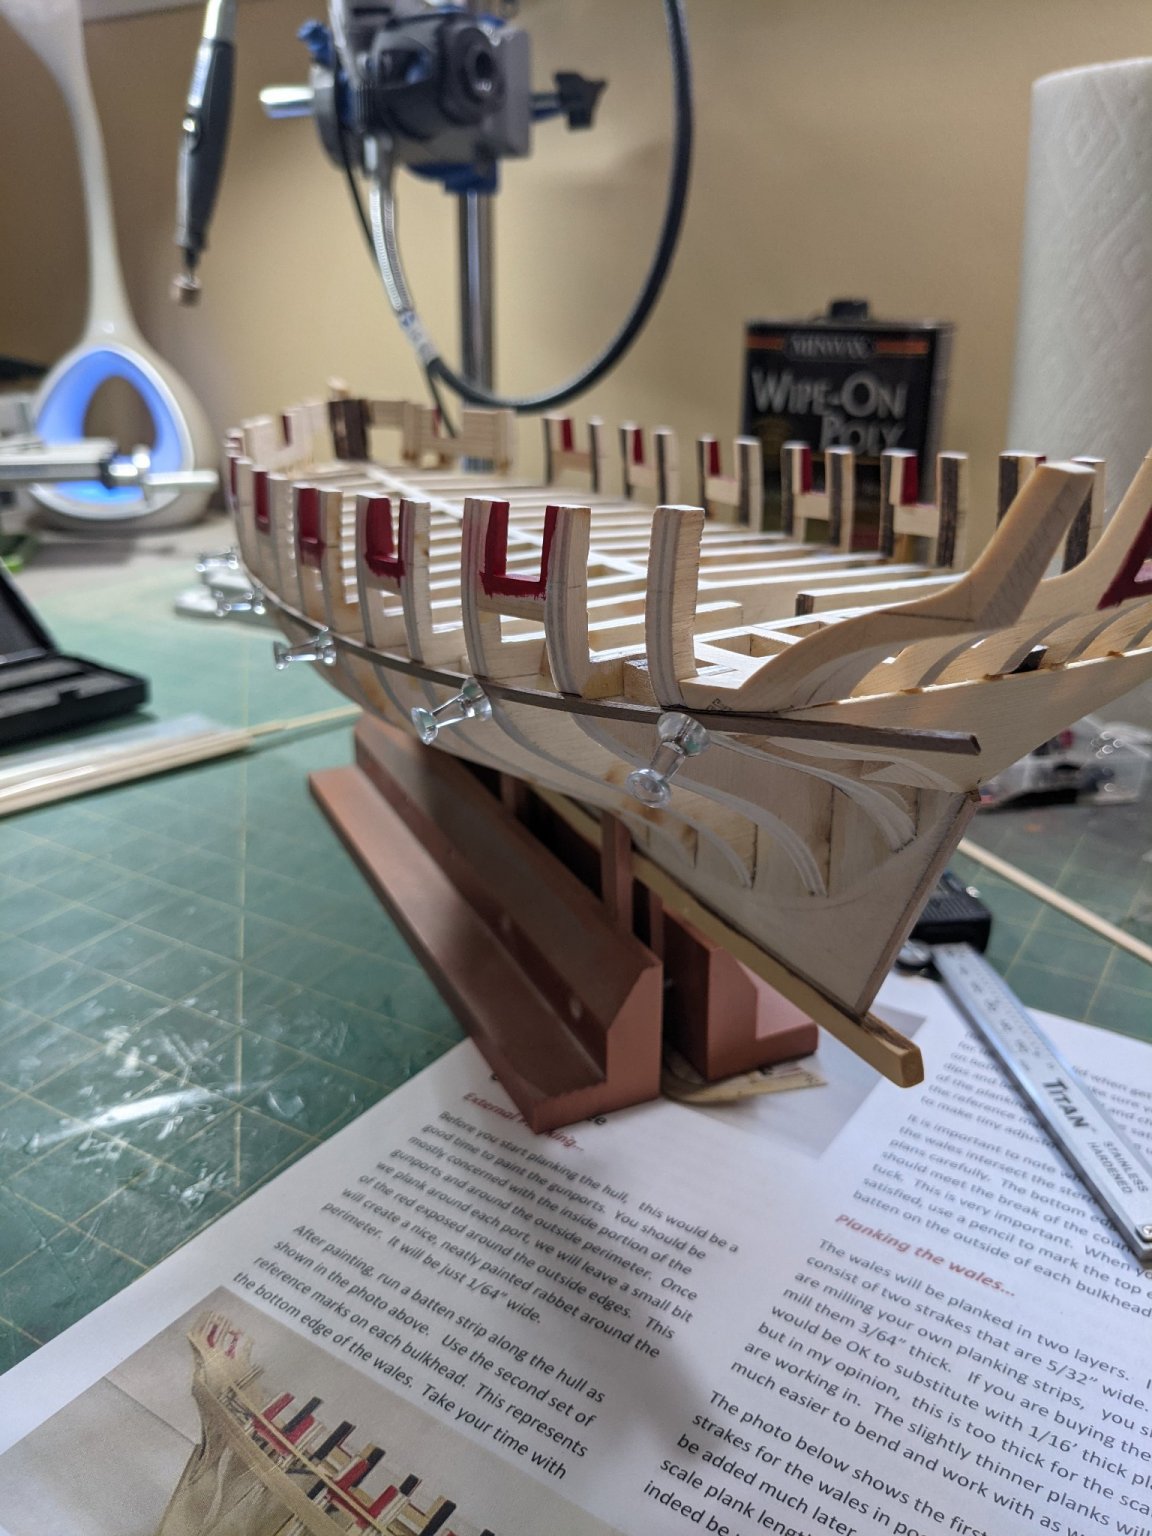
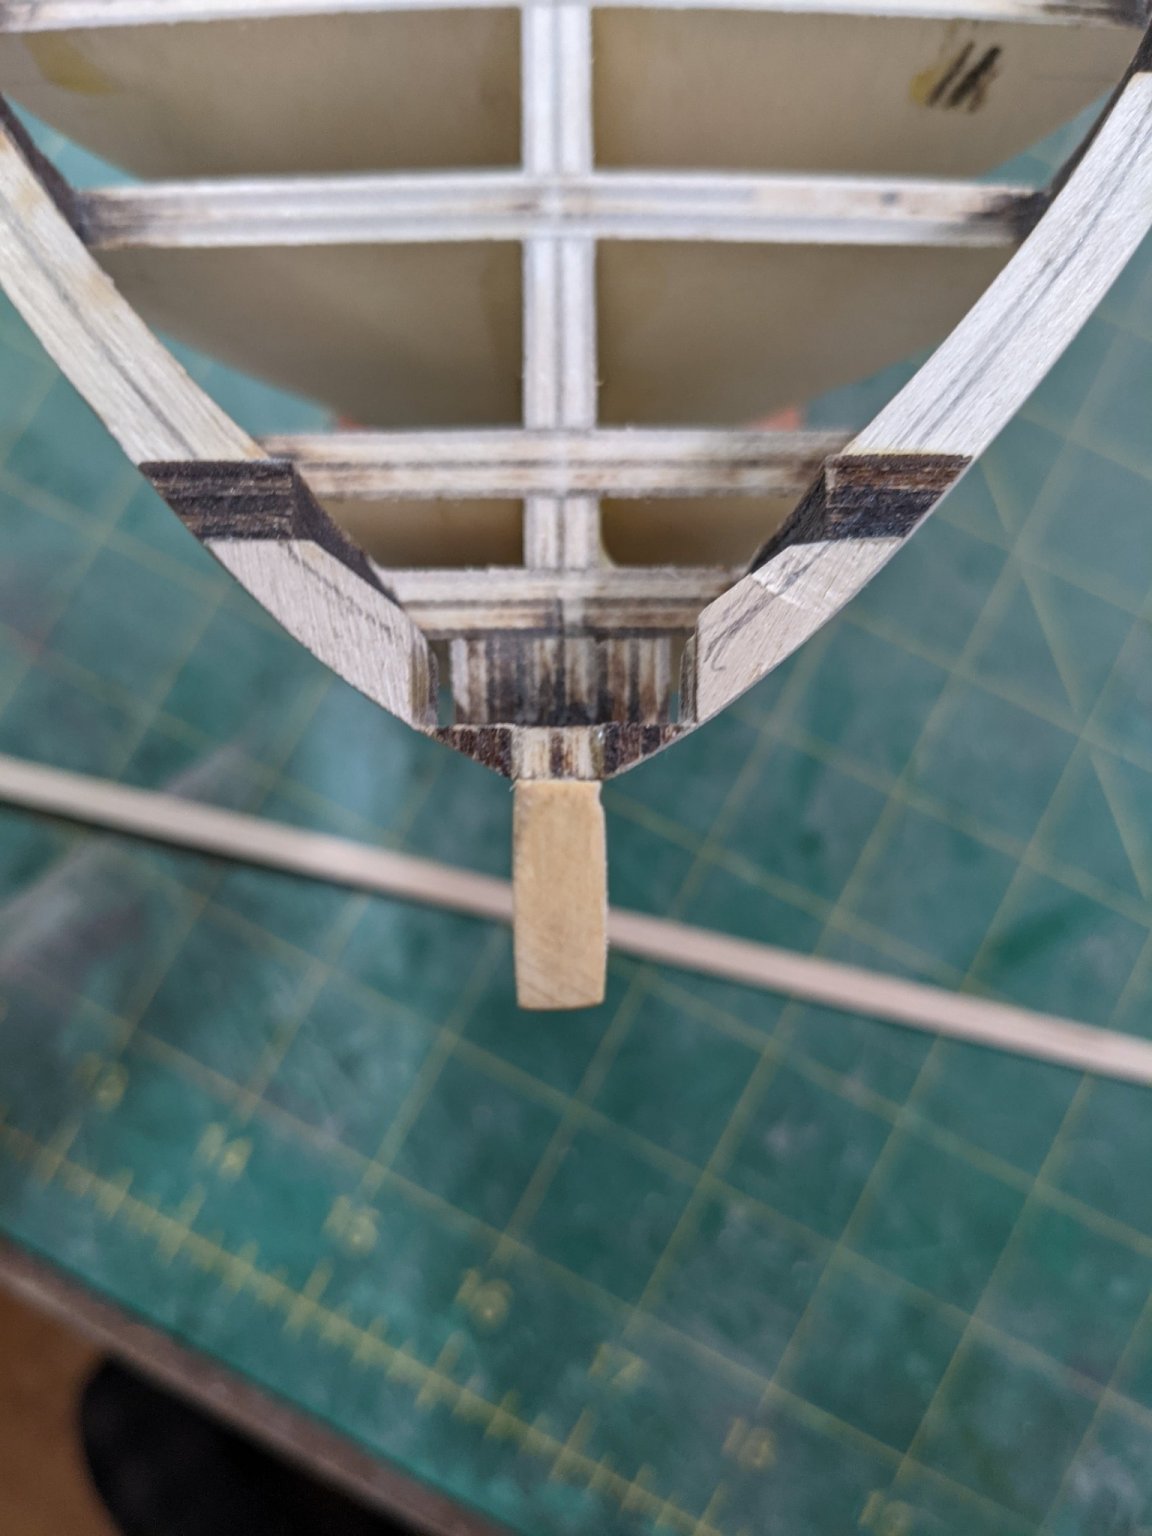
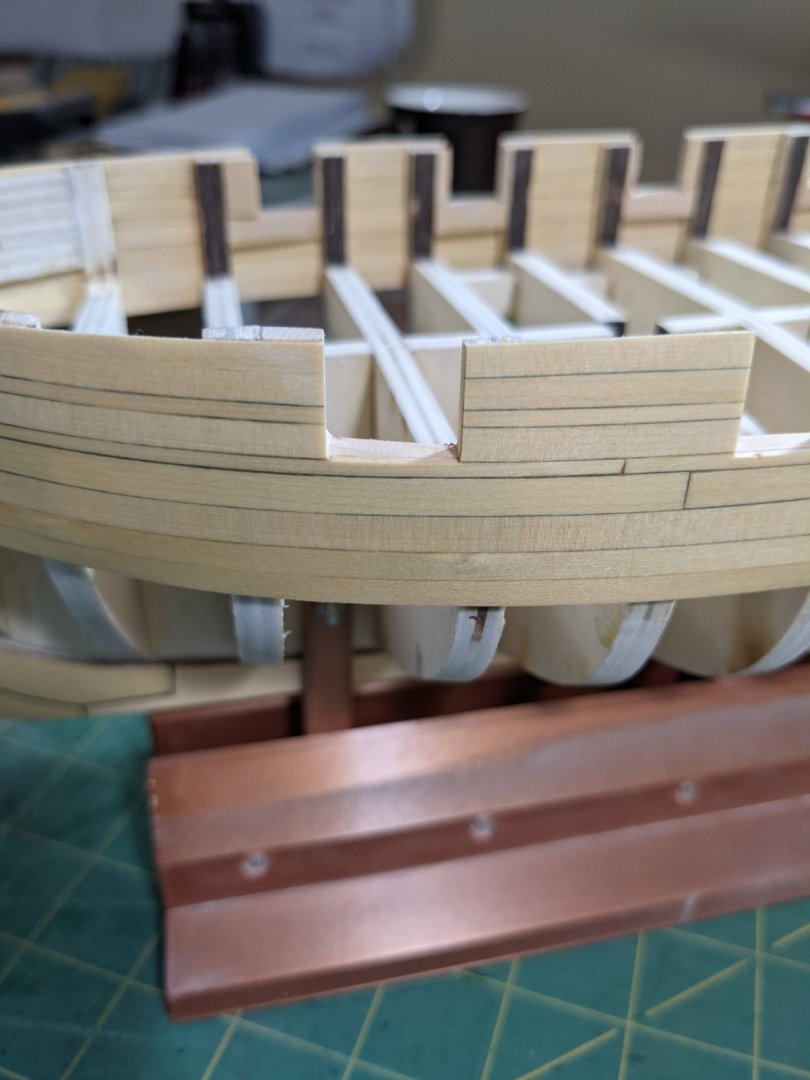
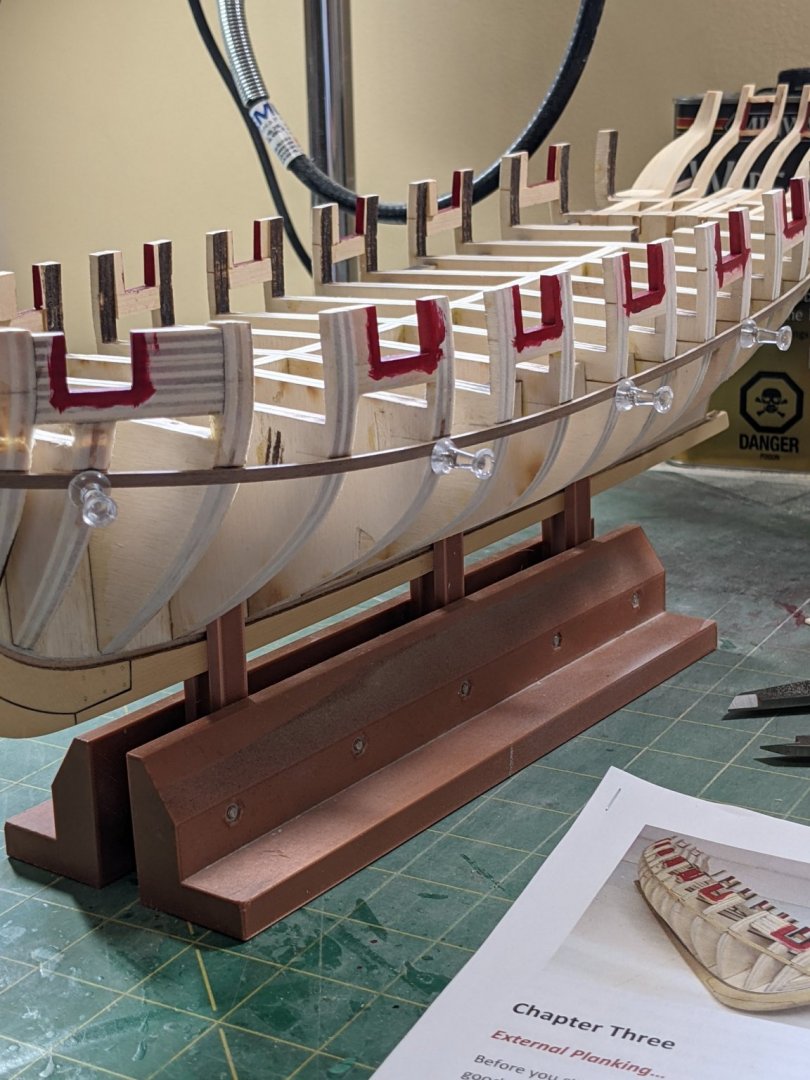
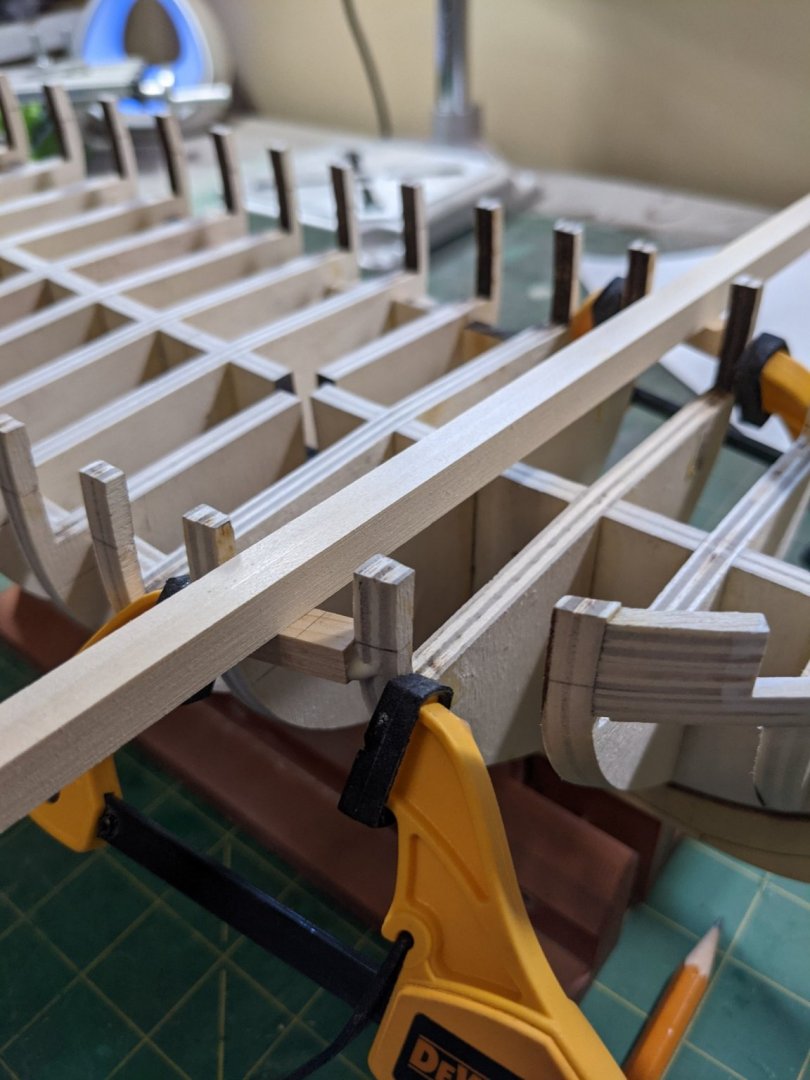
Created the square tuck and sanded it down to fair into the hull. Applied the third coat of red on the gun ports and used a long batten to mark the wales. It all looks good so I am exited to start planking the wales as this will let me get to know the cedar and also using super glue for this.


- 274 replies
-
- 9
-
-
- Cheerful
- Syren Ship Model Company
- (and 1 more)
-
OK Chris you just blew my mind! I have not seen a card model built before and it look so real. Is this hard to do?
-
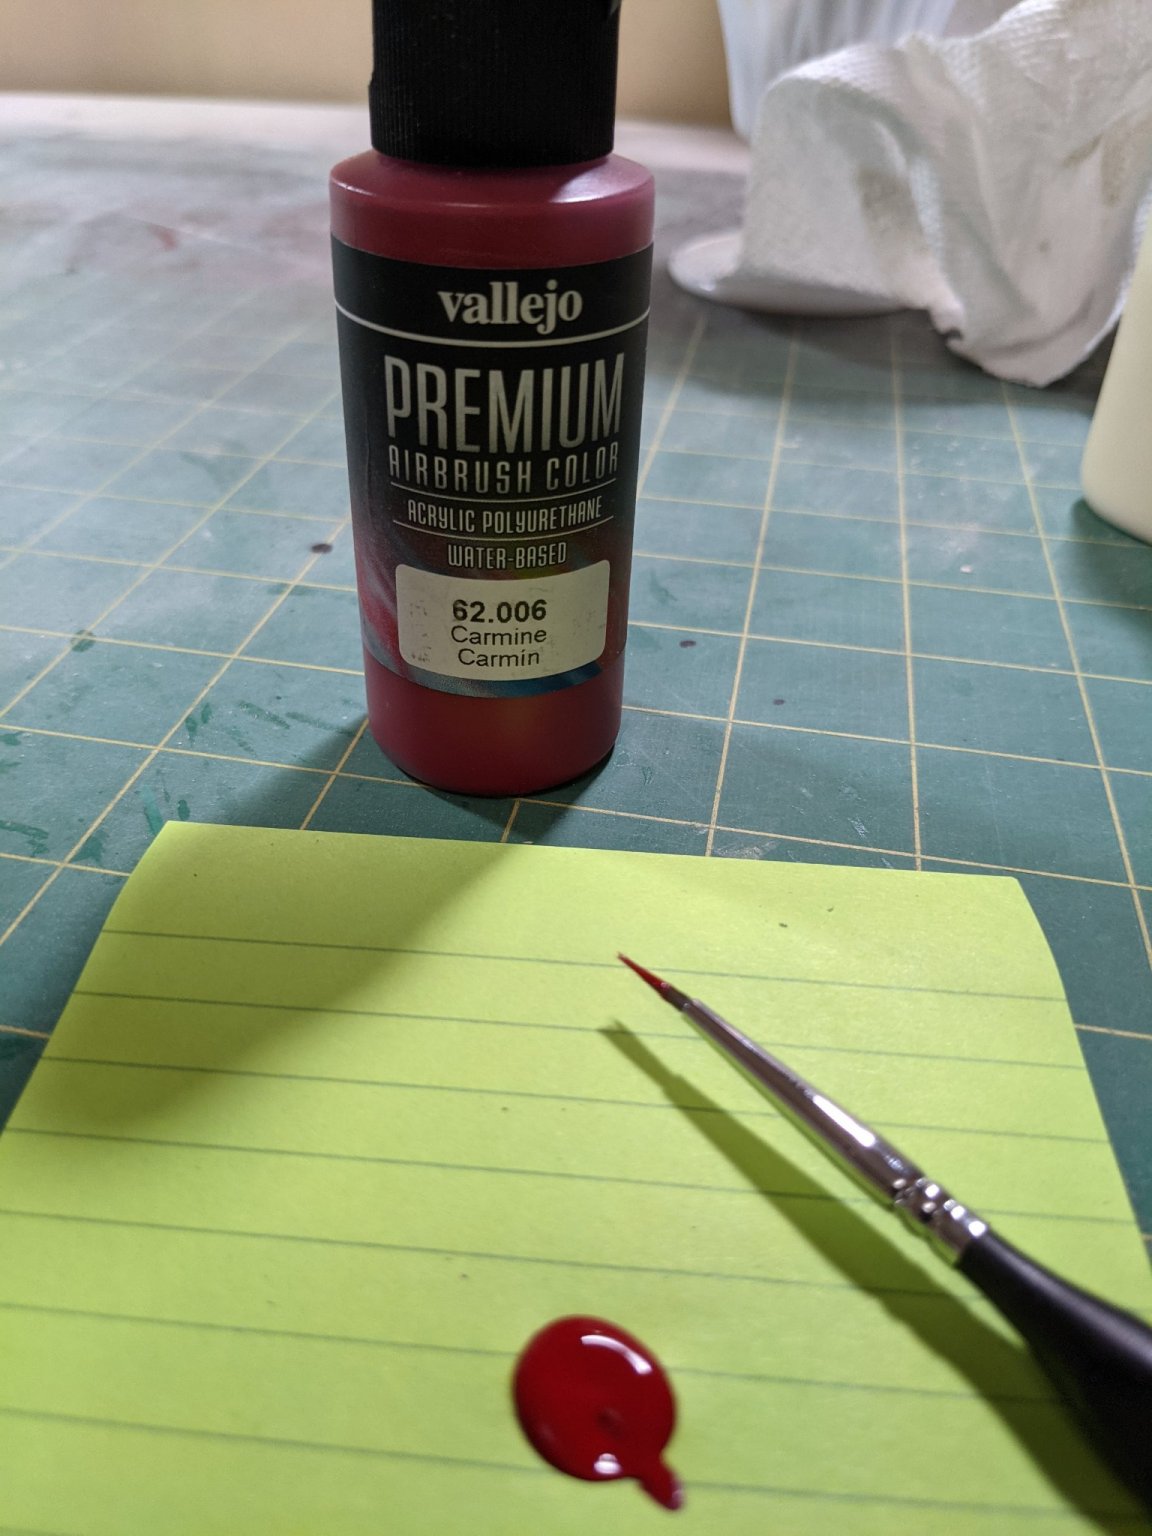
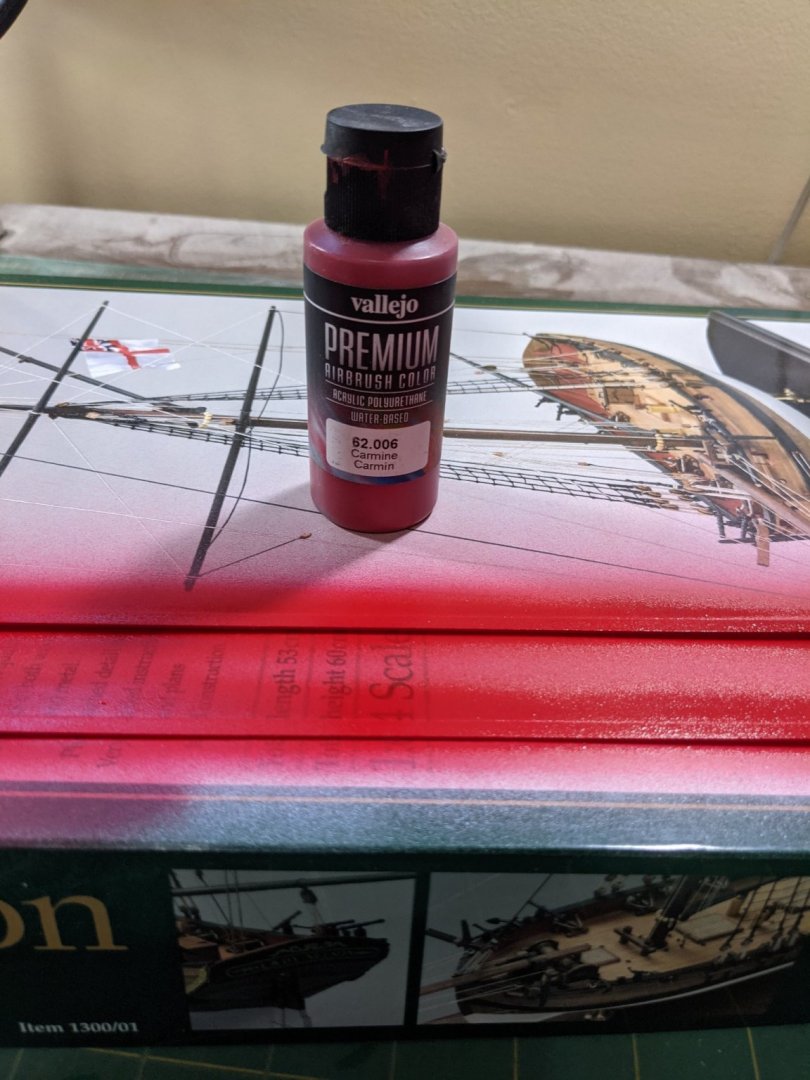
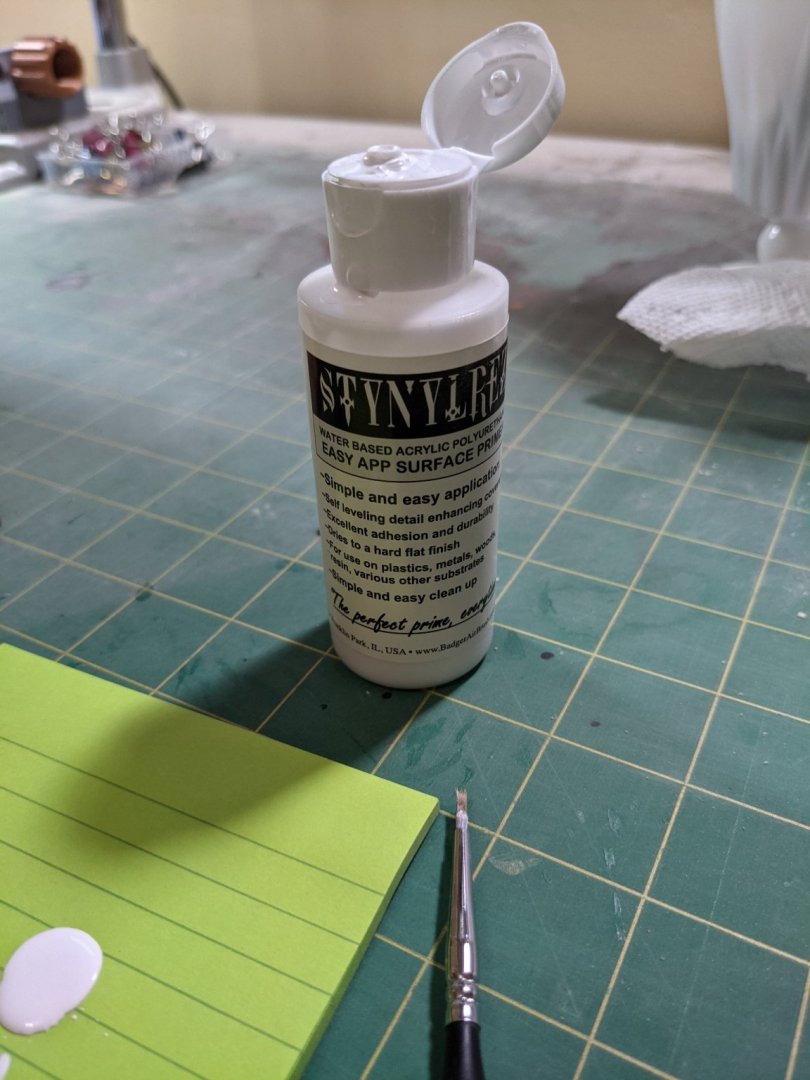
I unglued the transom piece that was not lined up with alcohol and it did come out easier than I thought. Glued it back in and made sure it was lined up properly. Once I had all the gun ports framed out I gave them a coat of my favorite primer. This Badger primer stick's to everything like no other primer but does not work with metal. It is fast drying and easy to sand. Went with white as a base for the red. Once I gave them all some sanding I applied the first coat of red. I like Vallejo paint as it is one of the better ones to brush paint. Have the first coat of Crimson Red on the ports and I will sand once they dry overnight.


- 274 replies
-
- 4
-
-
- Cheerful
- Syren Ship Model Company
- (and 1 more)
-
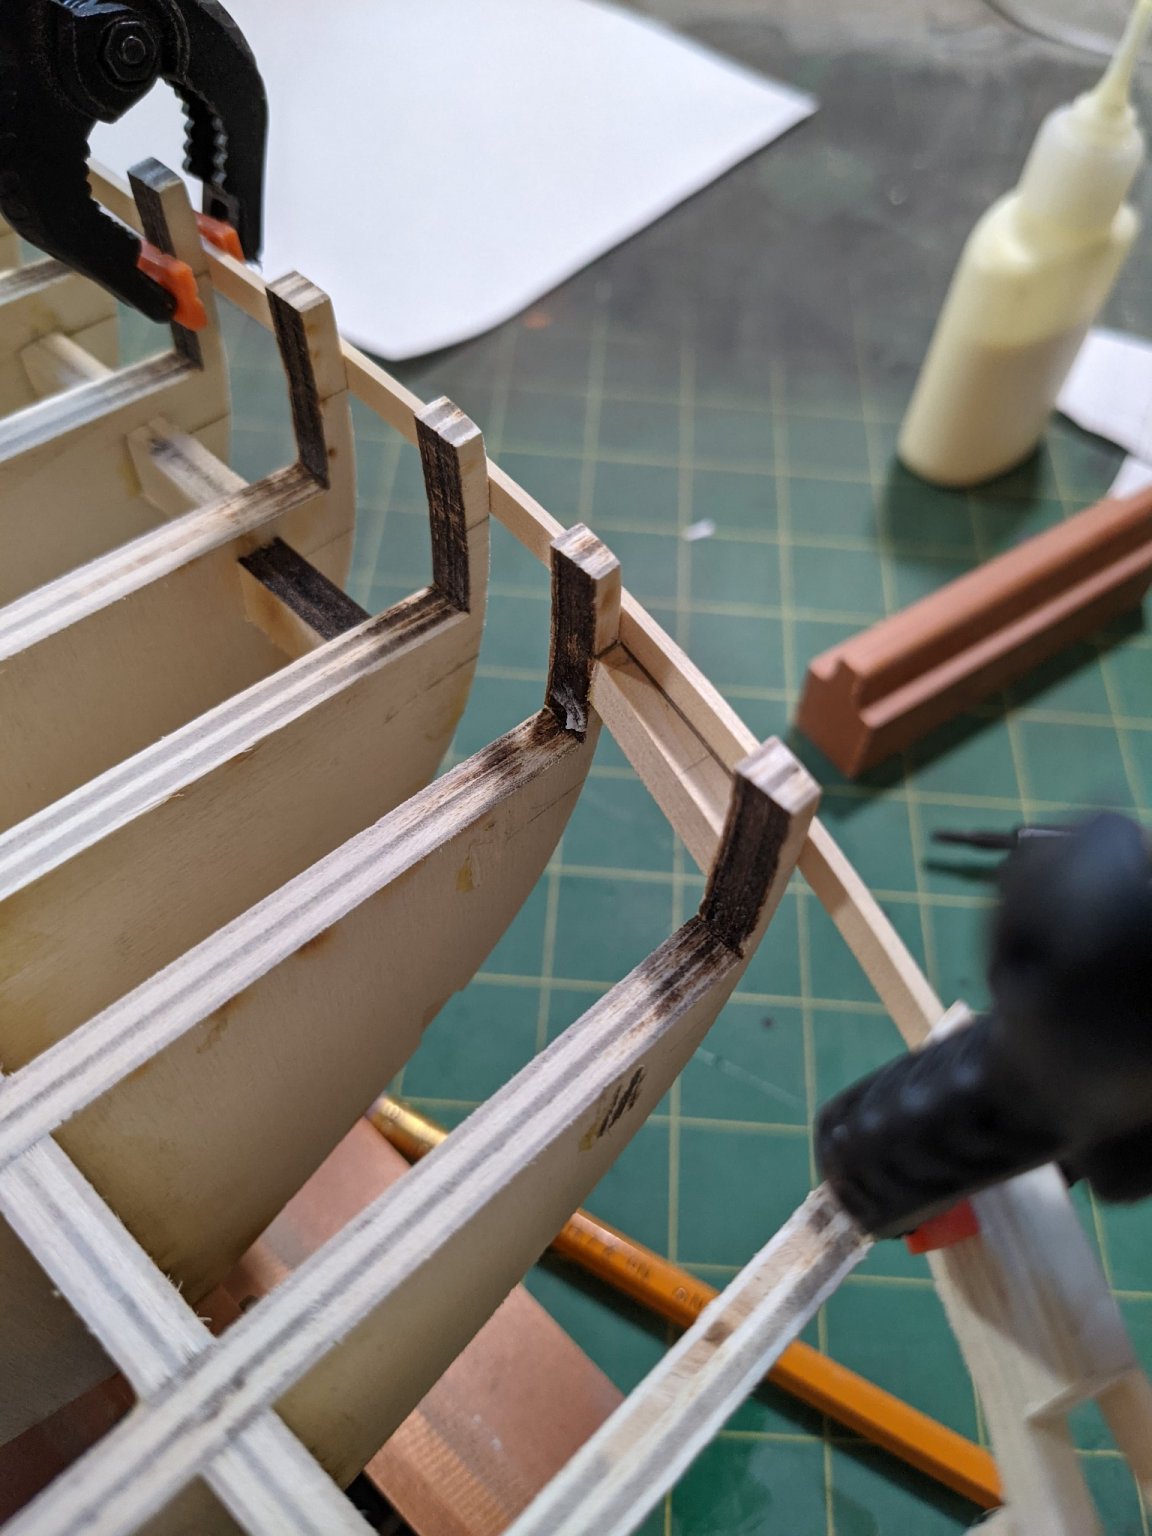
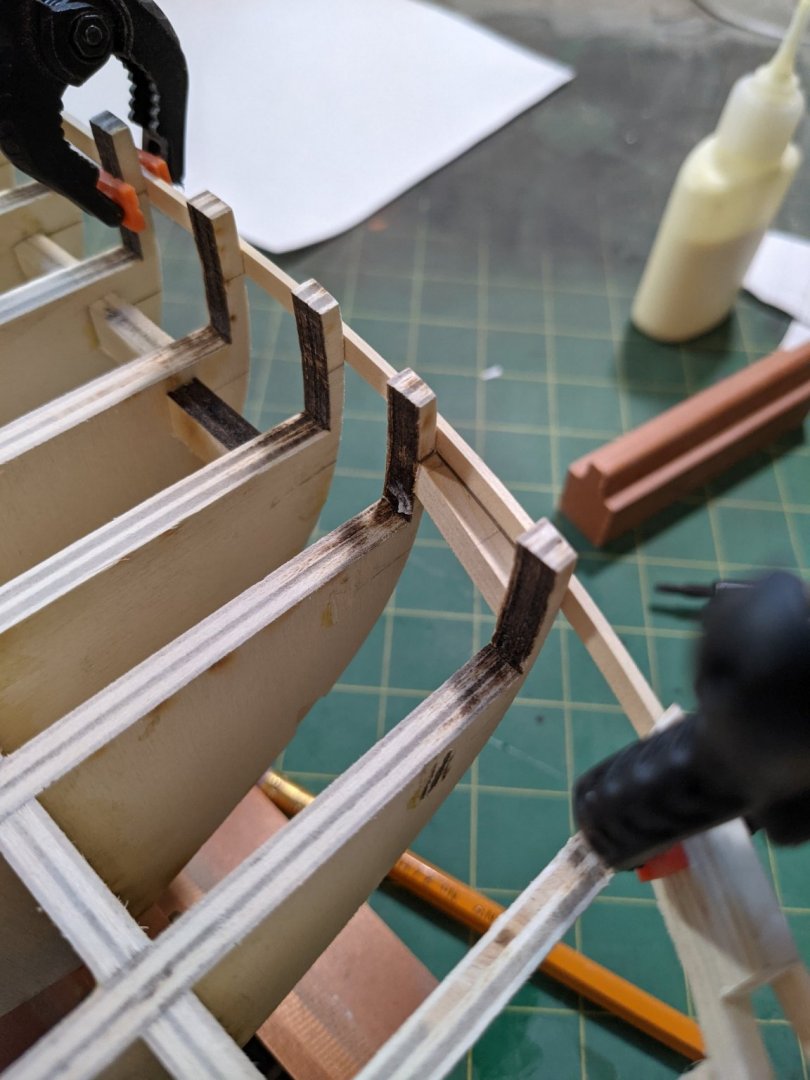
Started the gun port framing. Turned the ship upside down on a piece of paper and marked the dimensions. Then taped them onto the 1/4 square and cut them out with my scroll saw leaving some extra length and then sanded the edges to fit. Takes a few tries to make them fit good as going to the stern they are angled. Then it is easy to glue them in using a larger piece to make sure they are level with both sides. Then took a plank and drew the lines where it will be sanded. This way I can follow the curve. I used some 1/4 square yellow cedar for these as I have it and didn't have boxwood in that size and I wanted to see how well the cedar sands and shapes as I have never worked with it before.


- 274 replies
-
- 6
-
-
- Cheerful
- Syren Ship Model Company
- (and 1 more)
-
Looking good.
-
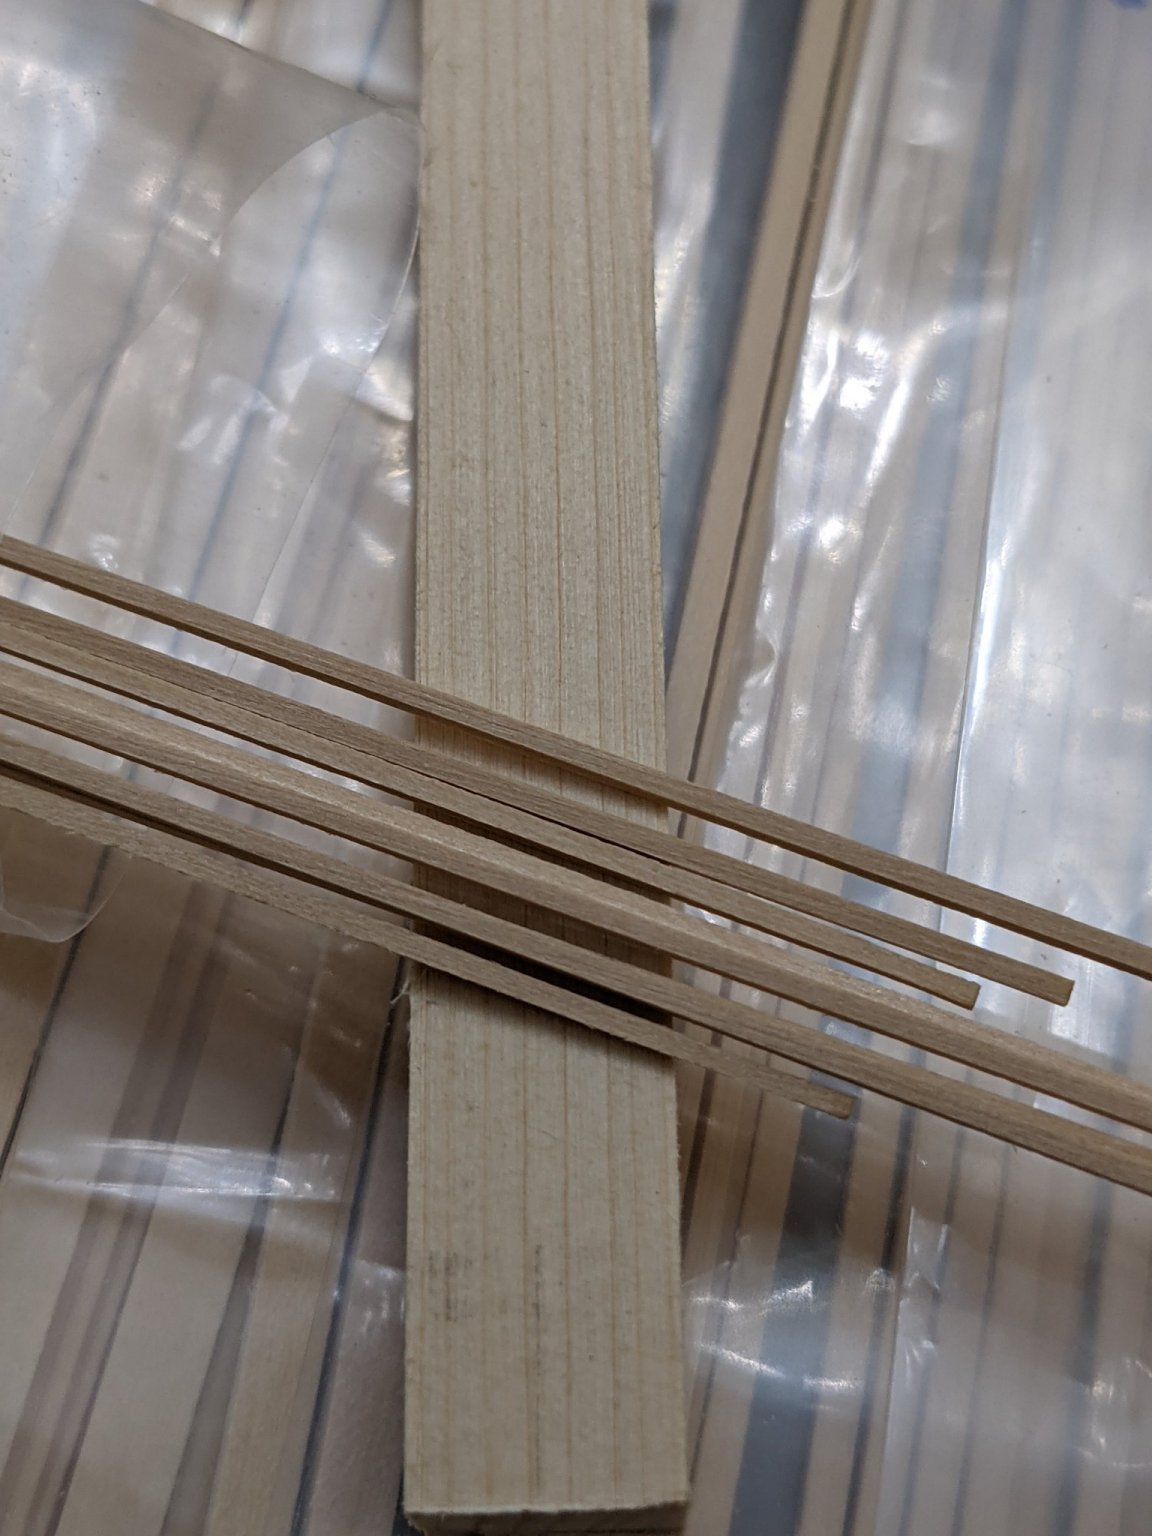
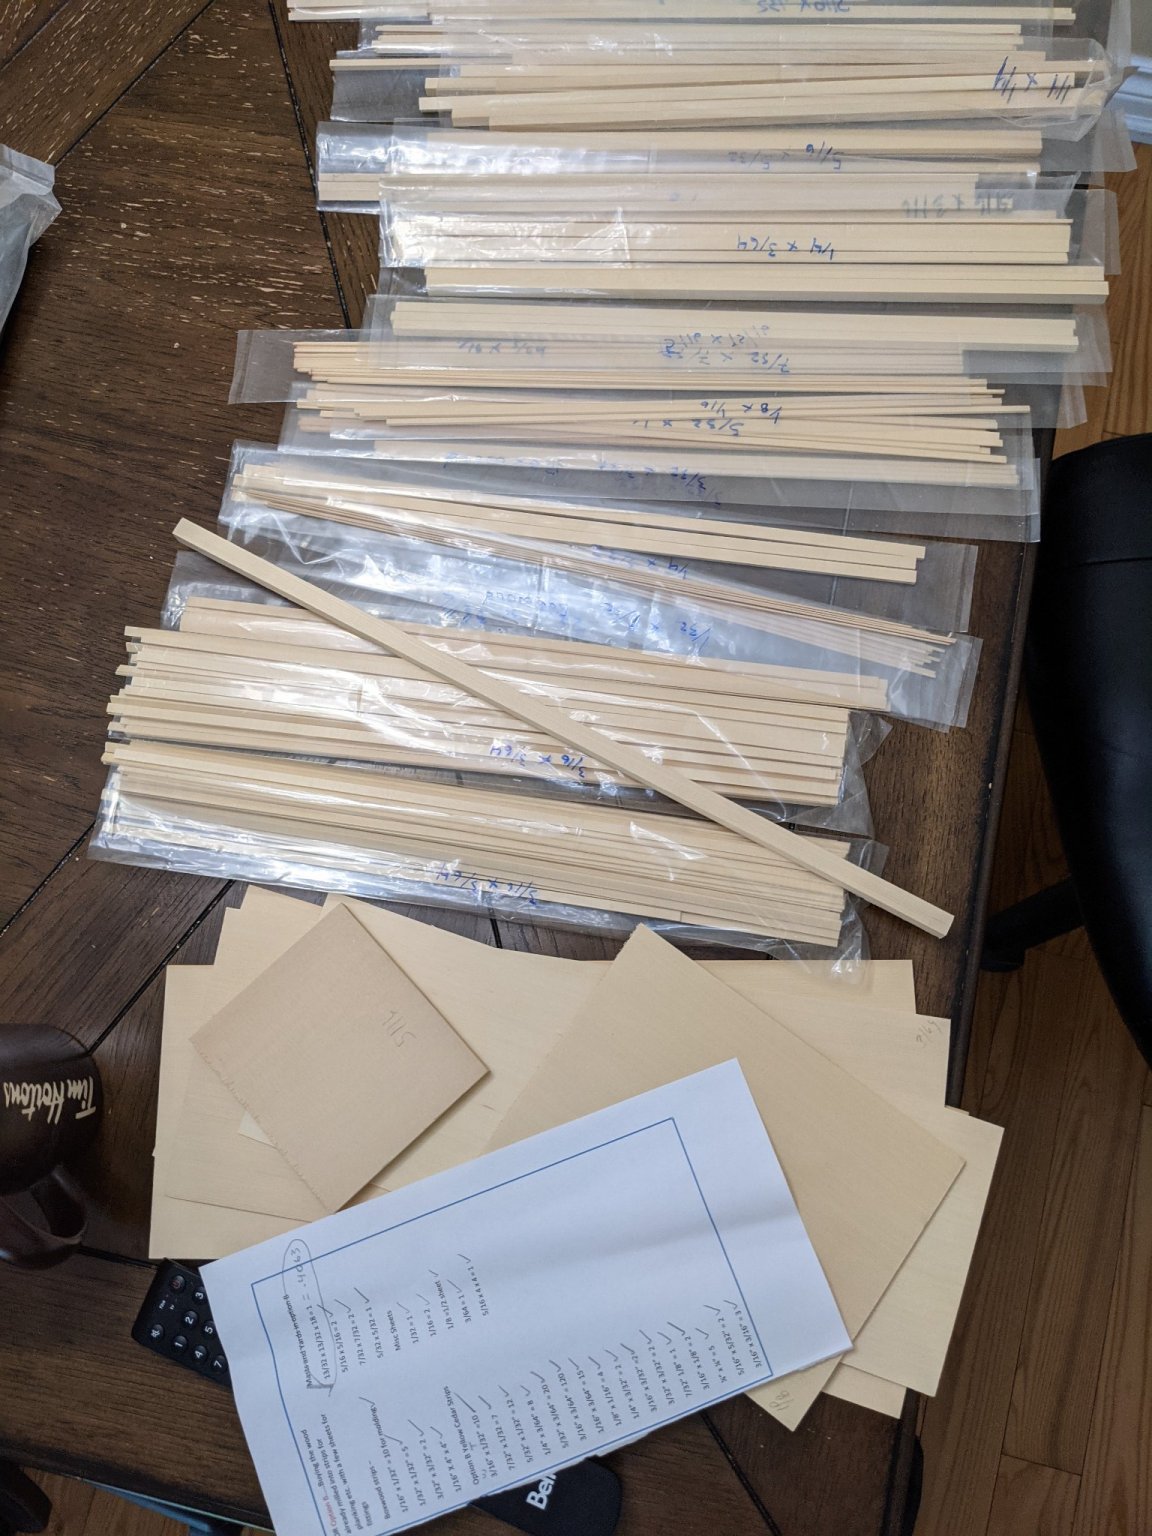
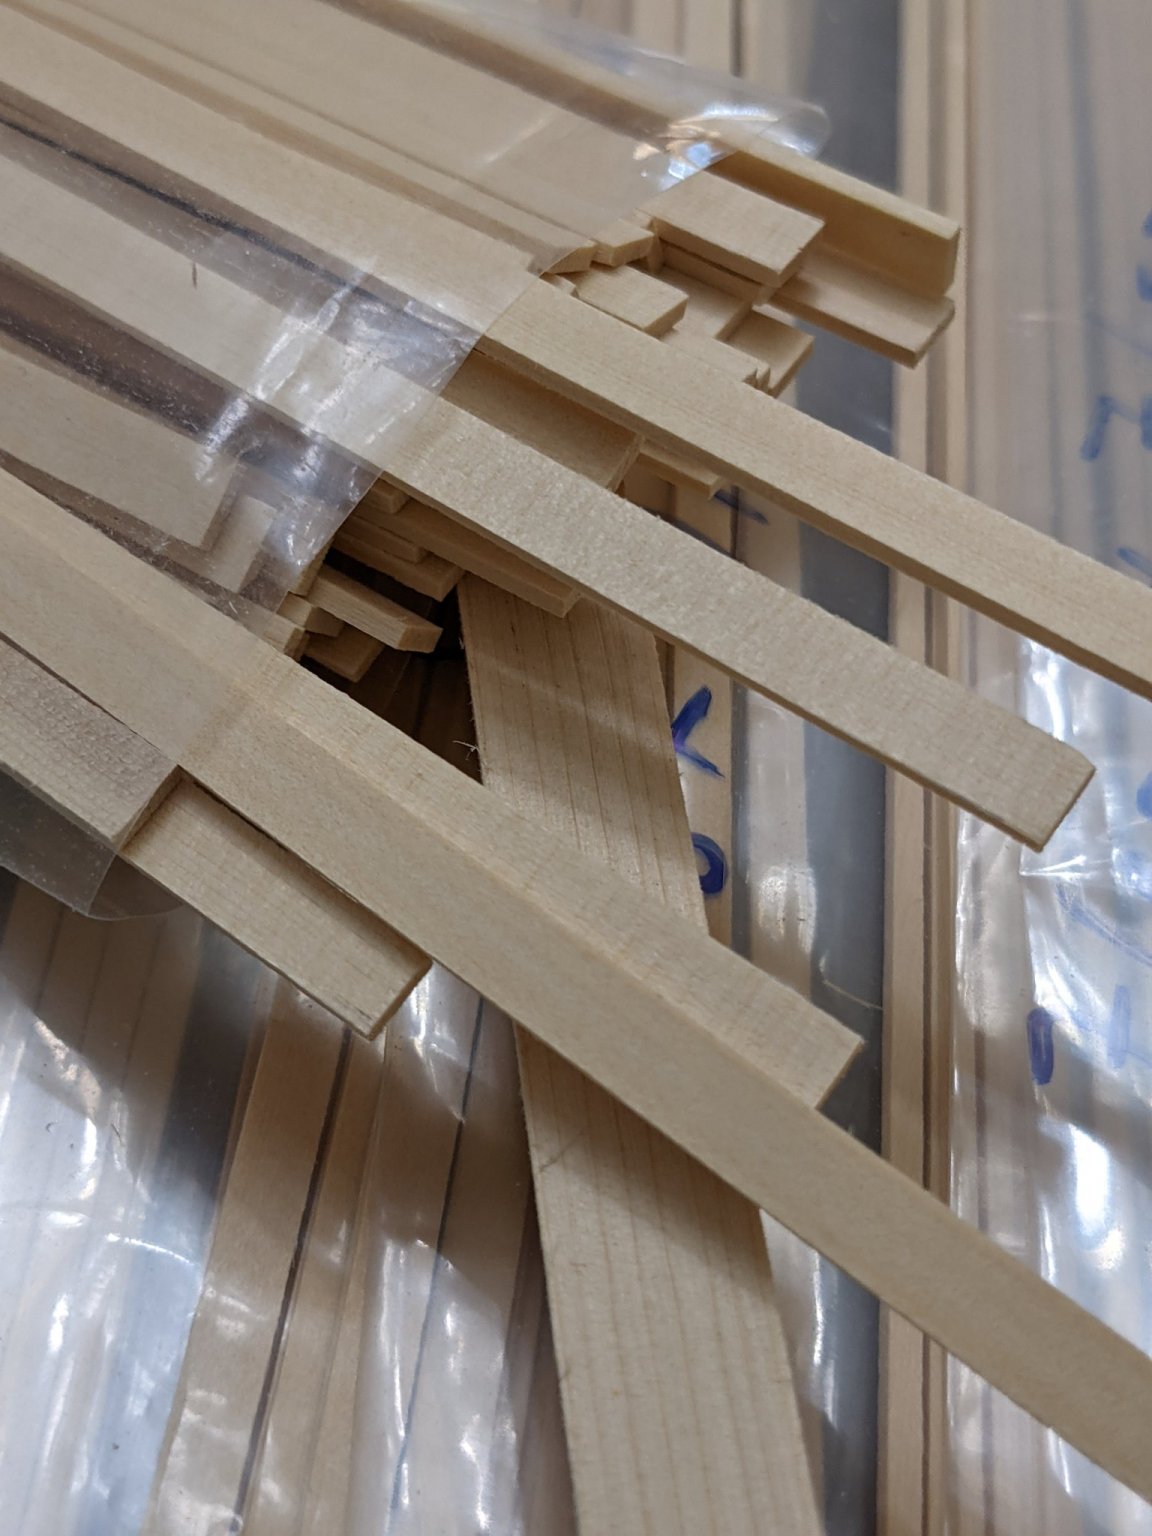
Joe you are amazing! Just got my Cheerful wood kit in Yellow Cedar and it is fantastic! How do you cut planks and not have saw marks all over the place? I see there is a higher count on some that I was looking at and it was packaged perfect. Everything was in it's own little bags and has the sizes marked on it. So this is what you get with the Option B. And here is a closeup of the planking. Do you see any saw marks? I don't. And to prove a point here is a close shot of 1/32 square. How do you cut this fine? Thanks for the great service Joe!!!


- 41 replies
-
- 12
-
-
OK so I am extremely happy tonight! My wood came in from Modeler's Sawmill and I have to tell you this exceeded my expectations. All the wood is packaged and marked as to what is there and it looks like there is a bit of extra pieces in the counts. This is option B in yellow cedar and it smells fantastic. Here is what the planking looks like and I cannot see any saw marks at all. I have no idea how this is done so well. And here is 1/32 square. How do they do this? So if you don't have the tools to cut out the wood (like myself) then I highly recommend hitting up Joe over at Modeler's Sawmill for sure.


- 274 replies
-
- 9
-
-
- Cheerful
- Syren Ship Model Company
- (and 1 more)
-
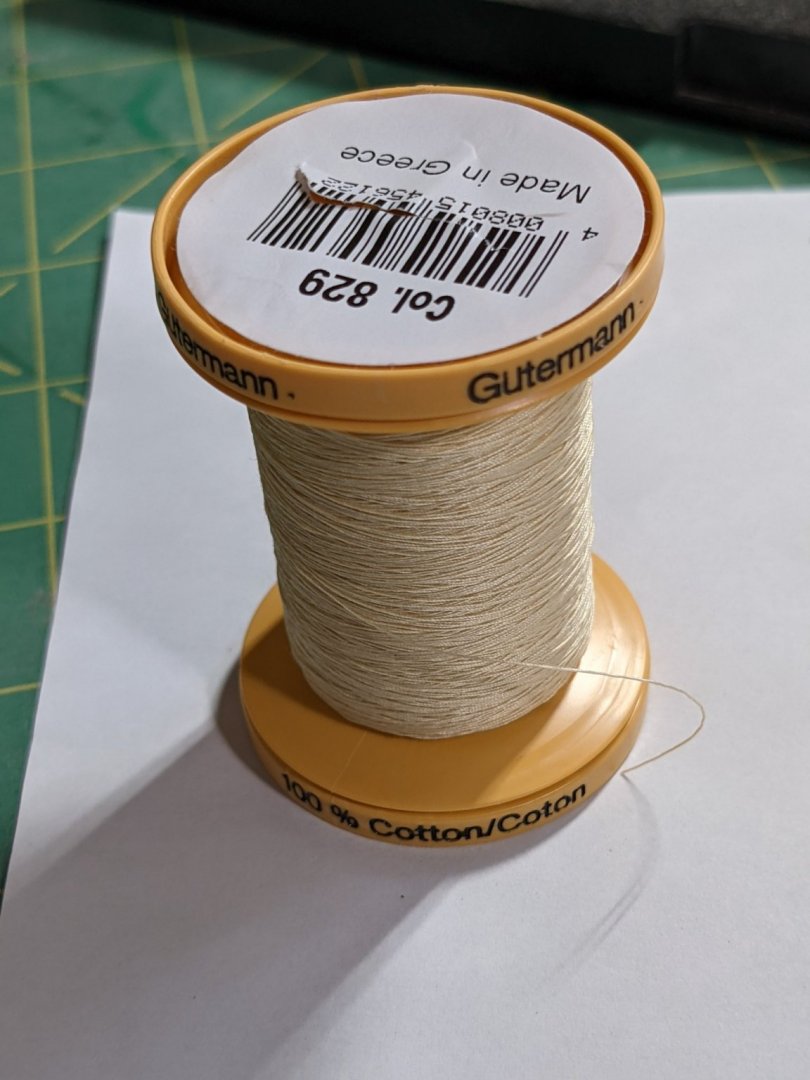
Yes the cotton stays tighter than the poly and will also make for knot tying easier. Wife is a quilter so uses poly but I will go get more of the cotton for the dark brown. Going to go dark brown instead of black for the rigging.
- 274 replies
-
- 2
-
-
- Cheerful
- Syren Ship Model Company
- (and 1 more)
-
Awesome Joe. Thanks for the info and help. It will be a while before I get to that stage
- 274 replies
-
- 1
-
-
- Cheerful
- Syren Ship Model Company
- (and 1 more)
-
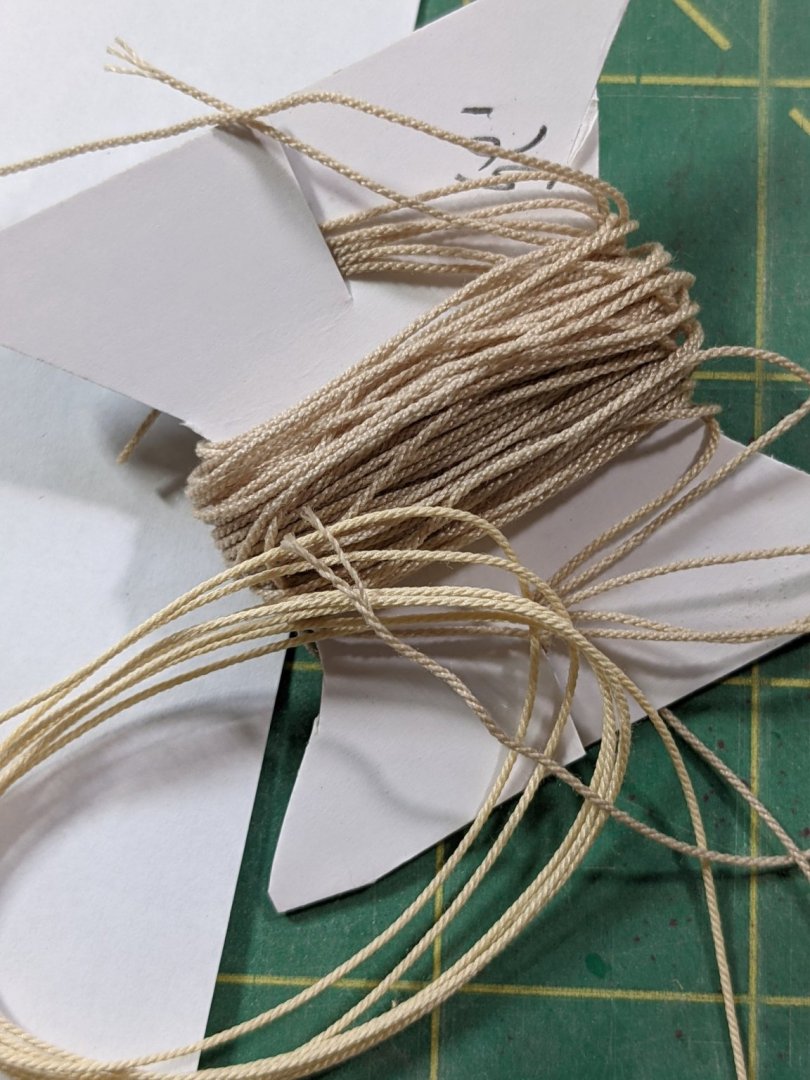
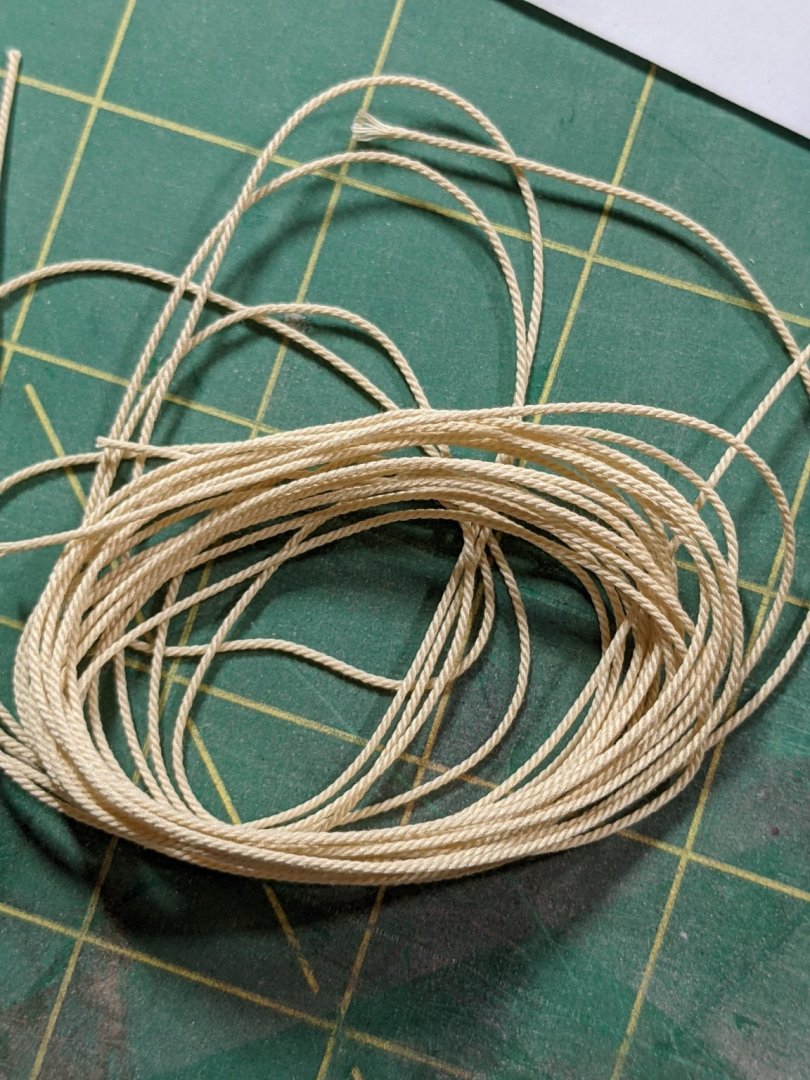
Thanks Joe. Speak up if you see a mistake. Waiting for my wood to come in so I decided to make some rope. I found the cotton a lot better than the polyester as far as looks and tightness go. The lighter colour is the cotton and the darker is the poly.
- 274 replies
-
- 7
-
-
- Cheerful
- Syren Ship Model Company
- (and 1 more)
-
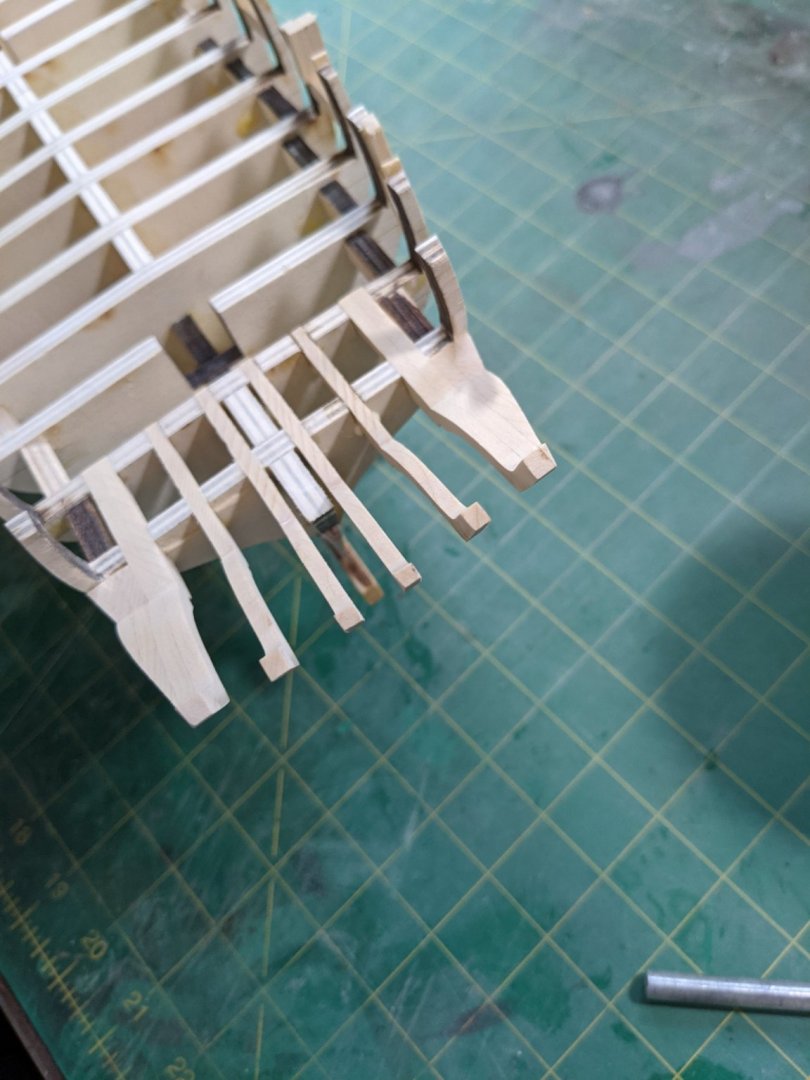
Added the transom pieces. Looks like I have the second one from the right off a bit. Pictures sure tell you when you don't have something lines up right.
- 274 replies
-
- 4
-
-
- Cheerful
- Syren Ship Model Company
- (and 1 more)
-
So the chuck doesn't mark the wood when you use the lathe?
- 778 replies
-
- 1
-
-
- cheerful
- Syren Ship Model Company
- (and 1 more)
-
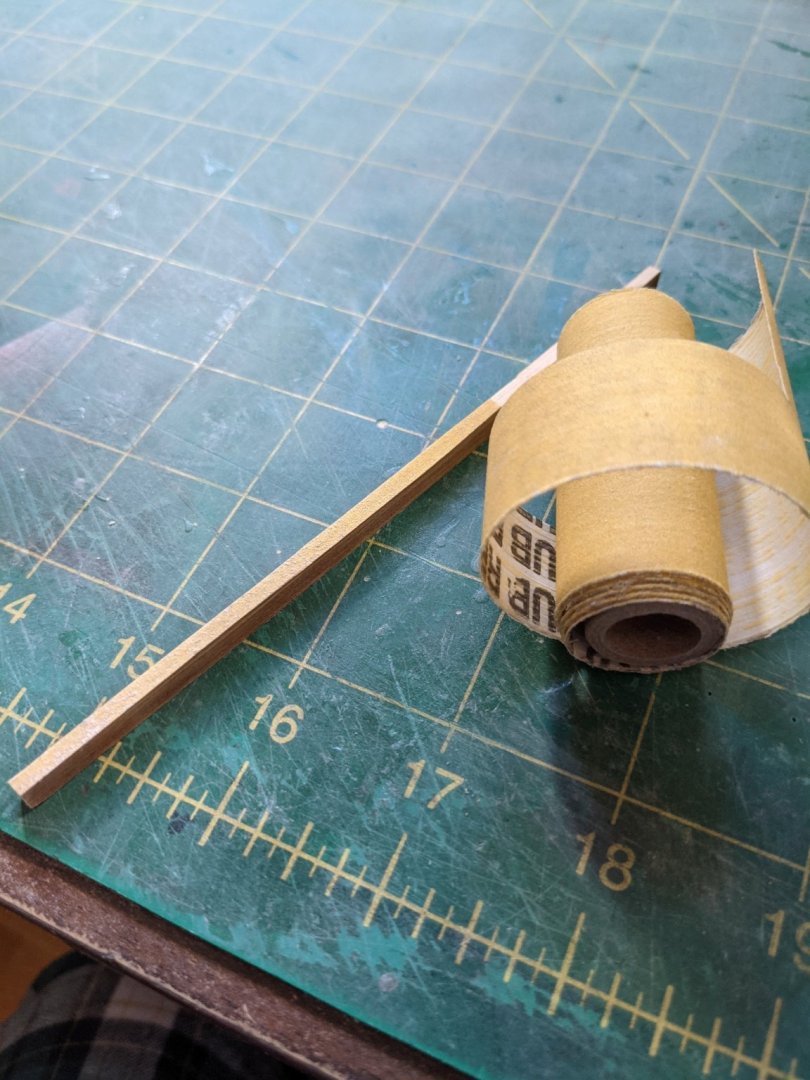
Once the line was done I marked out the ports and cut them out at the bow with a razor saw and then sanded to the line carefully trying to make sure it was square. One thing I like to use is the sandpaper self stick rolls From Great Plains but searching now it looks like it is hard to come by but it looks like Lee Valley Tools has some as well. https://www.leevalley.com/en-ca/shop/tools/supplies/sanding/sheets-and-rolls/20179-psa-sandpaper-rolls After they were cut out I used some white primer on them and they looked pretty smooth.
- 274 replies
-
- 8
-
-
- Cheerful
- Syren Ship Model Company
- (and 1 more)
-
Carefully marked the gunport line. This took some extra care as I wanted it to be even on both sides.


- 274 replies
-
- 5
-
-
- Cheerful
- Syren Ship Model Company
- (and 1 more)
-
Took some time to sand the char off the deck area and thinned out the bow area as well before I did the gun ports.

- 274 replies
-
- 4
-
-
- Cheerful
- Syren Ship Model Company
- (and 1 more)
-
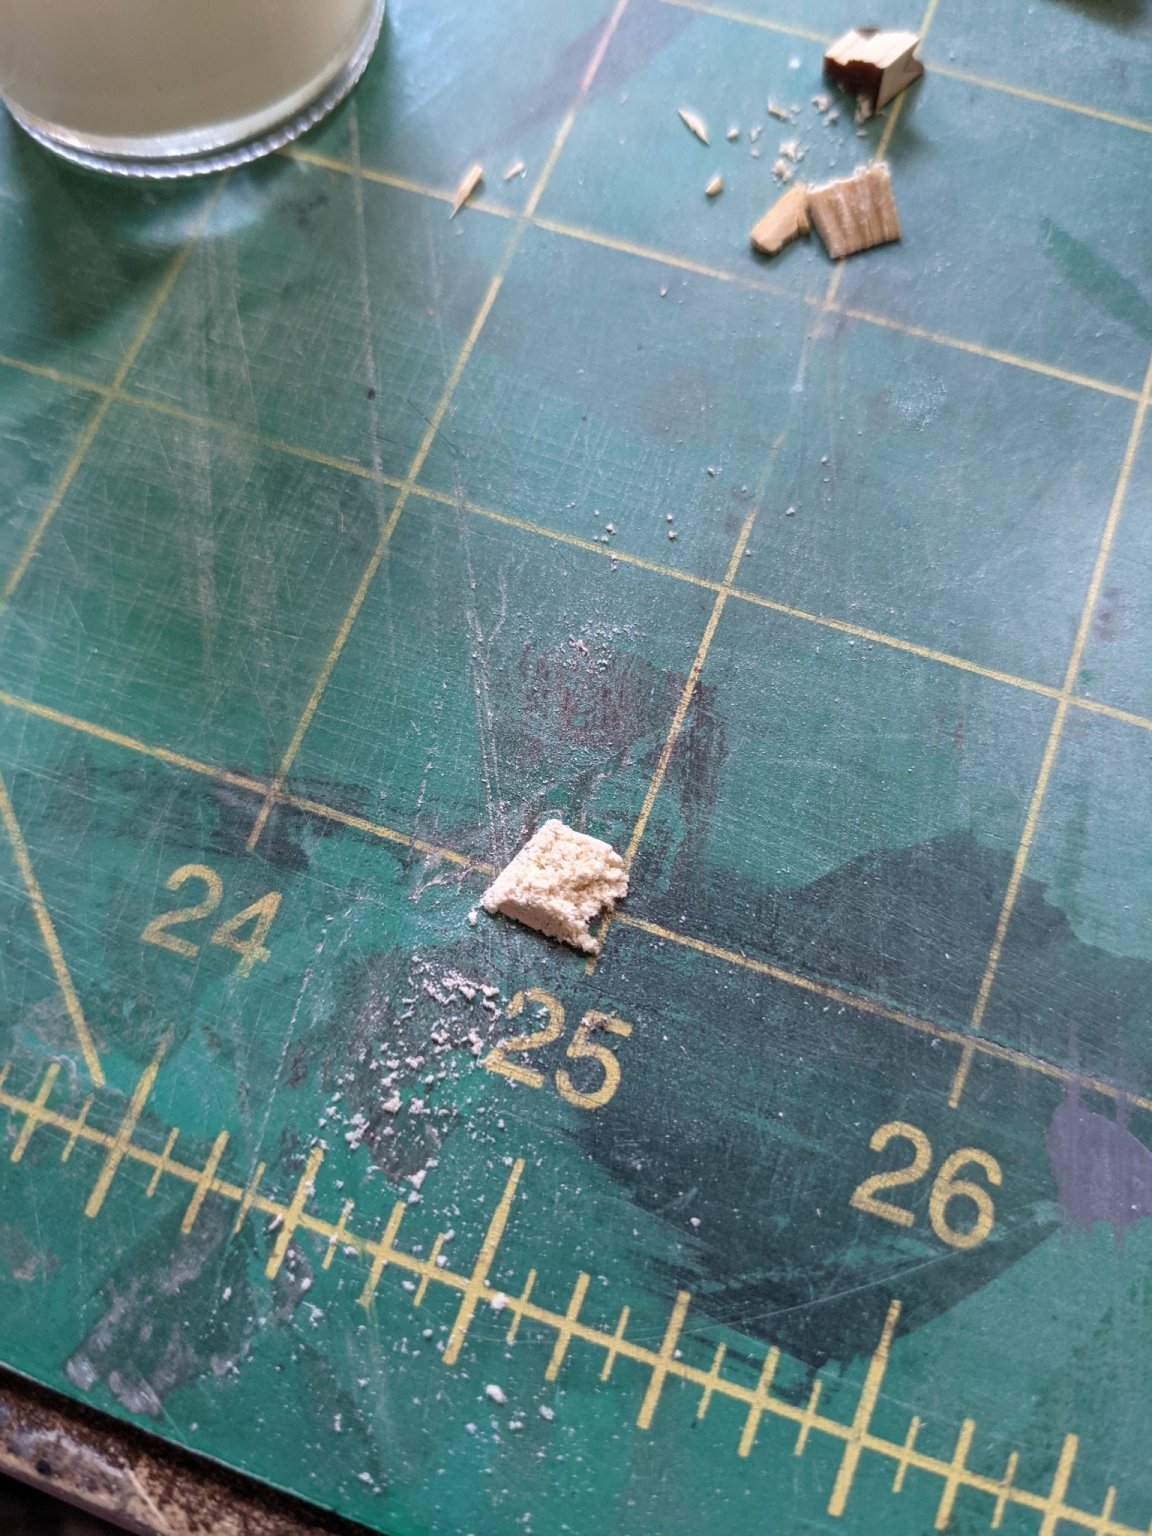
Tired the sawdust and PVA and it did not stick good. Ended up using a bit of filler which matched the colour pretty well and then a spot of superglue to seal it all in. Will take a picture of the repair.

- 274 replies
-
- 3
-
-
- Cheerful
- Syren Ship Model Company
- (and 1 more)
-
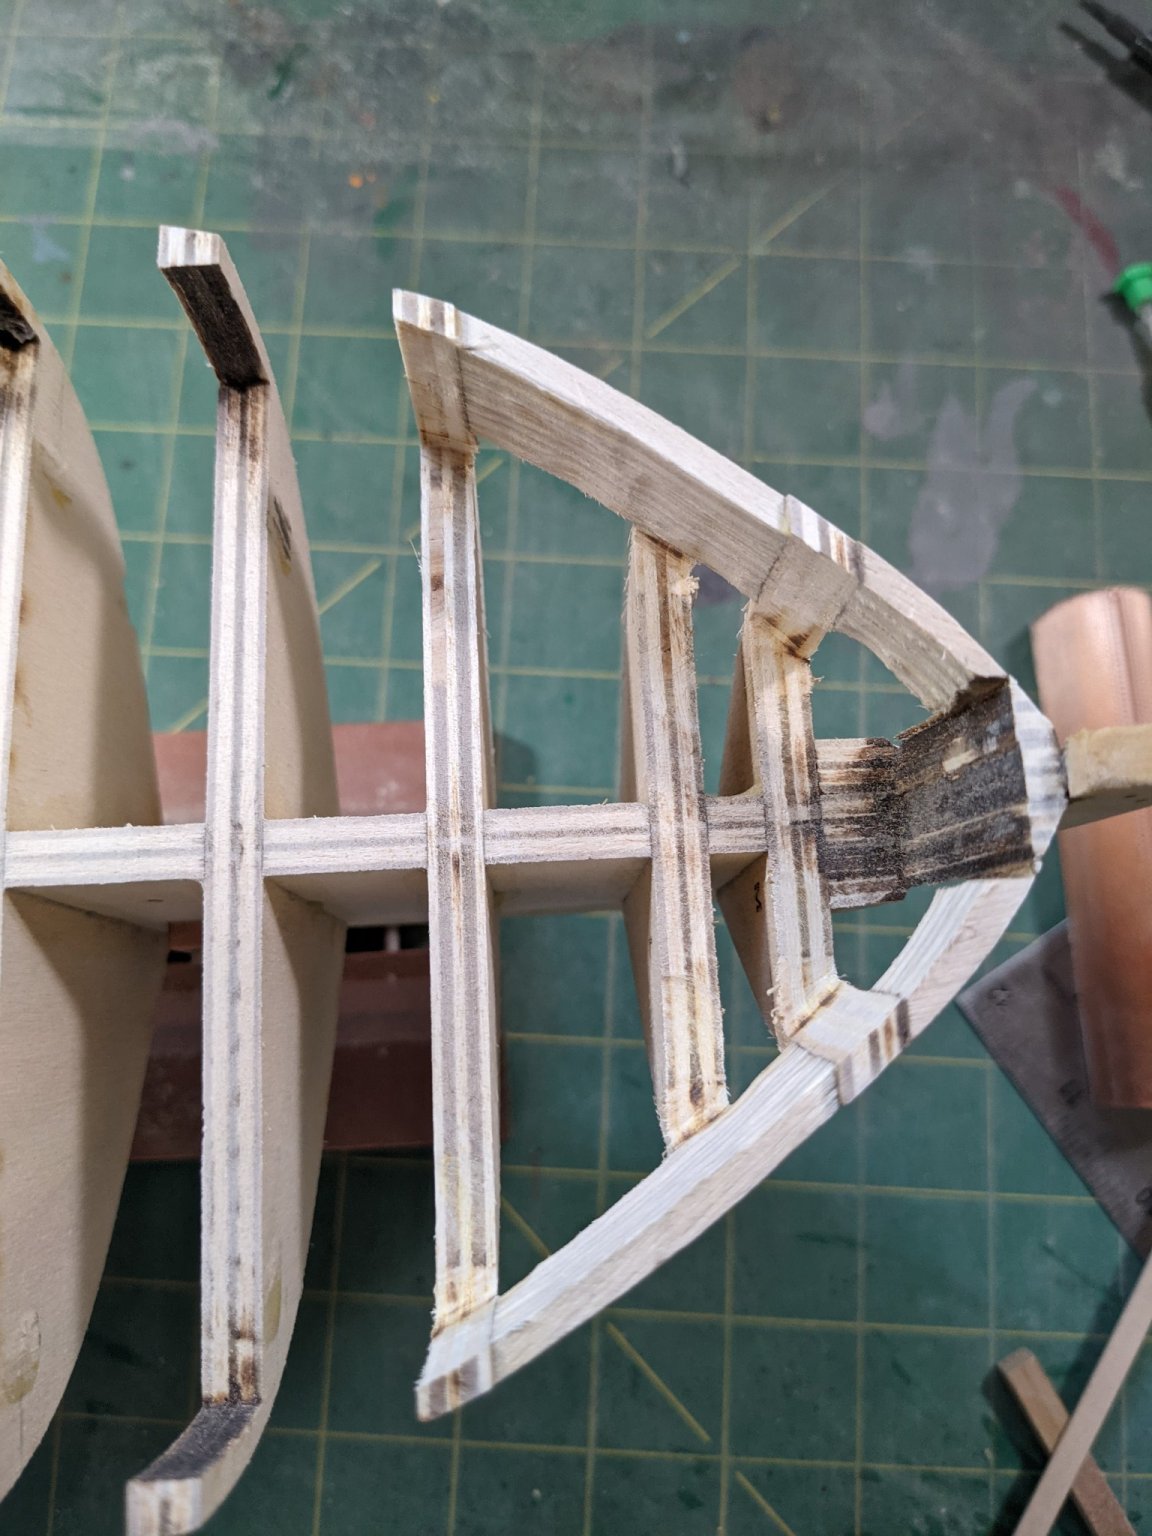
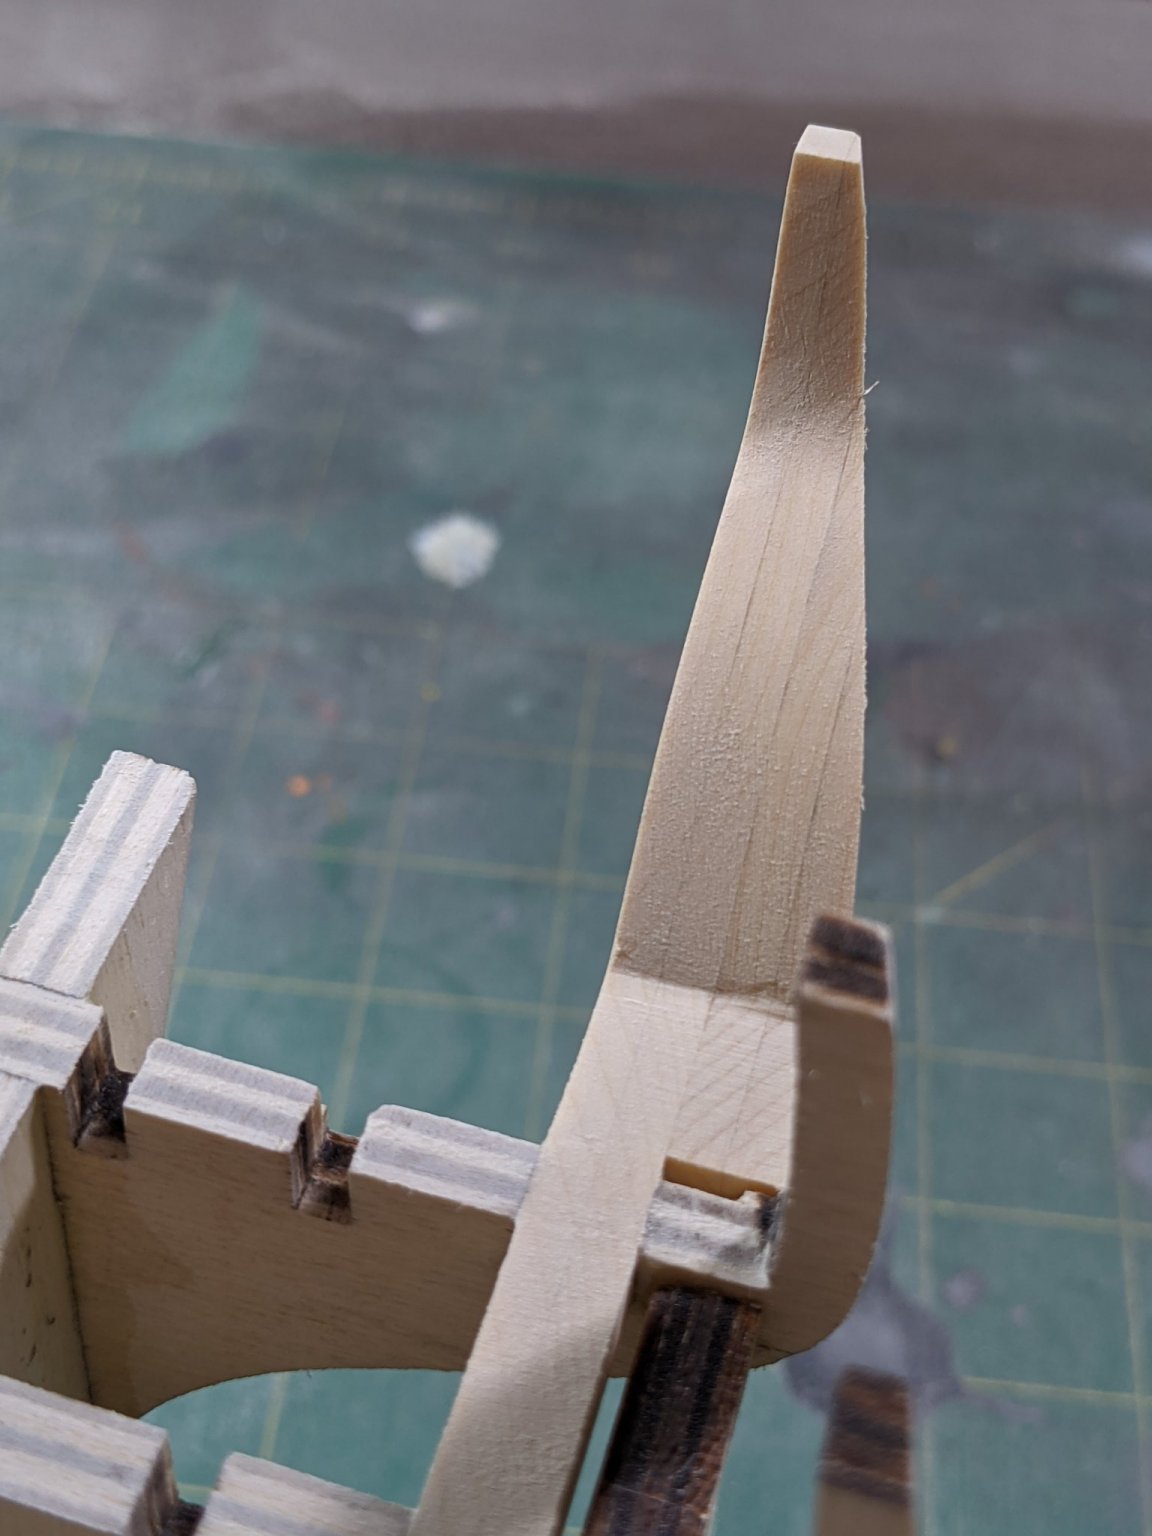
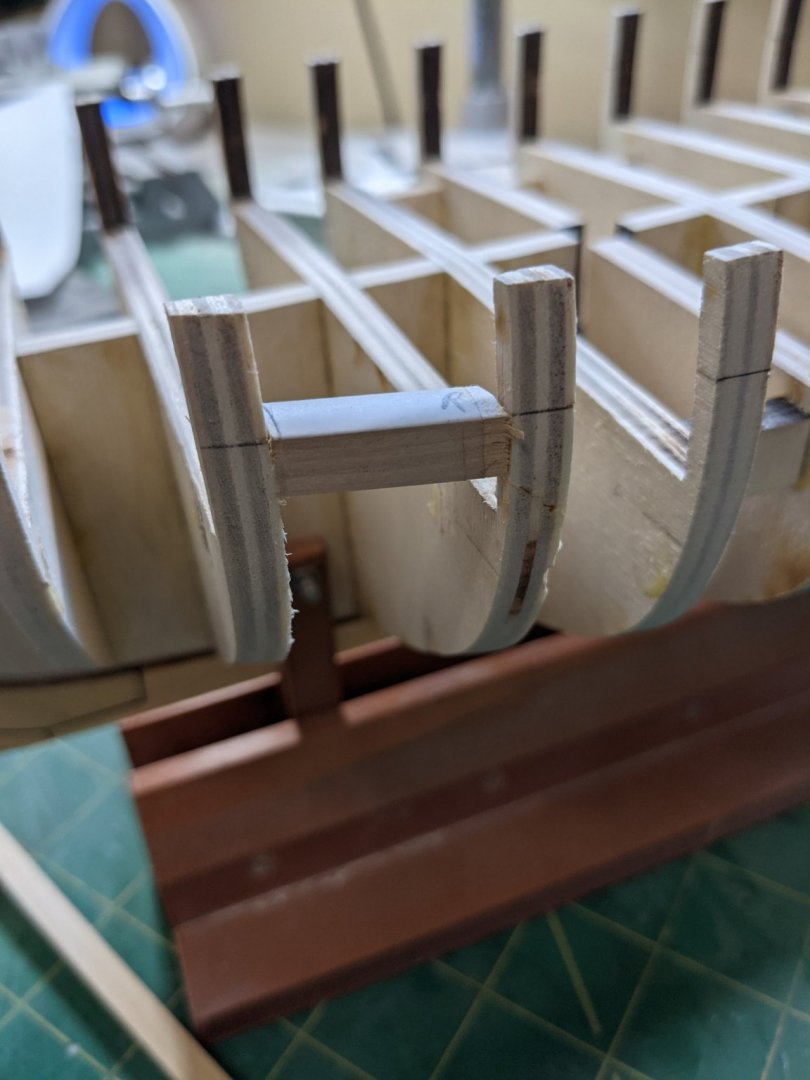
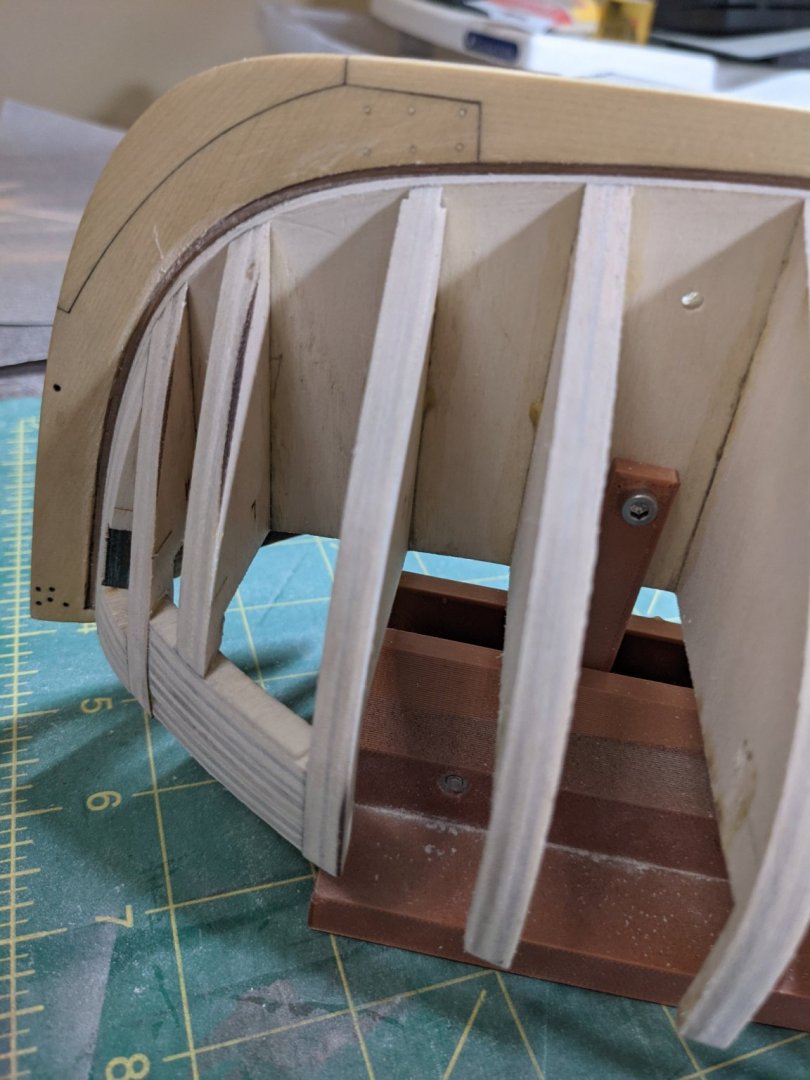
During the fairing I got a little too close to the keel and scored the cedar at the tope. Not sure how I am going to fix it. I could try to fill it with some pva and sawdust mix or sand it down to match. I don't want to leave it as everytime I look at it I can see it.


- 274 replies
-
- 6
-
-
- Cheerful
- Syren Ship Model Company
- (and 1 more)
-
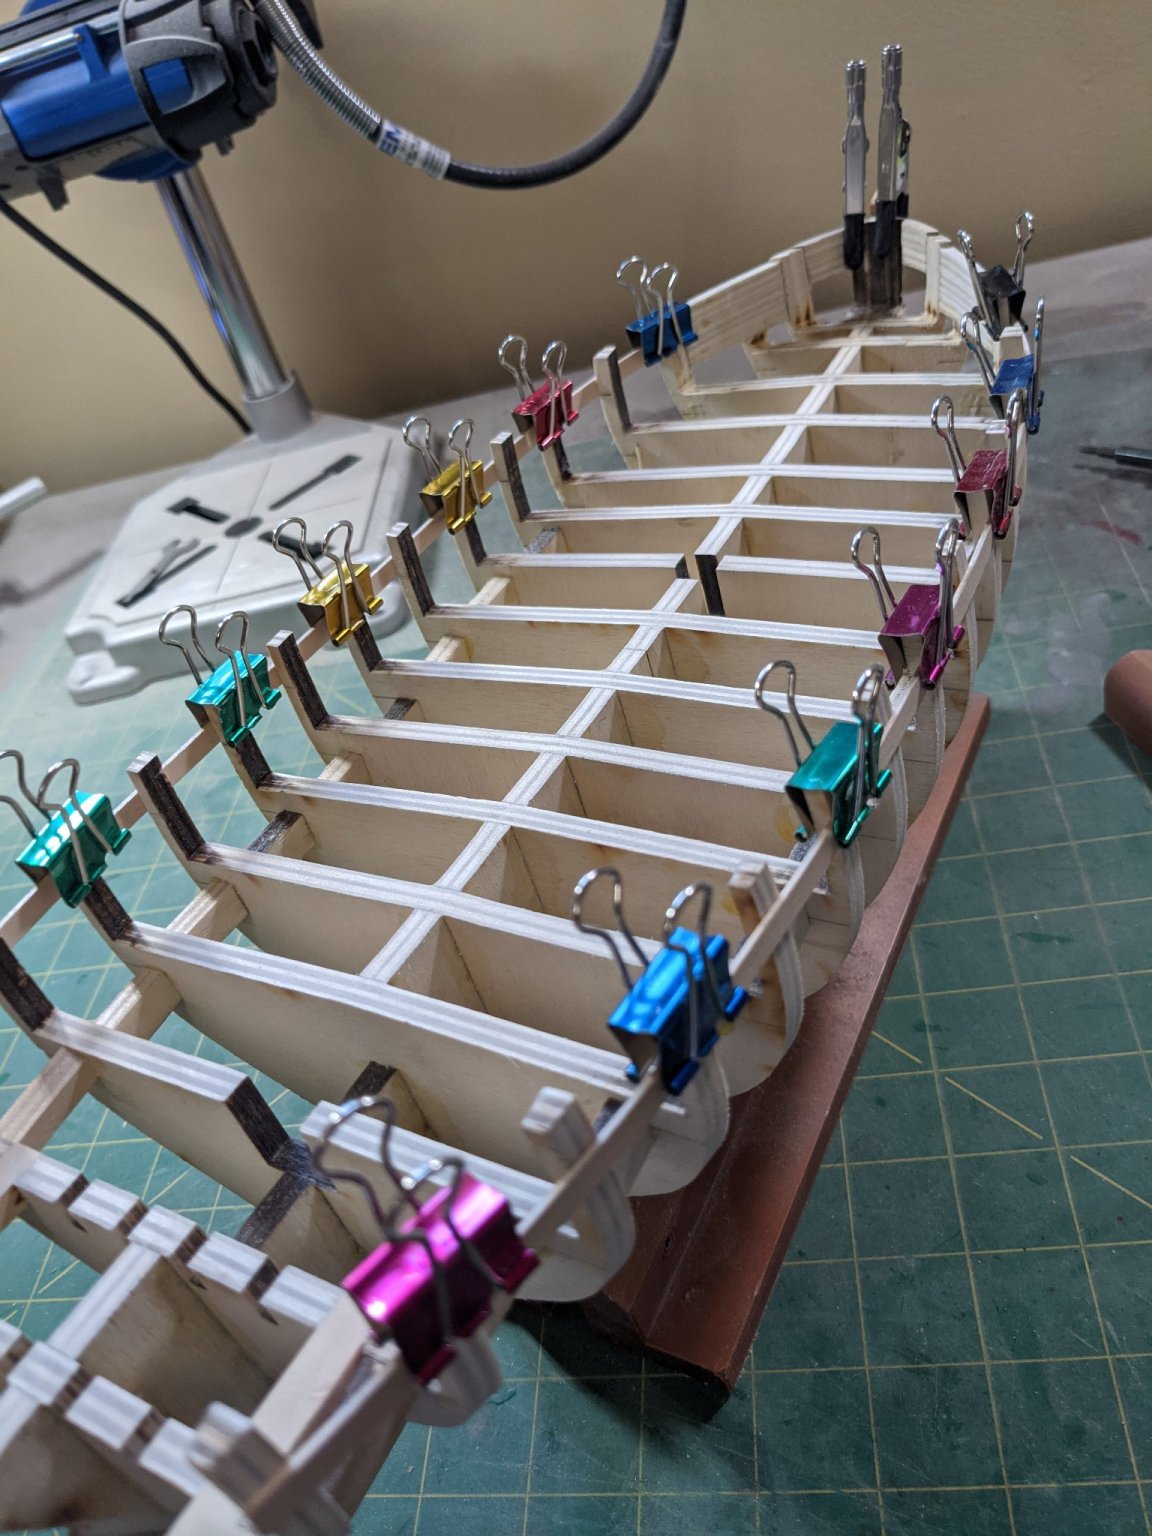
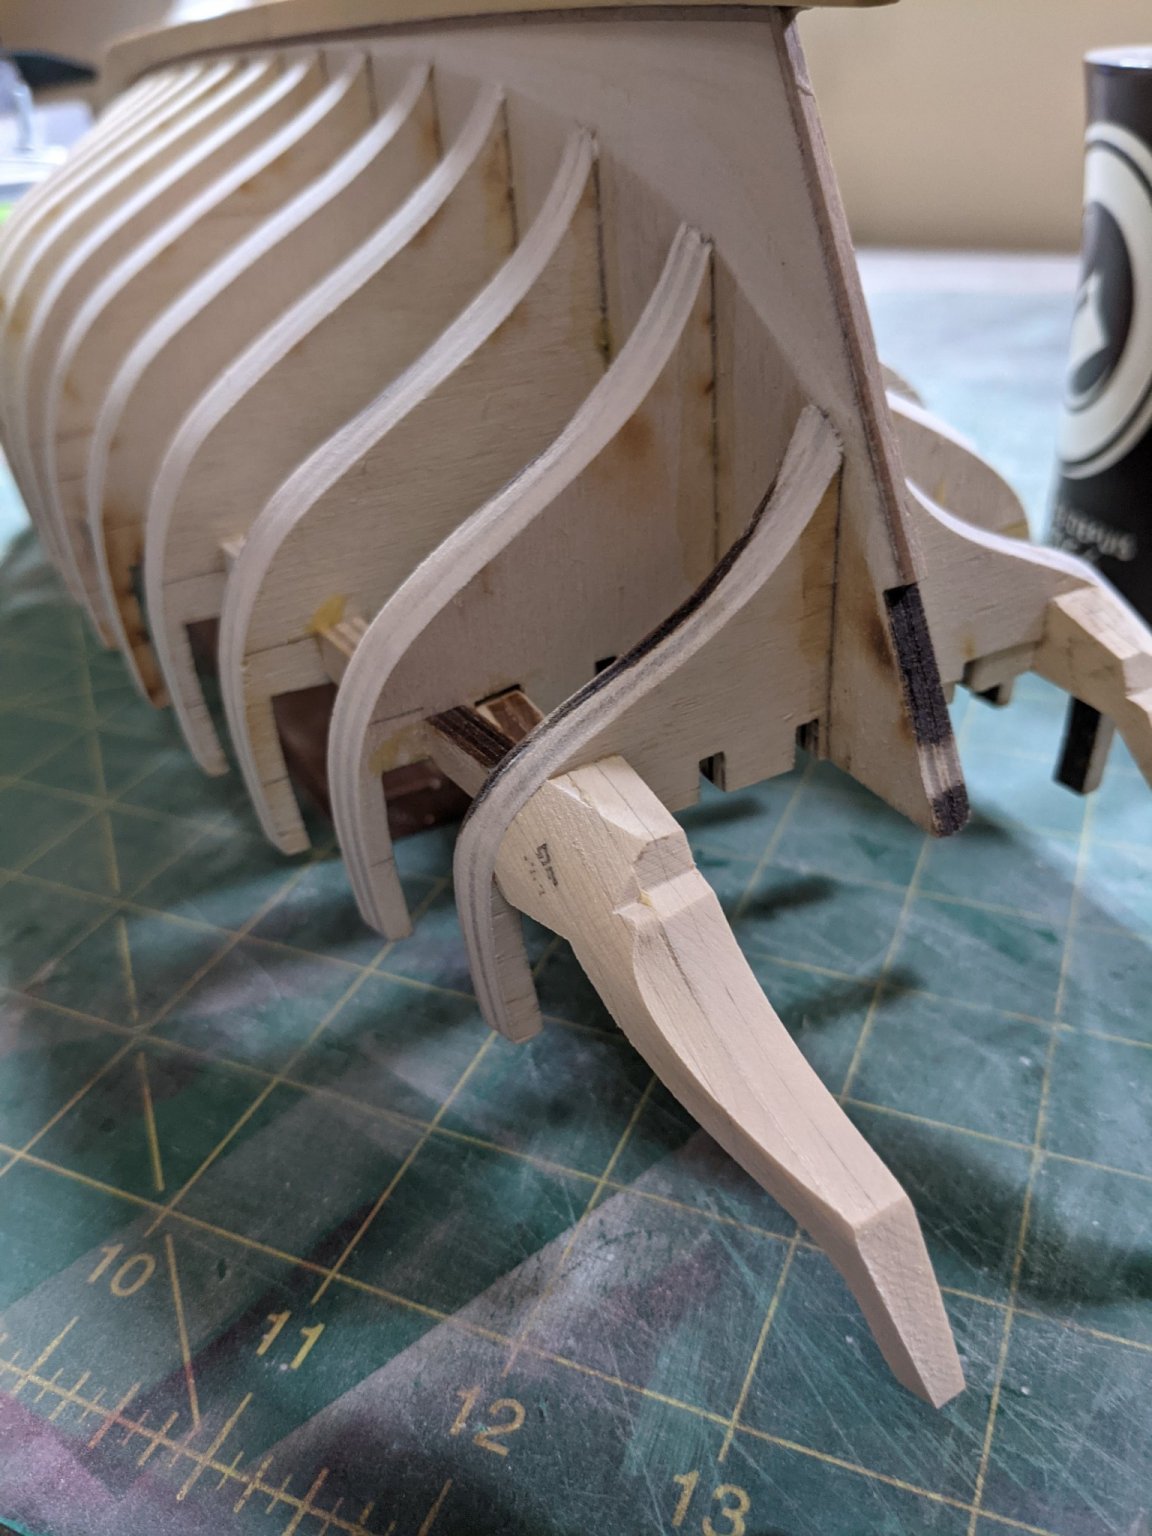
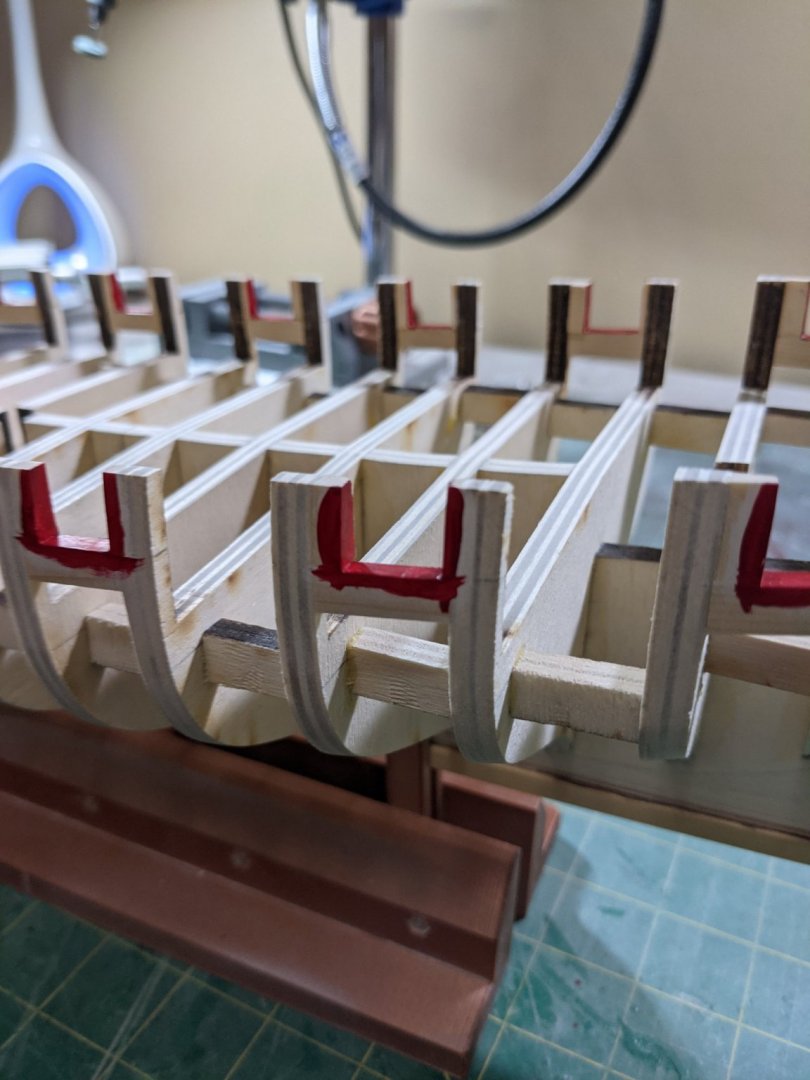
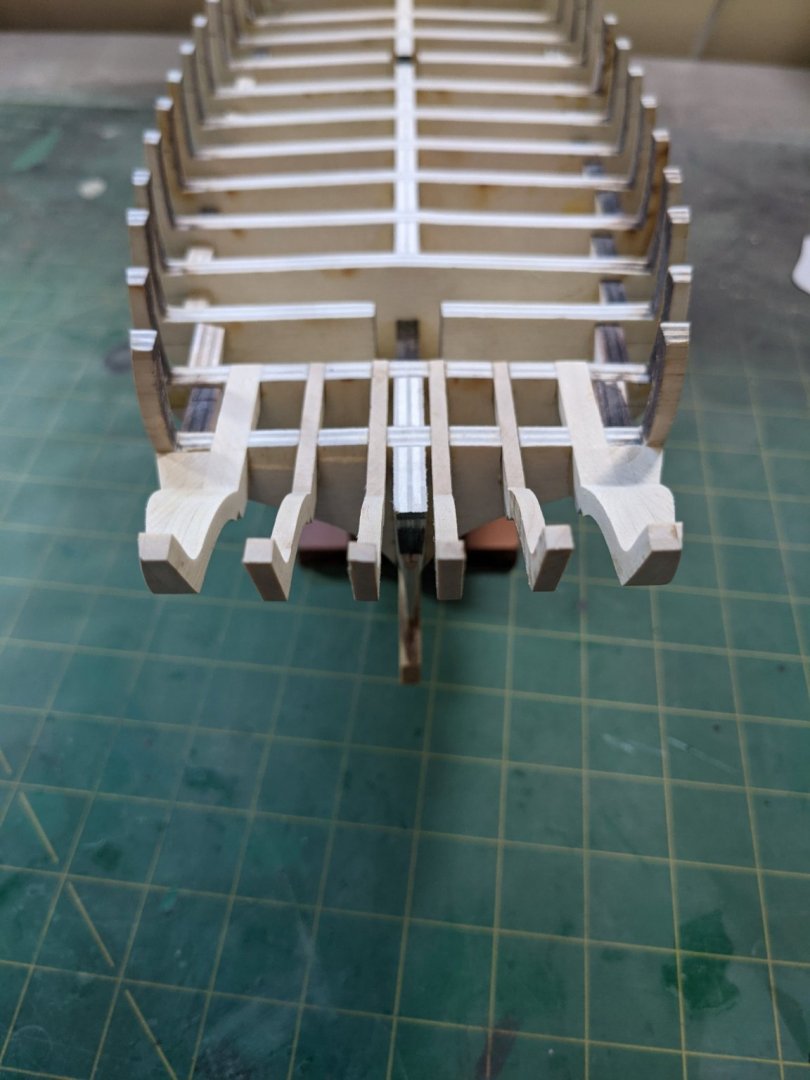
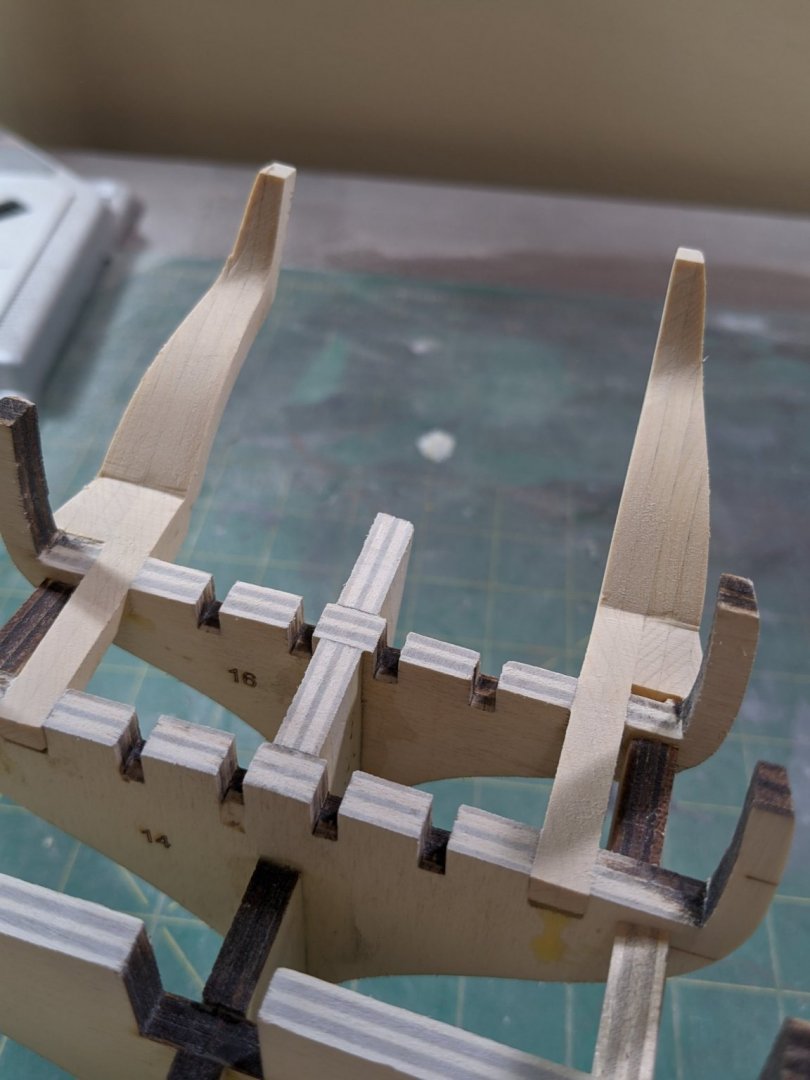
I also glued on the stacked formers at the stern and got those close to final sanding.


- 274 replies
-
- 8
-
-
- Cheerful
- Syren Ship Model Company
- (and 1 more)
-
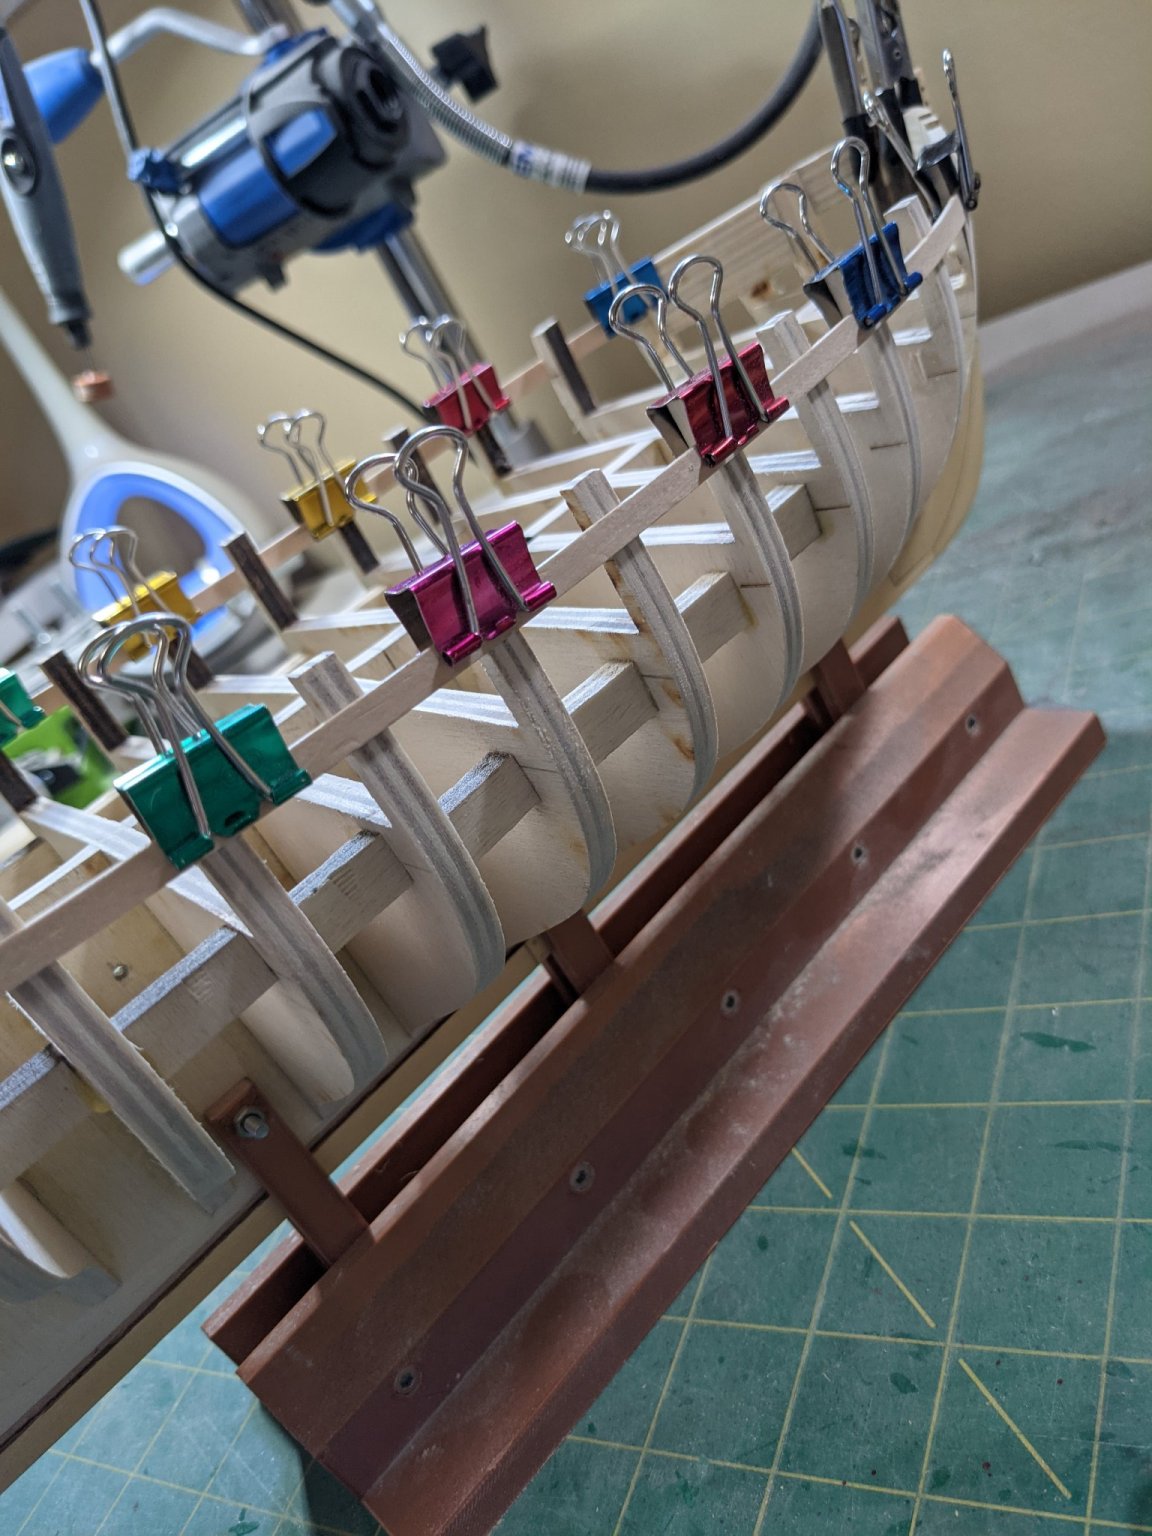
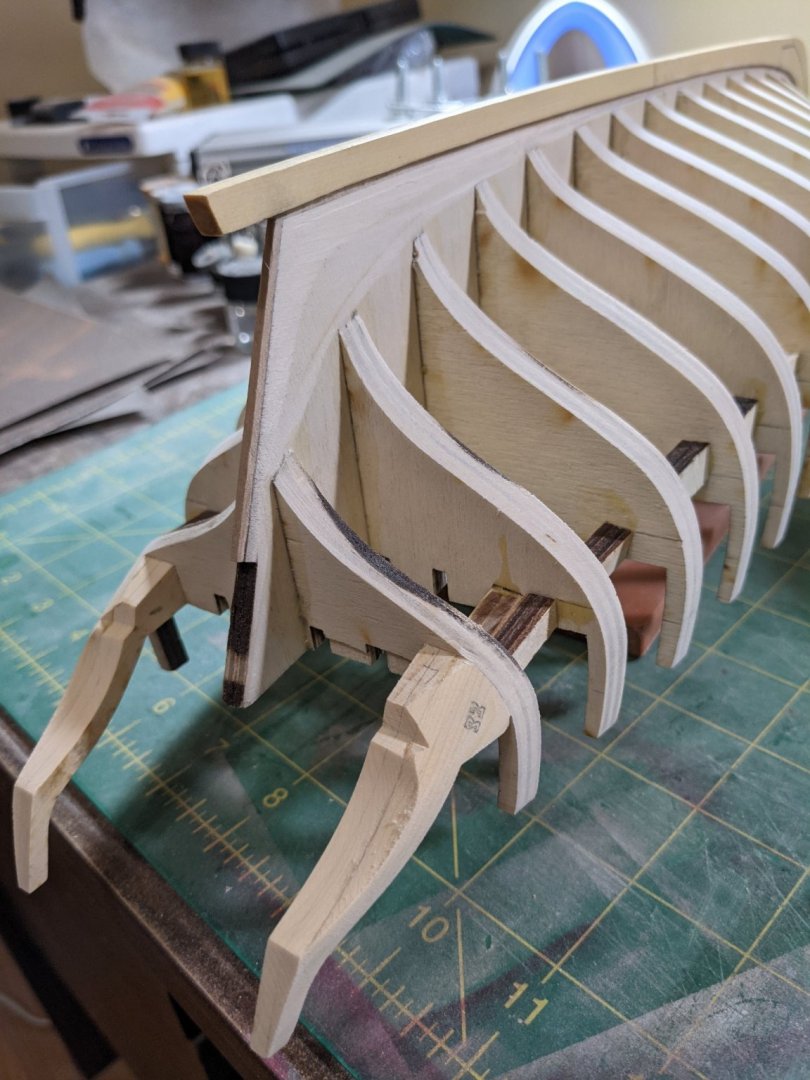
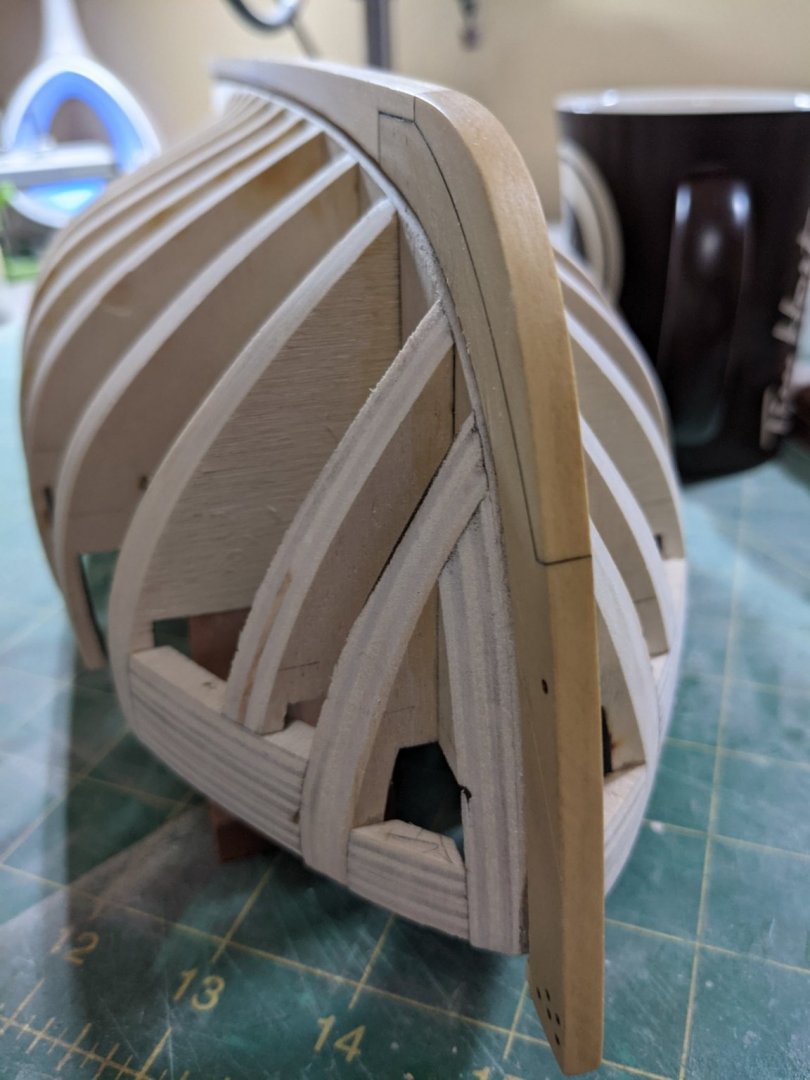
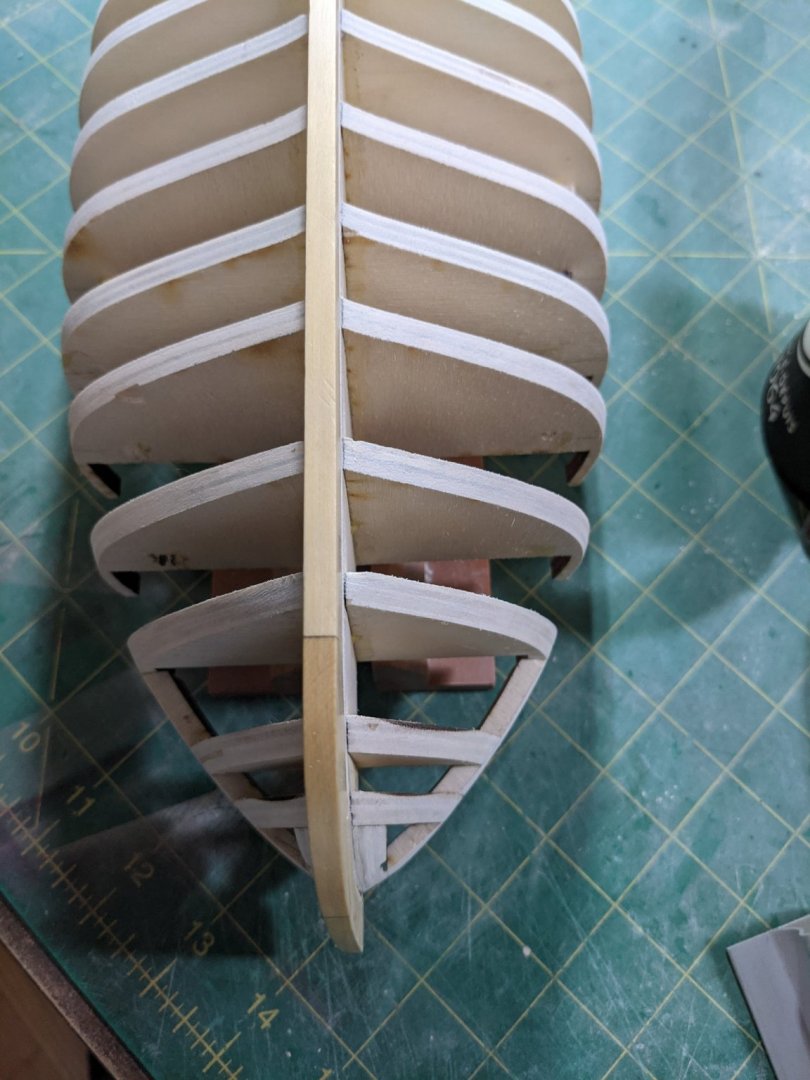
Spent most of the day yesterday fairing. Switched to 150 grit and then finished with 220 grit sandpaper. Took quite a while with careful sanding to make sure everything runs smooth especially in the rabbit line at the bow.

- 274 replies
-
- 7
-
-
- Cheerful
- Syren Ship Model Company
- (and 1 more)
-
Absolutely beautiful!! I might need to pick one of these up. I see you have the custom base available for this and the price is great. What about doing one for the Cheerful?
- 421 replies
-
- 2
-
-
- medway longboat
- Syren Ship Model Company
- (and 1 more)
-
Wow that look good. And such a clean workshop!