(1)(1)(1)(2).jpg.a128ea4d7b02ebfc5d5eb6547e92106f.jpg)
PRS
-
Posts
372 -
Joined
-
Last visited
Content Type
Profiles
Forums
Gallery
Events
Everything posted by PRS
-
(1)(1)(1)(2).thumb.jpg.792ad774561d3d4f35888704cde27a8e.jpg) I have confidence in your abilities to make it look good
I have confidence in your abilities to make it look good -
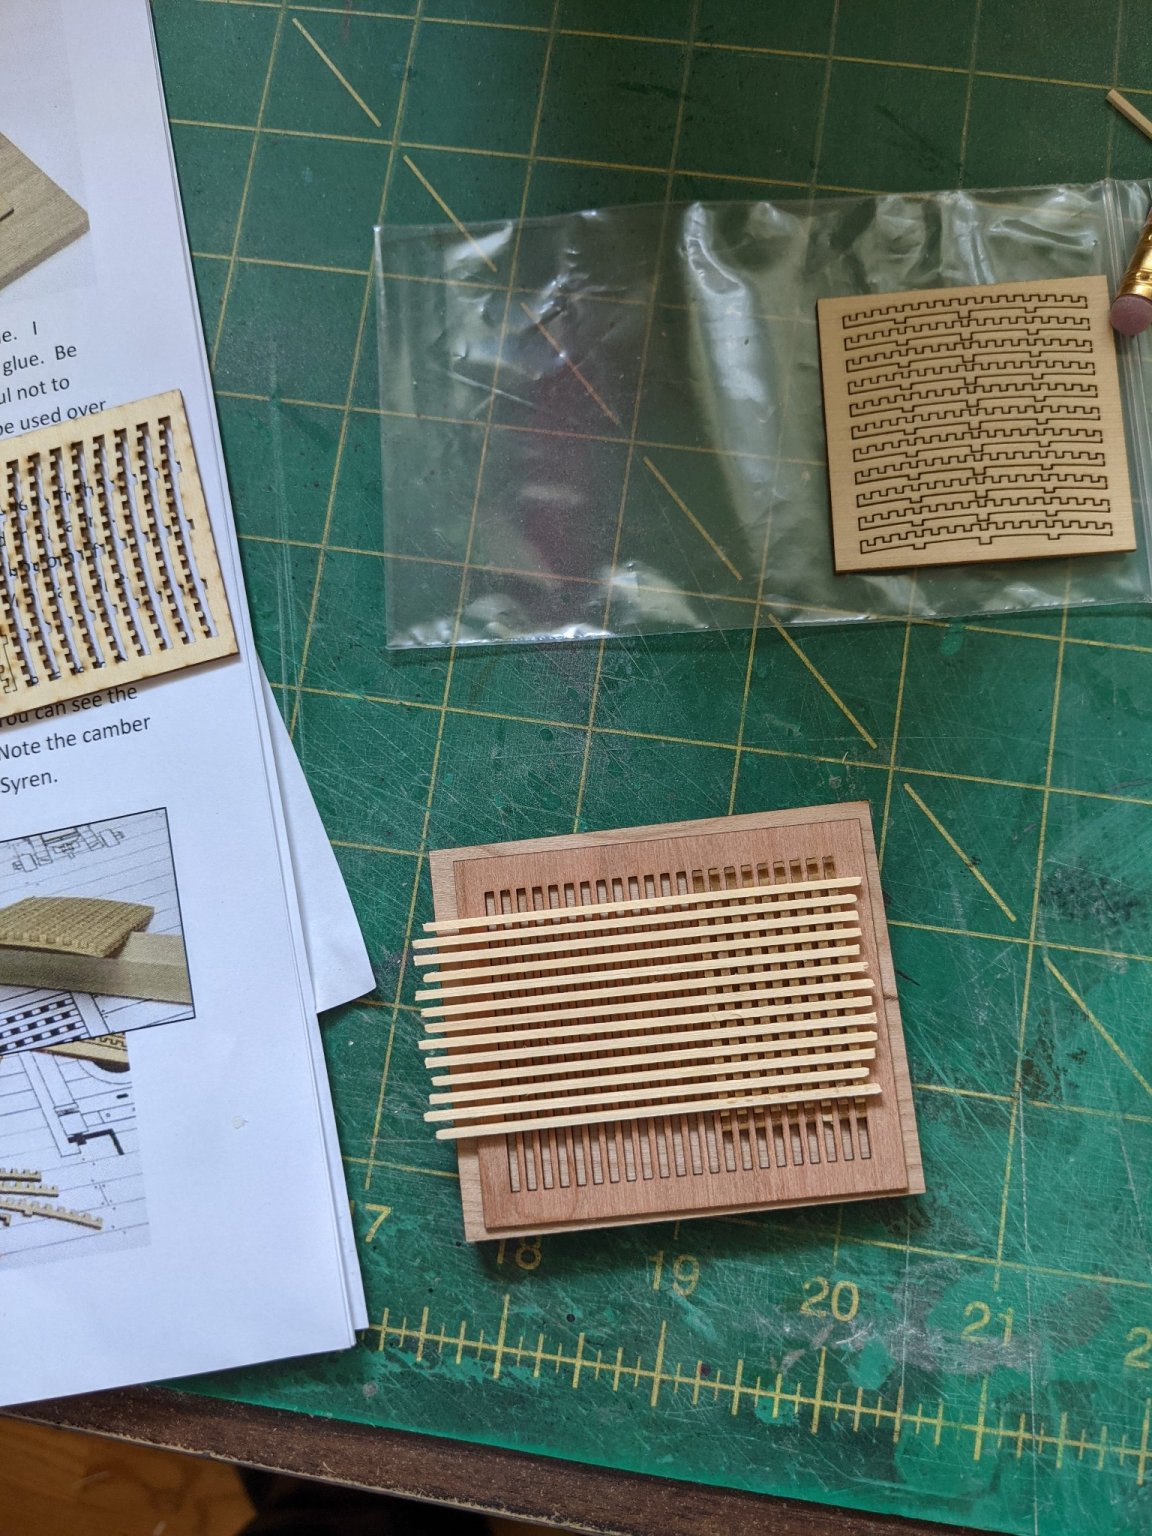
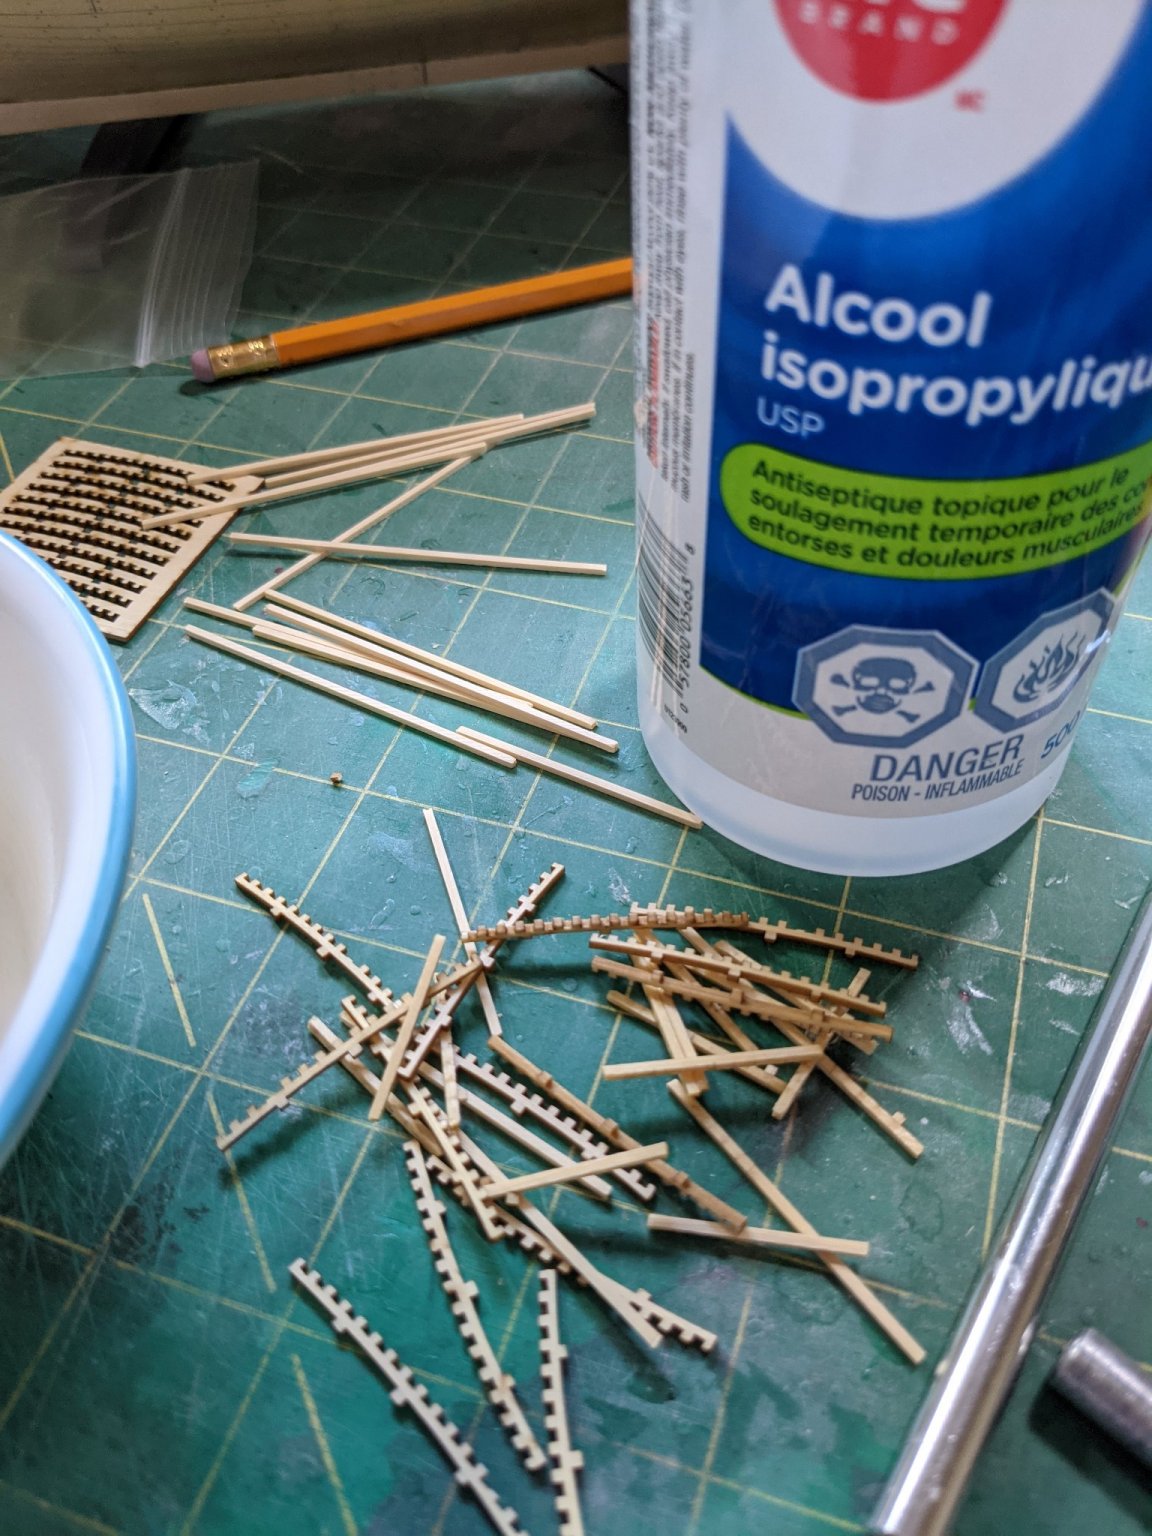
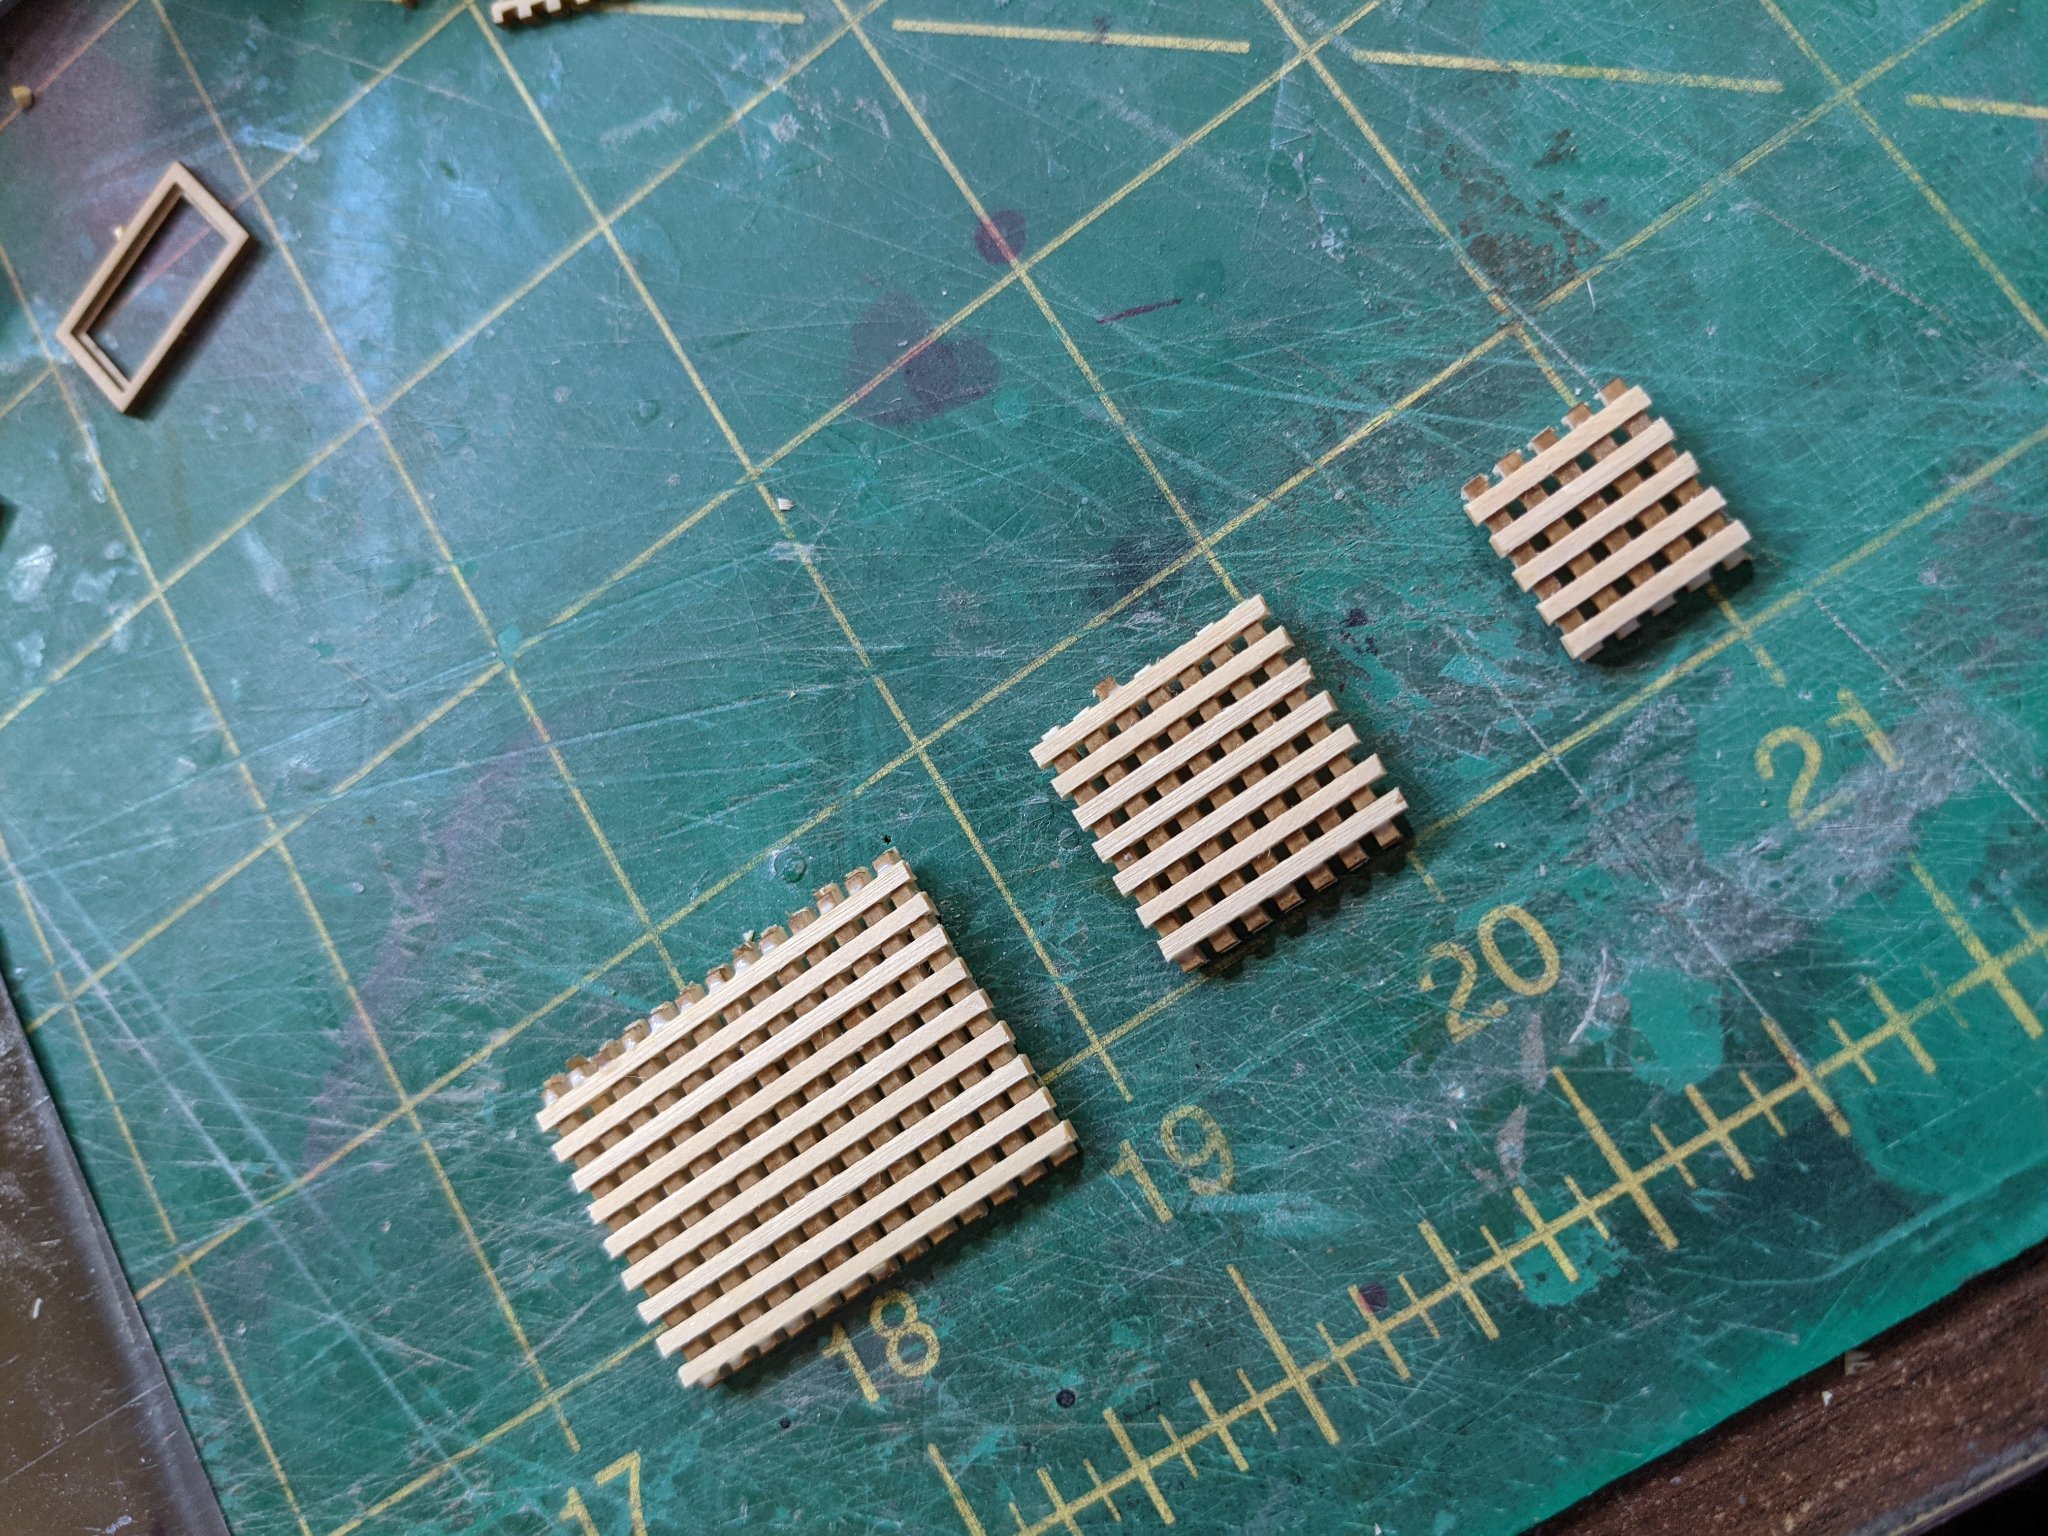
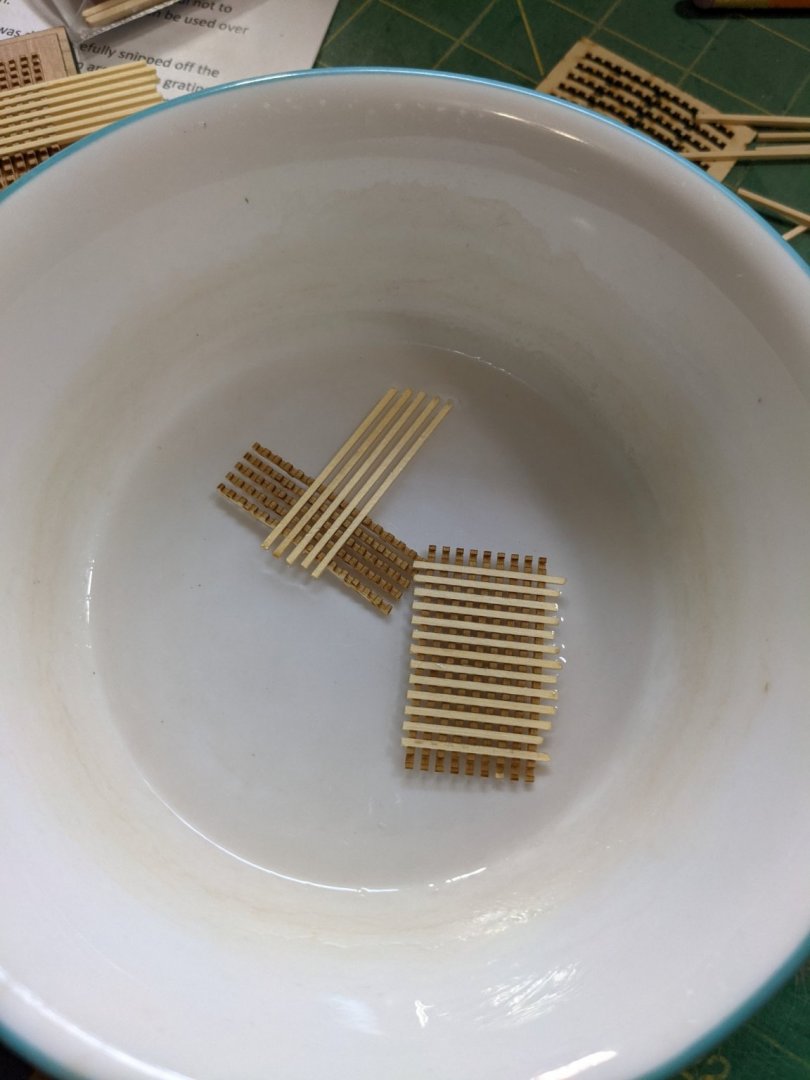
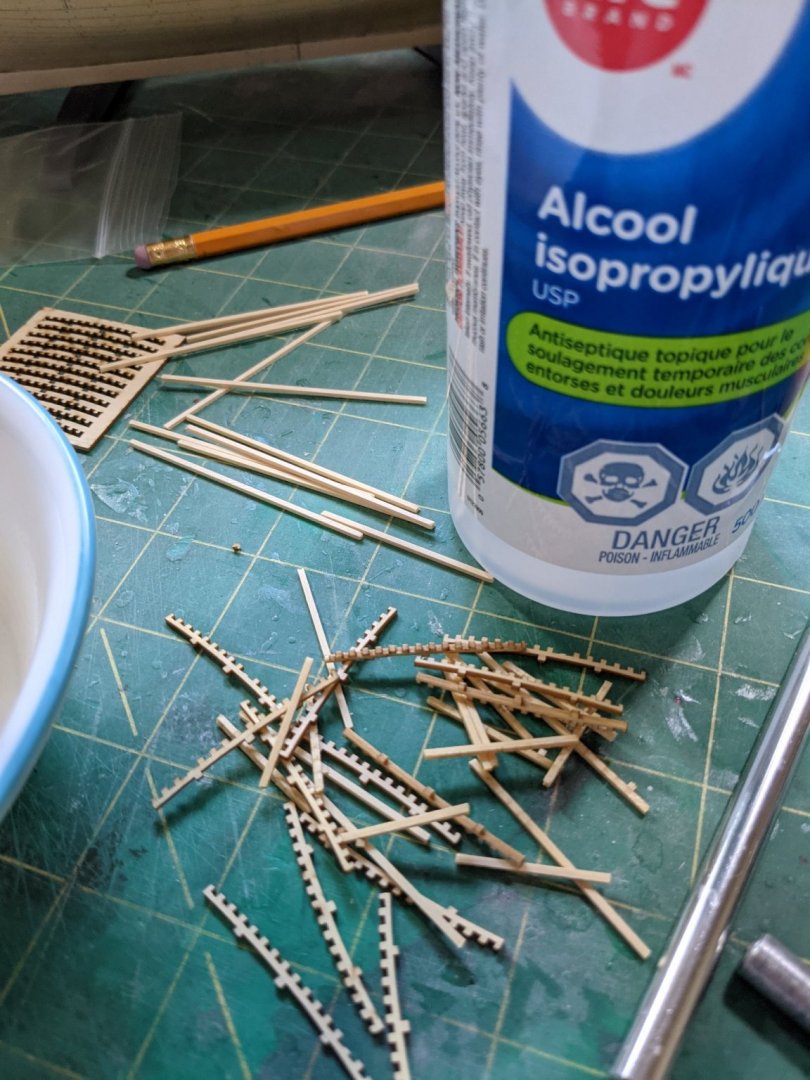
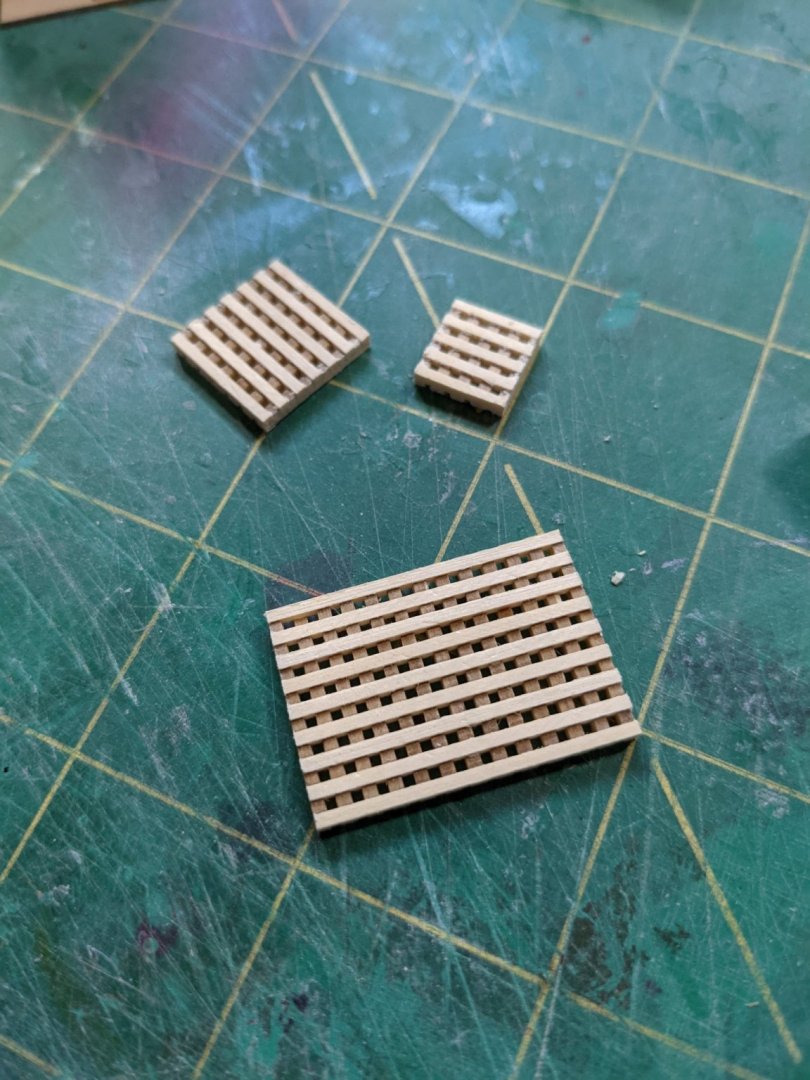
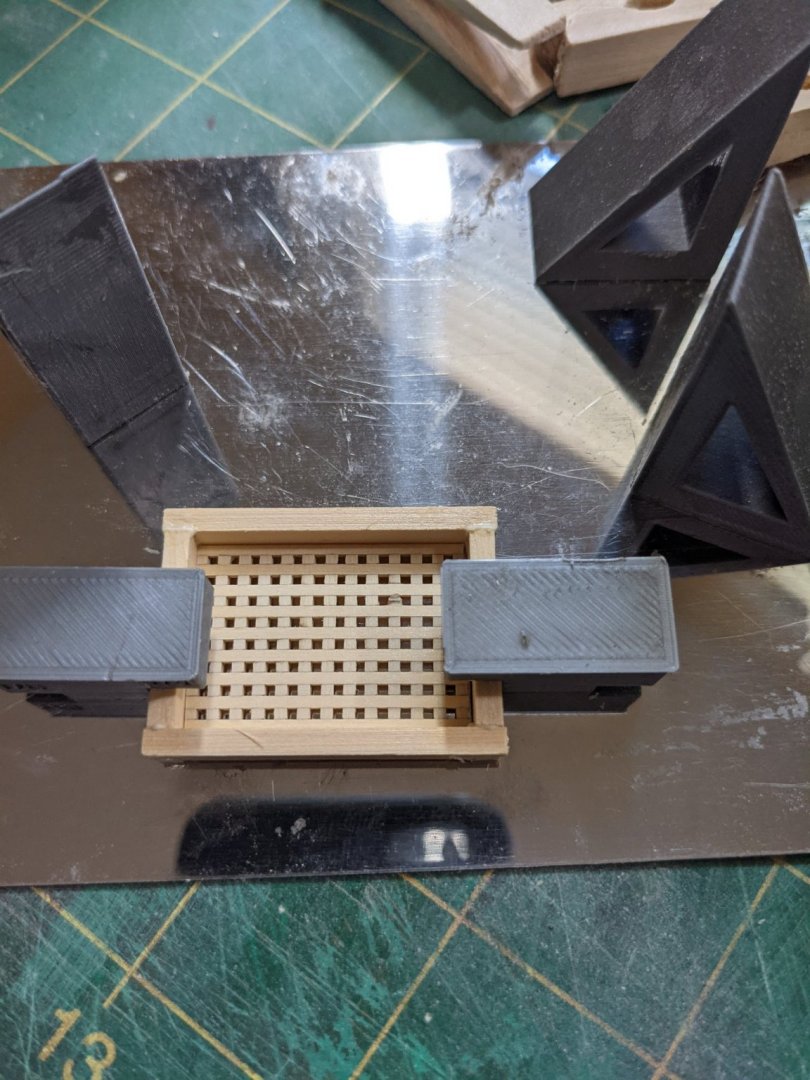
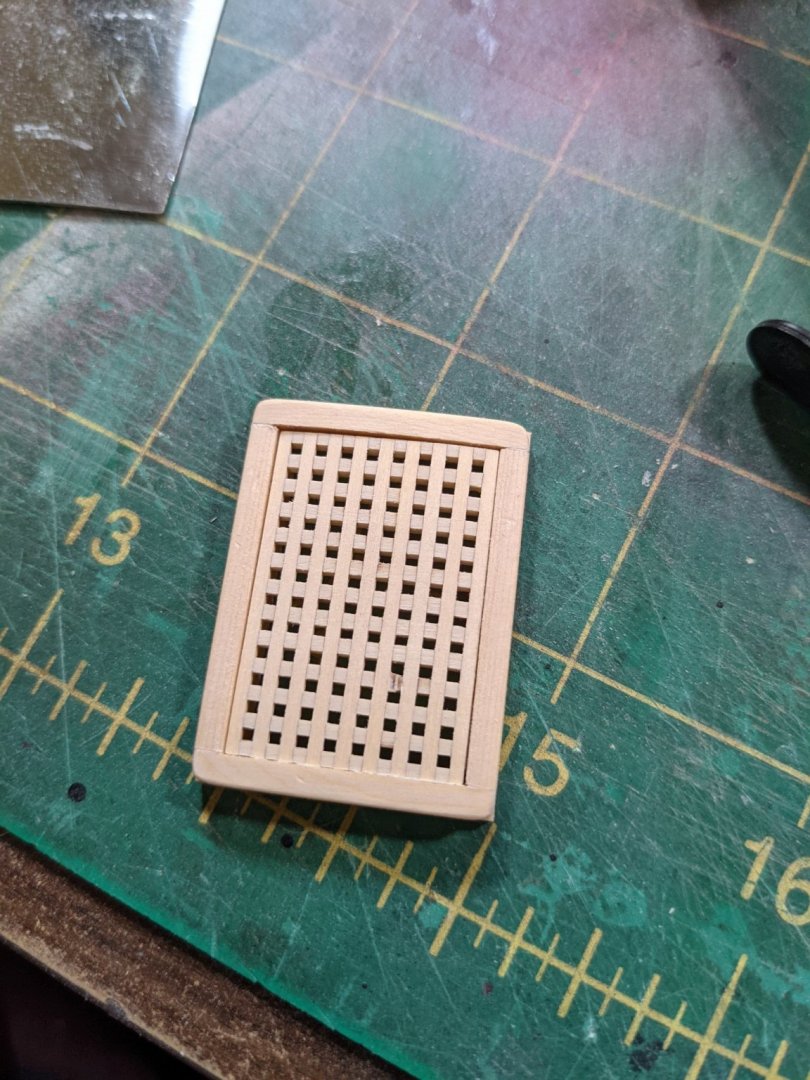
Started making the gratings. But I made a mistake with the orientation of the large one so soaked the one I had made in alcohol to dissolve the glue. Once this was done I was able to make the three gratings in the proper orientation. The sanded them all to size. Made up the coaming for the large grate and sanded all smooth. Poly not applied yet.


- 274 replies
-
- 12
-

-
- Cheerful
- Syren Ship Model Company
- (and 1 more)
-
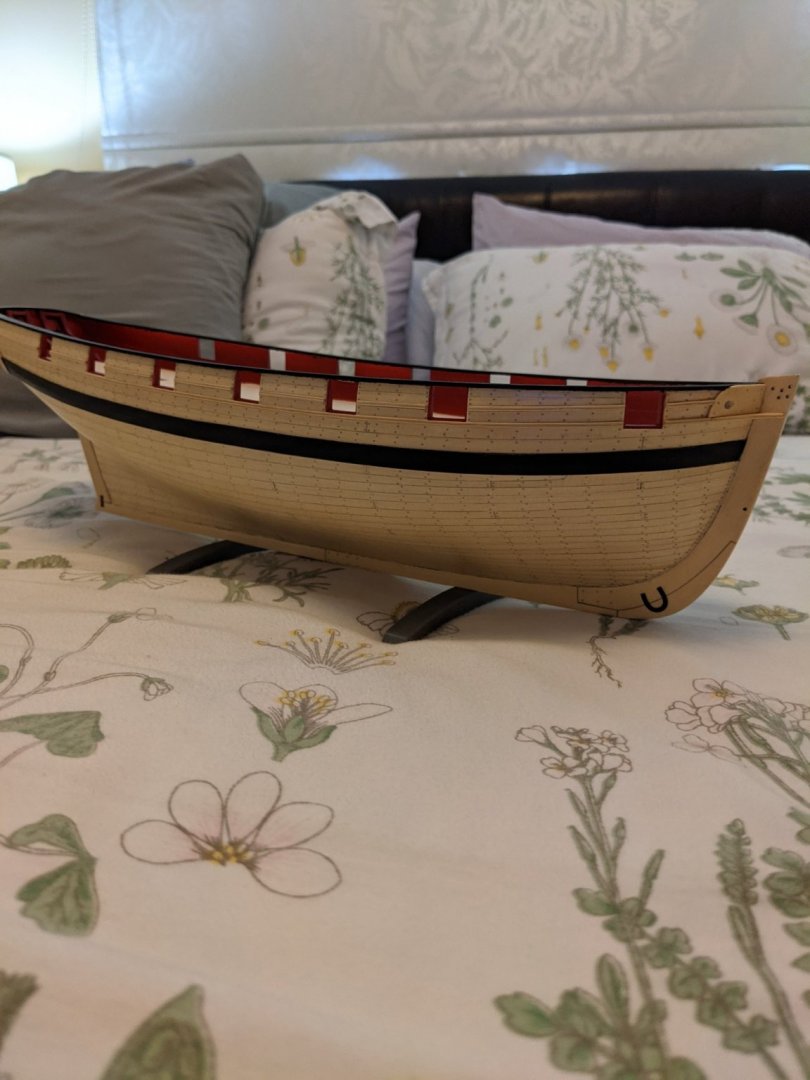
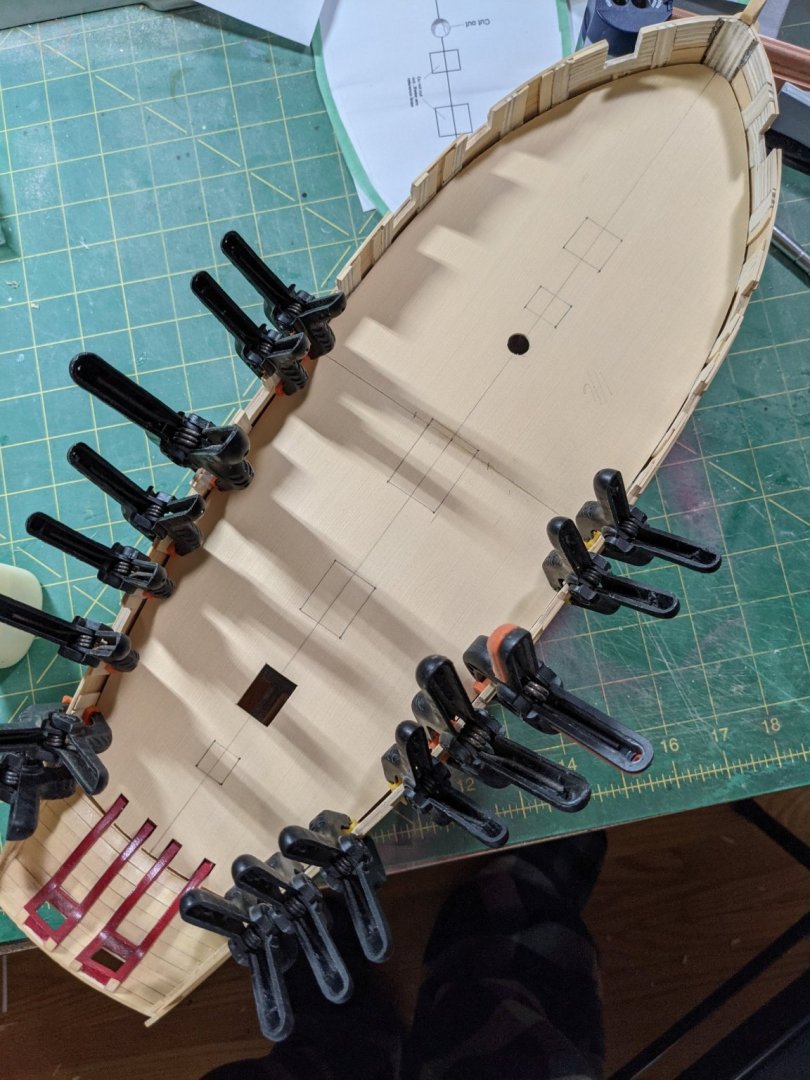
Spending a few days on the margin planks. Cut a few and threw out since they either didn't fit or they broke at the end when I was cutting them until I made sure the grain of the wood was going in the right direction. These are all cut from 1/6 boxwood sheet. made up a little clamp to make sure they were all in place before gluing and then removed one at a time and glued them back down with PVA. Once the margin planks were glued down I stripped some 1.32 square from the sheet stock and rounde out the edge and glued them down with 50/50 pva and water and slowly worked from the stern gluing them in. I applied one coat of wipe on ploy so I could see how it all looked. Seeing the results it was sure worth the effort and time it took to do it this way.


- 274 replies
-
- 8
-
-
- Cheerful
- Syren Ship Model Company
- (and 1 more)
-
Thanks Chuck. Yes it looks like it will be a slow thing to do but will make a difference on how it looks.
- 274 replies
-
- 1
-
-
- Cheerful
- Syren Ship Model Company
- (and 1 more)
-
Hope you don't mind if I pull up a chair and follow along do you? I like the slow methodical way you work.
-
HMS Winchelsea by rafine 1/48
PRS replied to rafine's topic in HMS Winchelsea 1764's Member Build logs for the HMS Winchelsea
Wow that is looking good. Hope I can build my skills up to be able to build this. -
Newbie question re: putty.
PRS replied to Laggard's topic in Building, Framing, Planking and plating a ships hull and deck
One thing about wood filler it is a lot easier to sand than bondo! -
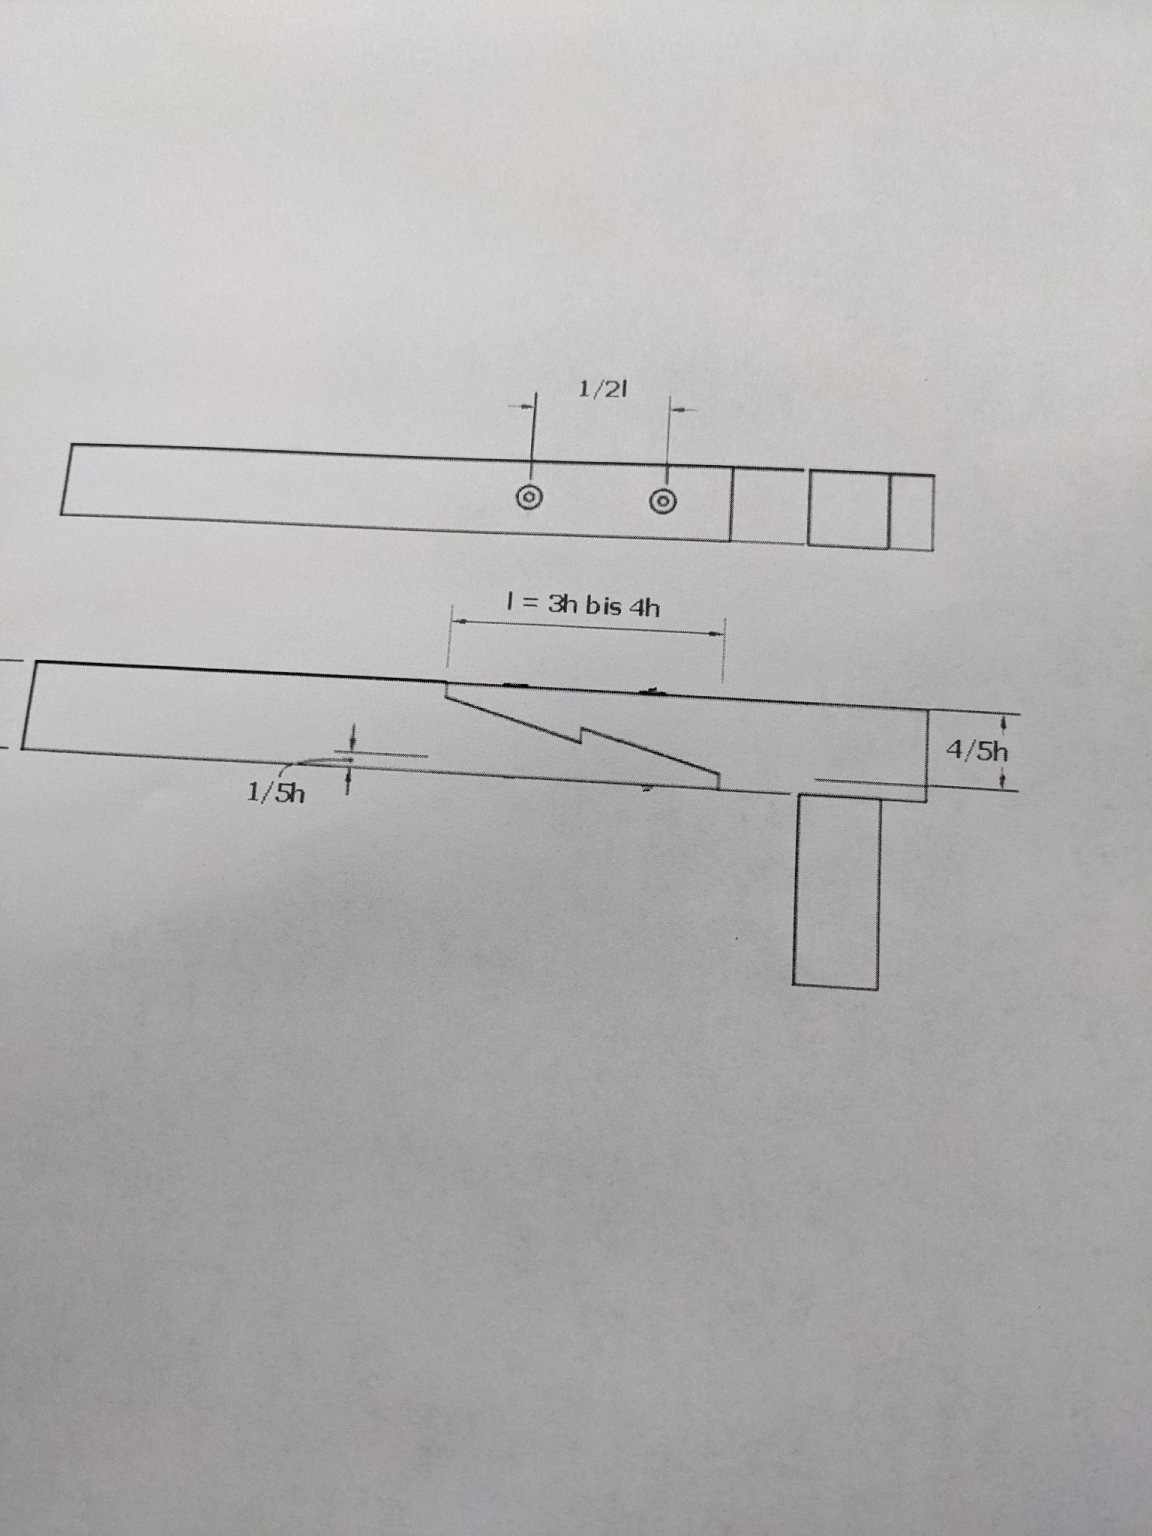
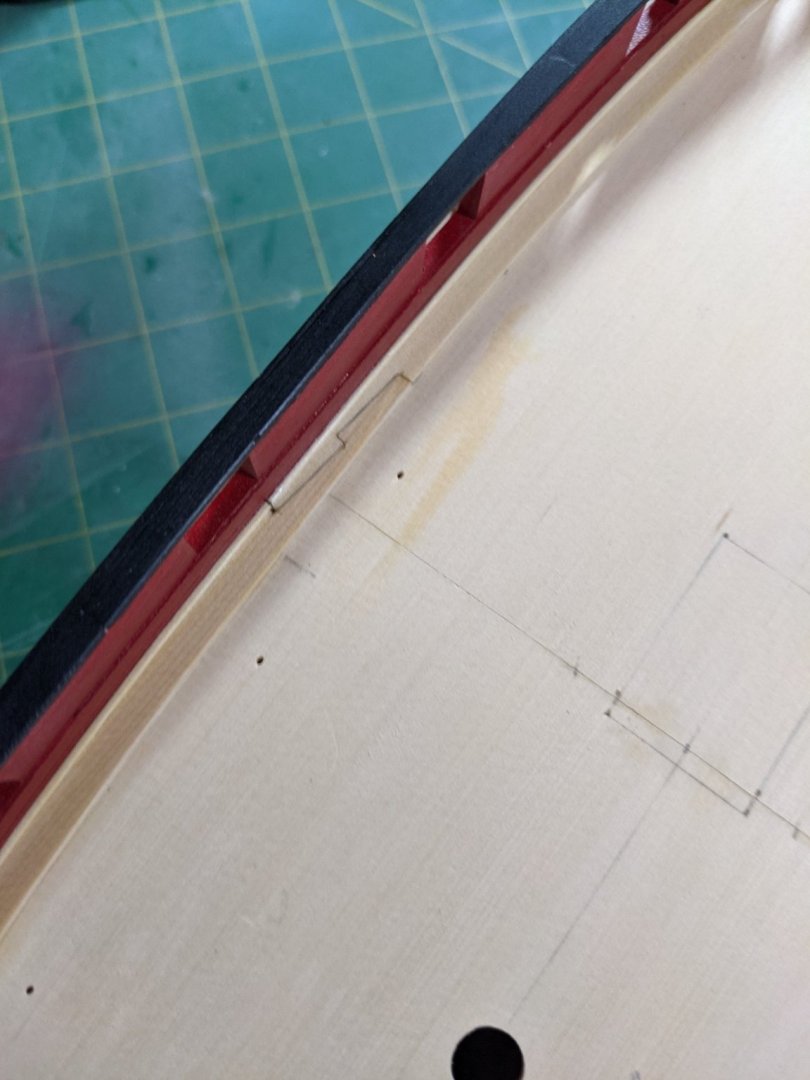
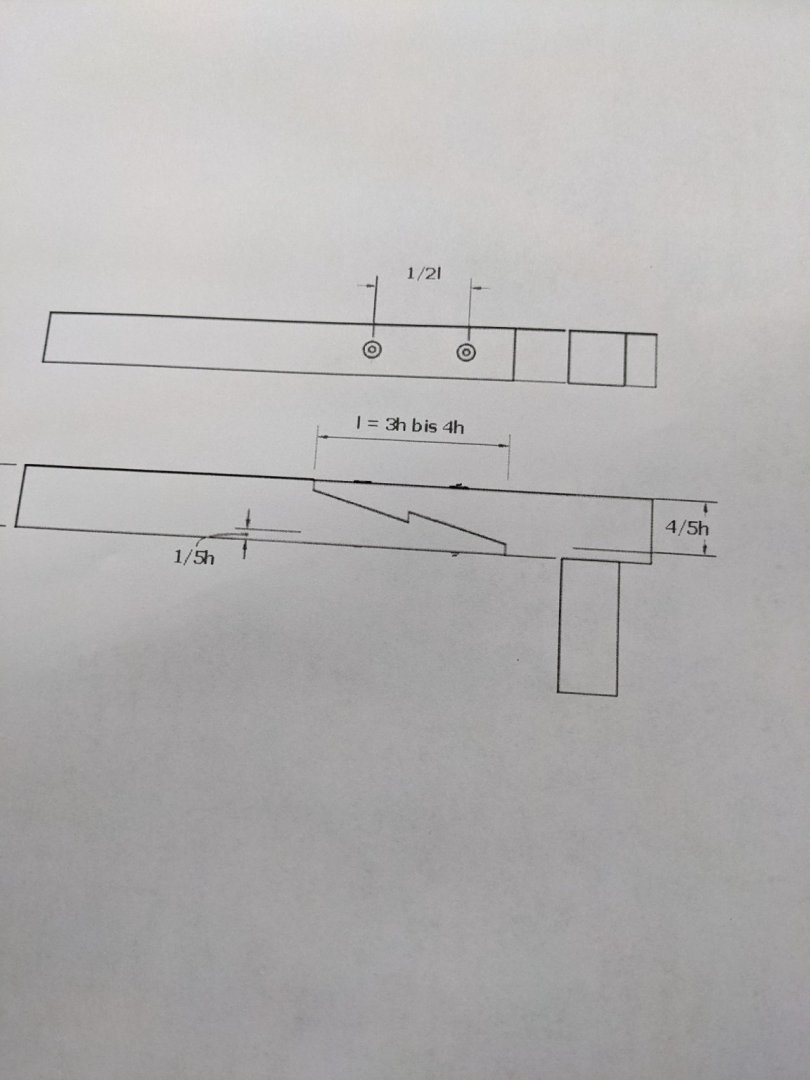
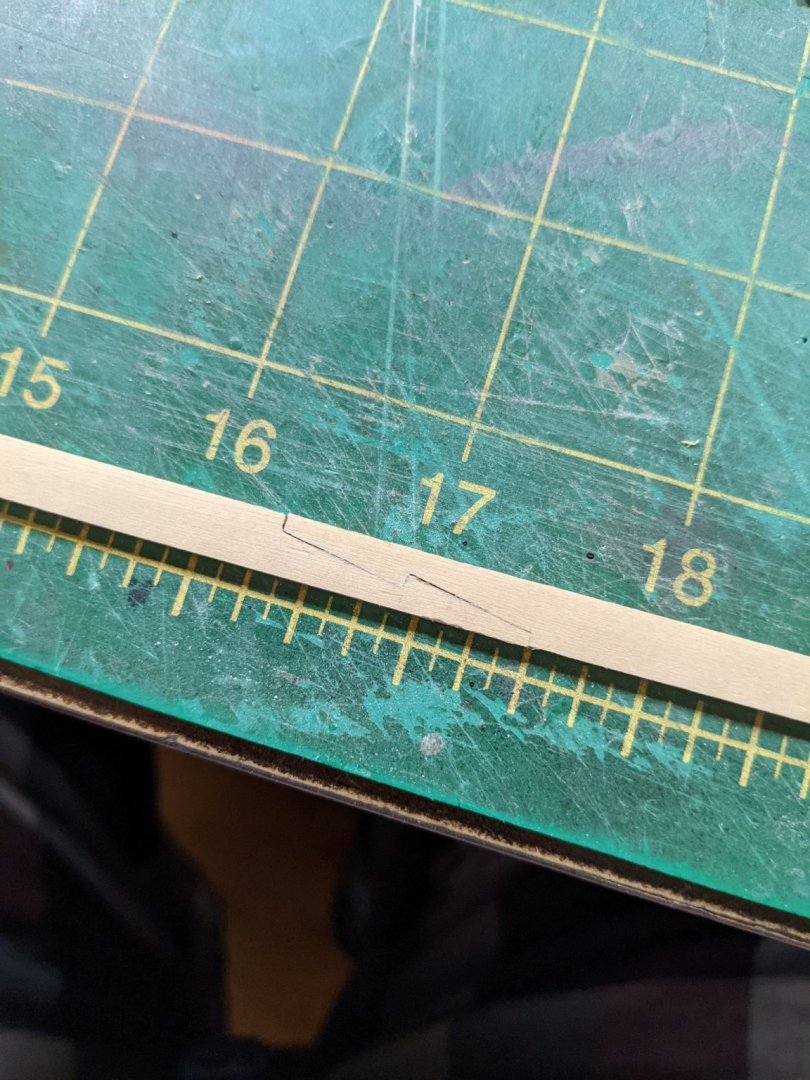
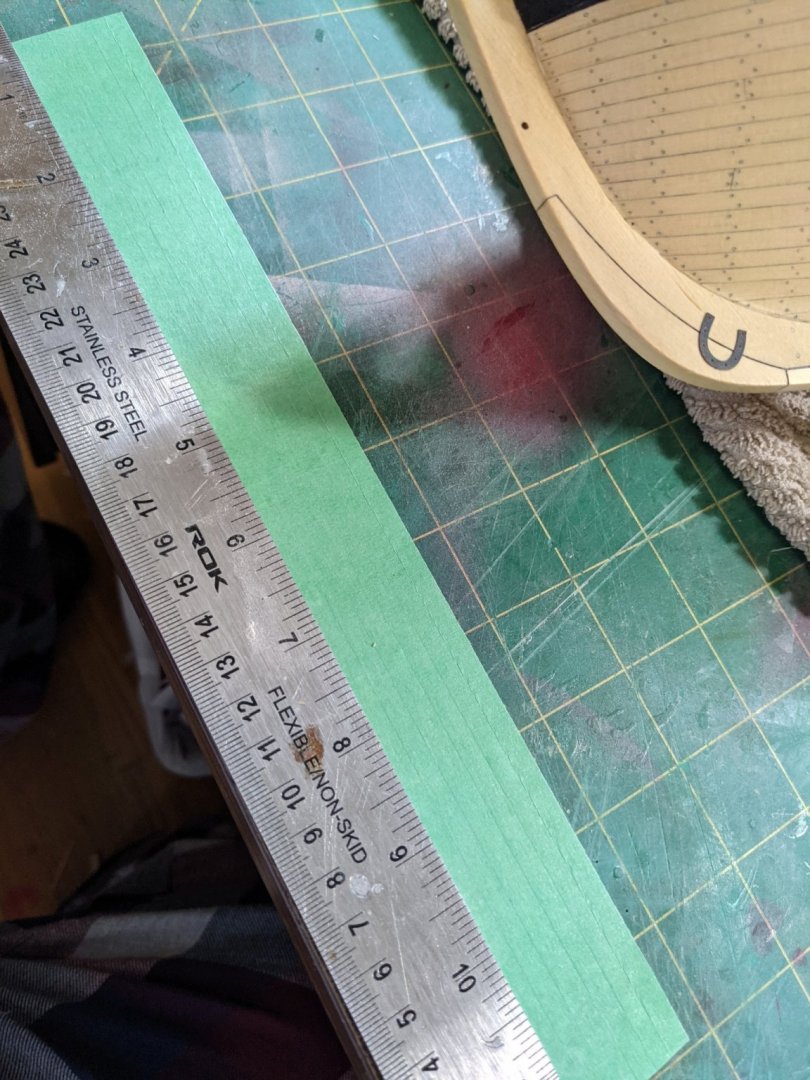
So scarf joints... I tried drawing and cutting about 6 of them and was having a lot of trouble getting them to look good so I did a search and found this drawing which shows how they are made. So what I am doing is from 1/4 inch width making the joint 1 1/8 inch long and the 1/5 w measurement I am doing 1/4w so that dimension is 1/16 of an inch. I draw the two 1/16 inch lines on both sides and then connect them across and then draw the center line at 9/16. Drawing them out and cutting from measurements was easier for my mind to get around them and here is the first result. I did darken the joint with a pencil so I could see how they would look. I hope that makes sense to you all and now I am ready to start cutting and fitting the margin planks out of 1/16 boxwood. I did try to bend some 1/4 wide yellow cedar but it really didn't look good and I will need to make the ones at the bow from the boxwood so I will do the whole margin planks in boxwood. Will be lots of careful cutting involved and I might need to fins a new podcast series to binge on.
- 274 replies
-
- 10
-
-
- Cheerful
- Syren Ship Model Company
- (and 1 more)
-
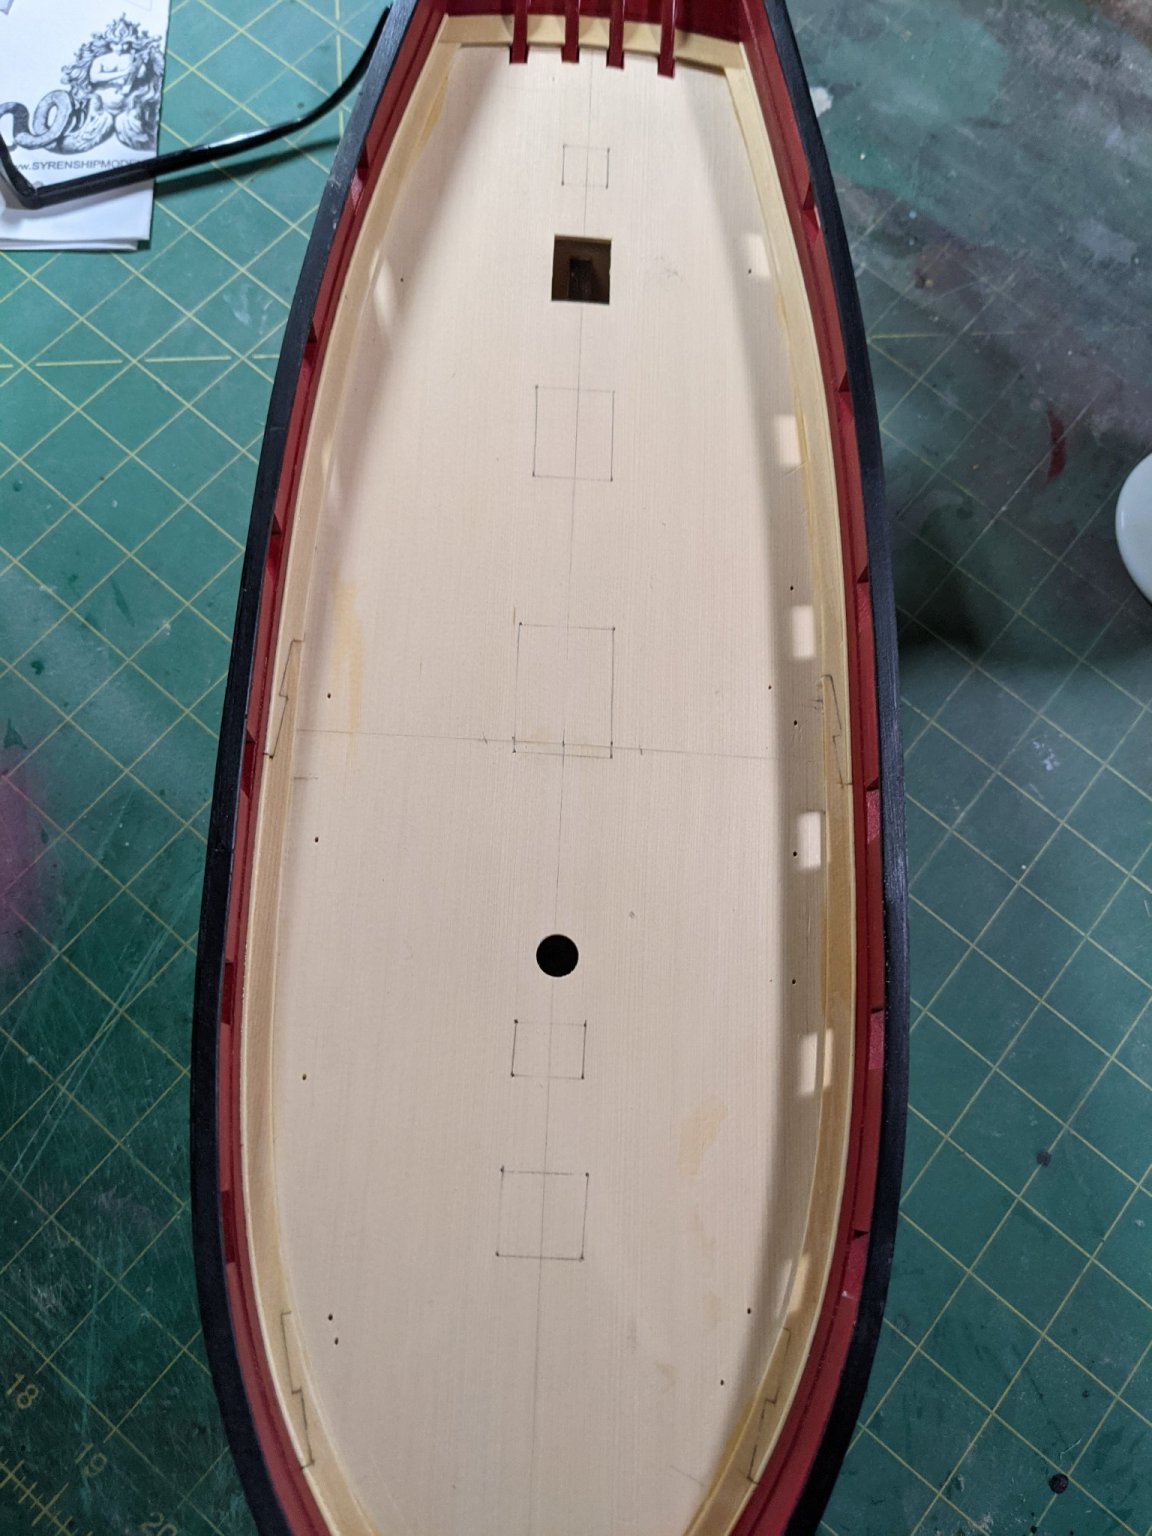
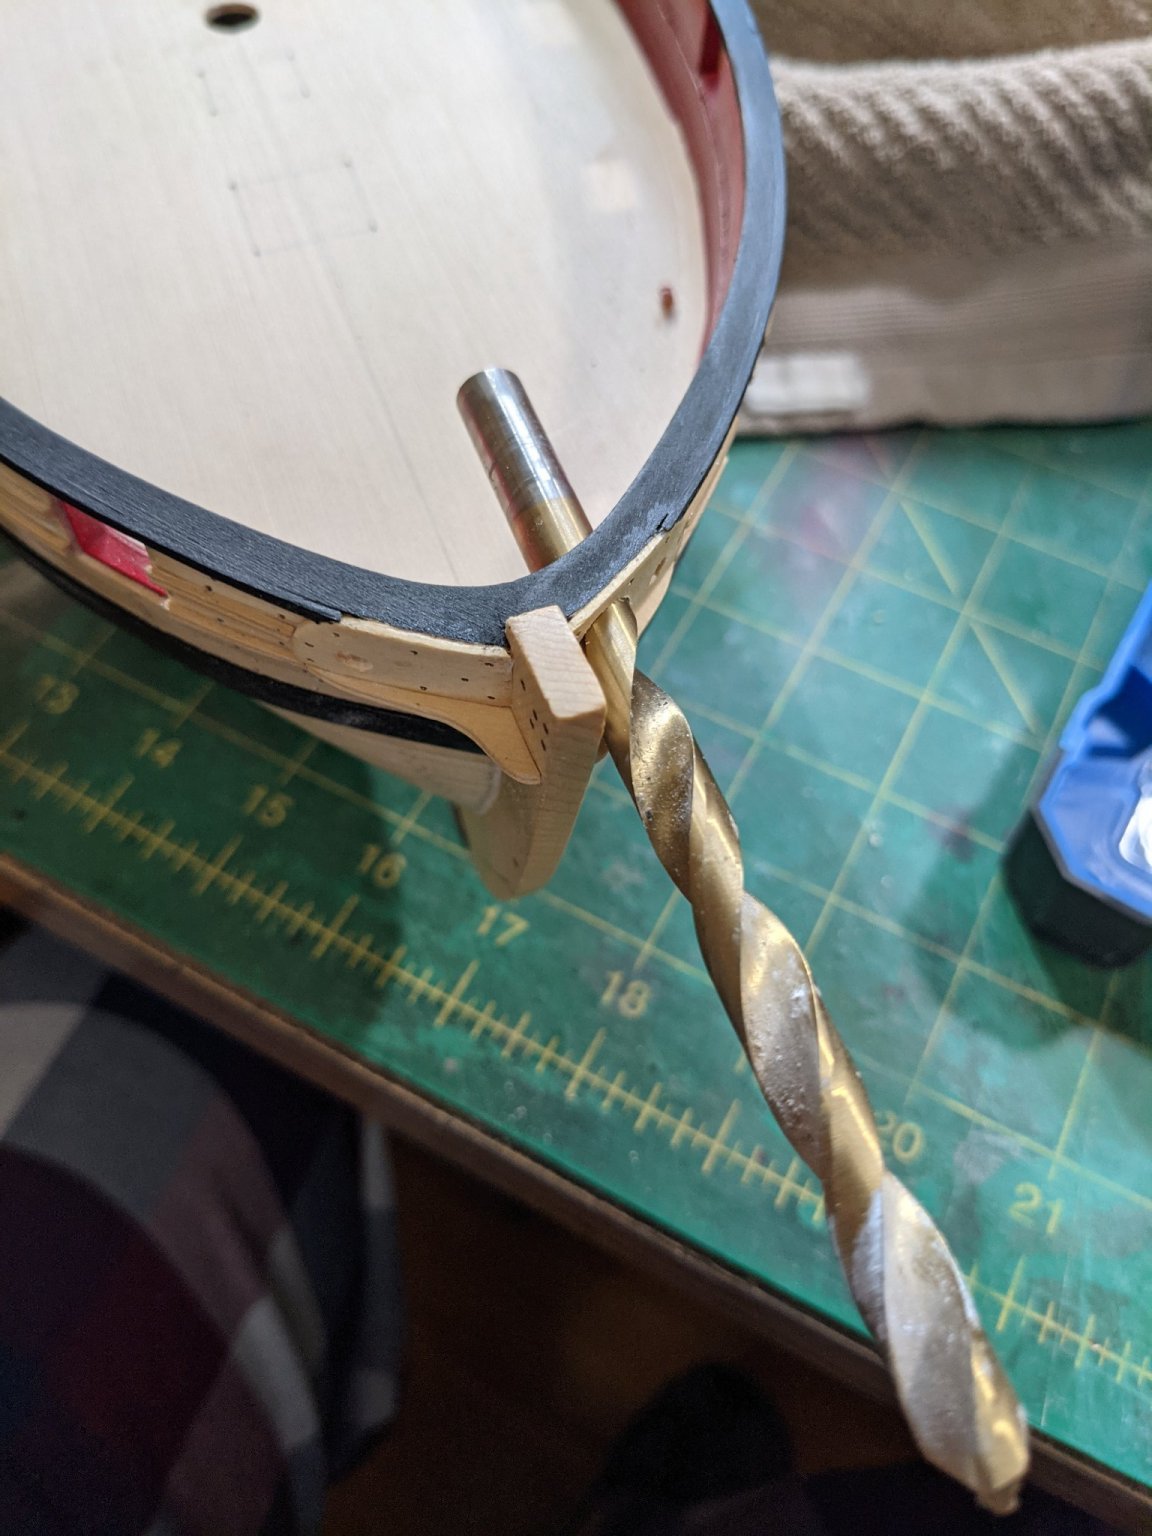
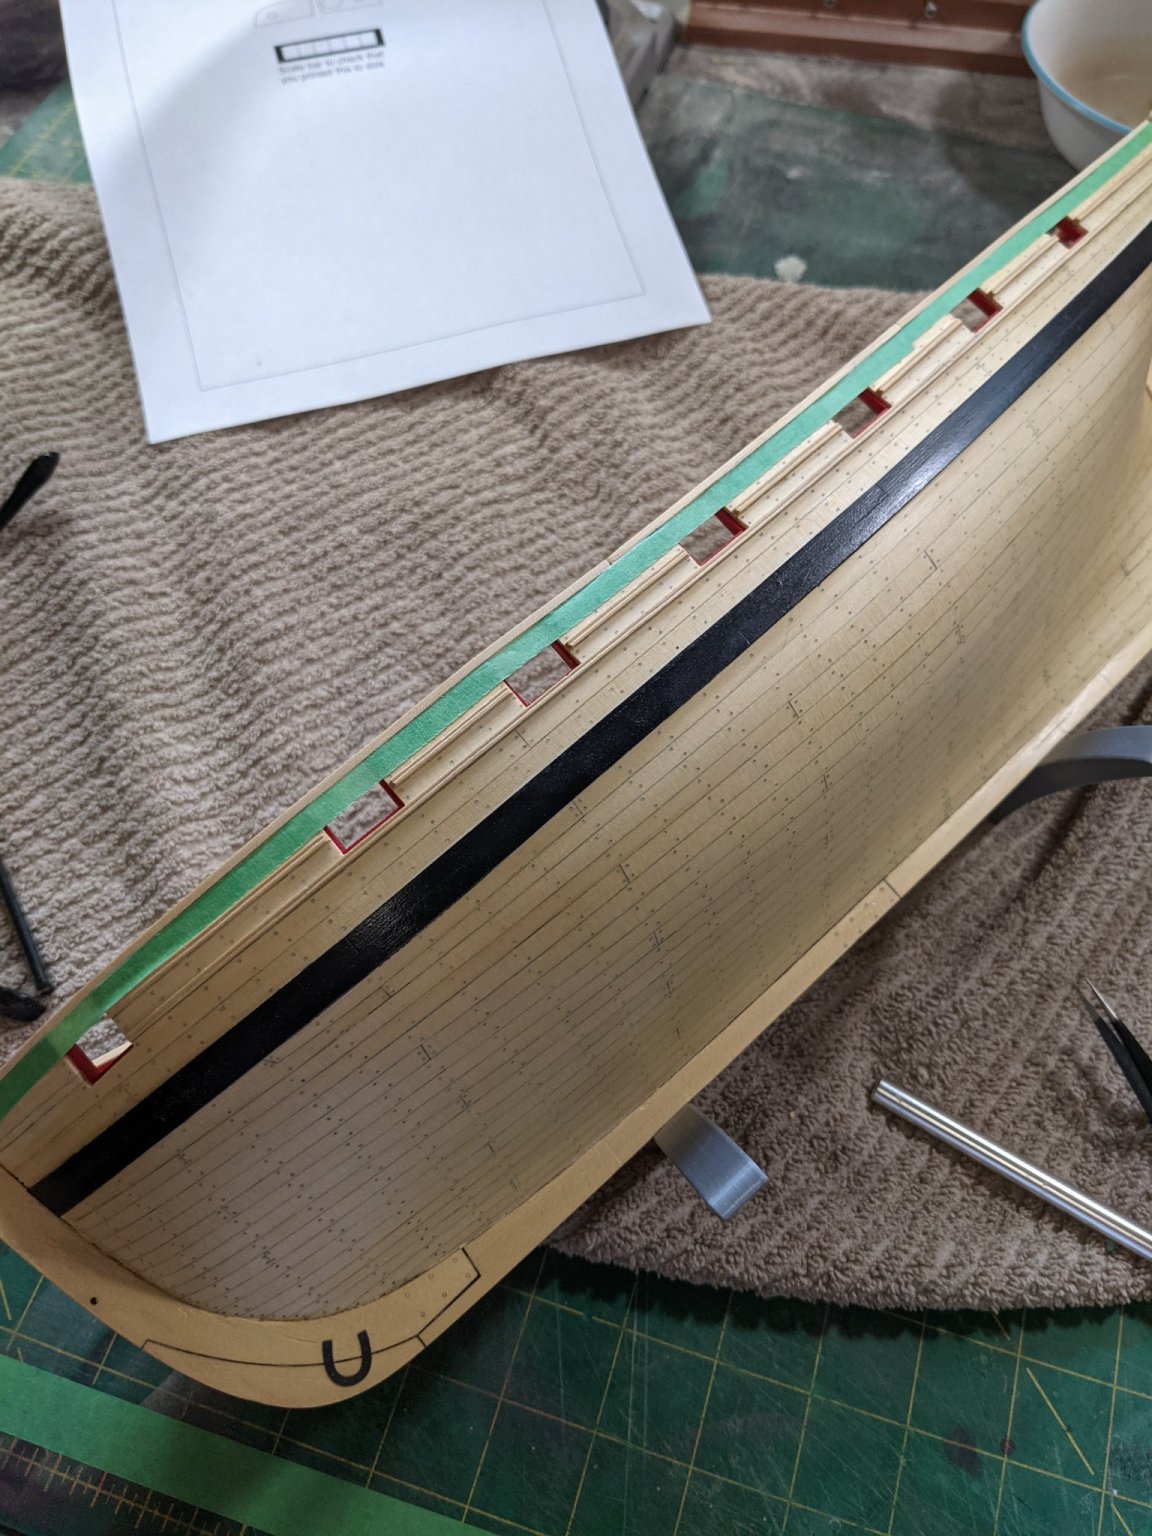
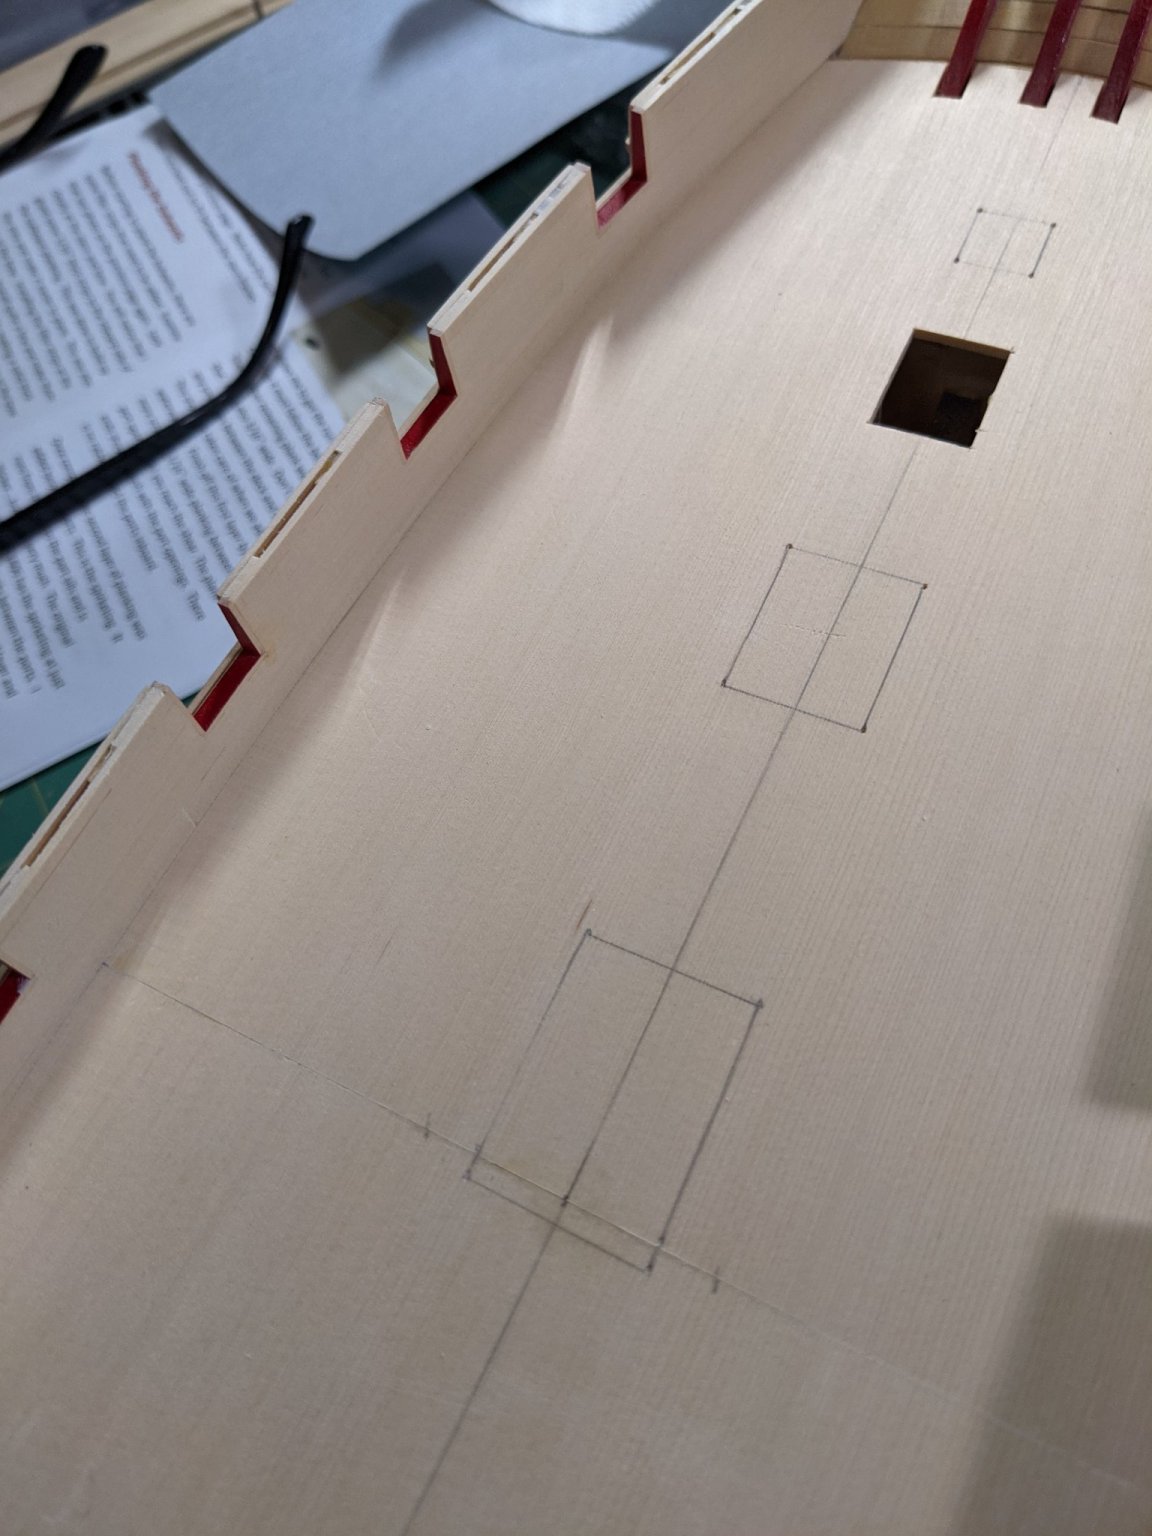
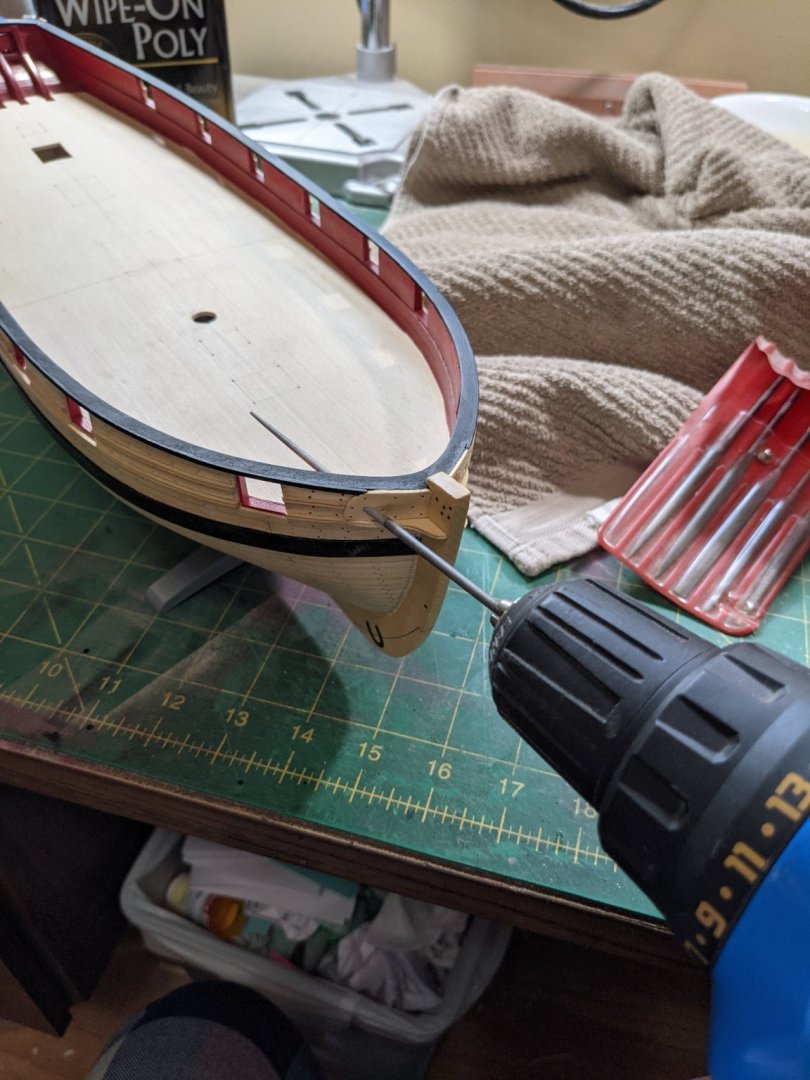
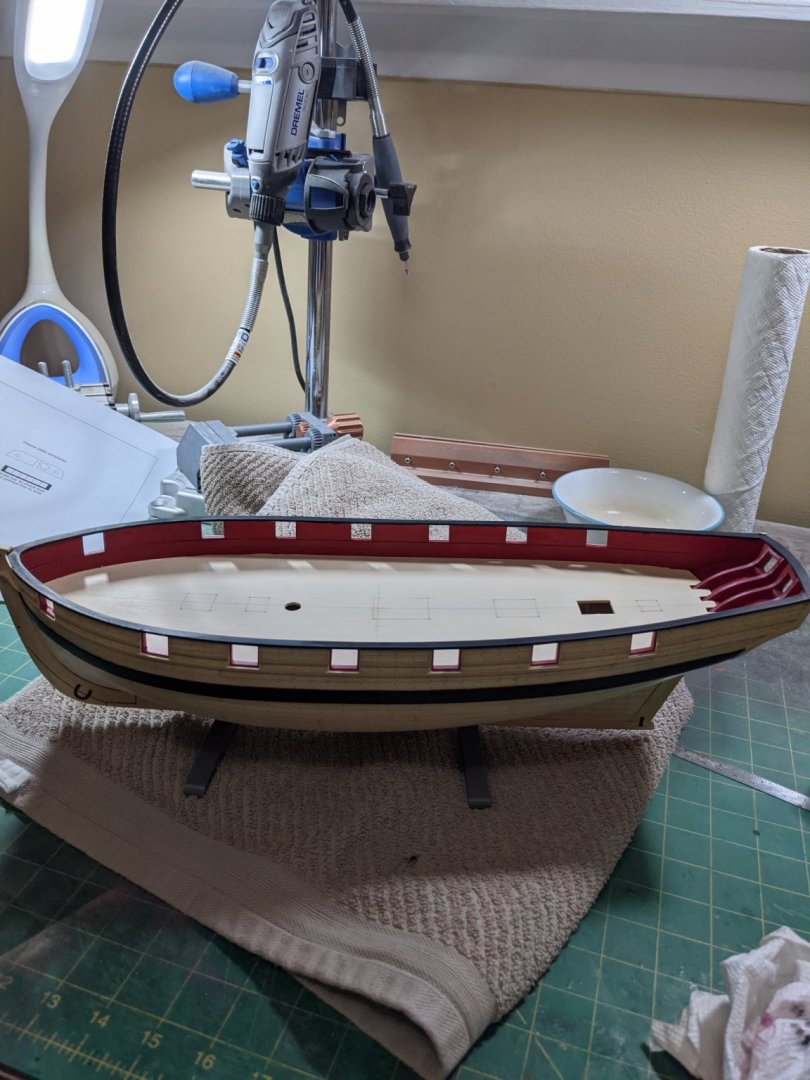
Here is how I did the hawse plate holes. I first made a starter hole with a tapered diamond bit in the Dremel and realized there would be no way to make the hole round with that. I measured what the hole should be and the front boom is 5/16. I have a 1/4 round file and although it was course I gently ran in back and forth so as not to take too much at once and chip everything and kepr light pressure. I made the hole nice and round and used a 5/16 drill bit to make sure it fit and was lined up properly. For the smaller holes I chucked a round needle file in the drill and ran it reversed so as not to grab hold and this made the holes easy to do. Here is what everything looks like so far and am ready to move on to deck planking.


- 274 replies
-
- 13
-
-
- Cheerful
- Syren Ship Model Company
- (and 1 more)
-
Going to follow along. Looks like you have a nicely equipped shop.
-
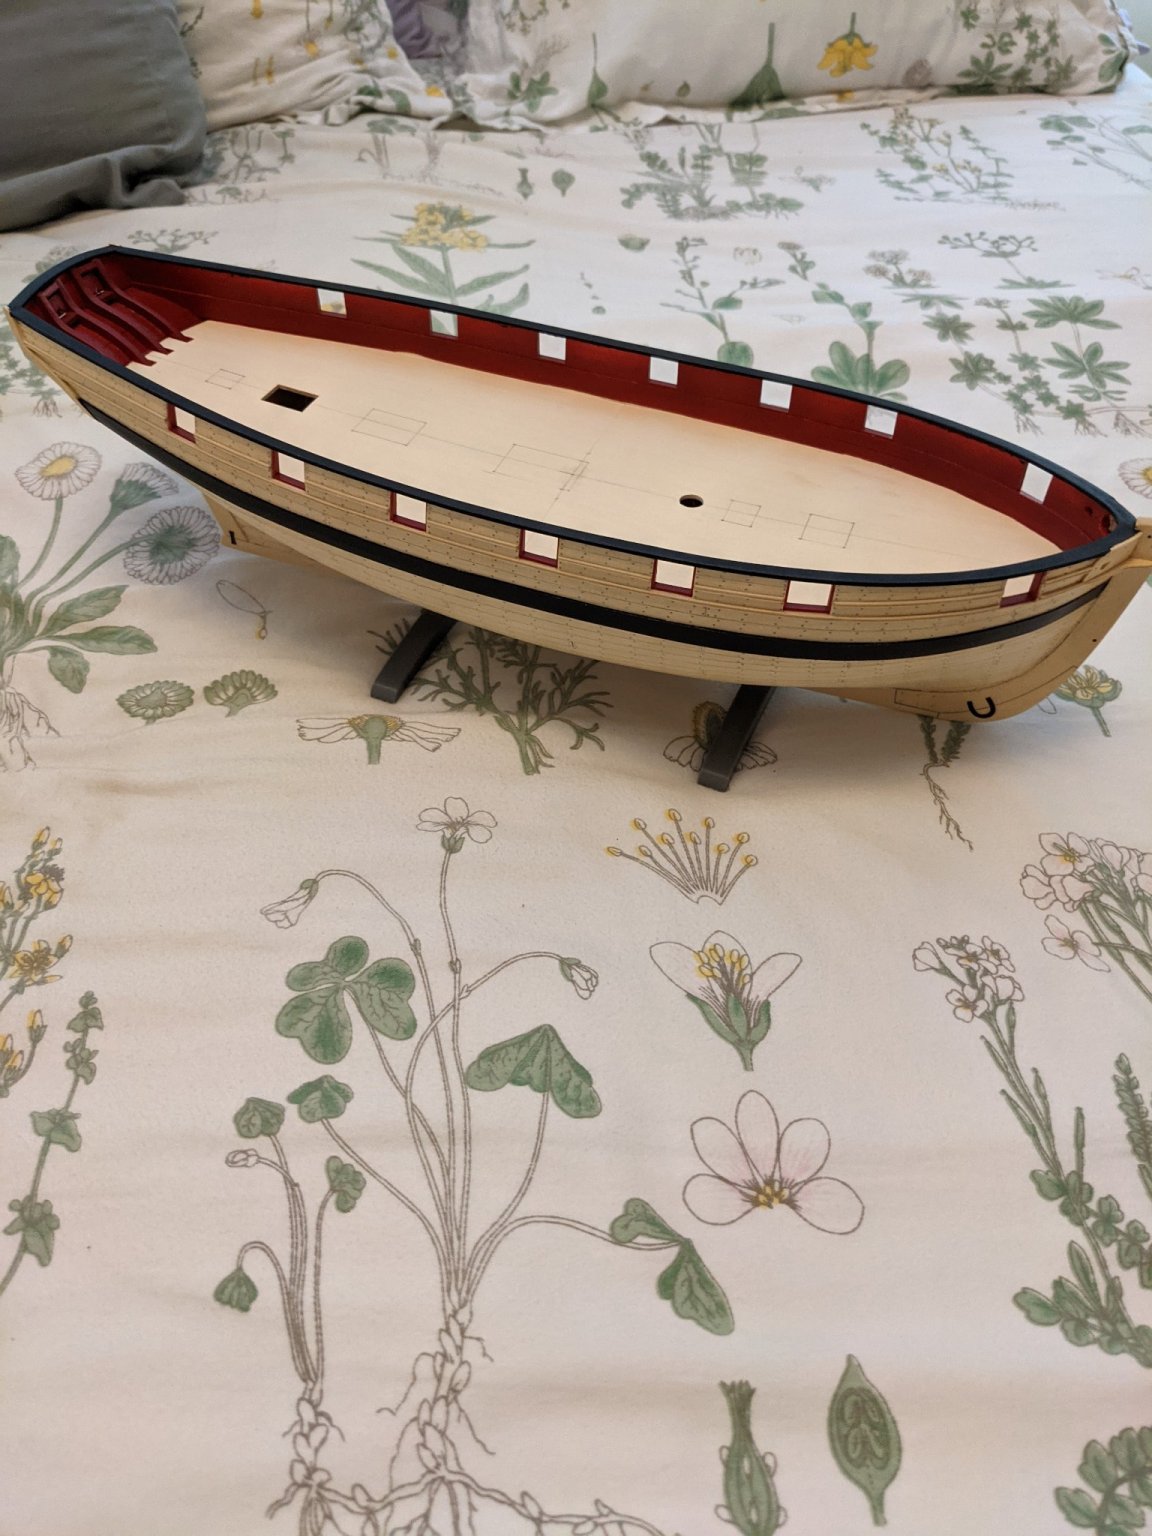
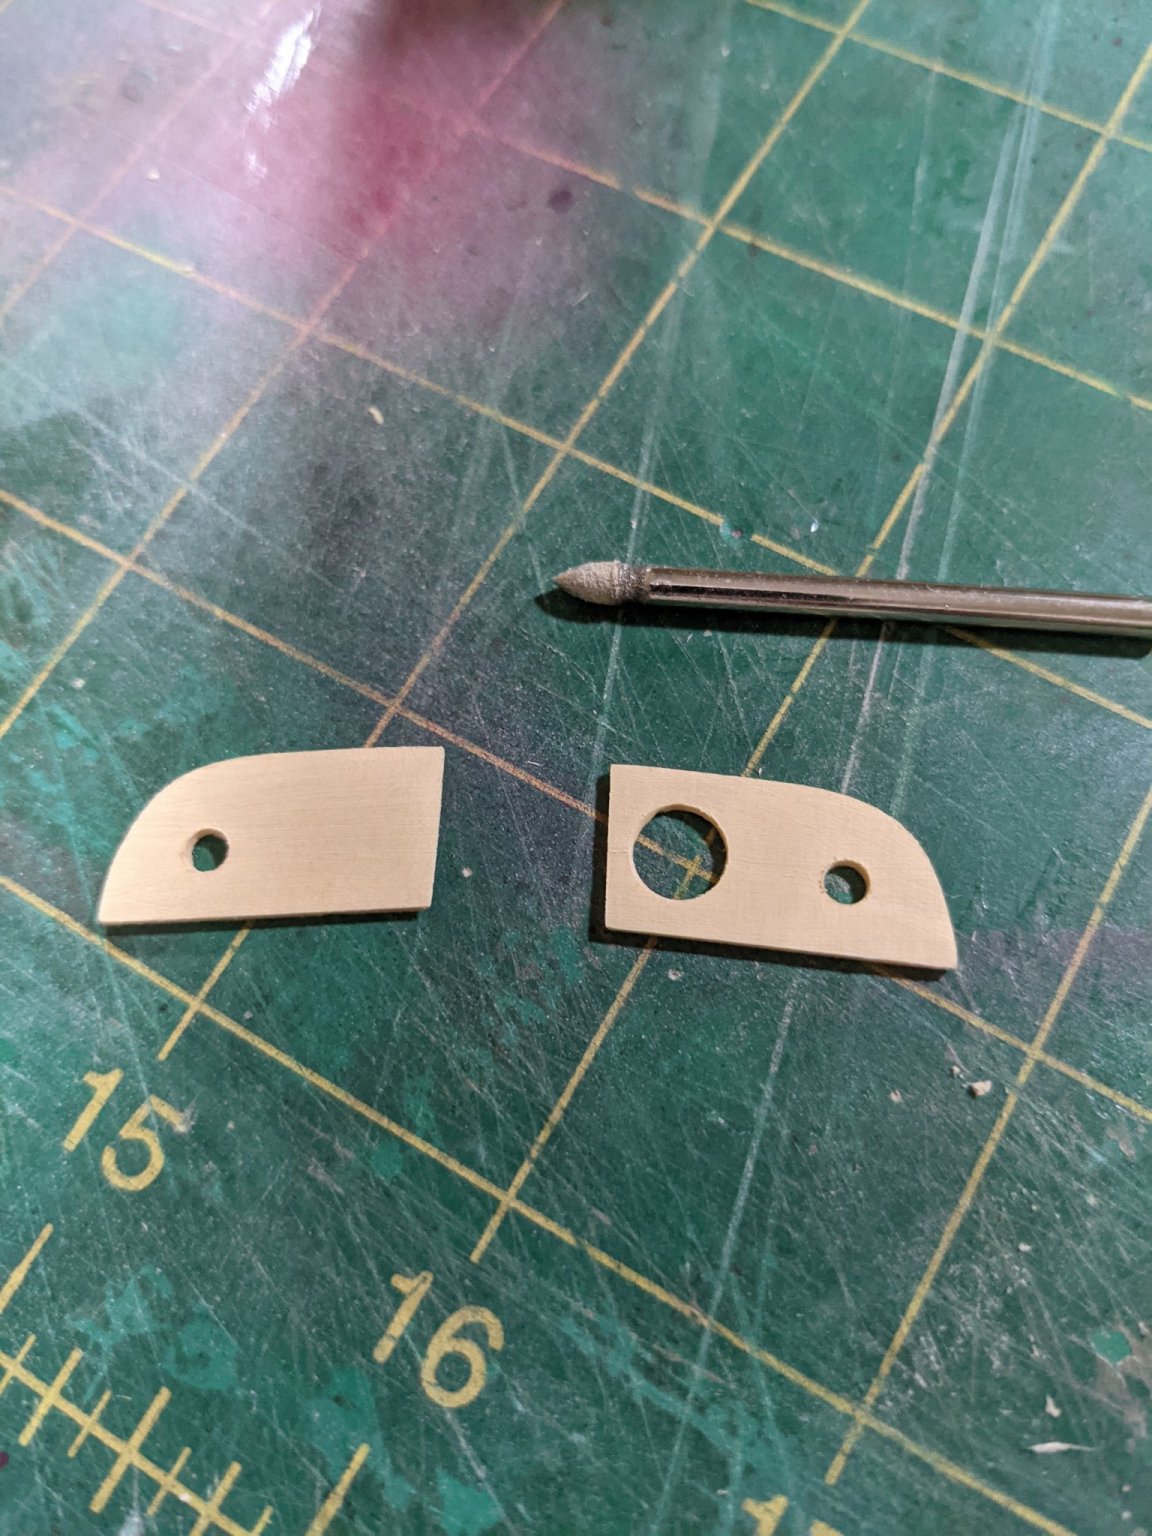
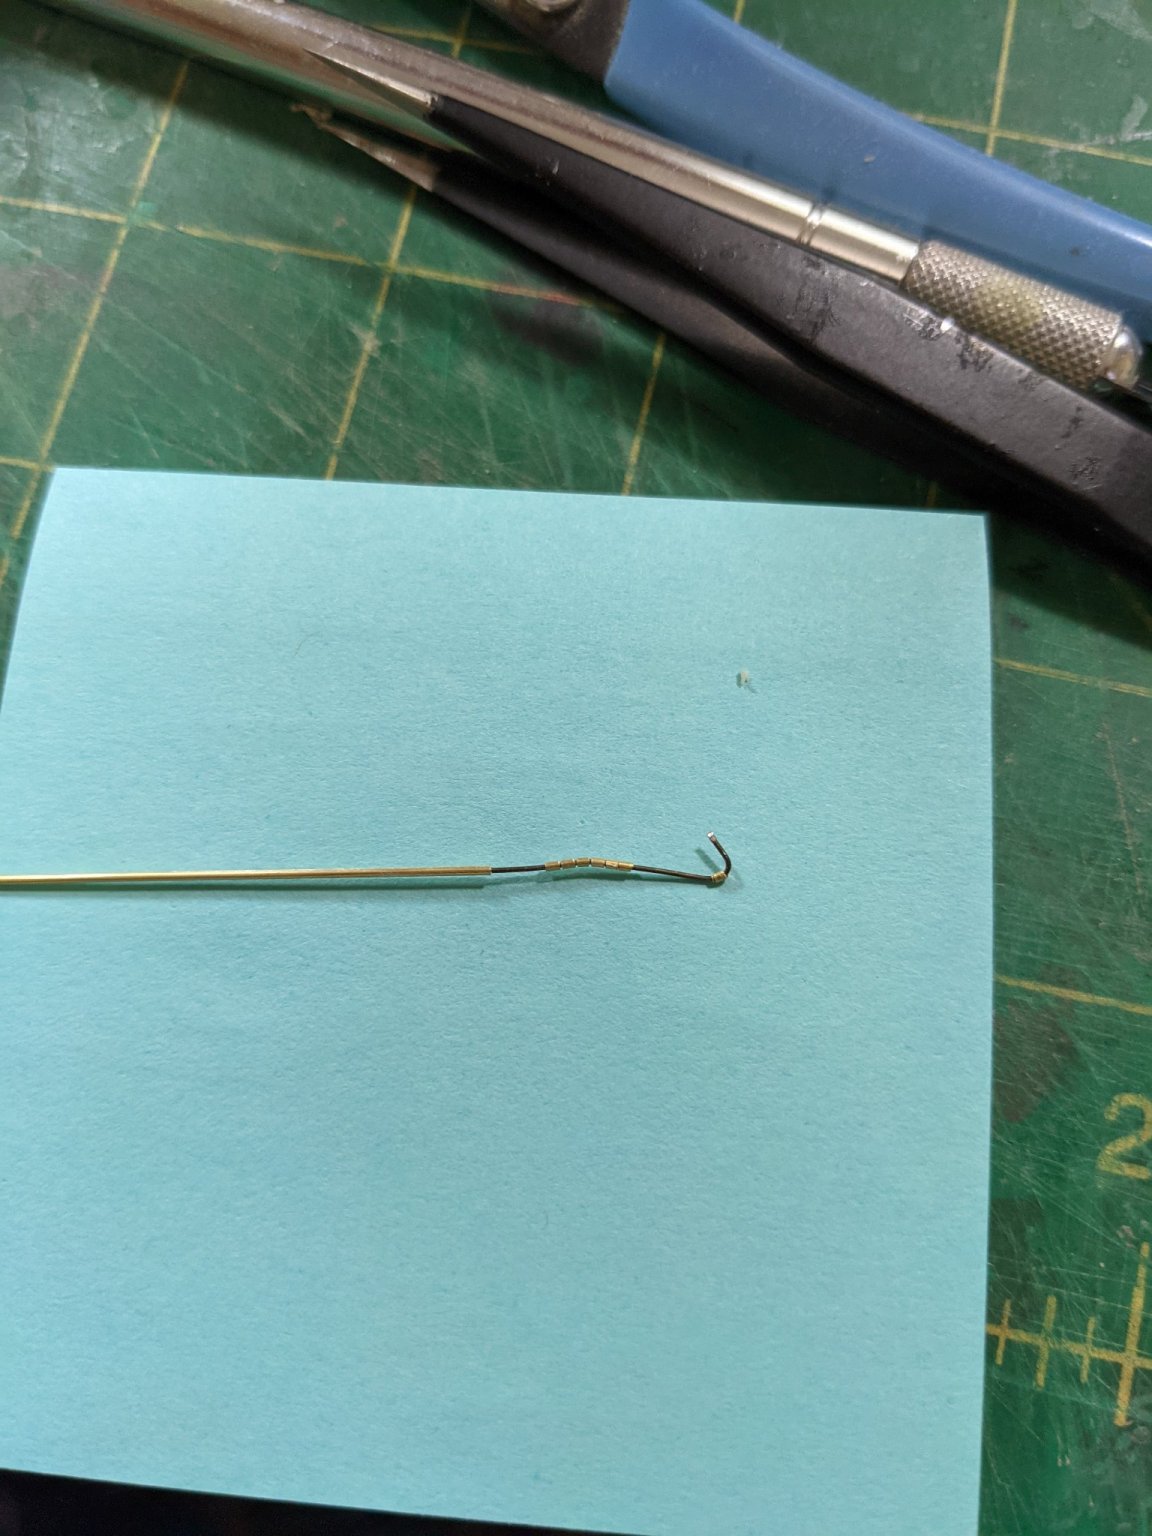
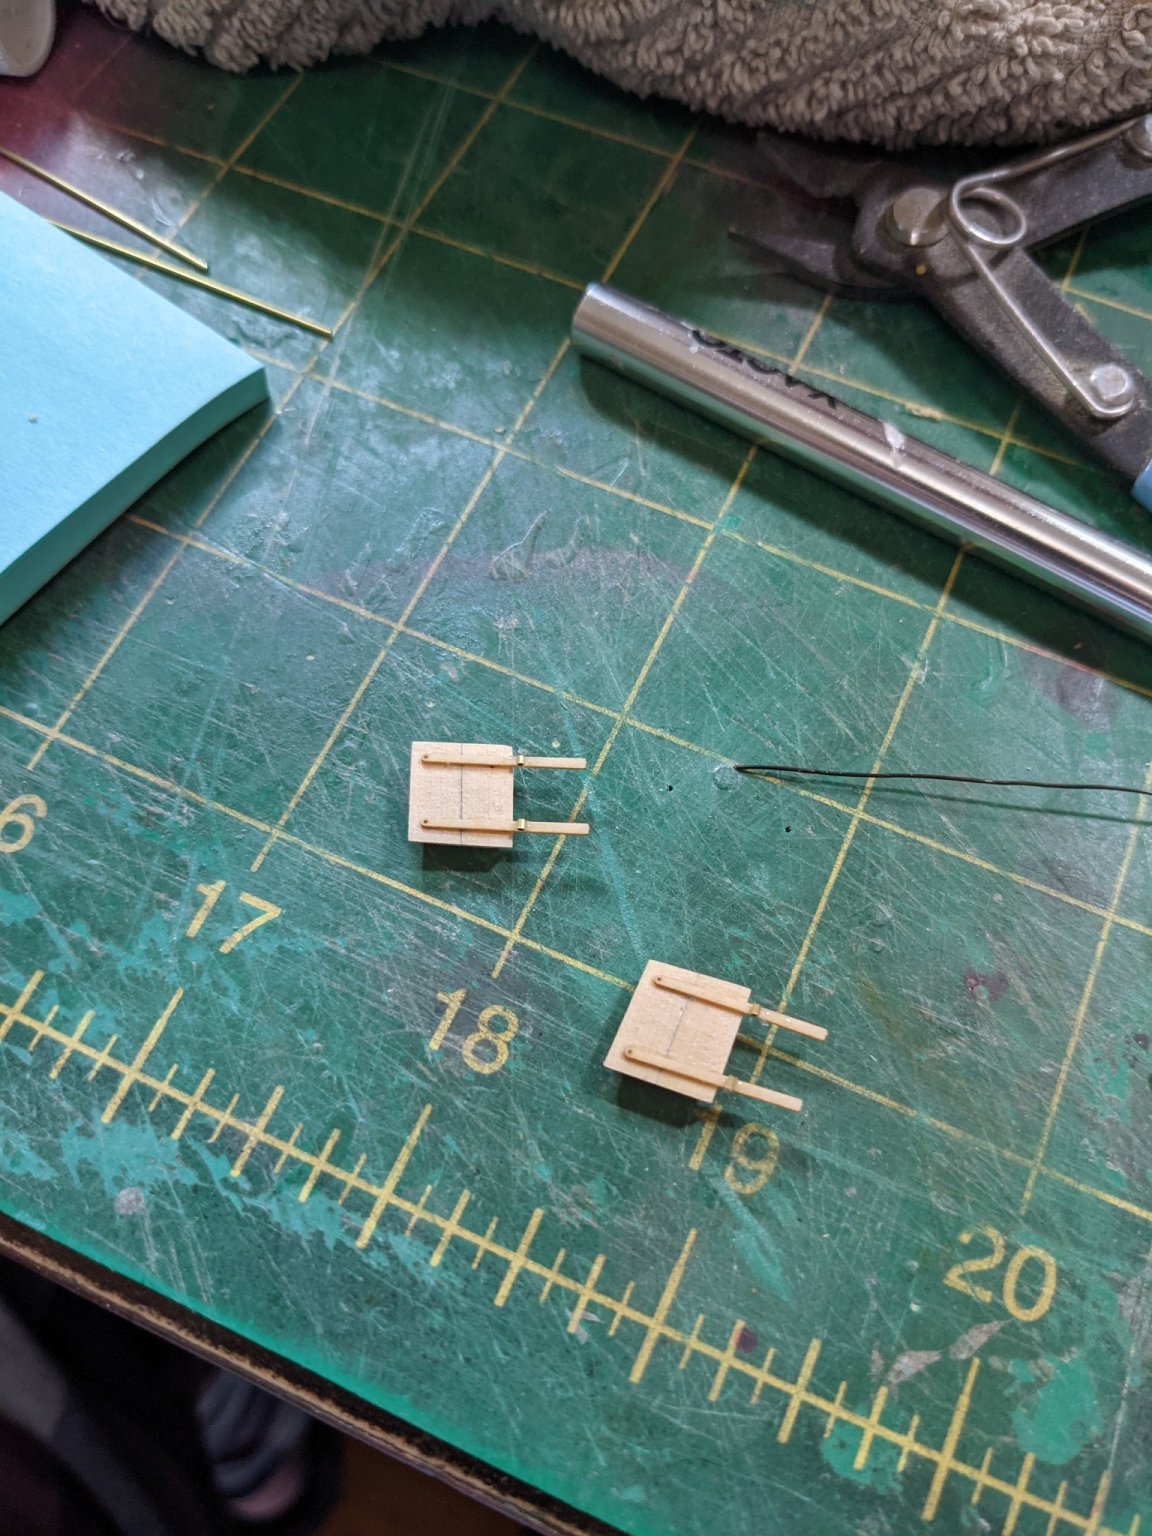
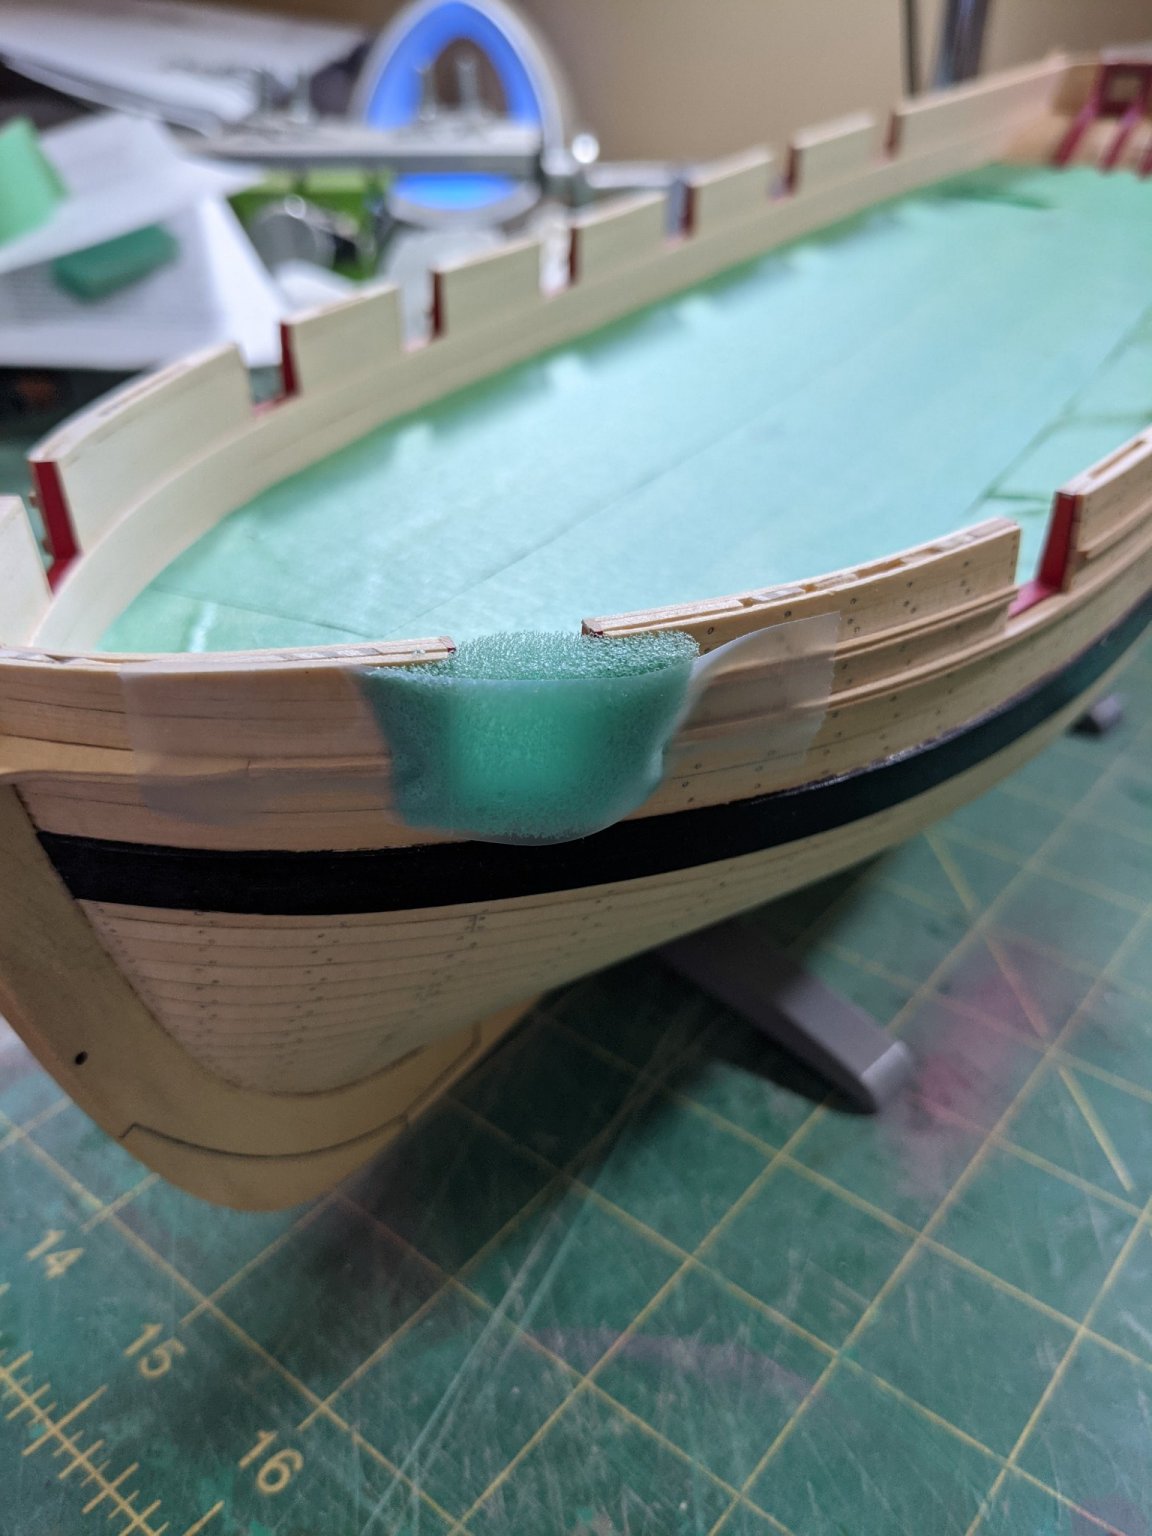
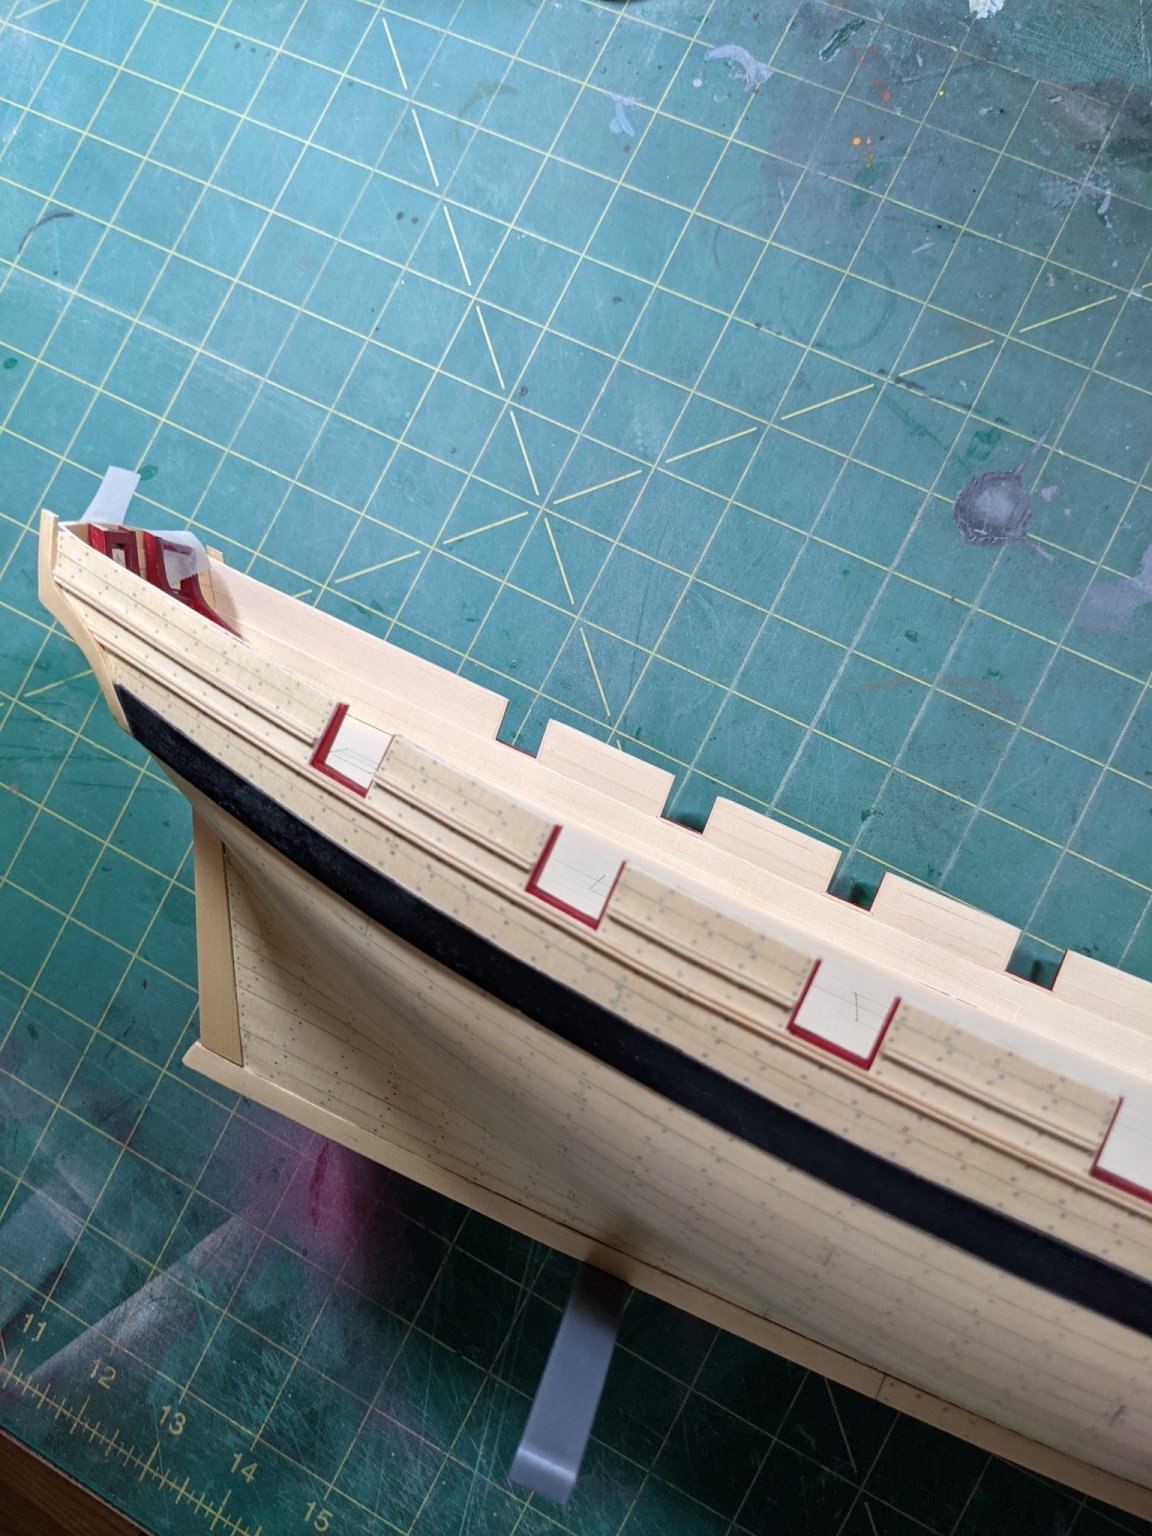
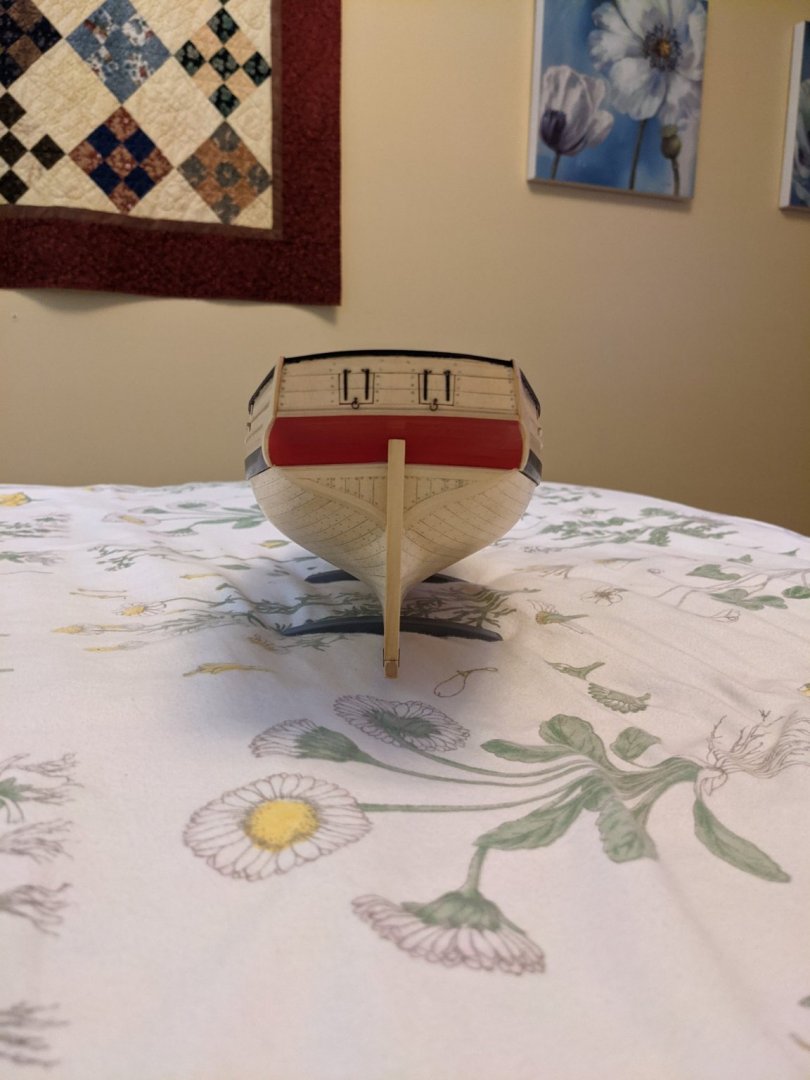
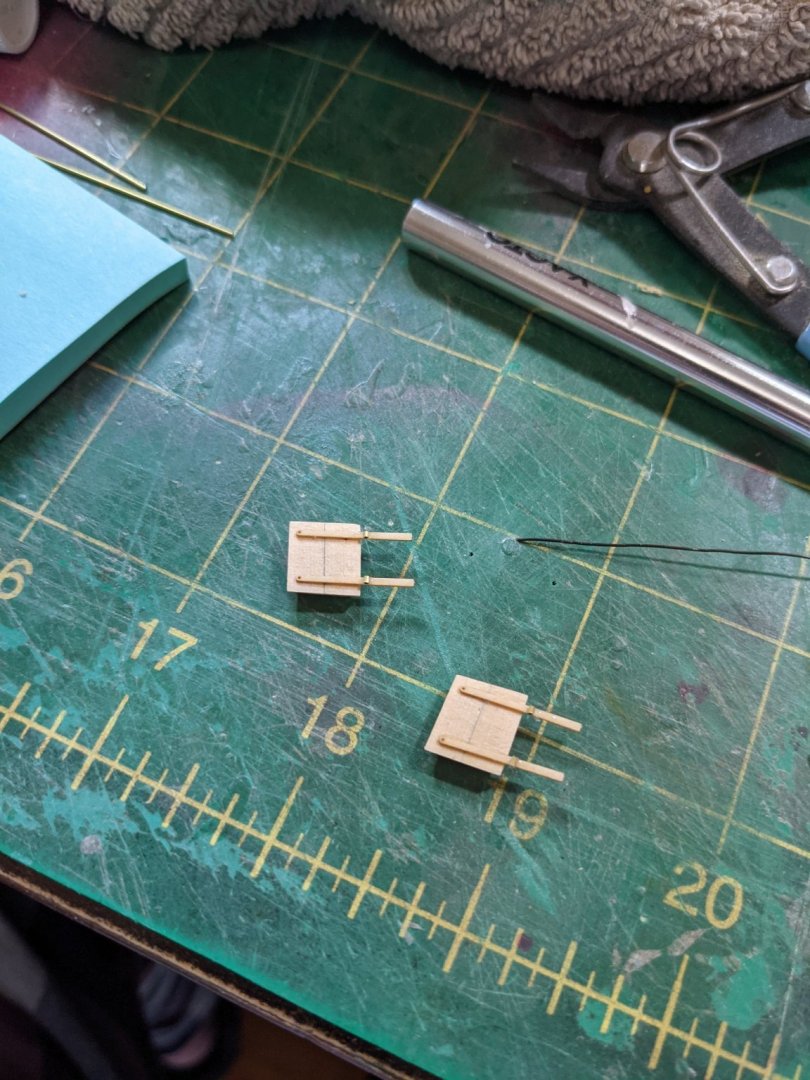
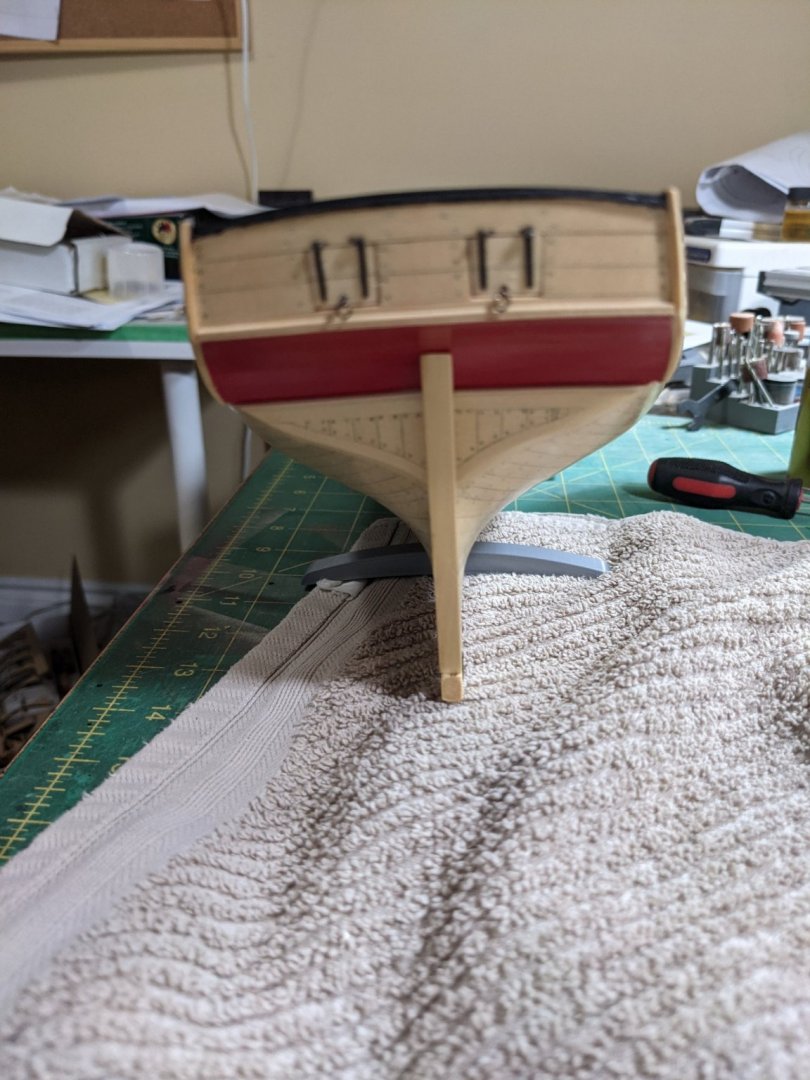
So getting back to the build I made the hawse plates. Only had to adjust the bottomg of the templates about 1/32 to fit good on mine. In order to sand down the cap rail to the hull and not mess up the paint job I cut up some strips of masking tape and the placed them so I could sand to the tape. This works well as you can see when you get to the tape and not gouge out the hull by mistakes. I decided to paint the cap rail by brush and mixed the paint 50-50 paint to thinner and it came out real well with 3 thin coats. Since the mini kits came in I made the hinges up for the rear gun port doors. Not following the instructions I glued the plates before painting. Then I roughed up the tubing with 600 grit paper and cut them out as the instructions say. And I didn't even loose one of the brass tubing pieces even though they were really small. Glued them onto the hinge plates and then cut the plates to size. Now my luck ran out when trying to place the hatches in place as I probably lost more of the L shaped pieces than I care to count but once I focused my eyes and calmed my nerves I got them put in place. Such little detail sure makes a difference. (wow that pic is out of focus) I also made up the eyelets for the outside and inside of the hatches. Just a few paint touch ups and the have to make the holes for the hawse plates. I want to check everything over before I start on the deck planking and you can see I am using a towel to as not to scratch up the paint any more.


- 274 replies
-
- 10
-
-

-
- Cheerful
- Syren Ship Model Company
- (and 1 more)
-
That is really something you can be proud of Glenn. Nice build!
-
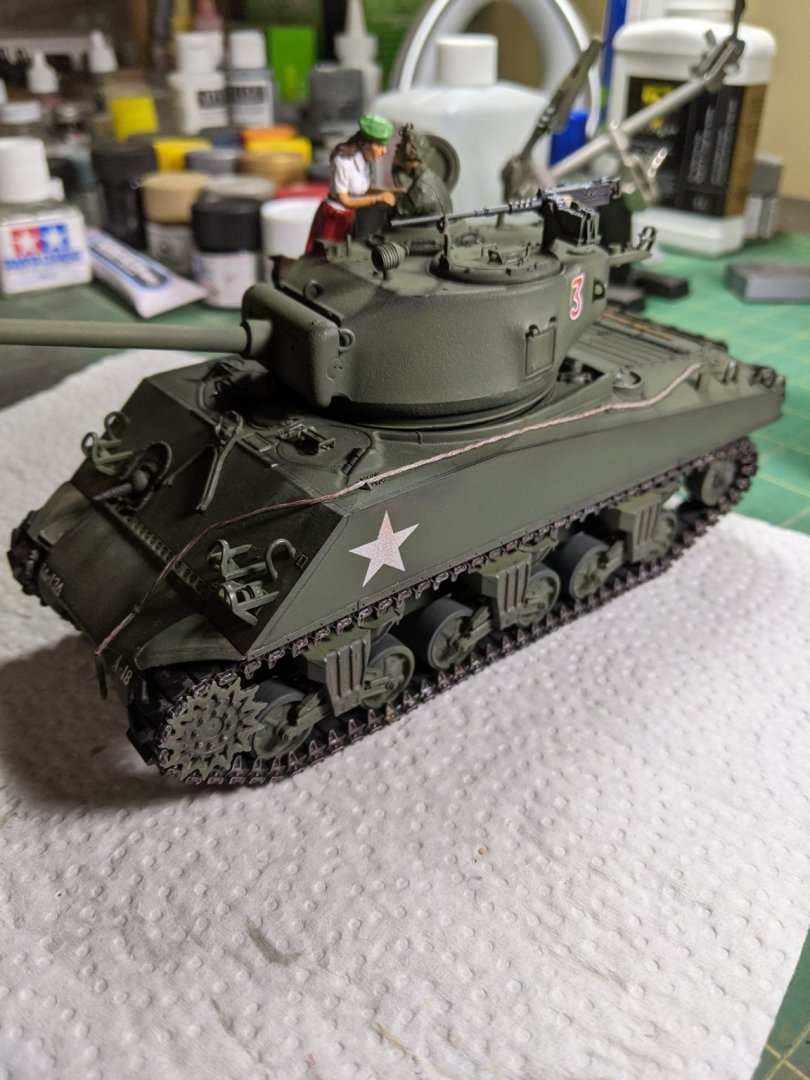
Yes I have done a lot of R/C aircraft in the years and also some military modeling. Here is a shot of the Sherman Victory Kiss model I did before I switched to ships. And here is a Slow Poke I built from a kit. It is electric powered and had a dummy 3d printed engine. The foam is about 1/4 inch thick and just what I had on hand.

- 274 replies
-
- 6
-
-
-
- Cheerful
- Syren Ship Model Company
- (and 1 more)
-
Yes I live in the north end of Barrie and we didn't have any hard weather here. Thanks for the concern.
- 274 replies
-
- 1
-
-
- Cheerful
- Syren Ship Model Company
- (and 1 more)
-
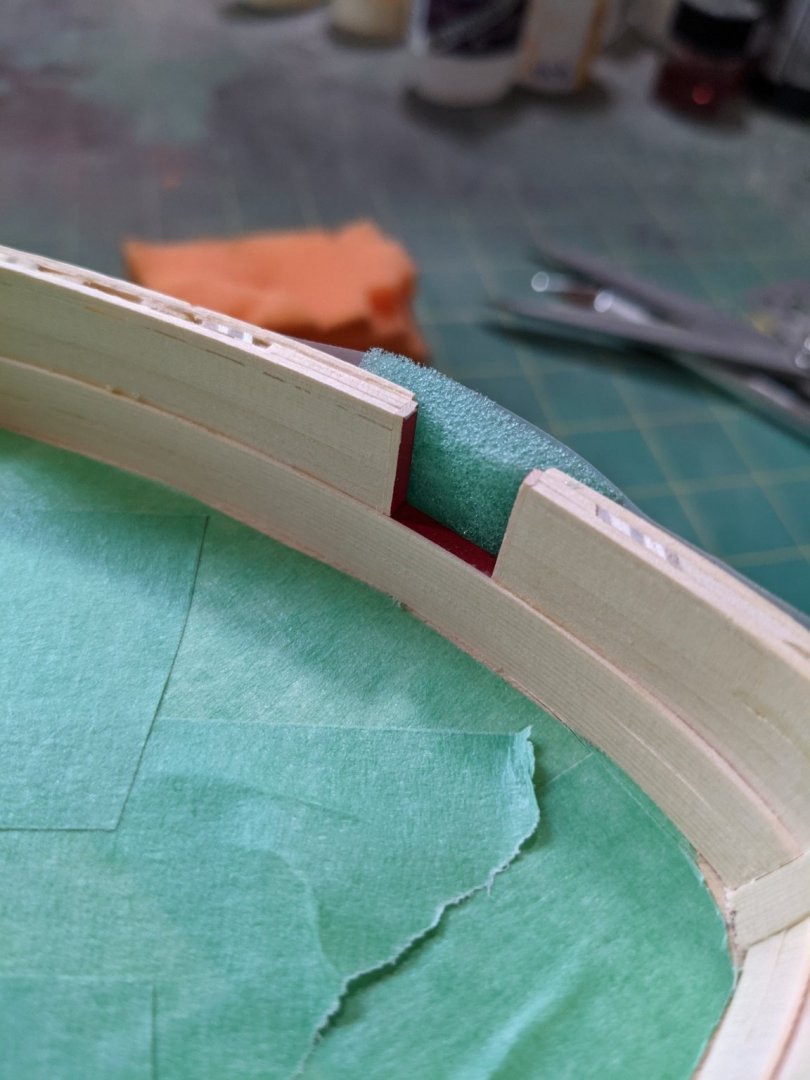
Thanks for the comments and likes. Here is how I mask off the gun ports. Take a piece of foam and tape it to the outside. It will form into the hole and mask it pretty well. This is what the aircraft modelers do for their cockpits. After masking out everything I sprayed 3 coats of the red and didn't use primer this time and it covered well.

- 274 replies
-
- 12
-
-
- Cheerful
- Syren Ship Model Company
- (and 1 more)
-
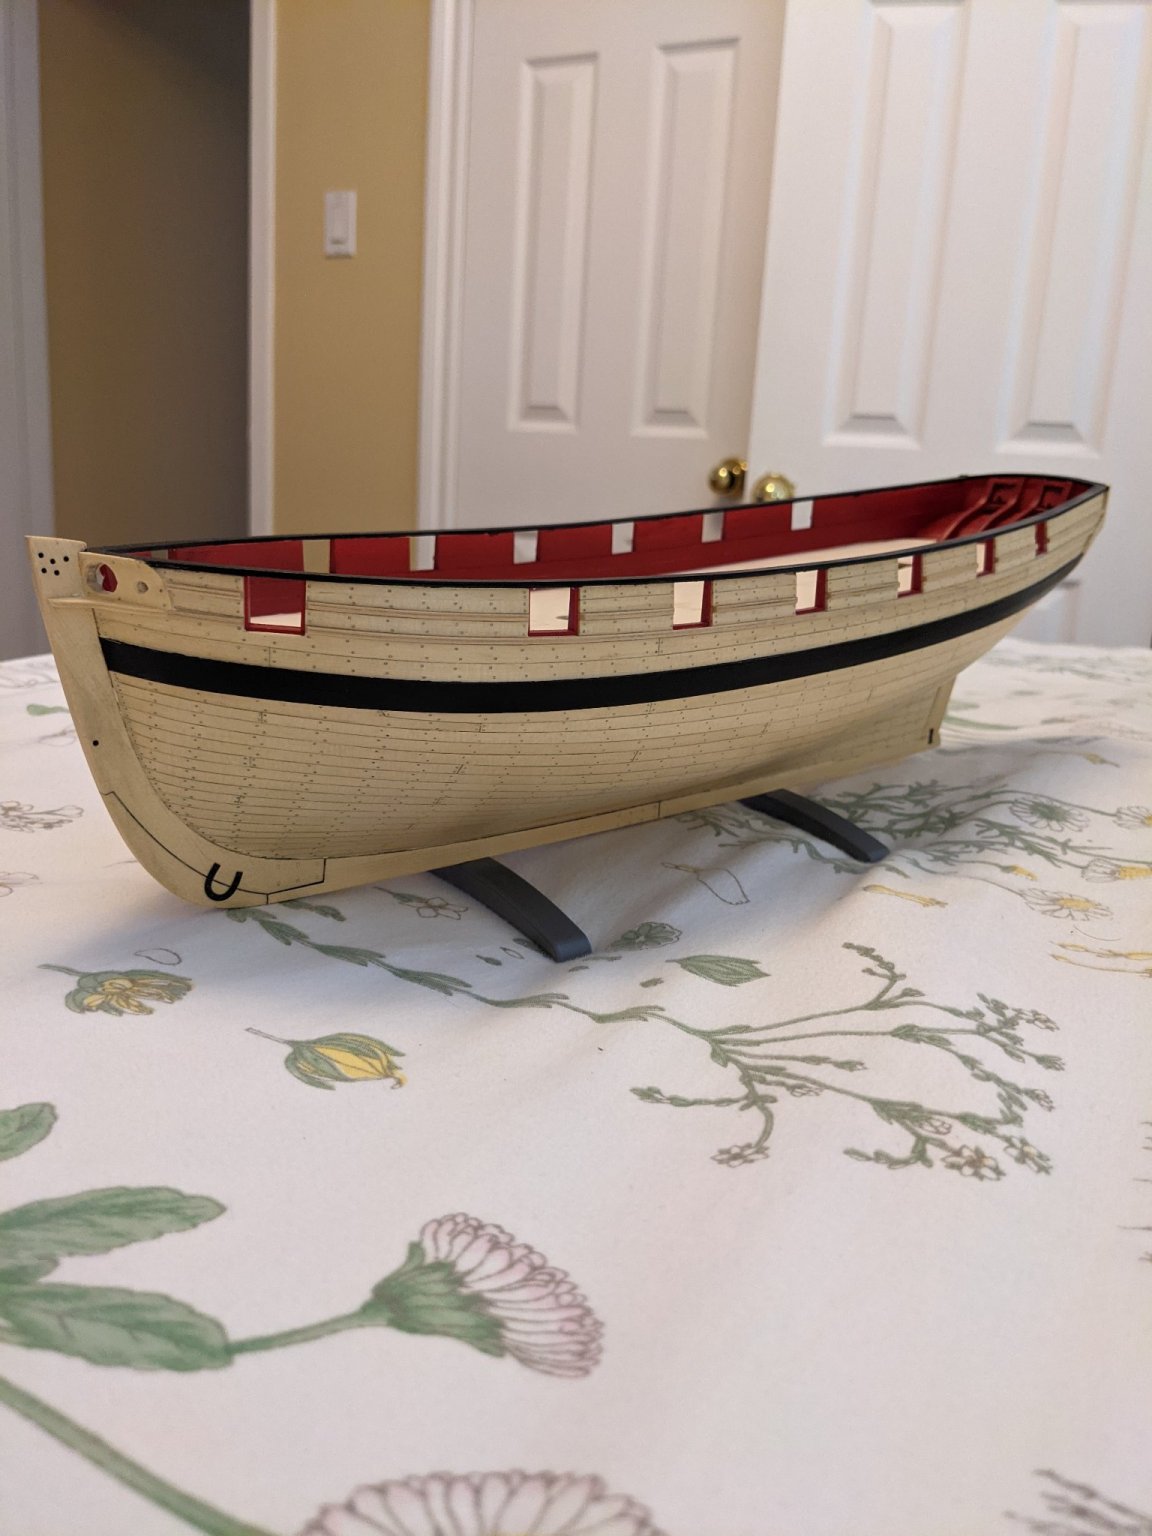
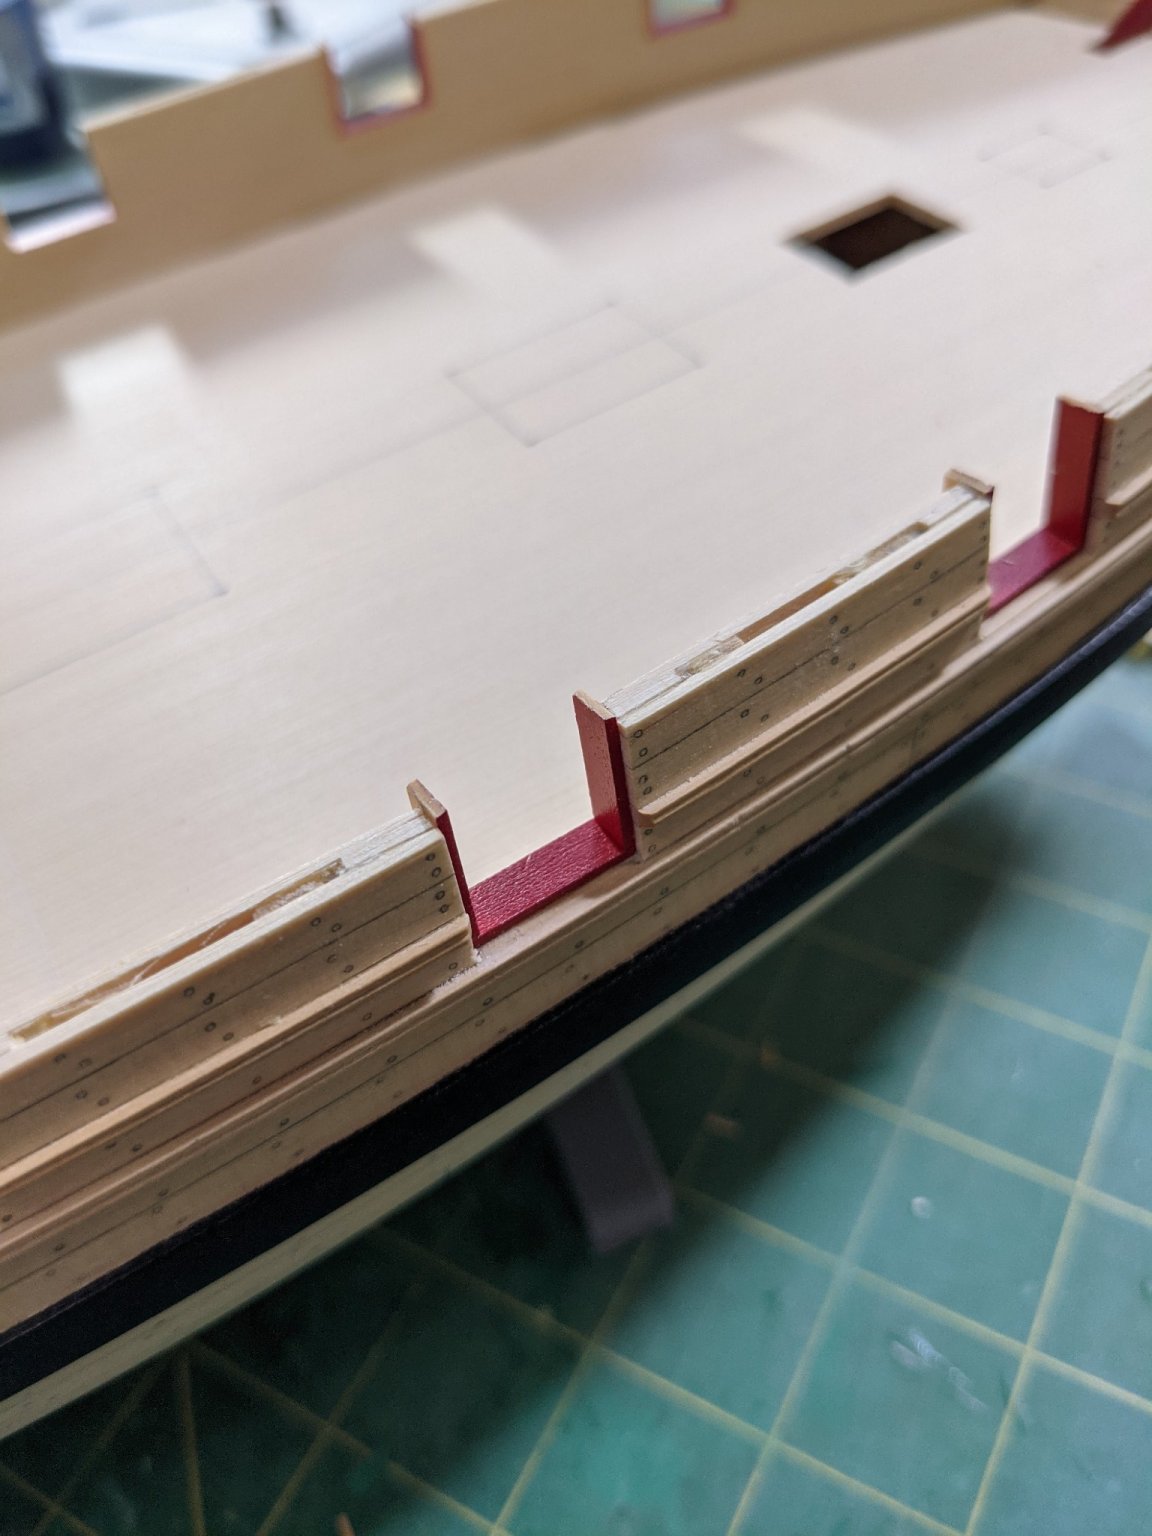
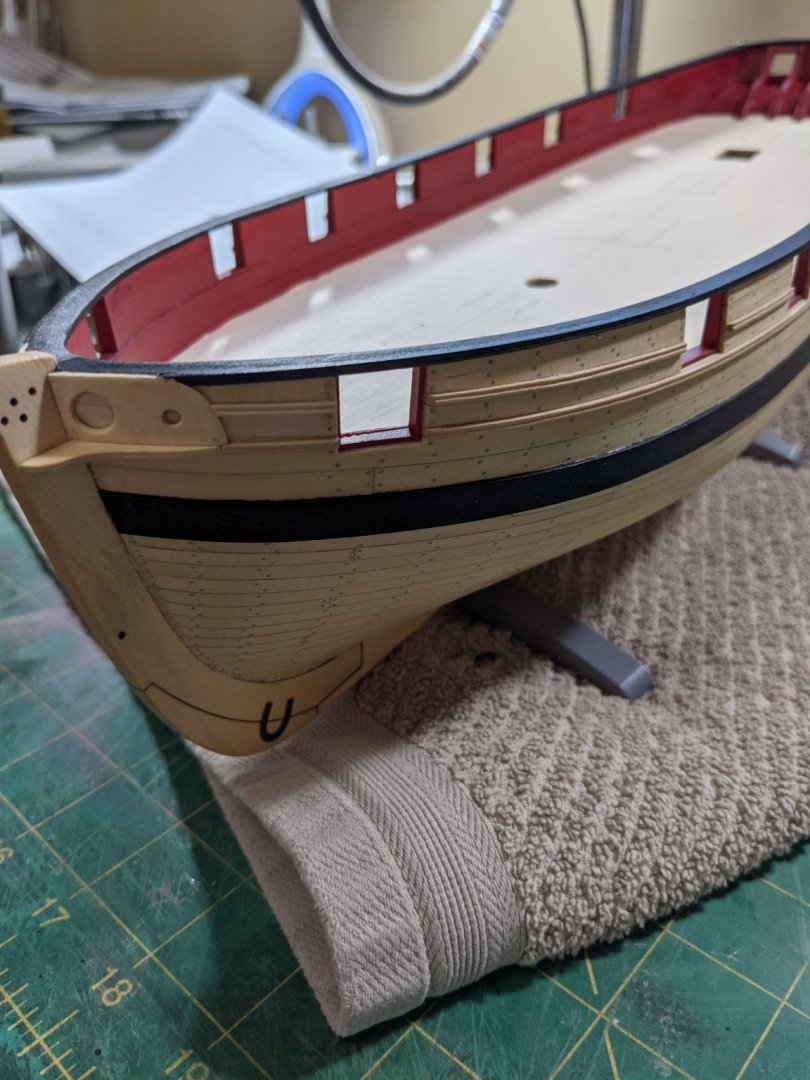
Sanded down the inner gun port sills to make it look pretty. \ Then added the spriketing planks out of 1/32 yellow cedar and sanded it all down pretty thin. All ready for painting the inner planking. This is going to take a lot of masking as I will airbrush the red paint. Here is how the gun ports look from the outside. If I were to do this again I might have sanded down the 1/32 wood down a bit more to make it a little thinner but I like the looks of it even though it may not be to scale. Will need to touch up the black paint on the wales as I have scuffed off some of it with handling. Acrylic paint is not very durable so you have to be careful with it. I also used white primer underneath it and should have used black primer which I have. Next up will be a lot of masking and I do have a little trick for the gun port holes which I will show you next.


- 274 replies
-
- 10
-
-
- Cheerful
- Syren Ship Model Company
- (and 1 more)
-
HMS Winchelsea by rafine 1/48
PRS replied to rafine's topic in HMS Winchelsea 1764's Member Build logs for the HMS Winchelsea
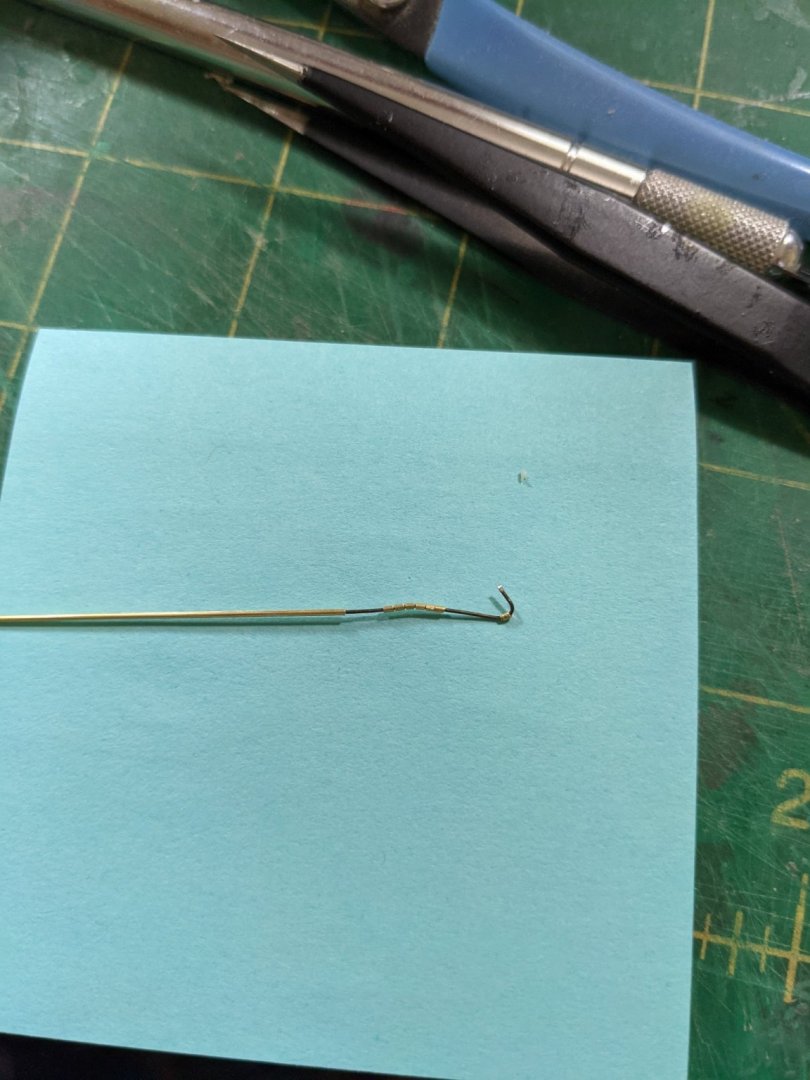
What are you using to make the bends in the wire so precise? It looks great! -
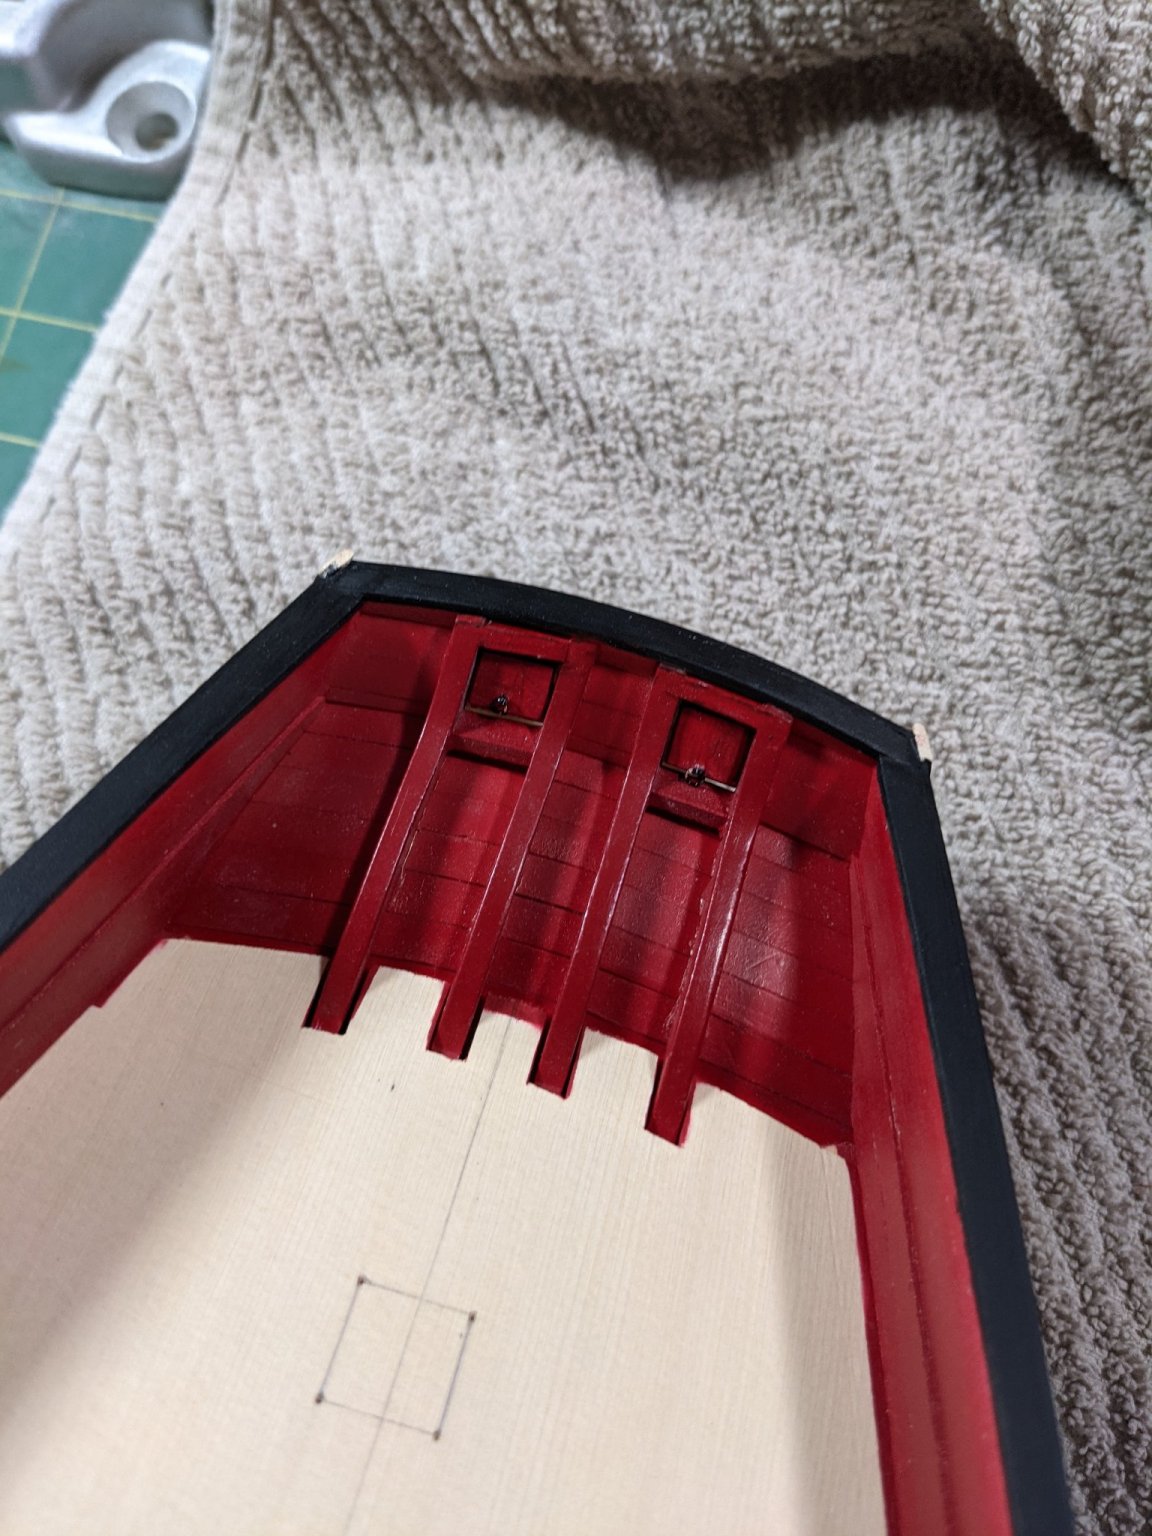
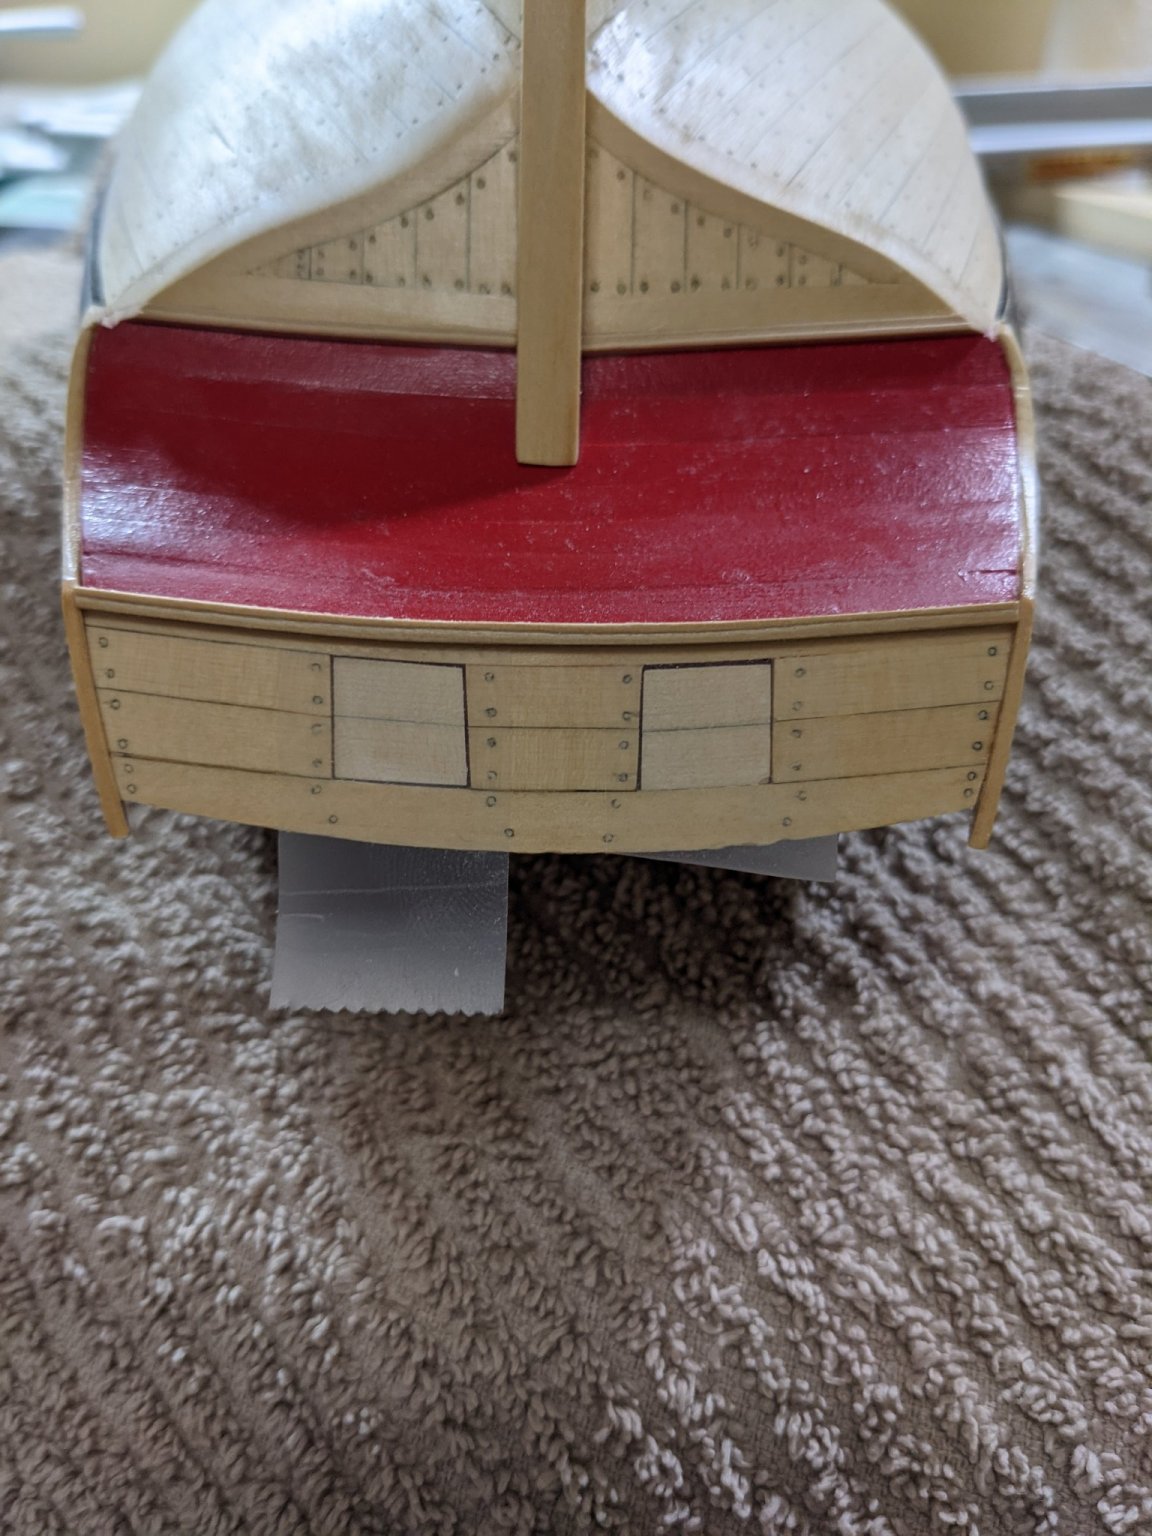
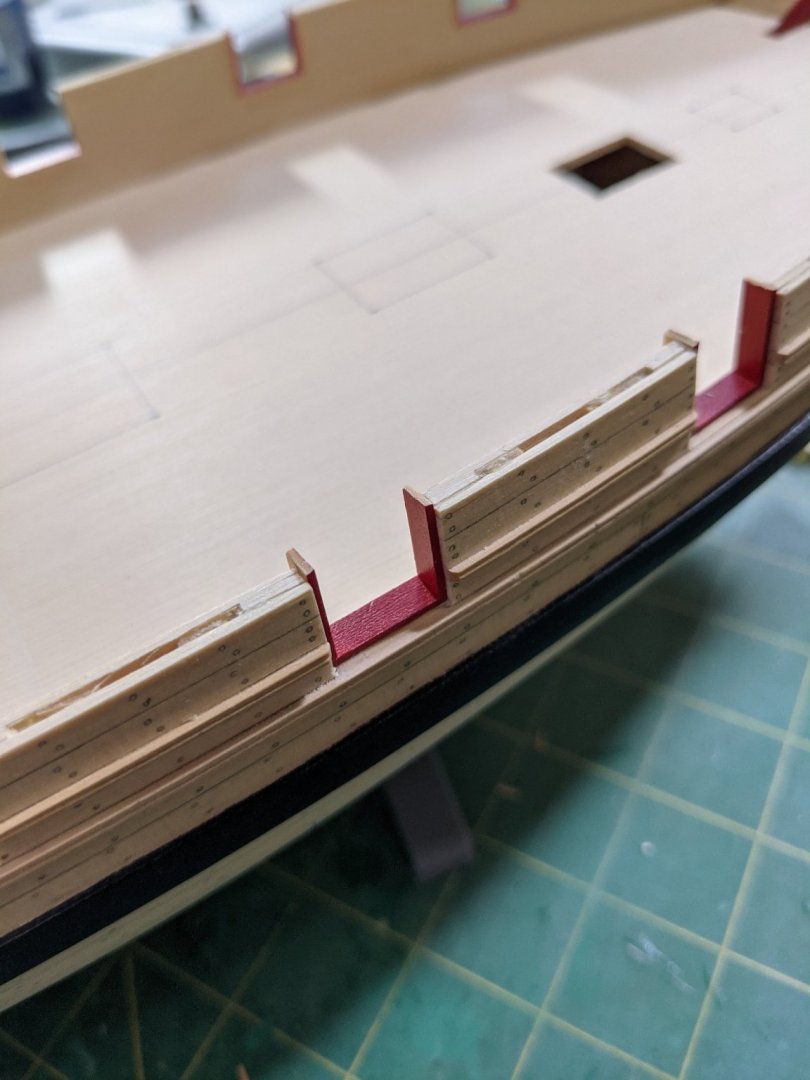
Completed the first planking on the inner hull and sanded down to 600 grit. I have everything thinned down to less that 5/32 and it was a fun step to do. Did I say before I like sanding? Before I put the 1/32 planking below the gun ports it was time to frame them from the pieces I painted a while ago. Yes this is different than the instructions but it was easier in my mind to do it this way. It took maybe more time but it wasn't too hard to do while listening to Extraterrestrial podcast series. While waiting for glue to harden I have been working on the stern port covers and have them fitted but just taped in place for now. BUT all my stuff I ordered from Chuck just came in today so I have a bunch of small kits to put together.

- 274 replies
-
- 11
-
-
- Cheerful
- Syren Ship Model Company
- (and 1 more)
-
Nice nice nice!
-
Good choice on sorting the planks. I had to do that also on mine as there was quite a bit of difference in the colors. Also good choice to slow down. I read where Chuck stated to slow down and enjoy the build and it sure makes a difference.
- 114 replies
-
- 1
-
-
- Lady Nelson
- amati
- (and 1 more)
-
Very nice and smooth. The Tamiya tape is so worth the small price for how it works out.
- 89 replies
-
- 2
-
-
- bluejacket shipcrafters
- revenue cutter
- (and 1 more)
-
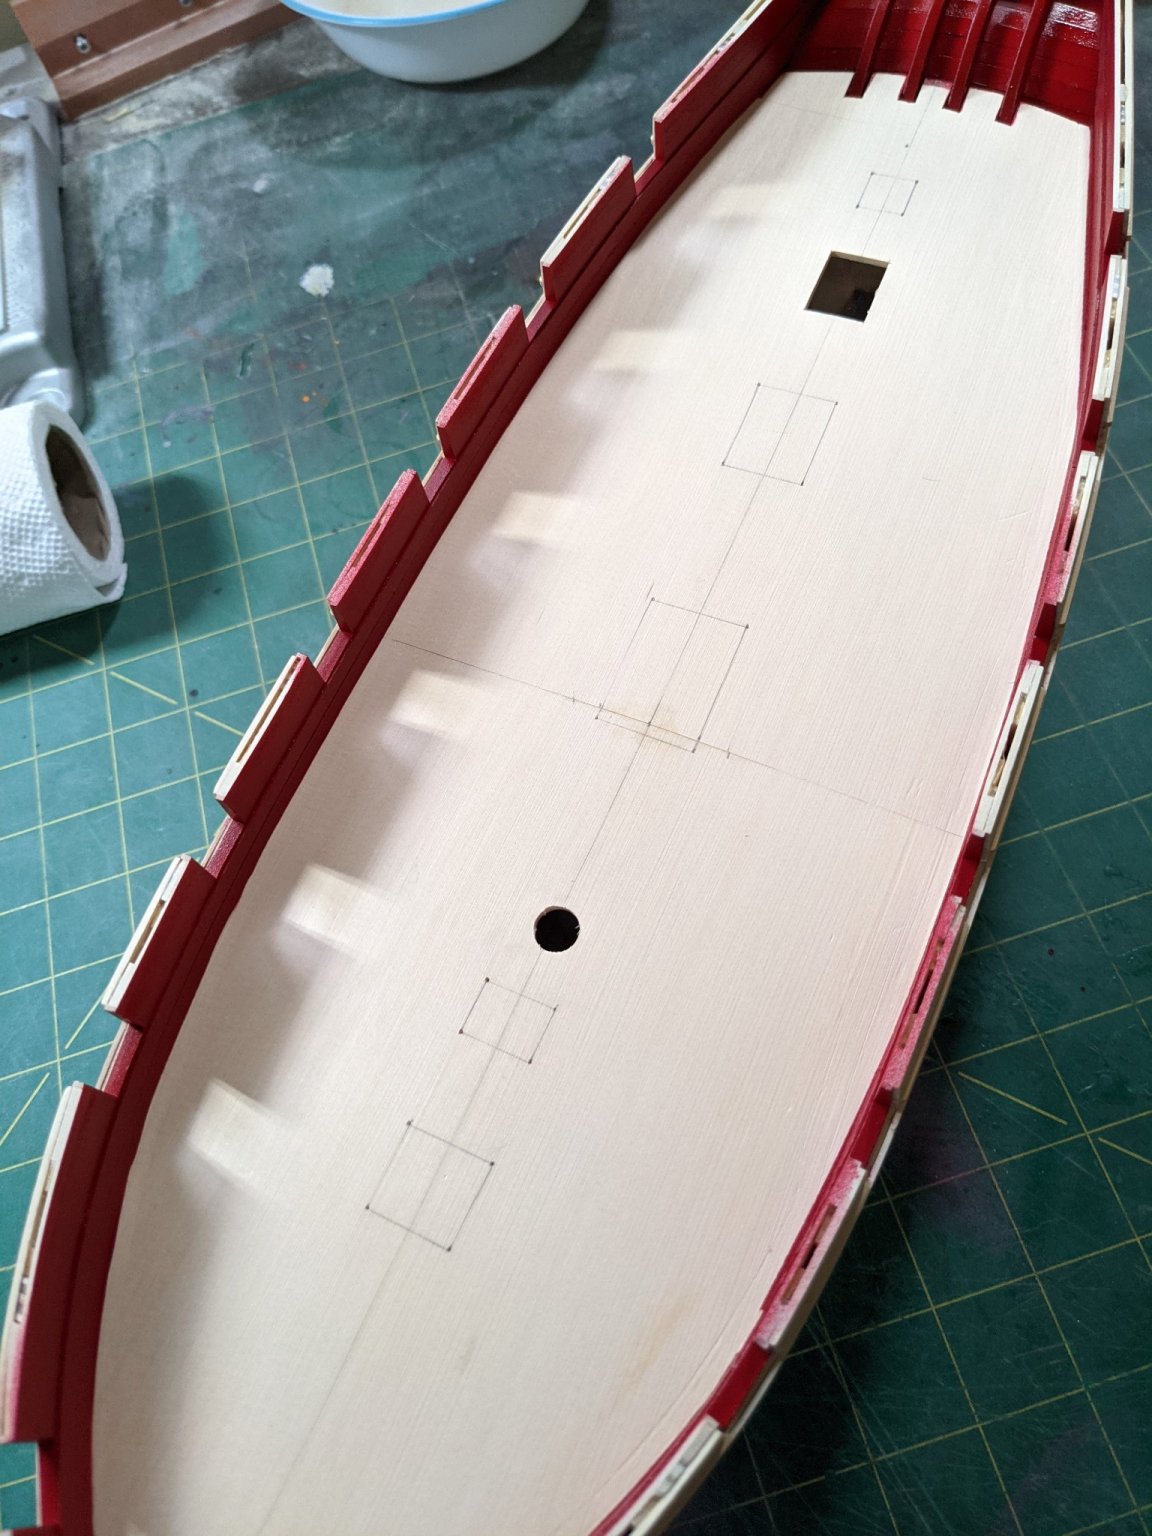
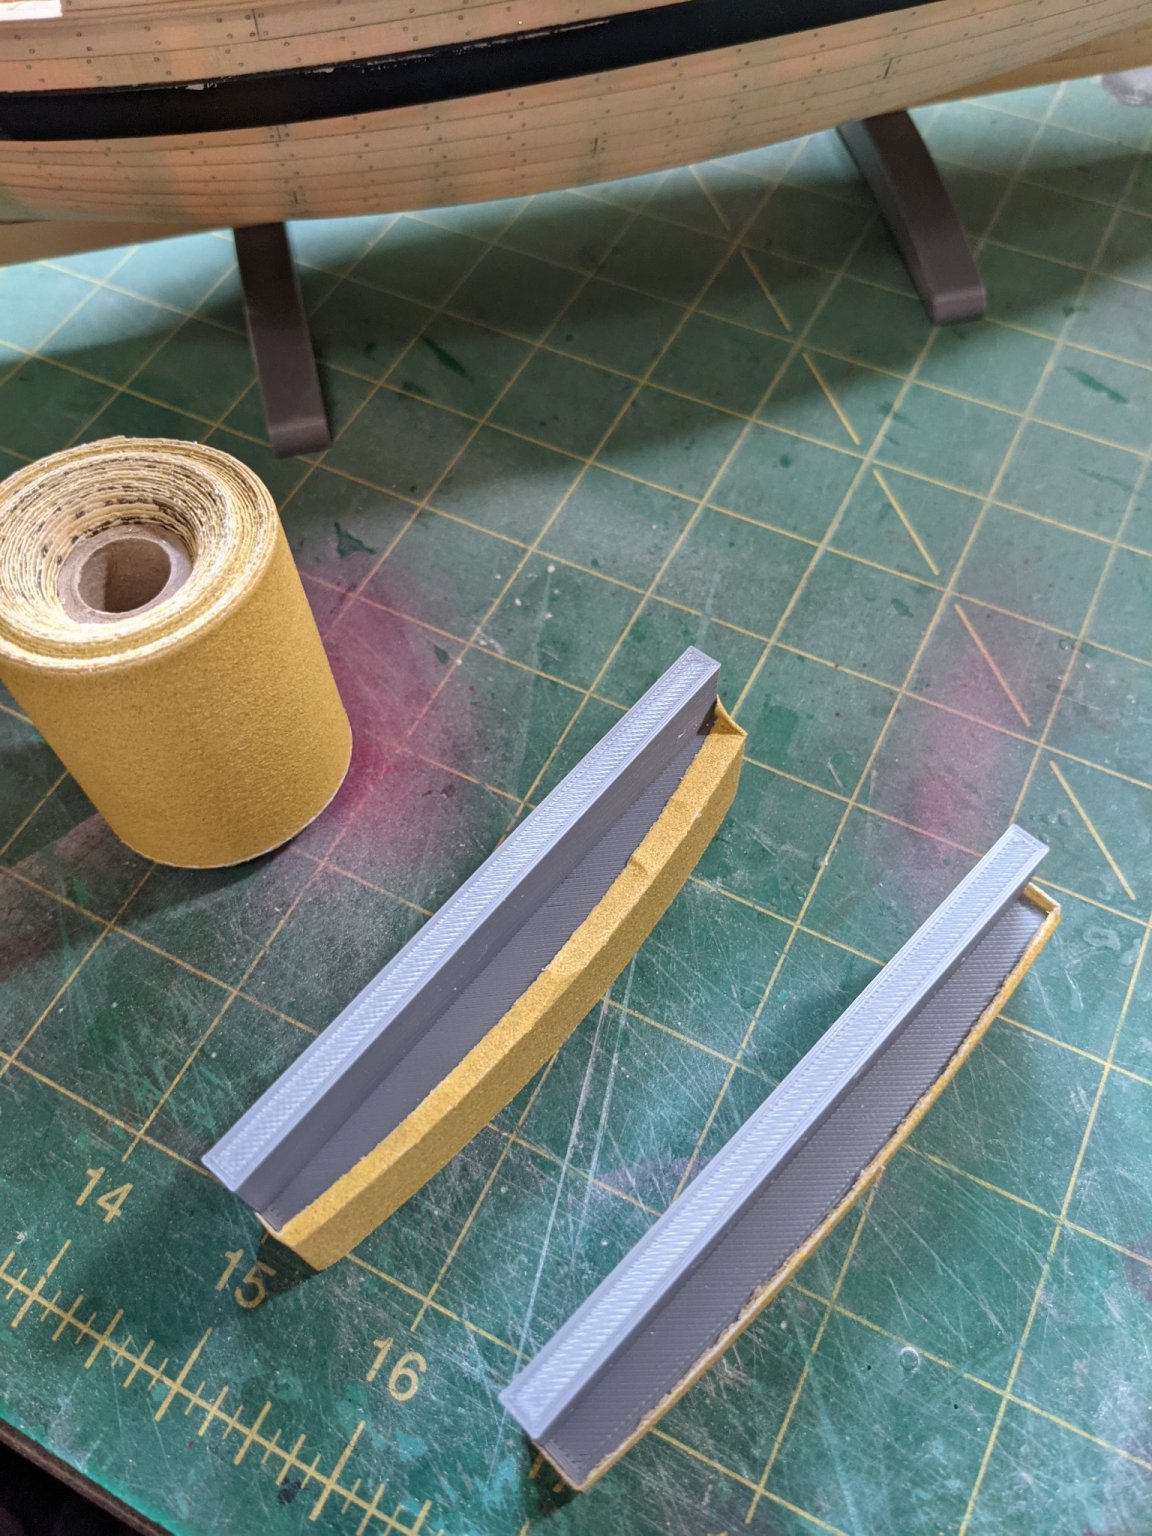
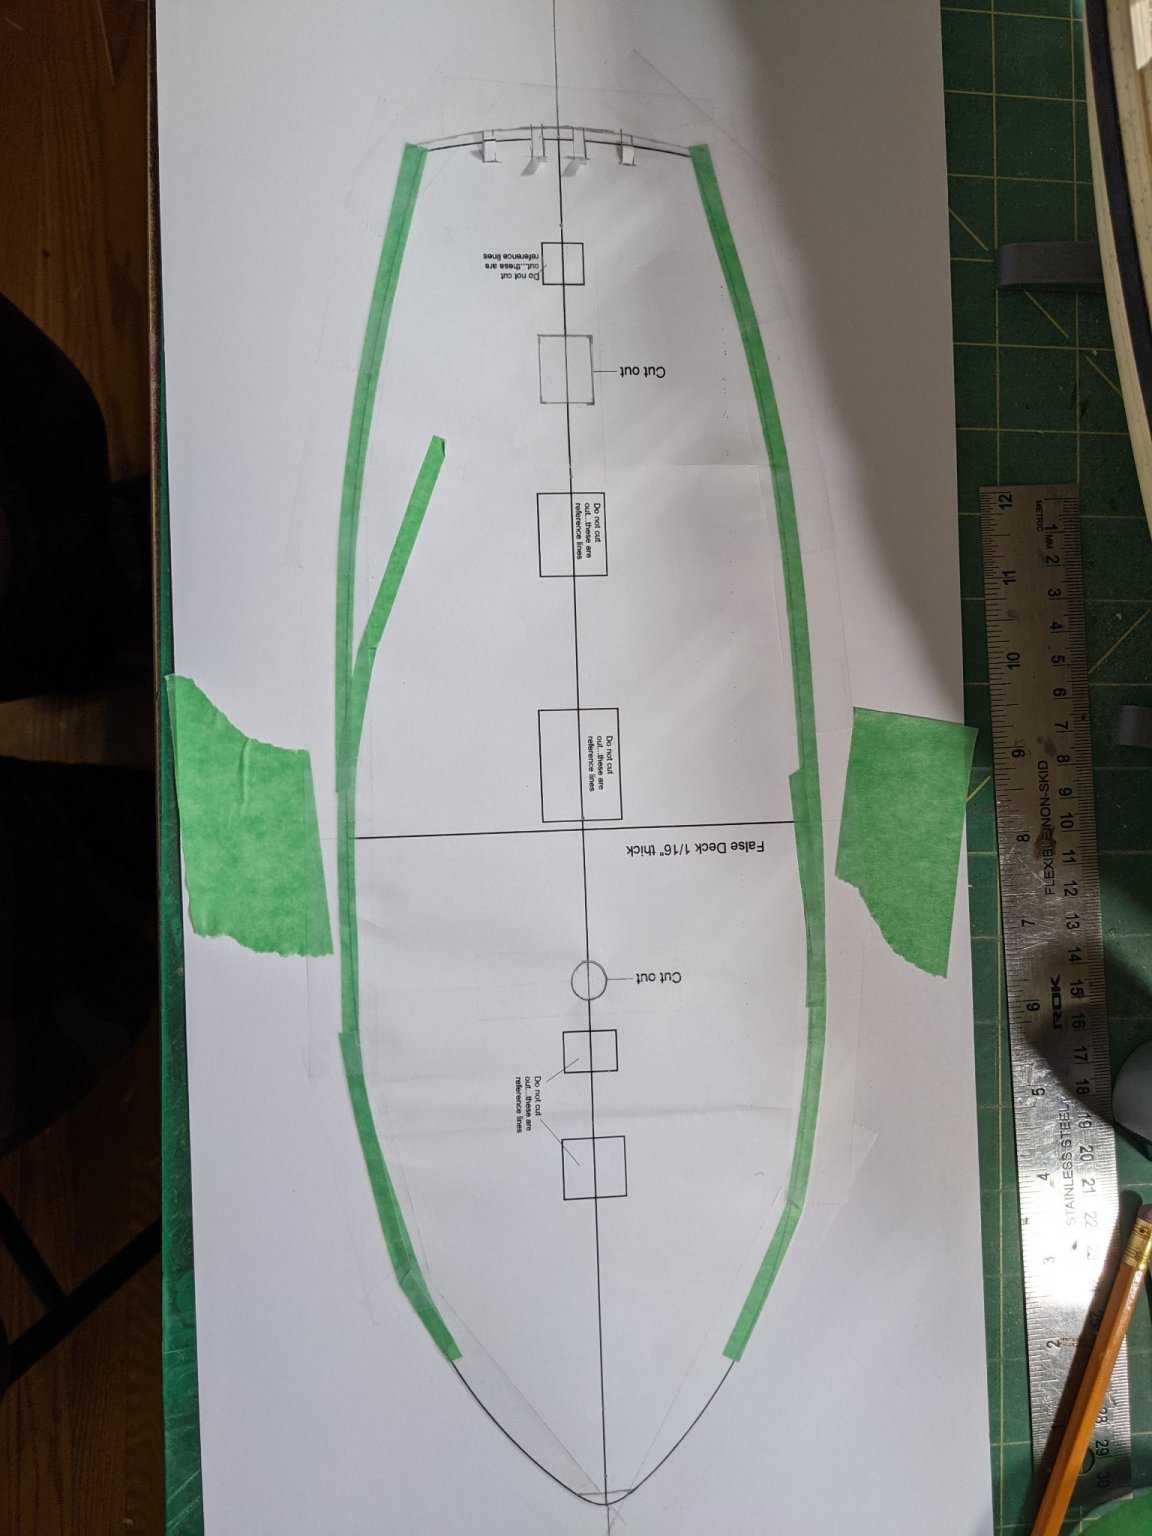
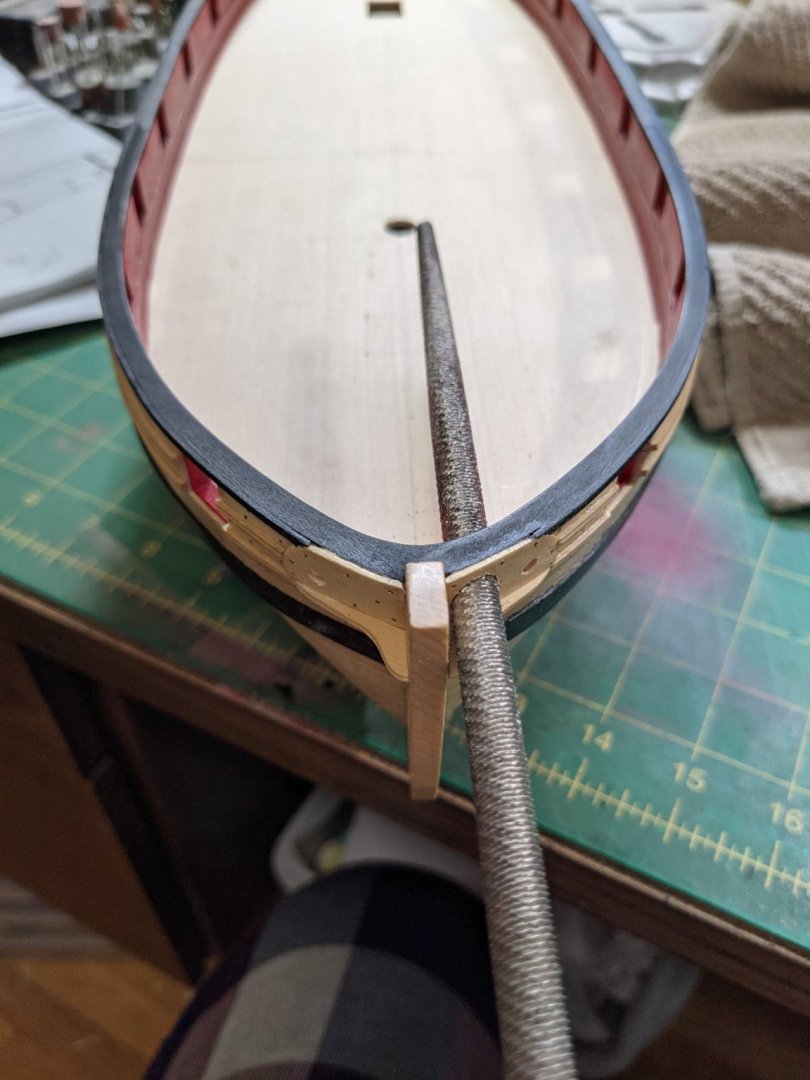
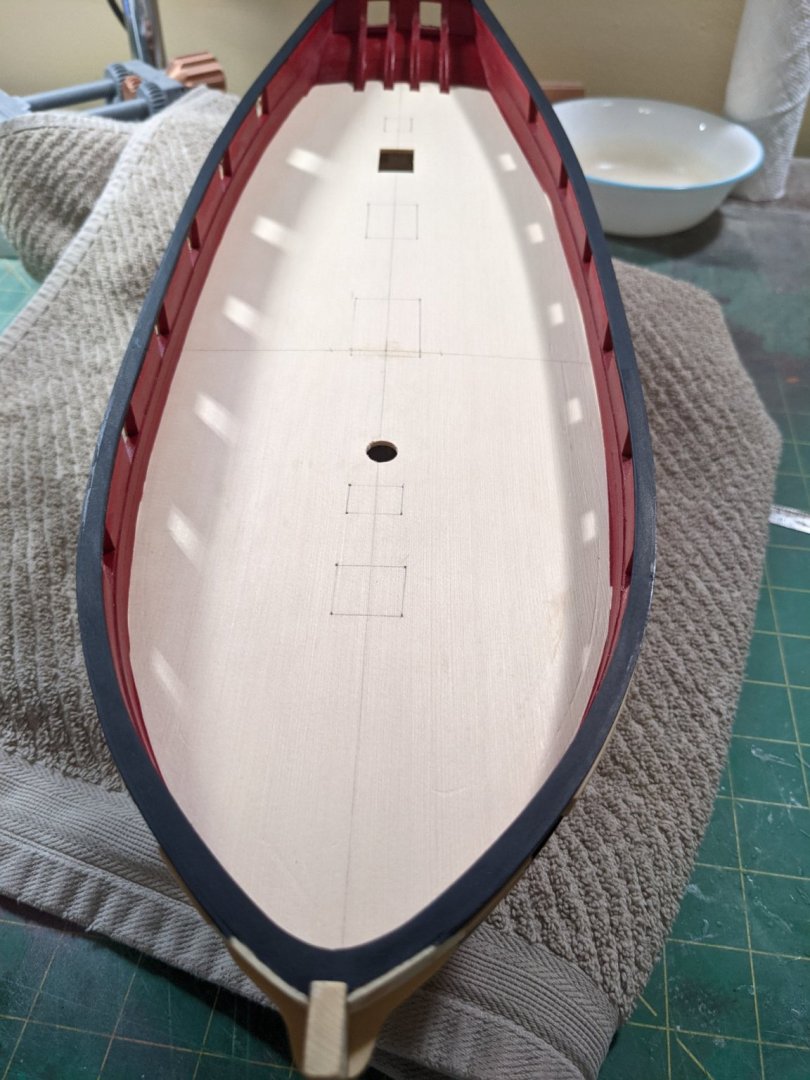
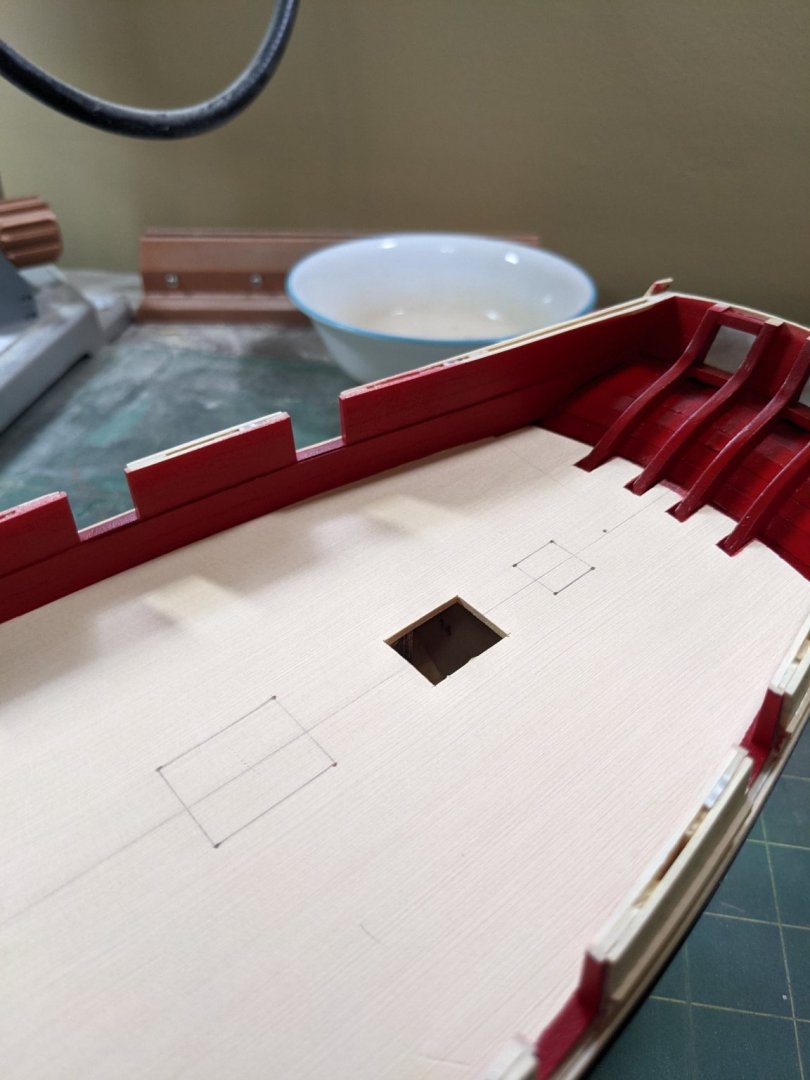
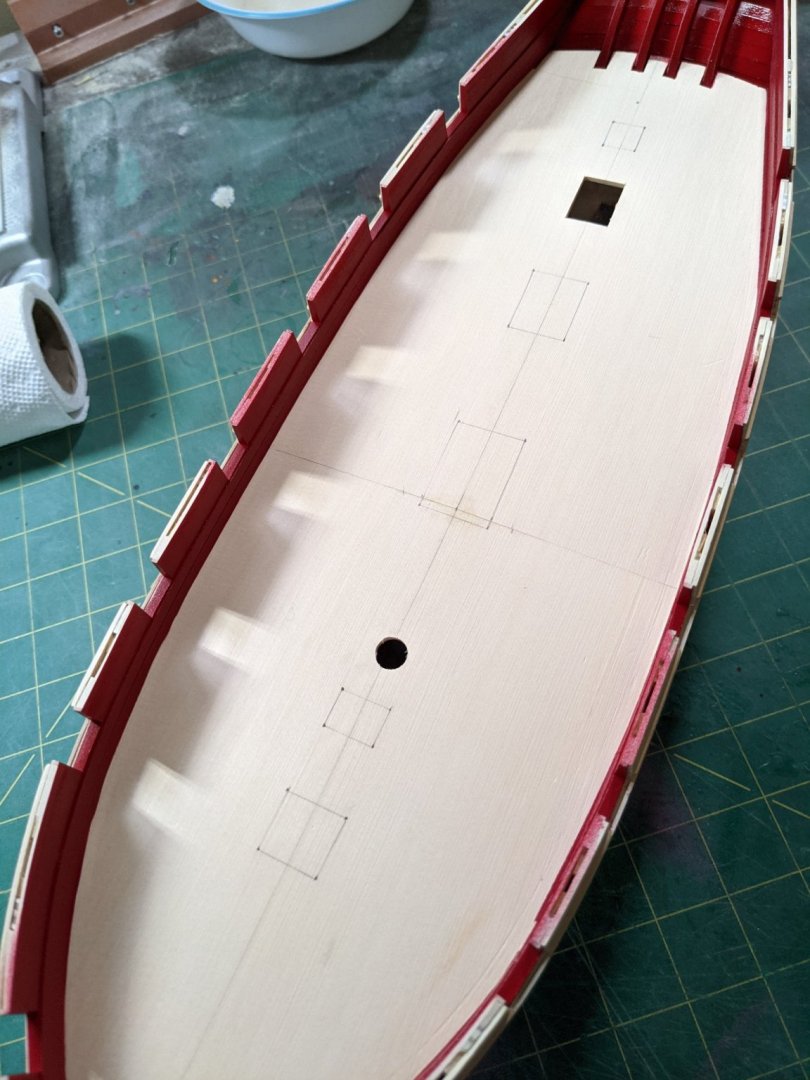
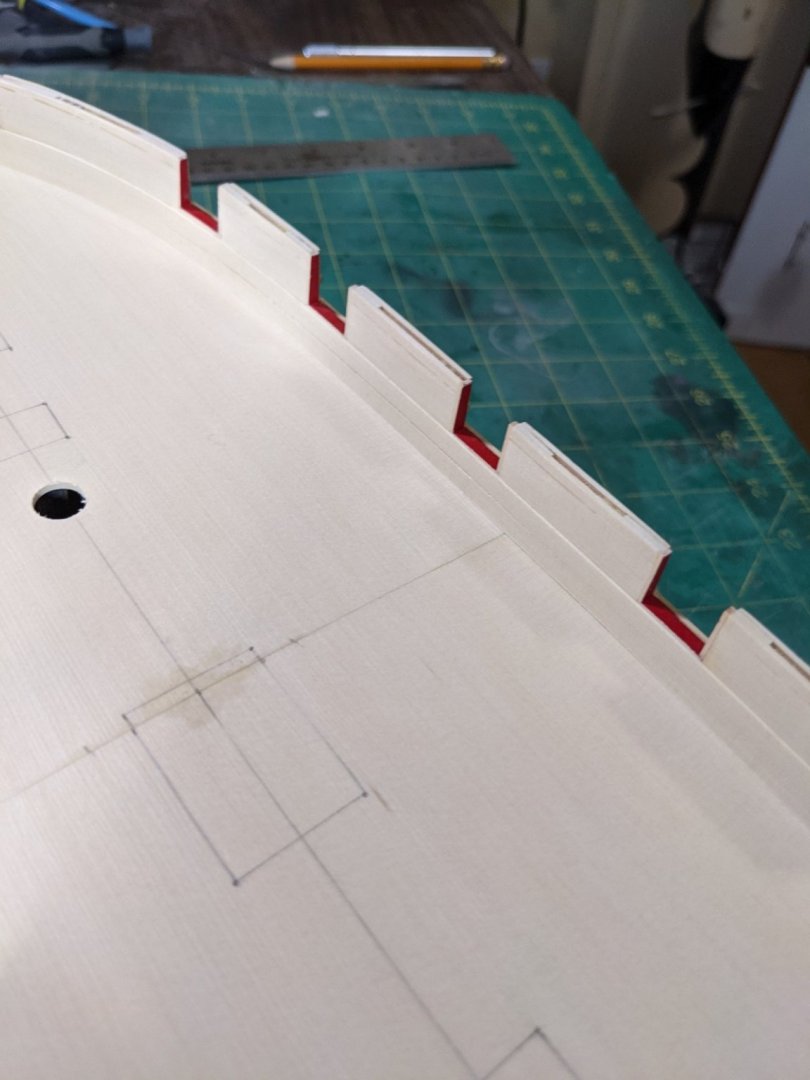
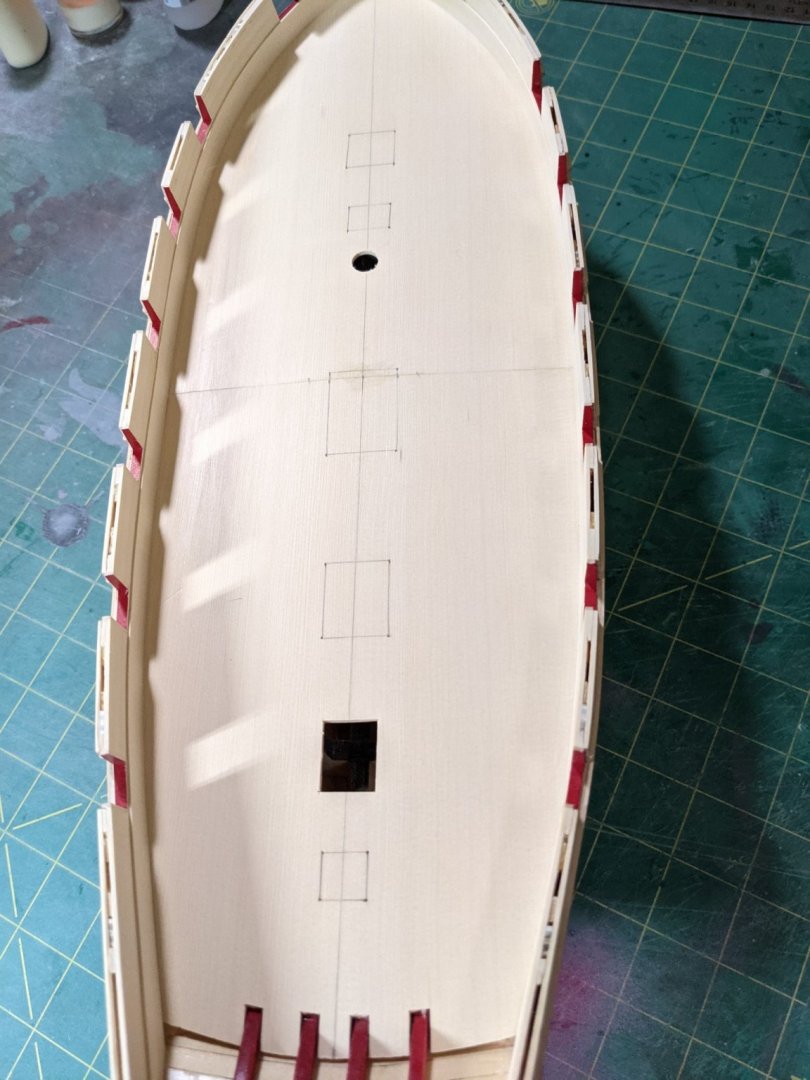
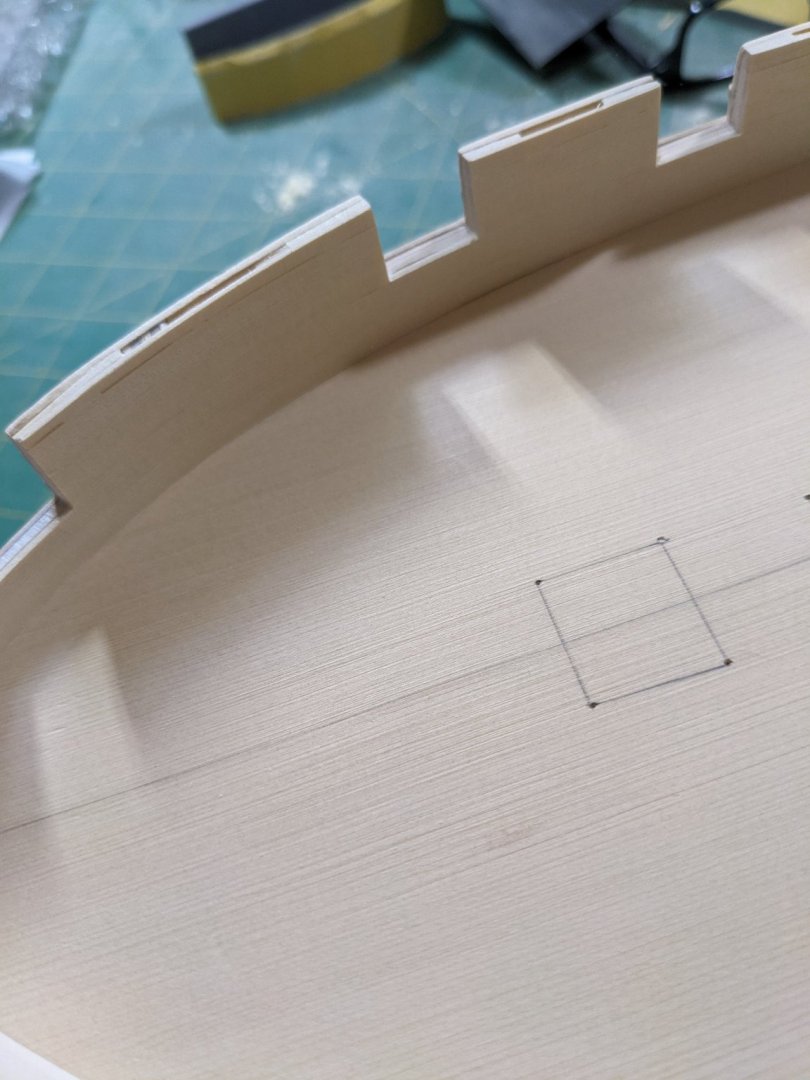
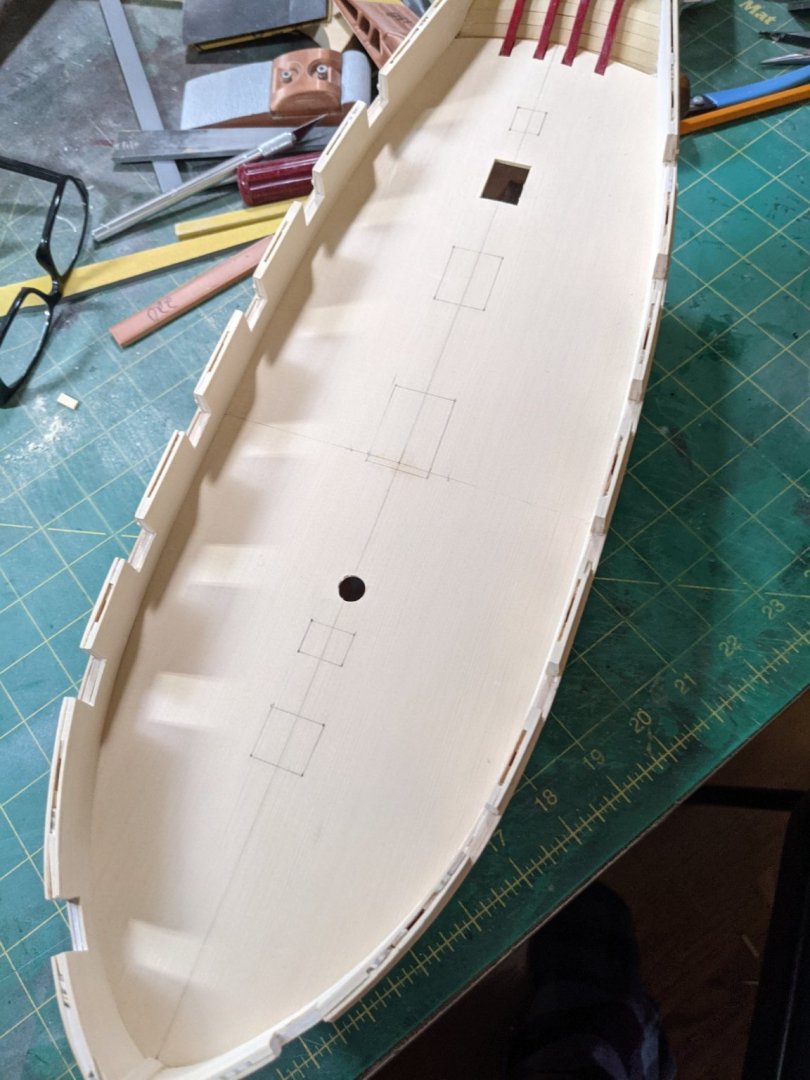
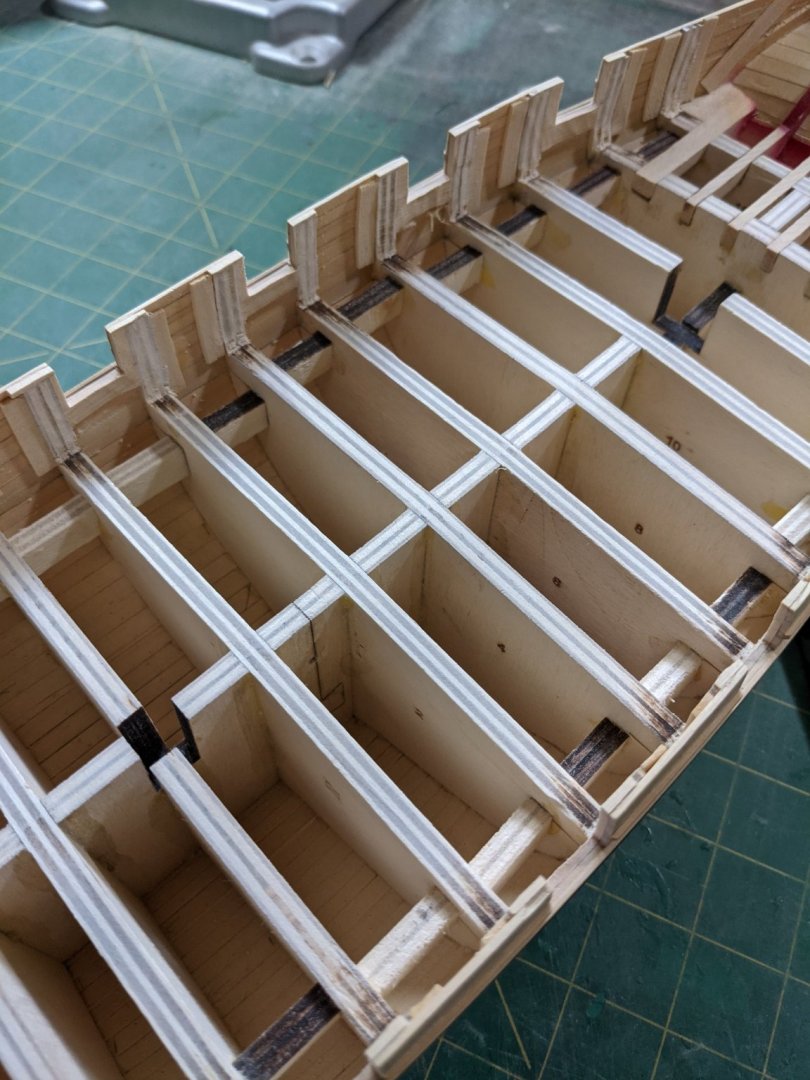
Time for the false deck. I glued some 1/16 strips around in spots to use as a guide. The with the dremel and a sanding drum carefully filled my room with dust. Used a flat xacto blade to act as a chisel near the bottom and the blade really does not work too well for this as the ply takes the edge off real quick. I need to get some proper wood chisels. To fair out the sides I drew up and printed some curved sanding blocks. Then hated to cut out the pattern from the nice plans but I bit the bullet and did it. I tried to use the green masking tape and although it does work for getting the sides right it doesn't stick too well. Laid the pattern out on some drawing paper and taped it down with clear tape and cut out the false deck from 1/16 boxwood. I found anxacto knife cust through it just as good as a scroll saw. I used two pieces for the false deck choosing to go front and rear piece (bow or stern) and it glued on and conformed to the curves pretty easily since the PVA I am using sets pretty fast. Now it is on to bending and planking the inner hull pieces. The more I do the more fun this is.


- 274 replies
-
- 11
-
-
- Cheerful
- Syren Ship Model Company
- (and 1 more)
-
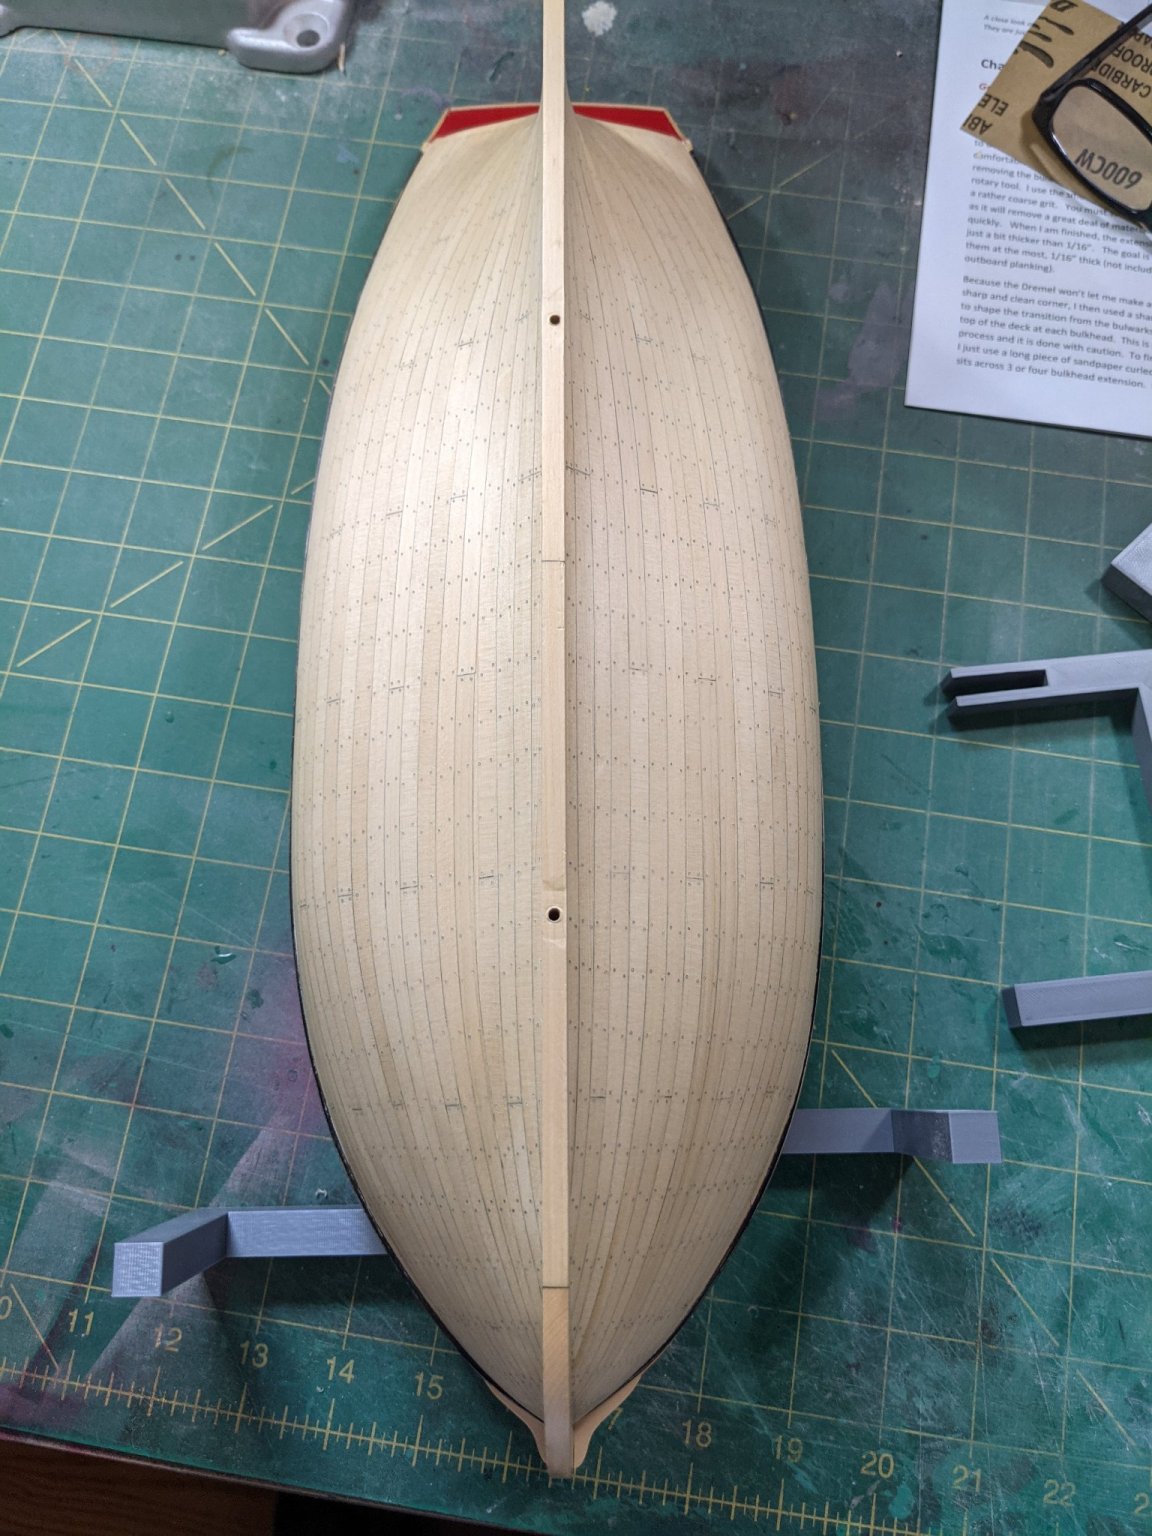
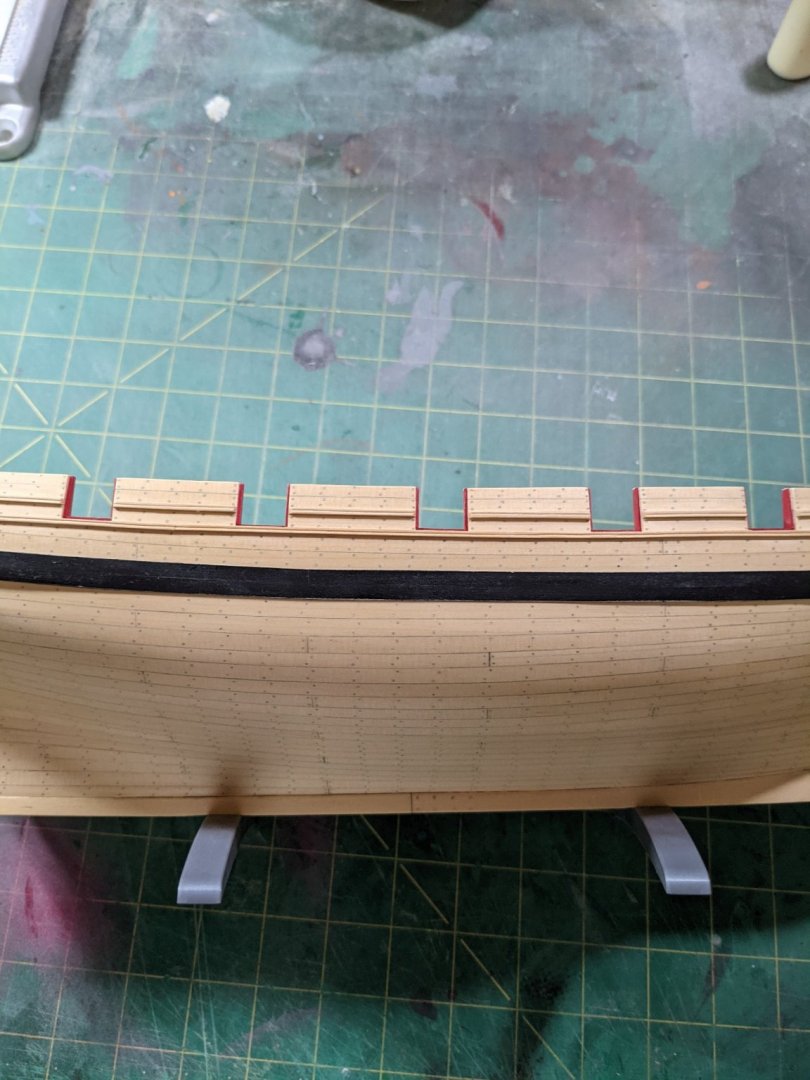
Spent a few hours resanding the hull to get rid of some scratch marks. Used 320 and all the way up to 600 grit. The wiped on the poly and polished it off so as not to leave it on to gloss over as per Chuck's recommendation. Looks a lot better. Thanks Chuck

- 274 replies
-
- 8
-
-
- Cheerful
- Syren Ship Model Company
- (and 1 more)