HOLIDAY DONATION DRIVE - SUPPORT MSW - DO YOUR PART TO KEEP THIS GREAT FORUM GOING! (Only 20 donations so far - C'mon guys!)
×

(1)(1)(1)(2).jpg.a128ea4d7b02ebfc5d5eb6547e92106f.jpg)
PRS
-
Posts
372 -
Joined
-
Last visited
Content Type
Profiles
Forums
Gallery
Events
Everything posted by PRS
-
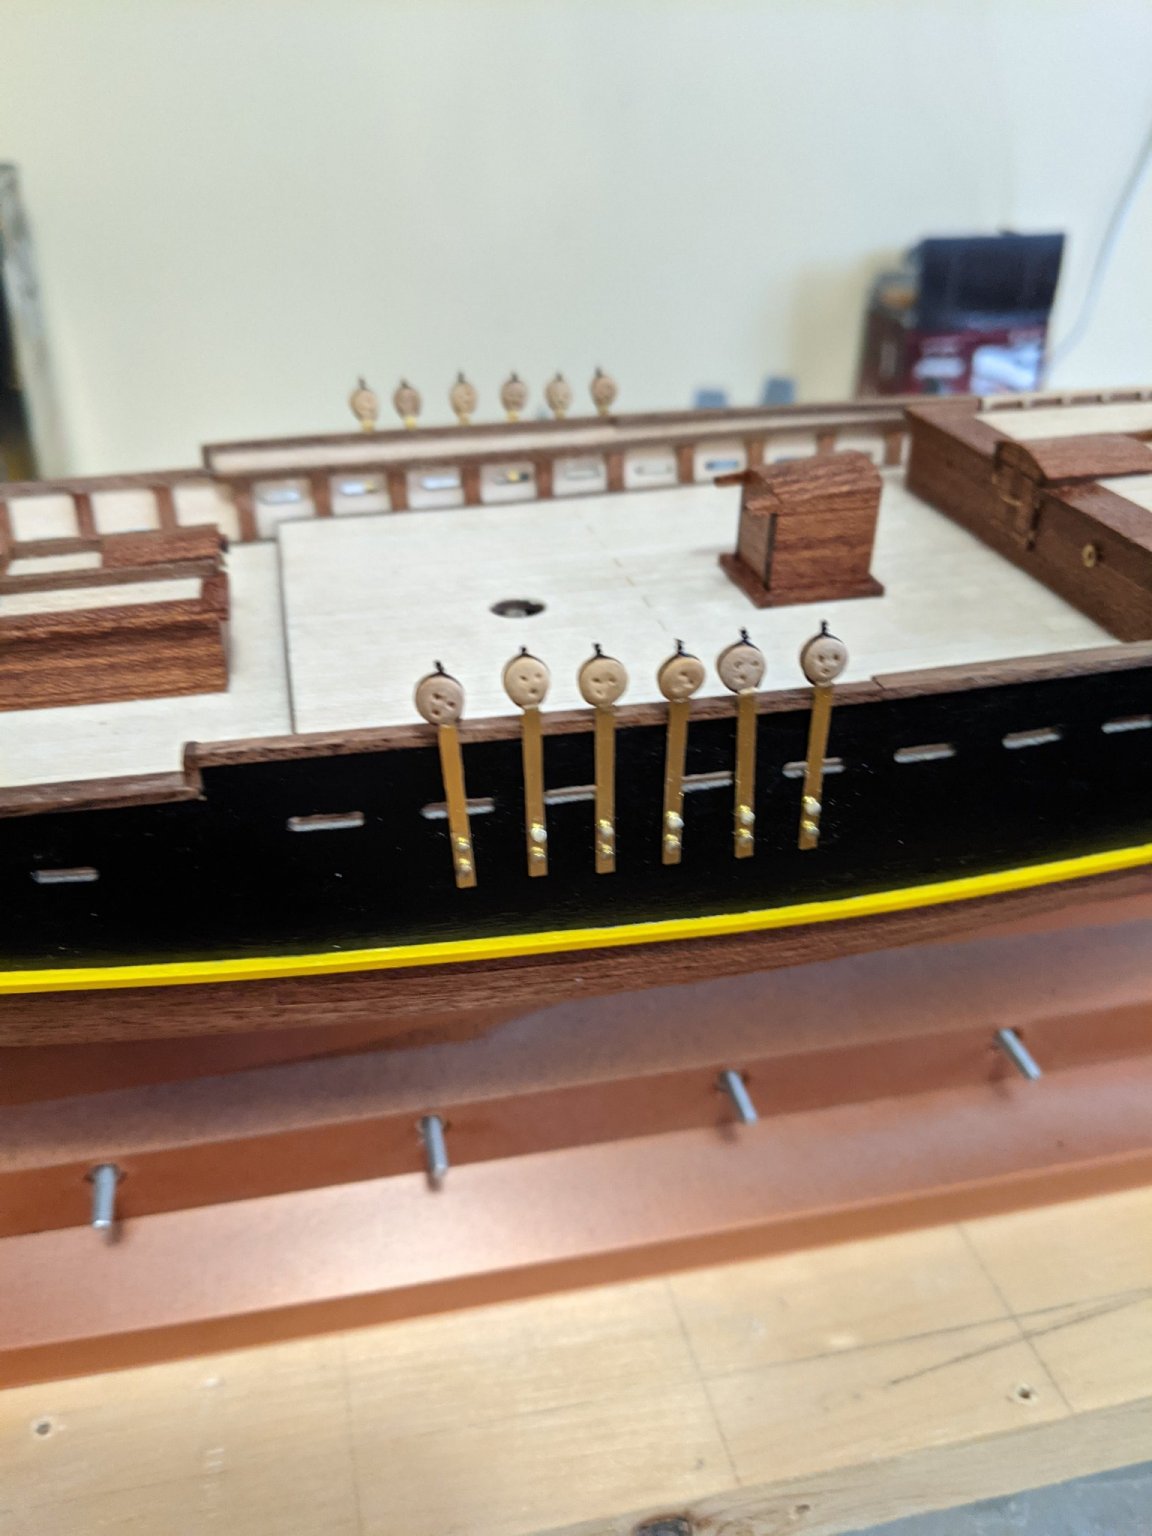
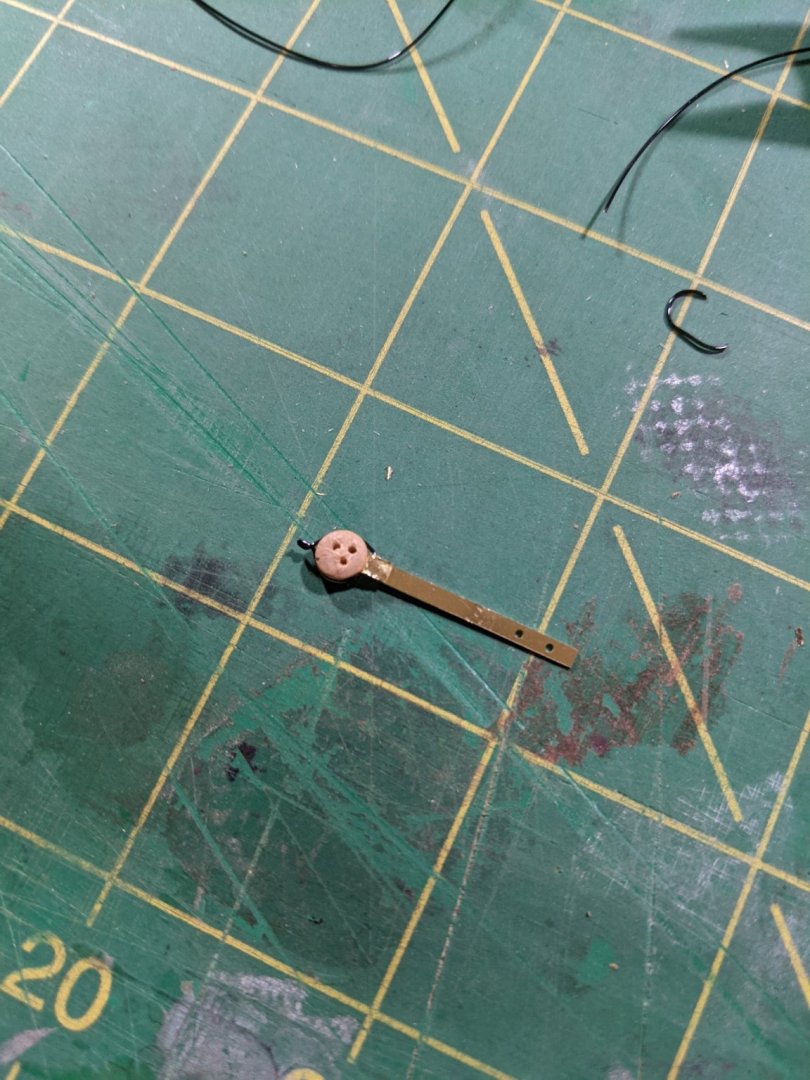
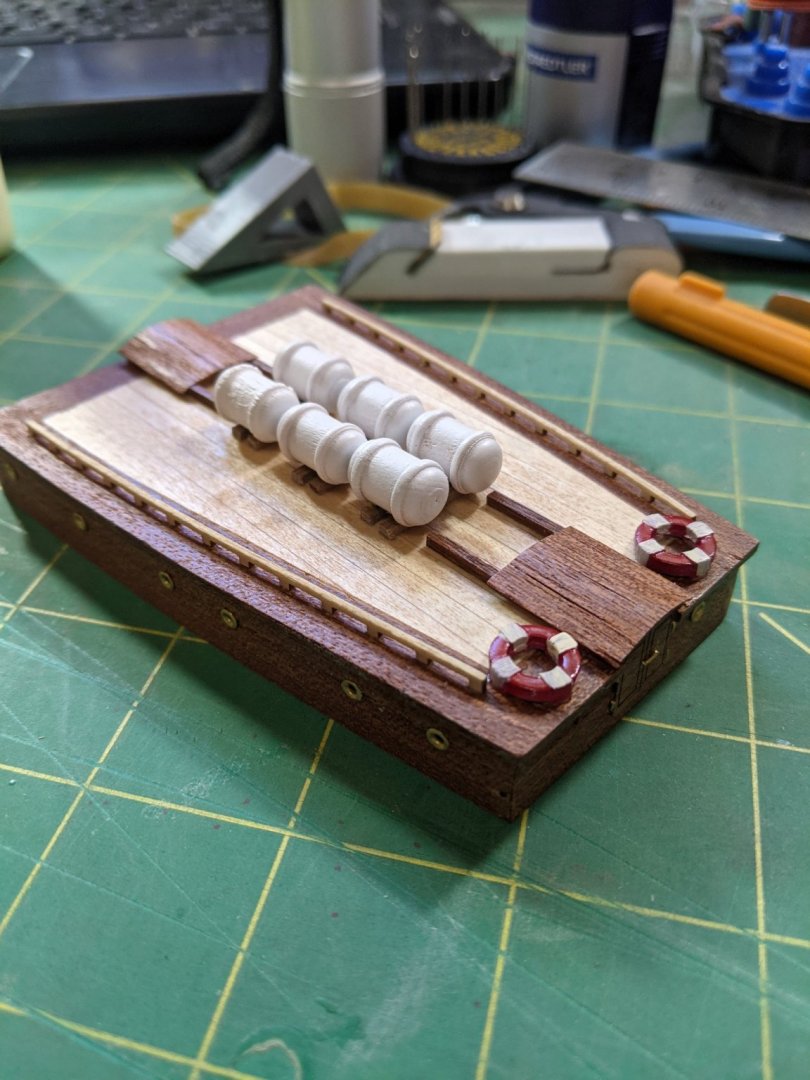
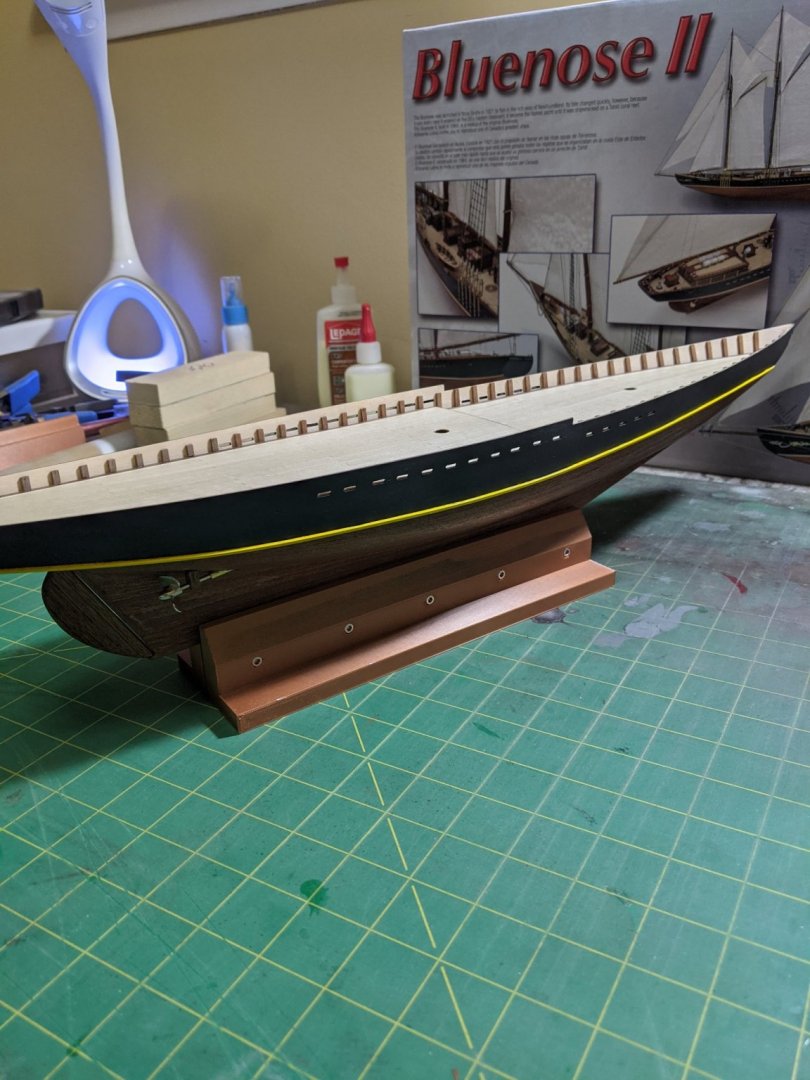
(1)(1)(1)(2).thumb.jpg.792ad774561d3d4f35888704cde27a8e.jpg) OK so that didn't turn out too bad. I might have been better using thread and tying them but I will go with this. Here is where I am at so far with things mounted on the deck.
OK so that didn't turn out too bad. I might have been better using thread and tying them but I will go with this. Here is where I am at so far with things mounted on the deck.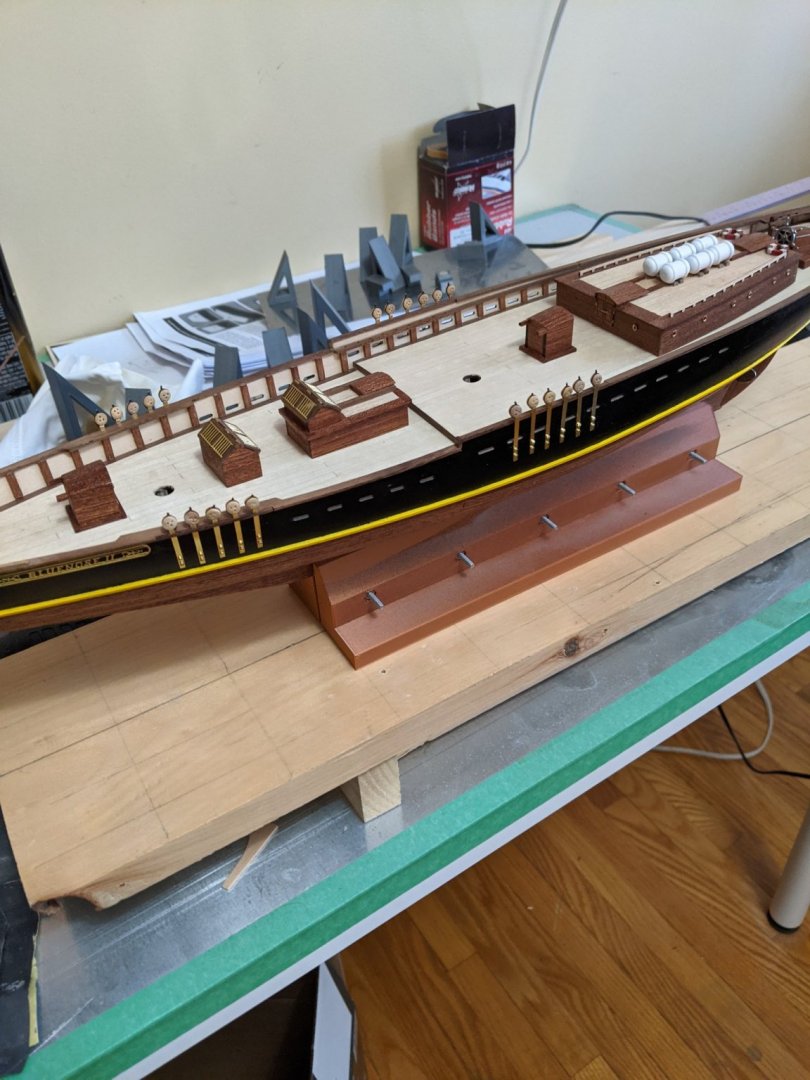

- 43 replies
-
- 2
-

-
- Bluenose II
- Artesania Latina
- (and 2 more)
-
So what I did to get around this is toss the brass loops and cut the "wings" off the PE and use some coated brass beading wire to make this all up. Got them all made up and don't look too bad I guess.
- 43 replies
-
- 2
-
-
- Bluenose II
- Artesania Latina
- (and 2 more)
-
Well we hit a major snag. The instructions state to put the eye in the loop and bend the PE tabs over the loop... Well there is no way this can be done as there is no give on the loop of brass or the PE to do this. (have I mentioned the instructions are bad yet?)

- 43 replies
-
- 1
-
-
- Bluenose II
- Artesania Latina
- (and 2 more)
-
I am pretty new to this and am using wipe on poly and not stain. The poly works well and doesn't leave brush marks. https://www.minwax.com/wood-products/clear-protective-finishes/wipe-ons/
-
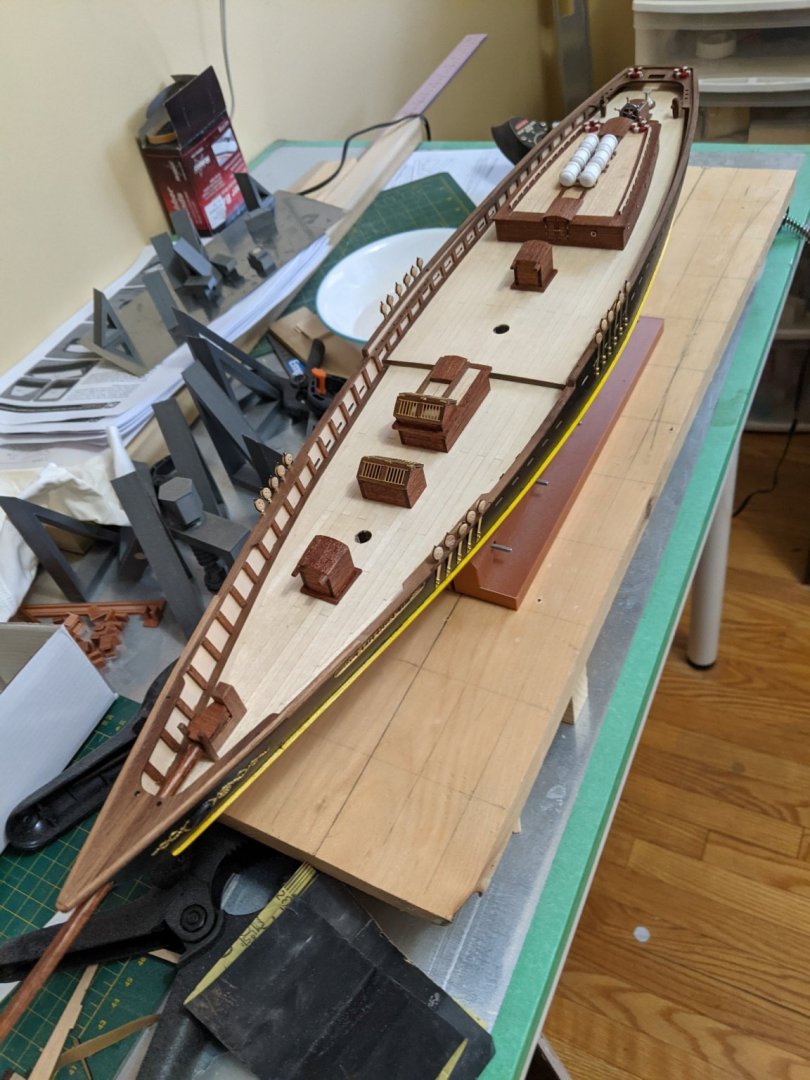
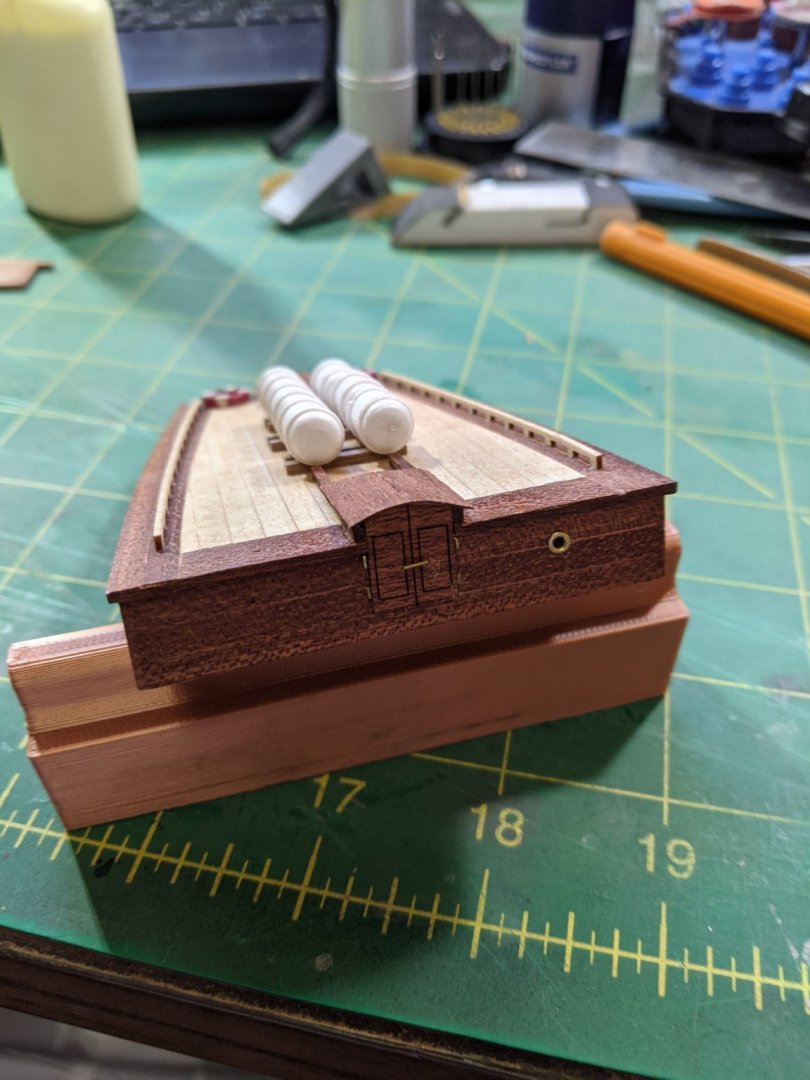
Have one of the deck cabins complete also. I was busy this weekend.
- 43 replies
-
- 3
-
-
- Bluenose II
- Artesania Latina
- (and 2 more)
-
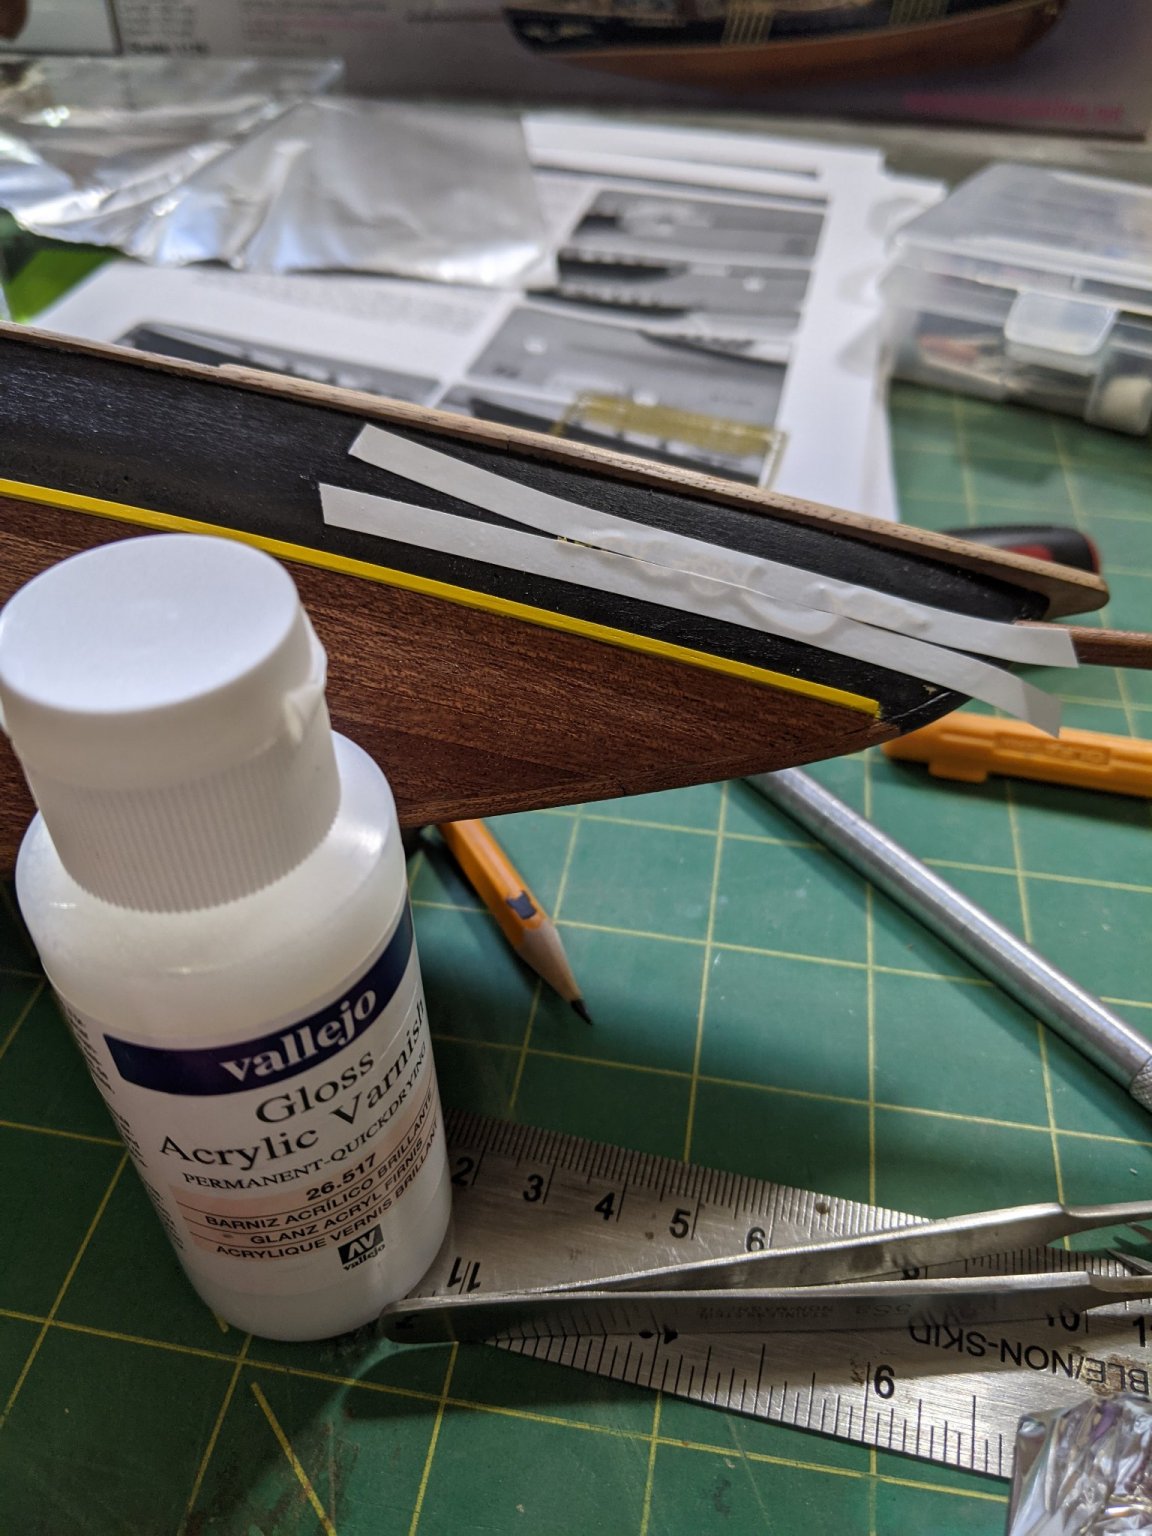
Here is the "glue" I used to put the PE decorations on the side. Varnish works well and any that leaks out isn't noticeable.

- 43 replies
-
- 2
-
-
- Bluenose II
- Artesania Latina
- (and 2 more)
-
Cutter Alert 1777 by Dali - FINISHED - scale 1:48
PRS replied to Dali's topic in - Build logs for subjects built 1751 - 1800
I just want to know how you shrunk a real ship and put it in your house Amasing work! -
Absoluteley georgeous! Such a fine build and the presentation from the case and table to the book is top notch.
- 366 replies
-
- 1
-
-
- pegasus
- victory models
- (and 2 more)
-
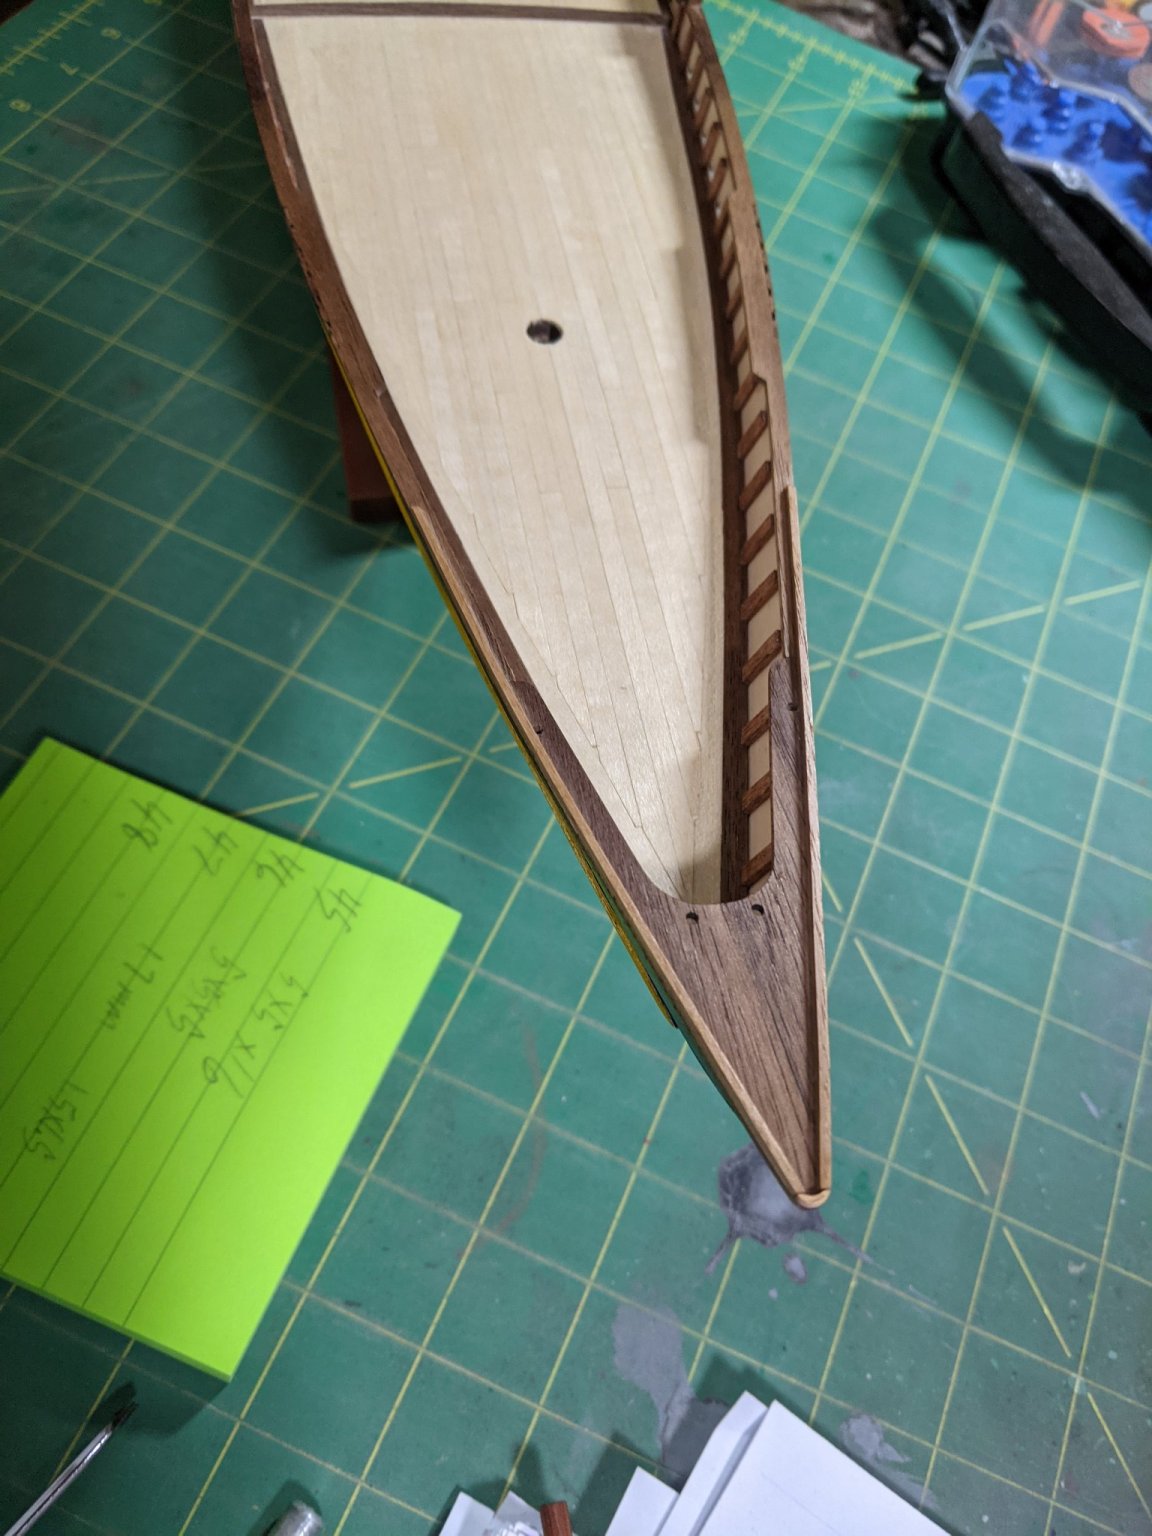
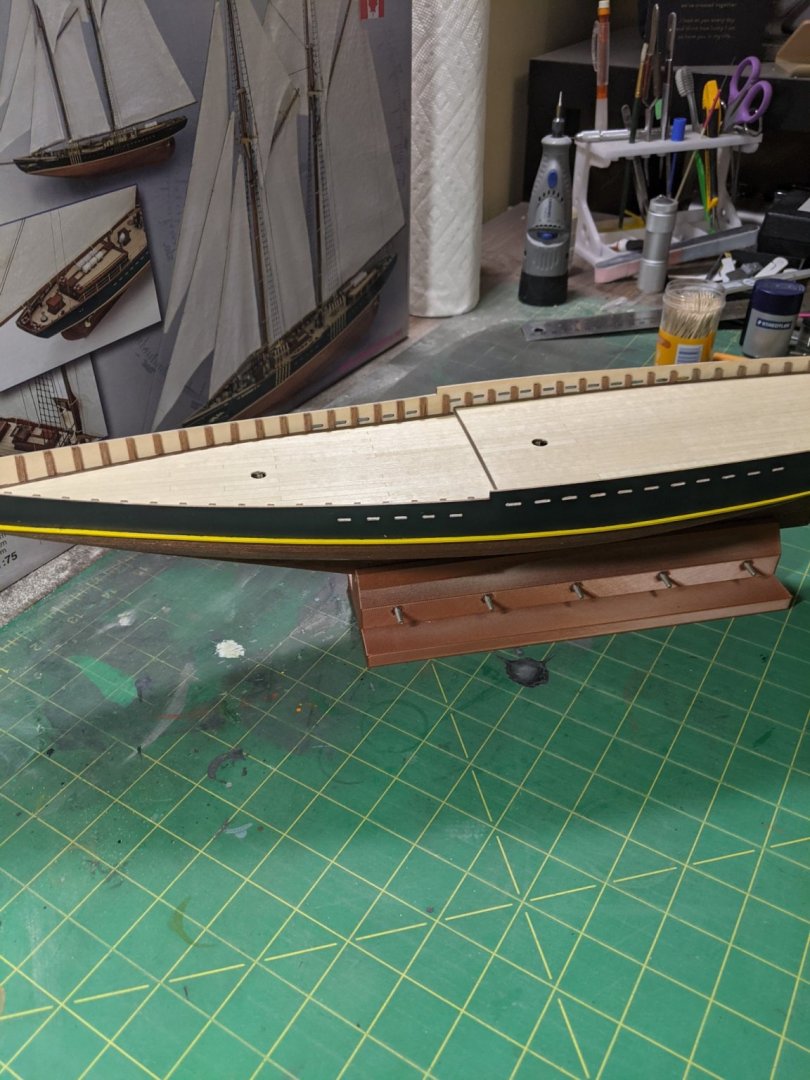
Scuppers all cut out and have the hull painted. I decided to leave the bottom natural and not paint it red.

- 43 replies
-
- 2
-
-
- Bluenose II
- Artesania Latina
- (and 2 more)
-
So I cut one scupper out and it went well. I drilled a few holes with the template and a pin vise and then used the Dremel and a skinny cutting tool to join them up. Using high speed and holding steady worked well and no shredding of the wood. I have a jeweler's file that is almost a perfect fit. One down 33 to go.
- 43 replies
-
- 1
-
-
- Bluenose II
- Artesania Latina
- (and 2 more)
-
Looks like a nice plane. I will check out Micro Mark and see what they have. Thanks
- 43 replies
-
- 1
-
-
- Bluenose II
- Artesania Latina
- (and 2 more)
-
Was searching scuppers and came upon your post. Cutting from the inside sounds like a great idea.
-
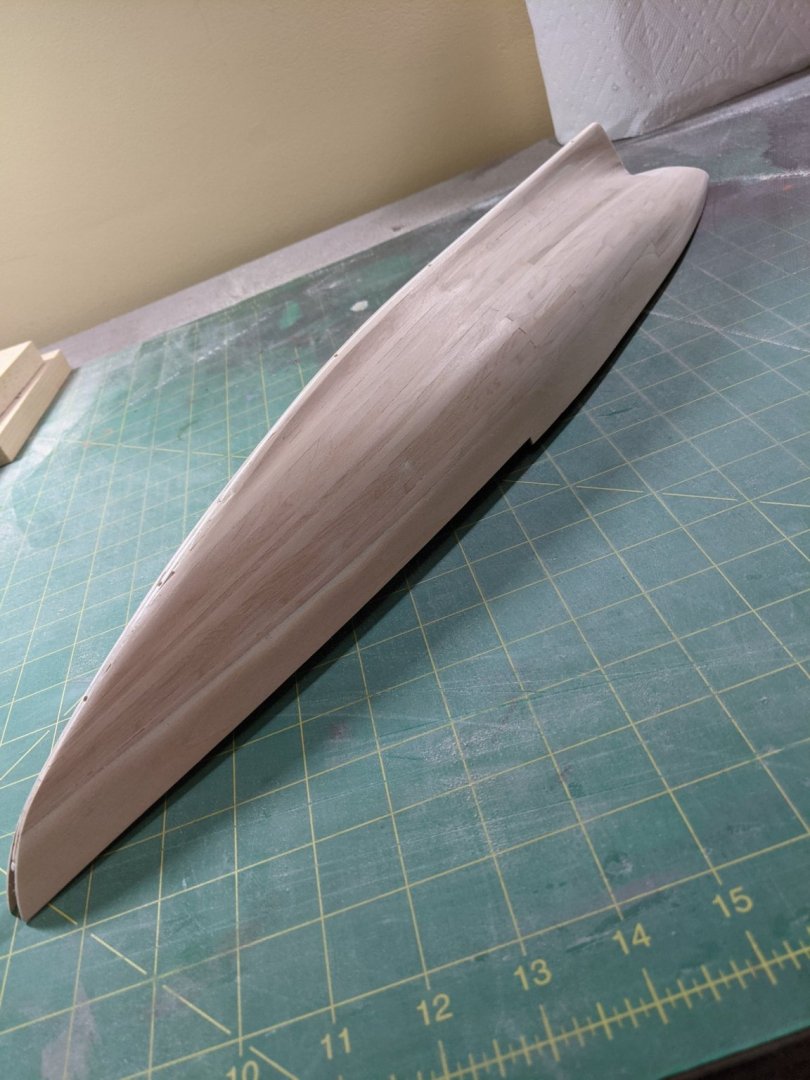
Hull planking finished and skipped ahead and put in the propellers. Glues with 30 minute epoxy. Have the scupper holes coming up and think I need to make them before painting the upper part of the hull black. Not sure how I am going to cut them without making a mess of things. Will need to experiment.


- 43 replies
-
- 2
-
-
- Bluenose II
- Artesania Latina
- (and 2 more)
-
Thanks for the encouragement James
-
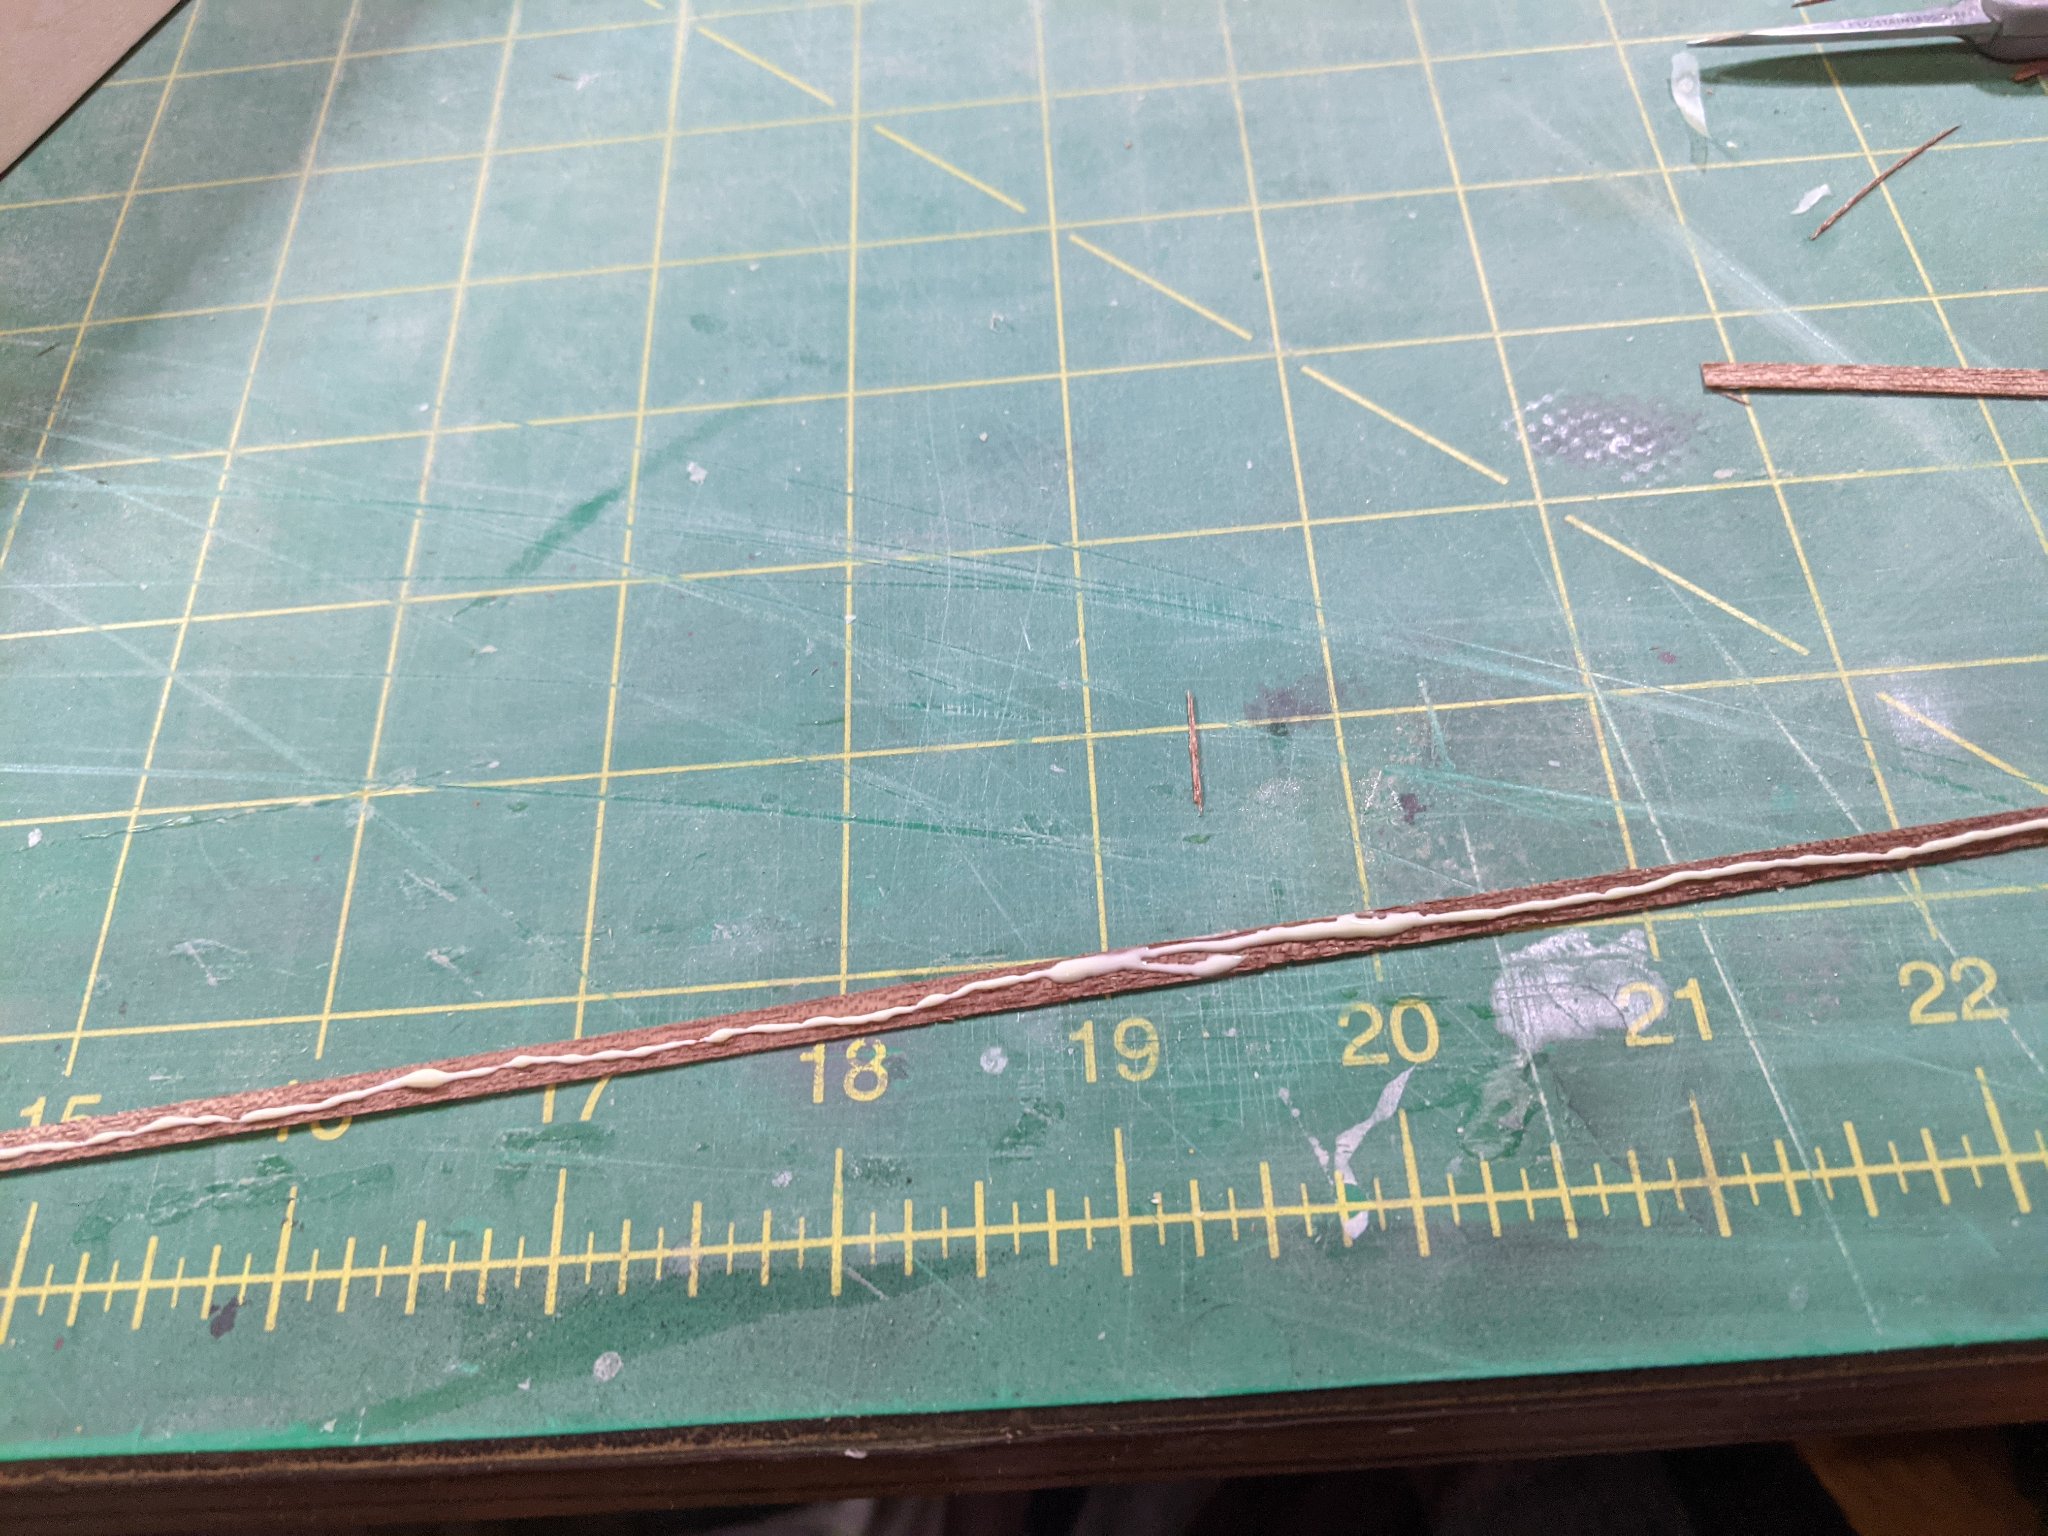
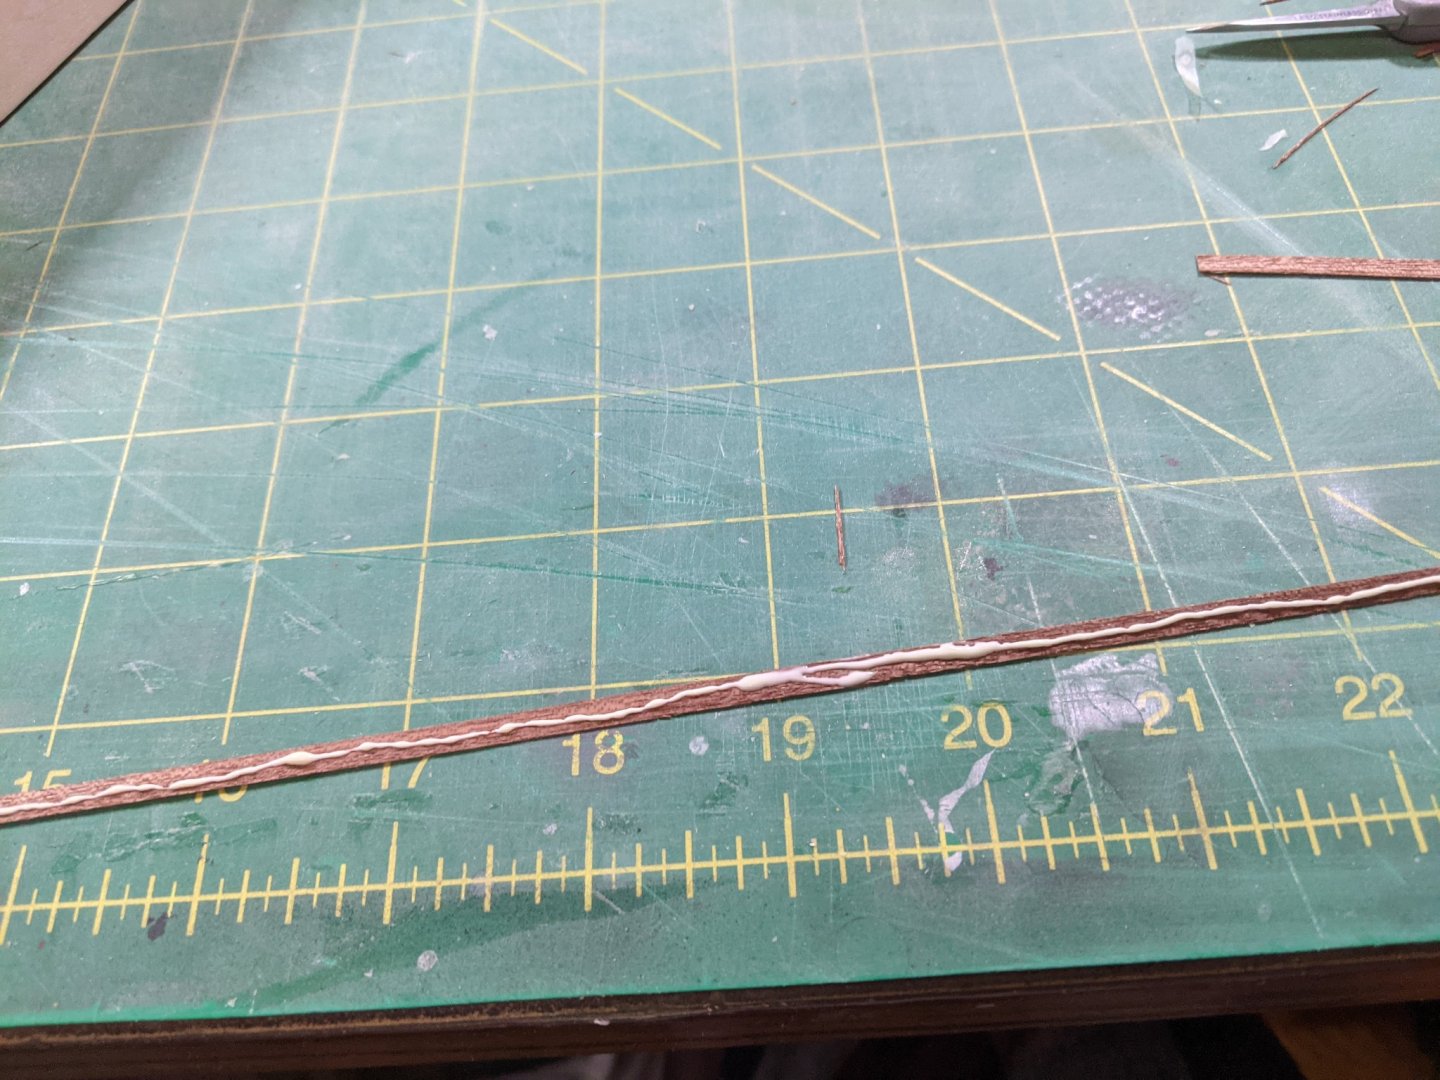
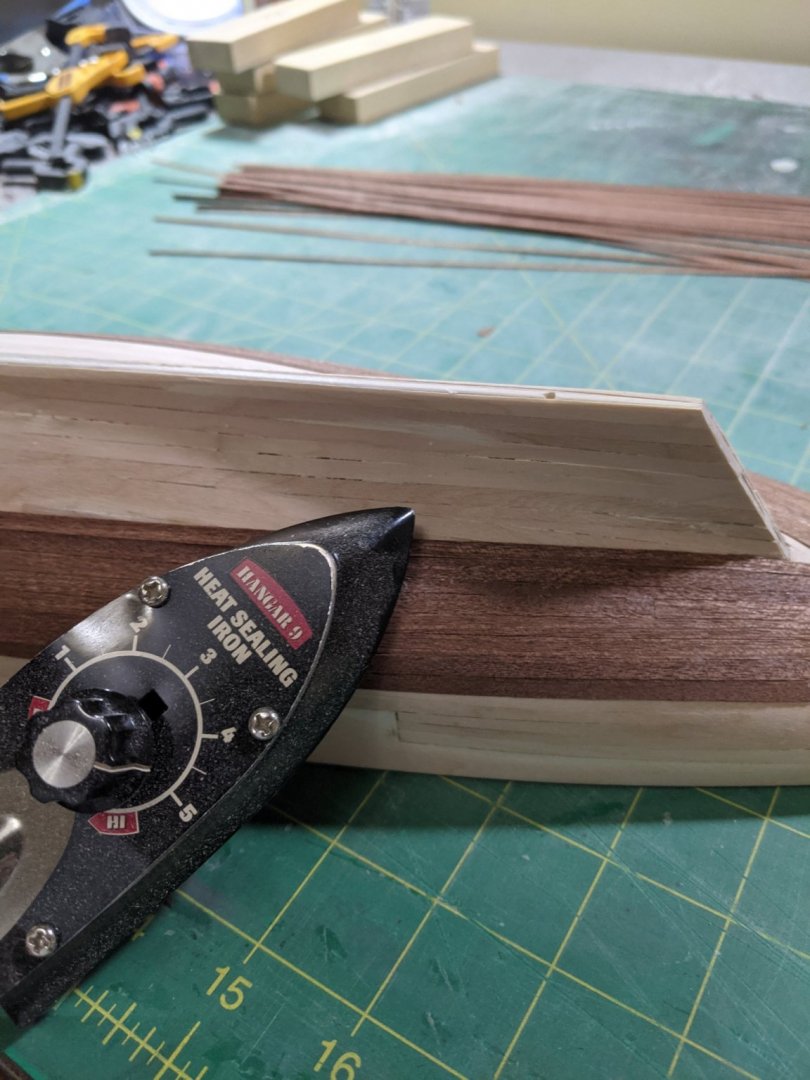
Here is how I am doing this and it works well. Put a string of glue on the plank and put it in place. The use my covering iron to help set the glue and bend the plank in place. This goes pretty quick.
- 43 replies
-
- 4
-
-
- Bluenose II
- Artesania Latina
- (and 2 more)
-
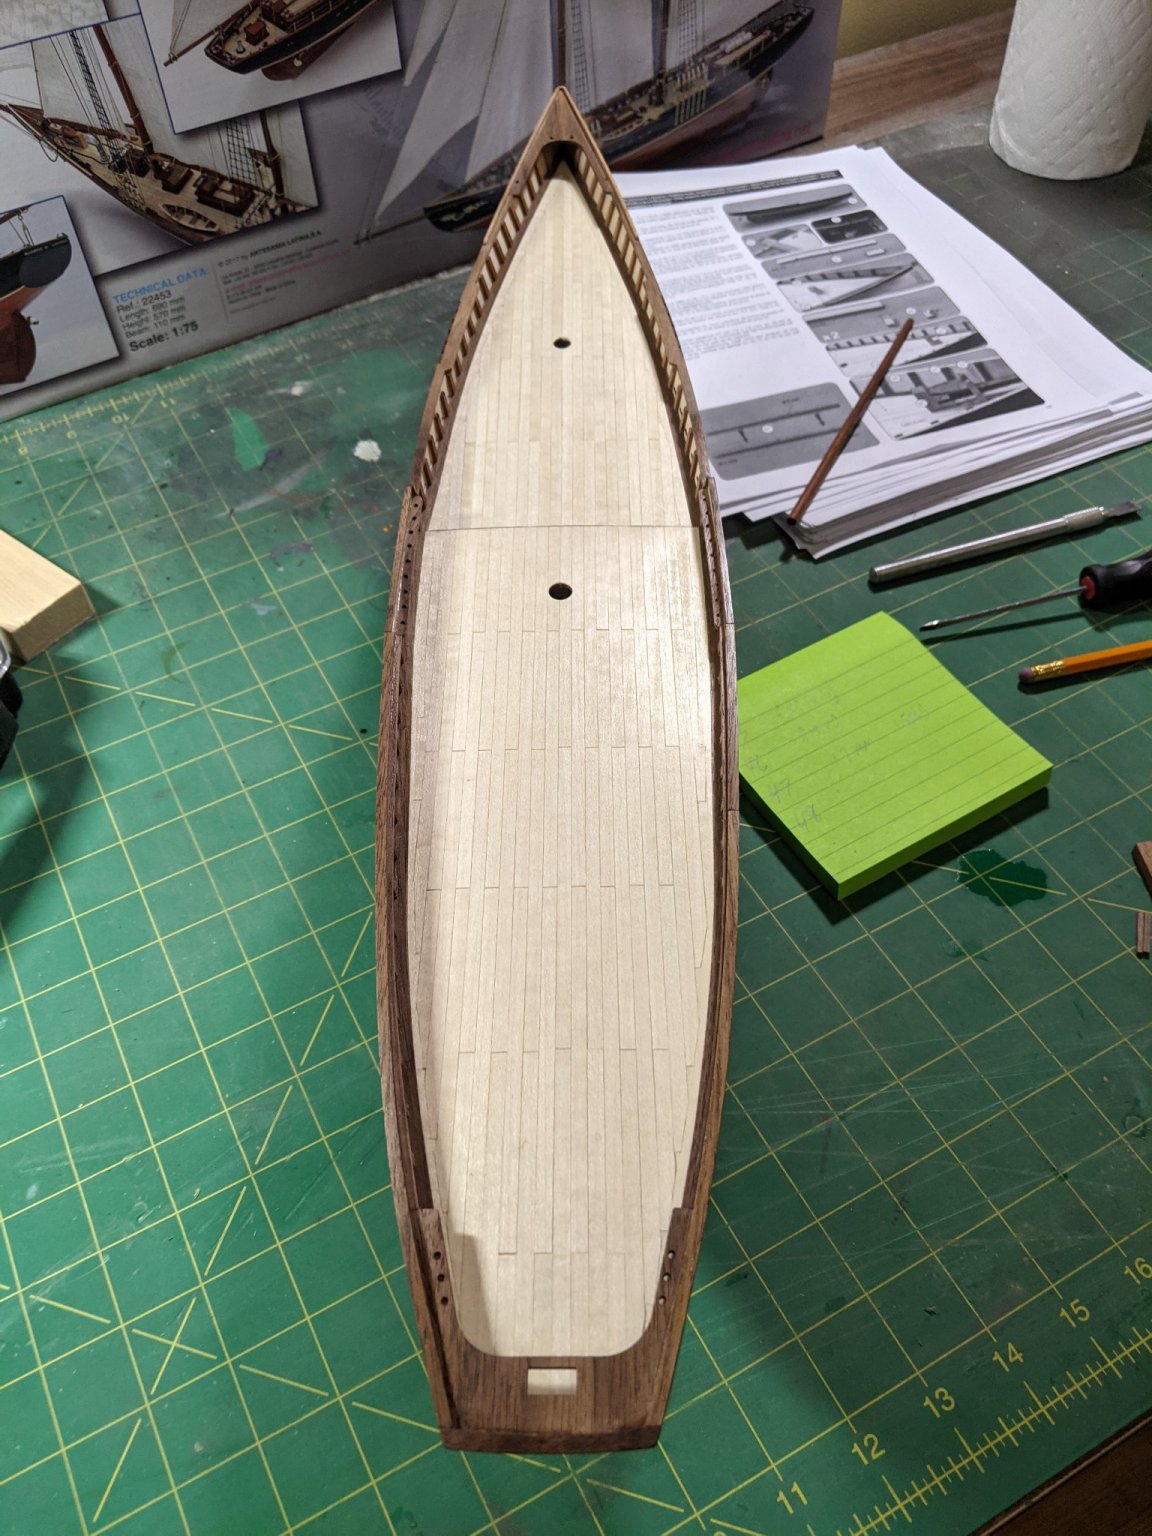
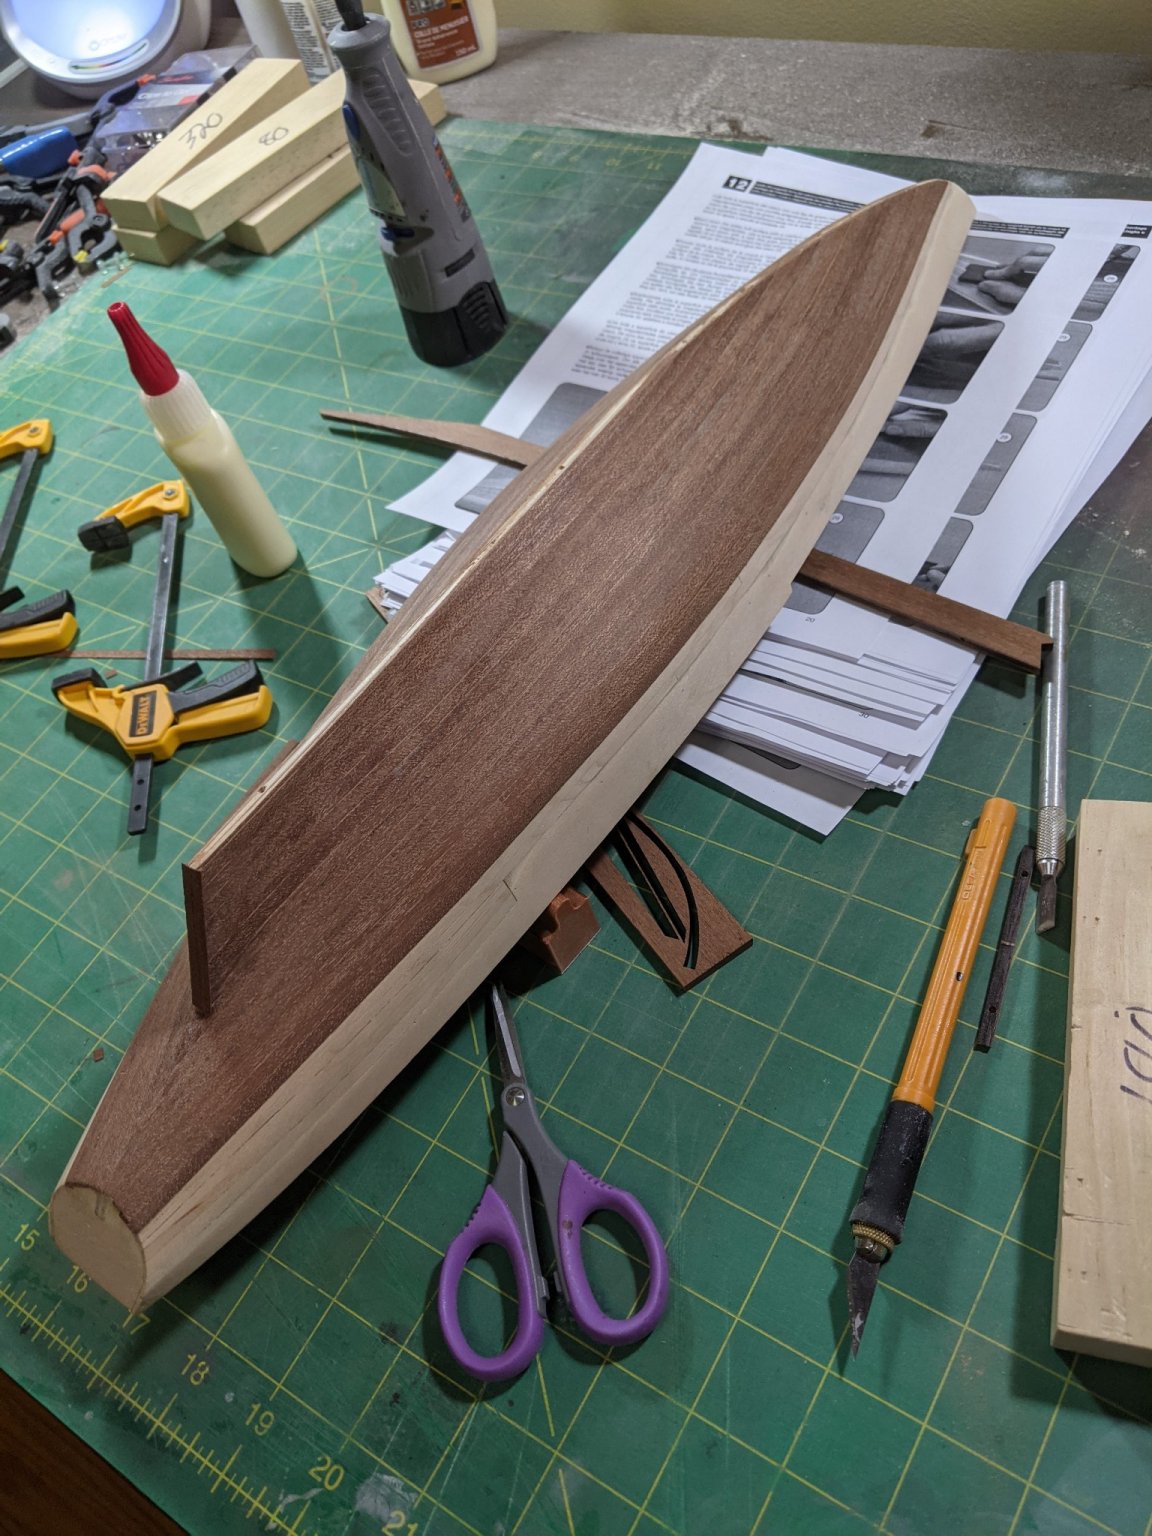
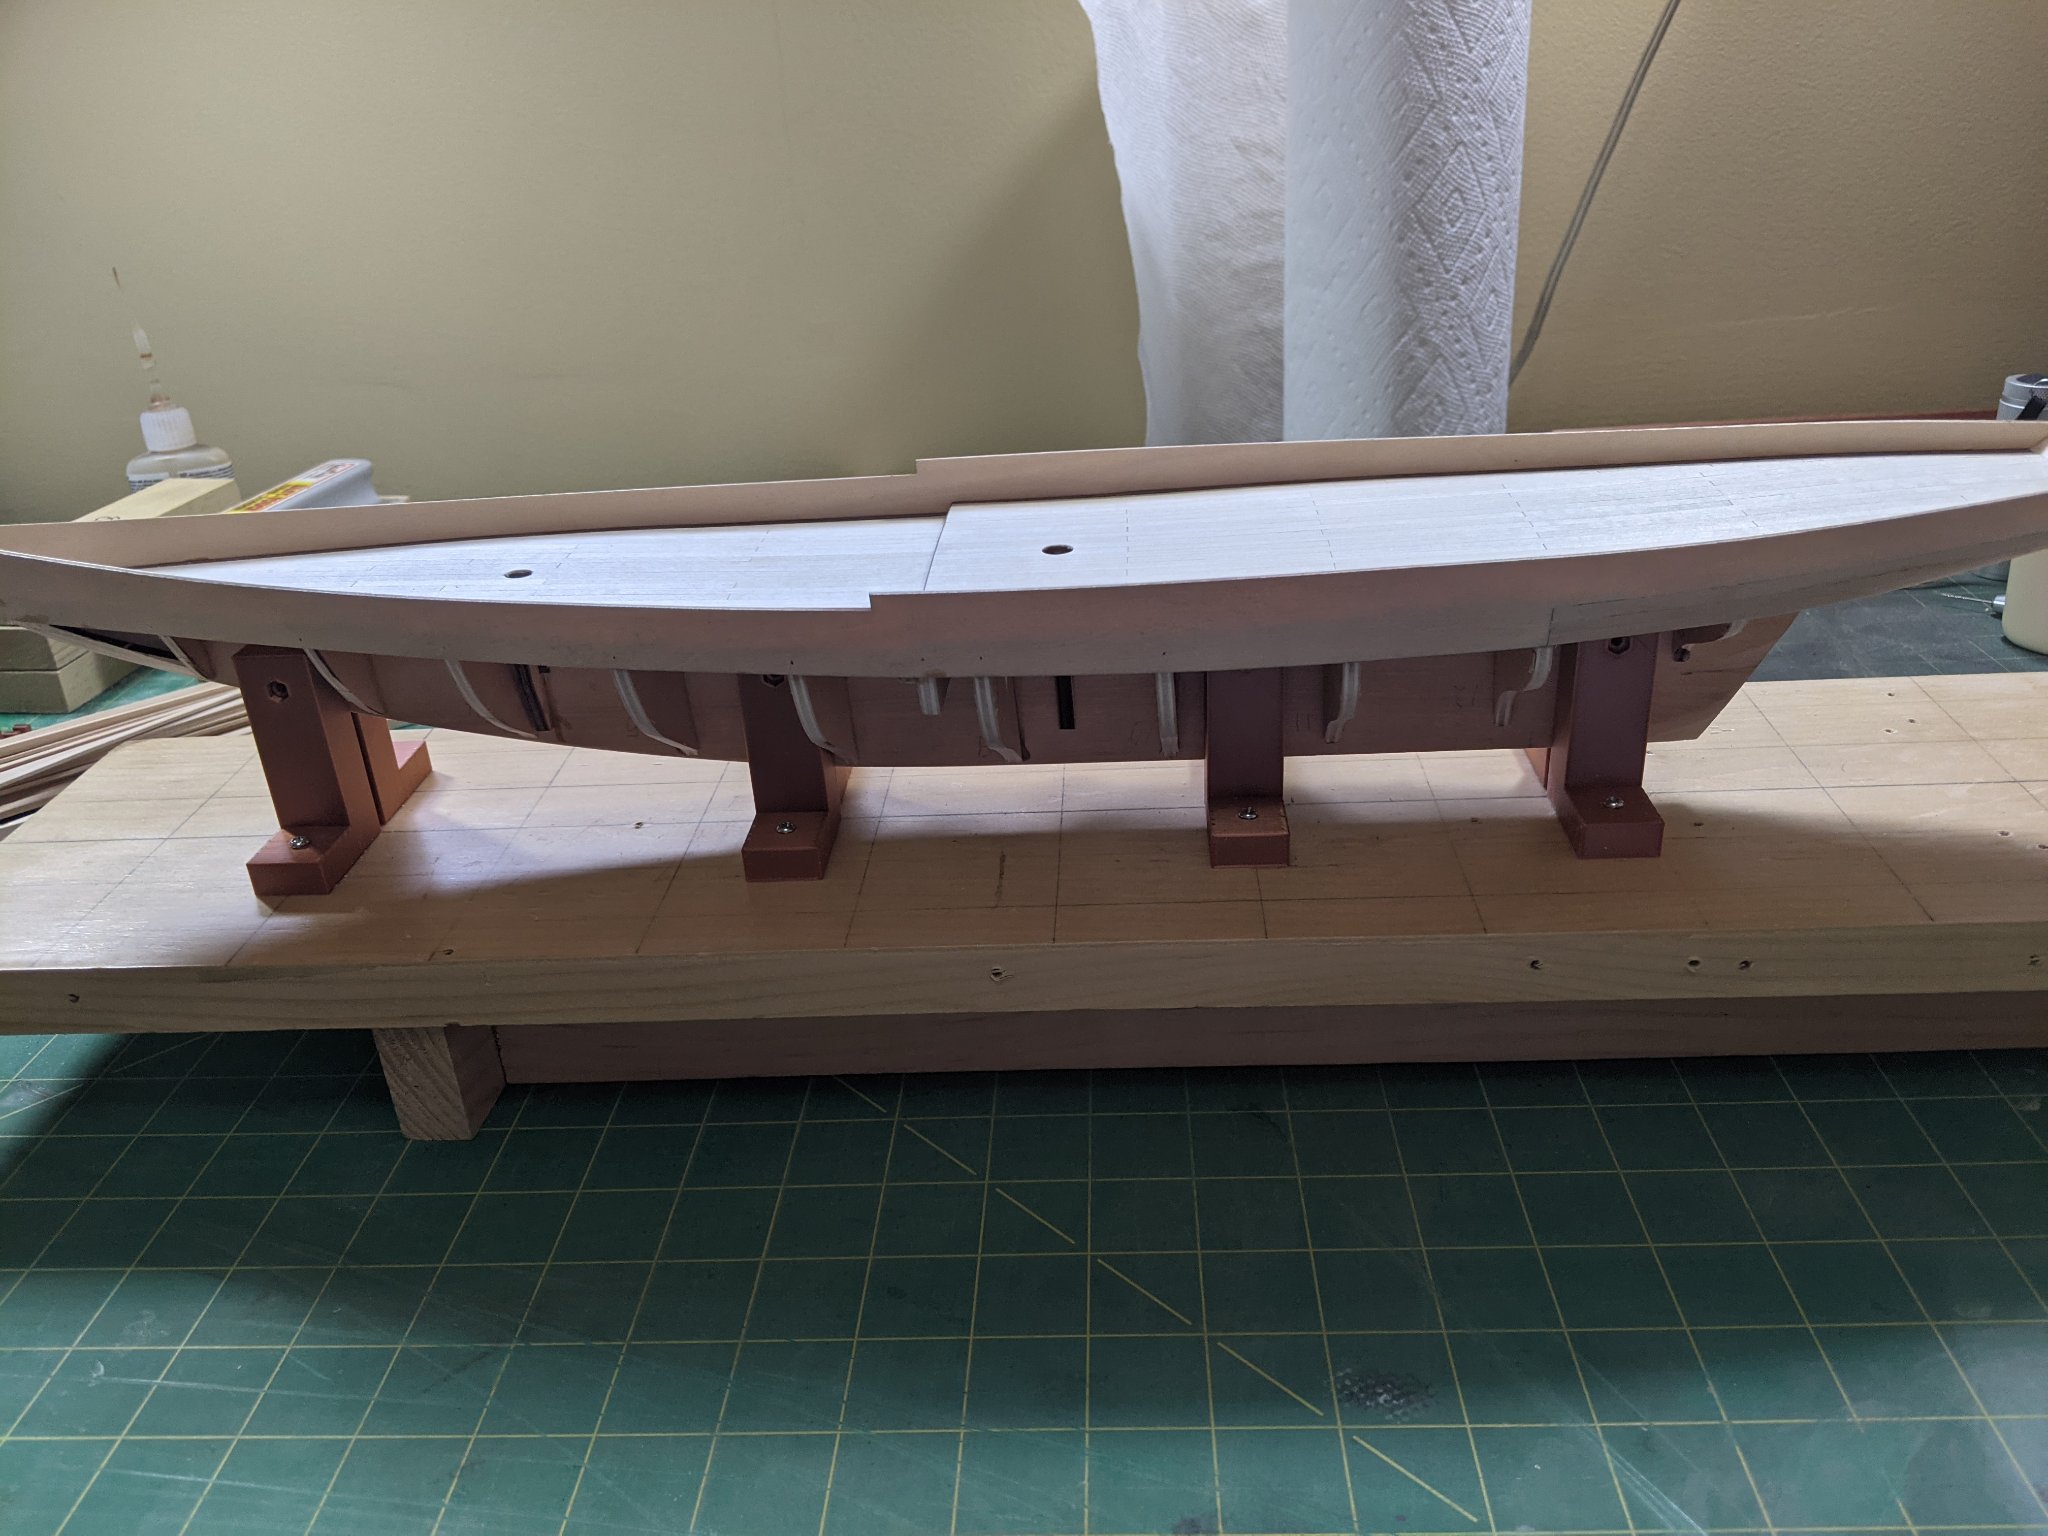
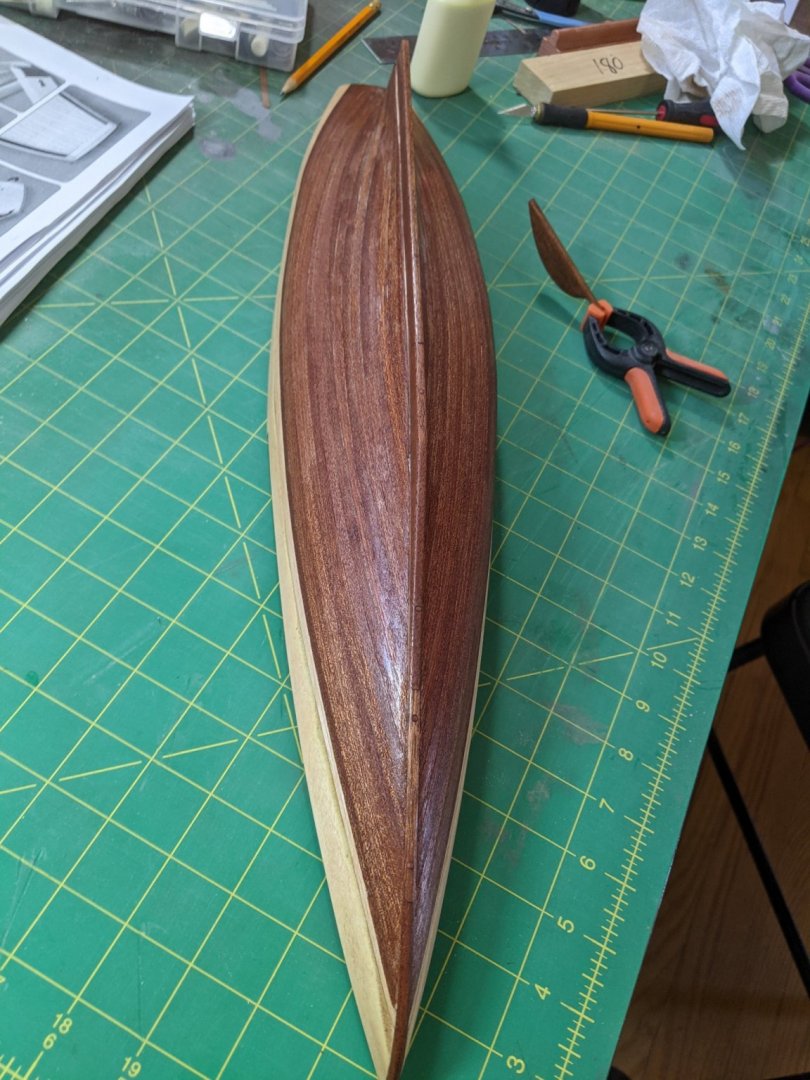
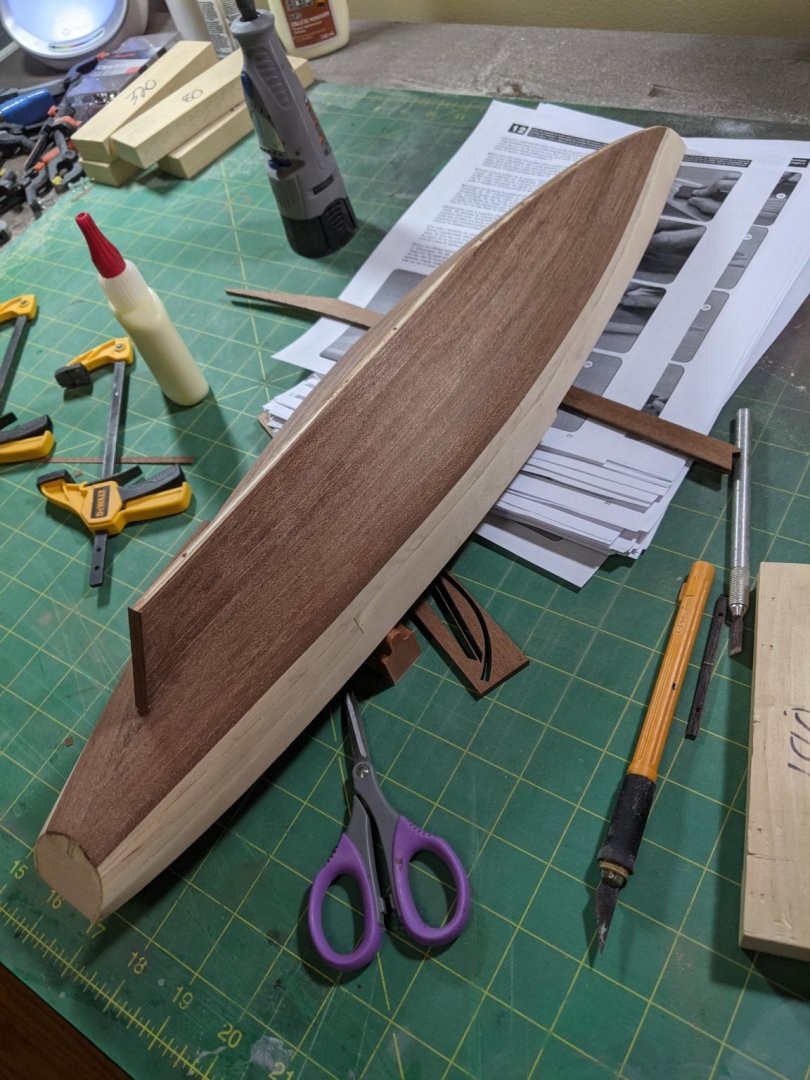
Have the first plank down and sanded. Happy with the way it turned out and very little filler needed.

- 43 replies
-
- 3
-
-
- Bluenose II
- Artesania Latina
- (and 2 more)
-
Peter that is some beautiful work. Really like the planking you did.
-
Now that I have a systems the planking is going good and is actually fun.
- 43 replies
-
- 2
-
-
- Bluenose II
- Artesania Latina
- (and 2 more)
-
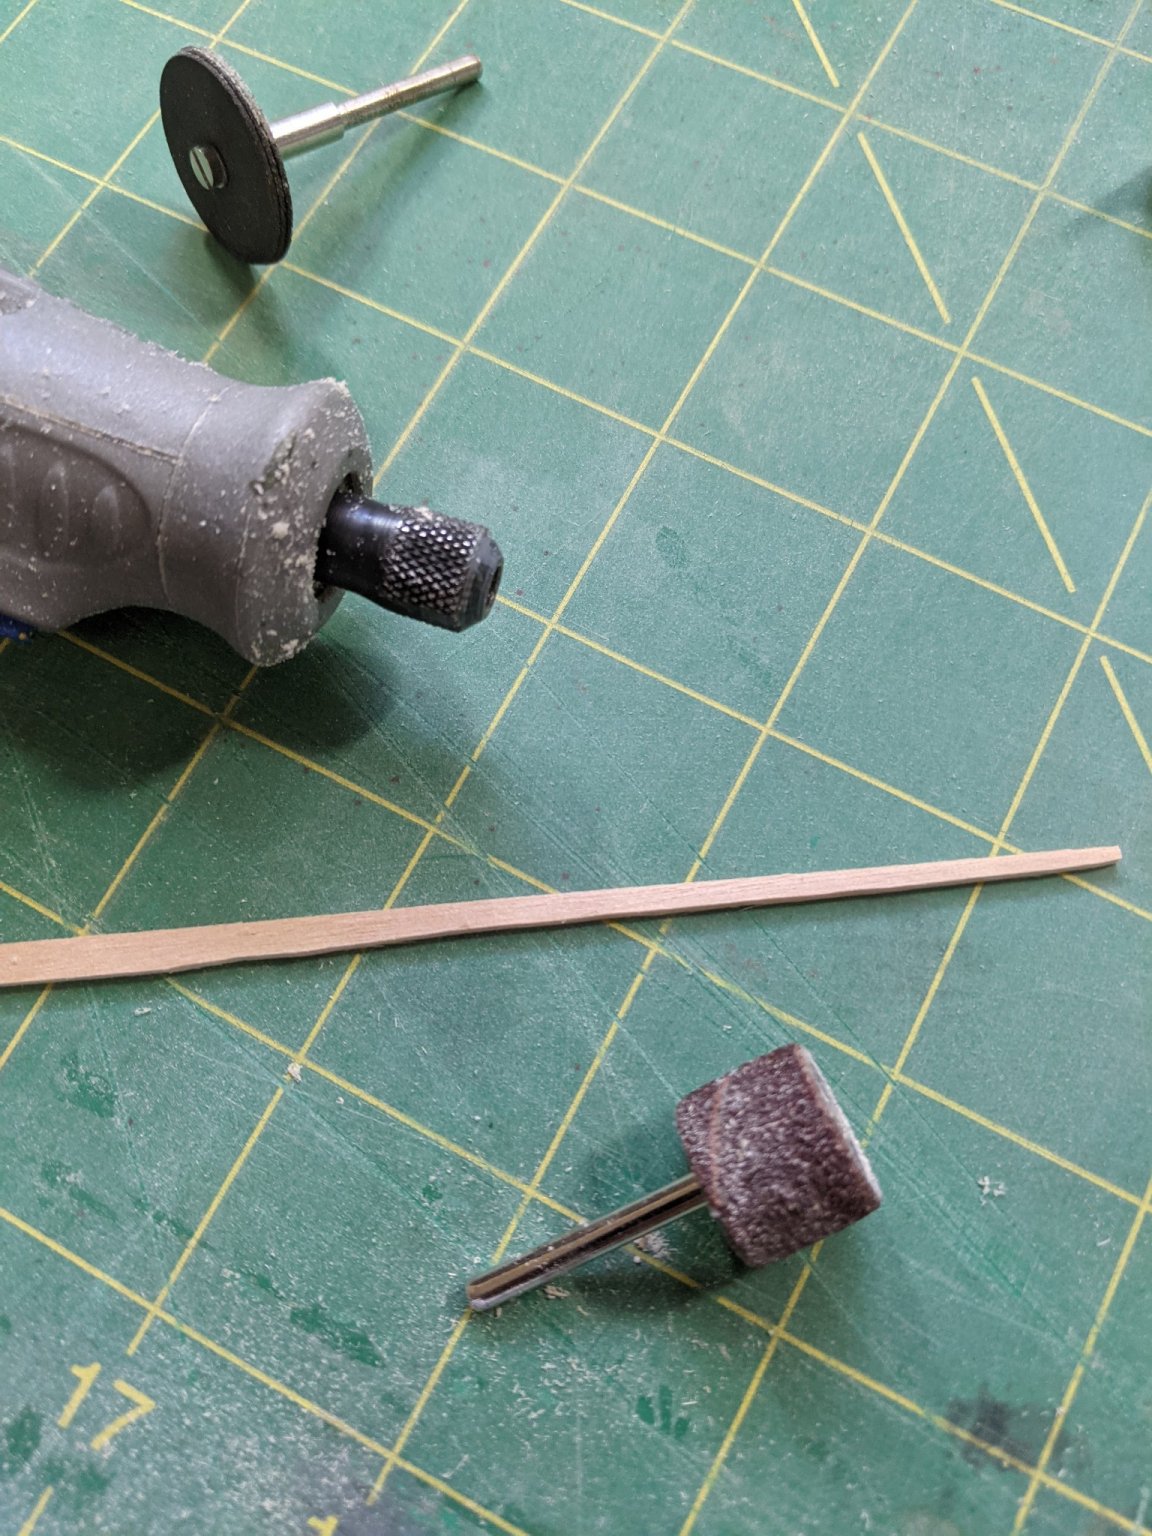
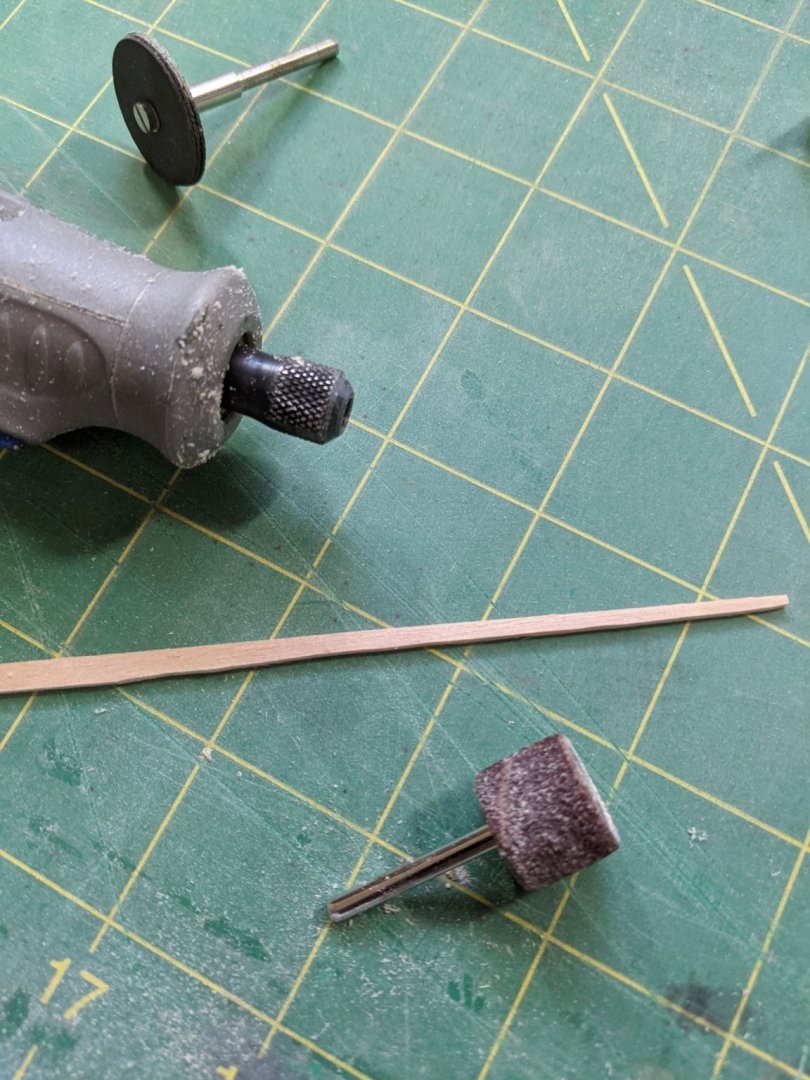
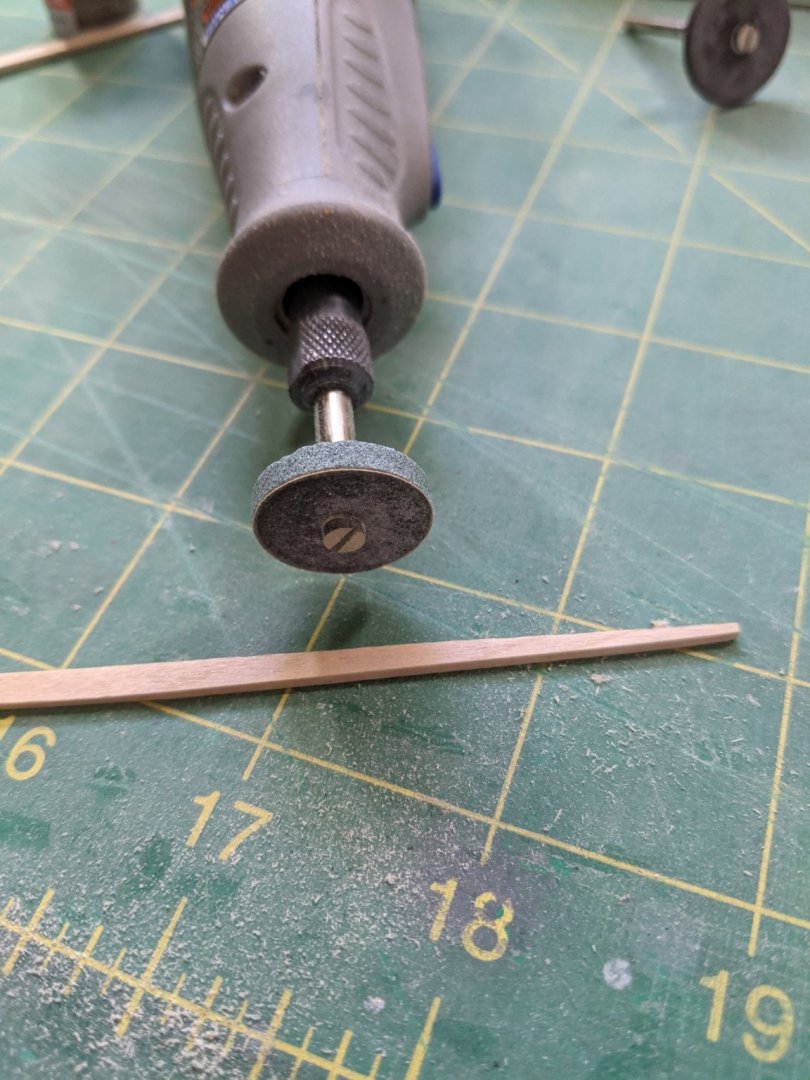
Best way I found to do this is use a drum sander in the Dremel to remove larger areas and then put a sanding disk against a similar sized grinding stone and use that to get it real close. The a few swipes with a sanding block give me perfect cuts. Does make a lot of sawdust though.

- 43 replies
-
- 3
-
-
- Bluenose II
- Artesania Latina
- (and 2 more)
-
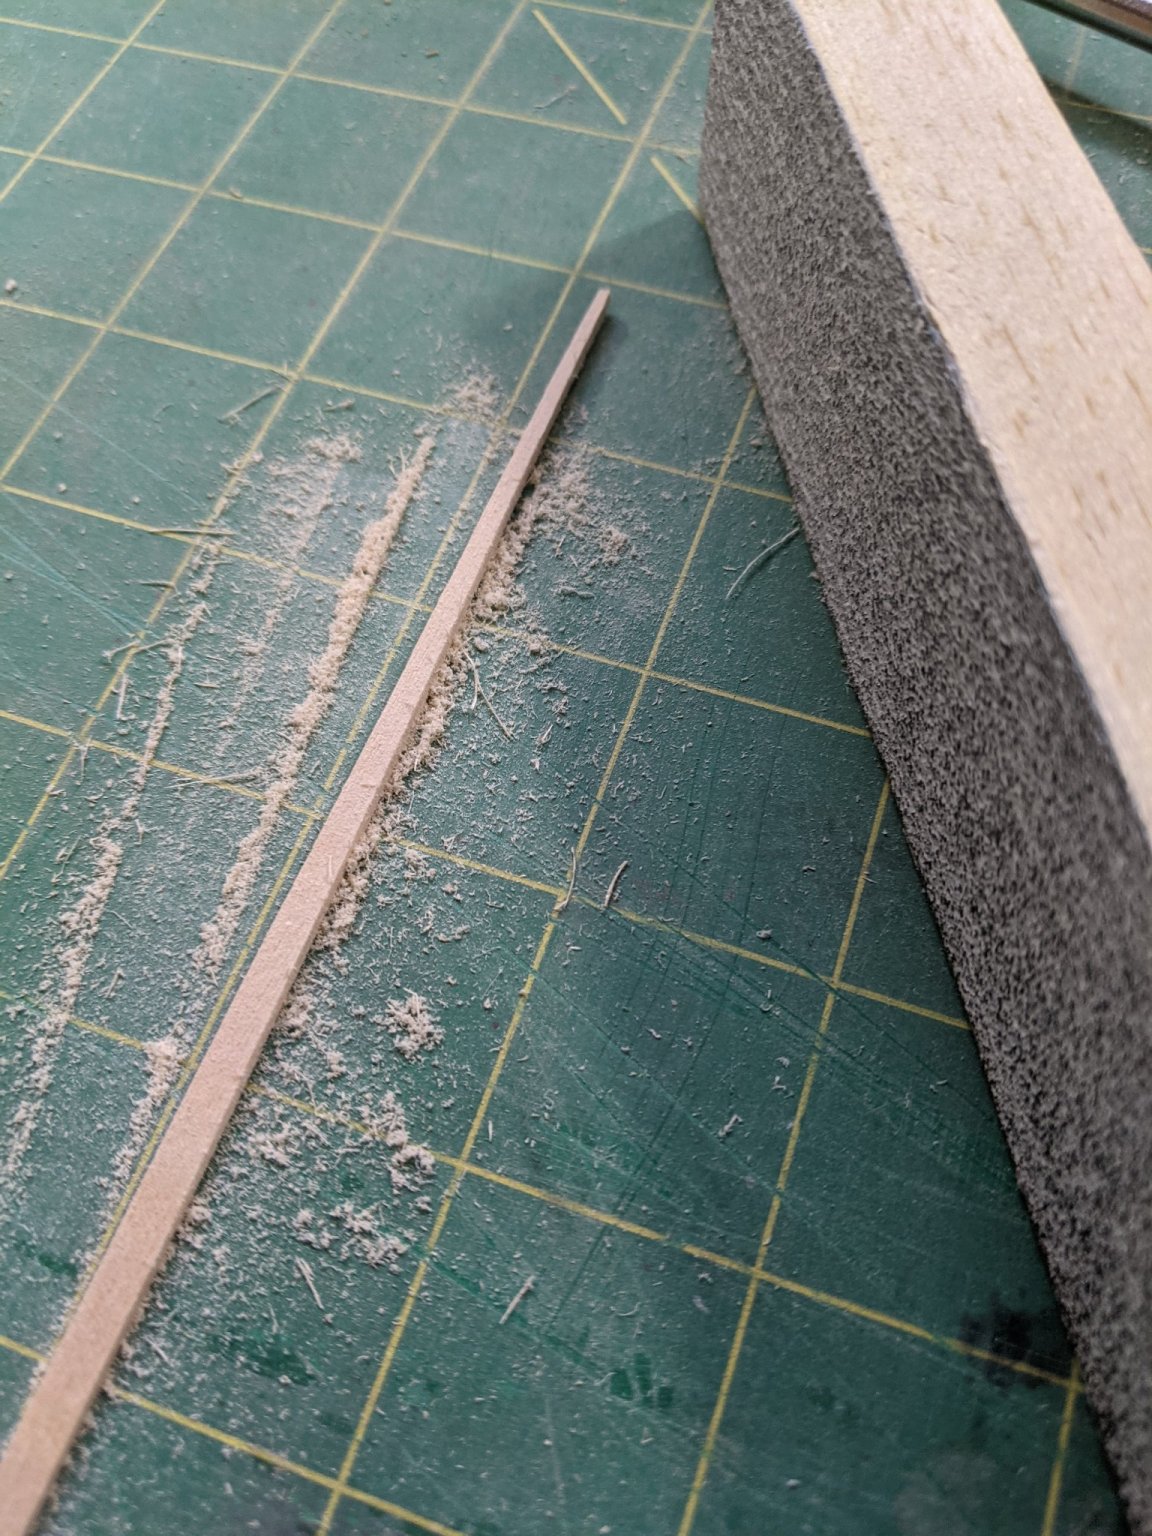
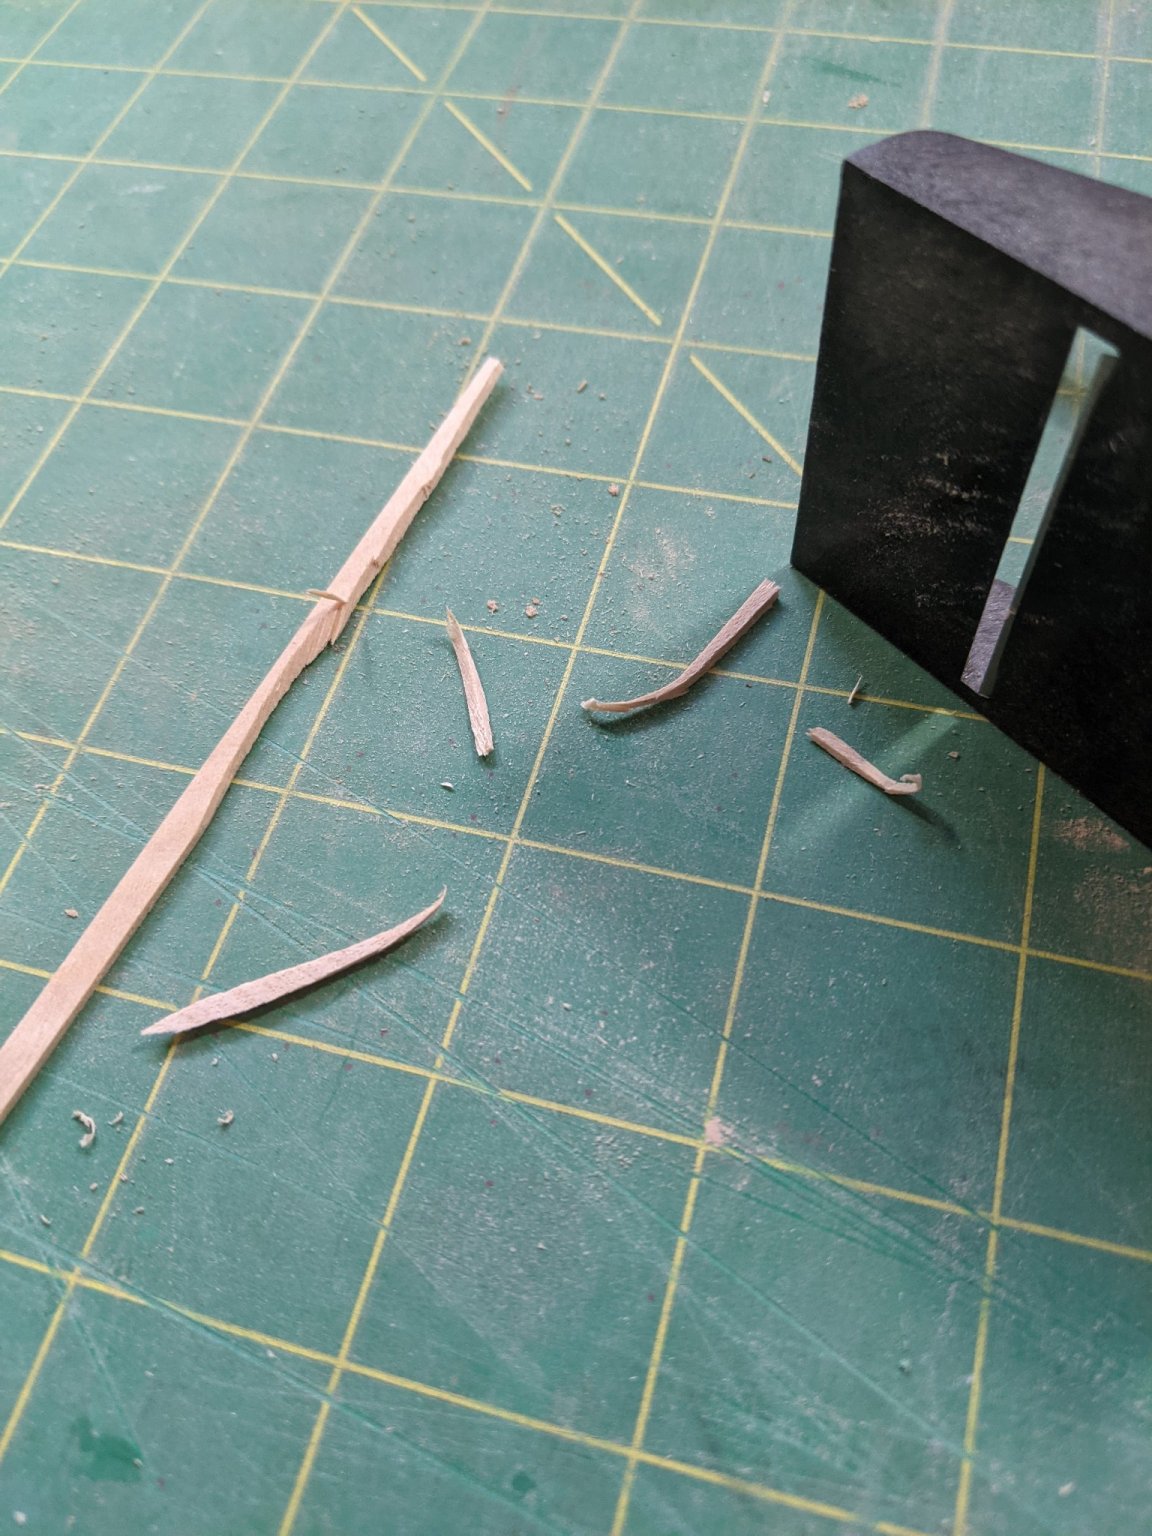
So I tried using my micro plane with a fresh blade to trim planks and here is the result. Not so good...

- 43 replies
-
- 2
-
-

-
- Bluenose II
- Artesania Latina
- (and 2 more)
-
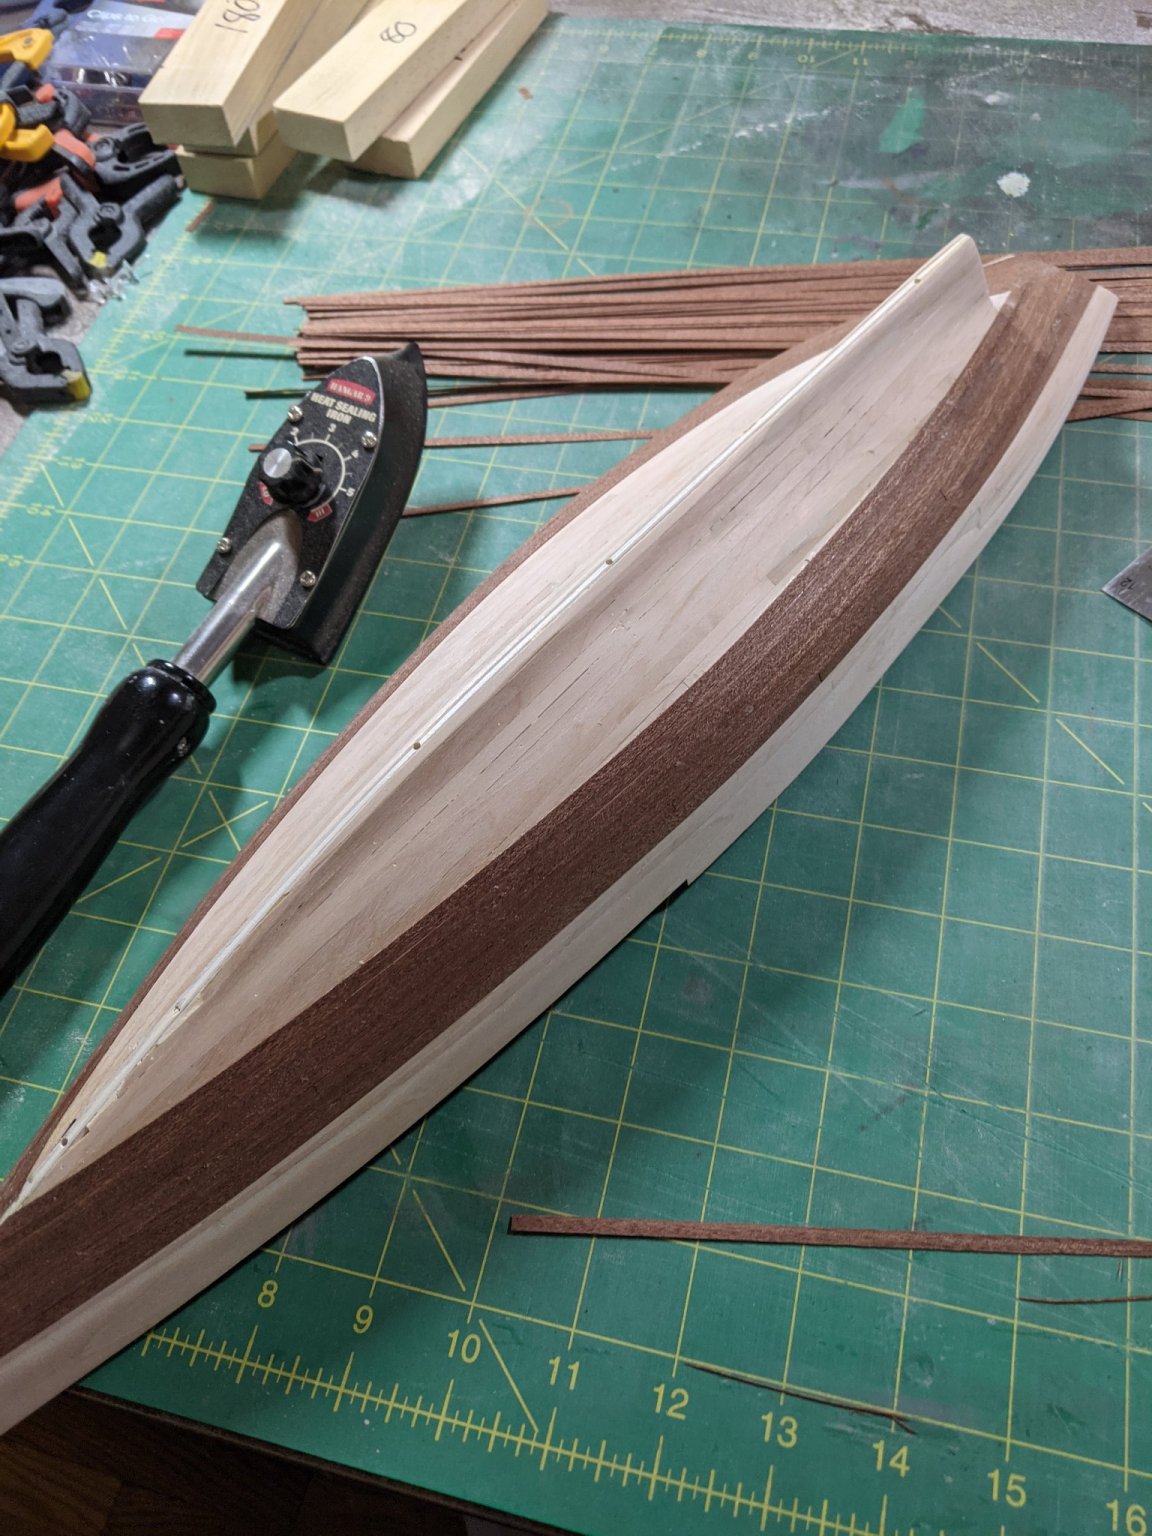
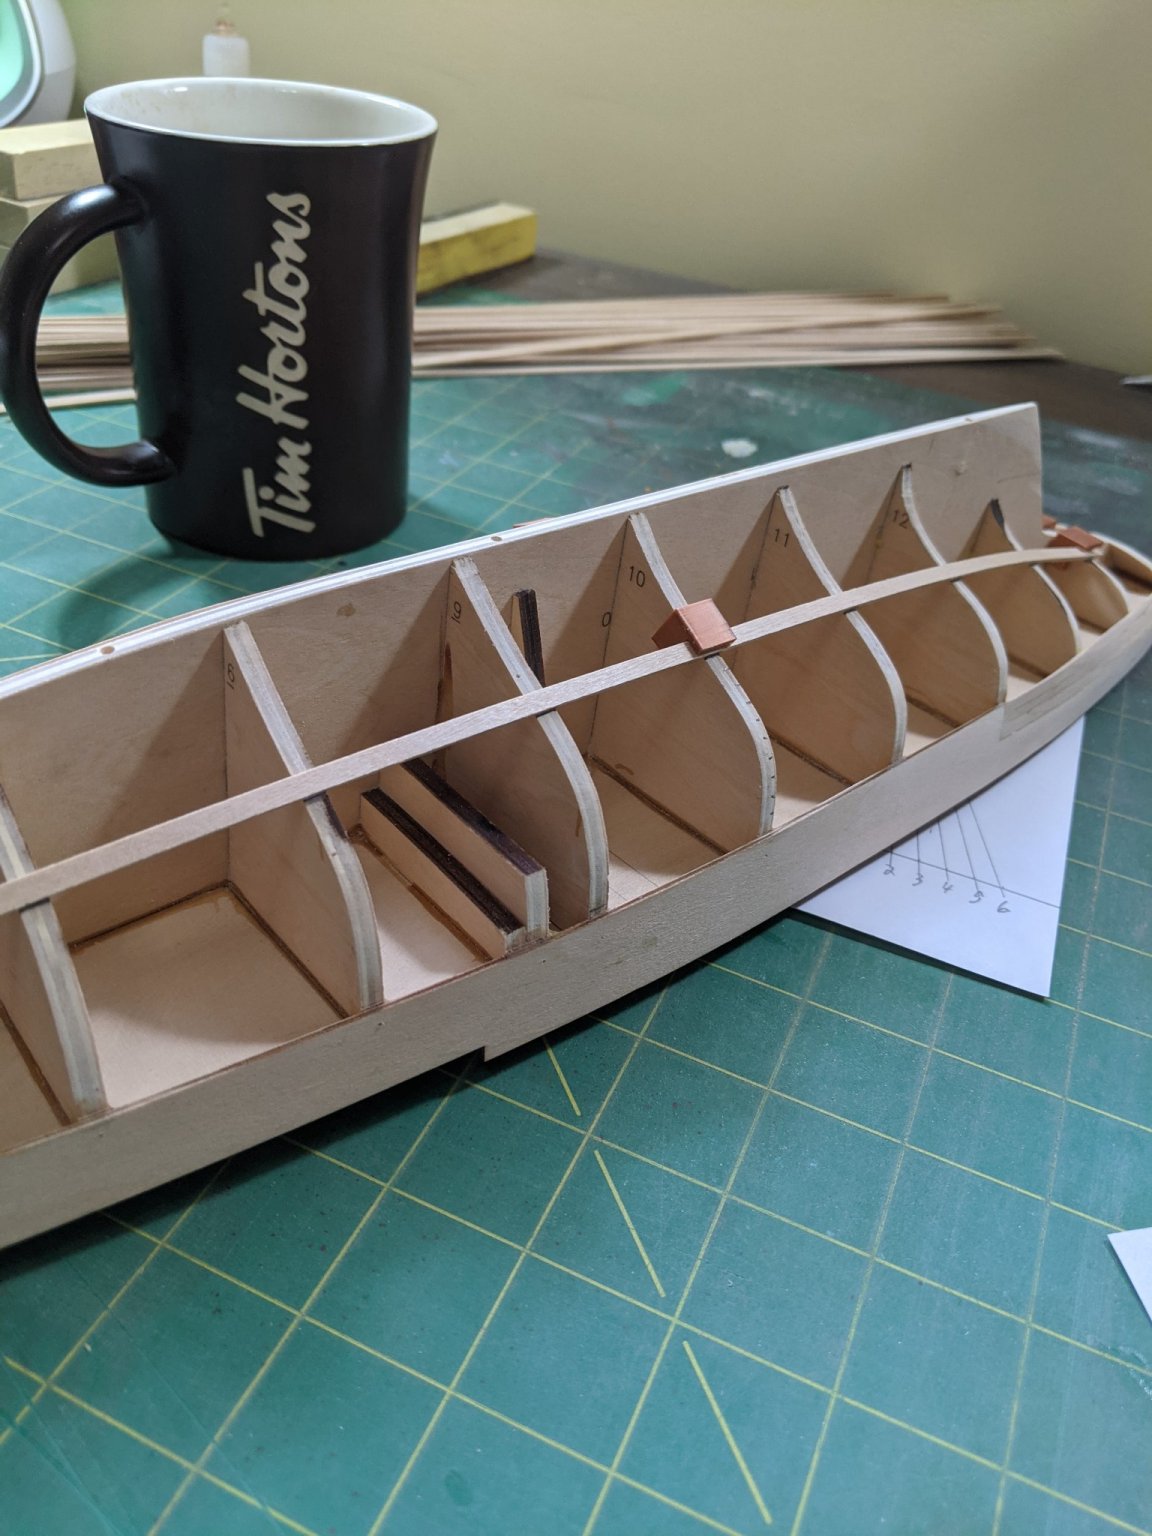
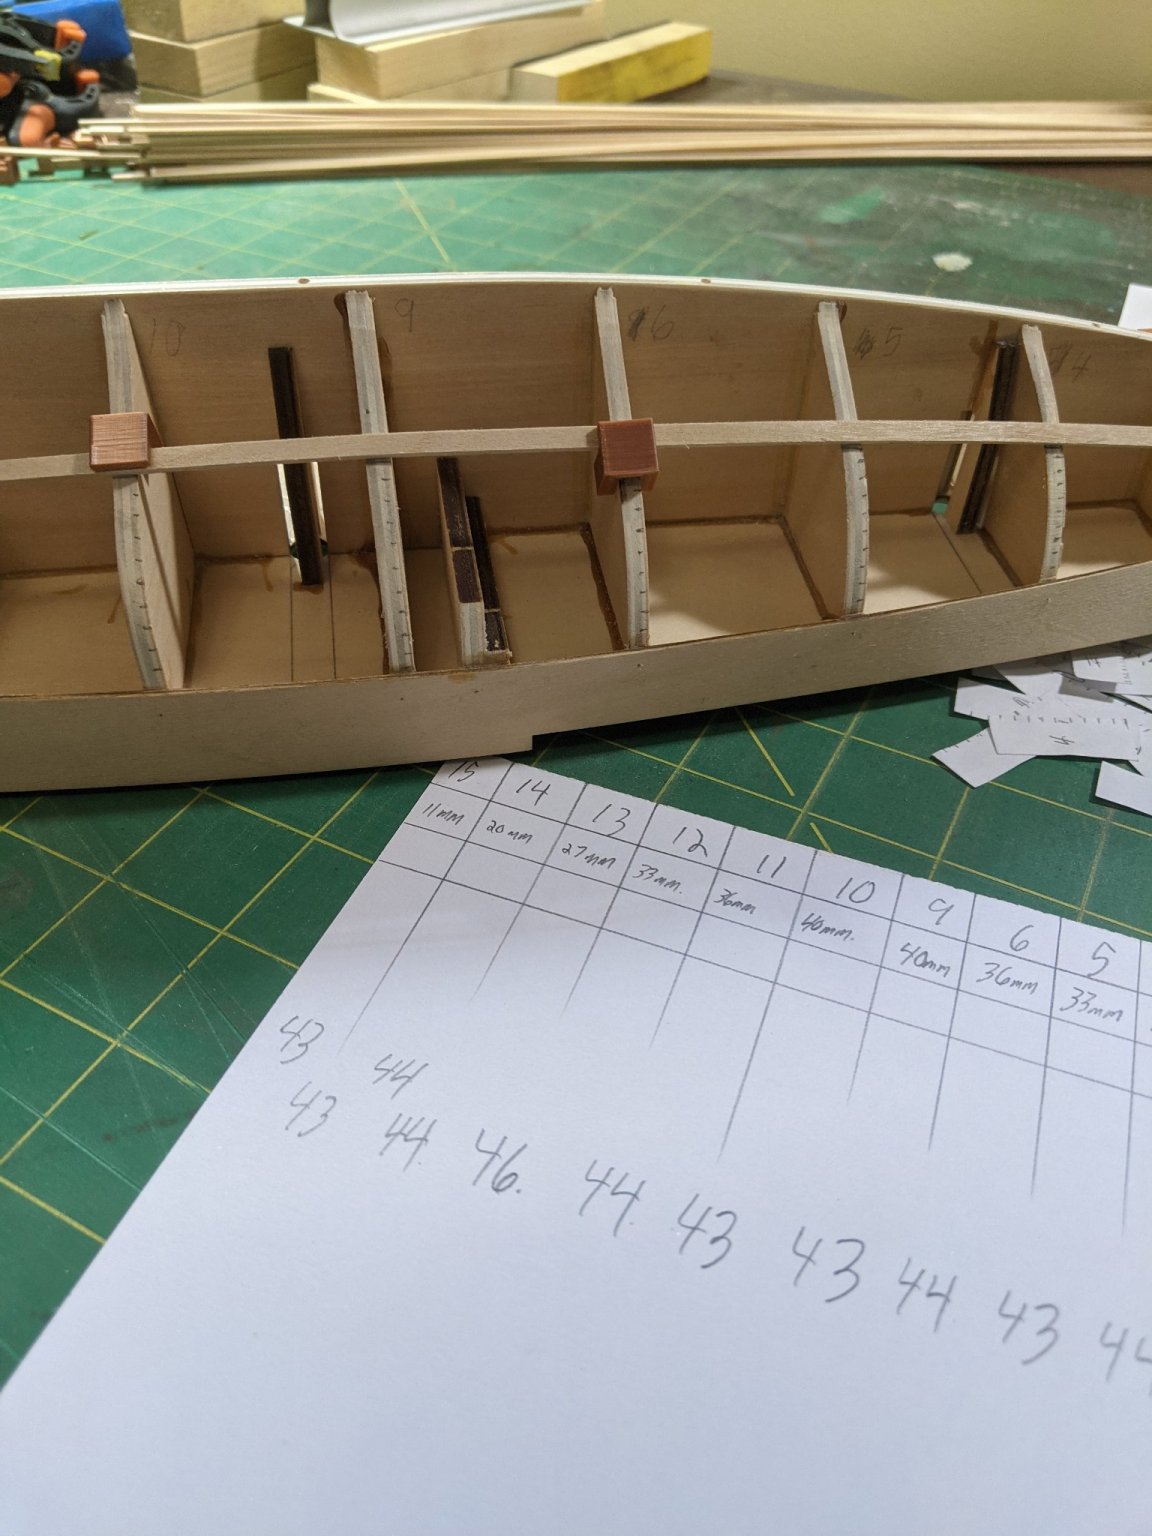
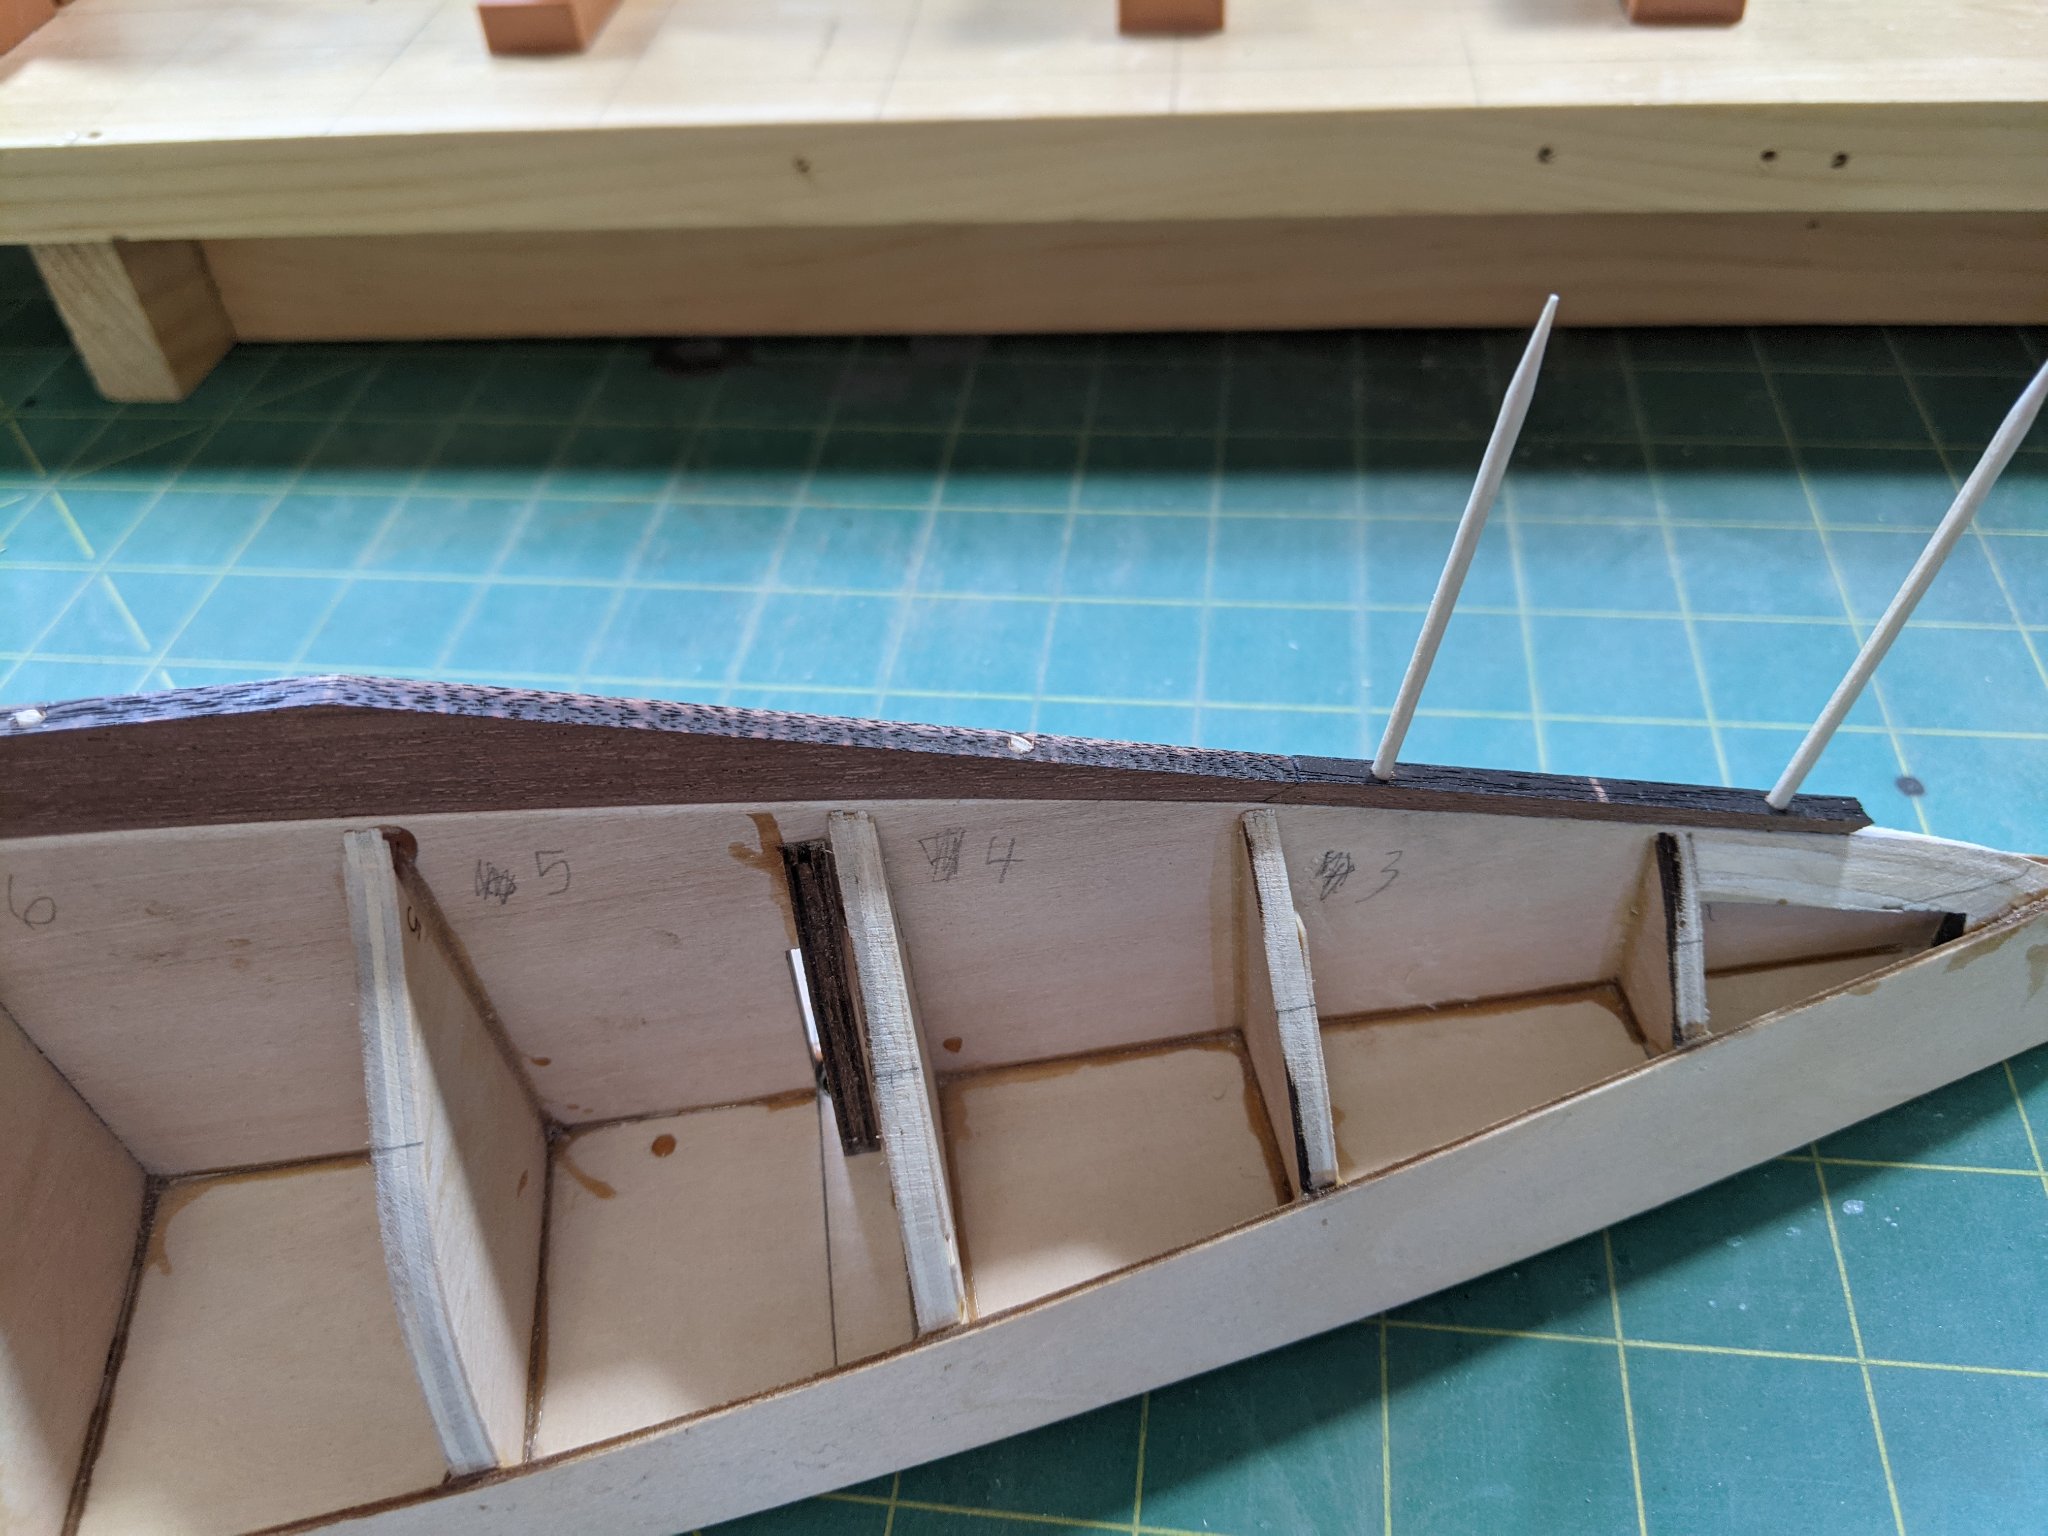
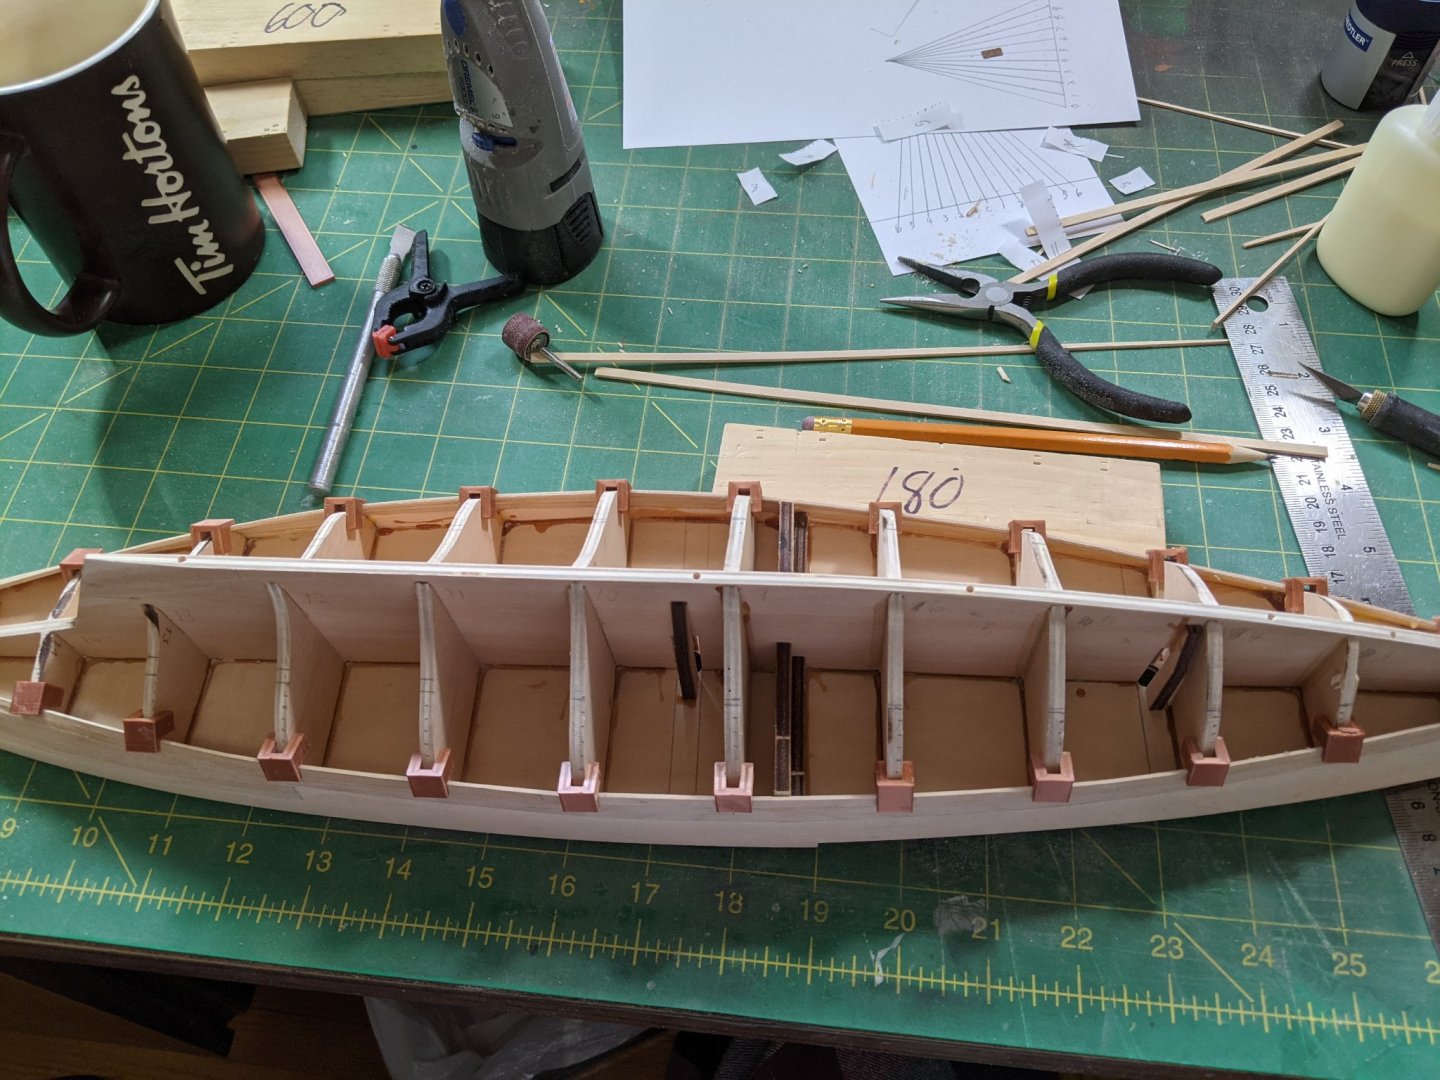
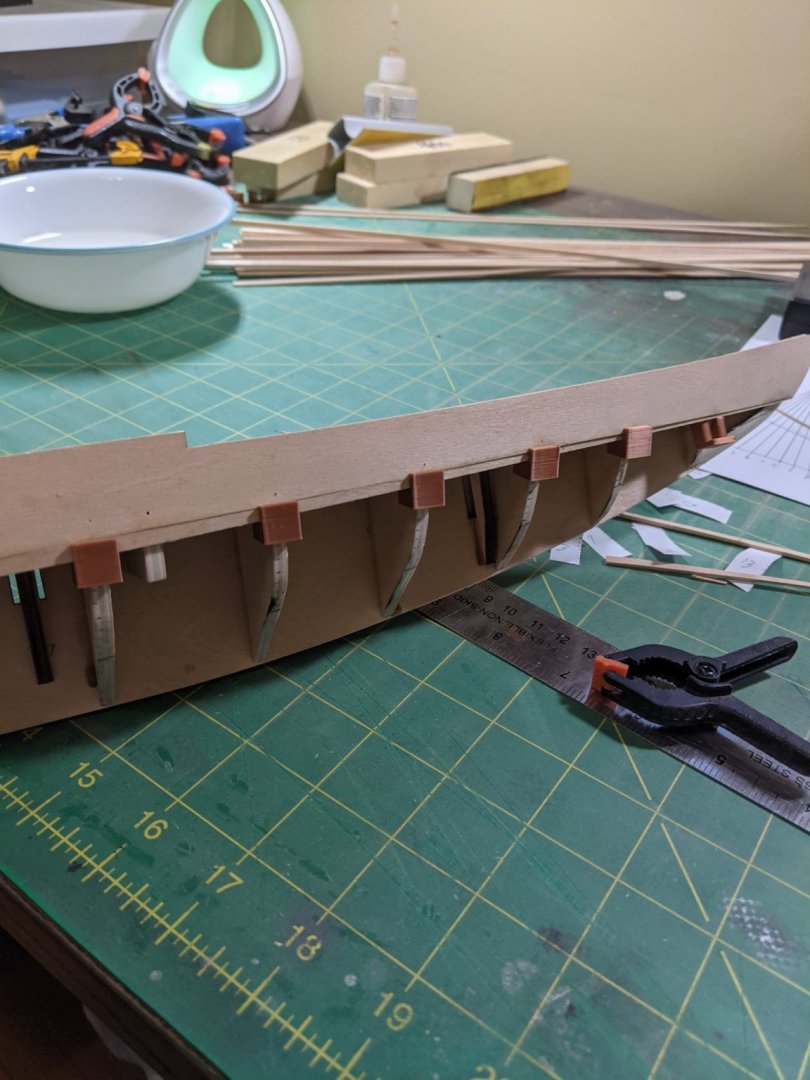
Laid out my planking and used the fan method with strips of paper for the measurements. I glued up a little jig to hold the planks so I can bend them and also you can see my covering iron I use to bend. I found that bending by holding on end of the wet plank and heating it I can see by eye how much it is bent and works fine for me. Got my first plank run and I did print up a few clamps that work well to hold them down while the glue sets. They are friction fit. One thing I am having trouble with is cutting the planks. This hardwood is murder on my #11 blades and I think I need to come up with a different solution to shape the planks either by sanding or planing.


- 43 replies
-
- 4
-
-
- Bluenose II
- Artesania Latina
- (and 2 more)
-
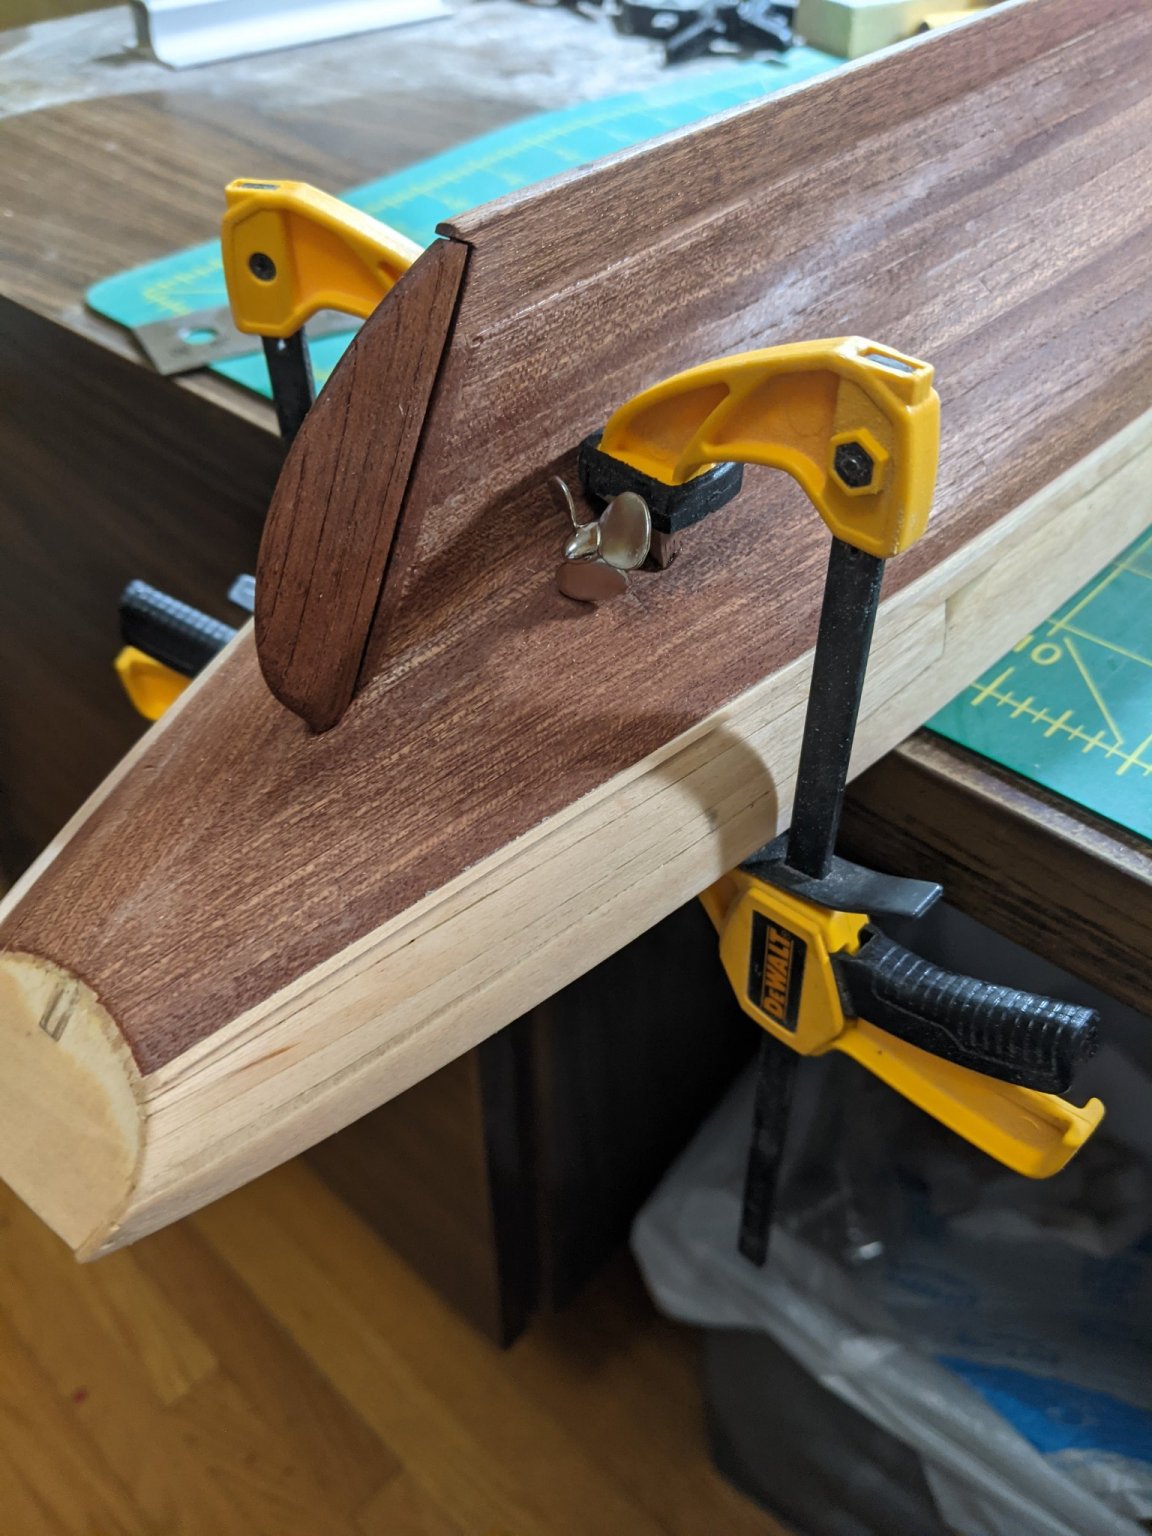
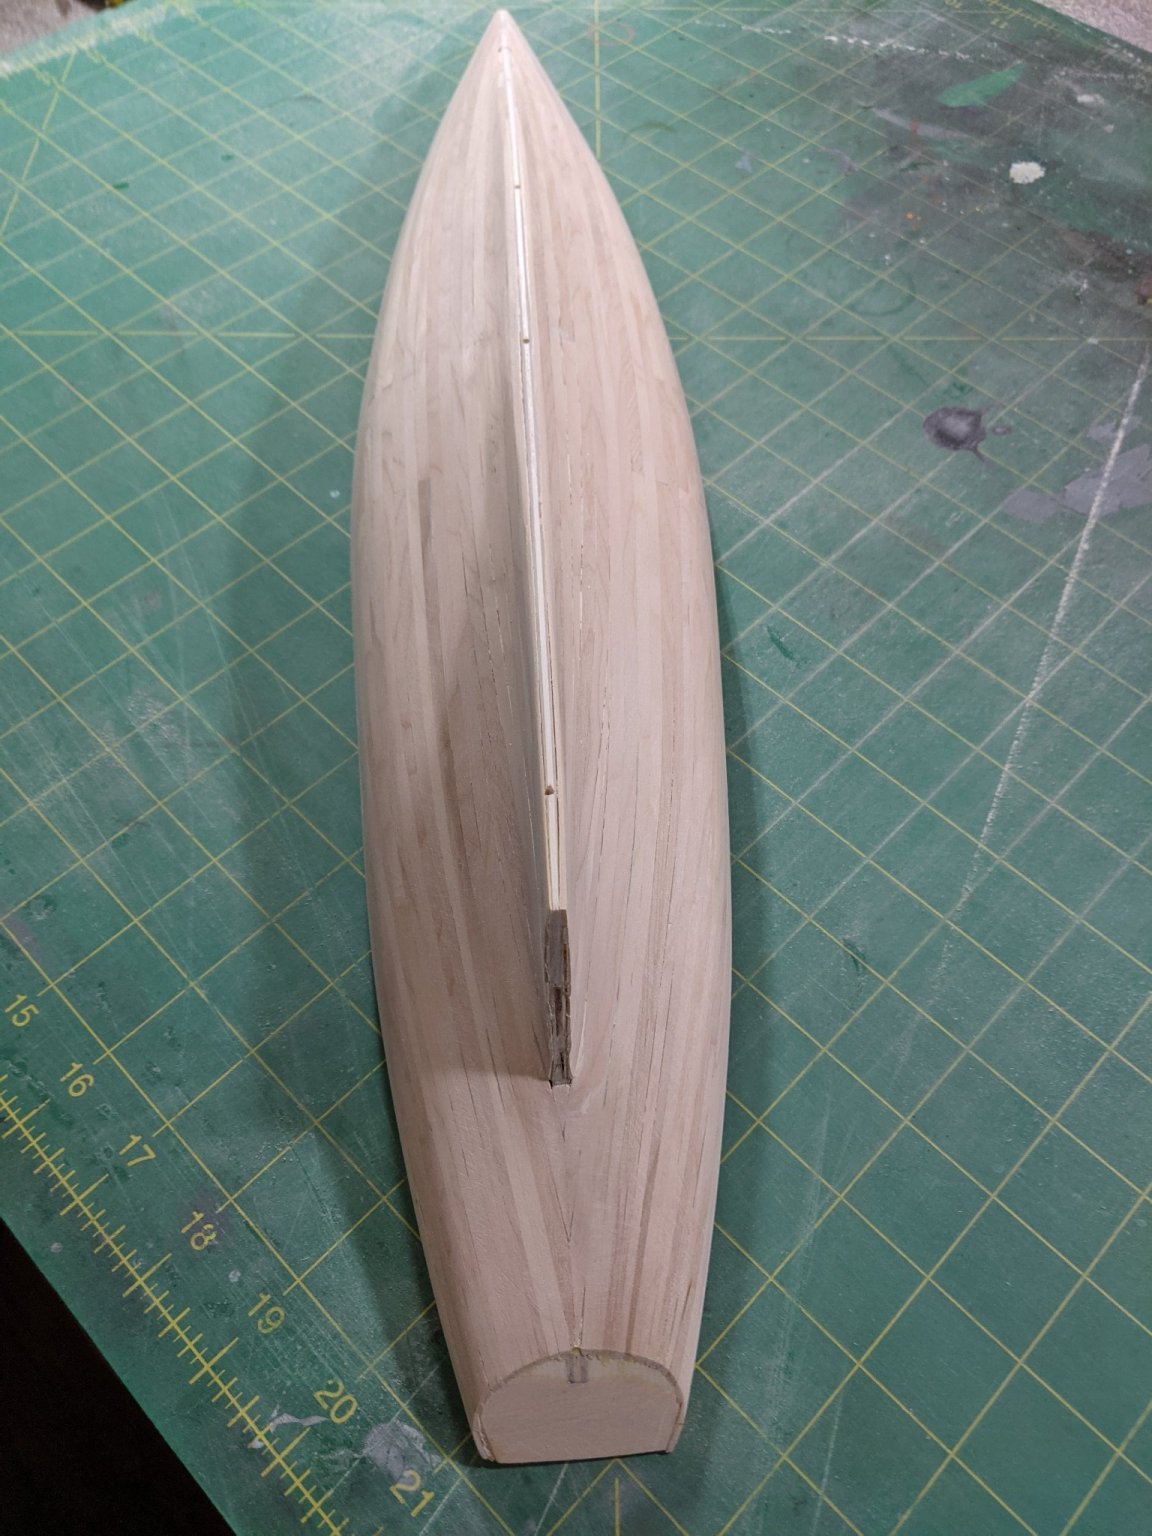
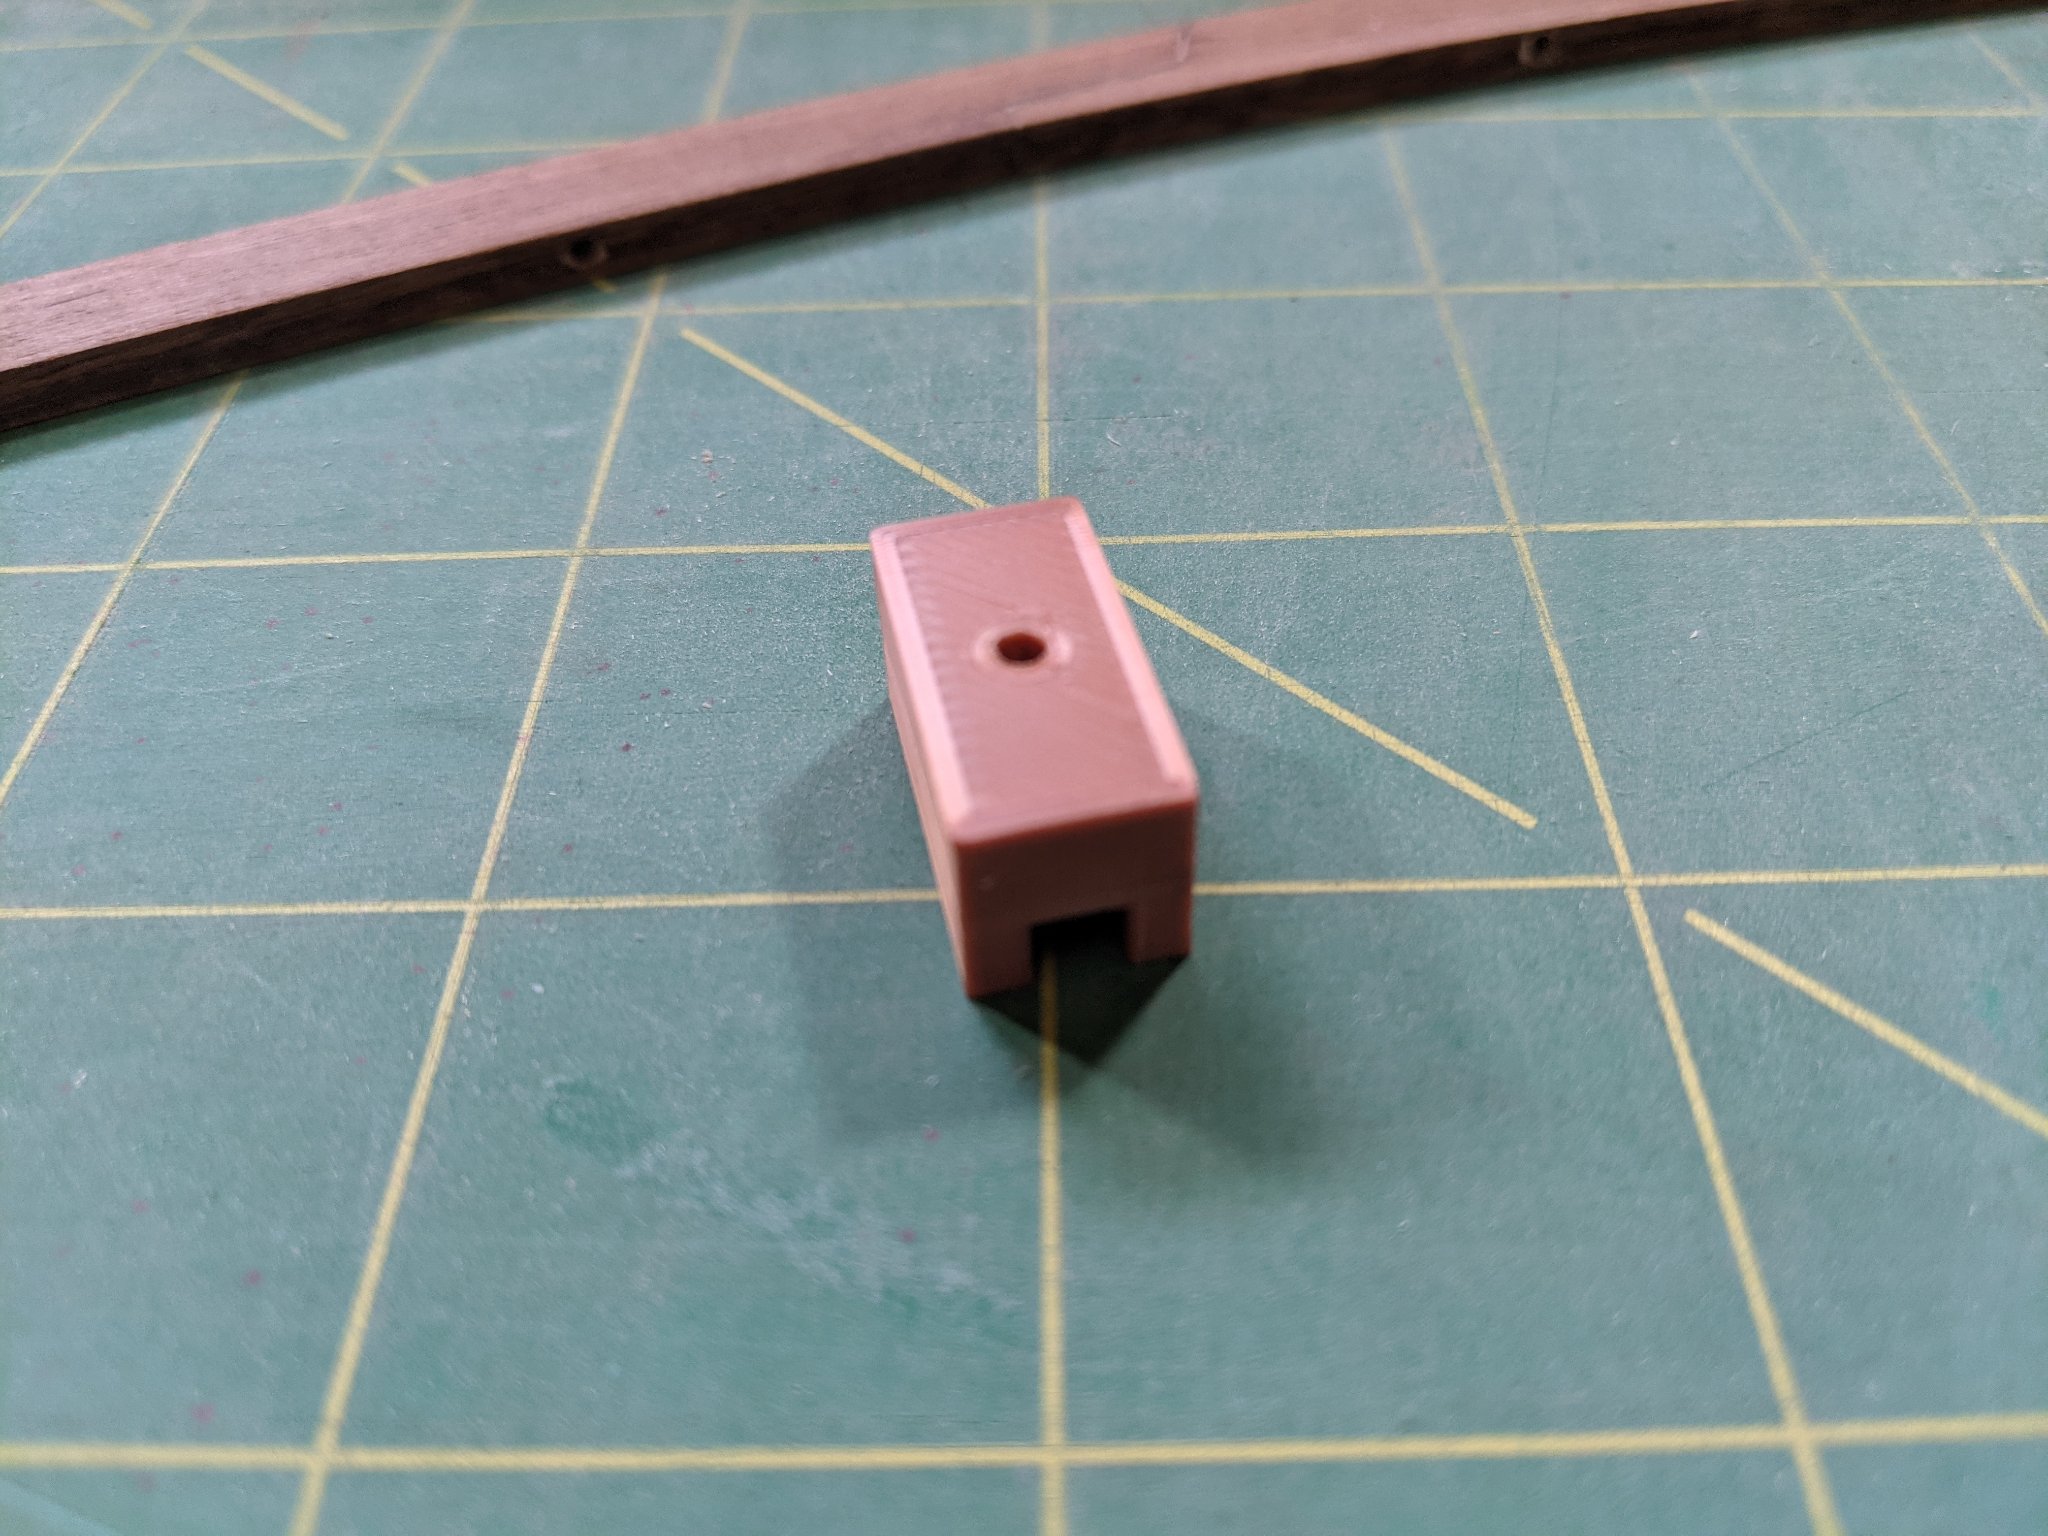
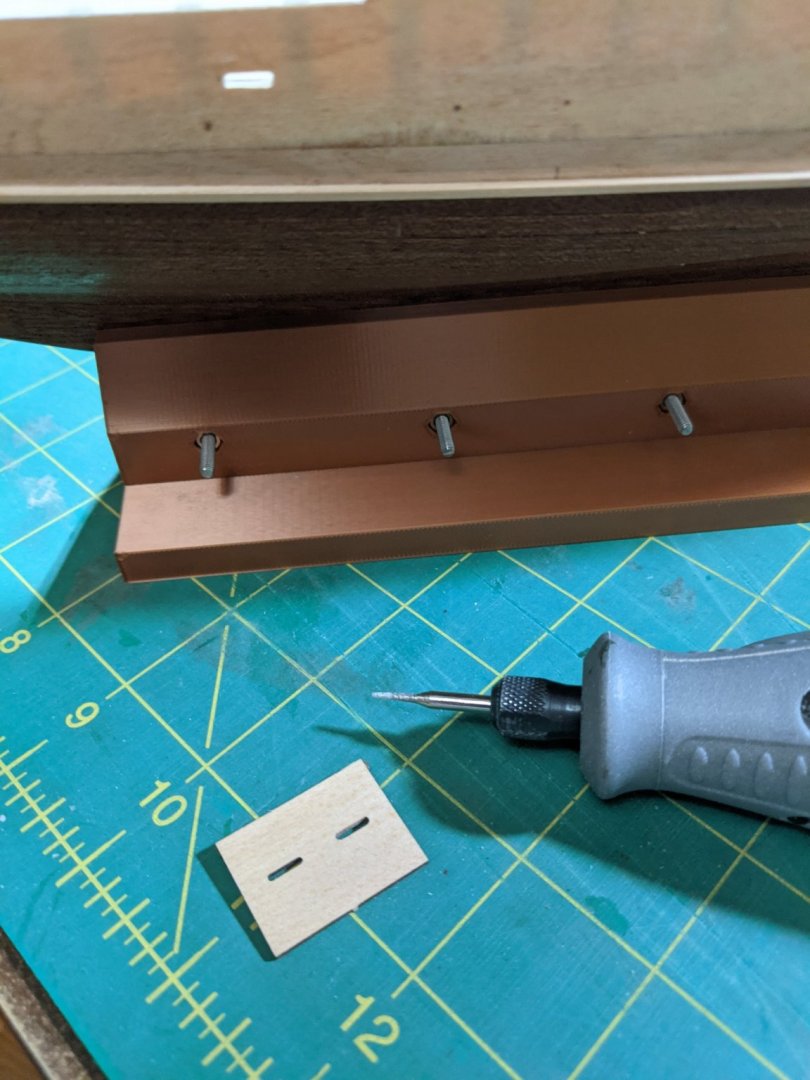
Before I start to plank the hull I wanted to make sure the keel fit which it didn't. Took a bit of sanding to get a nice fit and I wanted to strengthen the joint where it will be glued on and held tight since I will use 30 minute epoxy for this. Made up a drilling template to drill a 2mm center hole and it worked well.


- 43 replies
-
- 1
-
-
- Bluenose II
- Artesania Latina
- (and 2 more)
-
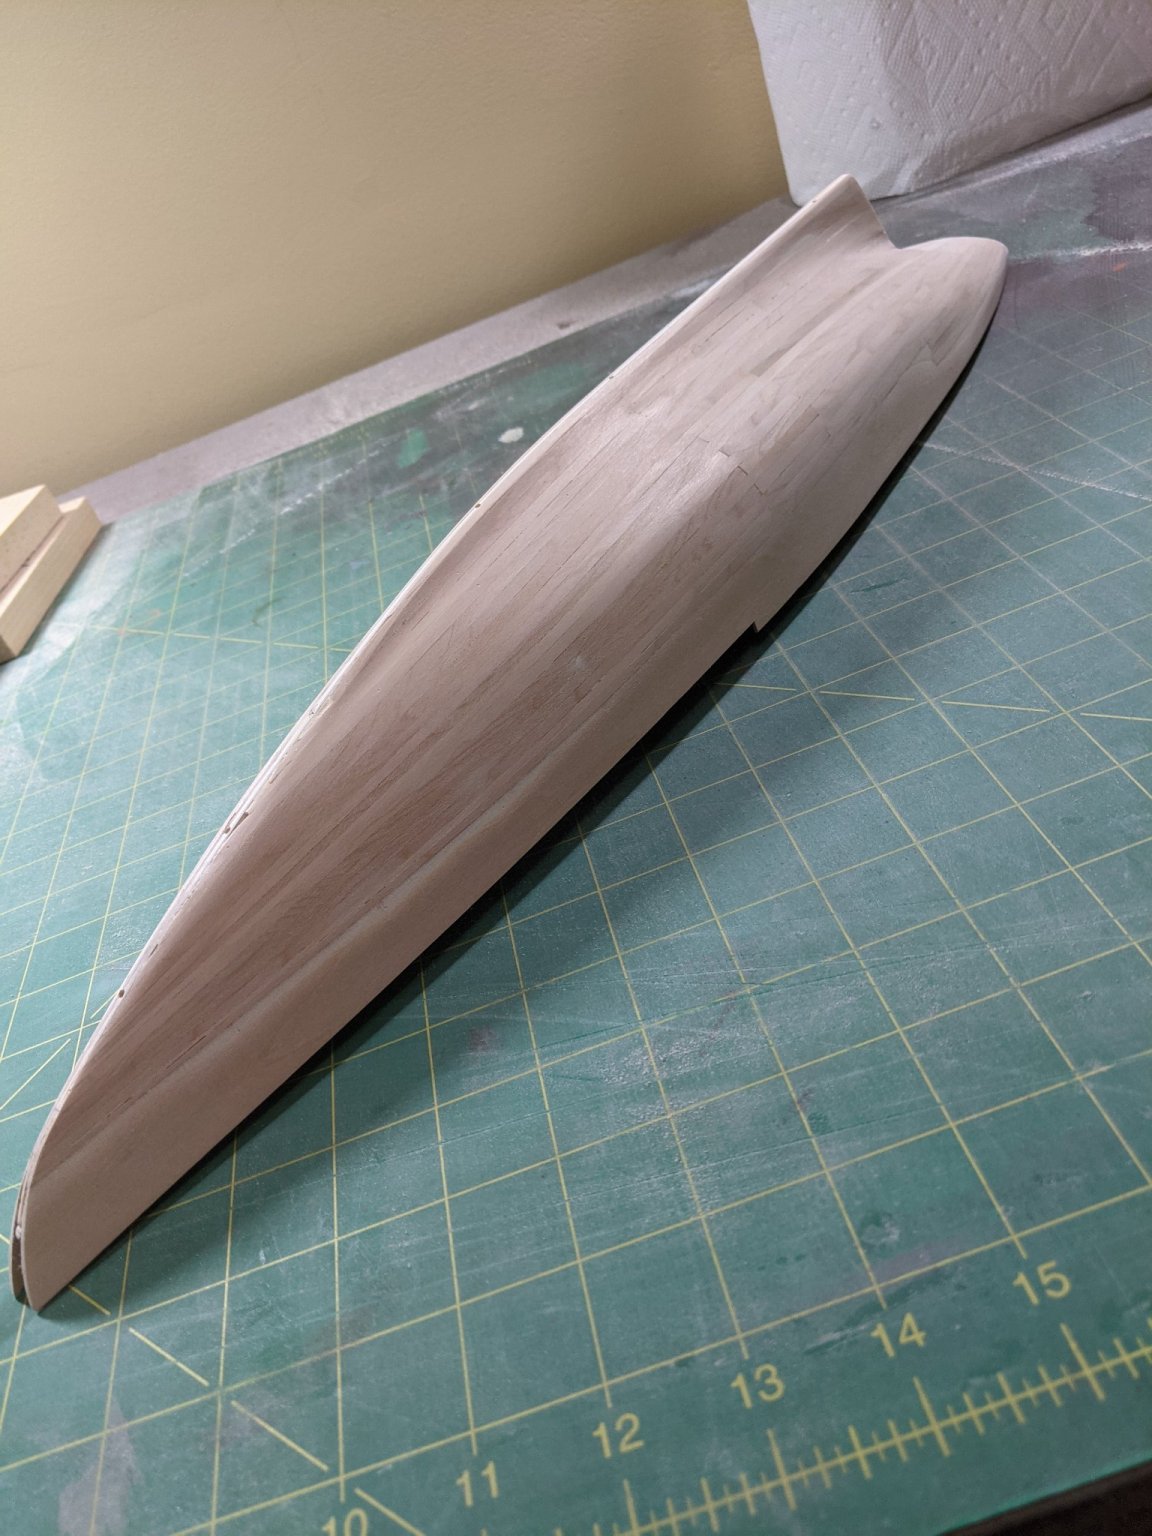
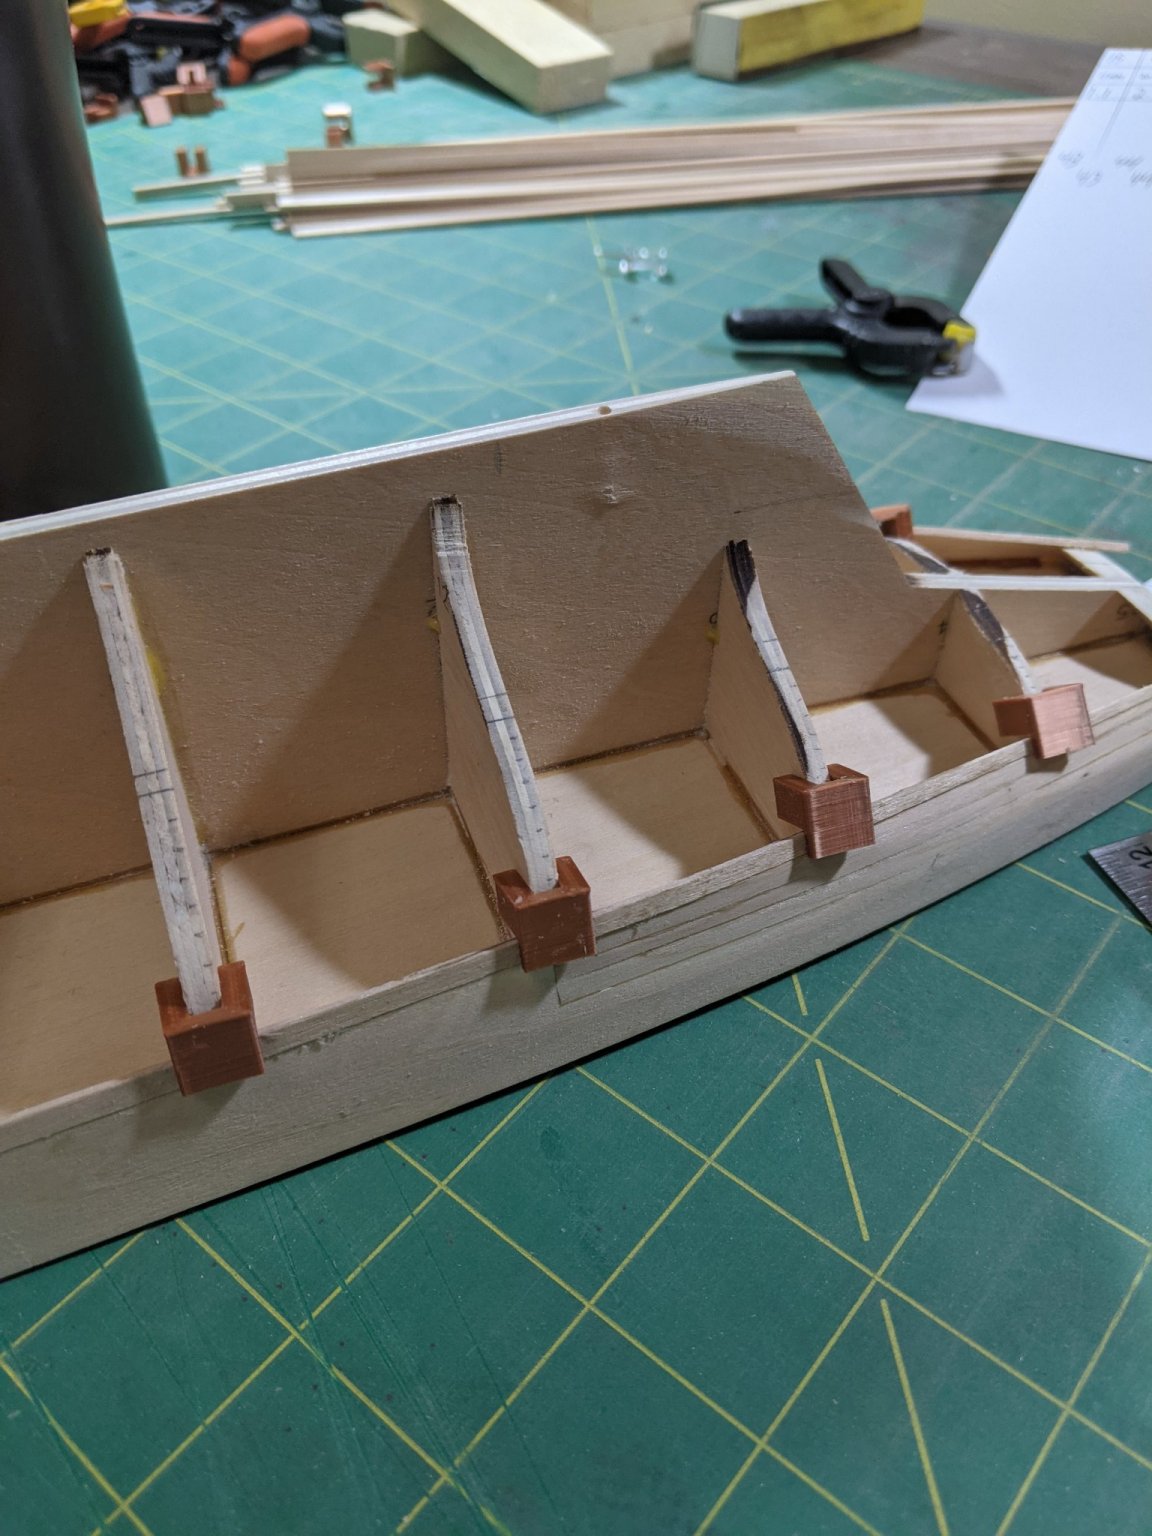
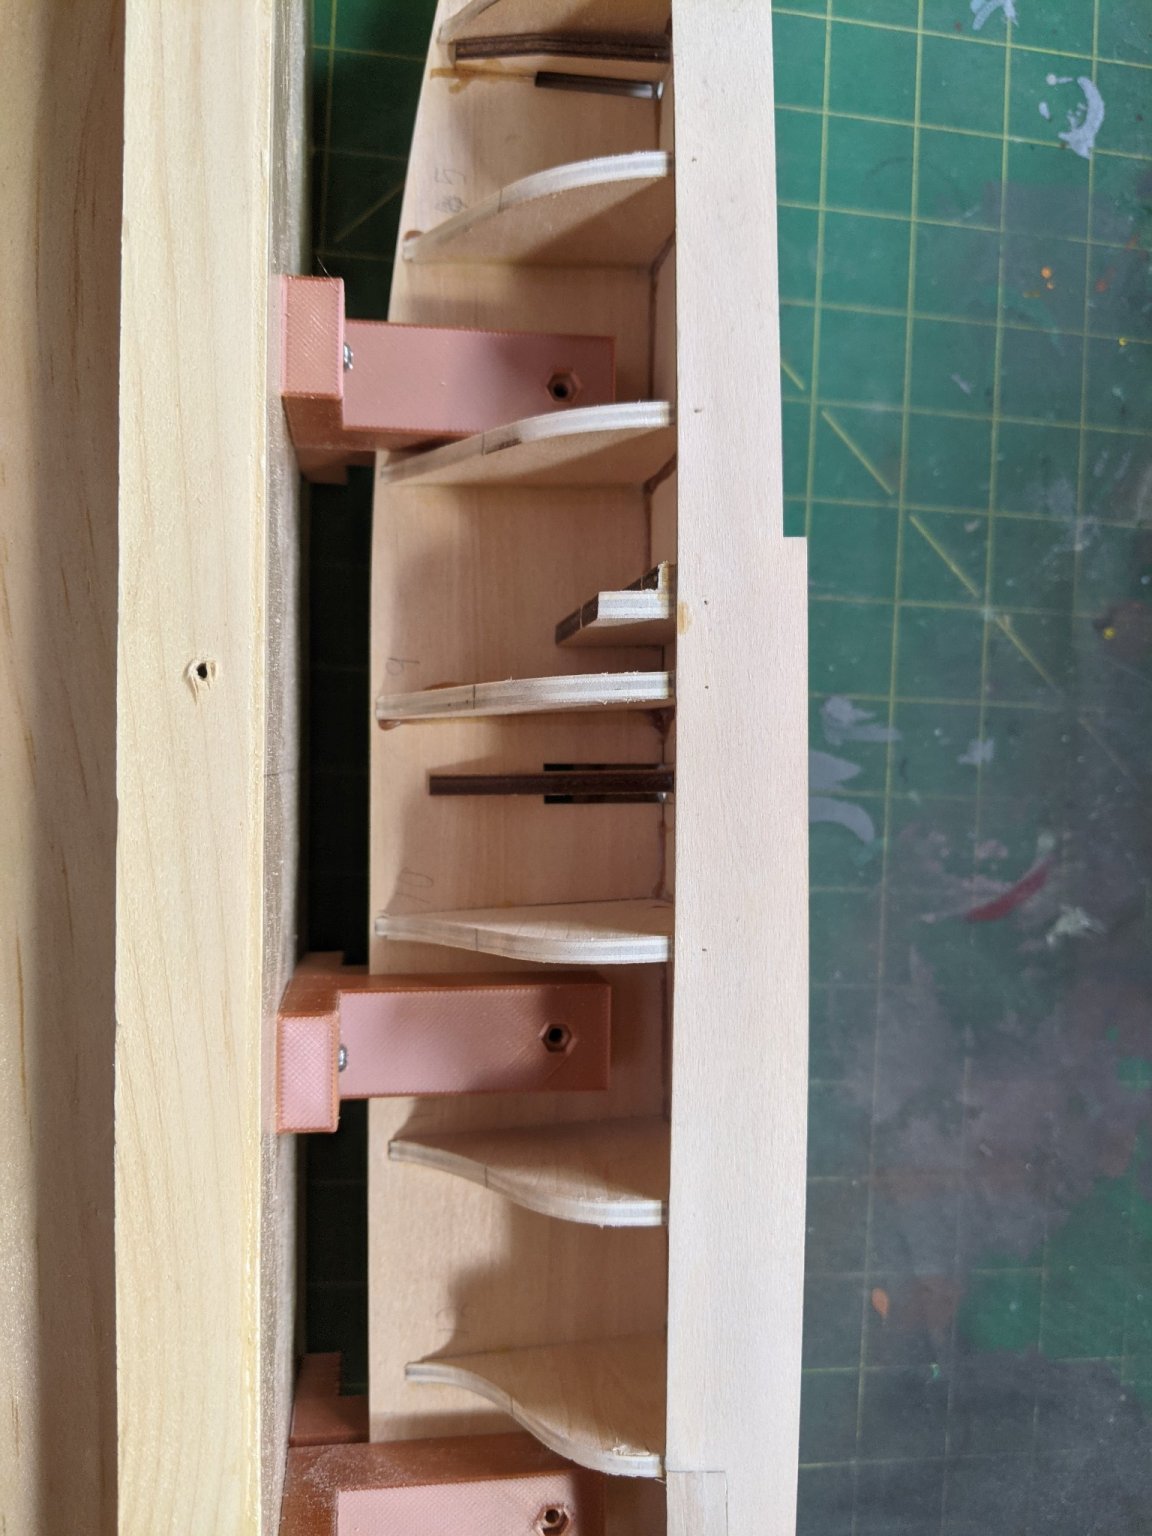
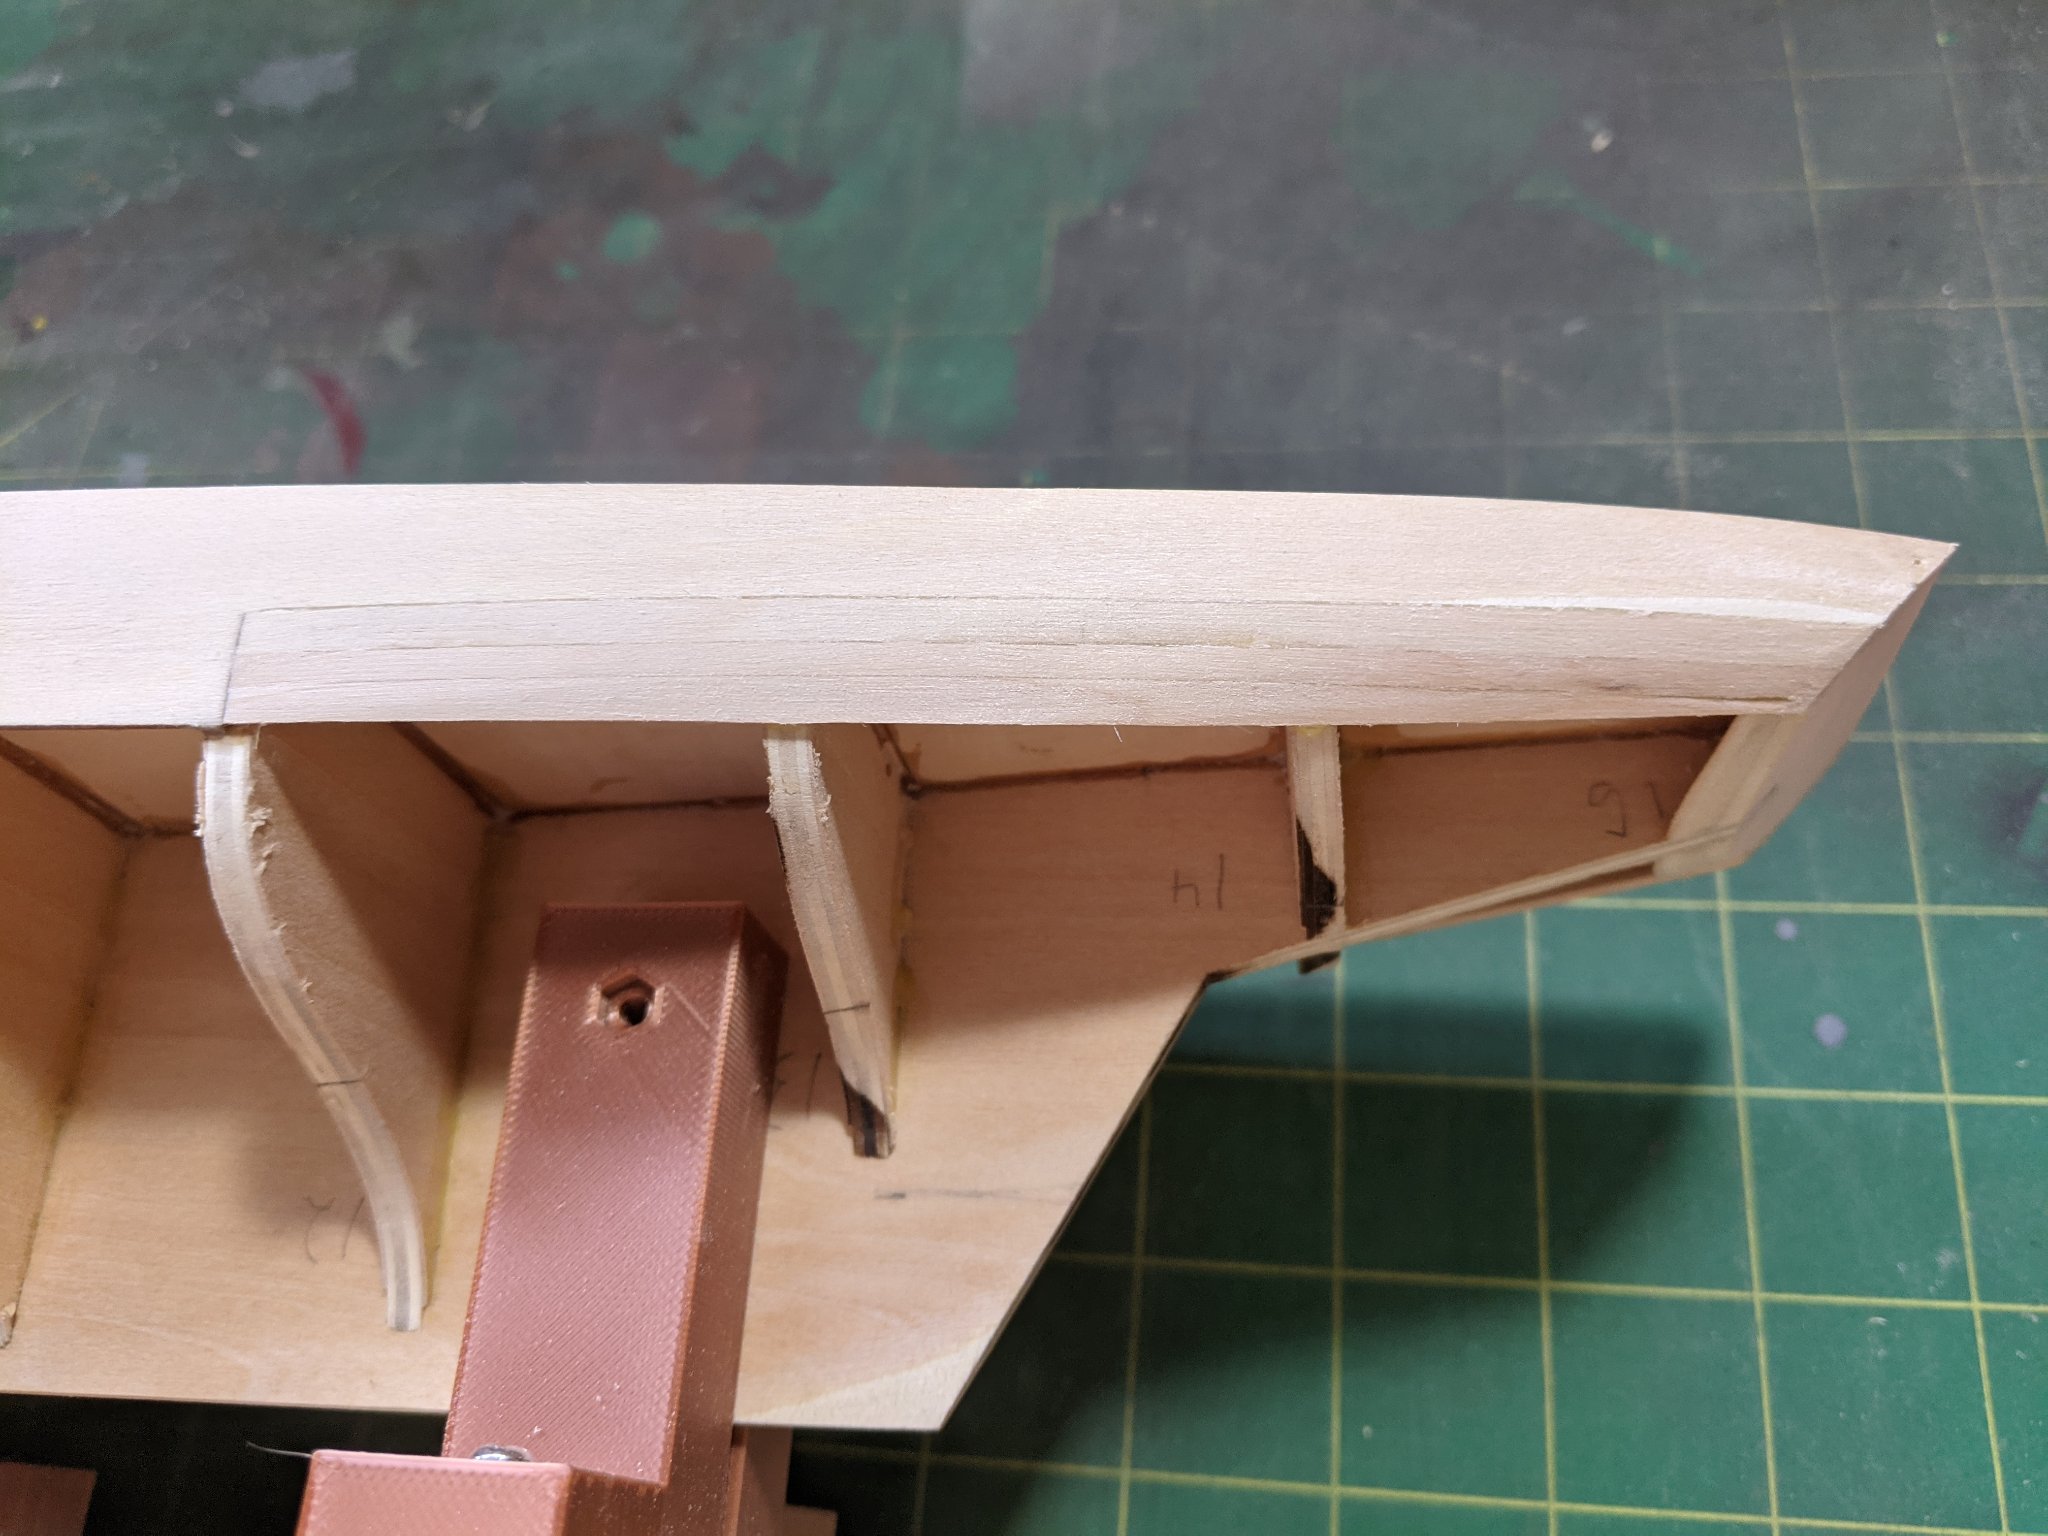
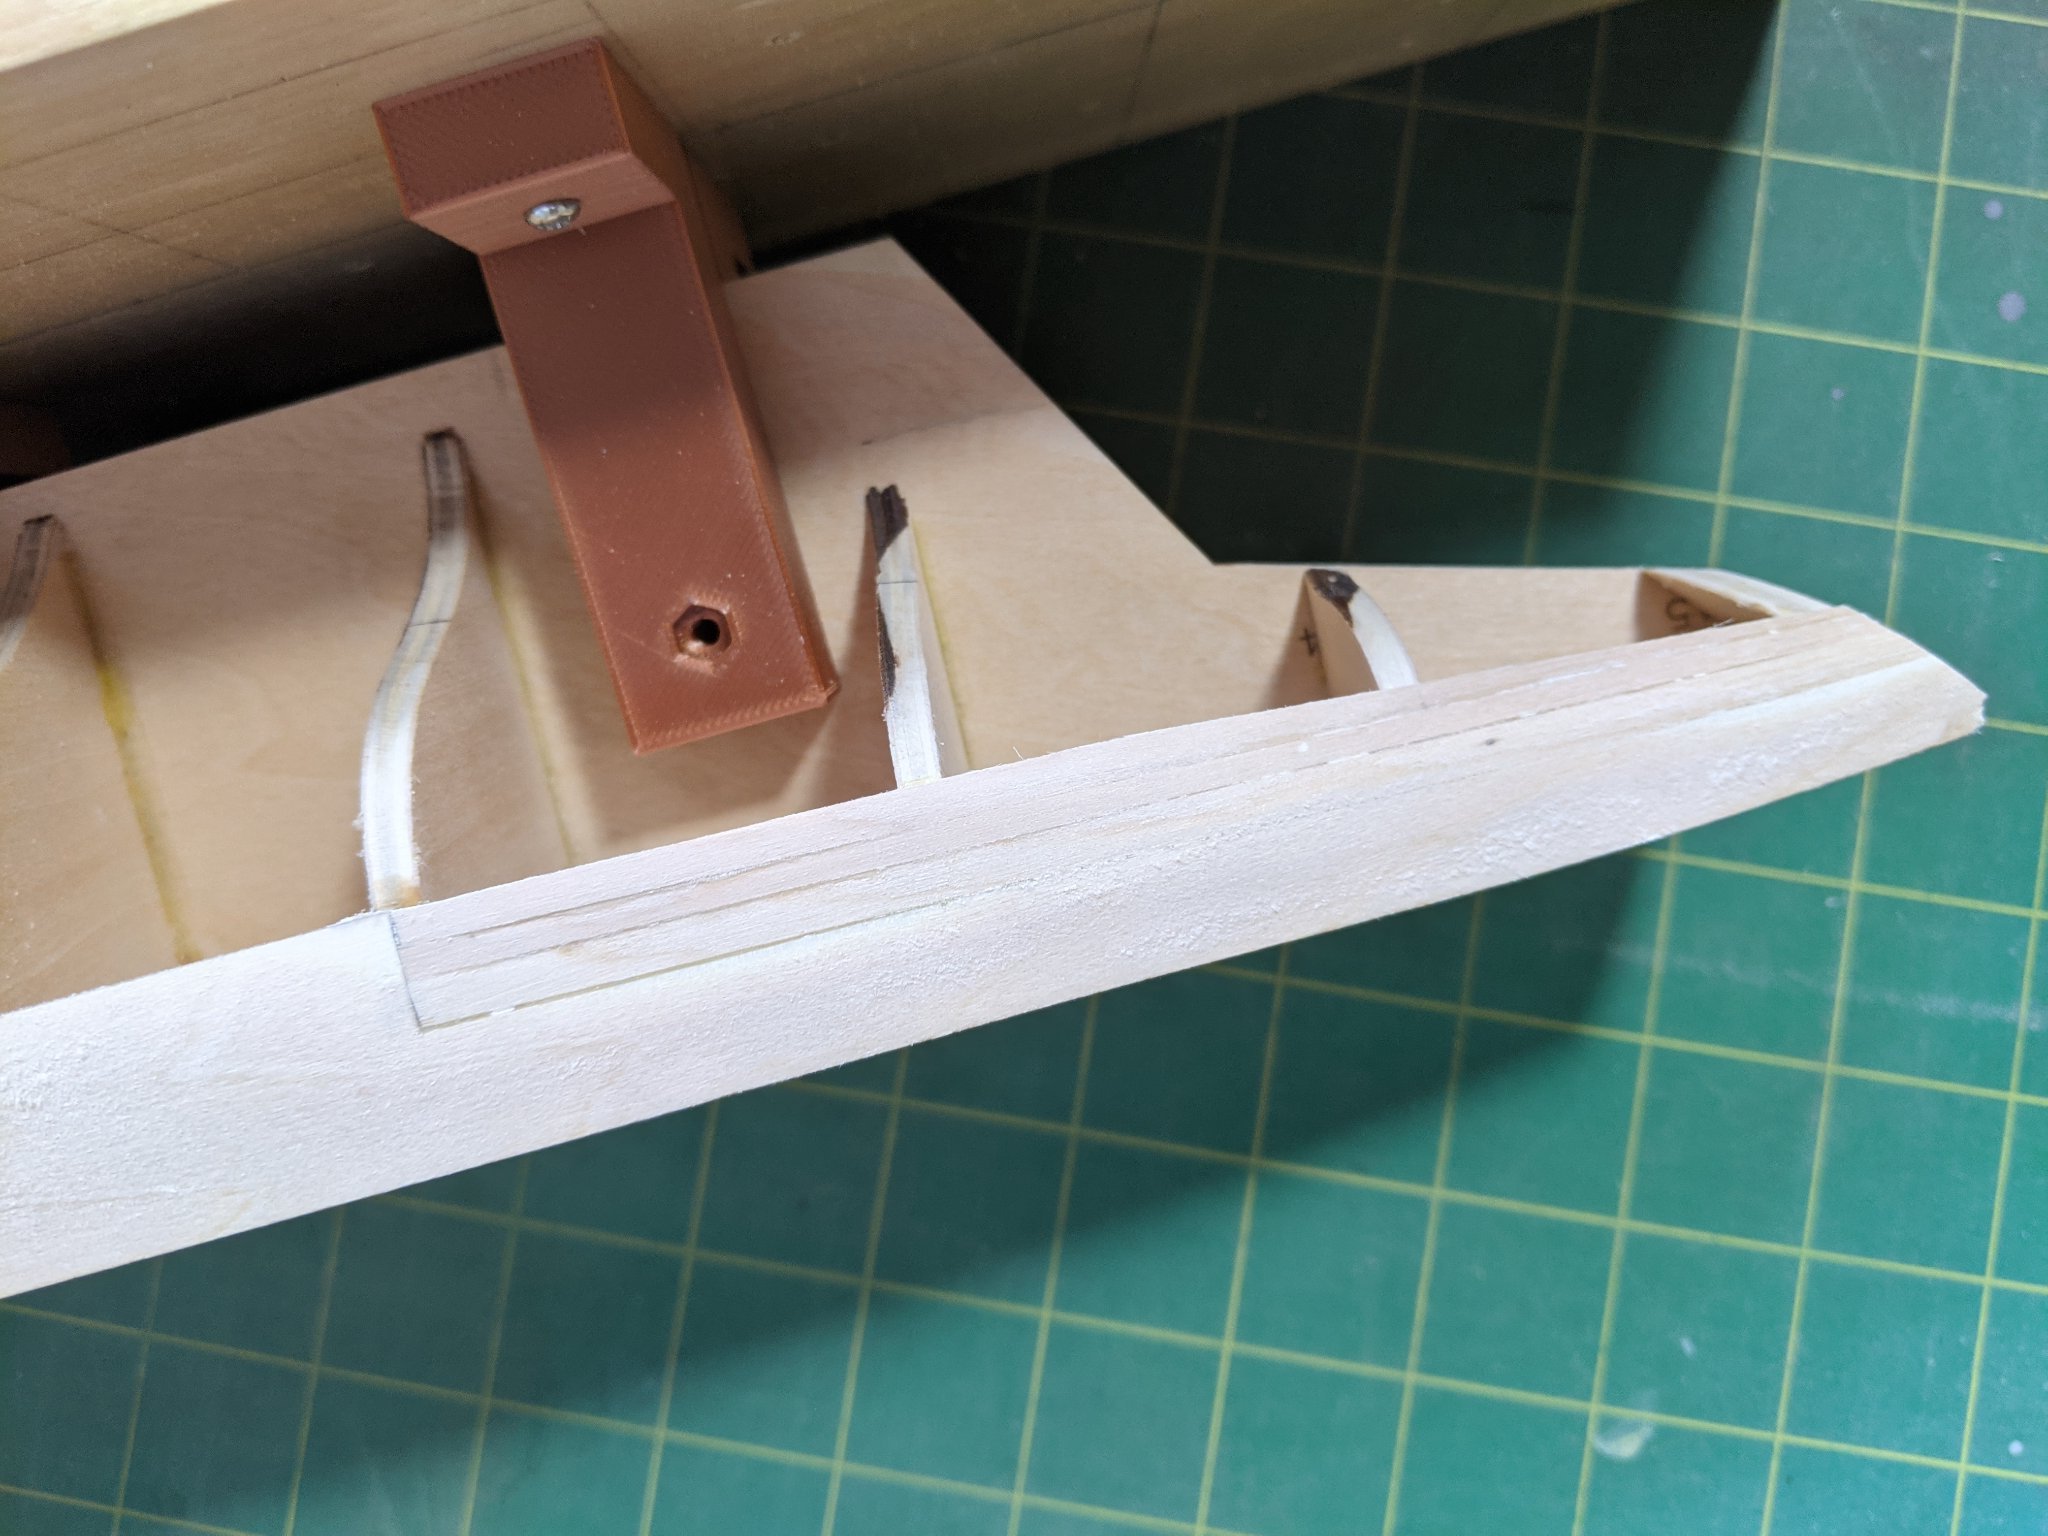
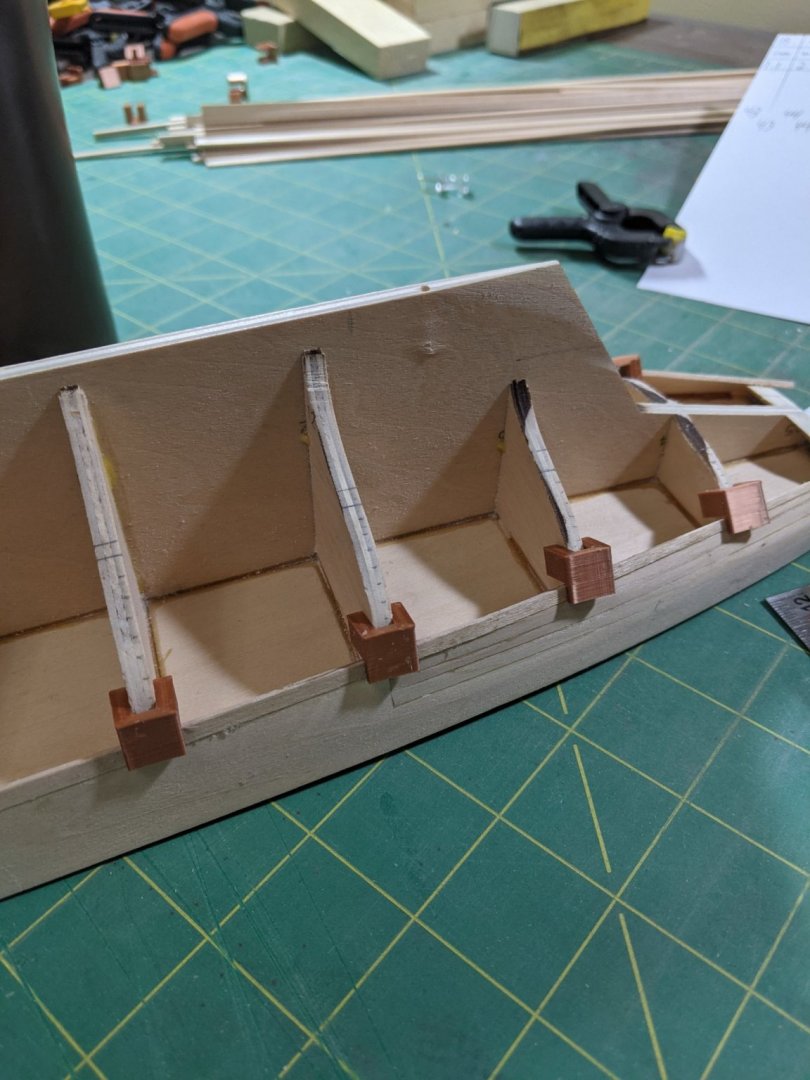
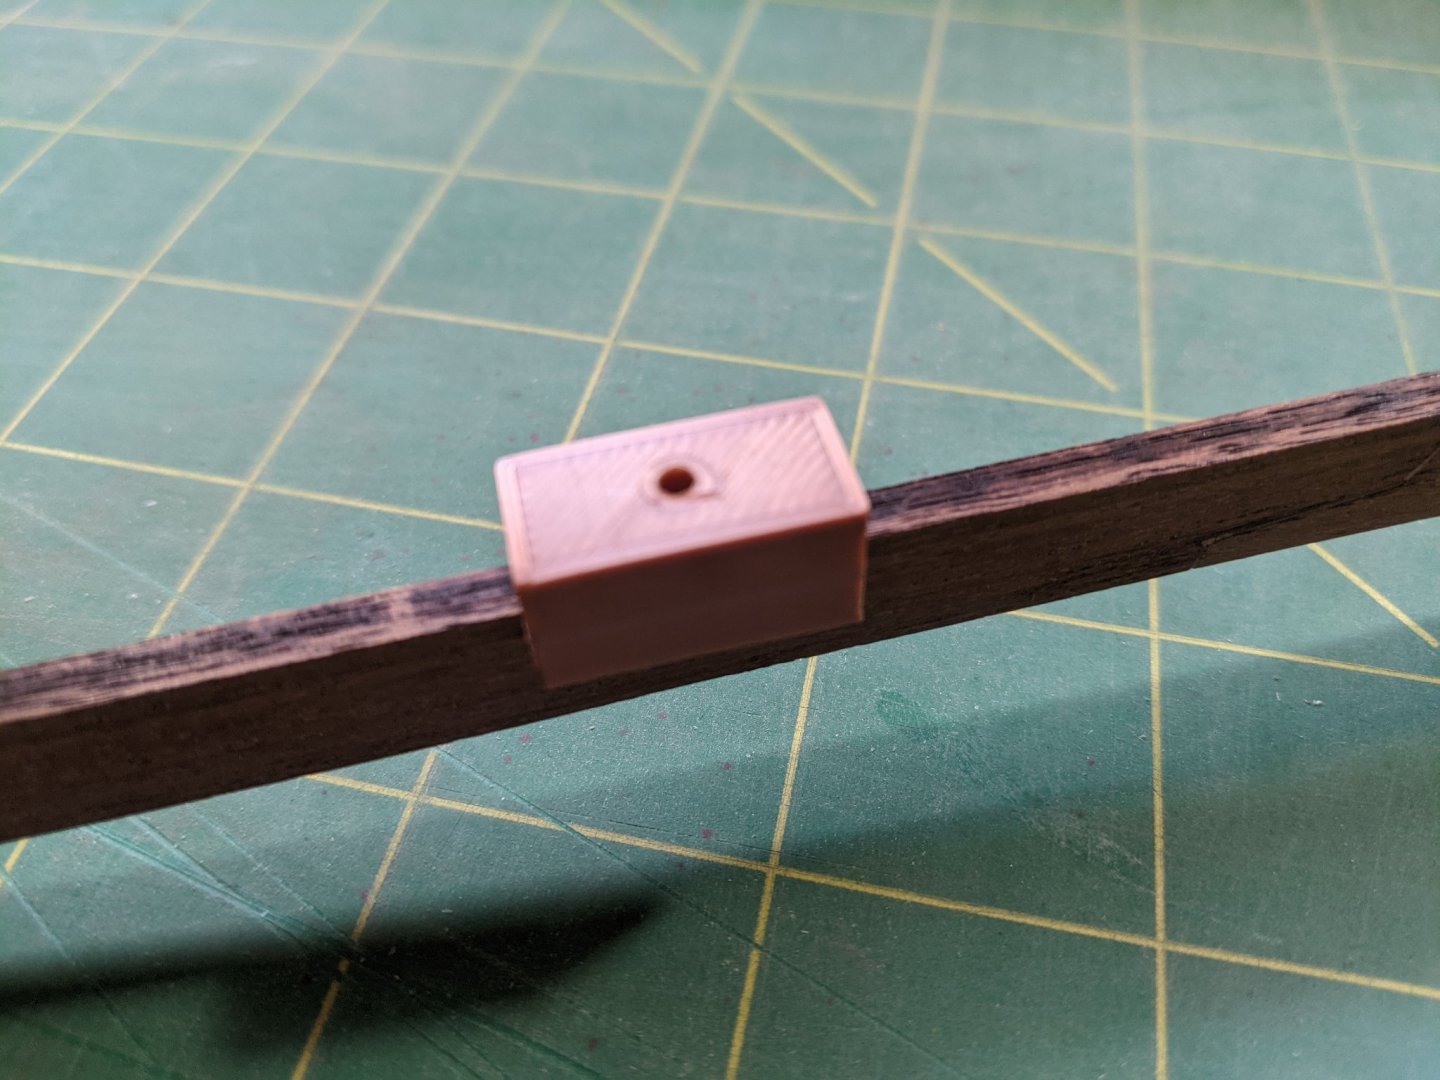
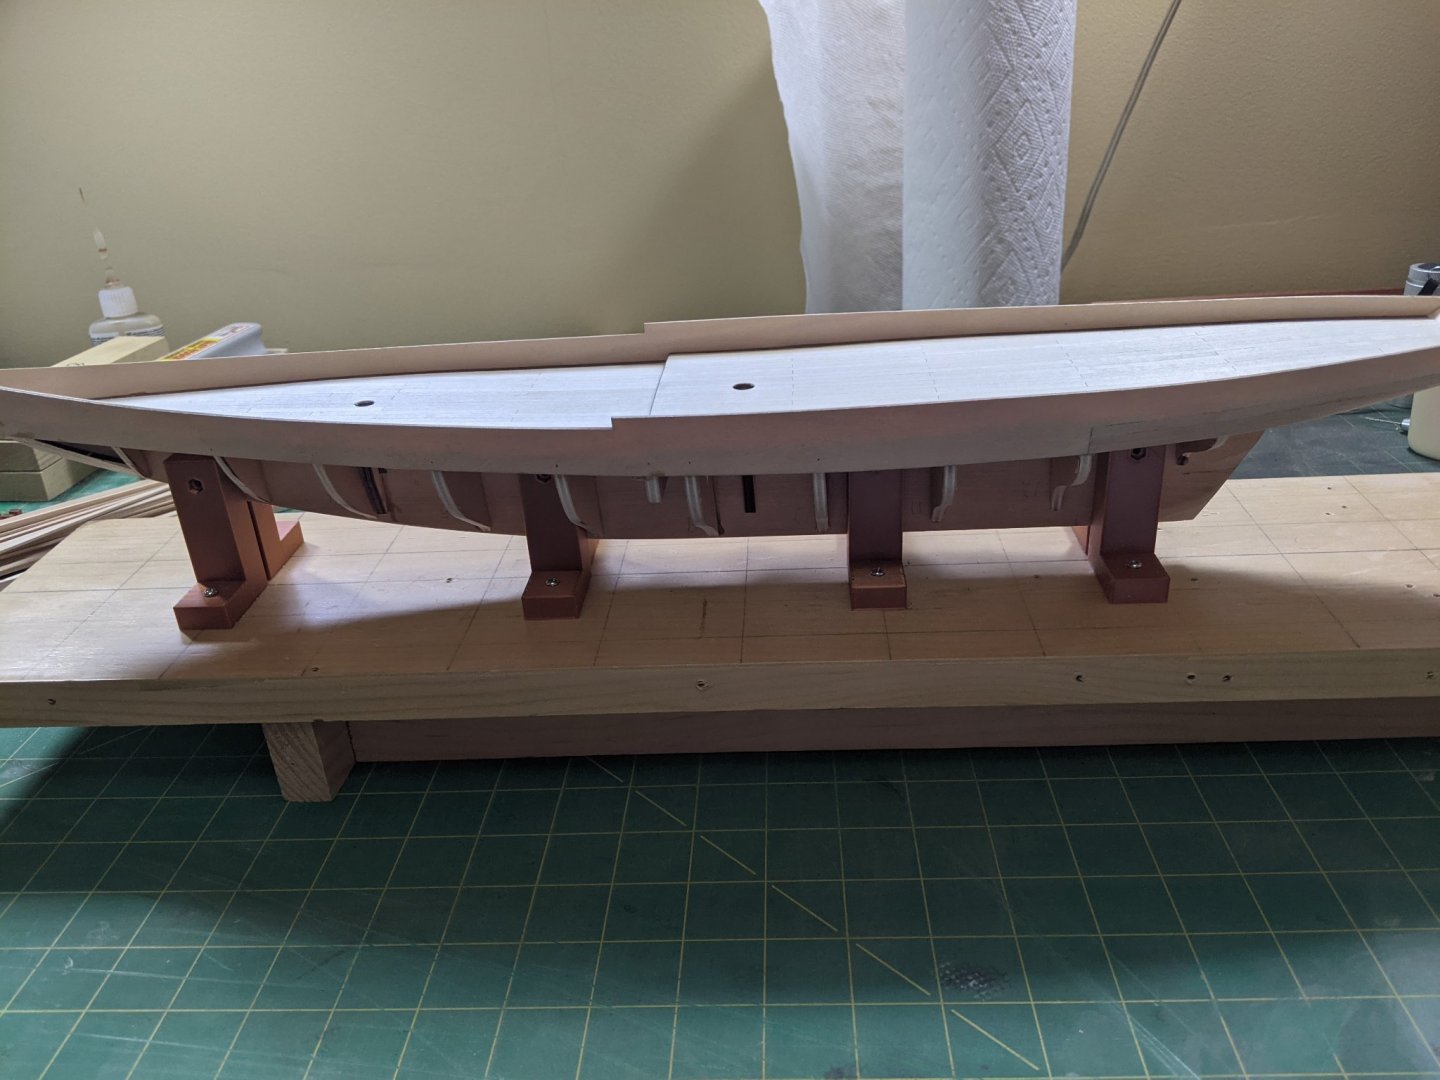
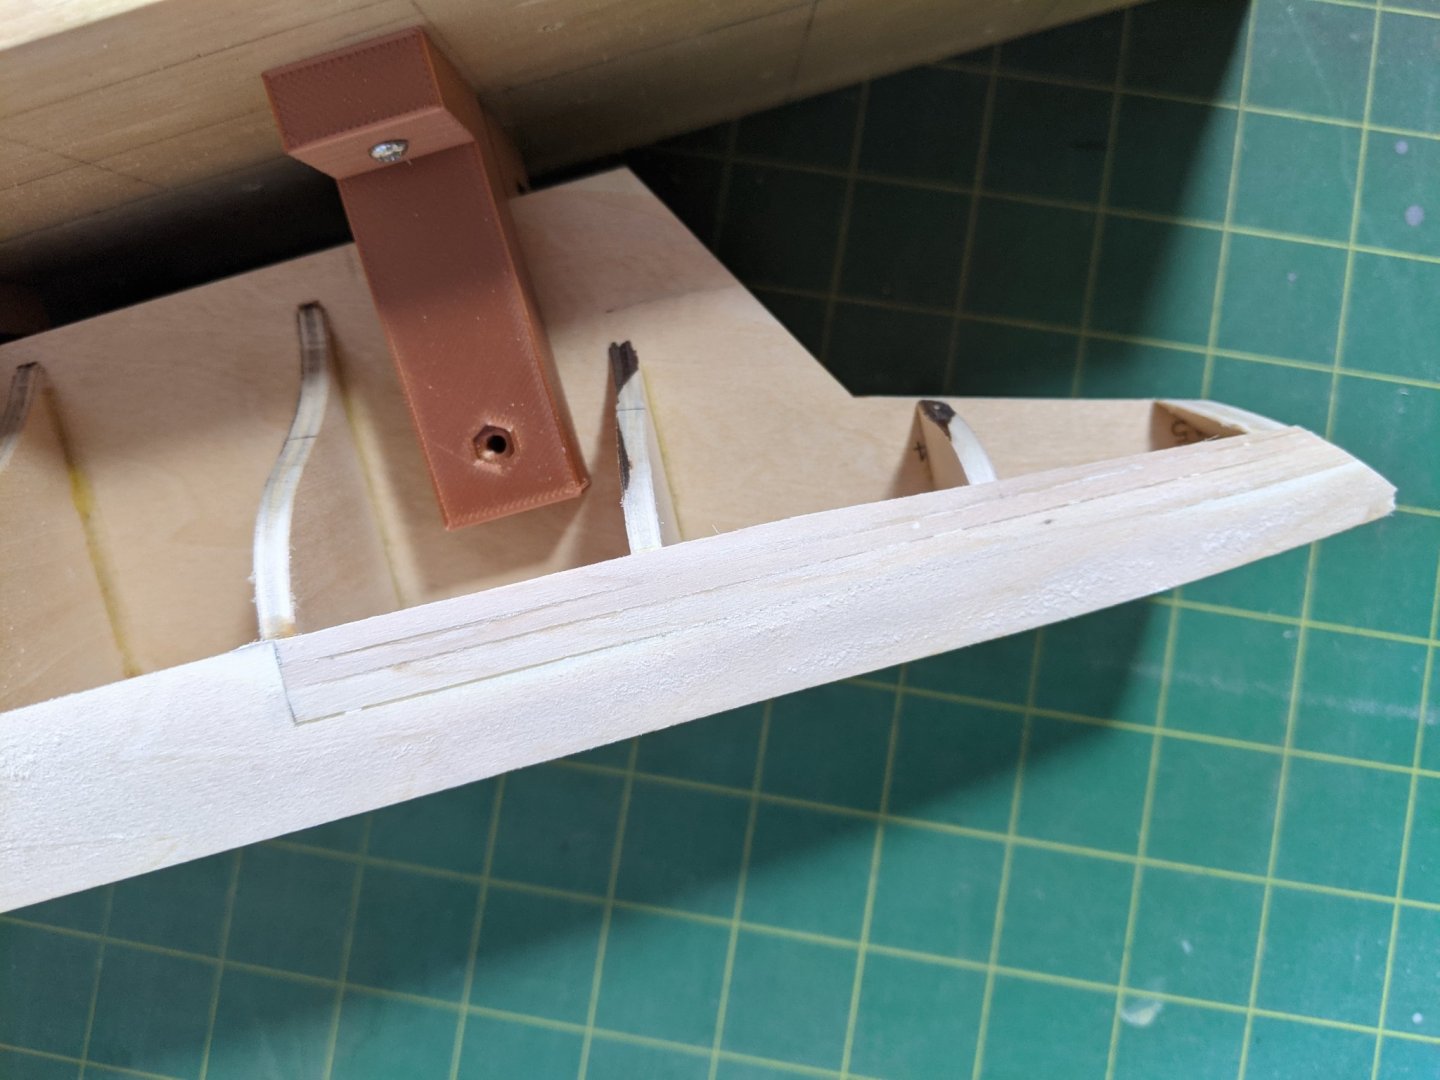
Have the side fairings on and planked to the rear. Was not too hard to do and came out OK. You will notice I used my 3D printer to make some angle brackets. I plan to use the printer as much as I can to make jigs since I don't have a workshop full of tools.


- 43 replies
-
- 3
-
-
- Bluenose II
- Artesania Latina
- (and 2 more)