HOLIDAY DONATION DRIVE - SUPPORT MSW - DO YOUR PART TO KEEP THIS GREAT FORUM GOING! (Only 75 donations so far out of 49,000 members - C'mon guys!)
×


Theodosius
-
Posts
345 -
Joined
-
Last visited
Content Type
Profiles
Forums
Gallery
Events
Everything posted by Theodosius
-
I like your sharp and clean work! And the small boats turn out very well.
-
Great idear of how to save line during the serving processes. That'l help, I produce a ton of waste 🙂
- 341 replies
-
- 2
-

-

-
- Sophie
- Vanguard Models
- (and 1 more)
-
Interesting Ship and you made it look quite cool! I like the colours.
-
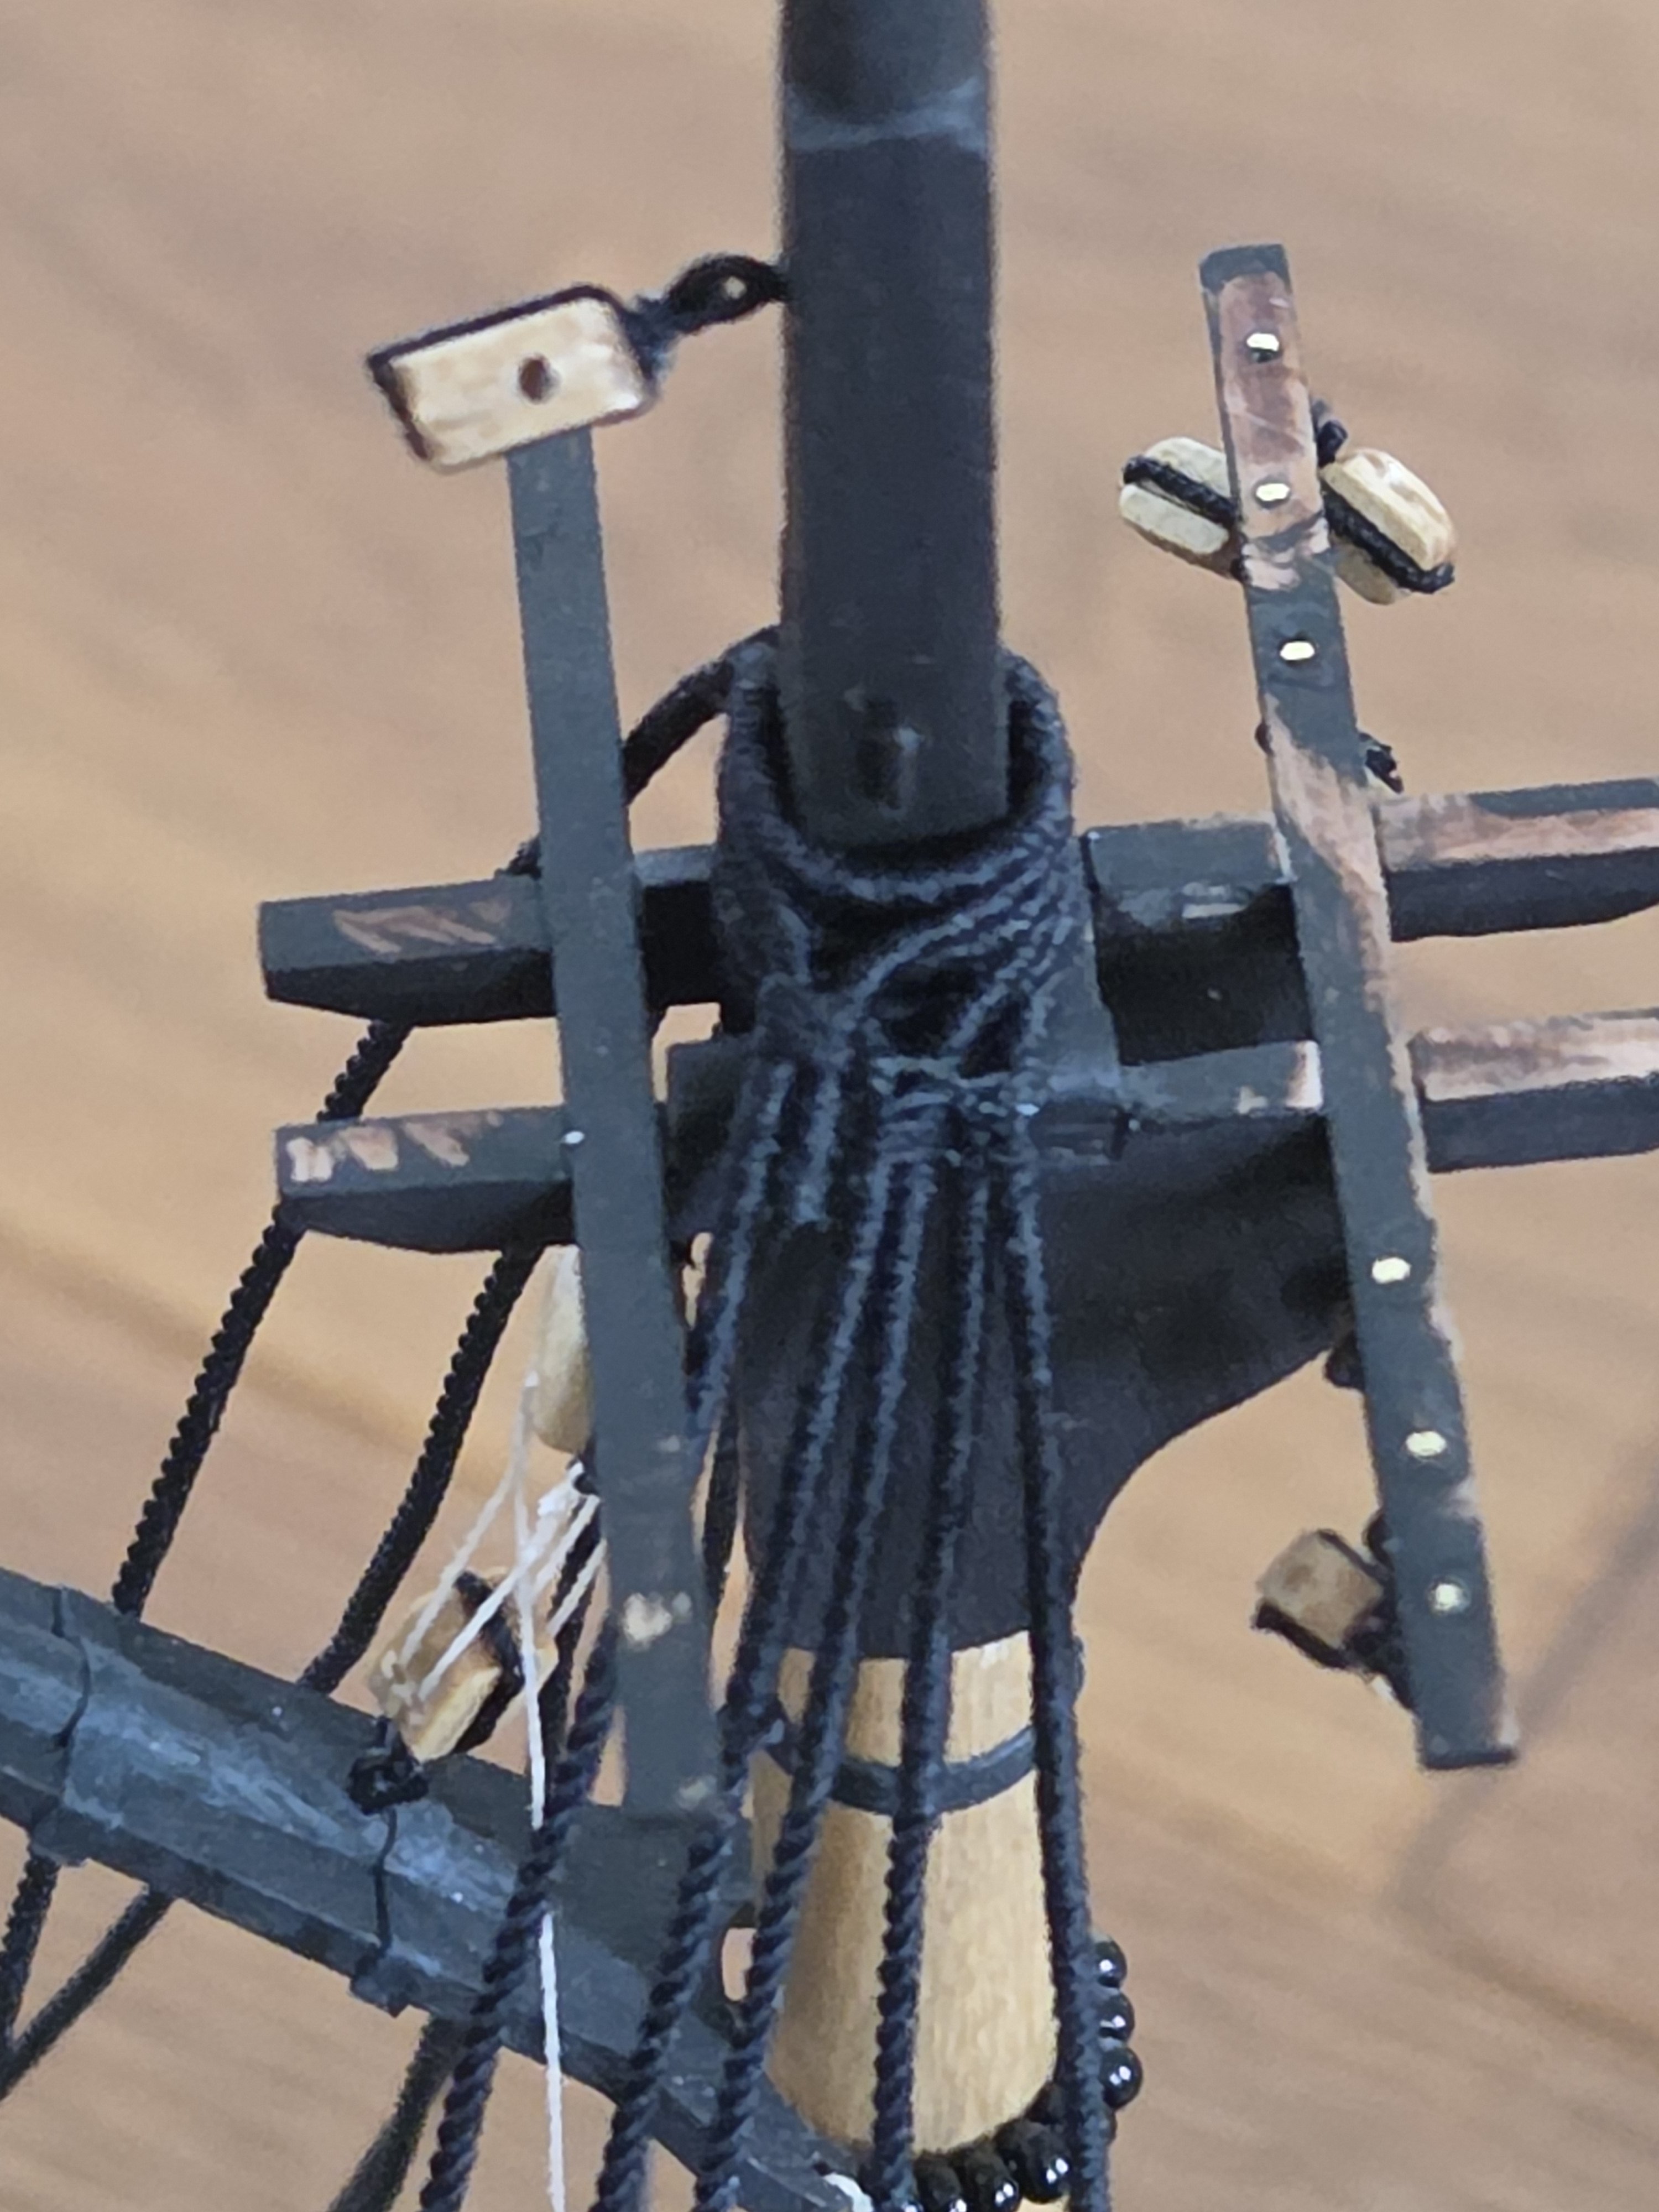
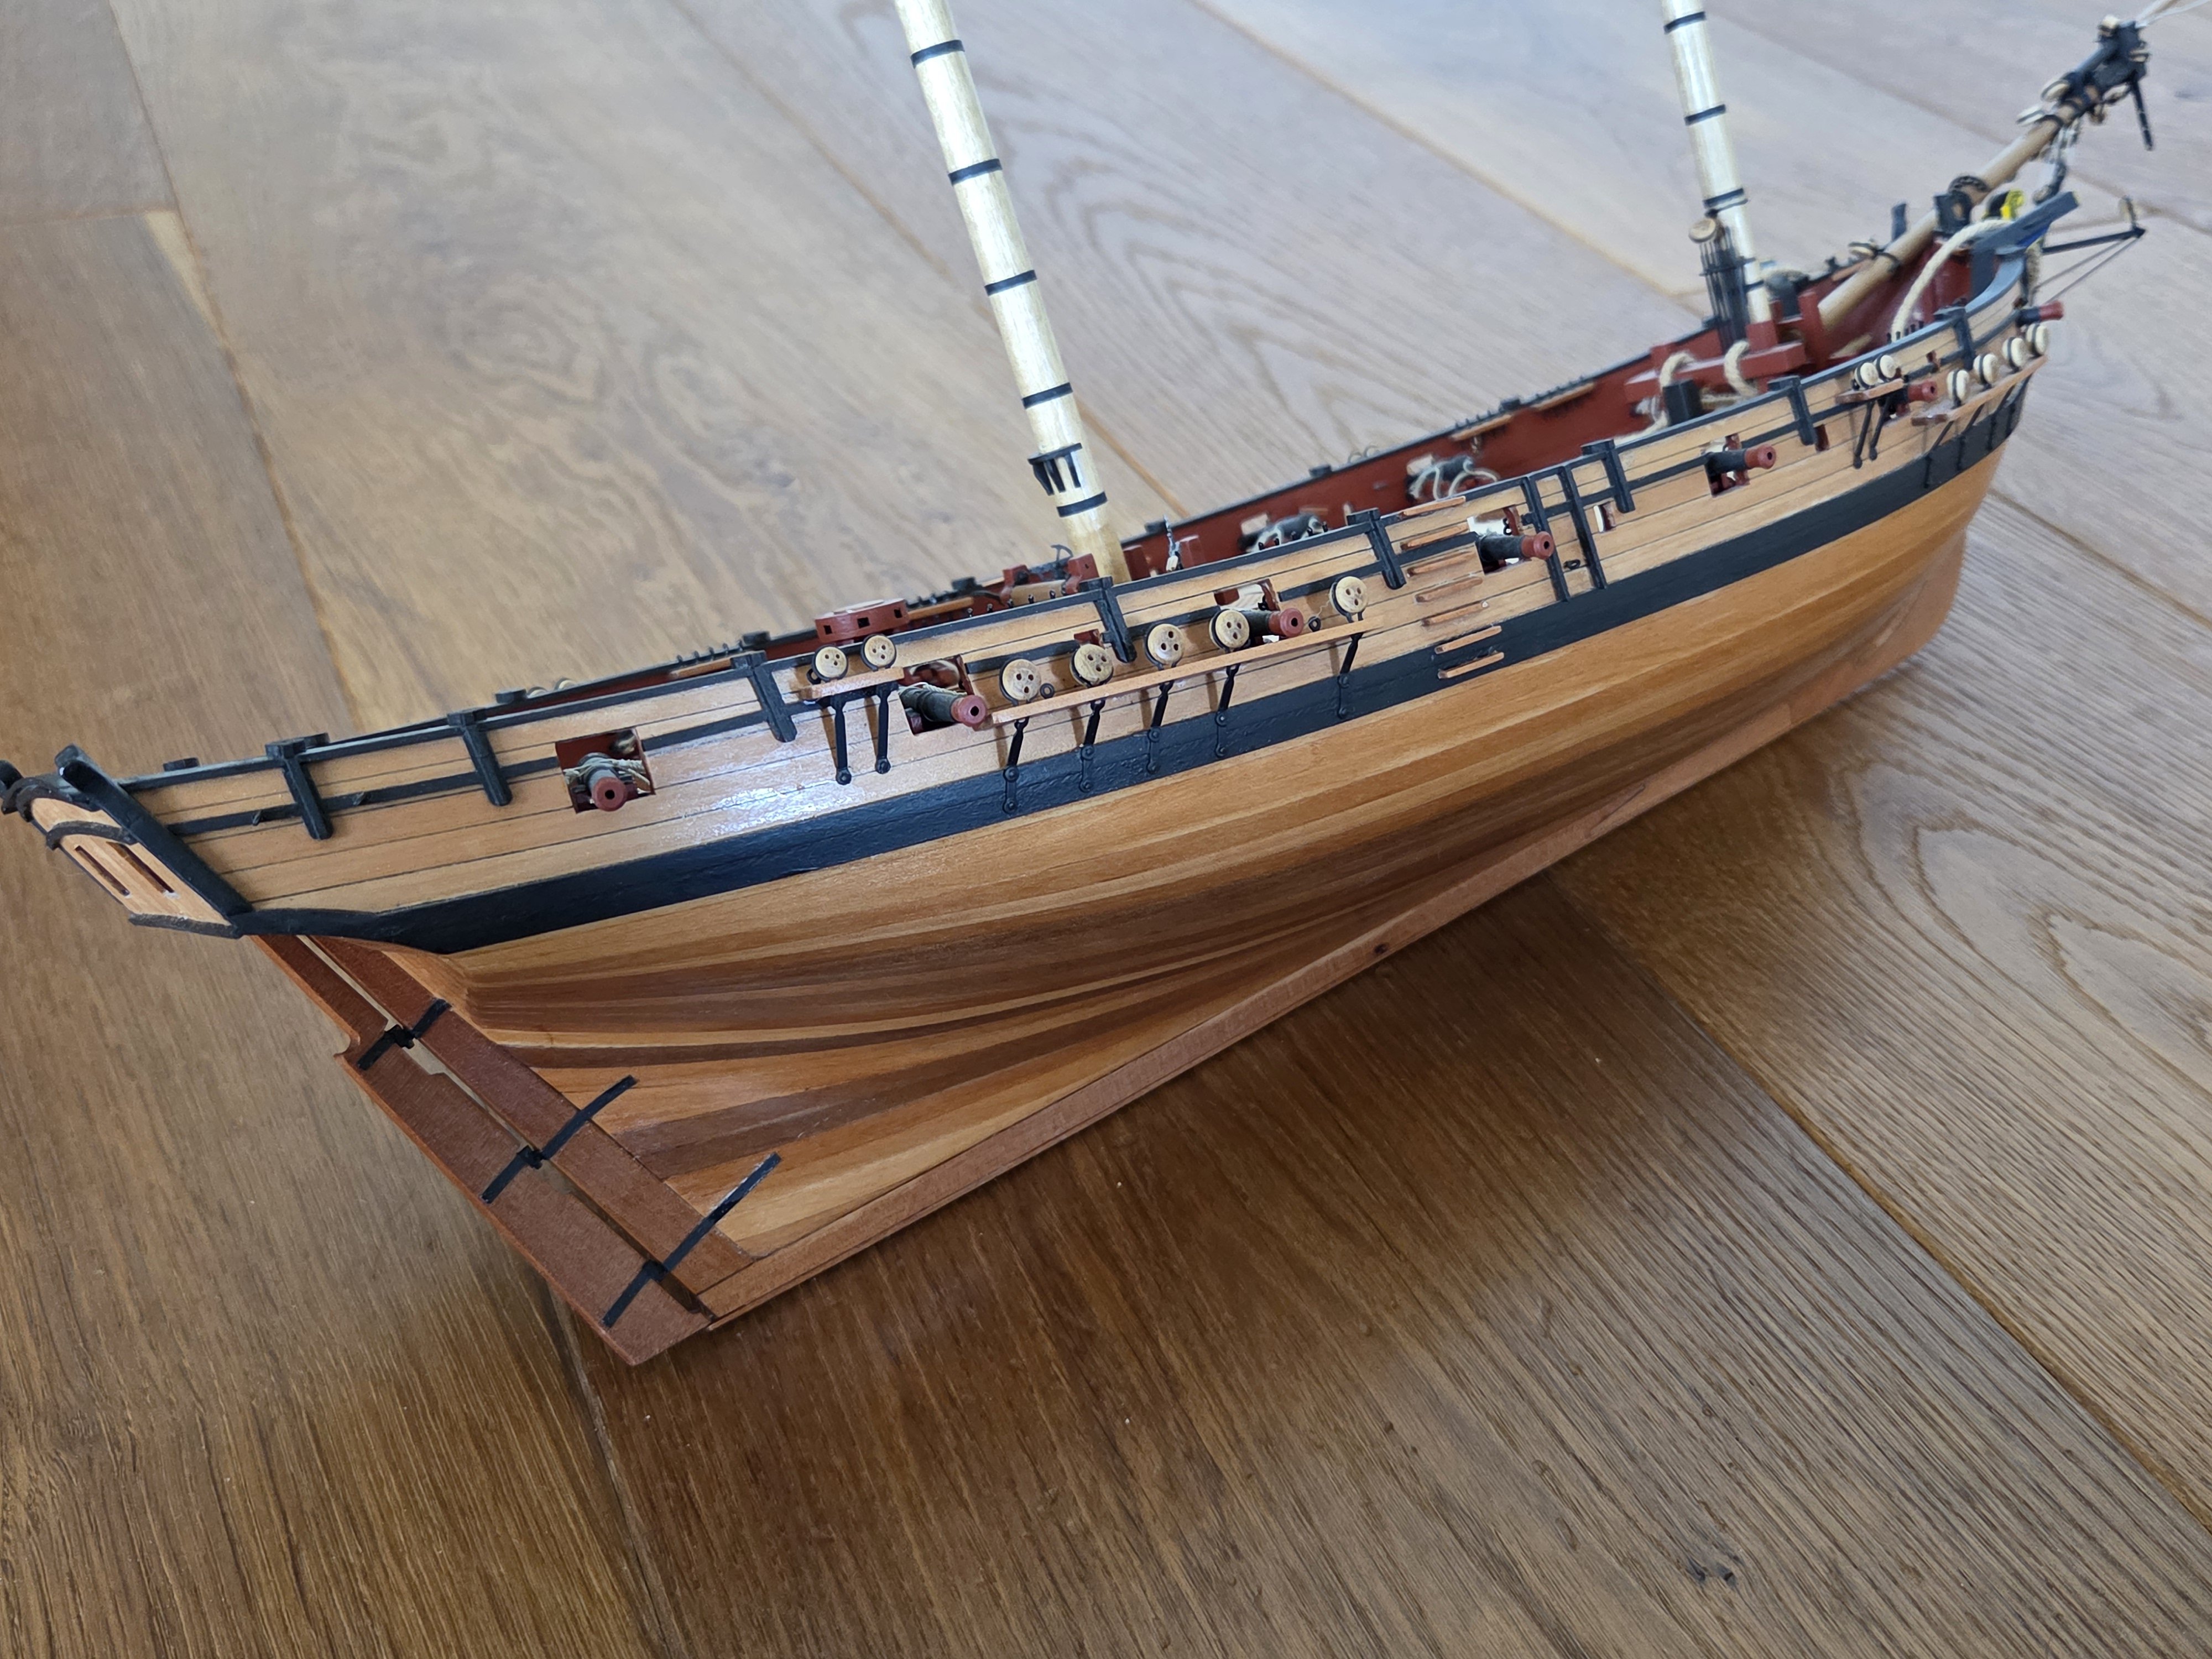
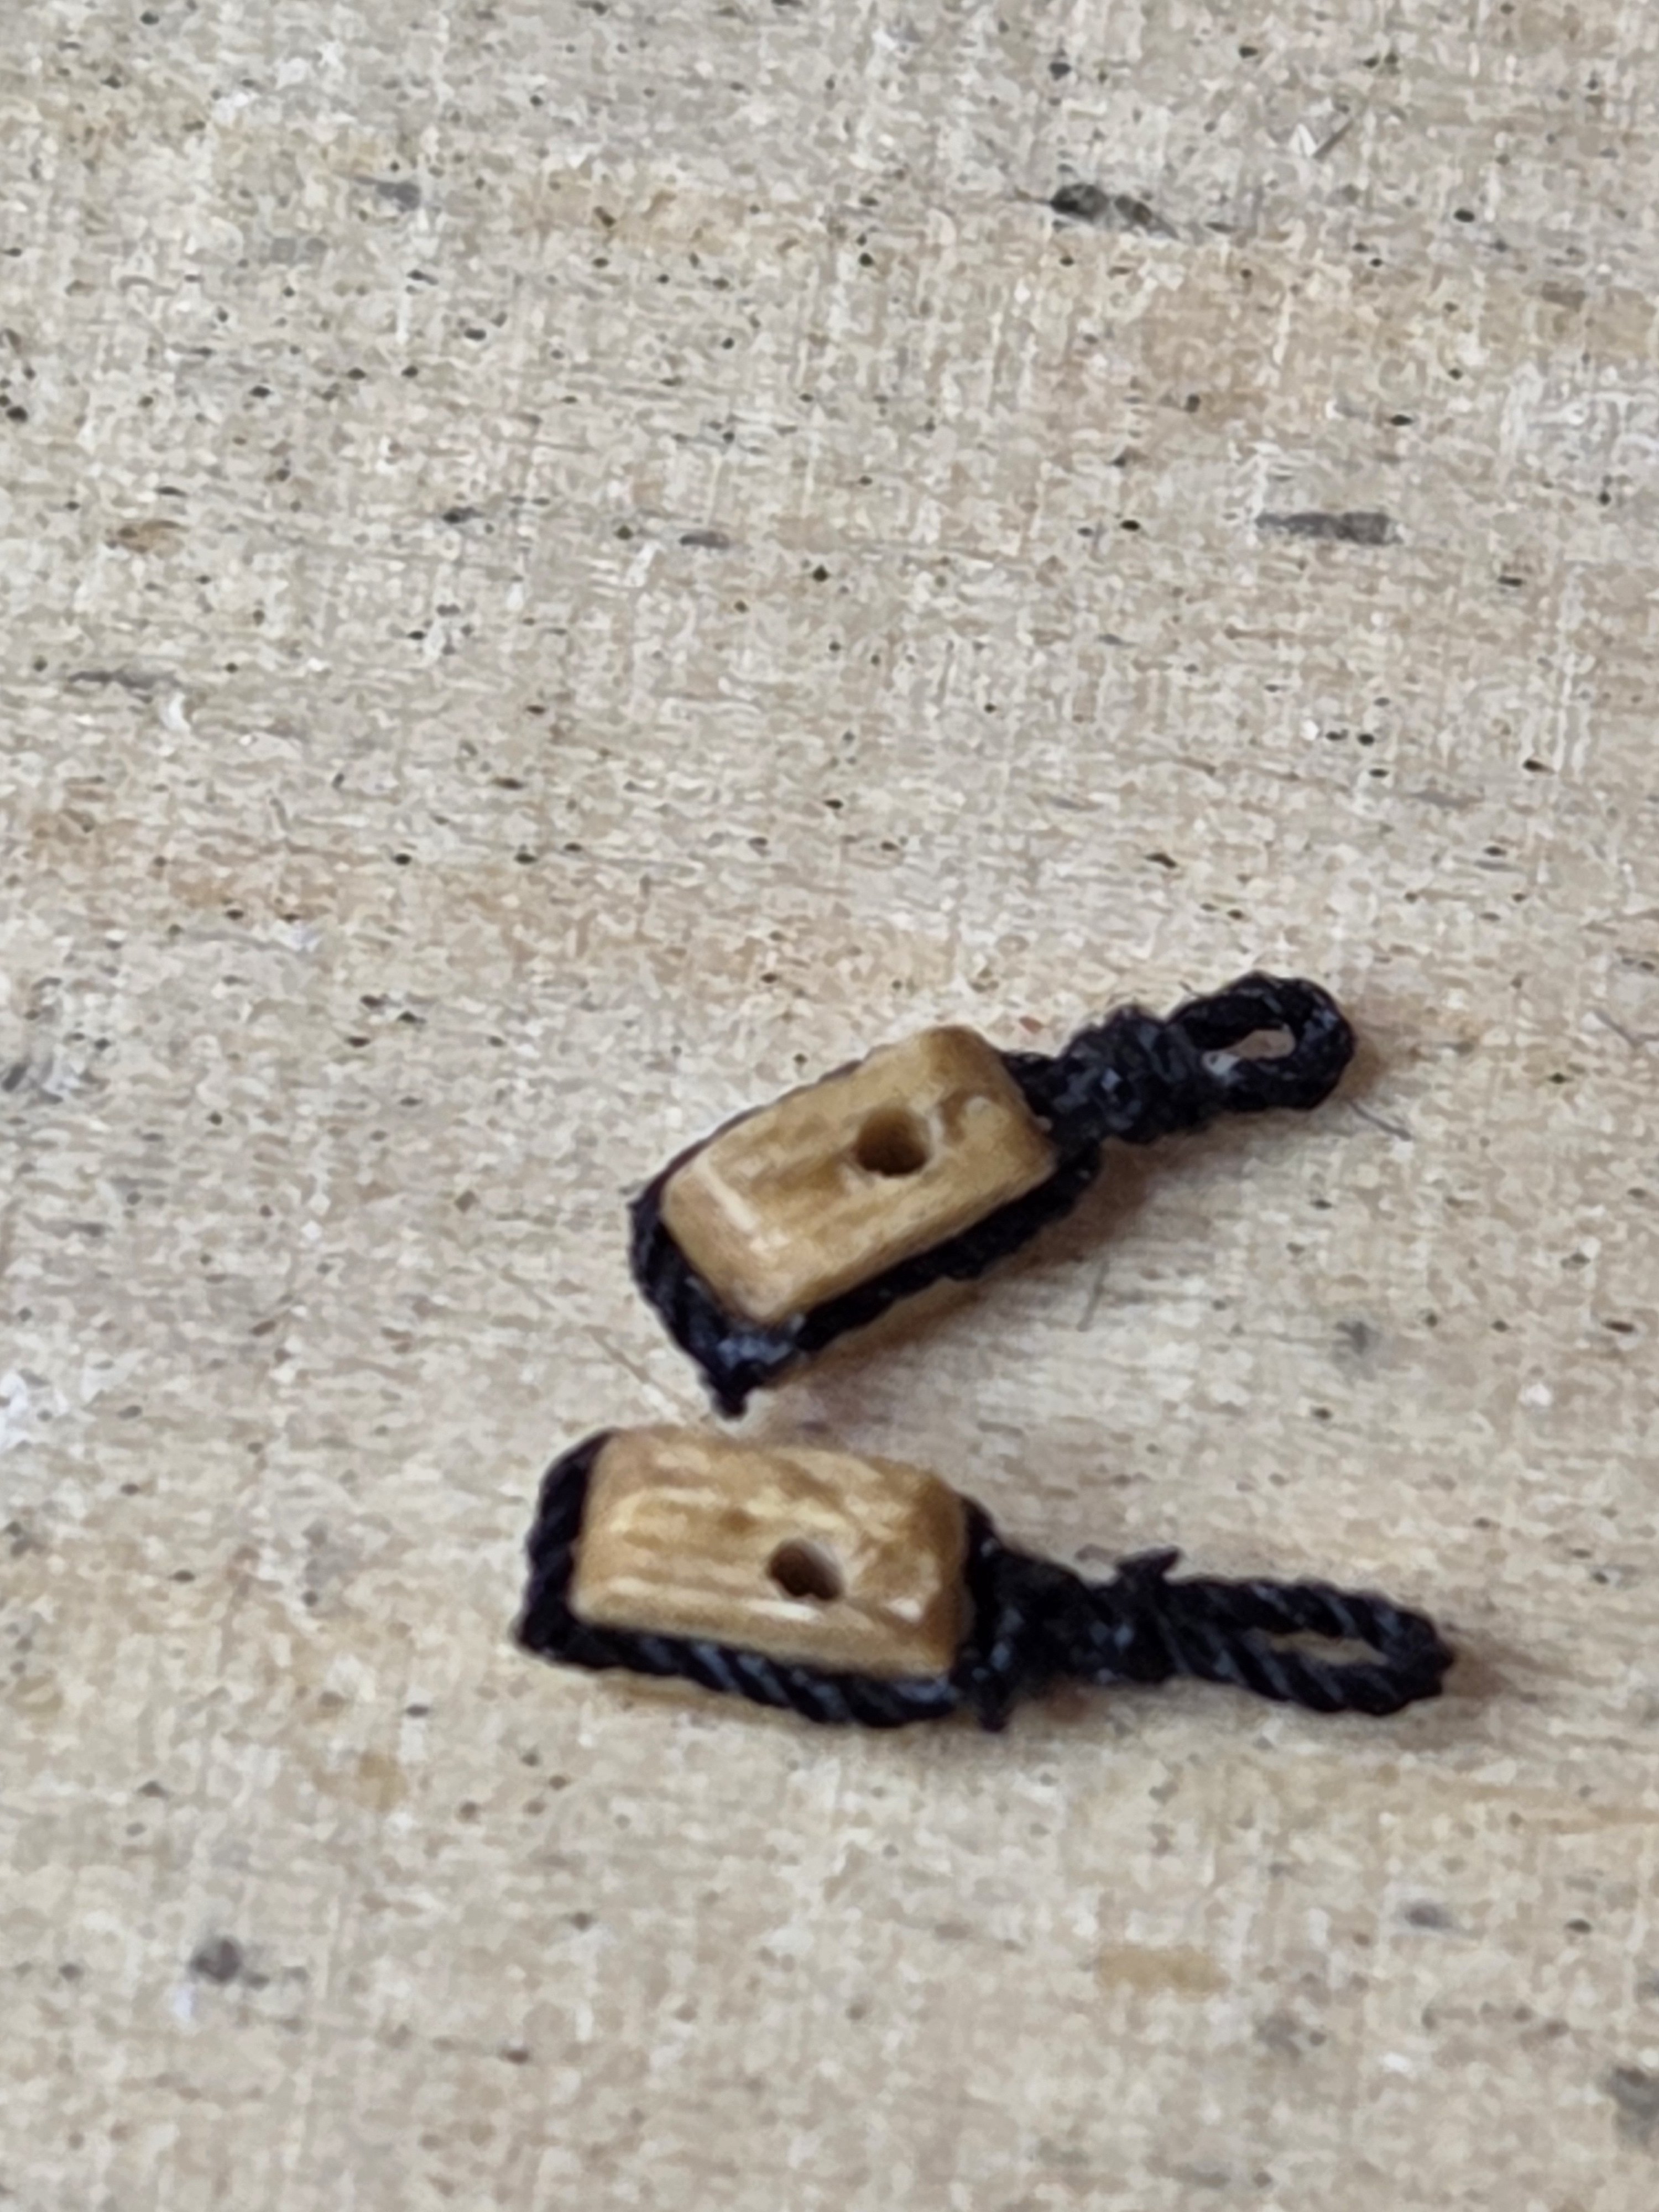
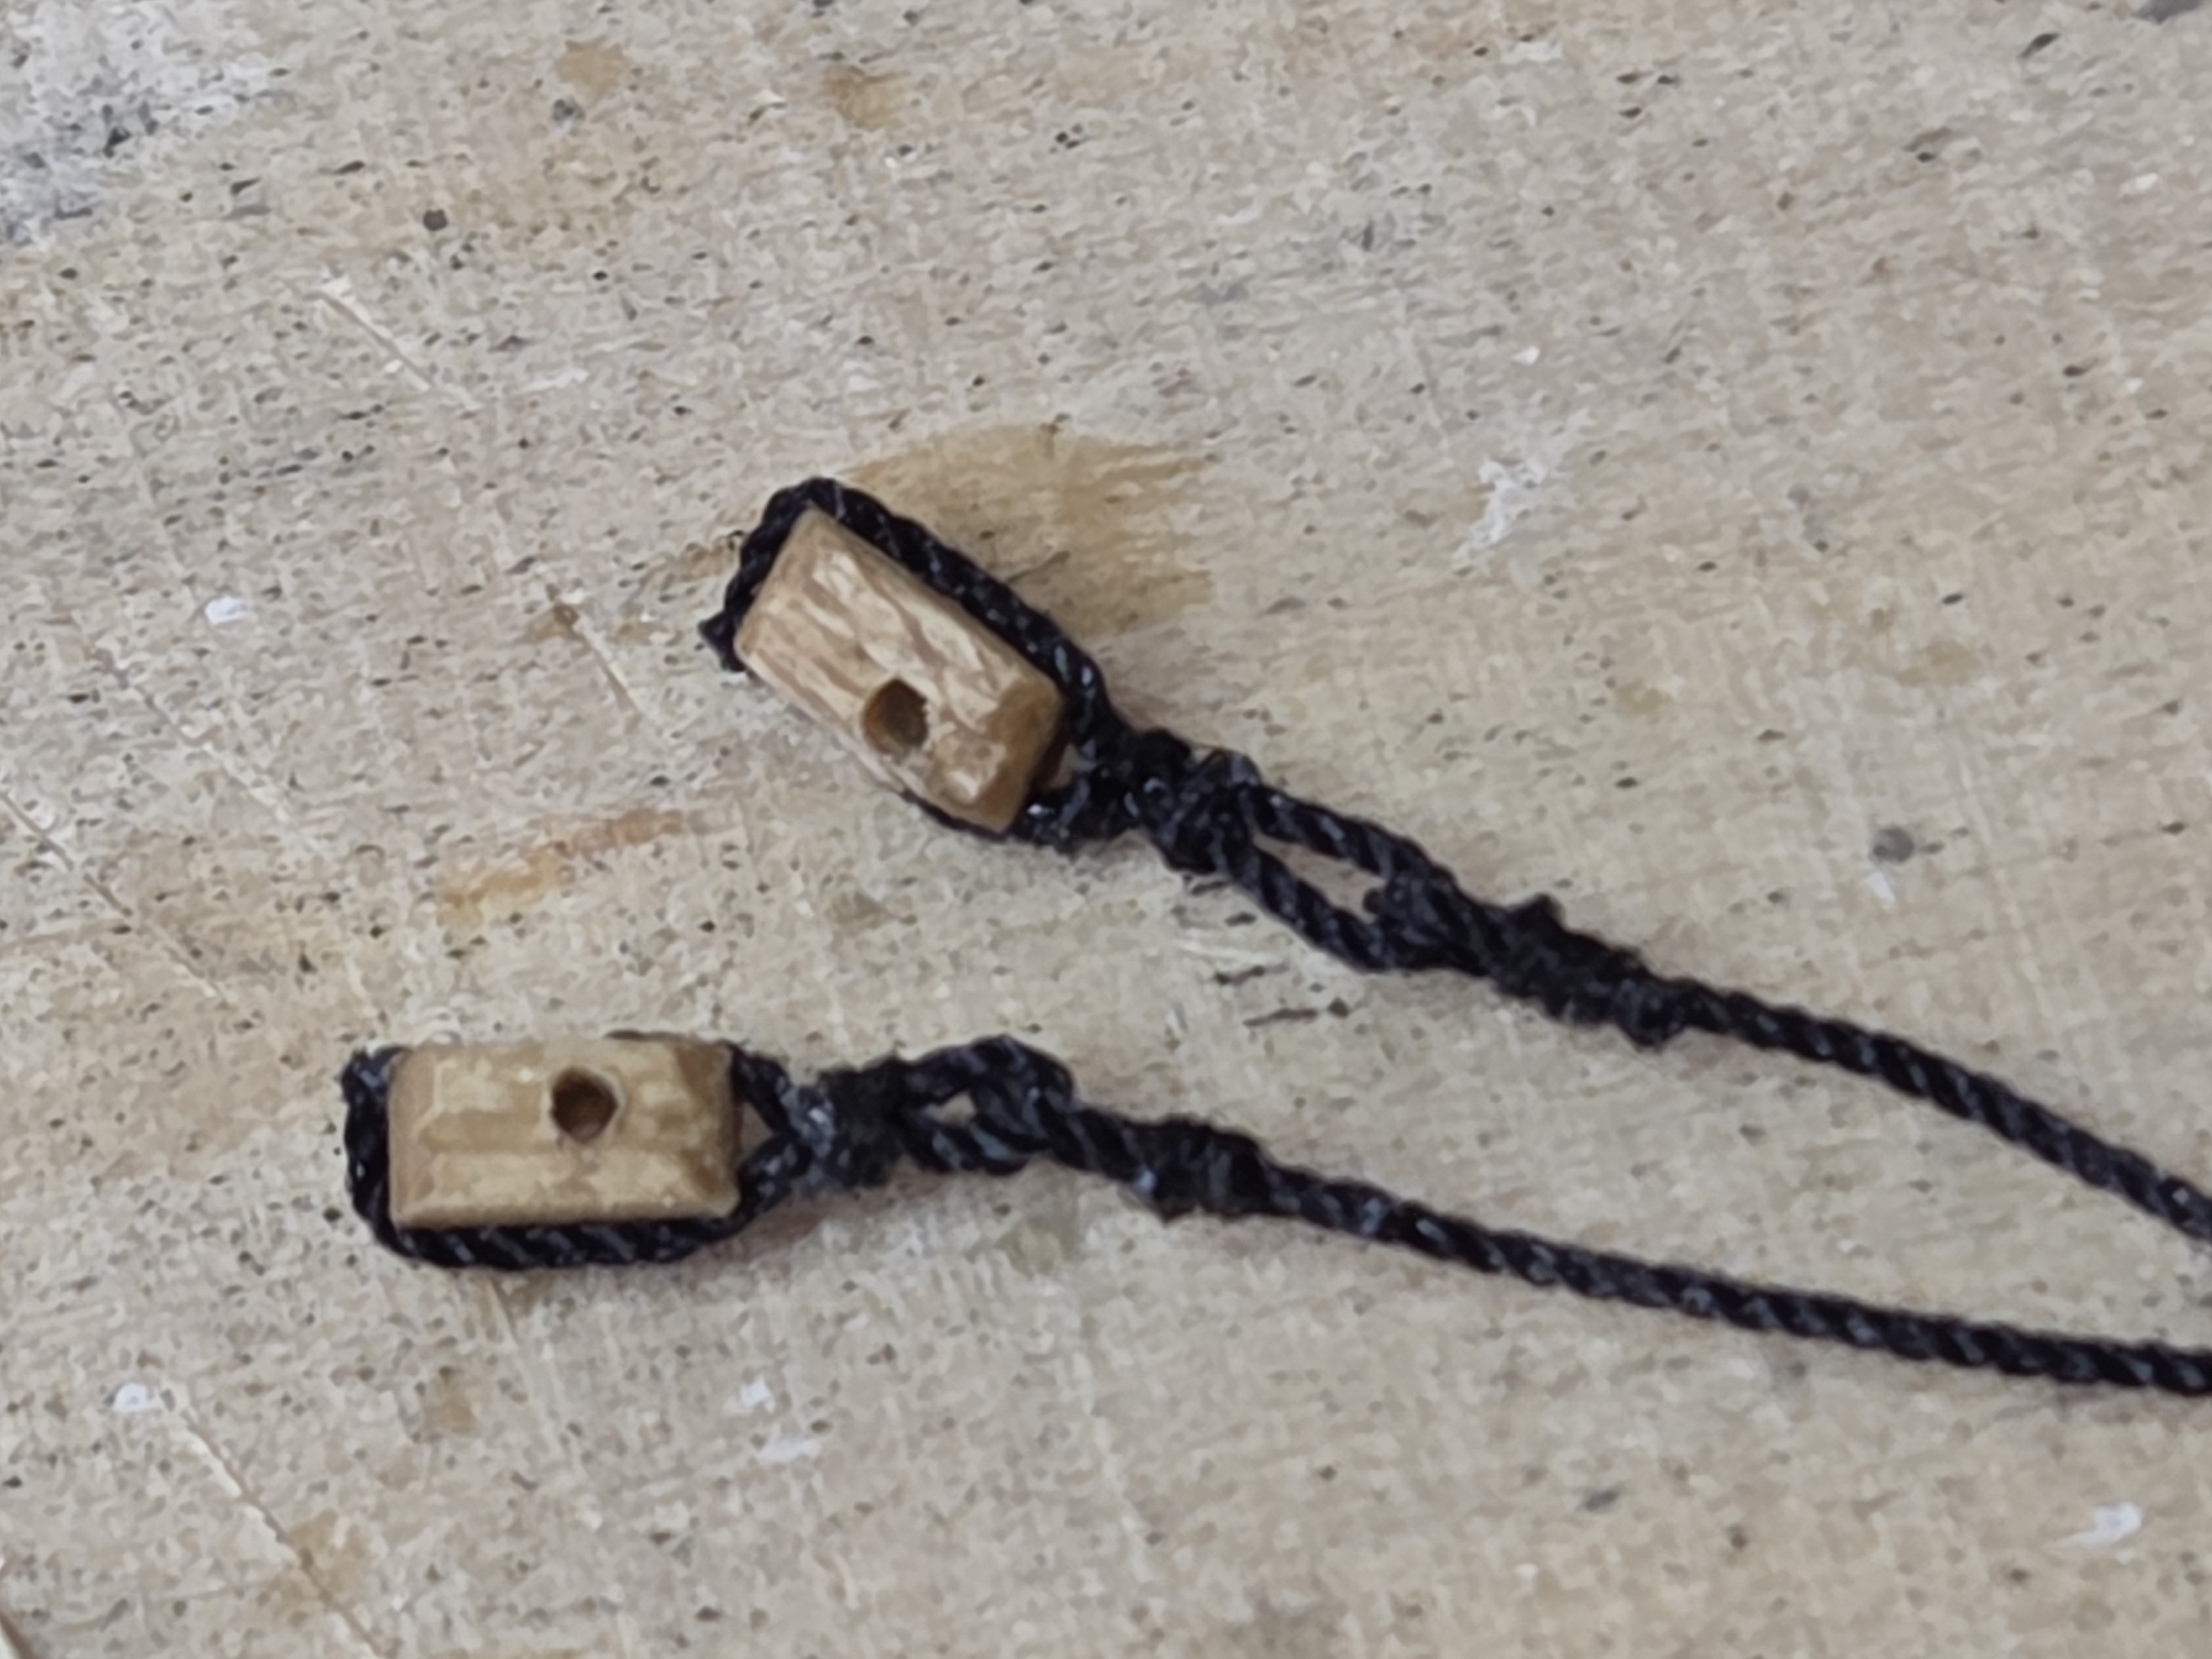
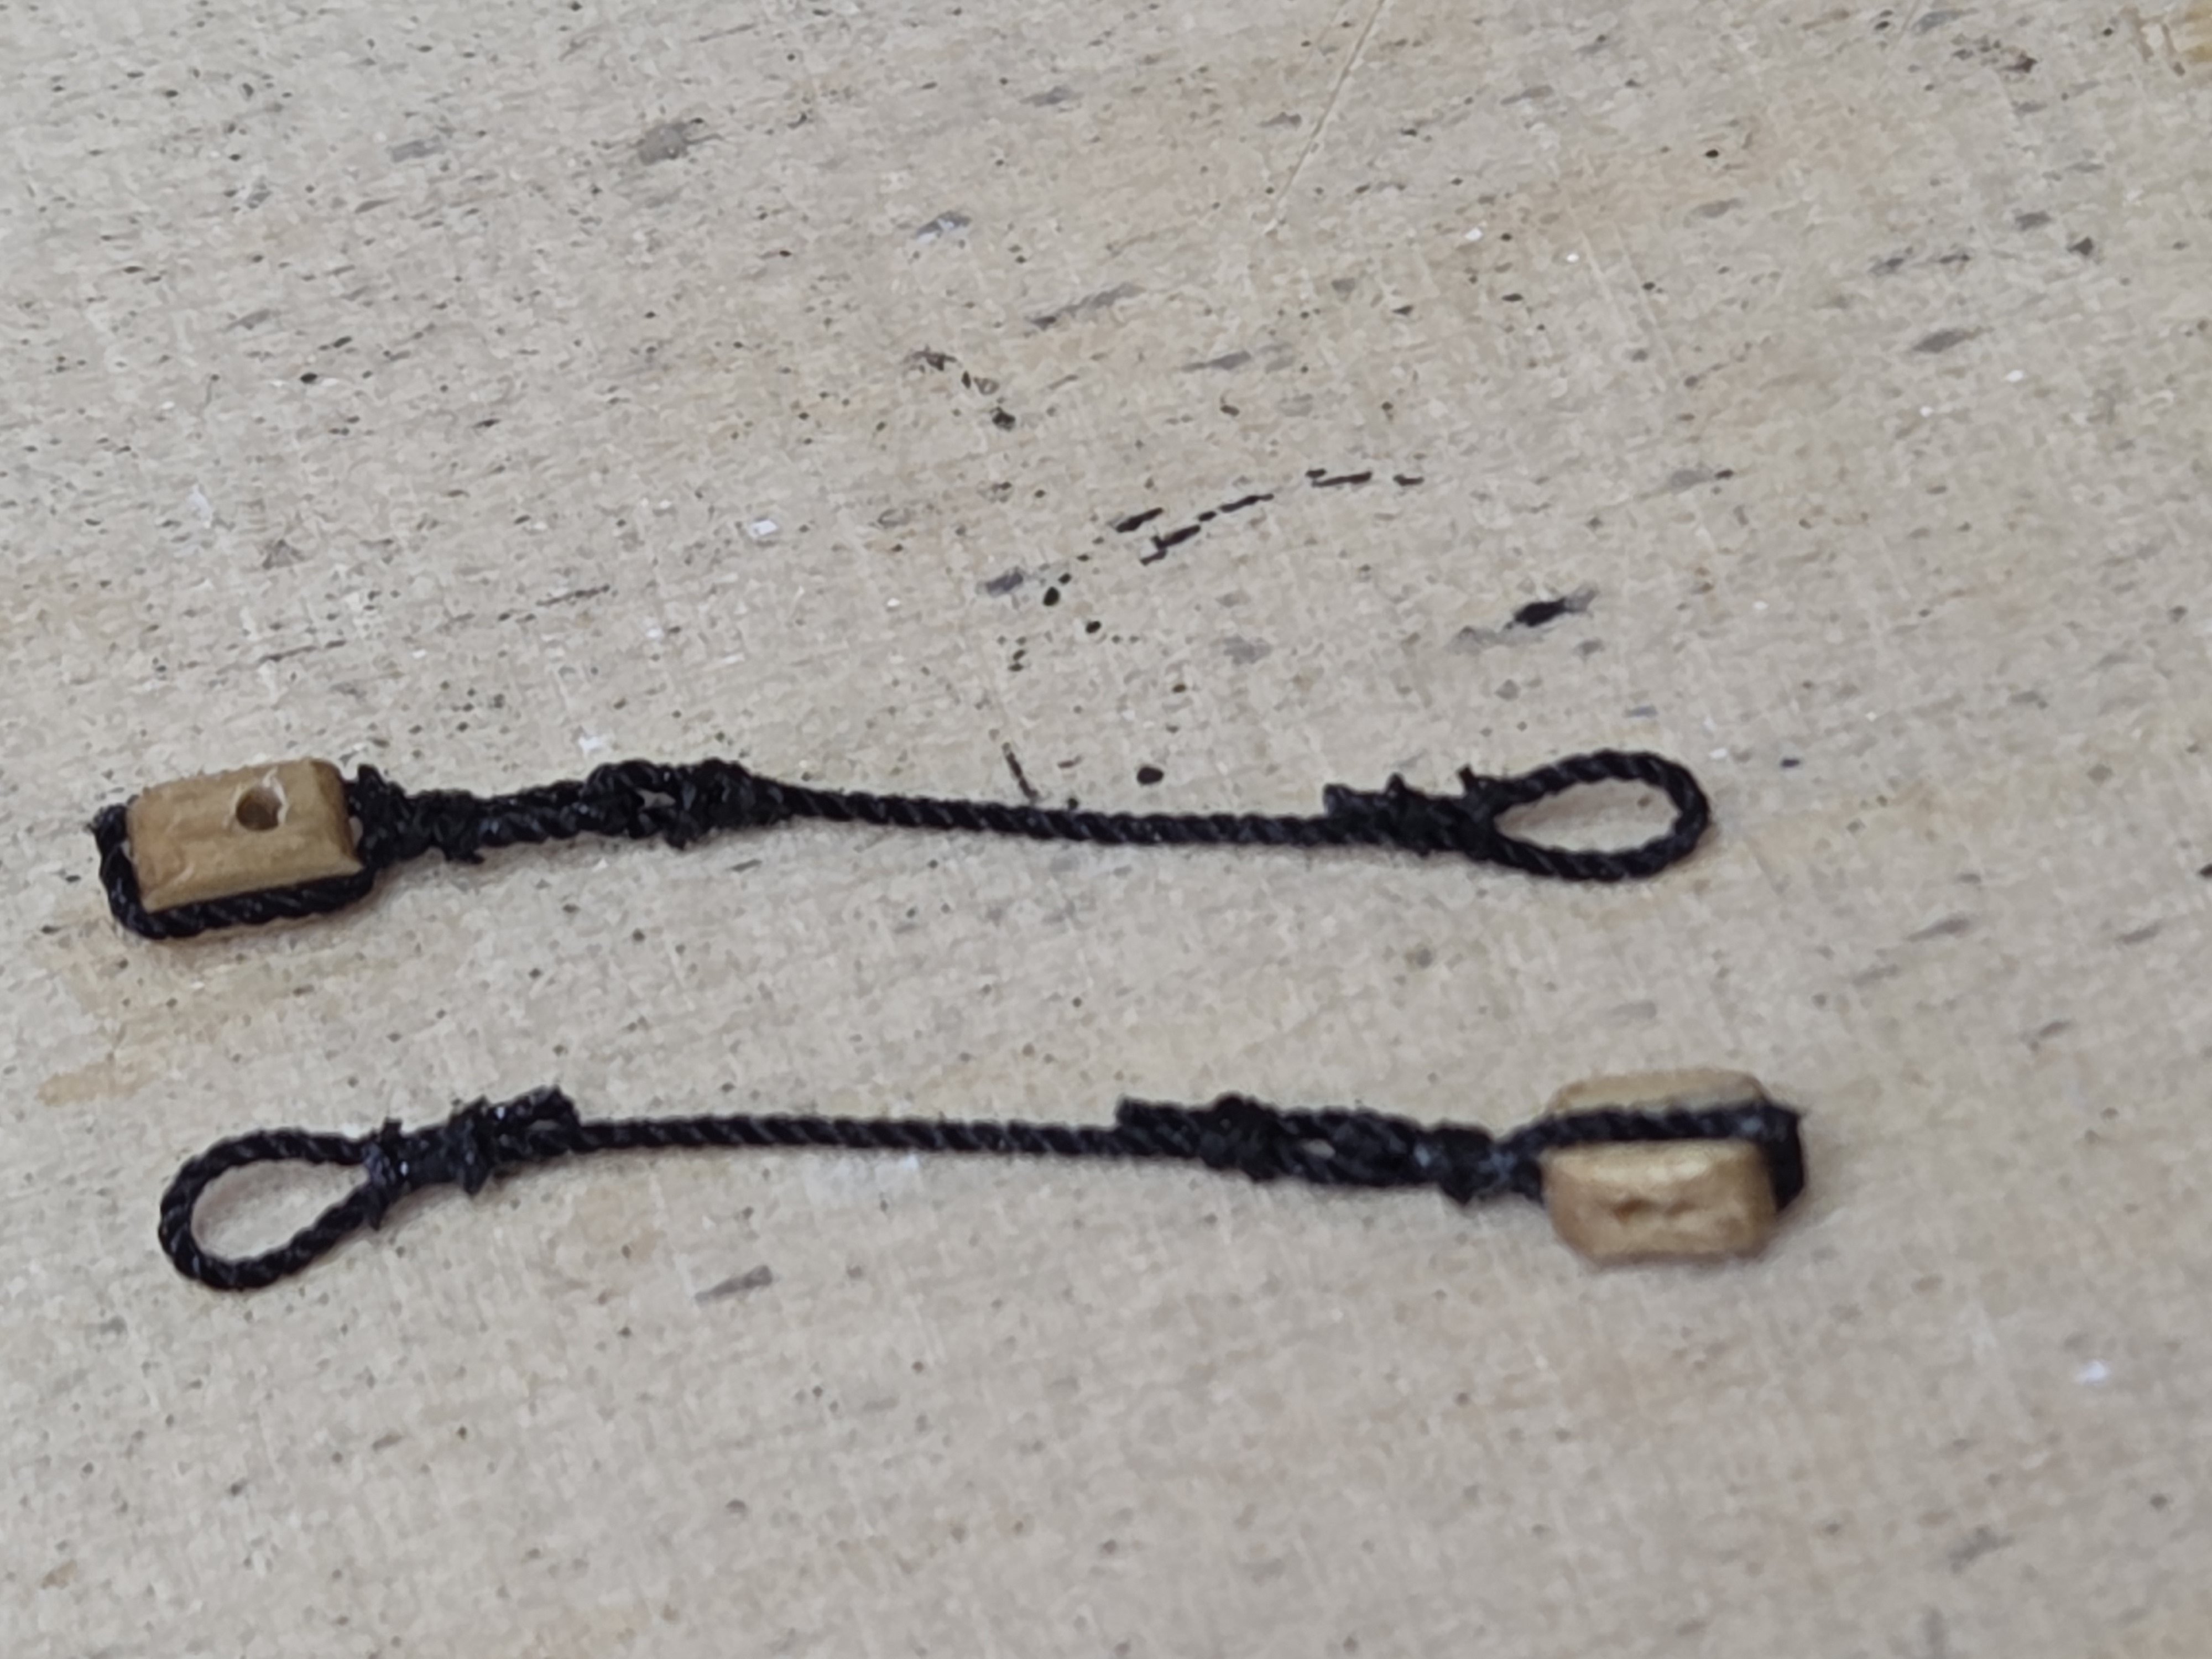
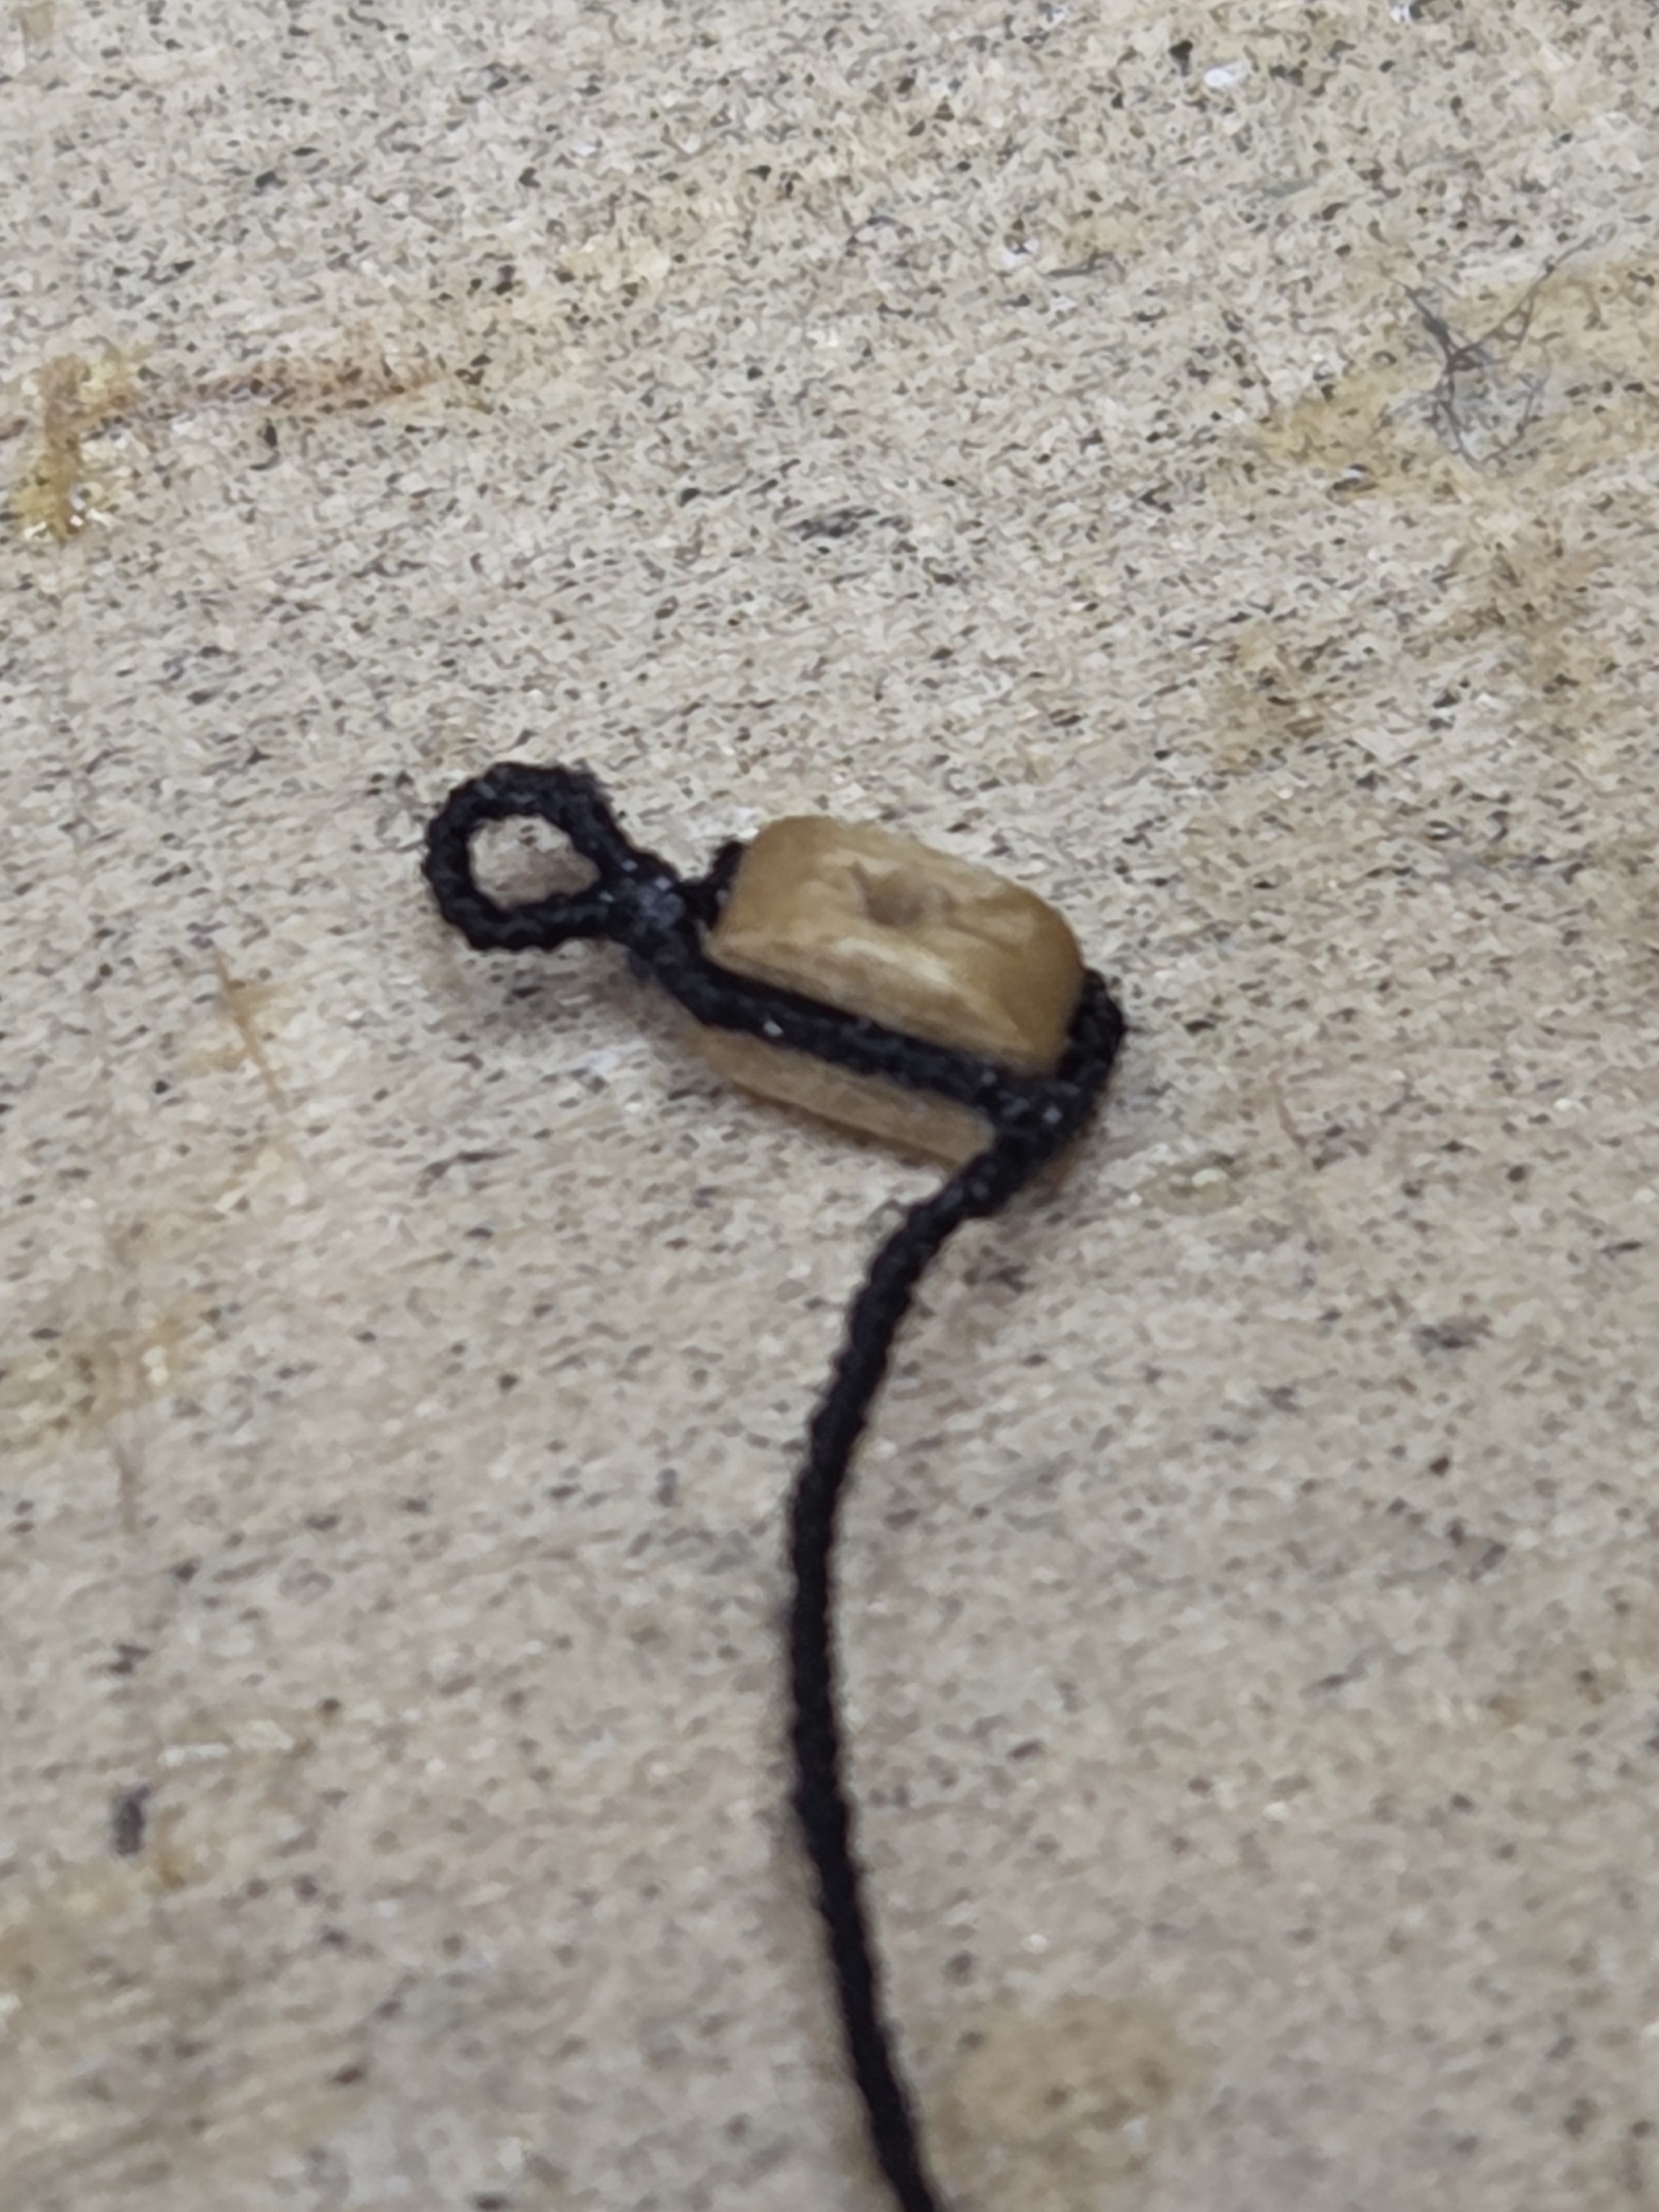
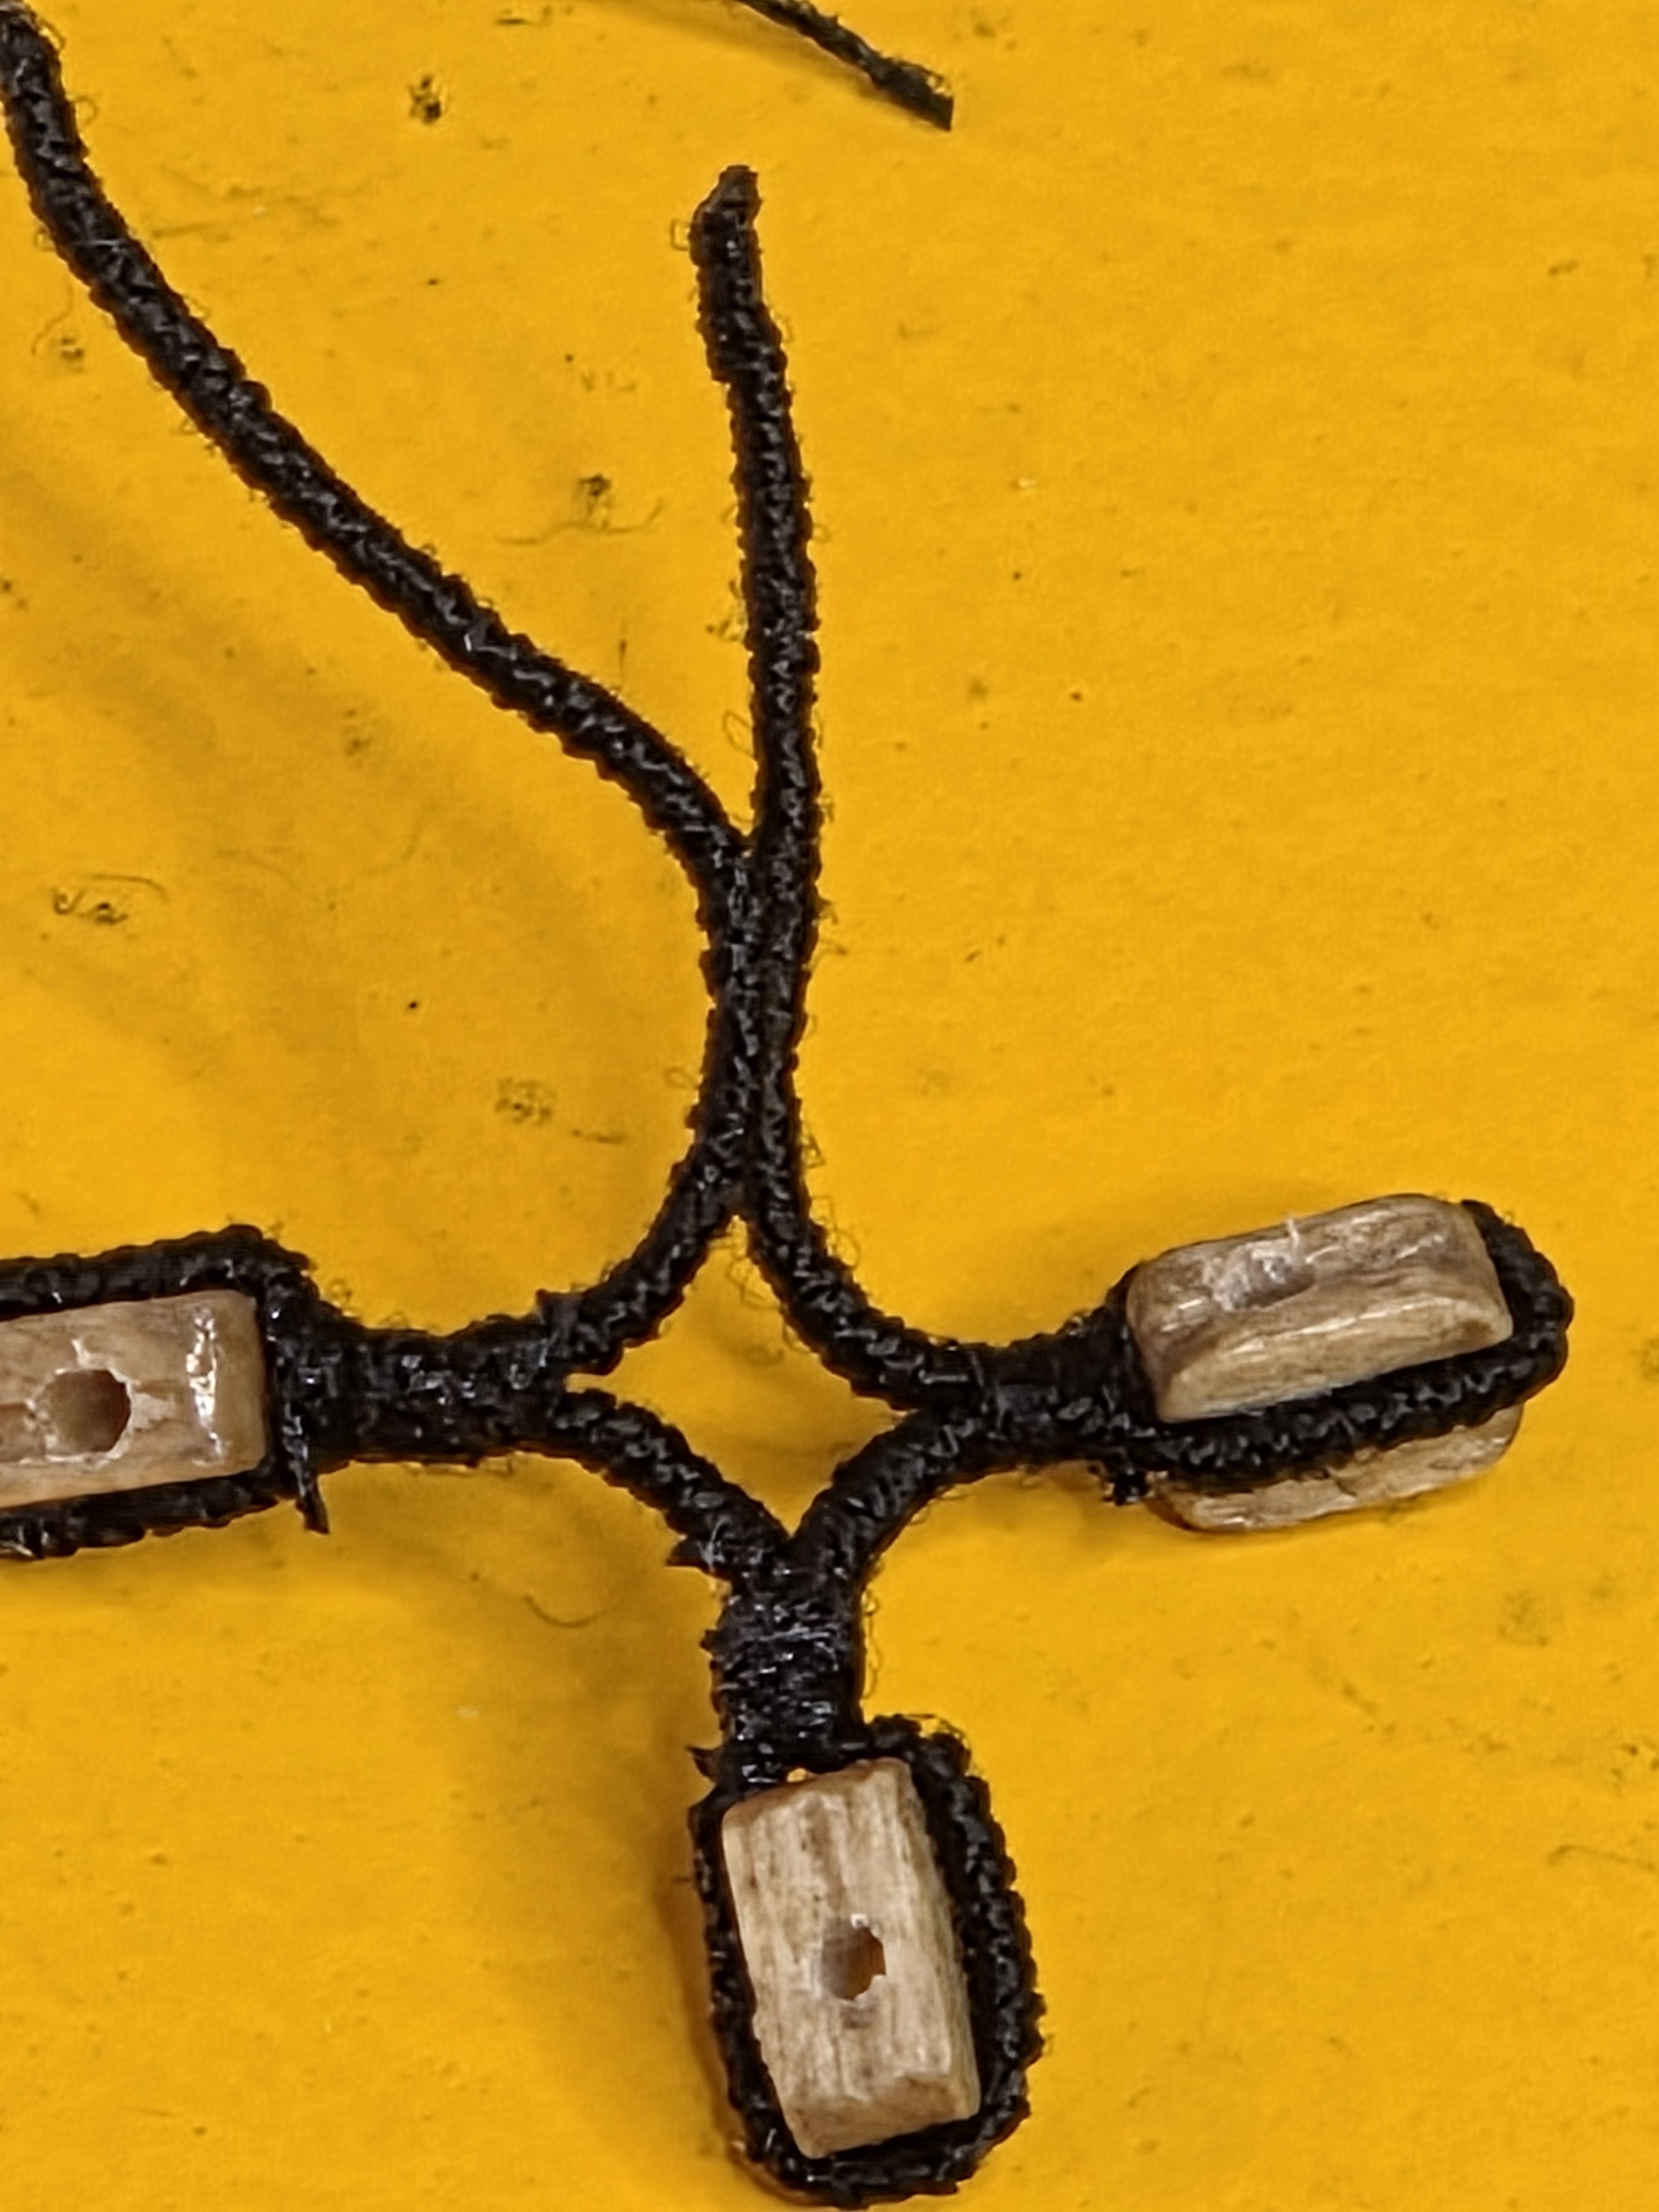
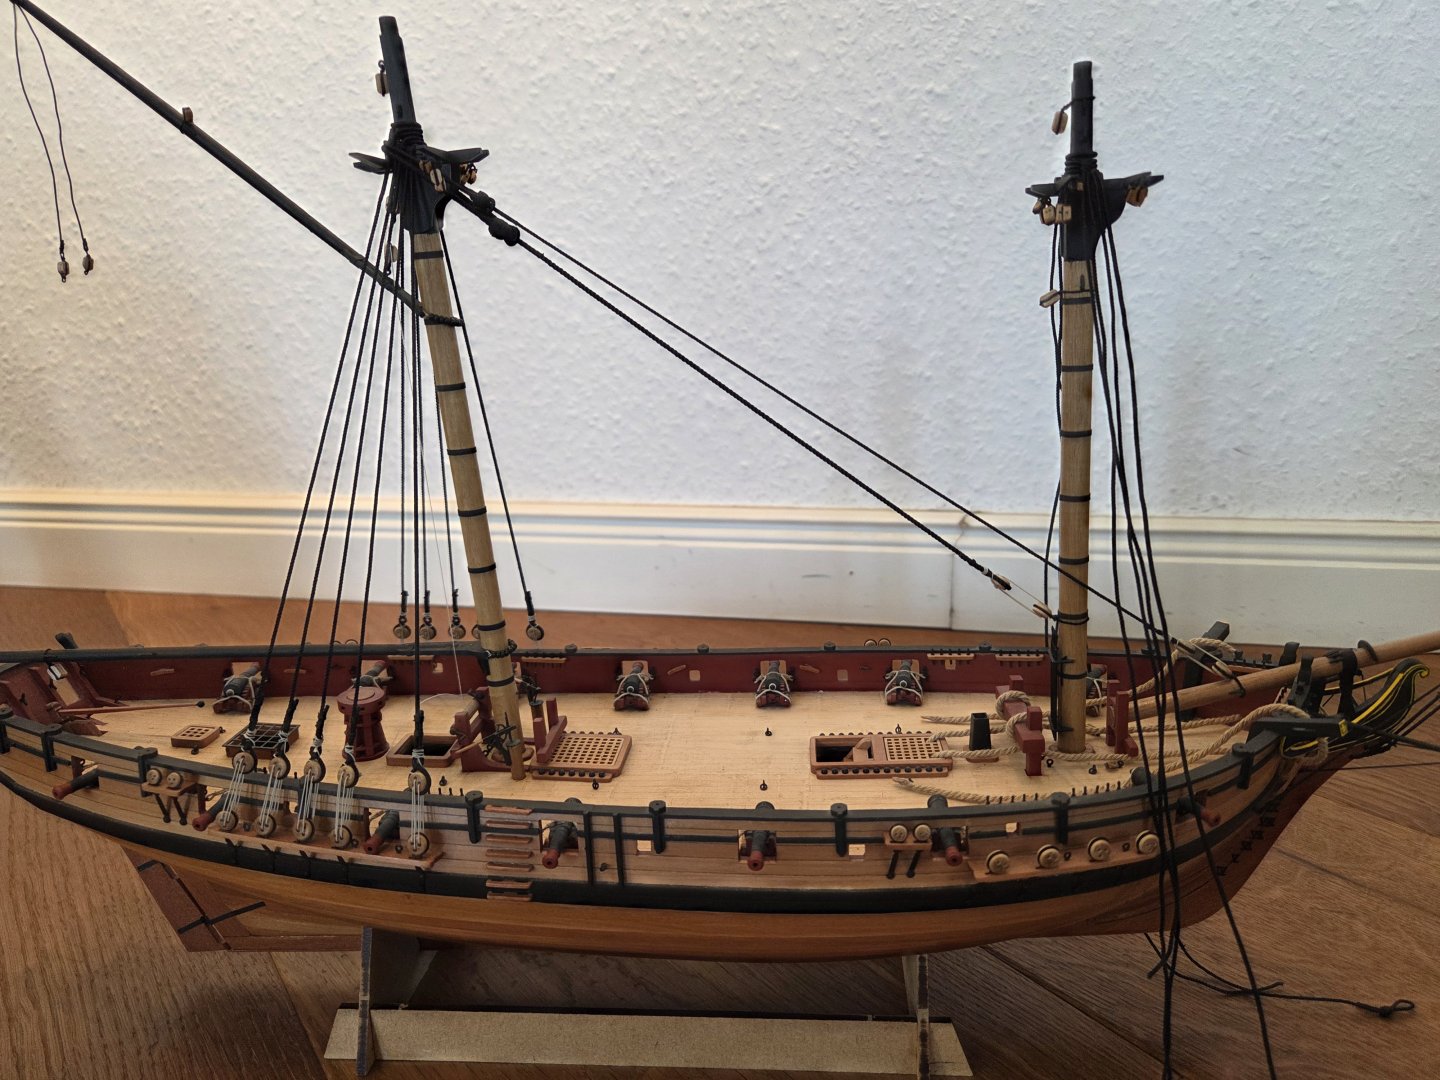
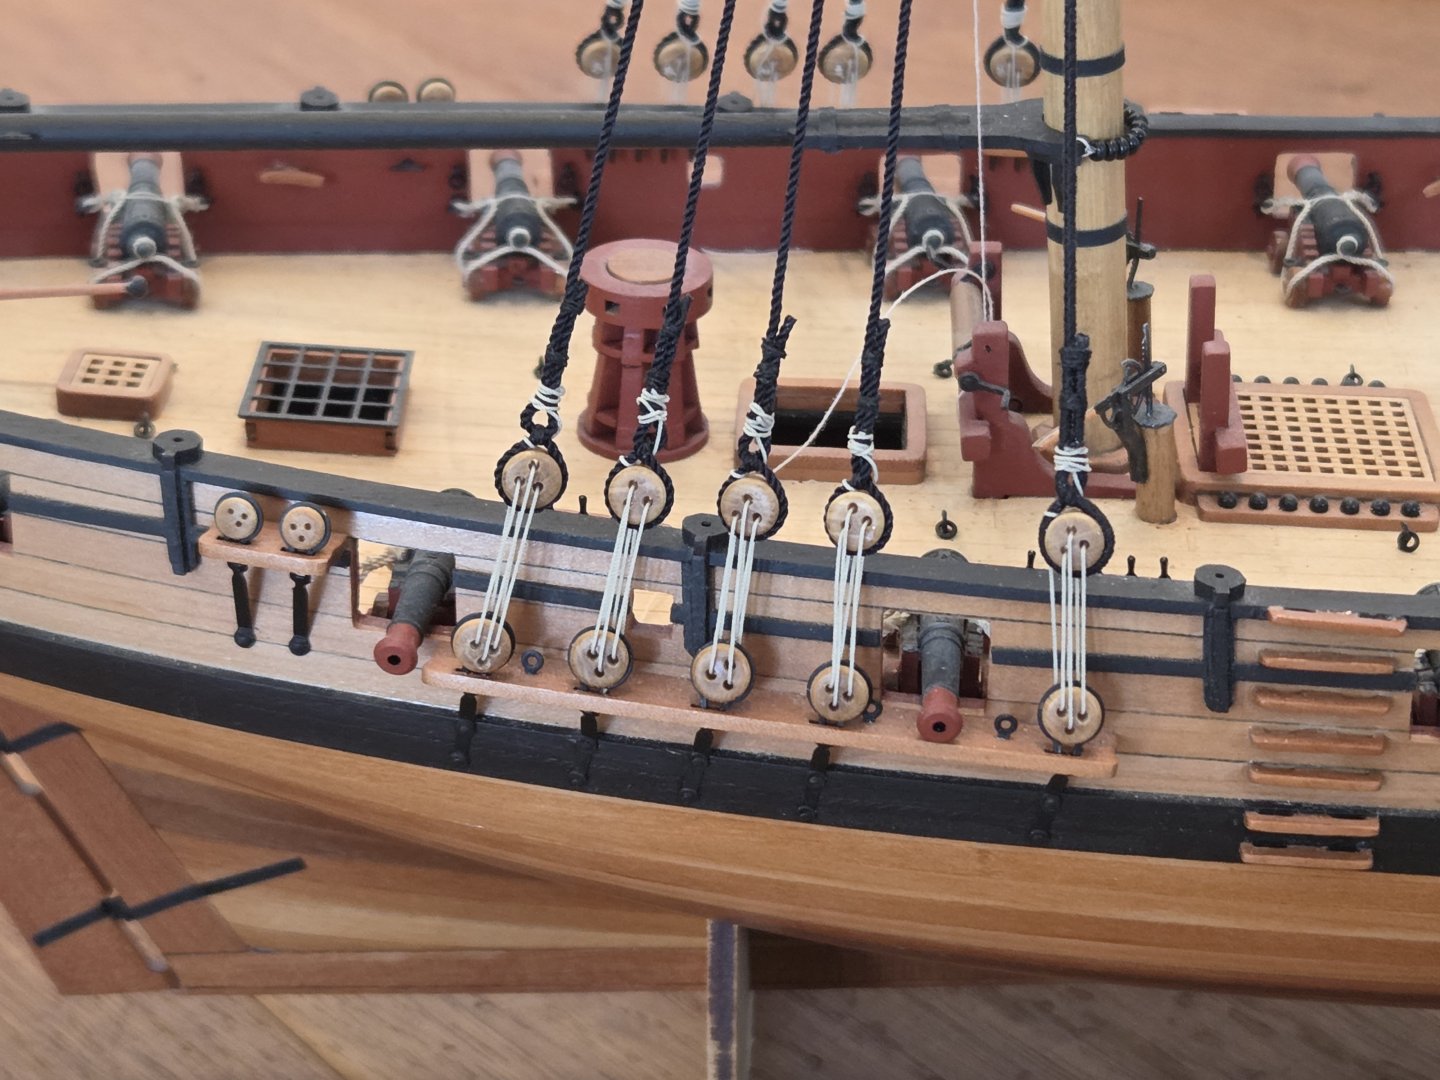
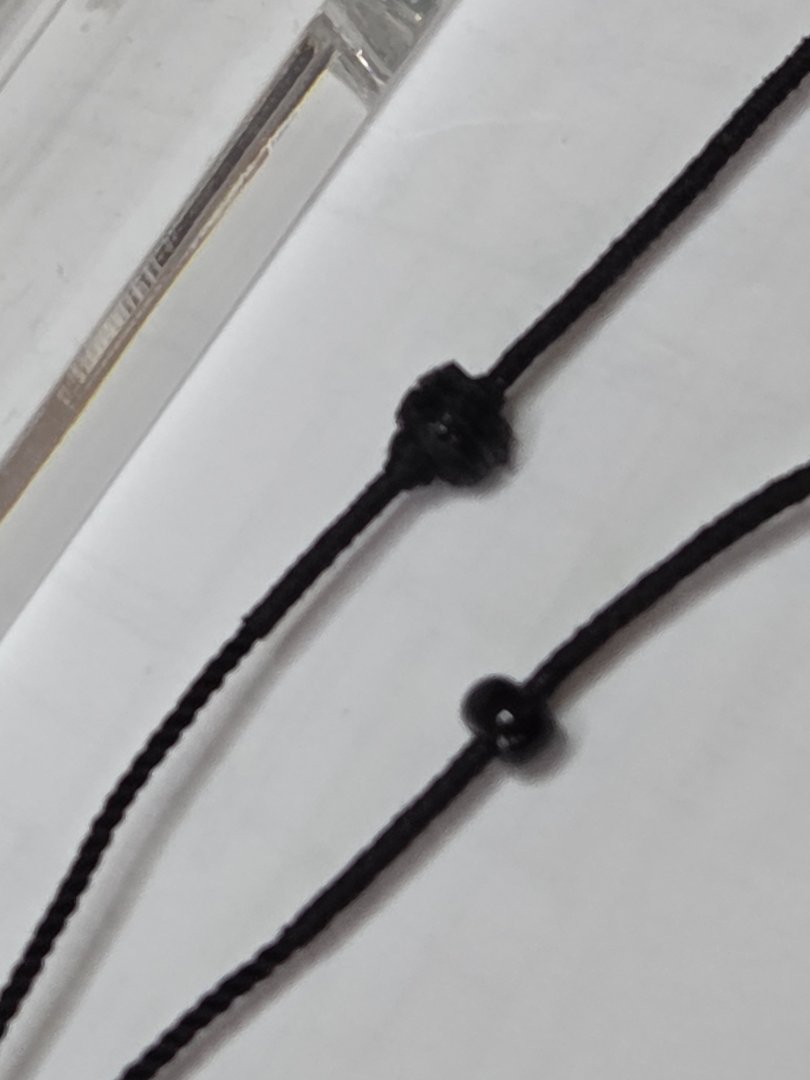
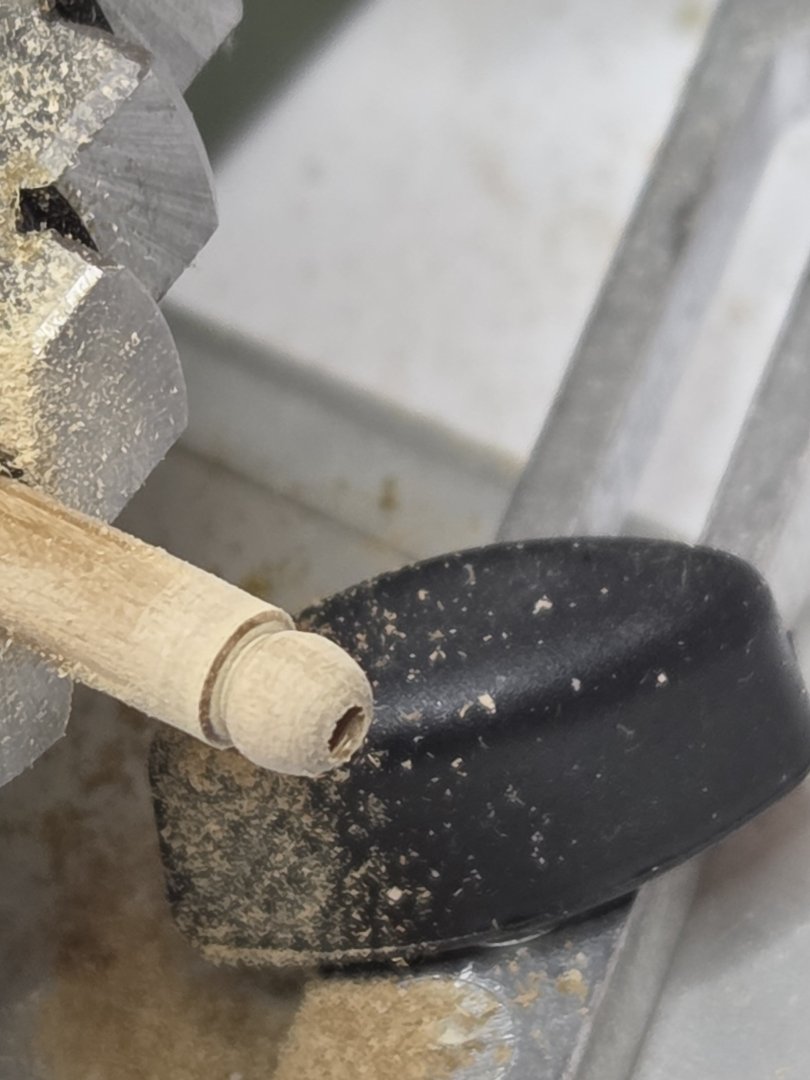
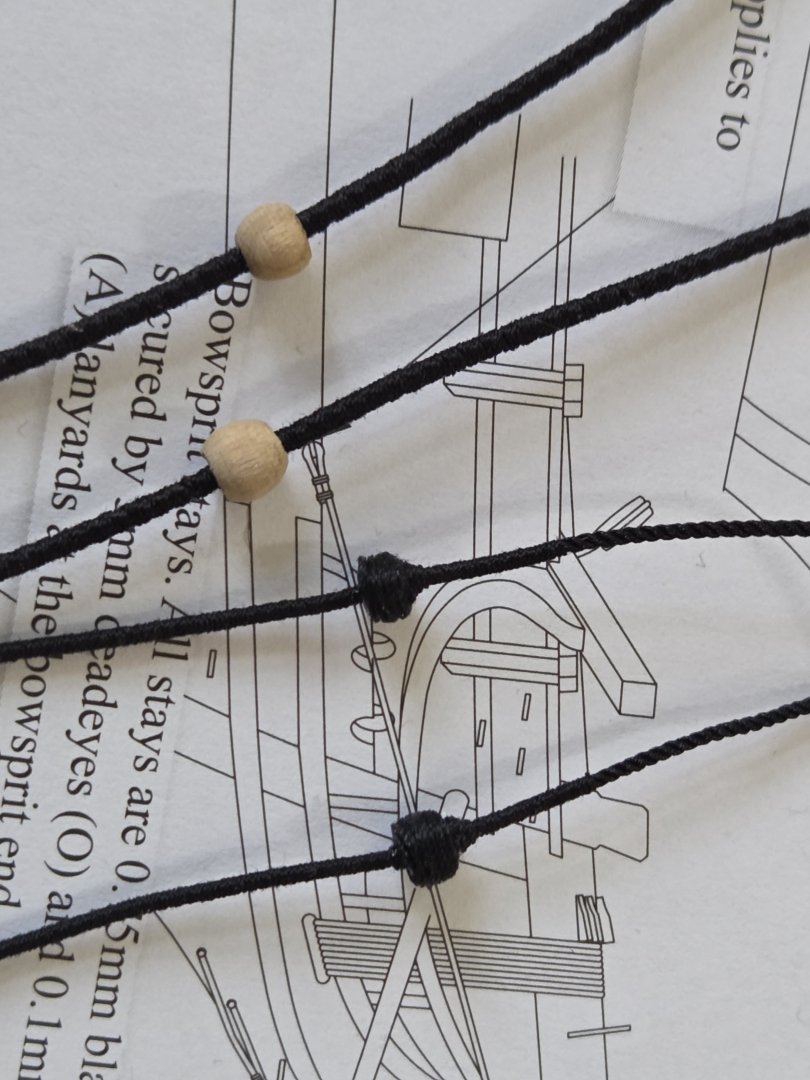
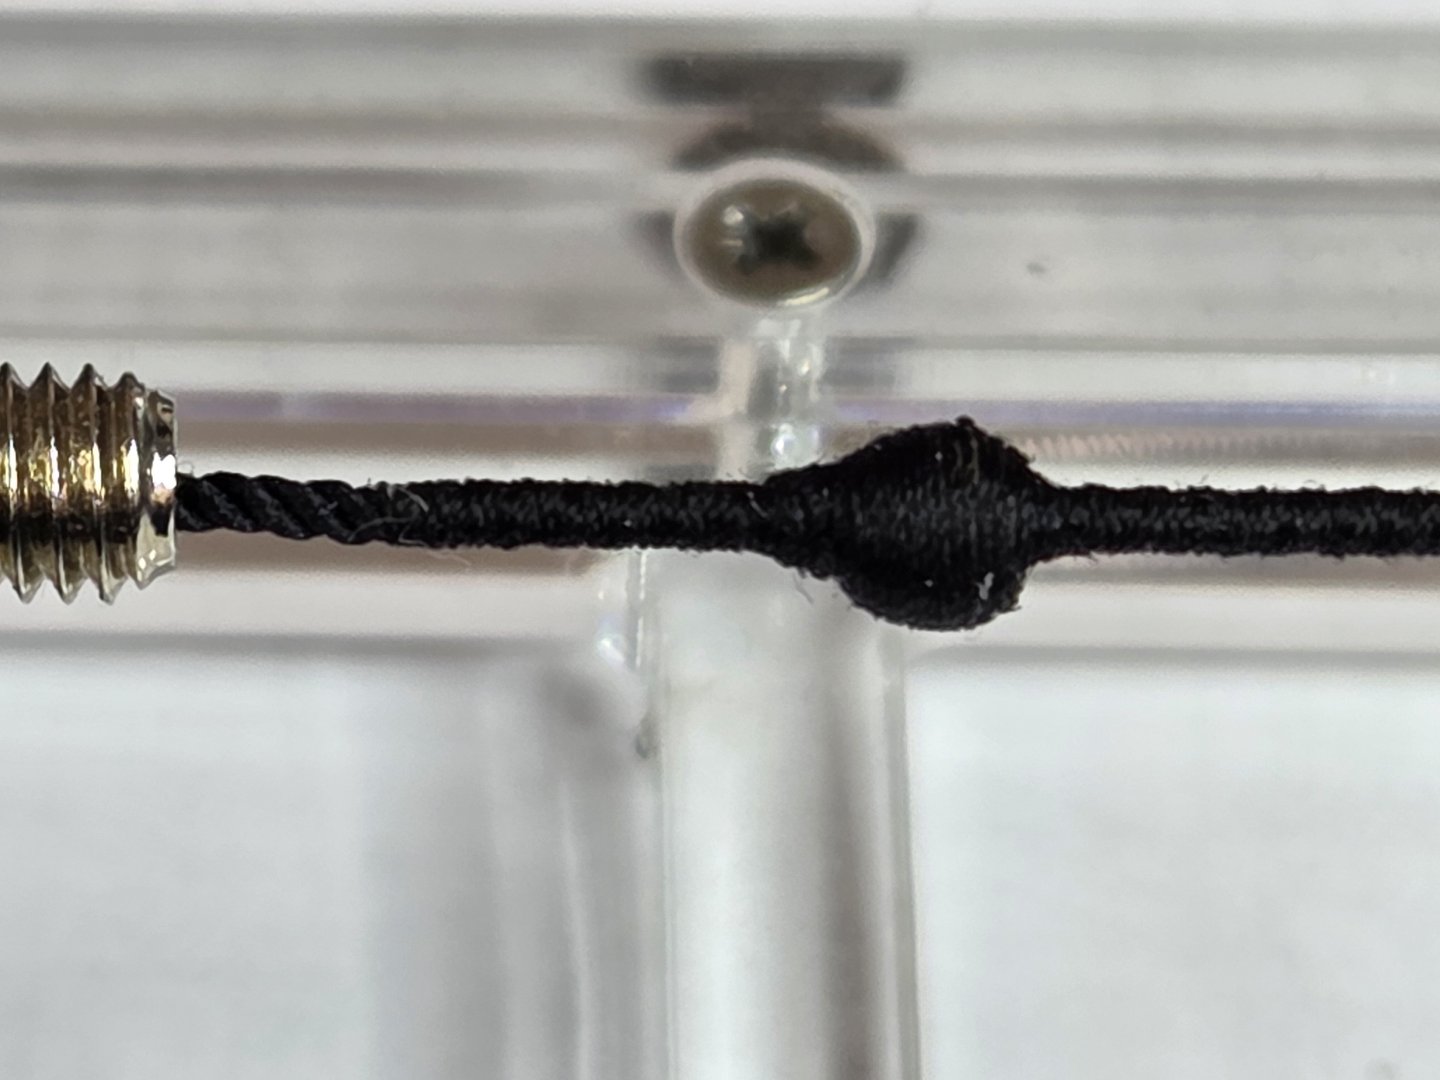
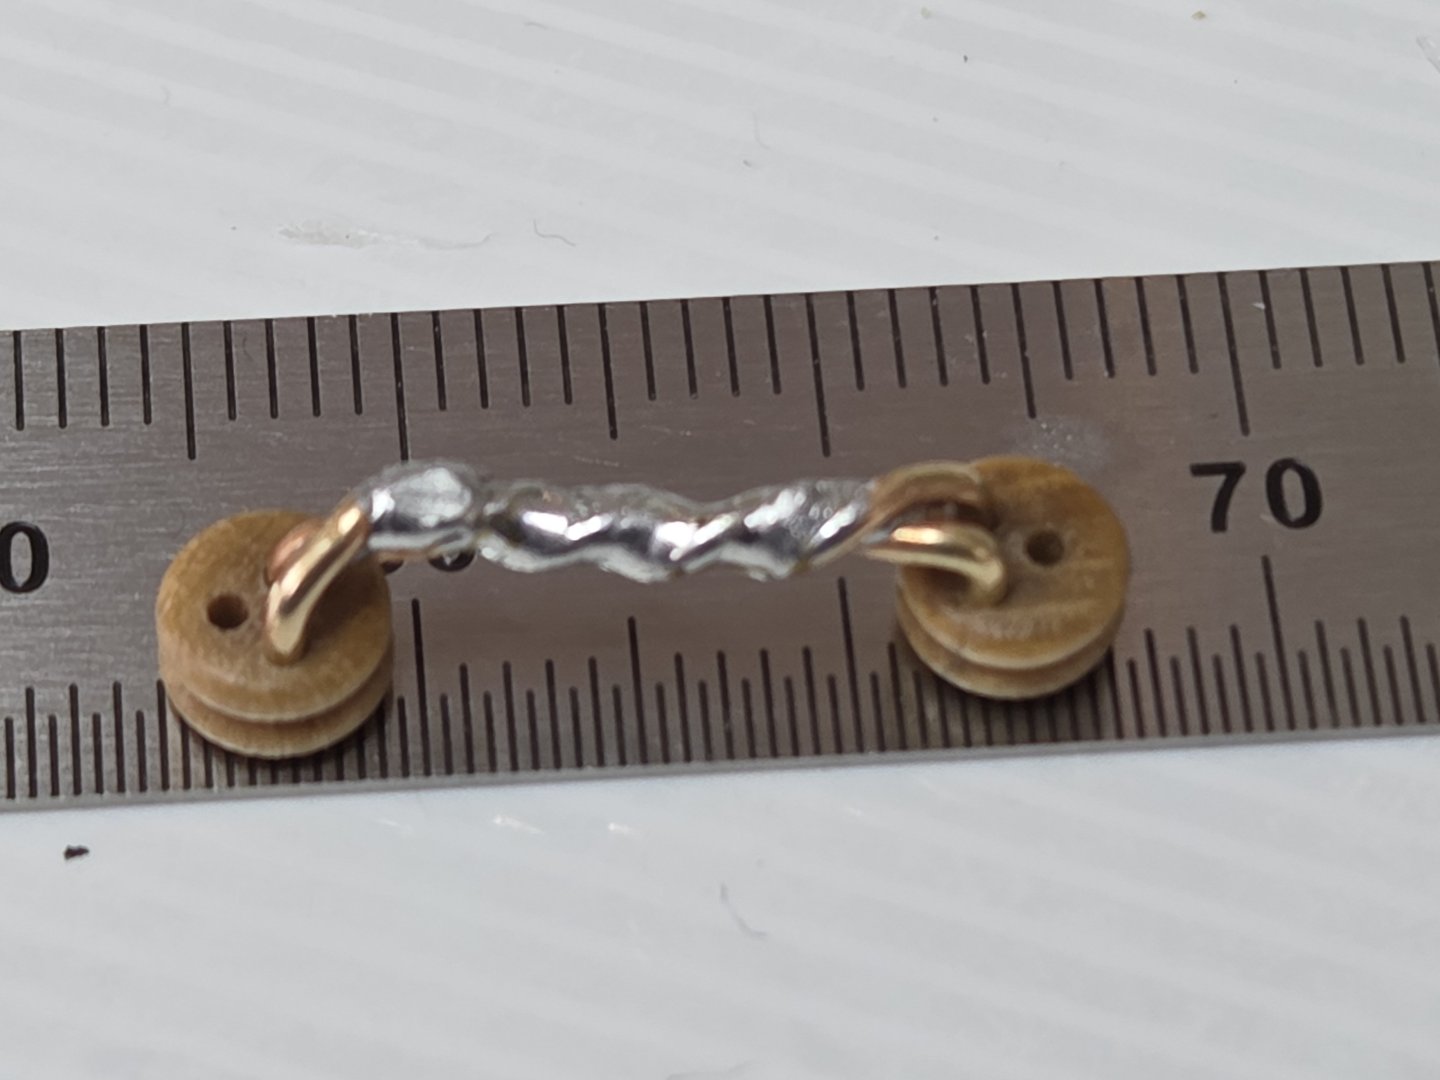
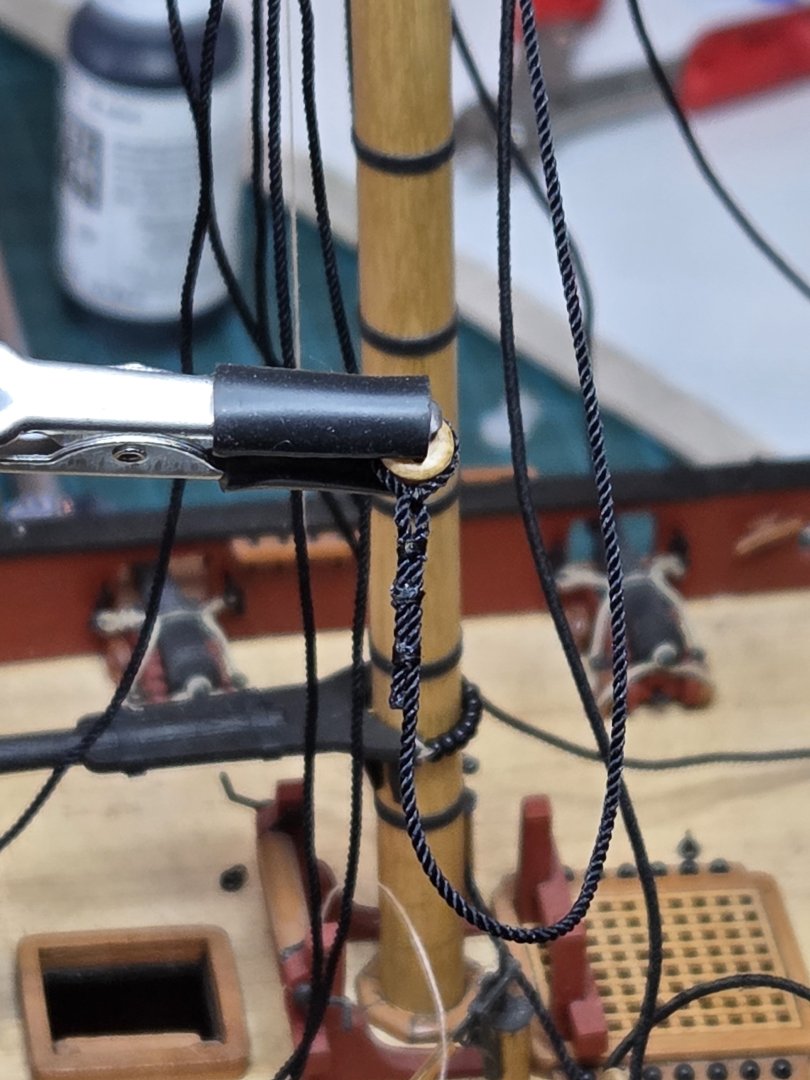
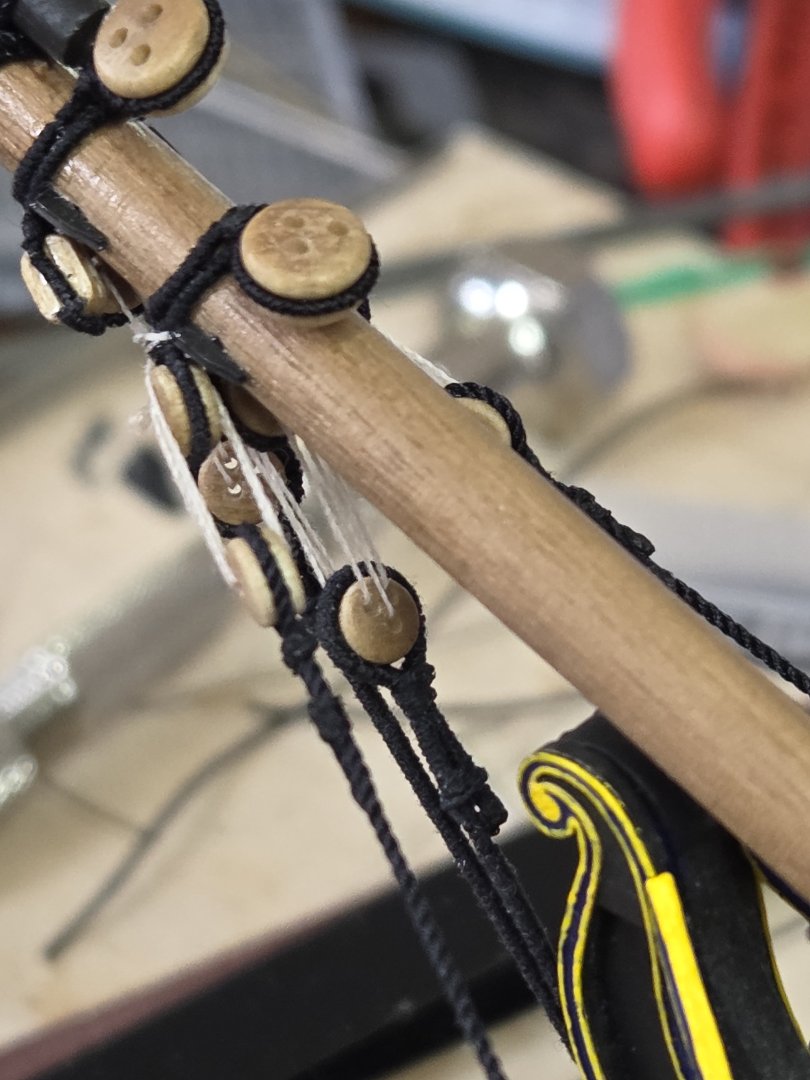
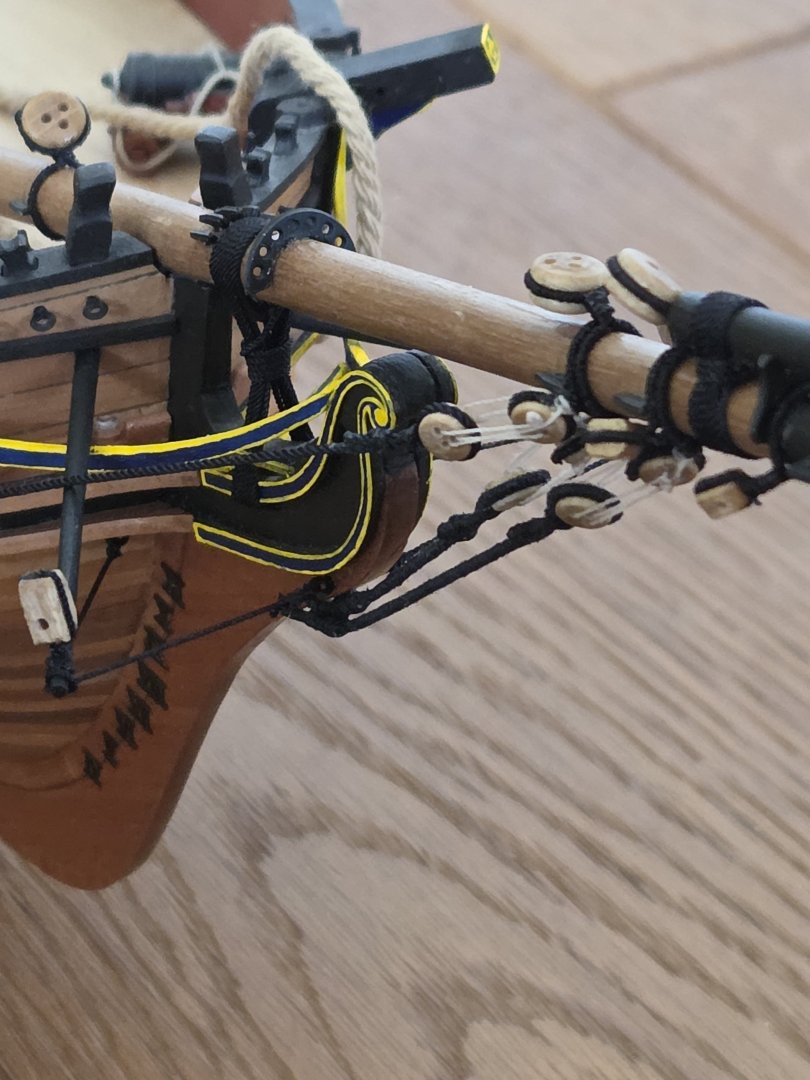
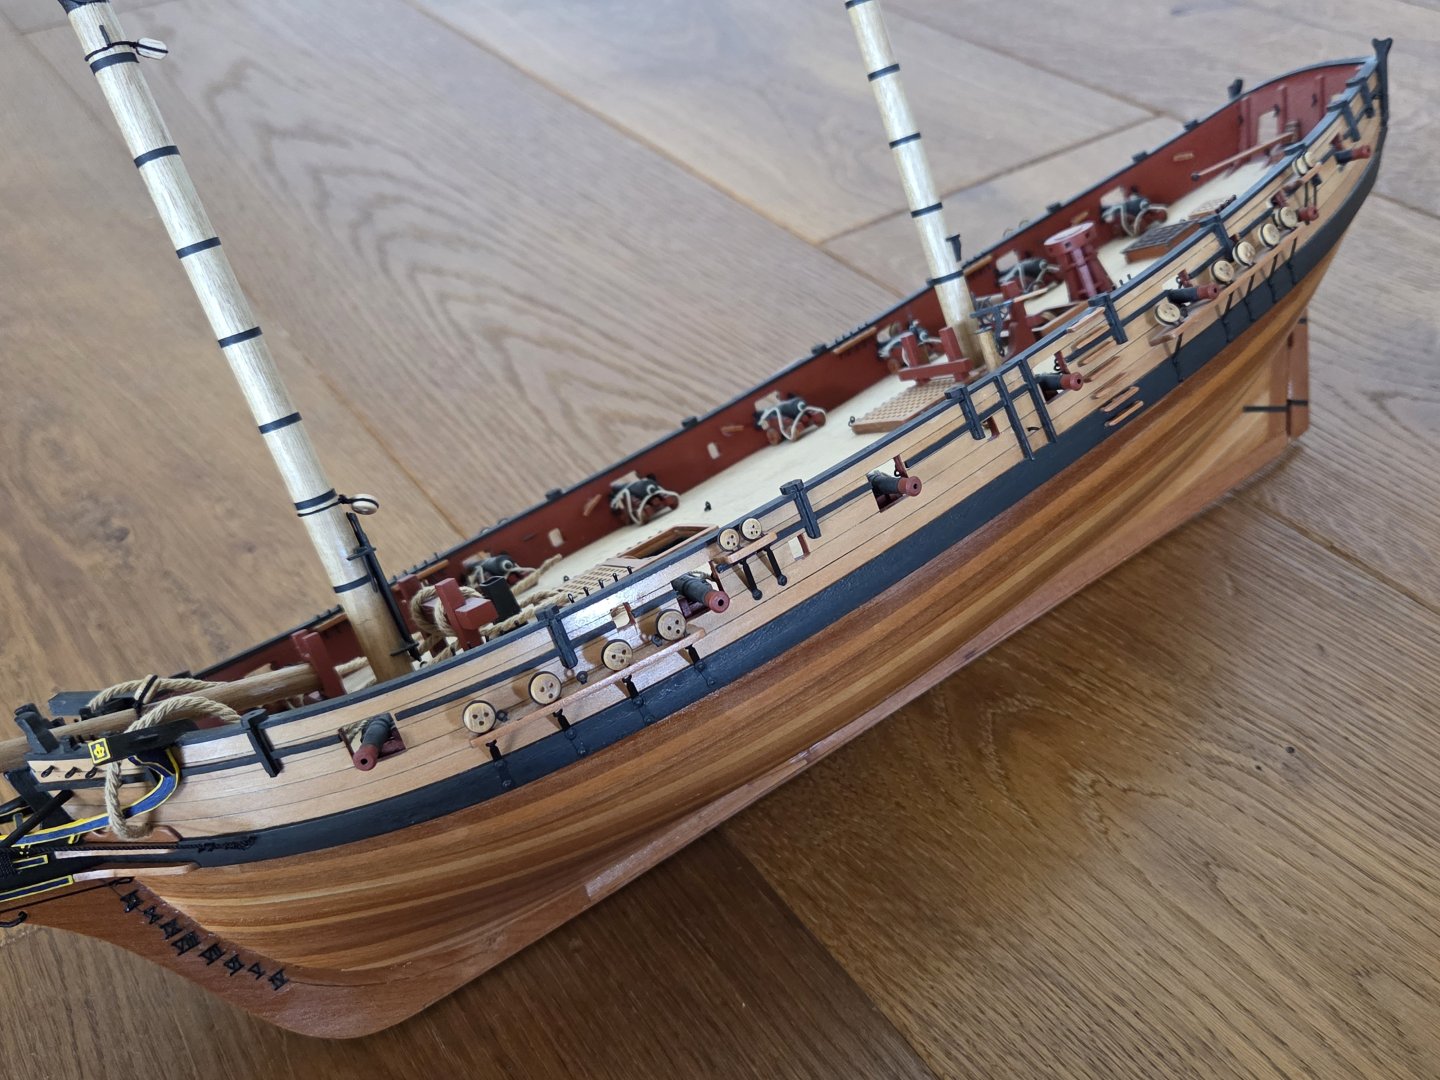
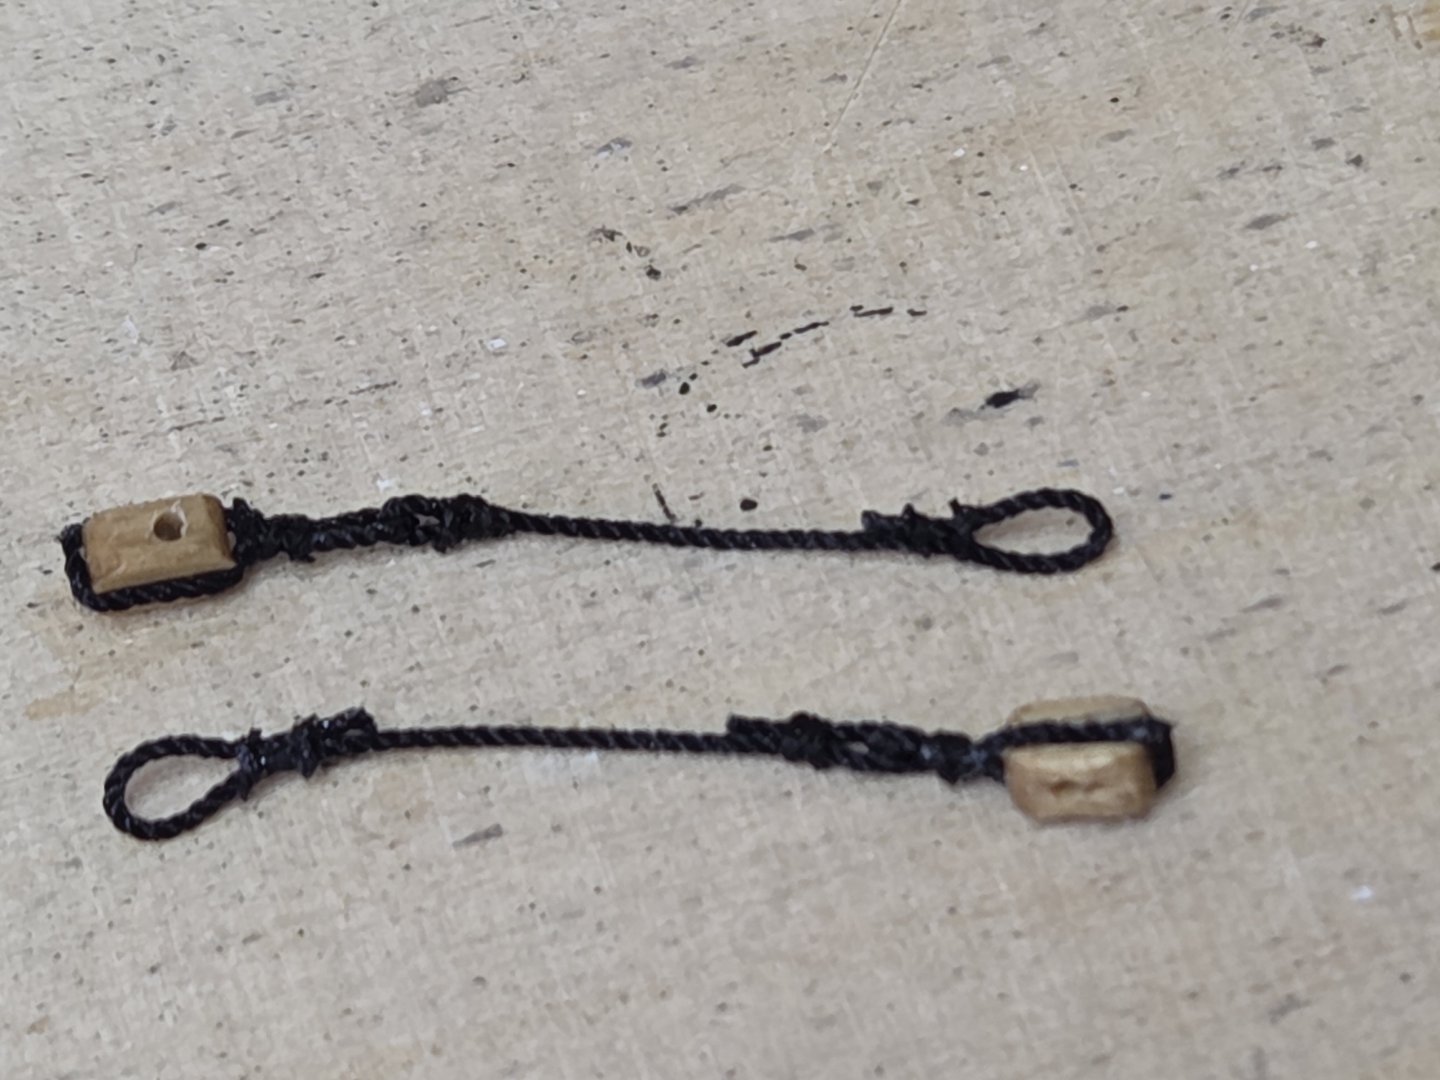
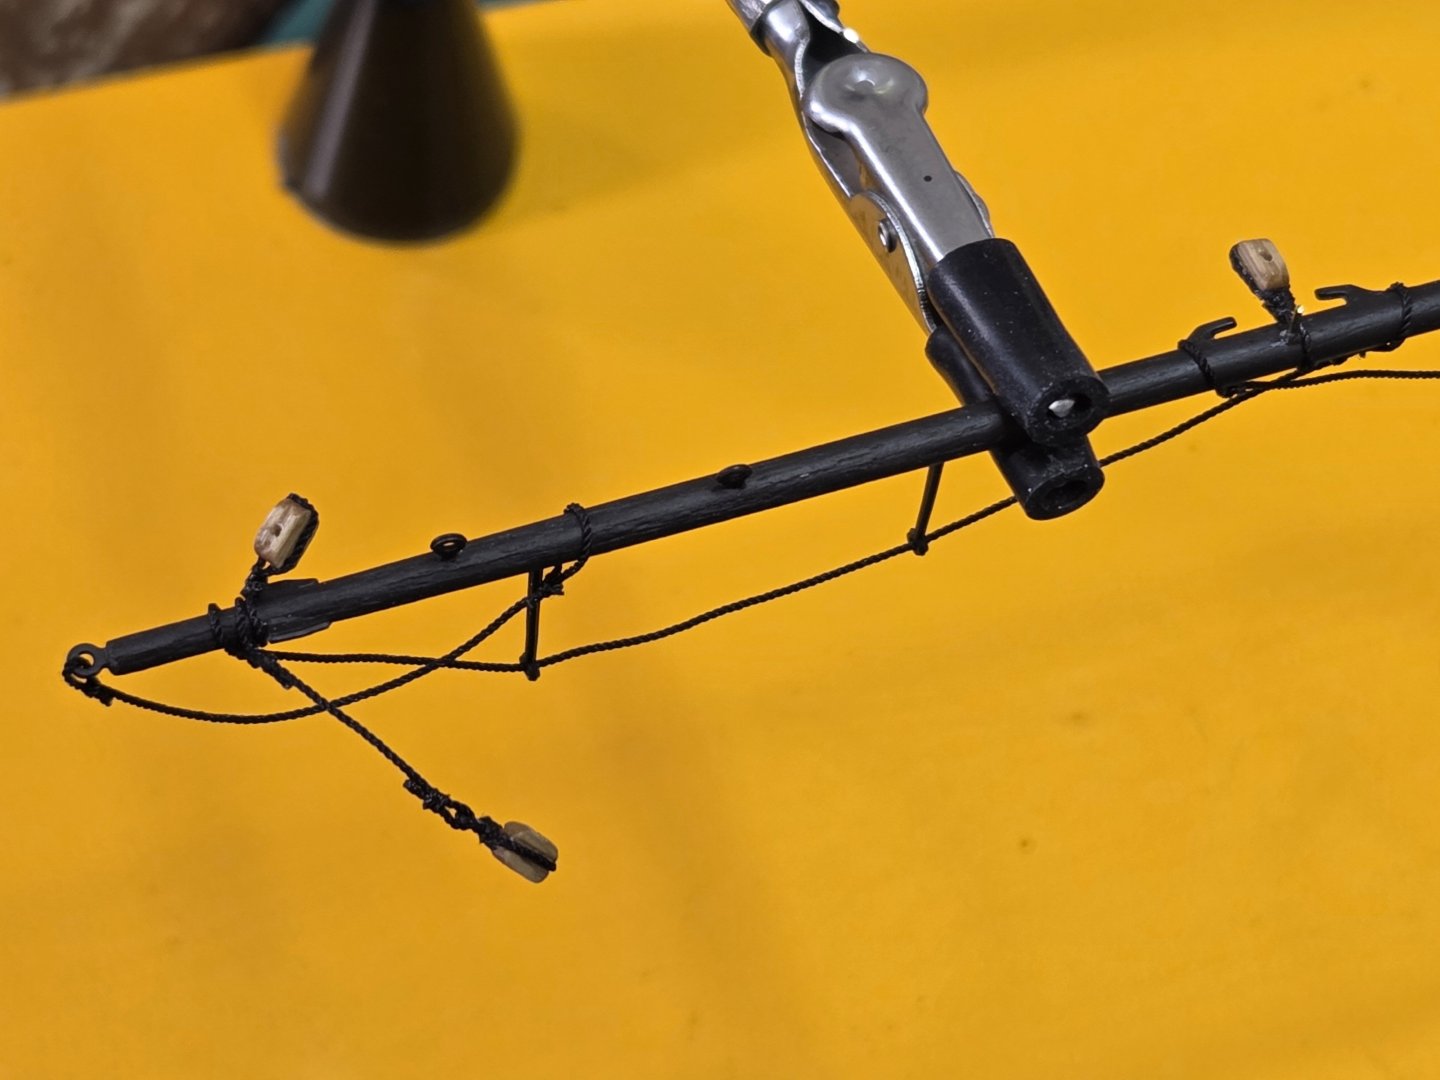
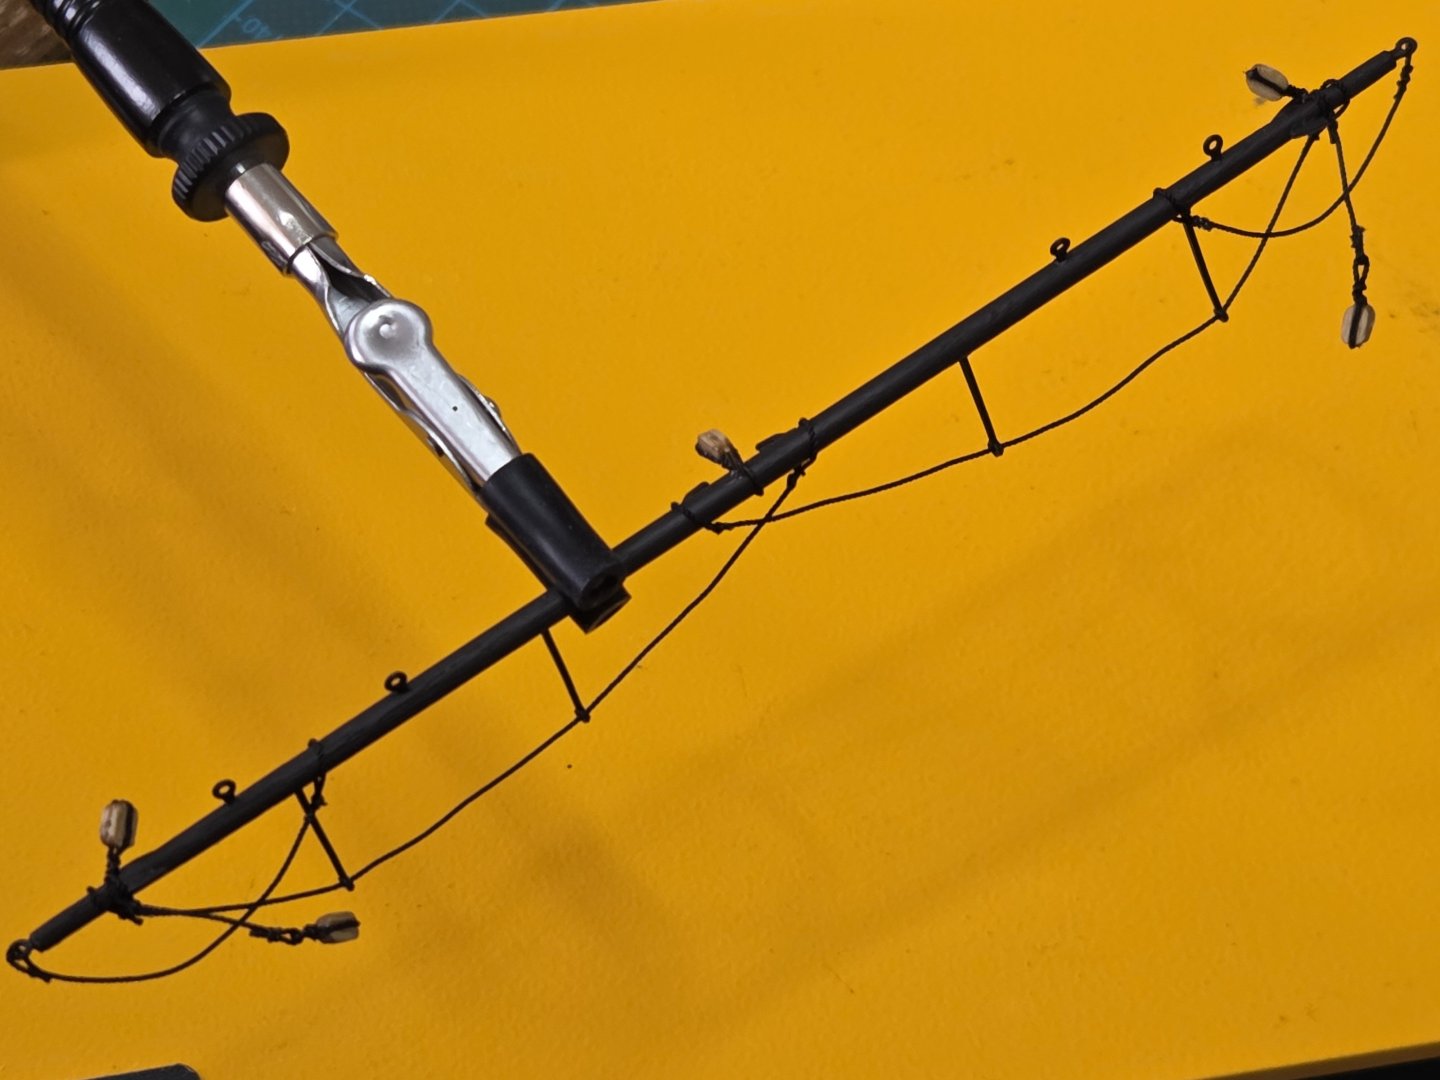
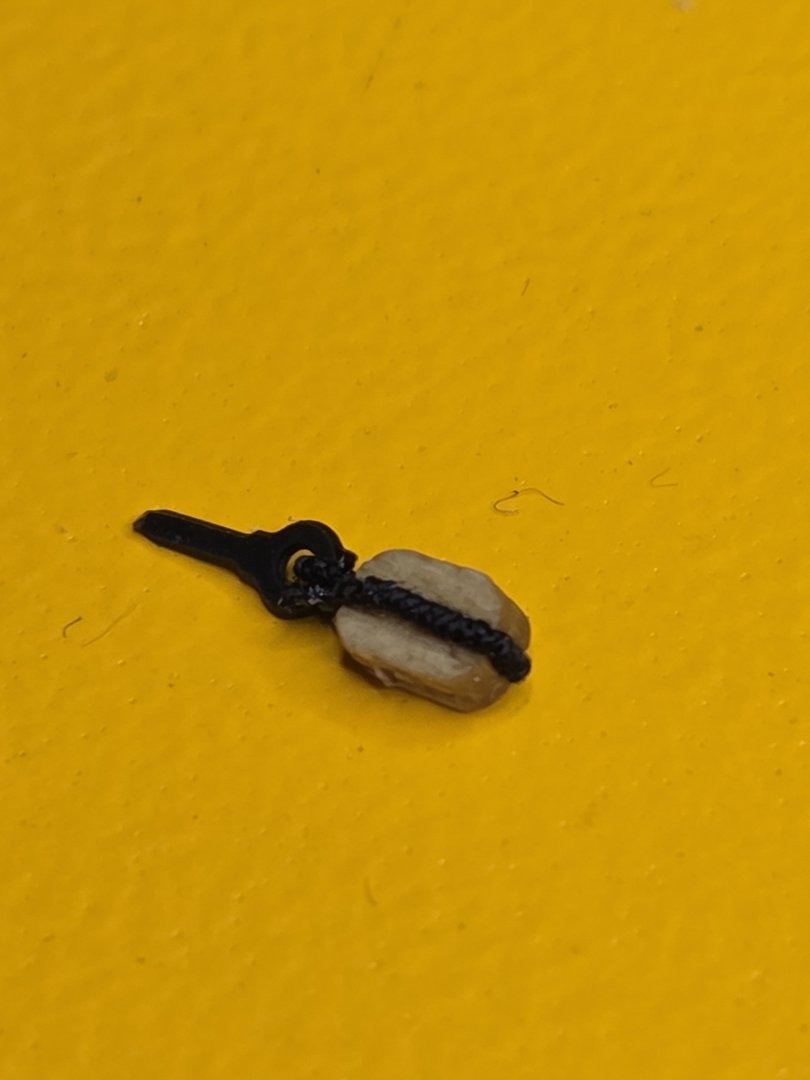
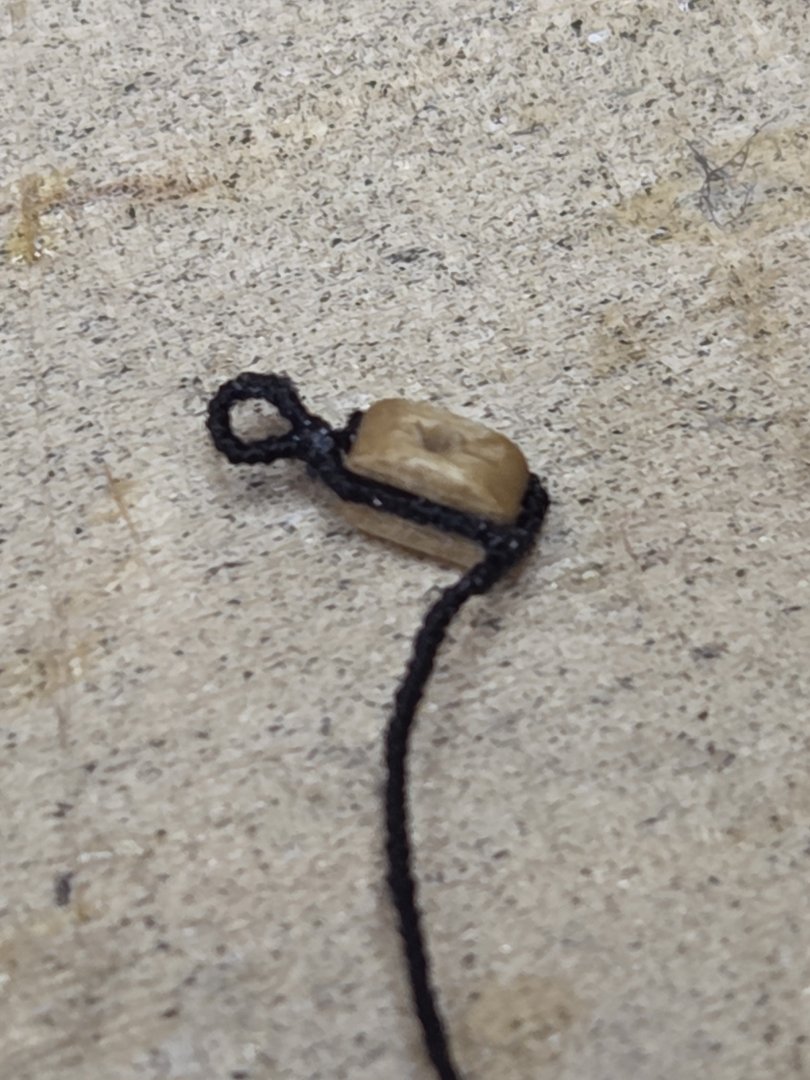
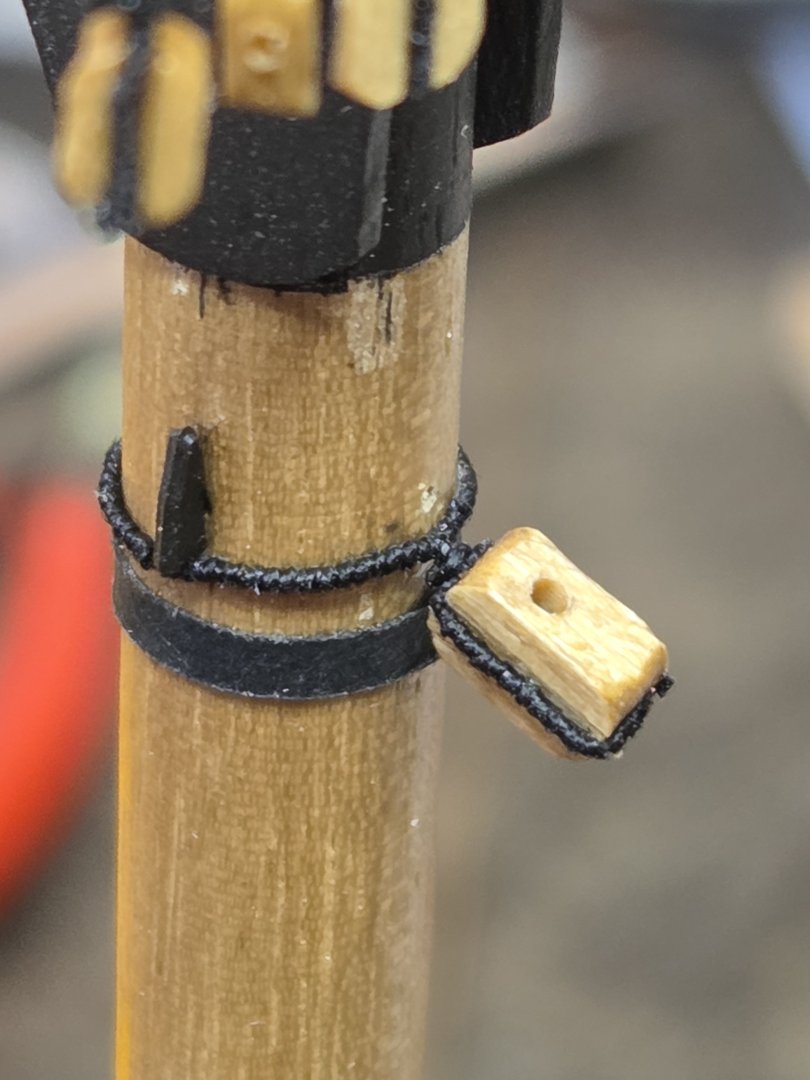
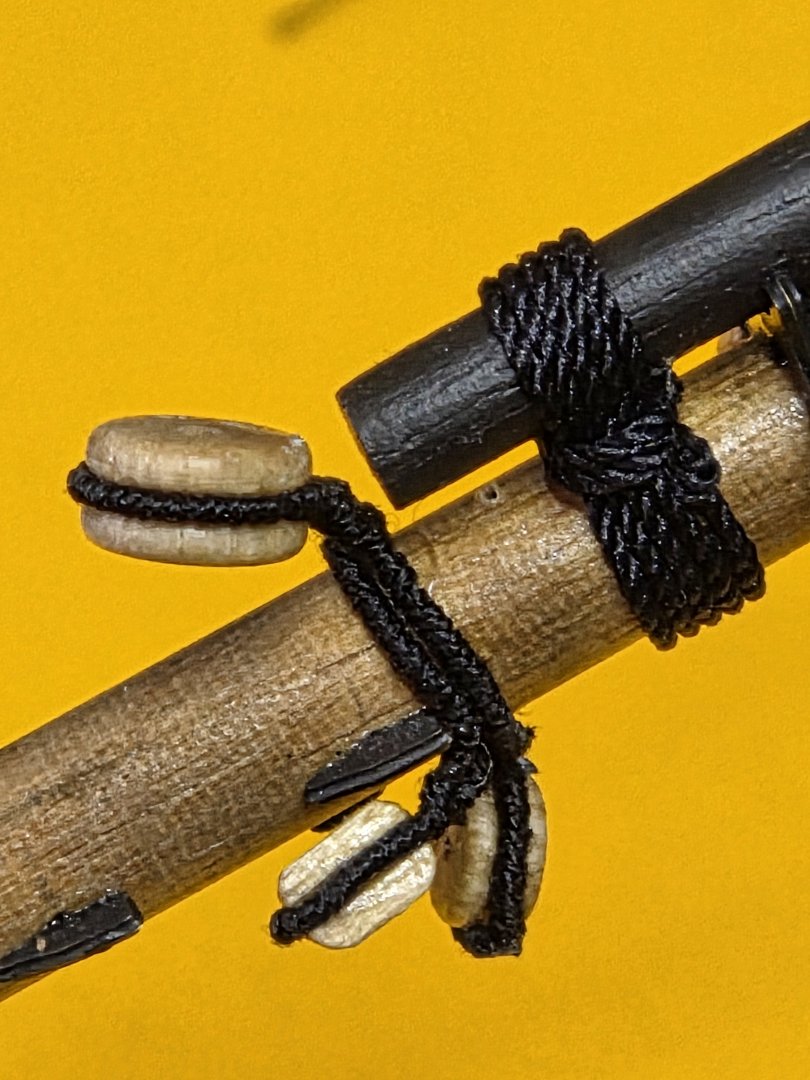
Thanks for the likes, much appreciated 🙂 Main and main preventer stay next then. I served all four, even though the ones for the foremast have to wait for they're installing. The kit includes some kind of pearls with holes in them as mouse(s, 's, mice? 🙂 ). I tried to serve them, but was not that successfull, I could not get the serving line to hold good on it: The Picture Shows the preventer ones. I had a problem with my main stay: I could not get the served rope through the hole of the pearls. I then tried to enlarge the hole with a drillbit and failed: it crumbled in countless parts… Ok, I have this proxon tool I used for the tapering of the spars, why not try and make bigger ones with matching holes out of some spare wood dowels?: fits nicly: serving the wood also works a Little bit better, even thogh there is much room for improvement, but it works for the time beeing, I think: And then I had an epic fail! I measured it all up, put the eye together, all looked nice and fair, and then I cut the overhang. Noooo, I cut the needed part of it: Damn, make a new one? I think u would have too, but I was to frustrated to make a new one, I just glued it together for a fix, served it a lot, so the damage would not be so prominent: Of Course, that has made it quite big... The other one went quite boring in comparision. Both installed on the ship: Well, I managed to let my mice become some big fat cats, lol :-). Last, some shots of the build so far:


-
She comes together very nicely 🙂
-
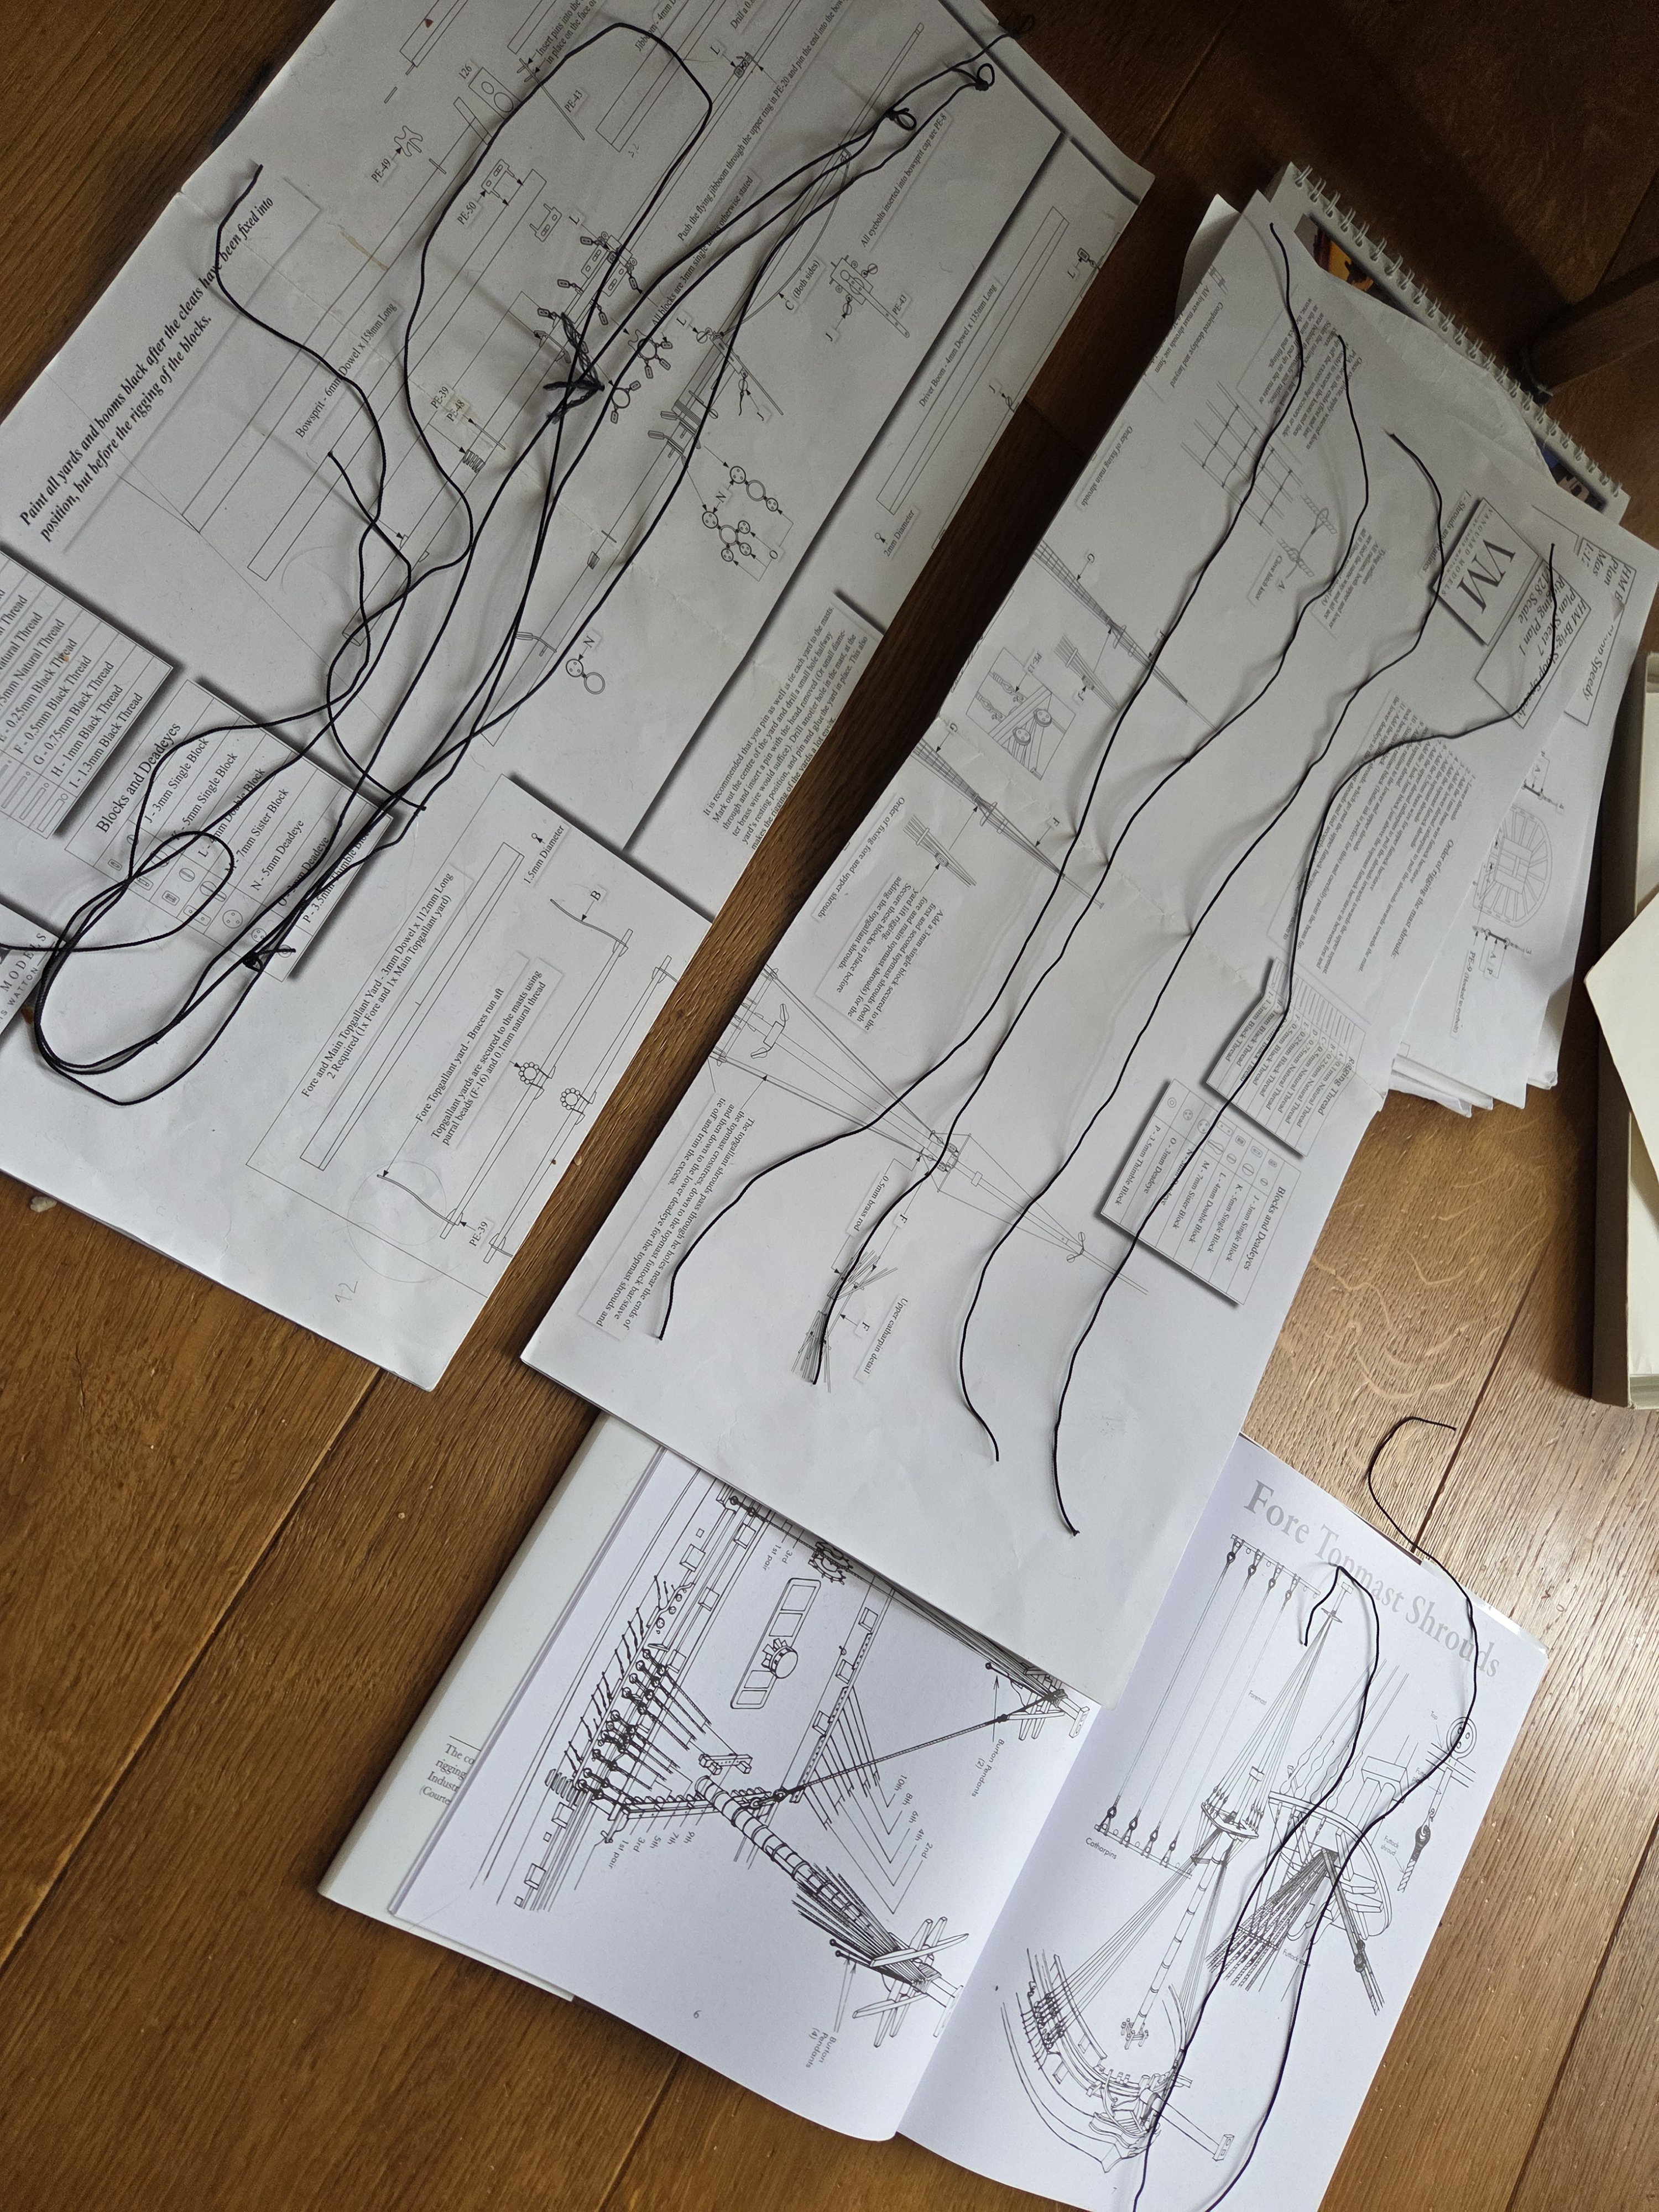
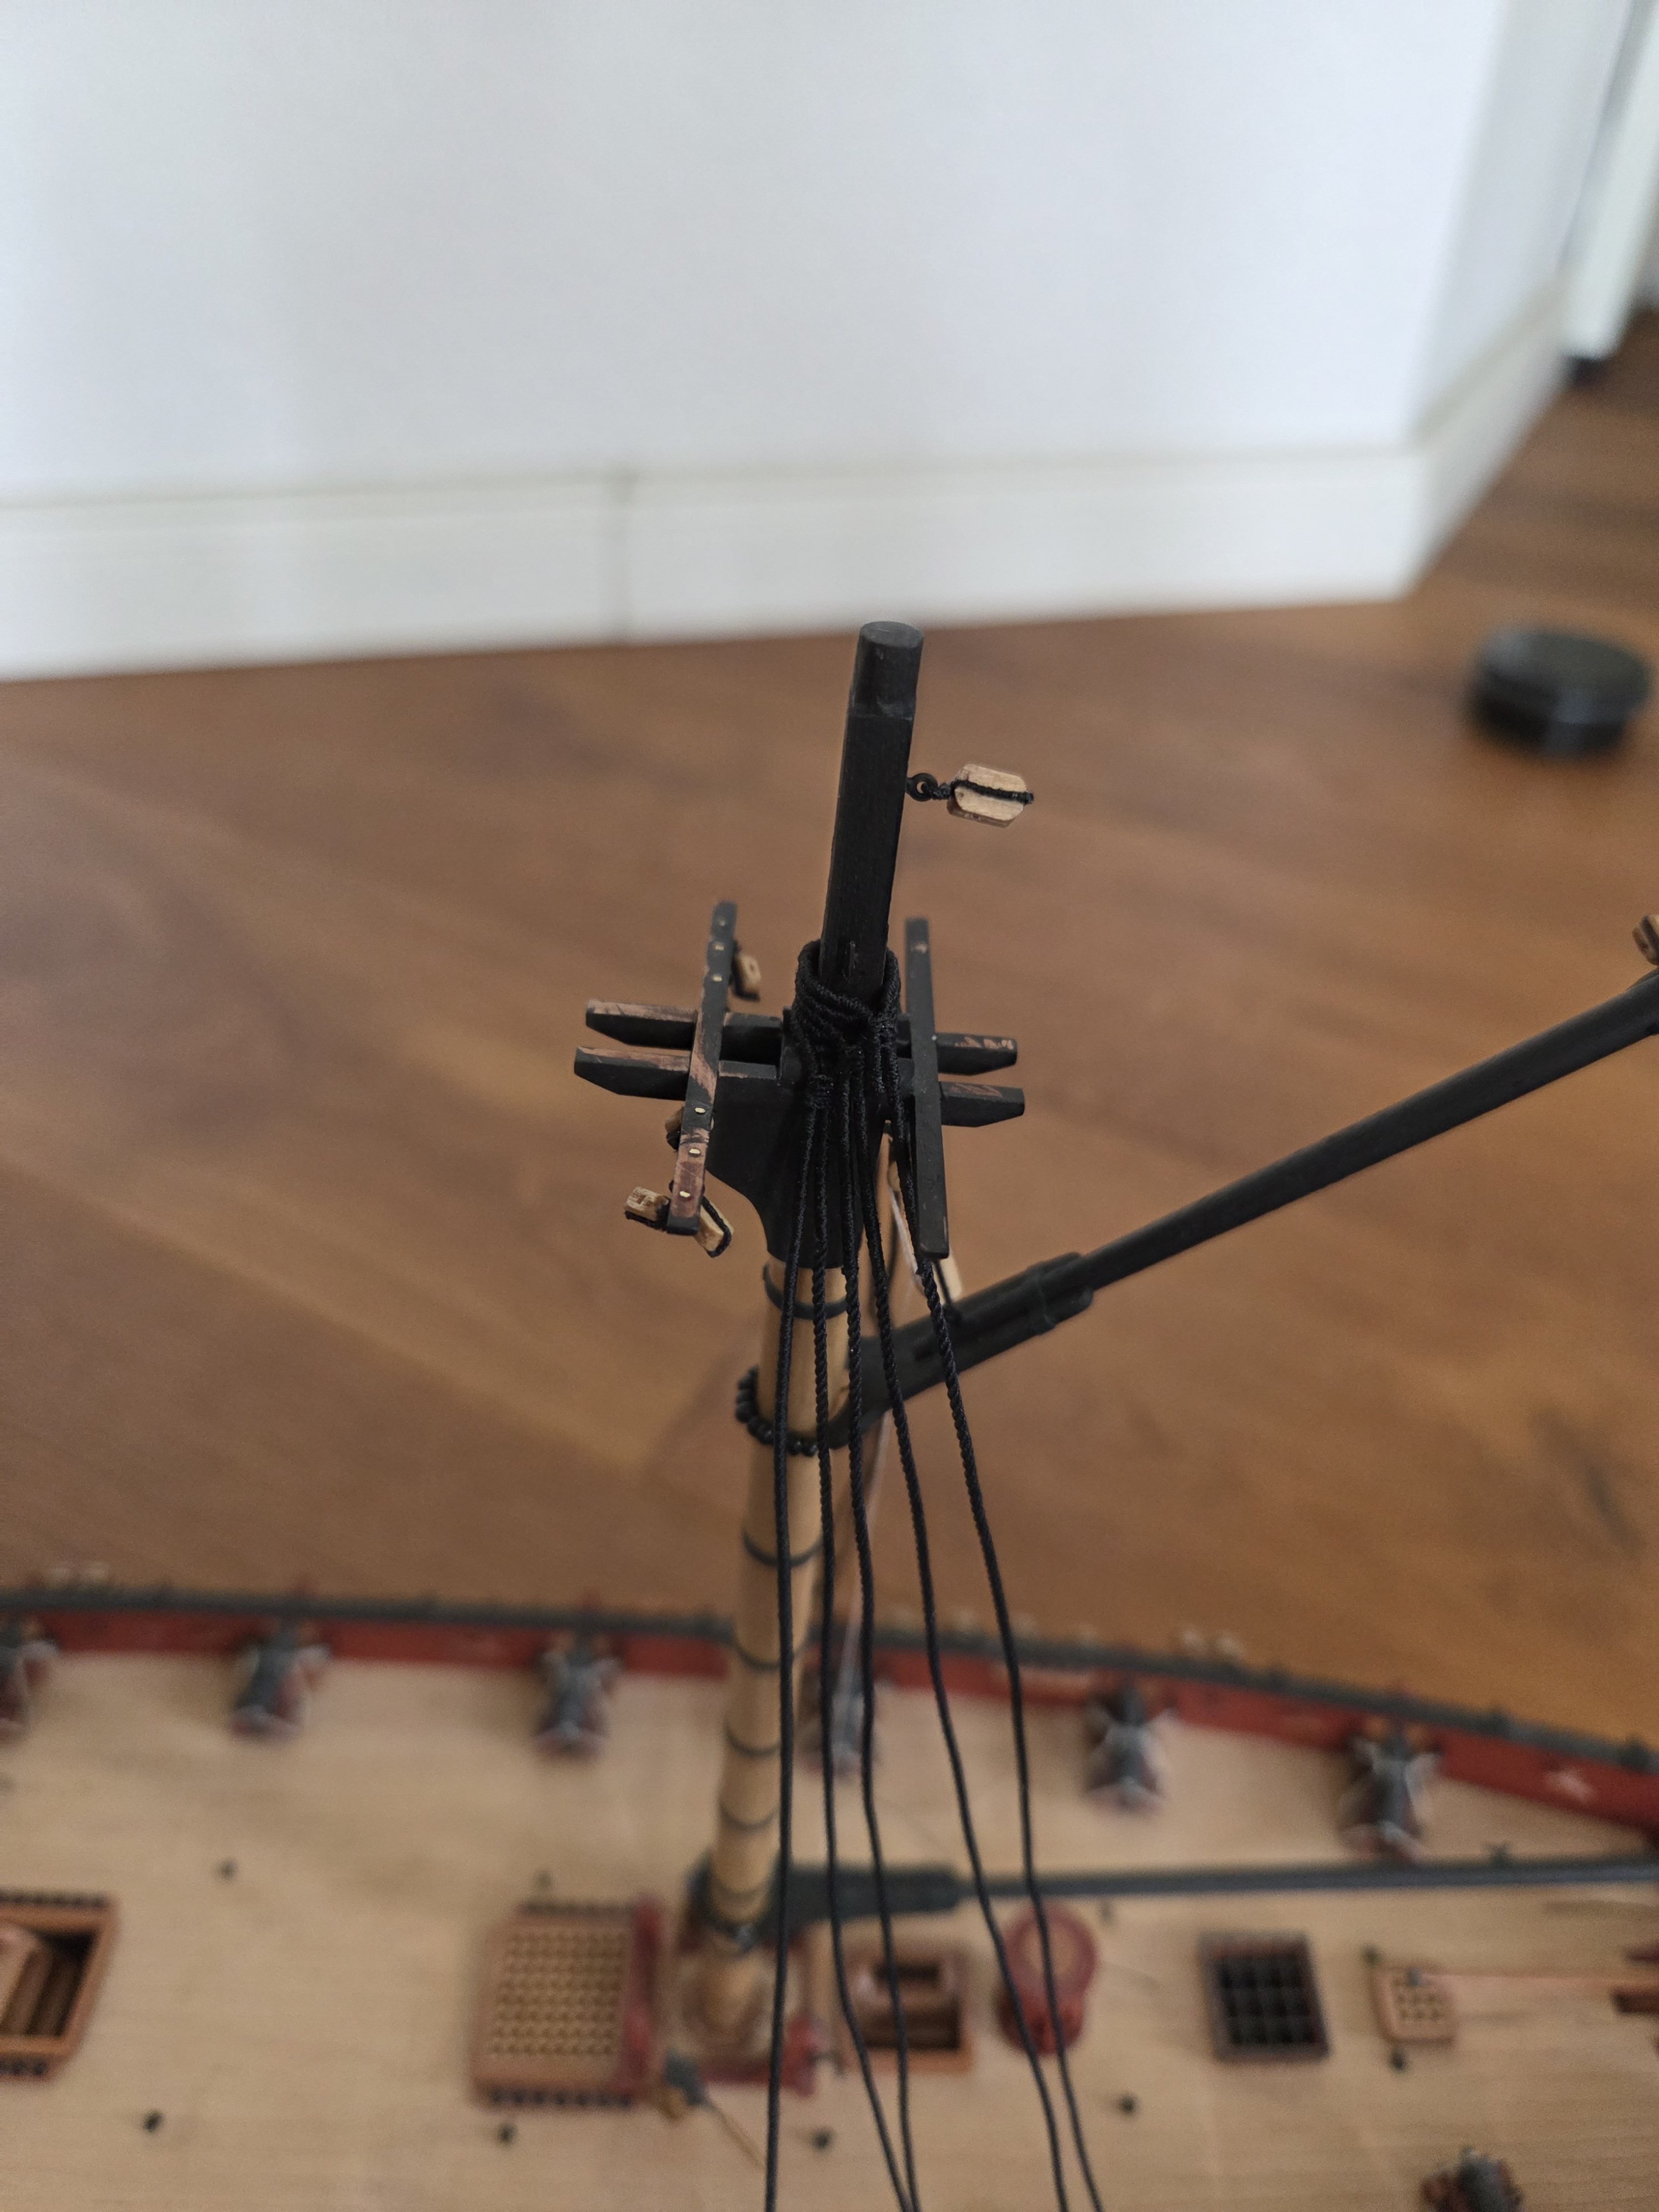
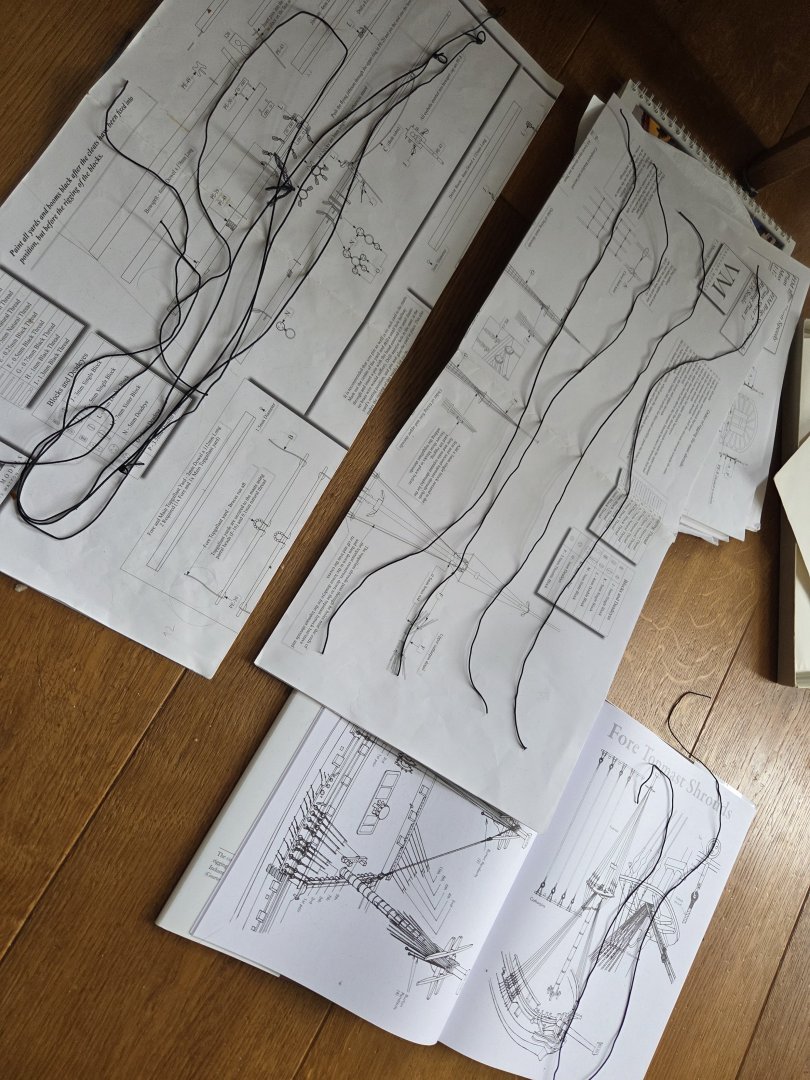
Thx for the likes, much appreciated 🙂 I made a jig according to plans: Used this to find the needet length of the shrouds, and tie em up using the quad Hands: Was difficult with the served first shroud, because the serving starts to become uneven when I tried to push or pull some sizing loops. I wanted to see how this will turn out in the end, so I temporarily tied the first pair of shrouds on one side: The distance between the blocks could be a Little bit smaler, but then I could put more Tension on the lines when finaly get finished. So lets wait and hope, lol.
-
Thx for the likes 🙂 Shrouds next then. I prepared, read: served all 10 lines for the lower ones, but install them only on the main mast. Fore mast will follow after the main stays.


-
Wow, IMO, that was very worth it!
-
That's a very smooth copper layer, I like it! 🙂
-
Beautiful work! I'm every time surprised how smal theses ships had been in comparison to the Lieutenat 🙂
-
If you like it the way it is, then it is fine. On the other hand, if you arn't totaly happy with it, change it :-). Only one suggestion: 1/2 a mm is not much, but relative to the 1mm, that it should be, thats 50% more 😉 .
-
Great project! And thank's a lot for your detailed explanations!
-
I think your Sphinx has become the gold standard! Just perfect in my eyes!
-
Gratz! Beautiful model!
-
Very clever how you get the look of an pof-build without doing one. I like this!
-
Thank you all for your like's 🙂 Before I build upwards, I wanted to finish the surface treatment first. All our construction reports here provide a wealth of suggestions on the order in which one can rig a model. Surely, each has its advantages and disadvantages. Since I have no experience, I will simply stick to the instructions: First, I glued in the lower masts and the bowsprit. Then came the bowsprit stays, and this wehere I am now. Unfortunately, I couldn't clearly determine whether these need to be served or not. I dressed the two that lead to the stem and did not serve the two on the sides that end in the wales.


-
Such an impressive work! Masterclass in wood, paint and rope 🙂.
- 562 replies
-
- 2
-
-
-
- vanguard models
- alert
- (and 2 more)
-
Thank's for taking the time to create such detaild explanations about your rigging process! Comes in quite handy for me now :-).
- 241 replies
-
- 1
-
-
- Vanguarrd Models
- Harpy
- (and 1 more)
-
Doesn't it feels good, if you found your own working approach? And I respect your decision to stop a more complex build and squeese in something that promise faster success to gain more skills!
-
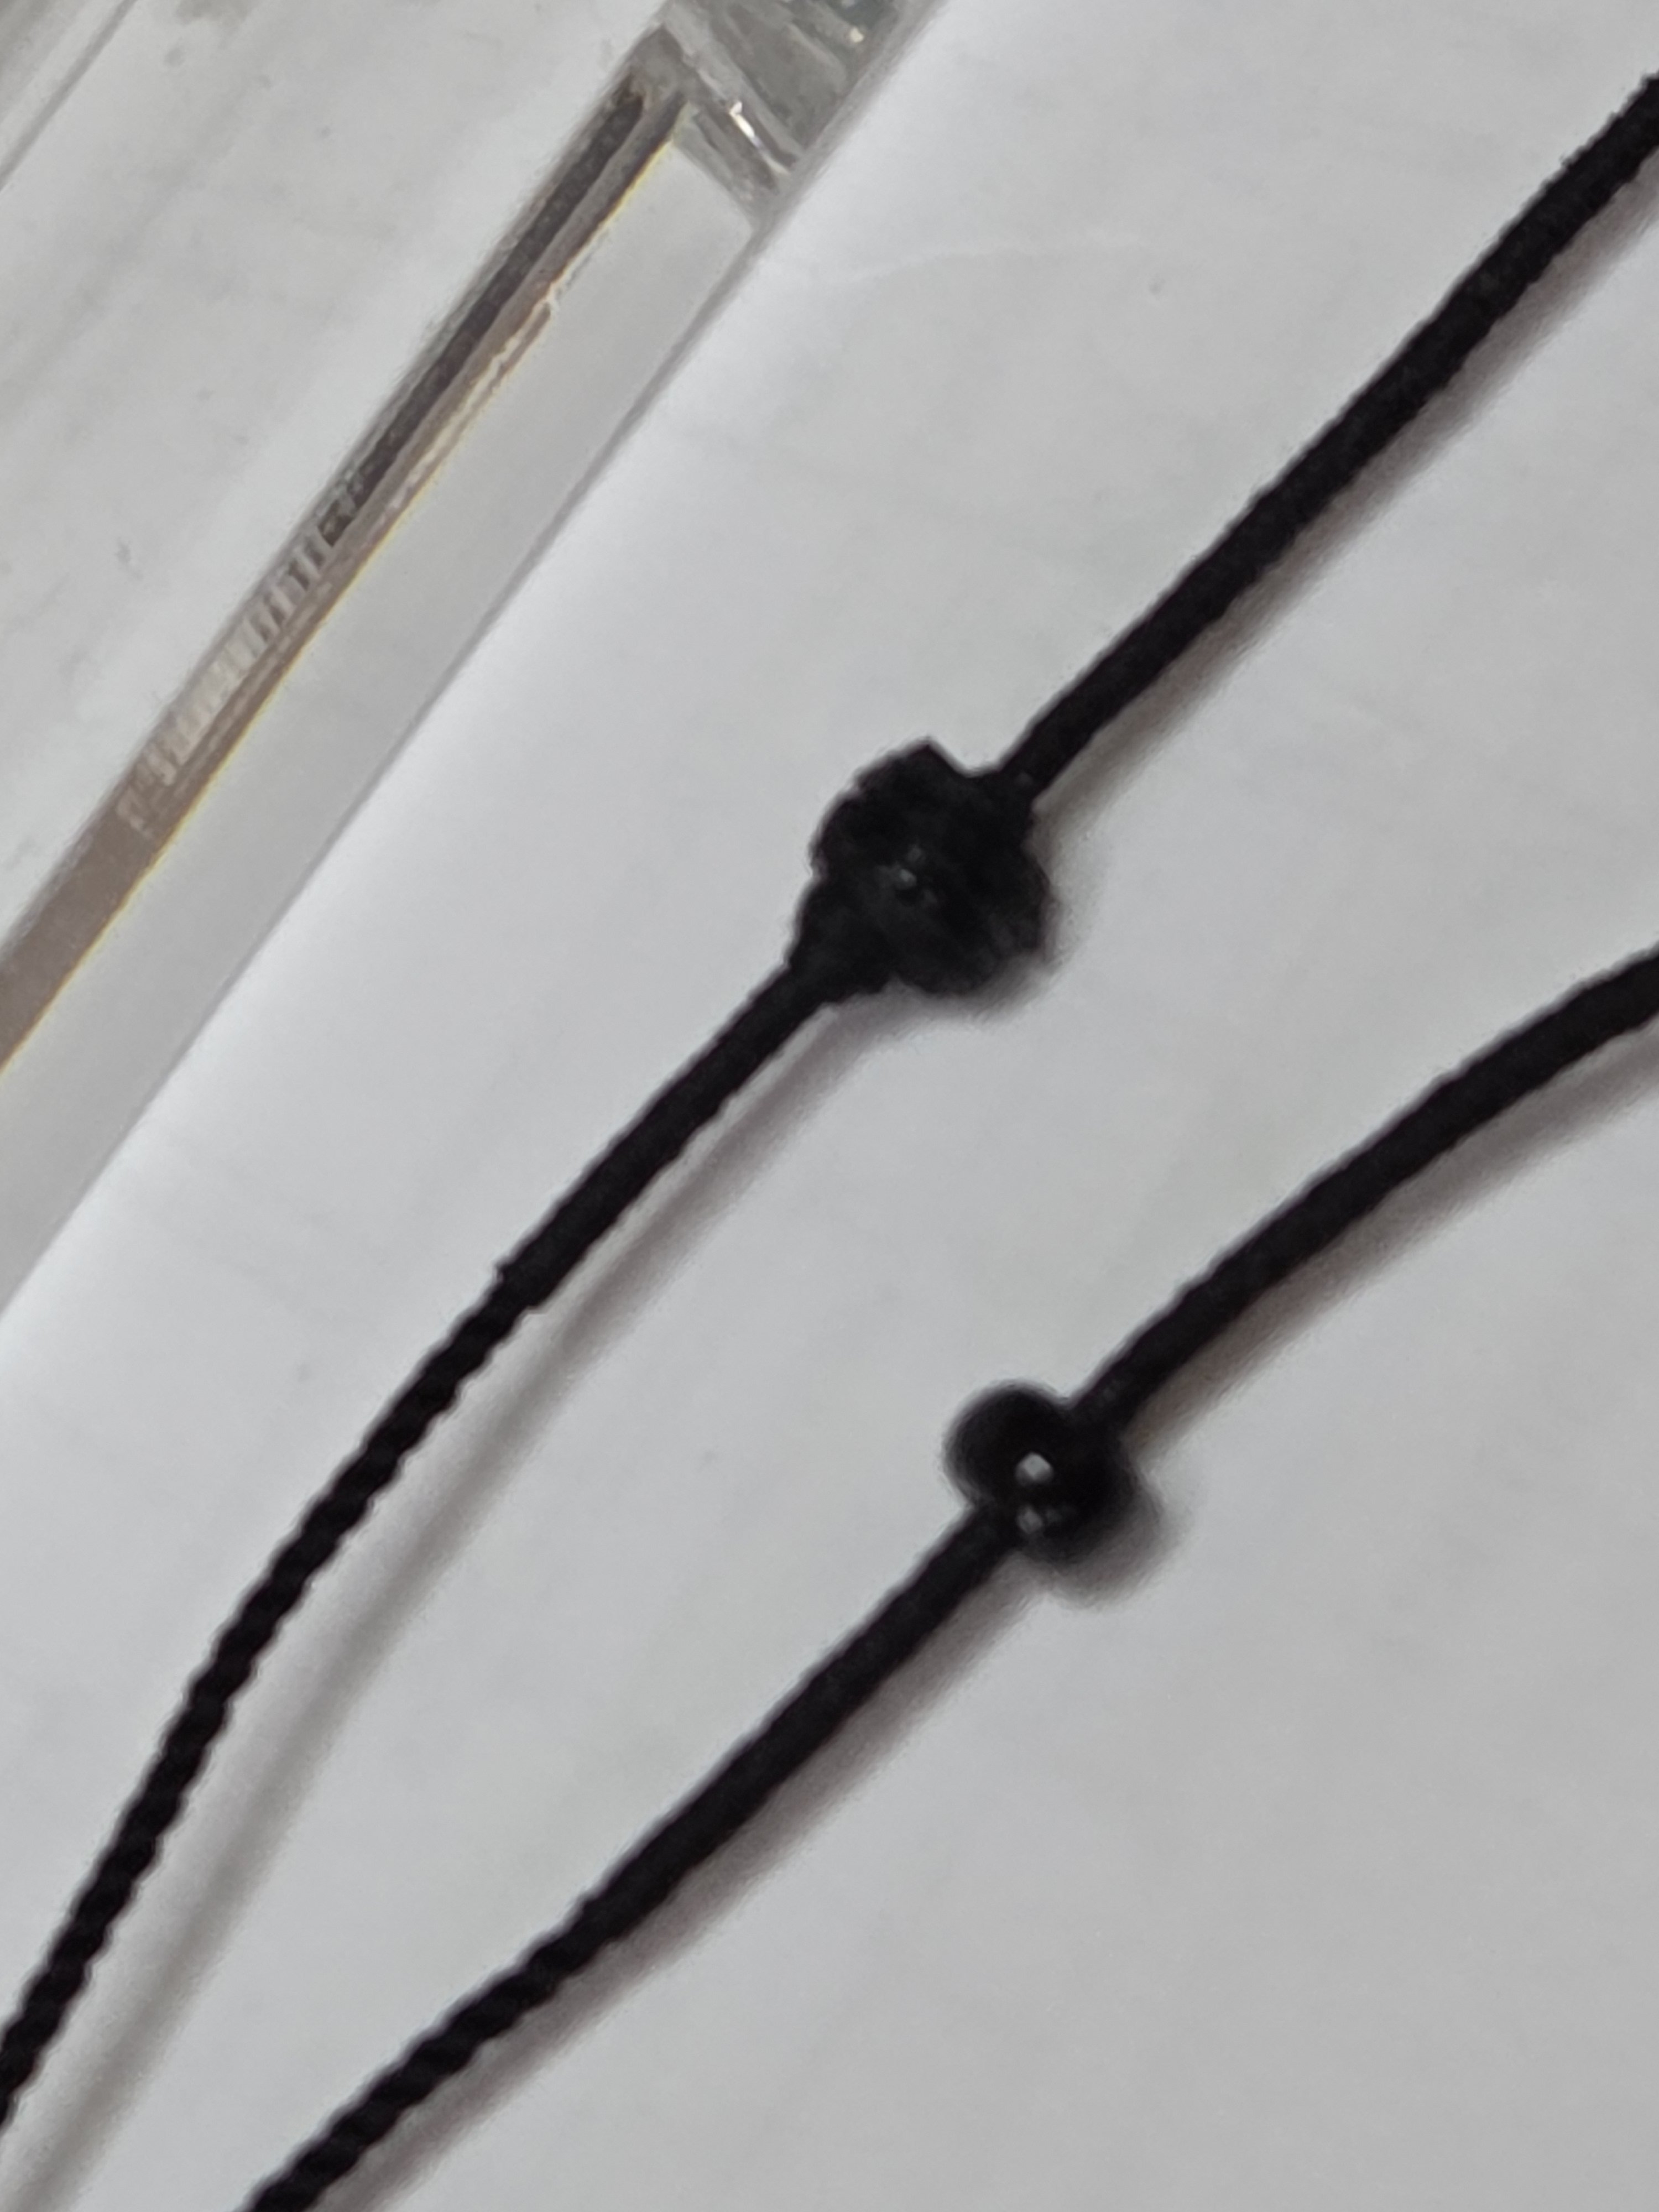
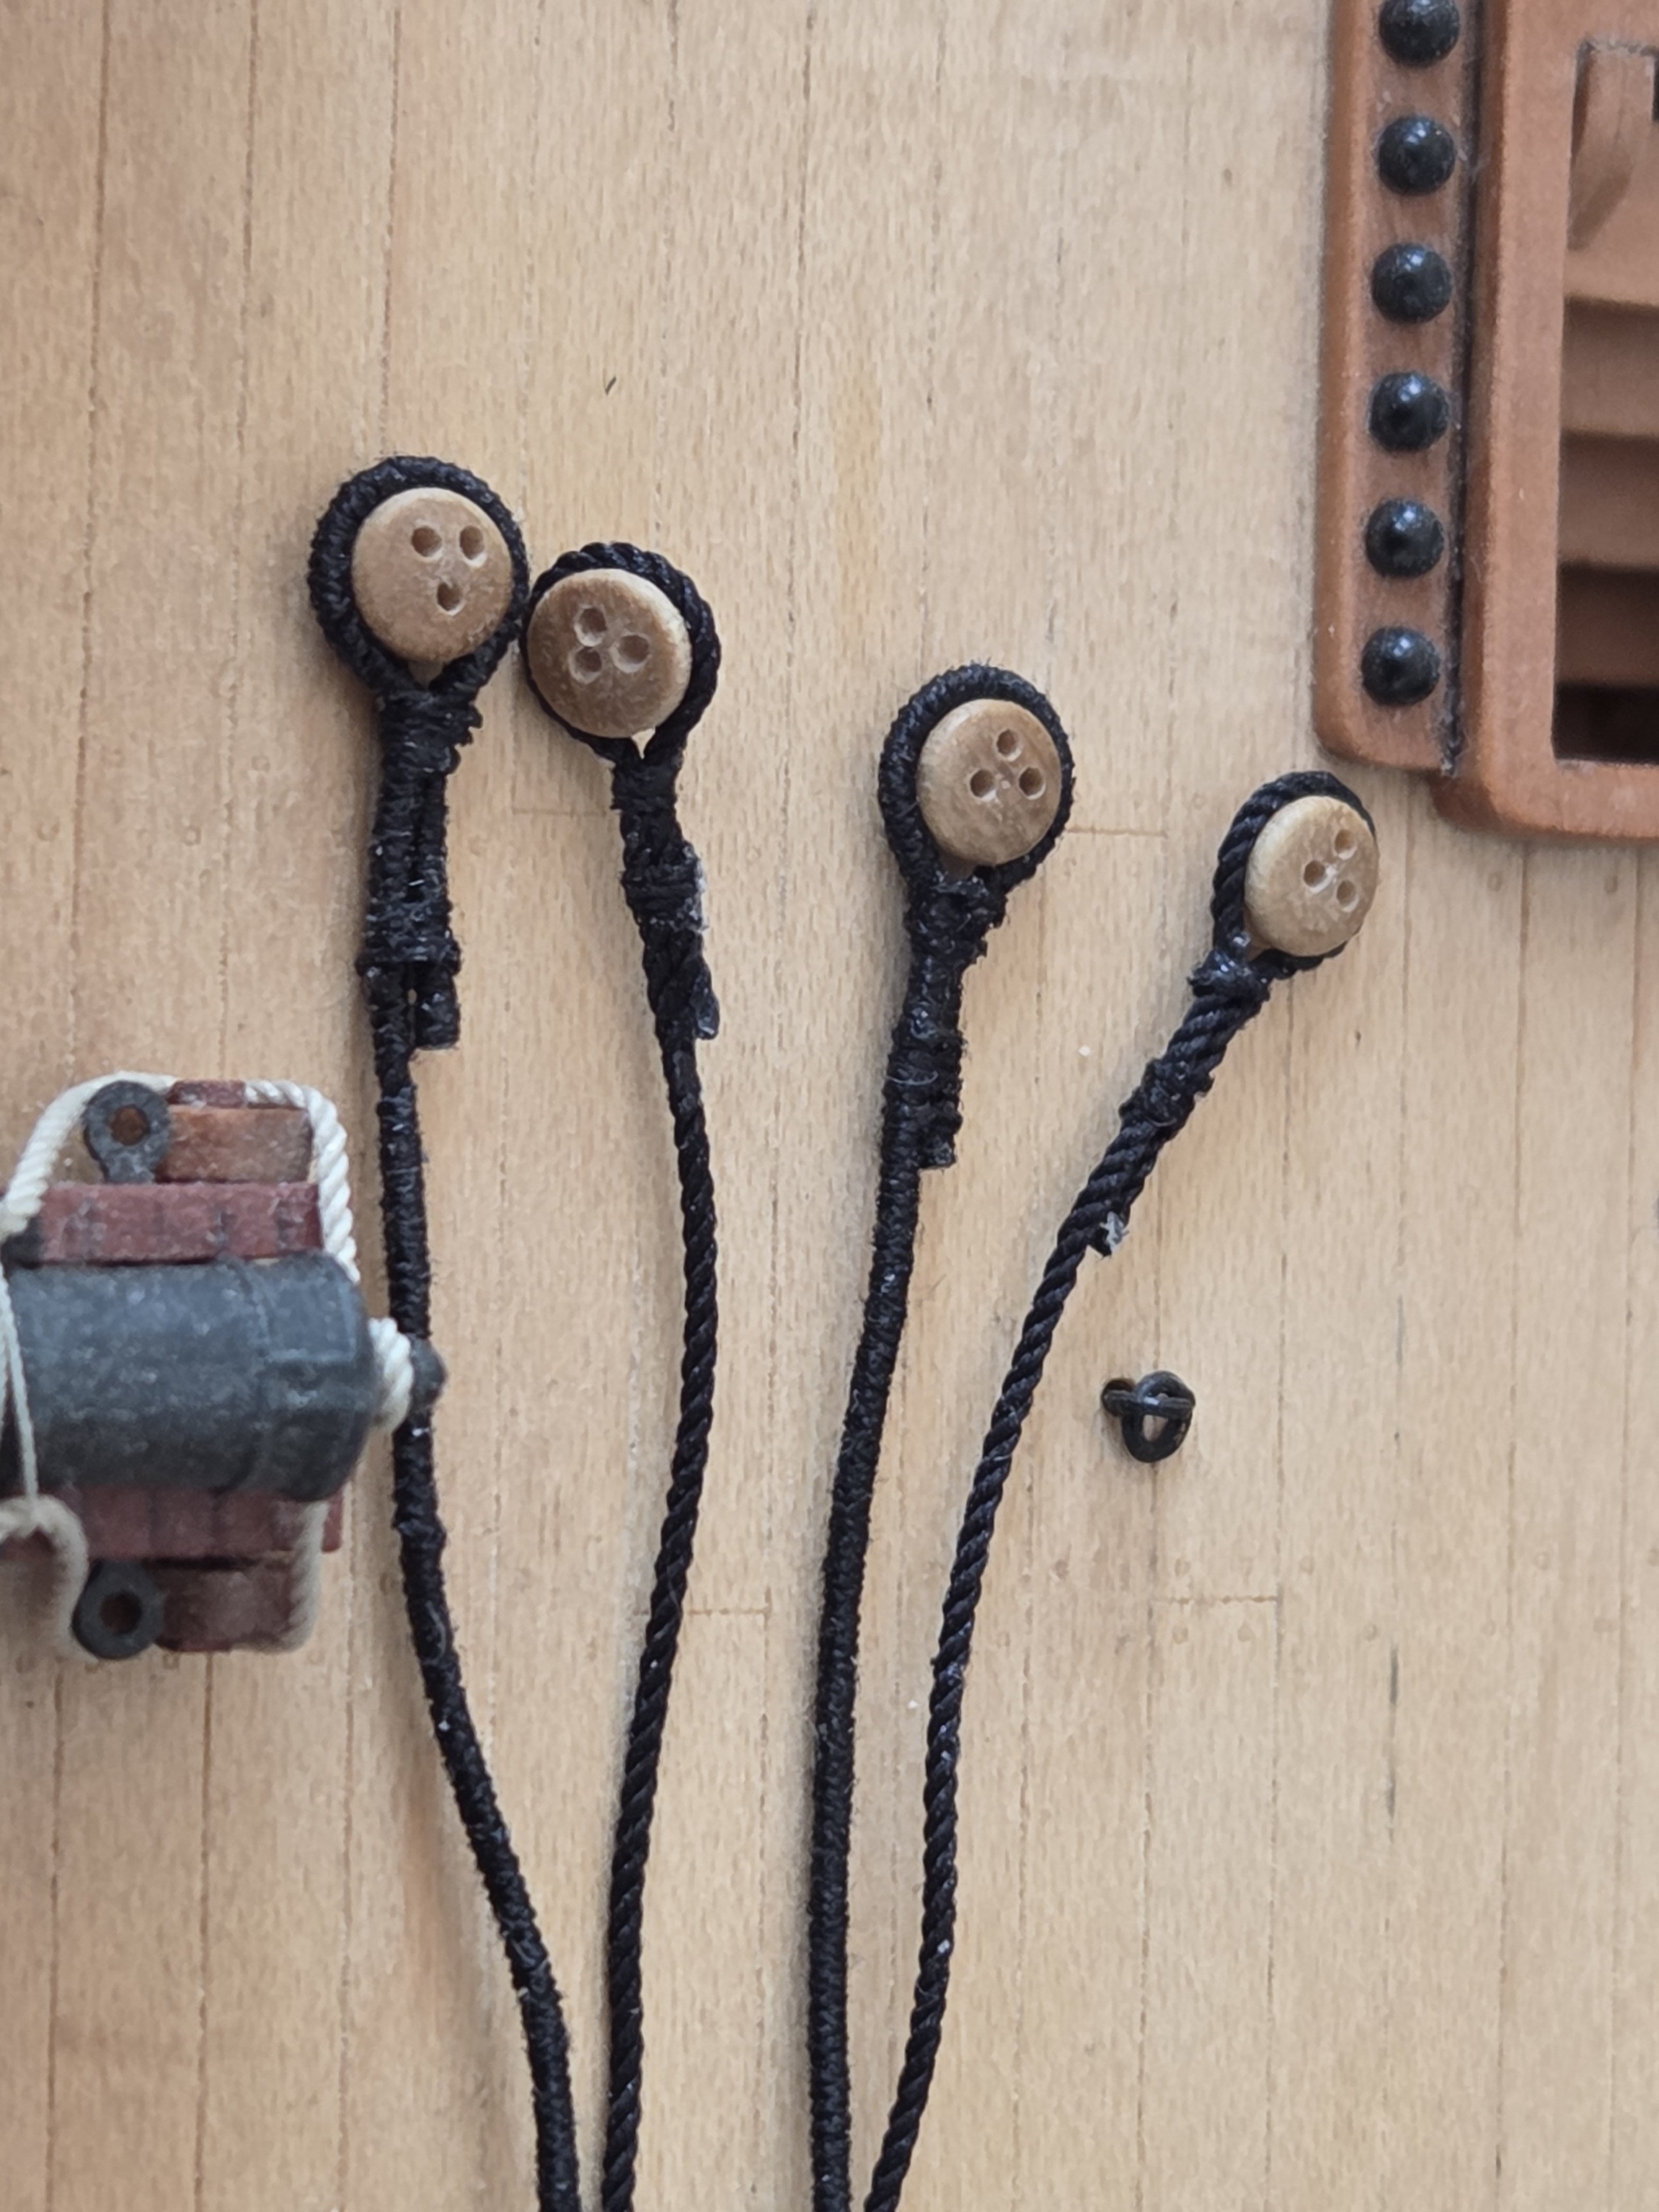
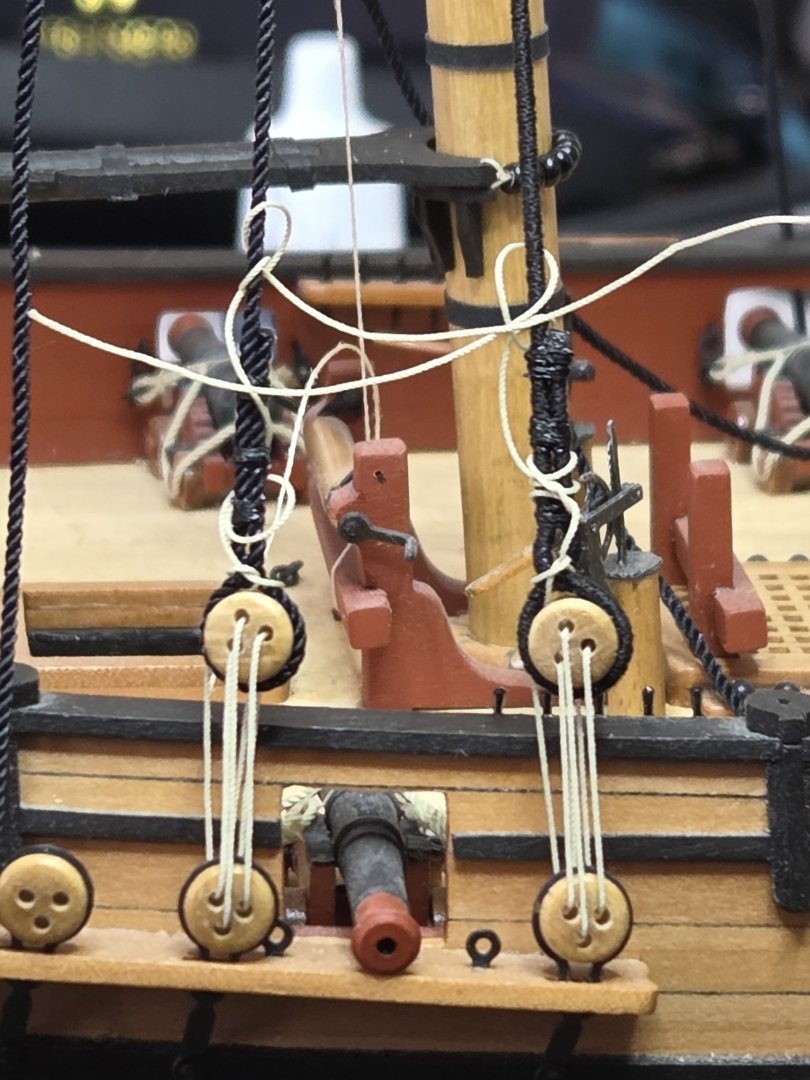
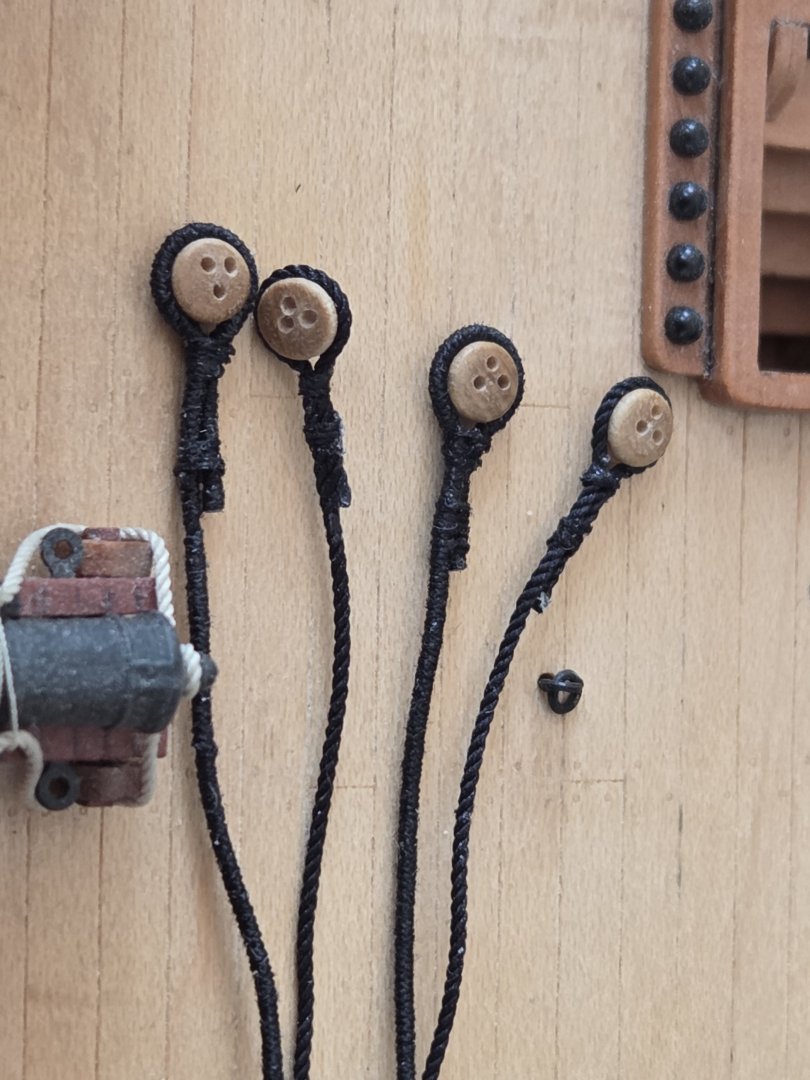
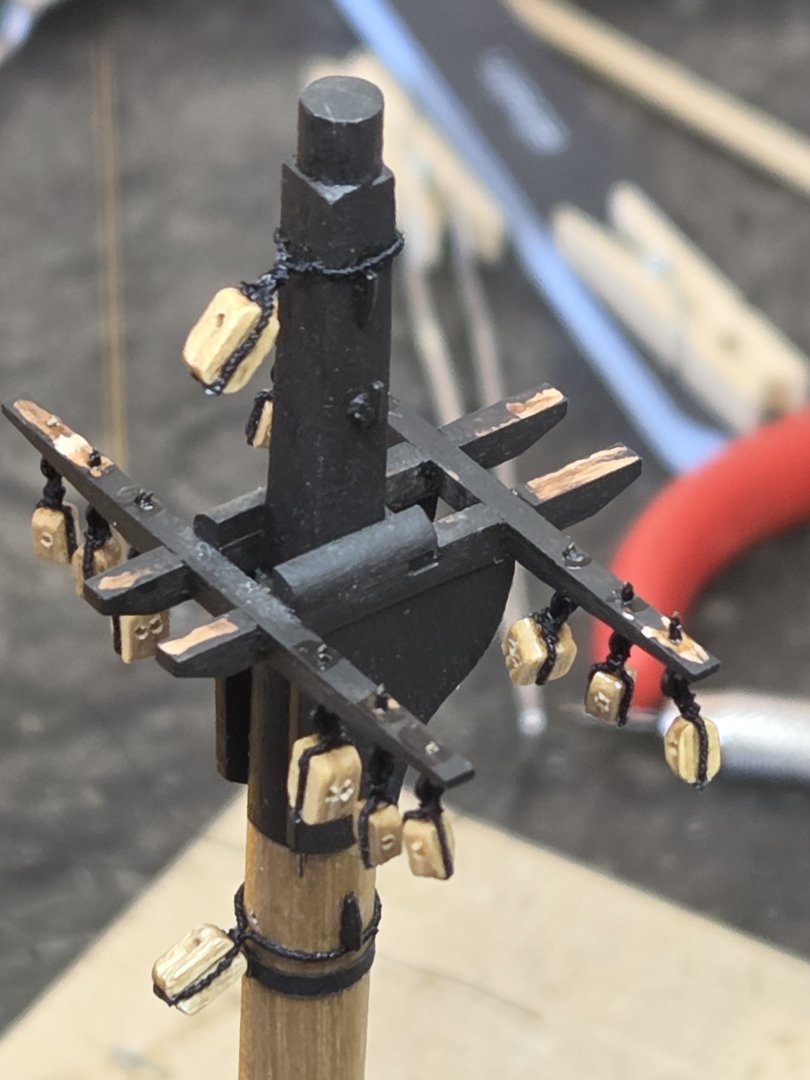
Thank you all for your thumbs up, much appreciated 🙂 @Thukydides: thanks again for your advice! I read again through your log, full of good stuff regarding my rigging problems! I think I need much more practice, and I need also to try out more different approaches to find what fits to my skills. I struggle a lot to get a good and small serving aroung loops, blocks, etc. Still not found what works for me on that front. Most of the time I endet with a normal knot, done with the small Guterman string aroung whatever. And then I can not expand this knot into a good Looking serving-loop. Thats then allways the Point where I ask myself if it is worth trying with the small extra rope, or, just make a normal knot with the initial rops. You can see in my examples, that I still try and don't go the very easy way with just knoting the initial ropes. But, it is so poorly executed, that it Looks always quite messy. Well, I close the loop with: need more practice here and need to try more different approaches :-). Then, after finishing all the blocks on the masts and bow-sprit, there was the question: start the standing rigging now, or, finish all the blocks on the spars first. Well, I'm not feelin 'ready' enough to start the bigger tasks, so, at least, I will do the spars for the bow-sprit and the gaff(s)(?) first.


-
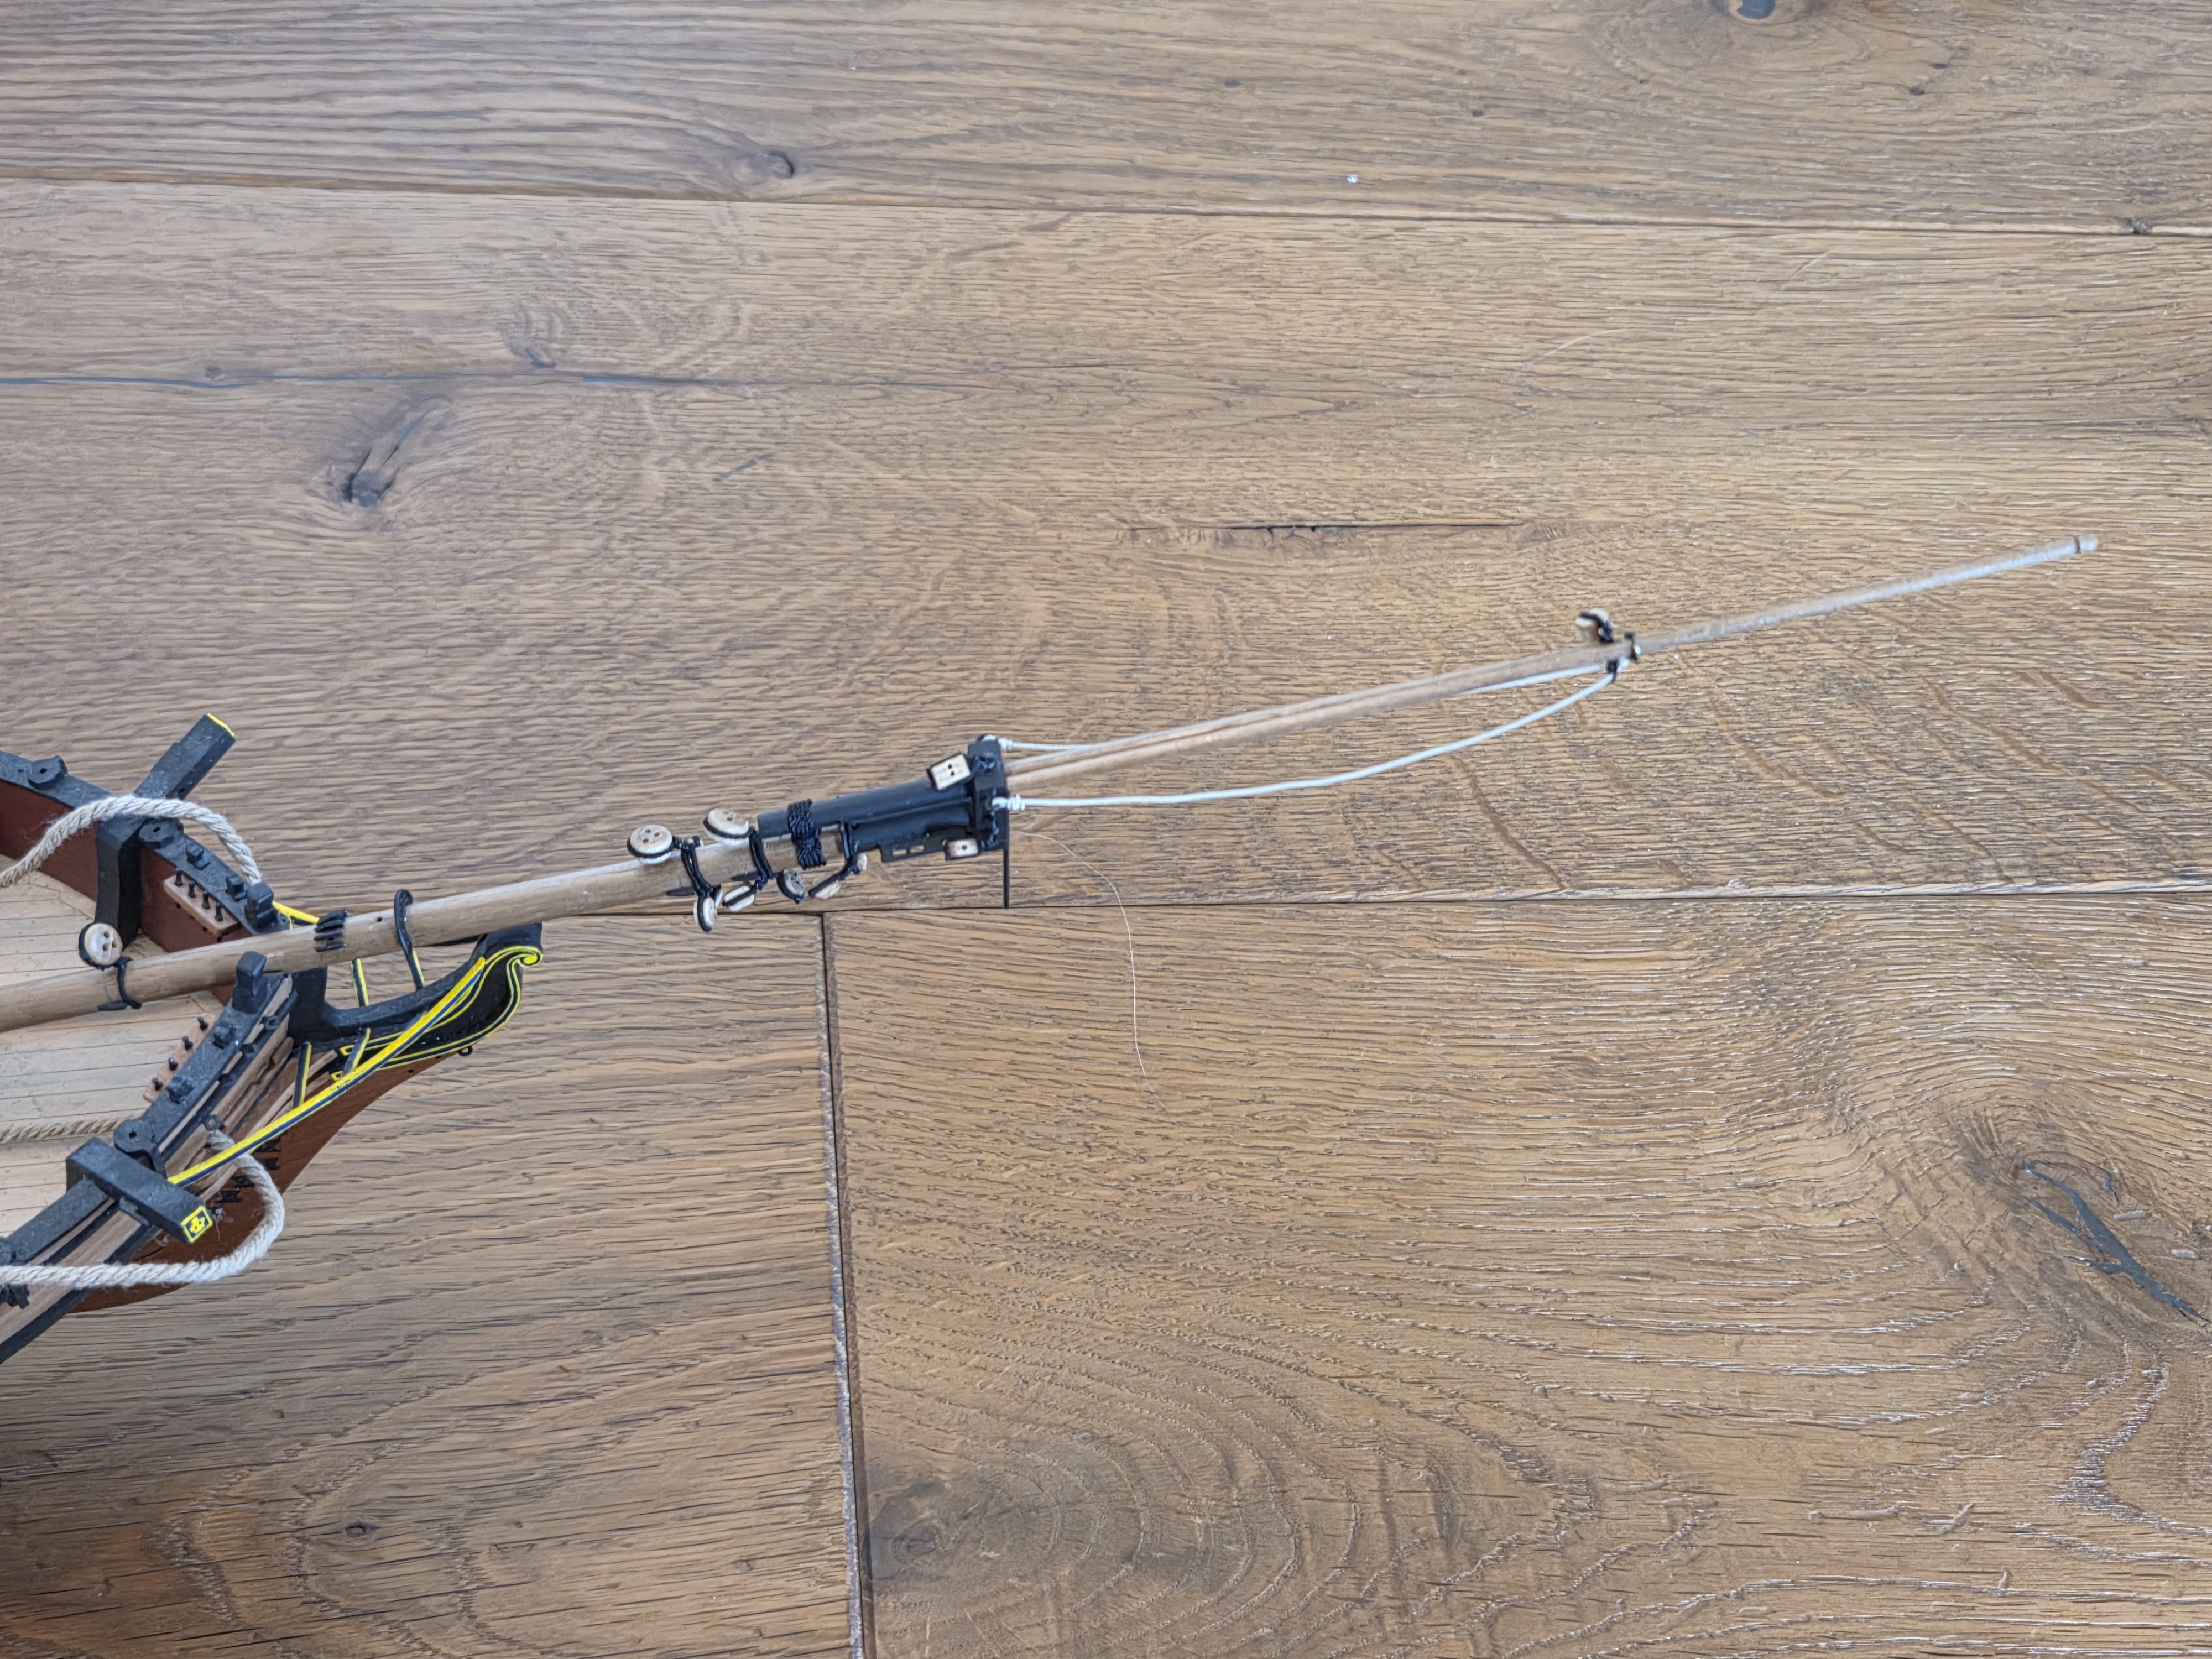
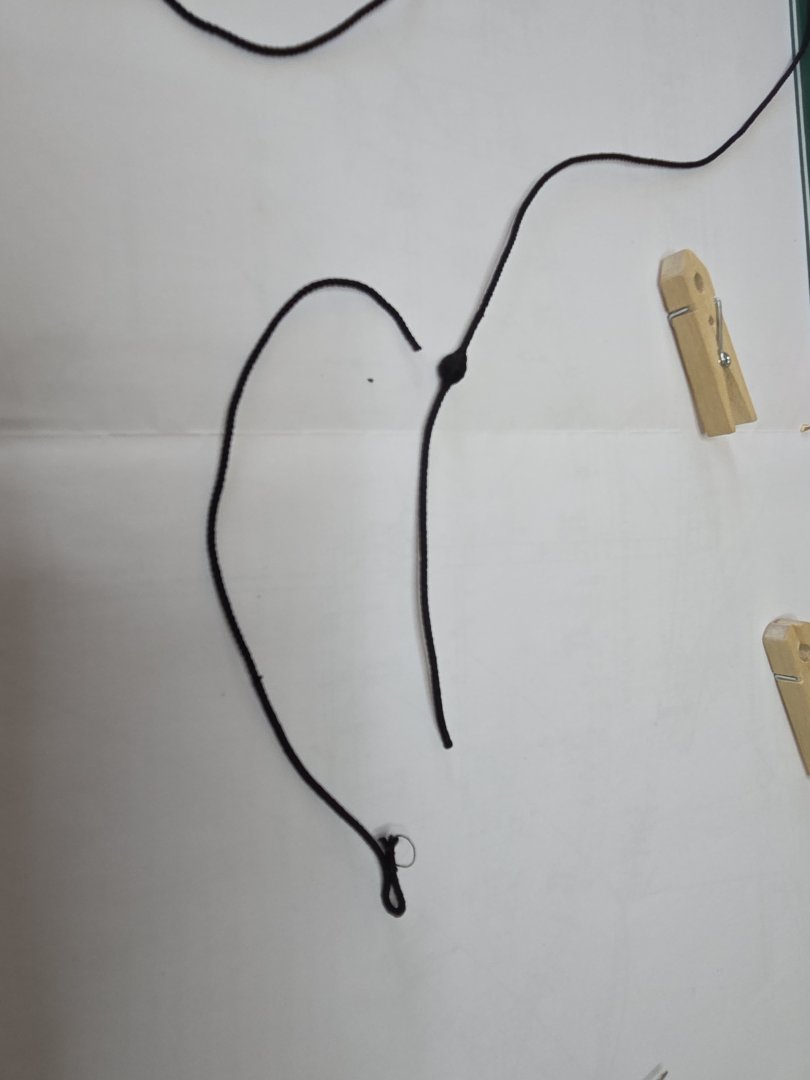
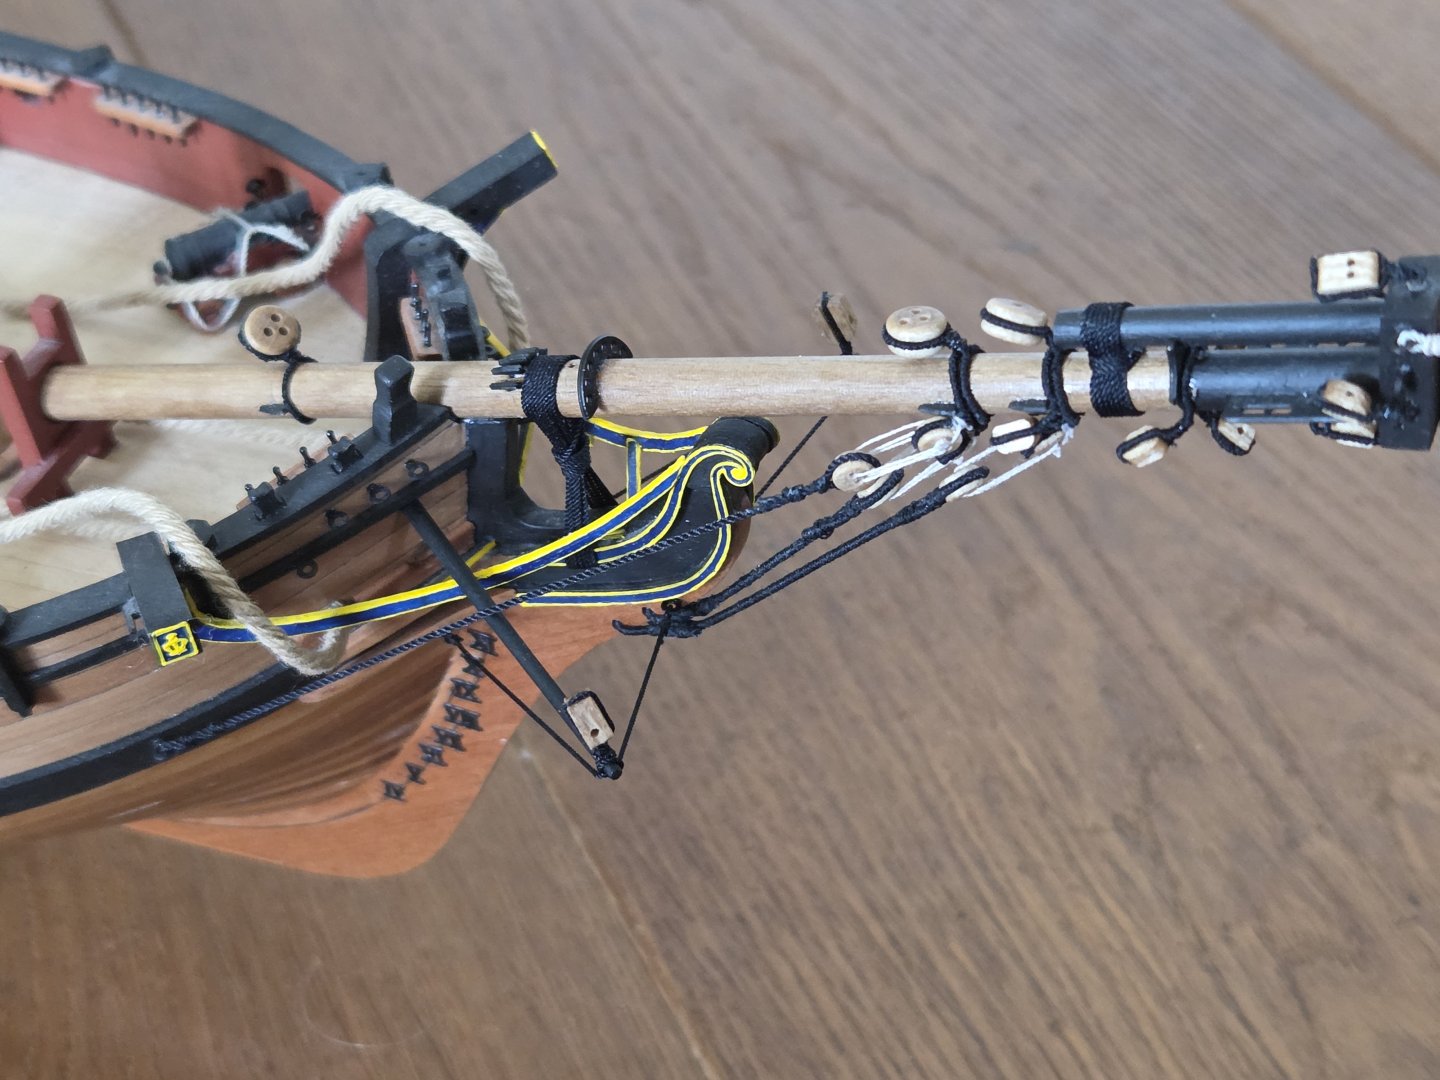
Thanks for all the thumbs up 🙂 @Thukydides: thx for your comment and help! I'm (again, :-)) reading through your magnificent build log of Alert! Will look carefully into your description of your rigging! And yes, twist and tension needs more praktice! If I understand it right, then you seal the whole length of a served rope with dilluted matt varnish, is that right? I will try this also on my ropes. Didn't do this till now, because I thought the rope would become to stiff to bend it properly with the hardened varnish. In the meantime, I replaced the 0.6mm rope of my bow-sprit gammoning with 0.4mm. That looks much better. In the end, I should have done less circles, but I think it will work now.

-
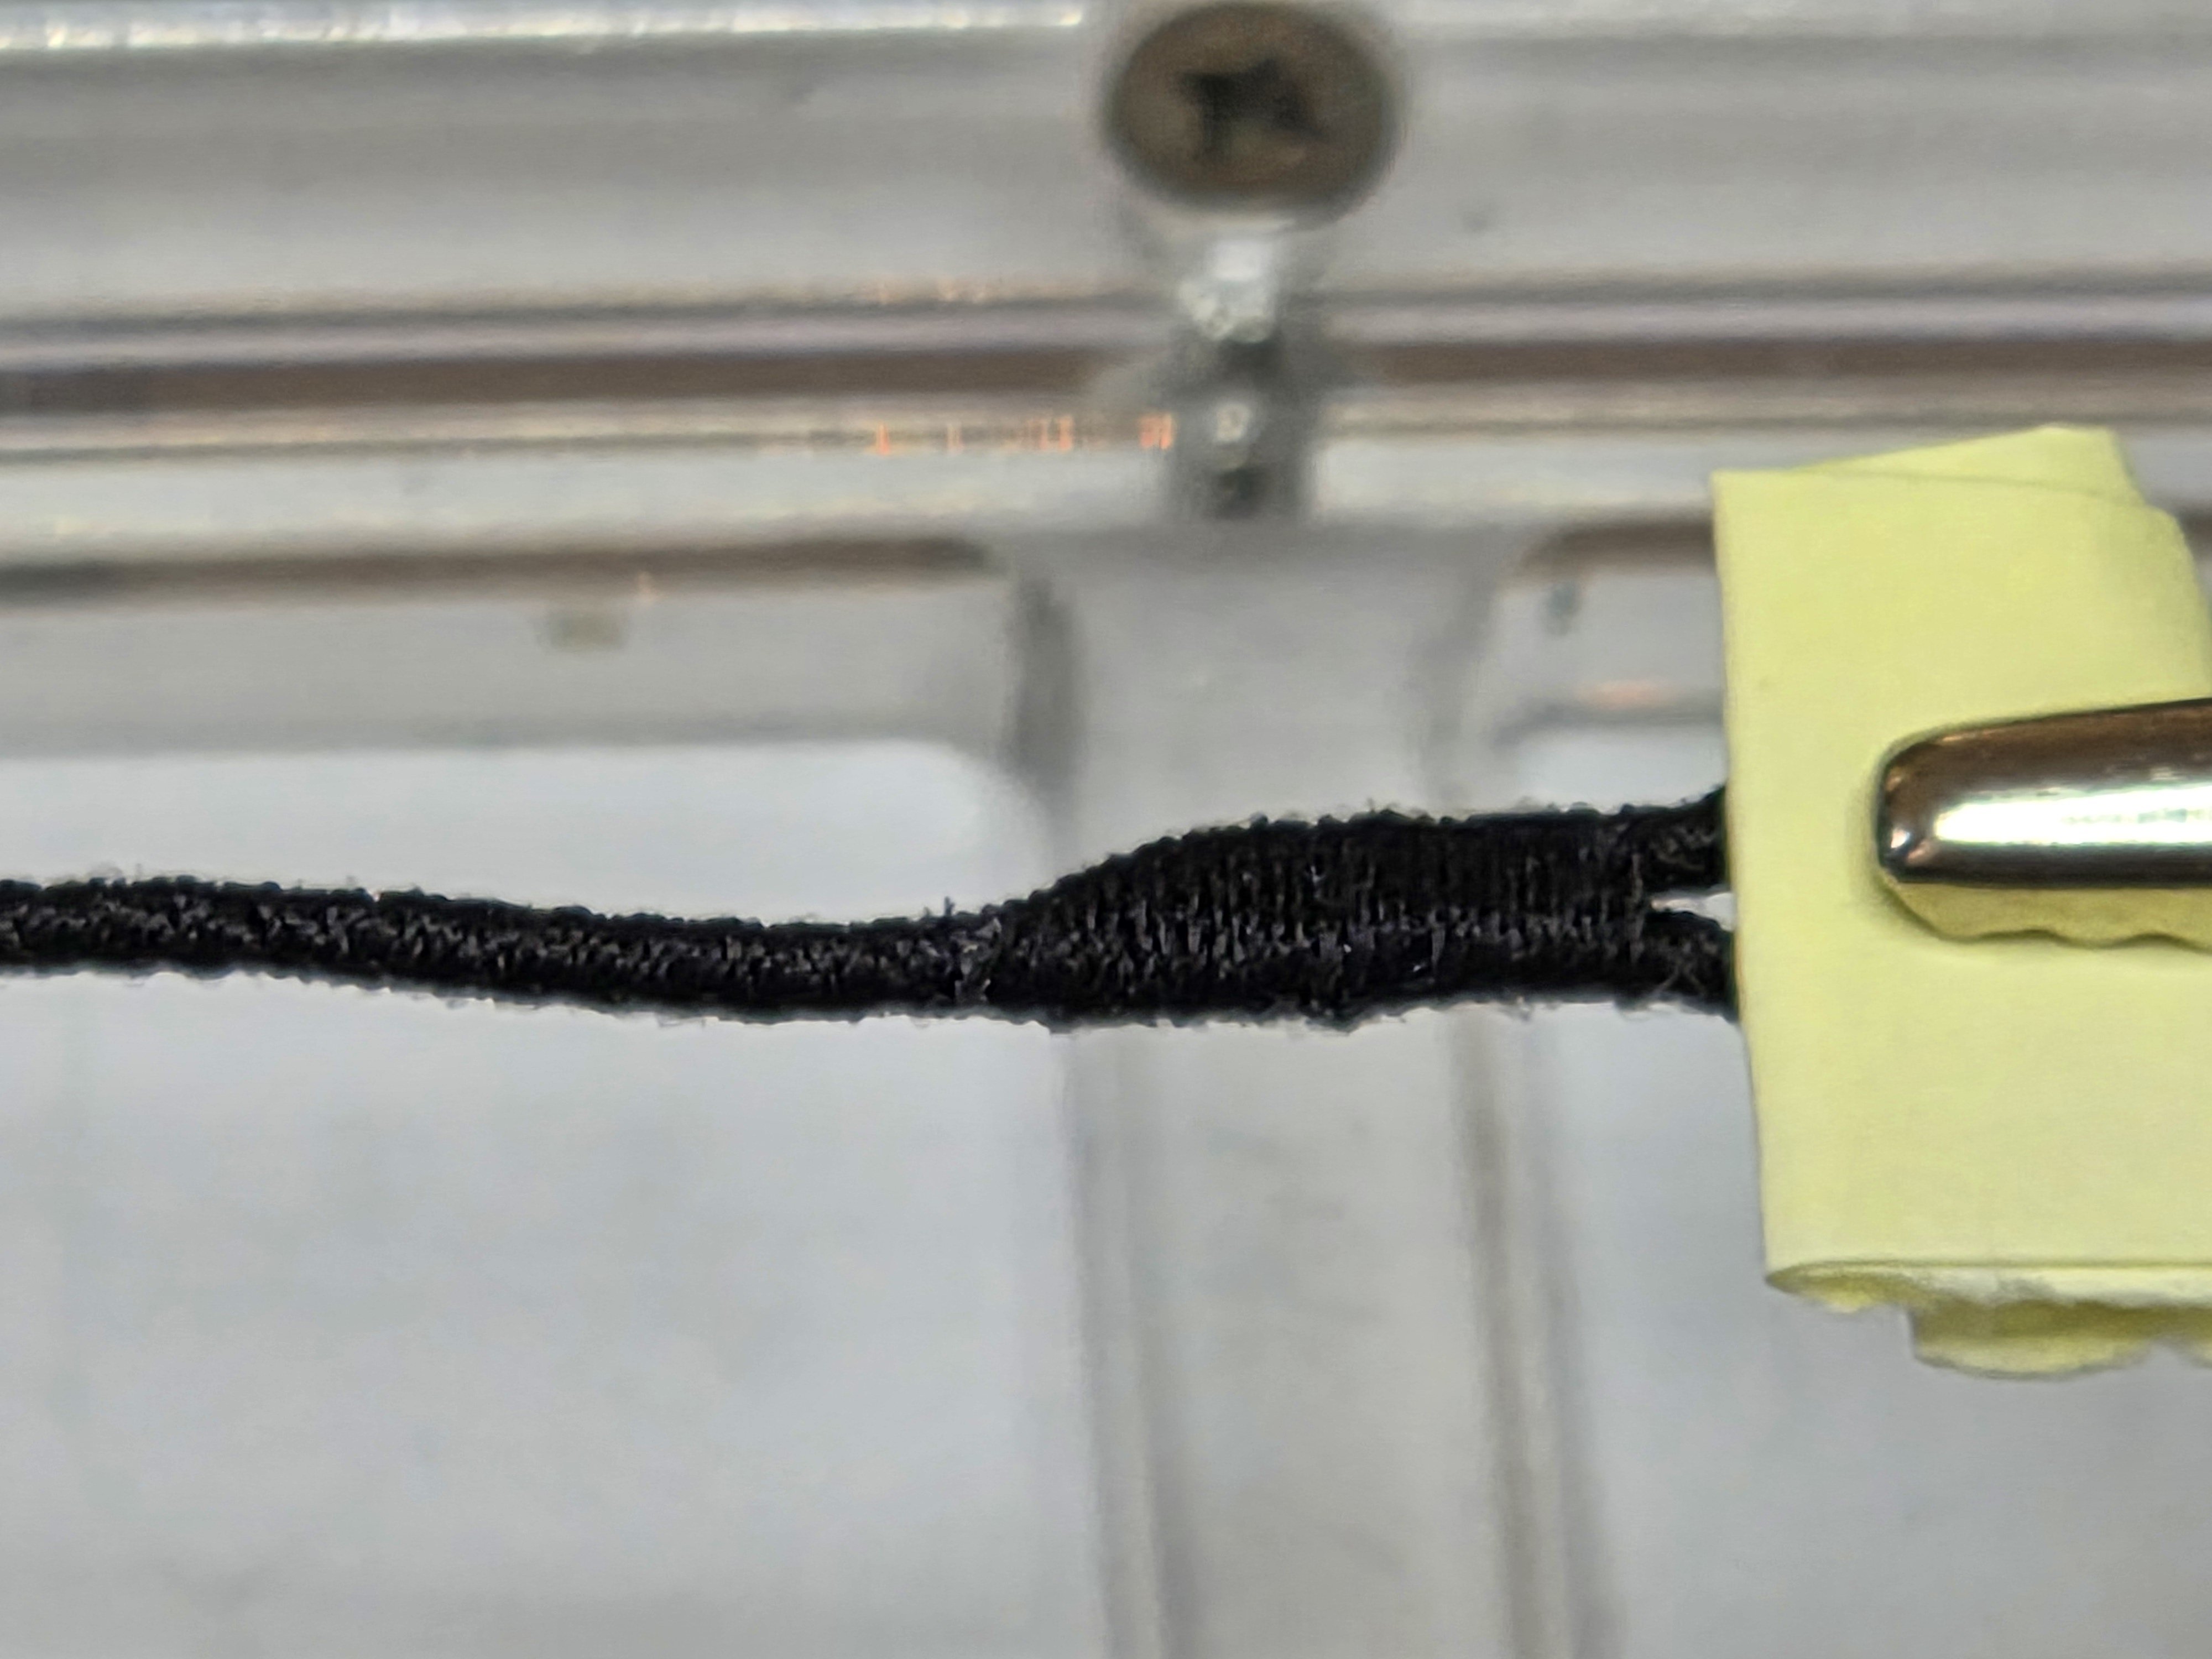
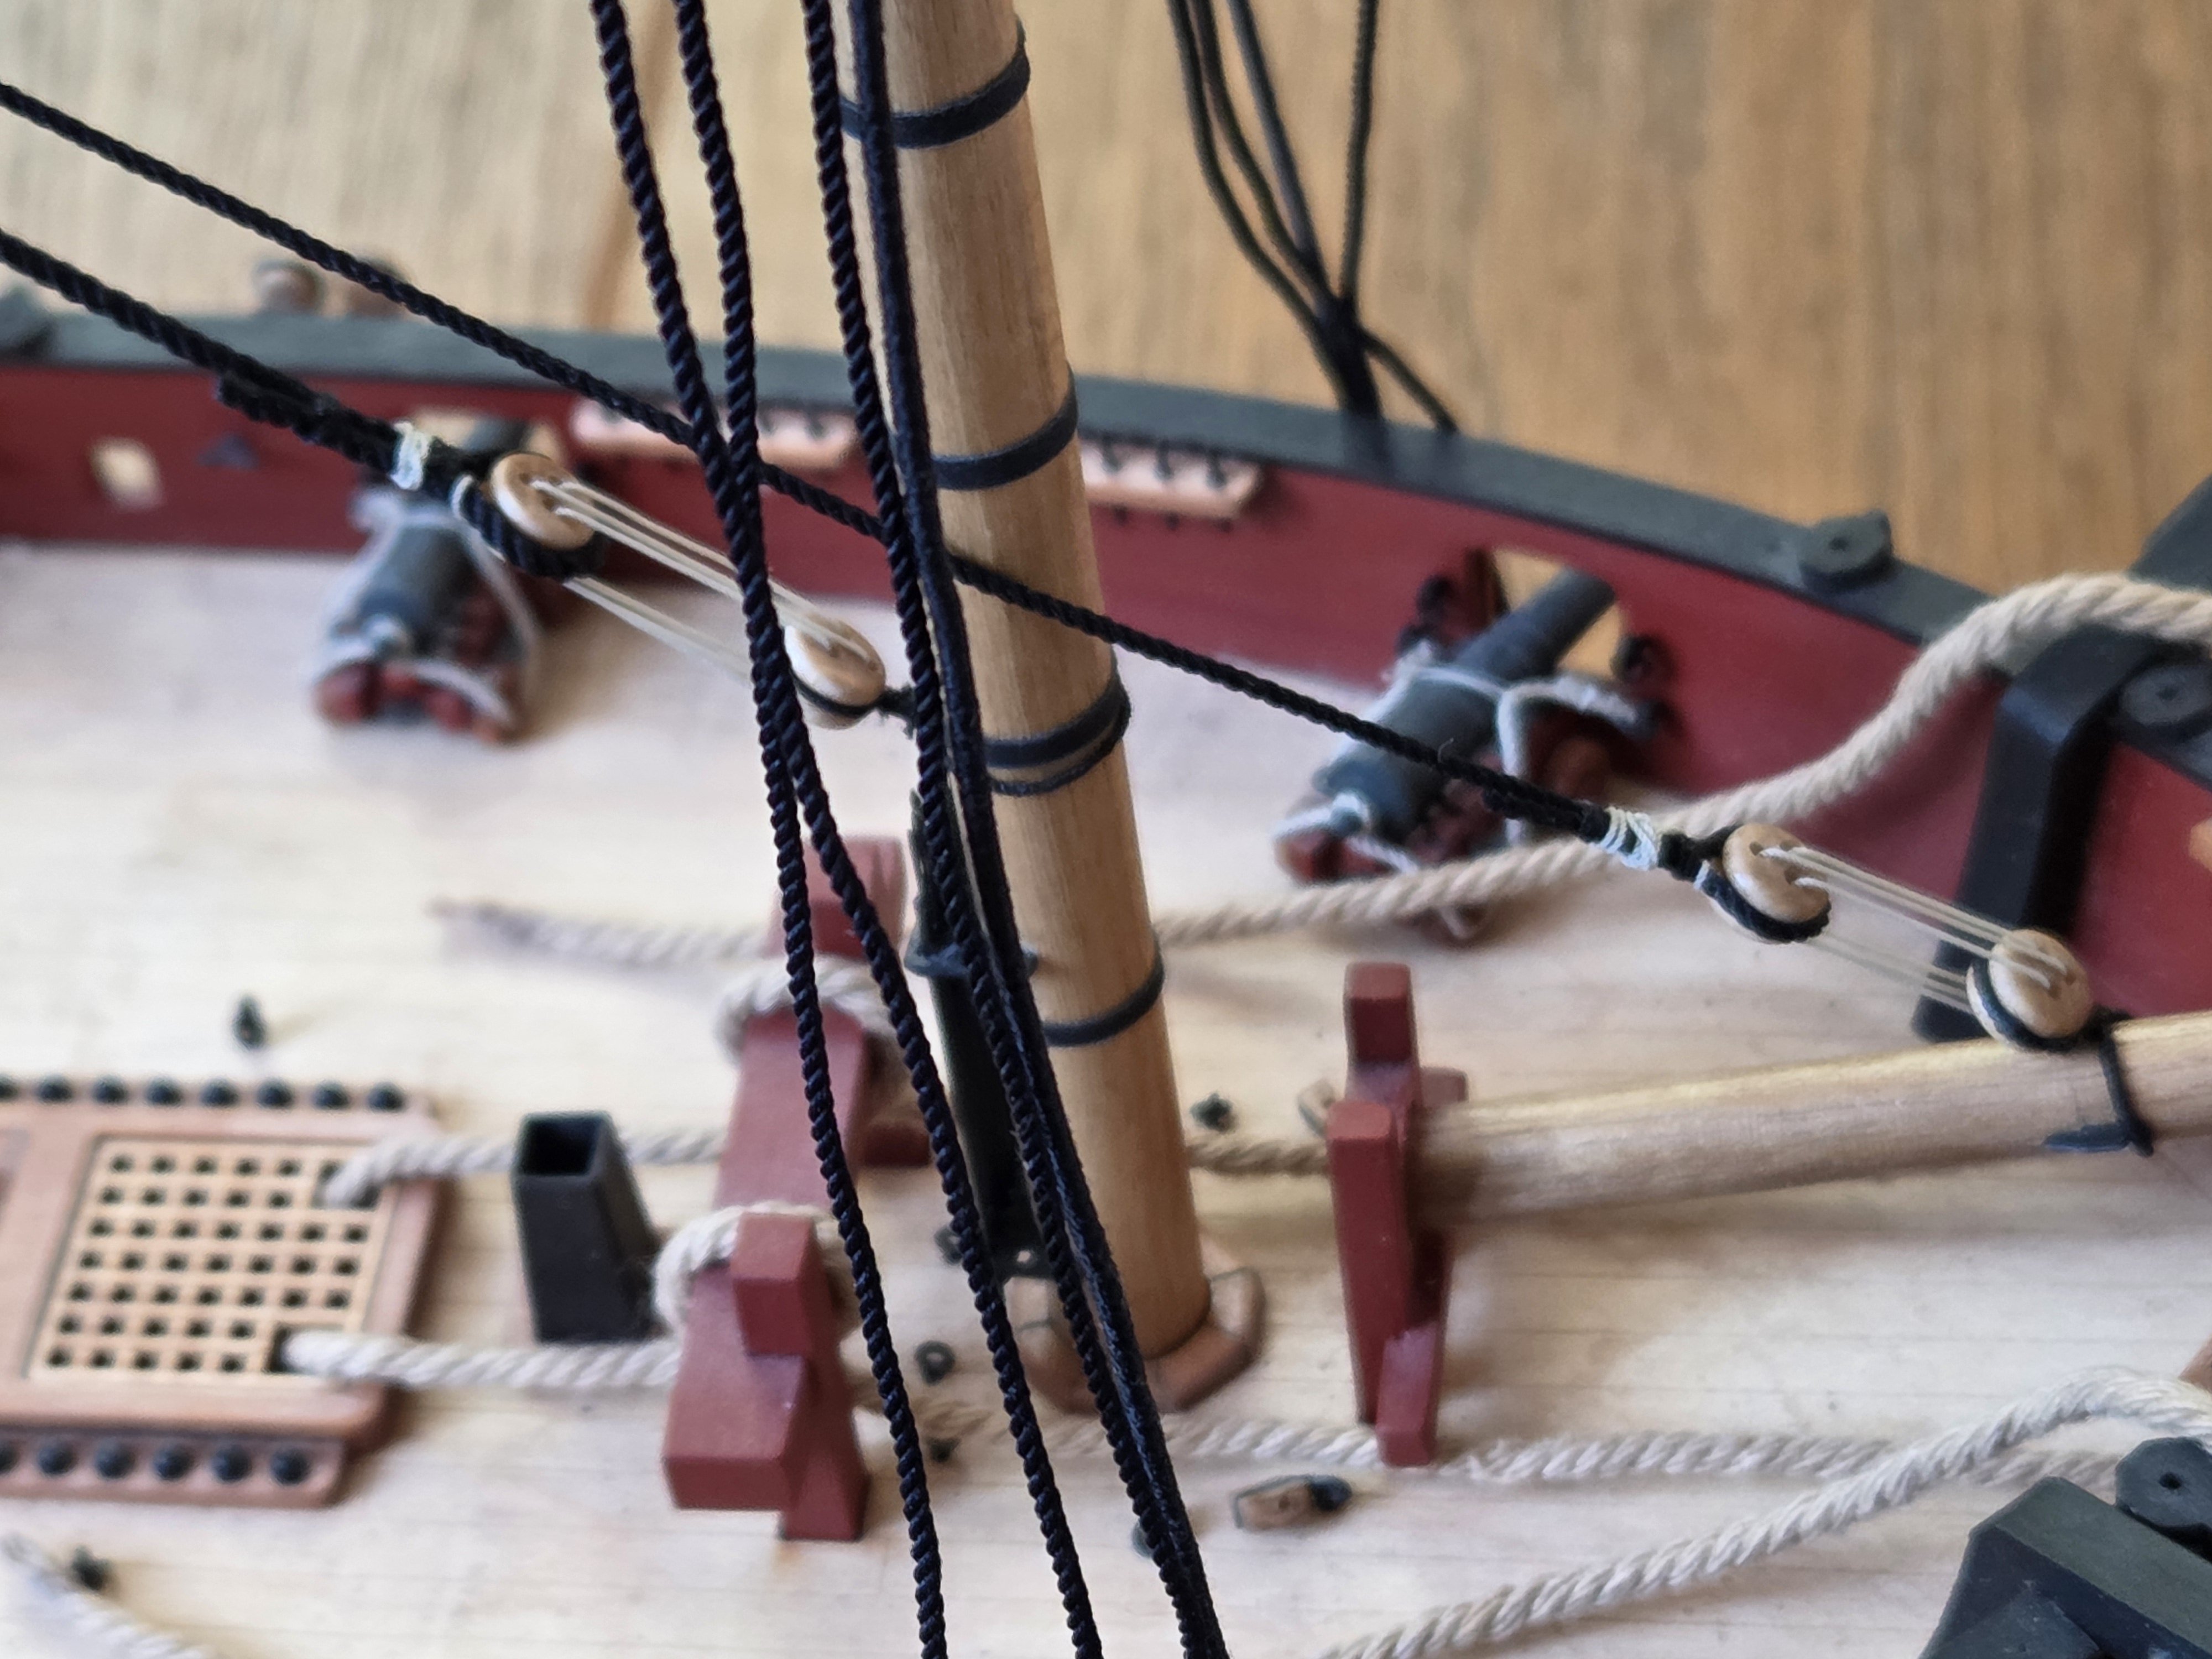
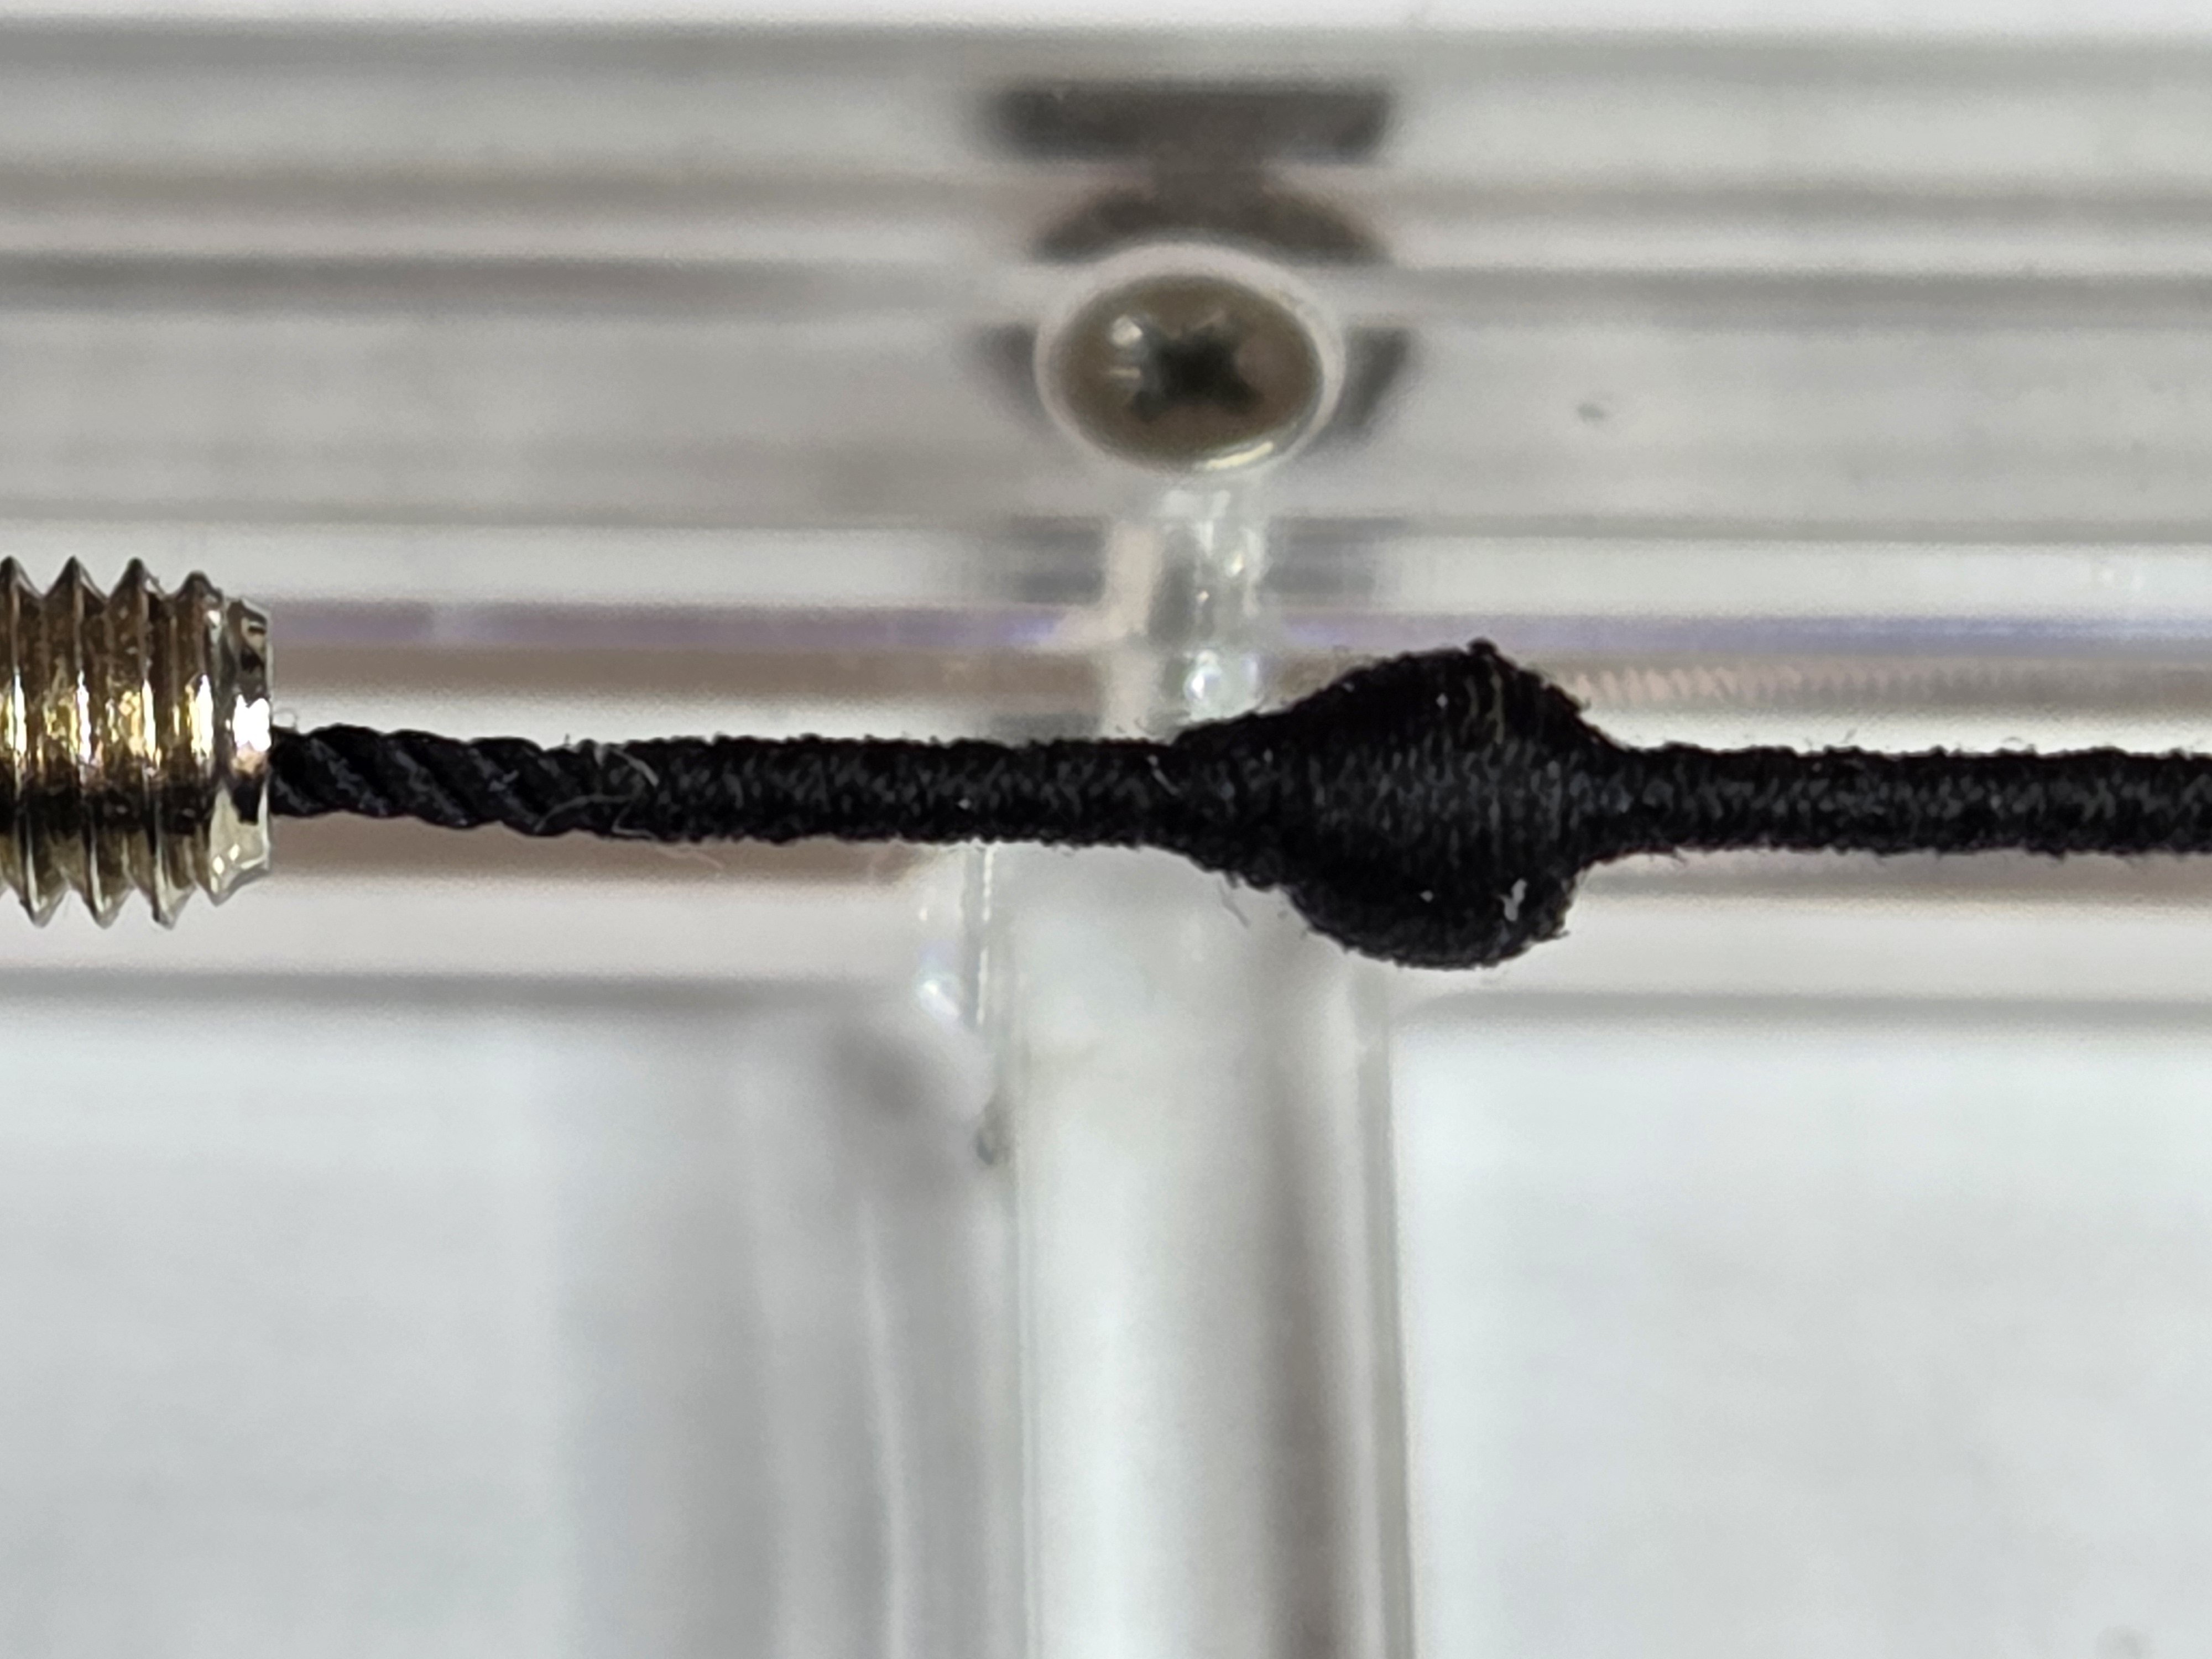
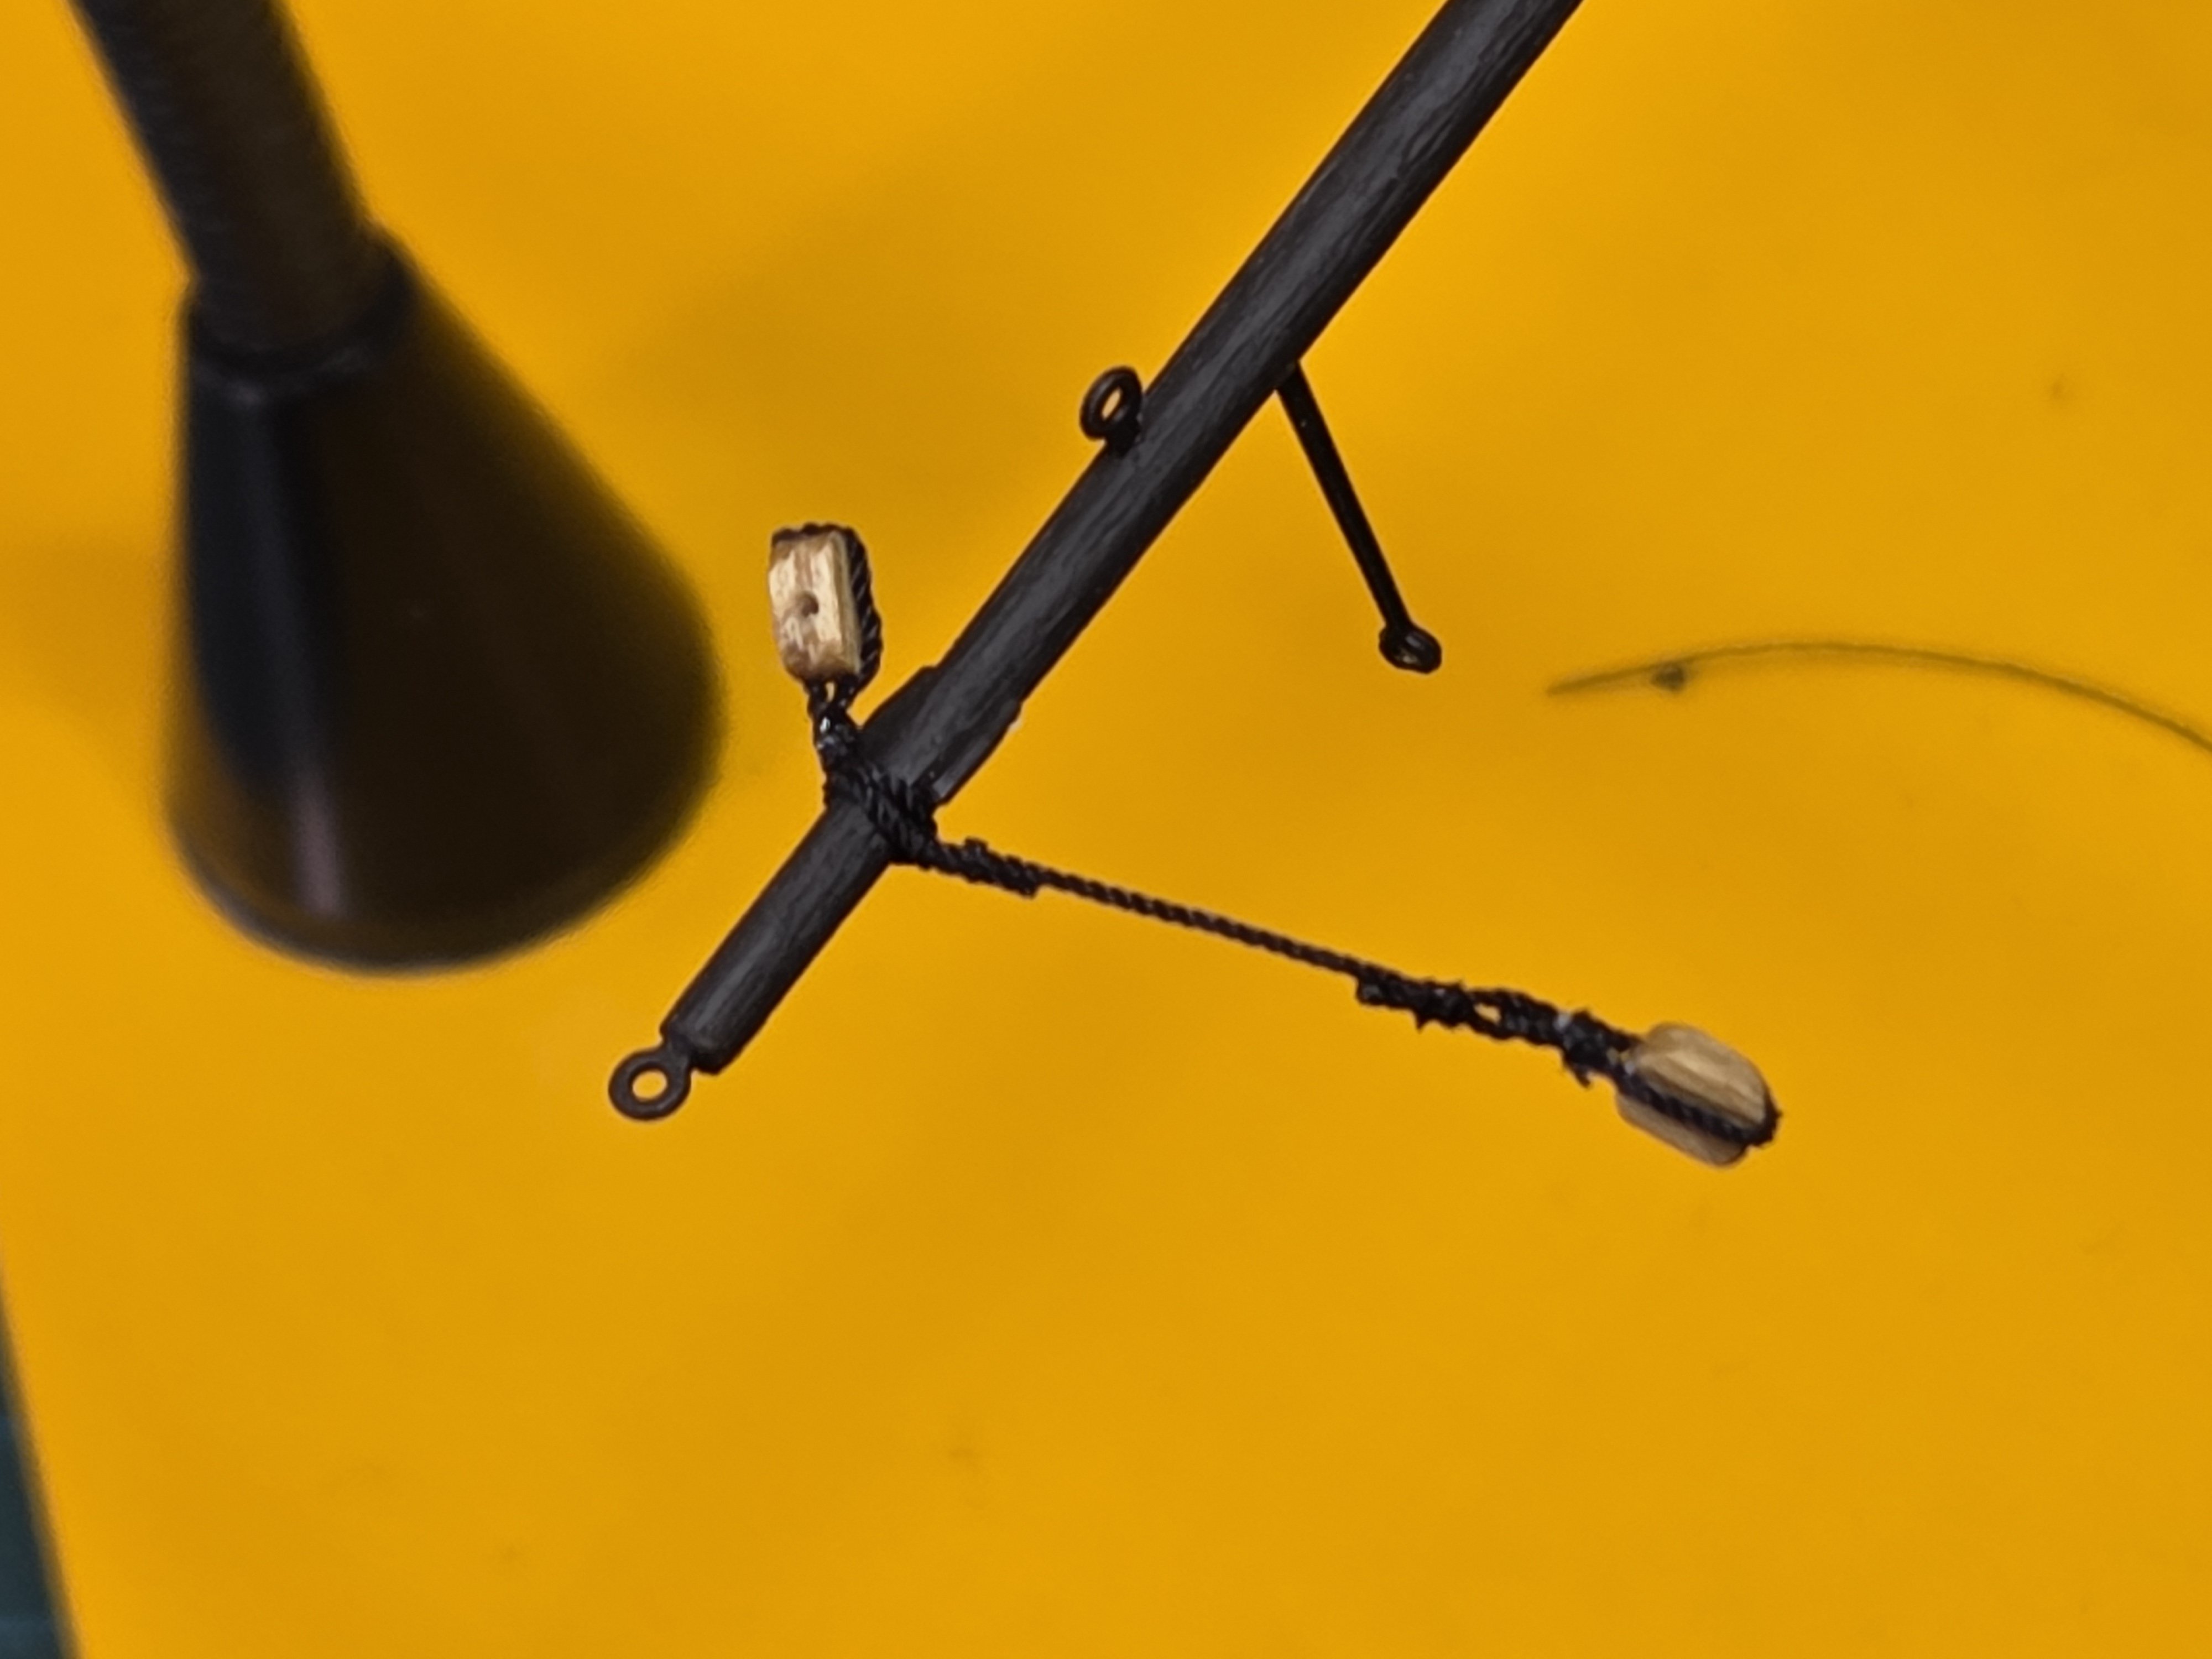
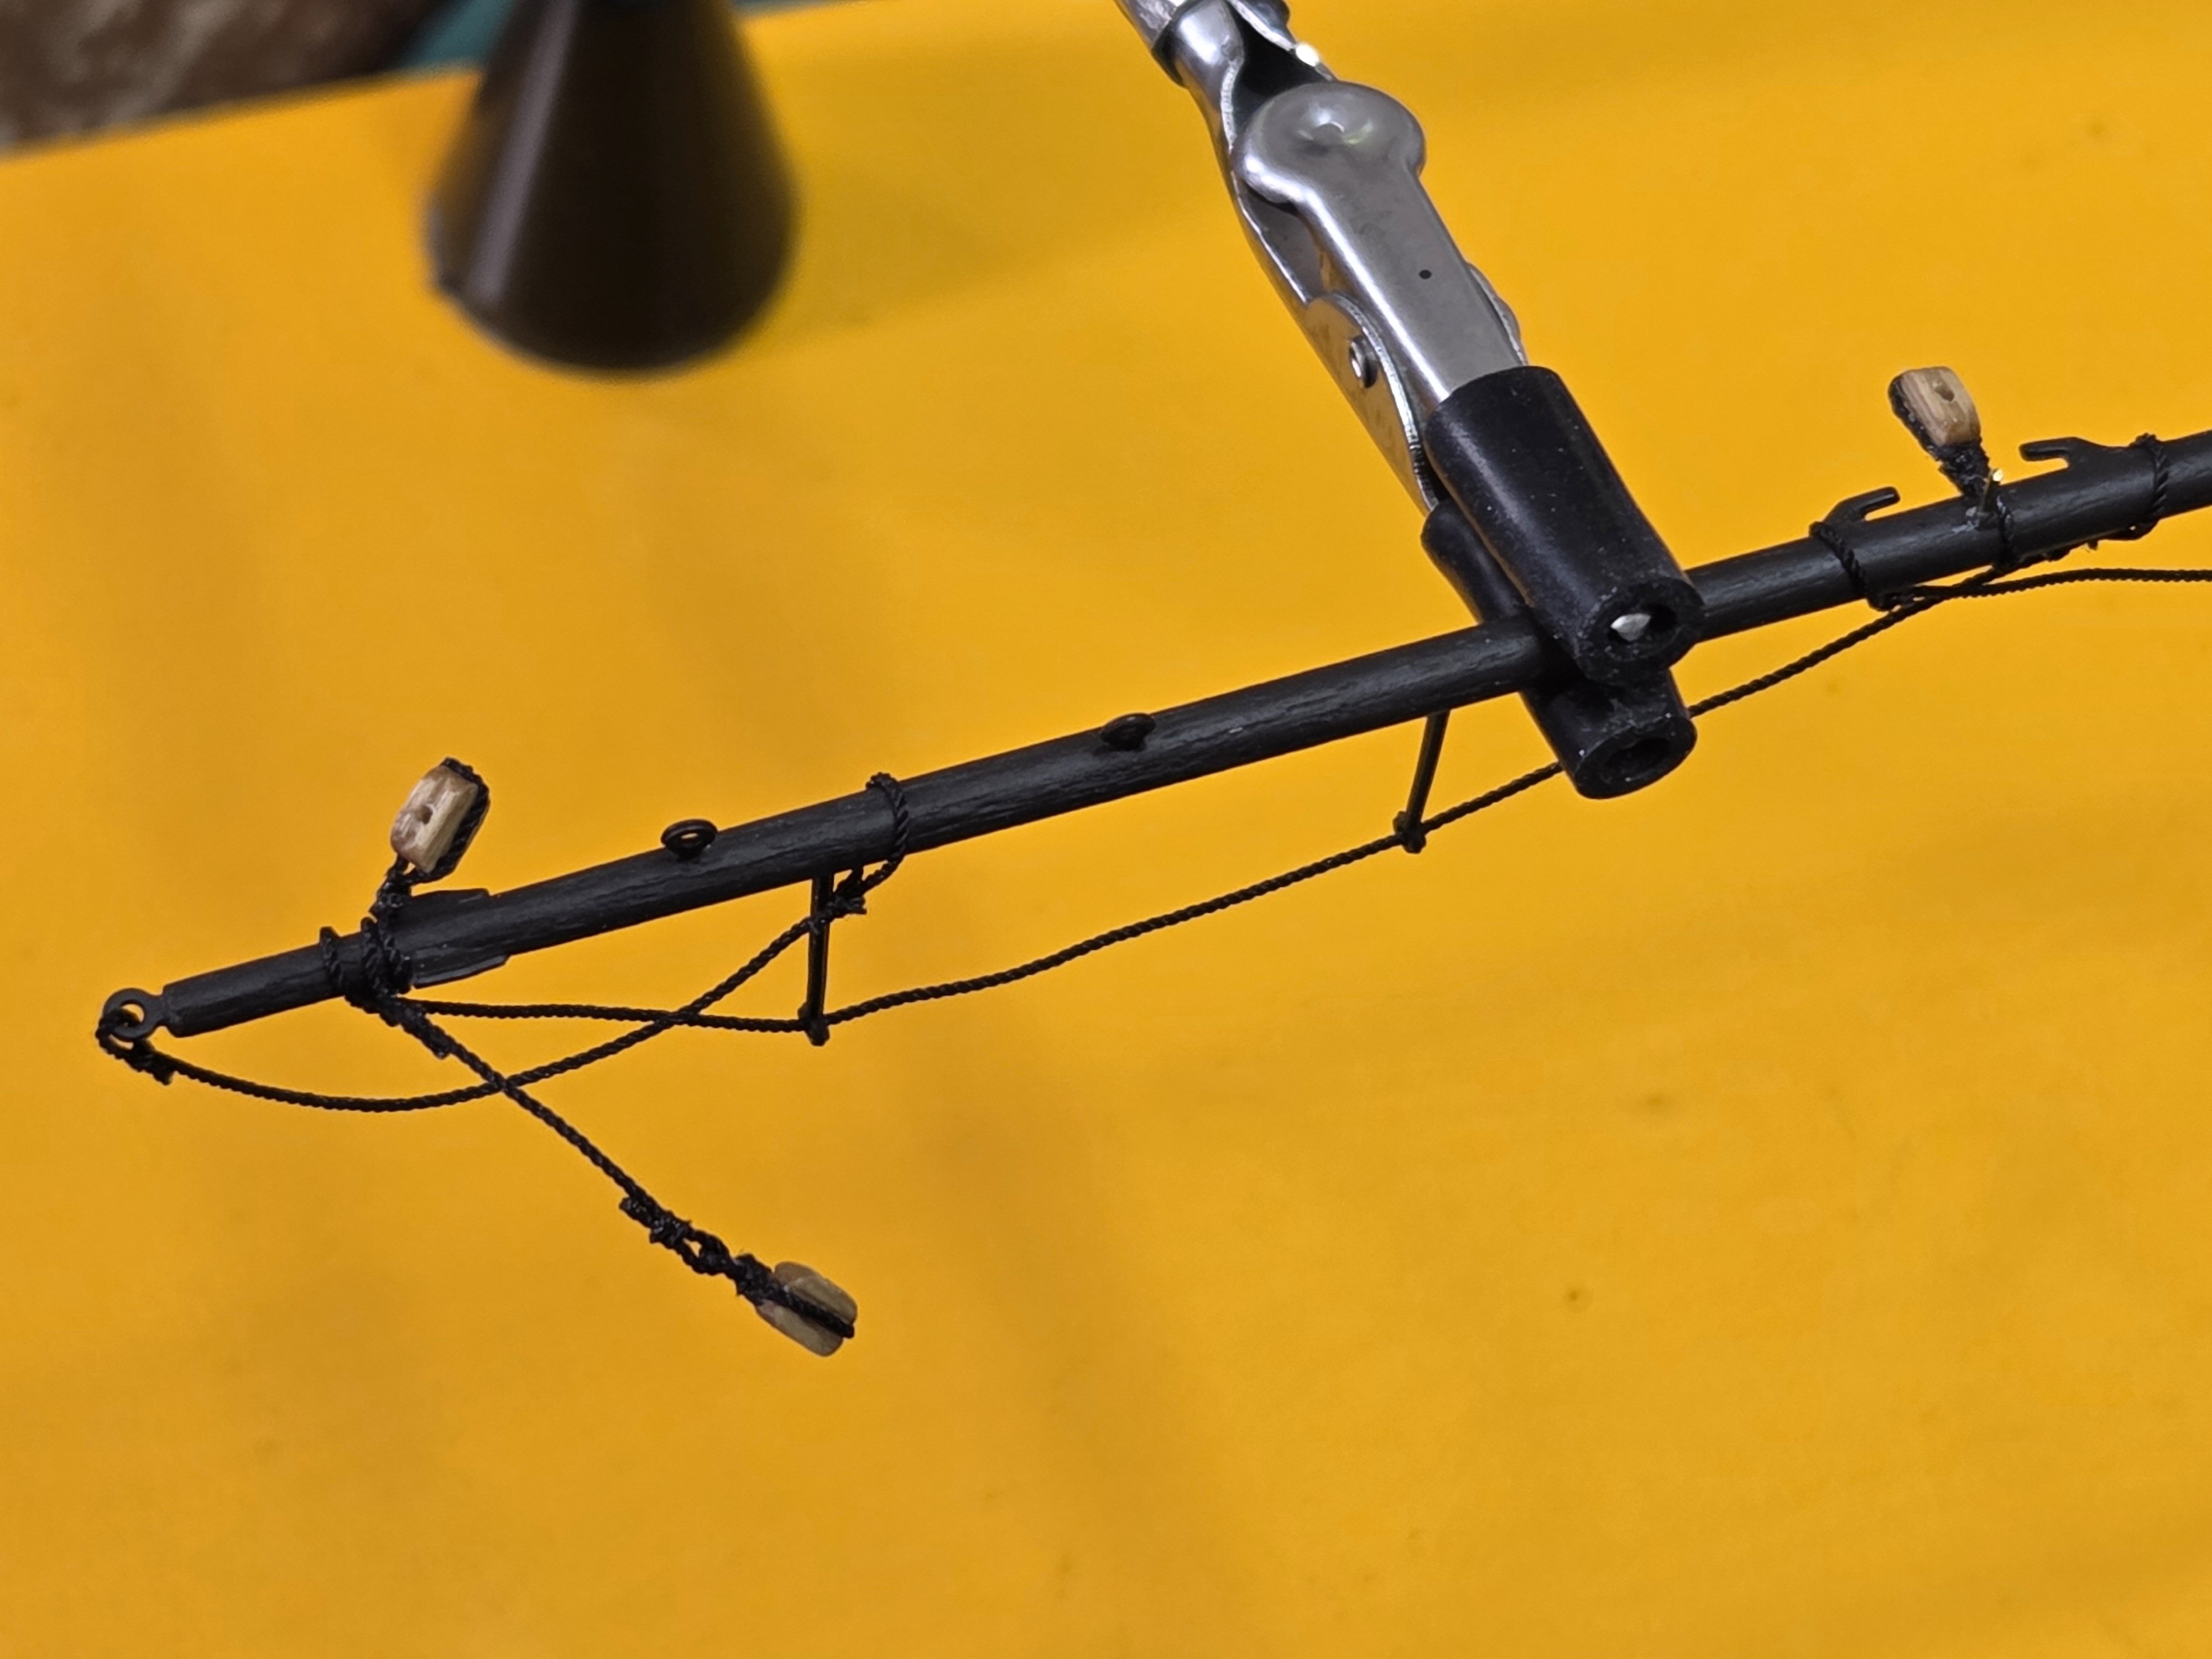
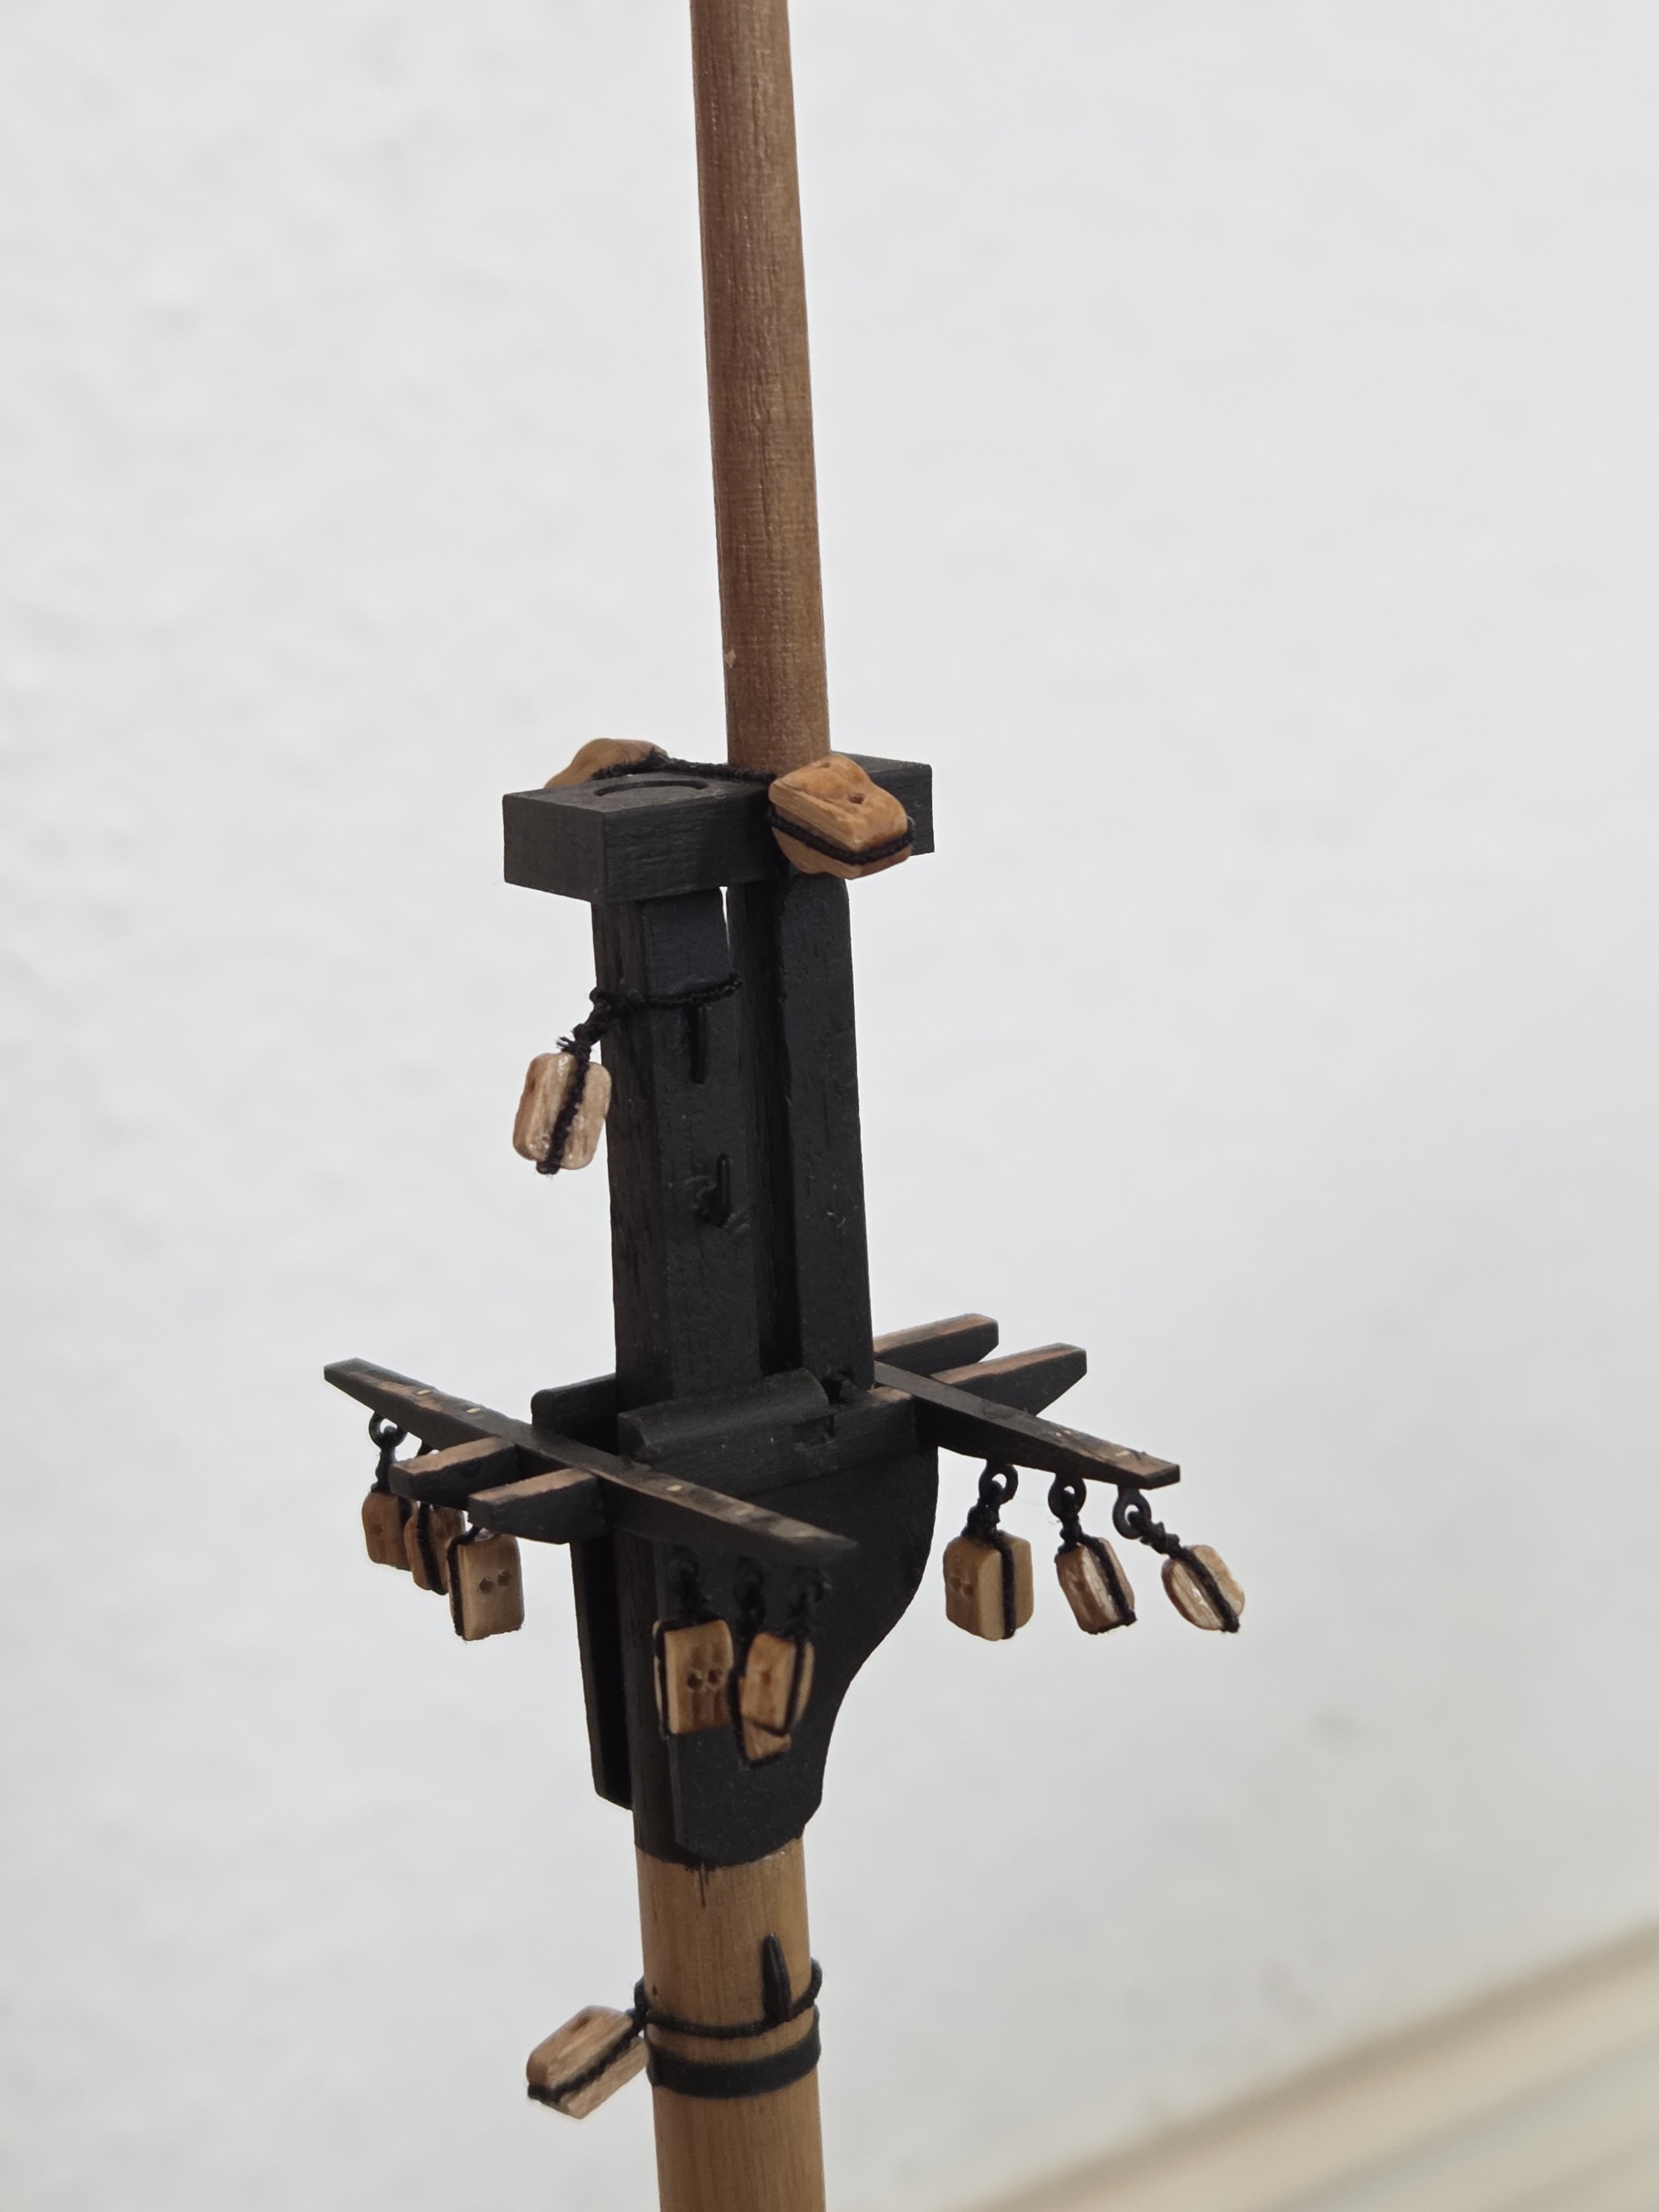
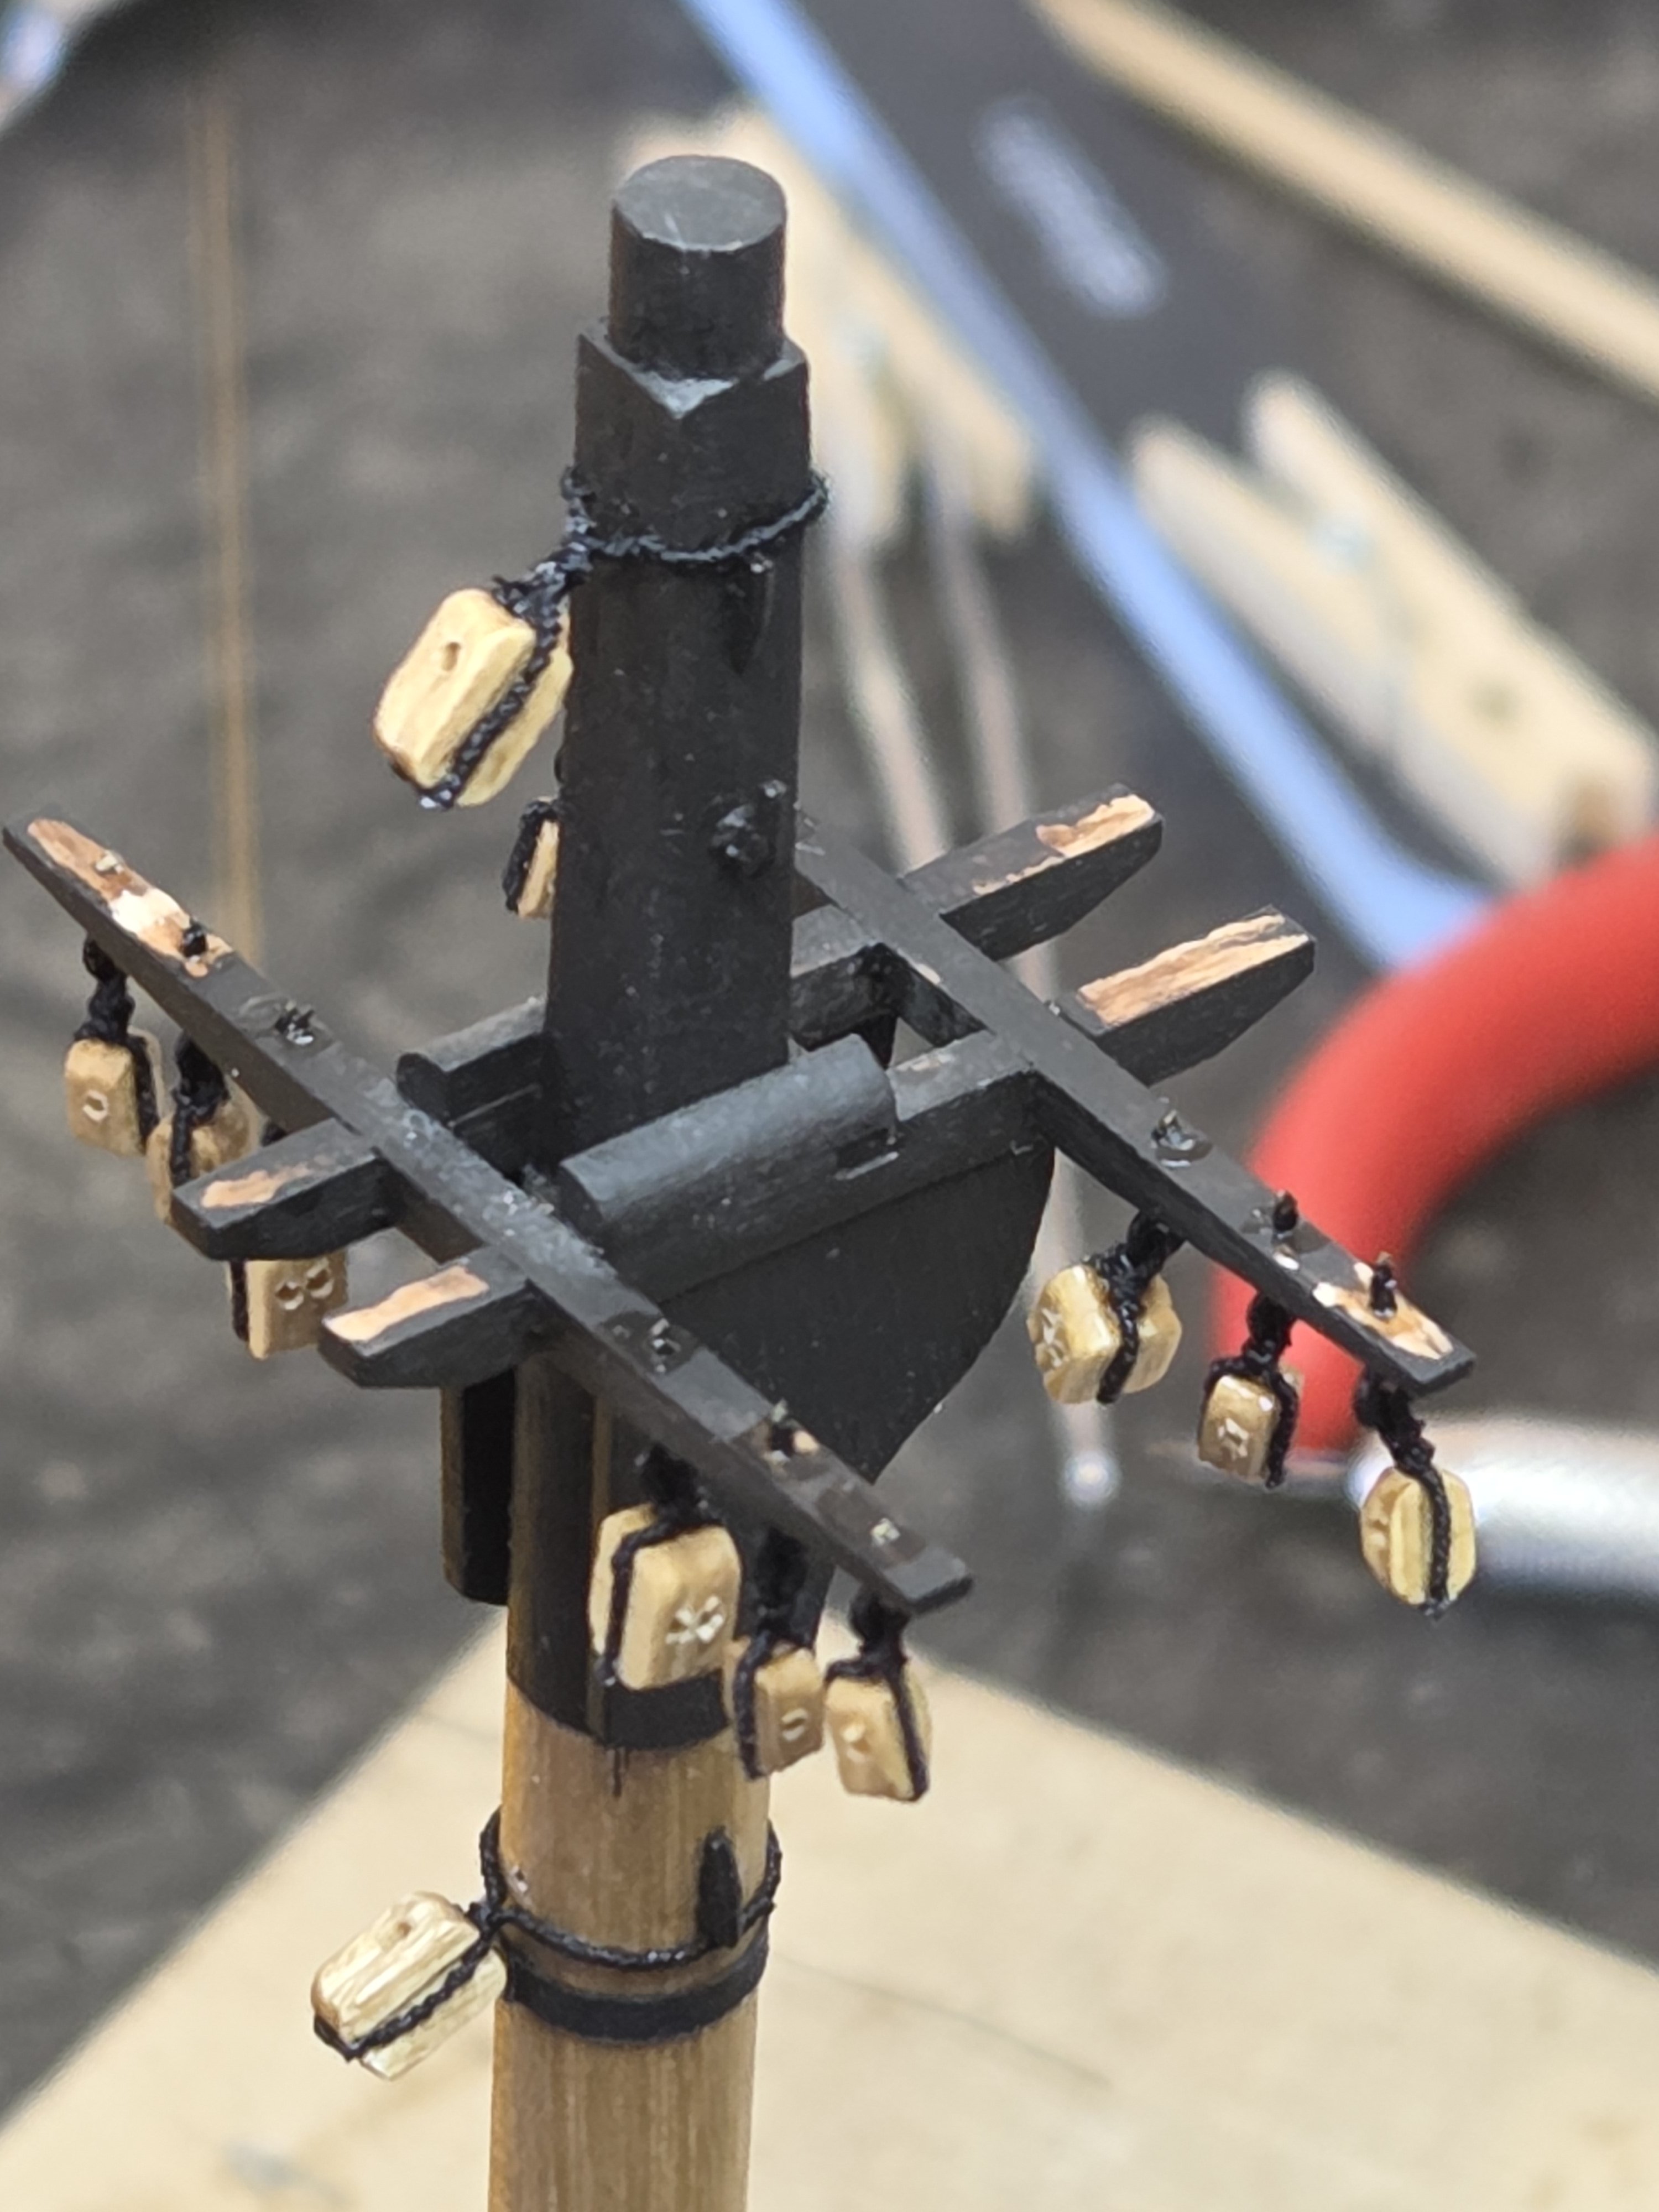
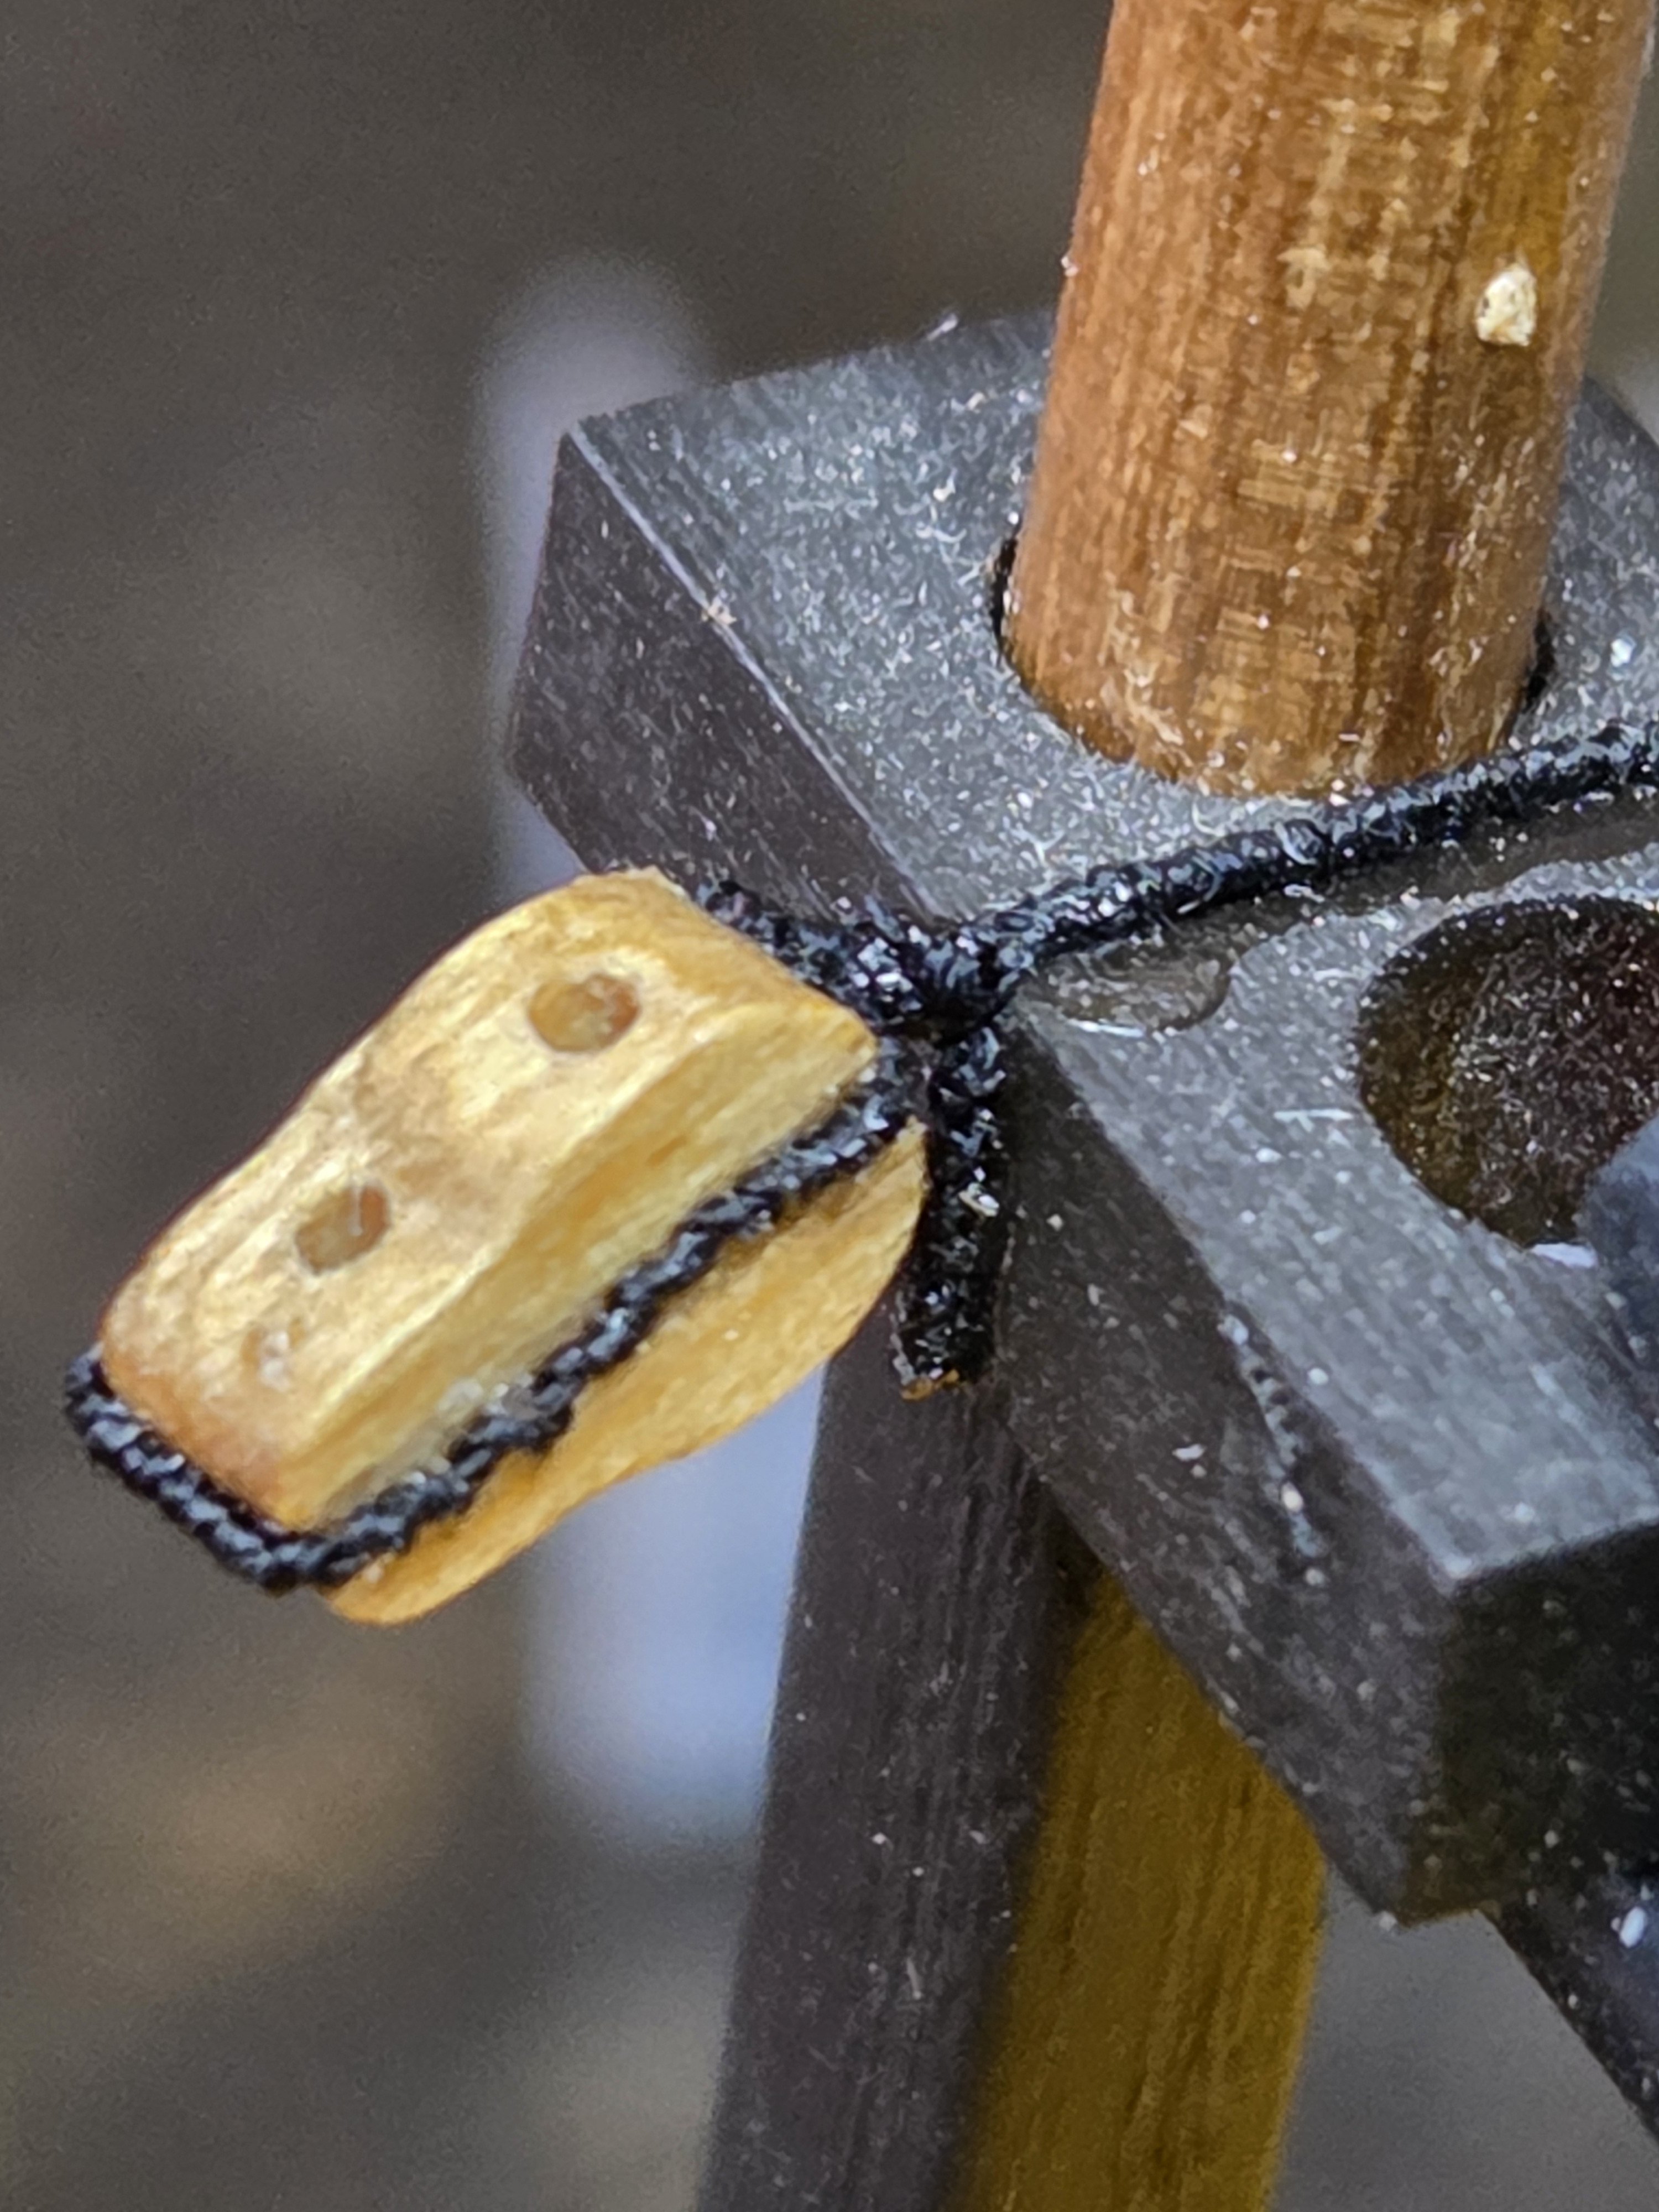
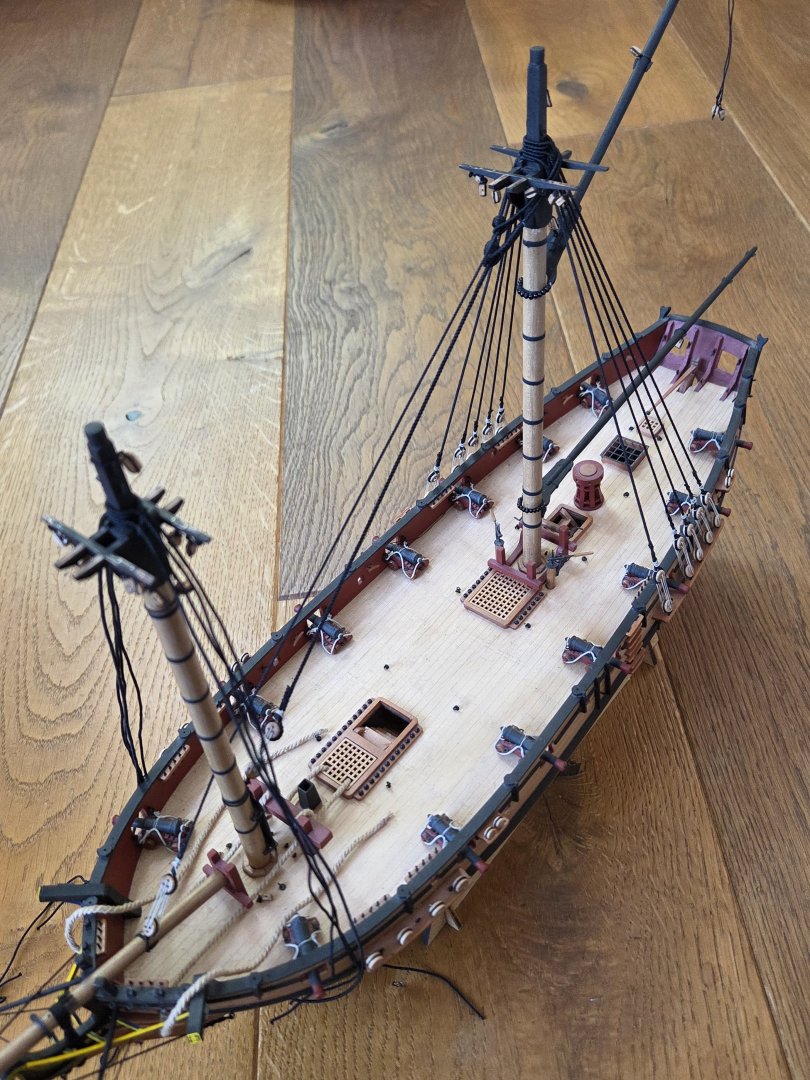
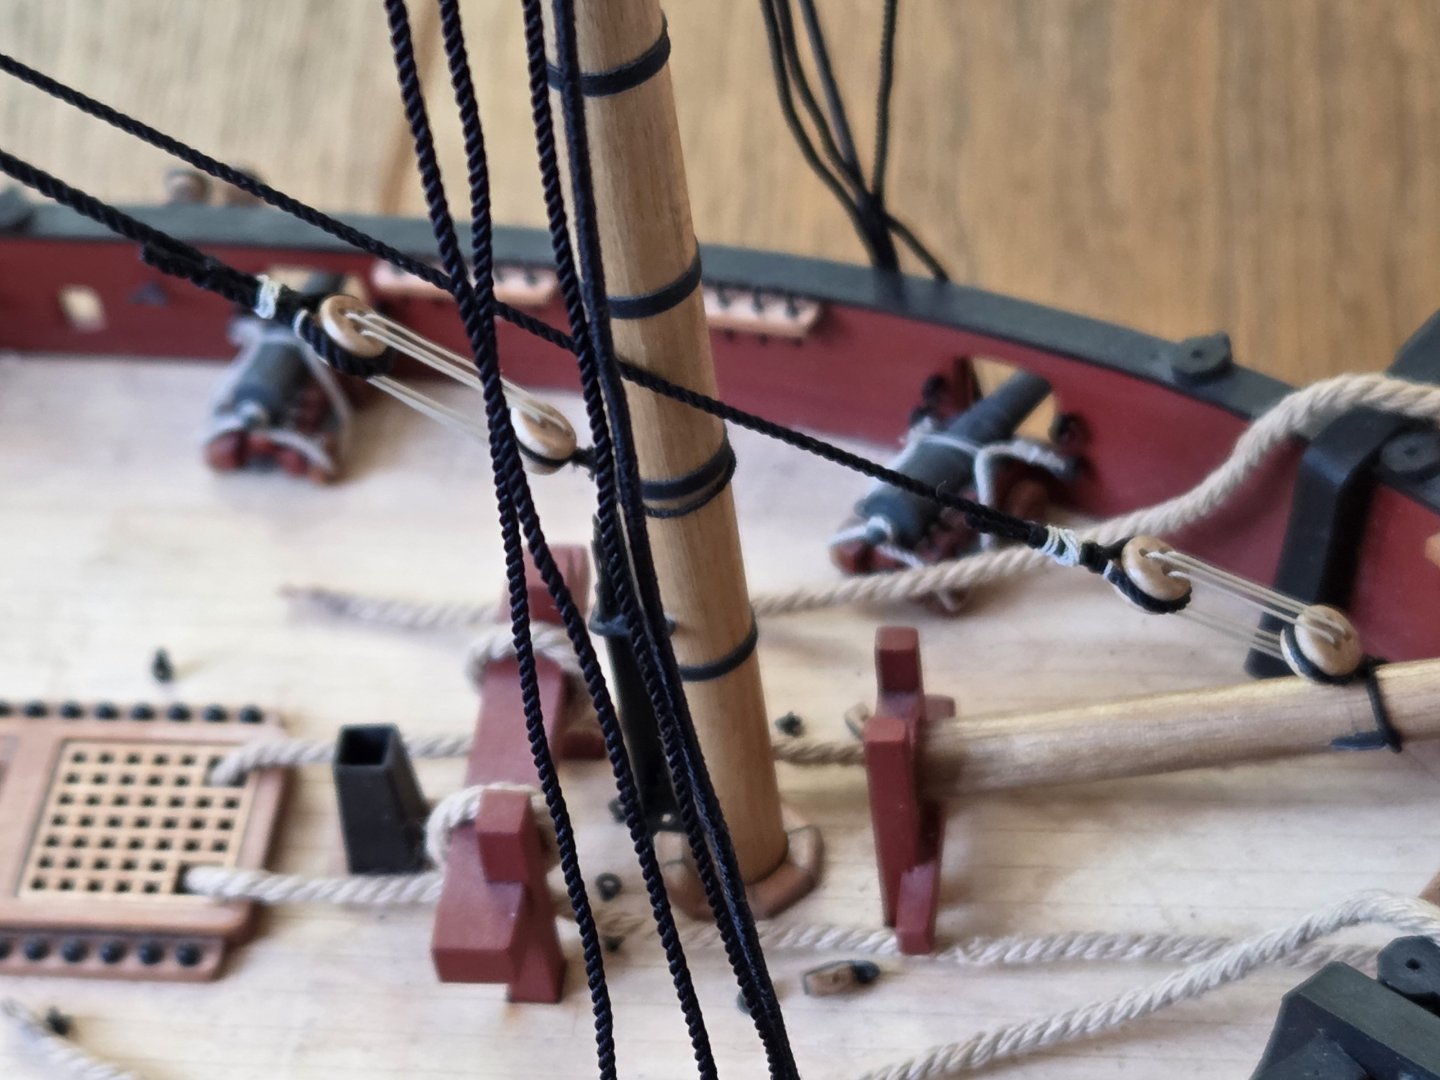
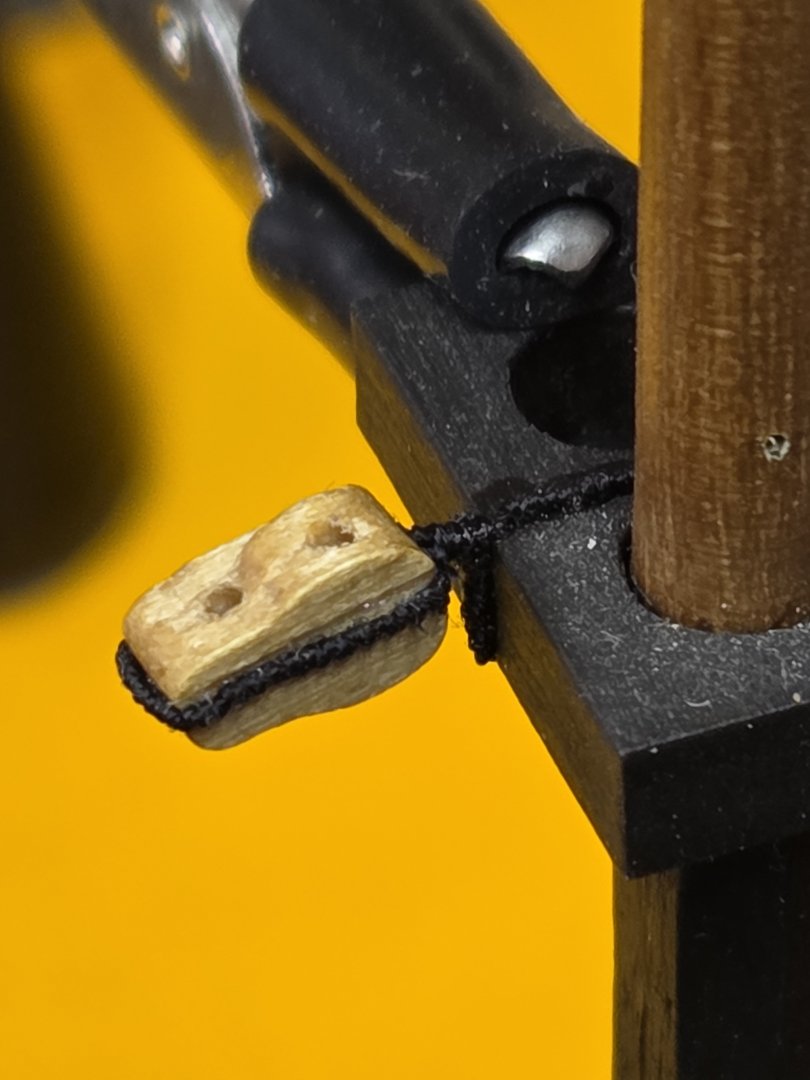
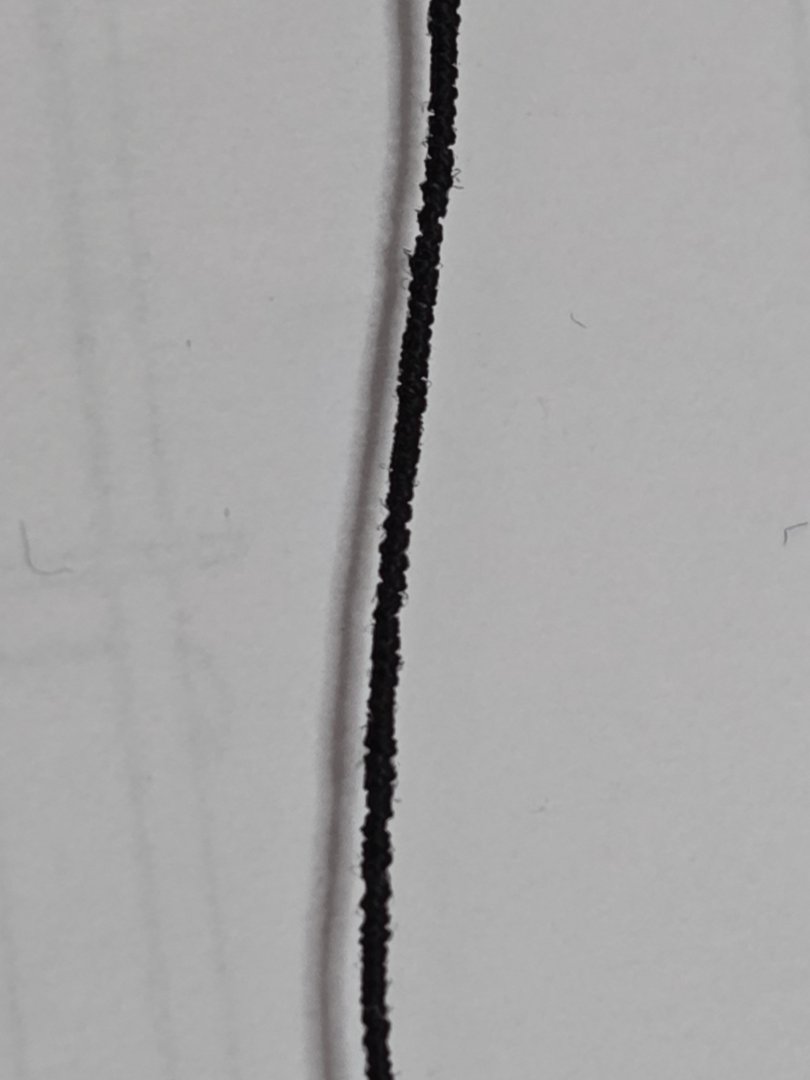
Puh, dusty here, isn't it? 🙂 Thanks a lot for all your likes, much appreciated :-). I see, that my old picture host doesn't exist anymore. I still have all the pictures, and I will reupload them on this side, but that will take some time. Well, I found some motivation and went into this 'rigging'. And it is much the same as it was with the hull when I started this projekt. What I would like to achieve, and what I'm able to achieve are just two worlds. Here is a full new set of skills required and to learn, so it feels a Little bit like start all over again. My respect for some of the shown projekts here on this forum has risen tremendously :-). Some of the main Problems I run into: Serving the ropes is much more difficult than it Looks like. Especialy serving the lowest diameters of ropes. I buyed the smallest Guterman ropes I could get my hands on and started to serve this for the blocks. It needs so much force in the Twist that very often it just open up again after I pulled the finished Produkt from the serving mashine. It becomes easier when the Diameter of the ropes grow. I did not look into the description of the plan Sheets carefull enough, so I started with to small ropes in case of the Diameters. And even then I found it hard to get a smoth and evenly served layer onto the ropes. When I finished the blocks for both of the masts, I run out of served smallest ropes, and for the remaining blocks of the bow sprit I made new ones, but now with the 0.25mm ropes as the core. This was much easier to serve, so I think I will stay wiht this, even if I have now different sizes for the same purpose on the model. And, as the plan sheets suggest to use the 0.25mm rope to tackle the blocks (at least the smallest ones), now the served 0.25mm ones are to big. To help me not to loose my mojo to fast, I keep my inperfektions to achieve a little bit more Progress. Another big Problem is, that during rigging the blocks and eye-bolts, often enough my serving open up again. Of Course most of the time when it was allready have build onto the masts or anything other. I replaced the worst, but kept some of the imperfekt ones because of reasons mentioned above. So my conclusions at this Point: just take your time to learn the new skills. Found a way that is working for you. And, I can now understand why there are a lot of builds out there that uses brown ropes instead of the classic black ones. When there is all black on black, you won't see much of the effort of served ropes. And, the brown ones might be more accurate from an historical Point of view, but I do not participate in that debate, for me it is just personal preference. At the end, the black rope overall helped me to live with more errors, than a lighter and more prominent color would have allowed. Ah,and before I Forget it: another big mistake I made: I used a to thick of a rope for the gammoning of the two spars of the bow sprit. I enter now just a bunch of photos with no furhter description. There are examples of the better and of the worse stuff. Hope, you enjoy it.


-
When it is grown up, what will it be? 🙂 But it looks very interesting and promising 🙂 Like!
-
Good job on your first planking! And that 24'ers look massive! I like!
- 146 replies
-
- 3
-
-
- Adder
- Vanguard Models
- (and 1 more)