Theodosius
Members-
Posts
345 -
Joined
-
Last visited
Content Type
Profiles
Forums
Gallery
Events
Everything posted by Theodosius
-
Very good start on the second layer of planking! 🙂
- 422 replies
-
- Vanguard Models
- Sphinx
-
(and 1 more)
Tagged with:
-
I am amazed about your rigging! Incredibble for this size!
- 562 replies
-
- vanguard models
- alert
-
(and 2 more)
Tagged with:
-
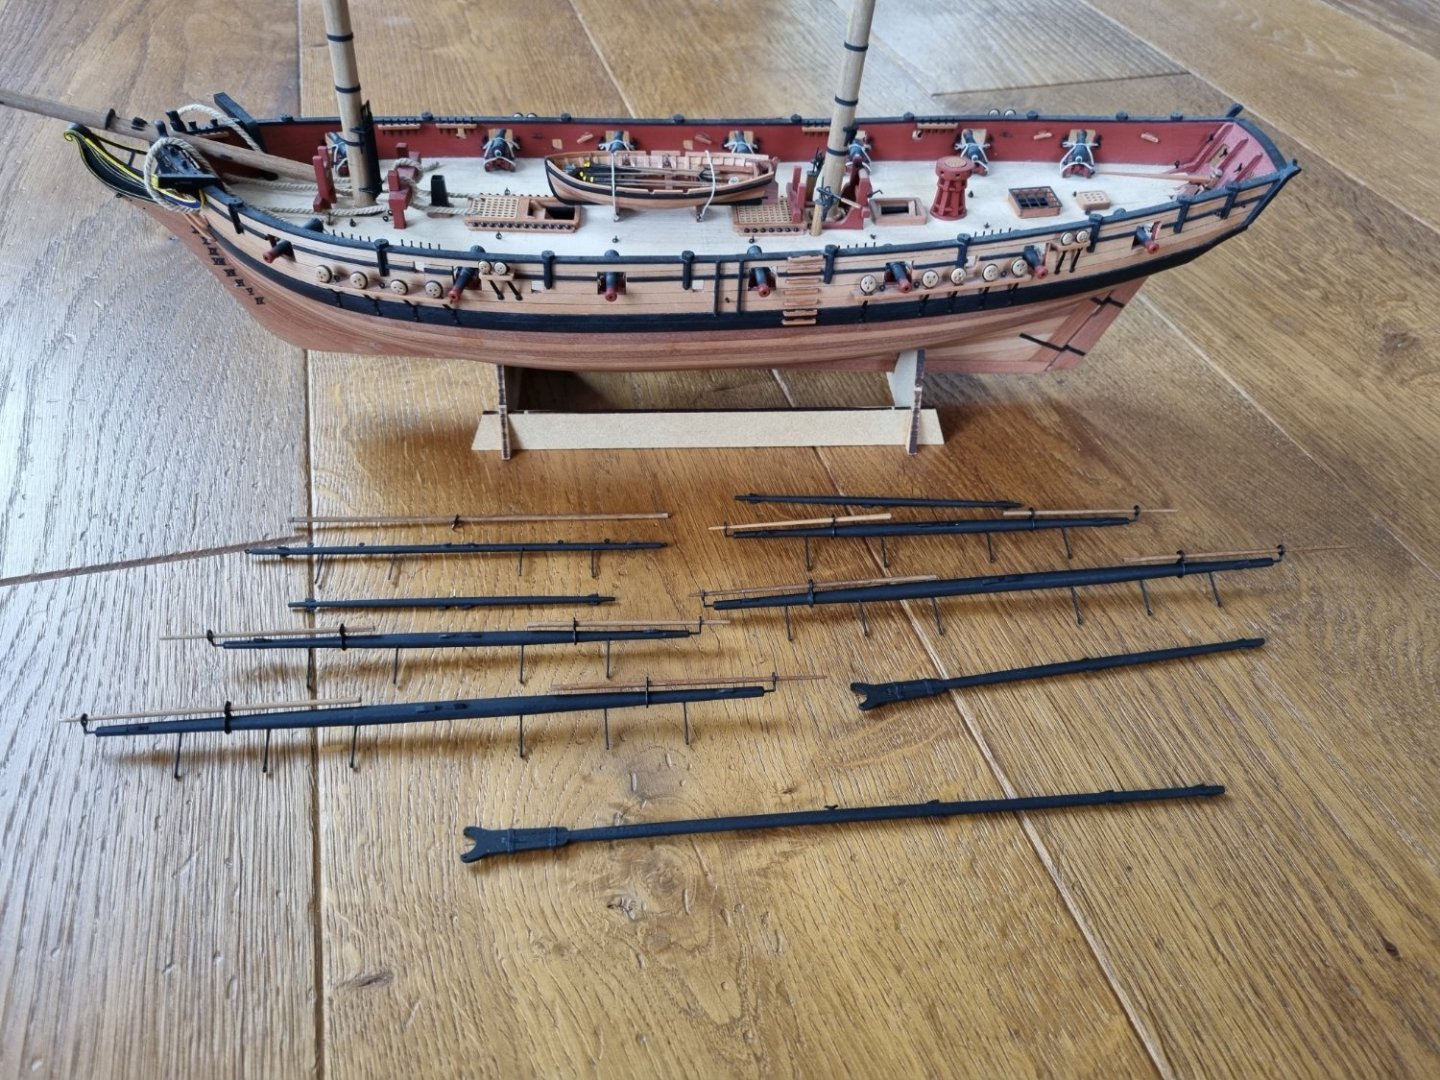
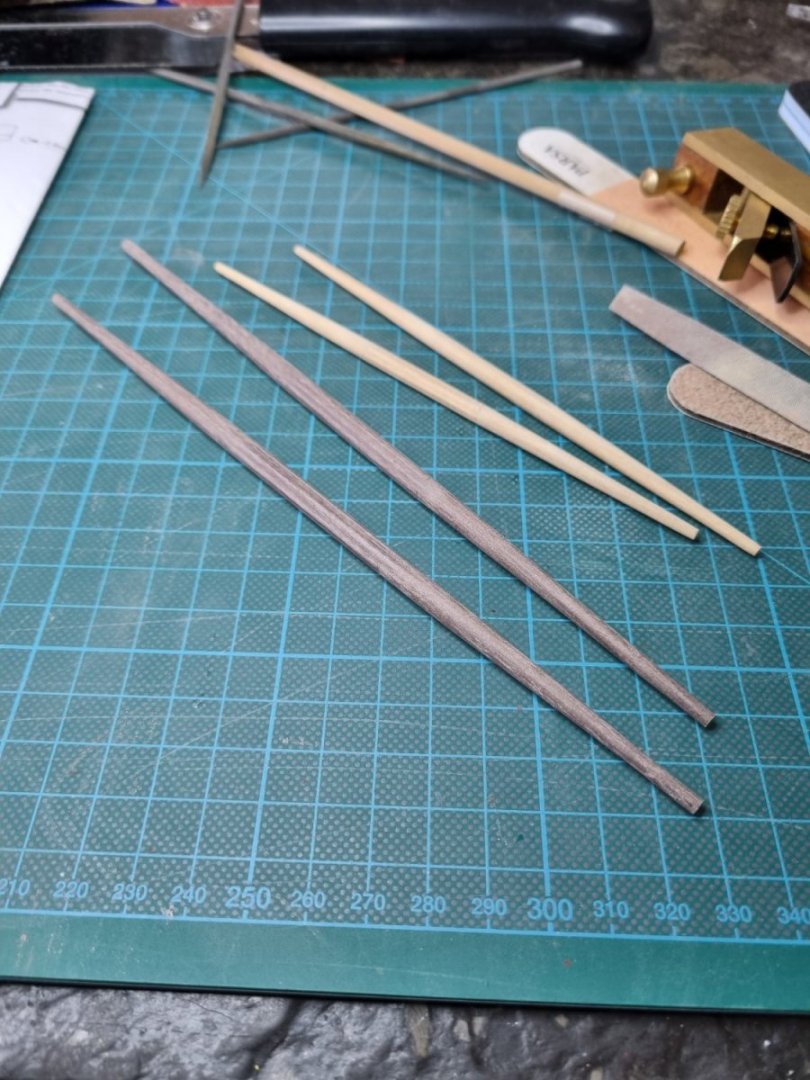
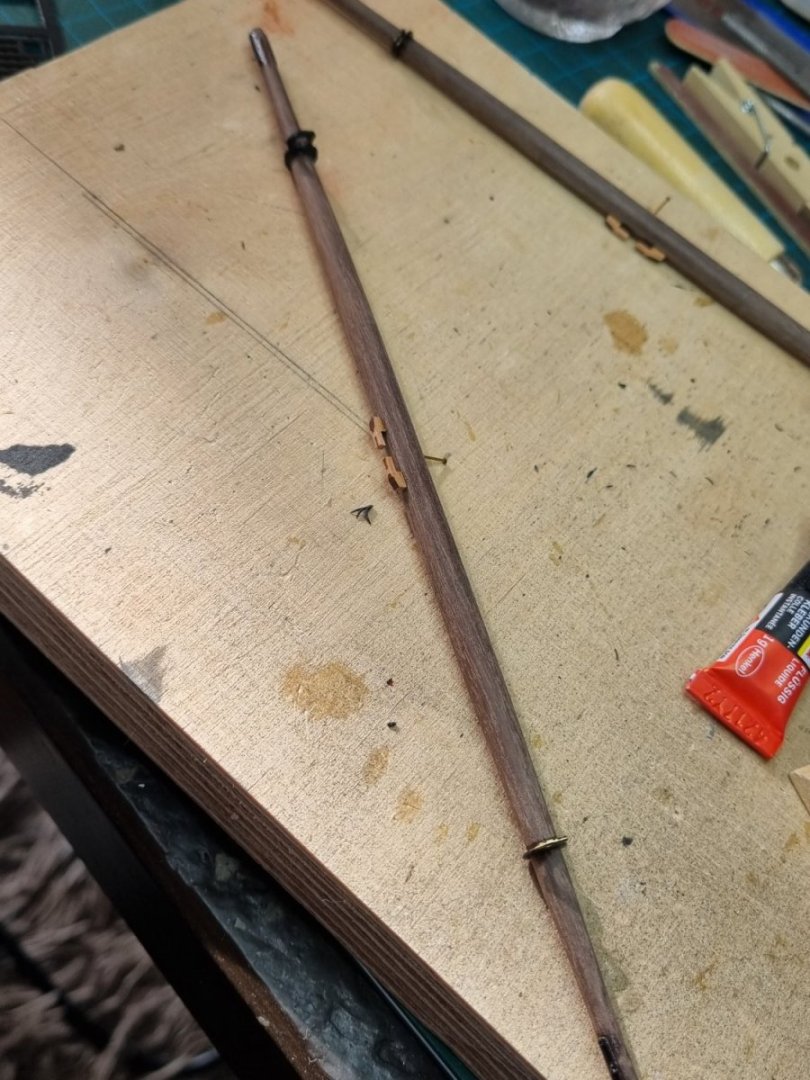
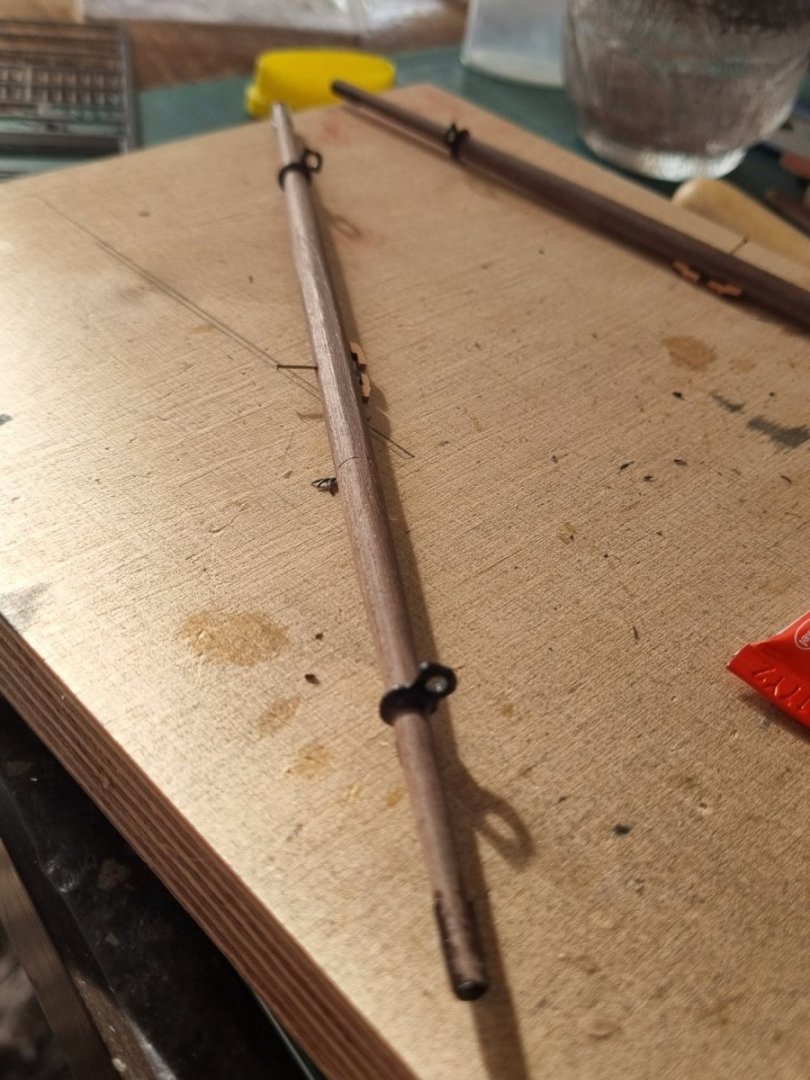
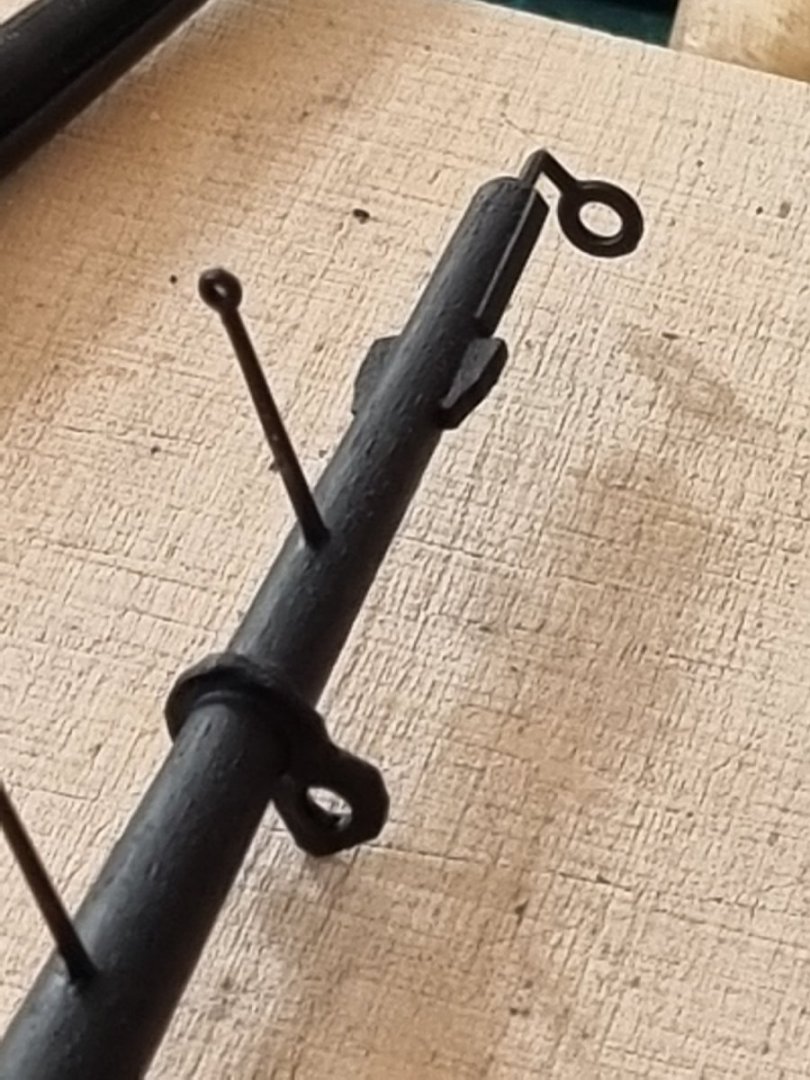
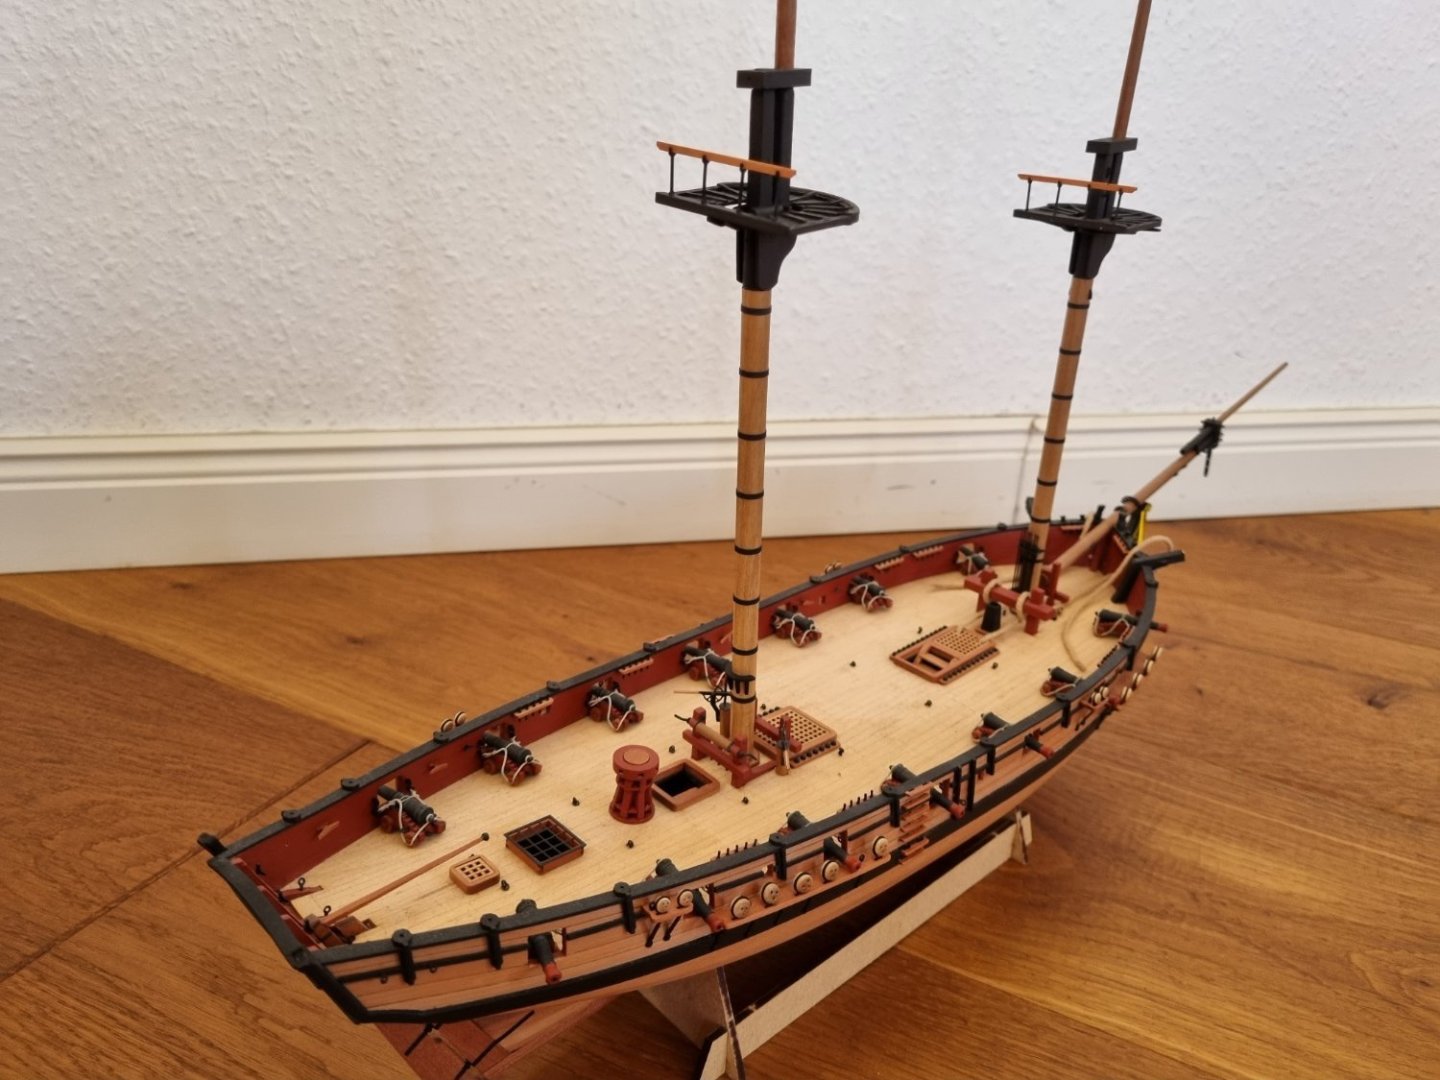
Milestone reached: all the spars are ready from a wood working point of view. That means, the 'building' is finished, but the complete rigging is to do next. Some inbetweens: Some spars taperd and the 8-sided, äh, 'things' are worked out: Two points about the next pictures. First, I ran out of PE-cleats(?). A short email dialog with Chris brought clarity to my fault: he very politly pointed out, that the use of pe-parts at this point was overhoult, and I should use the plenty of wooden parts. Damn! The wooden parts looks much better than the pe parts, and I could not figure this out by myself. Only excuse I have is, that in the plan sheets I only found references to the pe and not the wooden parts. Well, to much use of blinkers on my side :-). Second point: I lost one of the holsters for the additional smal spars on top of the main spars. Sorry for my lack of propper nautical terms. I made a new one out of the black paper and stiffen it with ca-glue. It is more bulky than the orginial pe-part, but if you don't know, only on the second view, so I hope I'm ok there. All spars ready for rigging in front of the boat: To give me an idea of how it might look in the end, I put all together, but only with the pins and no glue, so all is still wonky:
-
Thanks for the detailed unboxing and sharing your building experience! Looks good so far, IMO 🙂
- 146 replies
-
- Adder
- Vanguard Models
-
(and 1 more)
Tagged with:
-
Missed tha one. Good job! Will follow along! 🙂
- 125 replies
-
- Trial
- Vanguard Models
-
(and 1 more)
Tagged with:
-
Glad you found out what went wrong! I have such things too, and did'nt fix them, because no one will ever see it. But, I allways want to know what I did wrong, so that in the future I know how to not make the mess again :-). A pro po again: your model is beautiful just the way it is! 🙂
- 144 replies
-
- HMS Speedy
- Vanguard Models
-
(and 1 more)
Tagged with:
-
Your rigging as good as your painting! Lovely model!
- 562 replies
-
- vanguard models
- alert
-
(and 2 more)
Tagged with:
-
What stains did you use in the end? Now the spars fit well together, IMO!
- 341 replies
-
- Sophie
- Vanguard Models
-
(and 1 more)
Tagged with:
-
Great progress! I like the idear of putting all the shrouds to the masts before the masts came to the ship.
- 53 replies
-
- Speedy
- Vanguard Models
-
(and 1 more)
Tagged with:
-
Hi usedtosail, I'm very sure, that your channels ar'nt too low, but your wales are to high! You changed it at the back of your model, but now your wales don't run smoth and parales to the sheer line! The first picture from the back of the ship at #64 shoes, that your replaced wales fall down at the end of the ship, but they should have gone up in a smooth line. You said that you have used the pre-painted marks to place the wales in the correct hight/spot. I'm sure you did that! But than, I'm afraid, you did not place the second plank of the wales UNDER the first one but ON TOP of it. That would explain why you had not enoug room for the fashion peace, it would explain why the top of your wales are only roughly one plank under your gun ports, where there should be a space of something about two planks, and lastly it would explain why the chain plates don't fit as intended. Well, if you just shortend the now too long chain plates, no one would ever see what happened here 🙂 Beside that, äh, feature, your model looks realy good! Nice fitting colour selection you did there too! EDIT: I looked more closely at more of your photos: #67 (first picture): on the most left gun port there is barly one plank between the underside of the opening and the top of the walel. The second one, ther is room for a good plank. Third: one and a half. Fourth: nearly the needet two ones. Perhaps you just managed to aplly a not wantd extra curve into it.
- 144 replies
-
- HMS Speedy
- Vanguard Models
-
(and 1 more)
Tagged with:
-
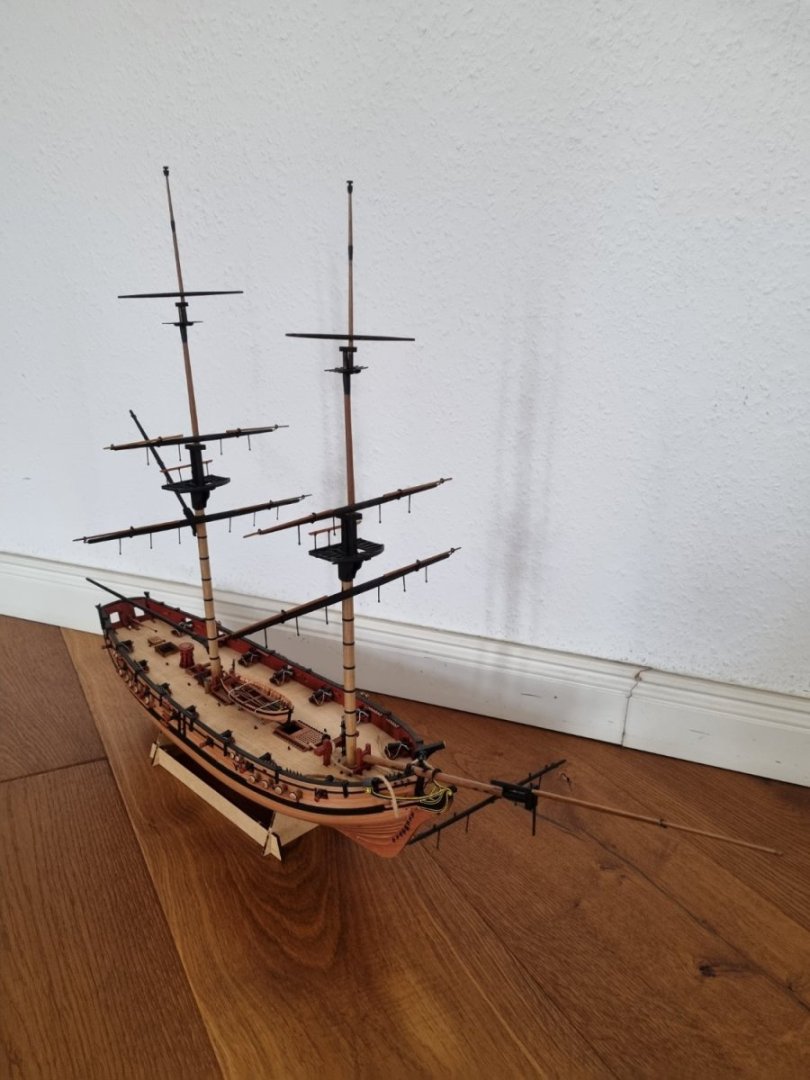
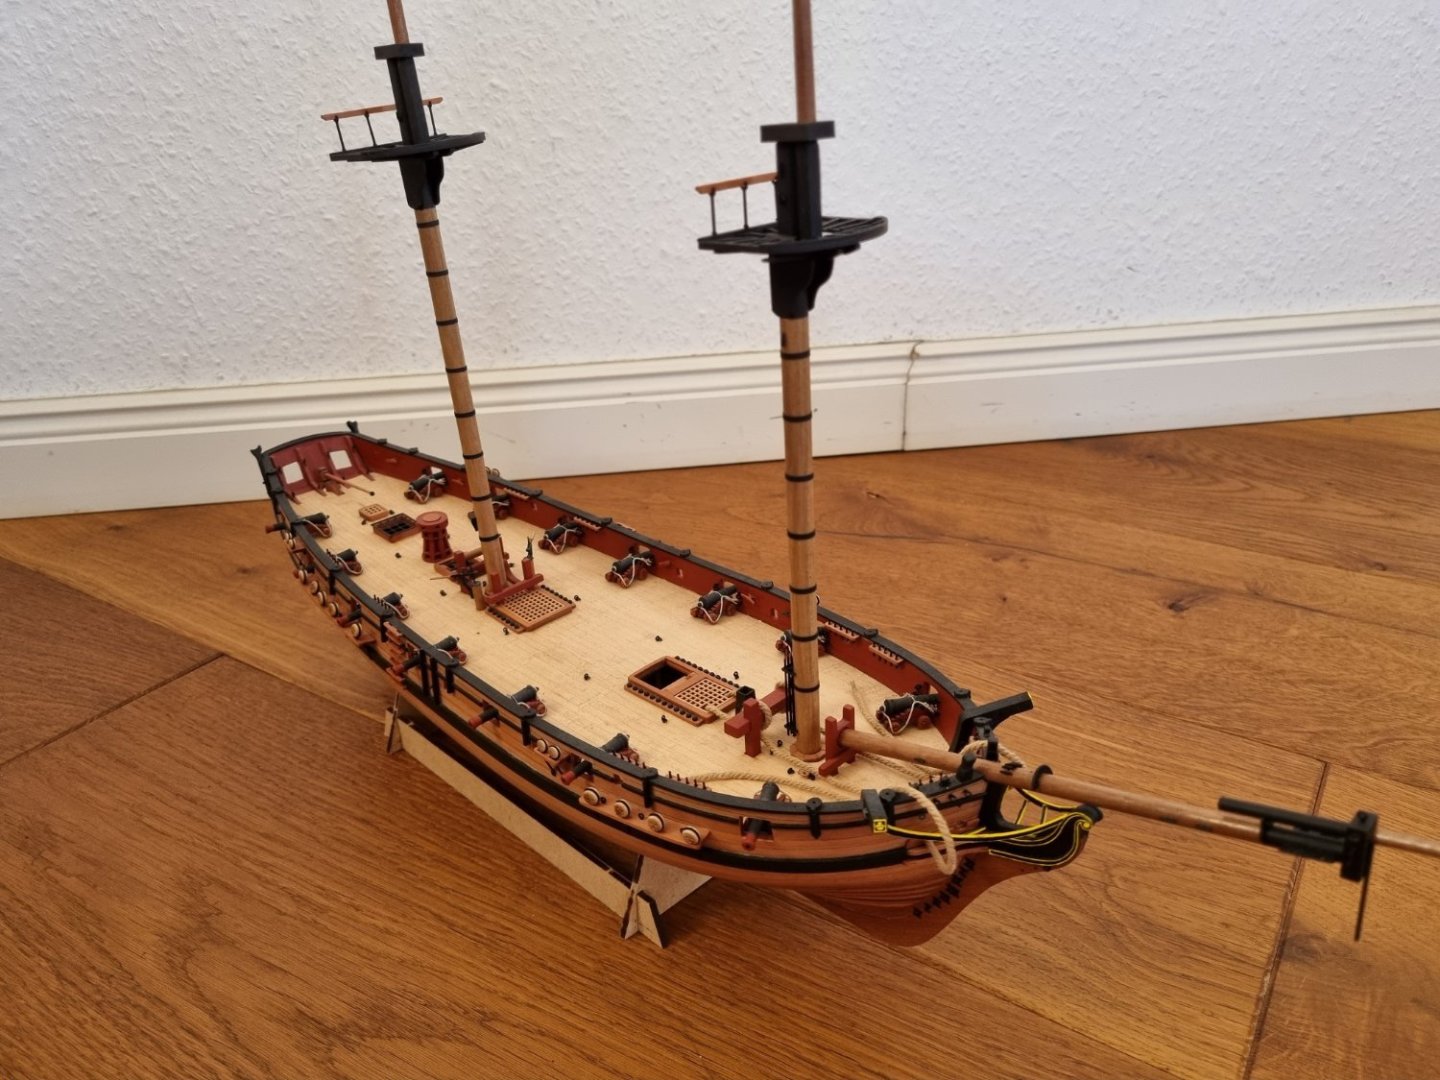
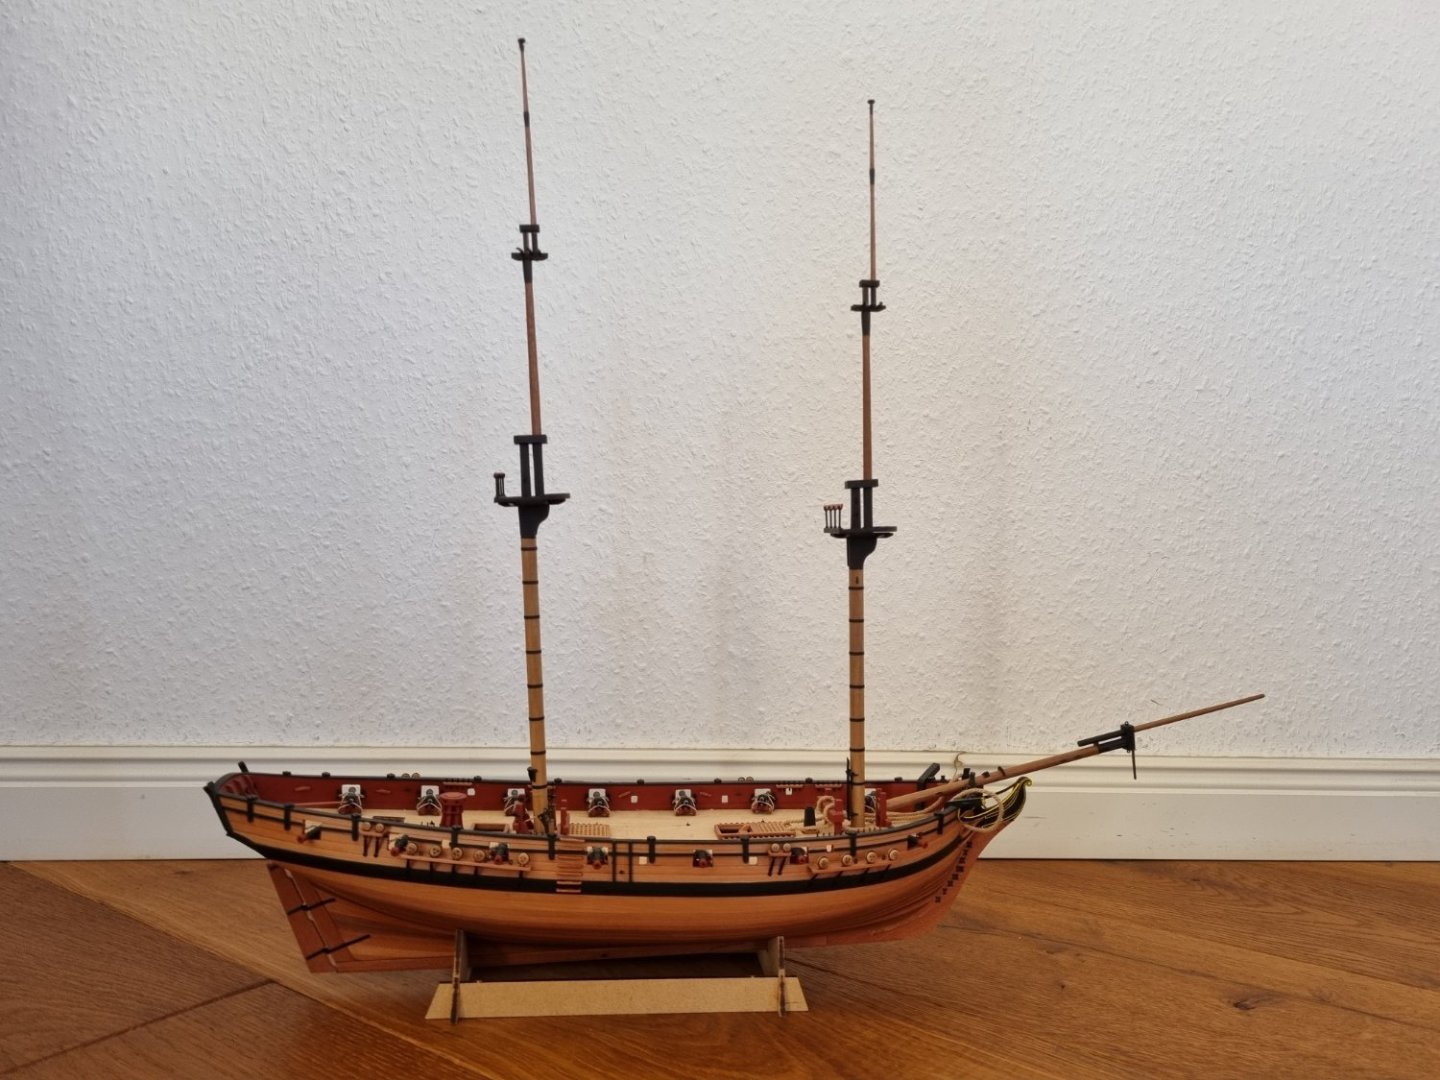
@Thukydides & @KARAVOKIRIS: thank you both for your thumbs up, much appreciated 🙂. As allways, health status is an issue, but model building helps a lot, at least with the mental health :-). I could sort out my problem with the PROXXON DB250 during the tapering process of the dowels. So I finished the masts from the woodworking point of view. They may look a bit wonky in the pictures, because there is nothing glued jet, even the plattforms are still loose. I have finished the flying boom, but I might not use it because of display/storage reasons. But this is not finaly decidet jet.
-
Youre Indy became a real beauty! I like it very much!
- 648 replies
-
- Indefatigable
- Vanguard Models
-
(and 1 more)
Tagged with:
-
Nice lookin' model! Funny, I also had my issues with the blue color. In the end, I removed the blue nearly complete. But in your case it works better, because you have all in all more painted areas on the model. I think that makes the composiotion good in the end!
- 95 replies
-
- flirt
- vanguard models
-
(and 1 more)
Tagged with:
About us
Modelshipworld - Advancing Ship Modeling through Research
SSL Secured
Your security is important for us so this Website is SSL-Secured
NRG Mailing Address
Nautical Research Guild
237 South Lincoln Street
Westmont IL, 60559-1917
Model Ship World ® and the MSW logo are Registered Trademarks, and belong to the Nautical Research Guild (United States Patent and Trademark Office: No. 6,929,264 & No. 6,929,274, registered Dec. 20, 2022)
Helpful Links
About the NRG
If you enjoy building ship models that are historically accurate as well as beautiful, then The Nautical Research Guild (NRG) is just right for you.
The Guild is a non-profit educational organization whose mission is to “Advance Ship Modeling Through Research”. We provide support to our members in their efforts to raise the quality of their model ships.
The Nautical Research Guild has published our world-renowned quarterly magazine, The Nautical Research Journal, since 1955. The pages of the Journal are full of articles by accomplished ship modelers who show you how they create those exquisite details on their models, and by maritime historians who show you the correct details to build. The Journal is available in both print and digital editions. Go to the NRG web site (www.thenrg.org) to download a complimentary digital copy of the Journal. The NRG also publishes plan sets, books and compilations of back issues of the Journal and the former Ships in Scale and Model Ship Builder magazines.


