HOLIDAY DONATION DRIVE - SUPPORT MSW - DO YOUR PART TO KEEP THIS GREAT FORUM GOING! (Only 75 donations so far out of 49,000 members - C'mon guys!)
×


Theodosius
-
Posts
345 -
Joined
-
Last visited
Content Type
Profiles
Forums
Gallery
Events
Everything posted by Theodosius
-
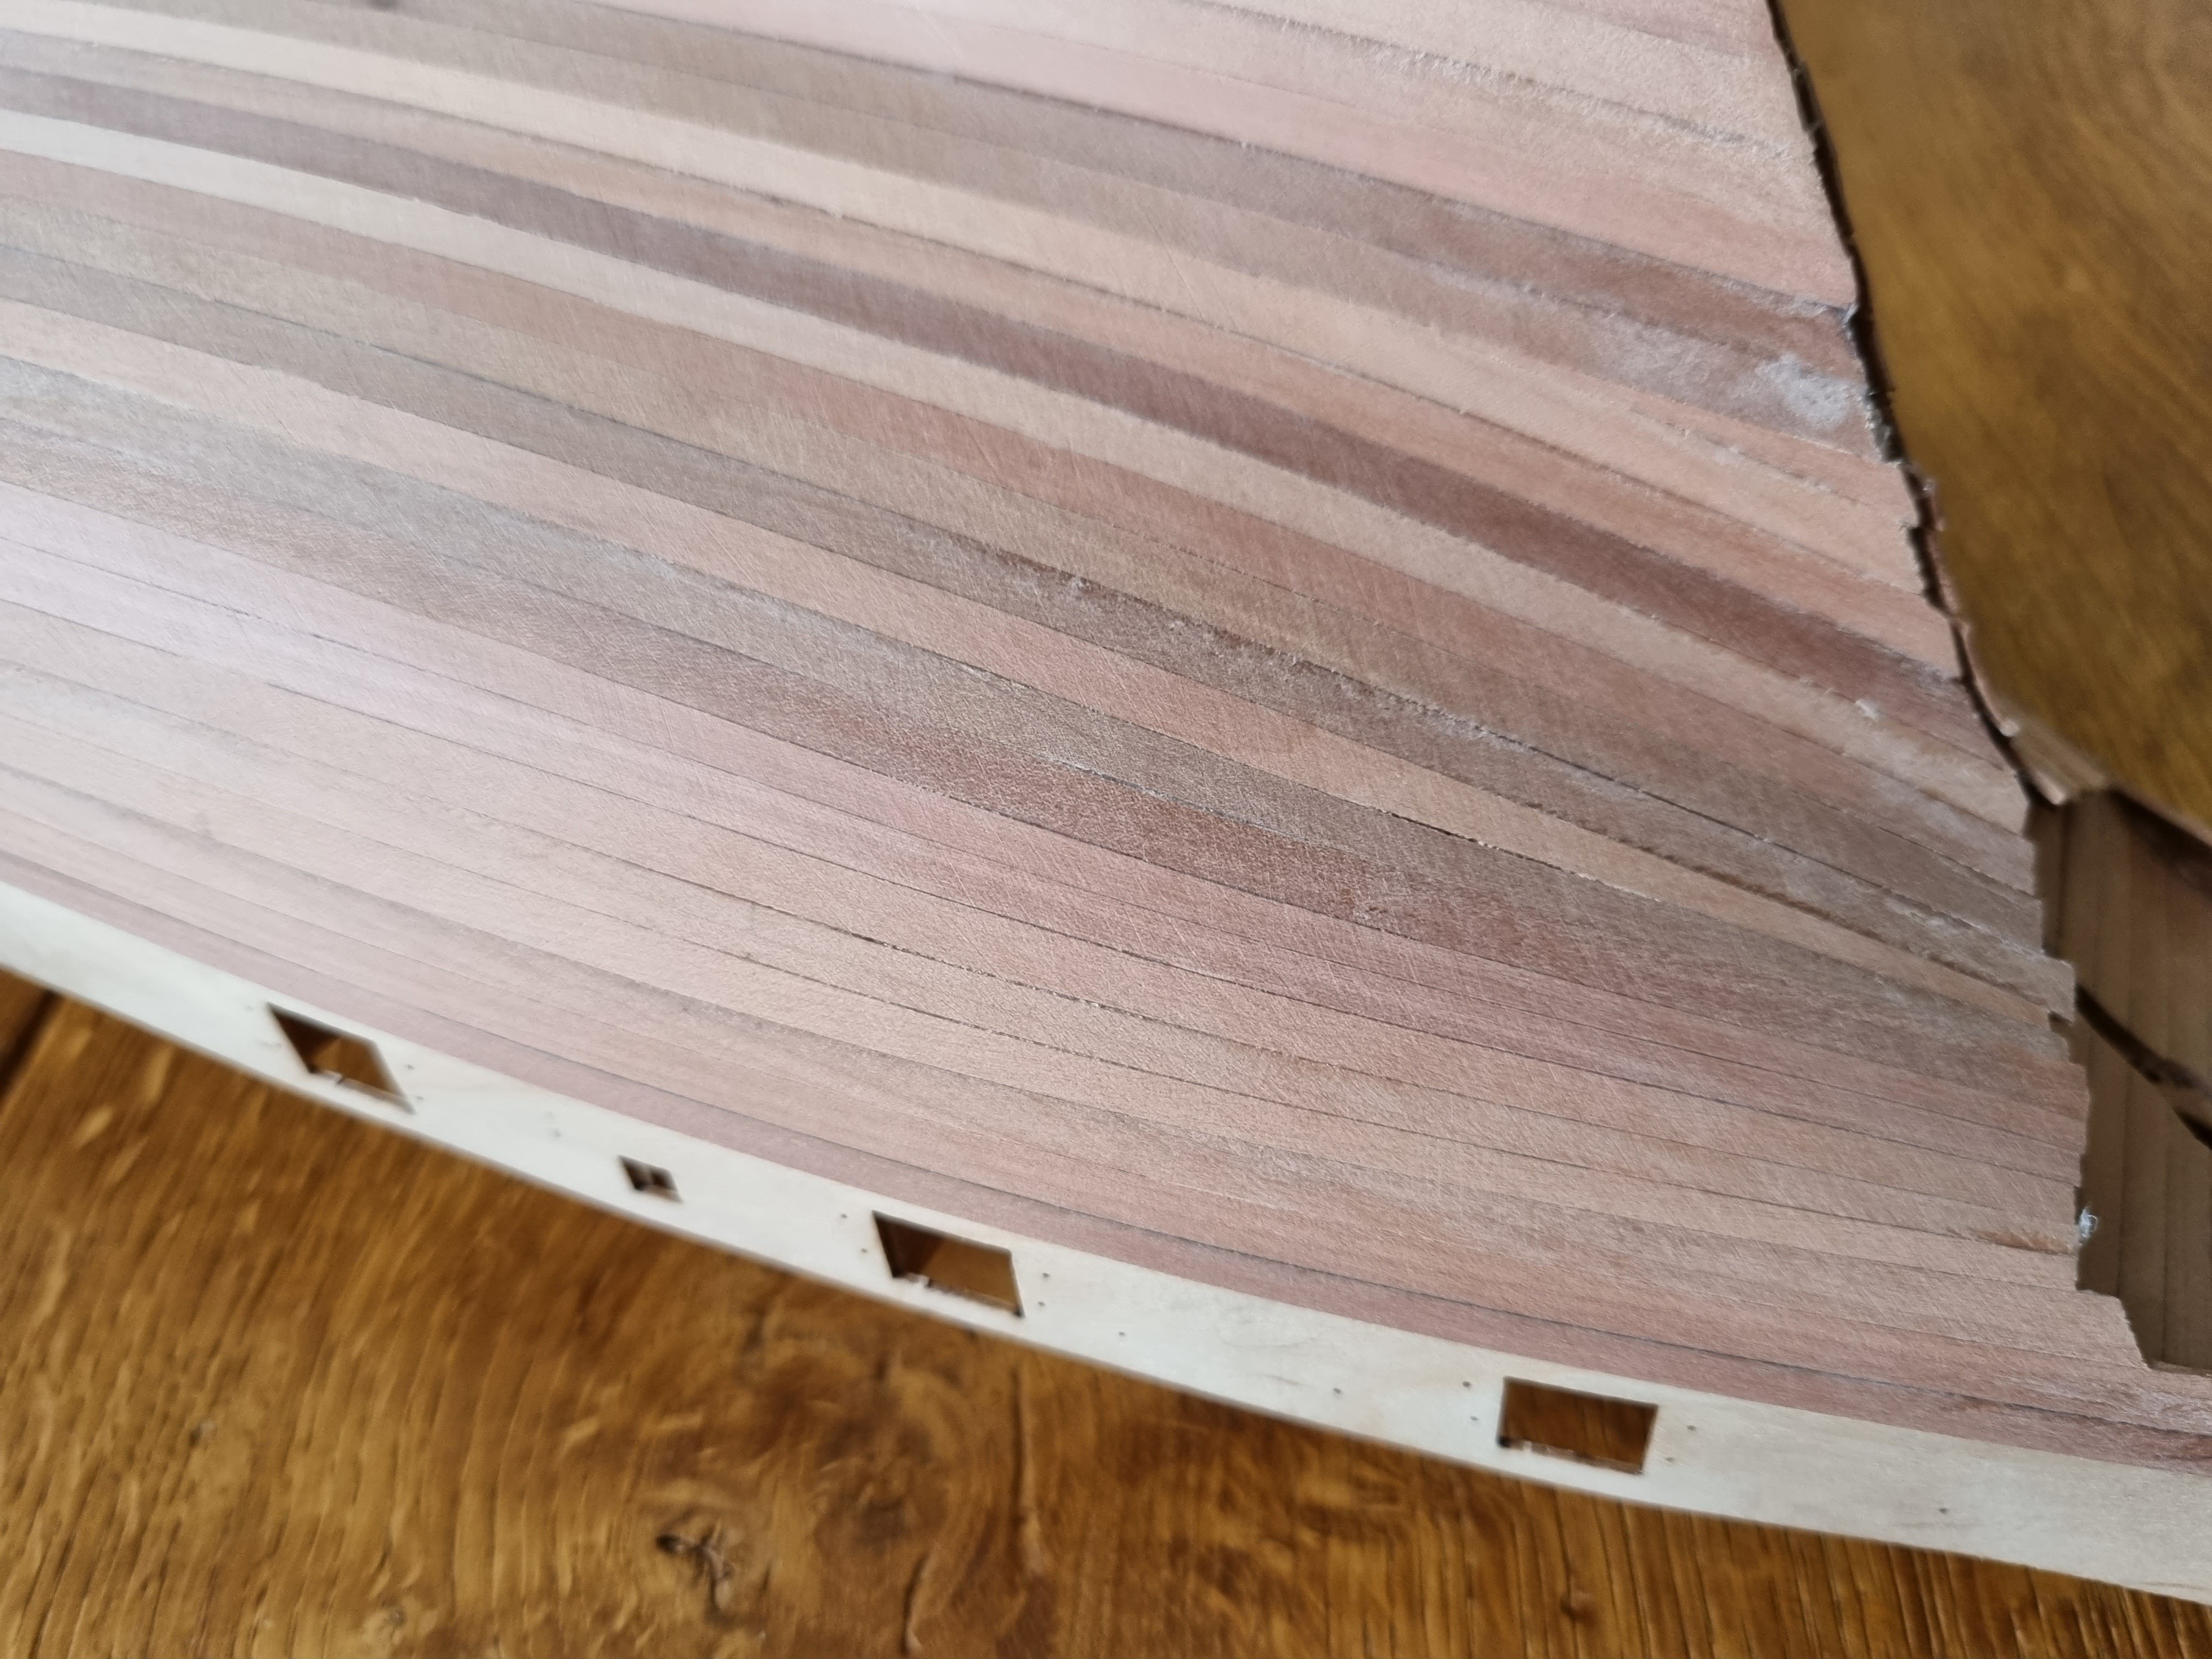
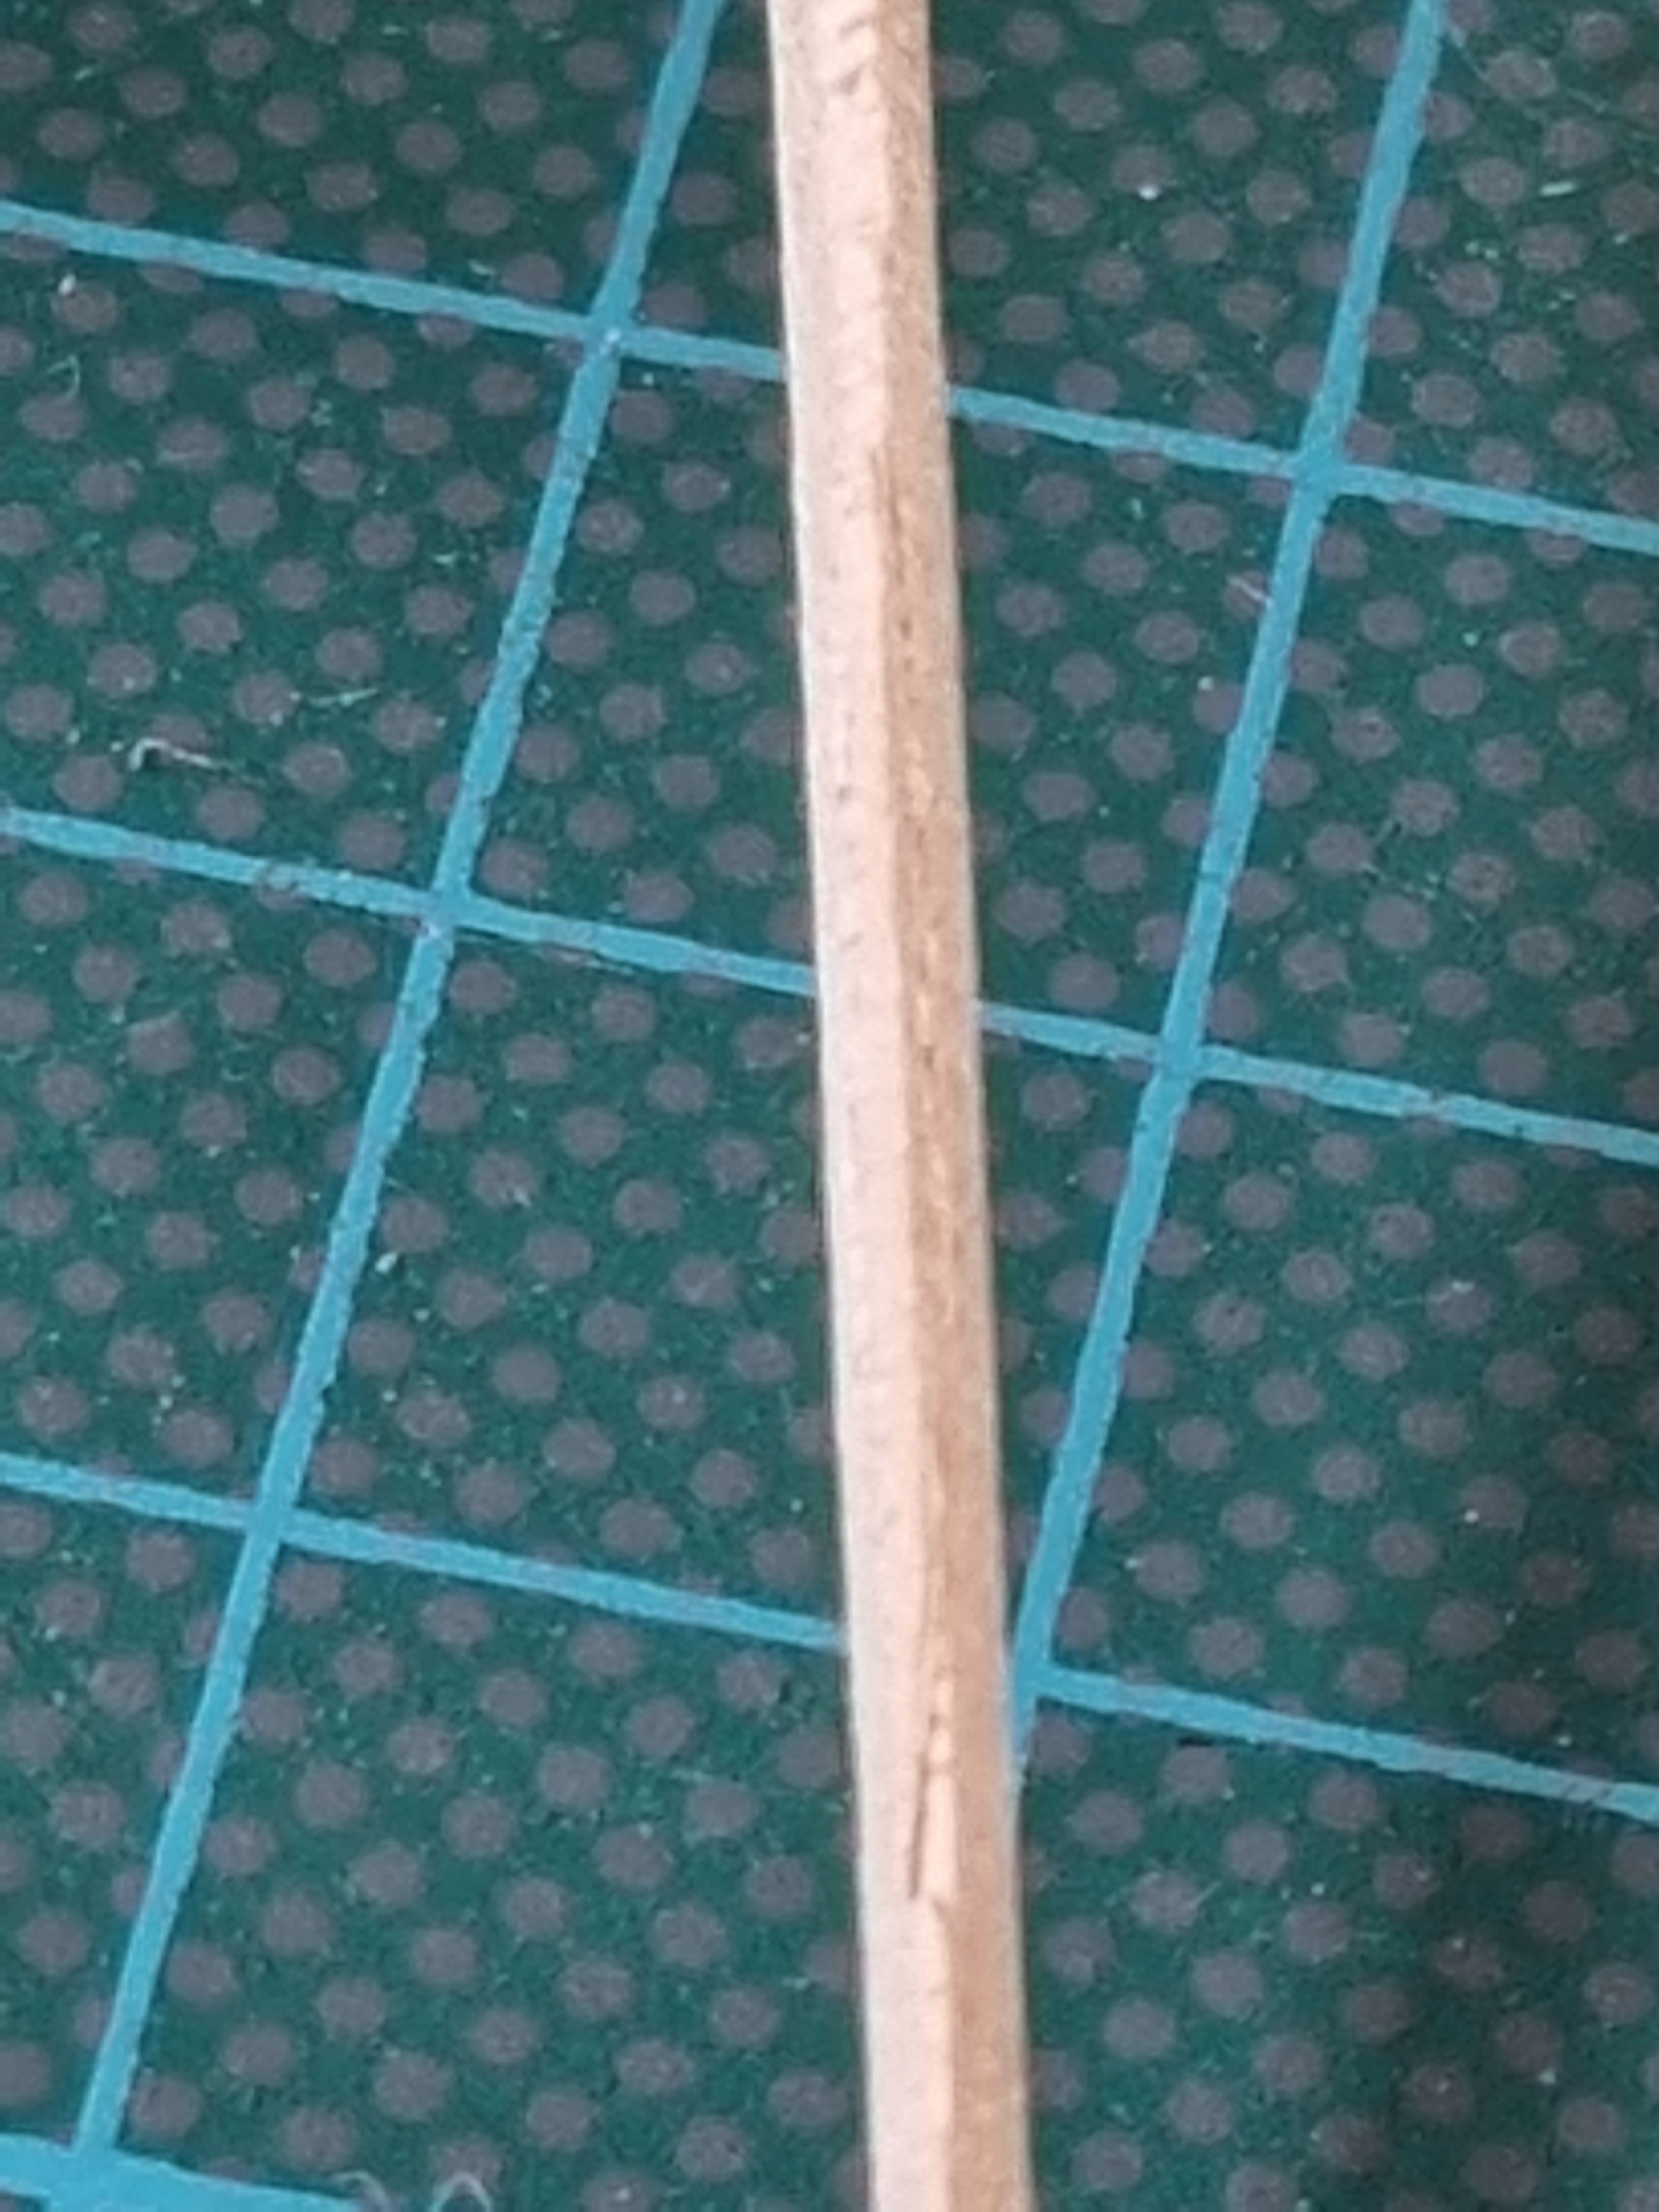
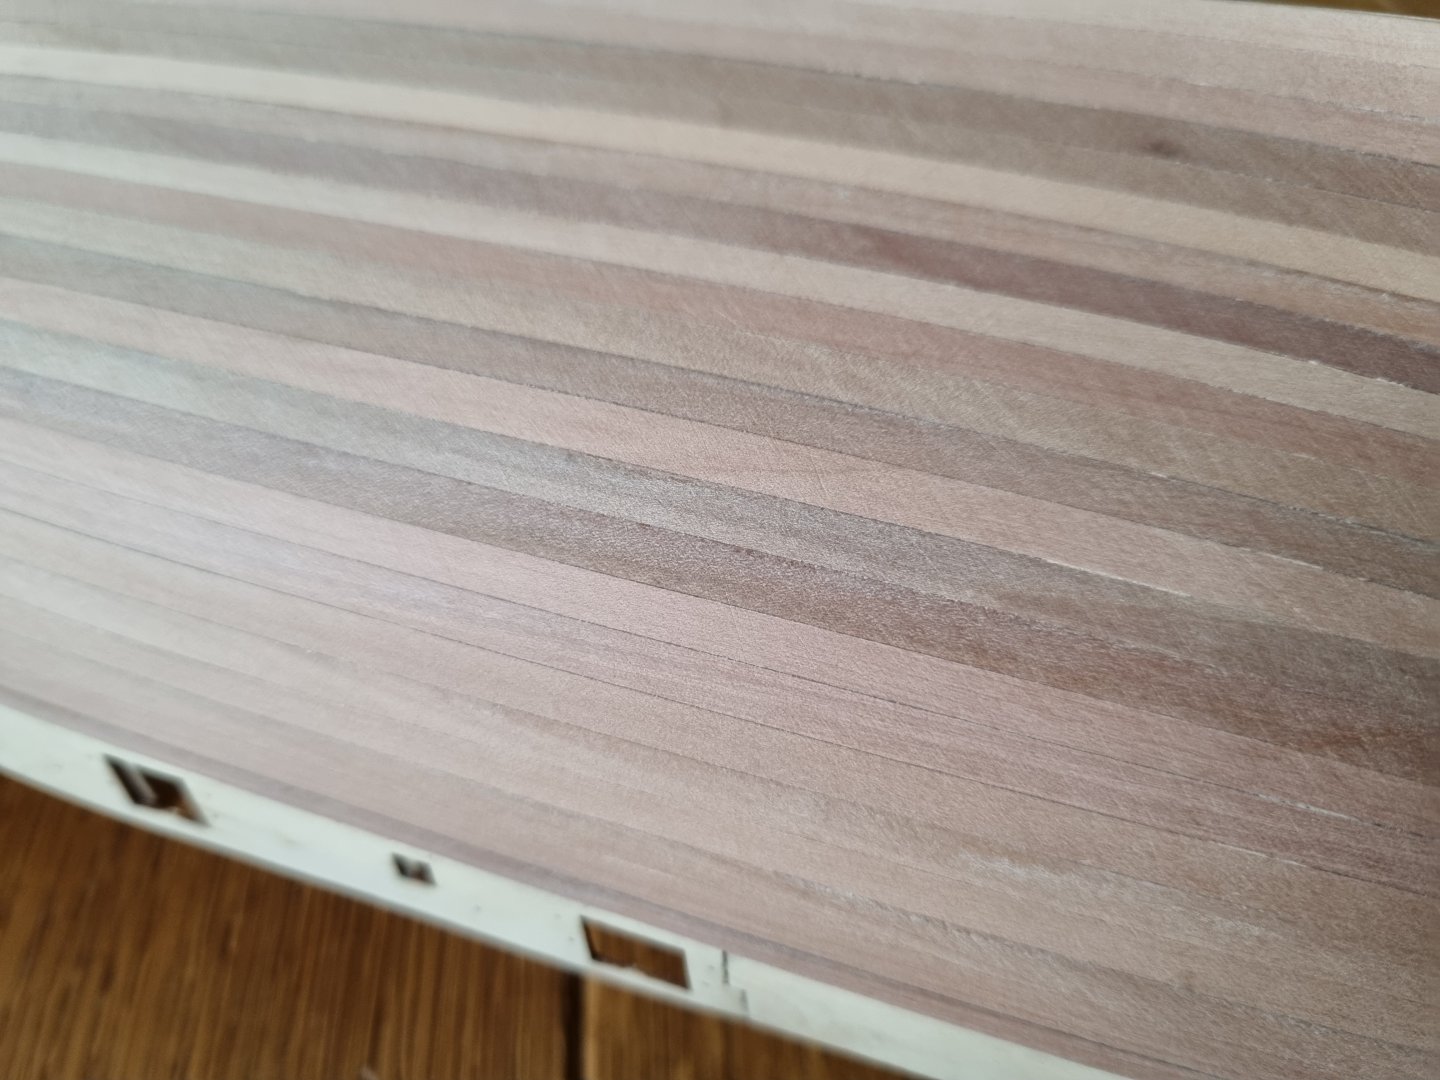
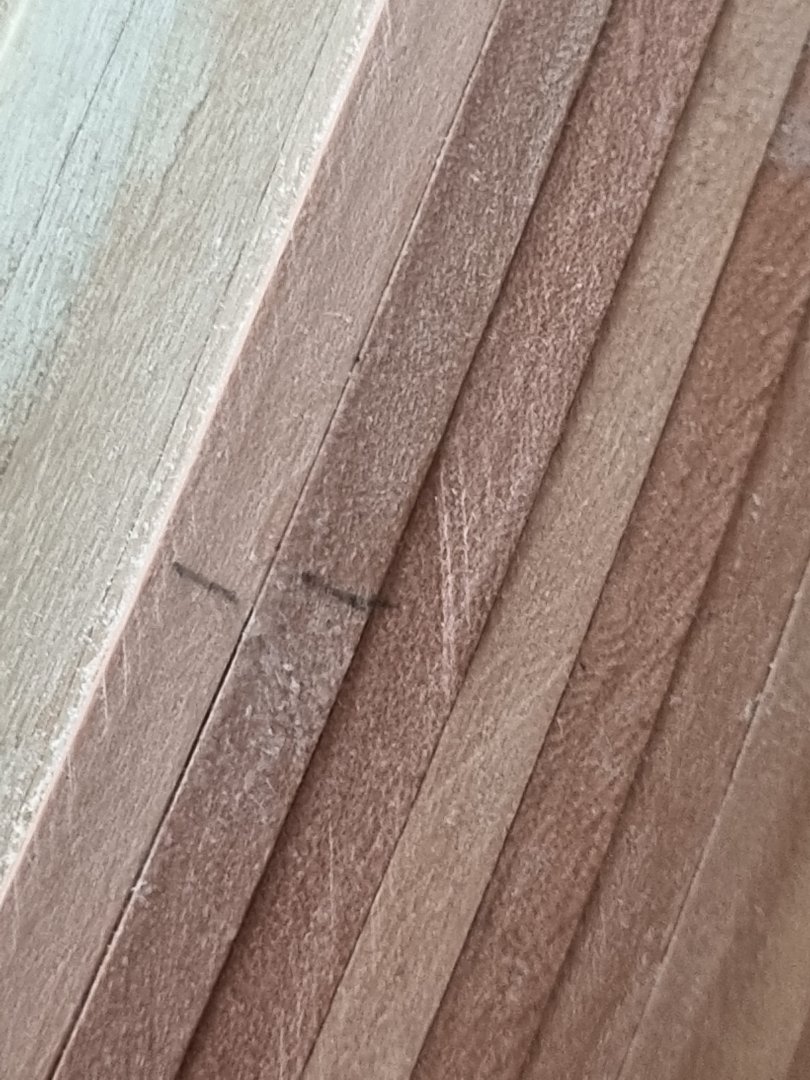
@chris watton, @CiscoH, @Delf, @drjeckl, @SpyGlass, @VTHokiEE: thank you all very much for lookin, leaving a thumb's up and accompany my journey into wooden boat bilding! 🙂 Finished two sanding-sessions. At minimum a third is required, I think, but how smoth does it realy needs to bee for coppering? In the macros you can see, that the two damaged strips I nevertheless build in, need more sanding. Than, I'm afraid, it is not as good as I has wished it would be, because there are same small gaps to see. On the otherhand perhpas it is not so bad for a first attempt. At least a motivation to improve skills 🙂 Sure, most of the hull will be hidden under the copper, but if the copper also deos'nt turn out so well, well than I don't know what to do, but time will tell :).


-
I want to add into the choir: very beautiful modell with lovley little details!
- 950 replies
-
- 1
-

-
- syren
- model shipways
- (and 1 more)
-
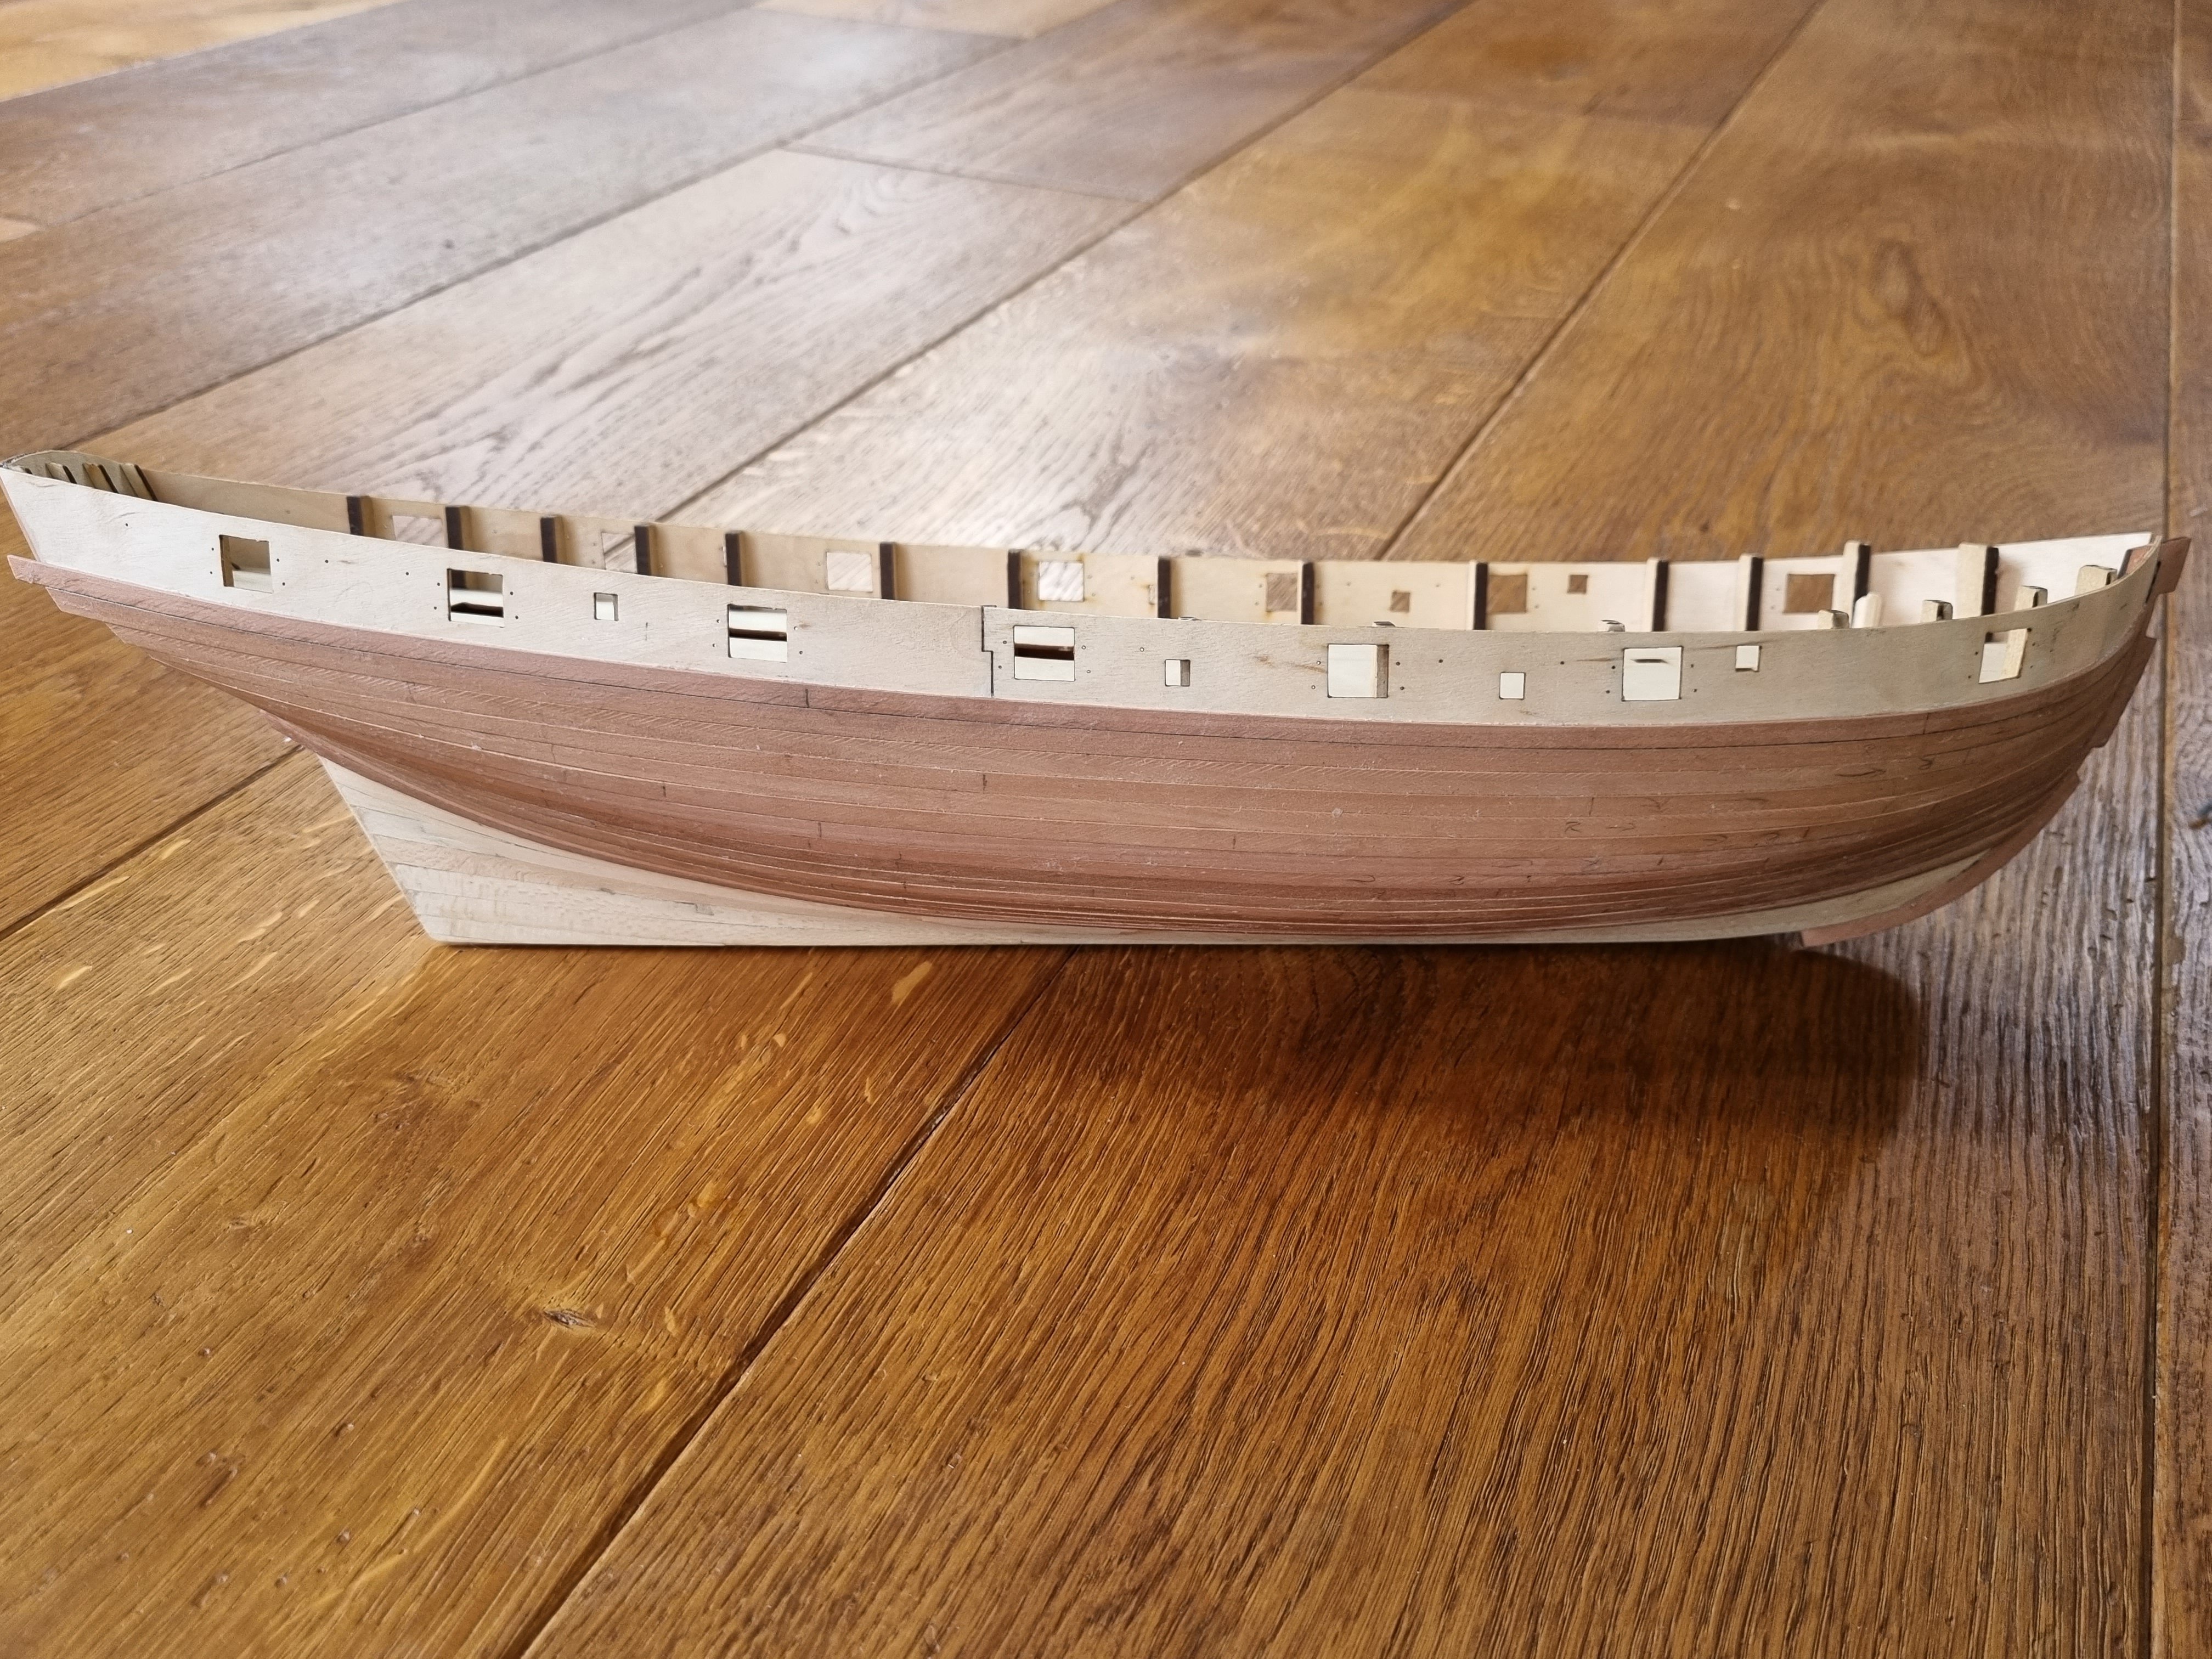
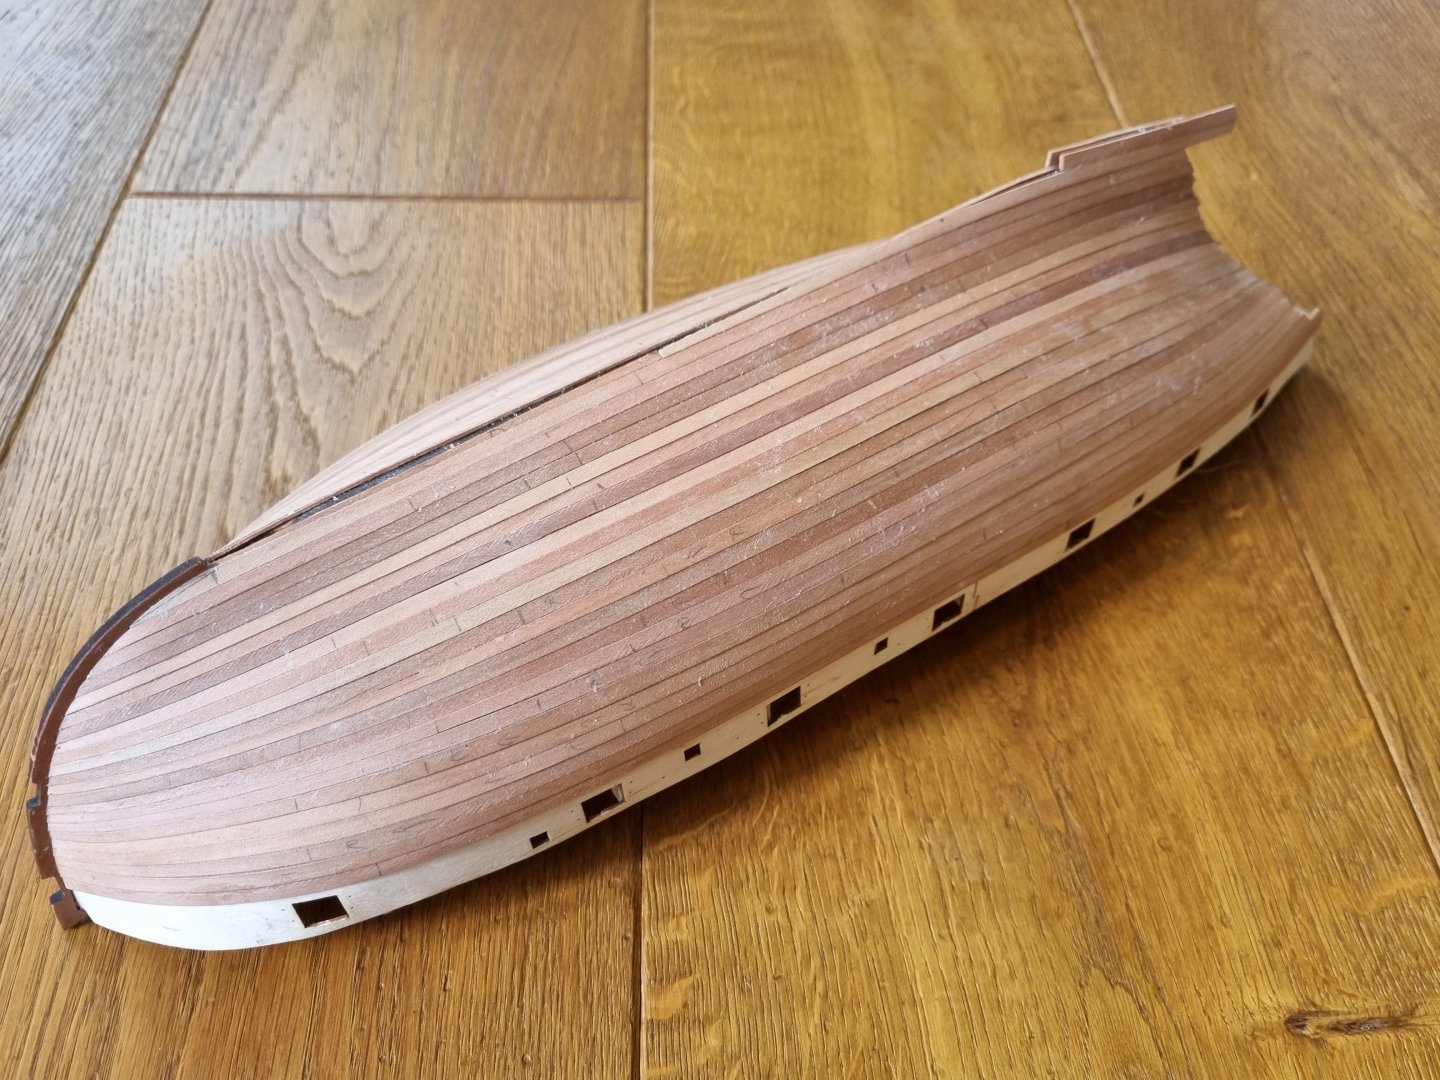
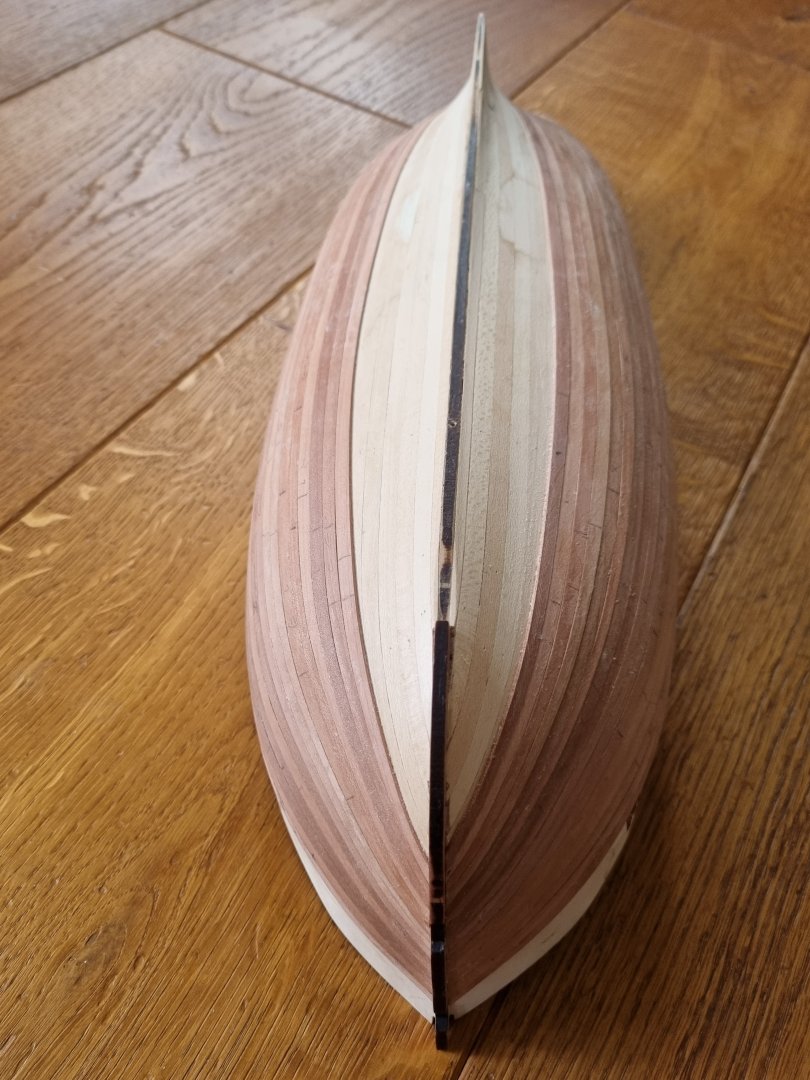
@Ryland Craze, @bruce d, @Sea Hoss, @CiscoH, @DelF: thank you all very much for your thumbs up! Allways a good motivationer 🙂 @SpayGlass: I think I will build the inner bulwarks from the not needet 3mm pear, and the rest strips. I have enough of the 4mm for the wales and the upper rest of the outside planking. If this will not work, I go and contact Chris :-). And thank's a lot for your generous offer. I live in Germany, and if nothing helps, I will come back to this :-). So I finished the second planking. Not as good as intended, because I was impatient, and because of lack of experience. But of course, mostly becaus of my impatience. Things that were not as good as wished, I could always have done again, but I did not. But then I was also a little bit short of strips, but that's just a poor excuse for my own shortcommings :-). An overview: Because I ran out of strips, I build the garboard plank out of two pices per side, as I also did with the first planking. I have spared full planks for the rest of the outside of the hull upward of the main wales, and two strips for the main wales. For the inner side of the bulwarks I will uses the narrower 3mm planks, because ther are plenty of them in the kit. And then I have a lot of cut overs from the planking itself, so I think I will be fine. The two-part garborads: I know that garboard should ran parallel to the keel, but I struggeld a little bit with triangular stealers, and then there is the copper to come, so I went the easy way and bent it away from the keel and just filled the gabs with additional planks: The contact of the planks with the stem is on this side: not as good as on this side: But at least the planks are quite parallel structure wise, even if not colour wise: I think I have already talked about the colour of the strips, I'm fine with it this way, because there is the coppering that will cover the 'wild' part of it. Above the wale, I have sortet the strips per colour 🙂 Well, what it is worth at all, will show the sanding, which is still to do :-).


-
Beautiful modell with a nice colour selection 🙂
-
Don't get me wrong, I also think that the kit instructions are top notch! Perhaps the misunderstanding is just because of my poor english. But I wanted to say, that you add so much, I mean, you show what is possible, if one will do some (ok, a LOT) more work, and for that you're bild log is like some improved instructions :-). Perhaps I can use some of that great add ons, but I'm not sure jet if I'm able to do so. At least, the mind is willing to do so, but the flesh is weak, or something in that way :-). I enjoiy reading you're log very much :-).
- 725 replies
-
- 1
-

-
- vanguard models
- speedy
- (and 1 more)
-
Realy nice work ont the guns! I also like your white painting of the underwater part of the ship. And I would also prefer a not so perfect job on this. I mean, this is not a piano :-). And, but I'm not 100% sure about that, I think that the white for the underwatership was a mix with different chemicals for fouling protection, and in the end, it was not a straight white, so any imperfection on this, is realy perfect :-). And I'm a little bit jealous about your white. I mean, it was the the admiral who decided for Speedy and not for Flirt, because of the coppering. Bling bling, you know, lol :-). Hope it was not a mistake...
-
@Sea Hoss, @SpyGlass: thank you both for your thumbs up! Much appreciated 🙂 @SpyGlass: yes, until now, I have only used the wood suplied by the kit :). Perhaps I was just a little bit unlucky :). I will wait and see how far I can go with the strips, perhaps it is still enough, but I don't know jet :). But, I don't cut the strips in two halves! They are all one piece from front to stern. Ok, one broke during gluing just very far at the back, and I still use this one, but that was unintendet and I hope, it will not be to prominent in the end :). Perhaps all my pencil-marks look like as they were cut's through the strips, but they ar'nt. Normaly, there are two marks for the tapering, and the others are for gluing. The first planking, the first strips I used a combination of wood and superglue to speed things up. But for healthy reasons that did not work for me. So I only glue with wood glue. And I make mostly three, sometimes four gluing-sessions/sections for one strip. That's where the marks are for, so I can see at what point I need to add the next glue. Hope that clears it up a little bit :-). Thanks again for your interest! 🙂
-
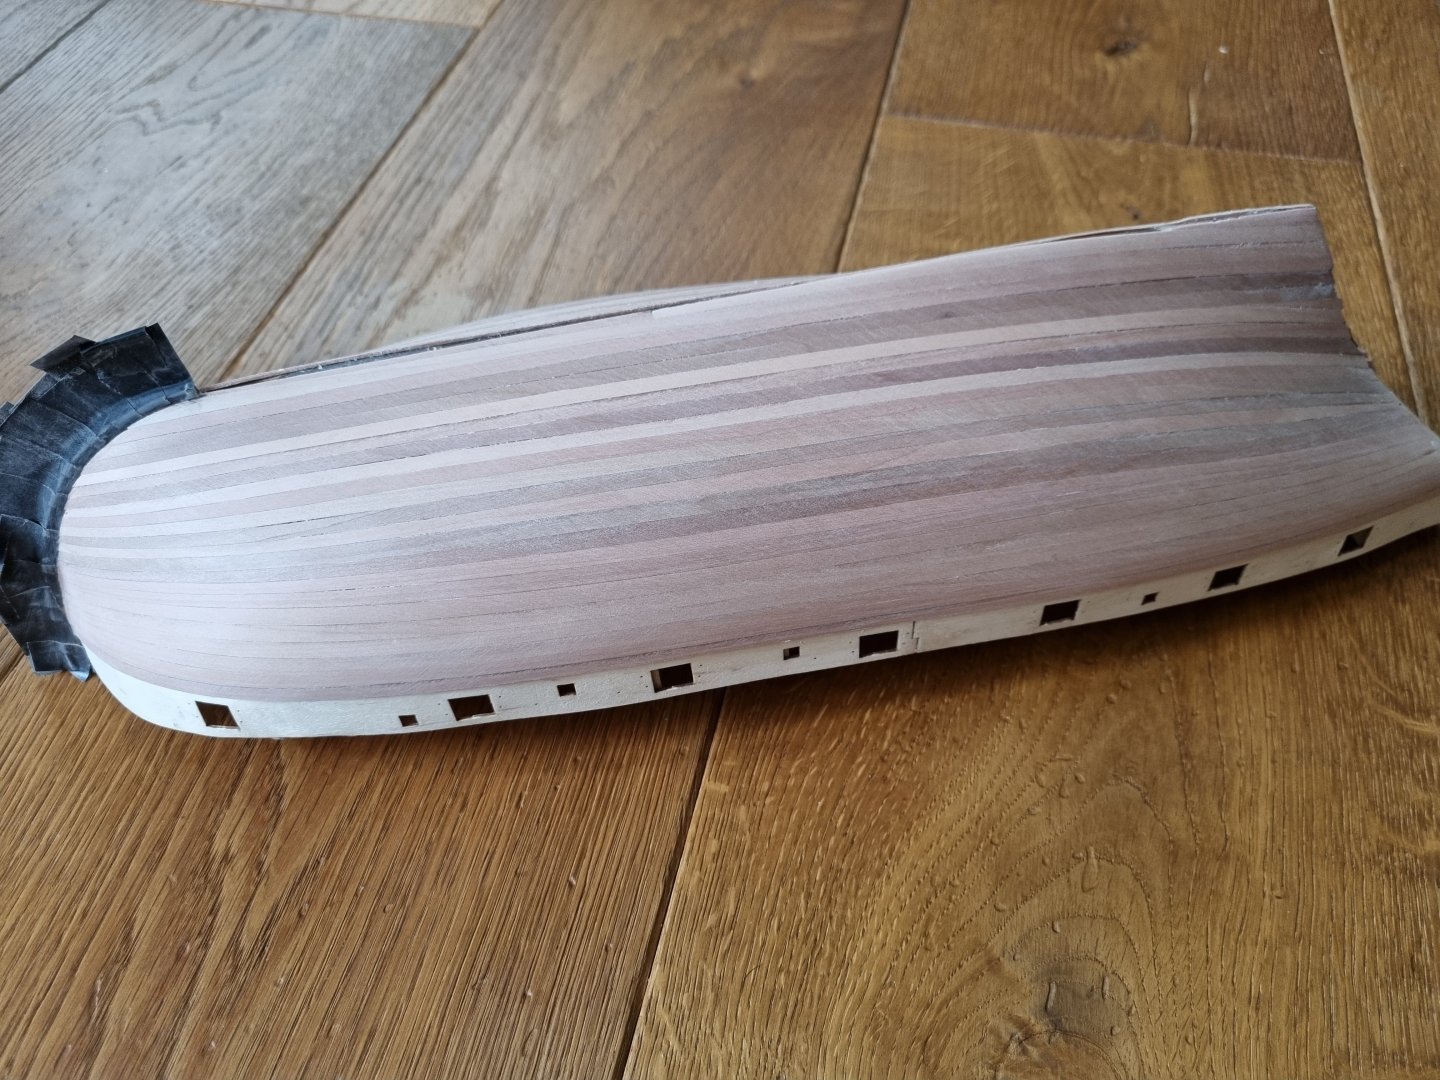
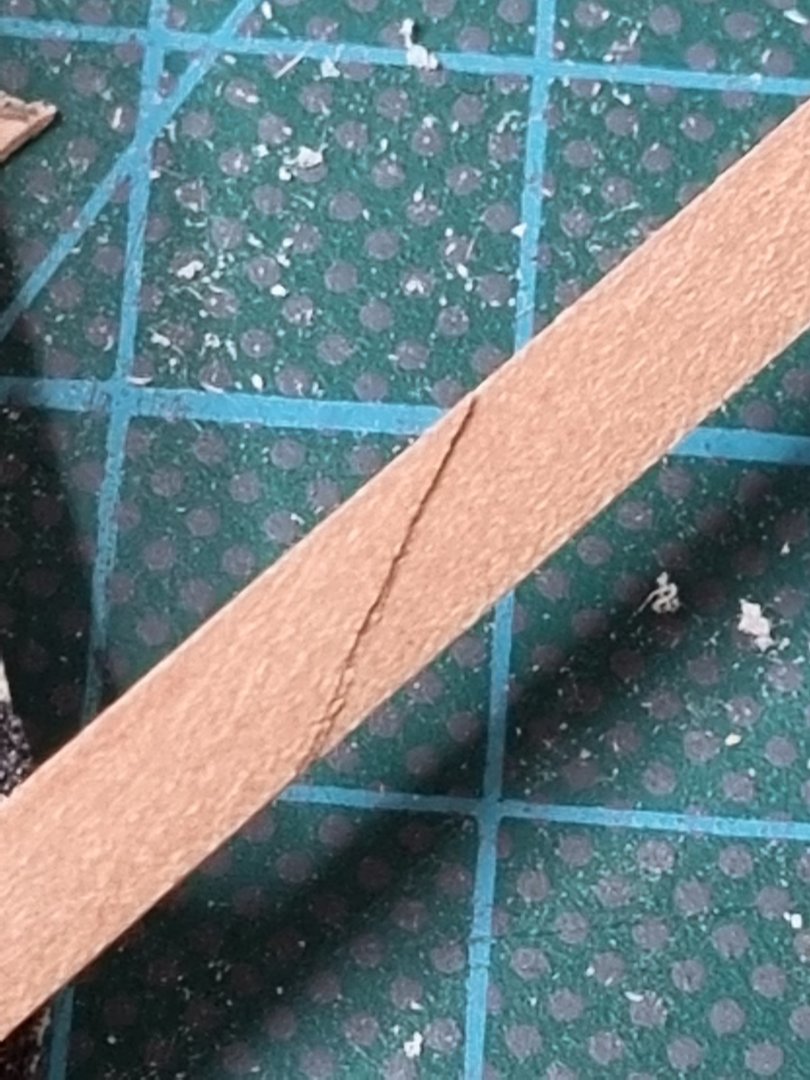
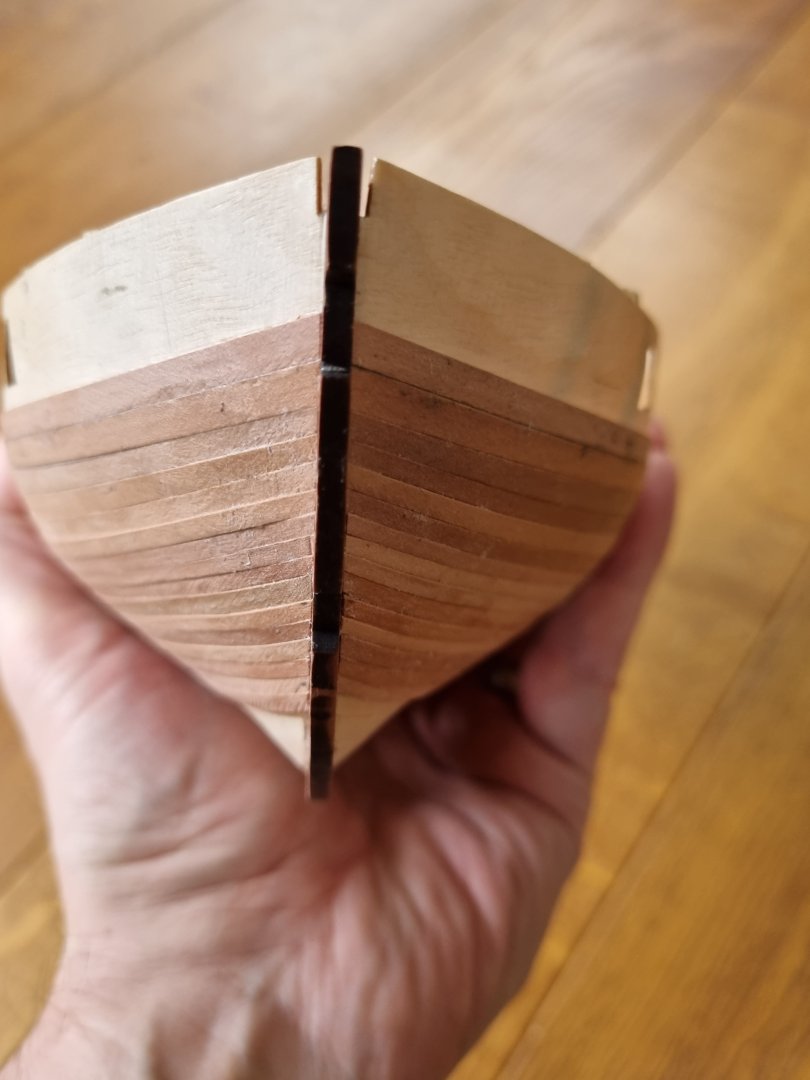
@VTHokiEE: thank you very much for your thumbs up! 🙂 @SpyGlass: I break the hull in half in terms of coulking, lol, don't know jet, how this will turn out :-). Like you, I also try for a nice close edge fit, but, I struggle a little bit with it. The sanding will show how it went in the end 🙂 Thought I could give water-level report :-). In general, I'm working slowly through the second planking. But I have some issues. Some with my work: I could not see my marks on a watered strip, because it changes colour that much, so I worked most of the time with heat-bending. Second with the wood itself. Perhaps I have gotten quite a vew ones, done with the thickness planer just short of a blade replacement: I break a few with imperfections like this: Then I started to look more carefully at the strips before I started to use them. But my eyes ar'nt the best any more, so I also build in such strips: But they are hopefully thick enough for a good sanding. Will see if there is enough stock left, because then I started to sort some of them out, and some I have broken into two or more pices :-). Nevertheless, I finished 15/16 strips, and the area left to do is less then the finished one :-). Because of inperfection of my work there are gaps, a good example is also the picture above. I hope that they will be not to prominent when sanded, I don't want to paint the whole model, and then there is also the coppering. But I don't know if I can copper better than planking lol. Colour: well, I have sorted enough strips for the area above the whale out, and they match fine in colour. But for the rest, as you can see, I just take them as the came out of the bag: One last sentence about the coulking question: because I did this on the stern area, I will also do this above the whale, but not below the whale. I have no idear how this will turn out...


-
Don't know why my post dissapears, perhaps I did something wrong, but no problem, I post it again: your build log with this great photos is like an super extended build-instrucion-book :-). Thank's a lot for your great work! 🙂
- 725 replies
-
- 1
-
-
- vanguard models
- speedy
- (and 1 more)
-
I'm realy looking into, how you will do the 2. planking with the pear. I have some issues with this wood, I mean the planking stock.
- 160 replies
-
- 2
-
-
- Alert
- vanguard models
- (and 1 more)
-
A very beautiful model! And the case just fits perfekt! 🙂
- 436 replies
-
- 2
-
-
- vanguard models
- alert
- (and 1 more)
-
I like that model, so I will watch out for what you are doing to her :-). Nice start, as far as I can say 🙂
-
Nice start on the hull! Nowadays I understand more, what you are doin' here, and this will become a good one! 🙂
-
Congratulations! A very nice model and an informative log on top of that! 🙂 Thank's a lot for sharing!
-
Ah, I see, thank you very much for this information! 🙂
-
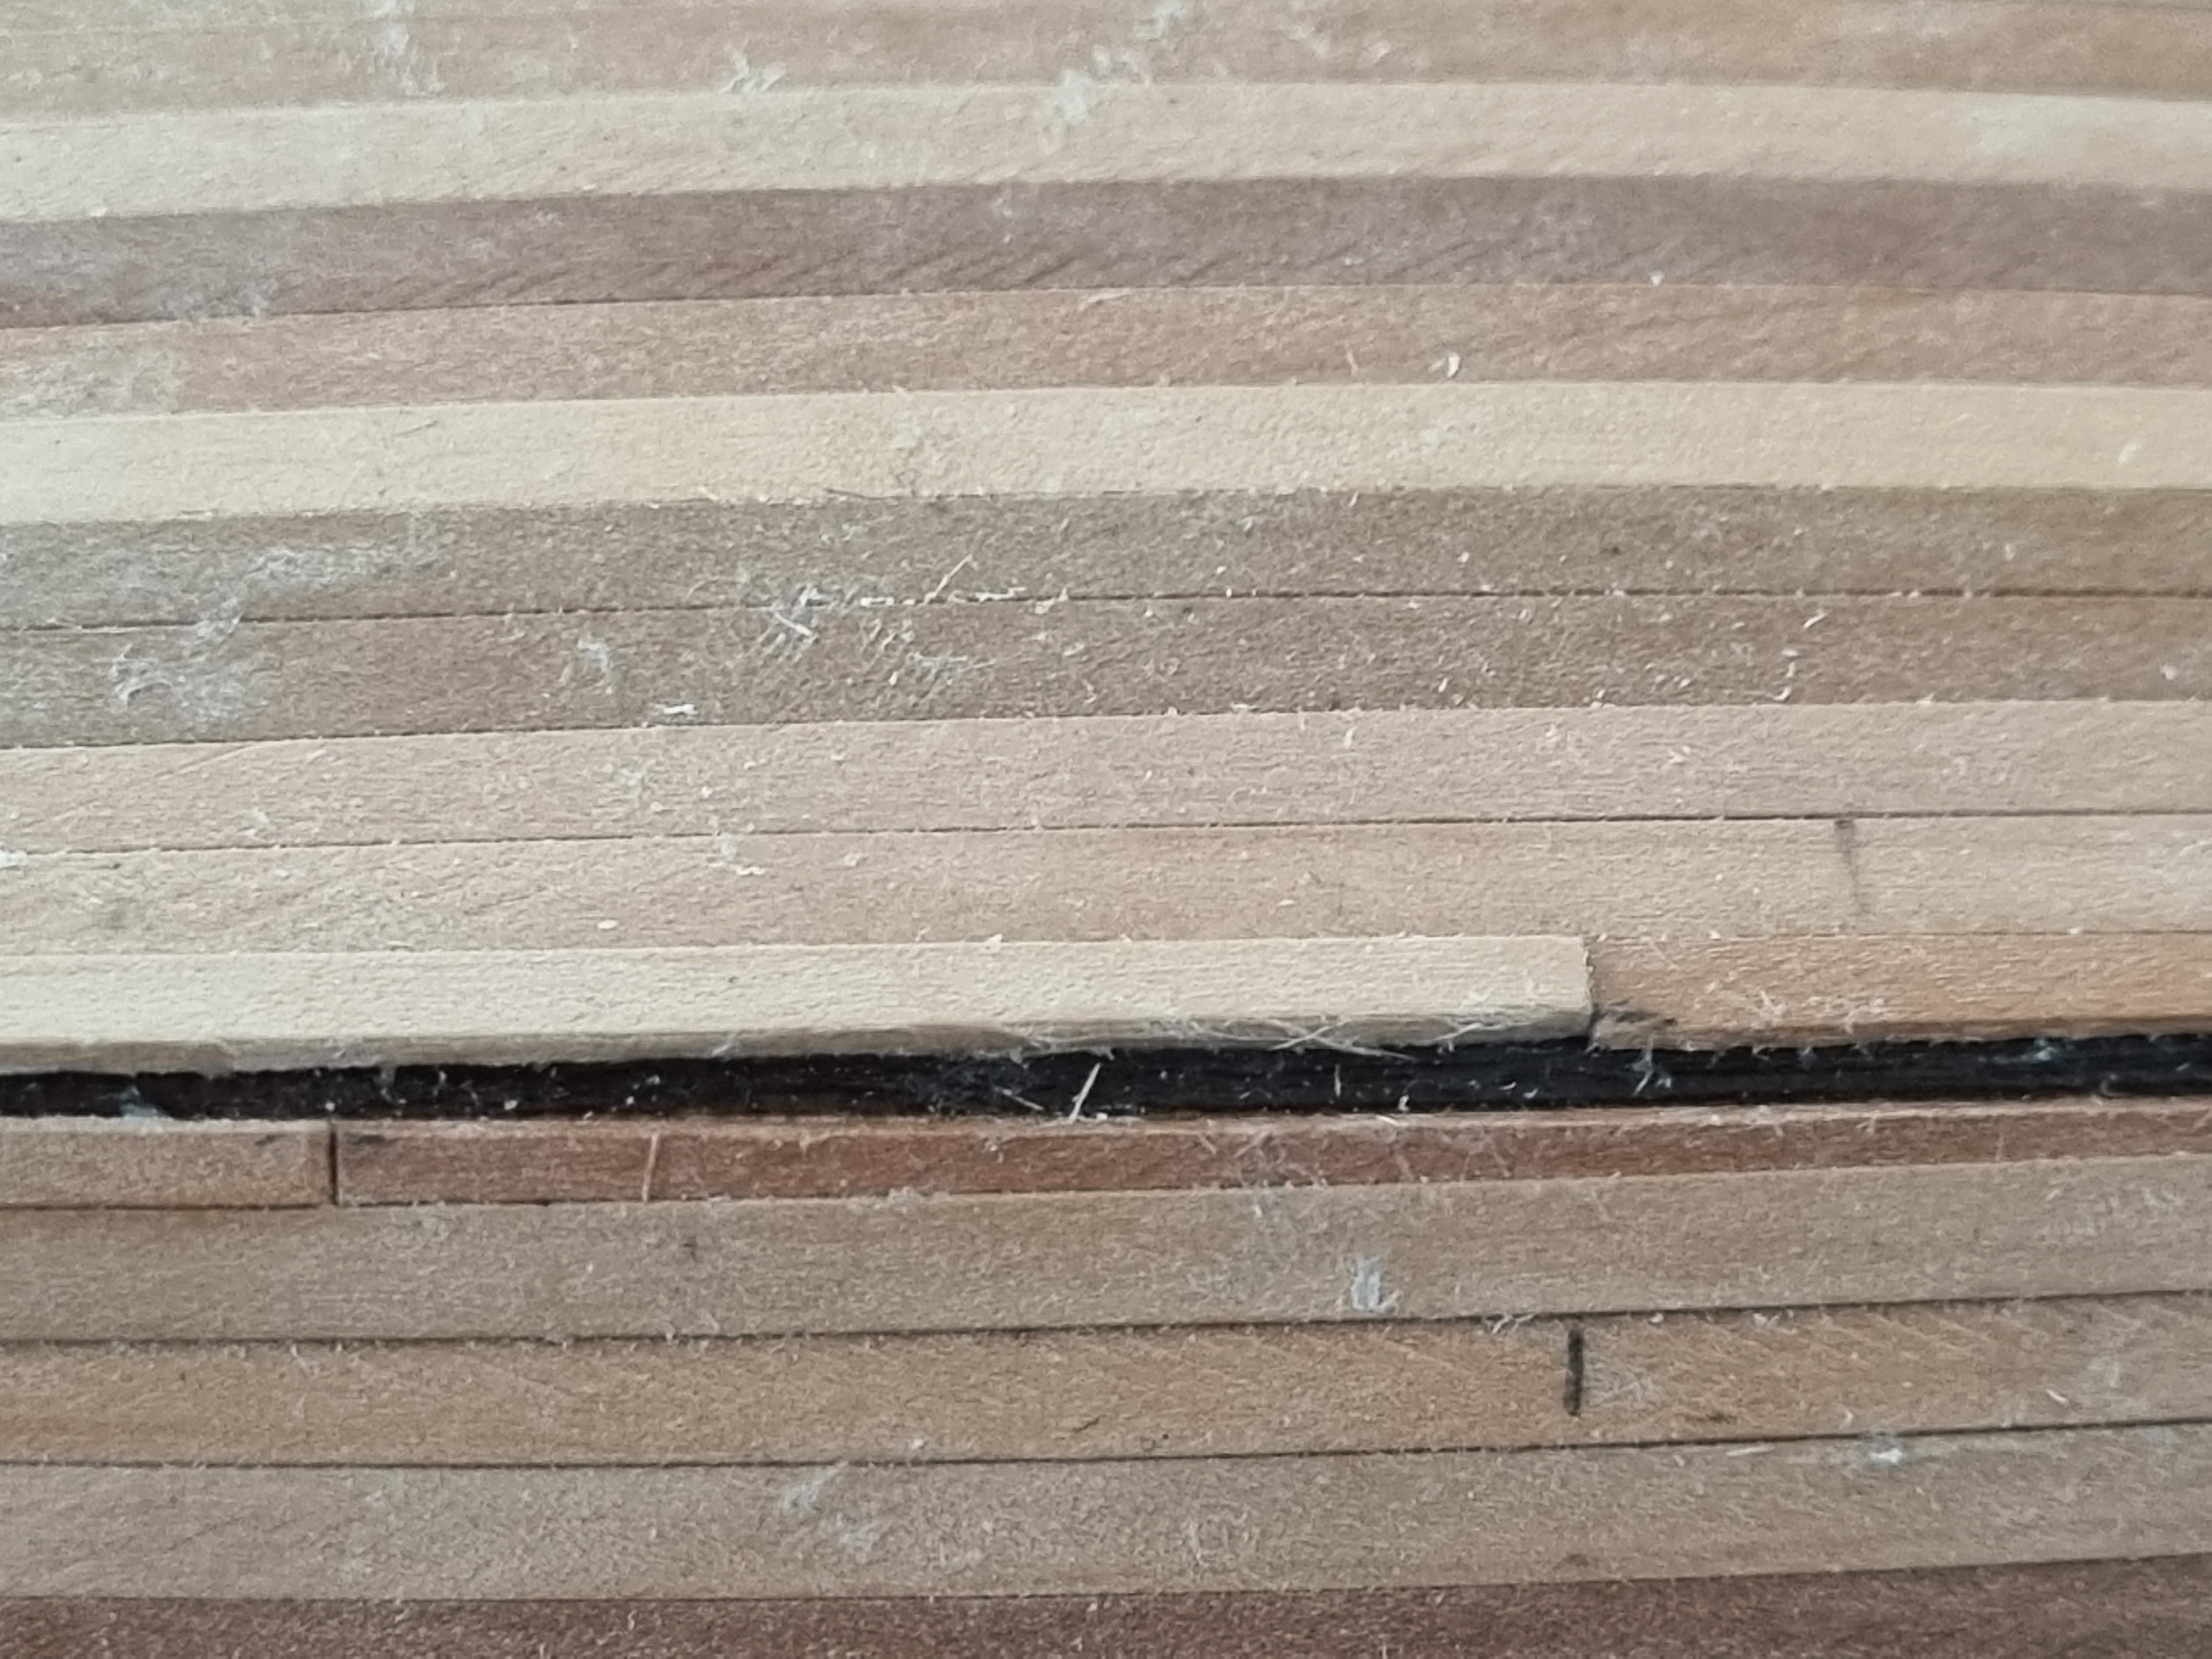
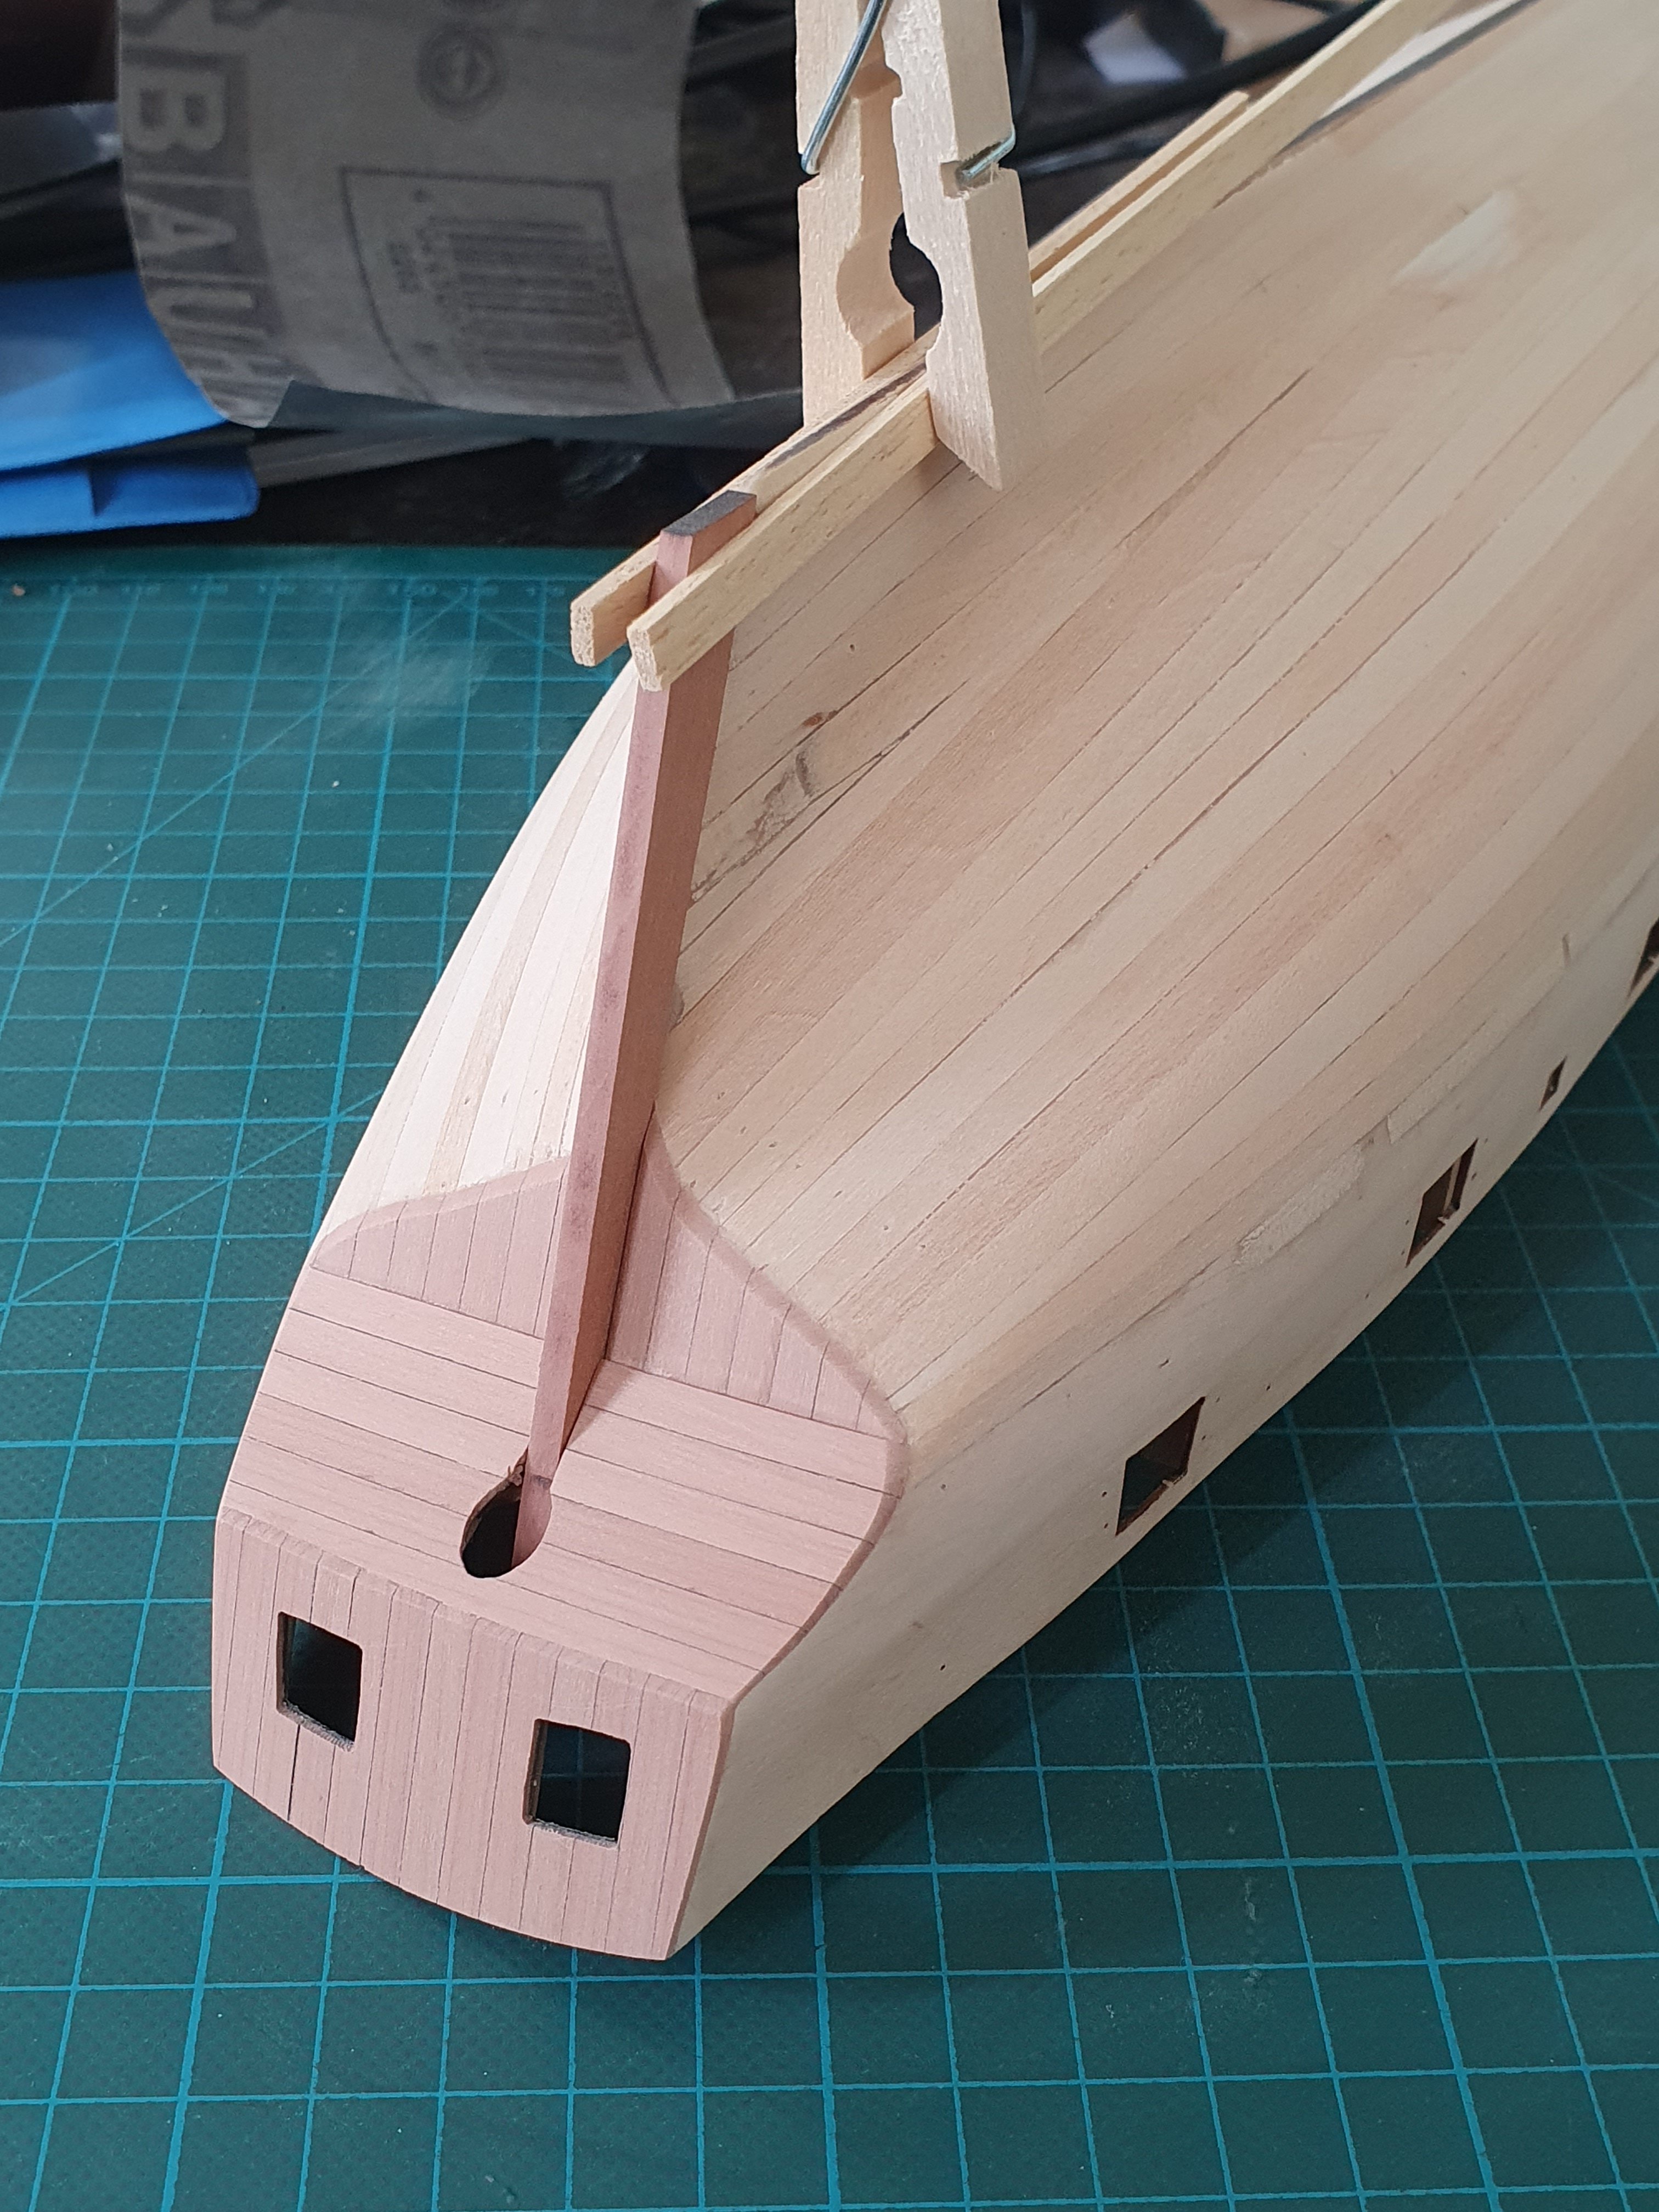
@SpyGlass, @CishoH, thank you both very much for your thumbs up! 🙂 @SpyGlass: again, thank you very much! It does'nt feel that great, but maybe the pictures are a bit on the postive 🙂 Hope you feel better now, and that you can go on with your own build! :). I have also used a flexible sandig strip, but not a self-made one, just the women-cosmetic ones. They work great, IMO. Your idear how to check symmetry was great! I did this, and it seems to be ok now, but the real test still to come. Started the second planking. As usual, the stern-area first (stern-rudder?-post just for the look of it, not glued jet): I see in the pictures, that there is some more sanding required. Why don't that wonder me? 🙂 And, and that also seems to be very common: the question of the questions: to caulk or not to caulk... *lol You can see, that my first try is with a caulking simulation, but realy, I'm undecided yet if I like it or not. It is more prominent than I thought. But, that is not the final finish. I would like to apply linseed-oil on the pear-wood. That would change the colour and the coulking a lot, I think. But I'm afraid, if I add the oil now, the glue on the sides will not work properly. Best way would be to make a small plking example with caulking and oil, but I don't know how many spare-strips of the pear is in the kit, and how many I will kill during the second planking. Perhaps somebody with a finished Speedy can give me a hint if I can spend one plank for tests!? Thank's all for your help!

-
I can't remember if I read this allready somewhere here or in your other blogs, but how do you apply your primer? I ask, because one can see, that the inner strips don't get a lot primer. Sure, not a big deal on this part, but that may change on others :). The resulted parts look good! 🙂
-
Hello KirbysLunchBox, gratz to your finished very first planking! Looks good! I post here, because I like how you bite through the problems that occures and don't give up! And you managed your first plywood-gunport-patterns to bend and fit so much easyier than I did, cool! As a first time builder, as you, I can't give you much good tips, but just one from my own so far experience: your first planks are so fat, that you could sand some more. A lot more. They you would have much lesser places where you need filler. But again, the other helping members here give you more substantial hints then I can. Like to follow your build!
-
WOW! This will become a very beautiful model! Recently, I read some of the USF Confederacy blogs, and, while bigger, they're some uqualitys in both are frigate style. But, it's fascinating to see, how much the kit design of the Sphinx has improved! All the measuring to line up the smal parts for the gun ports in the Confy-builds, are so much advanced here in the Sphinx design. I'm realy impressed! 🙂
- 355 replies
-
- 8
-
-
- vanguard models
- Sphinx
- (and 1 more)
-
The small deck assemblys look like a ton of fun to build! 🙂
-
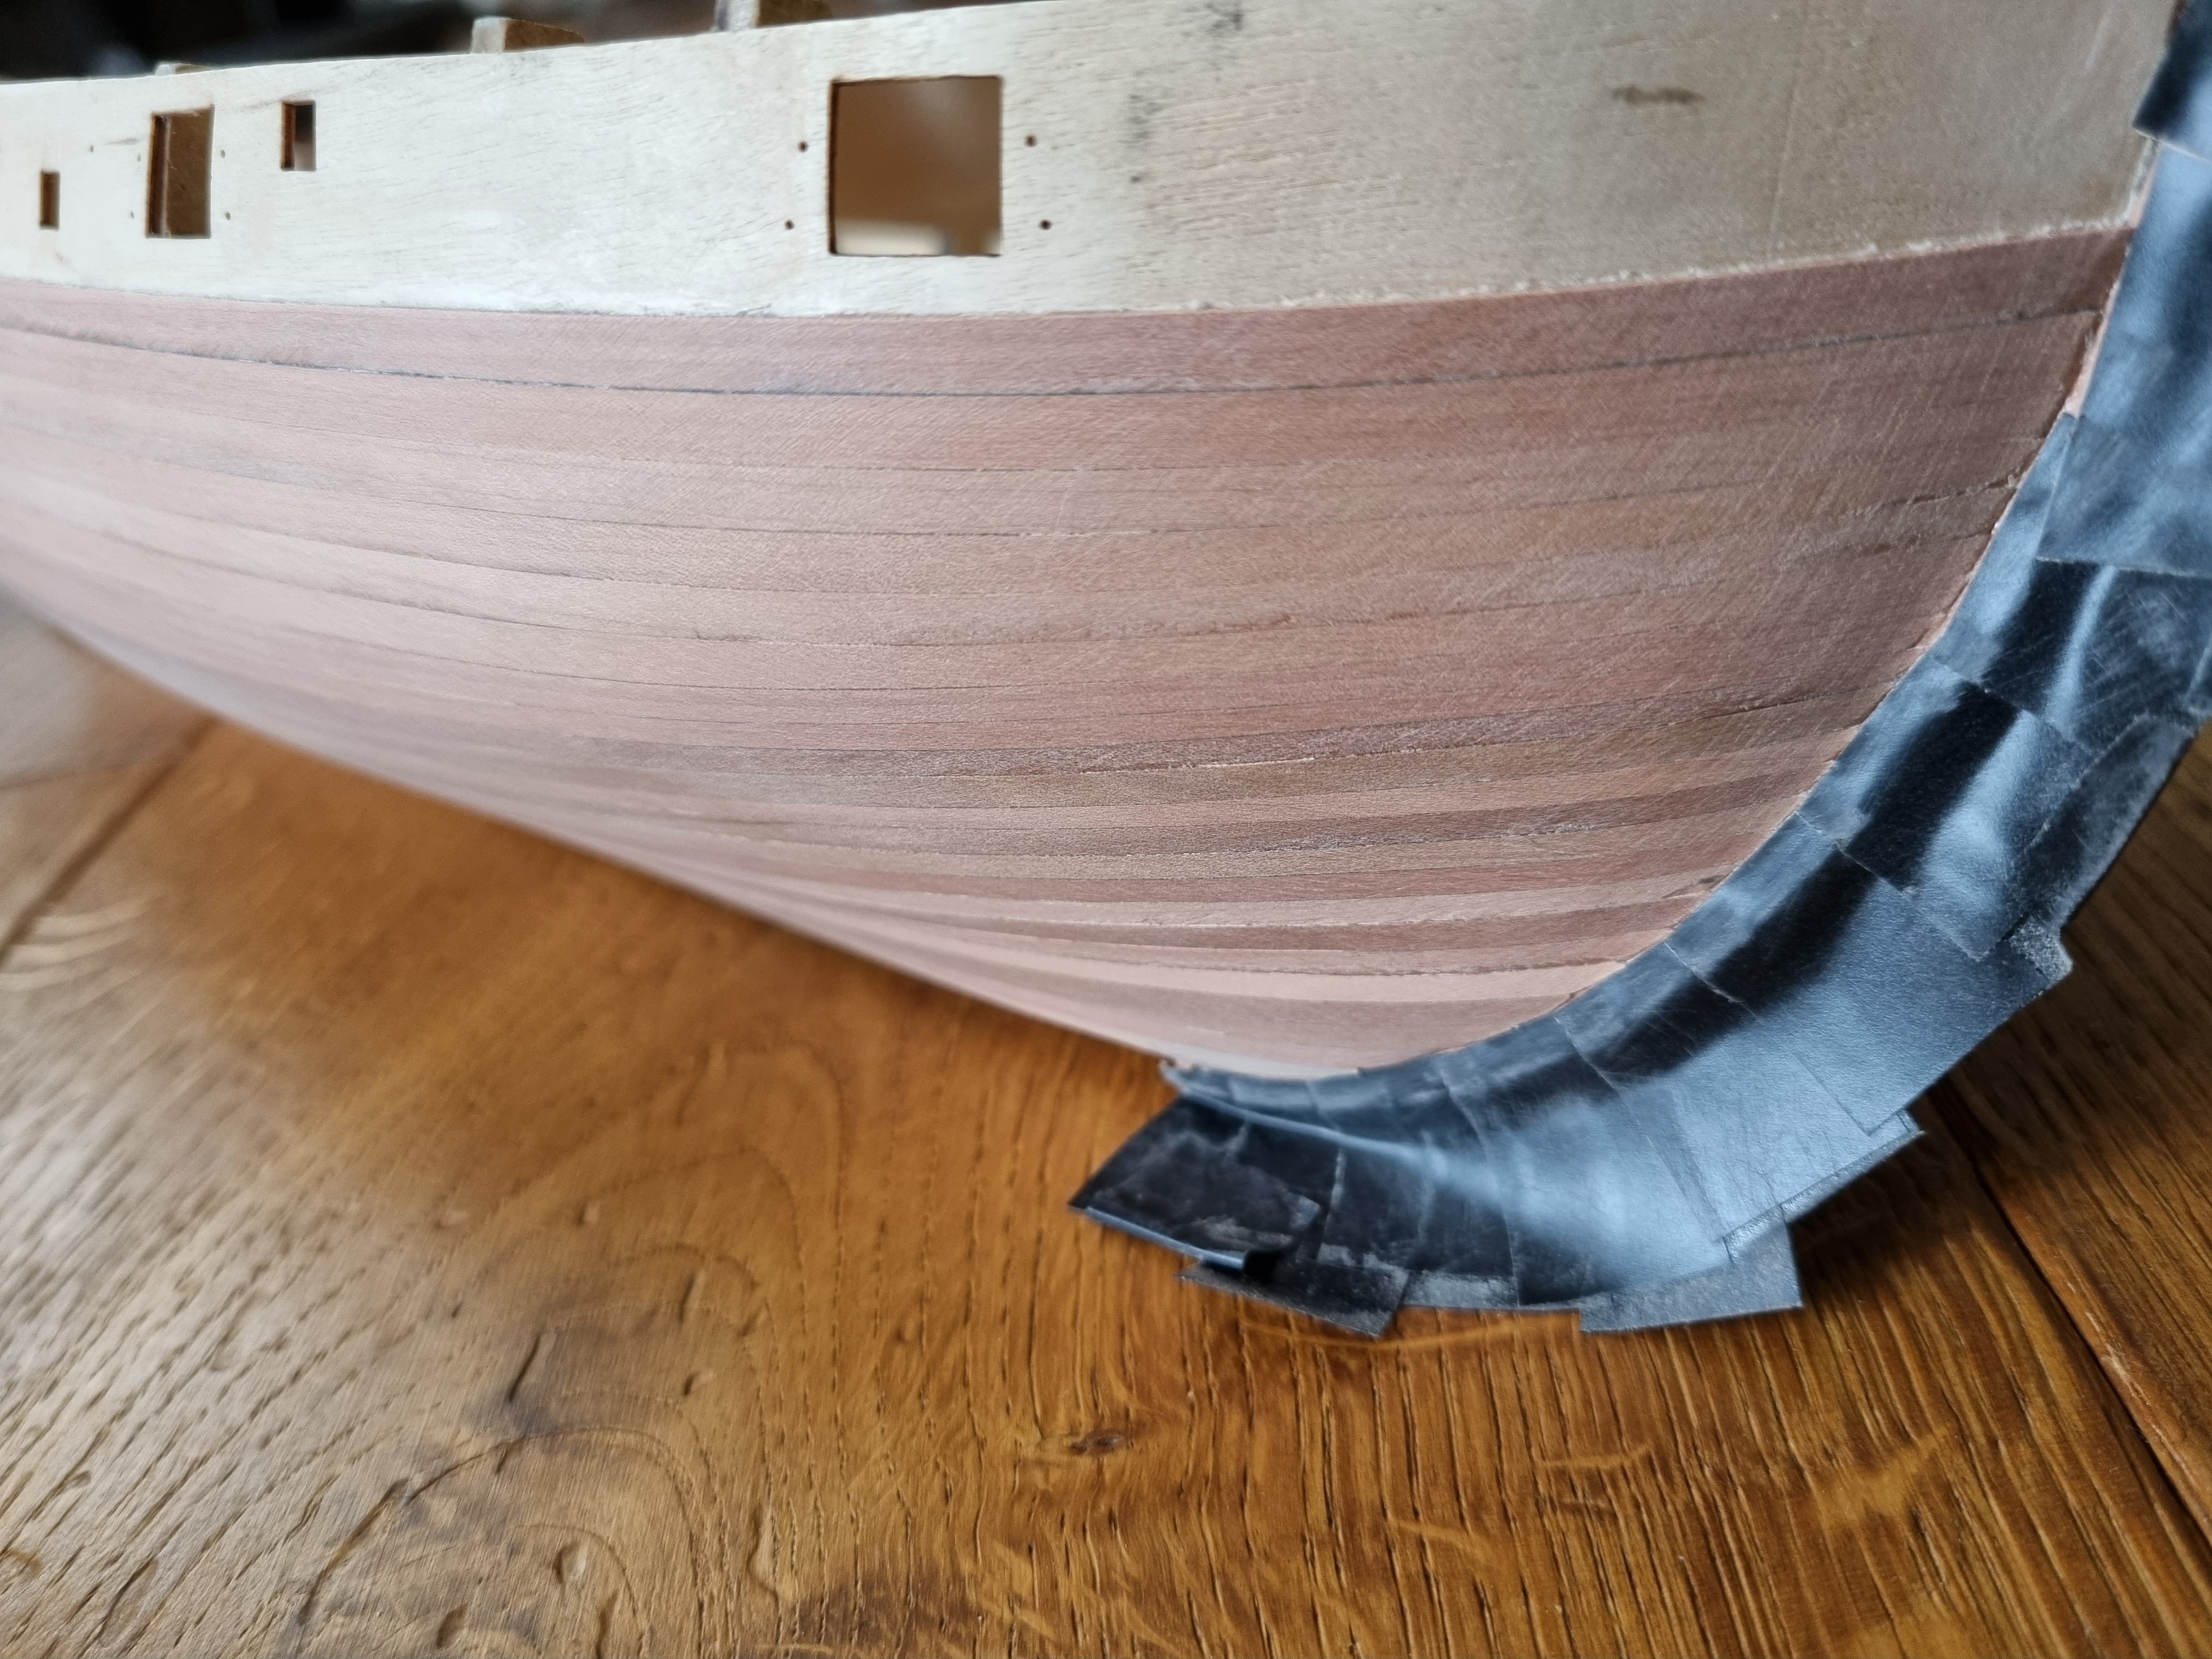
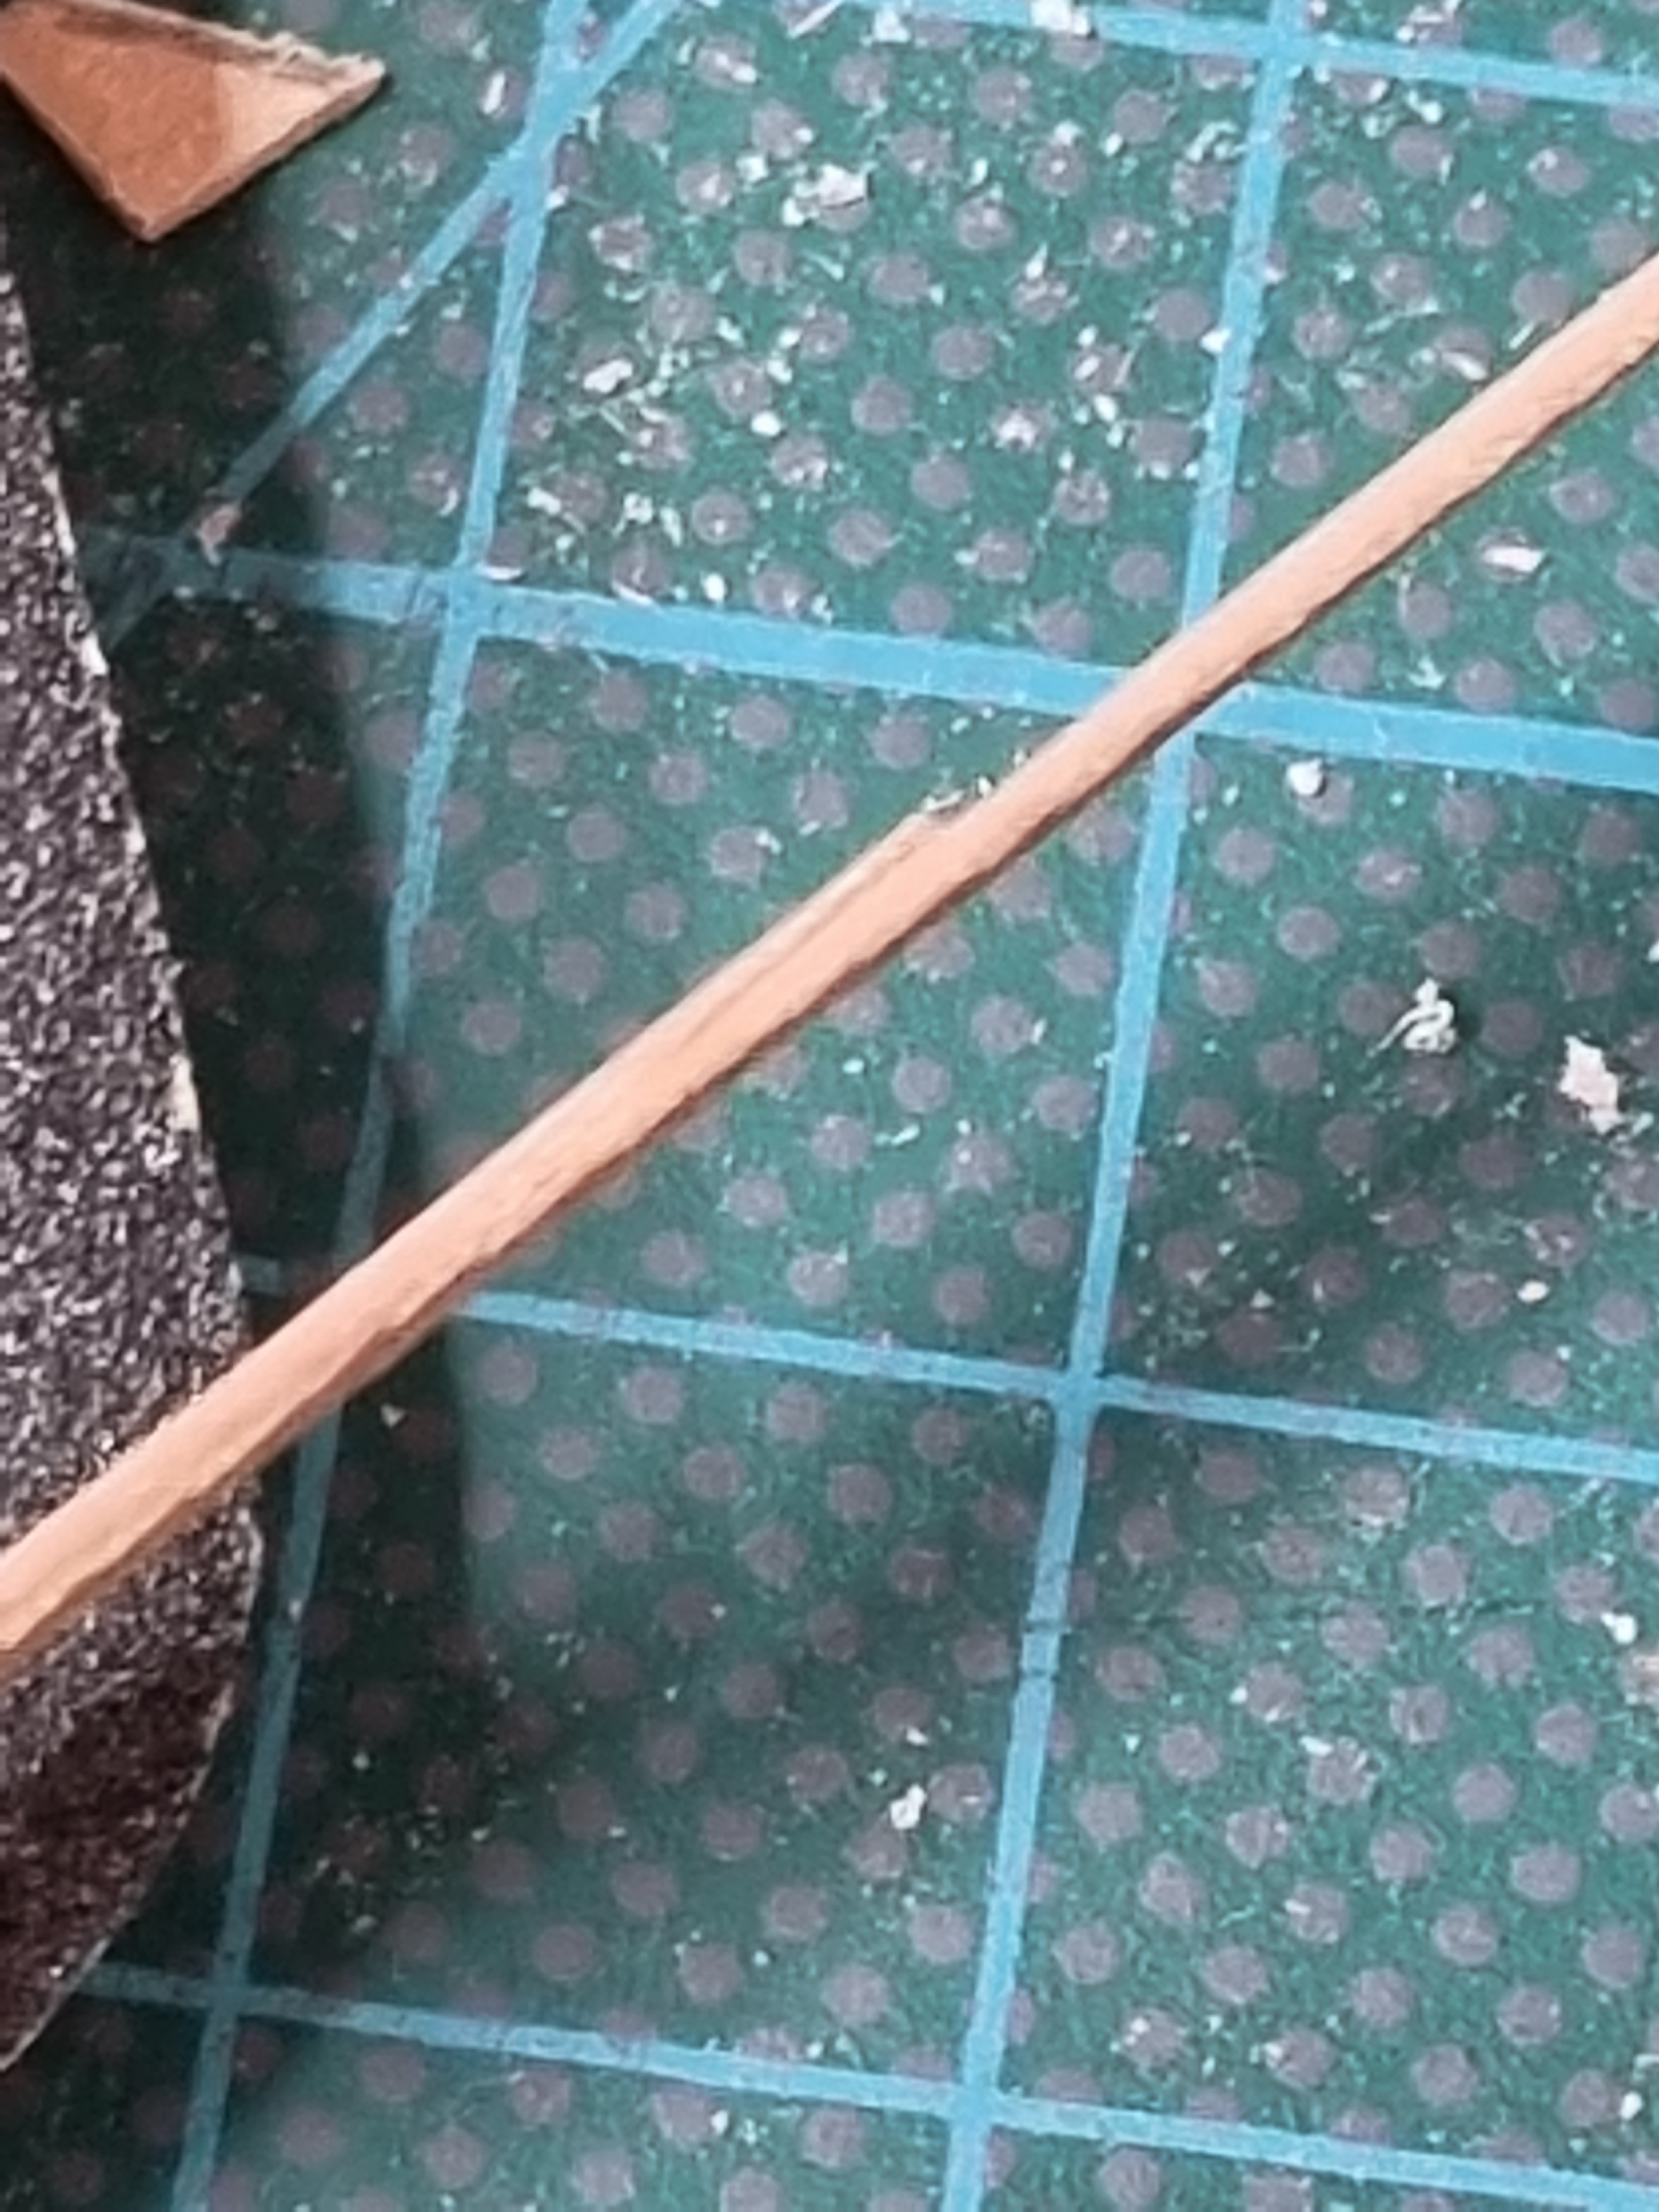
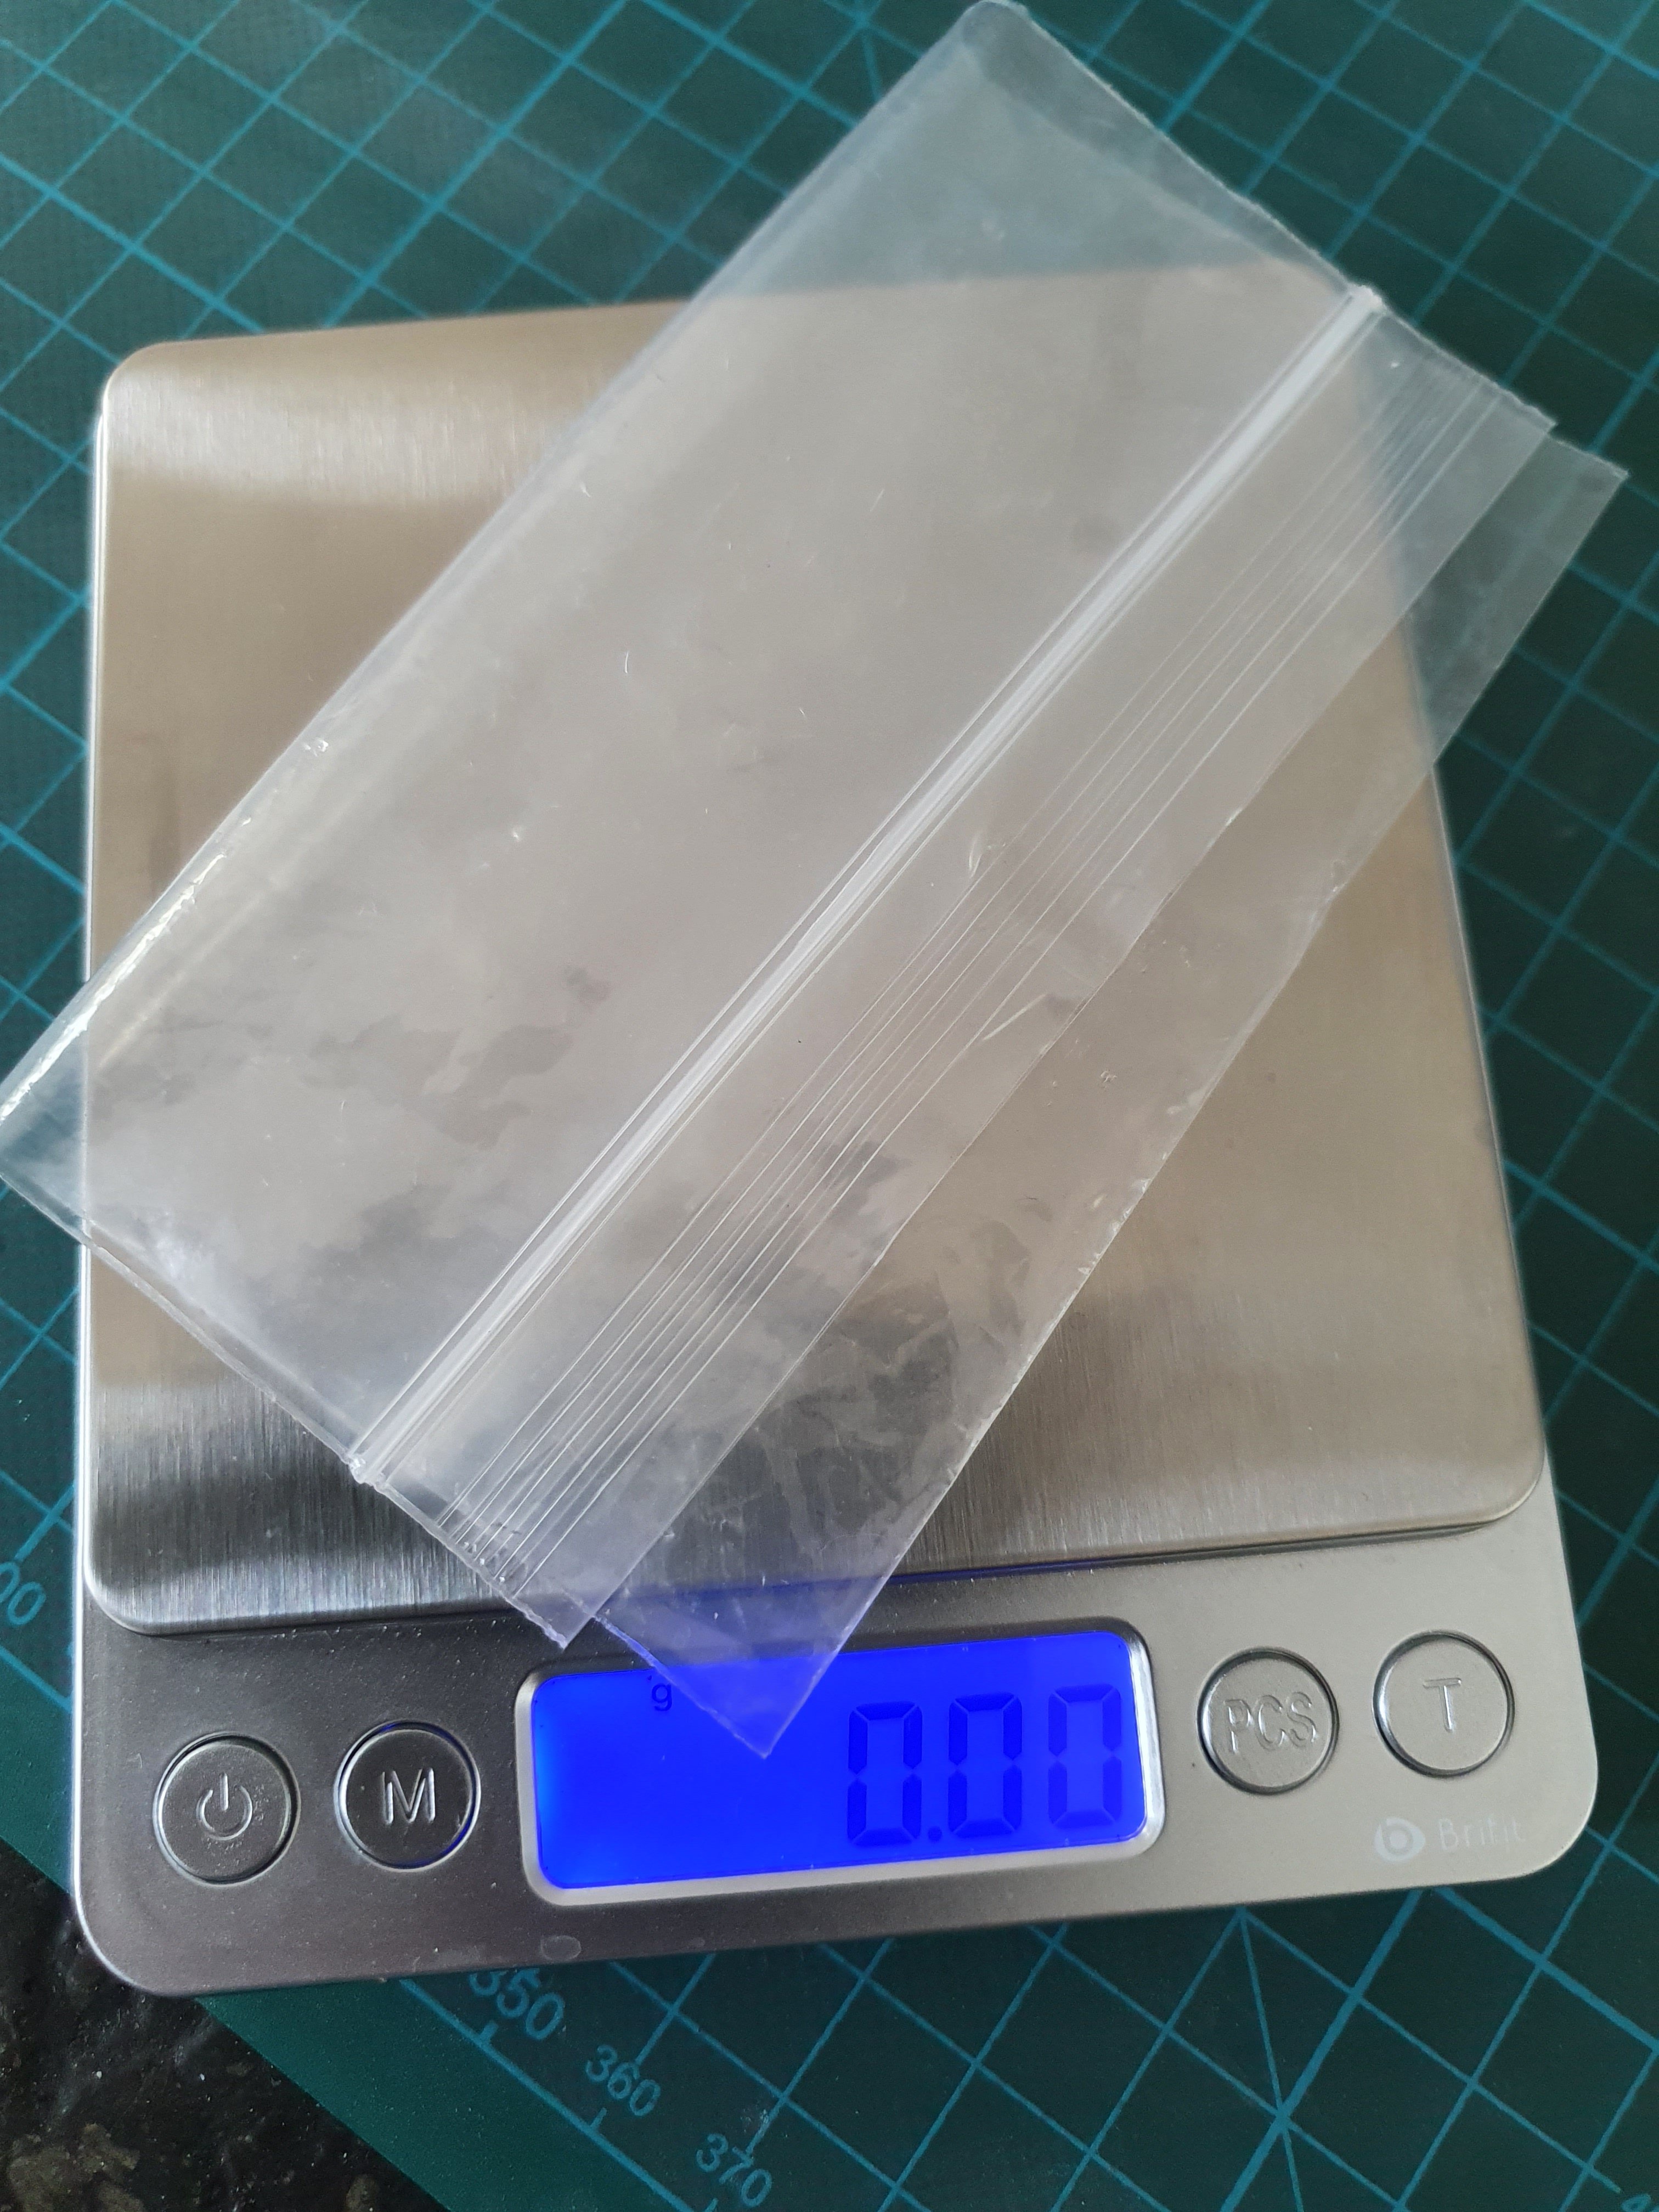
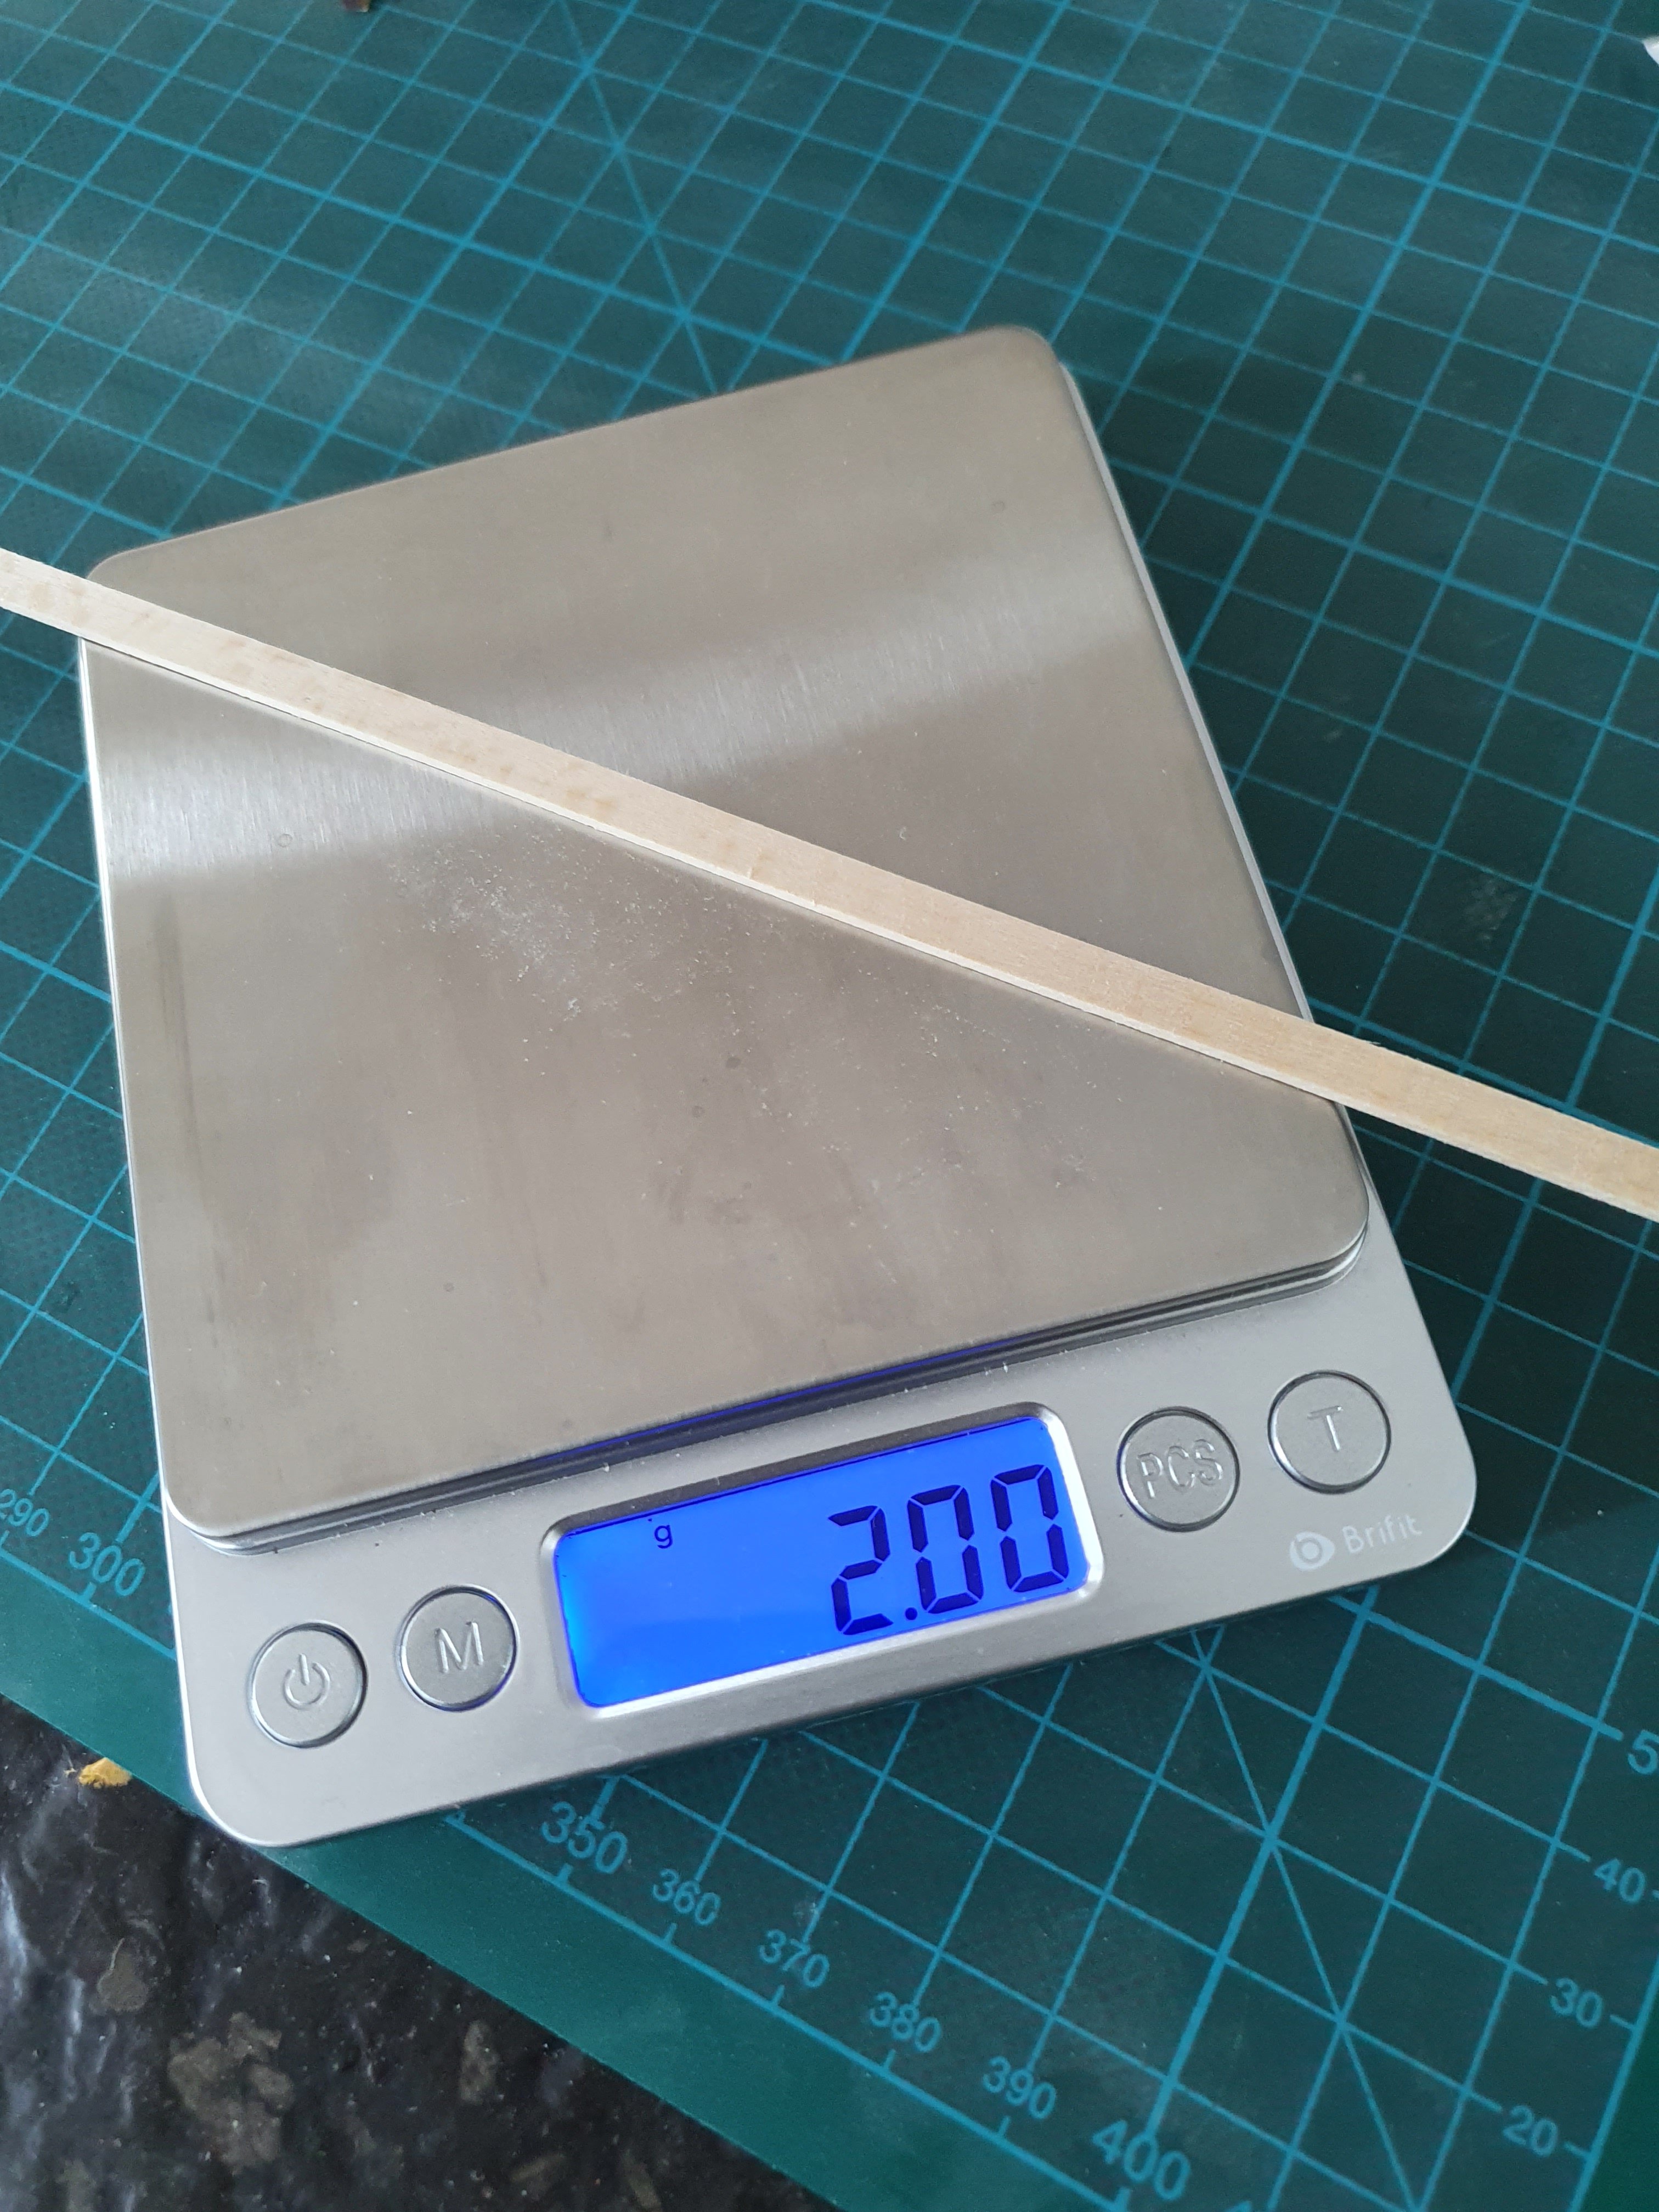
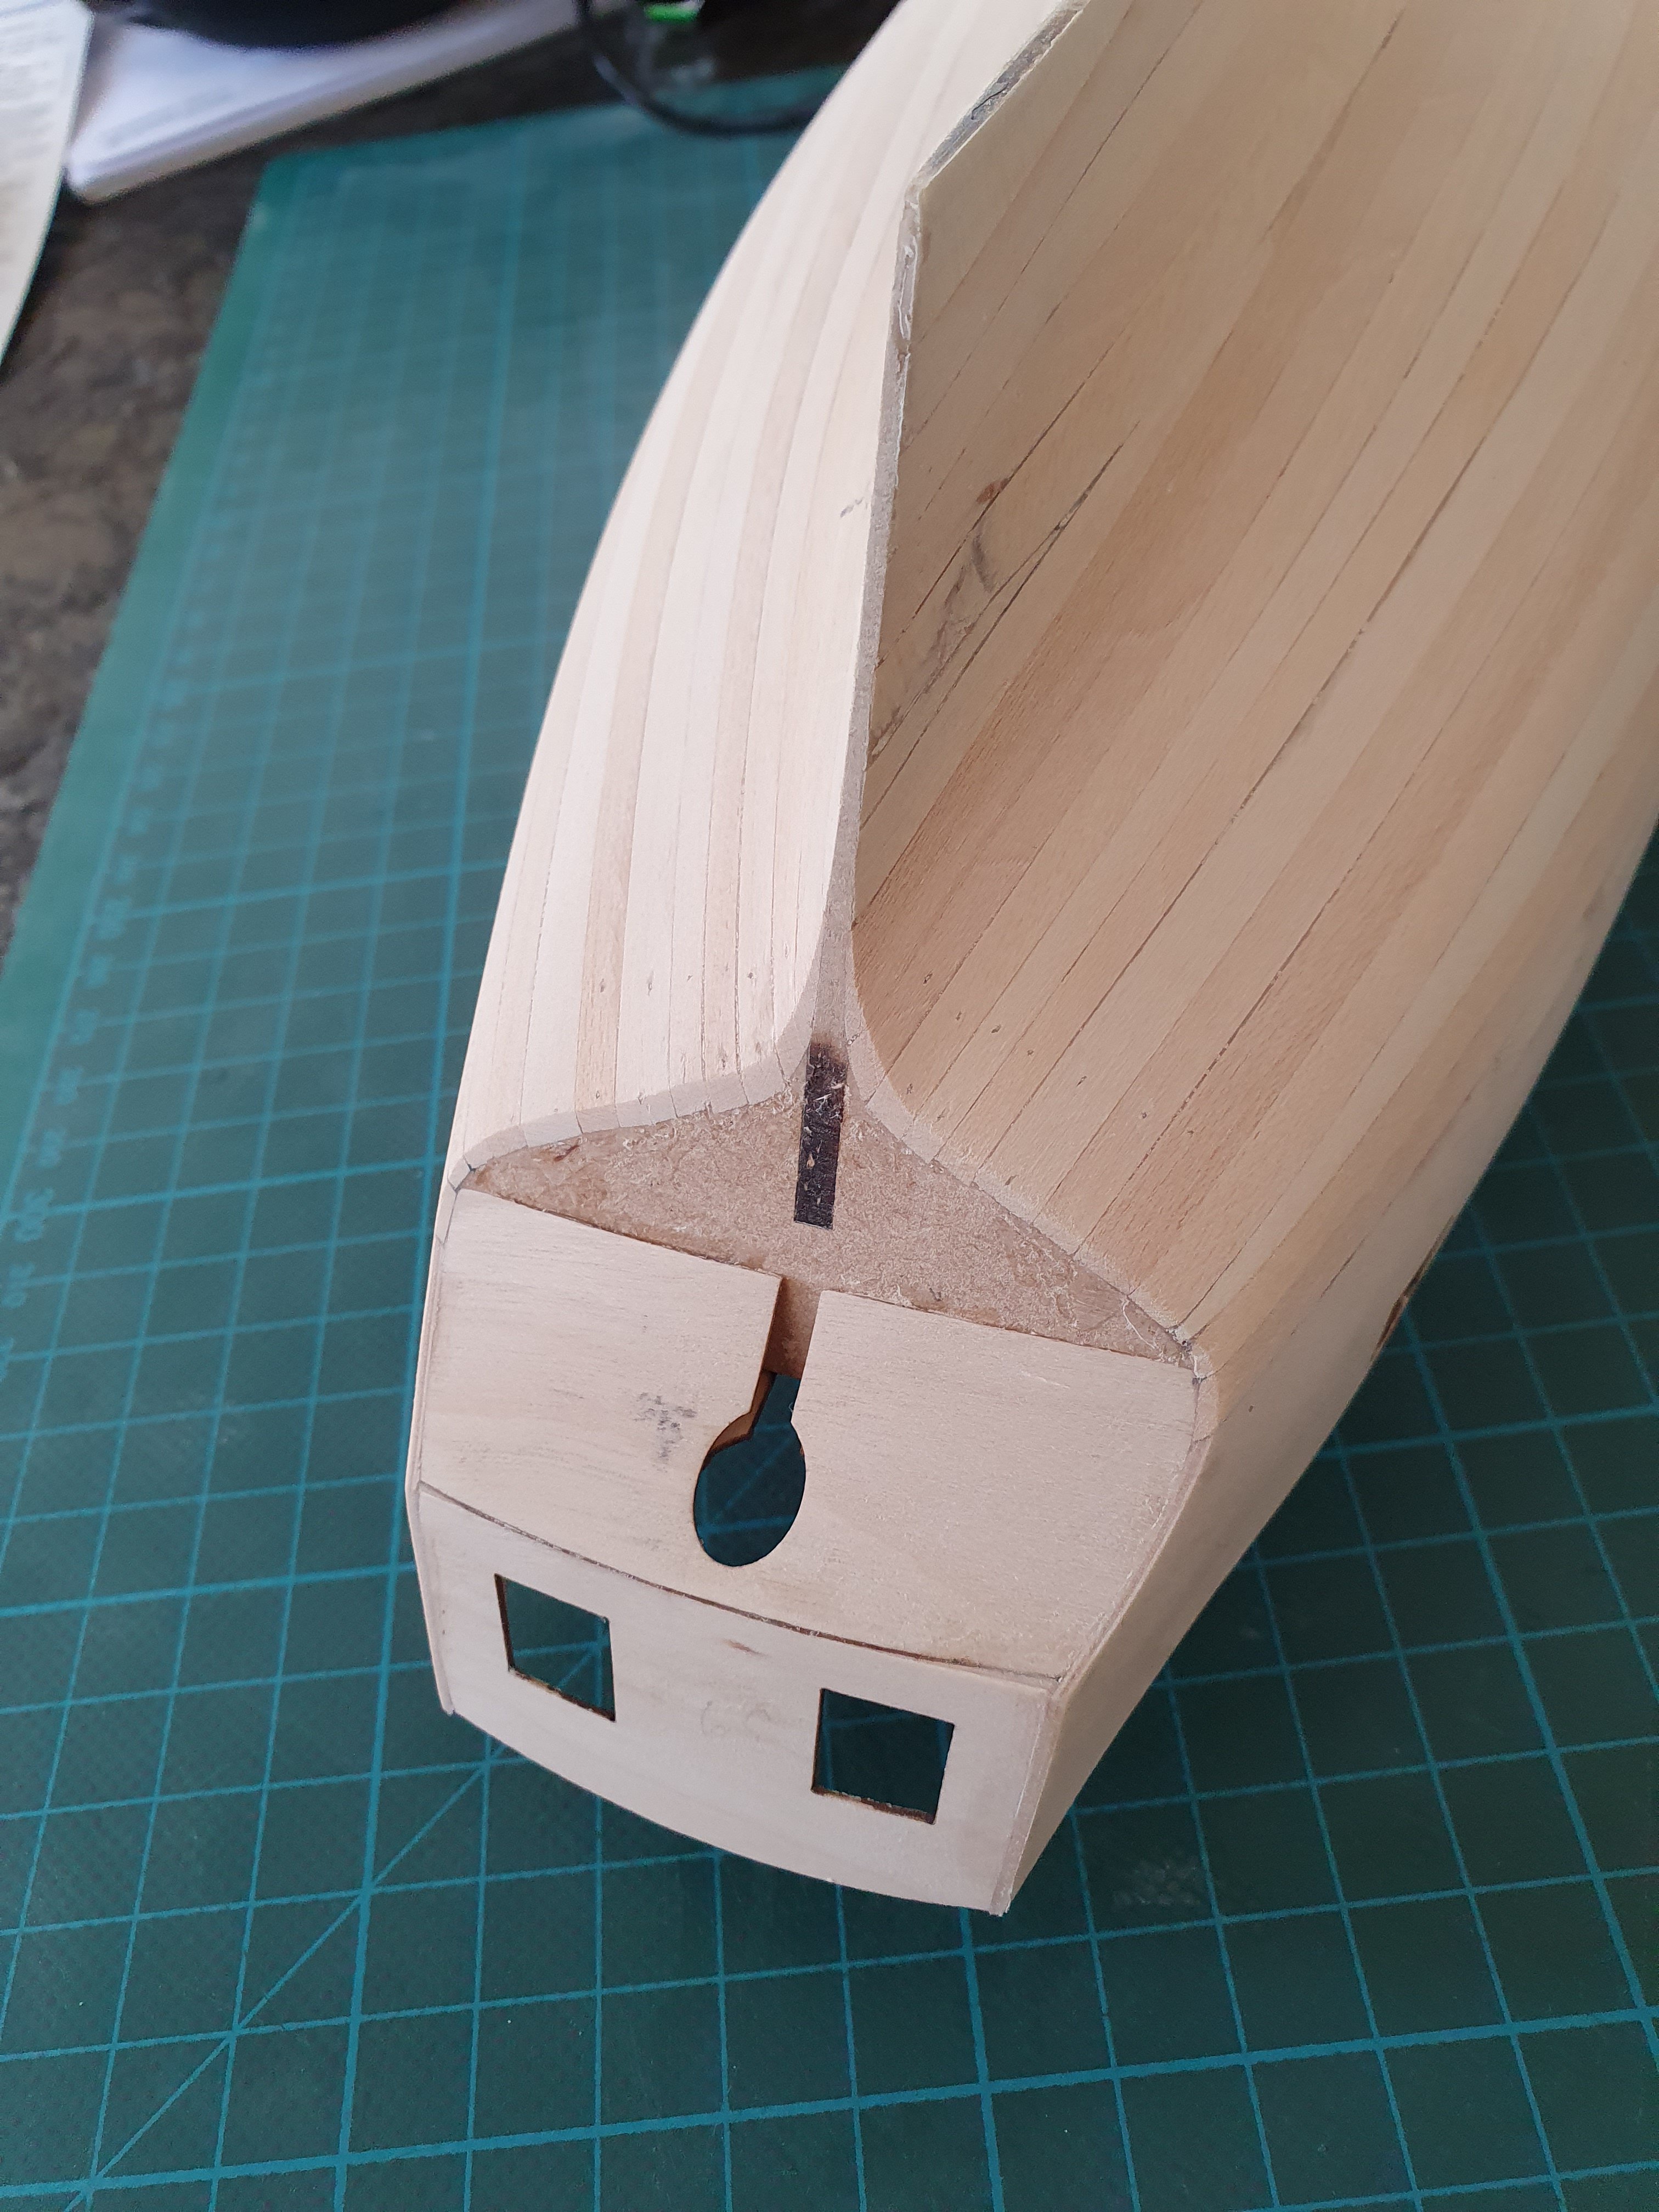
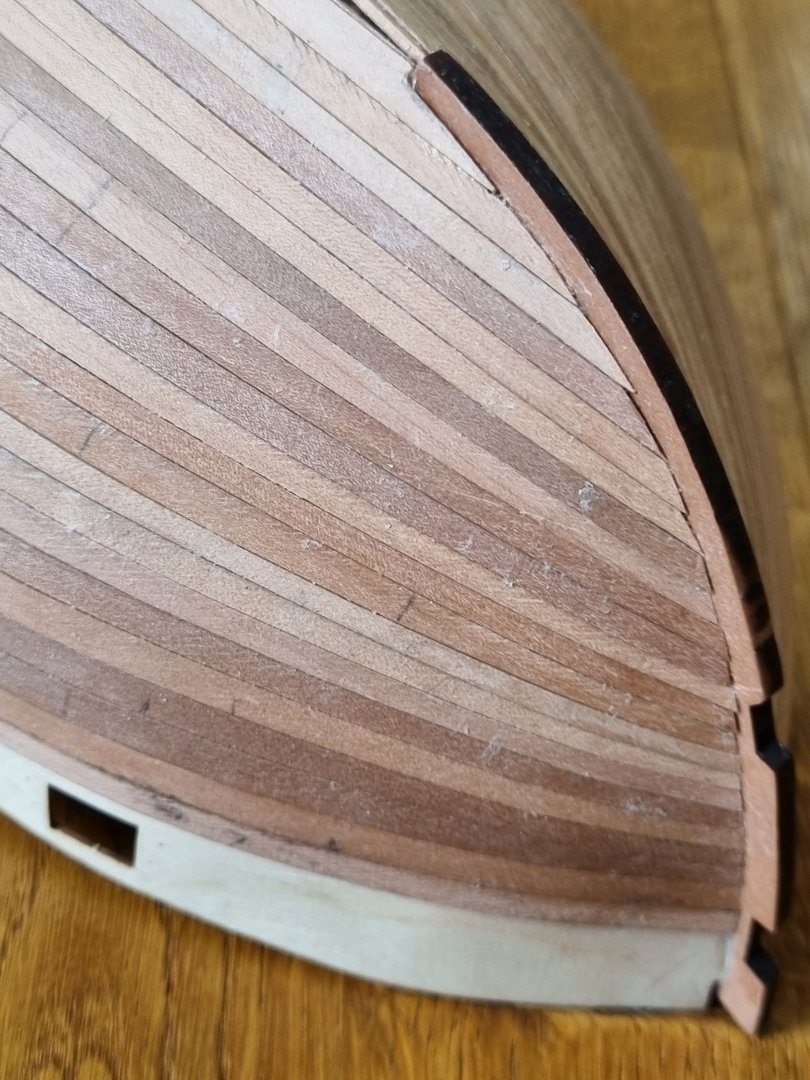
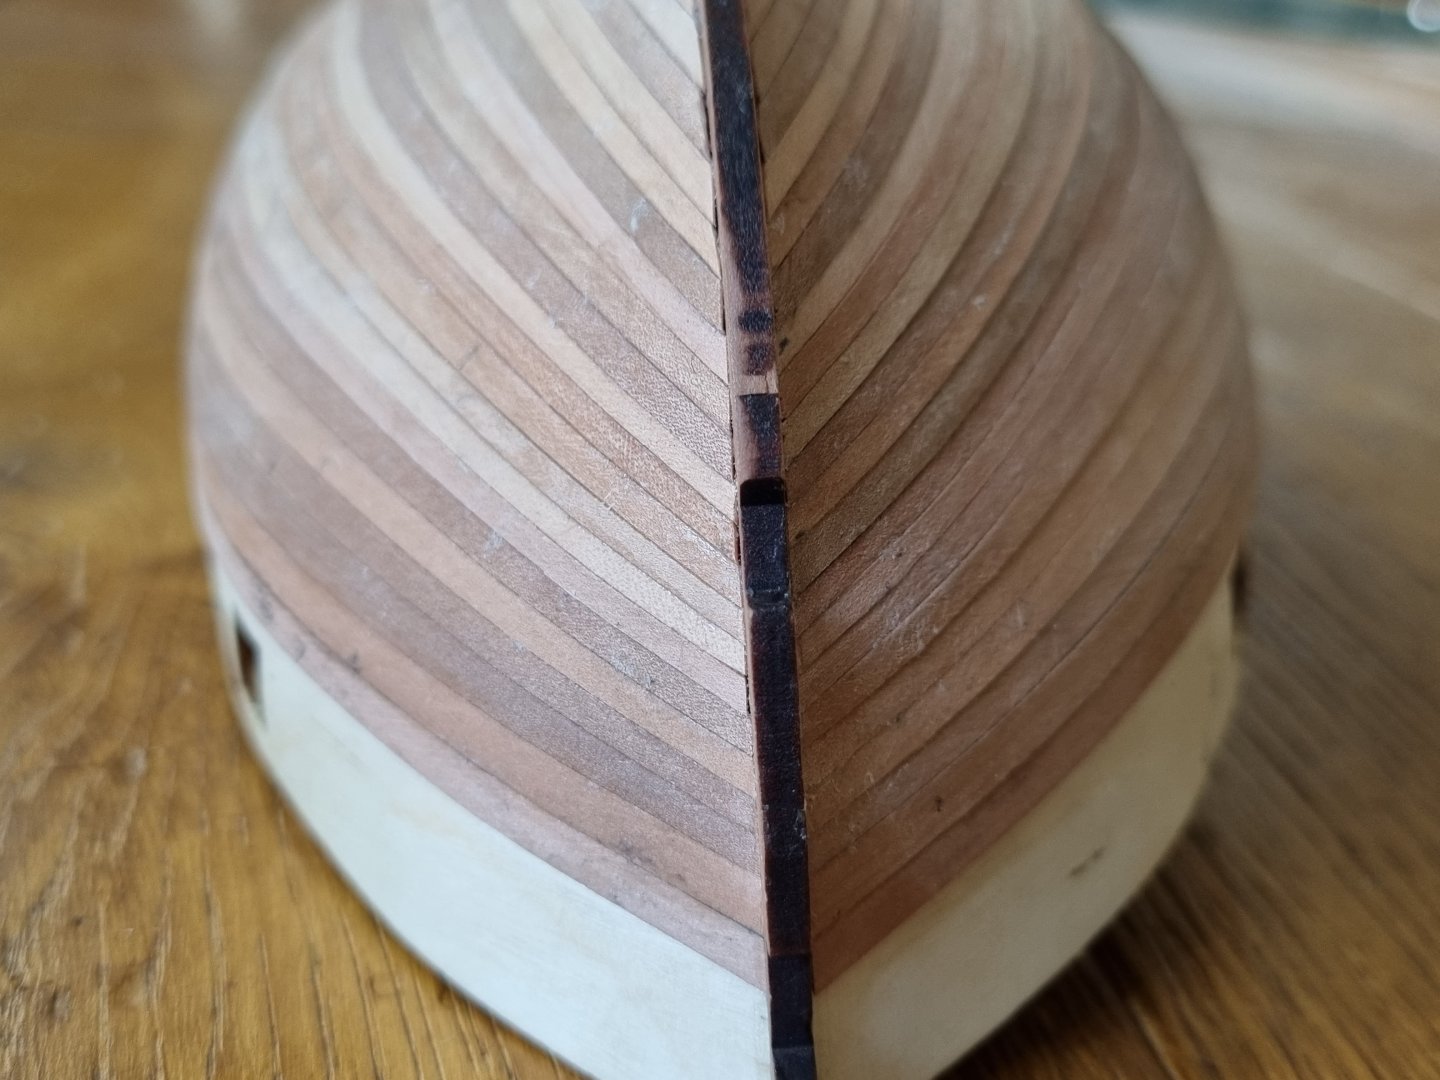
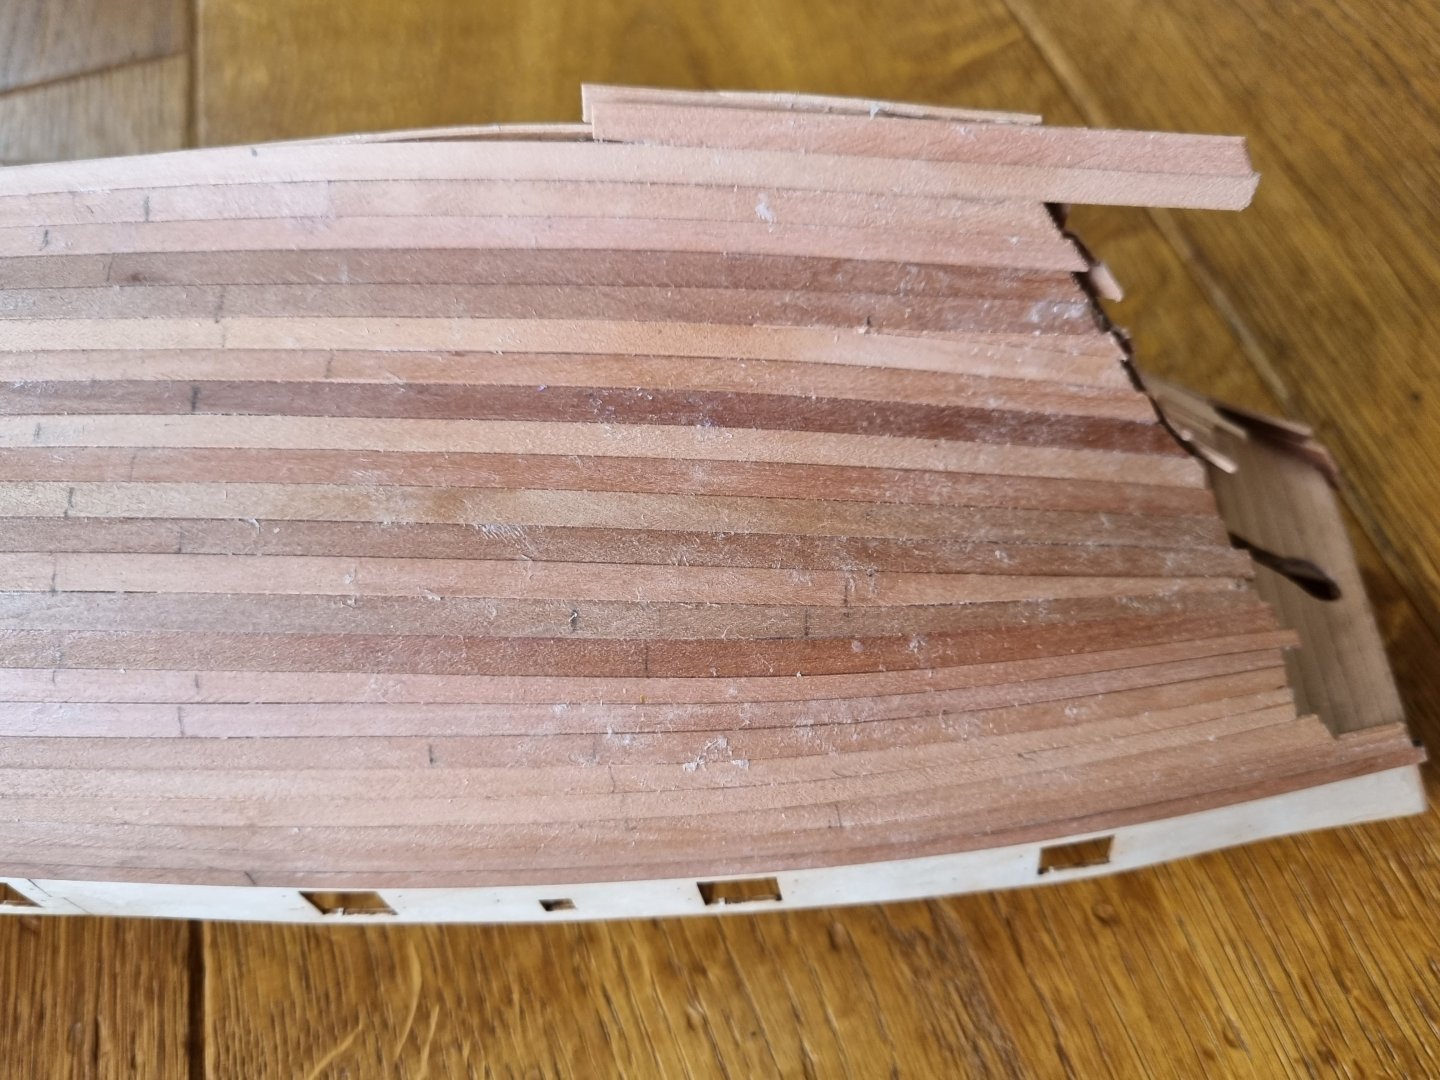
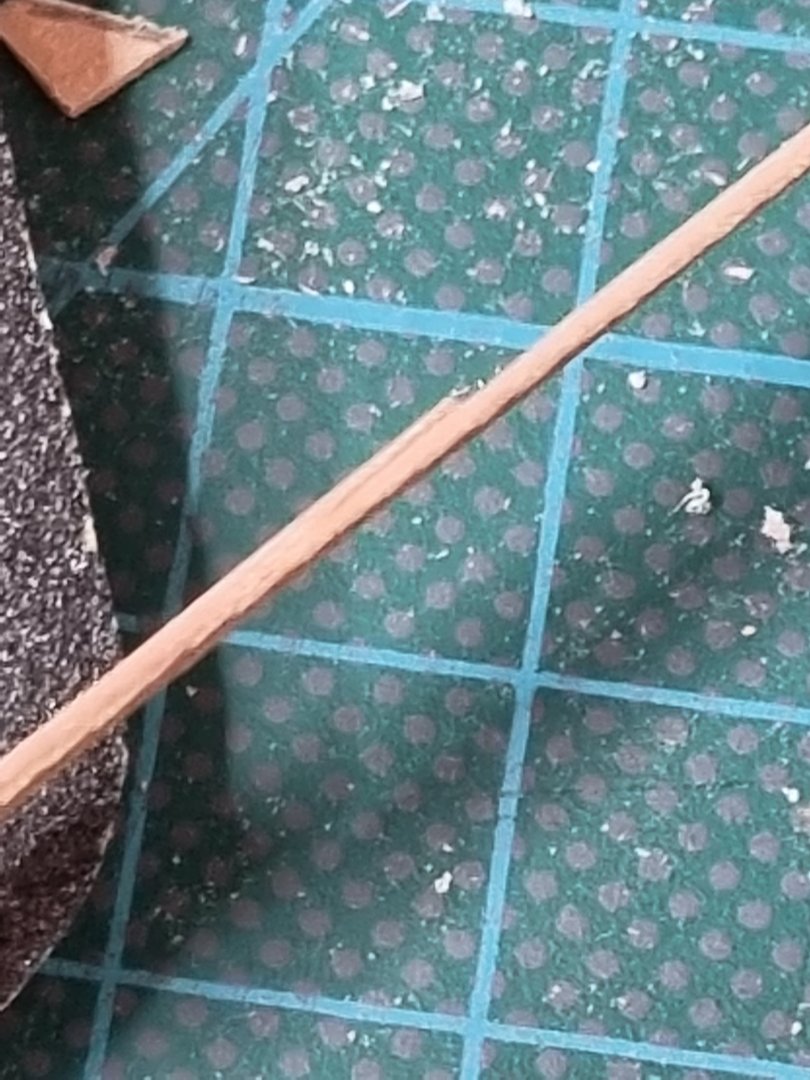
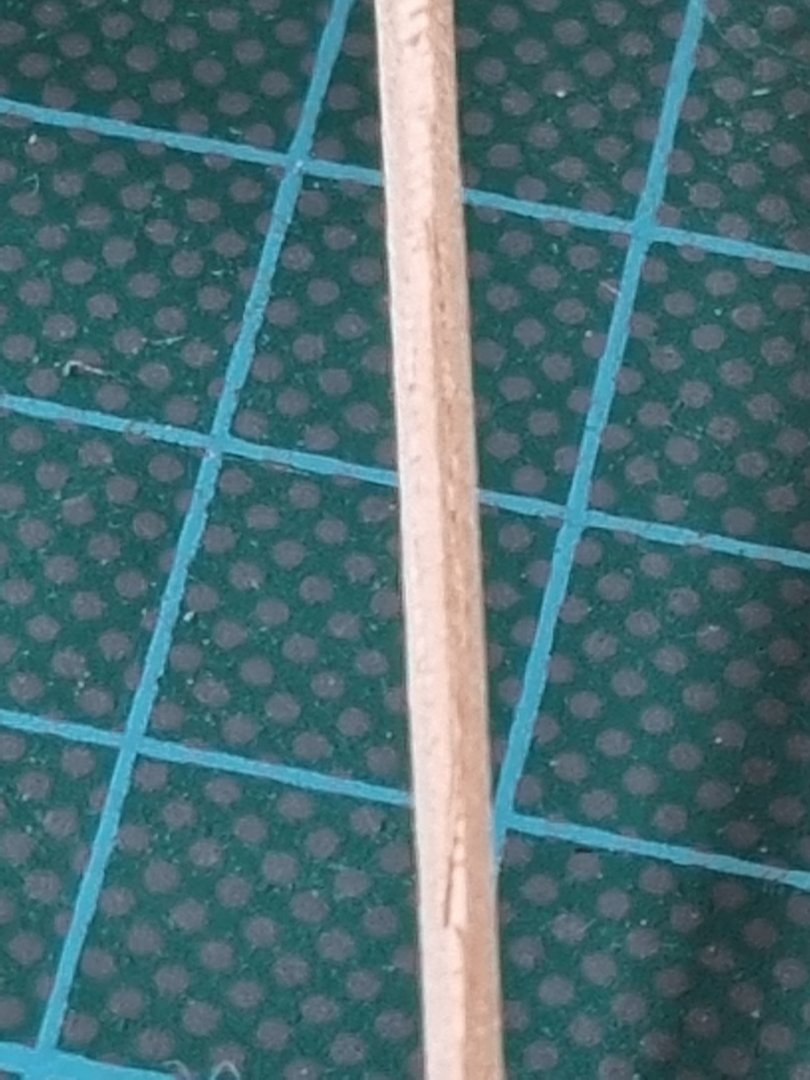
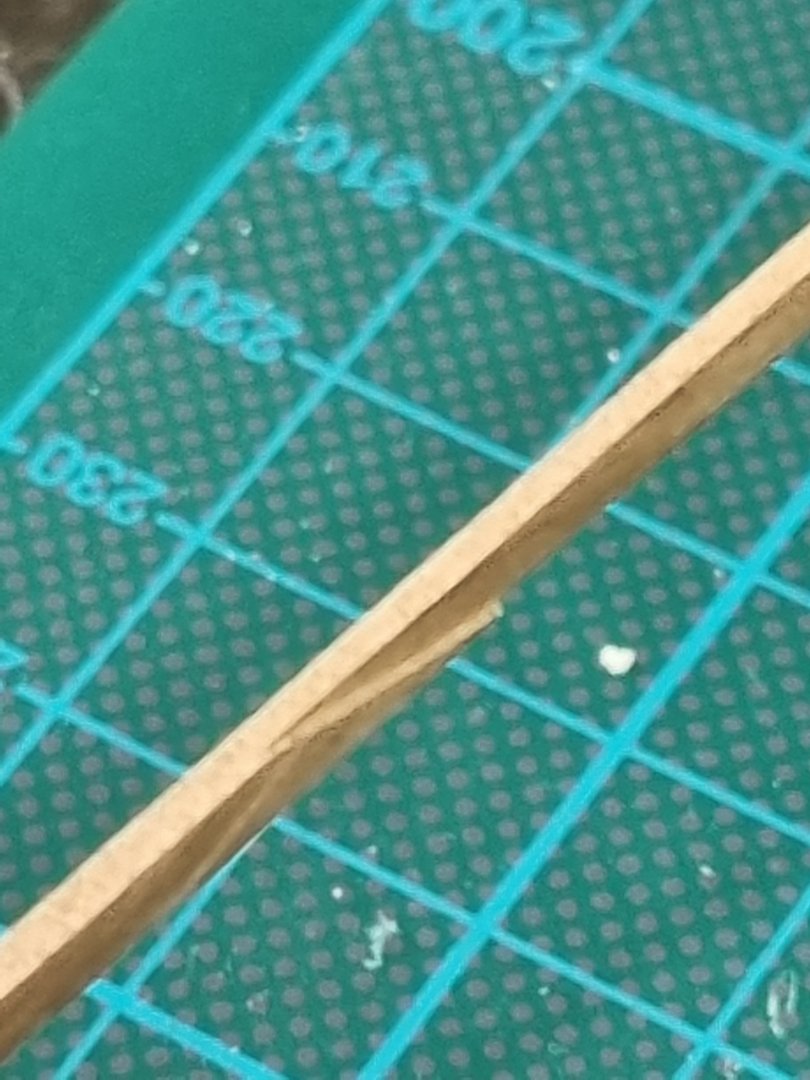
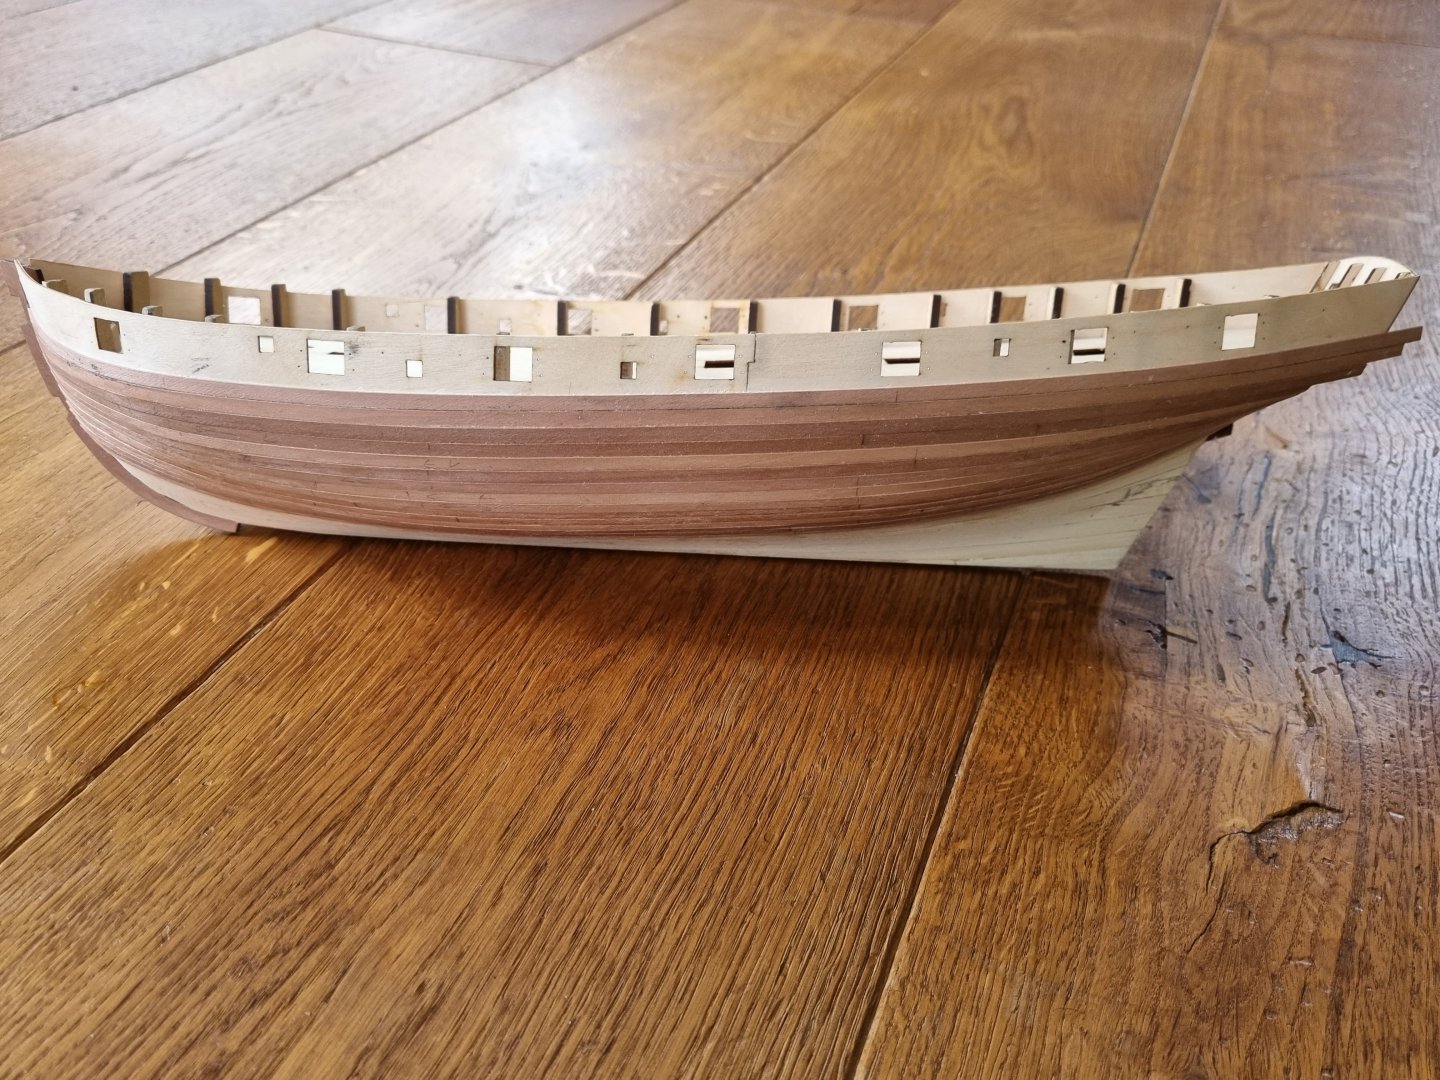
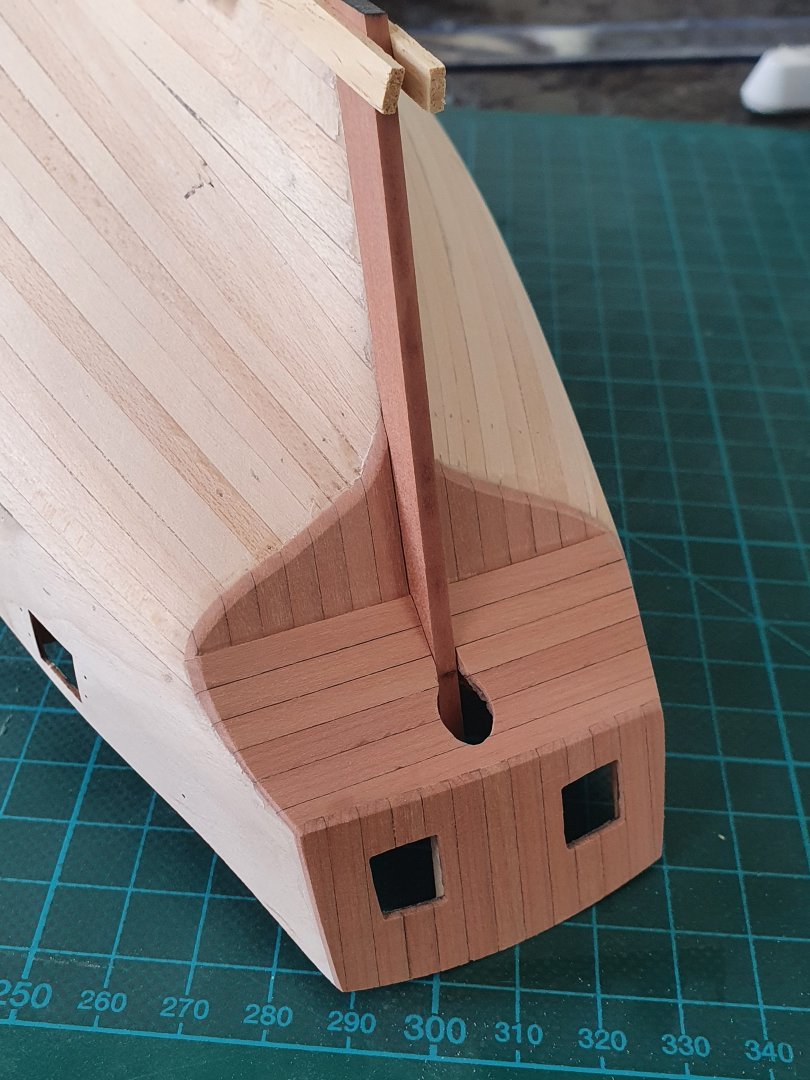
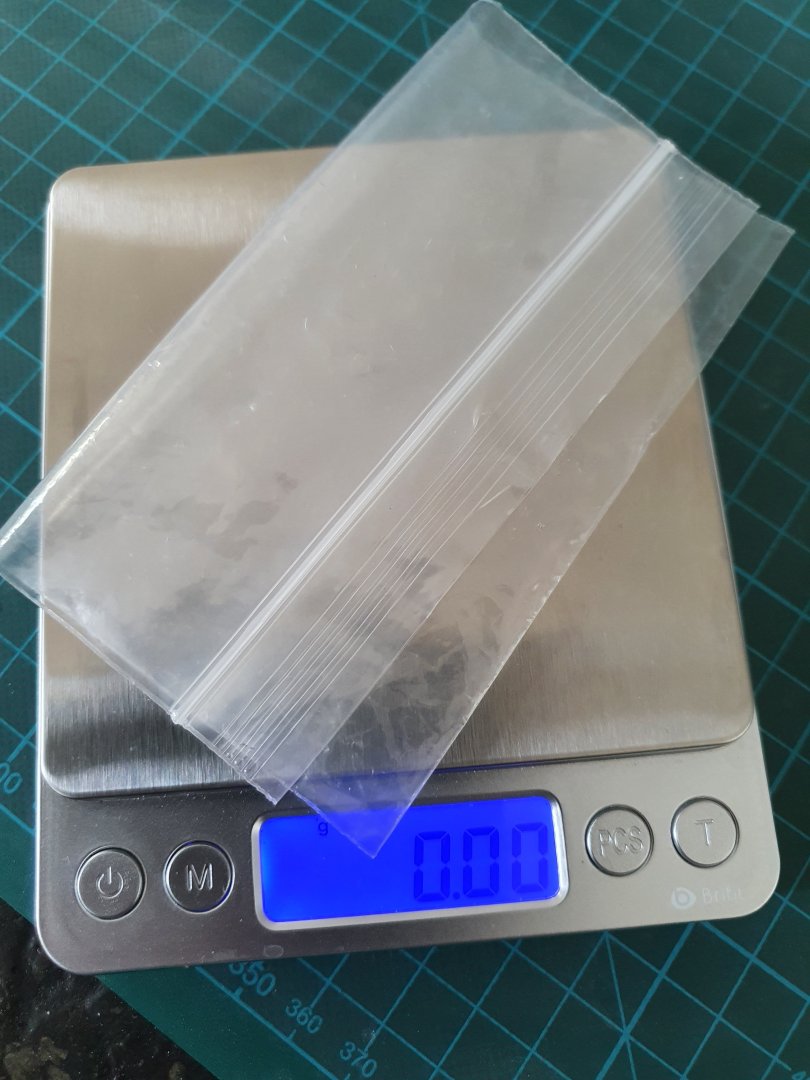
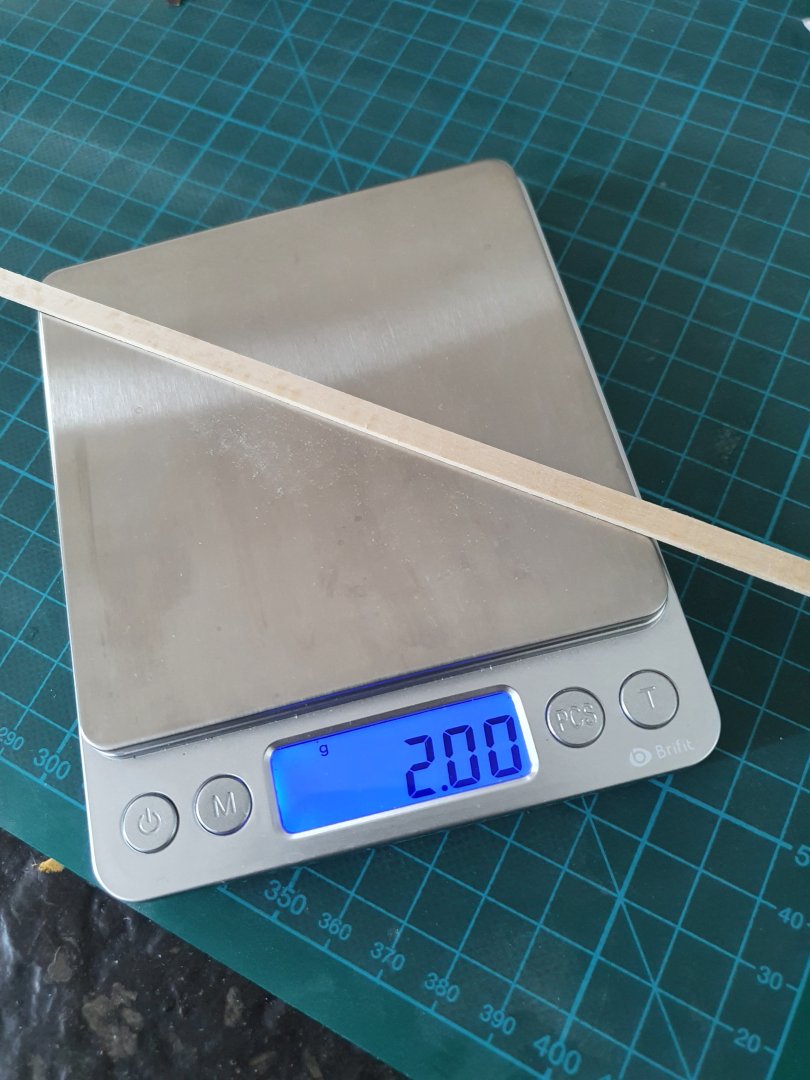
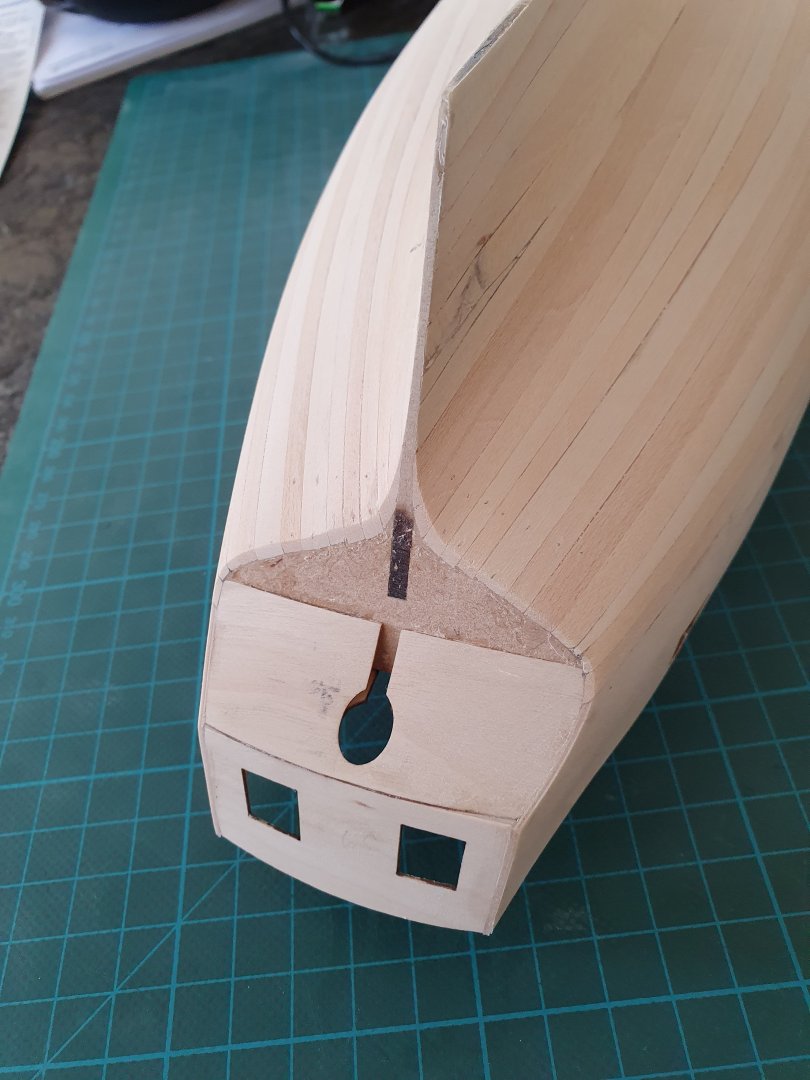
@VTHokieEE, @Bend, @SpyGlass: thank you three very much for your thumbs up, comes just the right way now @Rik Thistle: Richard, thank's for the now much needed motivation *lol*. Yes, I'm in a roll now, and I can see allready the next big steps @SpyGlass: thank you too! Yes, I realise the 'very thin' problem, and at the moment, I struggle a little bit with this :). But, how's you're second planking going? I fell like I'm a little bit exhaustet from the sanding! Not the sanding generally, because the sanding to smoothen the hull is quite satisfieing, but the sanding to just thin down the stern! I mean: the stern and deadwood(?) is 3mm wide. Add 2 times the planking stuff of each at 1.5mm. Thats 6mm. Now, sand it down to 1.5... ?? I know I know, thats just model building 🙂 Also, I'm not a native speaker, so it's very easy for me to not hit the right sound. And I don't want this to be a rant, I'm just a little bit tired of sanding the stern That's how it looks now (my broken planks are now quite prominent :-)): From keel to the point where it realy starts to get bulky, I ran from 1.9 to 2.5mm The problem is, that I don't want a dent after a cm or so, just to get the 1.5mm. I want the lines to come down in the lines of the hull down to the 1.5mm. That means, I need to sand more length of the planks than just only the last short part. The whole area need to be thinned out, and, as you can see in the pictures obove, I allready left symetry. I am to inexperienced to get that right if I need to remove so much stuff. Or, perhaps I'm just doin this the wrong way!? Just out of curiosity, and I started collecting the dust not from the start, and no ply-dust: Last picture shows a complete new plank. I needed 16 strakes and made the last of leftovers, because I thought this would be easier to adapt. So I have three spares. Because I did'nt collect all the sawdust, I can say, I sanded 4 complete planks to dust, and I'm still not finished jet. I know, I added additional strips because of my bulkhead-problem. I'm still enjoing to build the model, and I will add another sanding session sometime soon. Thank you all for lookin in!


-
Well yes, thanks, even though I feel a little bit tired of the sanding... 🙂