HOLIDAY DONATION DRIVE - SUPPORT MSW - DO YOUR PART TO KEEP THIS GREAT FORUM GOING! (Only 75 donations so far out of 49,000 members - C'mon guys!)
×


Theodosius
-
Posts
345 -
Joined
-
Last visited
Content Type
Profiles
Forums
Gallery
Events
Everything posted by Theodosius
-
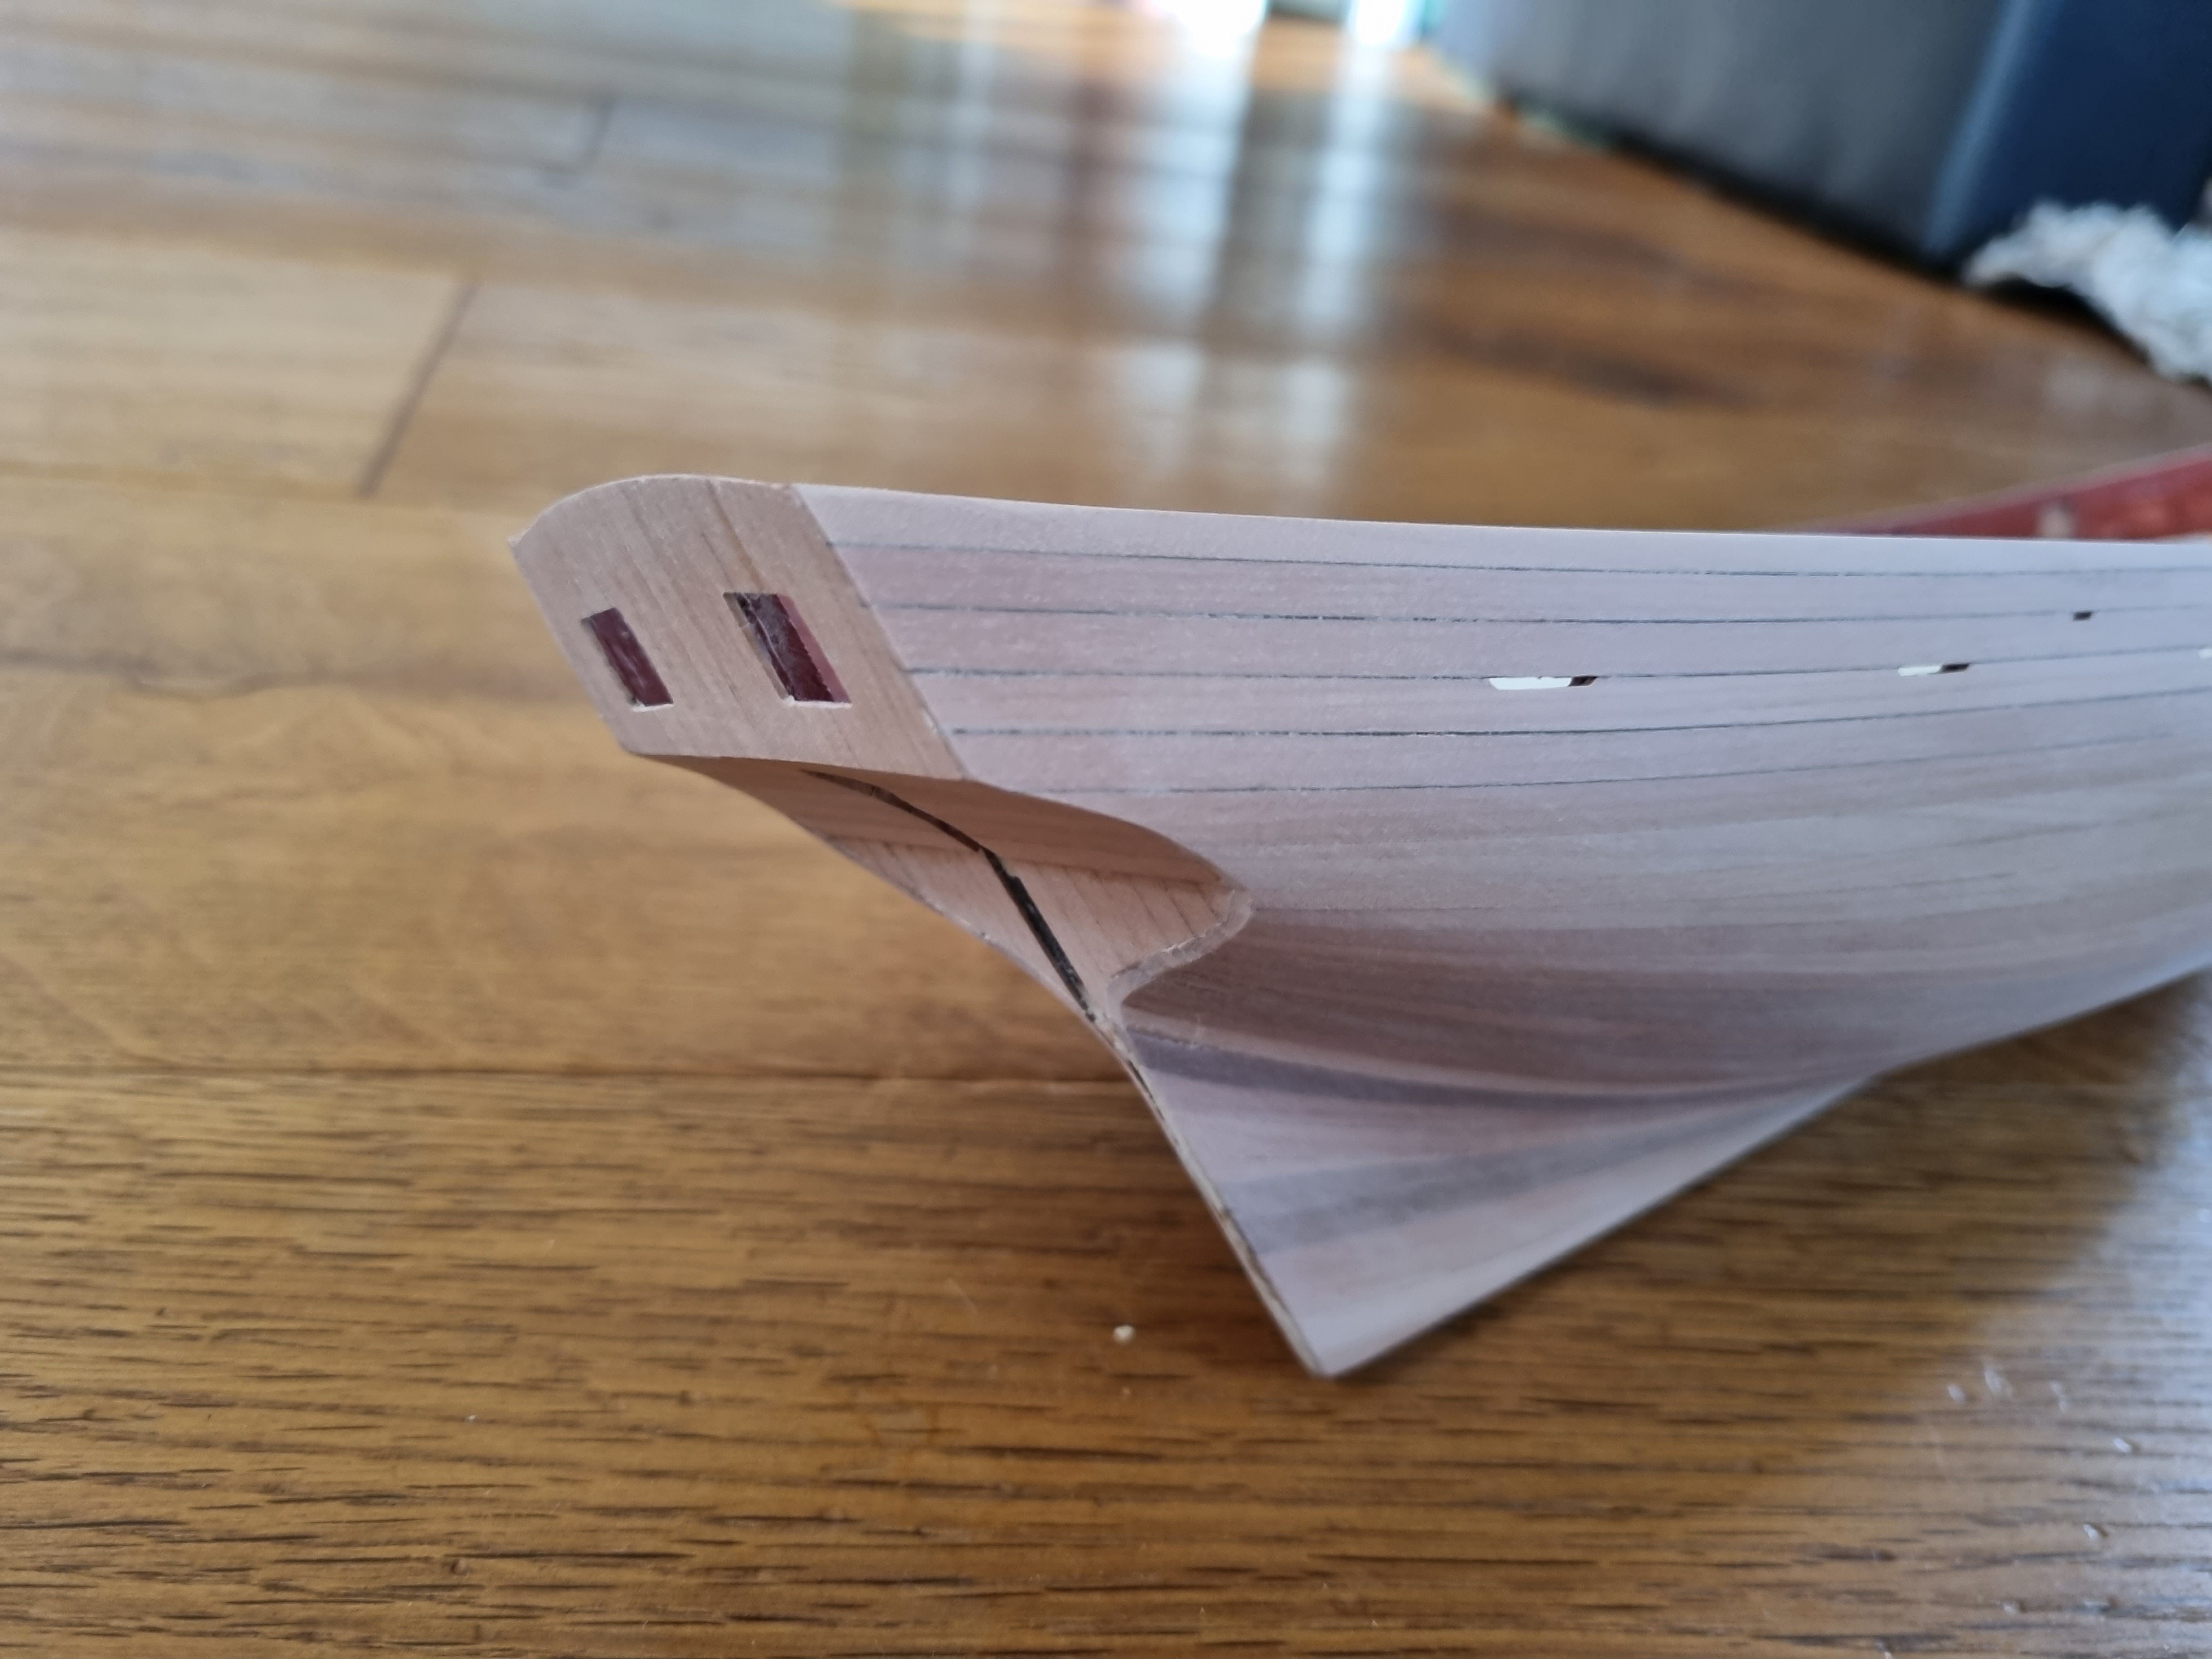
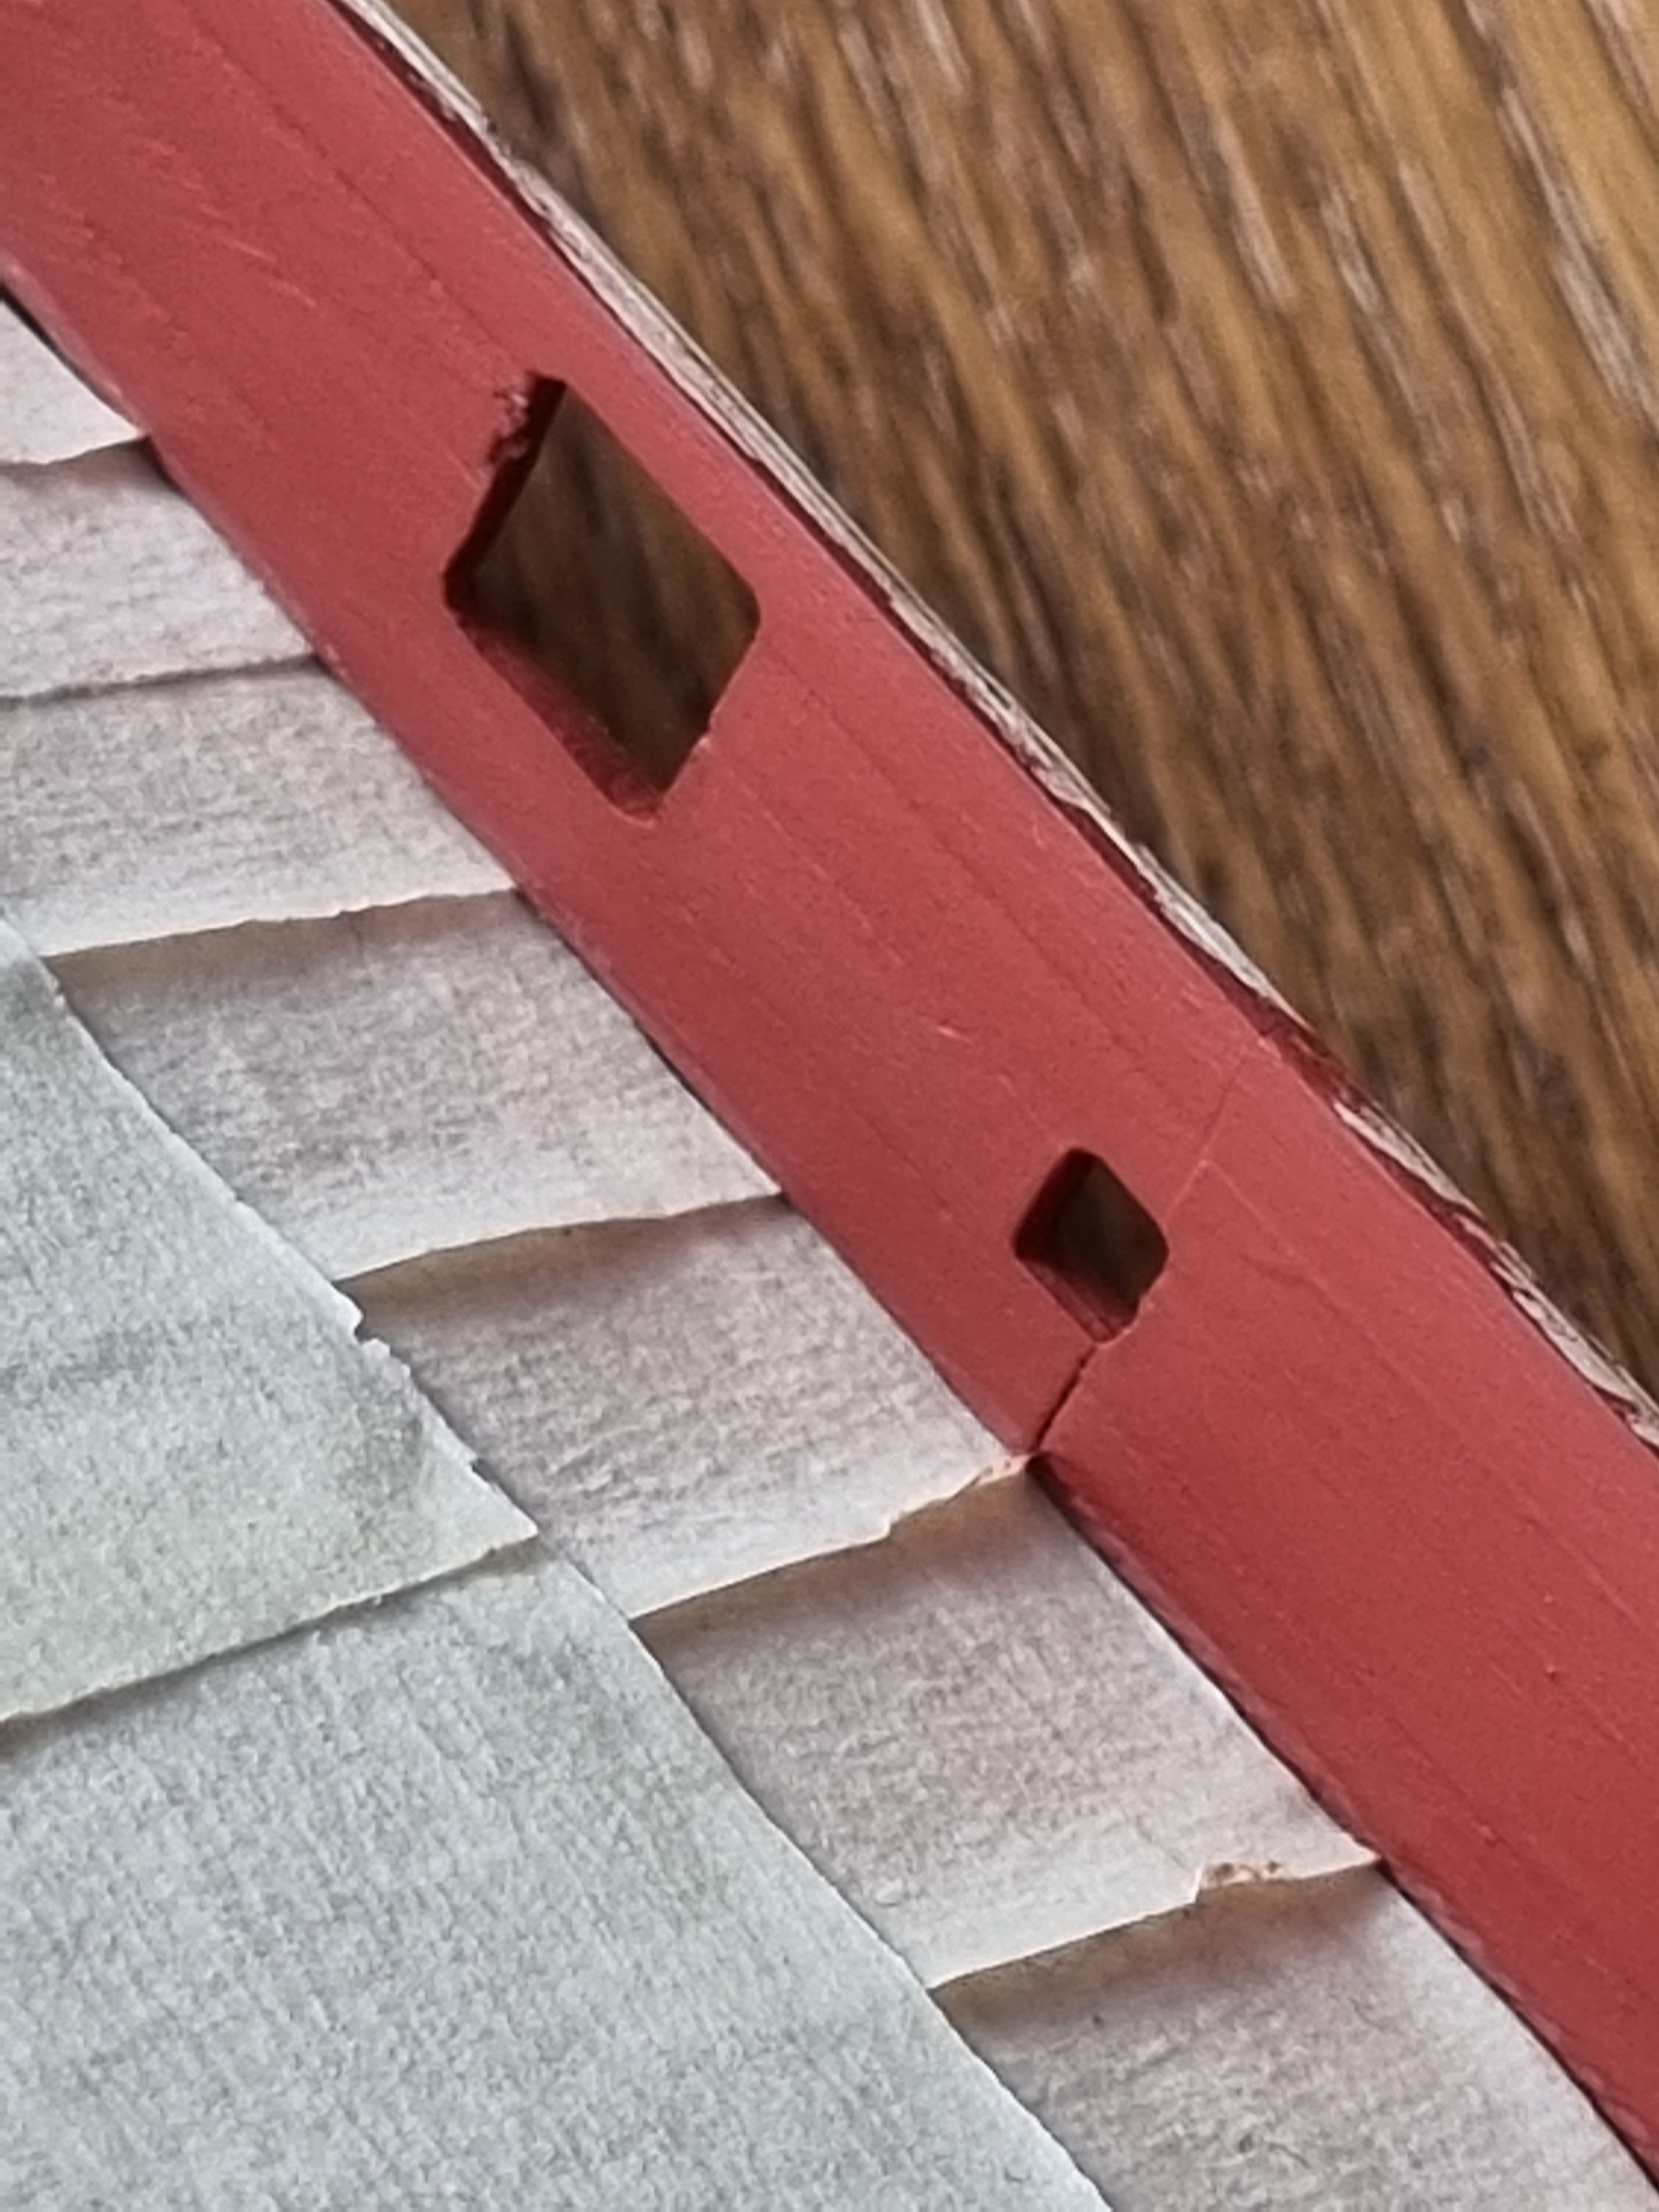
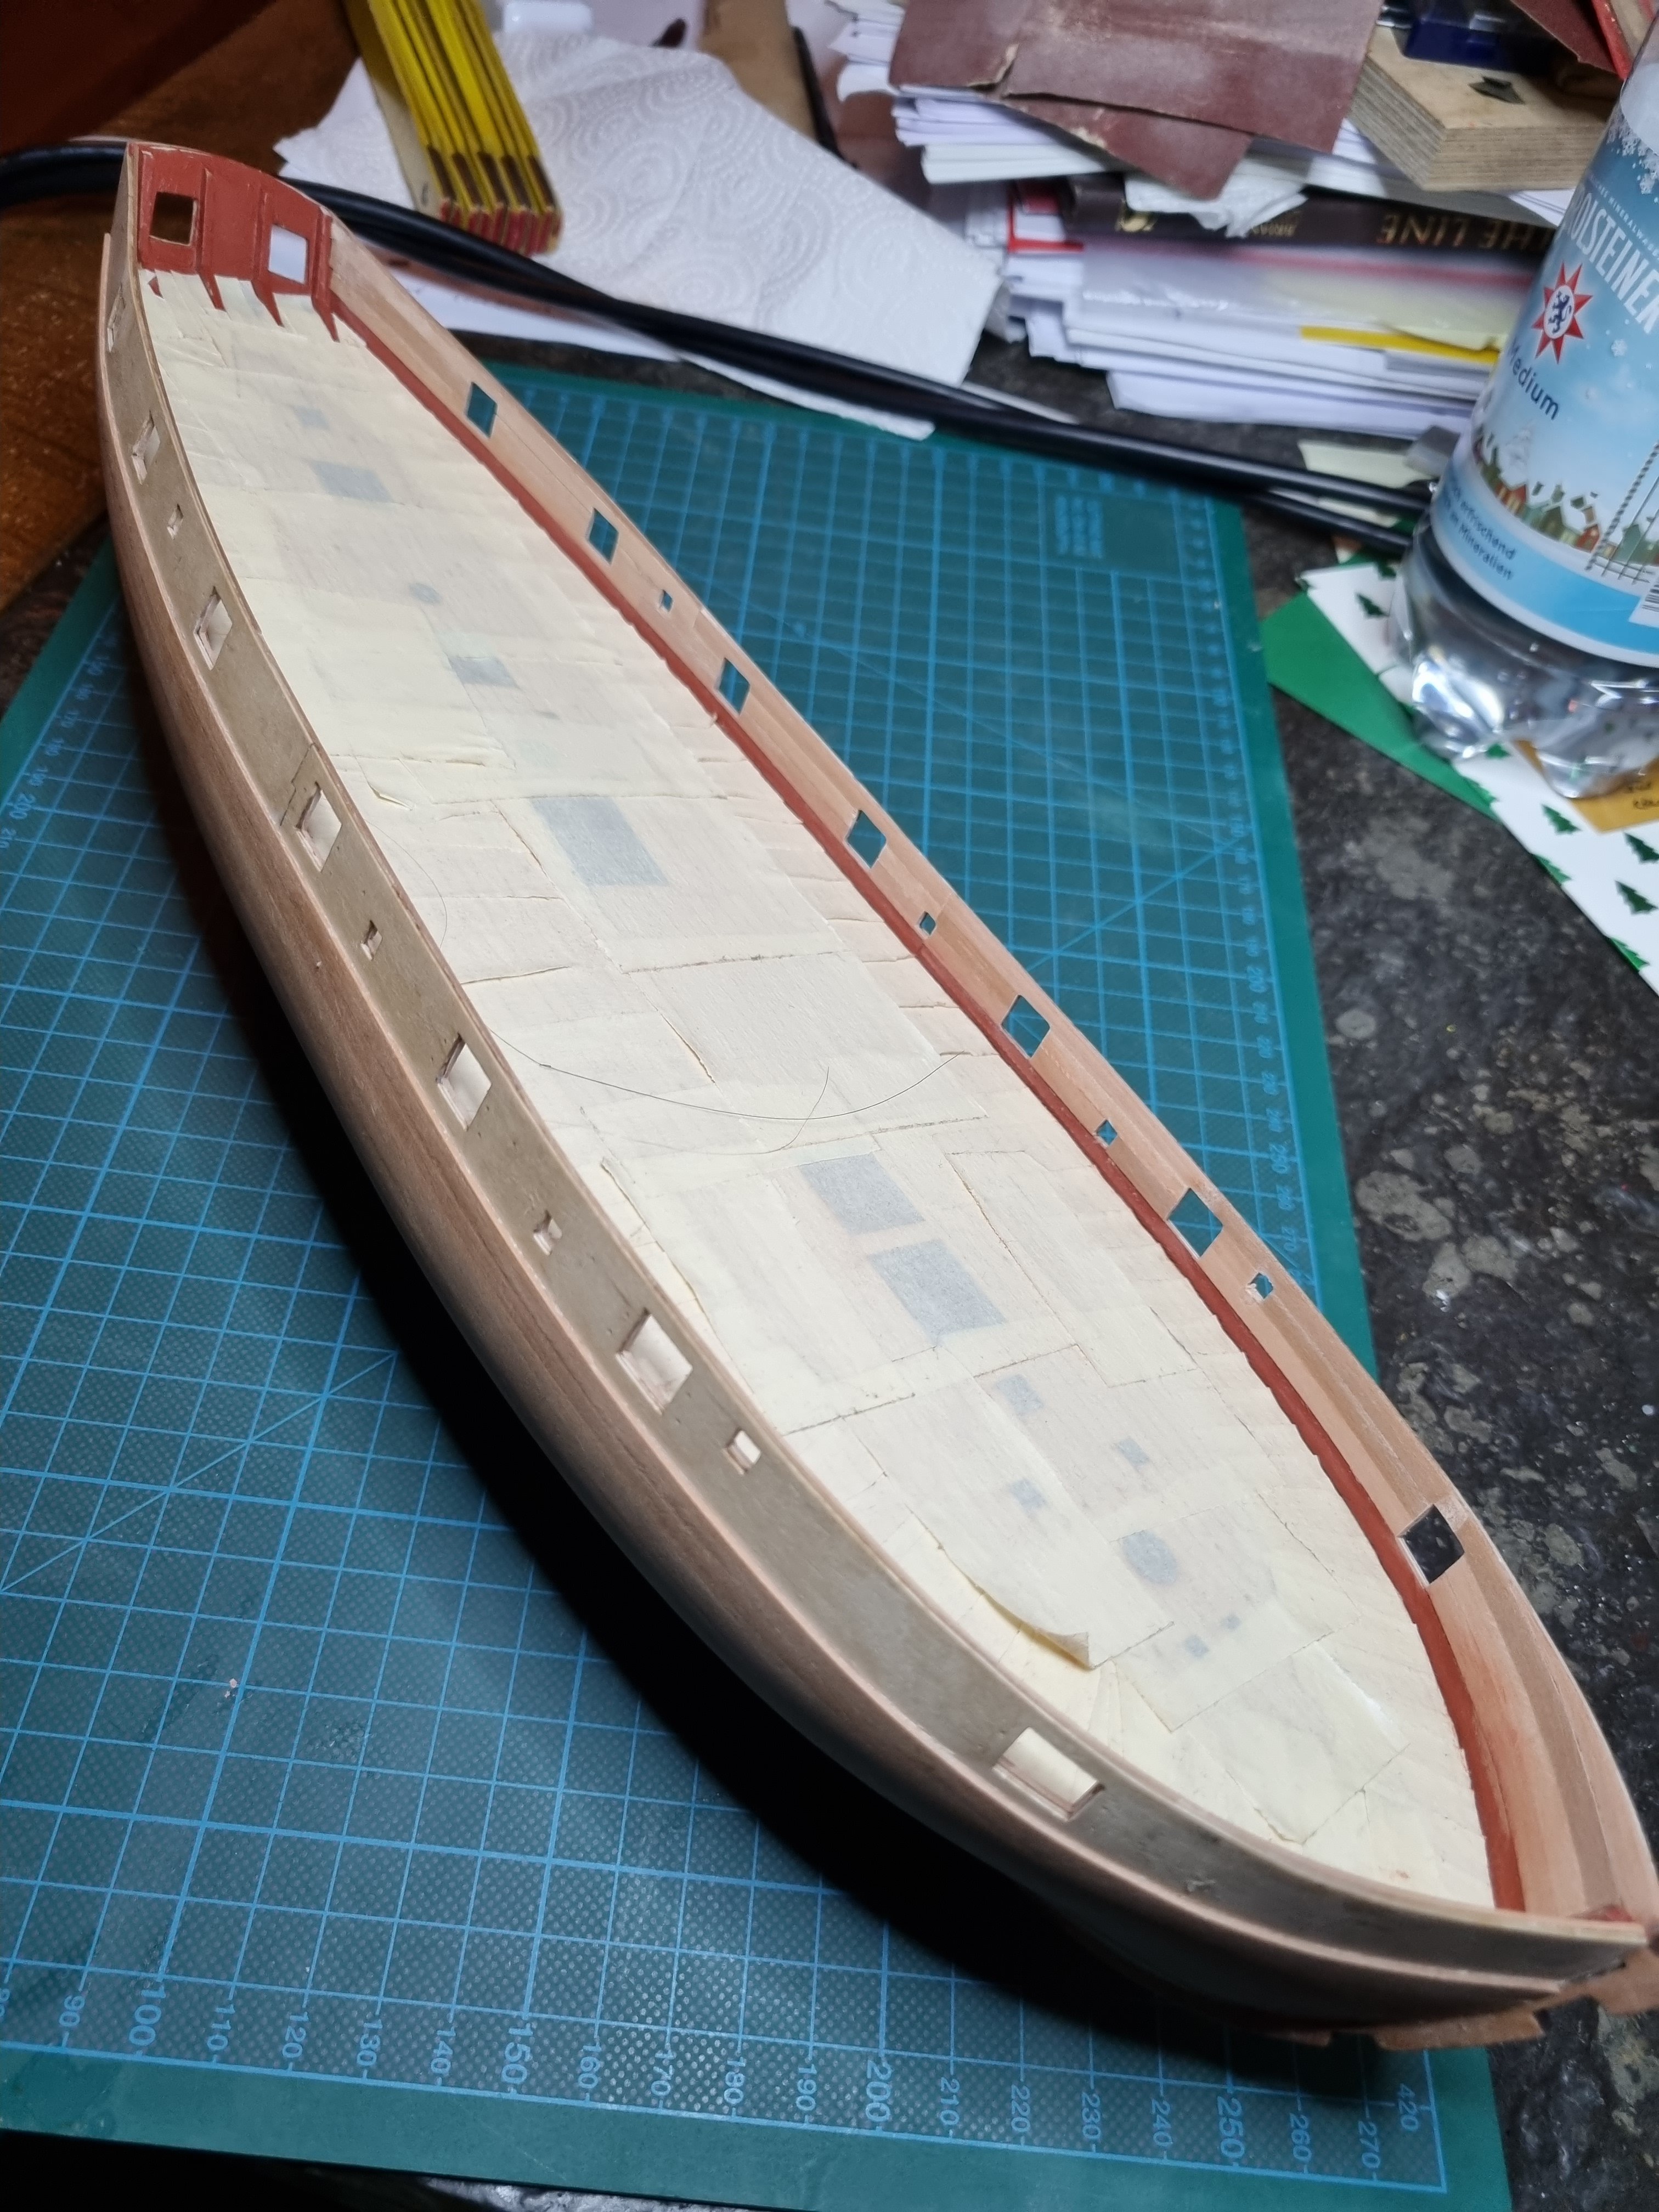
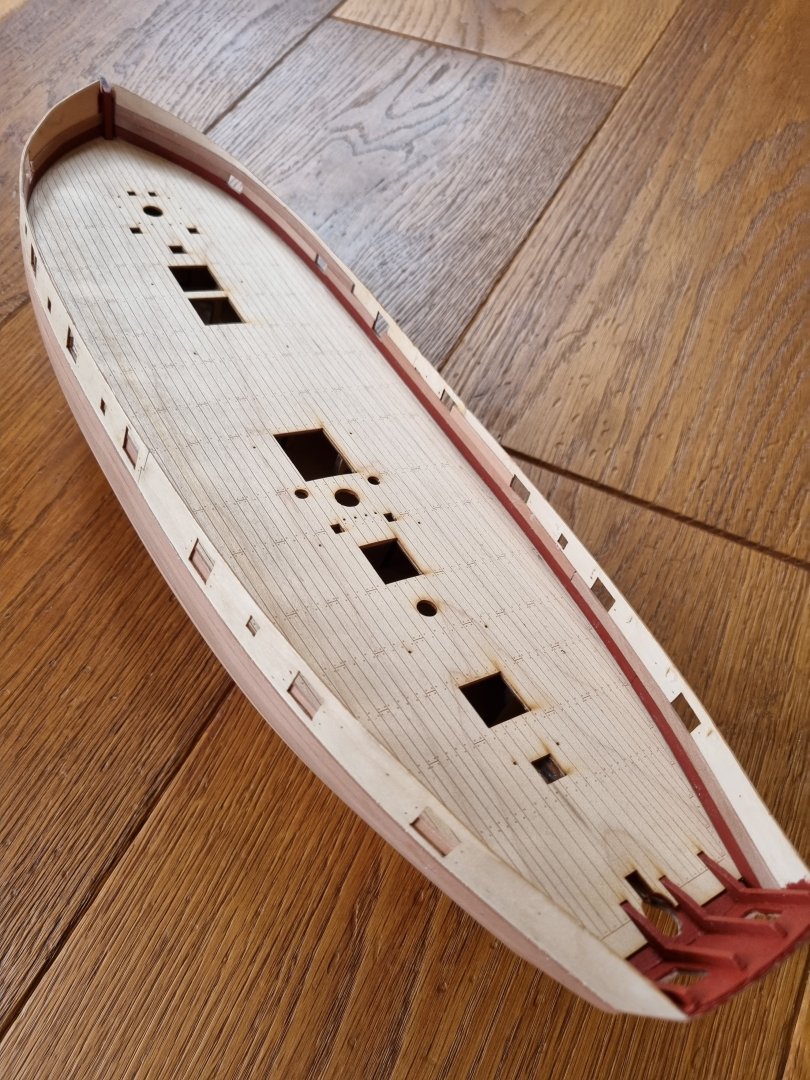
Interesting, how different the experiences are, that we all made with the same kit :-). This little notches for the deck are a kind of genius, because then you don't need to somehow clamp the deck down to follow the curve. On the other hand I totaly failed with the ply bulwarks, lol. But all I can see here ist that you are doing a fine job, IMHO! 🙂
-
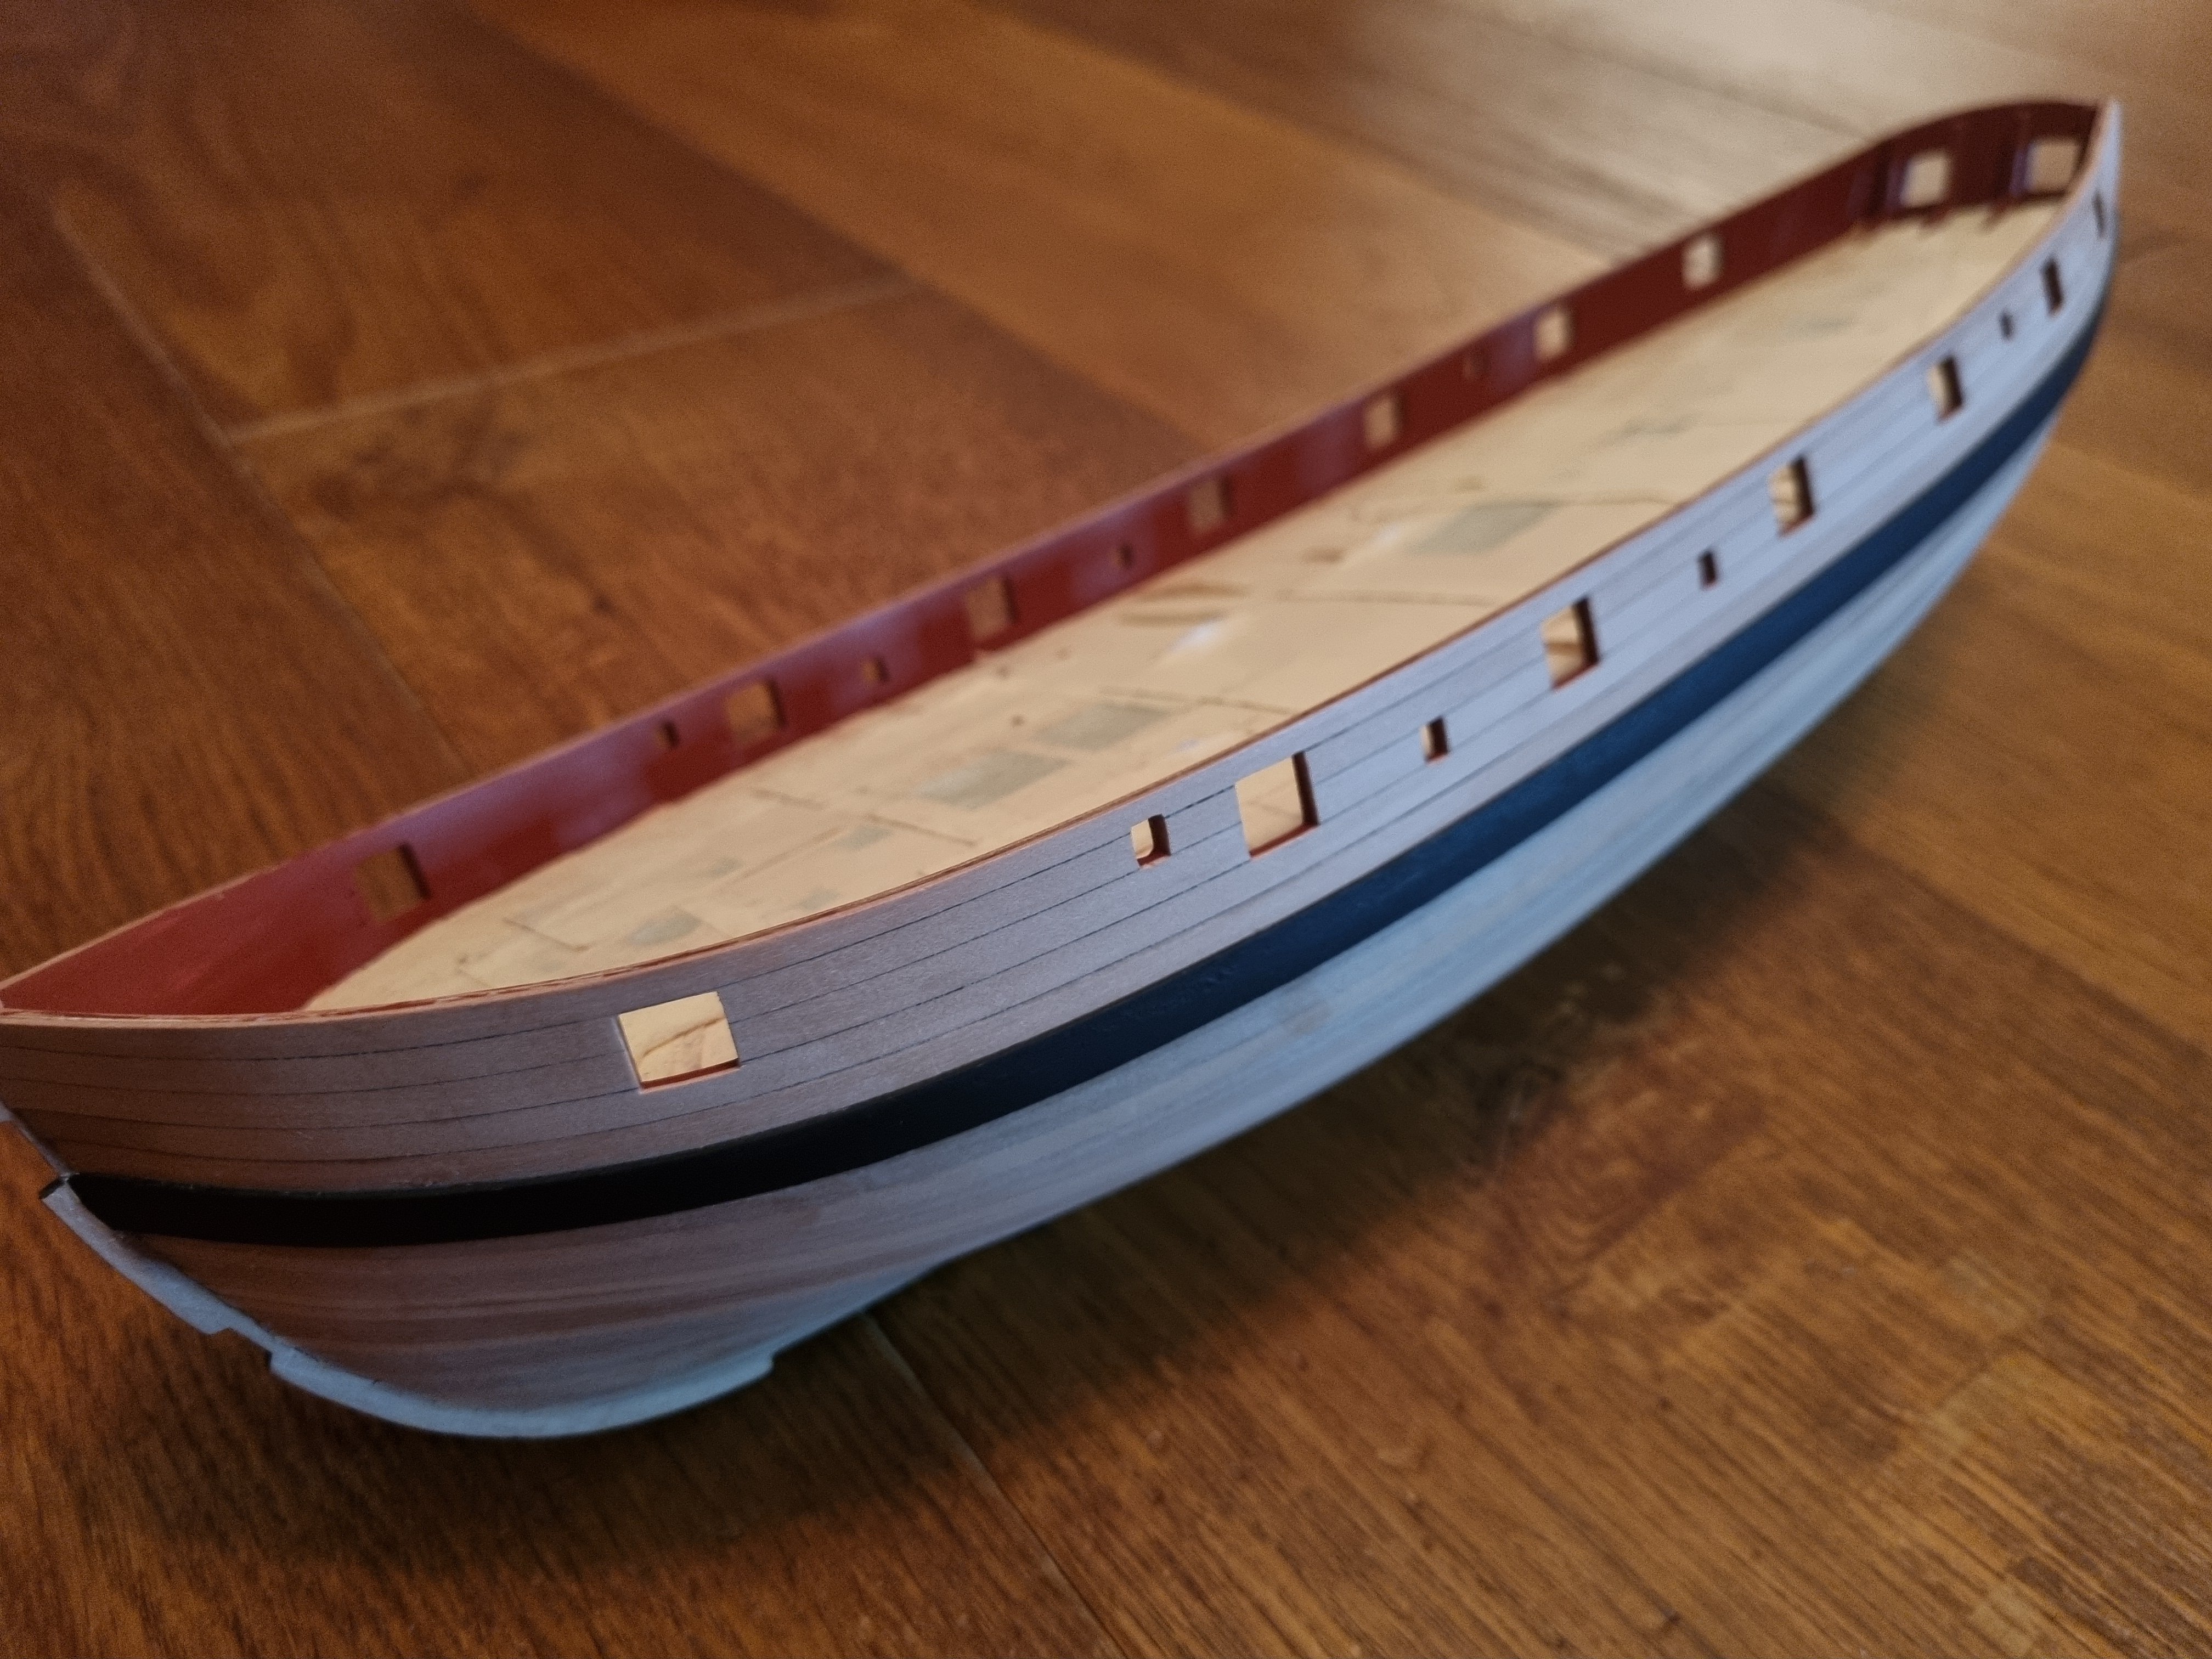
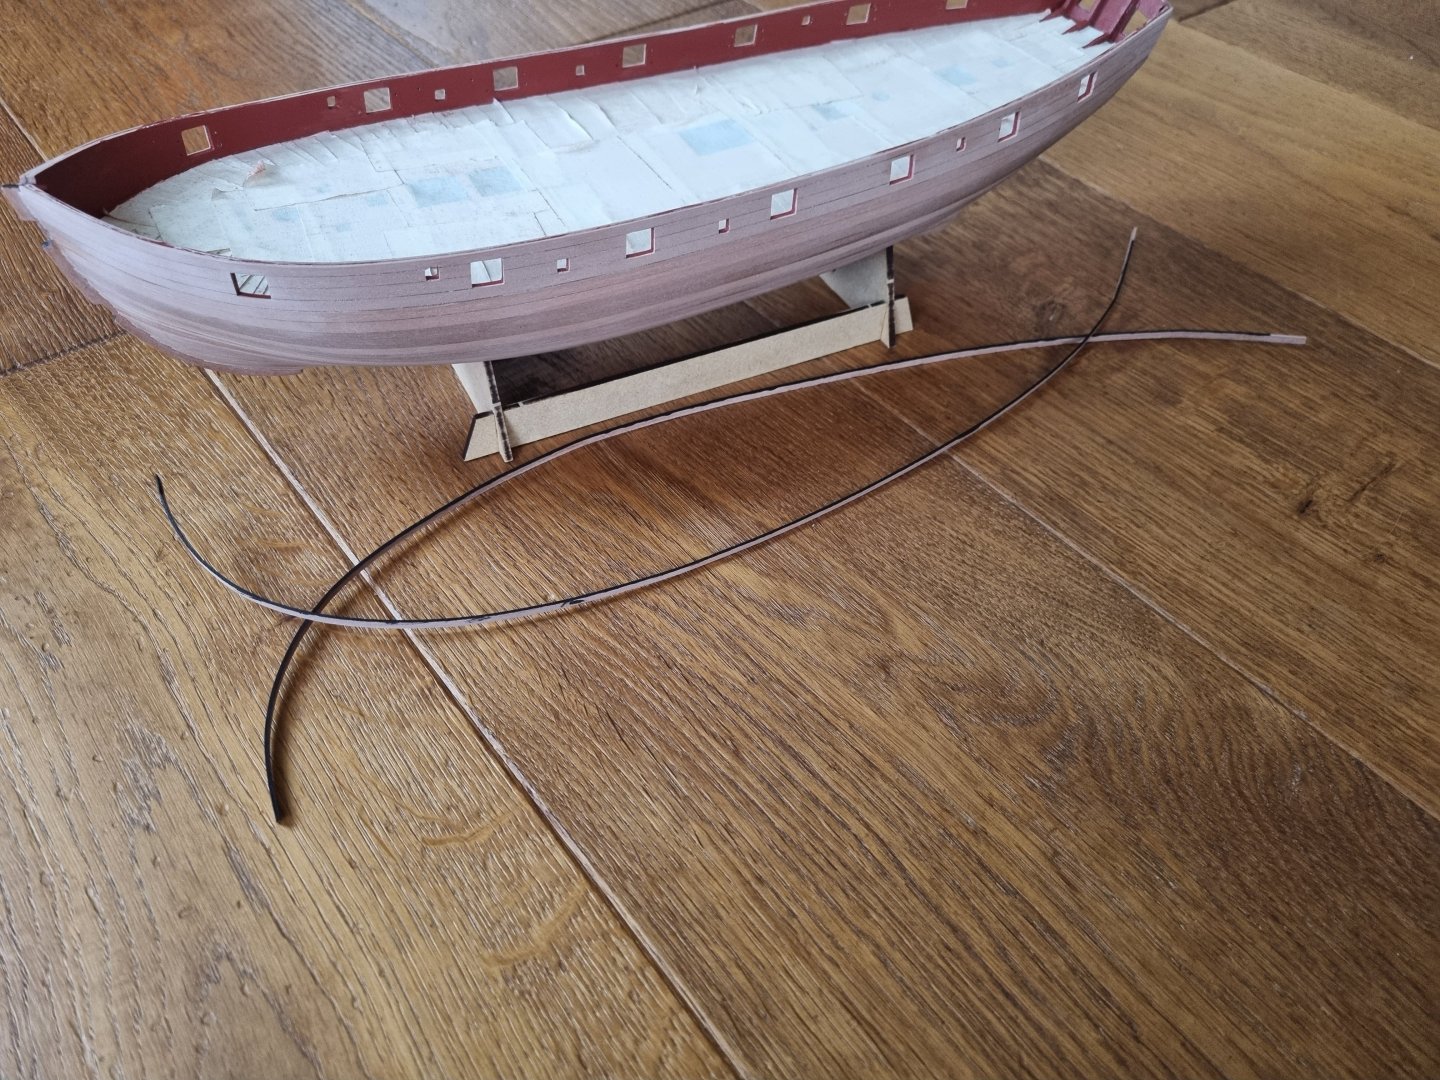
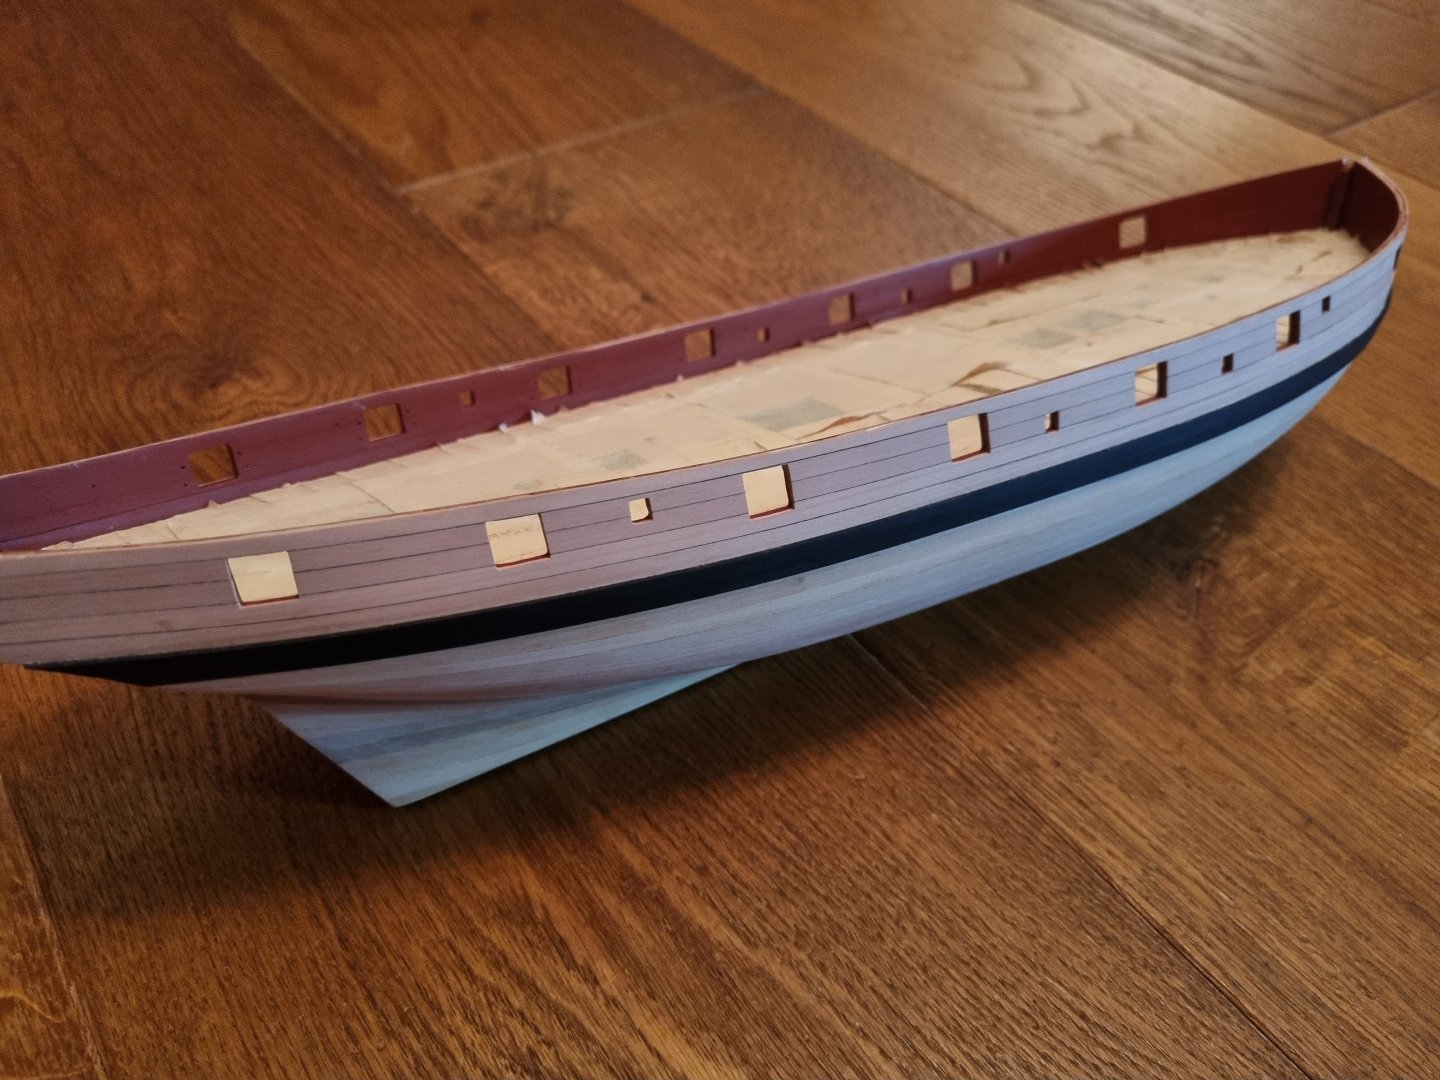
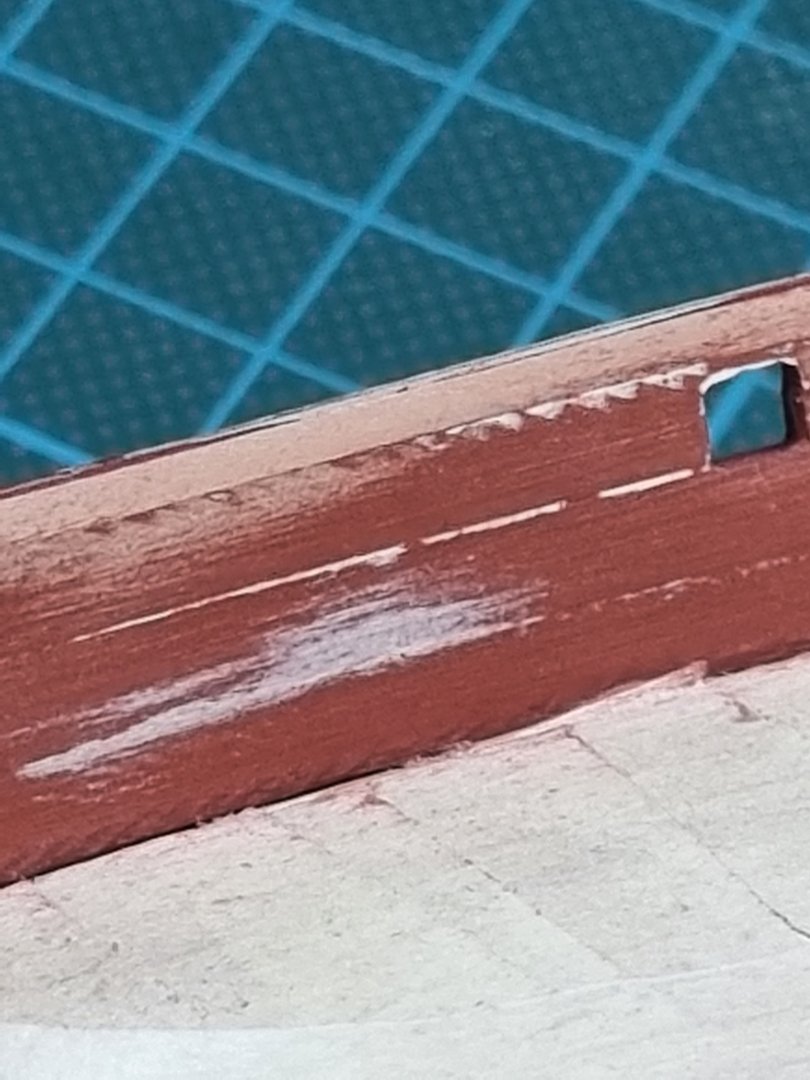
@Dave_E, @bruce d, @ccoyle, : thank you all for showing in and the thumbs up! 🙂 @chris watton: did I already mentioned how cool it is, that the master and creator himself shows into the logs of his followers and give help where needed and look how to improve his kits!? Thank you so much! @DelF: thank's a lot for your comment about my planking! In the end it is not as good as I dreamed of, but then, what could I espect from a first time build? I mean, I am quite please with it, and the best: I'm sure this will not be my last wooden-boat-model-adventure 🙂 Preperation for the wales done: Both strips for the wales are installed, sanding still to do: Messed it up, so some filler was needed: Some tuch-ups with black still required, but the overall look is quite ok for me :-). Here you can also see, that I painted the bullwarks not the whole way through, I left the outer planking in wood: More black needed, but wiht my light tremor I have a lot of respect for the paintings recently. At least, the curves come out good, and the underside will nobody else ever see: With the black wales as a seperator, the caulking is'nt as prominent as it was before, now I like it a lot more. Still need to decide if I want some blue on the first two planks. Painting black was a little bit frustating in the case of lost skills with the brush. I'm afraid to mess it up with more paint. Perhaps I should go for a 'less-is-more-style'. I would say with the wales is the planking-process finished. My conclusions or lessons learned: be more precise with the preparation of the planks in terms of the bevels to the planks next to it. If it is not good enough, there will be gaps appear during sanding. And, sort the strips for the start after colour and thickness. Colour is obvicious, and sorting after the thickness reduces the needed amount of sanding. I read the Chuck method, but here I think, the shown way in the manual of the kid is more than enough to get an smooth and nice looking hull. Of course, more effort is always possible to do 🙂


-
I always think it's such a shame to paint all your beautiful wood-work, but then your painting skills are also over the top, so, yes, one can't have both at the same time, even if I would love it 🙂
-
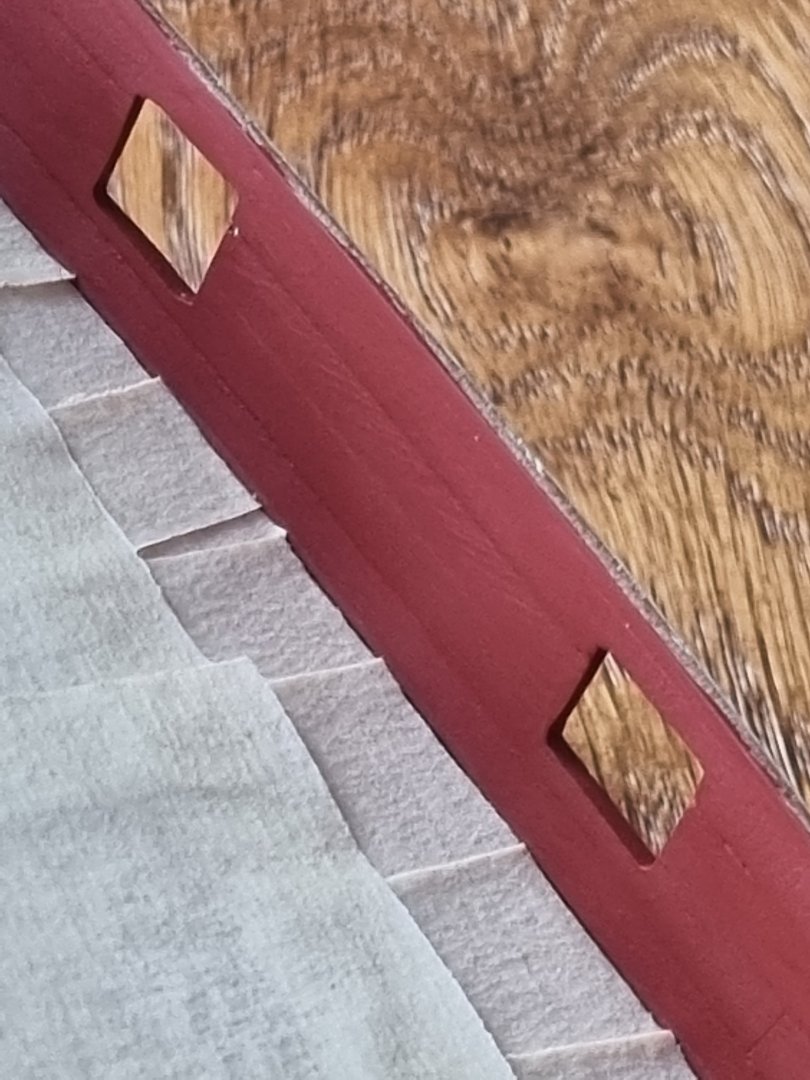
@bruce d: thank you too for your thumbs up! 🙂 I don't know if it is ok to post again just after five hours. I don't want to promote my log, I just had a very productive day and finished all the openigs in the bulwarks and also paint the tremples (?):

-
your micro-furniture is ace! 🙂
-
The more I see, the more I like your colours 🙂 I know, I posted this already, but now, at the bow, it all comes together very nicley 🙂
- 857 replies
-
- 3
-

-

-
- Sphinx
- Vanguard Models
- (and 1 more)
-
@SpyGlass and @David Lester: again, thank you very much for your support 🙂 one side to go: still needs more sanding on the hull...
-
the cannon-rigging looks very good, even in this smal scale! Good motivation, this log! 🙂
- 91 replies
-
- 1
-
-
- Speedy
- Vanguard Models
- (and 1 more)
-
This looks verg good to me! 🙂 Hope the second try works out for you!
- 476 replies
-
- 3
-
-
-
- sphinx
- vanguard models
- (and 1 more)
-
In my imgaination, this ships are allways bigger as the are, as you're paper-captain points out again 🙂 And: great build!
-
I will follow this too! 🙂
-
@Phill H and @David Lester: thank's for lookin in and the thumbs up 🙂 Some progres: I like the overall lines of this ship: Perhaps the caulking comes out a bit to prominent:https://abload.de/img/20220131_103912v4k1t.jpg Start to reopen the gun ports
-
you have a good pace in your build 🙂
-
Great model! 🙂
-
I'm realy noisy how your own mast-creation from the square stock will turn out! Nevertheless, a great build so far 🙂
- 542 replies
-
- 1
-
-
- Sphinx
- Vanguard Models
- (and 3 more)
-
great start 🙂
-
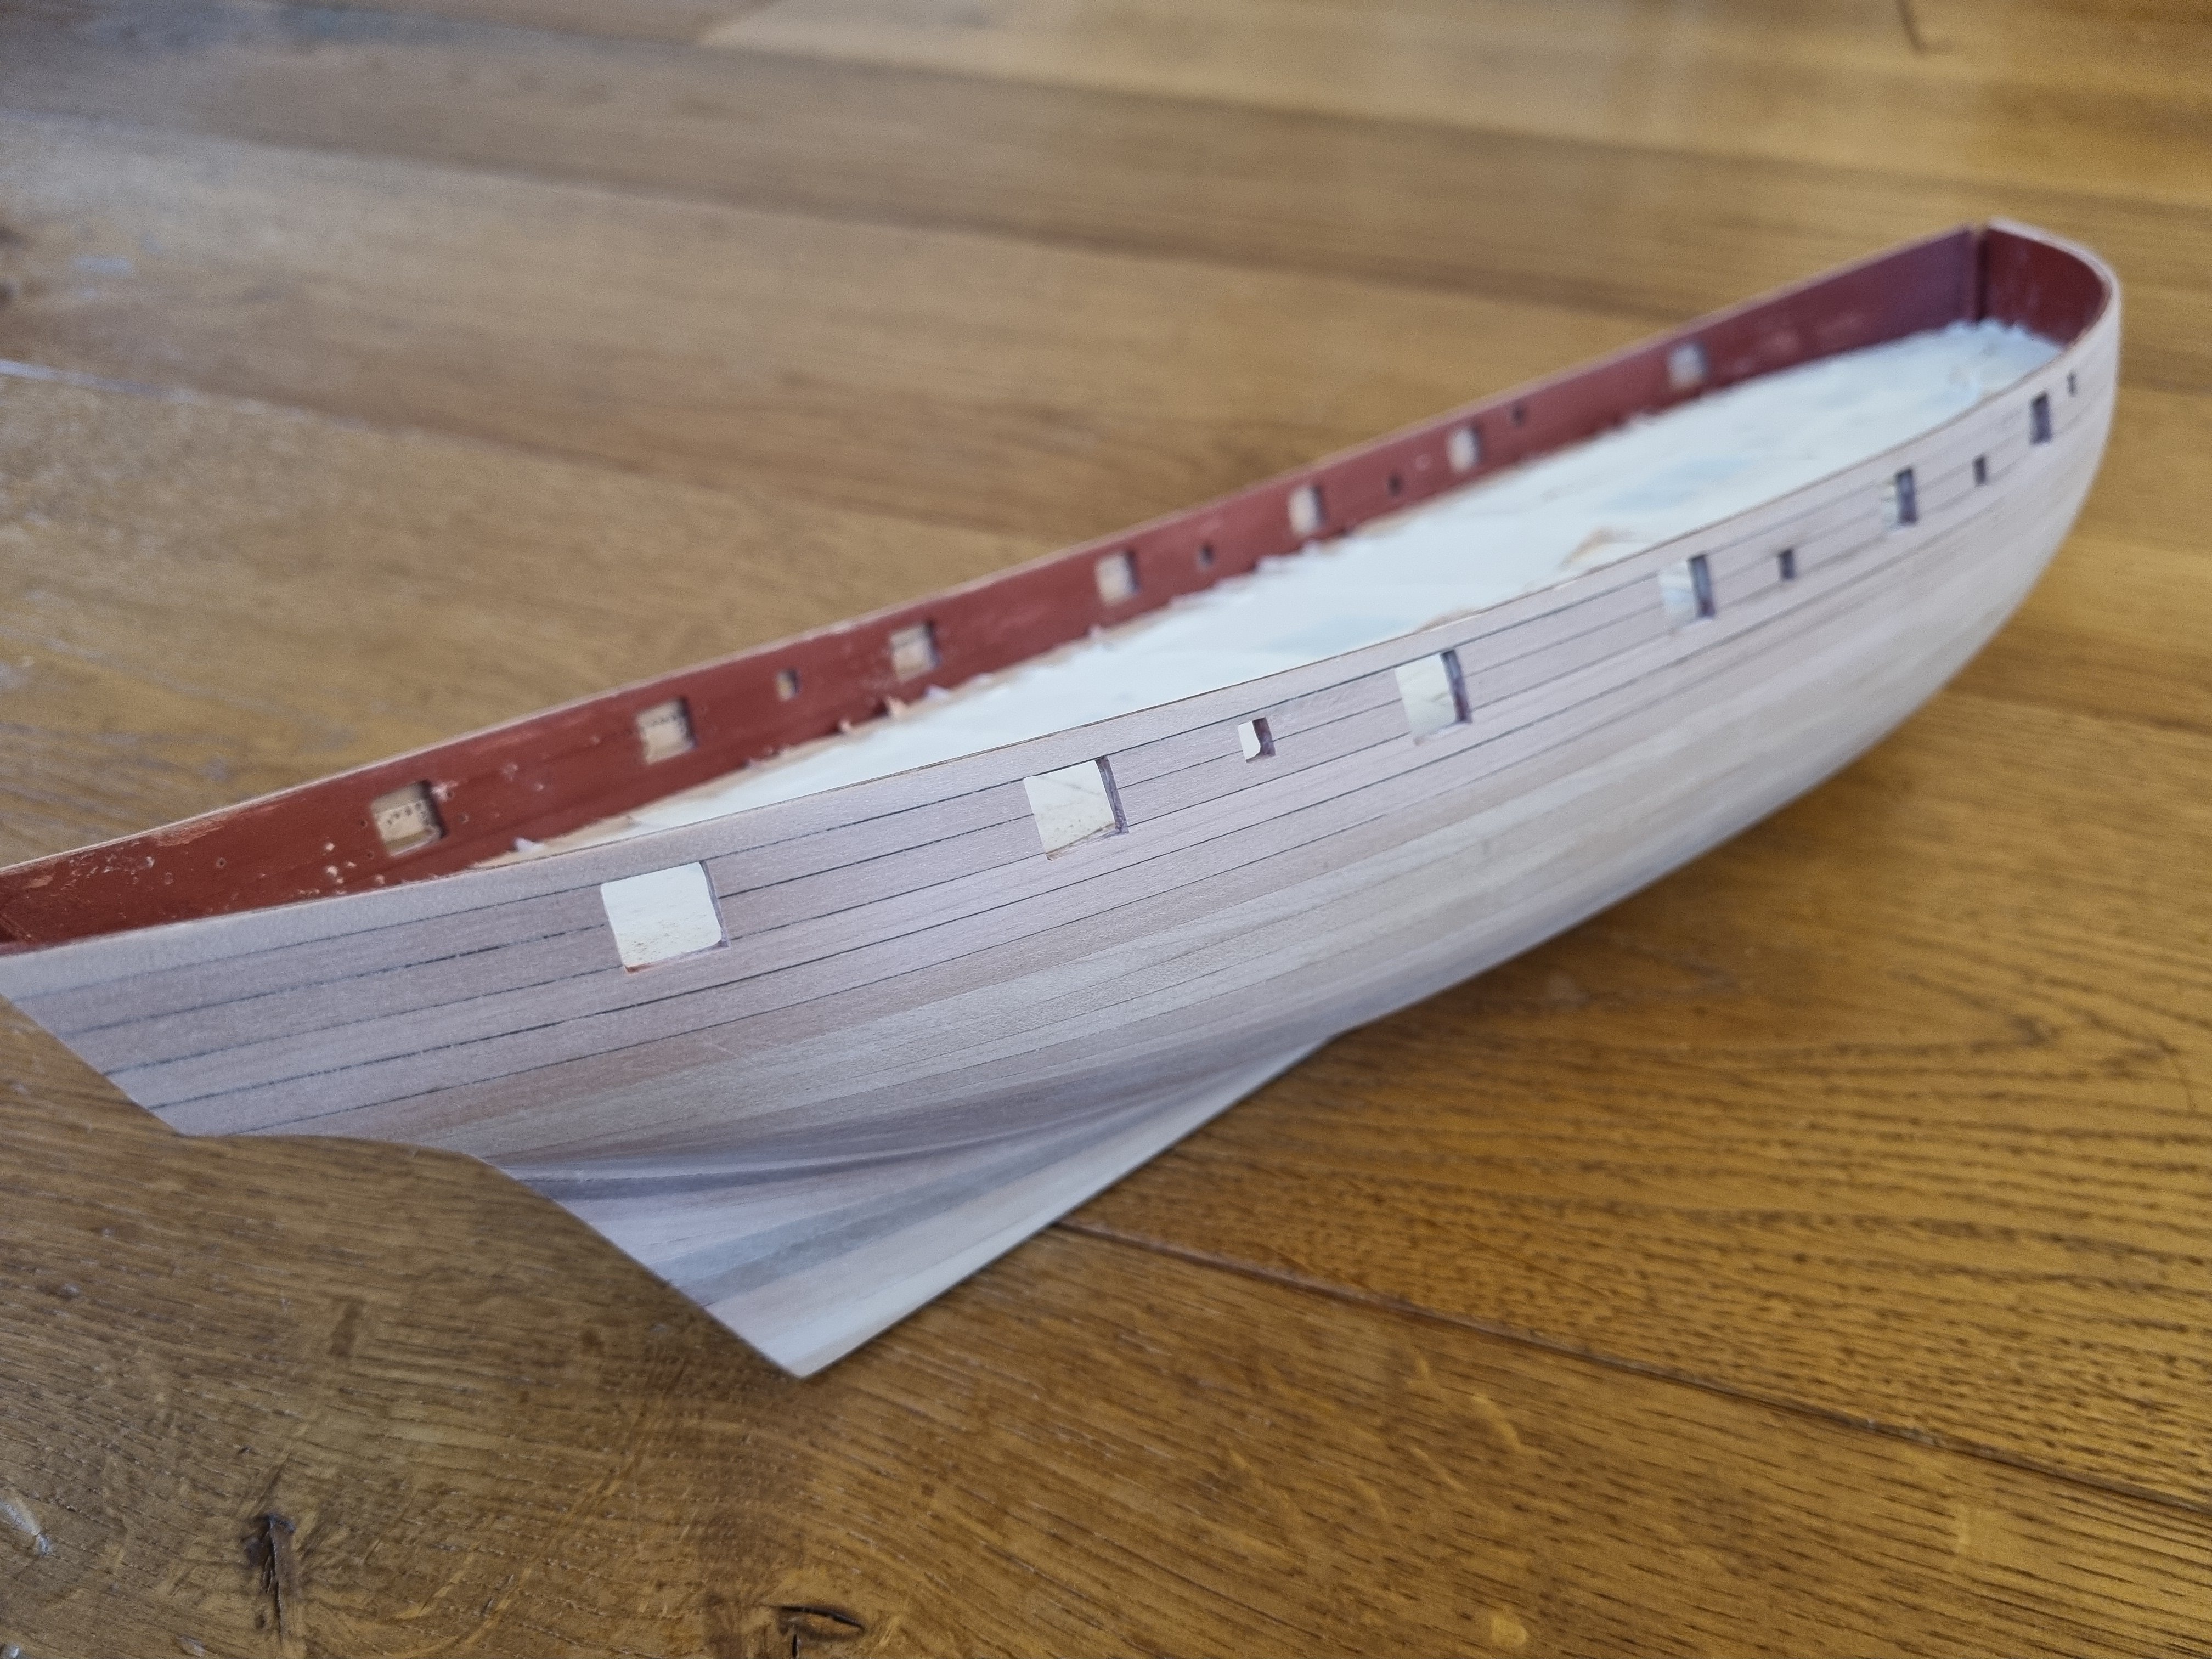
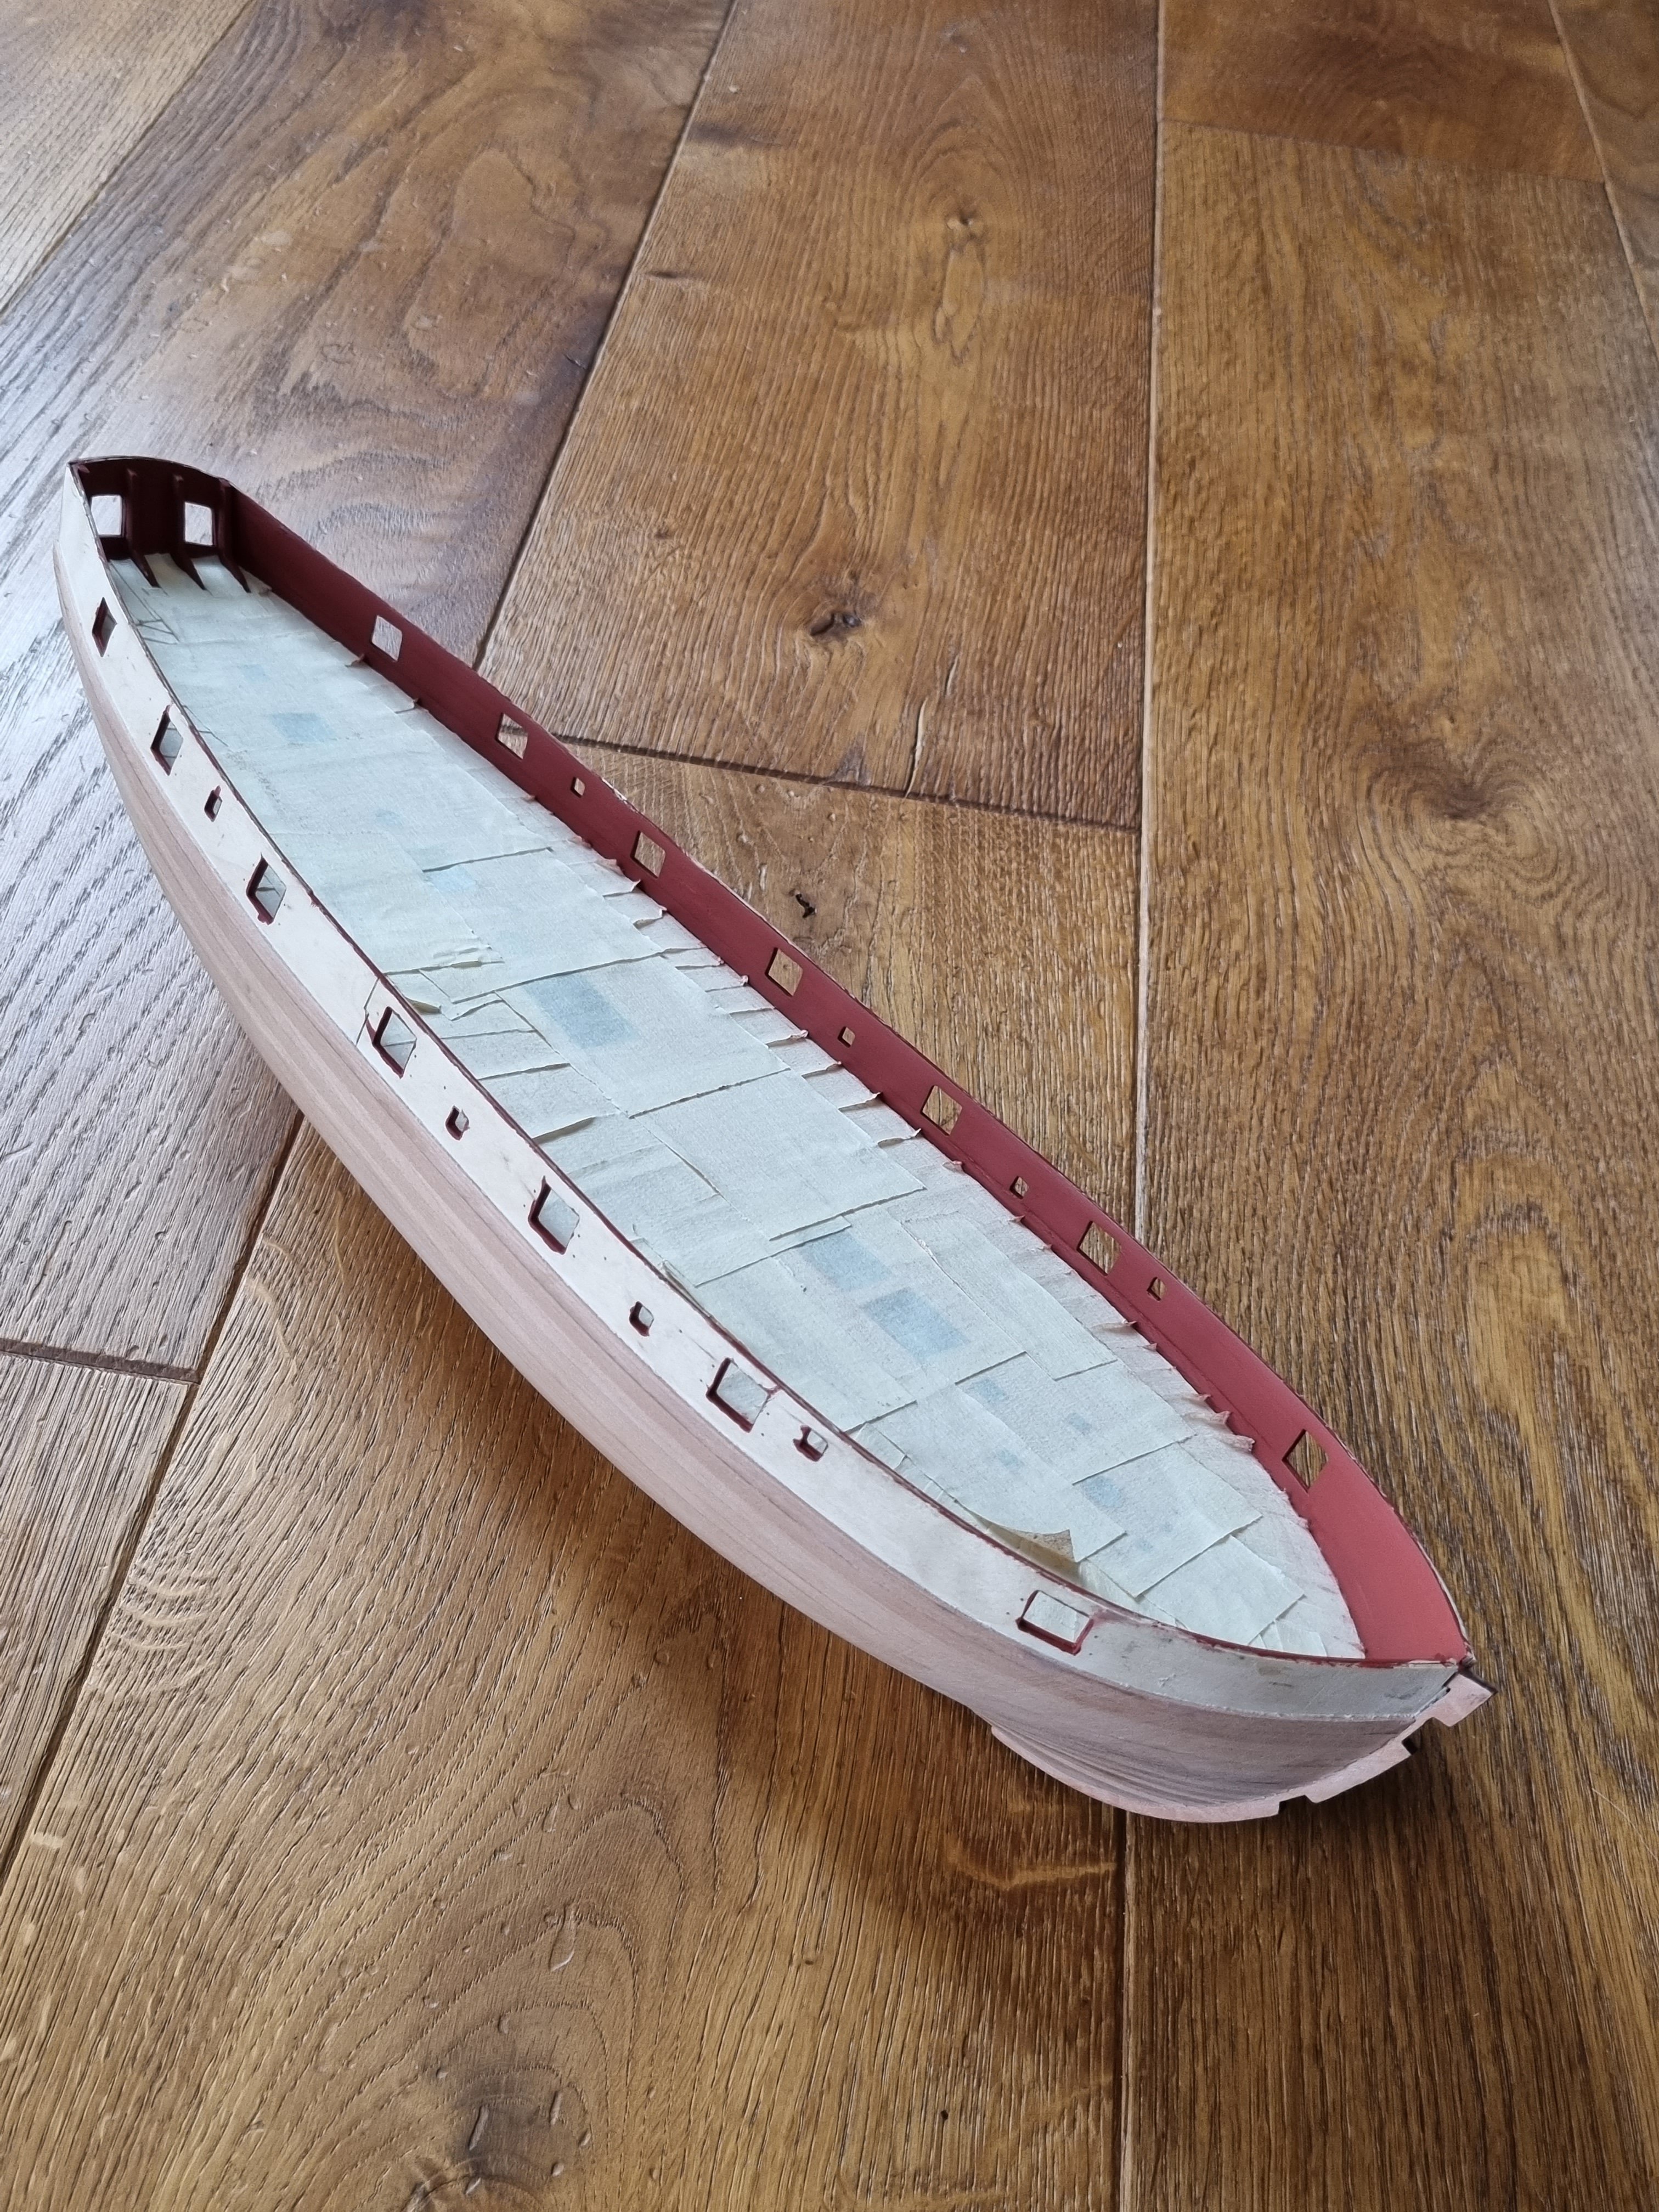
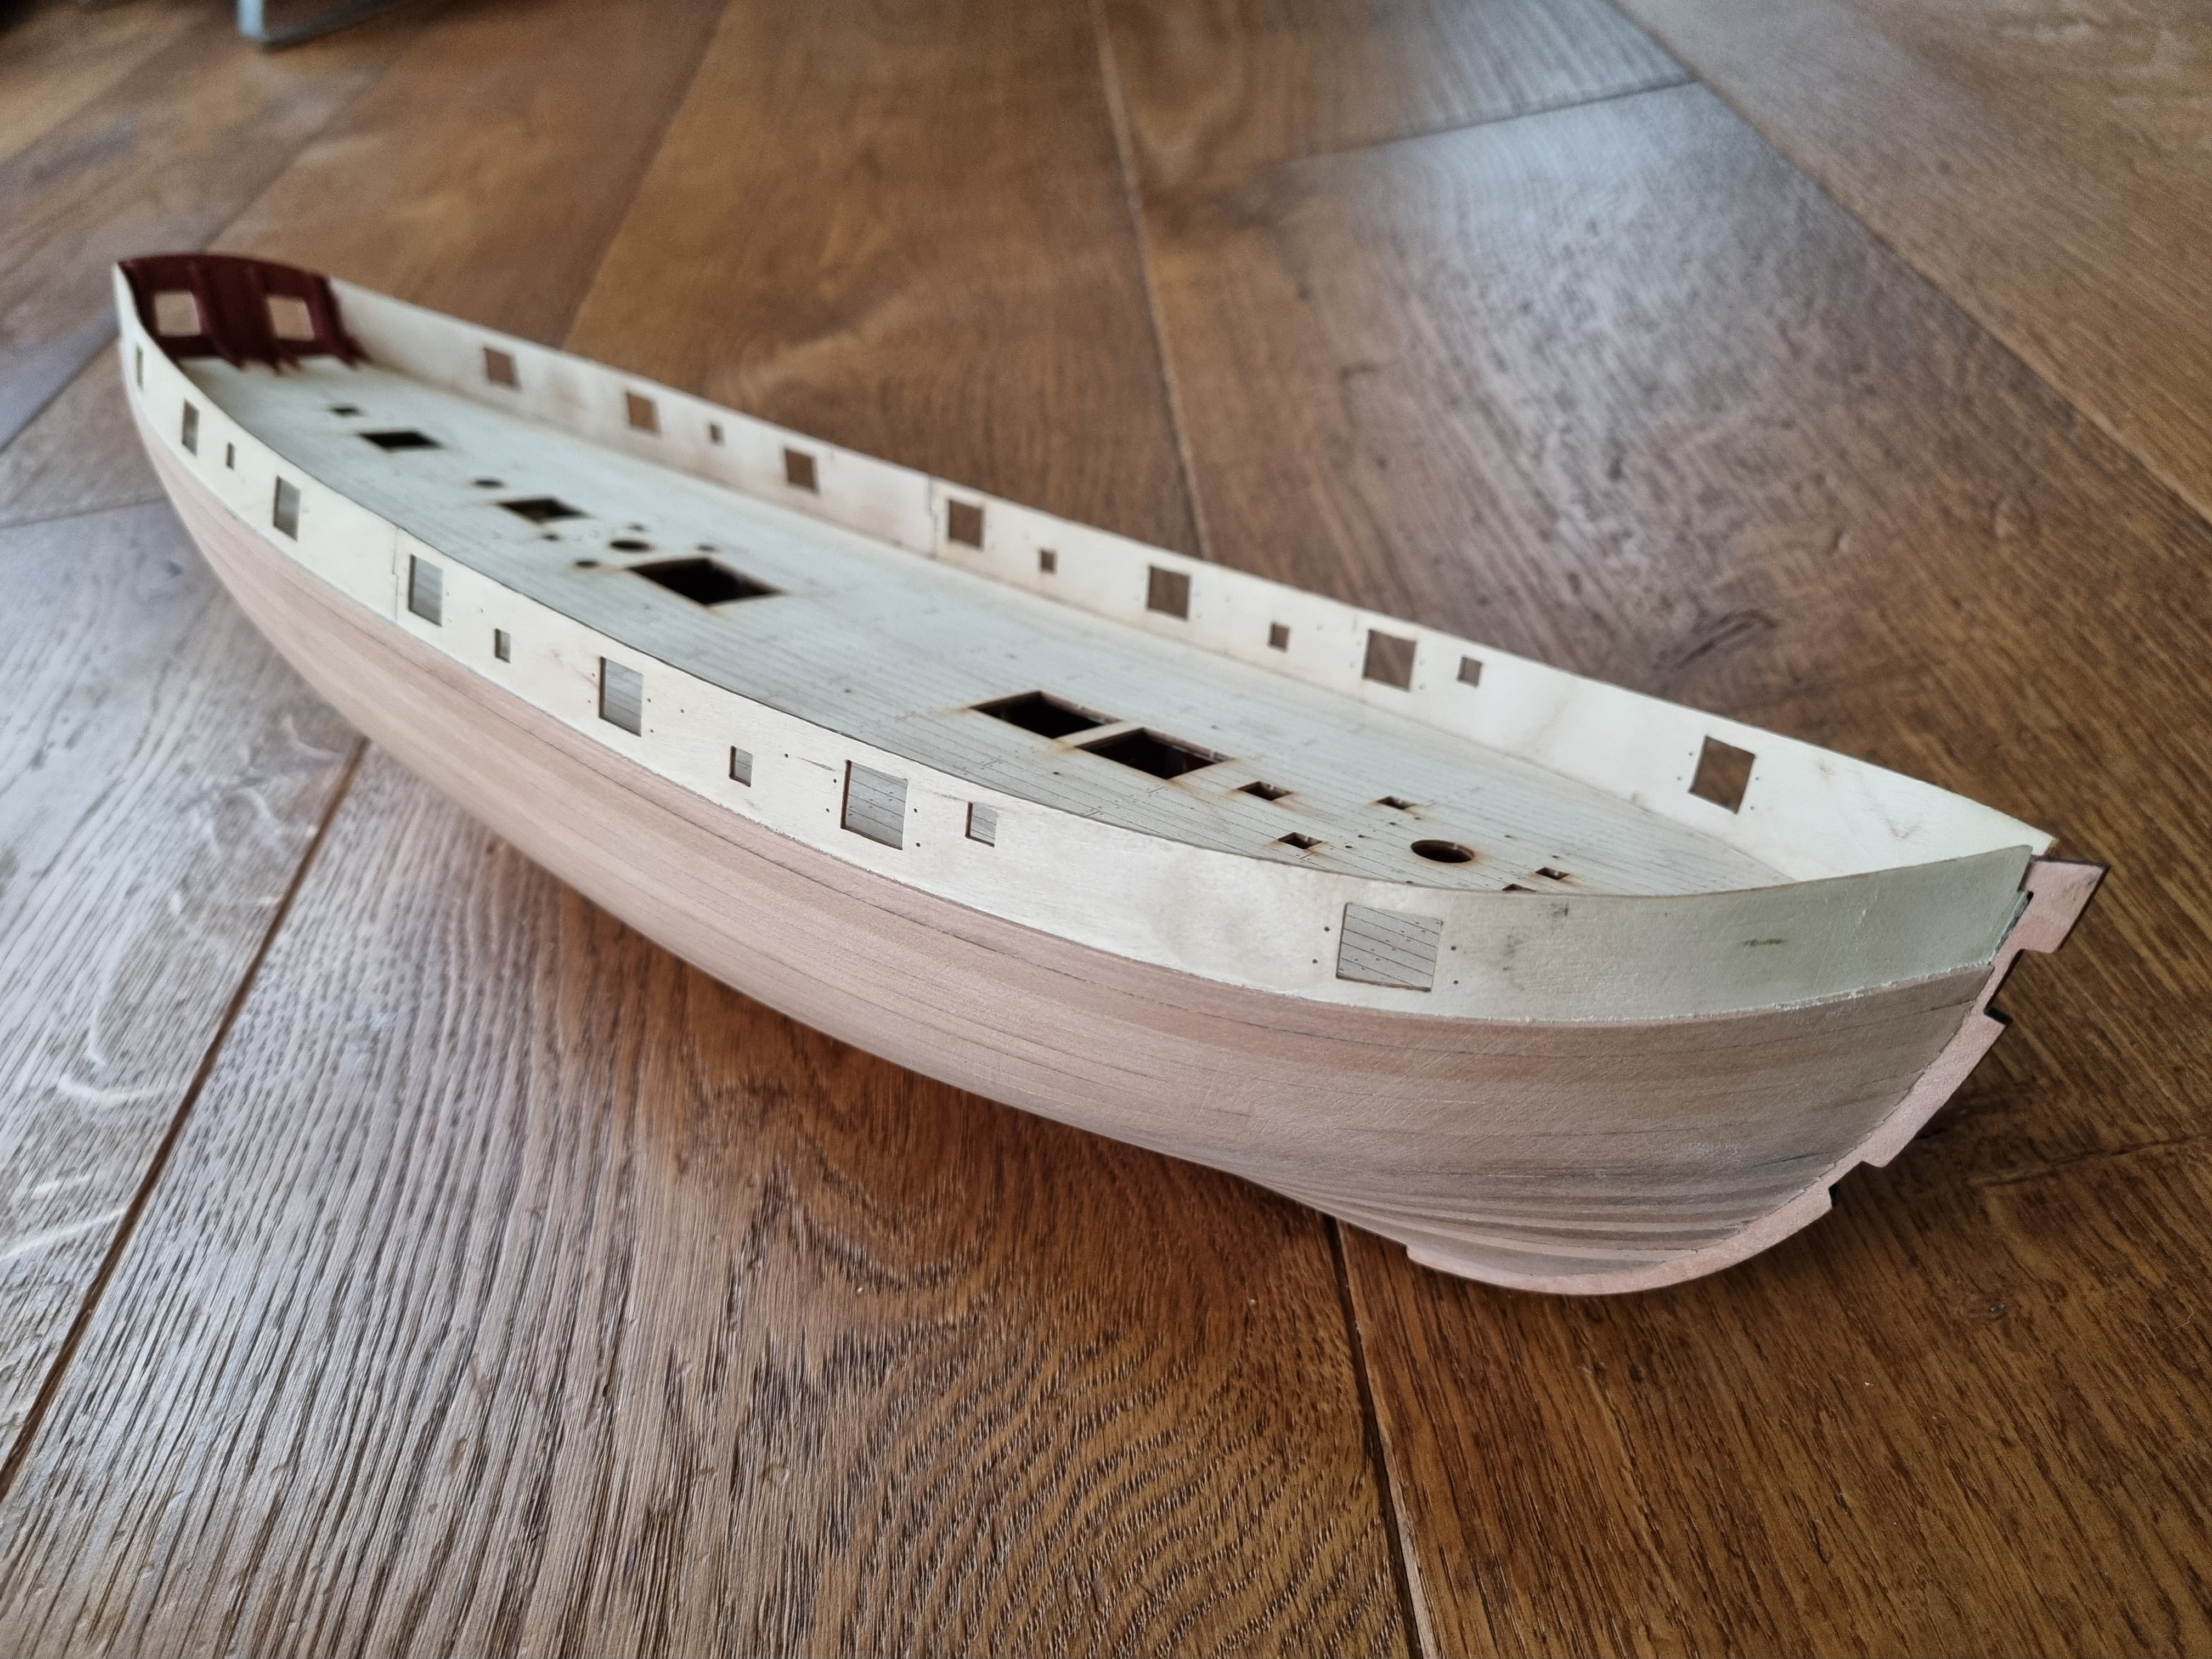
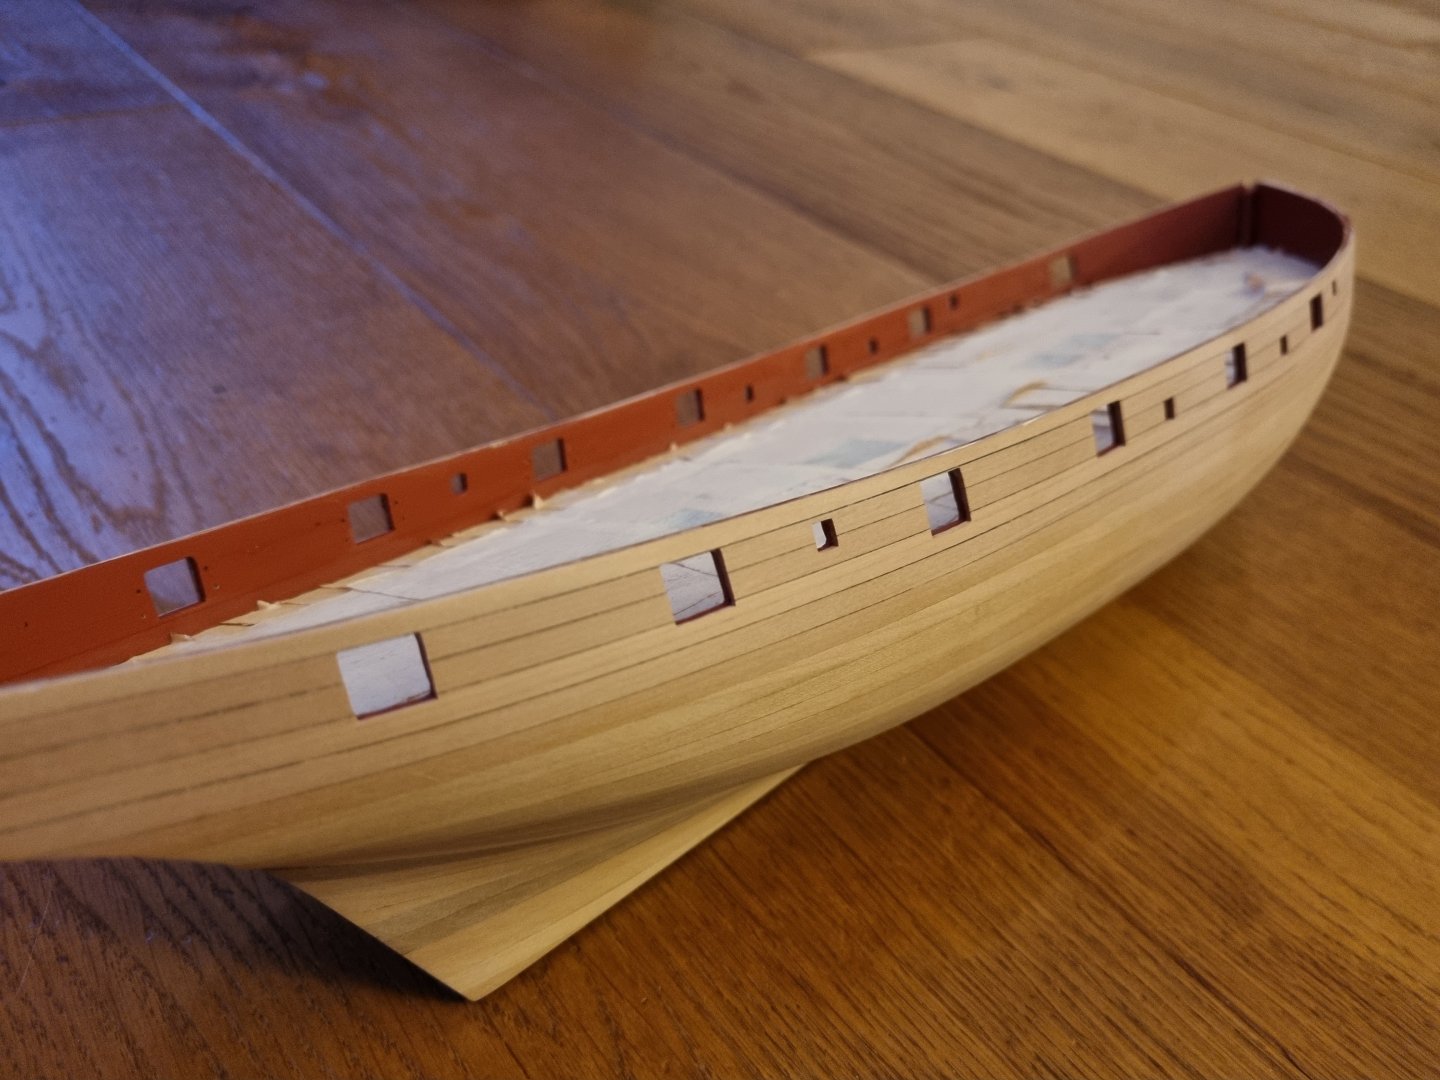
@PhillH, @ccoyle, @VTHokiEE, @Delf, @David Lester, @dunnock: thank you all very much for your thumbs up, much appreciated 🙂 Ok, did two complete circles (filling, sanding, painting) some inbetweens: Not nearly perfect, but so it is ok, I think: Now I have to relearn this planking stuff, lol


-
Very clean and crisp work, I like that!
-
Amazing, what you add to this allready phantastic kits 🙂
- 857 replies
-
- 3
-
-
- Sphinx
- Vanguard Models
- (and 1 more)
-
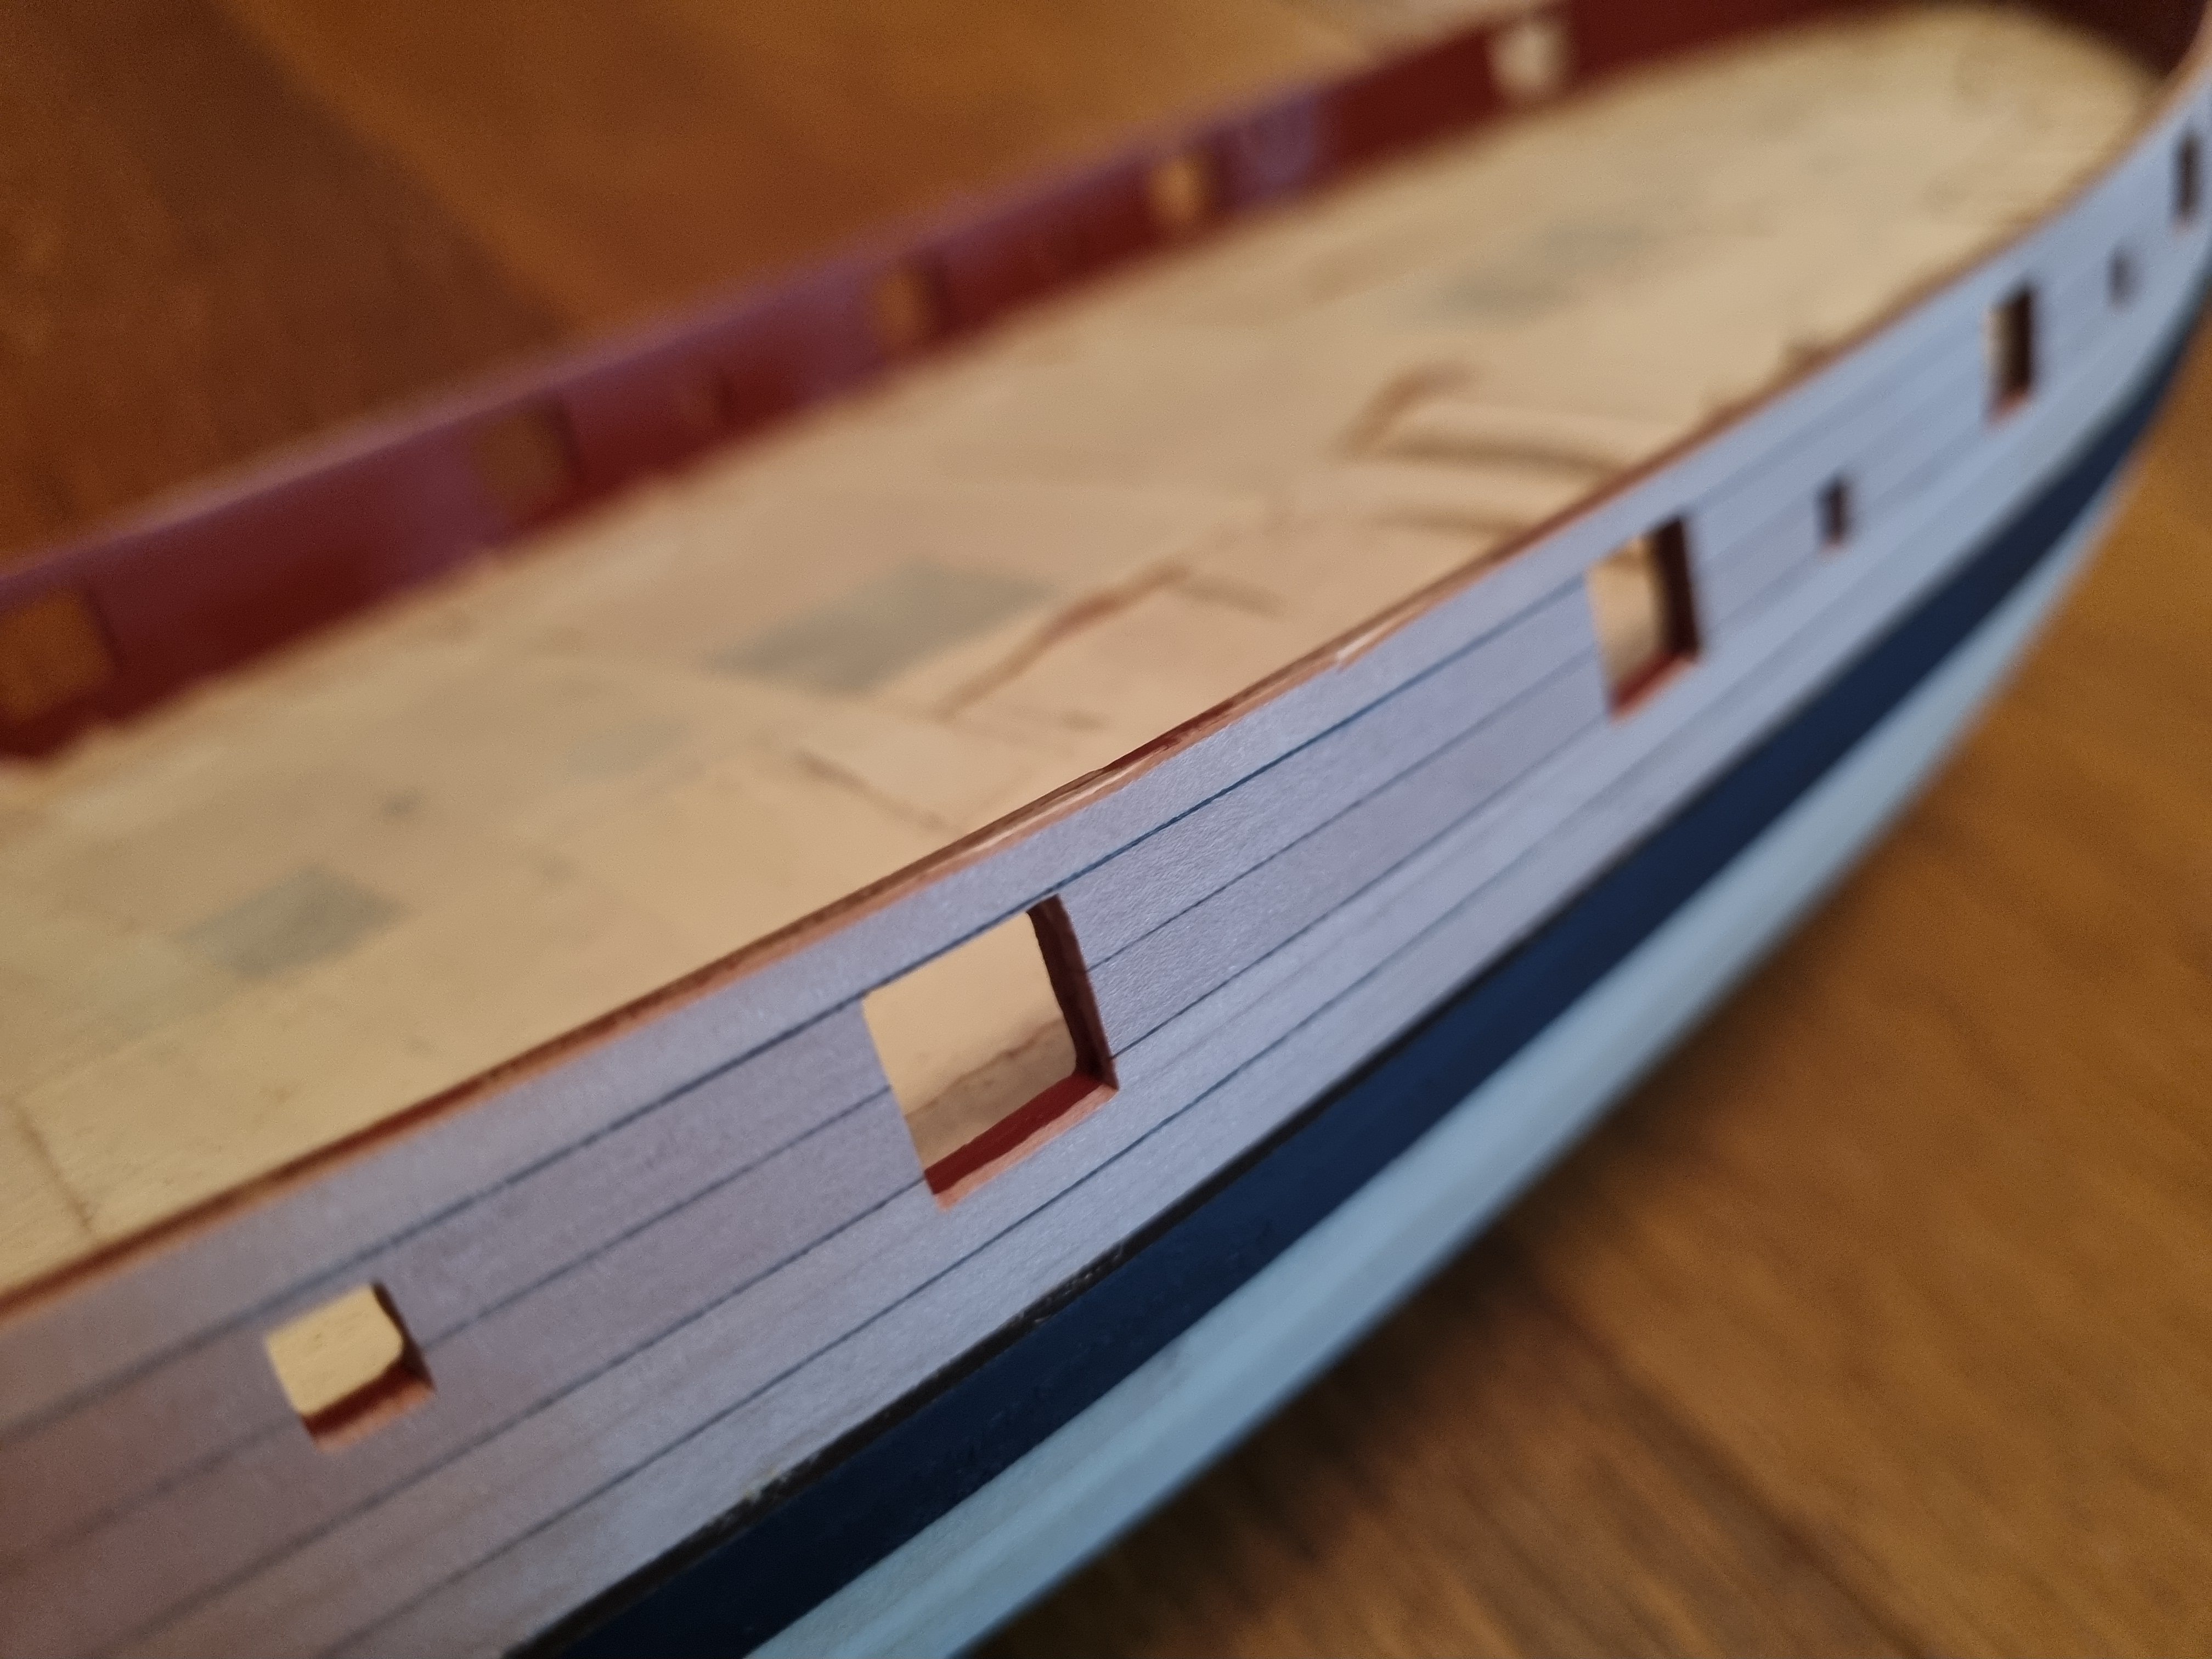
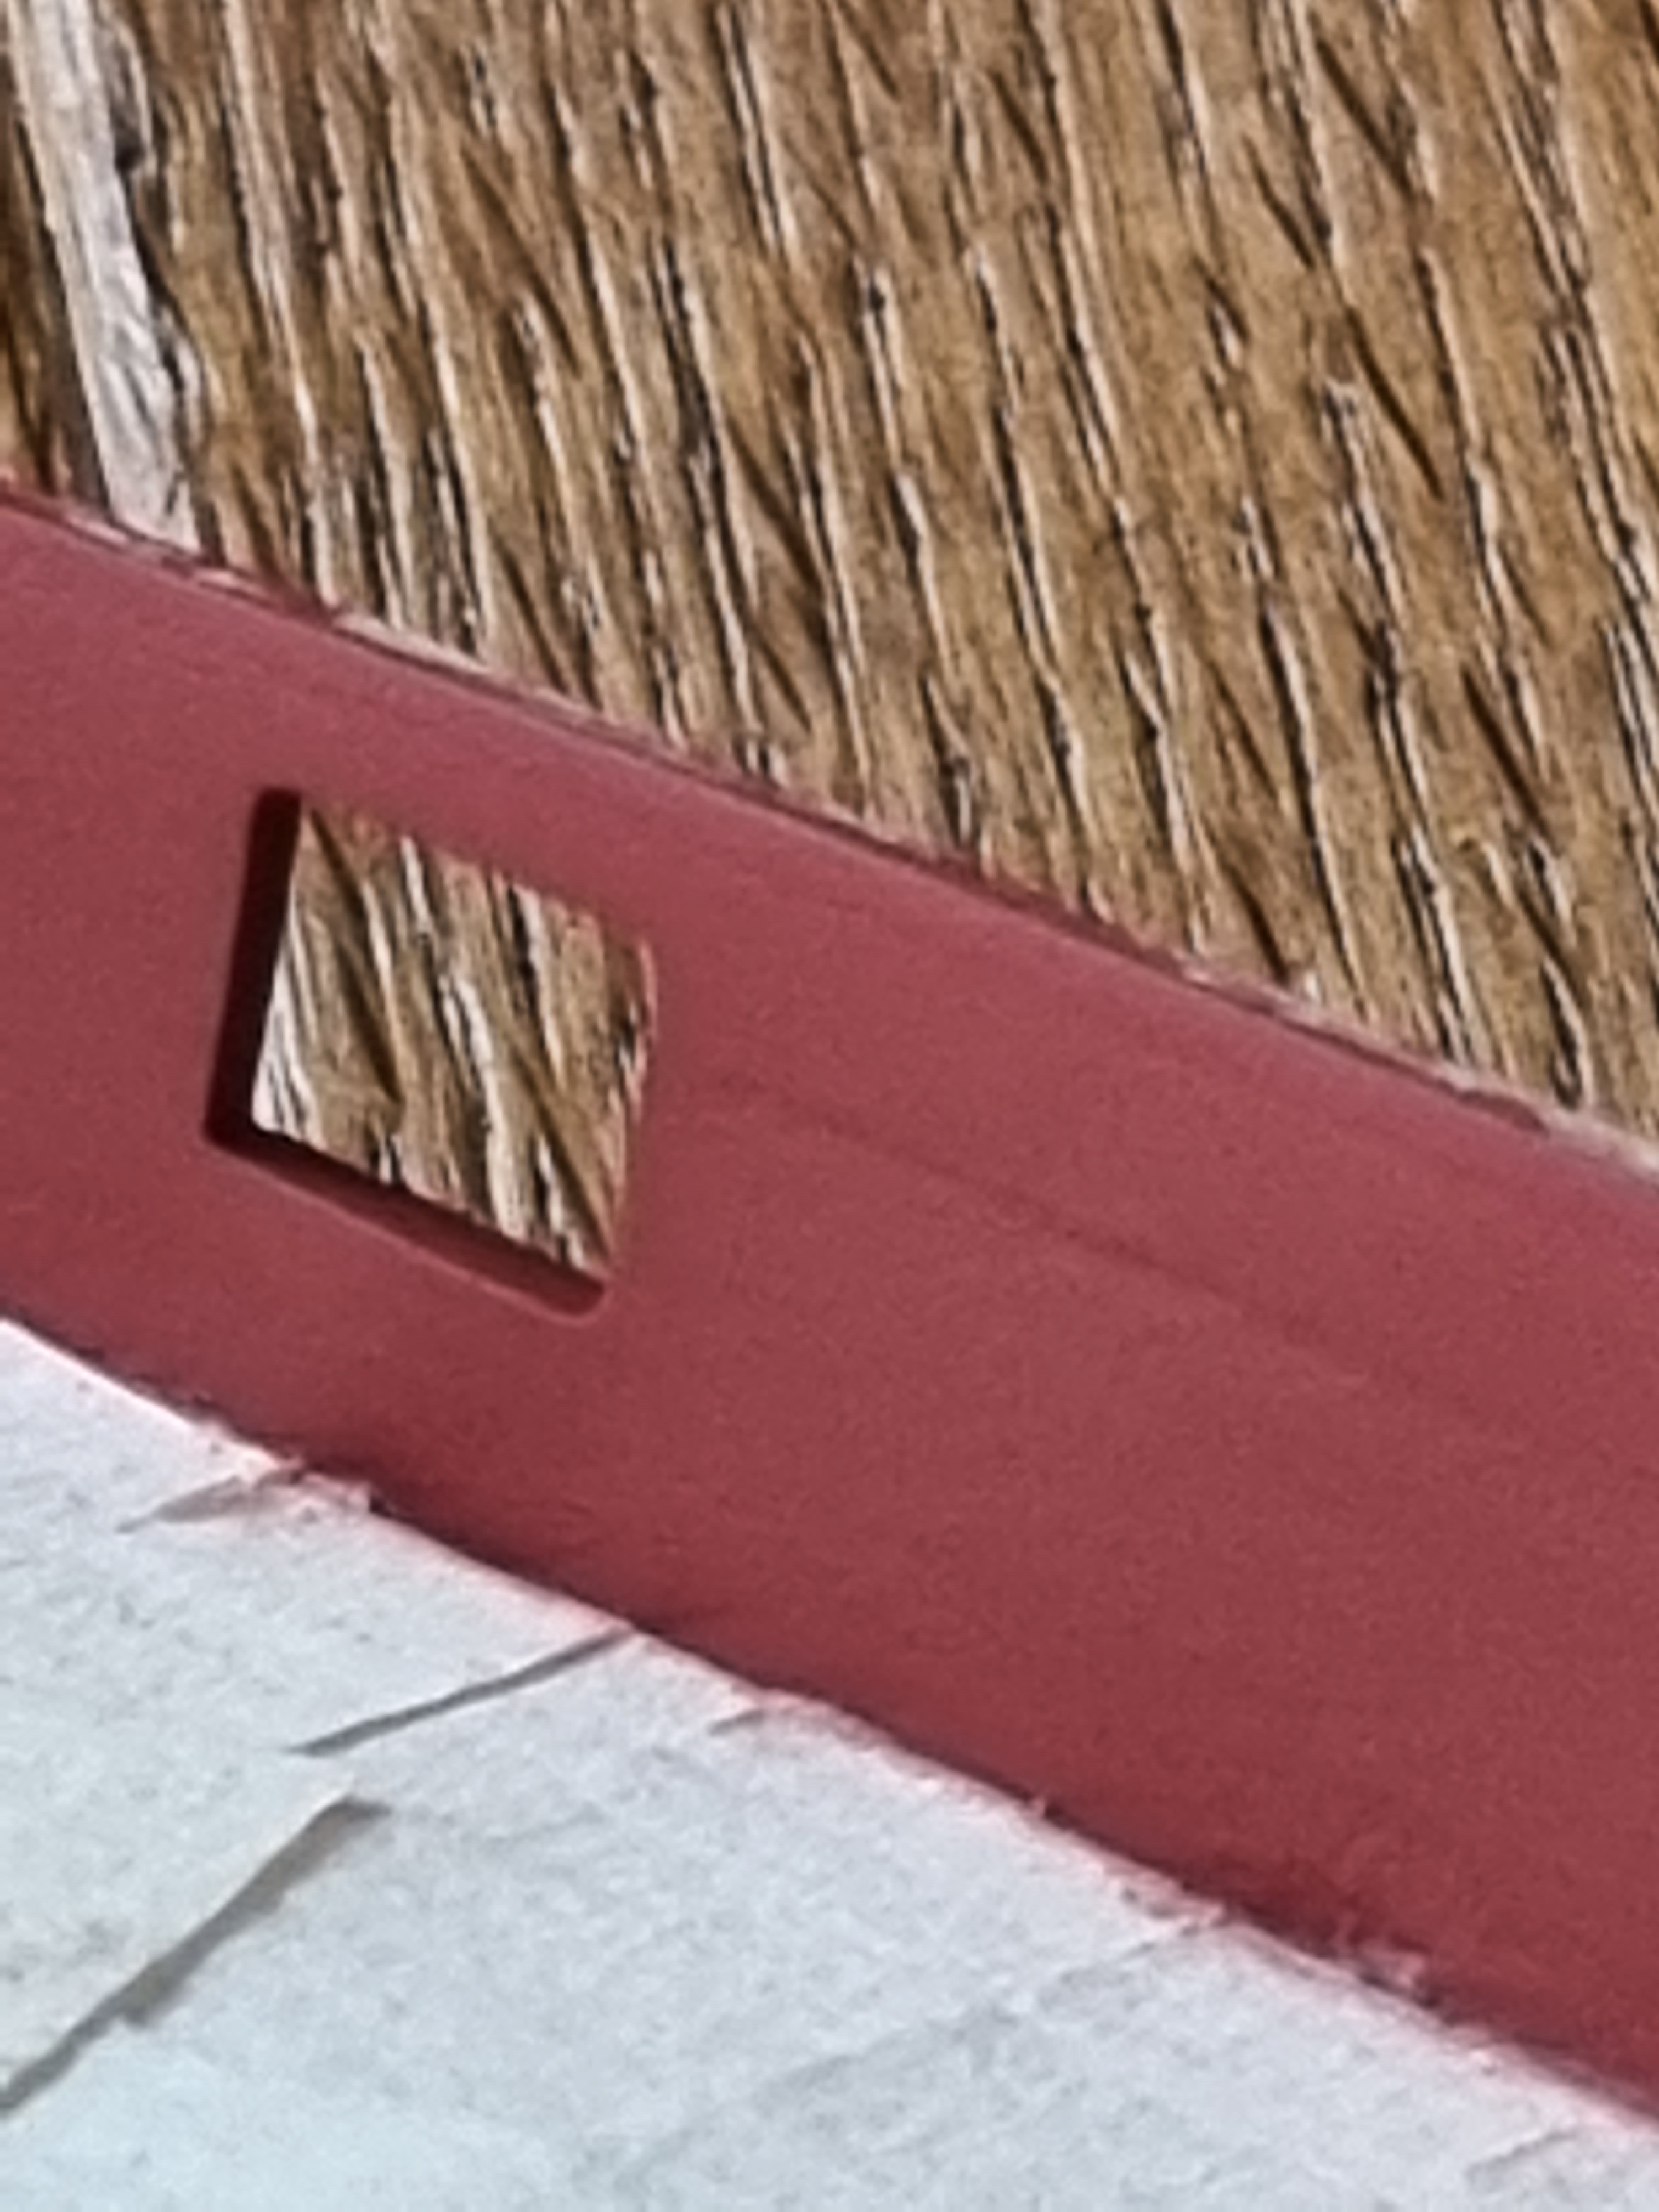
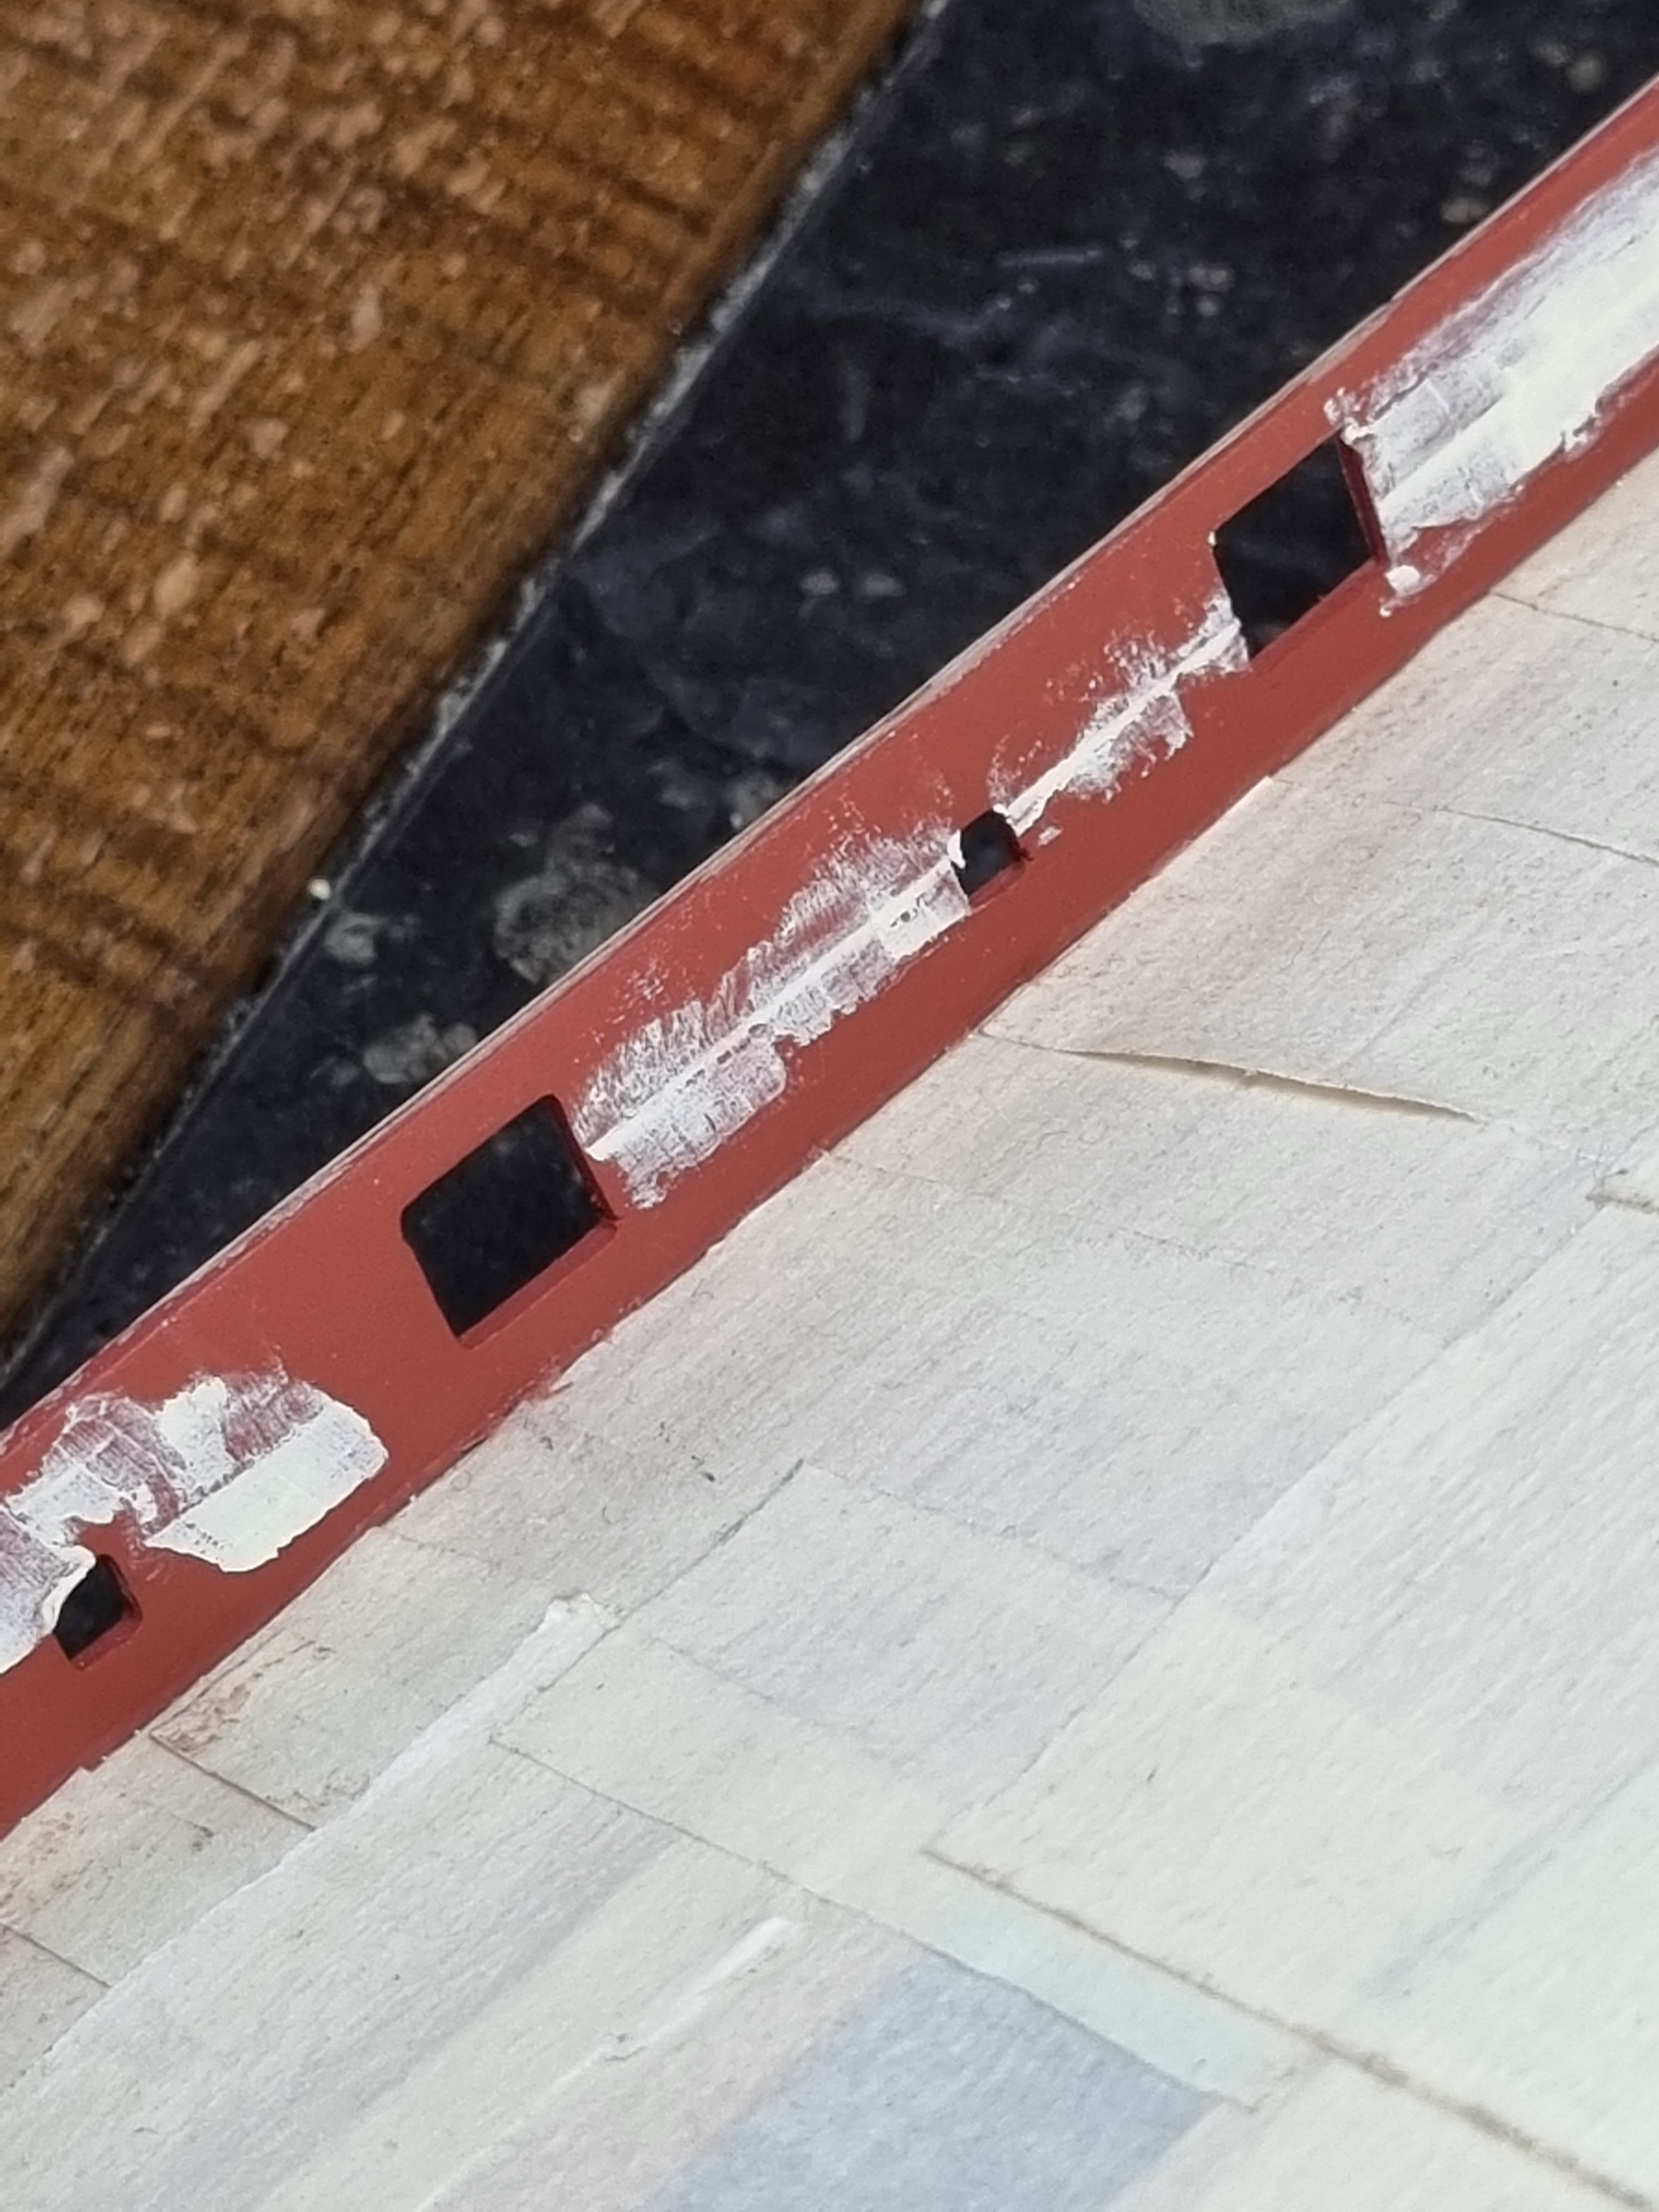
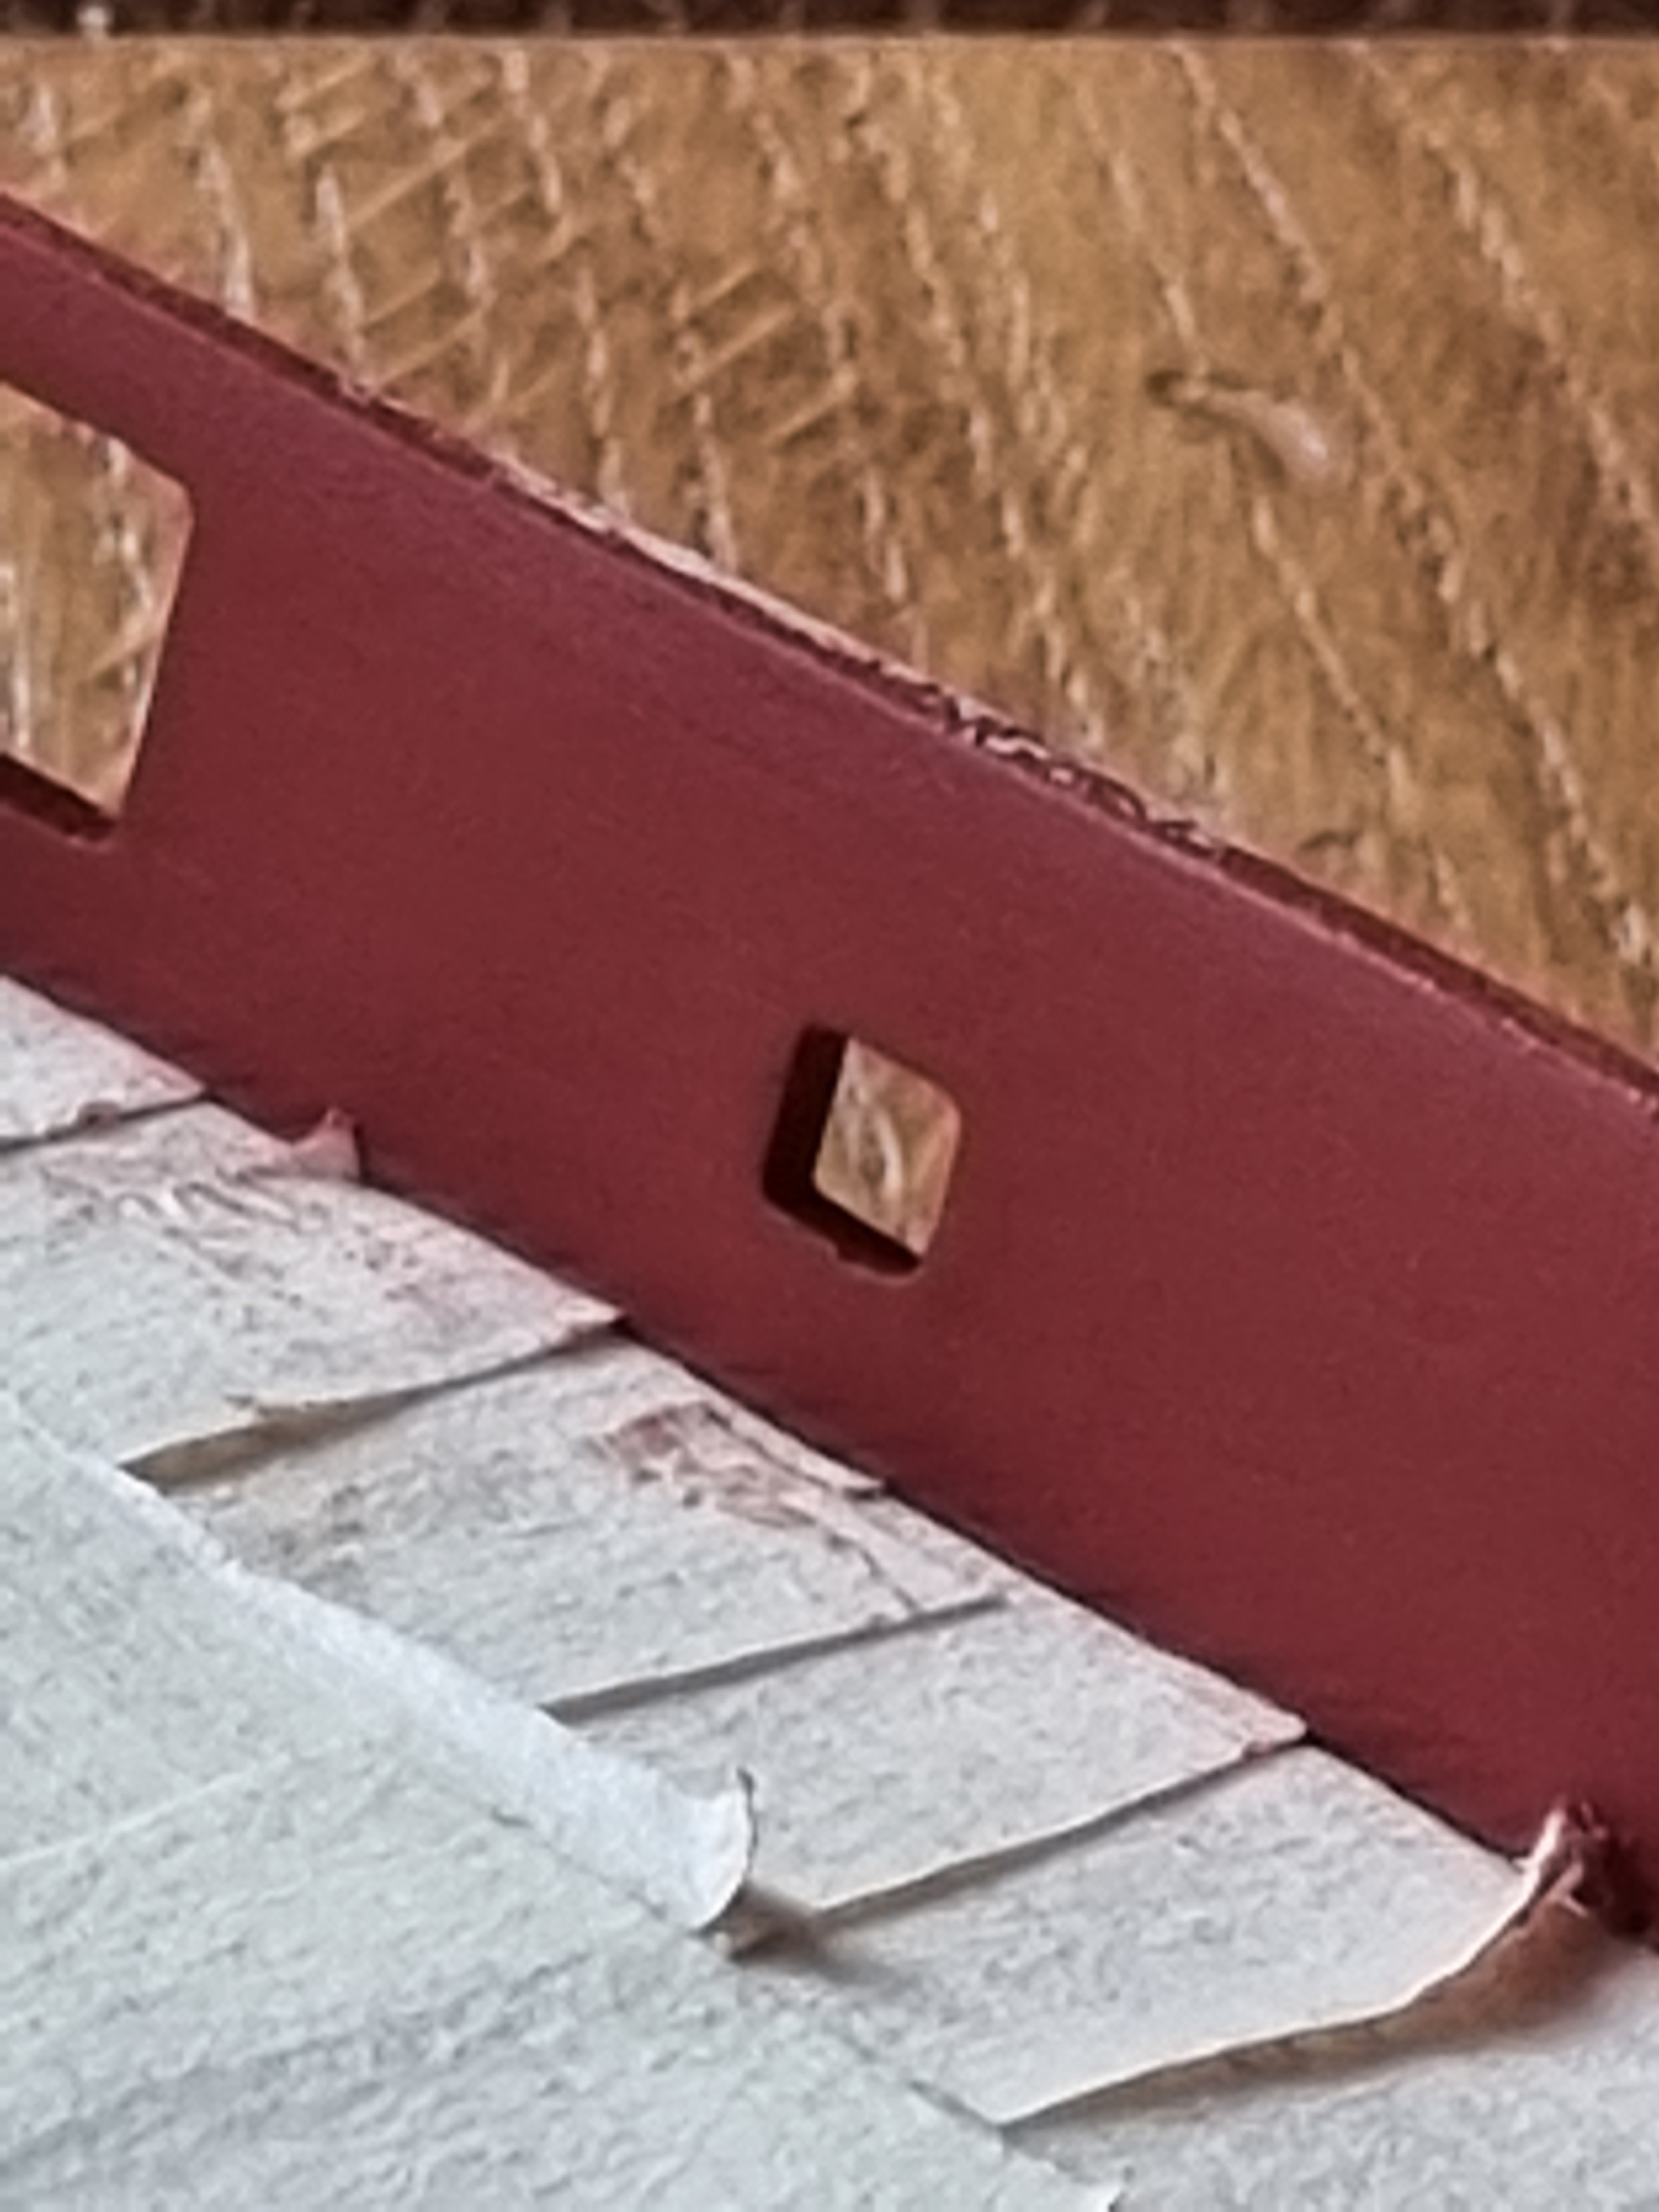
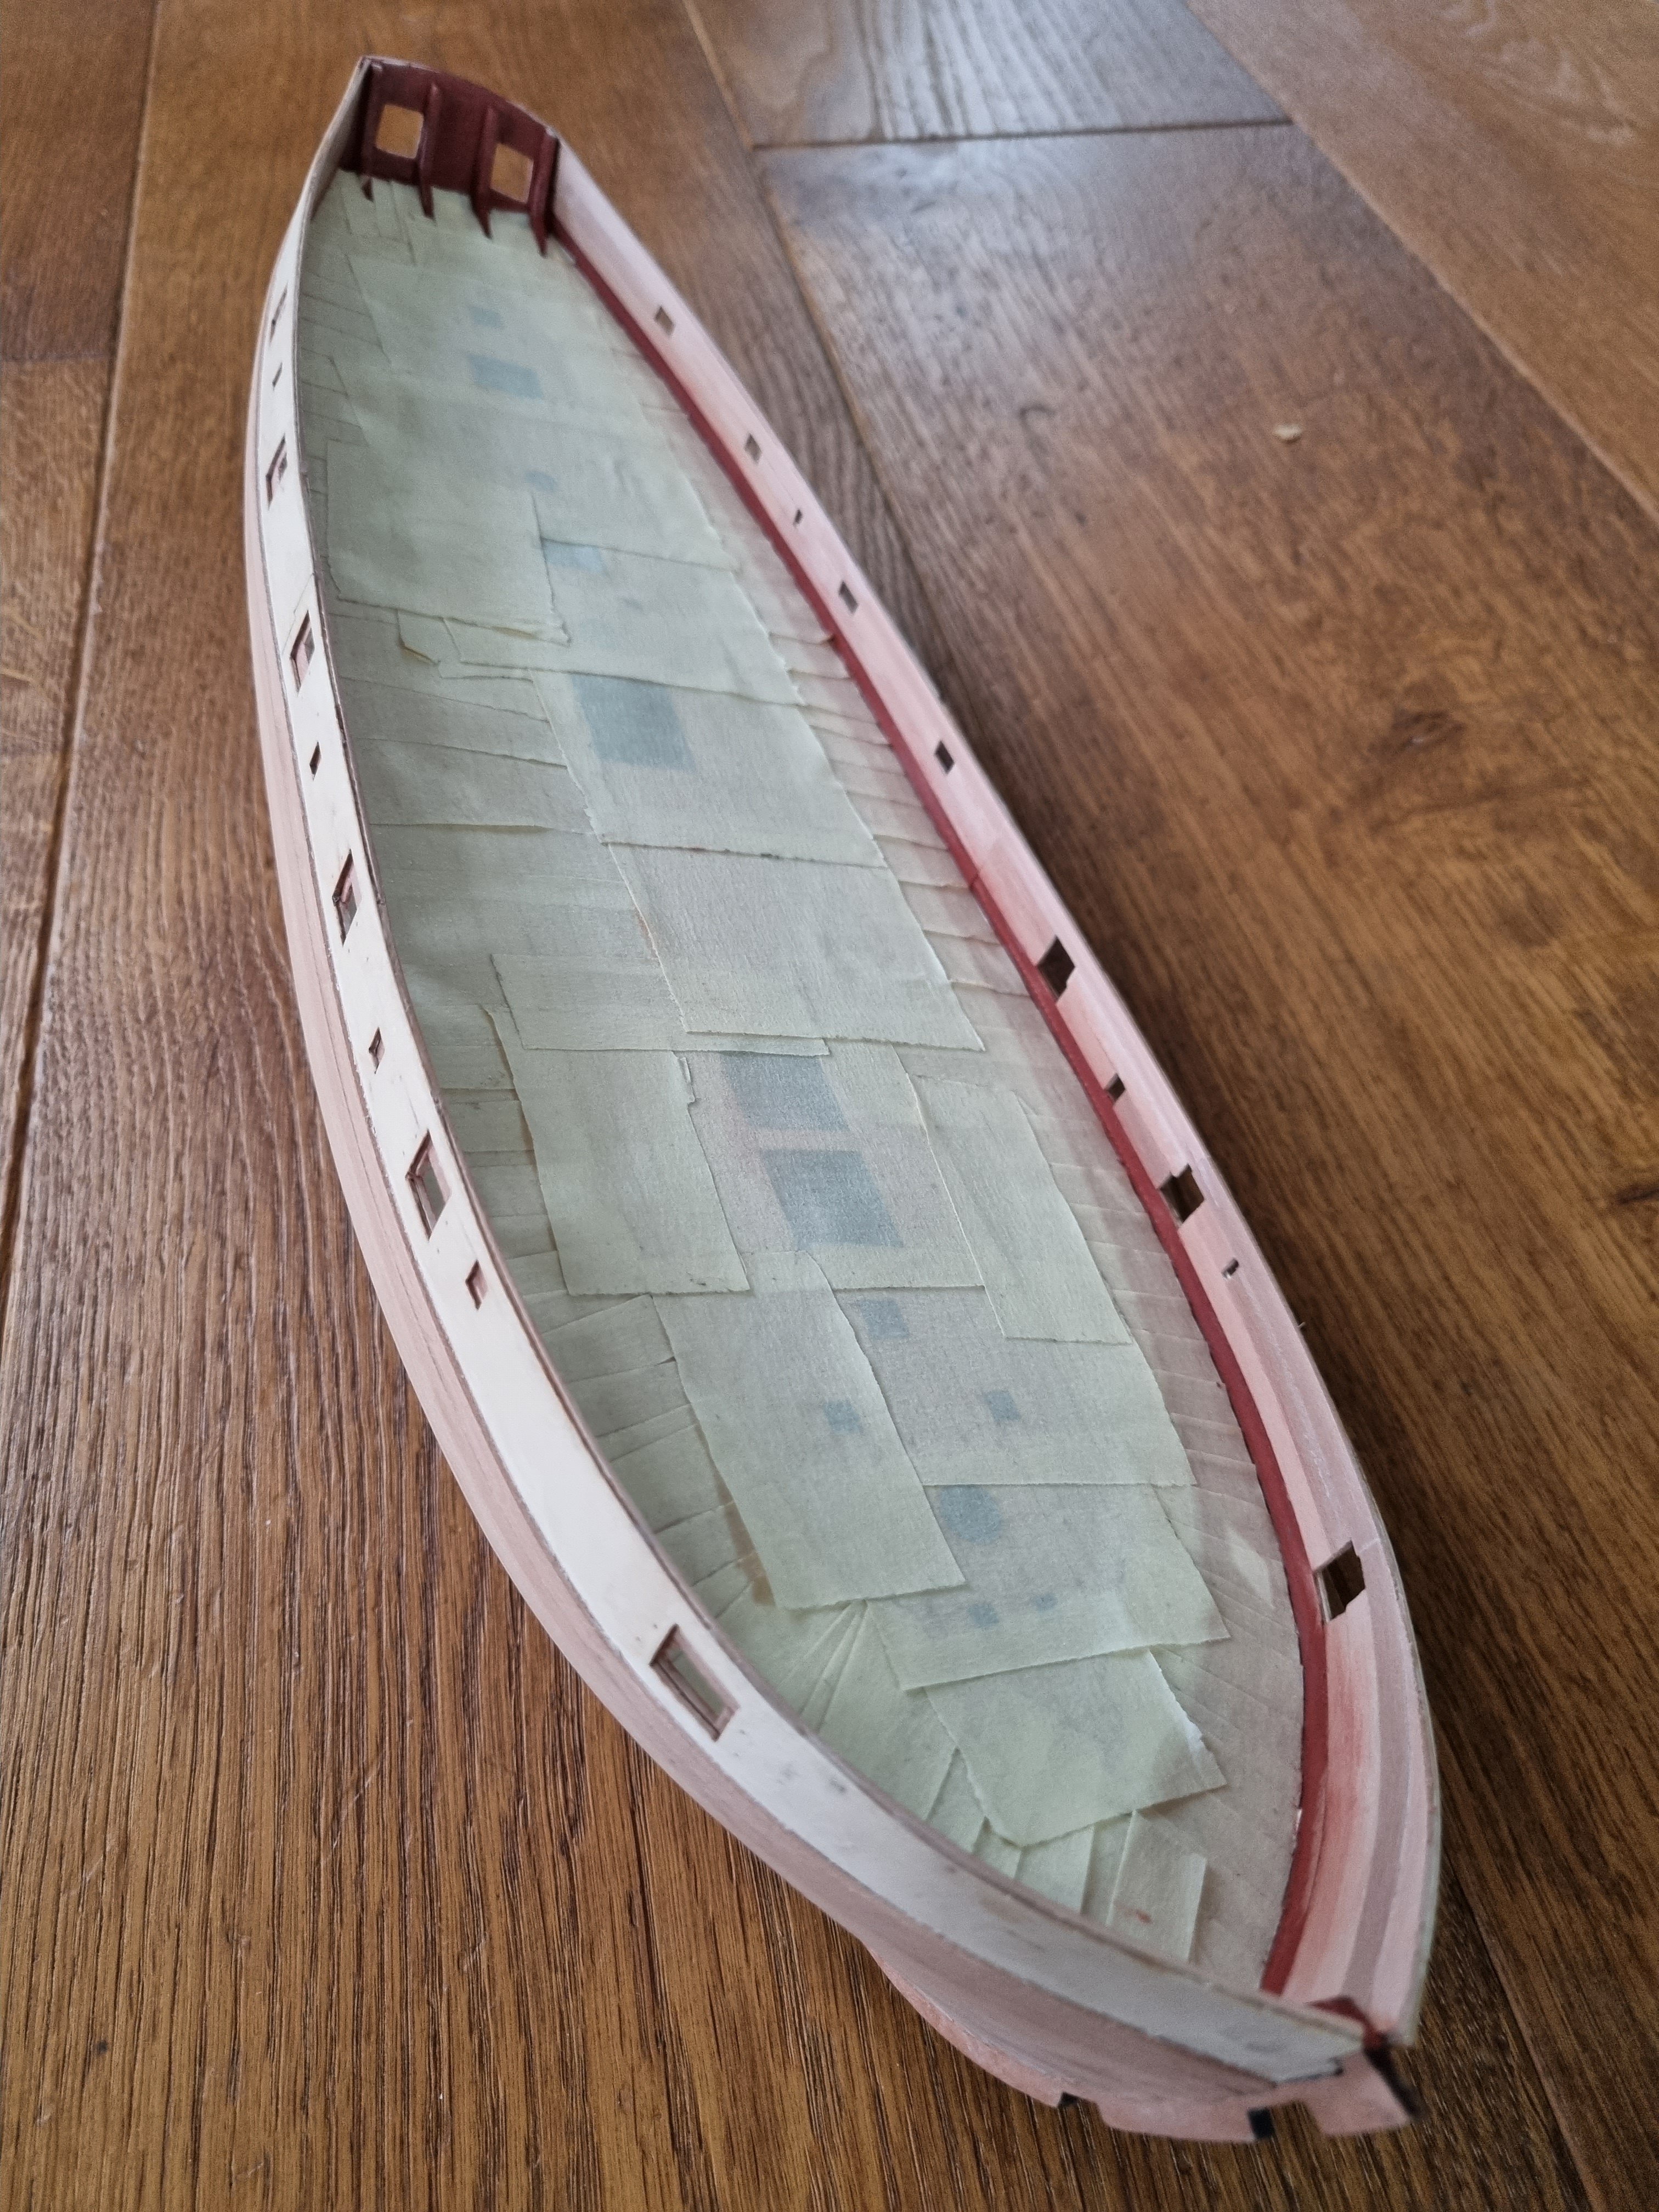
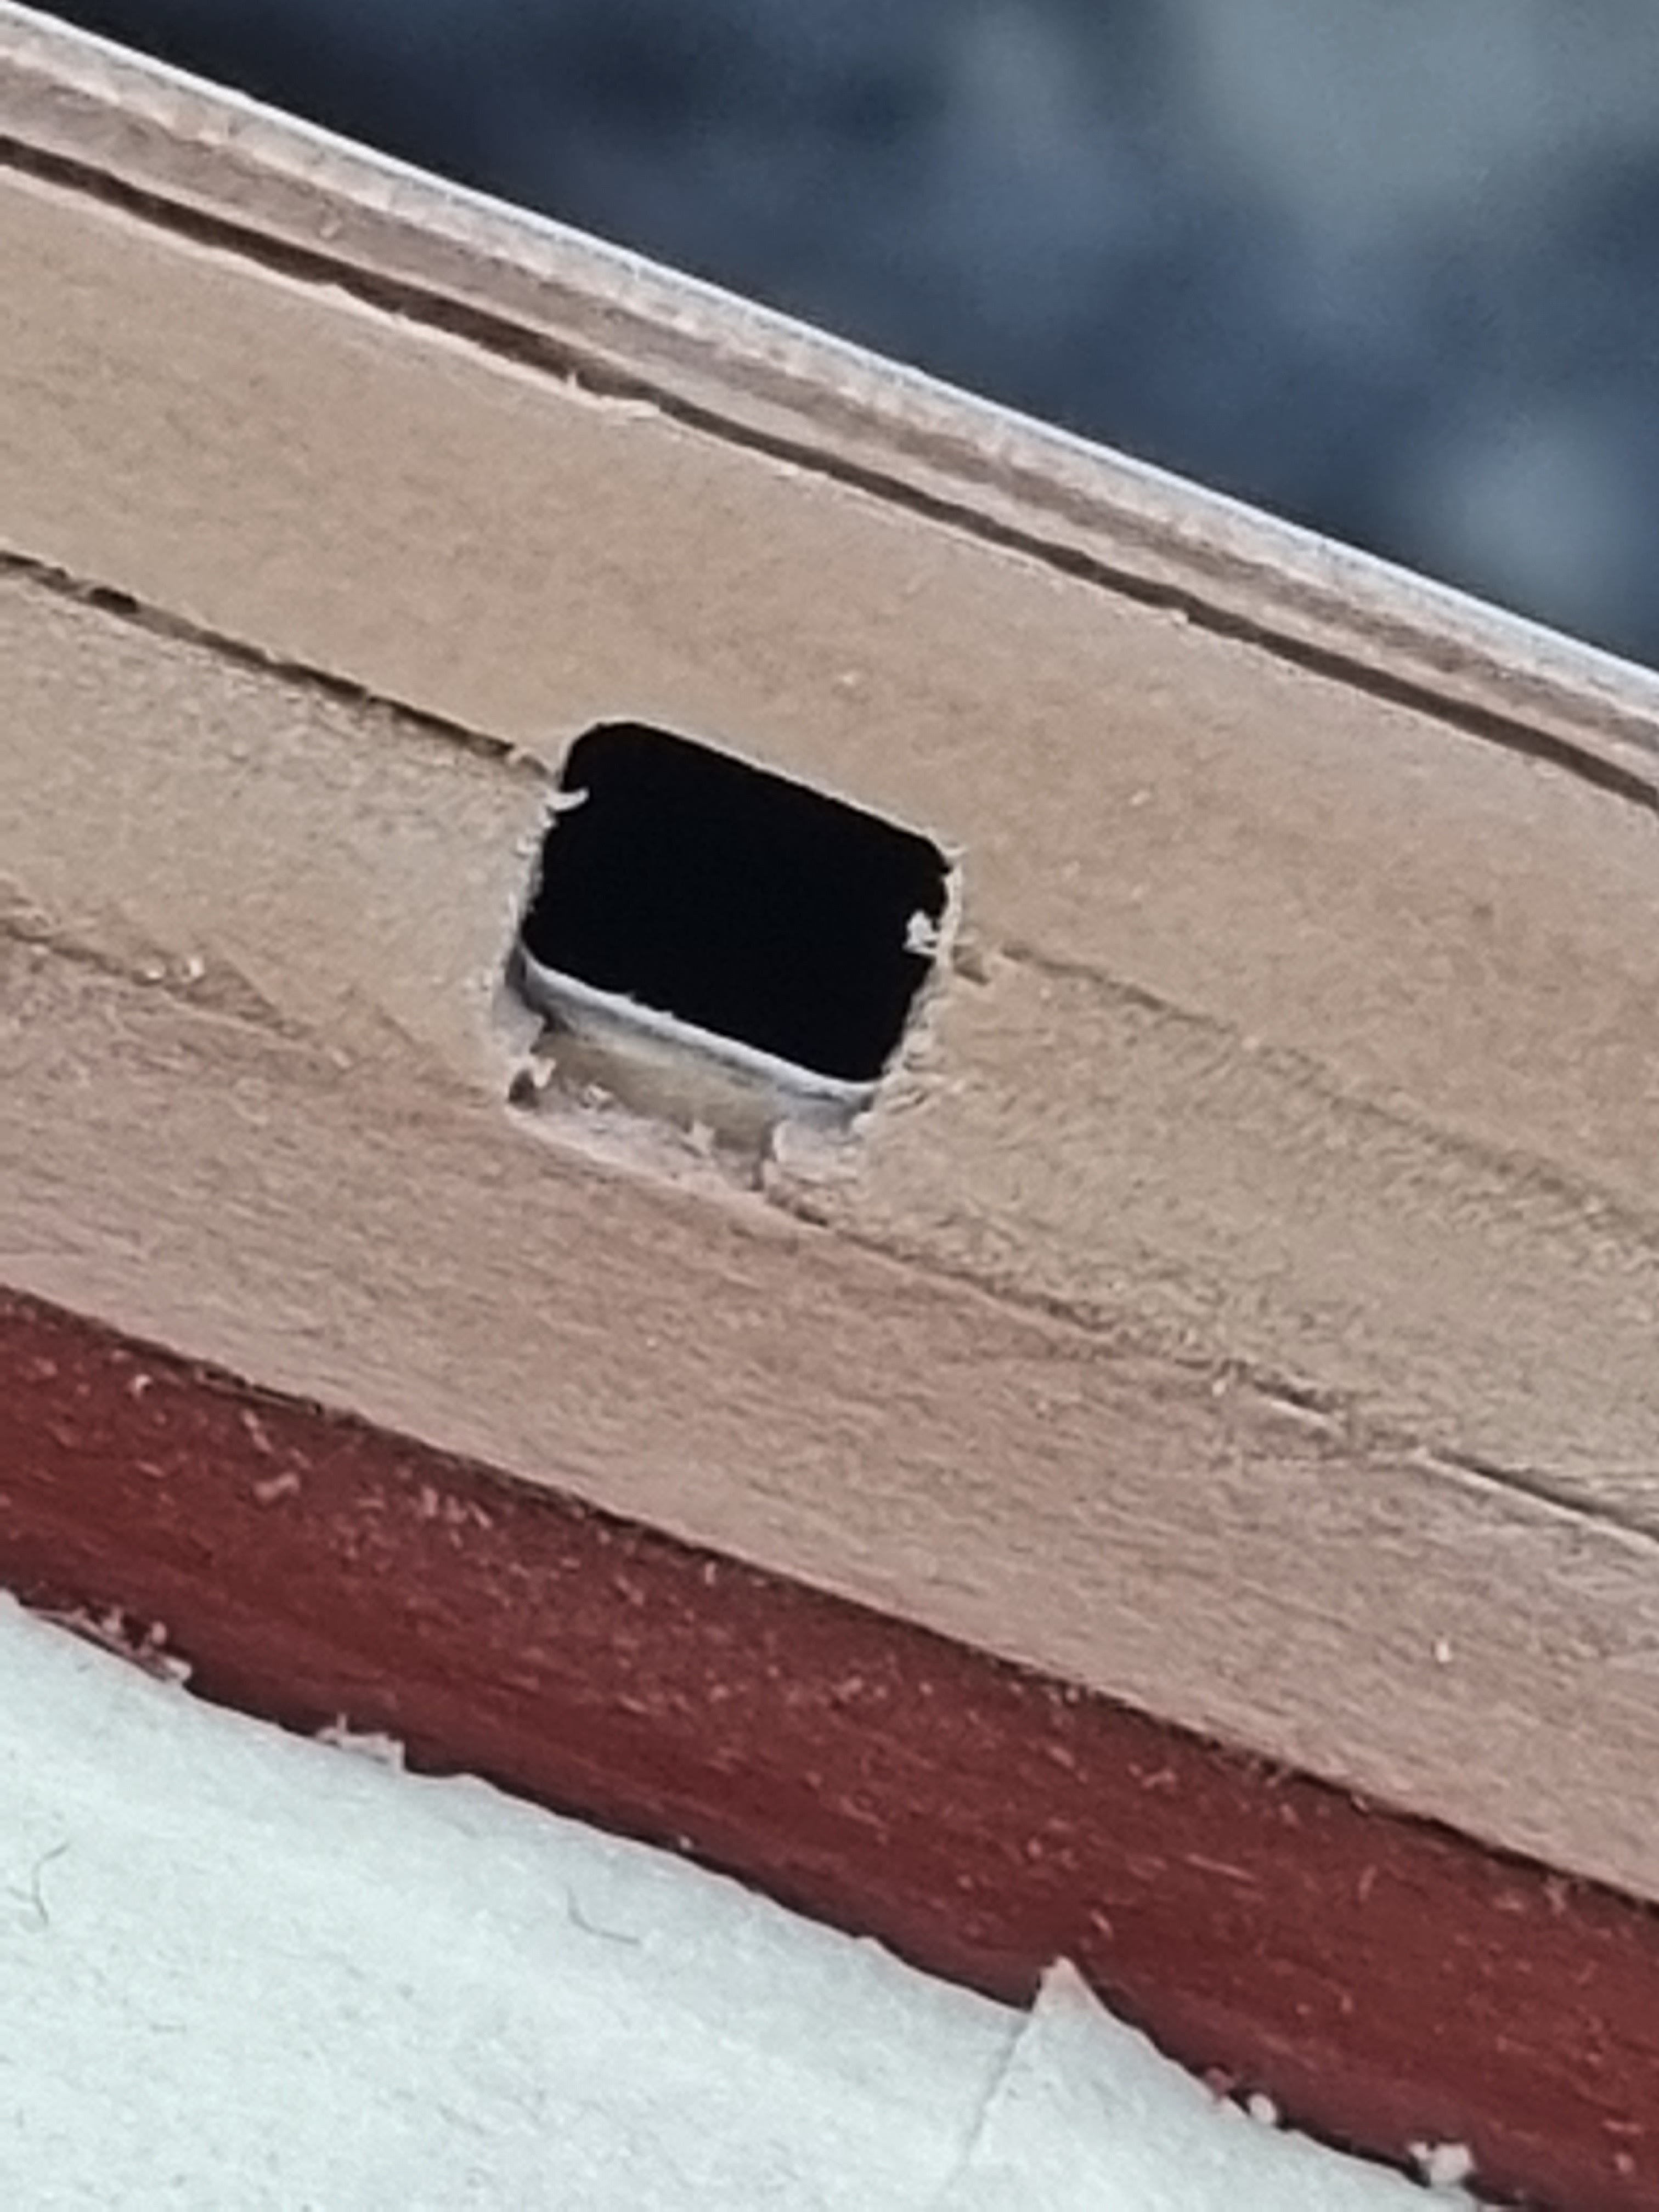
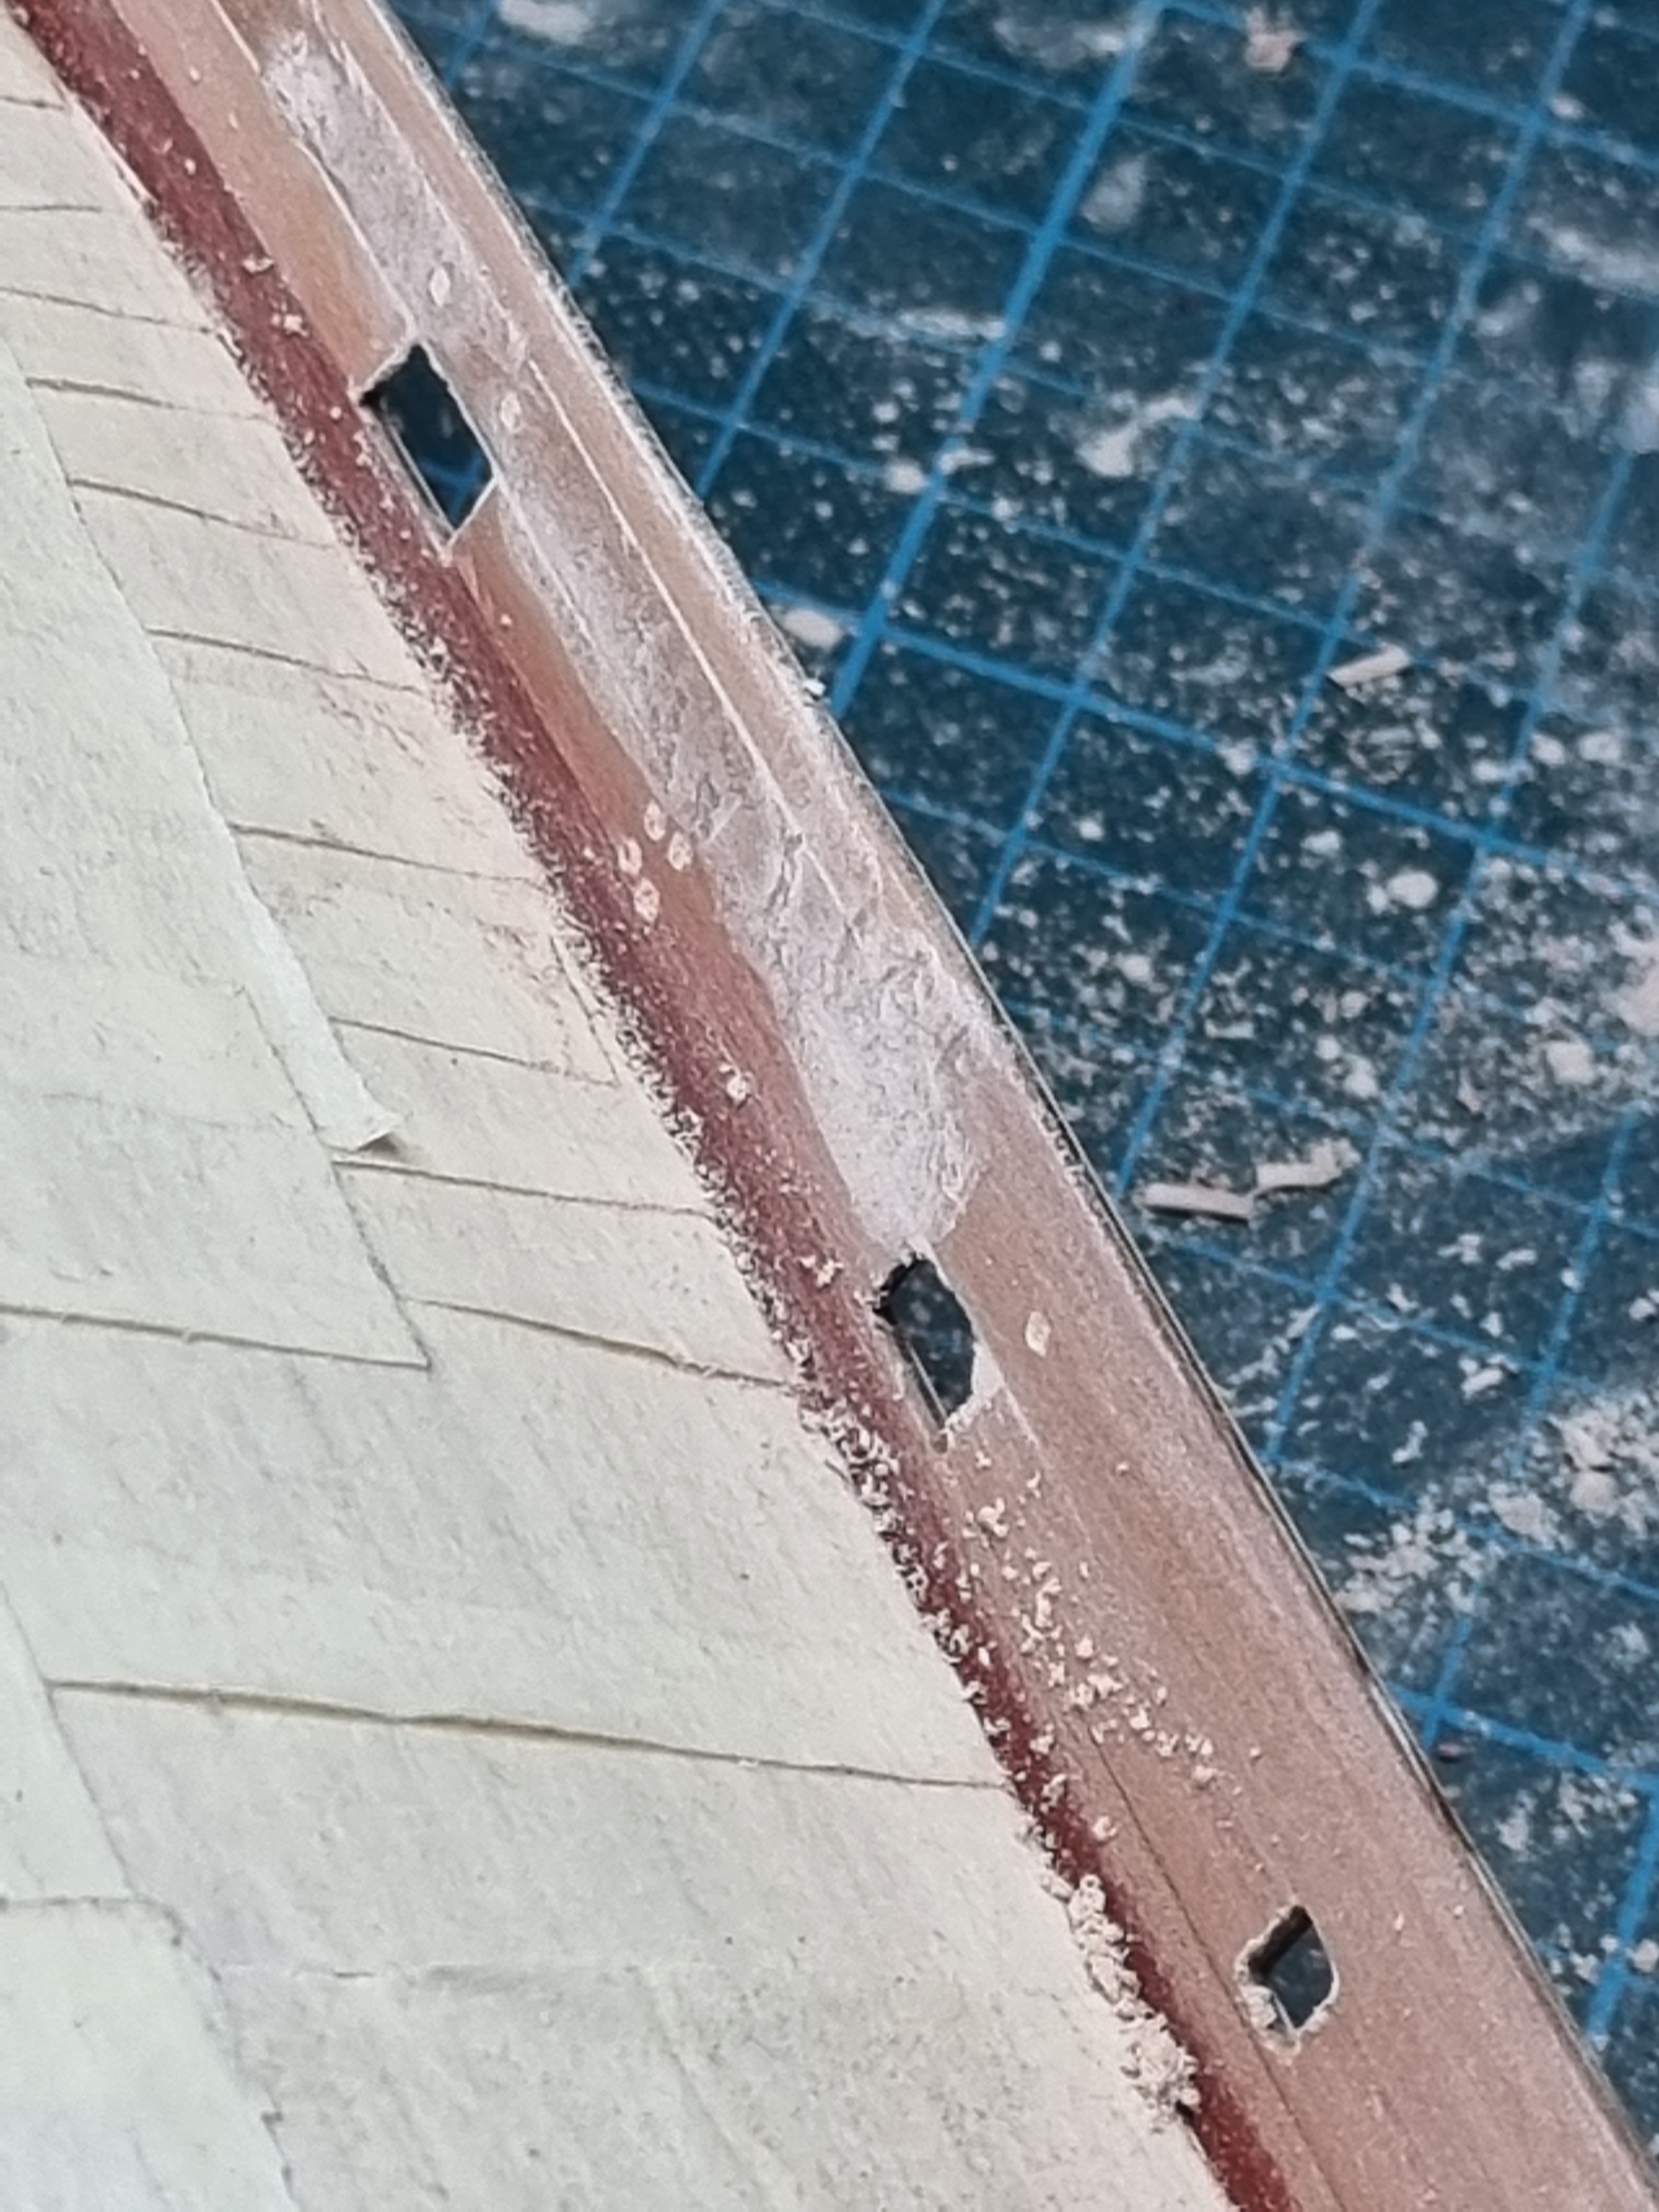
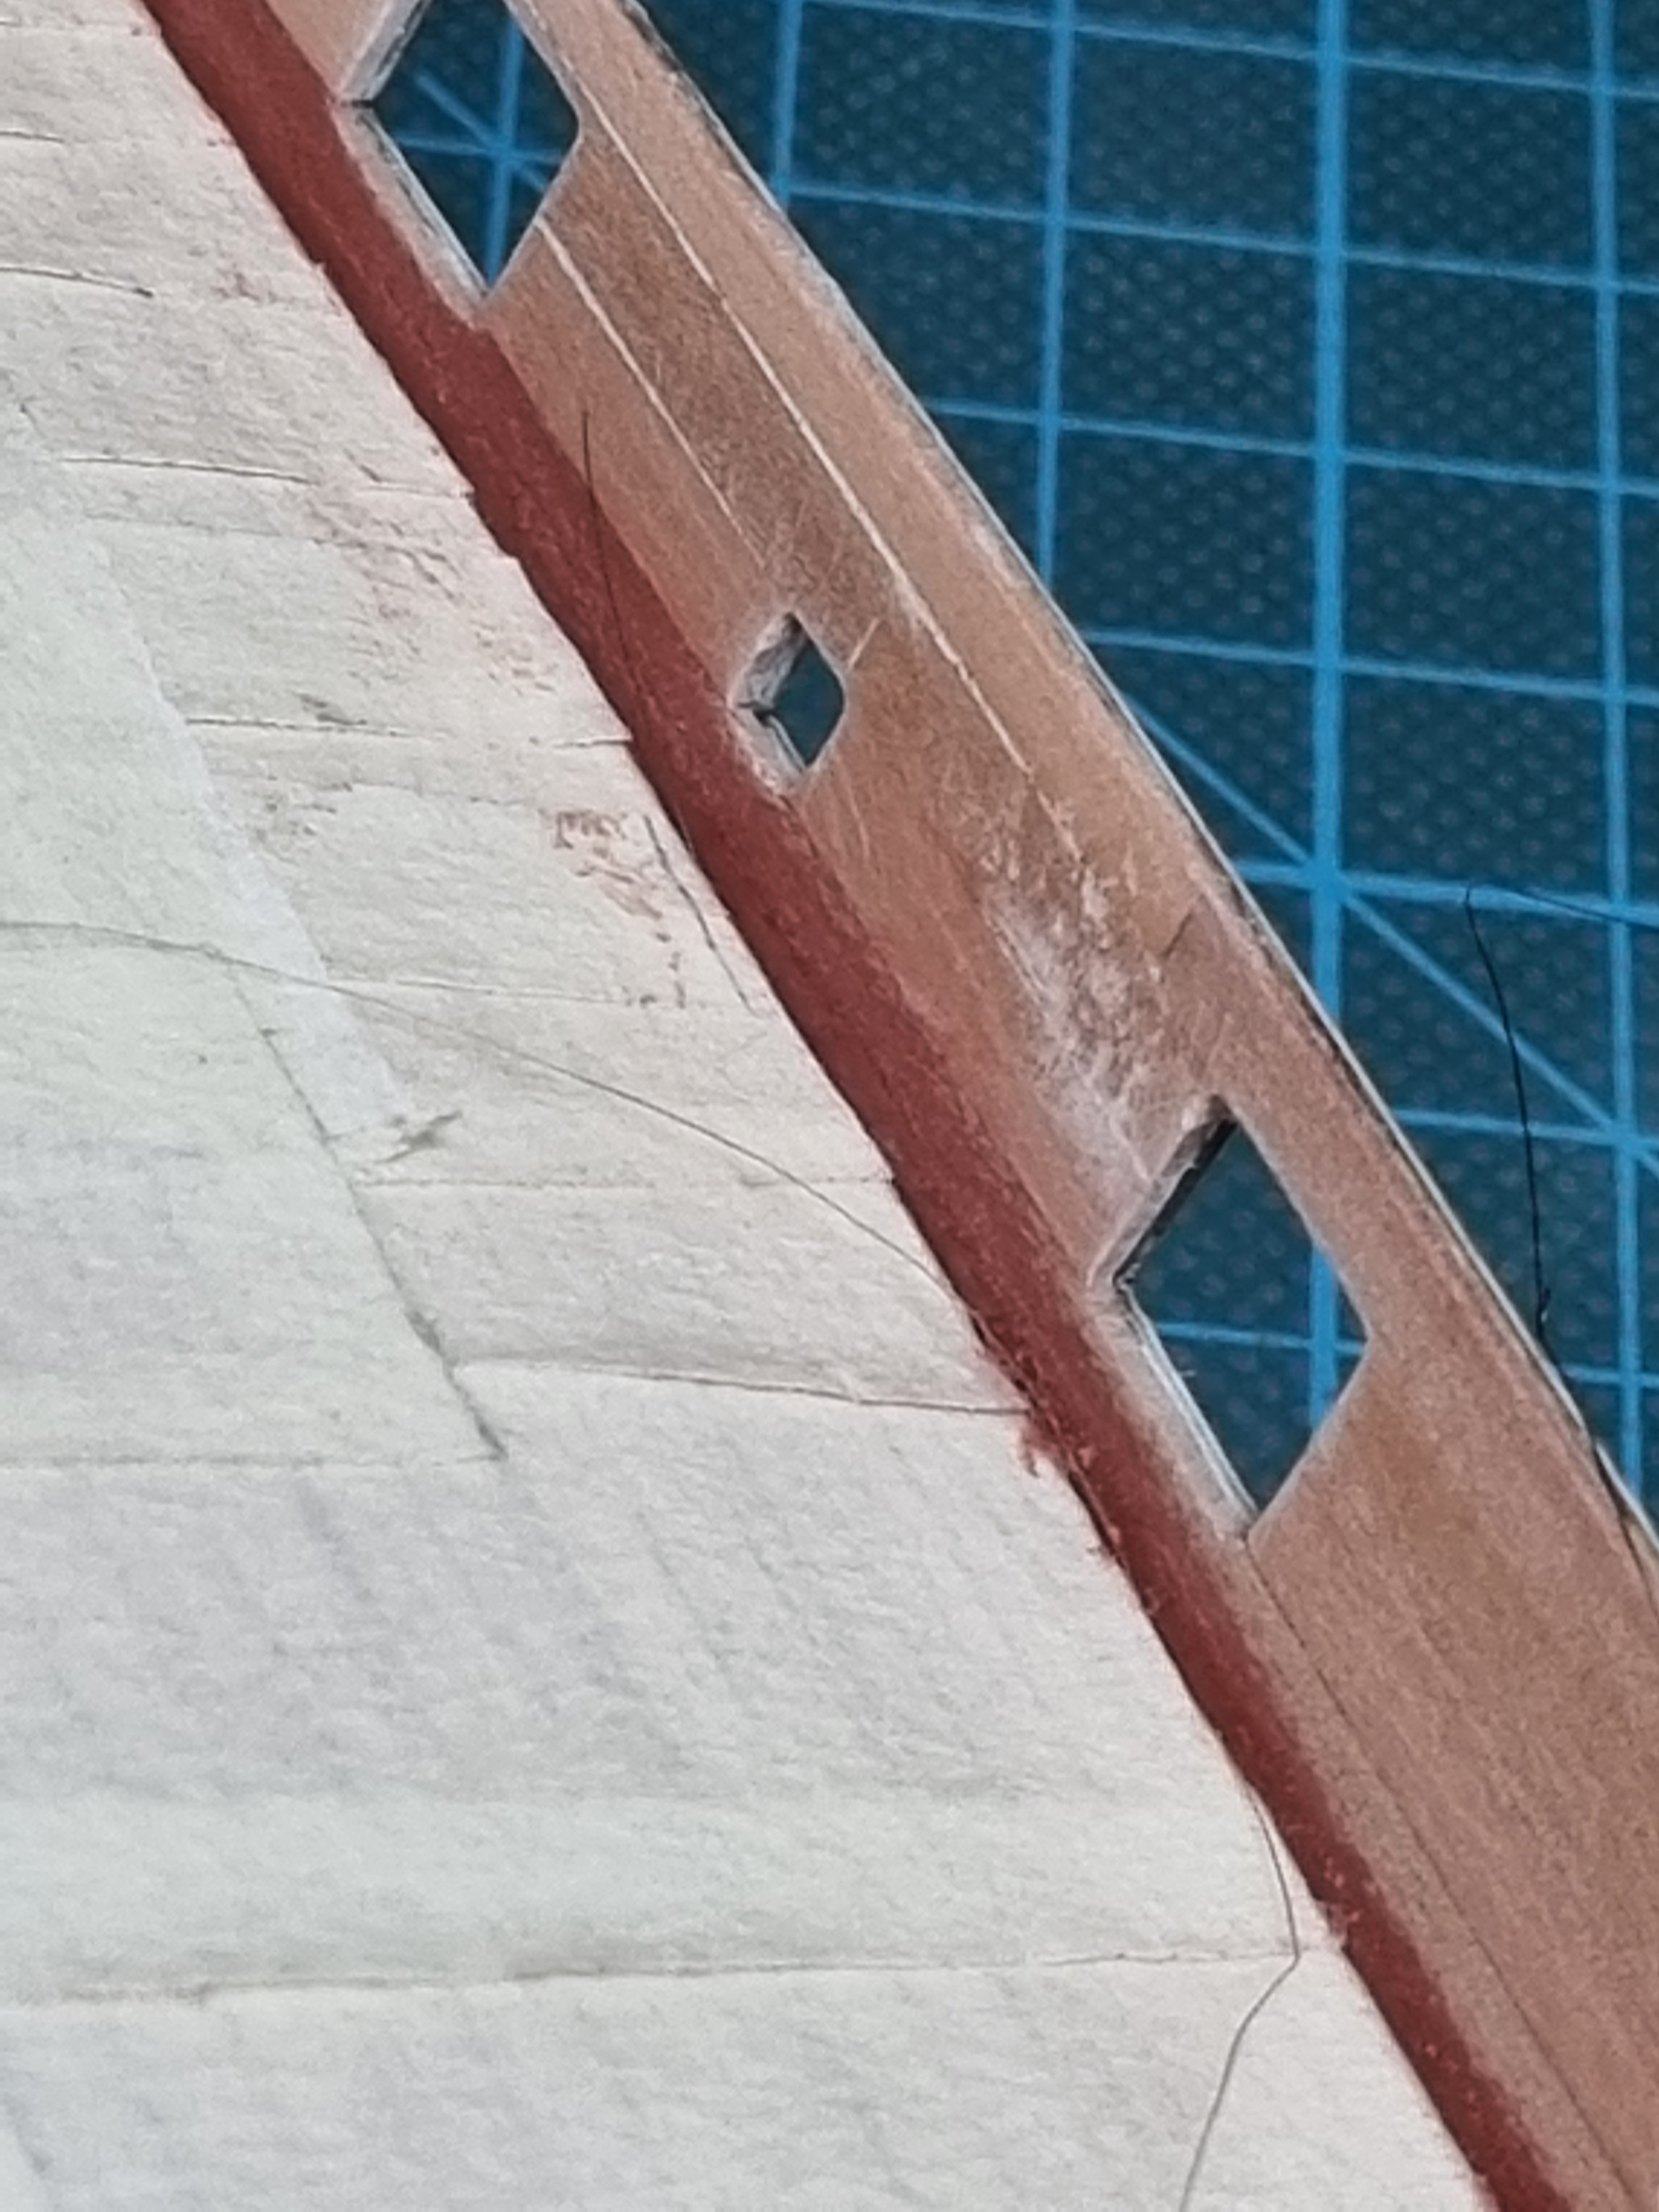
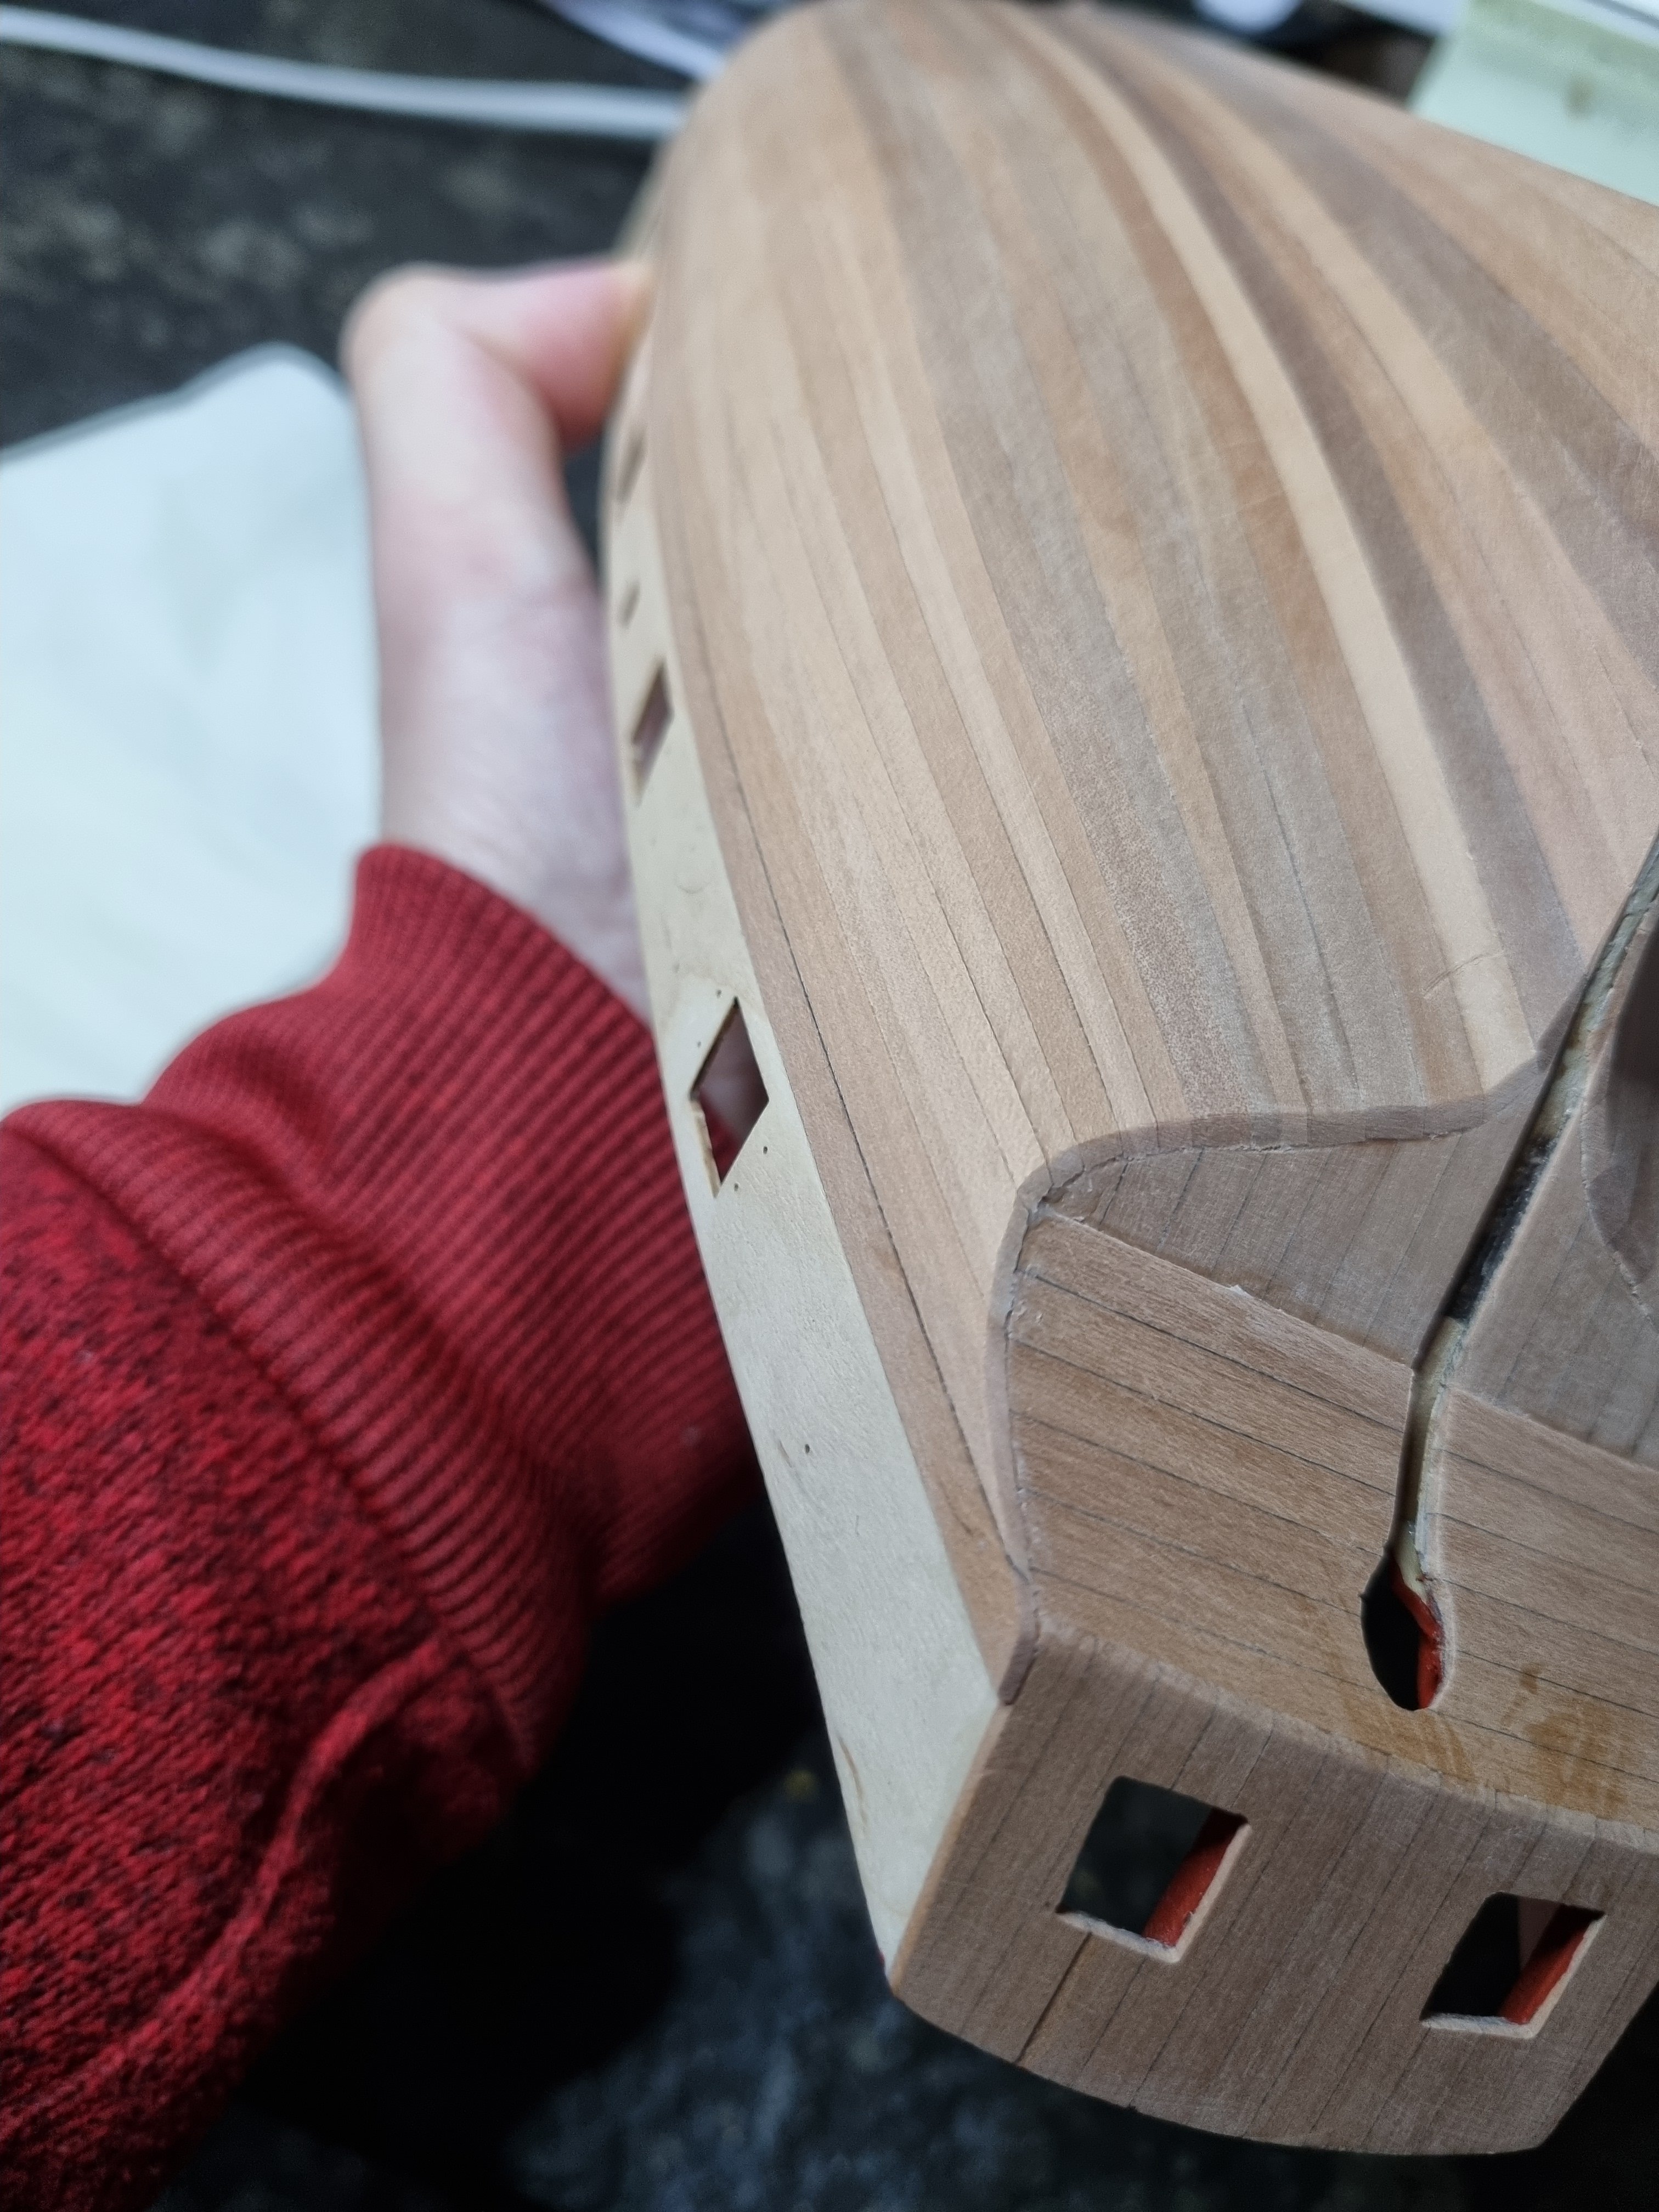
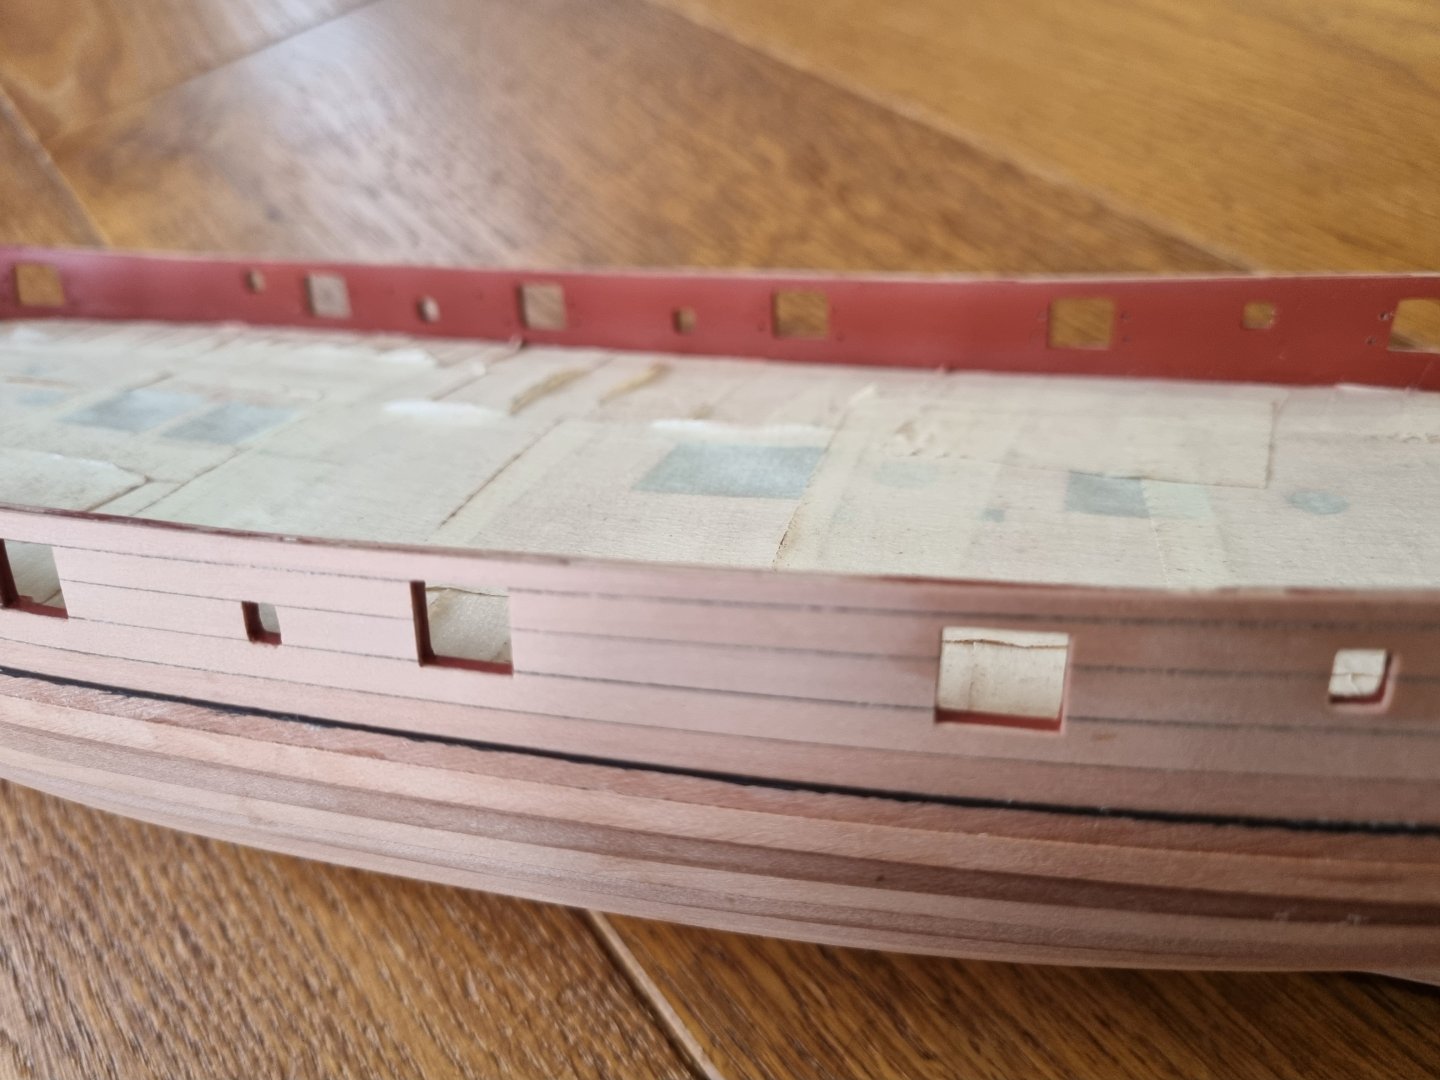
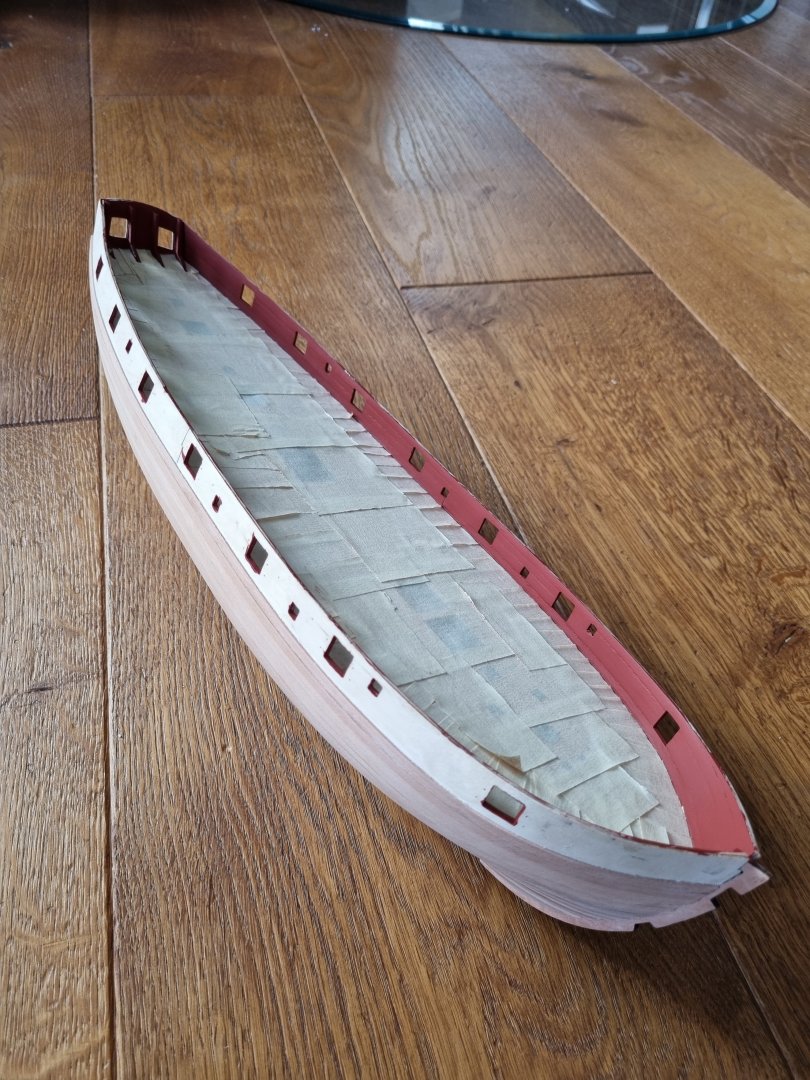
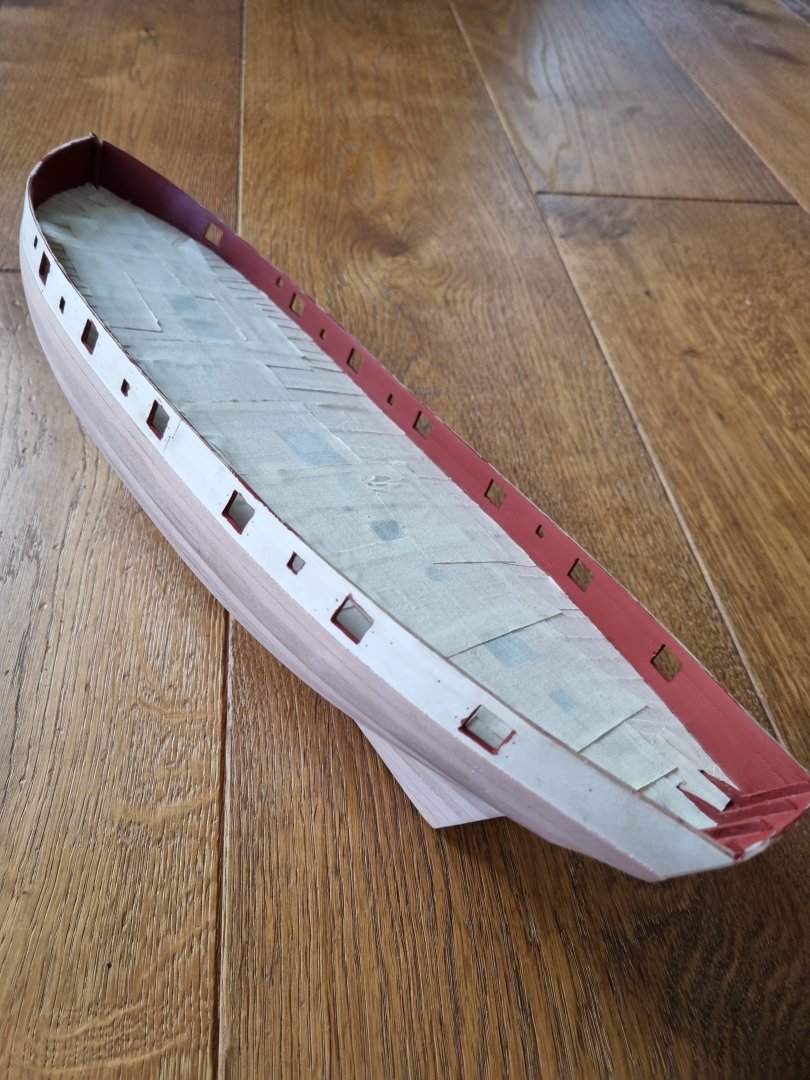
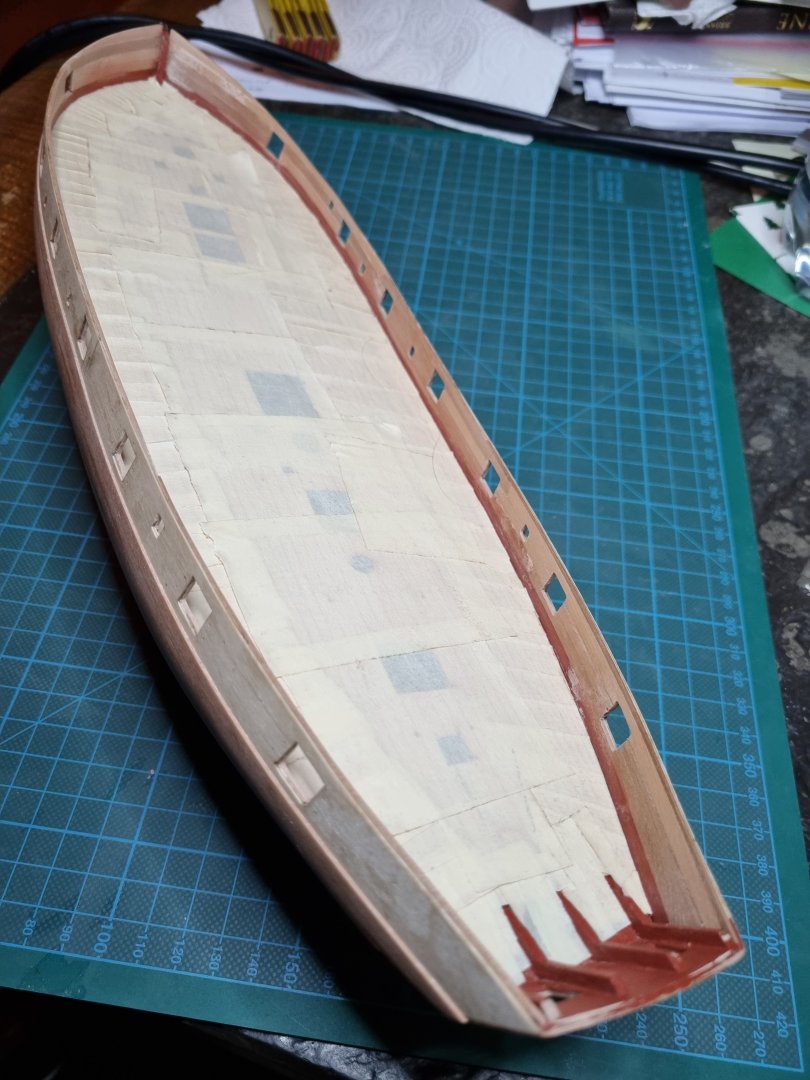
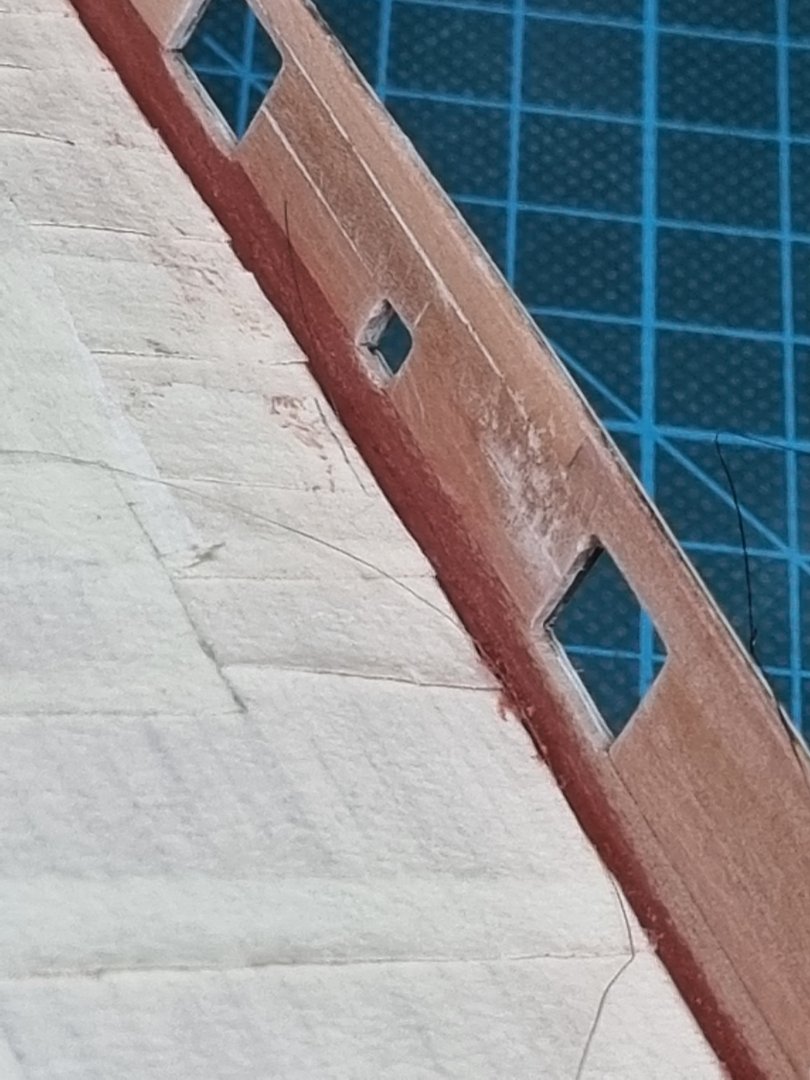
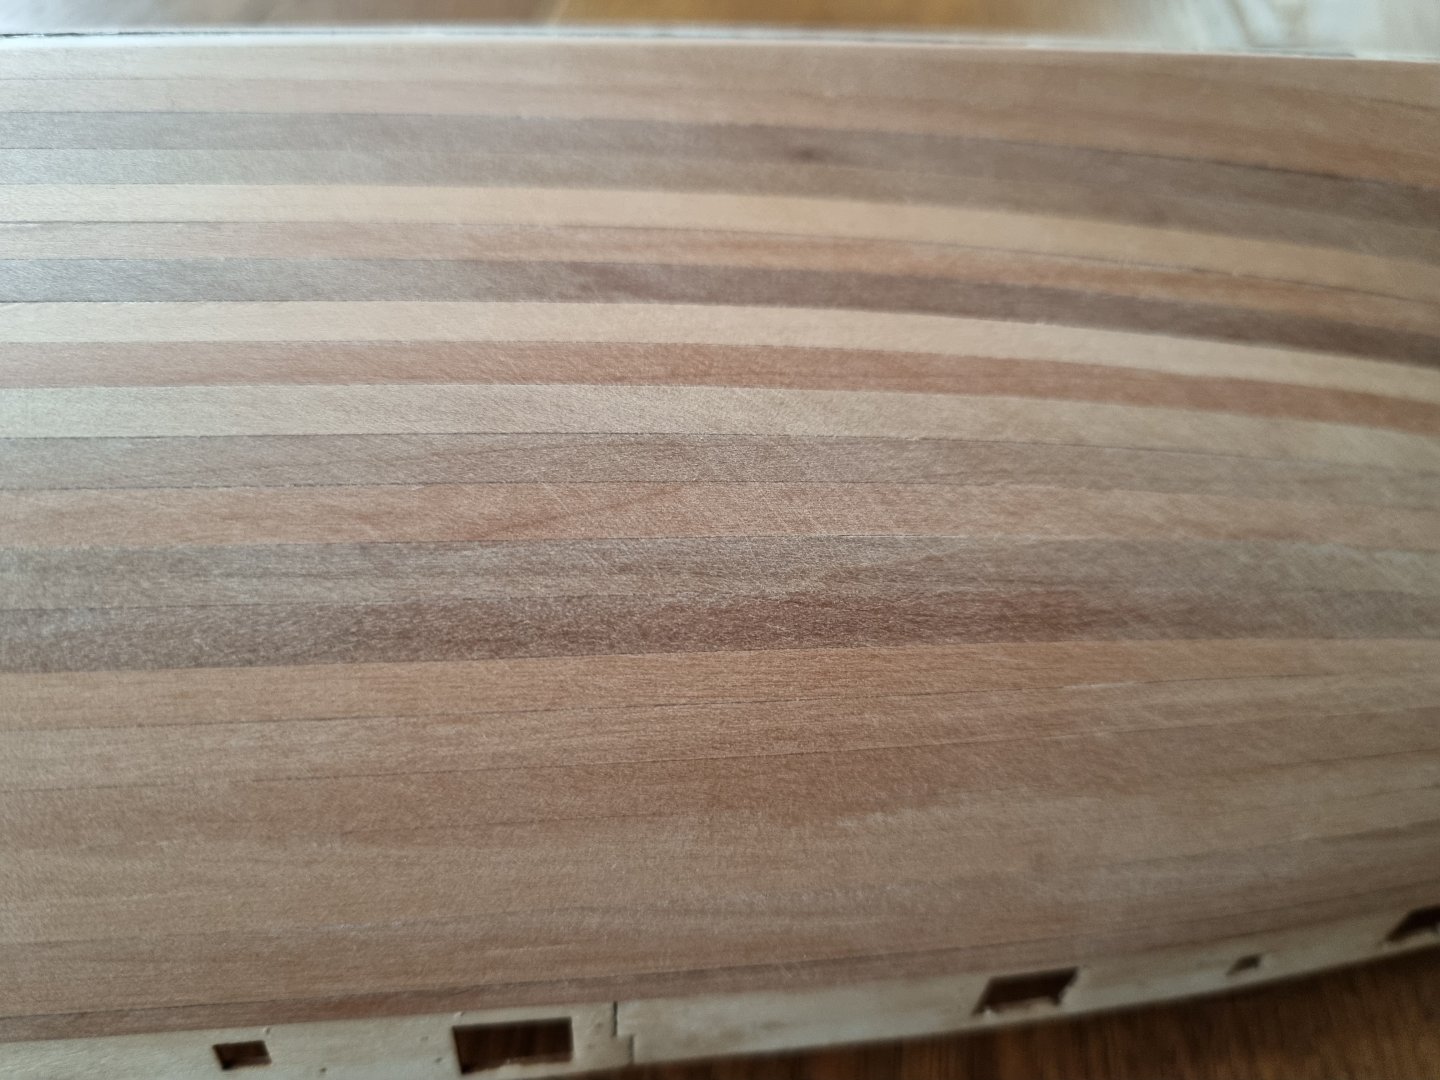
Happy new jear! @CishoH, JeffT, VTHookiEE, David Lester, DelF: thank's for your thumbs upp 🙂 @David Lester: Thank you very much, but the pictures flatter a little bit. In the close ups, one can see all the imperfections 🙂 @SpyGlass: I used this method on the inner bulwarks. On the outer hull, the gaps are very small. They are ok for me, they only show, that there is a lot of room for improvement :-). Innerbulwarks planking continuess: Error: I did not sort the left overs by they're width. First, not a problem, but later on, when a longer strip cover multiple smaller pices, there were some major gaps to appear: I also managed to break out some pices around the port holes: Planking finished and trimmed down: Filling and sanding: More sanding and reopen the port holes: Before paining: Painted: Now, I torn back and forth, if I want to do more filling/sanding-throughs. I am ok, that there are strips to see. That is one of the reasons I started a wooden boat. I want to see, that it is from wood. On the other hand it still might be a little bit to prominent on the bulwarks. I have not decieded jet. This is ok for me: This not, when I see the macro: I think, I will do more work on this, even if it is mostly for the pictures. For my eyes, only from a very close view, I can see that Nevertheless, I'm proud, that I started again and did more work on the model. It is also a skill to master, to find out, what is good enough for myself, and what needs to be improoved. I hope I will finish this one, even if it does not match my expectations. Perfection on the very first build is perhaps not what I should go for, because this can be a motivation-killer. But will see...


-
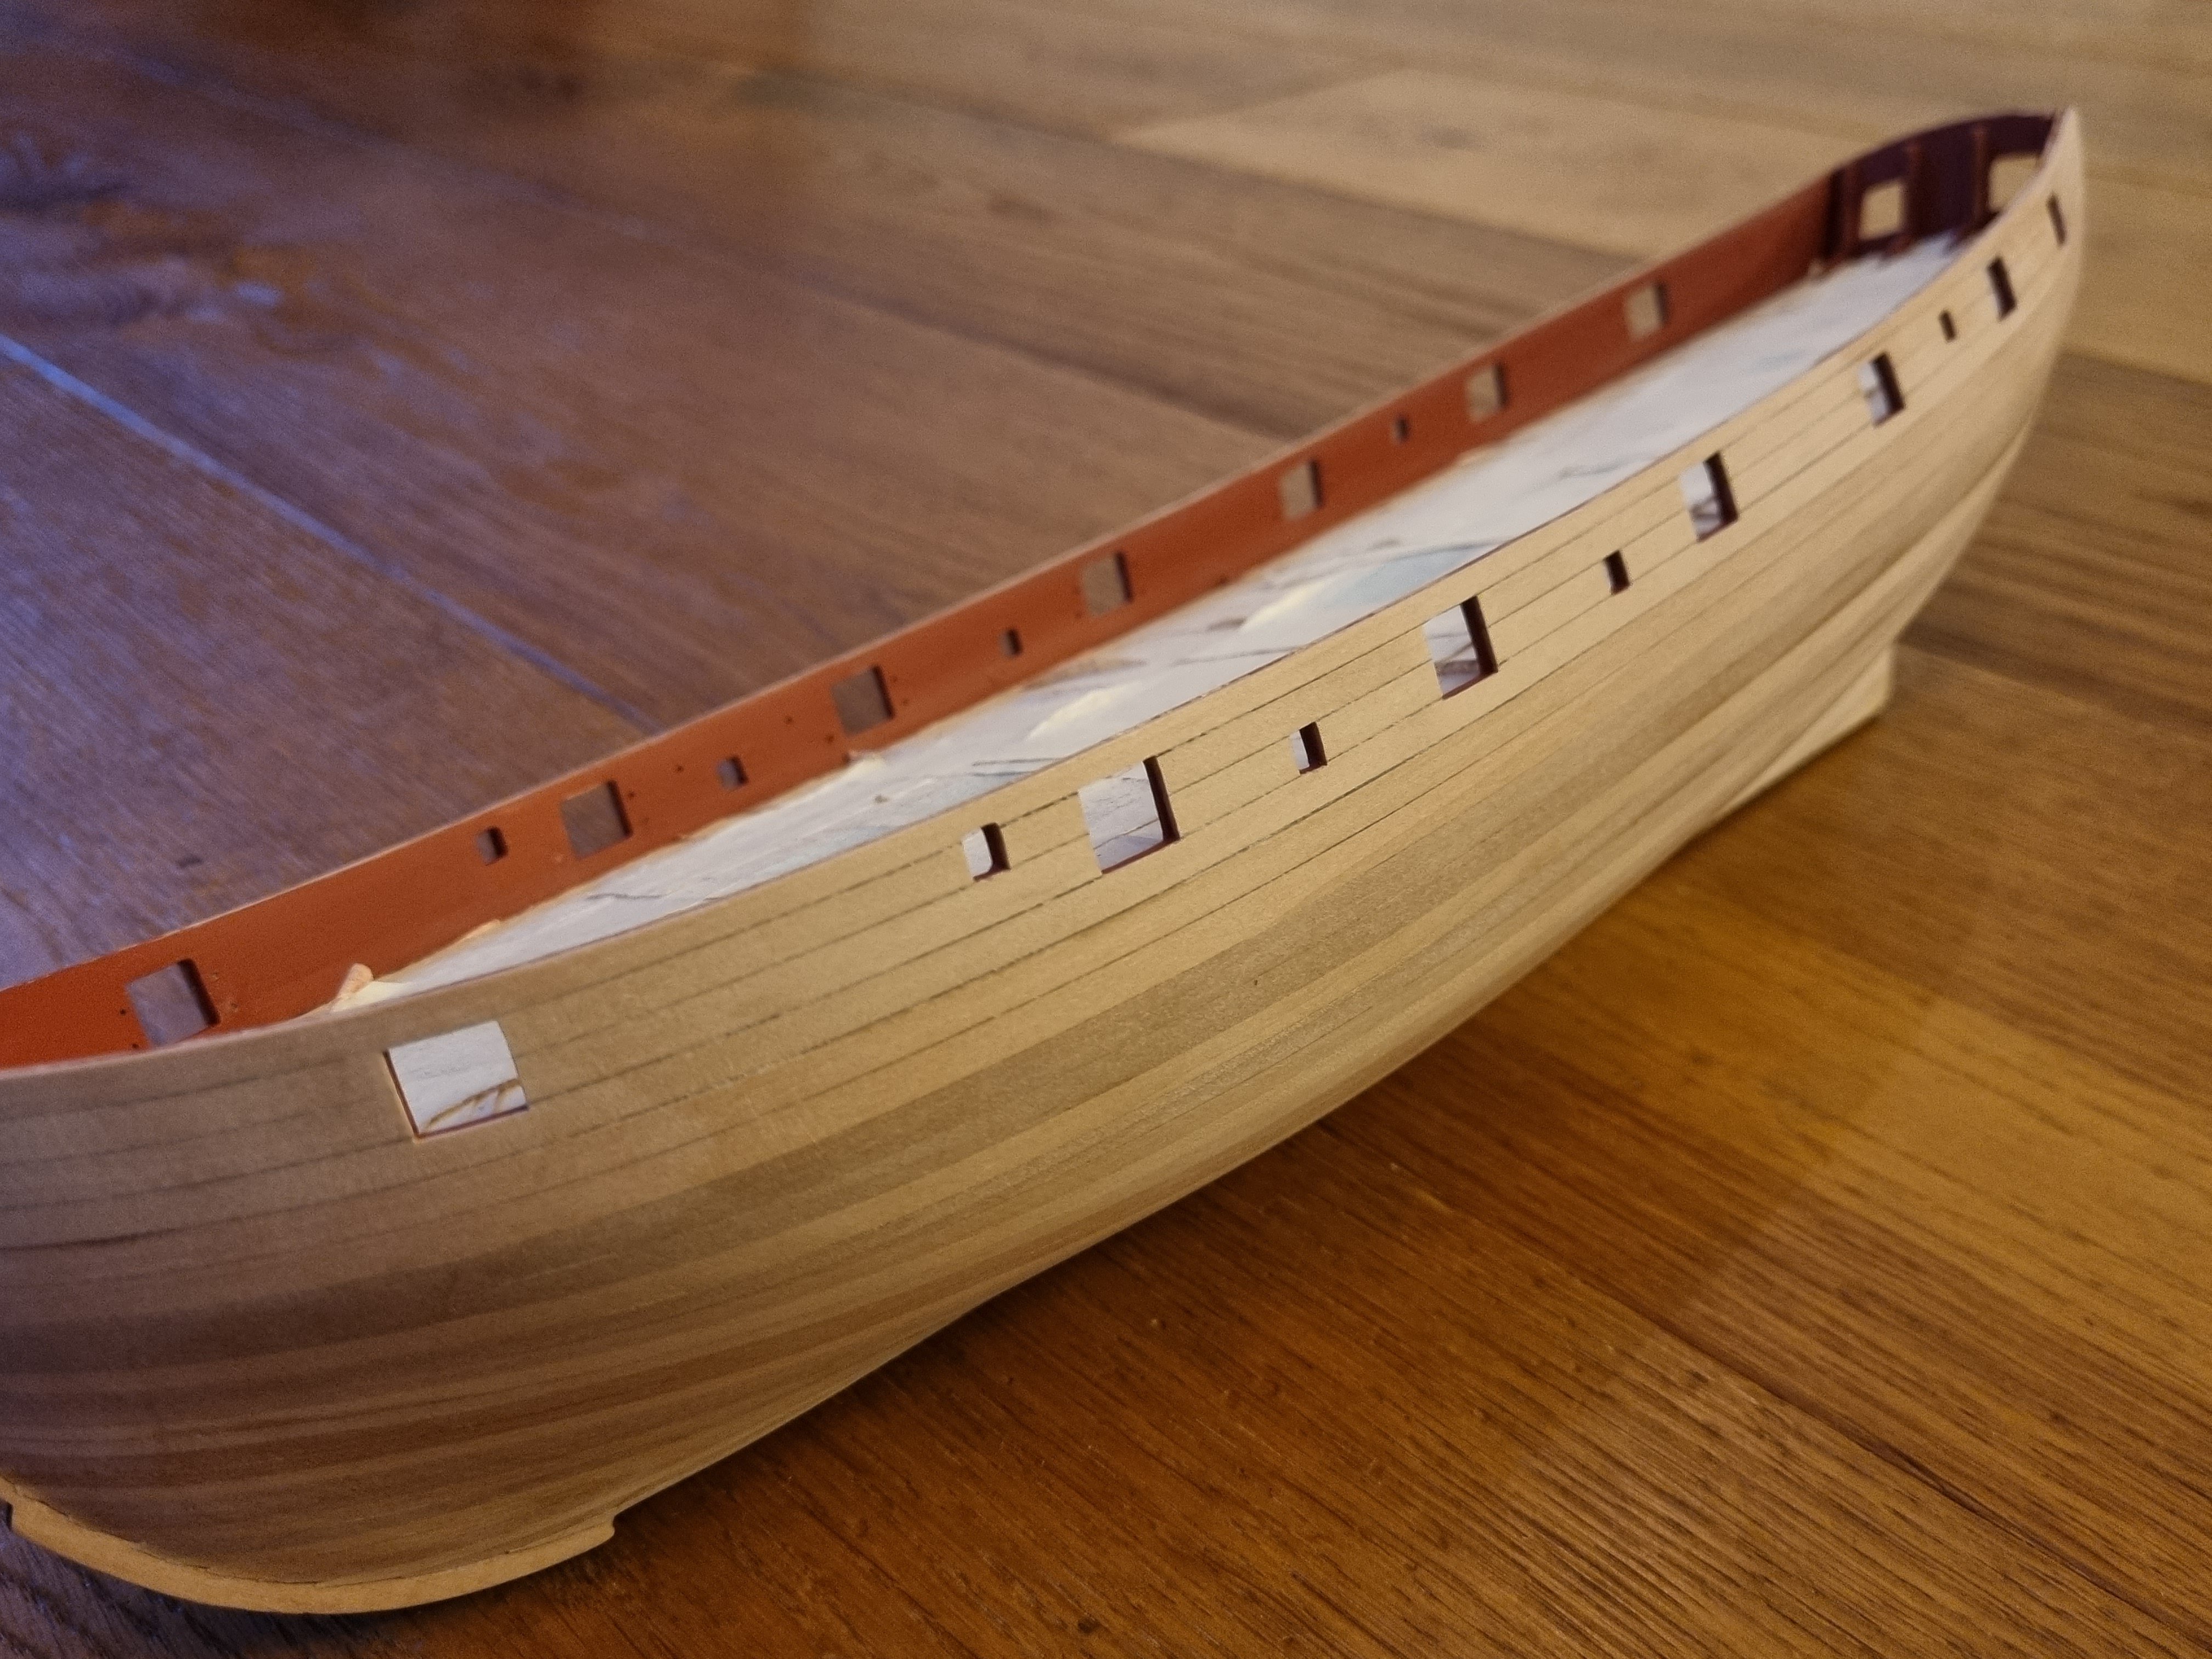
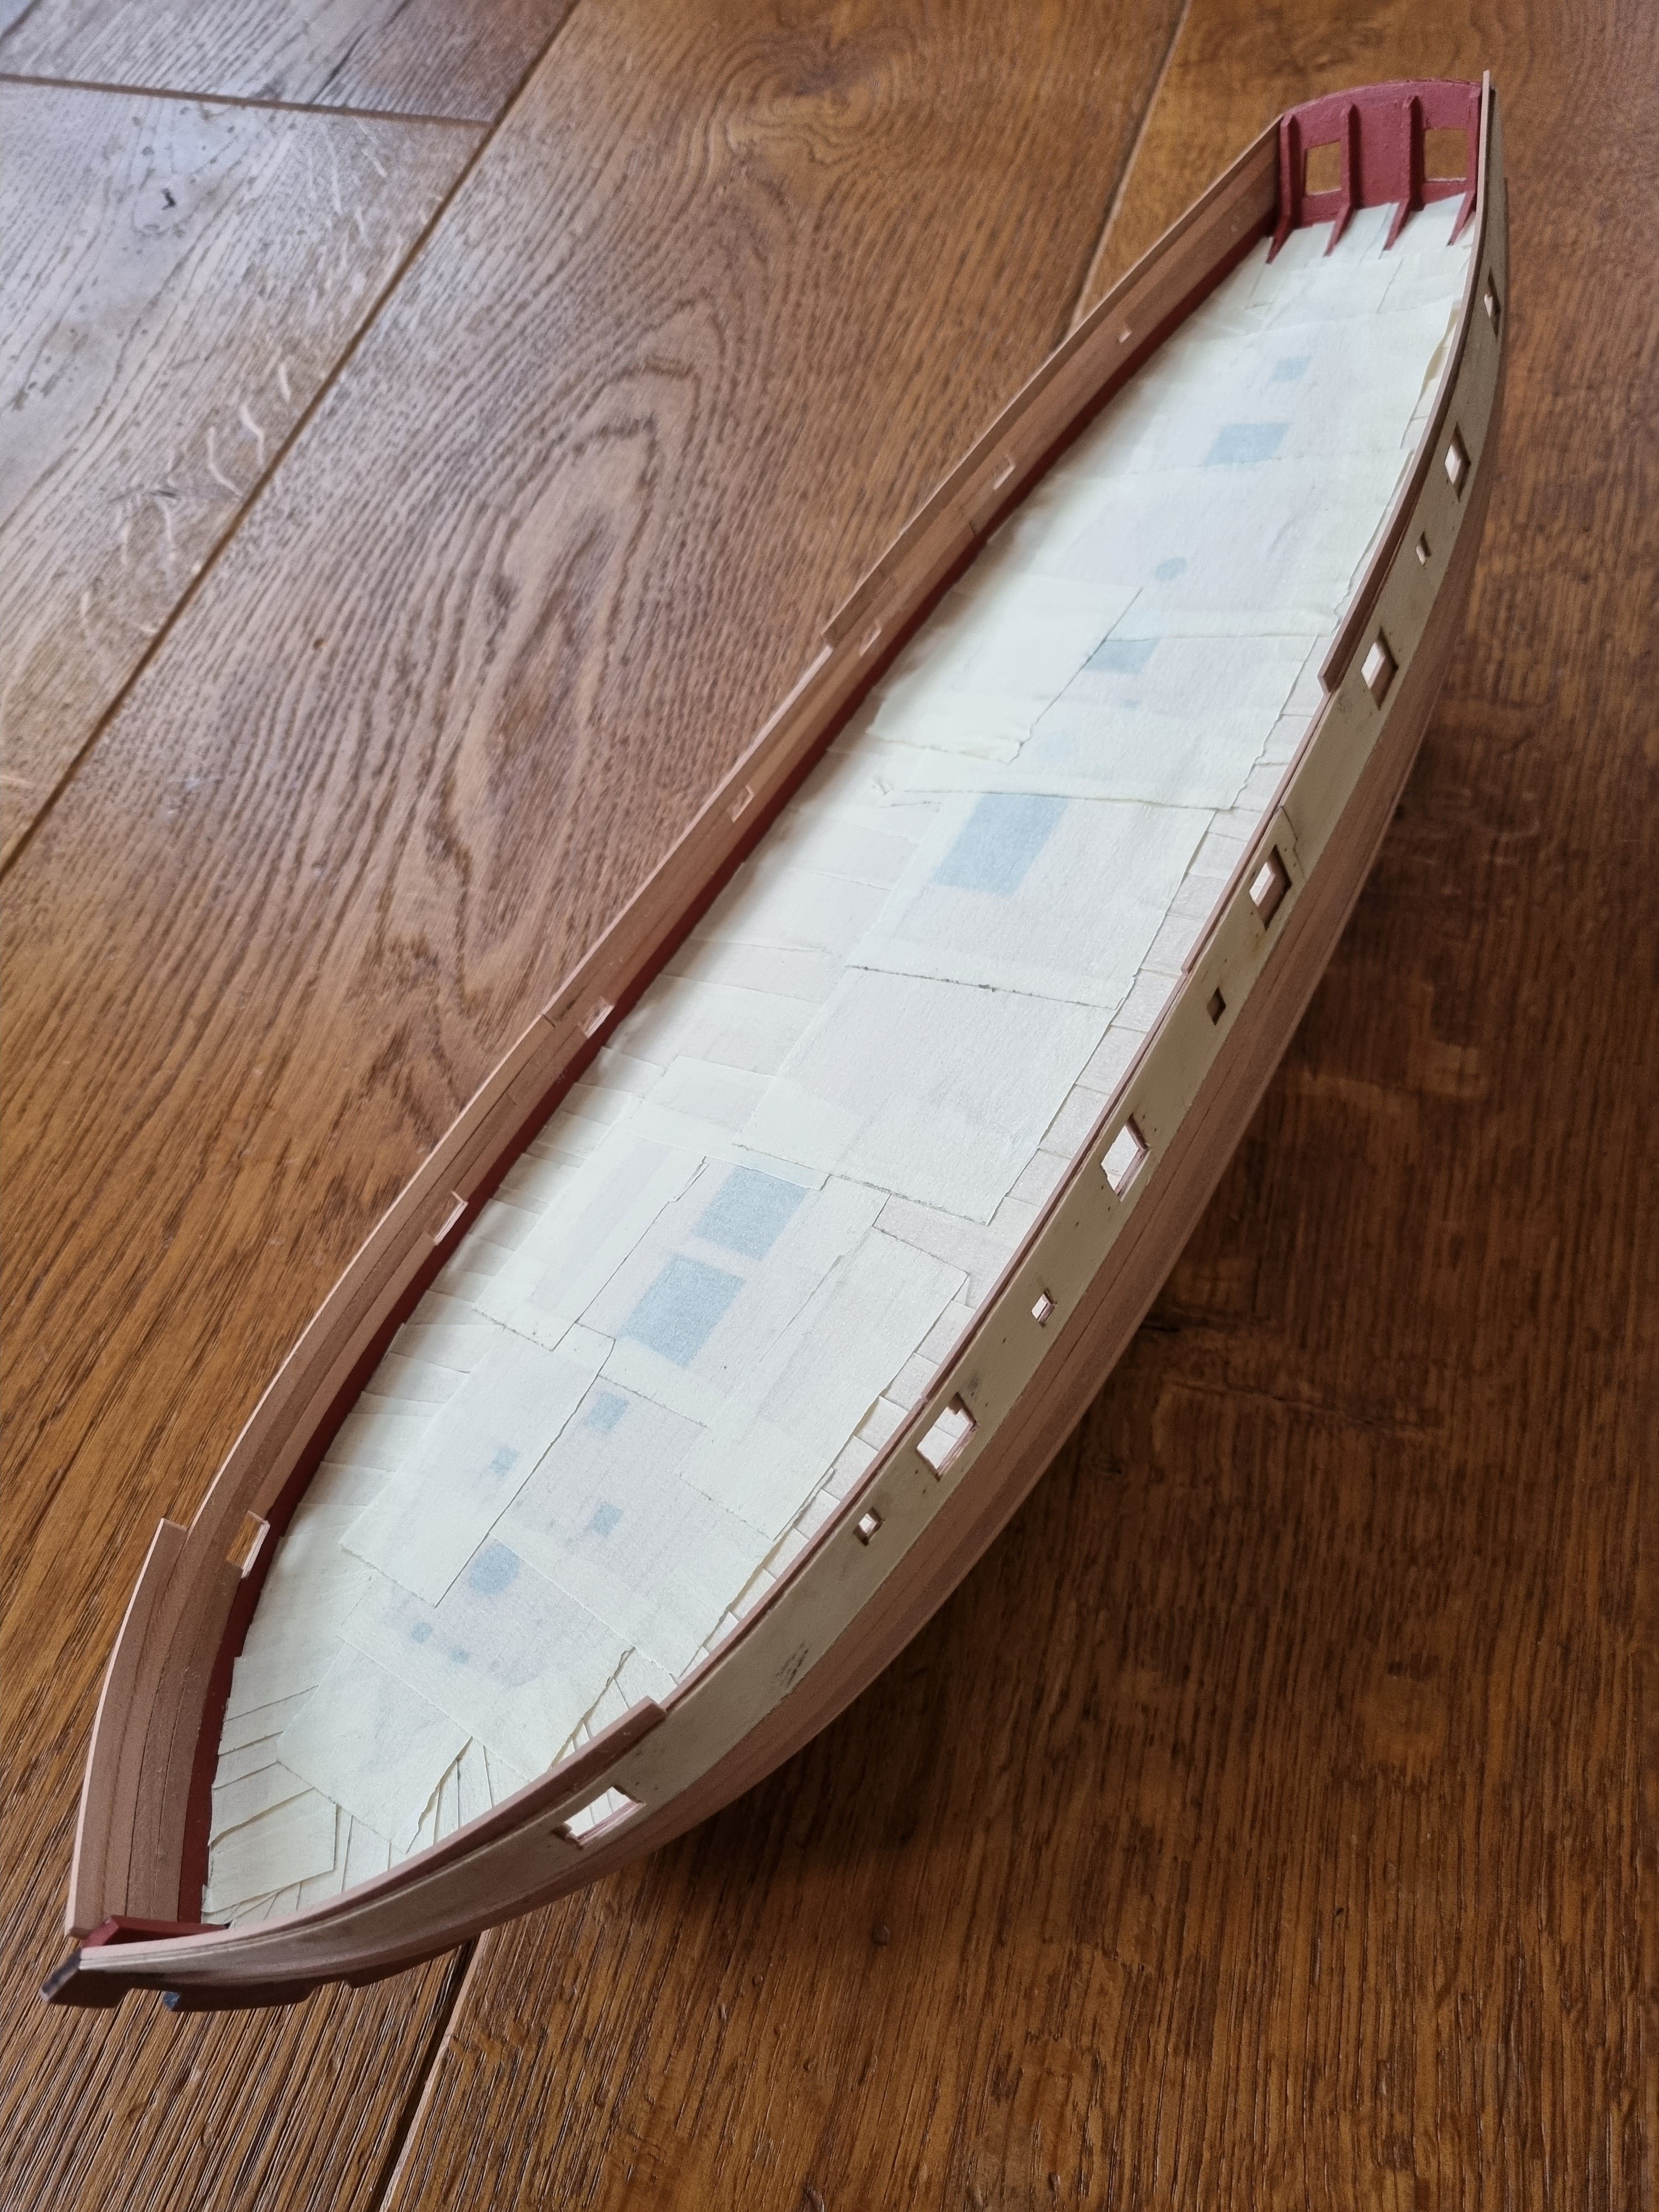
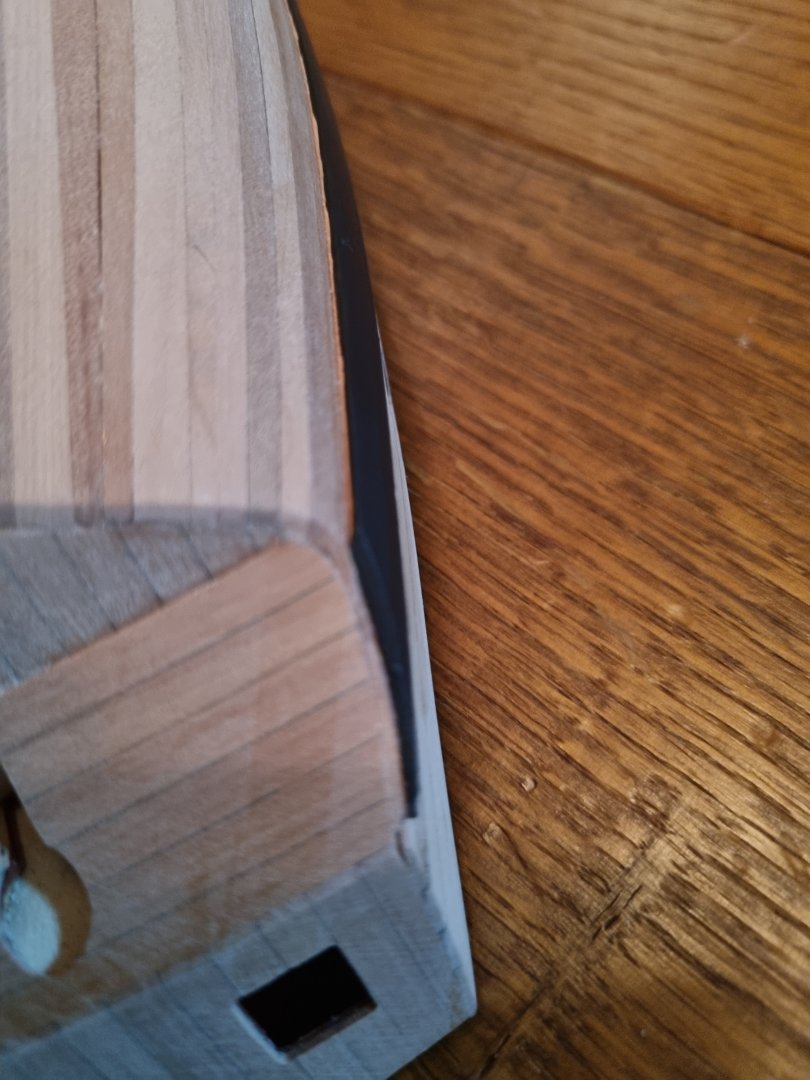
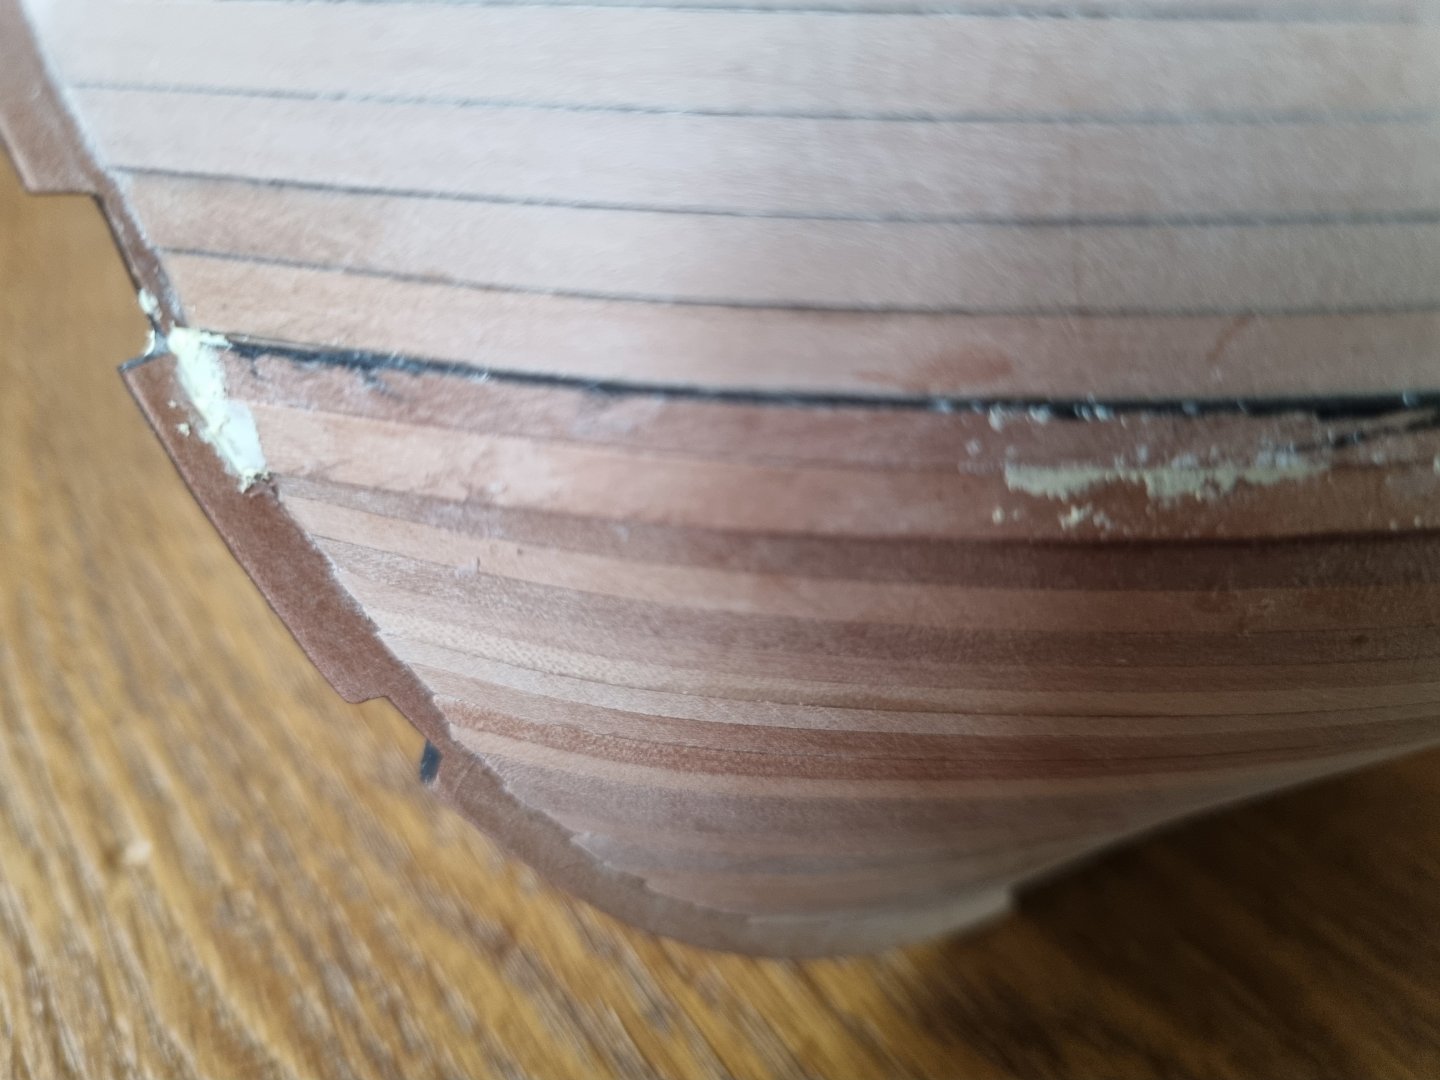
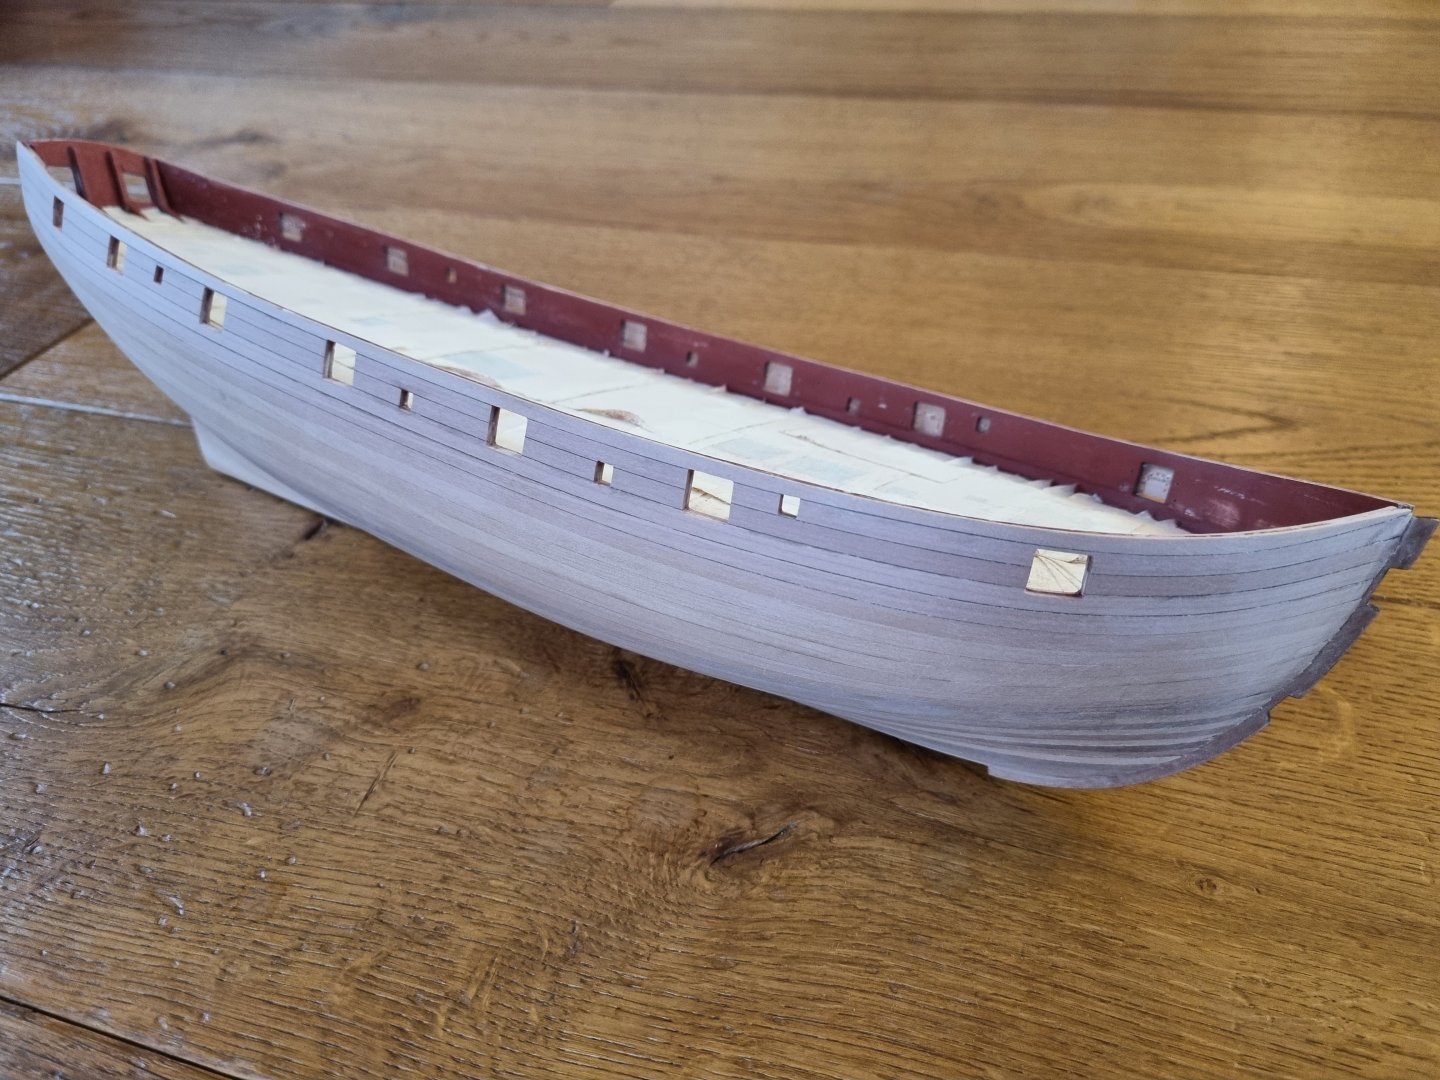
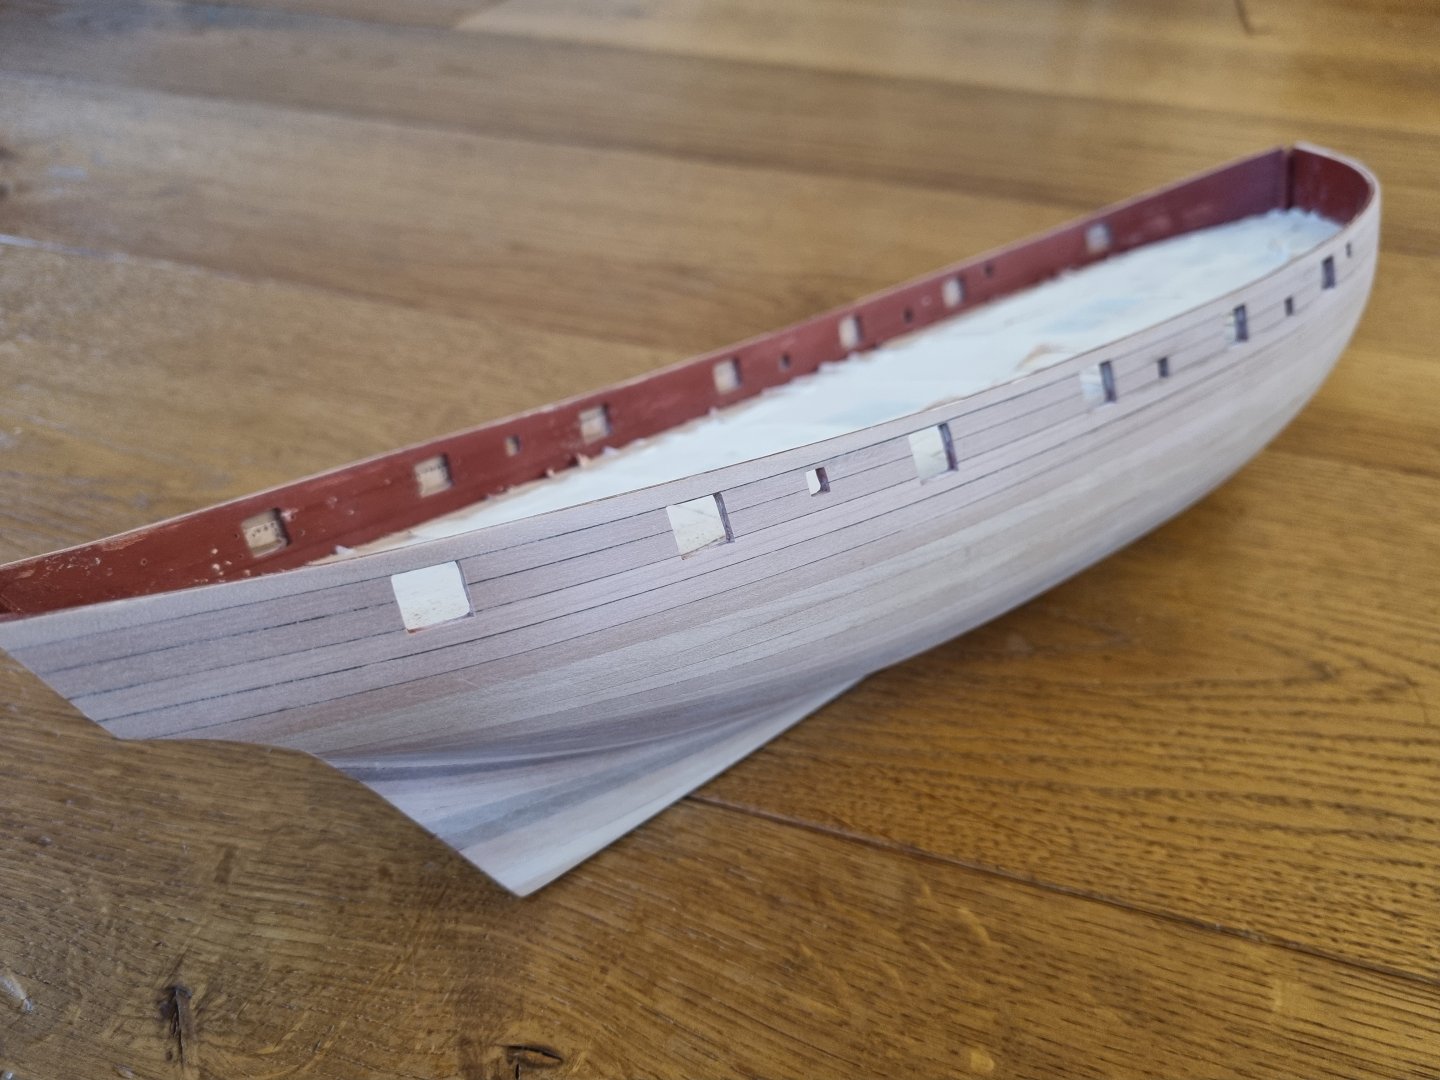
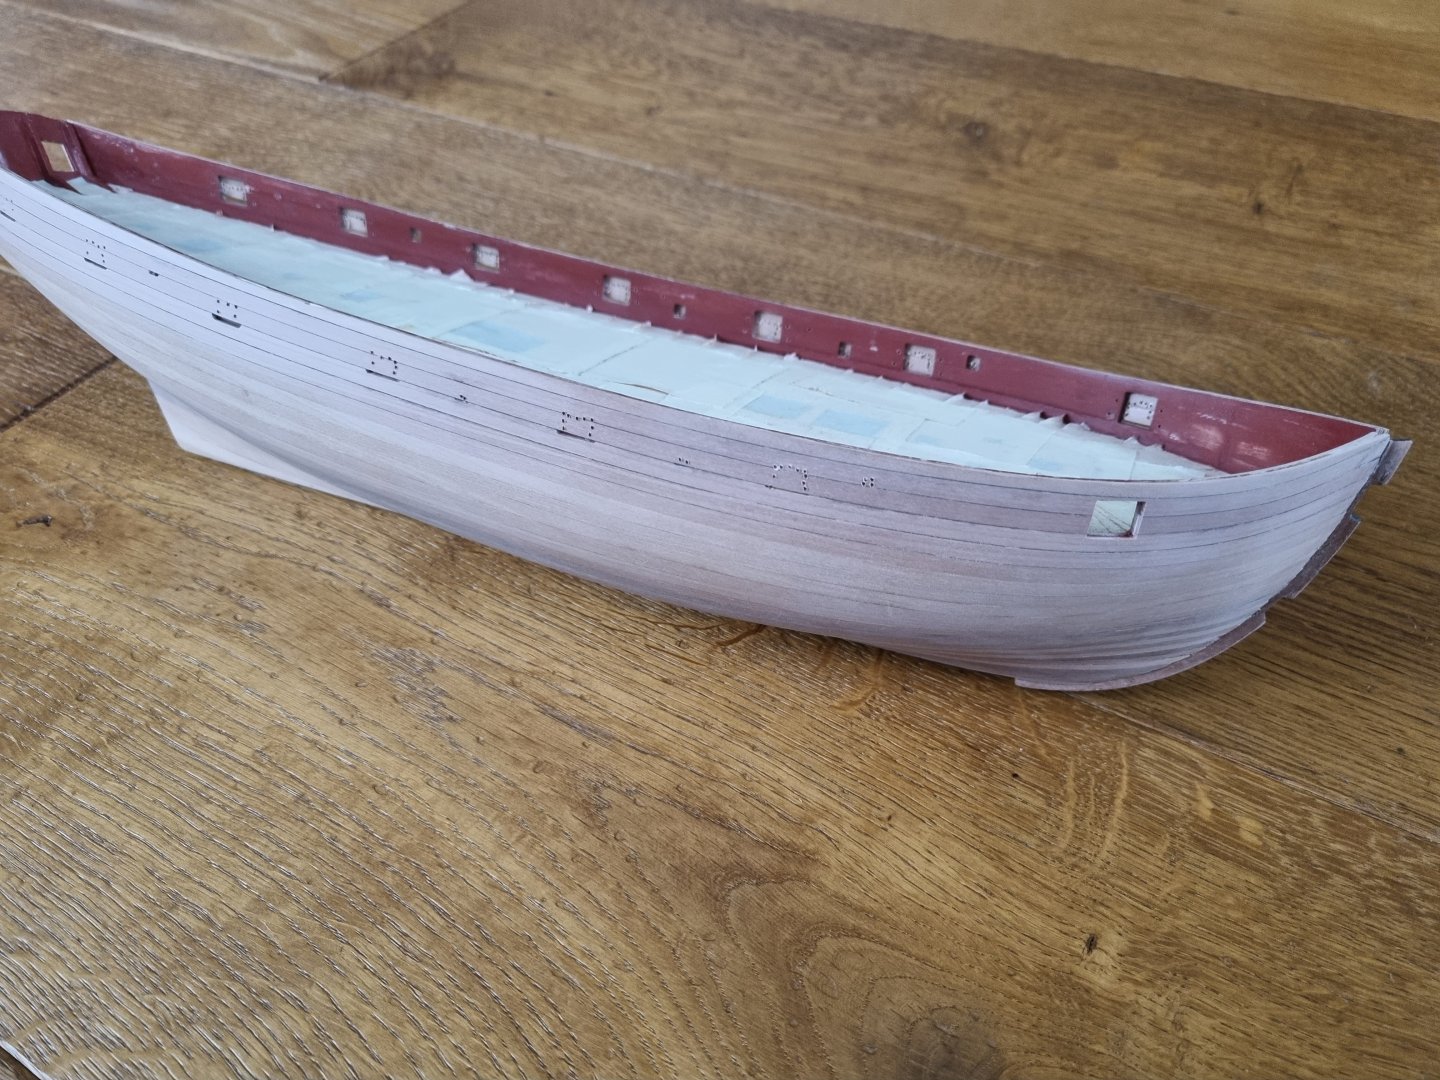
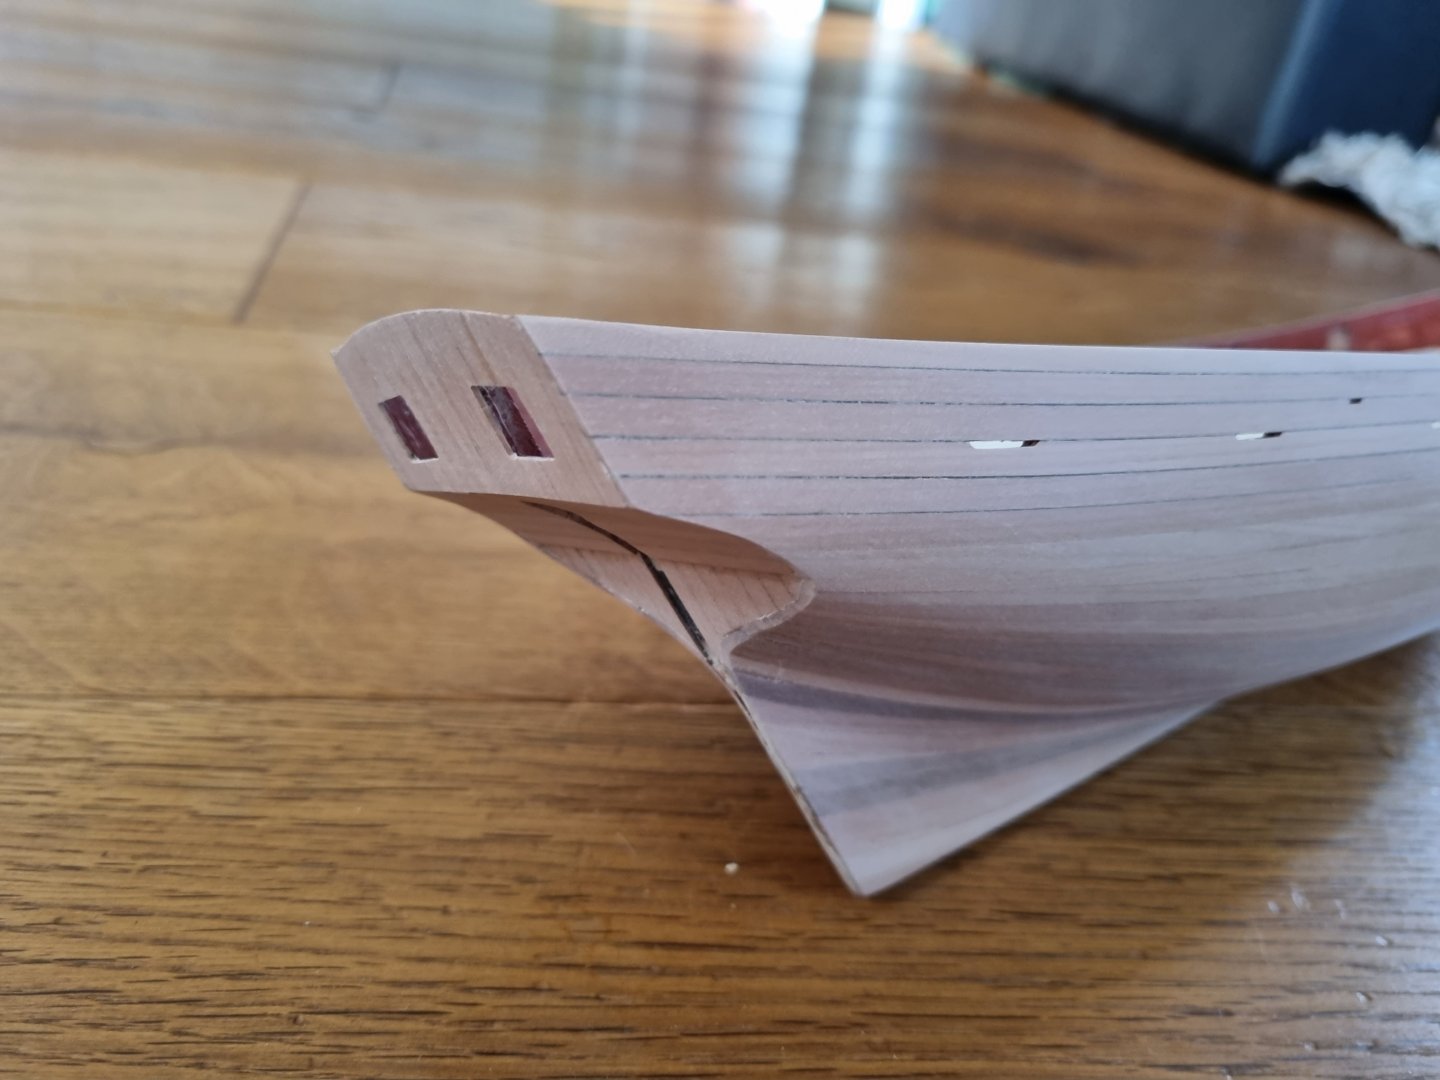
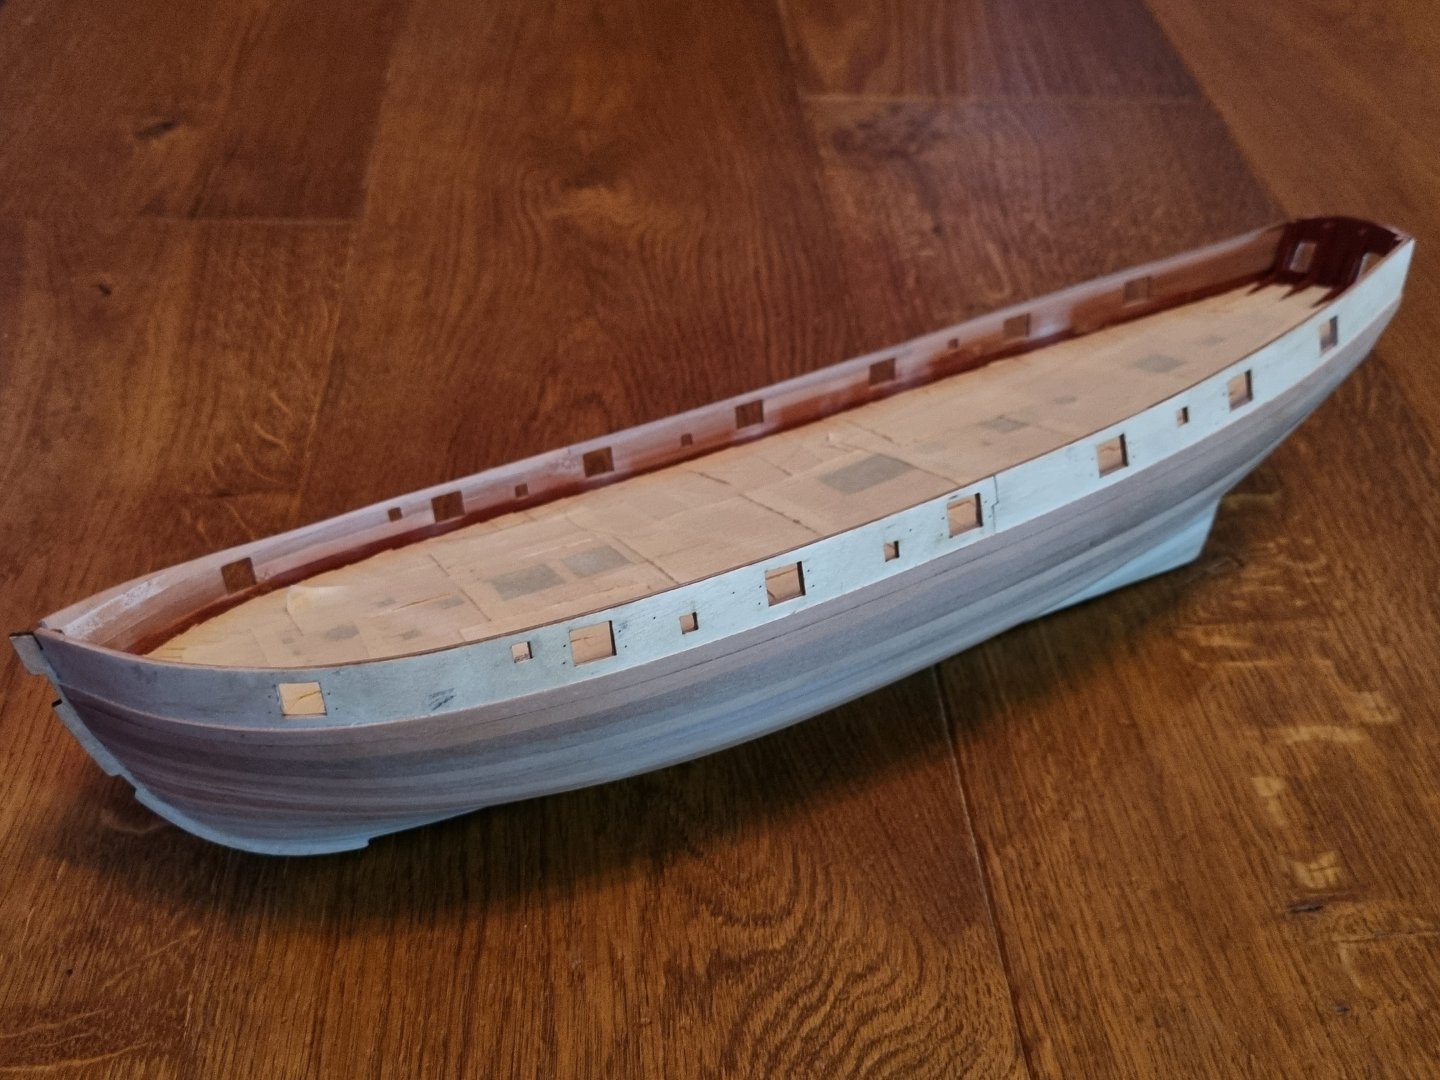
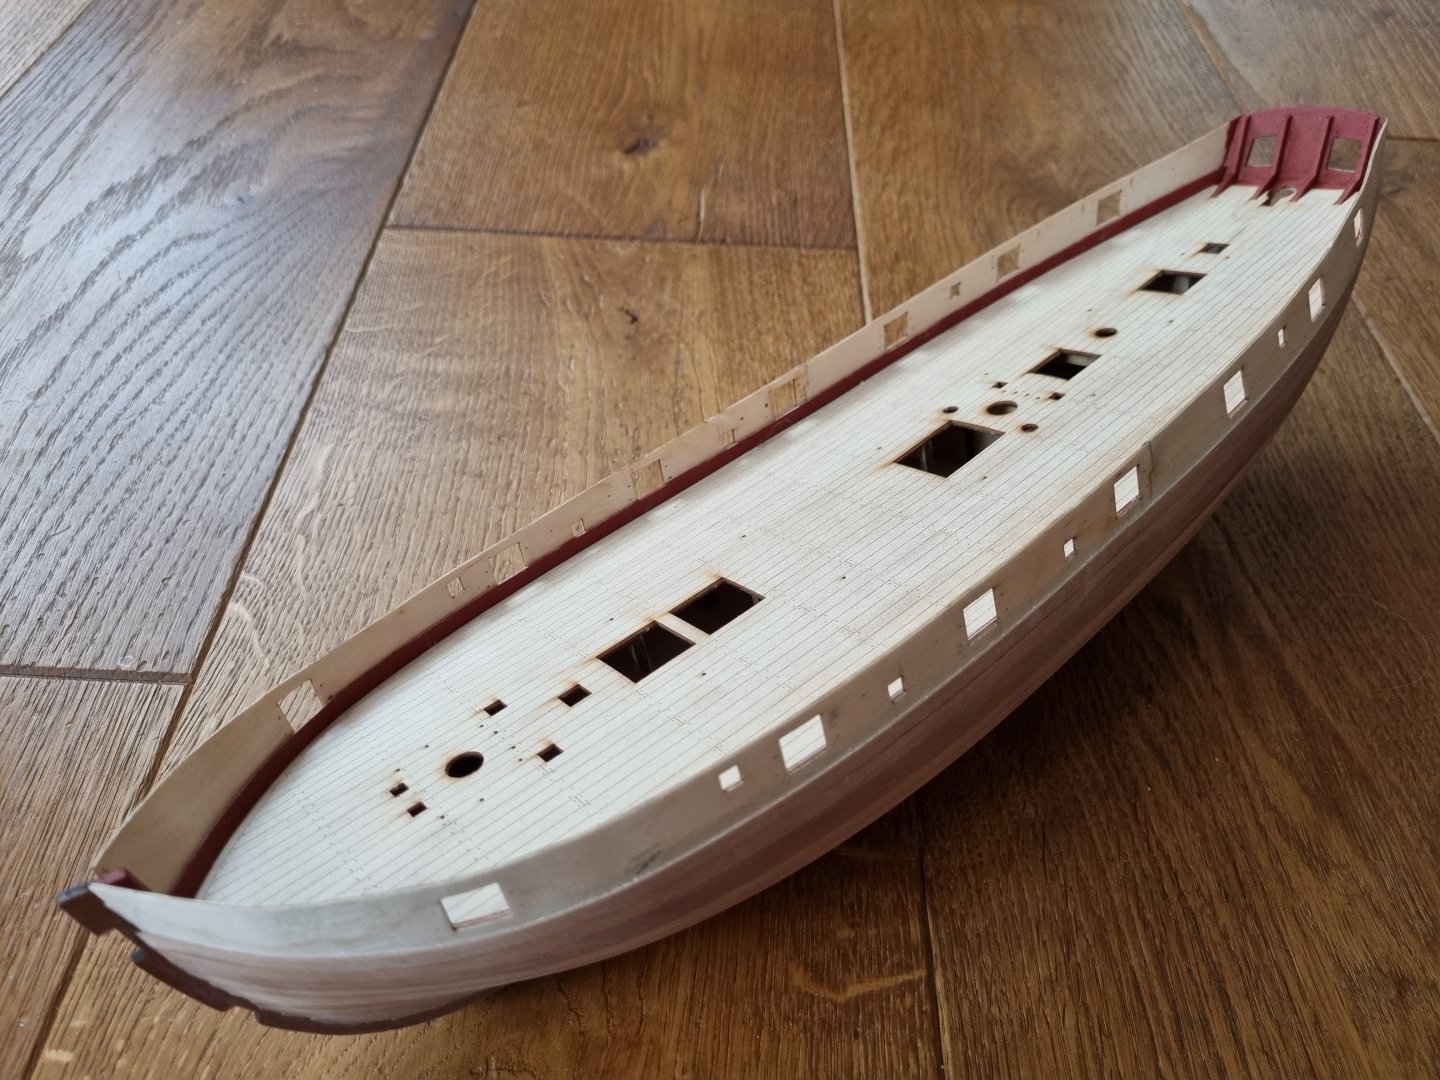
Then there's the life, is'nt it? But that's not the point of this log, so, after a long needet brake, work has started again. I'm mostly finished with sanding. With the bulk of the hull, I'm quite pleased: Front and back there are places where the planks opened a bit. That is, when I sanded them down and thinner, when they had not a good contact over the complete depth. Especialy at the stem. Perhaps of inpatience or just lack of skill. When I glued the planks at first, there were no gaps to see. Seems I have a lot to learn. I used the provided deck and started the inner planking of the bulwarks with leftover strips from the second planking


-
The colours add a lot of 'life' to this model. I like that! 🙂