

Robp1025
-
Posts
259 -
Joined
-
Last visited
Content Type
Profiles
Forums
Gallery
Events
Posts posted by Robp1025
-
-
5 hours ago, Baker said:
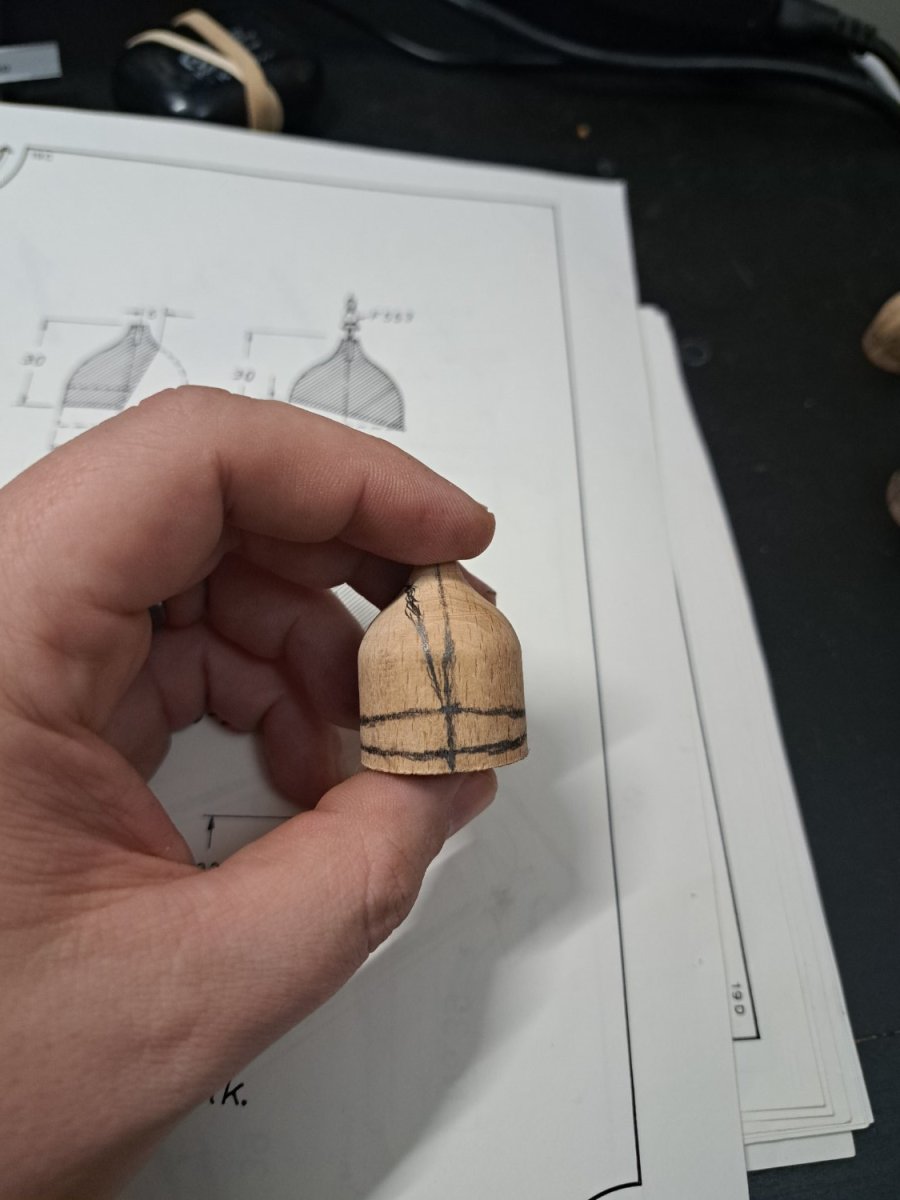
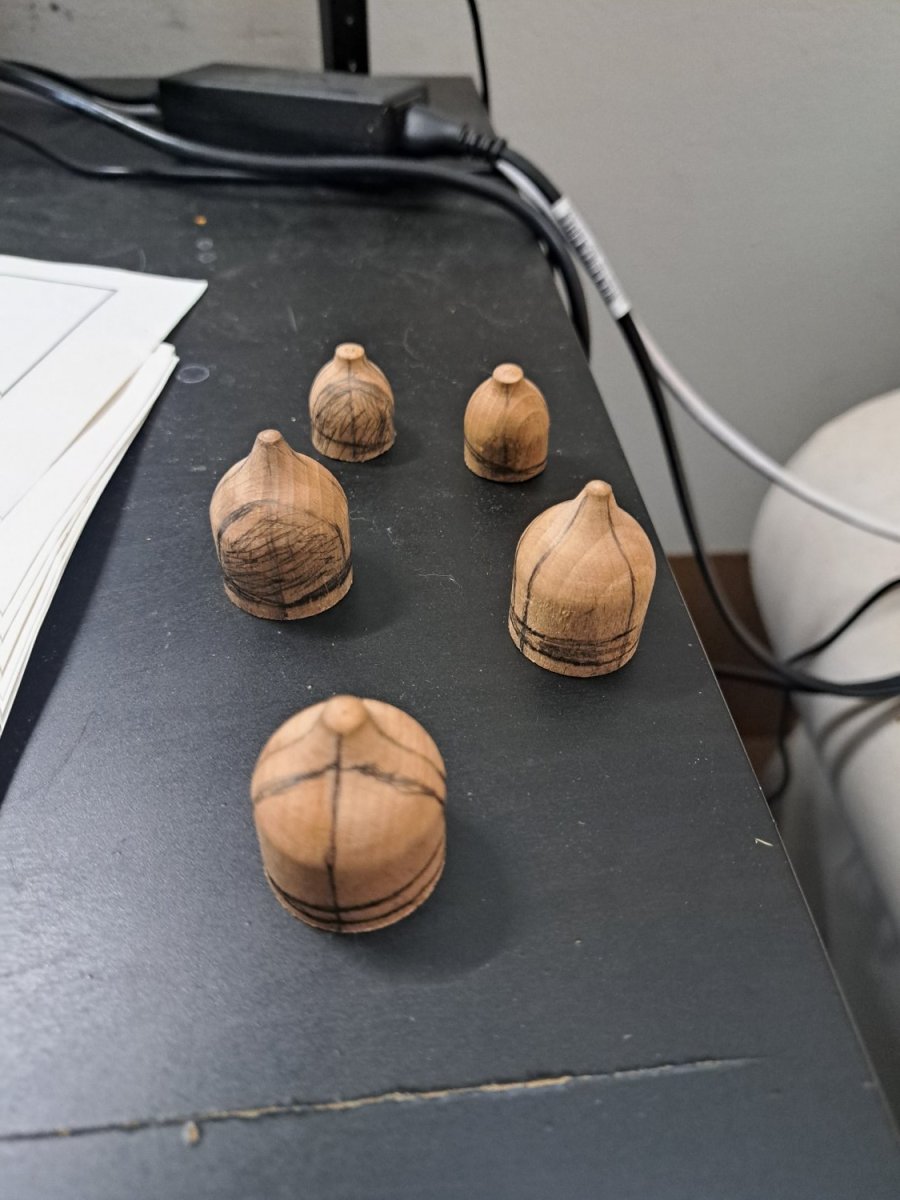
I remember from my Vasa build these were not so easy to shape them properly.
fitting a lot and not cutting away too much at once is the best way.
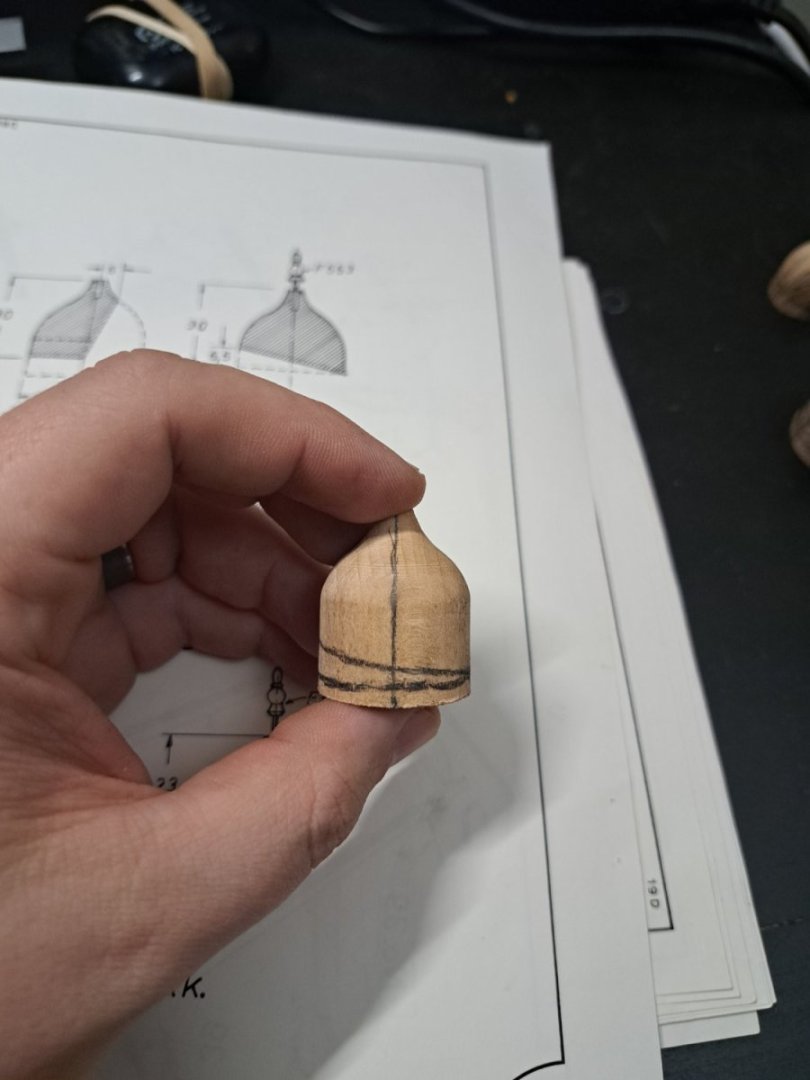
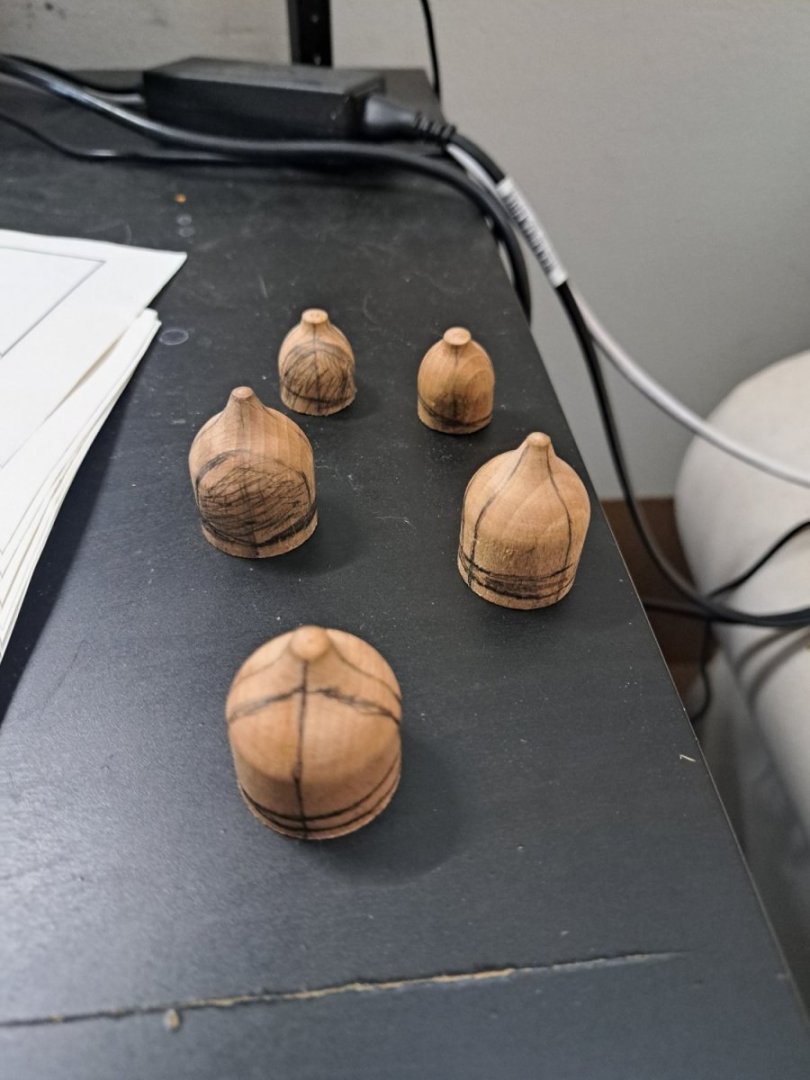
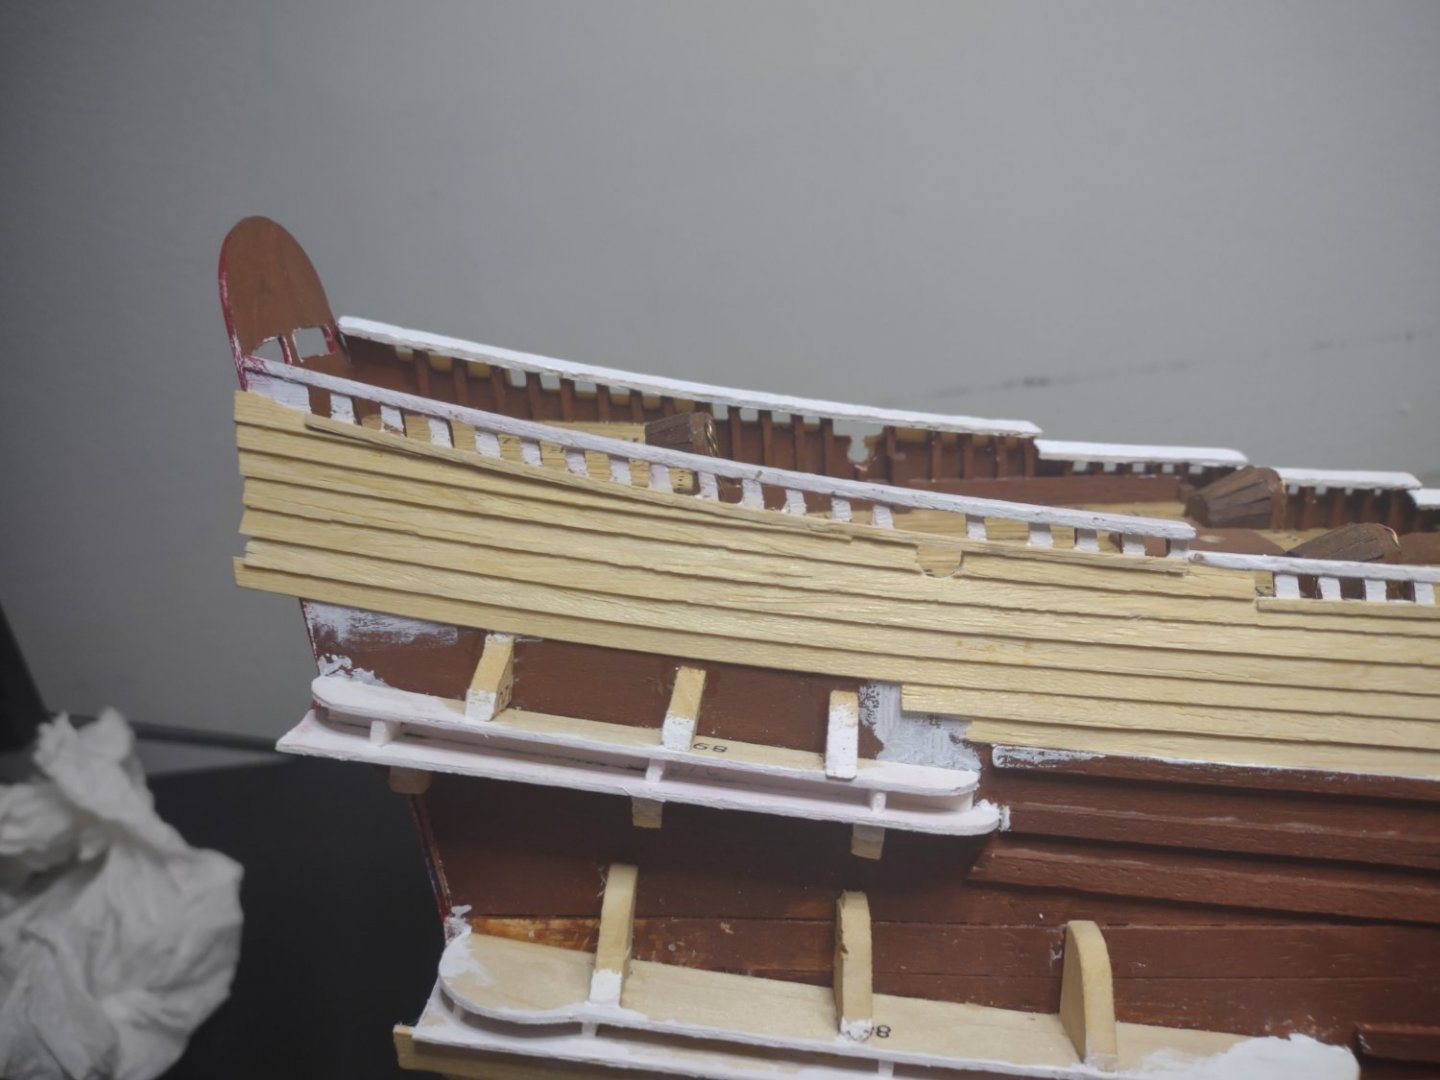
Yep this is the plan to not cut to the line but just short and sand down till we are correct and in place
- Keith Black and Baker
-
 2
2
-
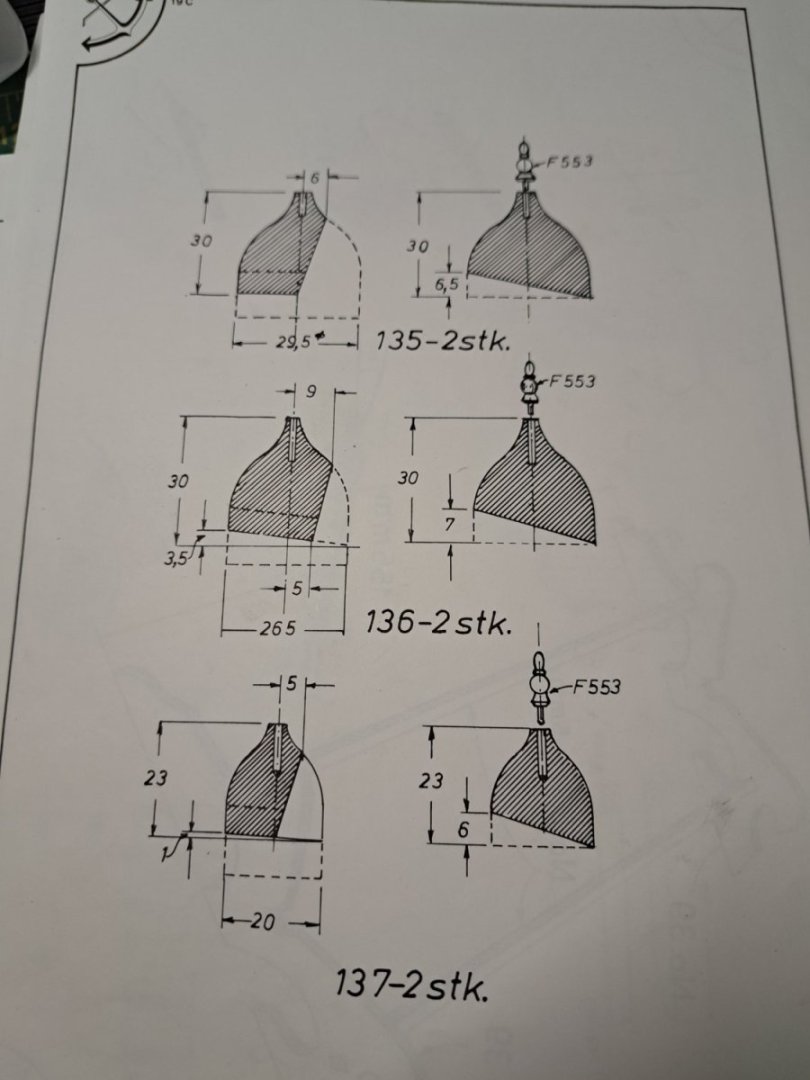
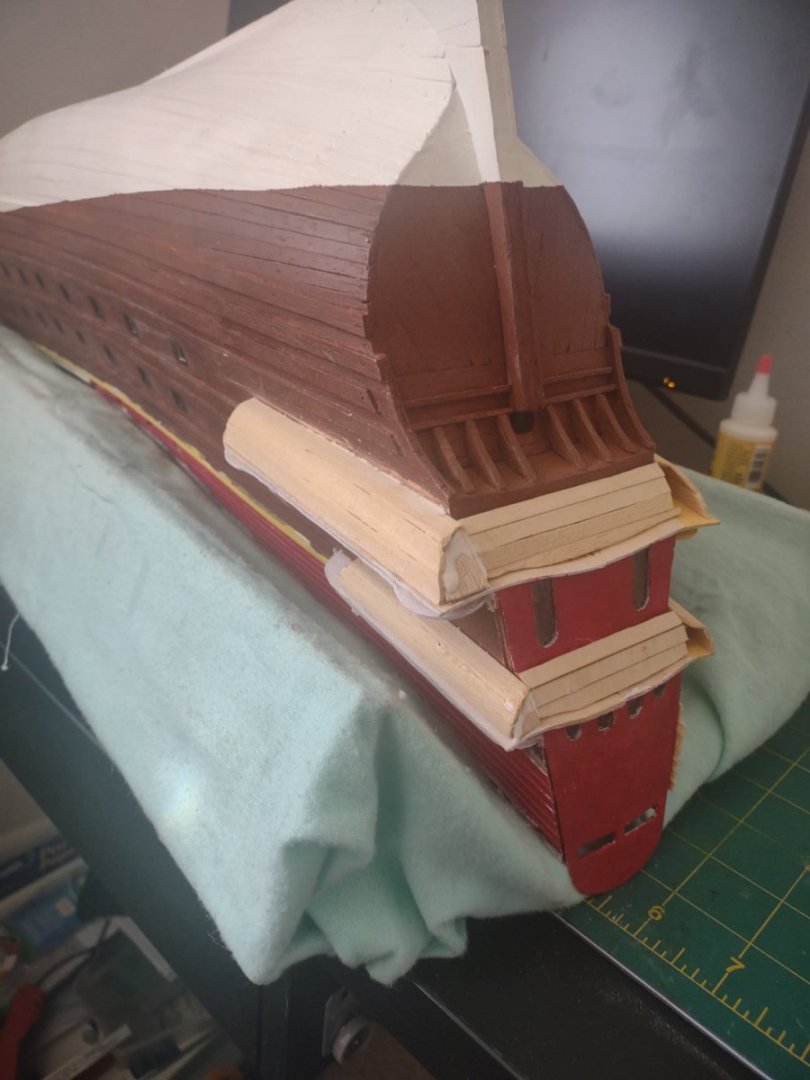
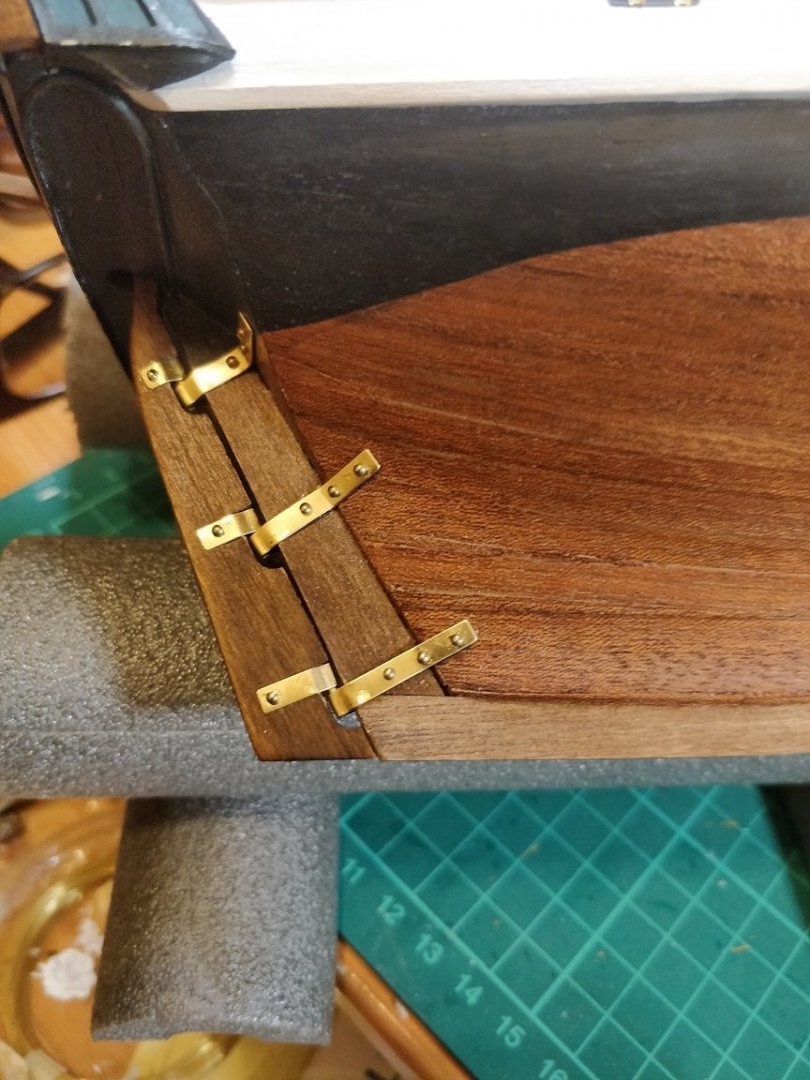
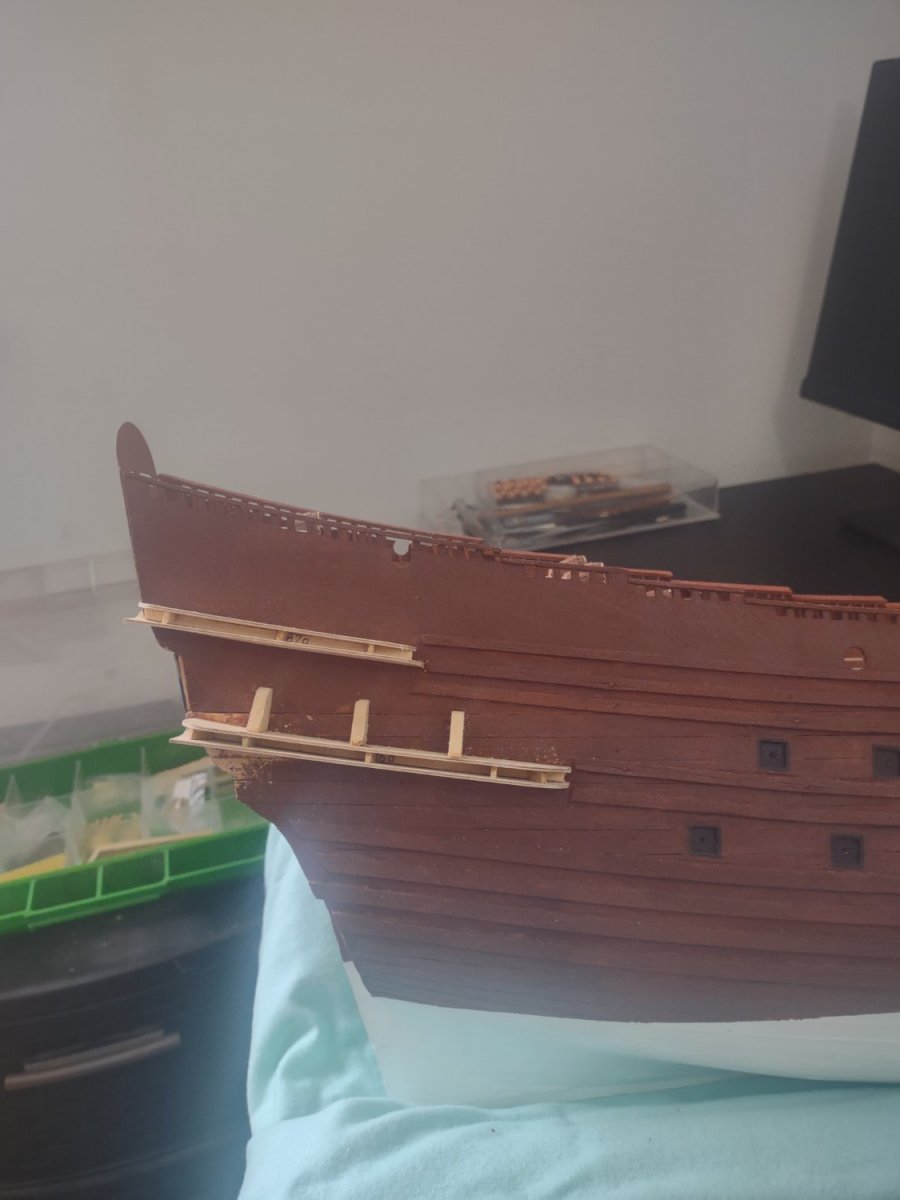
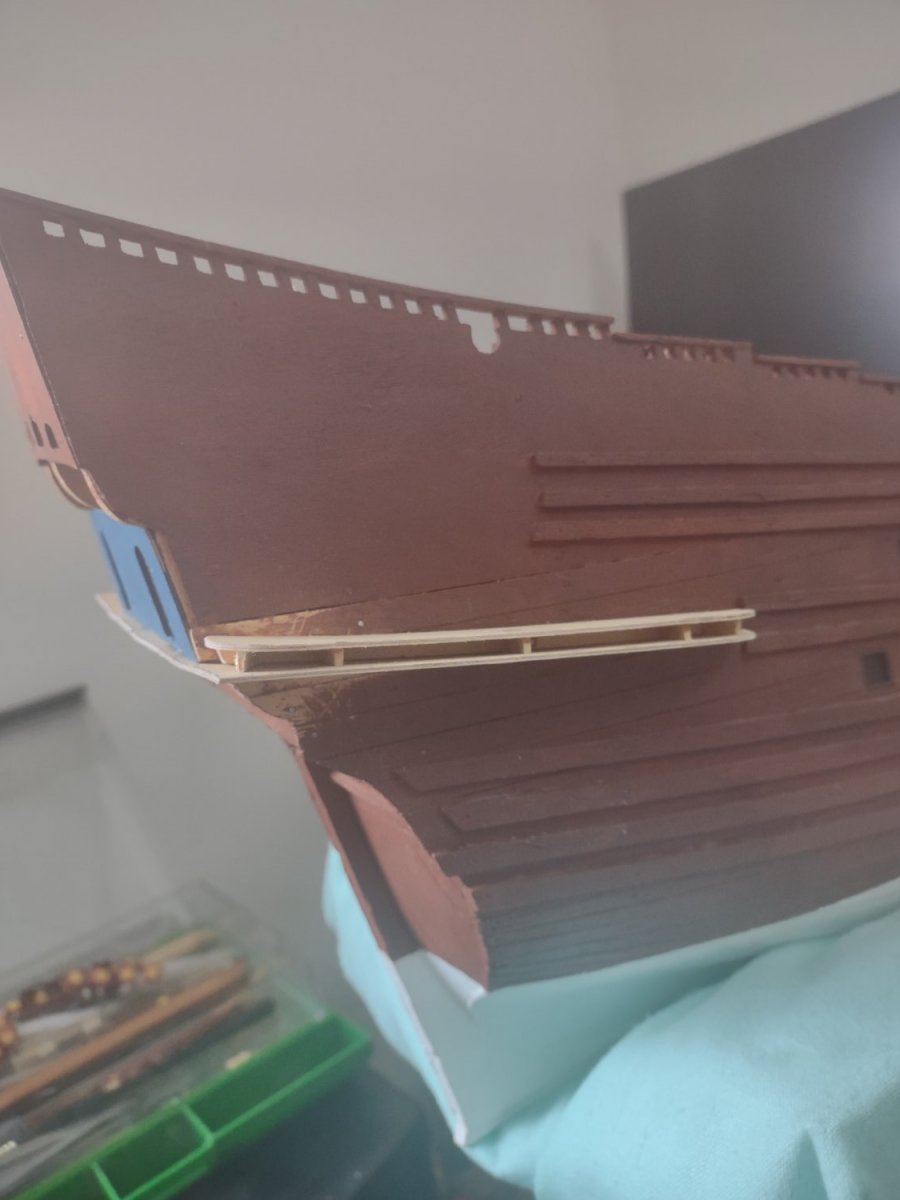
So I did some figuring of how I am gonna handle the gallery. The Billings kit comes with a half section diagram so I used the measurements to get a good idea of which cuts and I'll do some shaping to get them fit over the weekend

-
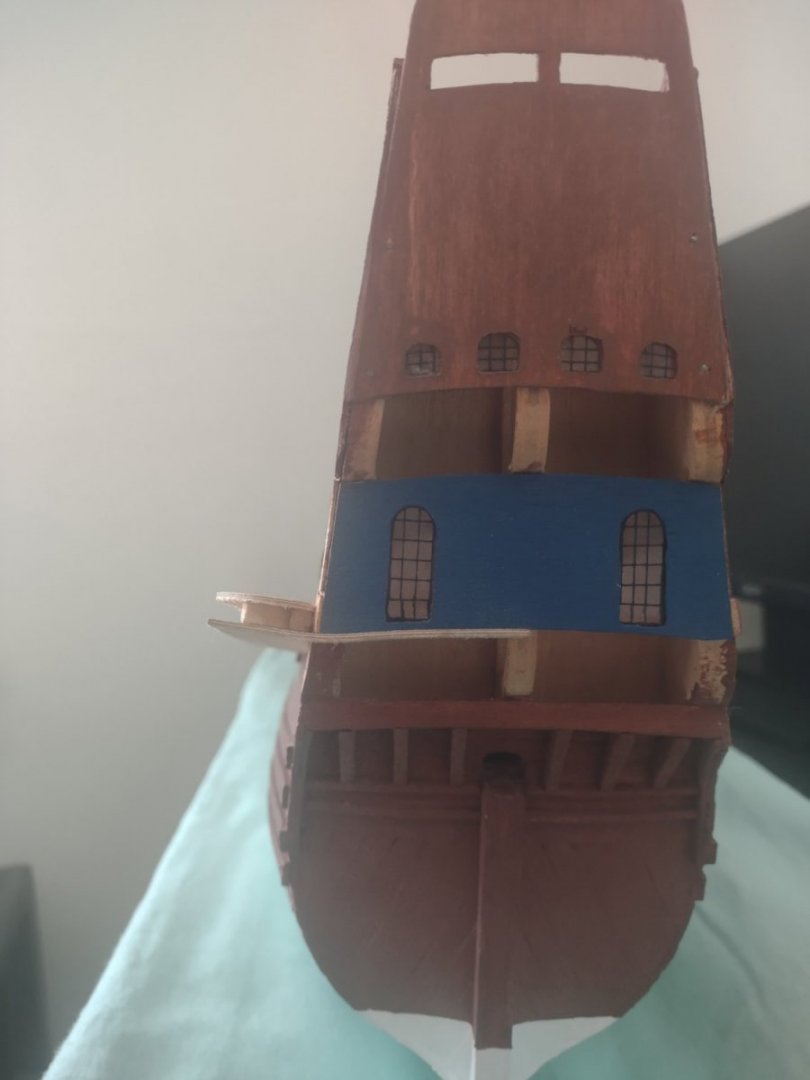
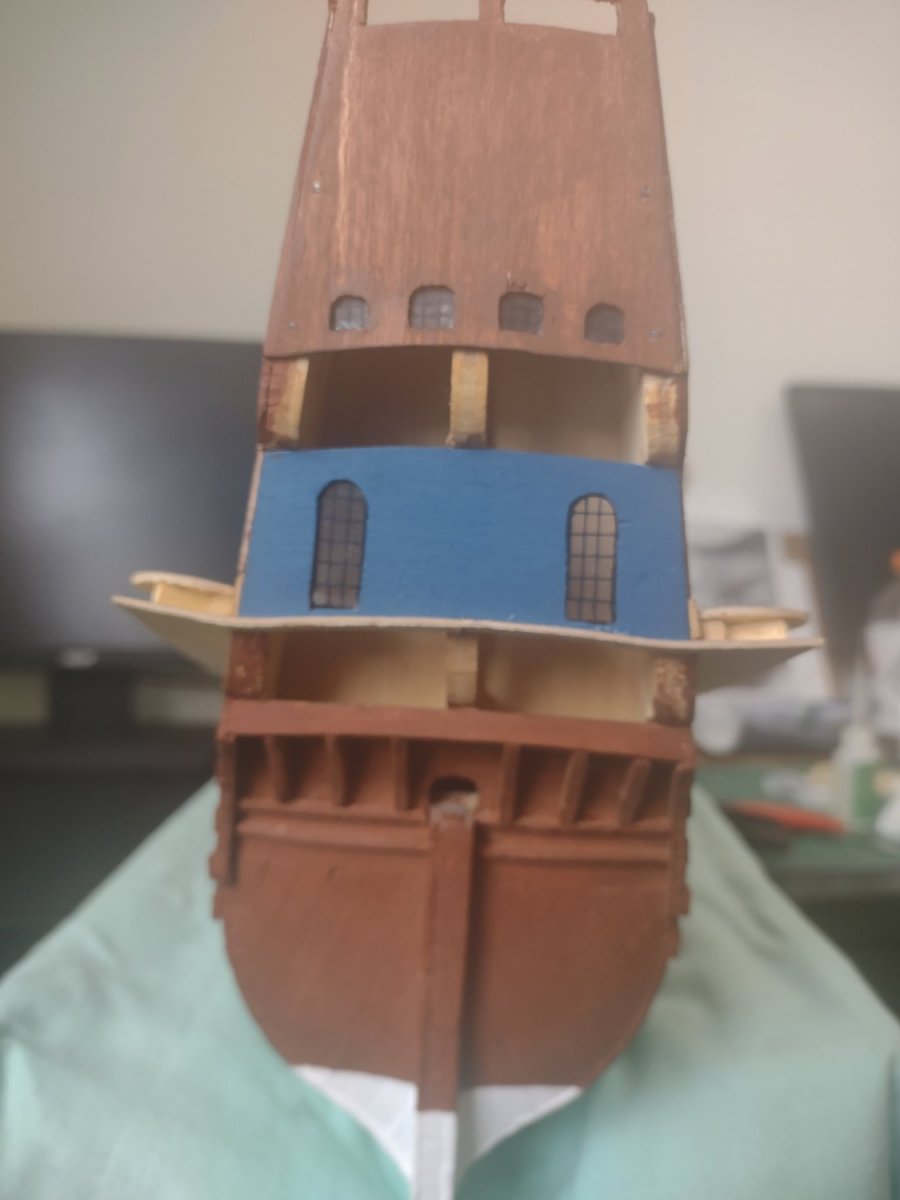
Hello everyone I am sorry that I have not been on here in quite some time but I had some life situations happen that created some difficulties with working on the ships in general. I am doing some slow slow work on her but the issue I am having at the moment is the bow section has broken to a point that I need to fashion a from scratch piece. I have been working on changing the blue color that was originally put on to the red which is now known to be the correct color of the ship.
My hope is to get some more standard work on her on the weekends after the new year as everything should be evening out by then.
@Sophiedog I do appreciate all the work you have done and have given me such a beautiful base to work off. If you have any tips and tricks that you could share i would love to hear as i am only a couple years into the hobby and one completed ship.
- Keith Black and BLACK VIKING
-
2
-
Could you not migrate the dns to be cloud based with some fail safes in EU and USA so the site doesn't go down but just has higher latency??? Sorry IT nerd here and AWS system admin 😅😅😅
-
How about doing raised sails? That way it's the best of both worlds and if you want it setup with the sails then you can just unfurl
- Keith Black, Old Collingwood and Kevin
-
3
-
Hello everyone I am trying to find an U.S.S. Olympia kit that is not by Lindberg and is at the 1/232 range. If anyone knows where I can find one I would appreciate it!
My co workers Grand Father sailed on it and her Dad is retiring from the Navy and wants to surprise him with this model so I figured I would try to find it but I don't want the knock off cheap version of the kit that Lindberg gives. Atleast from the reviews I have seen it's not good at all.
-
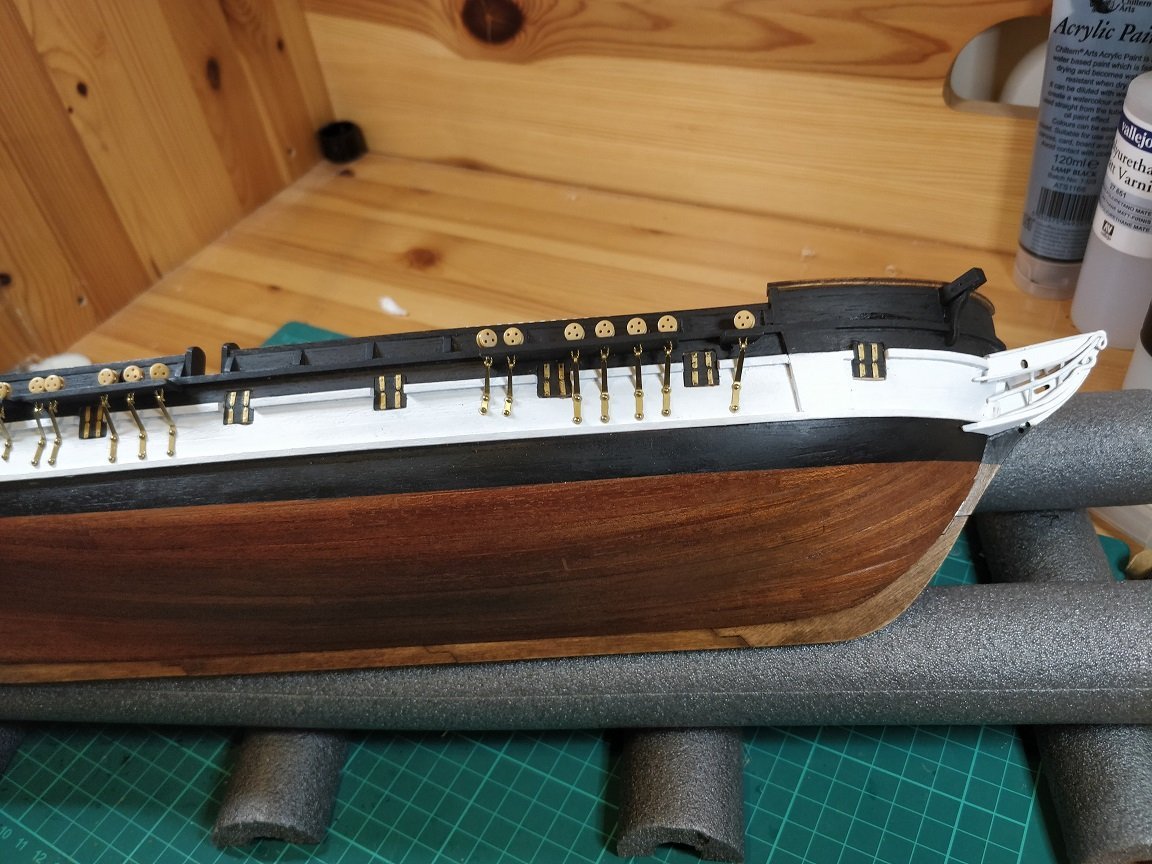
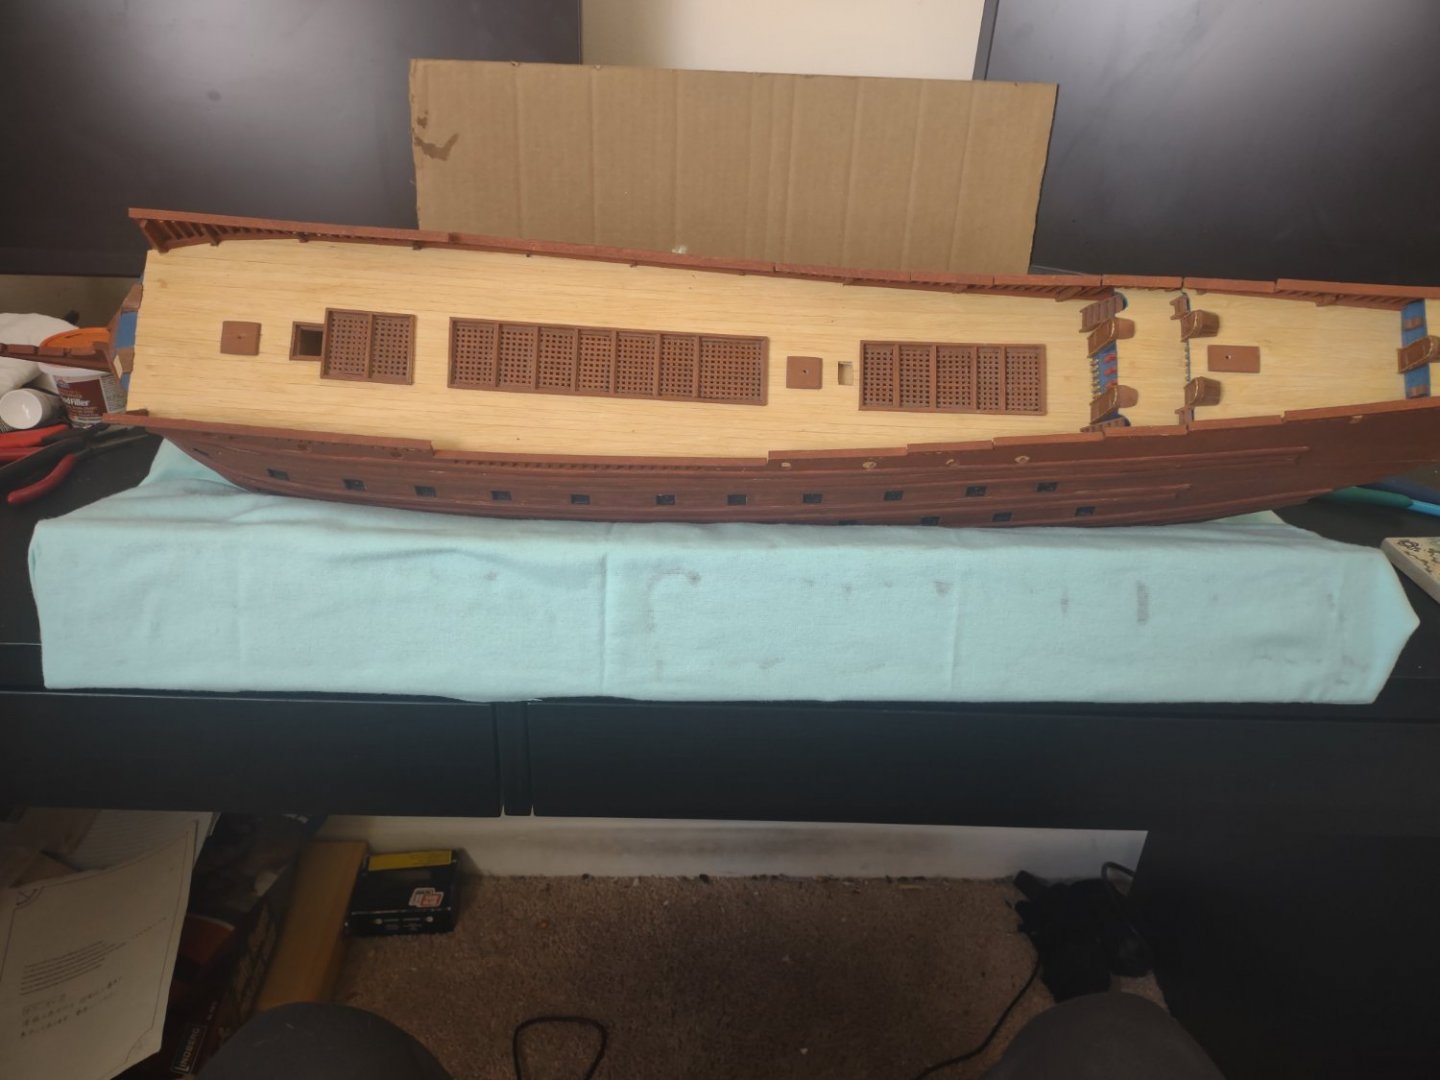
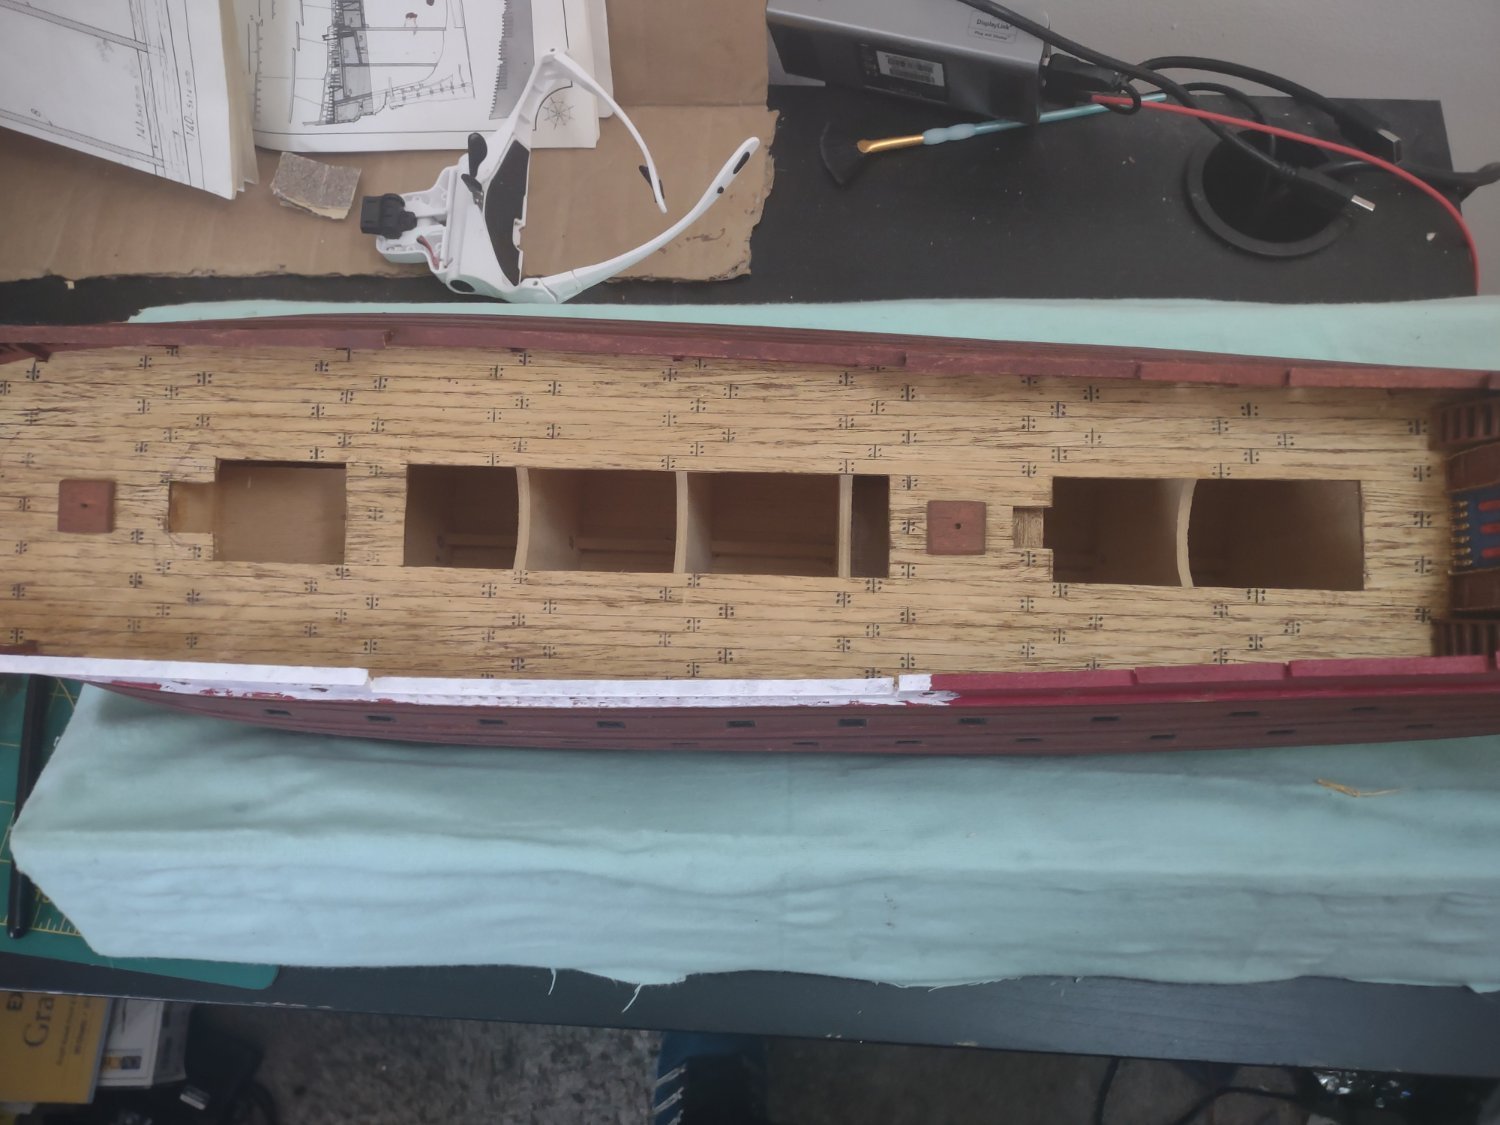
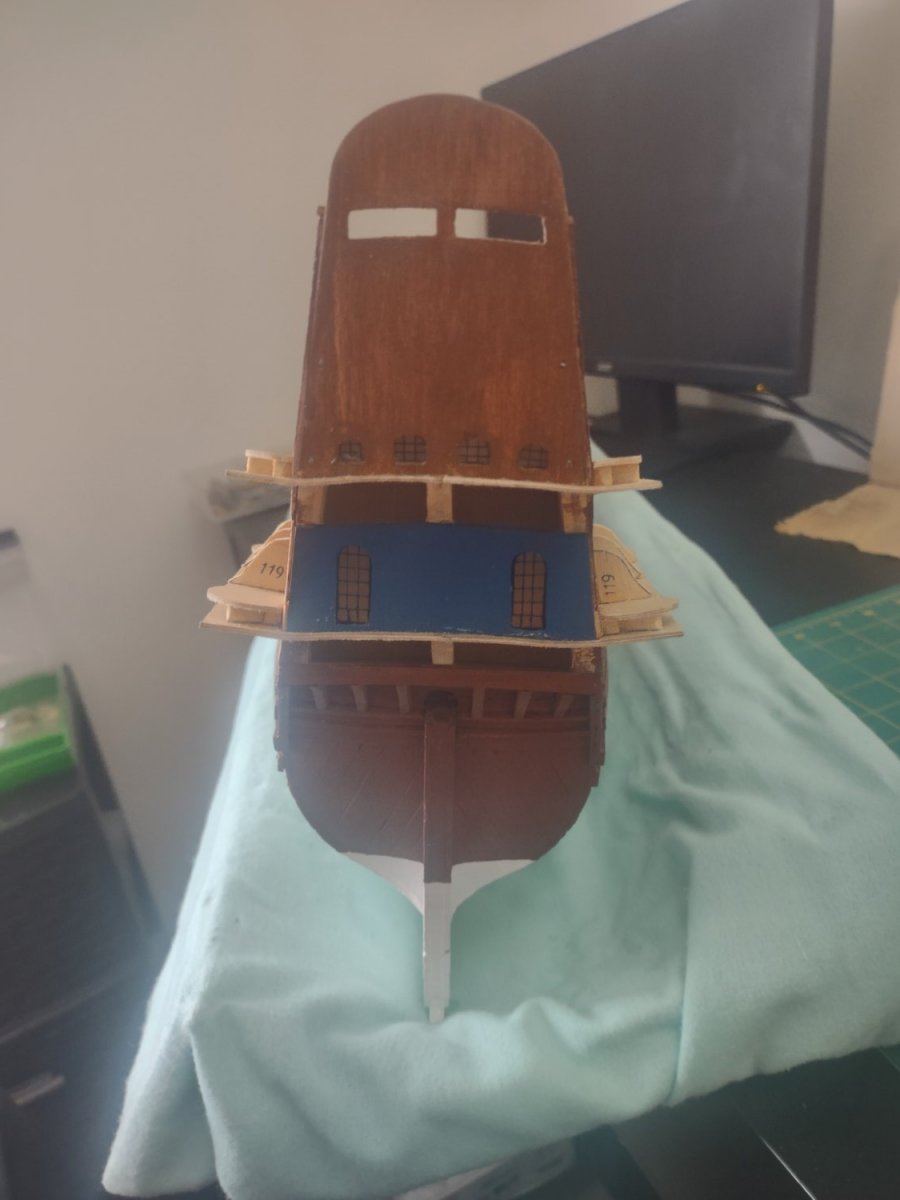
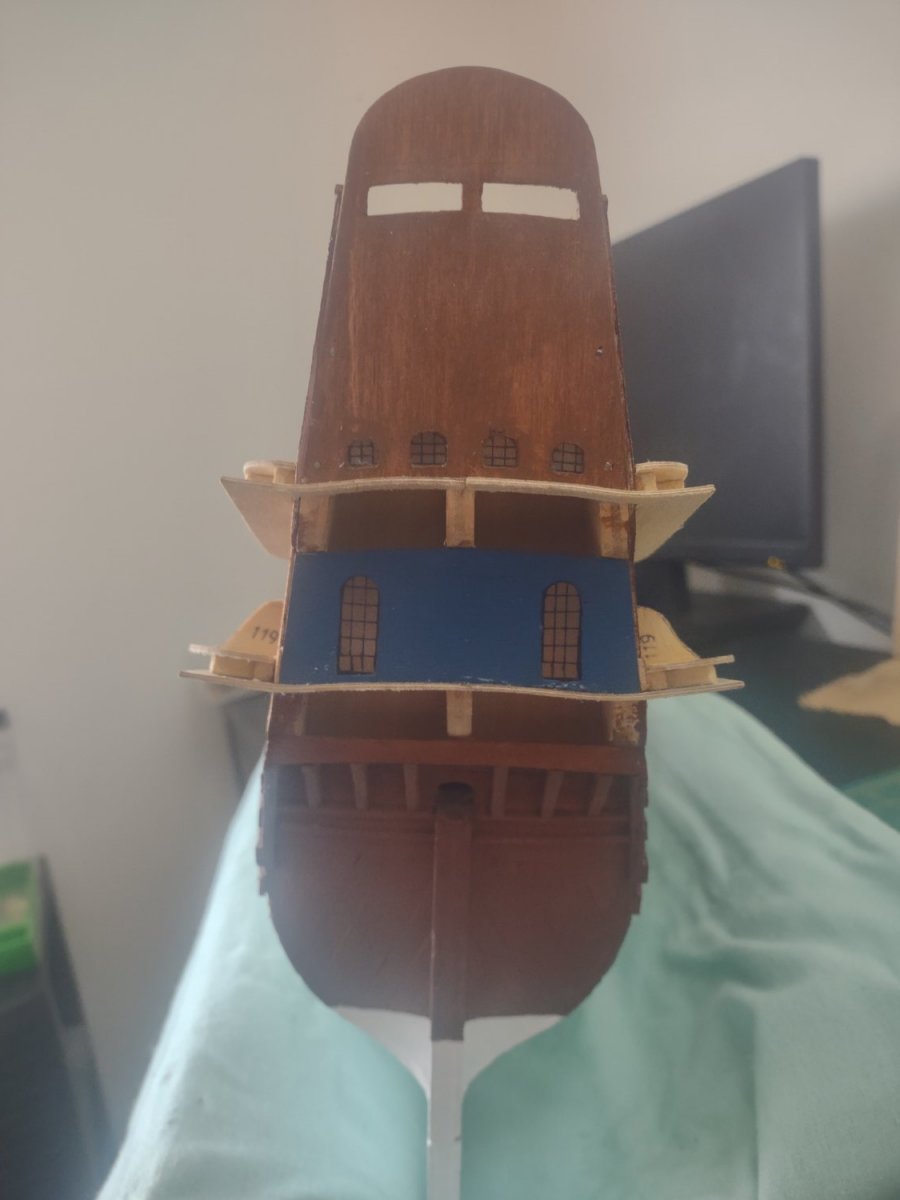
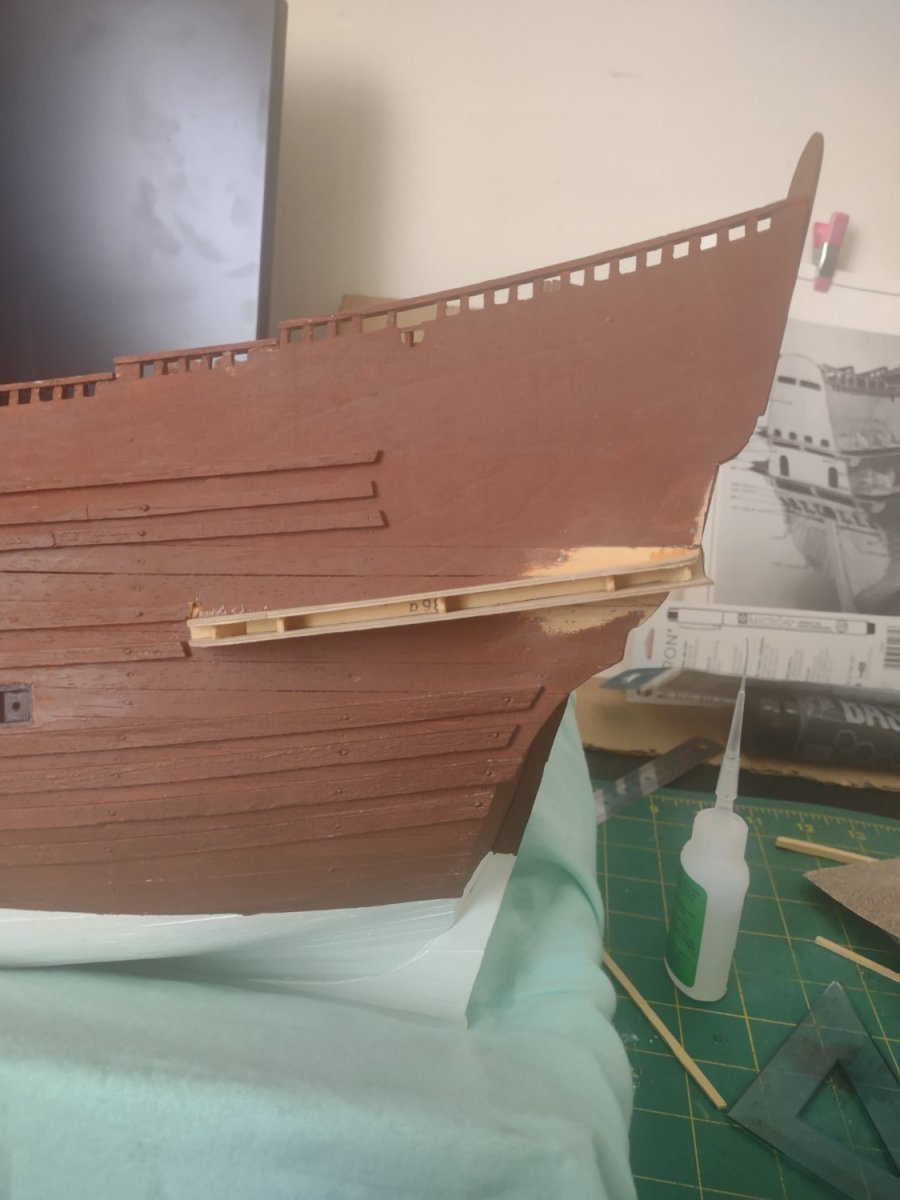
So now that I completed this stage I started doing some painting and it was going pretty well I think. But then I said to myself that something is missing. So I decided before I keep going on painting that I would get the galleries on and going because I will mess up all the wonderful painting while I work on these galleries. So here is where we are.
- Baker, Wintergreen, GrandpaPhil and 2 others
-
5
-
Spanish is as diverse a language as English is. Someone from Guatamala will speak differently then someone from Spain just like someone from Philadelphia will speak differently then someone from California. Let alone learning all the Spanish words that don't translate into English and find out how best to describe them or finding a word similar. So it could be sealer for someone and filler for another but in general that is what it translates into is something of that type.
-
17 minutes ago, J T Lombard said:
Amalio:
What is tepaporos?
It's filler
- Obormotov, Keith Black and mtaylor
-
3
-
Hey everyone so been chugging along slowly. Did some work on the planking and just trying to do everything right and to the best that I can. Stacked planking was not too hard and now I'm going to be working on painting then tackling more of the gallies

- Wintergreen, Keith Black, Baker and 4 others
-
7
-
5 hours ago, Baker said:
I used these from billing
So are those hand made by you? If not can I order some from somewhere because those are beautiful blocks and I don't have a lathe or anything like that to make them unless you have a ancient secret I can know of lol.
-
Yea literally was reading the discussions about the average size of them both lol. Mr google is a good good friend indeed.
-
Nevermind I found the formula lol just needed to do some digging
-
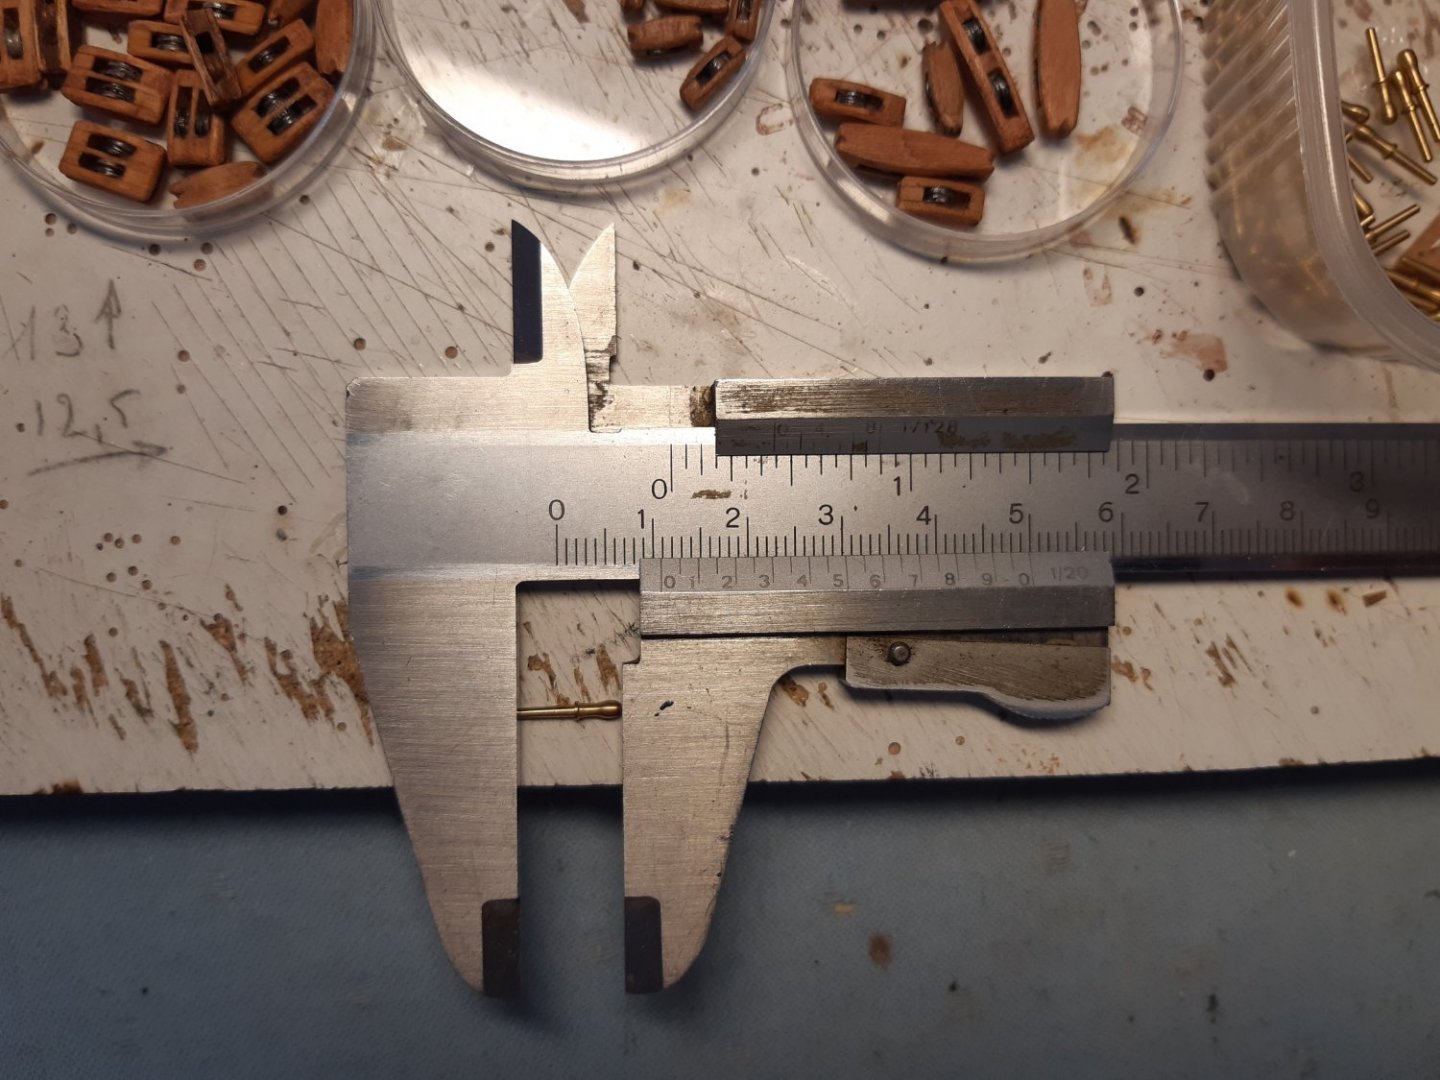
10 minutes ago, Keith Black said:
Rob, 1:75 scale is 0.1875 inches = 12 inches. Belay pins for your ship should be 0.28 inches, 18 inches at full scale and the deadeyes should be 0.20 inches, 15 inches at full scale.
I'd like someone to double check me on that.
Stupid question but what's the formula to find the .1875 at 1/75 scale..... Because 7mm seems big and the deadeyes are only 5mm by that
-
So honest question for everyone. I know I am very very new to this so I want to know scale what size belay bins and deadeyes should I be using so I can order them
-
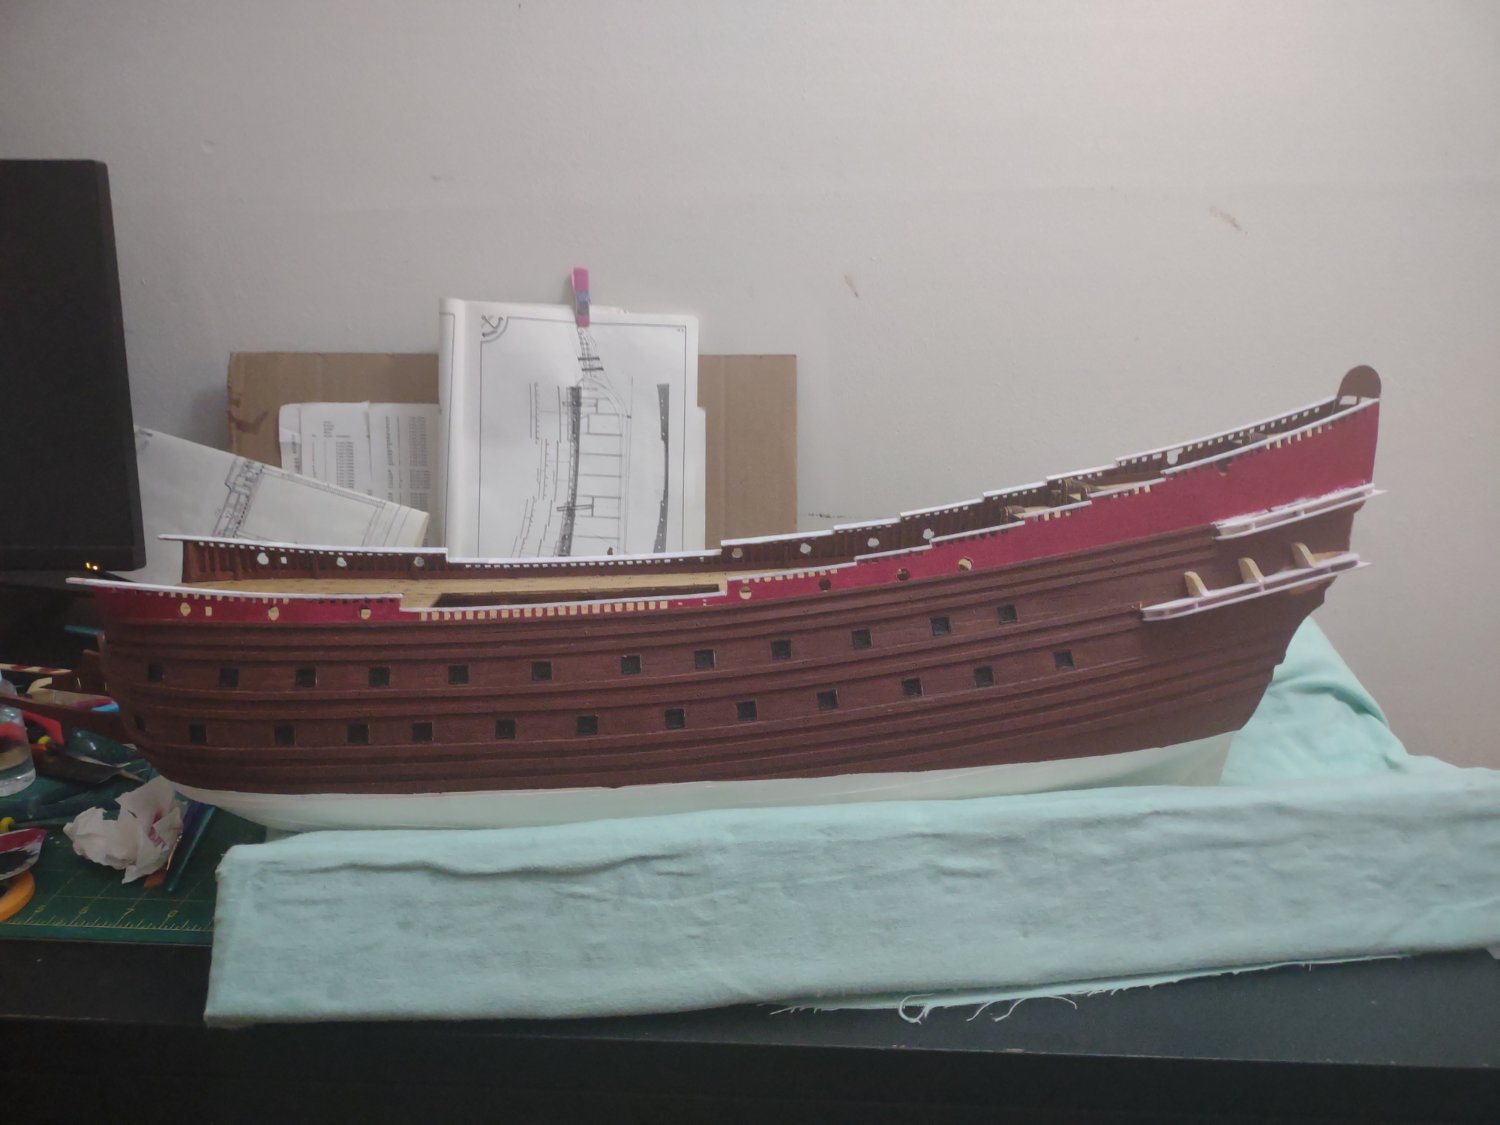
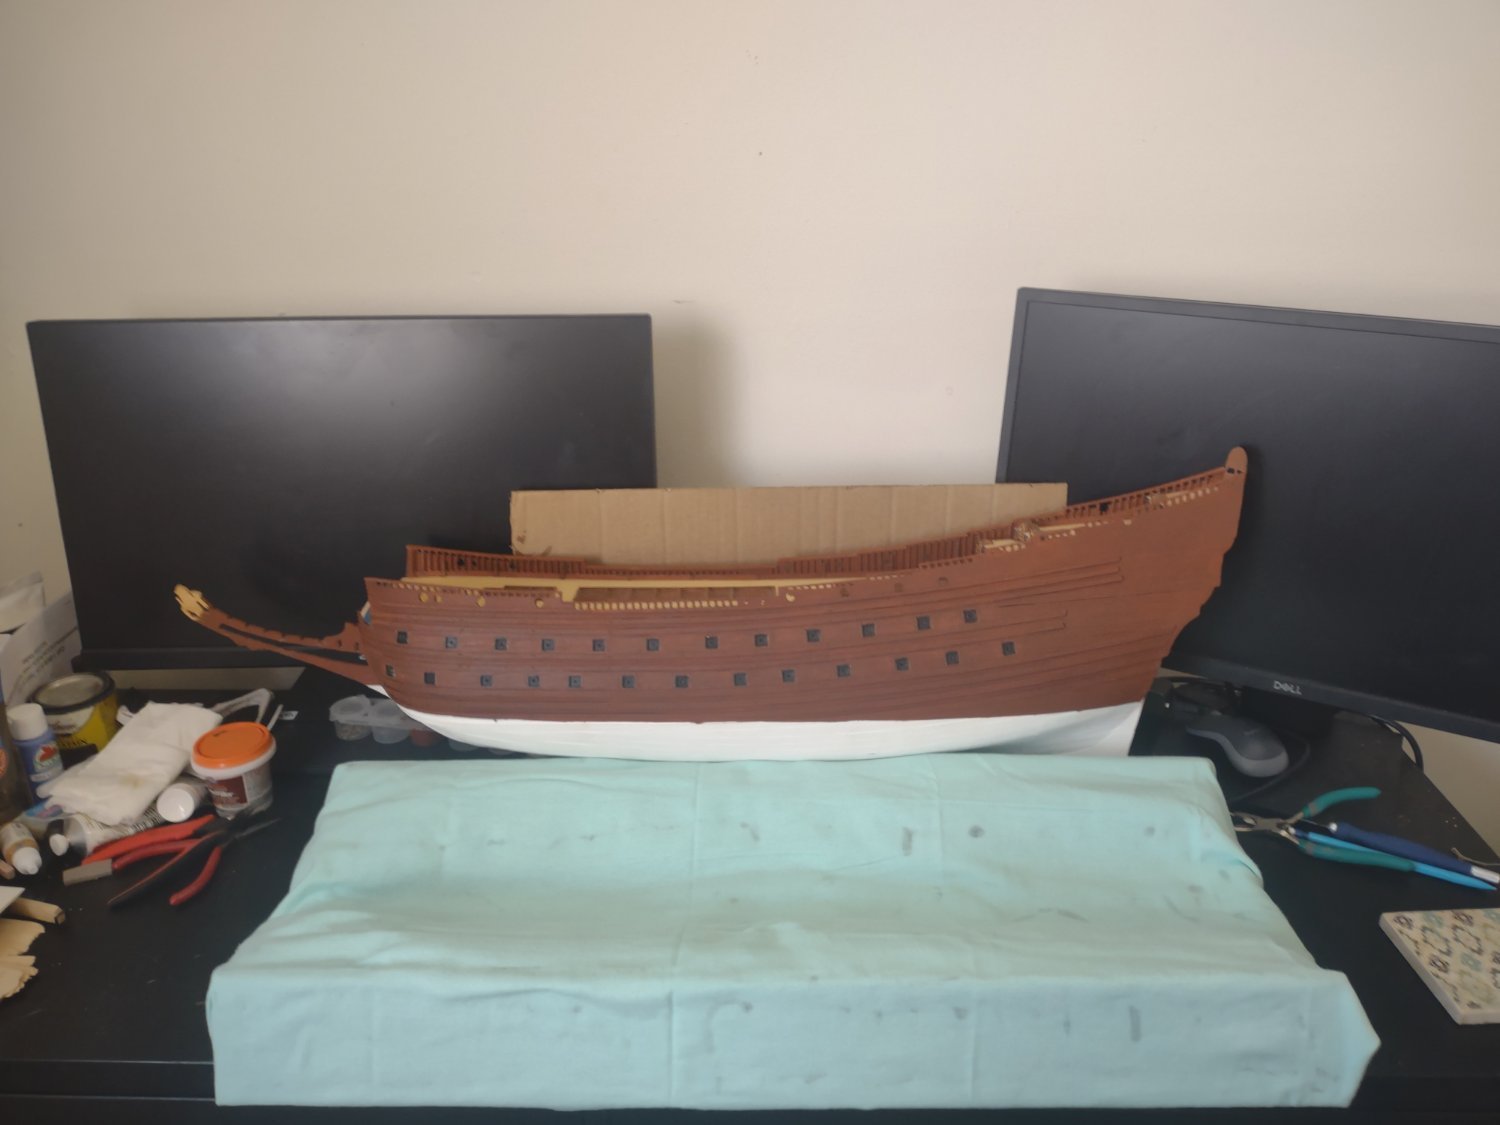
So got some more work done on my friend here. It is staining and painting day. First I decided to pre stain and use and oil based dark walnut stain which turn out a lot better than I expected

then I decided to try and take the top part of the hull that will be cadmium red. So I just thought he I'll just paint it on and it will work. Well three coats later and I didn't like it
so off to the races with gesso then sanding with files to get better looking studs holding the bottom part of the banister and getting gesso on the parts that I need to make red that were painted blue from the previous owner.

today was a very solid day so now the get the other side up to snuff then back to the hand made galleries while I wait for my grates to come in.
- Ian_Grant, Keith Black, Baker and 2 others
-
5
-
-
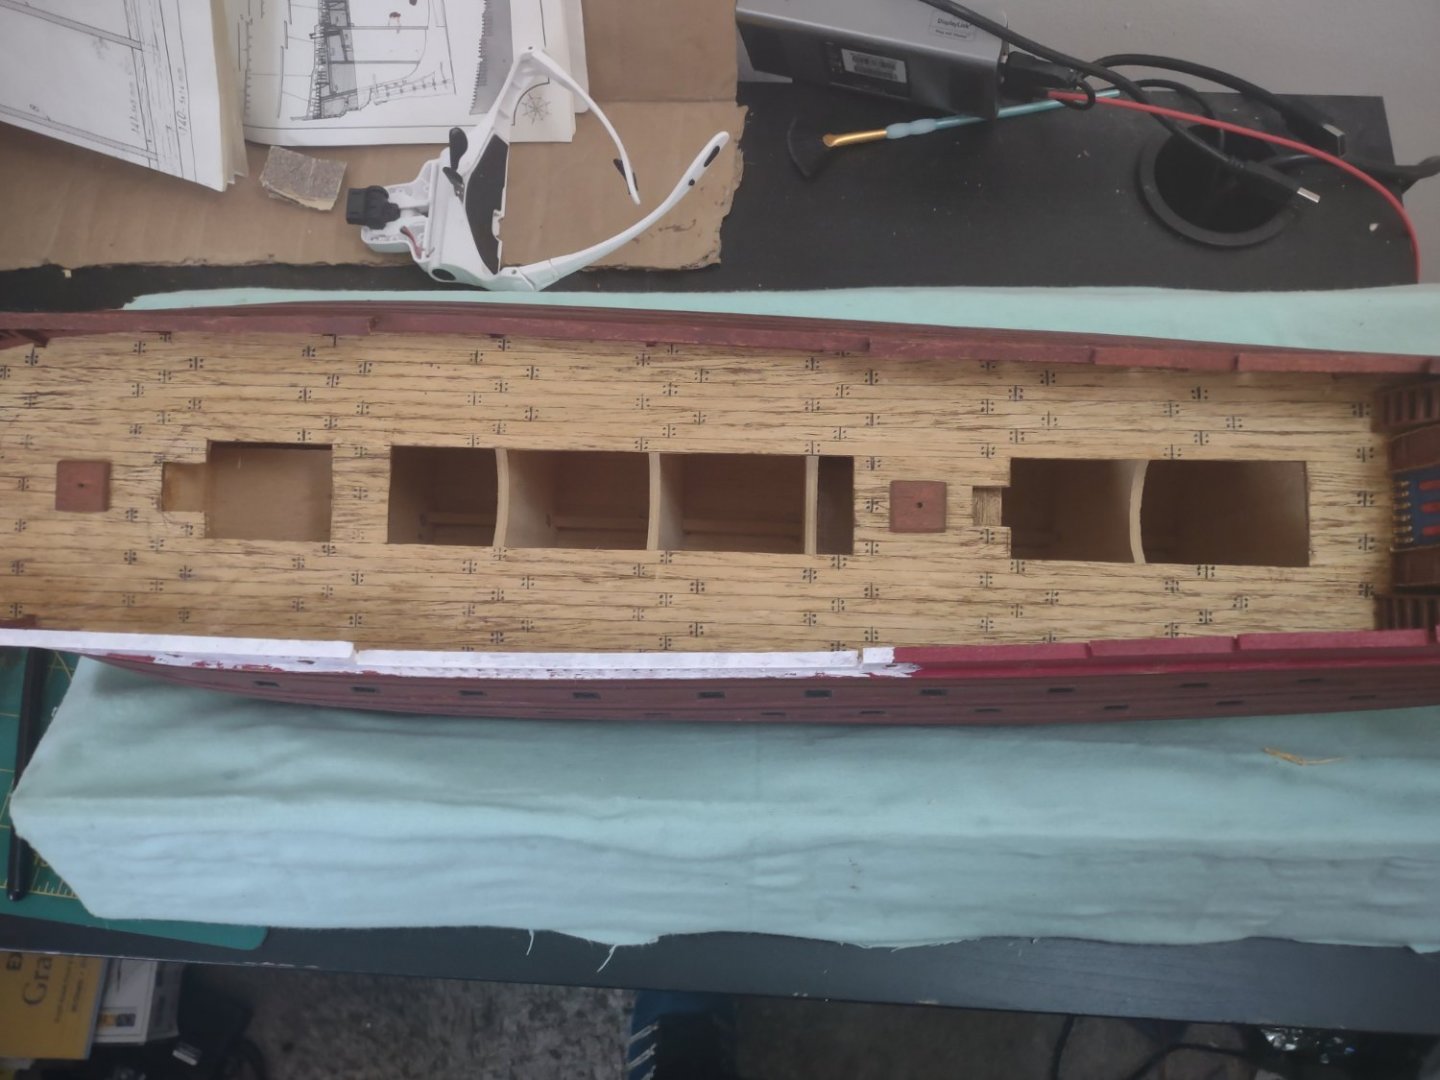
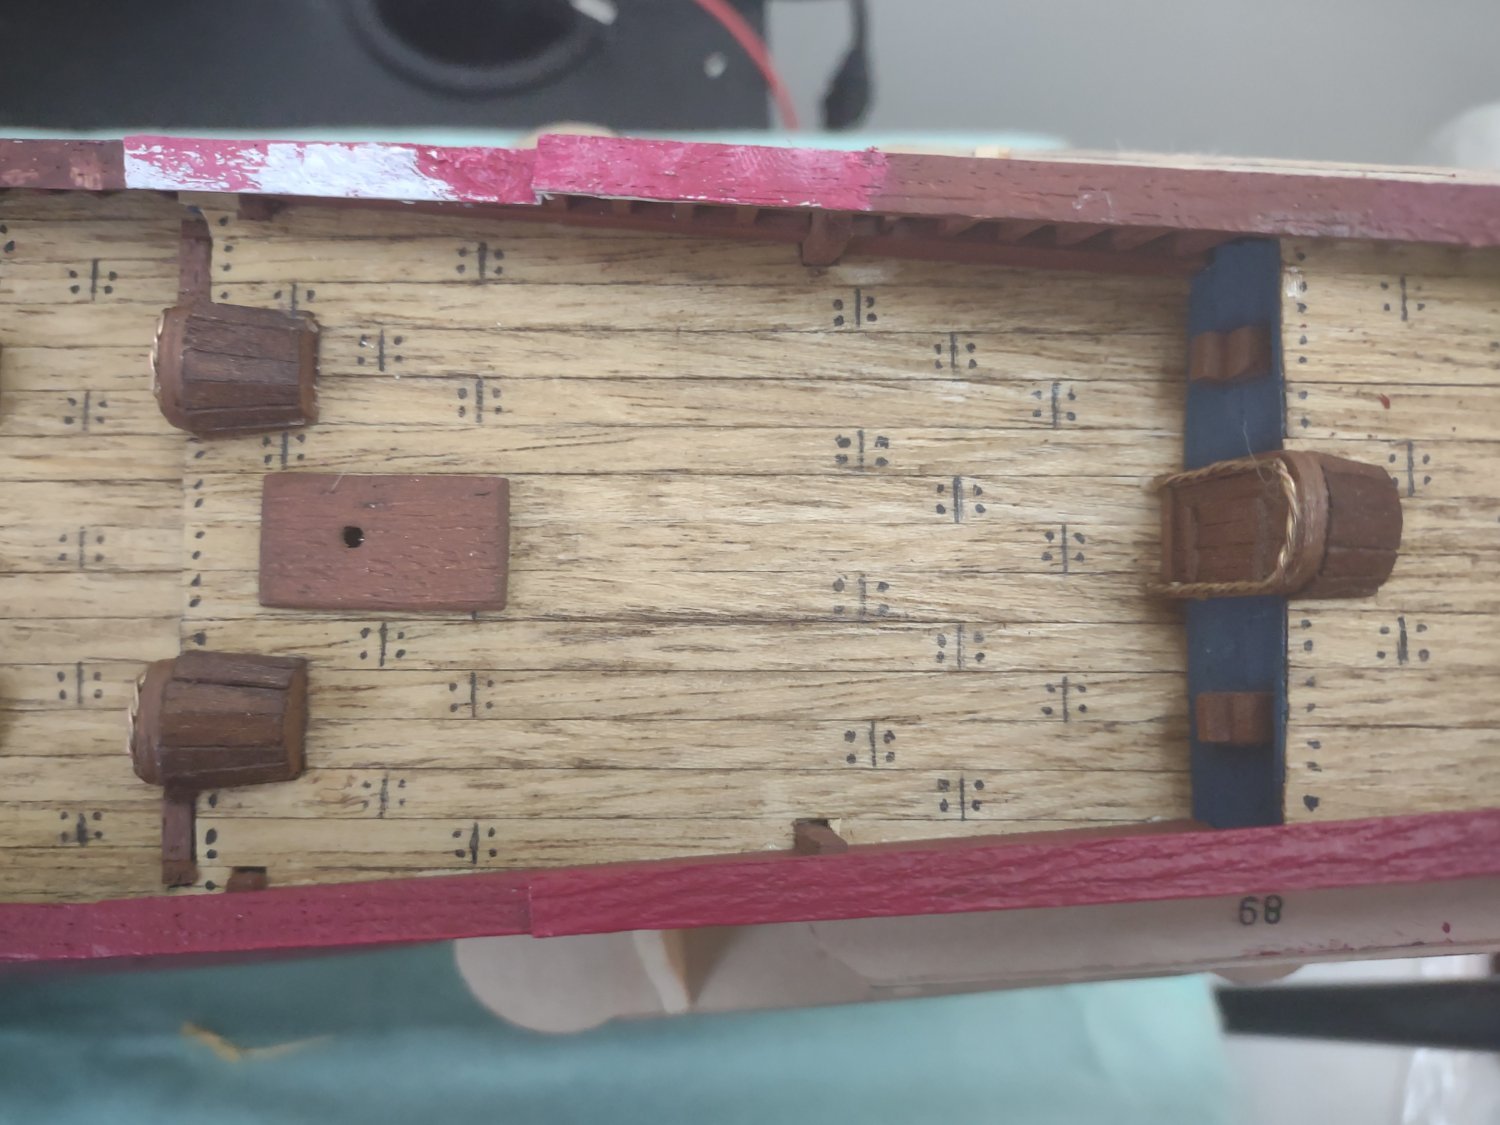
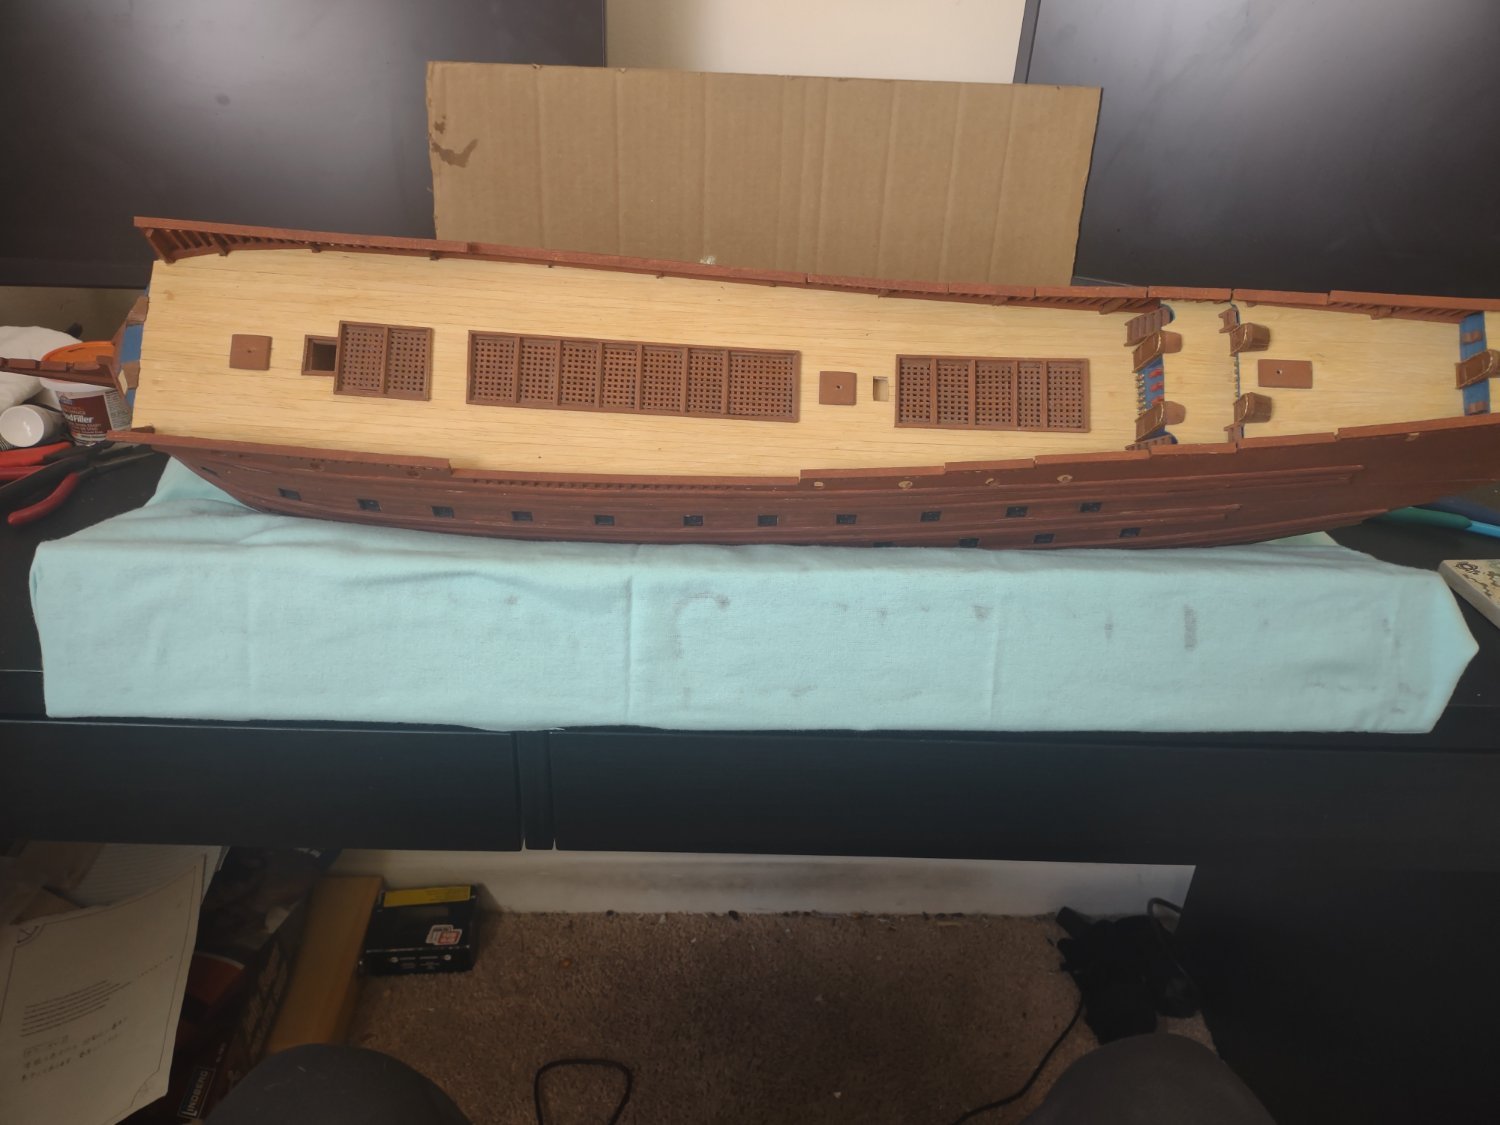
So I have been thinking for some time on some what I wanted to do with the deck and the grating and all. I decided that I am going replace the grating because it dips down instead of being flush at the top and I need to do staining and all. So today I ordered the grates and did deconstruction time which make me nervous. Also had to fix some of the railings so it was repair day too.
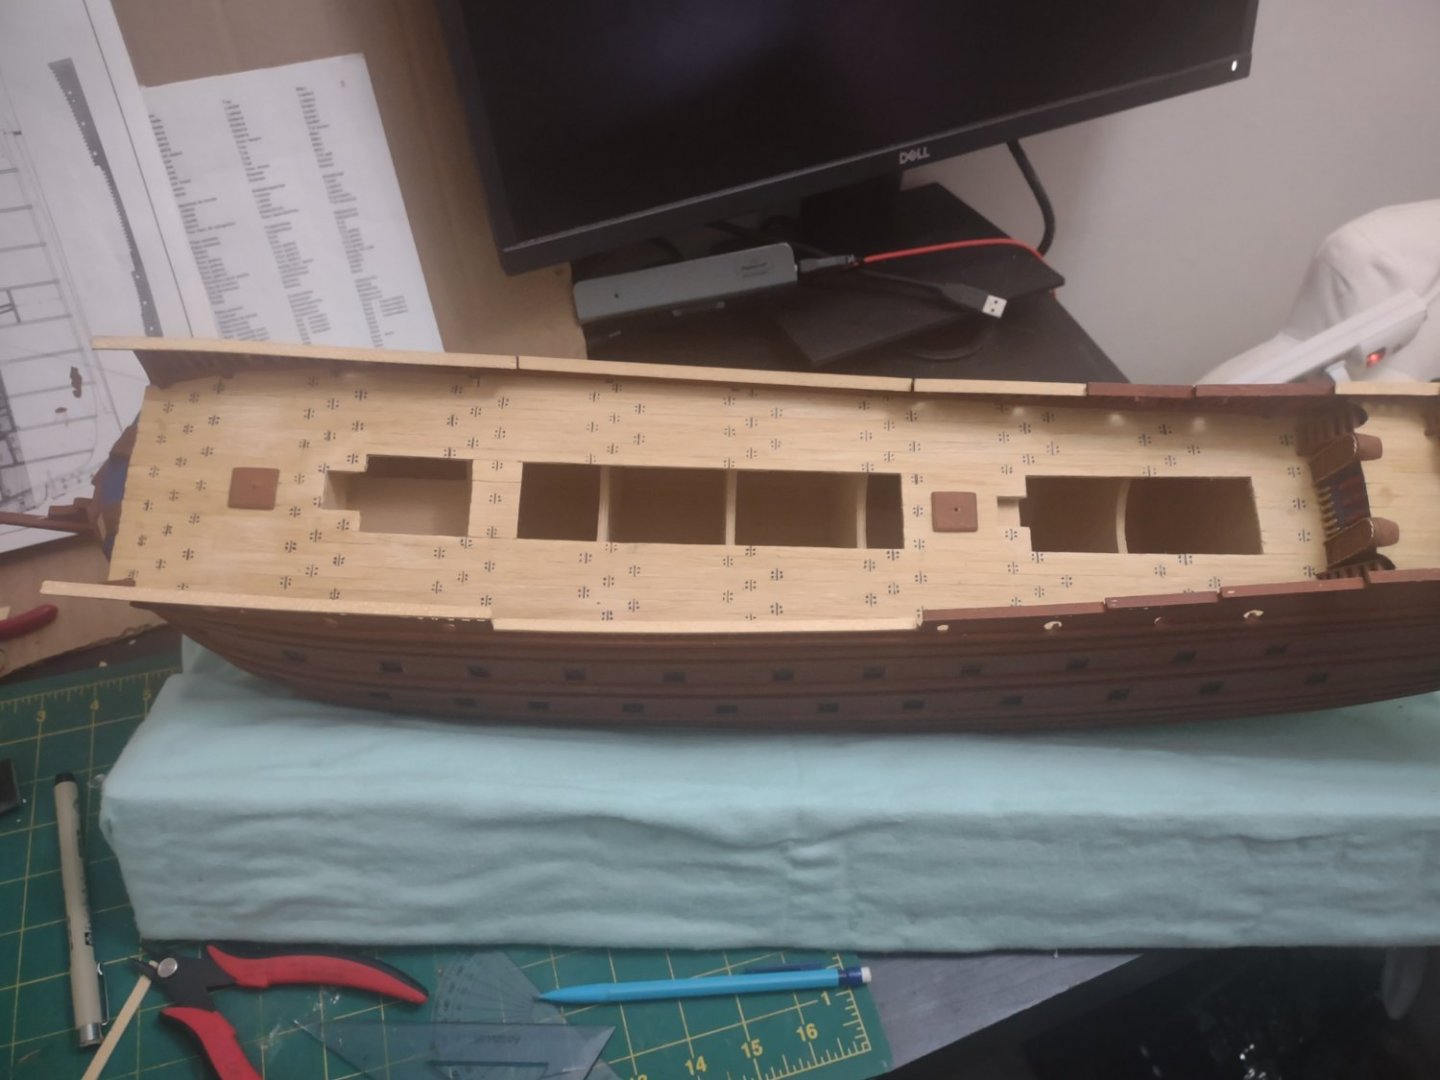
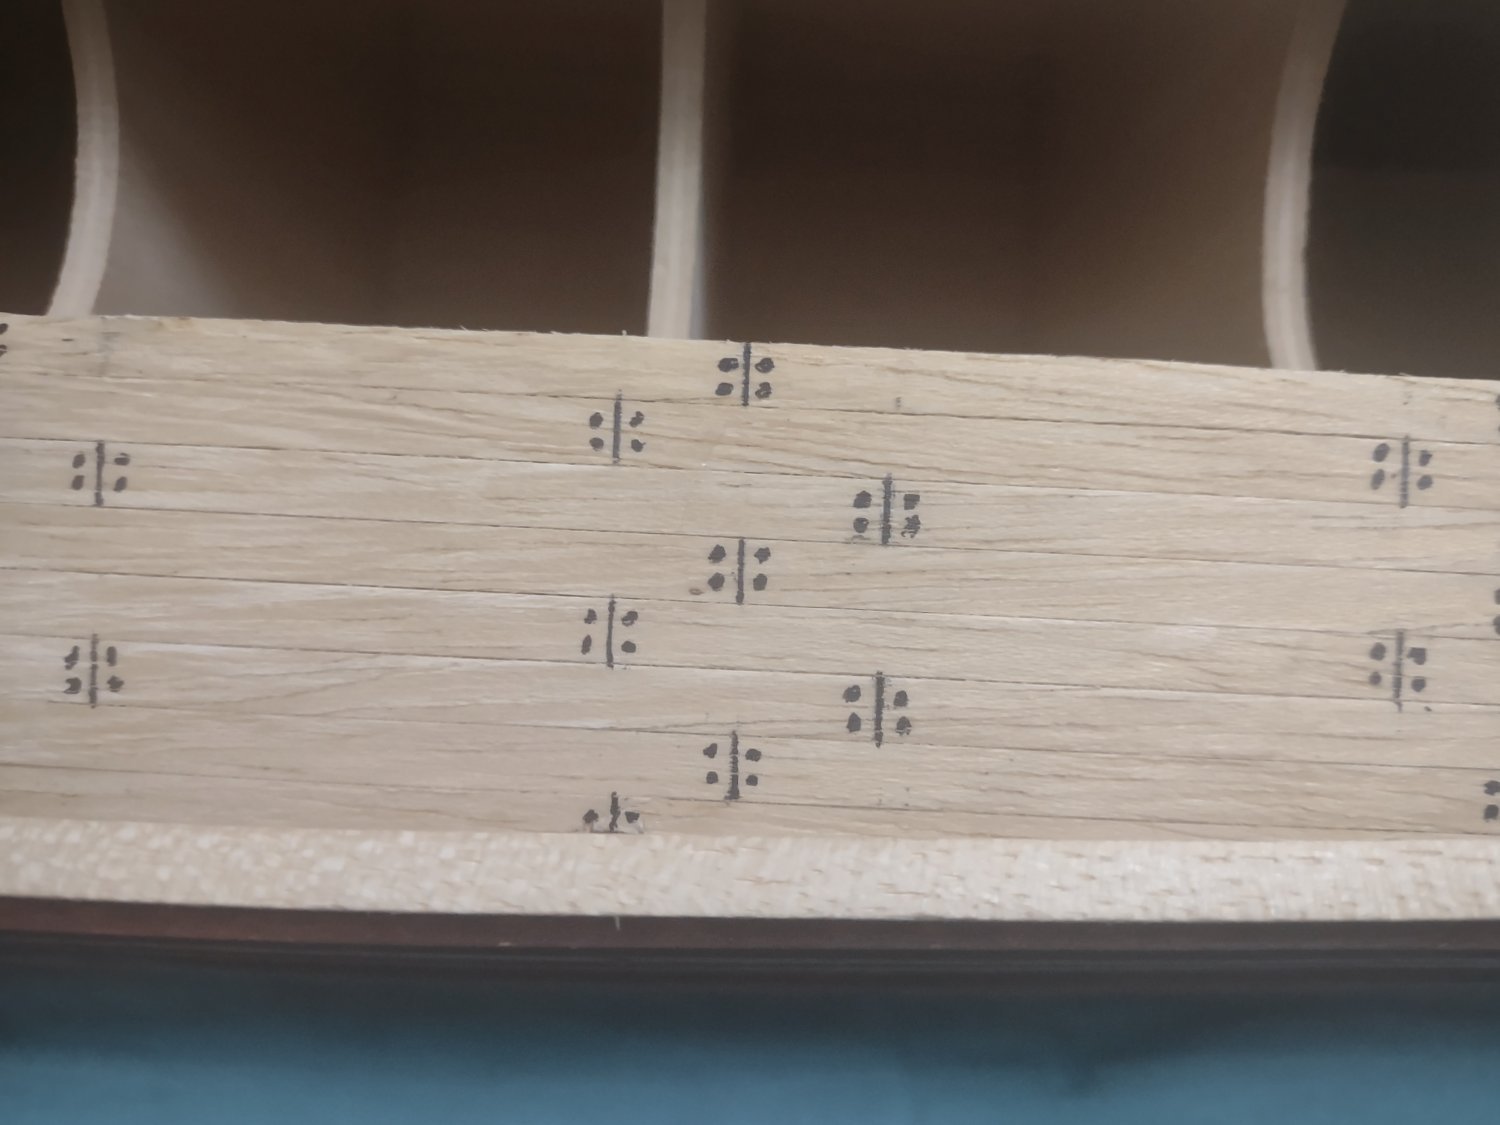
Also did some drew up my planking and treenail marks. I would have done it with tooth picks and all but with the sides on i wouldn't be able to get into the corners so I decided micron is the way to go for this.

I will be staining with dark walnut and using pre stain so it's even. I want to do all this before I put the grates on so I can have a even cover.
- GrandpaPhil, Ian_Grant, Jeff T and 2 others
-
5
-
28 minutes ago, Baker said:
Nice work.
But don't forget that Vasa wasn't painted blue (as recommended on the billibgs instruction) but red
Yep I am going to gesso the parts that need to be red then use a cadmium red to finish them off. A lot of this was painted when I received it so I'm building off of what someone else had done a wonderful job on
")
- Baker and Keith Black
-
2
-
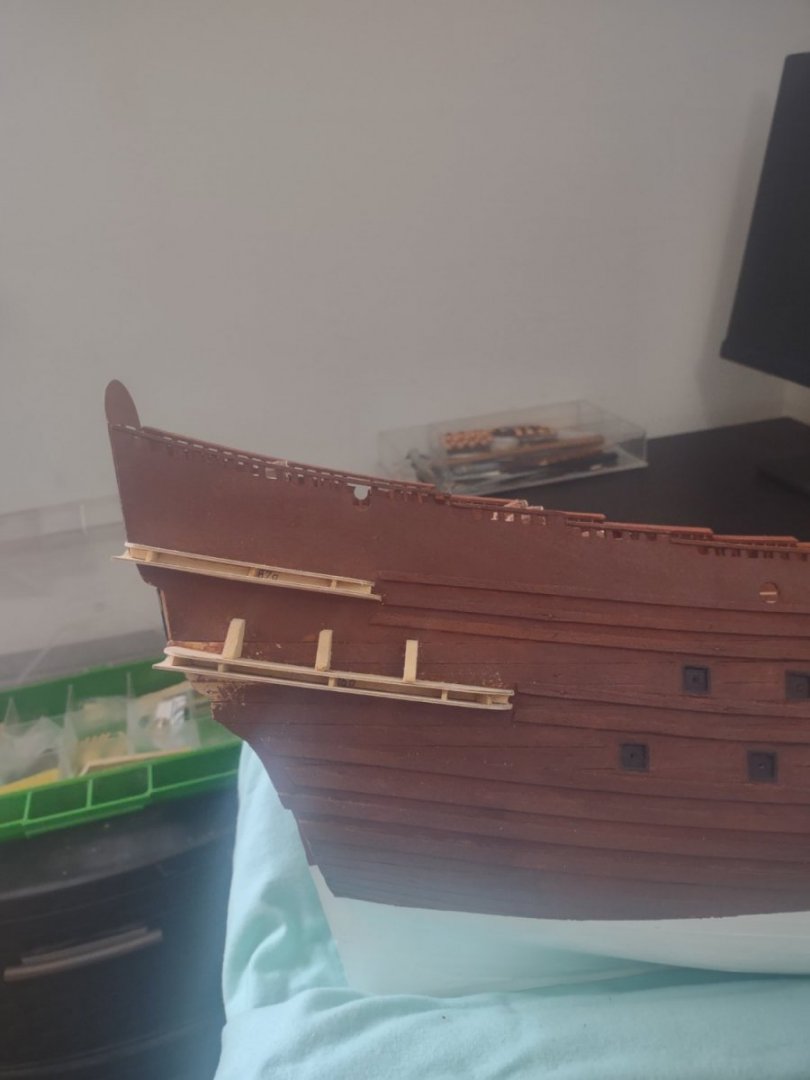
Life has been crazy but finally got some work on my friend here. Also wasted some good time on shaping the first of the gallery to only need to reshape it once I fully put the whole gallery piece together. Also making sure it's 90 degrees to the hull was interesting. Had to pull off the lower gallery twice because of the fact that the gallery shifted as I worked on other parts.


-
8 hours ago, The Gimps Chimp said:
Progress over the last couple of weeks has been slow but sure. I now have all the deadeyes fitted. Getting this complete makes a big difference in the ship's appearance. I've used 0.4mm wire instead of the supplied 0.5mm wire, mainly because I have 20m of the 0.4mm wire which I had left over from my previous build and there didn't look to be a huge amount of the supplied 0.5mm. I think the twisted wire looks better than the plain wire and was easier to fit.

I've also got the rudder fitted. Again, this was a bit fiddly but I think it turned out okay. With each of these tasks being completed my confidence is increasing.
I've also done a dry fit of the bowsprit and completed foremast. It's becoming clear just how big this model is going to be.
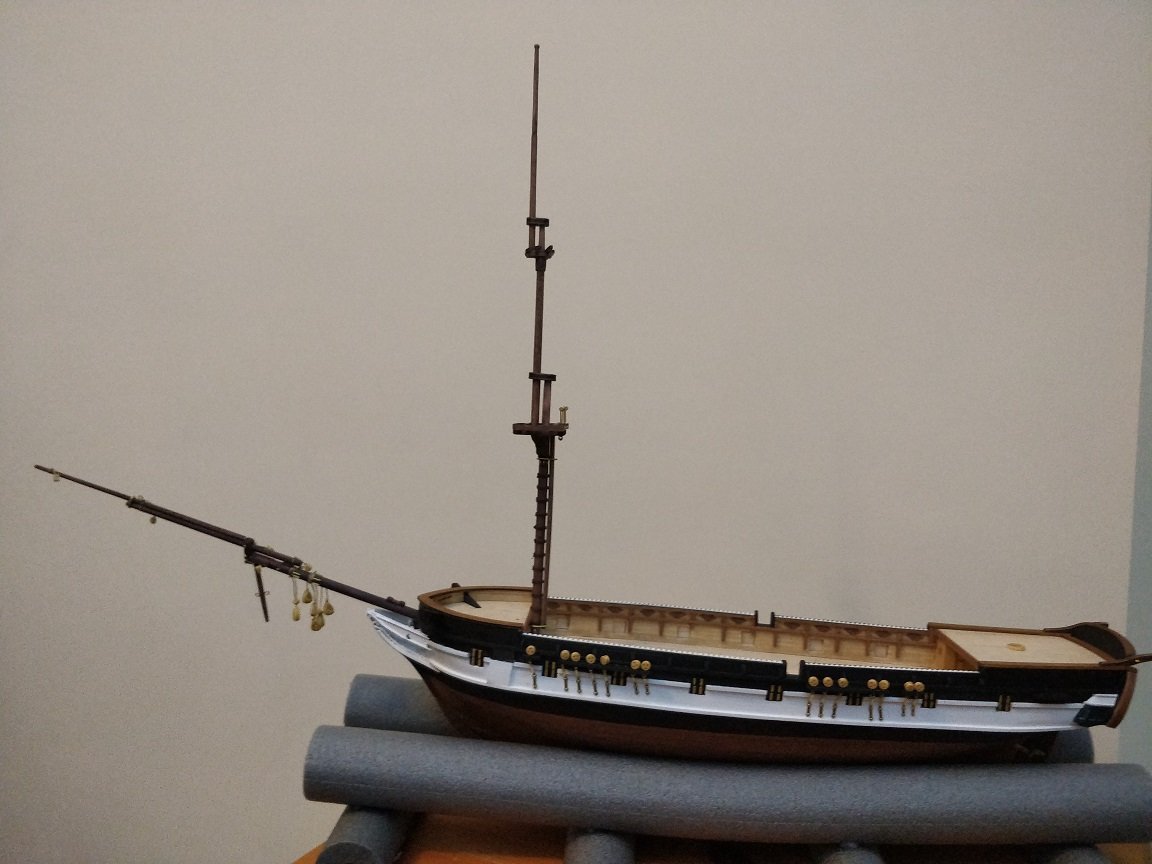
Now I need to progress all the deck fittings. I'm surprised just how cluttered/packed the deck is. There wouldn't have been much room to manoeuvre on deck in addition to the many trip hazards.
Chimp
You are for sure making some good progress!!! Keep it up and loving the build
-
19 minutes ago, Wintergreen said:
Always a good idea to have the hull secured in some kind of cradle or stand.
Your padded version will aid when you tilt the hull to get a more convenient position for detailing.
Good work, keep it up!
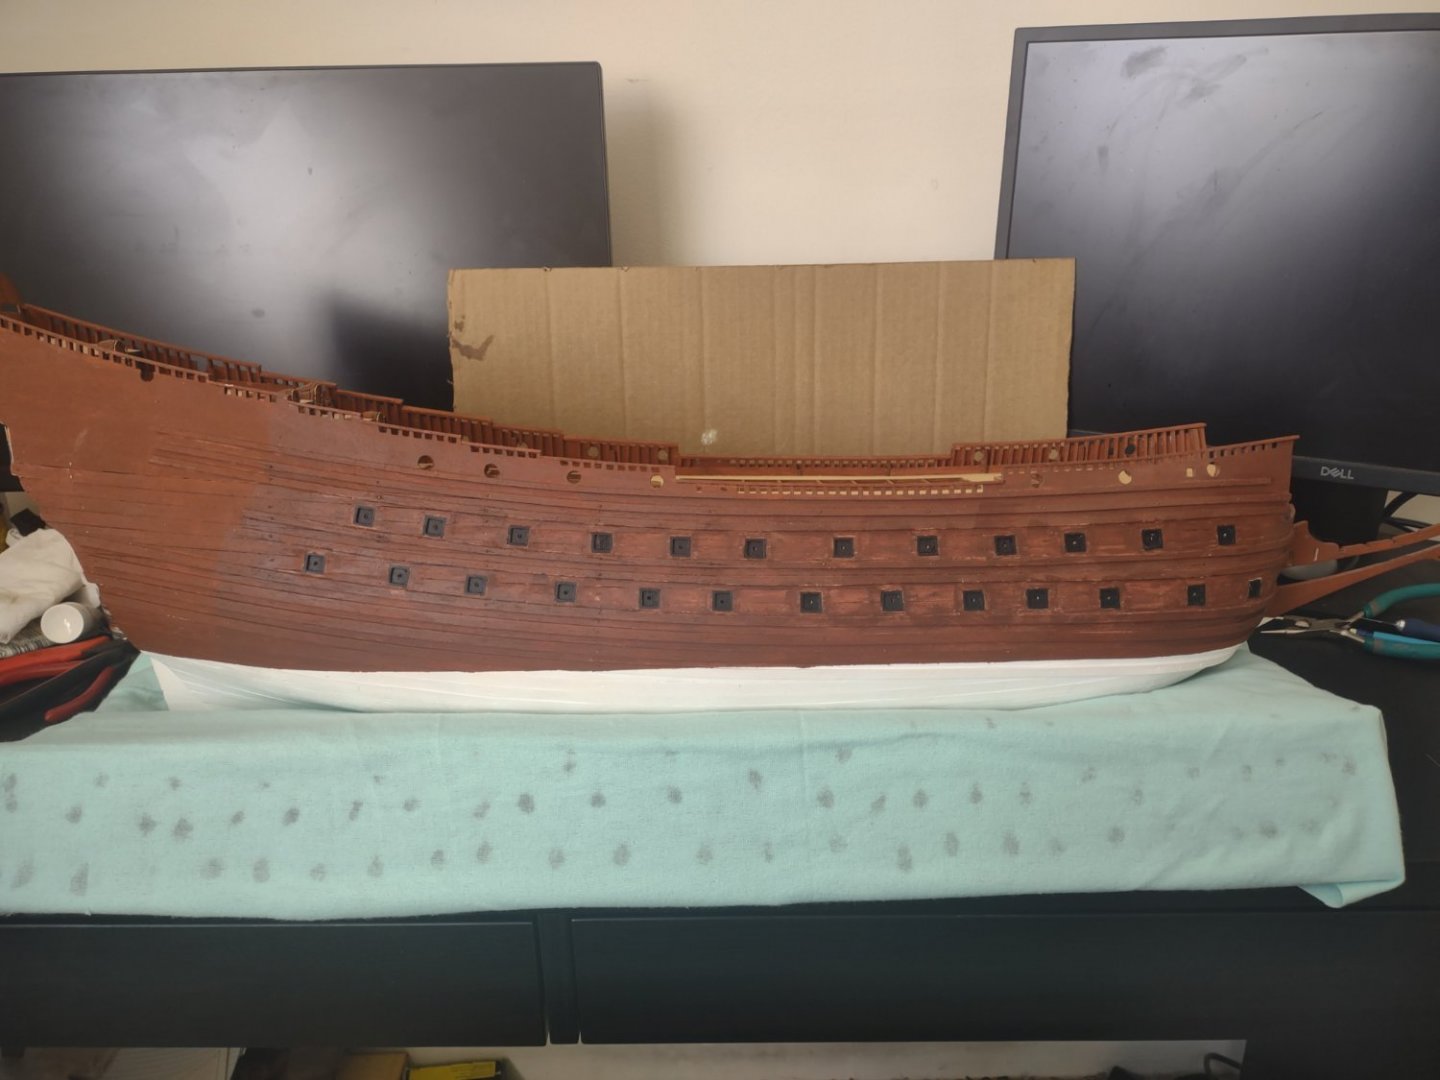
Yea I'm doing the touch ups around the gunports and I can't imagine life without it any more lol. I'm not gonna lie, I'm nervous to start working on the back portion of the ship because it's where almost all the detail is. I feel more confident though as I work on it.
- Wintergreen, Baker, Keith Black and 2 others
-
5
-
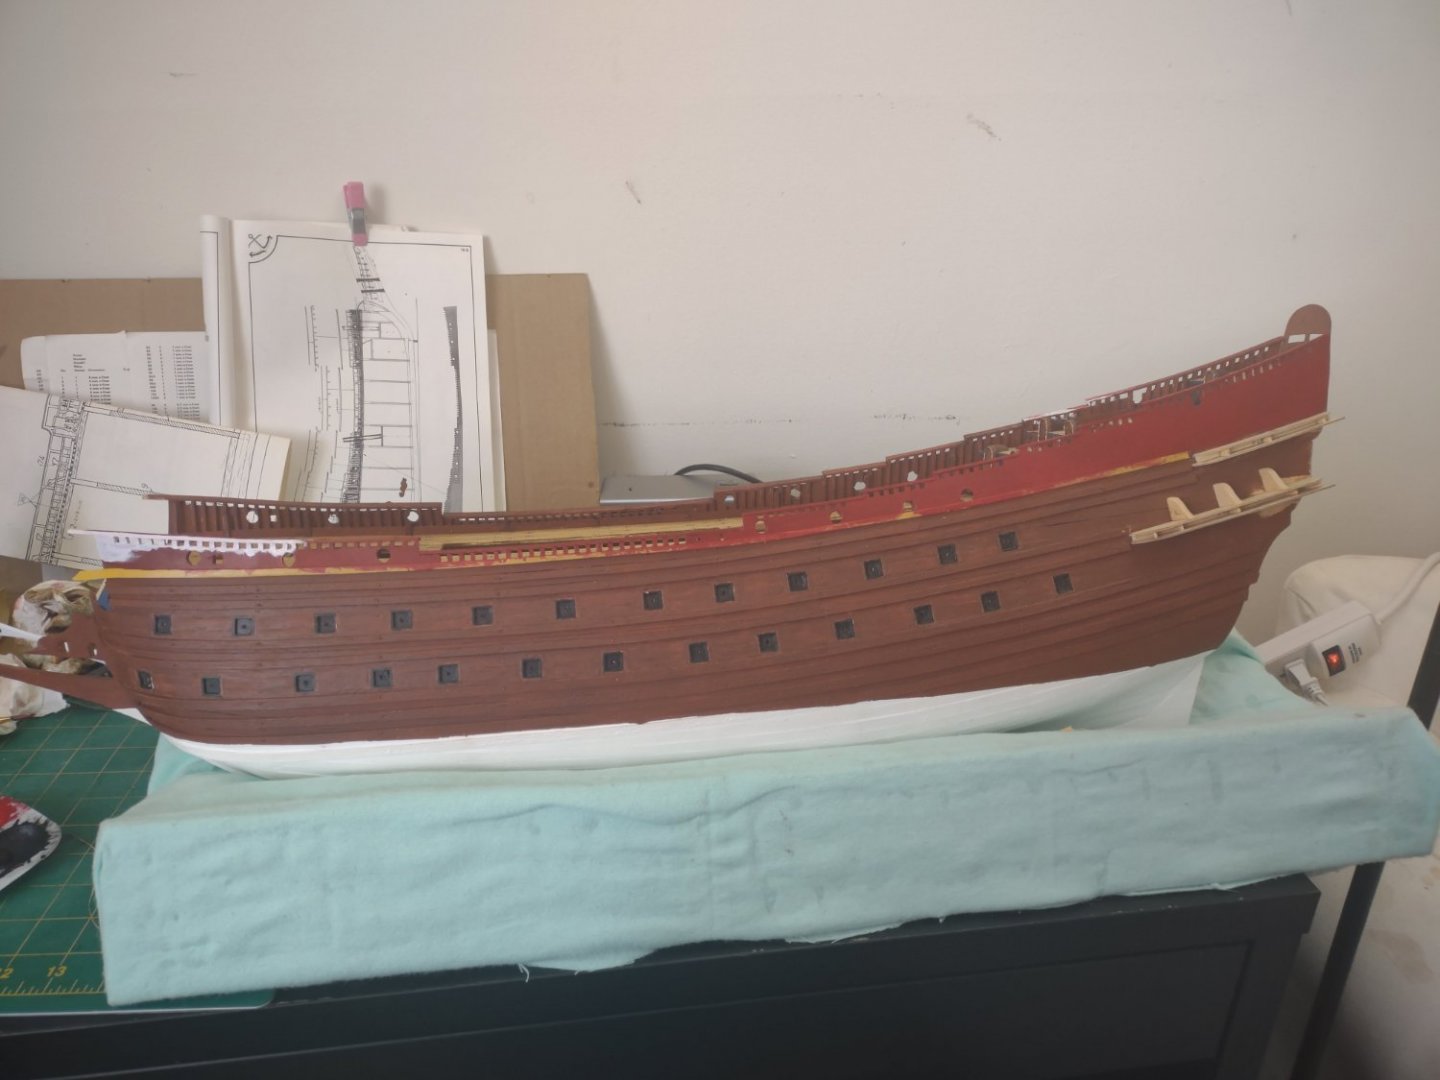
So it's been a rather interesting couple of weeks. But I now have two sides painted and gunports installed!! Just doing a final coat on the one side get the off color parts to match and then also made myself my new padded ship holder so the boat will no longer rock and move when I don't want it to.

also my parents surprised me with a kit for my birthday which will probably be taken and put on my desk at work once built!! I work for vanguard so the ship theme actually works lol.

- Baker, Wintergreen, GrandpaPhil and 2 others
-
5
-
Hey welcome to the club!! I'm from Philly area as well!! Maybe if I get to one of the meetings we can meet up
- SUBaron, Keith Black, hollowneck and 2 others
-
5


HMS Beagle by LucienL - OcCre - 1:60
in - Kit build logs for subjects built from 1801 - 1850
Posted
Looks like it held on for dear life there!! really nice way to handle this because i struggled with the size of the life boats and trying to get those right.