
HOLIDAY DONATION DRIVE - SUPPORT MSW - DO YOUR PART TO KEEP THIS GREAT FORUM GOING! (Only 13 donations so far - C'mon guys!)
×


Dan Vadas
-
Posts
3,261 -
Joined
-
Last visited
Content Type
Profiles
Forums
Gallery
Events
Everything posted by Dan Vadas
-
Thanks guys . Making and fitting the Bulwarks, and especially their braces, has been rather tedious - a bit like tying Ratlines . First I cut all the braces for the particular bulwark I was working on : Then I worked out which ones went where. There is only a minute amount of difference in the length of some them, but if you get it wrong it stands out like the proverbial dog's whatsits . I marked them from one end to the other on a piece of card and used double-sided tape to hold them down : Working from one end I glued them into position according to their letters. I did this off the ship, after first doing all the folds in the bulwark : Danny
.thumb.JPG.d0ae65df3338c0b840d5c1562827e25f.JPG)
.thumb.JPG.abcc8f60eb5c97d716d4d745f83819a1.JPG)
.thumb.JPG.ca3fe1bdd51198c5294d9947a970c405.JPG)
.thumb.JPG.ac7ab644450e3e632e3ce781ac53bcaf.JPG)
- 244 replies
-
- 21
-

-
Many small Vents, scattered around the deck : These tiny Bollards are only 0.8mm in diameter : Two of the Platforms for the 4 Barrel Guns : A Boom swivels on the aft mast. This would have been very difficult to fit and rig further down the line : Danny
.thumb.JPG.ec1533bd10676e374870c360f500aab7.JPG)
.thumb.JPG.e72454f7a32620f093e0d326b395f773.JPG)
.thumb.JPG.627dcb43975c12d0103a5579c7ee7374.JPG)
.thumb.JPG.bfc6d53713e701fc140fa5706052ad4d.JPG)
.thumb.JPG.89cb5b168c99416bff7bc528e7ead9de.JPG)
.thumb.JPG.ed3fe379068ebe45676db50915c90171.JPG)
.thumb.JPG.e0c3b1312813bf11857066c2639cbefa.JPG)
.thumb.JPG.31ea0d336f1124c521d60eec3a707238.JPG)
.thumb.JPG.71e5cbcb6deae9b61023687eac29ed89.JPG)
.thumb.JPG.b6fdb248eadeec9108edbda9d18a91cb.JPG)
.thumb.JPG.631fbdd9818c16d7f9c32b397022896f.JPG)
.thumb.JPG.f1a69fb1ccec43d0652a822433ca681a.JPG)
- 244 replies
-
- 22
-
-
Actually they would need 64 , unless you are going to rig the train tackles as well in which case you would need 96. Just for the guns. Sorry about that . Danny
- 1,215 replies
-
- 5
-
-
- sloop
- kingfisher
- (and 1 more)
-
No he doesn't . I was making the blocks as I needed them. It's a pretty good idea to make them all in one go, especially if you are going to use a Mill to shape them. Save a lot of setting up. Danny
- 1,215 replies
-
- 3
-
-
- sloop
- kingfisher
- (and 1 more)
-
Hood is actually 20mm longer than Bismarck. The camera angle makes her look shorter. Biz is a bit wider though . I'd like a dollar for every time I heard that same comment at the show . Danny
-
I suggest you start with a relatively simple free download model to build up your new skill set. Print out two copies of each page of parts - you WILL need extras . Thanks for the comment Richard . There are 35 of what I assume are 4-door lockers scattered around the ship. Some of these are adjacent to the already fitted sub-assemblies, so it's a good idea to fit these before the deck starts to get cluttered. I'm fitting all the smaller parts from the "inside" outwards as much as possible. The lockers have a PE face, and on that are the four PE door edgings. A day and a half's work making all of these : Once all the PE was glued on I gave them a light spray of grey, there was a bit of paint removed in the fitting process : Another step that needed doing now was to fit the funnel rigging. I really SHOULD have done this earlier, some of it will be missing as it's impossible to drill holes in a few places with the fore and aft superstructures in place : Danny
.thumb.JPG.eb8910ee1cf0c0a40f7706062a286b59.JPG)
.thumb.JPG.790883edeab84e4732e27dcb4f63c85a.JPG)
.thumb.JPG.af52c7344ff178606bd0e4d5e32d9162.JPG)
.thumb.JPG.d154f79660431791b3493b03617a900b.JPG)
.thumb.JPG.1b577eb334109349780ac16733c30089.JPG)
.thumb.JPG.acc39e7795fcdf25c0e56904fd2af0d1.JPG)
.thumb.JPG.bd21b206303887ff078f8e4f39cc92b3.JPG)
- 244 replies
-
- 20
-
-
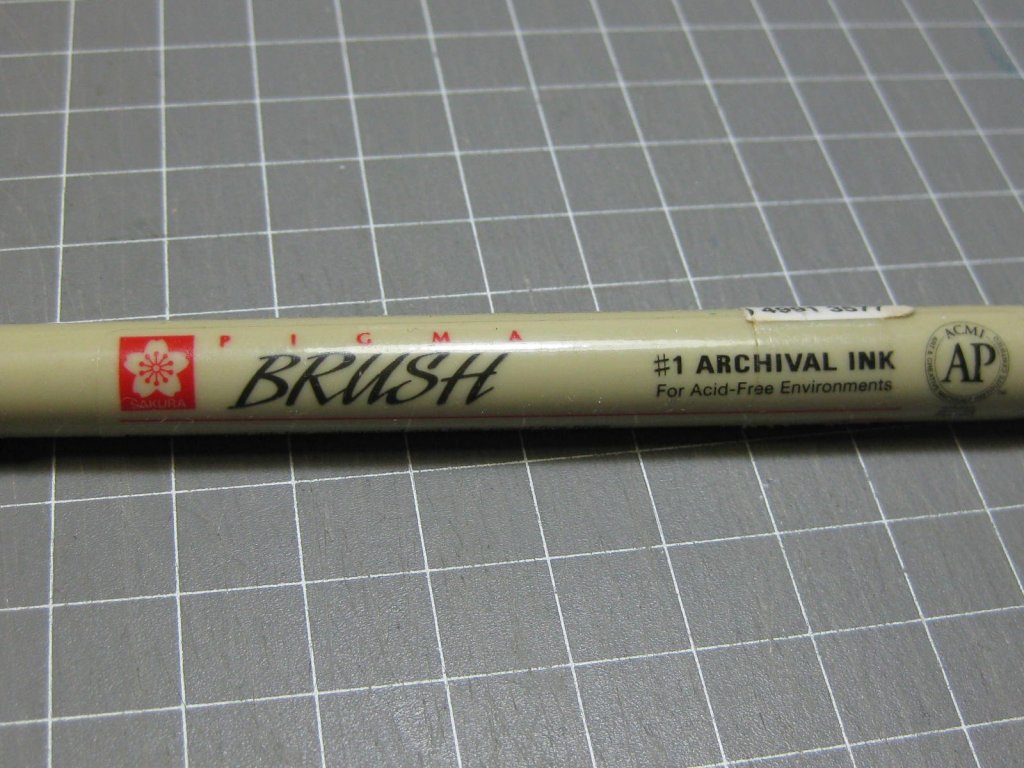
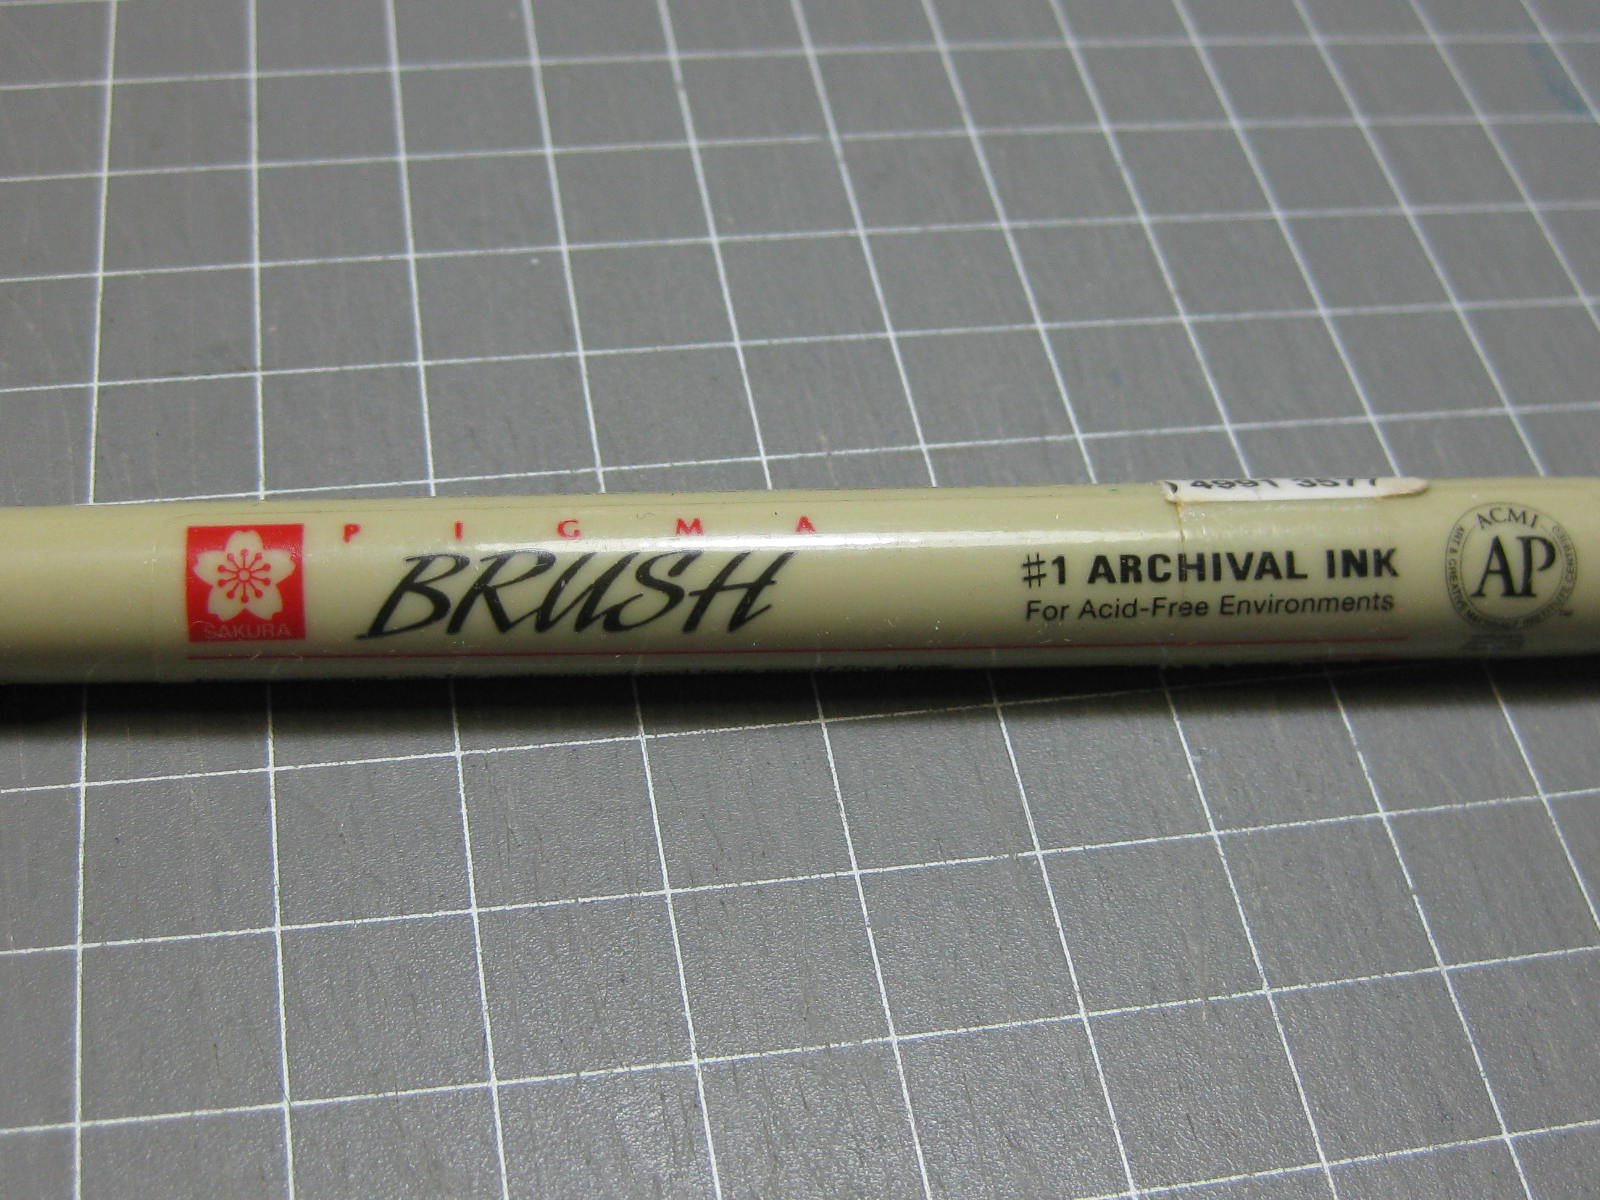
The easiest way to do simulated caulking is with an Archival Ink pen, which unlike "normal" felt pens doesn't bleed into timber. They are available at art supply stores. Danny
-
QUICK-FIND INDEXES to BUILD LOGS FOR KITS
Dan Vadas replied to Dan Vadas's topic in - Index of all kits by brand and subject
Thanks Steve and Steve . It's highly likely that there are quite a lot of completed models of which I have no notification, or which the builder hasn't marked as FINISHED in the log title. Don't take the tag as gospel . Danny -
1350mm long. No problems with this particular tape David. It's been on for about 3 months and still comes off without damage. Danny
-
Thanks Guys . I've fitted all the major sub-assemblies. Here are some progress pics : Danny
.thumb.JPG.11df9102c51d105ba06817ddc65f47e8.JPG)
.thumb.JPG.cb7906e2adee8d57117869a16c775c91.JPG)
.thumb.JPG.718ee905695f9b1464c6b5cf125f9f34.JPG)
.thumb.JPG.4151719018f31da155053703a01a8f38.JPG)
.thumb.JPG.953ef6540ae279b8b2bd1e241339d026.JPG)
.thumb.JPG.199c8f3ef874ee4d55a37c6009c52b13.JPG)
.thumb.JPG.d42c3243c4ad0de688a2cbba089b9e6c.JPG)
- 244 replies
-
- 20
-
-
The aft mast has some intricate work involved. First thing was to make the three legs. These are rolled from paper, with no extra internal strengthening, either wire or tube : The legs were then fitted together : Three large pulleys were made next. There are 12 parts in each. They are slightly offset in line so as not to interfere with each other : The star-shaped platform took some work. Everything lined up perfectly : The upper section of the mast is made from three thicknesses of brass wire, CA glued together : The completed mast, ready to fit to the deck : Danny
.thumb.JPG.60f9a46354c7d53f3bcade0c8d166616.JPG)
.thumb.JPG.a46103a7cf8700242cfb542b188a752f.JPG)
.thumb.JPG.6c25b90b24e5aab0d3defc6623e39882.JPG)
.thumb.JPG.cf9dd8ca02101299adc8bc6605b0dce7.JPG)
.thumb.JPG.11bc6ce42262b09ef705f9b57e75ad95.JPG)
.thumb.JPG.e155a7f75eab5fc0356477f84ad9c627.JPG)
.thumb.JPG.450eae6cc51ff5baf42a09df1e44eb71.JPG)
.thumb.JPG.4b83611bd3c142238e88d3adf8290b10.JPG)
.thumb.JPG.d2fbefd79a850fe8d913ac8c2d803c1a.JPG)
.thumb.JPG.23e52ac6f040703df2ec743a92f7afc4.JPG)
.thumb.JPG.c334b7db83d6f53463e448e63b4099da.JPG)
.thumb.JPG.0a0f93c75c5a382bae4d733bc76e89a1.JPG)
.thumb.JPG.631999624d26f00b2aabebf316ba3a2d.JPG)
.thumb.JPG.12a6a6738c7871aa07e8db83beea5cbd.JPG)
.thumb.JPG.2f0fbd423d0eaa33eaf2bd491ea0cd38.JPG)
.thumb.JPG.384180ba5bb4fd9e816fd485b5de9912.JPG)
- 244 replies
-
- 19
-
-
The main guns are now finished and ready to fit to the deck. One of them carries the rocket launcher that I made earlier : Danny
.thumb.JPG.0a0e7b127c8204ebc62c85141ba61868.JPG)
.thumb.JPG.1fe2ad6fc4714792739f0b6323843d31.JPG)
.thumb.JPG.9b7ade61a0c26ca08dab945de1f1a927.JPG)
- 244 replies
-
- 15
-
-
On top of each gun turret is a Range Finder. The framing for these was a bit tricky to make, as they weren't supplied as laser-cut but had to be cut and made from "normal" paper so they were fairly flimsy initially. Once the top was glued on they strengthened significantly : These pieces for the direction sights were very difficult to cut and fold without damage, but I managed to do it : The four range finders completed. Note that the one on the left has the end pieces fitted back-to-front, an error that I later corrected : The first one fitted to the turret : Danny
.thumb.JPG.65925d7538dde540b6567c0cf0c51667.JPG)
.thumb.JPG.87ddc4cdbb8a132d43855431c2d9768a.JPG)
.thumb.JPG.5193d7558004e6530ccbf4c02798b9ac.JPG)
.thumb.JPG.5b4f5cb5397f8850b58f52d6c83ff3d1.JPG)
.thumb.JPG.54de70cbe3587718891c7e44122b7143.JPG)
.thumb.JPG.5888f0ec9fd923d4b6c3328d9878a129.JPG)
.thumb.JPG.39be8a080b8a1bdce0e2213ddb4b6ed7.JPG)
- 244 replies
-
- 23
-
-
That's good to hear Remco . I've been doing paper for my last four ships and thoroughly enjoying it. No doubt whatever you chose they will turn out fantastic (as usual) . Danny
- 1,215 replies
-
- 6
-
-
- sloop
- kingfisher
- (and 1 more)
-
Thanks Carl, not too cold for the middle of winter - about 20 degrees through the day. I have a space heater and reverse-cycle aircon so it's pretty toasty in my workshop . There were no patterns in the kit for the "boots", which they suggested are made from linen. I made mine from thin paper. First I made a template, this took over an hour to get a good fit : I traced the template to spare paper and cut them out. Four of them were a mirror image for the port side boots : Next I rolled them into shape : And glued them on : Danny
.thumb.JPG.0ff67a229ef2961c7336f86c7f3aa2e7.JPG)
.thumb.JPG.f2b1819e94dae63cd4fb14ccc3840b04.JPG)
.thumb.JPG.1c58429e640ec378ff9e30457bbed775.JPG)
.thumb.JPG.5856f88e3e024ee6c0b009207ce0921c.JPG)
.thumb.JPG.c0cdf689be057e84af52e3f15eeabecf.JPG)
- 244 replies
-
- 12
-
-
Moving on to the Main Guns. There are four of these, none are identical. I'm fitting them with elevating barrels (as per kit) and rotating turrets (my own design). The turret rotators are housed in the bases. They all start out using laser-cut framing : One of the finished guns. Details still need to be added, including boots around the barrels : Danny
.thumb.JPG.342c746075b4b36ddf4f1fbd2595061e.JPG)
.thumb.JPG.9b465d3e9ac4d570dd8556518019b566.JPG)
.thumb.JPG.ce94dd6374ffcfd29dc400cc0888aa81.JPG)
.thumb.JPG.4426d113f4789898dcf0f5bfb21b4f73.JPG)
.thumb.JPG.d0238973f1d5c1088e70c4307cfd5106.JPG)
.thumb.JPG.da23449f10c78cc5249f3fdfa5059a1a.JPG)
.thumb.JPG.f642202071ce12fe1b948a8329387327.JPG)
- 244 replies
-
- 18
-
-
QUICK-FIND INDEXES to BUILD LOGS FOR KITS
Dan Vadas replied to Dan Vadas's topic in - Index of all kits by brand and subject
Fixed . Thanks for the "heads up". Danny -
Thanks John and Fernando. It's actually quite easy to build them all at once, and only takes about 10% to 20% longer than doing one. Once I set up for a certain stage I can really get a roll-on. Doing them one at a time would take about 5 or 6 times as long. Danny
-
Thanks again for the comments guys . I haven't posted in a while but I've been very busy. Below are the seven 102mm Guns, which have taken me 8 days to build. There are a total of 57 parts in each base/shield assembly, and a further 15 parts in each barrel/breech. As usual construction starts with the base : Four stools are fitted to each base : Two control panels (?) took a lot of folding and gluing : The shields took a full day to cut, fold and glue : Final parts of the base assemblies were a pair of steps : Some of the parts for the breeches were among the smallest and most difficult parts to cut and fold that I've ever had to do : Ready to fit the barrels to the bases : And the finished guns : Danny
.thumb.JPG.8a32f4adbc4f7ec1f7e5493d238df10c.JPG)
.thumb.JPG.c40b16990ba03bf18c4eba75a795fc21.JPG)
.thumb.JPG.71047f66014d1fde2dca44e7035f7822.JPG)
.thumb.JPG.4535c0274762fc51a1efaaf0dca0ff94.JPG)
.thumb.JPG.502183757b6312f4f2003301440edda2.JPG)
.thumb.JPG.ed0ced678253217dc275cb465c621ac7.JPG)
.thumb.JPG.93540205f0a2faa5d22a403685fd60b9.JPG)
.thumb.JPG.a2e6d45e28de03314183e15f425c16fd.JPG)
.thumb.JPG.404ddf804045bf10e6be376c5b1c76eb.JPG)
.thumb.JPG.06b75394d4d91aaaa2e3817166a9b394.JPG)
.thumb.JPG.5e1402c2cd447b31cac0270af79a08e9.JPG)
.thumb.JPG.d972eac778164c6c4d3fc4f04bd08f6c.JPG)
.thumb.JPG.e0d047355a168bf67d8cb57bd5ce05e3.JPG)
.thumb.JPG.08cce8550154d18a8b8e952b0cec63e5.JPG)
.thumb.JPG.83e1fd797f12b1191cdddfc3ef7933ea.JPG)
.thumb.JPG.a3f9b0661f1e058926c9a0b767e17084.JPG)
.thumb.JPG.ad0573f05e53ef3ee42c715952b875f6.JPG)
.thumb.JPG.8fa9707ea0c6cb966a2e409d6a7f431e.JPG)
- 244 replies
-
- 24
-
-
G'day Raven. Here's where I get mine from. It's a Polish site, so postage isn't cheap. They have portholes in various sizes from 1.0mm up to 2.0mm. You'll have to measure the size(s) you will need off the model. Danny
- 5 replies
-
- 5
-
-
- prince of wales
- tamiya
- (and 1 more)
-
Thanks Carl and Popeye . At the aft end of the Superstructure is a platform for a 8-Barrel AA Gun. Here's the finished article complete with the gun : Construction of the gun begins with the base. I glued PE mesh to the card base, top and bottom : Under the base are a number of gussets : Next the two side panels. These were not easy to cut without damaging the fragile piece for the gunsights, but I managed it without any drama : A box structure, with plenty of round and square holes, is the support for the barrels and breeches : The barrel support and sides glued to the base : I'm making all three guns simultaneously : For the breeches the kit supplies some tiny pieces which are almost impossible to make. I actually made two of the 24, which took me over an hour. They turned out OK, but considering how long it took I thought of a better method : I binned the two I made (forgot to take a pic ) and then laminated four pieces of black card together. I cut several strips 1mm wide, then cut 24 pieces 5mm long. These fit quite well into the square holes, not quite perfect but certainly acceptable : There are two Magazines either side of each gun, along with a PE frame : The completed guns : Danny
.thumb.JPG.c1a44a463aef1c05ccd9431282ebfdc6.JPG)
.thumb.JPG.d1e16900821be683f27566f00e7b4237.JPG)
.thumb.JPG.31d5460016b0a9a8545f186987160da6.JPG)
.thumb.JPG.4055d6af1ccf121a58c85f7bd52c711d.JPG)
.thumb.JPG.94cd780a7fb25b39dfab253959def7da.JPG)
.thumb.JPG.1eca1073882a6c4f18039c8b28b12d25.JPG)
.thumb.JPG.270d382c27f69b05cc3aa562ef26a961.JPG)
.thumb.JPG.9c9c826b7effbb31ce89a616320a382c.JPG)
.thumb.JPG.7df4fd4248a64923438452f3b575c3f4.JPG)
.thumb.JPG.ea4083be26247eca6000ea98ac87e363.JPG)
.thumb.JPG.281d047a1a29369a8033ccb50d6c36ea.JPG)
.thumb.JPG.9cbaa039d1a4390dc6288ab4980d0361.JPG)
.thumb.JPG.4f03dc13d1d15c0c4e1ac49234537e6c.JPG)
.thumb.JPG.81378ea97e9277dfda5c665969a52647.JPG)
.thumb.JPG.ec6a20cf19ff3970fd8bff37a2a3ee55.JPG)
.thumb.JPG.f964fa9aea9c0976a0c181b468ca5900.JPG)
.thumb.JPG.9224d2cdd9a6e3147ad673c68d3888a5.JPG)
.thumb.JPG.b190a431396f34e3d6e4faaf7cd1a6f4.JPG)
- 244 replies
-
- 21
-
-
Thank you John and Popeye. On top of the Aft Superstructure is a platform for a range-finder and a couple of searchlights. Lots of Gussets as well : Danny
.thumb.JPG.acebc8183d9e36f73b8defbe9dab1119.JPG)
.thumb.JPG.e626014476ecad9d2675a309585df25a.JPG)
.thumb.JPG.94664443997862dd99a95b49321d02b1.JPG)
.thumb.JPG.10c17ccf0302172c4c2cdef6f8cb2032.JPG)
- 244 replies
-
- 18
-
-
Thank you all once again . The Aft Superstructure is fairly simple, consisting of only 3 levels. Here is the lowest one : The 2nd level, complete with two searchlights : Danny
.thumb.JPG.43aea59692a11c19c3d25fd6a7c9e24d.JPG)
.thumb.JPG.4b347044262b6e2667345d6d560a1c37.JPG)
.thumb.JPG.8e62350c618cd98fed554d78c4586b7b.JPG)
.thumb.JPG.955287895665b31b6eae27731330990b.JPG)
.thumb.JPG.89c9329f070e781afe88d49a1aaf97f4.JPG)
.thumb.JPG.77f51147ed67b9593cd71817d322da62.JPG)
.thumb.JPG.72ef8b7358251ffca9500624d2b451dc.JPG)
.thumb.JPG.2b429a63adbf36b8bbde8609a41d9826.JPG)
- 244 replies
-
- 19
-
-
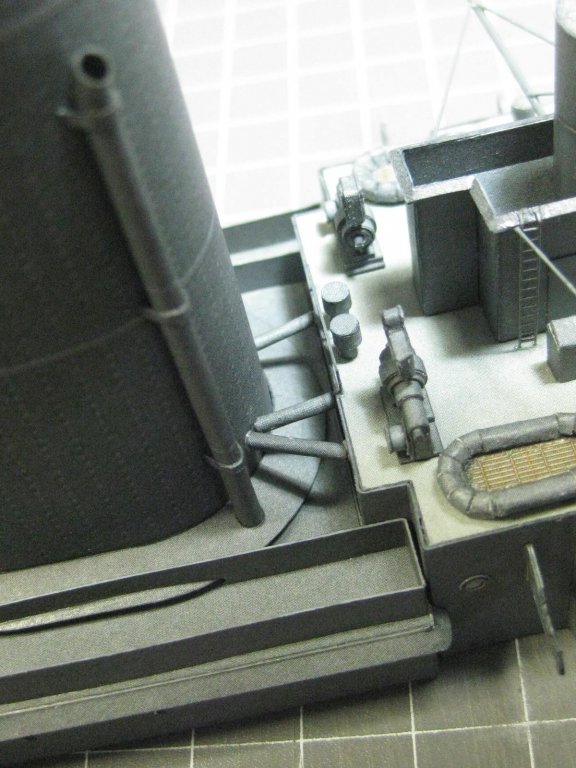
Thanks Greg. There are three pipes between the funnel and the forward platform : I've fitted the two platforms to the funnel base : Danny
.thumb.JPG.54df9f1d4ecc69eb6eb74ed216a47b5c.JPG)
.thumb.JPG.5e8d8bb41a72c40da34f3e7c5dedb62d.JPG)
.thumb.JPG.c3b82981b19da24626540bd247cbb207.JPG)
- 244 replies
-
- 22
-
.JPG.559e17d238242c8b2ee15da9dfac11bb.JPG)
.JPG.1e38a0165a00d9ac2ec7a6fc78c448cd.JPG)
.JPG.7a66b975a27e669bba3803653b2a6940.JPG)
.JPG.588368d0fca757b5f4cd1d17dad11c70.JPG)
.JPG.a9bd75389933386dd836d8d276ded70f.JPG)
.JPG.967948d3451c71d12d30500be6f64ca3.JPG)
.JPG.41b30f3b6e569110257ce91d8730863d.JPG)
.JPG.751ce9ed1ce9135c3d8f6d67e2a59f07.JPG)
.JPG.16d4531b01eddc2ce476ce7691fe2649.JPG)
.JPG.66a6582fa44956a3d19c404c73268458.JPG)
.JPG.59d5be1a0b322beb0faf3e1950897ab8.JPG)
.JPG.04fd0961391490a1dbf0945600e22fac.JPG)
.JPG.4c15327a21ff22f8f94575974173b0df.JPG)
.JPG.62c1a2bf724c5f52d34ec01bddd94f92.JPG)
.JPG.2179d4327592e2dae799f483d84b37fe.JPG)
.JPG.618246573986a92e7687d918b6125307.JPG)
.jpg.d3af2ed3a8f9174669b2a3f620077317.jpg)
.JPG.6496425cb77a28e9c4a682c1b97a87a8.JPG)
.JPG.d671f25682033e7a4bbbe7f854310d7c.JPG)
.JPG.f1c4b336d49004887141c17db5d87978.JPG)
.JPG.6ea56a103e4acde248a3b3cb56338d76.JPG)
.JPG.9ea120da3bb42b1ae853dd9d6f69a91e.JPG)
.JPG.53615e51083d0fc922259162b393616c.JPG)
.JPG.31cea18f69a7e804eed9d50224eb513a.JPG)
.JPG.0f2a4d2567b5a83a0f84c53619830fb0.JPG)
.JPG.24851b0c3afe91ff9a59a3d26a65481c.JPG)
.JPG.a8748687bf32d655af284d0b7827a83e.JPG)
.JPG.d793154c5d8473763854b4b696006c32.JPG)
.JPG.4bfa23176504e8b707bb23ea32494794.JPG)
.JPG.4d9a130c8c9a42727de756aaa9af25fa.JPG)
.JPG.a9673fe3ed6e1eff114efbccf7a640df.JPG)
.JPG.e0323b4782ee3c221aa28193f71edd22.JPG)
.JPG.f0eae4ceb2ee6dd2db3c6dadc87c1fde.JPG)
.JPG.995113977d402cc4d85966aa1b72c7a7.JPG)
.JPG.7700504ad4a36eba7363811300b7cde4.JPG)
.JPG.a208ff702229e8259f1751855f15c1f8.JPG)
.JPG.bad6731e35d0500d8a4ab7ea7b0aacea.JPG)
.JPG.bf60e598eafd20eeadf2da2a697a676e.JPG)
.JPG.abde847a259ae29dda63debedc03da33.JPG)
.JPG.a7284e0006012da8f81fa5faeff2d405.JPG)
.JPG.b76fe4ac10b73af58435266ccfdef3e0.JPG)
.JPG.5ce9b75fe93f9758f693c0c03e4b1ff9.JPG)
.JPG.5b92e8cda27d355430242d3e191aacd6.JPG)
.JPG.f6daf8ae896bd2a74810dfecfd9fe888.JPG)
.JPG.9a89a17ab6b6dba688fcb046a1360488.JPG)
.JPG.f2601d7a161353b79fda873cfa362ccb.JPG)
.JPG.425142fd6adb0afdae515ca2404a0655.JPG)
.JPG.b5aa86266c34203f51c3501cc91349bd.JPG)
.JPG.207cf1c9a7551e24a4ff45288233ce37.JPG)
.JPG.7c2e5bb6de676b2e943a639f8627fbfc.JPG)
.JPG.10bf22561fdf8fcd8cea72f7957571ea.JPG)
.JPG.bedc349c2d6c41bea65263c3abf2c486.JPG)
.JPG.23ecda2e8382eced61fa117385a08ecb.JPG)
.JPG.a74dcf66c888a7dee5c1ab54a3fbe336.JPG)
.JPG.e69d17a382f9588c60214ef572ce728b.JPG)
.JPG.39c5506290a480174ac891fdf385bdca.JPG)
.JPG.044b11eed0d37e125e22e39d21e1b479.JPG)
.JPG.dd4d737130e8f343dc75f92fdcf059cc.JPG)
.JPG.5161b7ea8b4f612114176570fde496b1.JPG)
.JPG.a0577de767f421cd281cfcc99e347157.JPG)
.JPG.c3a256eab71ec1f20b43046bb6cc54c5.JPG)
.JPG.1a4da784ad5a7af310cf551eca03cb1a.JPG)
.JPG.2f96ae3a4b857f225d19e27342af4235.JPG)
.JPG.e42448832348d52e8ca14a0146d4da9c.JPG)
.JPG.9e84b4ce7efa0f6d95e65122d443115a.JPG)
.JPG.b83faa037d2aac4458ed59af04c22713.JPG)
.JPG.36669e3fccd243043593172799004e35.JPG)
.JPG.07fbe51d49892e5d0011fe1a6259a0d0.JPG)
.JPG.a66de28dc3a700b0a47796550460eb03.JPG)
.JPG.e3ee091c9d80771dcf2d4123b30bf370.JPG)
.JPG.42de4cfaec63a4a73ef1b0194e0bdebd.JPG)
.JPG.107202faf6a495749cfa3e099f46f630.JPG)
.JPG.e2d03b45aef2456e6d8b54d86350e128.JPG)
.JPG.1e4e5186f9e35588a45b7b42d209dec6.JPG)
.JPG.bd9902e54007a30202af147338020dfd.JPG)
.JPG.609c3fbbb3350063b42441e2730abfee.JPG)
.JPG.55badacba3ed6debbf221f0e42f26daf.JPG)
.JPG.4774ed131efab03ef5803ee5231d2127.JPG)
.JPG.2cd873568bfe812b764d32fcbc02b163.JPG)
.JPG.b7e5e7c71233ed2797377f816c34e322.JPG)
.JPG.d266a038a56580402bdaf09b87660ba6.JPG)
.JPG.29e76b8c69be1c504ba593b212d2ea6a.JPG)
.JPG.eb3a14fed2a1c44928c26a89104b0bf5.JPG)
.JPG.95e6e8ab0aec08f809ce51363bc26680.JPG)
.JPG.fa15a23239d1b0115858af07b4fbc13d.JPG)
.JPG.9c44bee0dea68b1527a9119edd63c78e.JPG)
.JPG.152548f19da22606a45c273083ff798c.JPG)
.JPG.32bcef709ebb58831bb0c8af8772d459.JPG)
.JPG.d43a8bd8946cb60e8f8a51cd1bc04809.JPG)
.JPG.b6dd50ffd180af34f60819579b31b726.JPG)
.JPG.acc076a5ddf0e15957843143398a2413.JPG)
.JPG.8c6818479eafec3e8d9b0c7c3f91f683.JPG)
.JPG.f29a03355e37a93eed6a8358b51f4873.JPG)
.JPG.b1c6dcc9adfcc36640051719eabe5b79.JPG)
.JPG.a5608e14f8adf2db6c51e51aaf69f05e.JPG)
.JPG.0e393da3c58ec8358d2c5a57d744a266.JPG)
.JPG.63edd695fbe9215549d2bbe8194f81a1.JPG)
.JPG.b53431f05c66e2638747a87e5d350915.JPG)
.JPG.83a59296b48d23ba357f37a80dcfb56c.JPG)
.JPG.f60ff1b9de9082869700a44ce8daa234.JPG)
.JPG.23f07a25427dce267f7785e7f2af76e6.JPG)
.JPG.ed310c1d81337b978f22ce6eec5c3cf2.JPG)
.JPG.776670c85778a229ae298f70cfd79ea3.JPG)
.JPG.824e001b9c9084652f9318f40c6bec2a.JPG)
.JPG.a94adb1bb189f83c0d5fb4484437190e.JPG)
.JPG.a50801b4d8c52df0d7ed748f7d3e591f.JPG)
.JPG.08e96305e16e4fcb8e4d29d47cf4fcb9.JPG)
.JPG.3594ea8d3b447763e090e387be252ca4.JPG)
.JPG.03b7e8f78b58ce00b734c65ec641861b.JPG)
.JPG.3e956d3cbd33664d56eb008cff364d3a.JPG)
.JPG.4cdaeabda74c4993ada7455bbf509b7e.JPG)
.JPG.d27820ff5a0bbc784a2e45a2f70ce7d1.JPG)
.JPG.1e2cf051ec8e16195d5d891421104a3b.JPG)
.JPG.2e5de8417e146e6d89d089e0fe066676.JPG)
.JPG.041eed8414ac069b4b91d11b705f6fd1.JPG)
.JPG.02a8e24228be6118033fe9d51d467fe8.JPG)
.JPG.450c8a764d7de0b2991823056fee7b79.JPG)
.JPG.22bd5590c1483df5805e33959a5e067c.JPG)
.JPG.64ecc931502968ebb5eae12a6a274dfa.JPG)
.JPG.f0585b7d3aac8f9f4cd28a7bedeaa56a.JPG)
