


Dan Vadas
-
Posts
3,261 -
Joined
-
Last visited
Content Type
Profiles
Forums
Gallery
Events
Posts posted by Dan Vadas
-
-
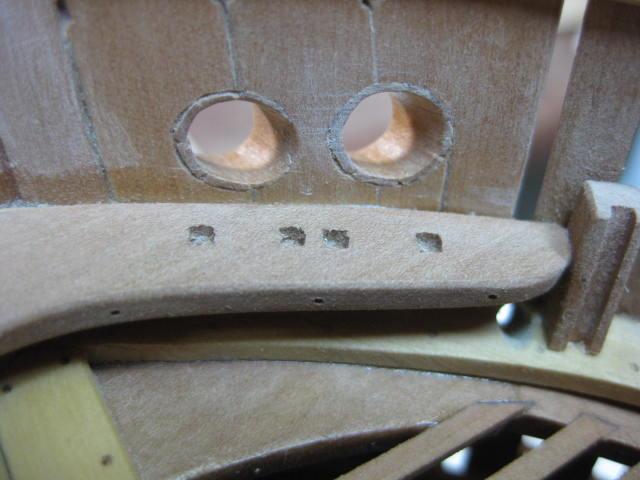
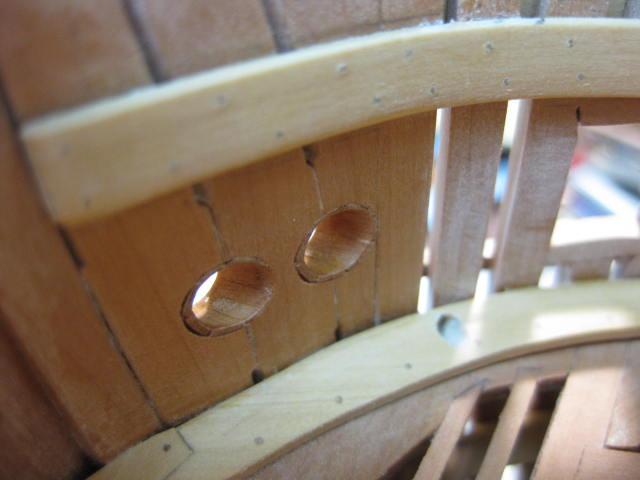
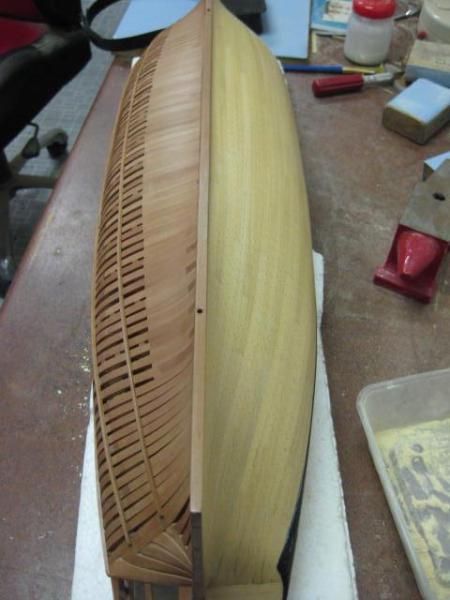
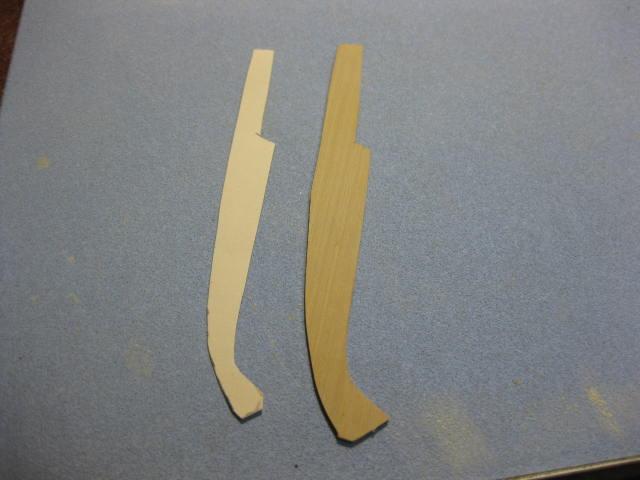
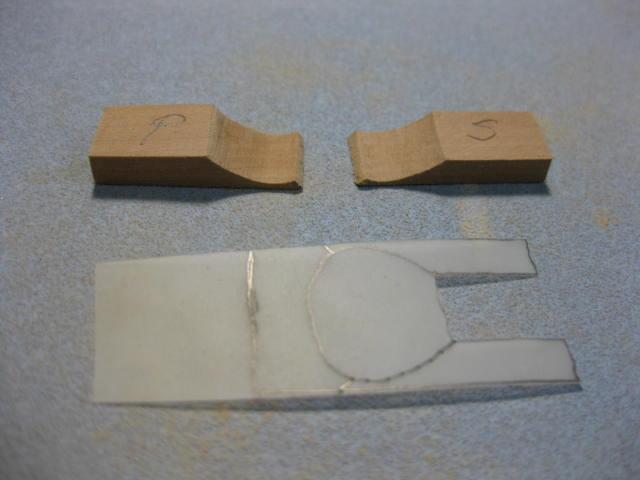
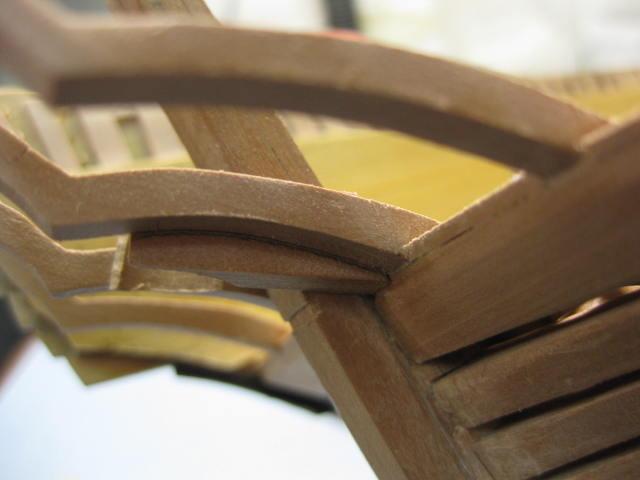
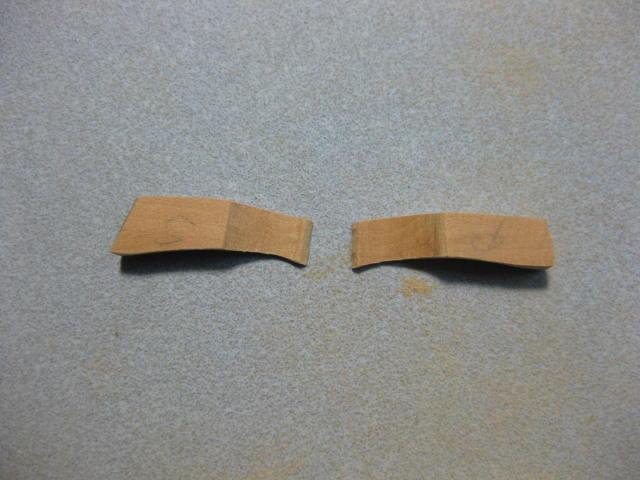
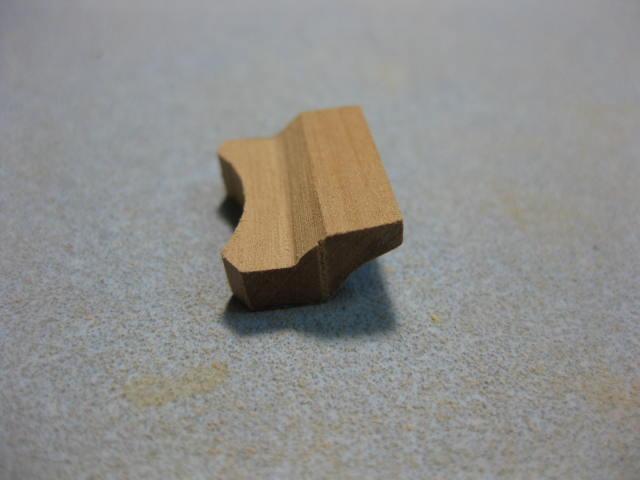
Bucklers
The Bucklers are covers for the Hawse Holes to minimise the entry of water. There are two types - "blind bucklers" which were used when no anchor cable was in use, and "riding bucklers" which fit fairly tightly around the anchor cable.
They are supported by removable Cants each side, which are morticed into the Bolster below and the Upper Deck Breasthook above :

-
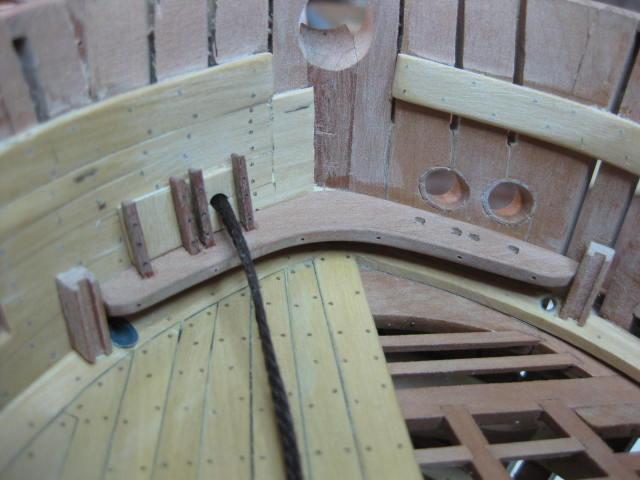
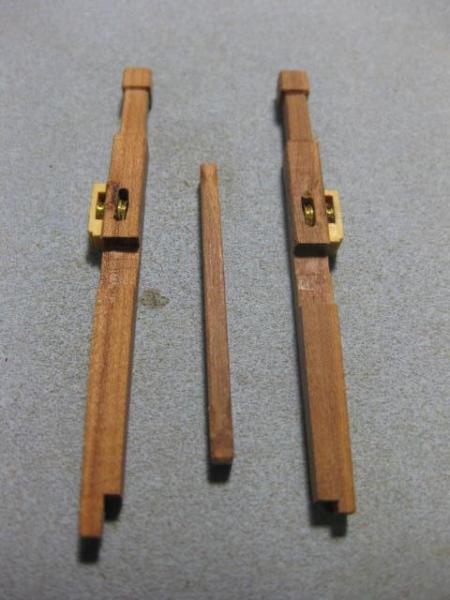
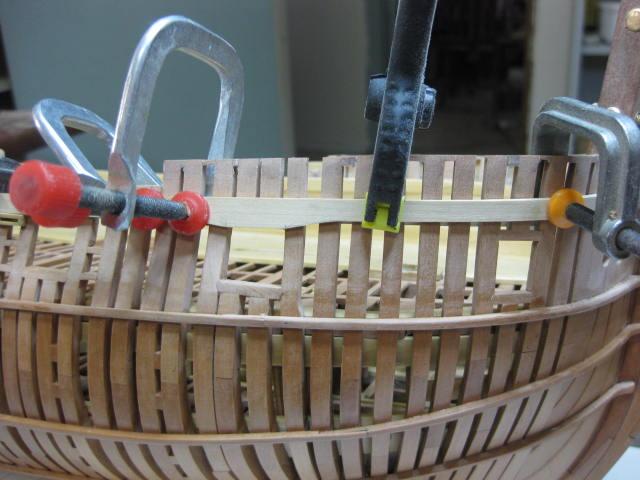
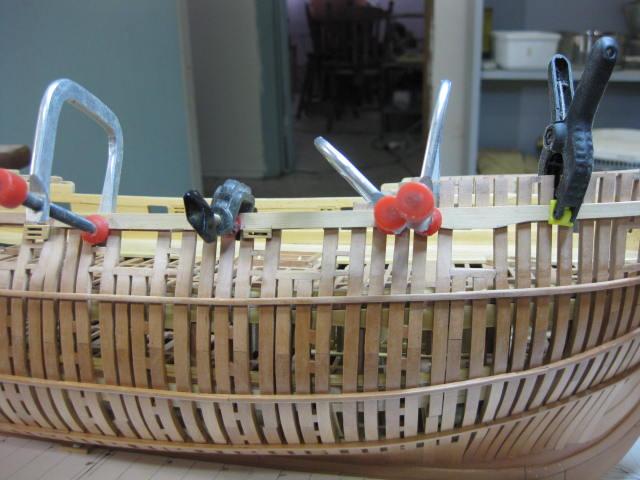
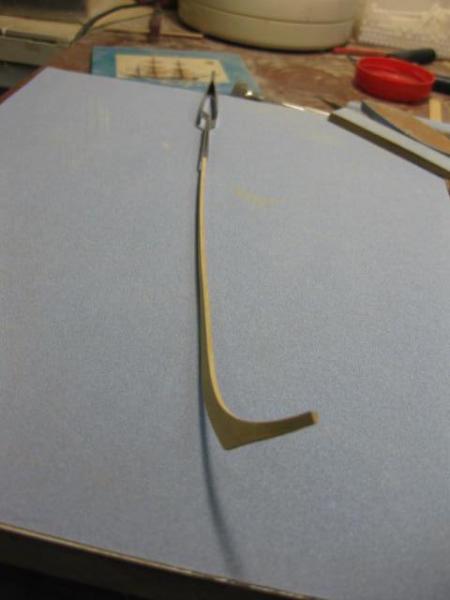
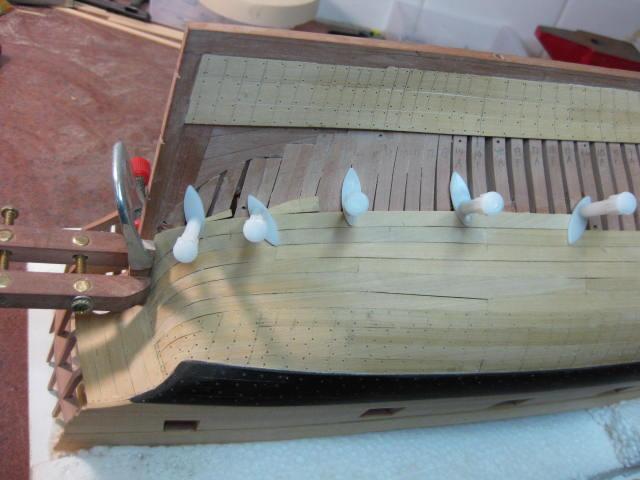
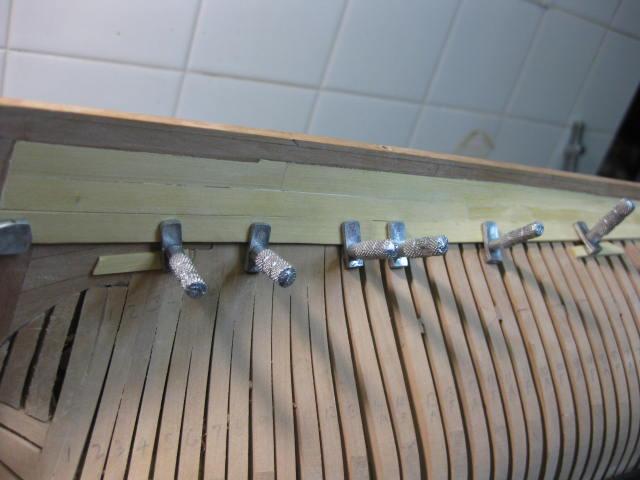
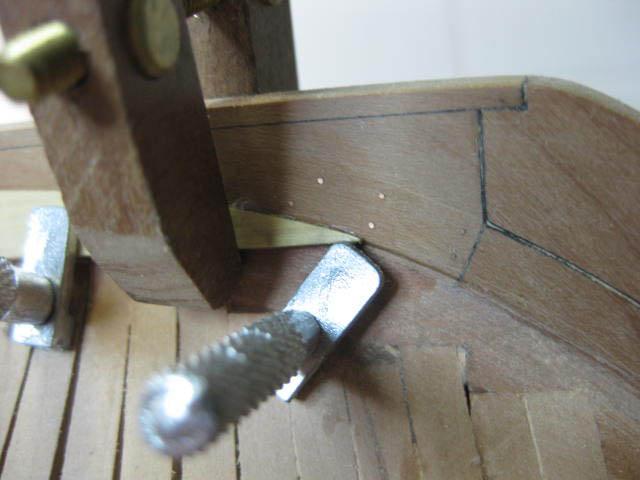
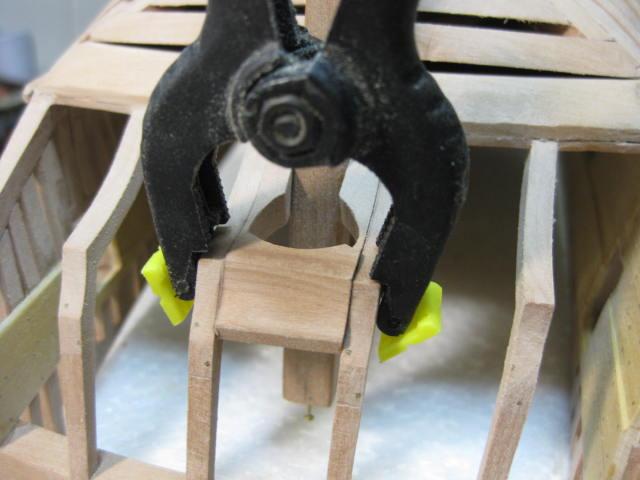
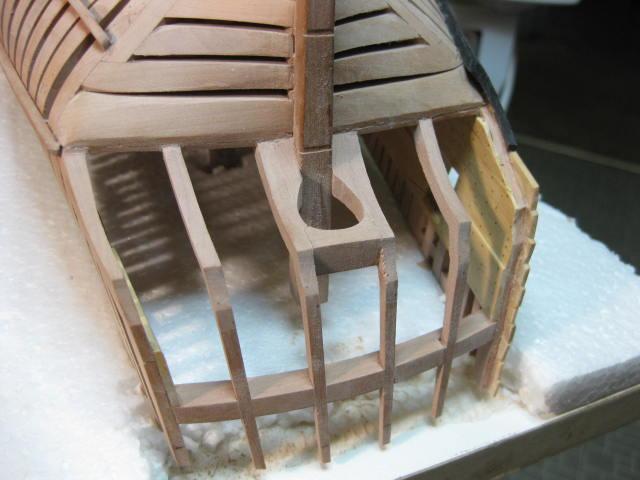
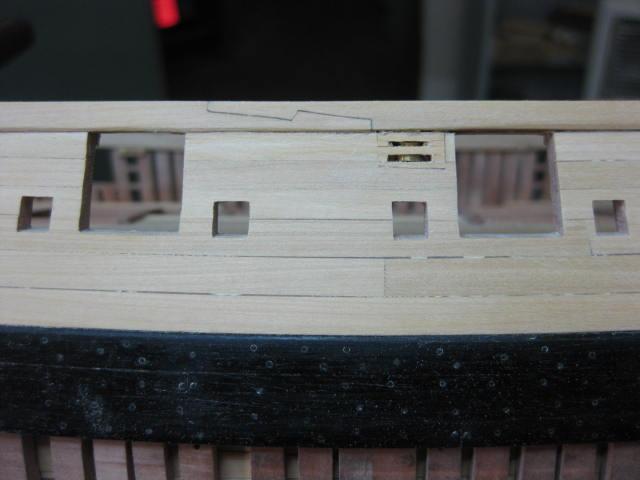
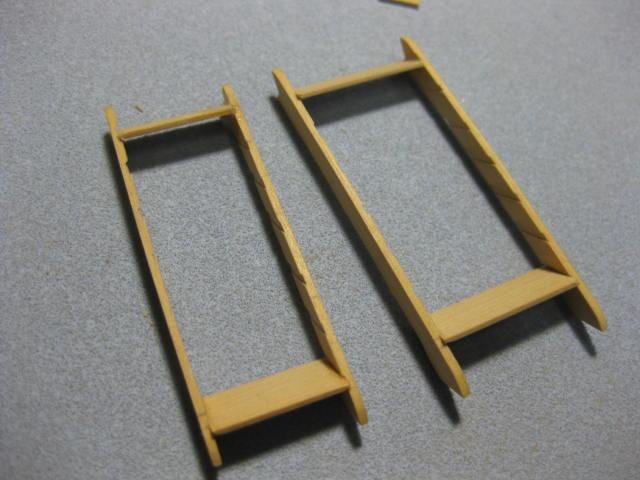
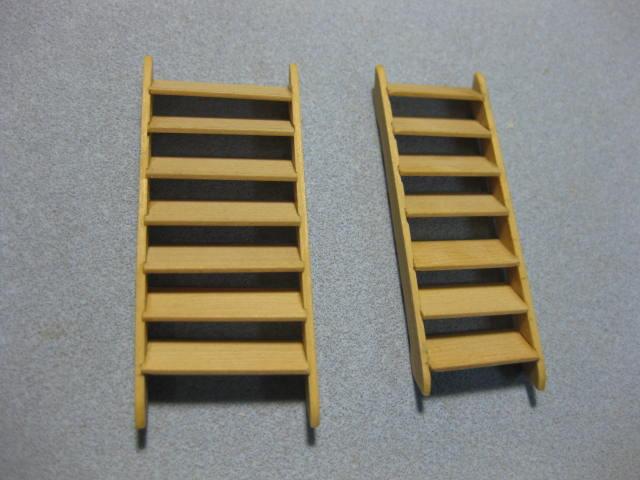
Fore Topsail Sheet Bitts
The Fore Topsail Sheet Bitts house the Bowsprit Step. Angled rebates have been cut into the lower parts of the pins for the Manger boards :

The position of the Step was determined using a dummy section of bowsprit :

- Mirabell61 and Jorge Diaz O
-
 2
2
-
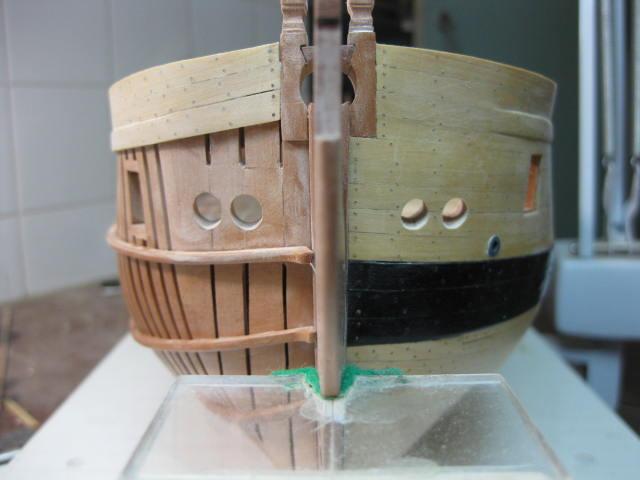
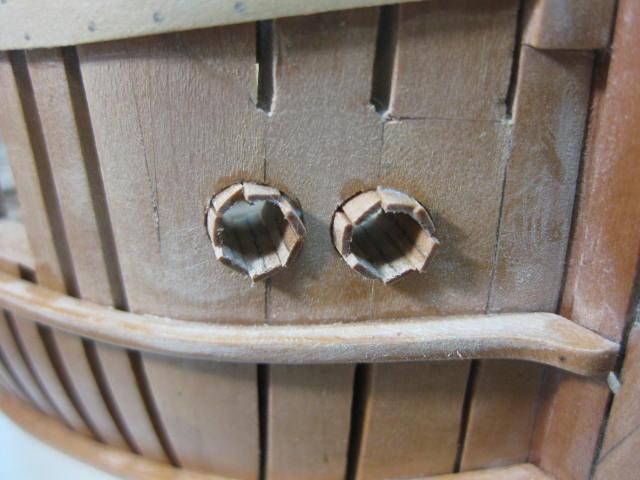
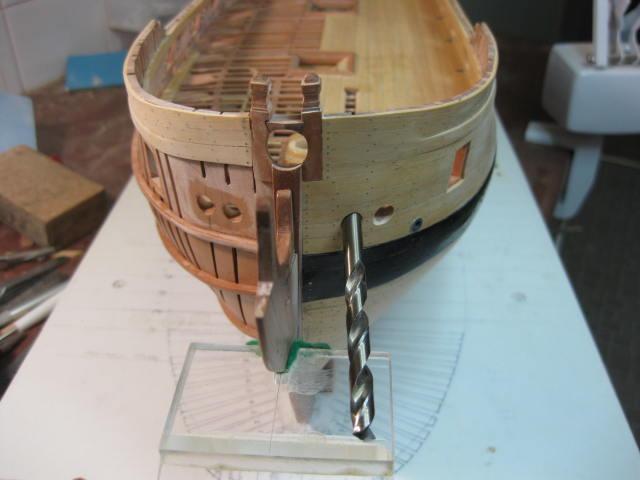
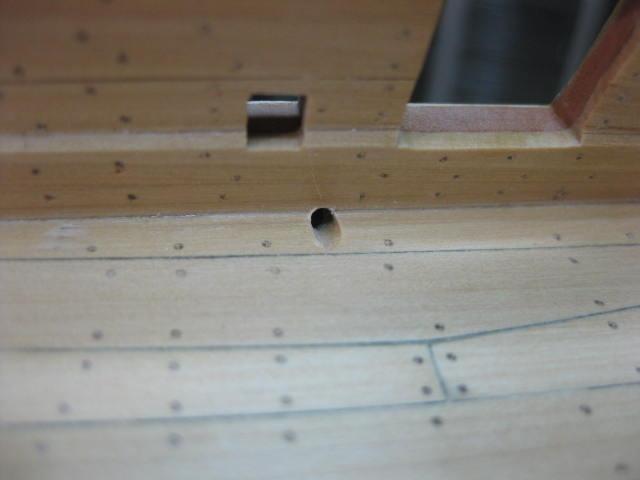
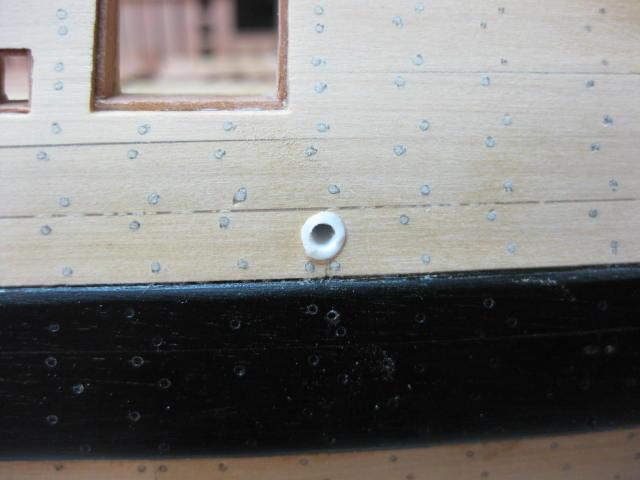
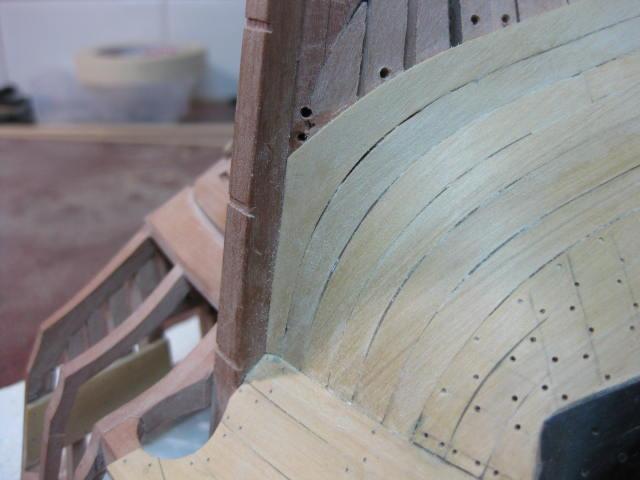
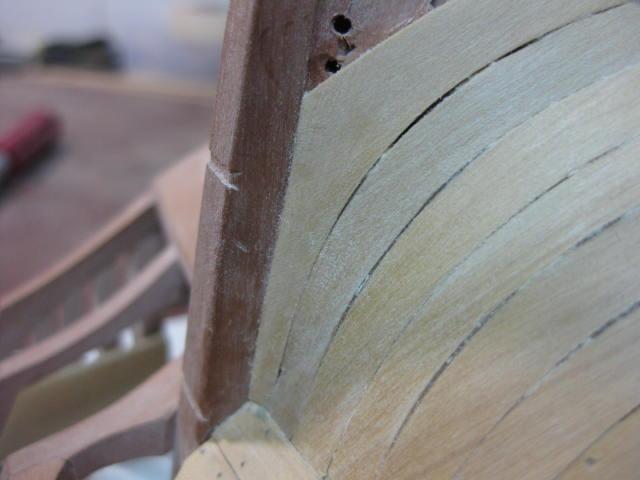
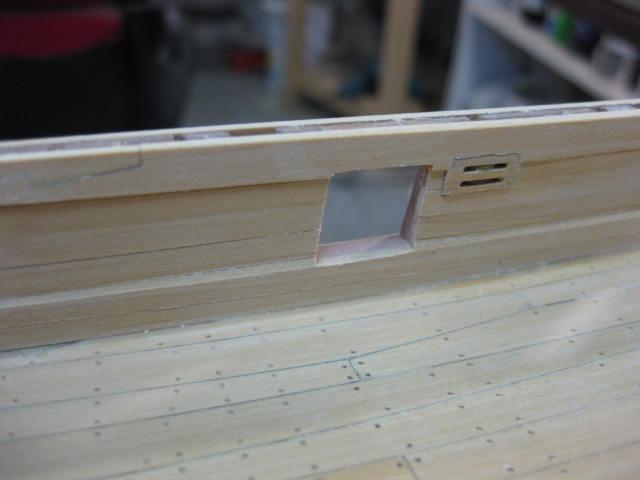
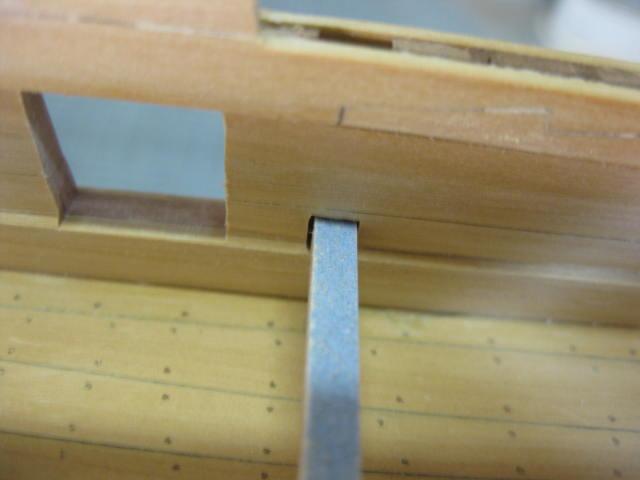
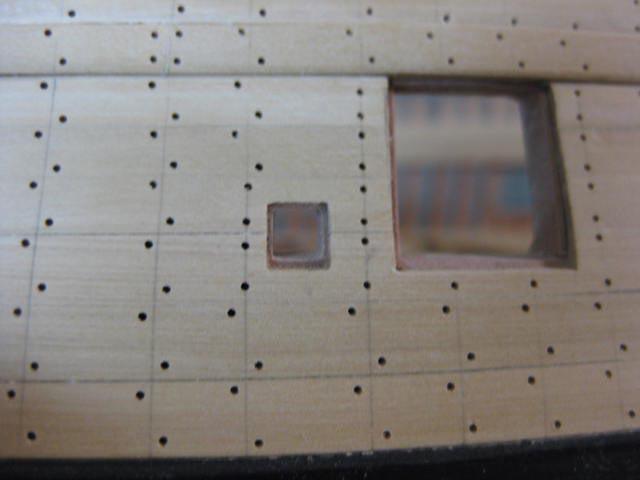
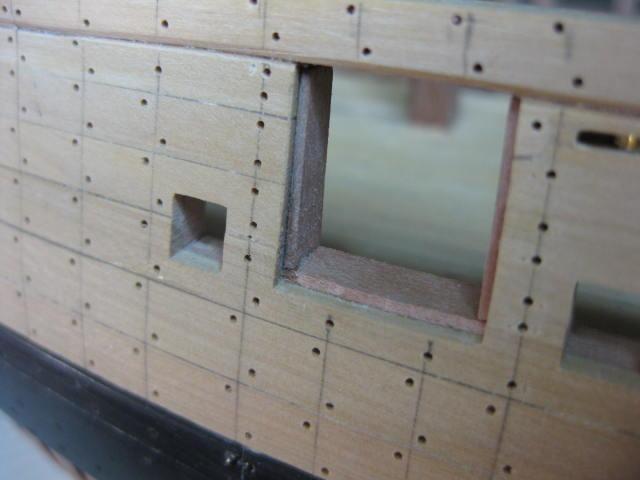
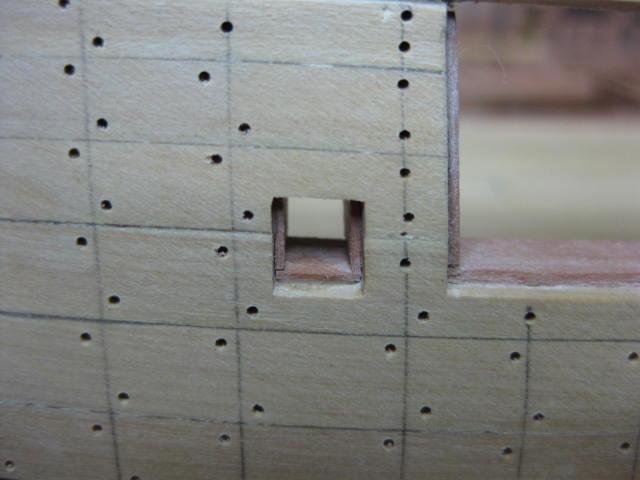
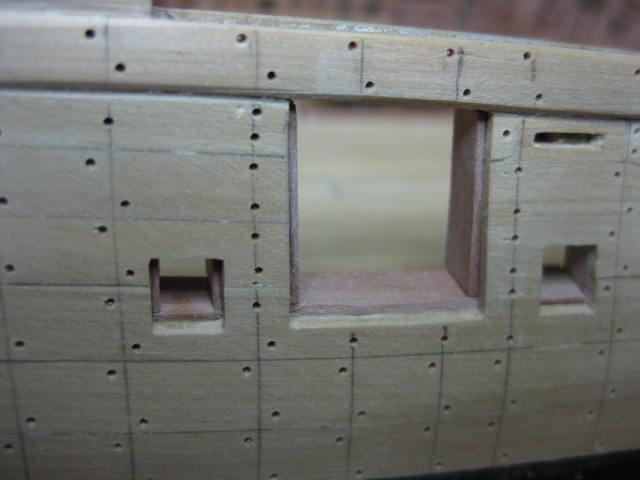
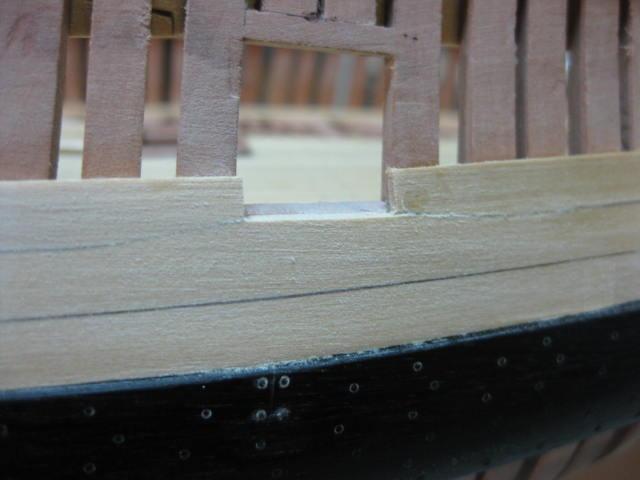
Hawse Holes Finishing
The Hawse holes were now filed out to their finished dimensions. Both sides needed to be filed out to accommodate the Hawse Linings :
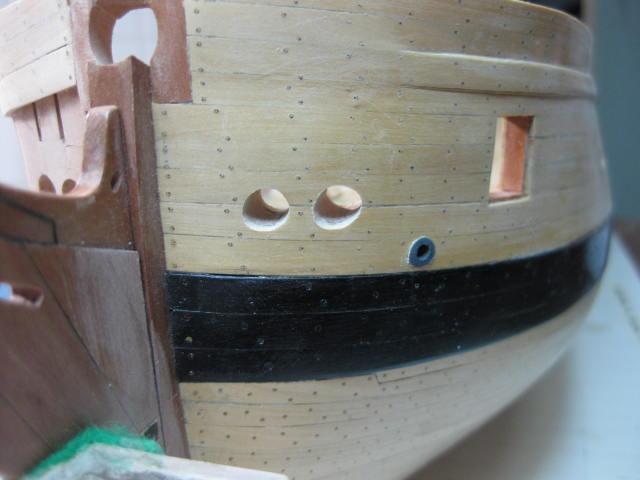

They are lined with Oak (dark pear on the model) in Barrel Stave fashion - this protects the surrounding framing from damage and is relatively easy to replace when they wear. I'm showing this feature on the port side, and "lining" the starboard side with poly tubing to simulate copper sheathing :


The appropriate size drill bit came in useful to check that the angles were correct :

-
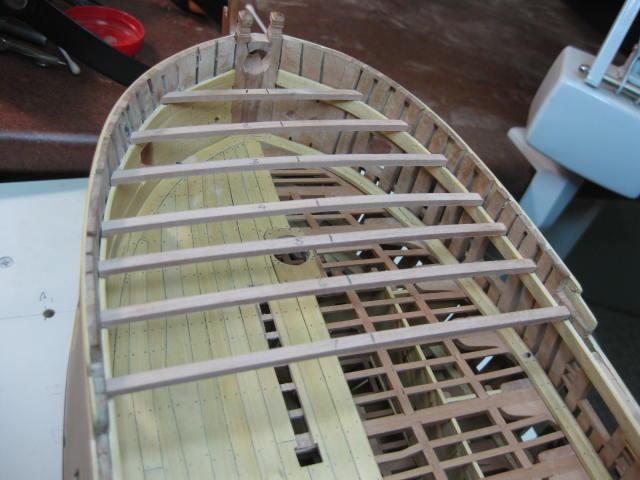
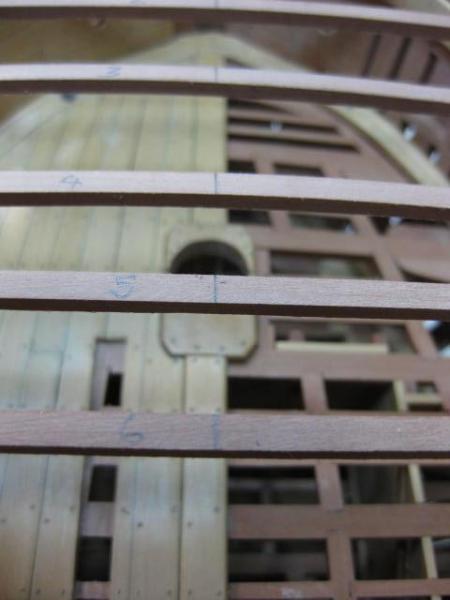
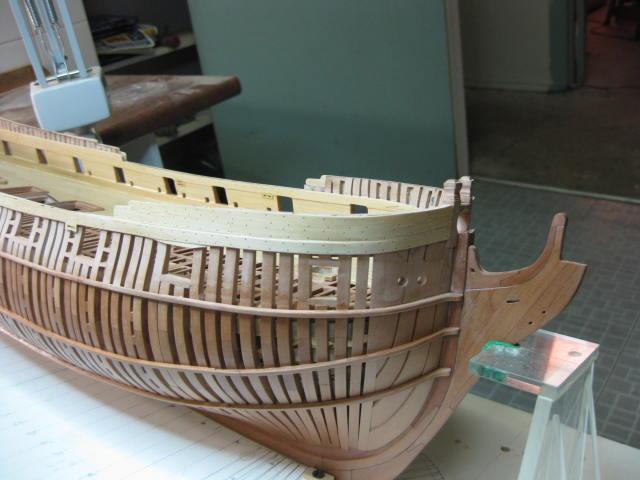
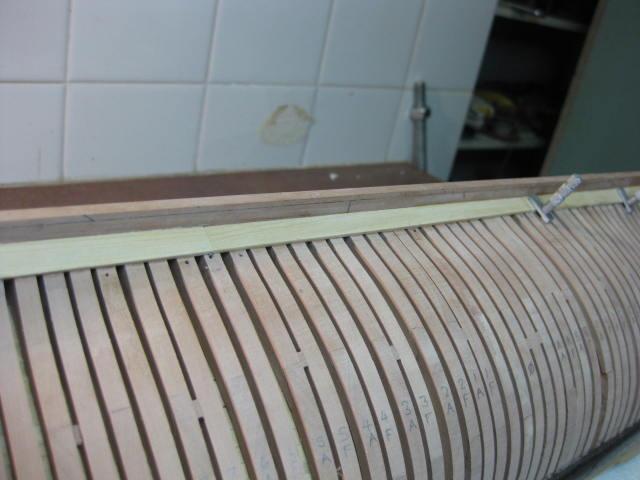
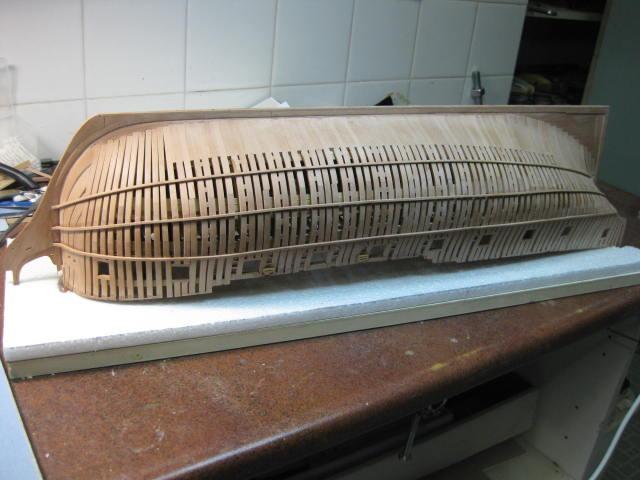
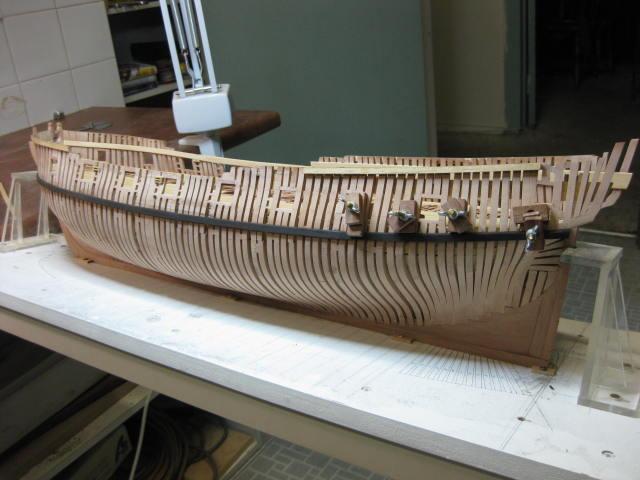
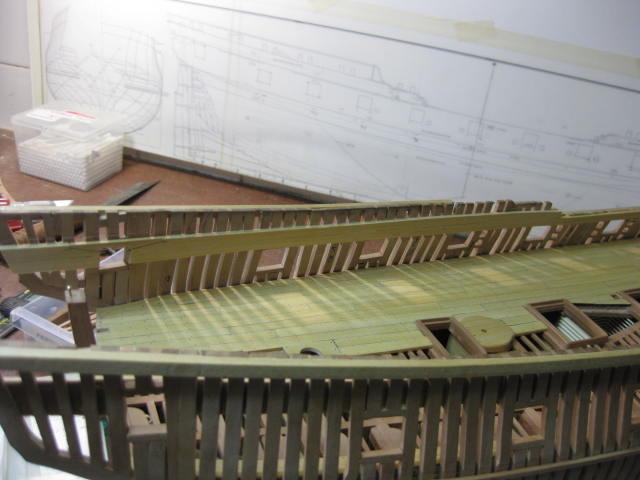
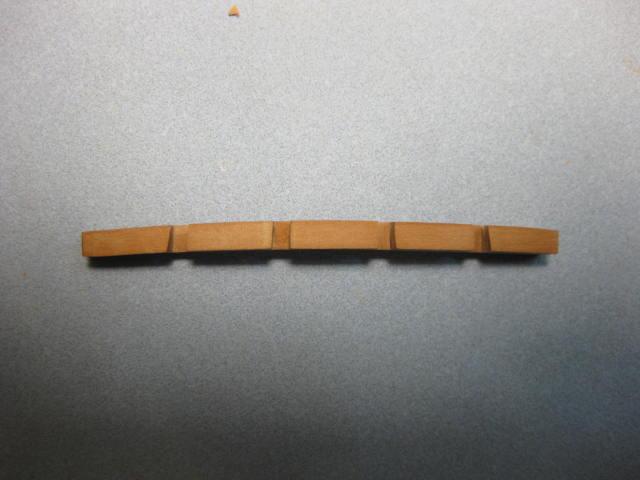
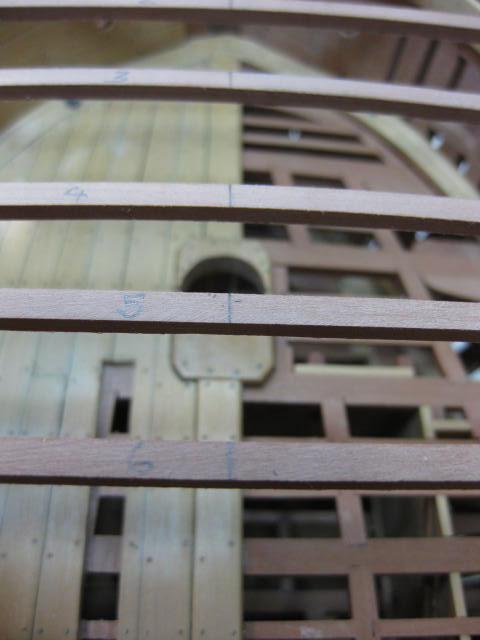
Forecastle Deck Beams
The Forecastle Deck Beams were made the same way as the Upper Deck Beams, except they have a 6" roundup instead of a 5". Here they are all temporarily fitted into place to draw the centre line :
-
Main Jeer Bitts
The Main Jeer Bitts are of similar construction to the Riding Bitts with differences in their sizes and upper "decorations". They have similar Cheek Blocks :
-
Main Topsail Sheet Bitts
The Pins for the Main Topsail Sheet Bitts were made and temporarily fitted for alignment purposes :


-
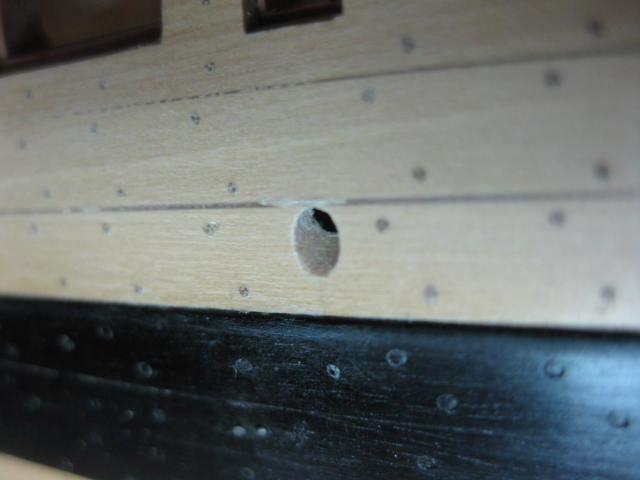
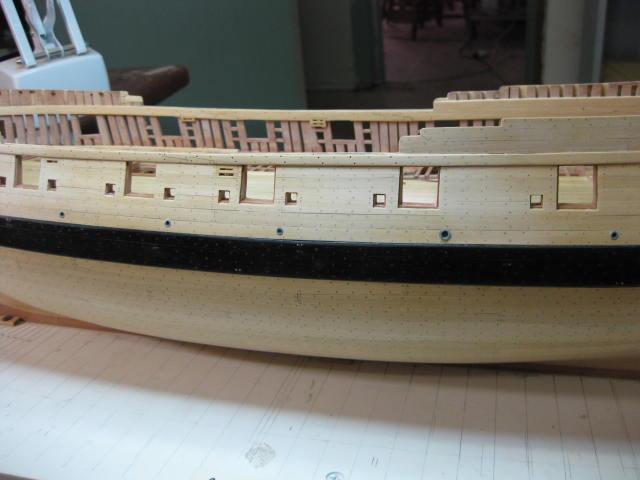
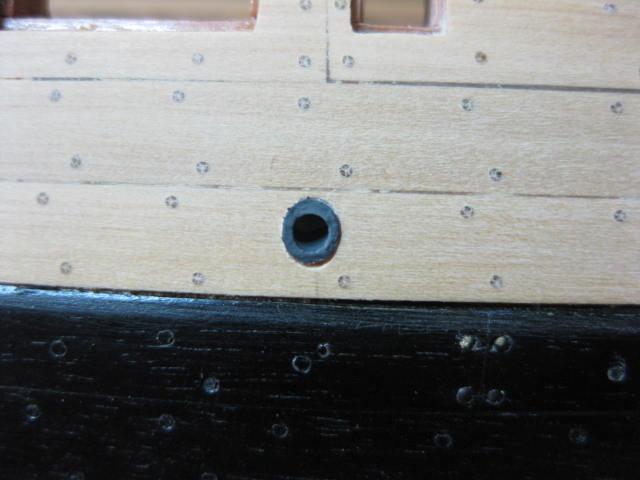
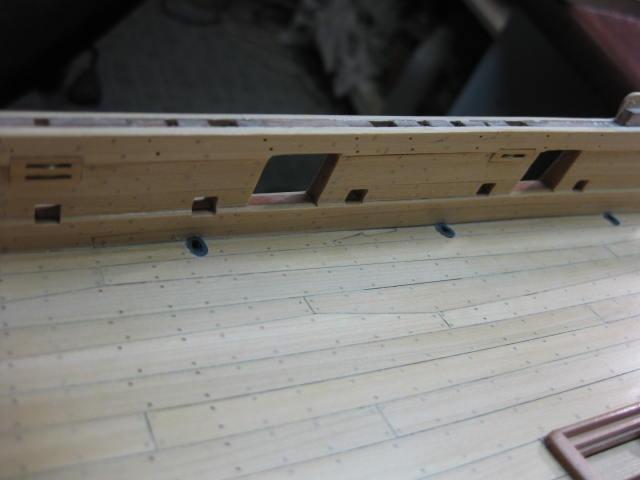
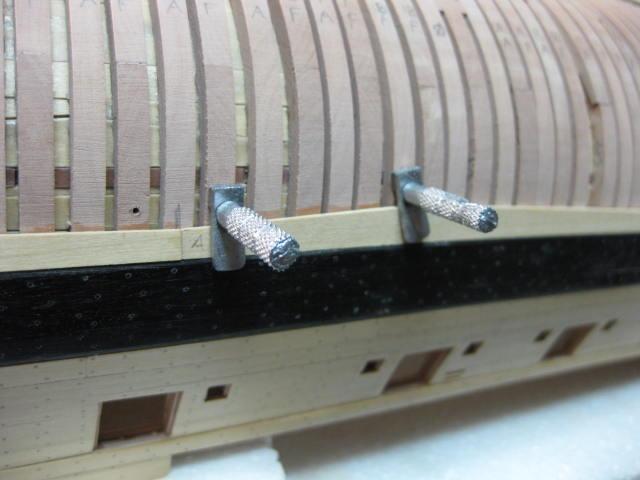
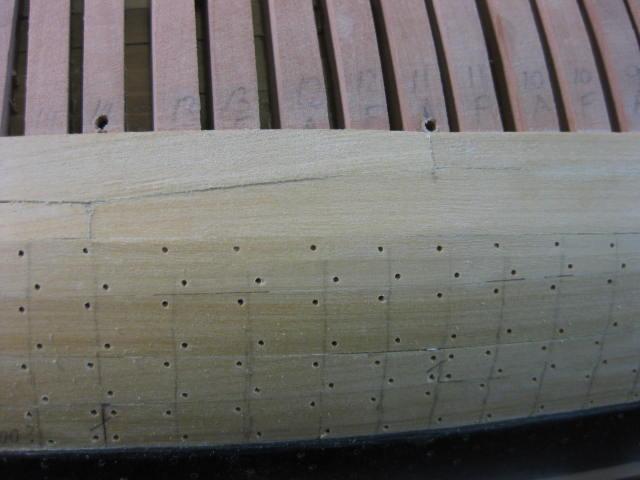
Scuppers
The Scuppers drain the upper deck. They are cut into the Waterway and angle down outwards to exit through the Black Strake :

To simulate the Lead scupper Linings I used "Evergreen" polystyrene tubing - 2mm for most, and 2.5mm for the Hawse and Pump Dale scuppers. I heated the end of the tubing gently over a gas flame and then pushed it onto a cold piece of brass sheet to make the flange. These were done in two pieces meeting in the middle :

After fitting all the scupper linings I painted them Lead Grey :
- Jorge Diaz O, john2013 and Mirabell61
-
3
-
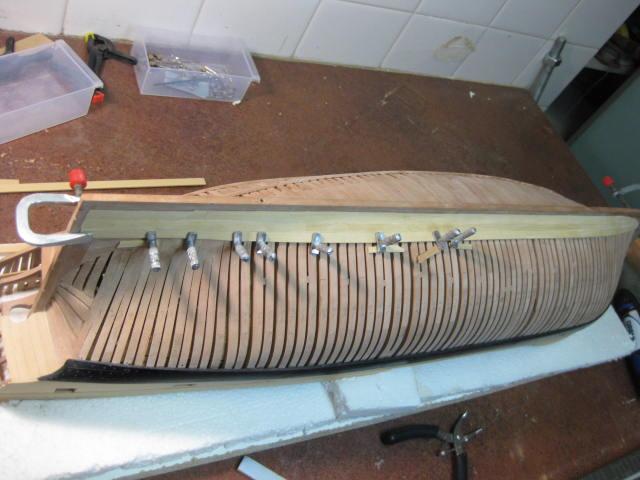
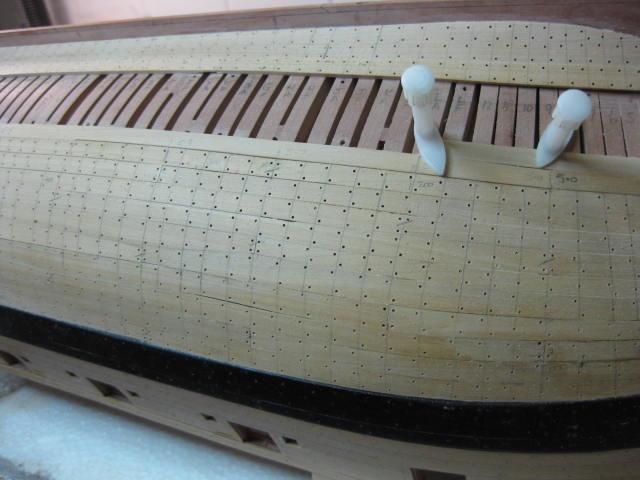
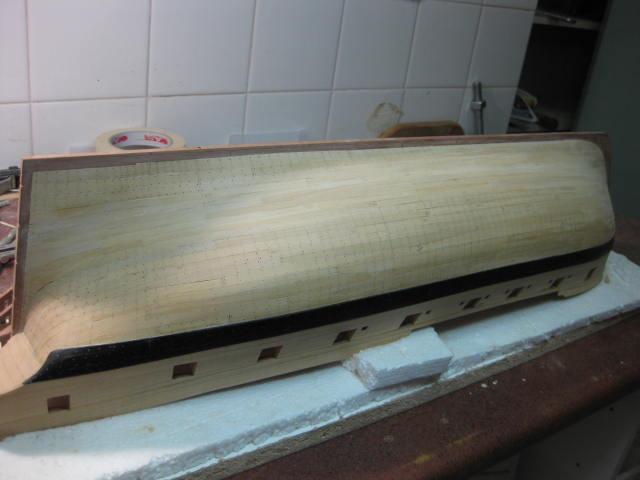
Starboard Sheer Strake
There is very little planking to be done on the Starboard side, but the Sheer Strake is one of them. It continues to the stern :
The Plank upon the Drifts is also fitted to both Forecastle and Quarterdeck :
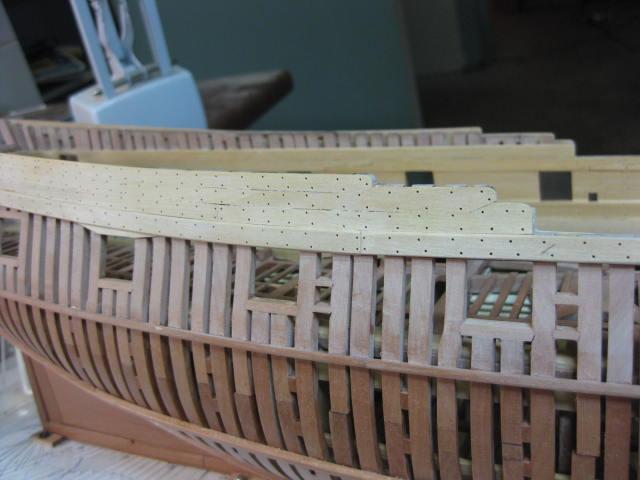
Another “worked” part of the Sheer Strake above the aft Gunport :
-
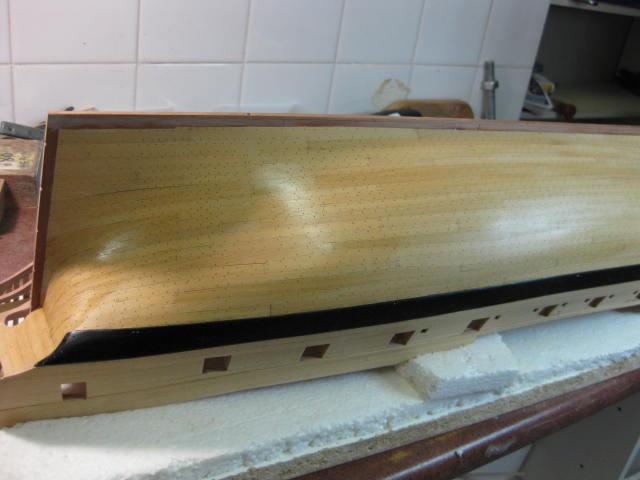
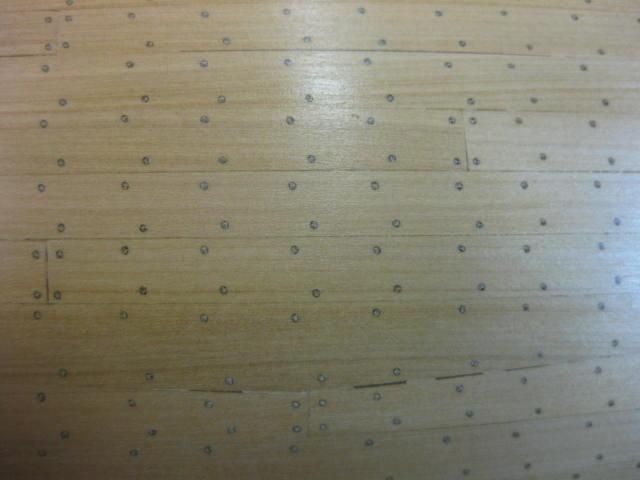
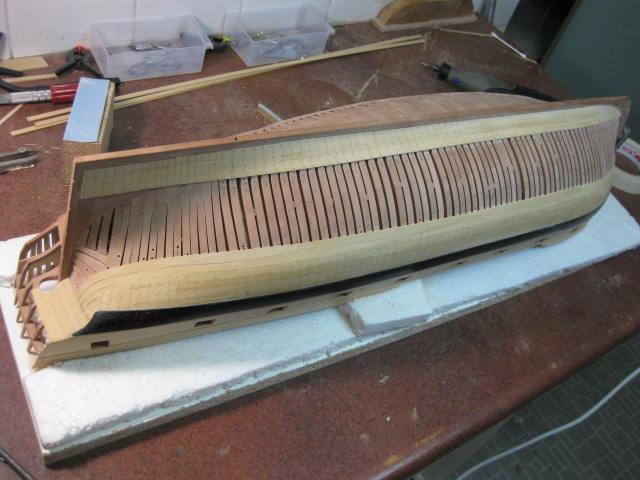
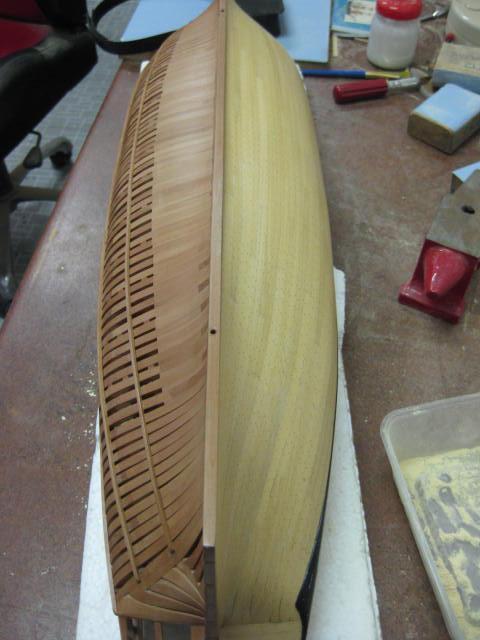
Hull Planking Finished
The hull planking after all treenailing has been finished and sanded :
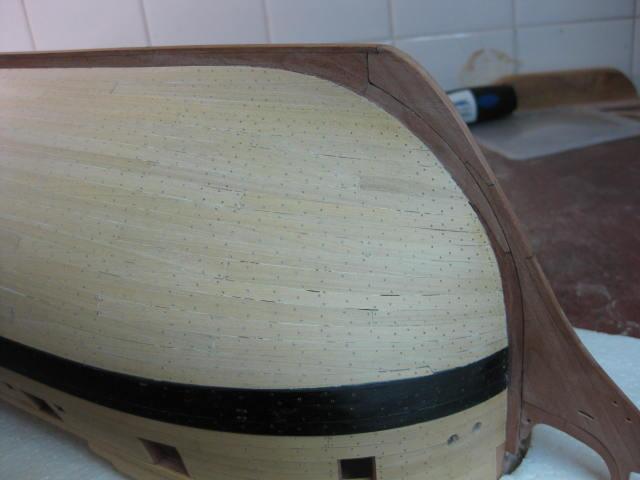
After two coats of Minwax Wipe-on Poly were applied :
- kiwiron, Jorge Diaz O and Wishmaster
-
3
-
-
Tricky Plank
The first plank alongside the Sternpost is a very tricky one to get right. This one took me two attempts :

-
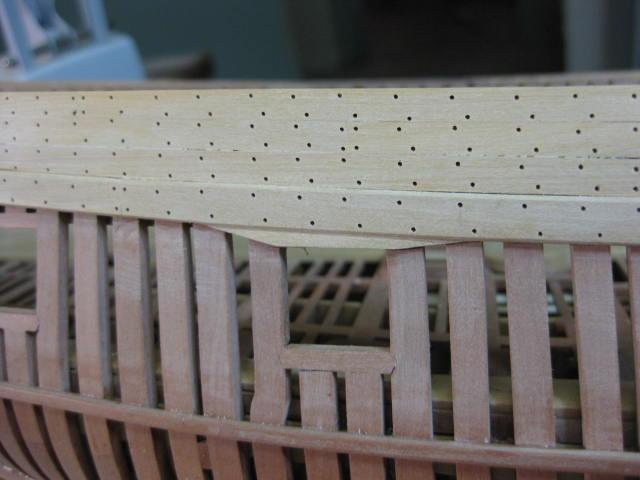
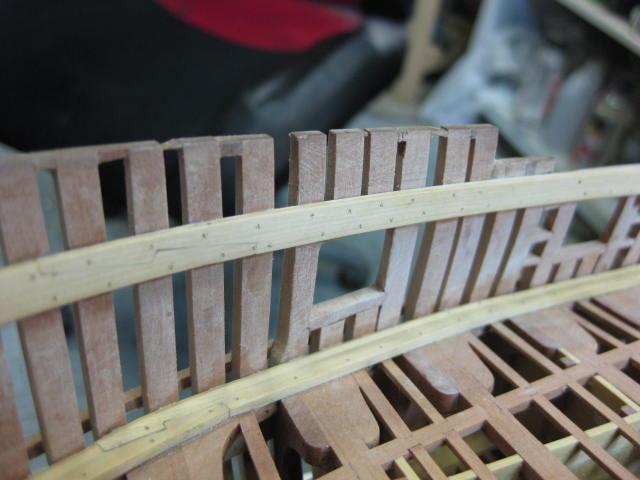
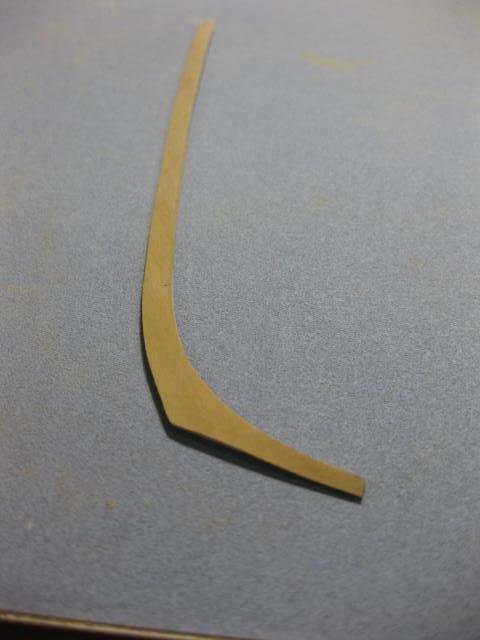
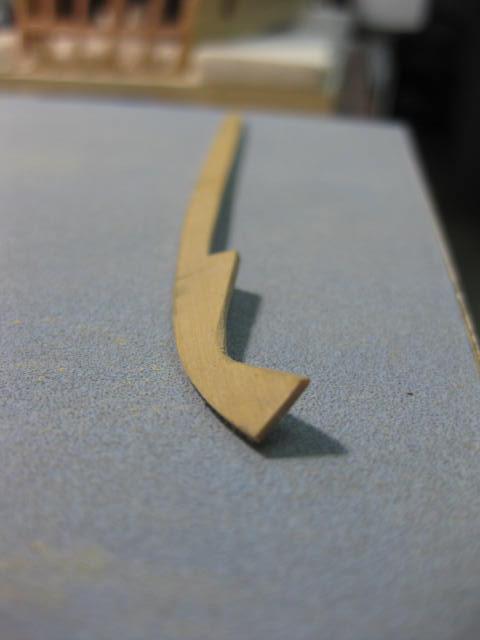
Top and Butt Planking
The first six strakes of planking beneath the Wales are worked in Top and Butt fashion :

The aftmost plank beneath the Wales has a very sharp bend and is also wider than most other planks to fit around the end of the lower wale. The card template alongside it was used to get it’s shape :


-
Lower Hull Planking
Two more strakes of planking were fitted against the Garboard Strake before planking work returns to beneath the Wales :

-
Garboard Strake
The Garboard Strake is the first to be fitted when planking the lower part of the hull :
The forward end of the Garboard Strake ends just after the point where the keel starts to rise. It’s upper edge is virtually straight, with the edge that sits in the keel rabbet tapered to follow the rabbet :

-
Lower Counter Planking
Next the Lower Counter was planked. Note the angle joint on the inboard side between the two lower planks in the picture :

-
Helm Port
To work on the Helm Port the ship was removed from it’s work base and inverted on a board covered with expanded foam for protection :
The two inboard pieces of the Helm Port were cut roughly to shape using a Mylar template, spot-glued into the framing and marked out for their final shape against the frames :
They were removed again and sanded to the marks :
The outboard piece of the helm port was made in similar fashion, glued into place and final sanded :

-
-
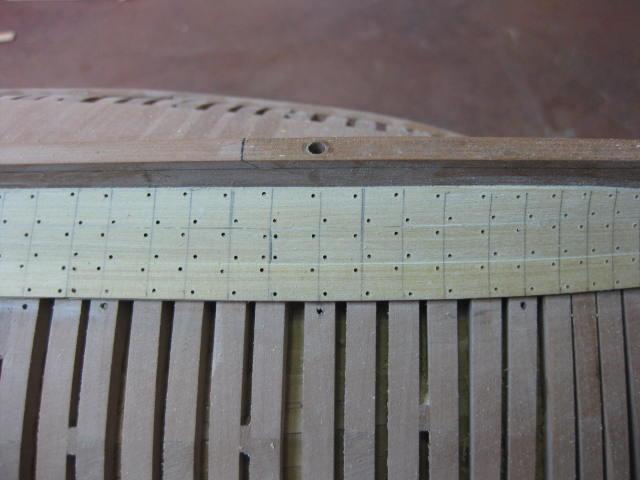
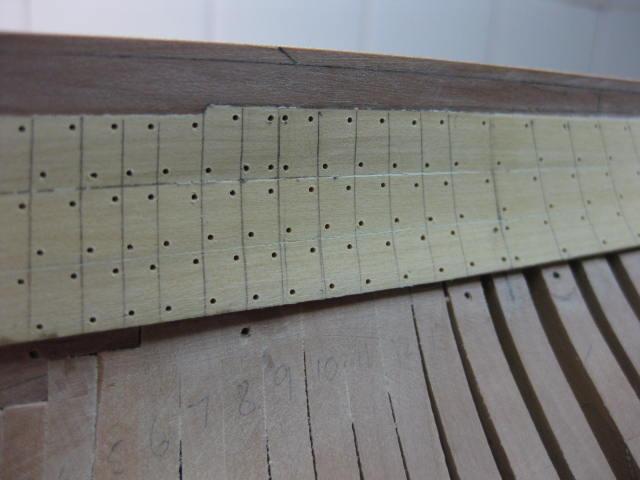
Treenailing Spirketting and Quickwork
More Treenails :


-
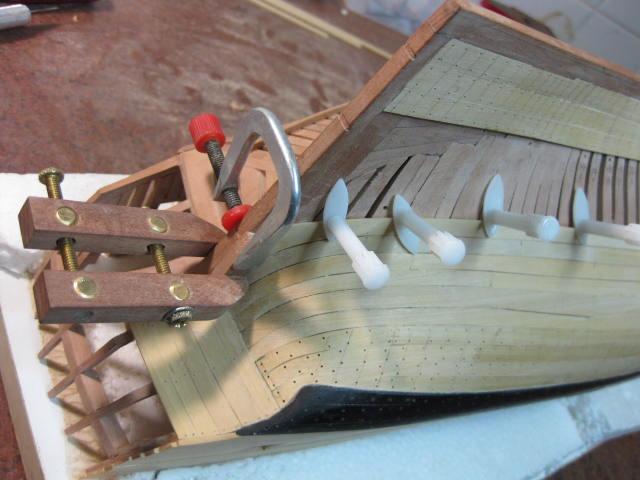
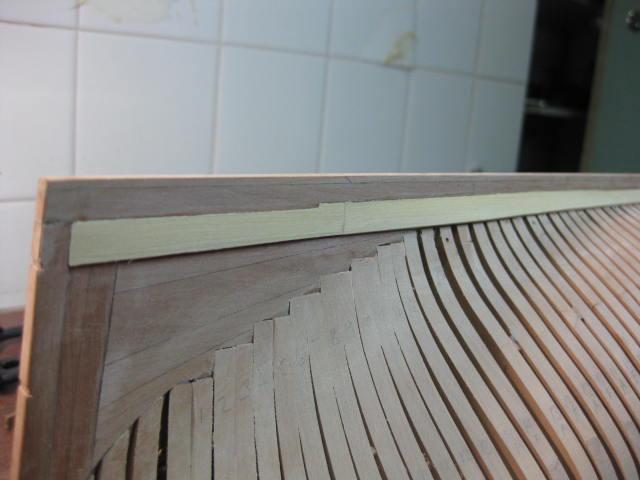
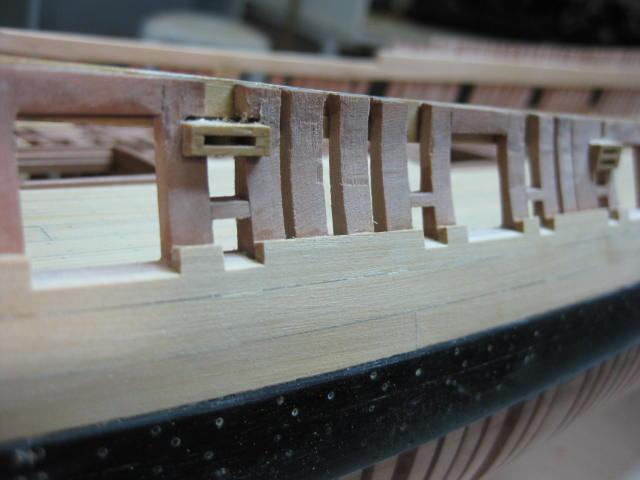
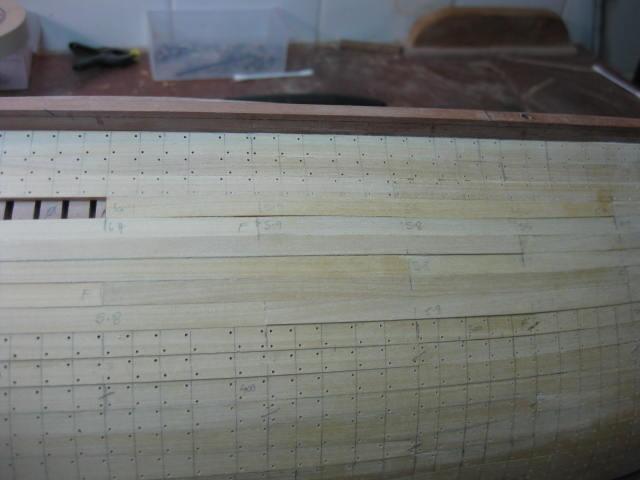
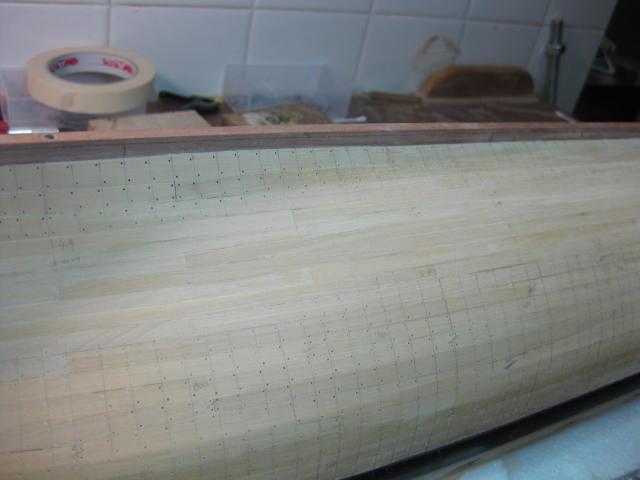
Spirketting, Quickwork and Inside Sweep Ports Trimming
Note the steps between the Spirketting above the Waterway and the Quickwork above it, and also the one above the quickwork where it meets the String in the Waist. There is a chamfer on both steps :

The Fixed Block is flush with the String but stands proud of the Quickwork :

Trimming the top of a Sweep Port with the long sanding stick :

-
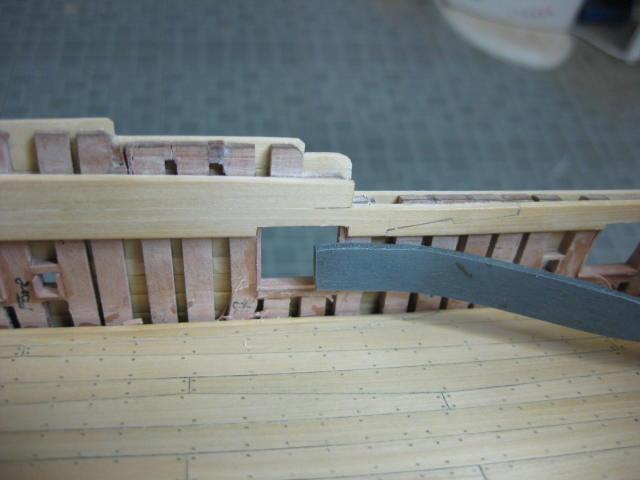
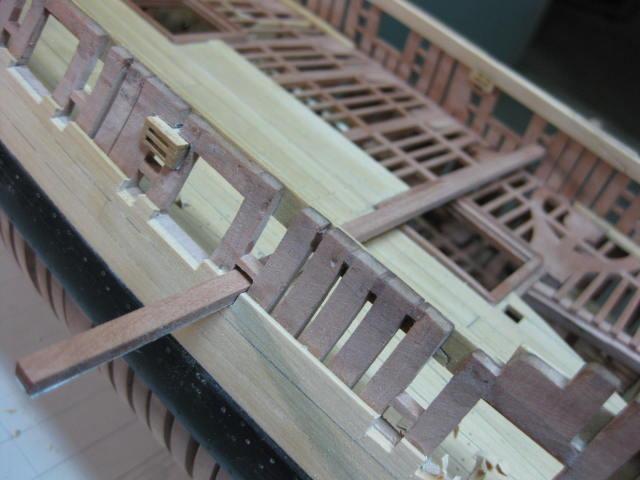
Port Stops and Sweep Ports
The upper planking at midships. A scarph joint in the Sheer Strake can be seen, also the Fixed Block below the sheer strake :
1 ½” thick Port Stops are fitted to both sides and the bottom of the Gun Ports :
The Sweep Port Stops are 1” thick :
The inside edges of the Stops are first trimmed with a chisel-point Xacto :
and finished off with a Riffler File :
-
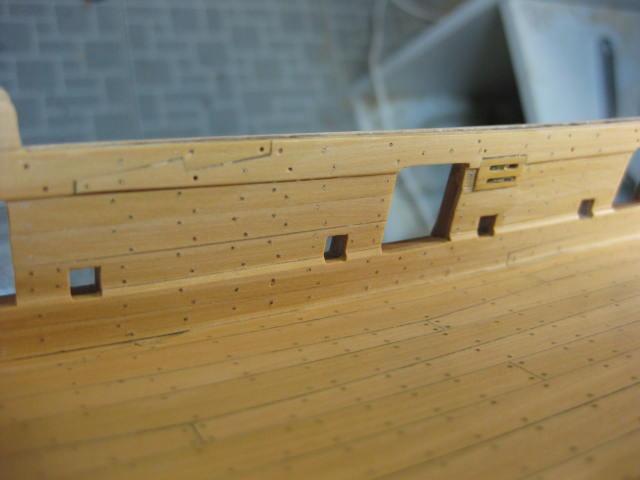
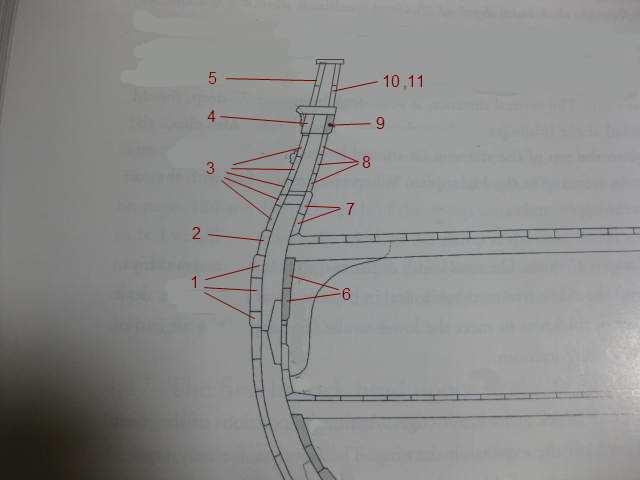
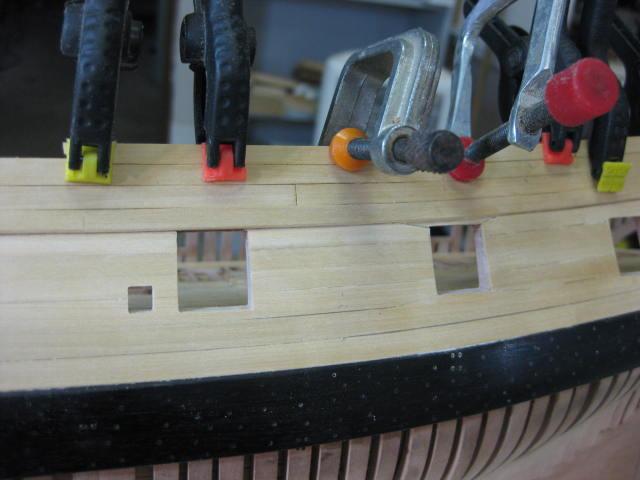
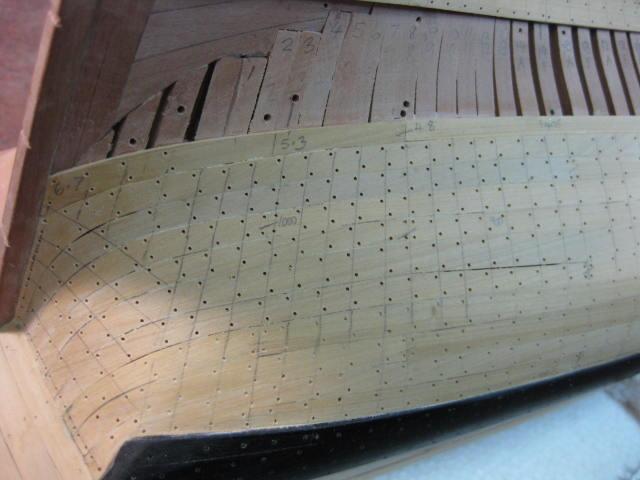
Topside Planking
Below is a description of the External Planking from the Wales up, and the Internal Planking from the Upper Deck Clamp with the thickness of each :
External
1. Wales 4 ½”
2. Black Strake 3 ½”
3. Stuff of the Topside 3 ½” thinning to 2” at the top
4. Sheer Strake 3”
5. Plank upon the Drifts 2”
Internal
6. Upper Deck Clamp 4” thinning to 3” at the bottom of the Lower Clamp
7. Upper Deck Spirketting 3”
8. Quickwork 2”
9. String in the Waist 3”
10, 11. Quarterdeck Bulwark Planking 2 ½”
Where a strake would be less than 5” wide at a Port the lower strake is “worked” up to the lower sill of the port :
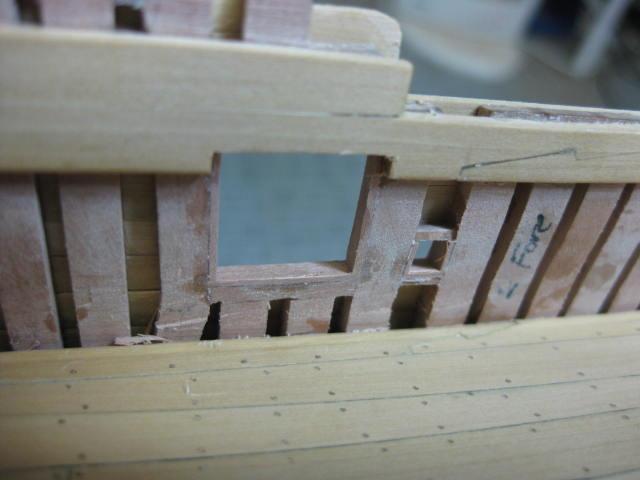
Trimming of the Gun and Sweep ports begins with a razor saw cut in each side of the port :

The bulk of the waste is removed by carving it out from the centre with an Xacto knife :

A long sanding stick is used to level the planking at the bottom of the port sill. This stick reaches across to the starboard port to ensure the correct level :
The Sheer Strake is “worked” above the Ports in similar fashion to the lower strake :

-
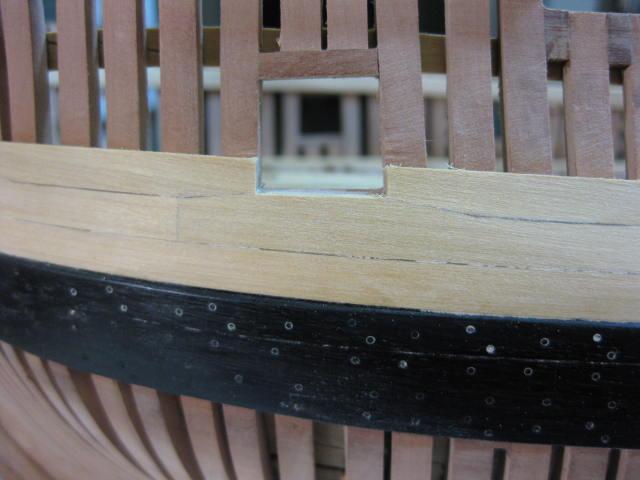
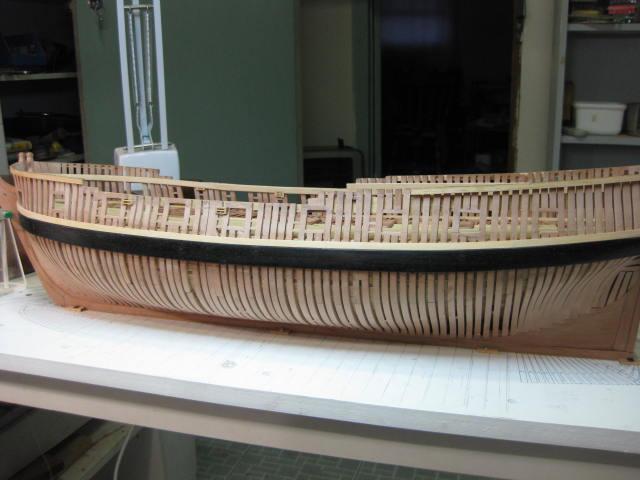
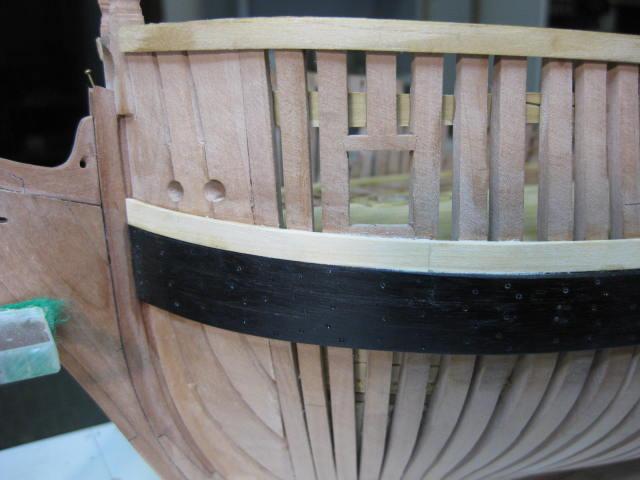
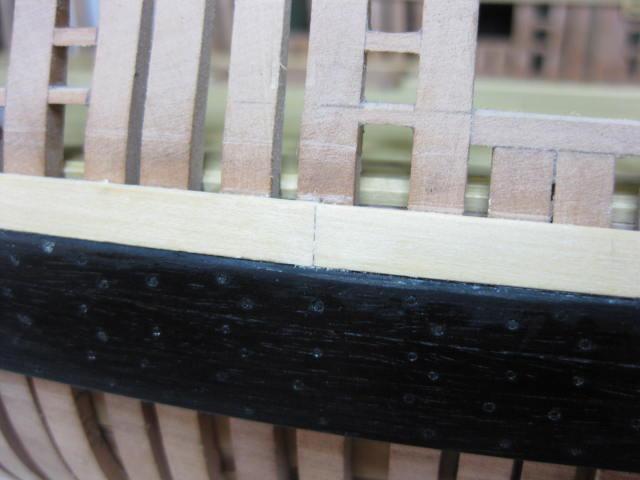
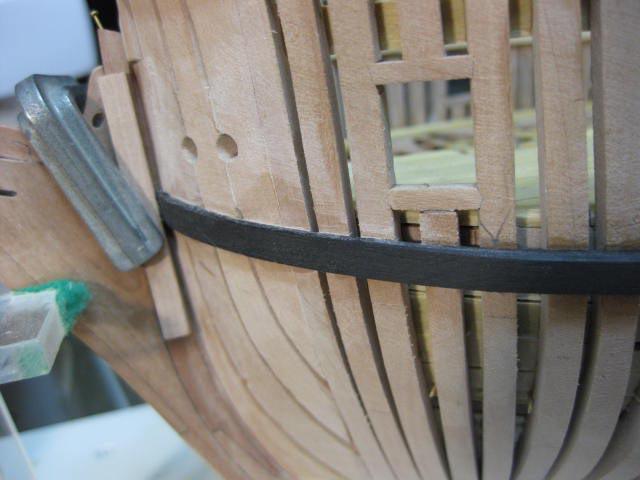
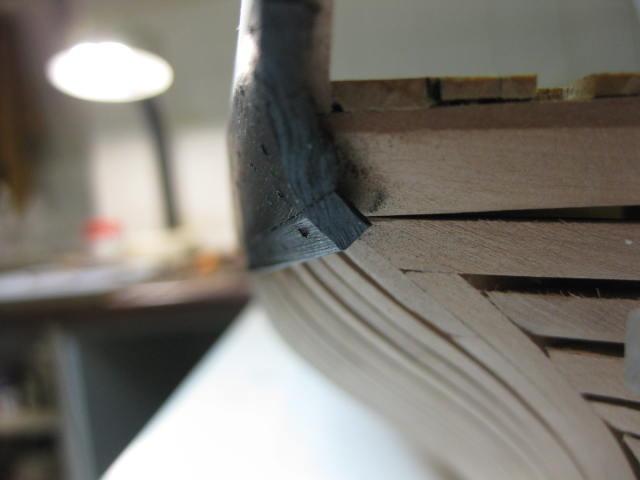
"Black" Strake
The "Black Strake" isn't black in colour in a Swan Class - it's the general term for the strake above the Wales that is just below deck level and contains the Scuppers.
-
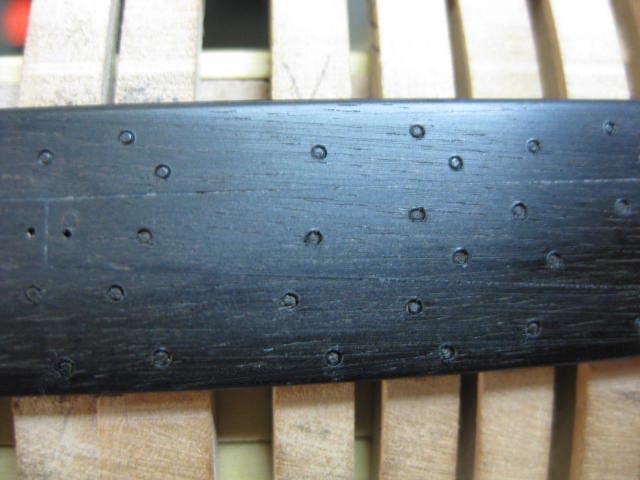
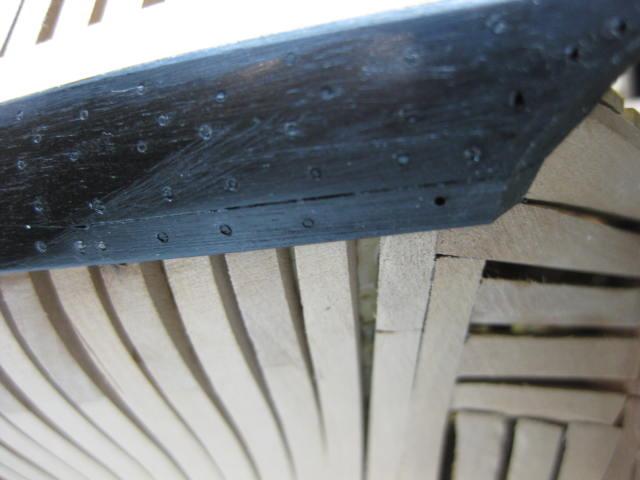
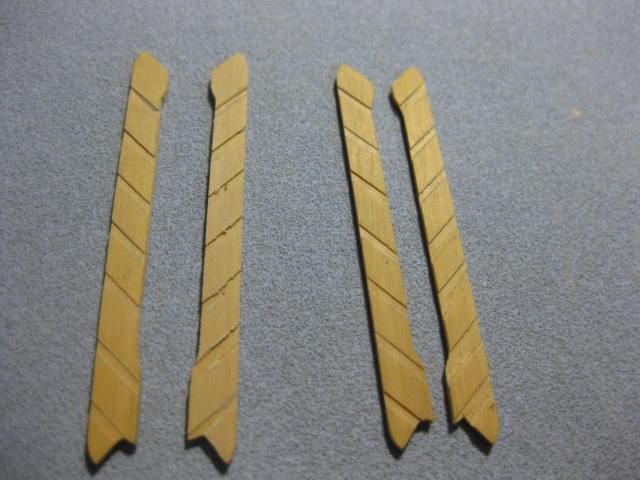
Ebony Wales and "Dummy" Treenails
This is my first attempt at using Ebony - a VERY dirty and difficult timber to work with.
The Wales are the thick planks just above the waterline - they are 4 1/2" thick. Bending Ebony of the required thickness without cracking it took a LOT of soaking - up to 4 hours per plank near the bow - and even longer to let them dry on the hull after clamping before actually gluing them on :


Treenails were simulated in the ebony with a piece of sharpened 0.5mm ID brass tubing held in a Pinvice. Blackened brass "bolts" were later fitted at the butt joins :

-
Quarterdeck Clamp and Transom
The Quarterdeck Clamp sits atop the Lower clamp - the extension of the String in the Waist. Note the extension piece above the Quarter Light :

These pics are out of sequence from the Counter Timbers post. This is the Quarterdeck Transom - the quarterdeck has a significant roundup of 6" at it's widest point and the transom follows this roundup although it's obviously not as high over it's length :


HMS Vulture 1776 by Dan Vadas - FINISHED - 1:48 scale - 16-gun Swan-class sloop from TFFM plans
in - Build logs for subjects built 1751 - 1800
Posted
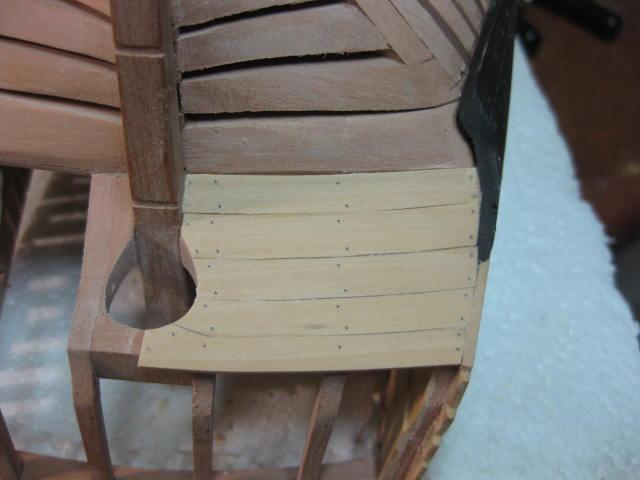
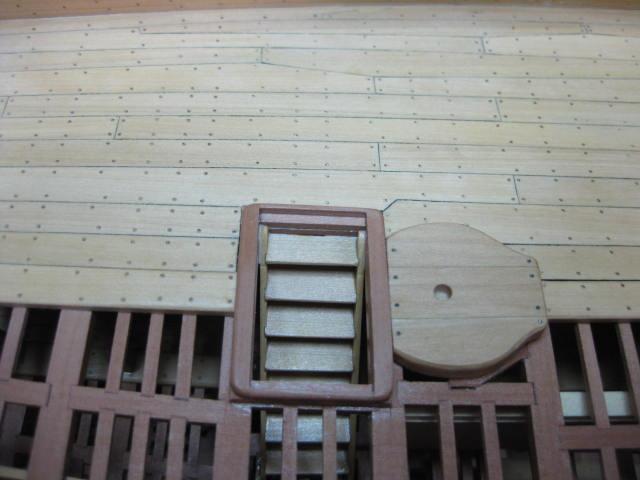
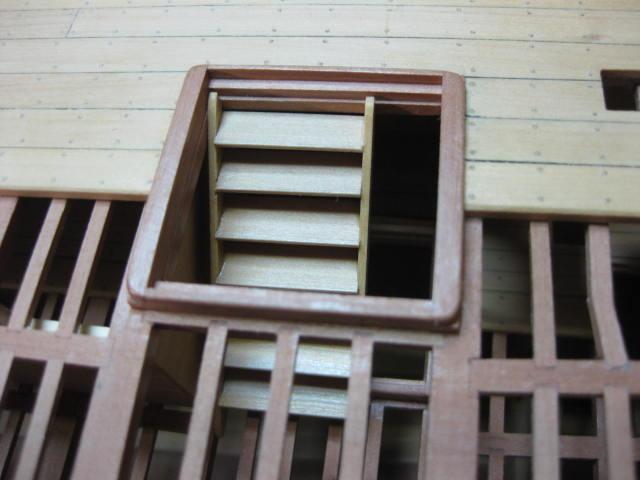
Upper Deck Breasthook
Fairly self-explanatory .......