


Knocklouder
-
Posts
2,996 -
Joined
-
Last visited
Content Type
Profiles
Forums
Gallery
Events
Posts posted by Knocklouder
-
-
Glen, Congratulations on finishing another one of your creations, PFC Gnomer Pile salute you. Thank so much for posting and letting us coming along on the journey!!!
 . Very nicely done my friend.
Bob M.
PFCGP
- Canute, Glen McGuire, FriedClams and 2 others
-
 4
4
-
 1
1
-
Good luck on your journey, nice work!!
Bob M.
-
Keith my friend, Thank you for the info on rigging, that and some pointers from other members, I can get started.
I have put my Mississippi diorama on hold so I can study all this but I can tell you , hope you don't mind, but the Donkey in my diorama will be named DonKeith Oaty.
 plus embarrassing myself even more could you not glue it all together then weather it. And I just got a great idea for the my diorama from the picture with the train, Full steam ahead 😀.
Buddy Bob.
- Jay 1, FriedClams, Keith Black and 5 others
-
7
-
1
-
Thank you so much for posting this magnificent log. There is no way that I could come close to this perfection, but with all the information about rigging and building, I will have a very easier time doing mine.
So if you don't mined ,I be adding yours to the list of logs to follow. I think I am up to 14 now.
") .
.
I know my Duchess will look different than yours , but most of the idea will be yours.
Amazing work, just thought I Thank you one more time. Great ship.
Bob M.
-
Great work my freind, I see we did our name freizes the same way
.
Glad to see you are back my friend, Nice work
Bob M.
-
Hello, she's looking good, just wondering how it's coming along.

Bob M.
-
27 minutes ago, Ian_Grant said:
Oh, it's Texas! I hadn't twigged the shape. Now I see. Very creative Glen!
Yes @Ian_Grant it eazy to mistake the back drop withall those Canadian Penguins blocking the veiw.
")
Well done my freind
Bob M.
G P
- Canute, mtaylor, FriedClams and 2 others
-
 5
5
-
Great looking planking , very nicely done !!!
Bob M.
- mtaylor, JacquesCousteau, Ryland Craze and 1 other
-
3
-
1
-
On 8/7/2024 at 12:38 PM, AJohnson said:
Since when has that stopped us S.A.B.L.E’s (Stock Acquired Beyond Life Expectancy) 🤣 - you know you want to Dr. Per…. 👼
A true shipaholic would risk life and limb, and the rath of the First Mate. Lol like me
So I bought a Vanguard Model , @Nirvana I won't tempted you by telling you how great they are. The instructions, quality of material, looks,
All I can say is you only live once go for it lol .
Bob M.
-
1 minute ago, Keith Black said:
Bob, that right there is more important than all the ship models in the world. Congratulations!
you betca !! Thank you.
-
Great work Boerscht, Congratulations
Bob M.
-
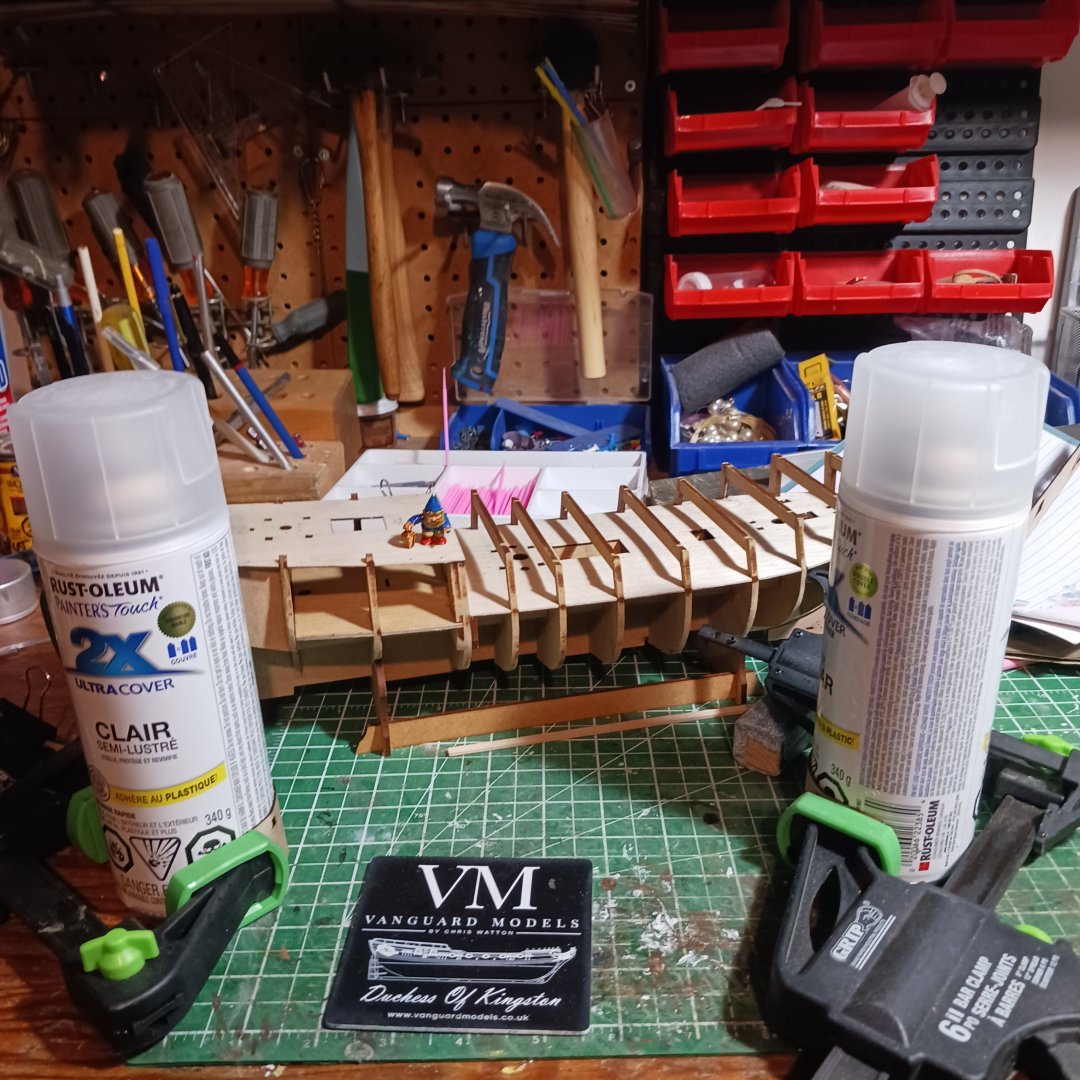
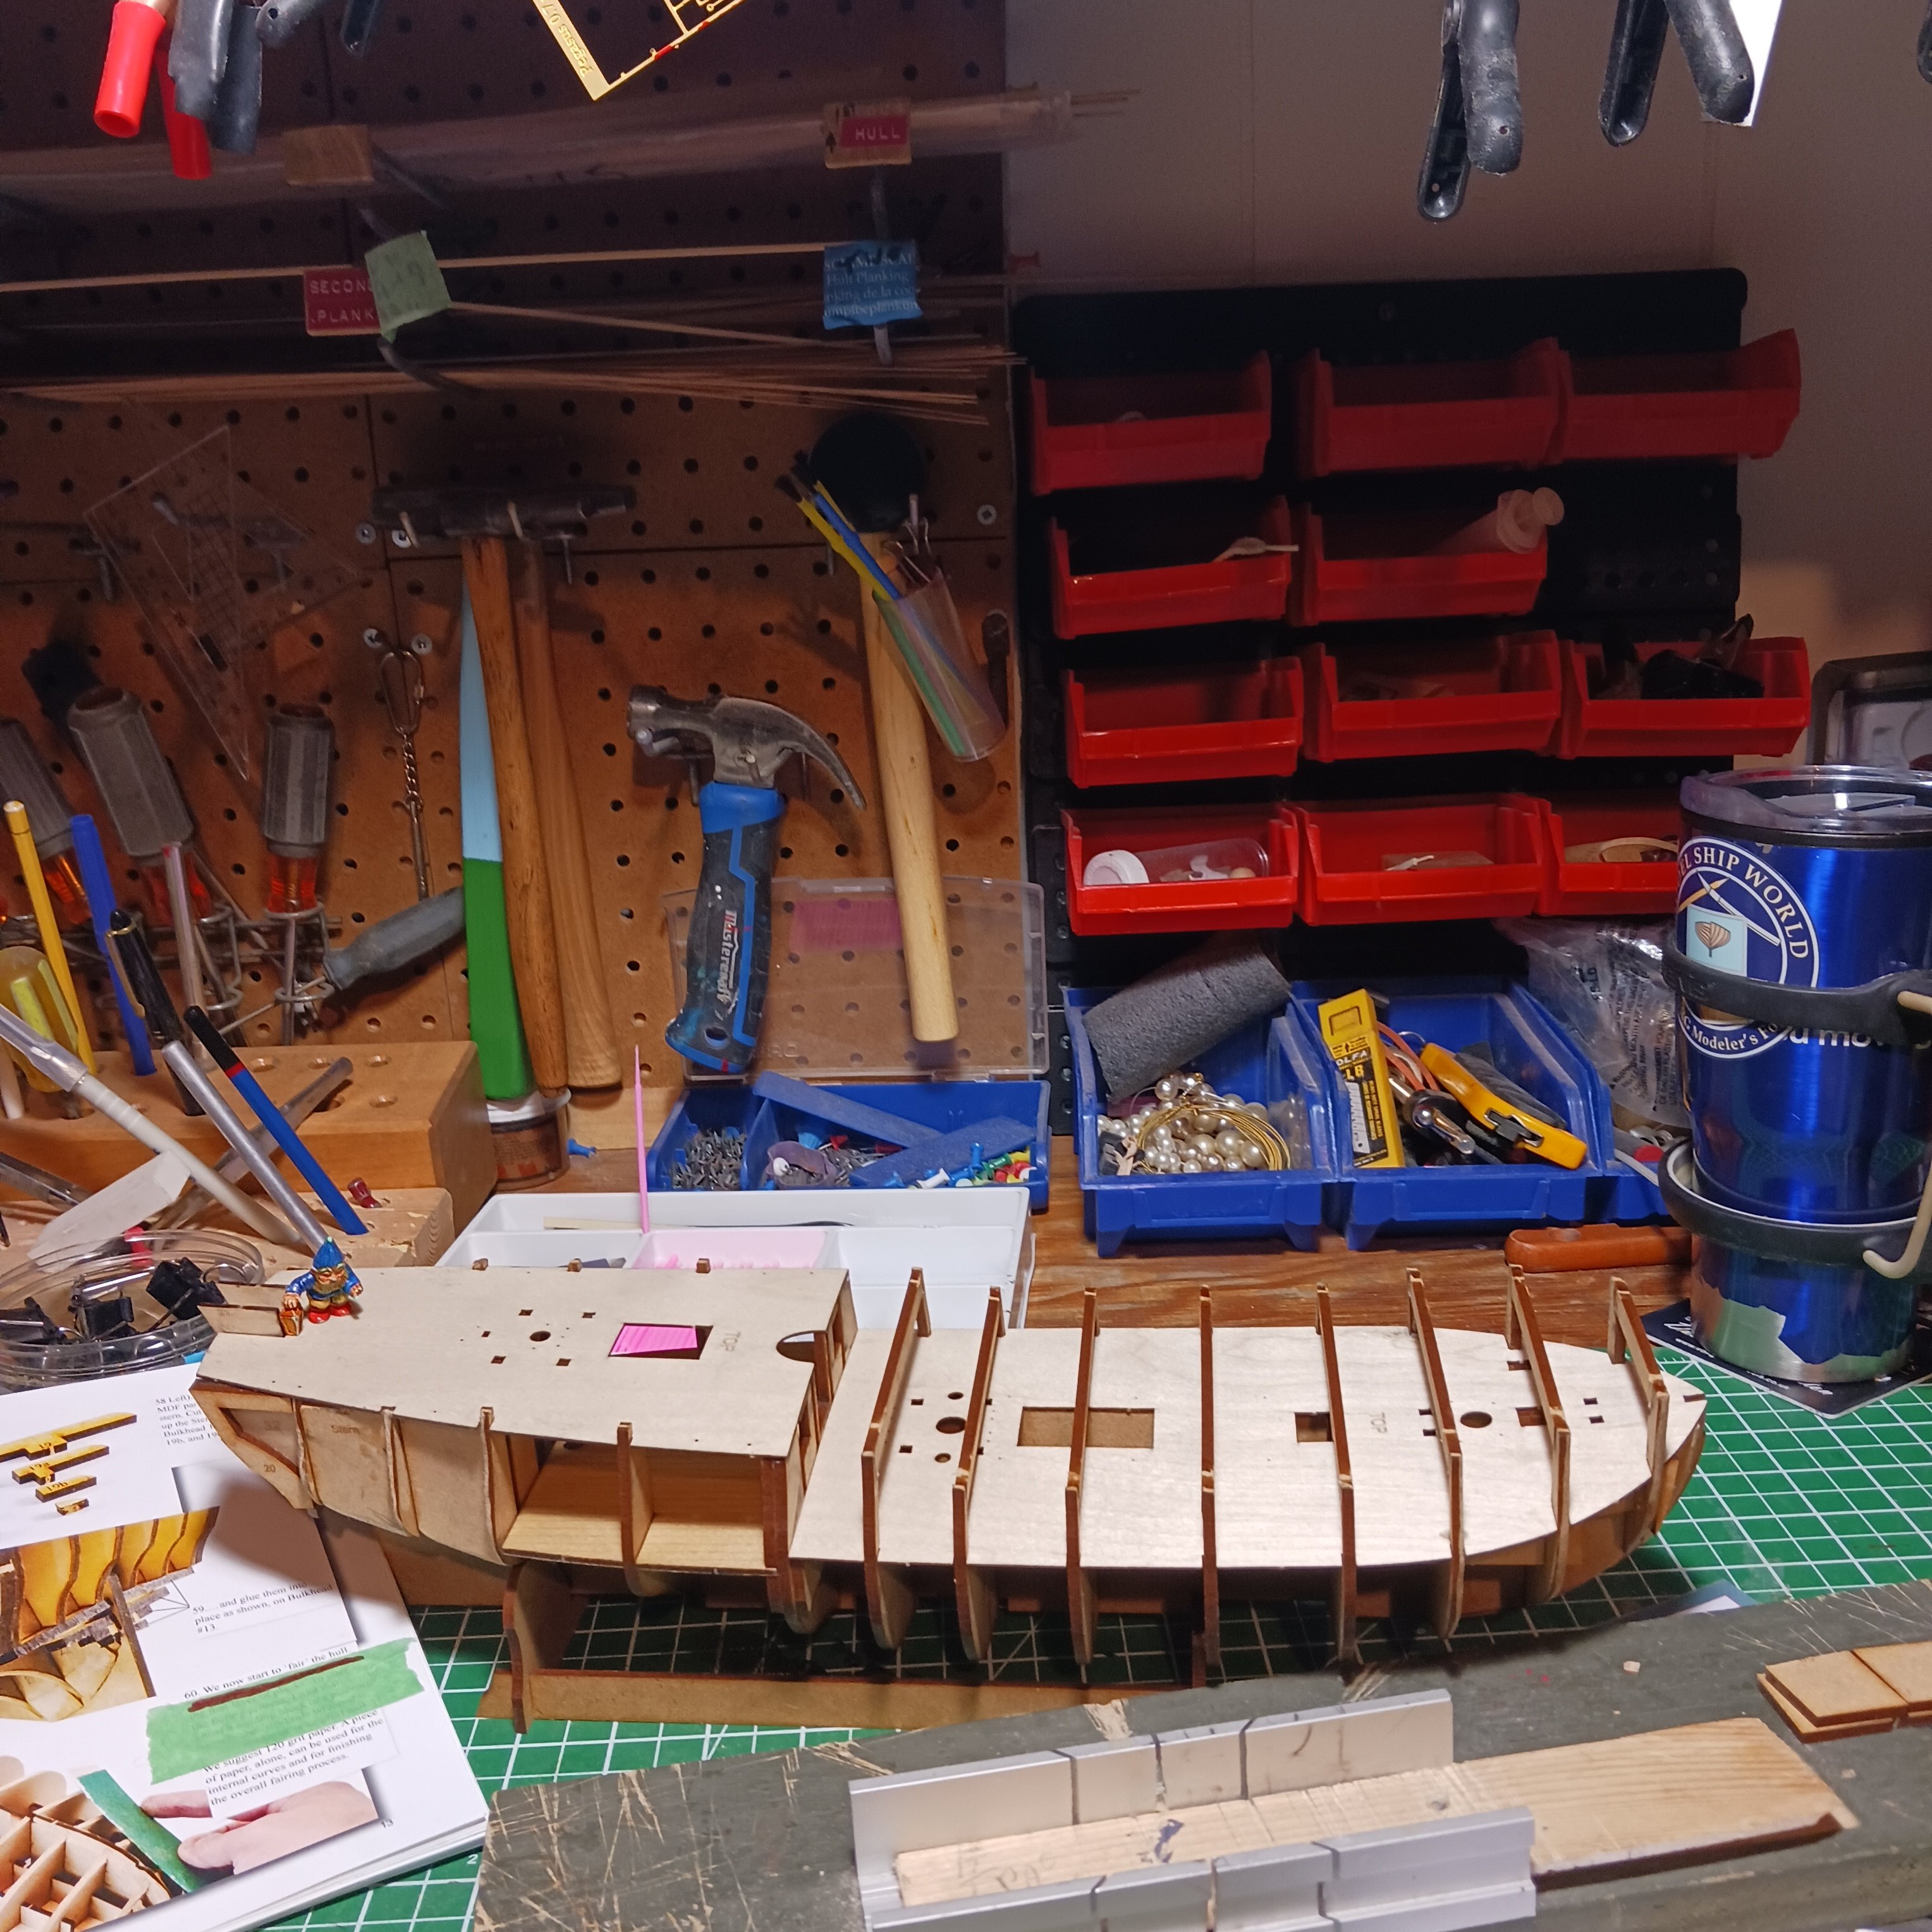
The fairing is finished I think, may have a little more sanding as I go along. So I bent the bulwarks Wensday, and installed them last night. They went pretty good, port side is off a bit , but ok for me lol.
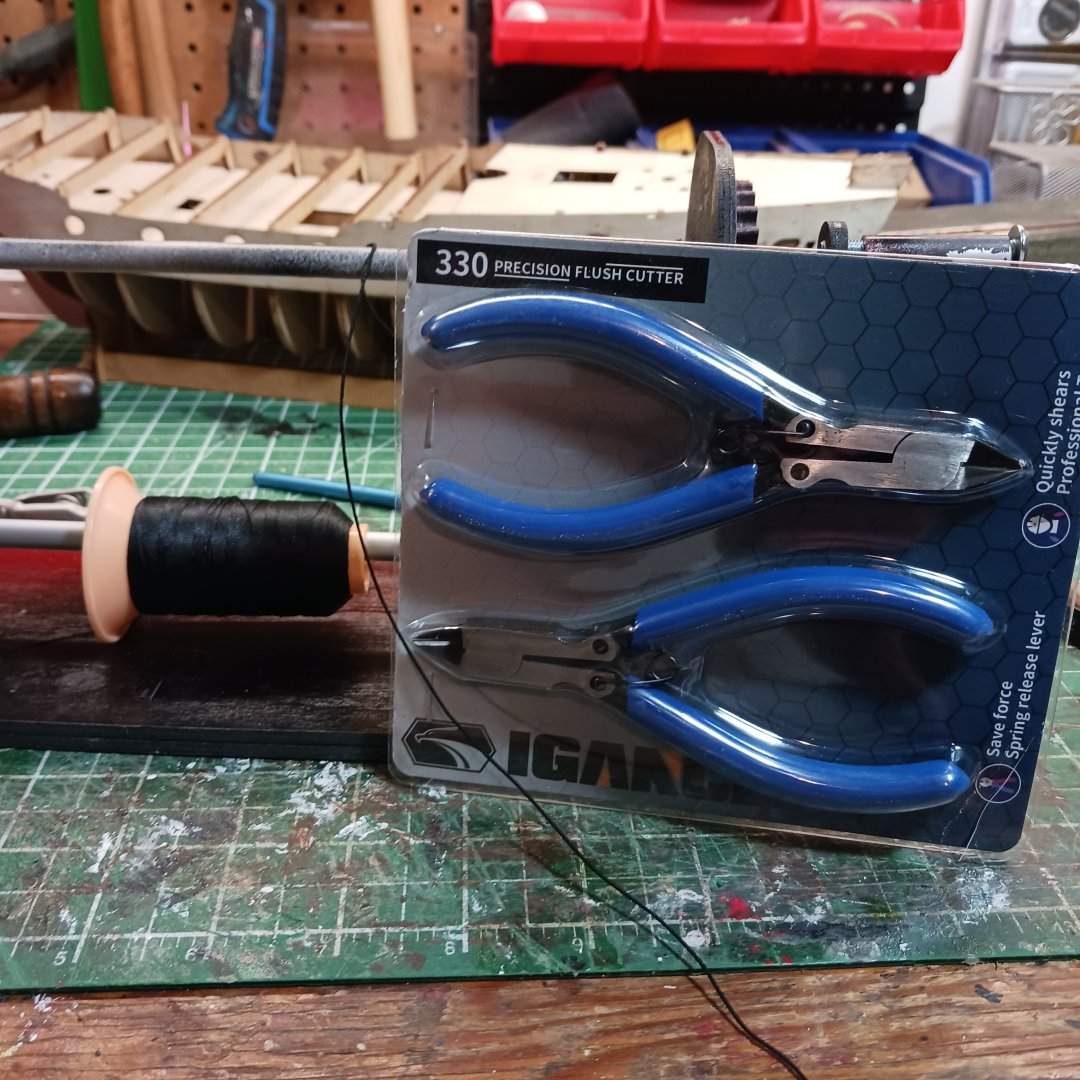
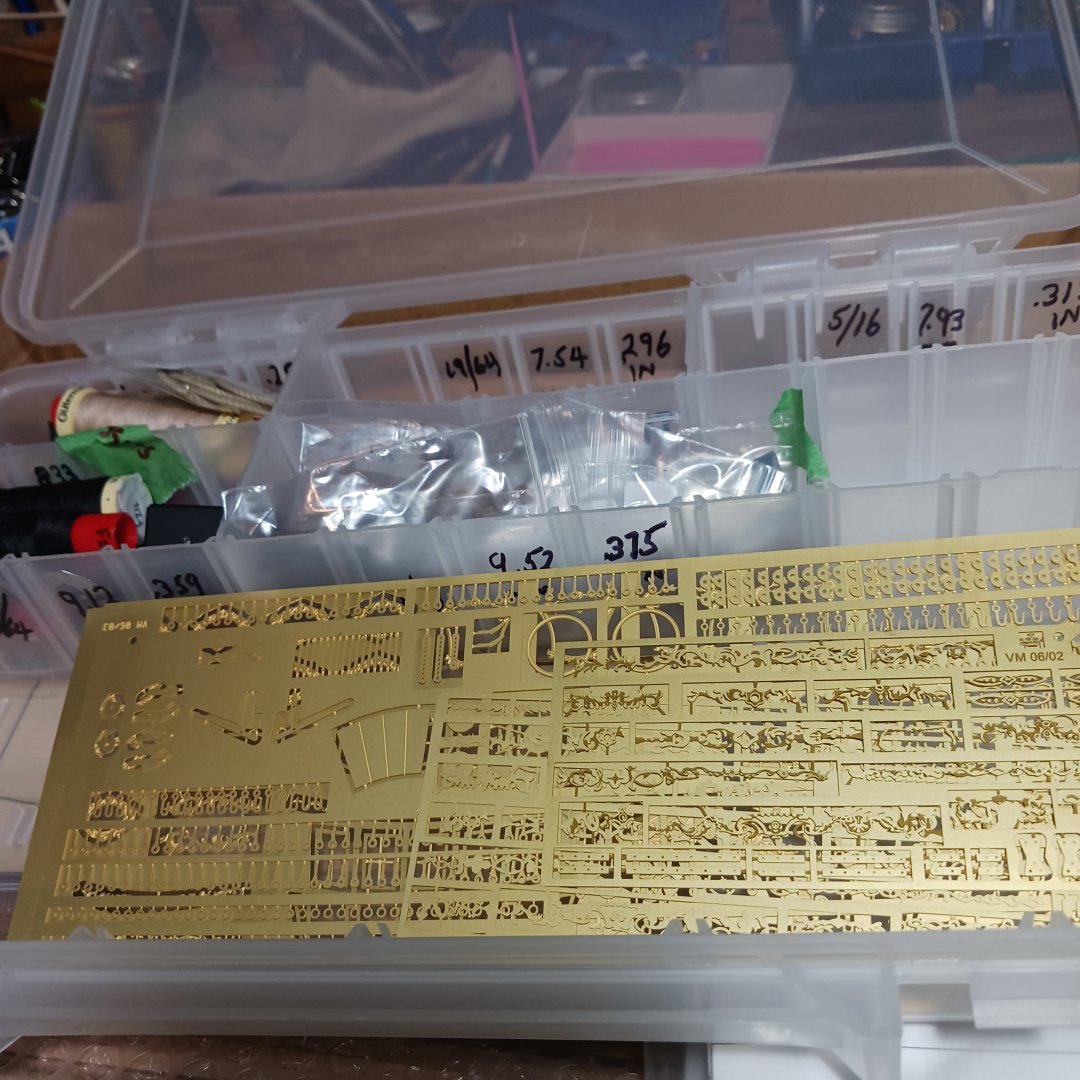
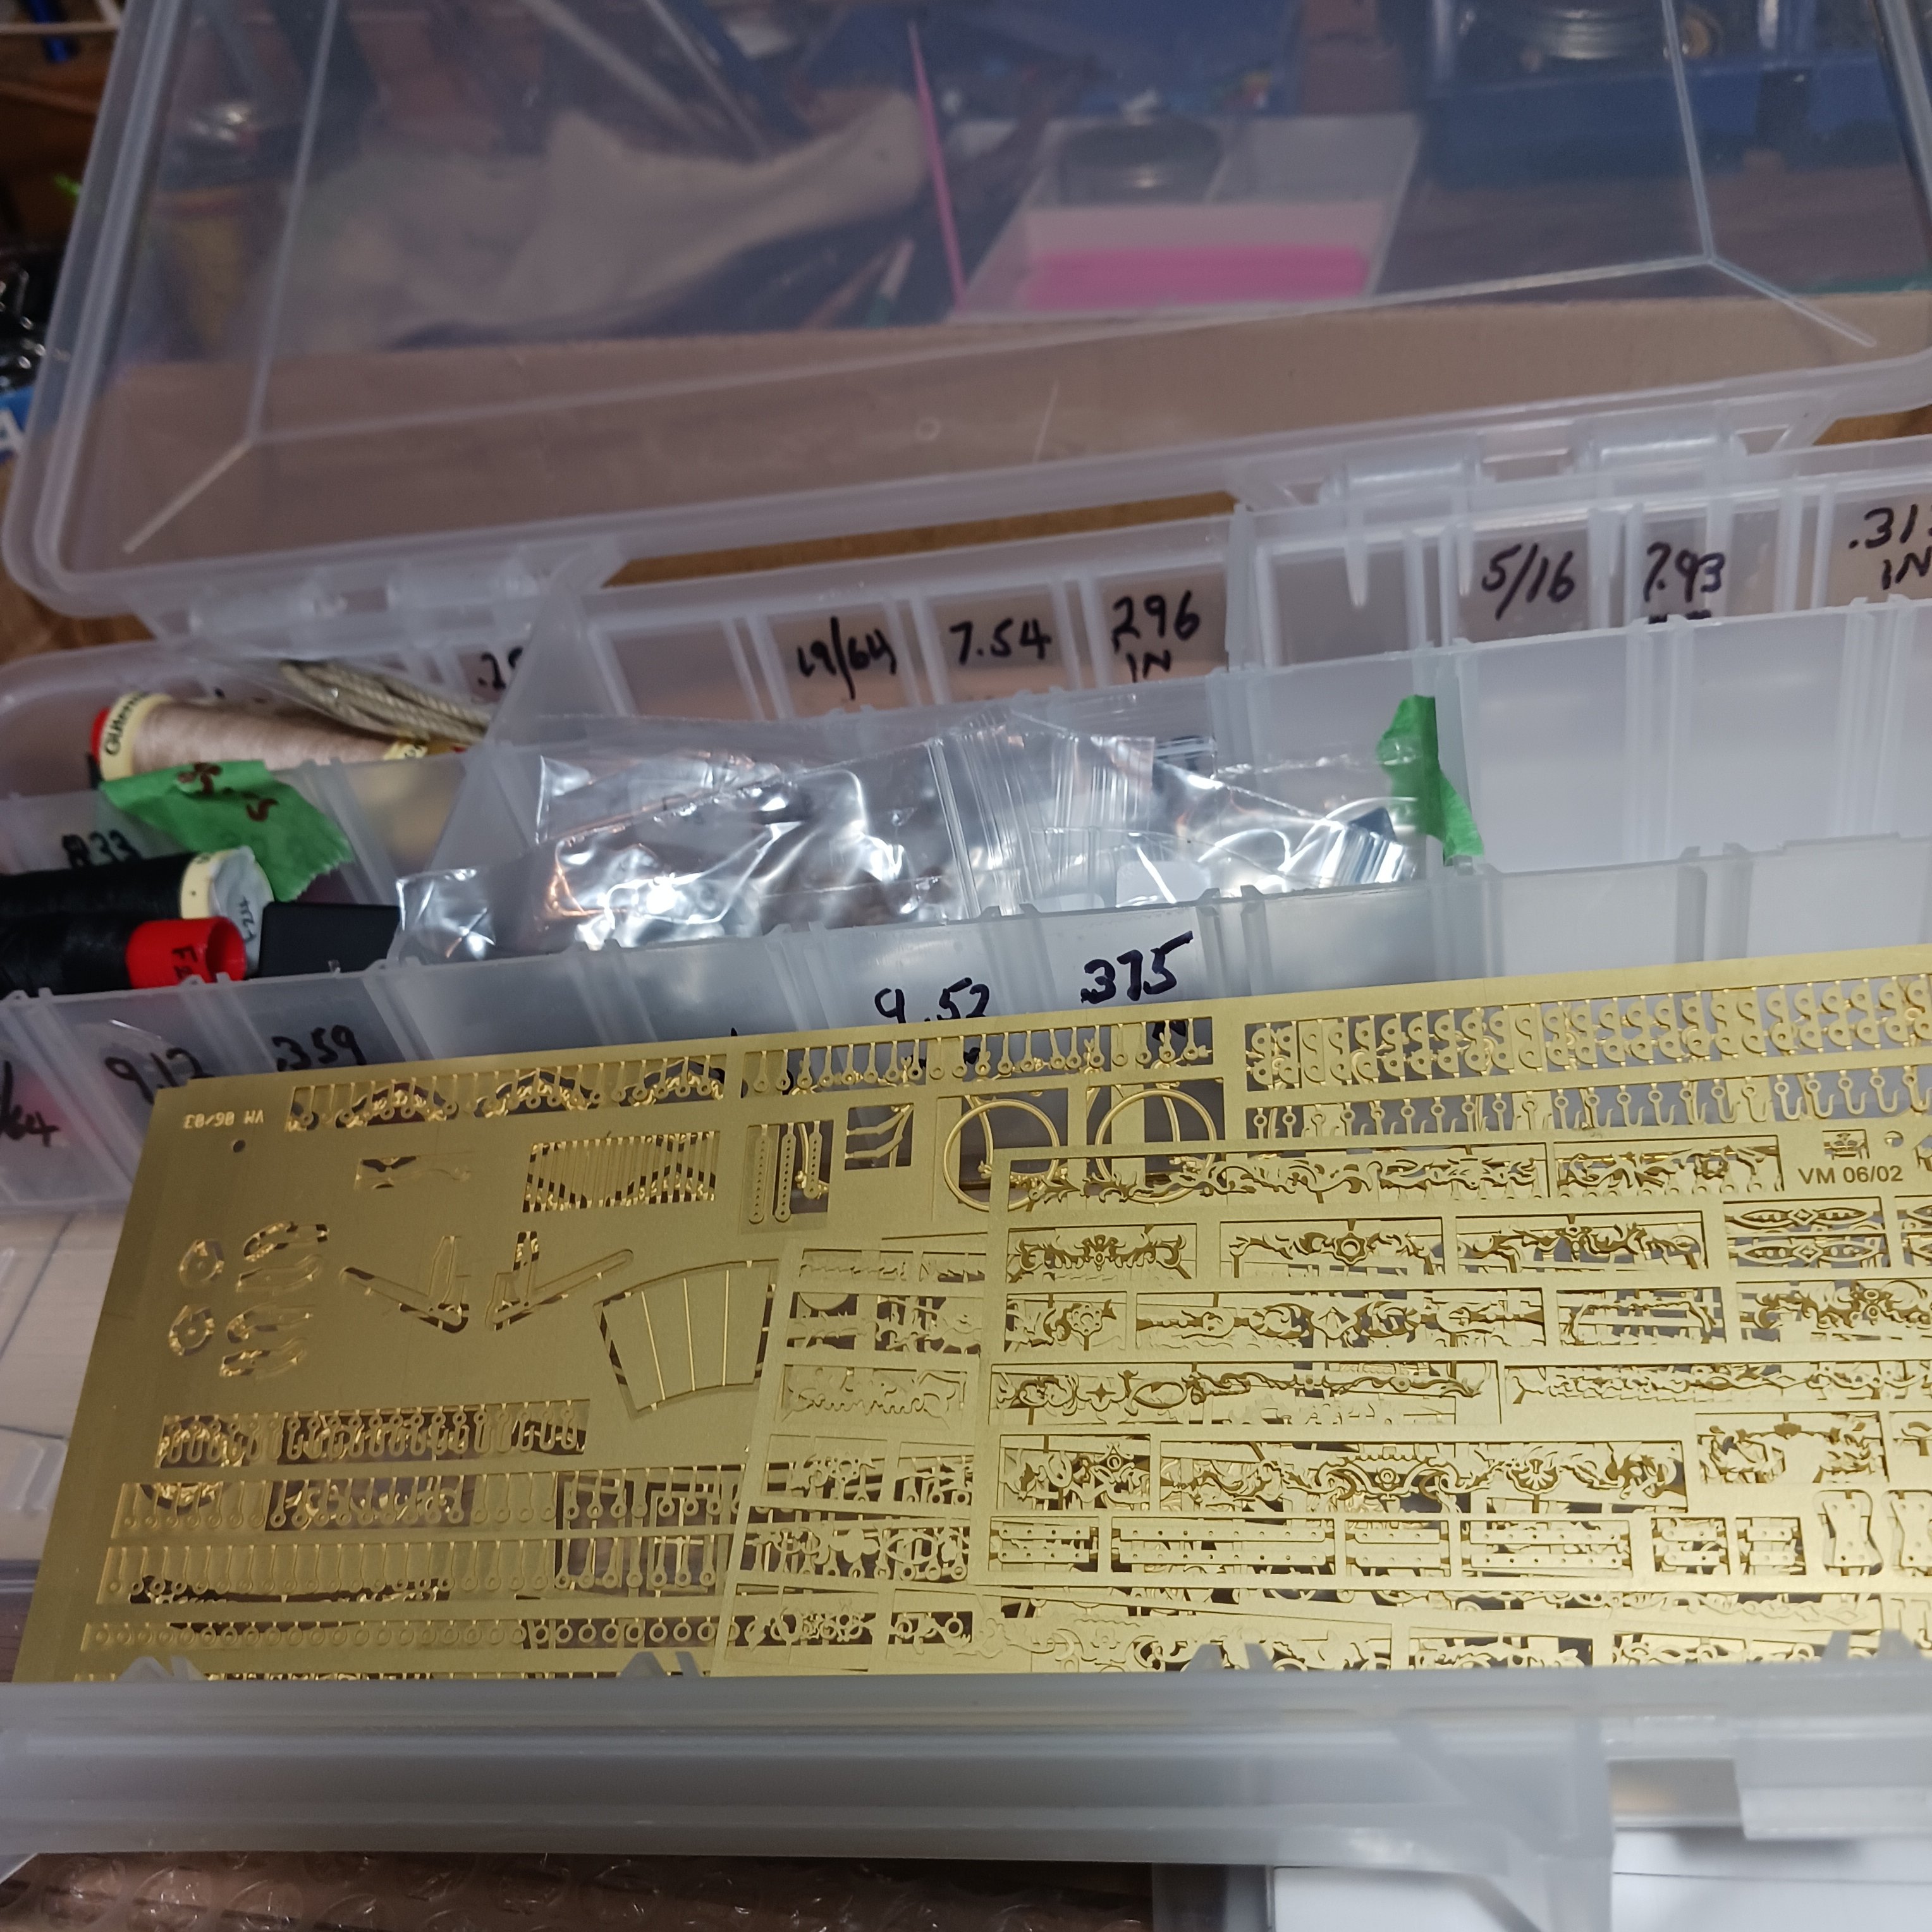
I bought these cutters for photoetch, and got some fuzz free line for serving lines. I know I am getting ahead of myself with rigging and serving lines, but I have no idea what to do so research is needed.
A BIG thankyou for @Moonbug for directing me to @Blue Ensign log that has lots of info on sizes for serving. And thanks Blue Ensign for posting all that info. @Keith Black also sent me a great log for rigging, thanks my freind.
.
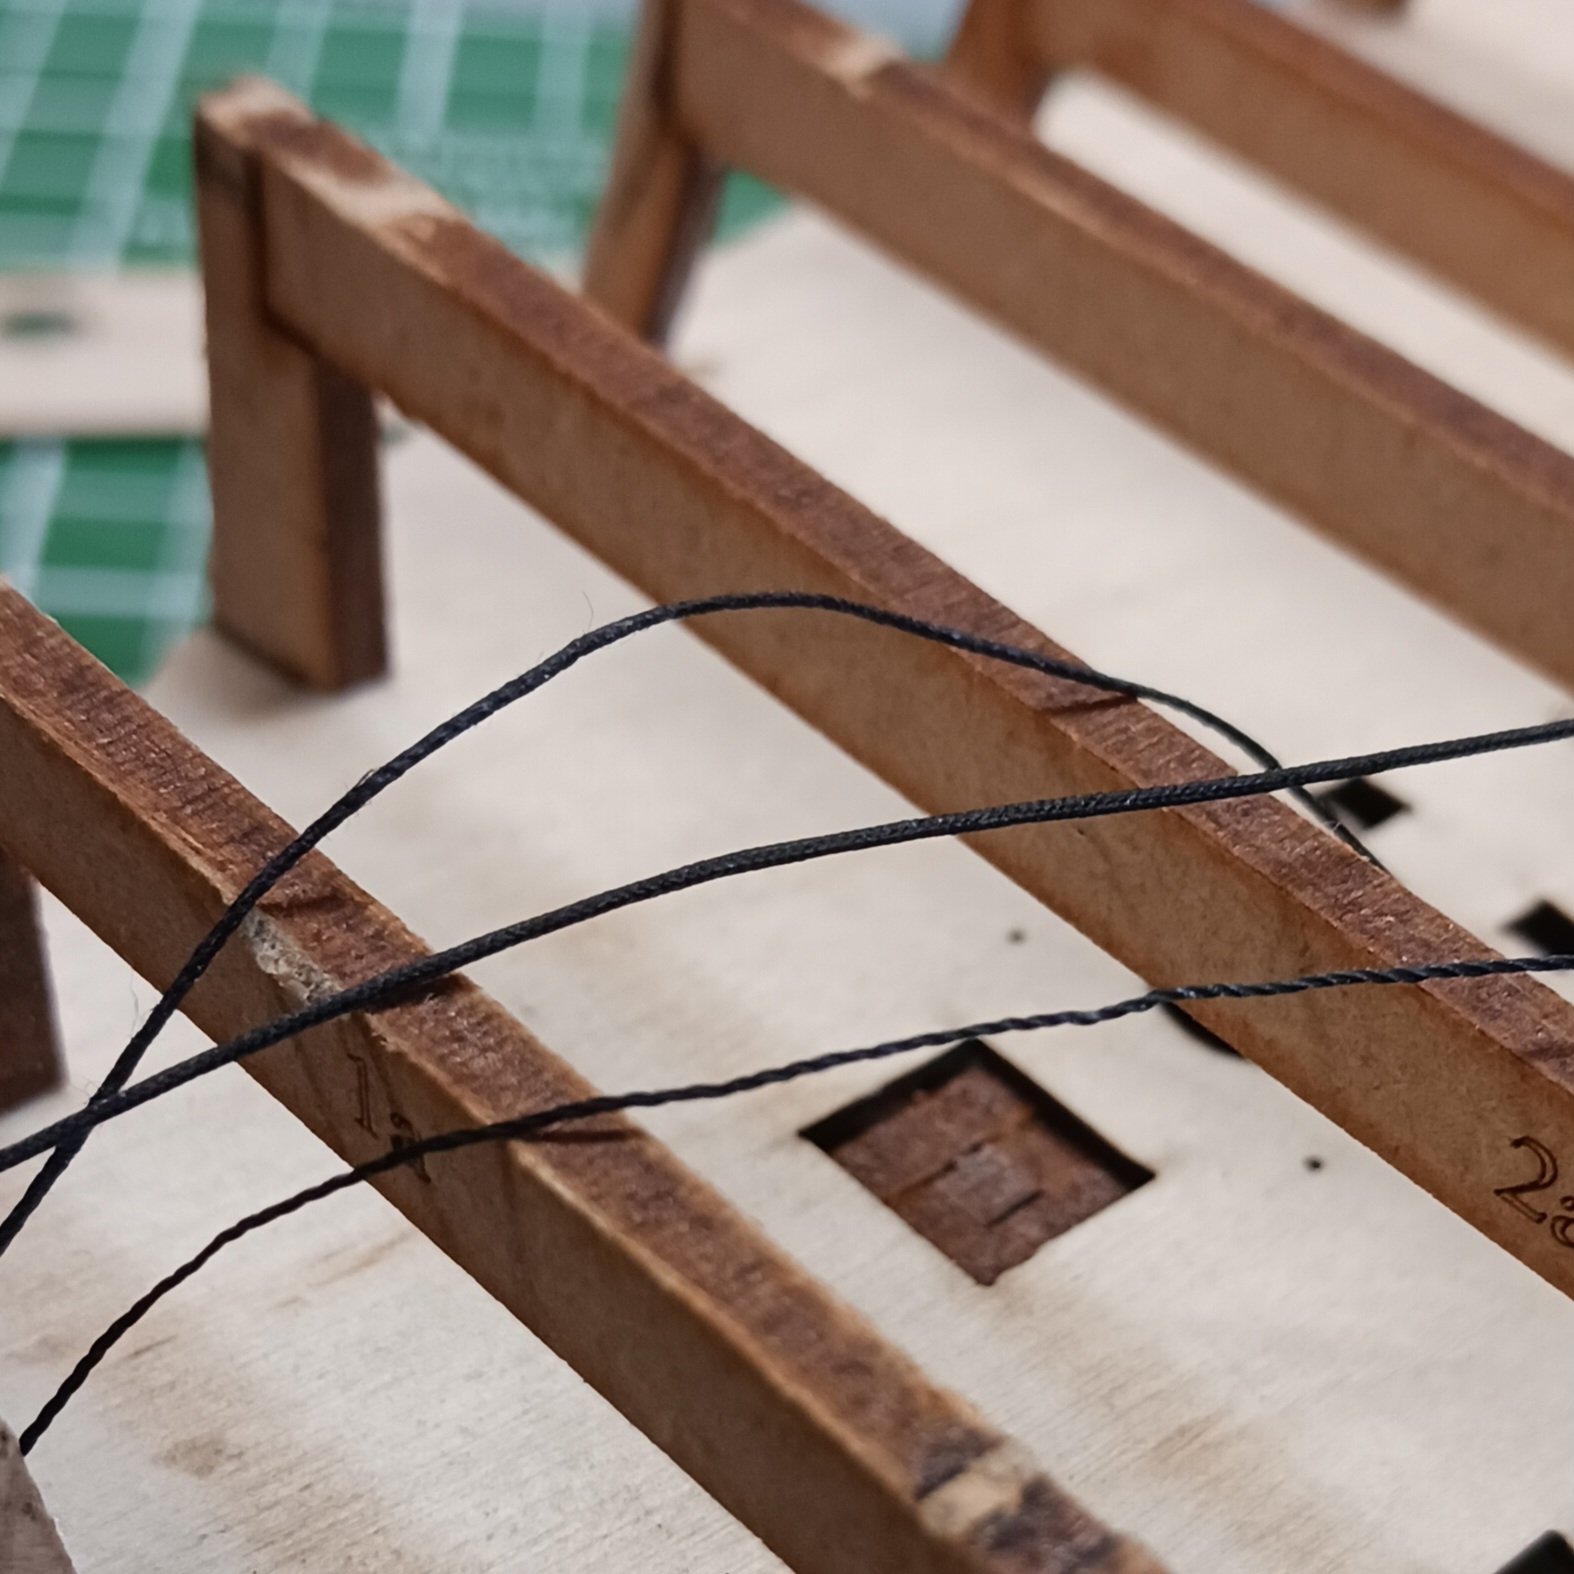
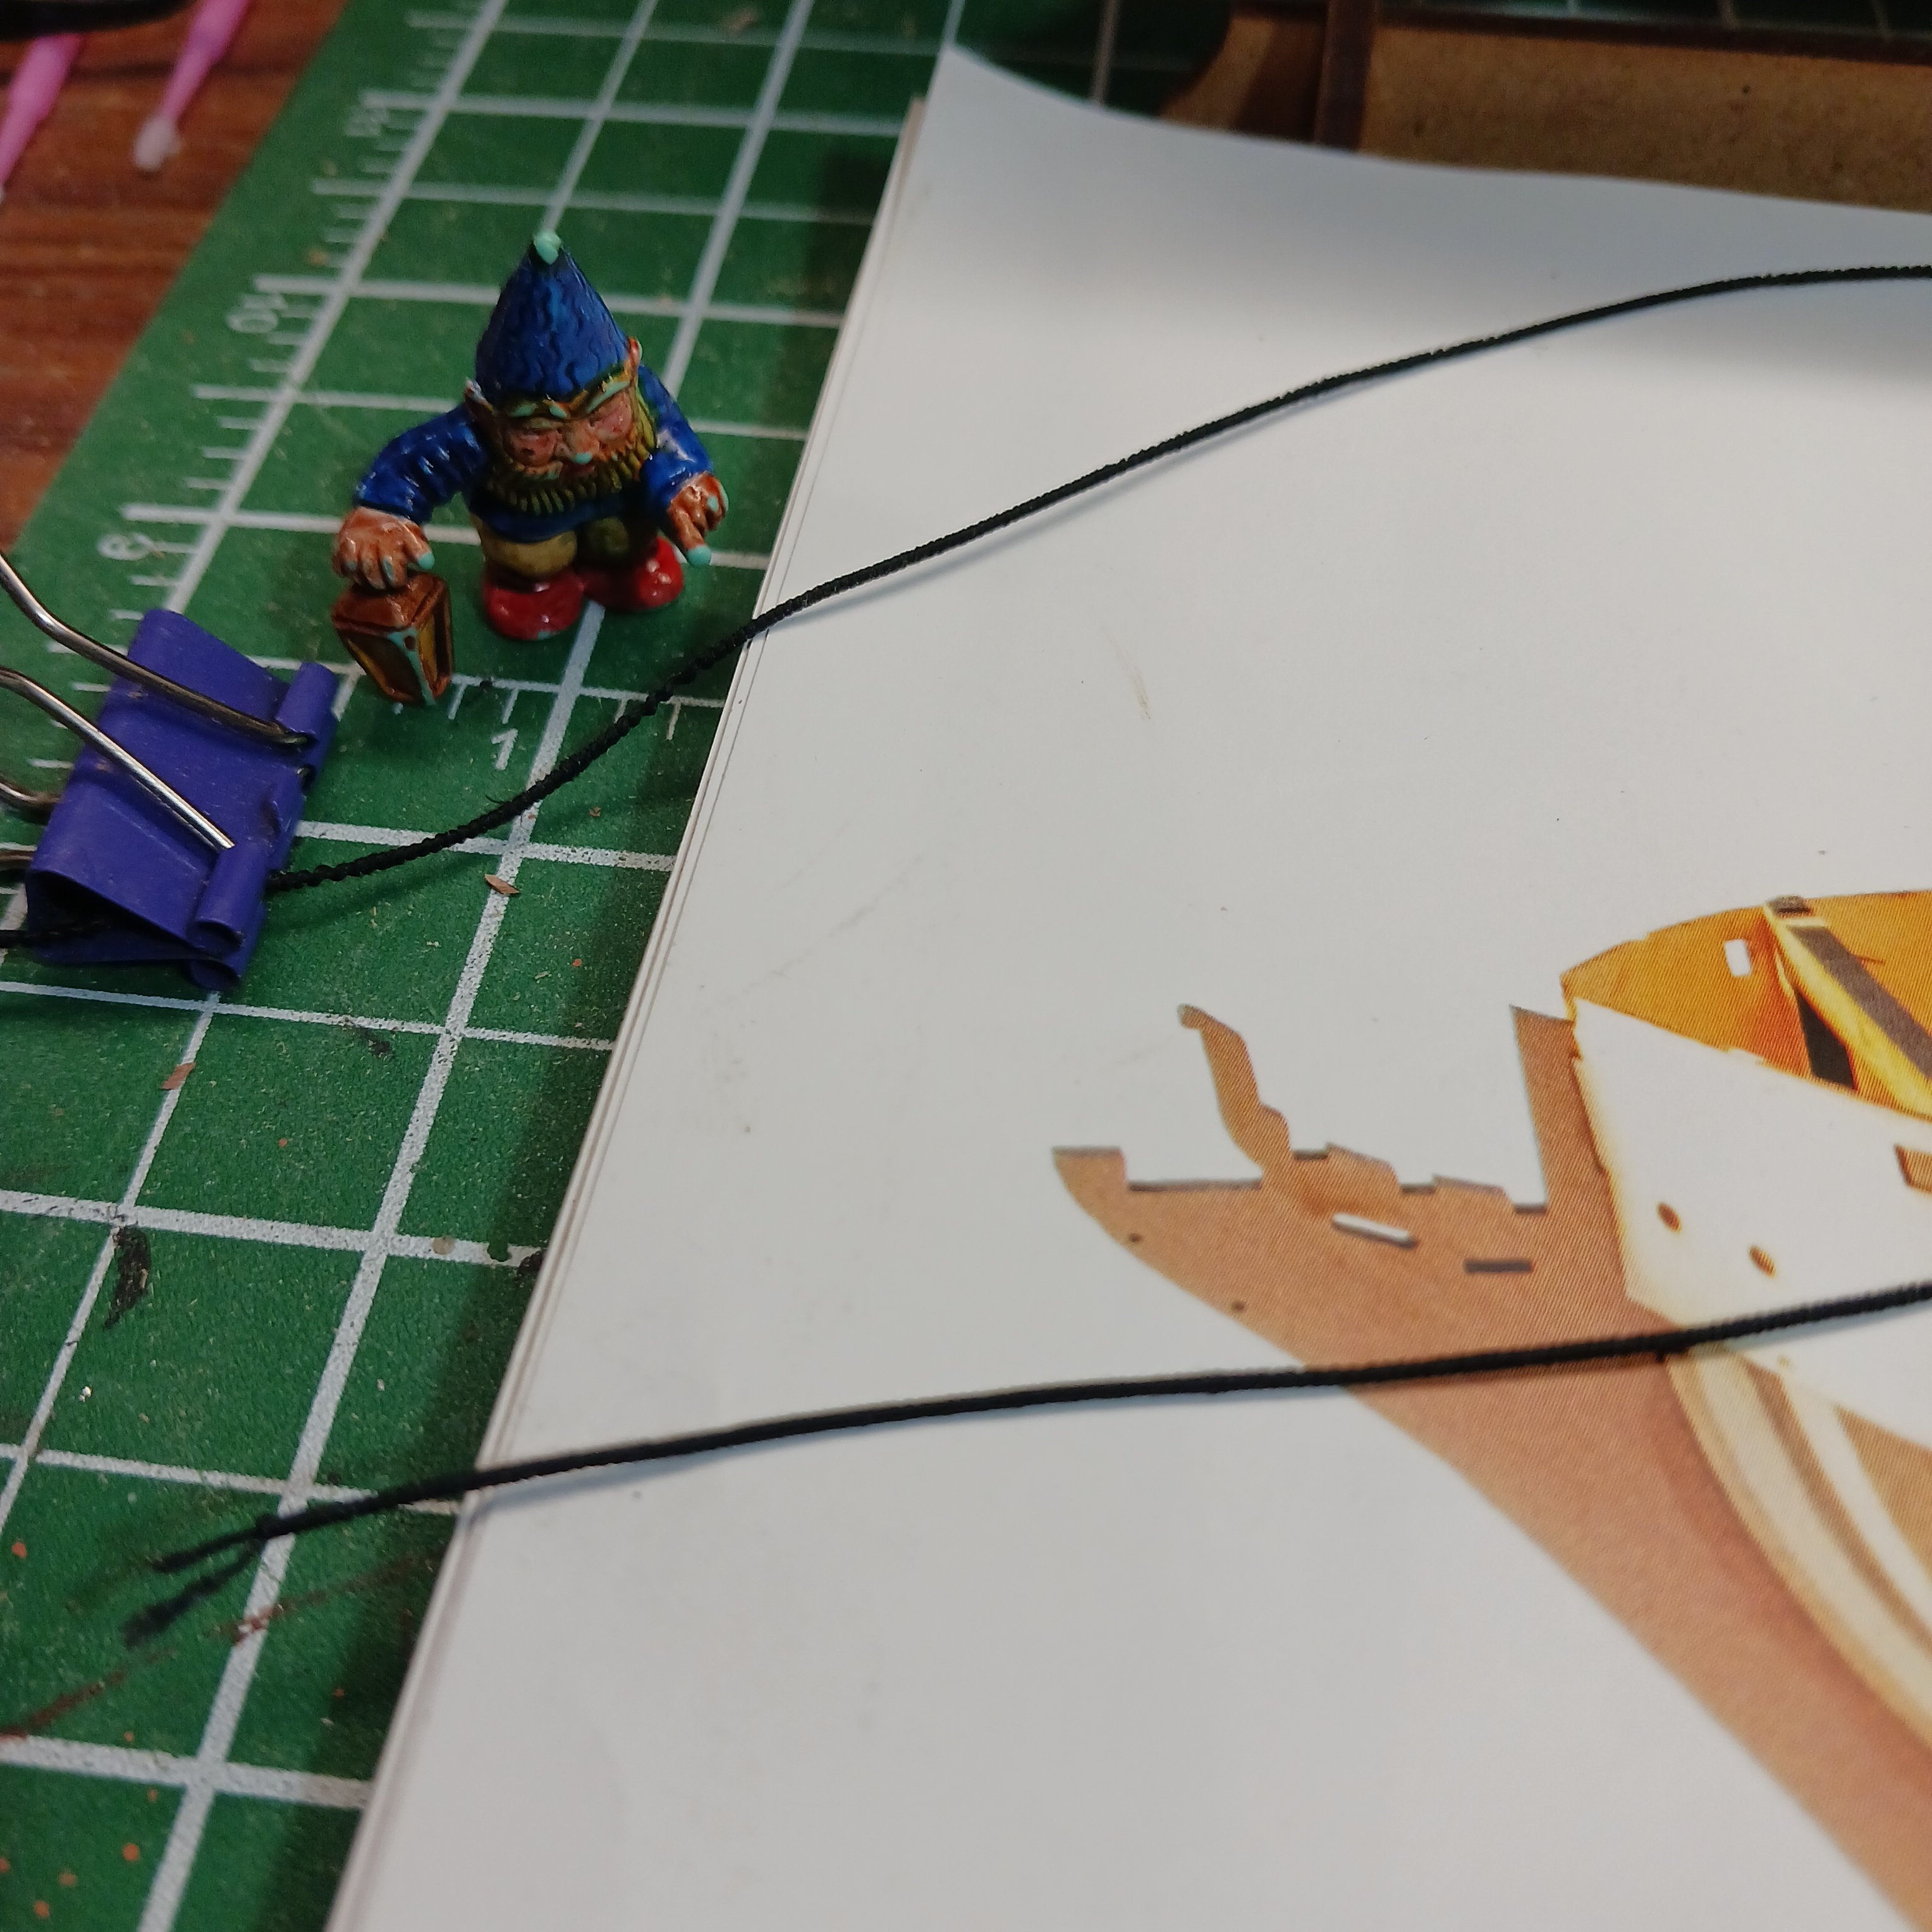
I made a few test lines, then I made my frist line, 15 inch of served line, but only parsts of it will be used, it was my frist line so I didn't expect great results.

The bottom line was the frist it came undone , never glued it. The top line was made to be .5mm and the middle one is my first attempt at. 75mm but I think it closer to 1.0 mm lol. But with all the useful information I have recived, I will have this serving business under control.
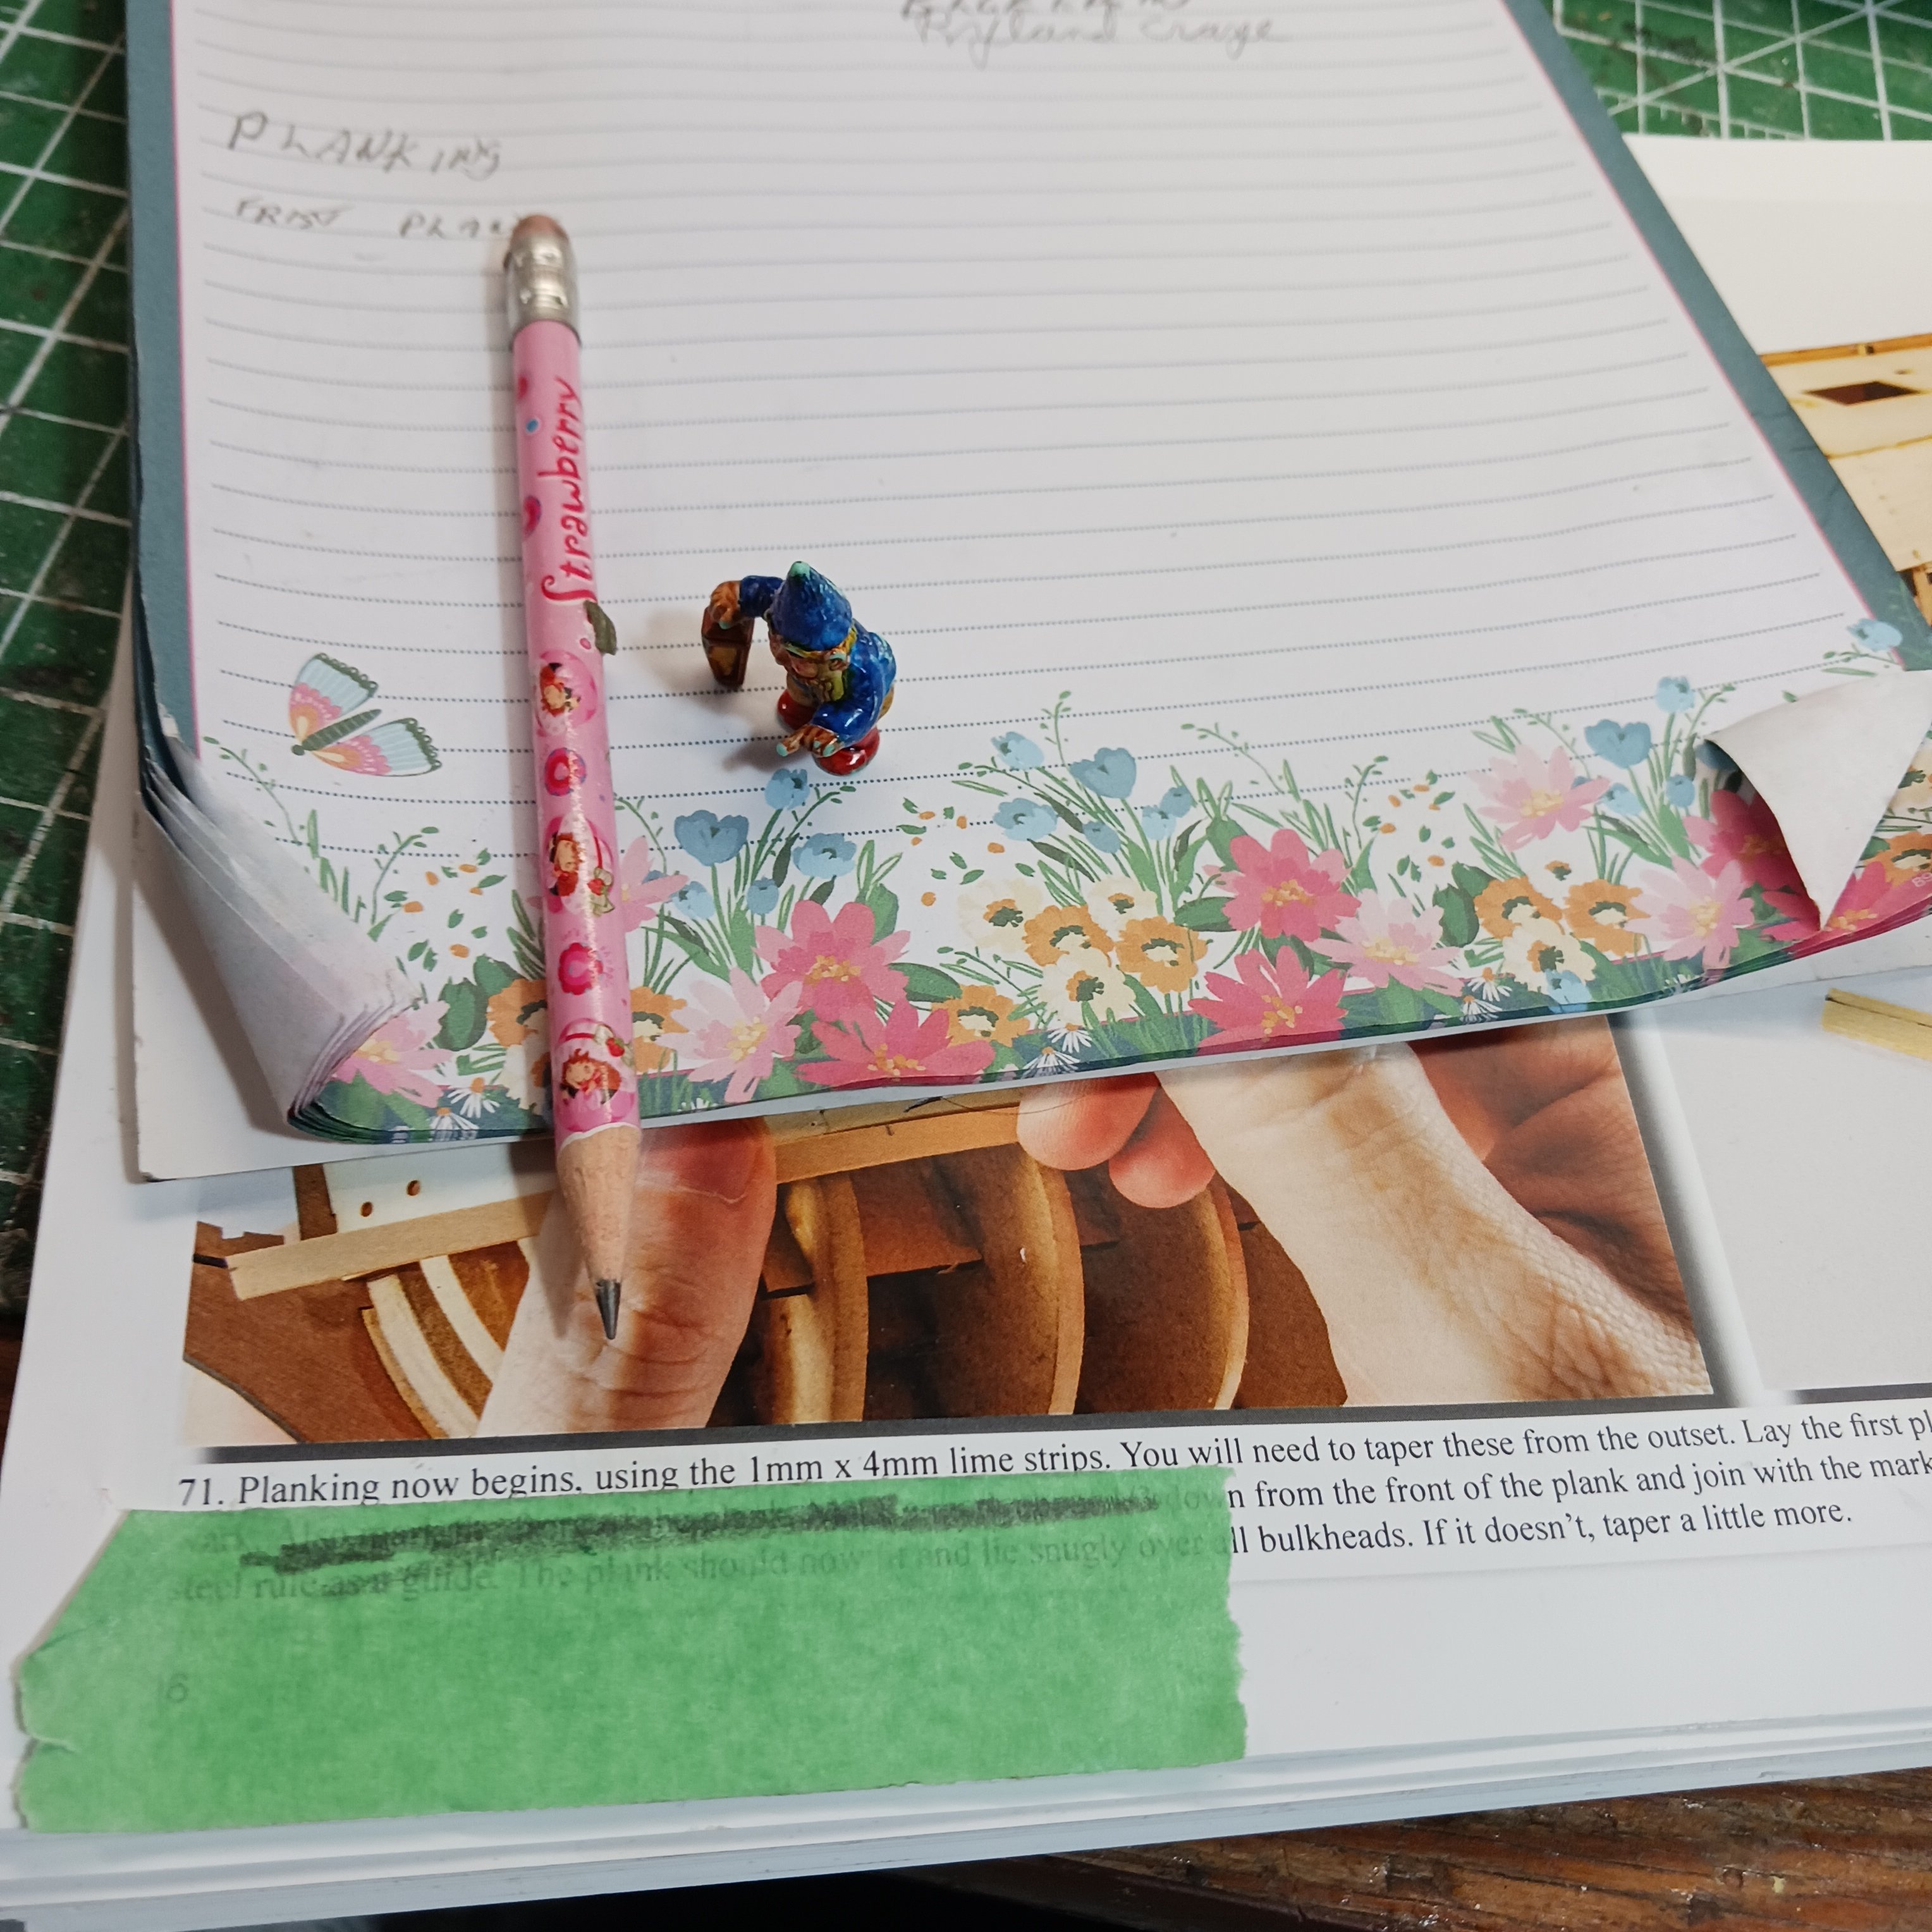
So now that the bulwarks are installed I am up to step 71.

This is one thing , I like about this kit, the Instructions. You see here, it tells you which size and gos on to explain how to install them. Not like others that I have done, lol. I did one model that when I got to this stage it said., Step 15 install planks on side of ship. that's it, Really
 .
.

Pile likes the first attempt, we can use this line for blocks and things.
So with that it's on to the planking. The Mississippi diorama will have to wait , this is so much fun . Things are running smoothly, and I got a clean bill of health from the doctor yesterday, cancer free. I am glad that's over now, for now at least. So with a bigger grin then anyone can imagine, and much to the chagarin of sum I will be posting and modeling for a very long time I hope.
Thanks everyone, MSW/NRG are high on my list of people to thank
Thanks for peeking, love modeling and having the time of my life. I let you know how the planking go's, lol.
Bob M
PGP
-
-
Very nicely done, that looks awesome.
Bob M.
- FrankWouts, AJohnson and Ronald-V
-
2
-
1
-
Good luck on your journey!!
Bob M.
- PvG Aussie, mtaylor and Glen McGuire
-
2
-
1
-

Hope you can start soon Miguel, there are some great ship in the 1751-1800, and there is so much help on MSW. Glad to have you join the crew.
Bob M.
- Keith Black, kevlar and mtaylor
-
3
-
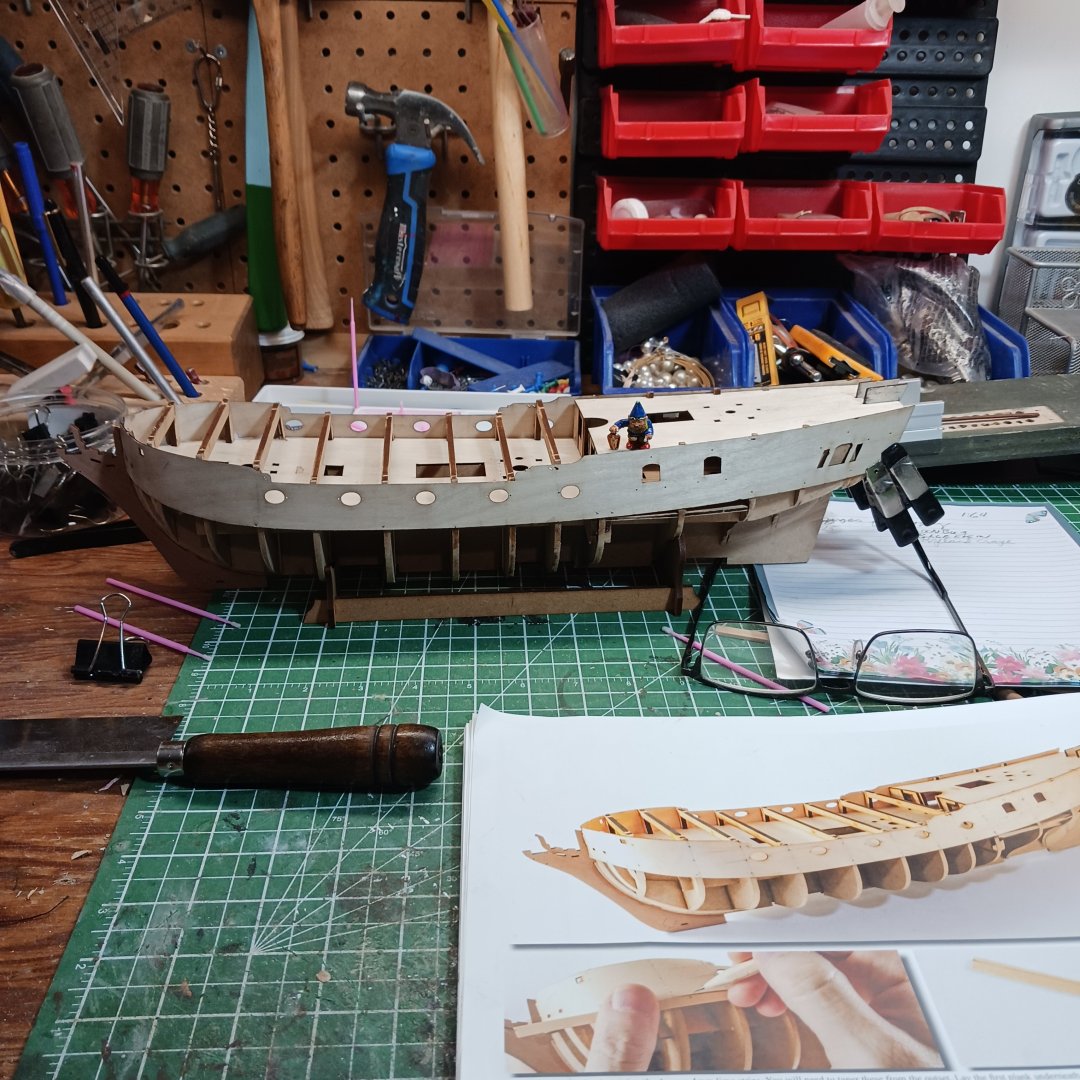
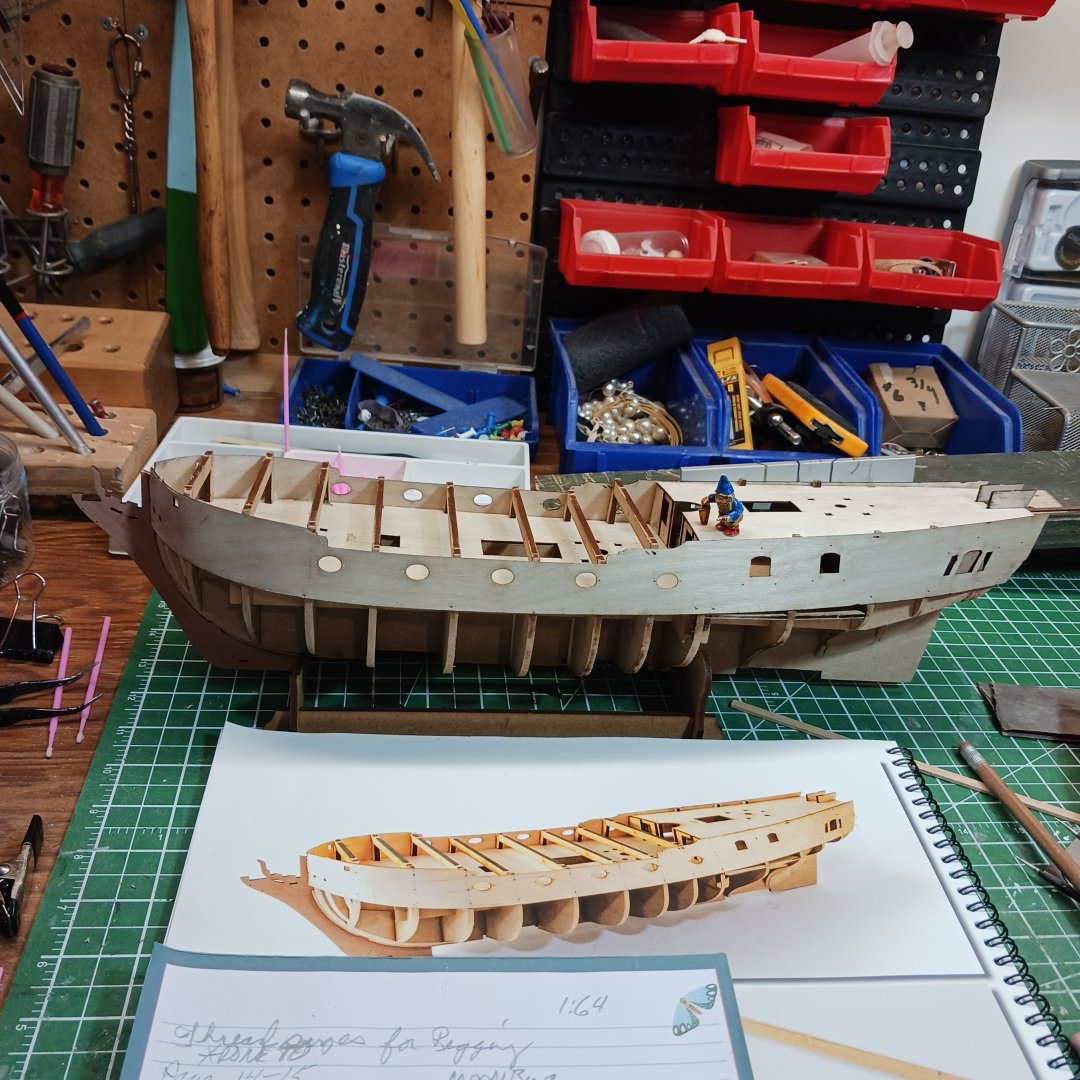
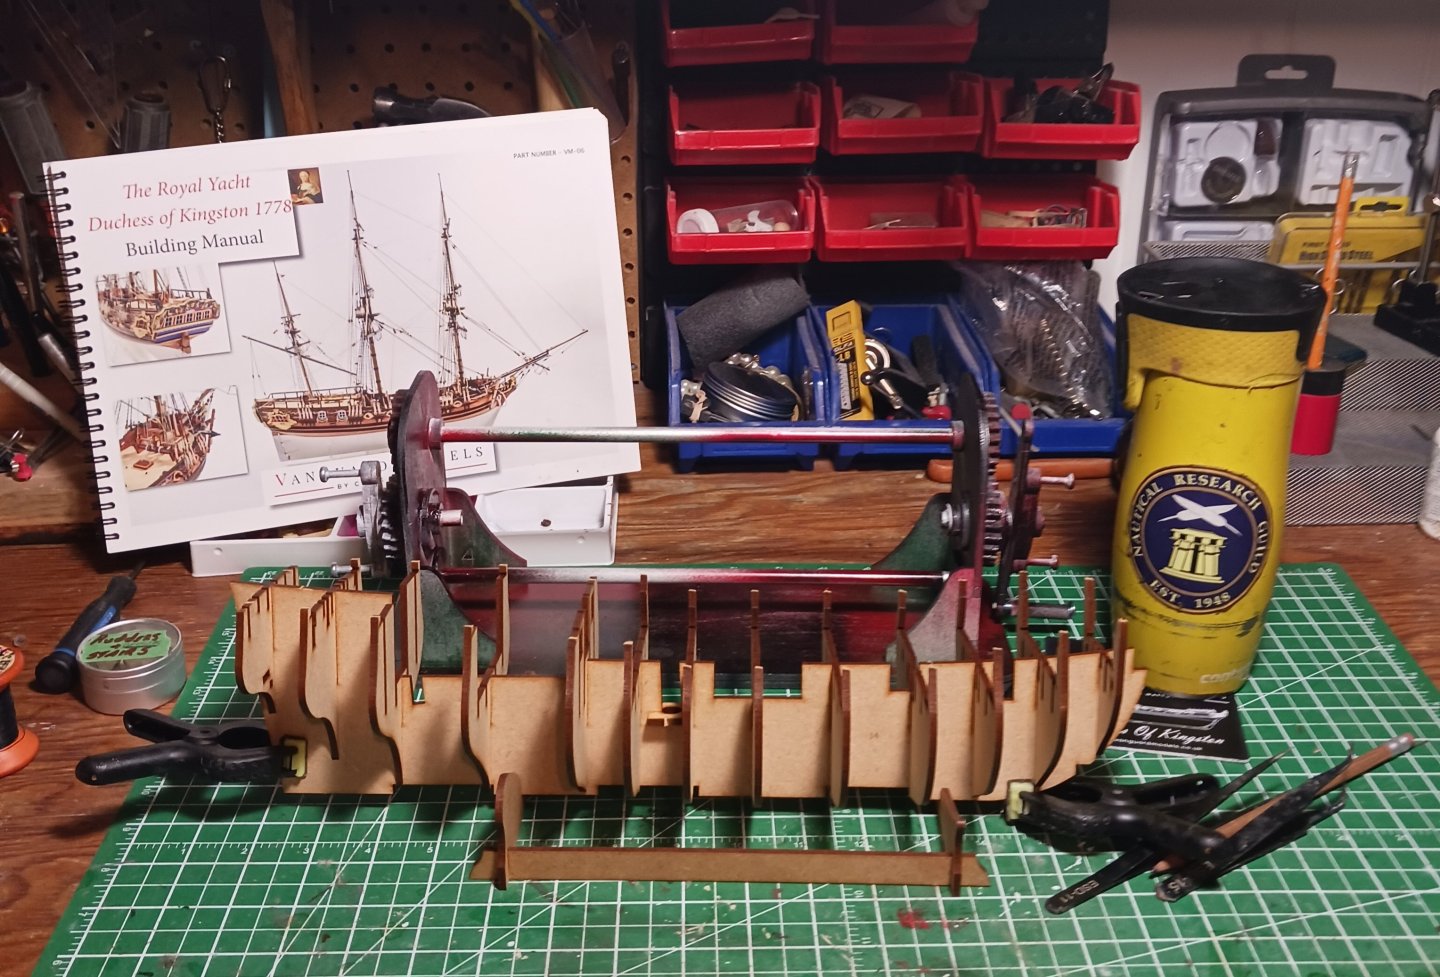
Well I tryed to work on my Mississippi diorama, but the alure of the Duchess is overpowering. The frame work for the hull came together effortlessly, just follow the instructions.

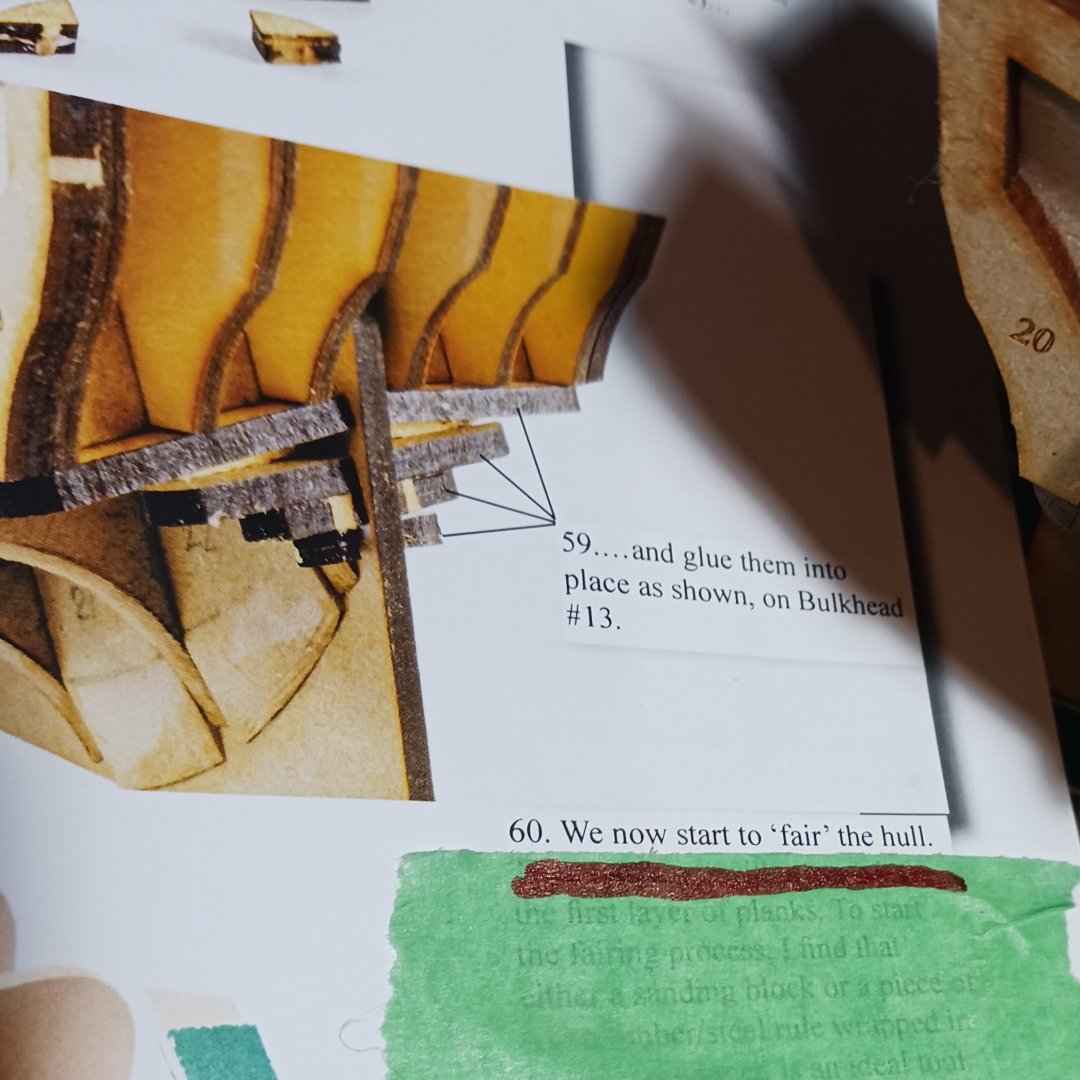
The next thing you know I was at step 60.
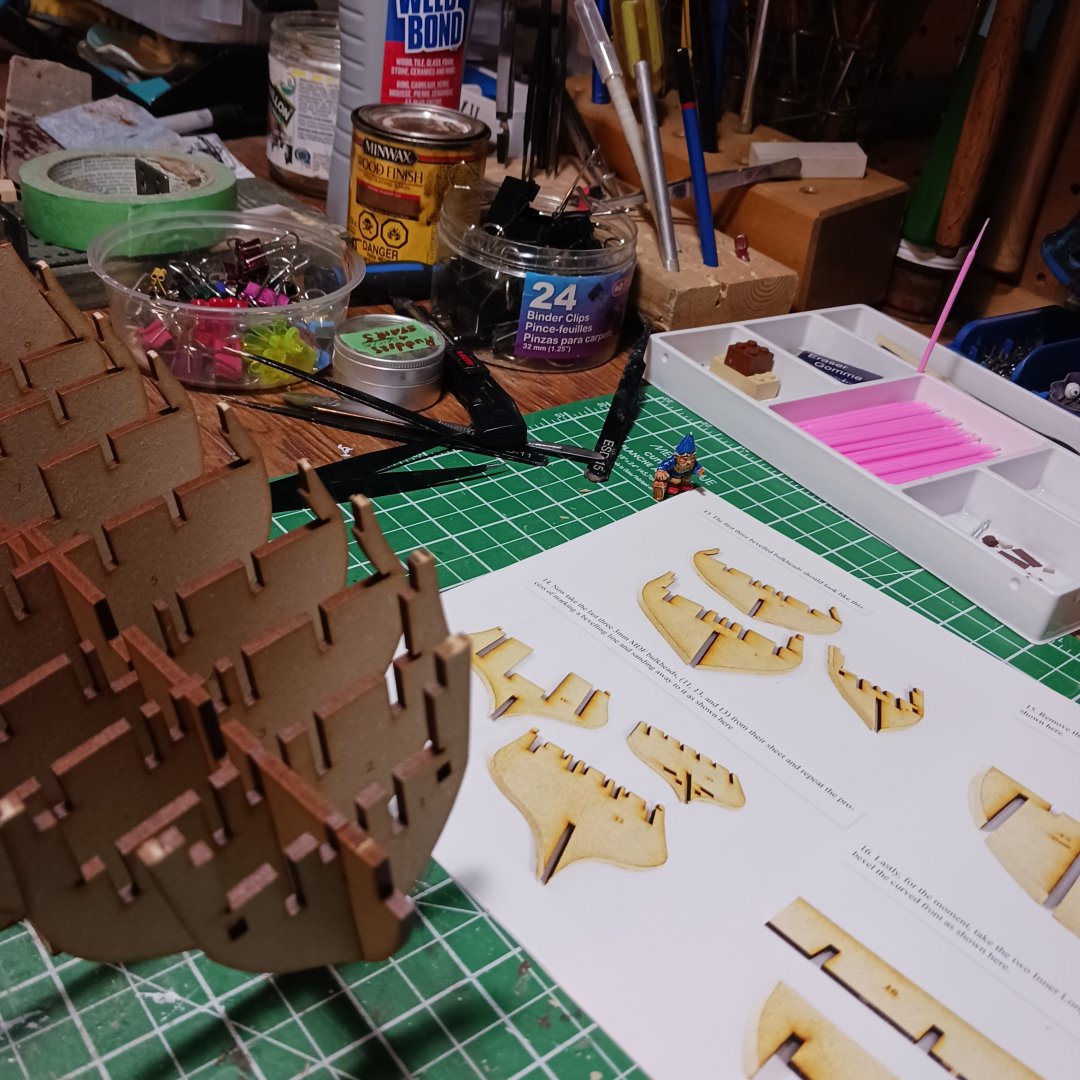
Last night I did a bit of fairing on the bow
.Just a bit, and then I ran a plank over it to see how I was doing. I think the bow is ready . At the stern it looks like I have to fair a bit more. Peice #20 looks as though I have to sand it right off lol.
I don't see any problems looking at the manual. And so far things just fit right and feel great.
I got a couple of medical procedures over the next few days so building will slow , but back at it Saturday morning for sure.
I have been studying, rigging, inperticaler the serving of the lines. I am having a hard time with this. I have difficulty trying to understand numbers and writing. I have started do research on this. But pictures are hard to come by. I have been practicing with my servo machine, just using left over thread. Is there a scale I could use, I can't figure out how to get the right size. Let's say for instance I wanted a 1.0 mm line for the shrouds, would I use a .75 line served with a .25 mm line. And when serving do you use the same threa d size for all the serving. Lots to try to understand, but I will. Because I want the Duchess fully rigged.
Ok off to see the doctors, talk soon my friend's.
Thanks for lookin in on my log. My Ship Inspector Private Gnomer Pile is so happy, all he has to do is say the answers are right here in the instructions, READ them again lol.
later my freinds. Bob M
P G P
-
-

Bob M.
- Yann Kermeur, Keith Black and mtaylor
-
3
-
-
Very nice work, any idea what you are planing to build next? A wow for every picture, congratulations .
Bob M.
-
Hello,for those who don't know me, my name is Bob M. And I go by the name Knocklouder. And live in Sunny Manitoba, Canada. I have been modeling for three years now. I have truly enjoyed and loved every moment.
Three years ago I join MSW and post my first post on my Santa Maria log. @Ryland Craze was the first to answer answered followed by the most knowledgeable person l have every meet @Louie da fly, together they showed me were to look what to look for and for the next year and a half I put together the Santa Maria. I was very happy with it. Thanks you guys so much . SO Then I posted it in the gallery right away. After that I was hooked so I bought six more models I thought I would like to try. So many infacted that I was told I couldn't buy any more till I finished the ones I had. So I did. Now I get to buy a model I really wanted. Over the last three years I have become increasingly aware of Vanguard Models and @chris watton that I had to get one.
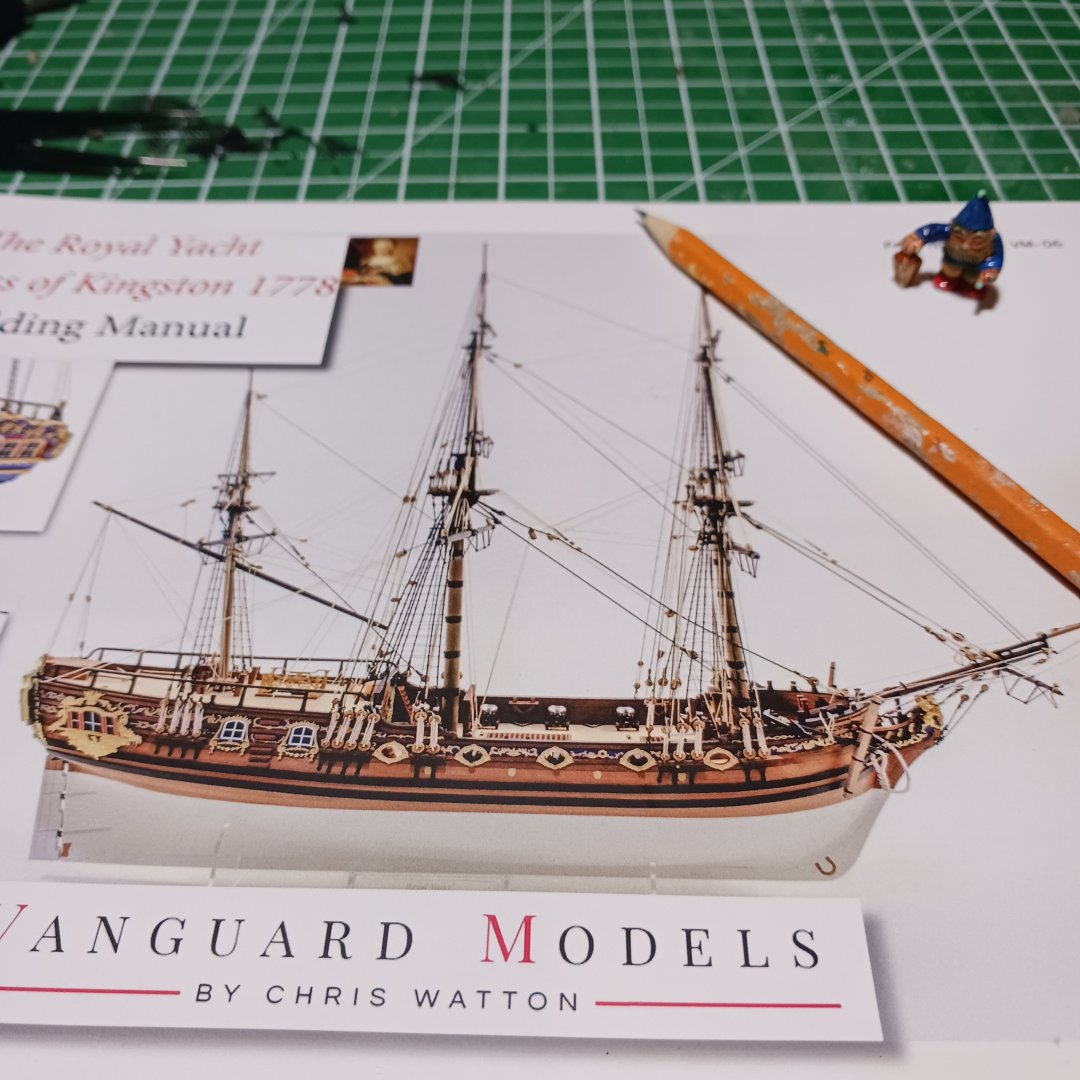
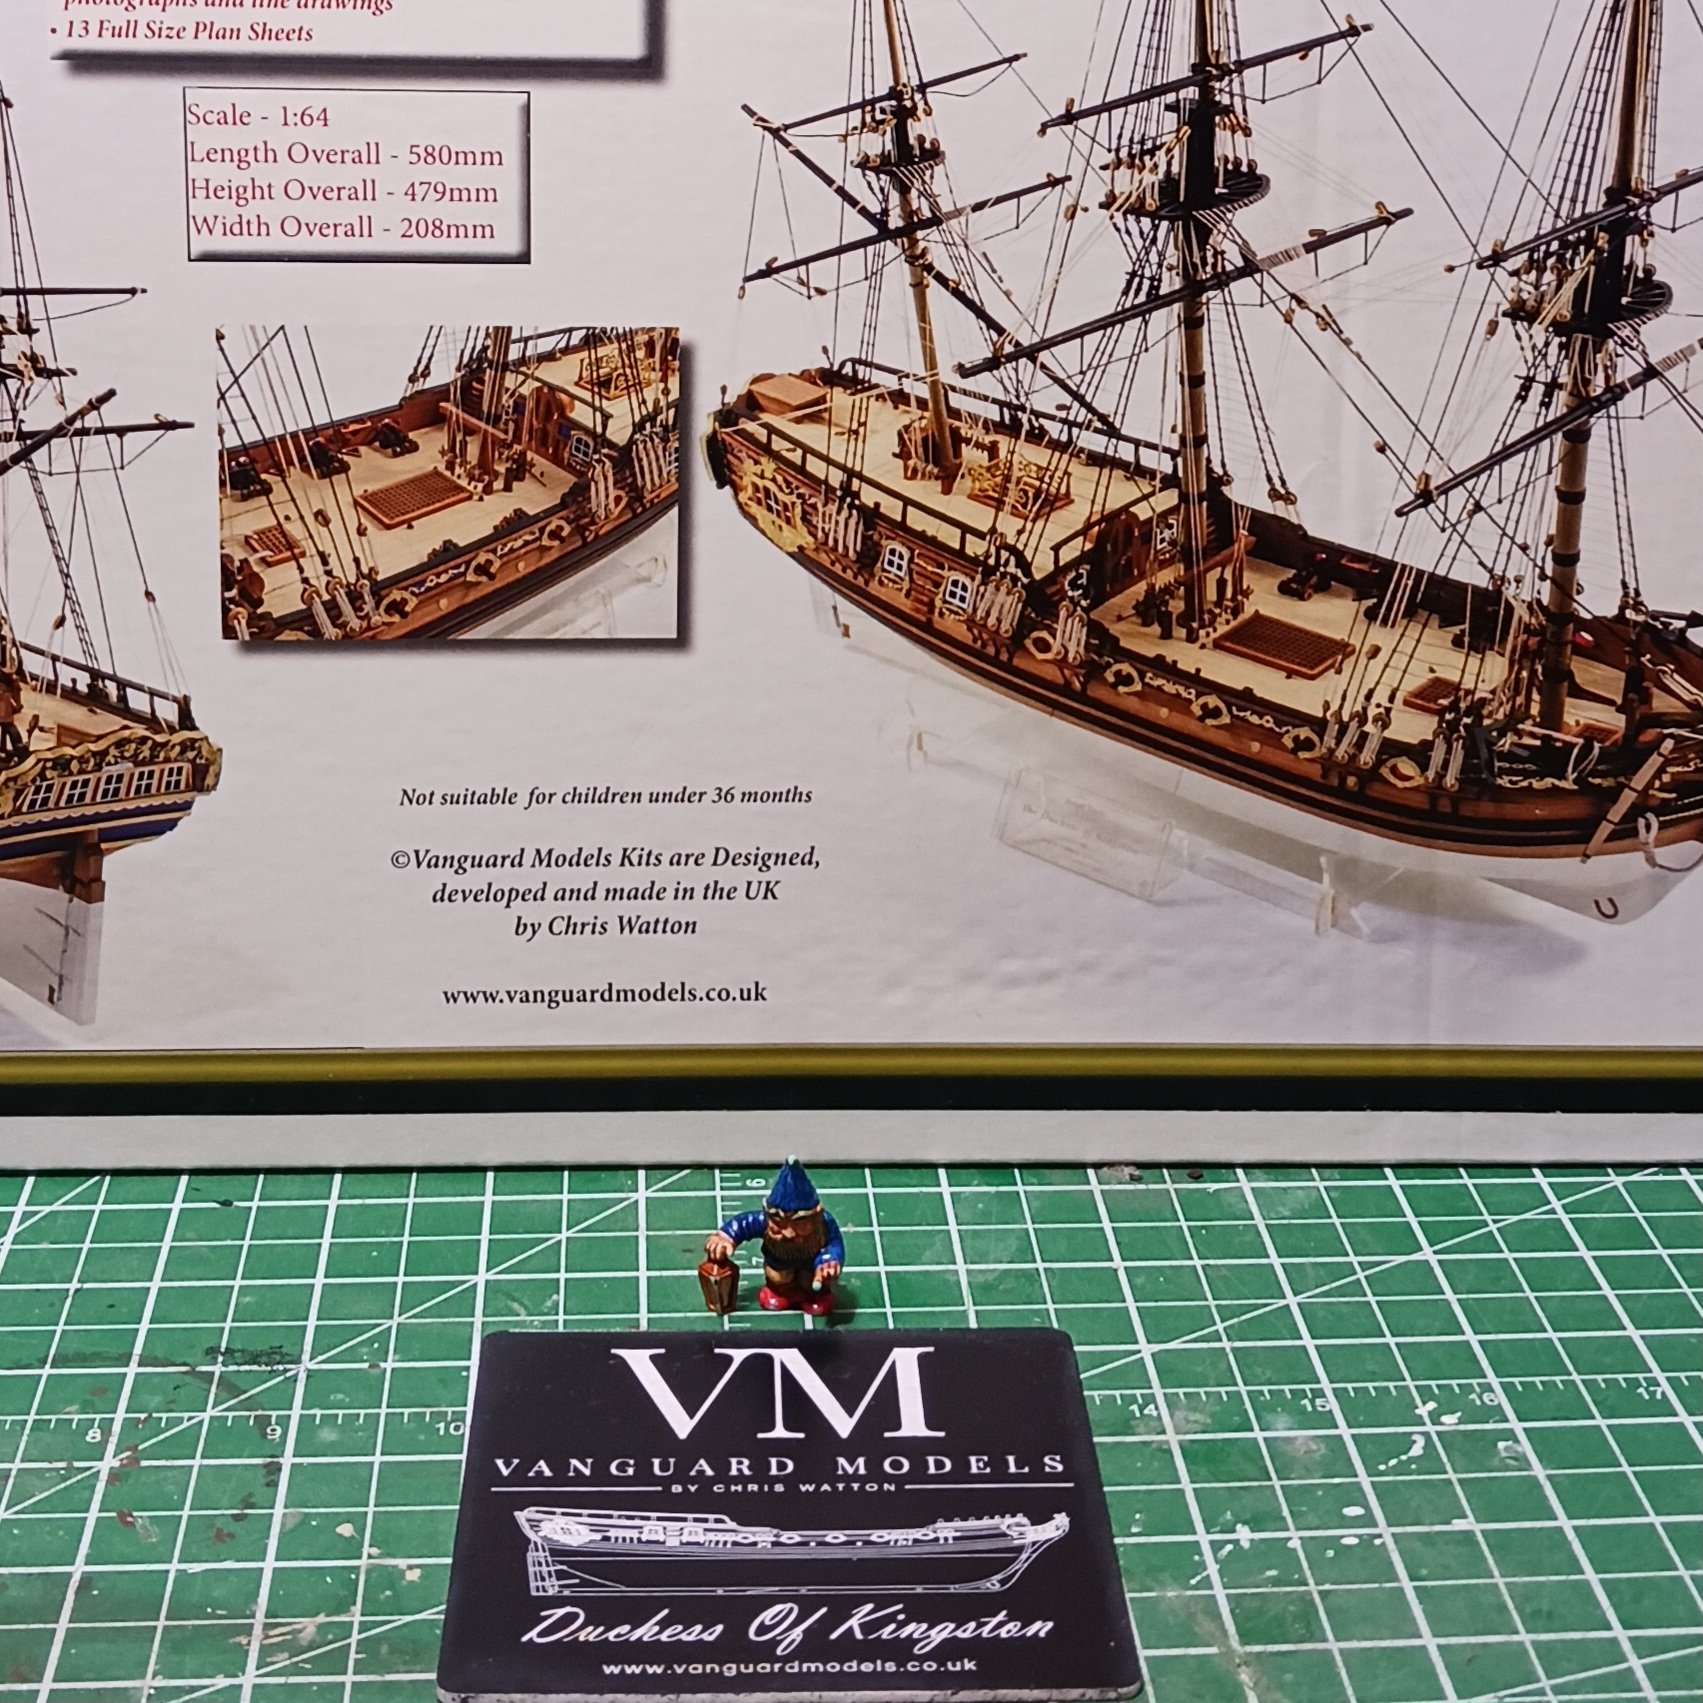
I chose the Duchess of Kingston, for many reasons, the looks the kit the designer the rigging.
I have many interest and want to make this ship to the best of my abilities. Serving,seizing and tieing the right kind of Knotts. So let's see what I have learned and start my log.

The build will be deadacated to @Gabek and @chris watton they know the reason why, and they will be forever in my mind and heart. Thank you Gentle Men.
Let's open the box. Shell we
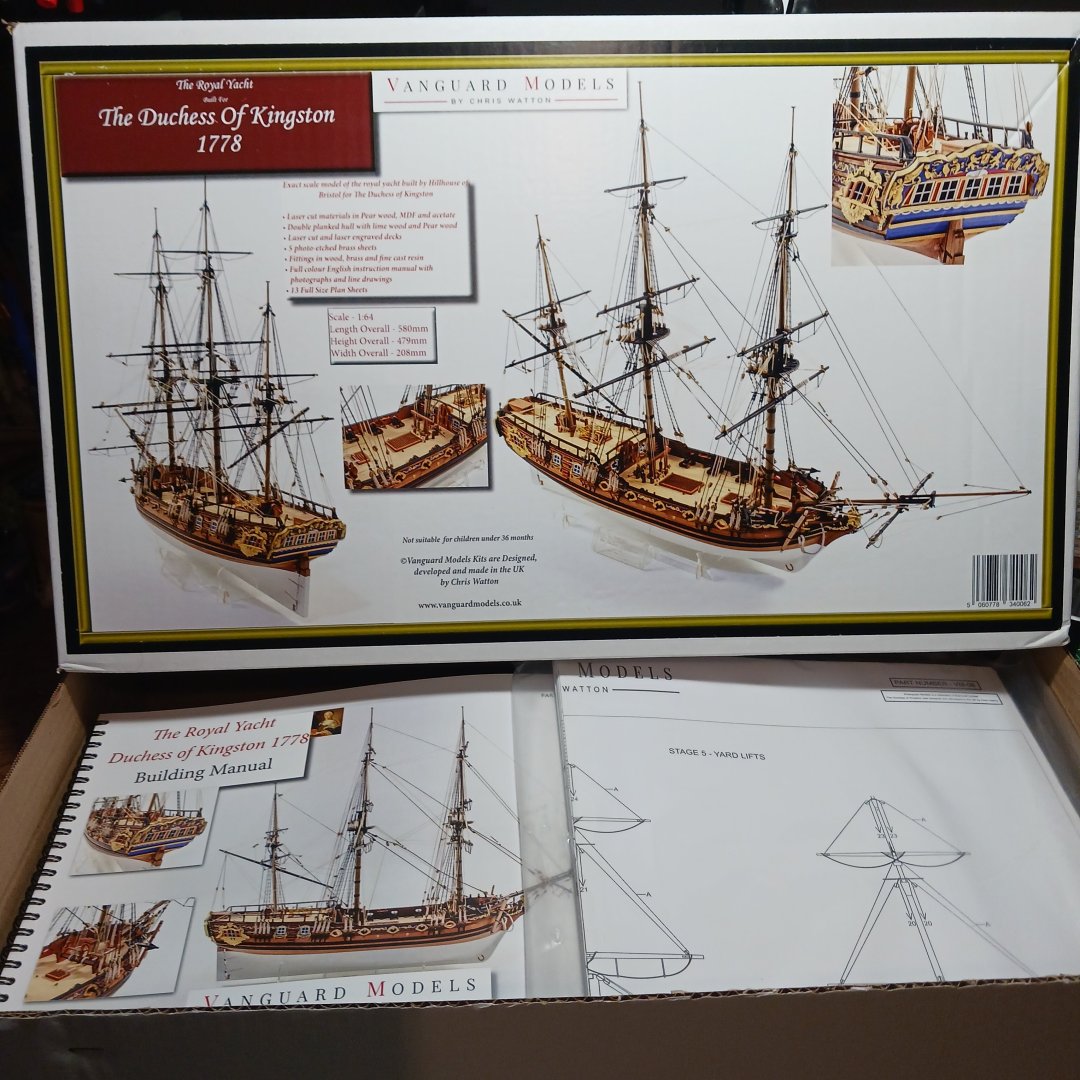
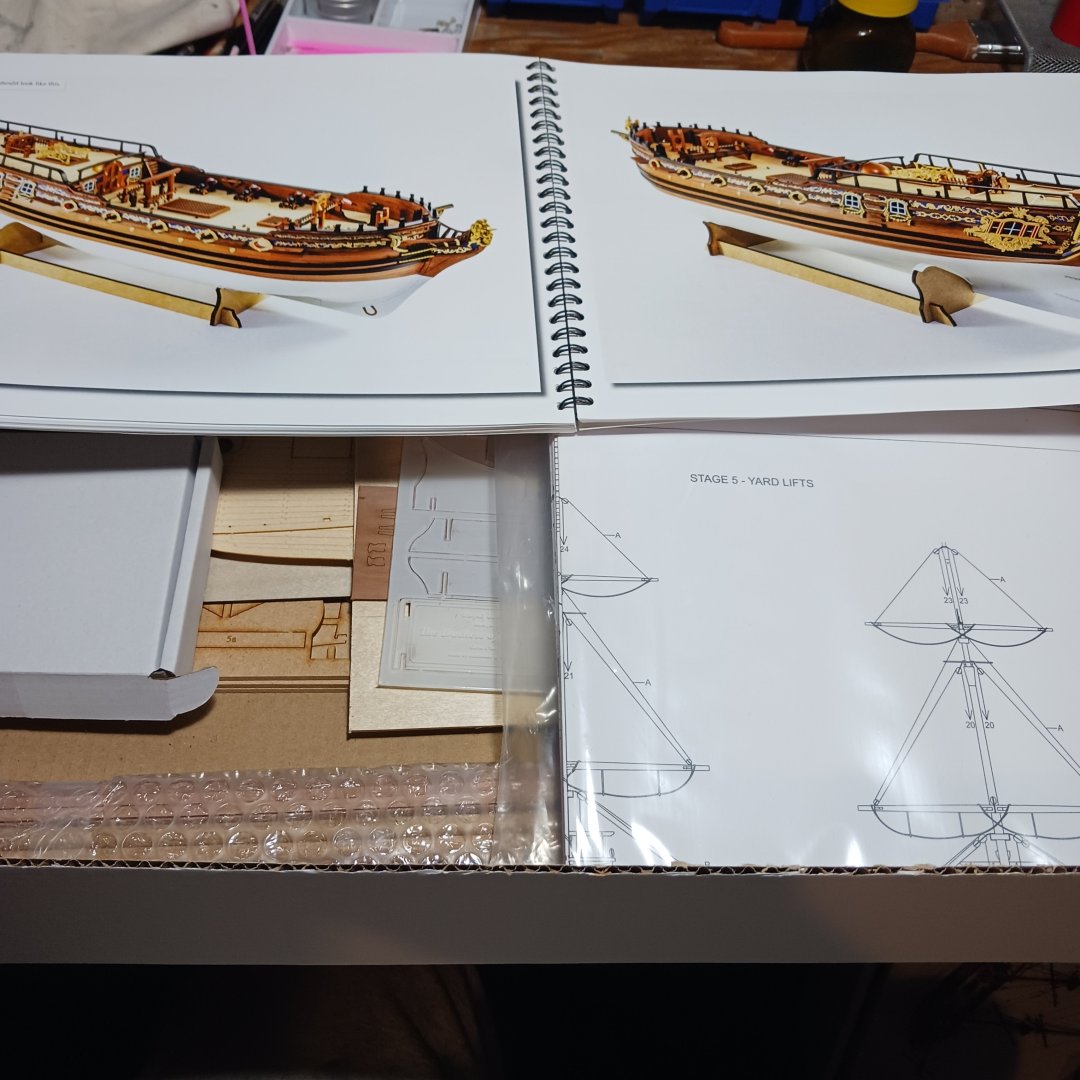
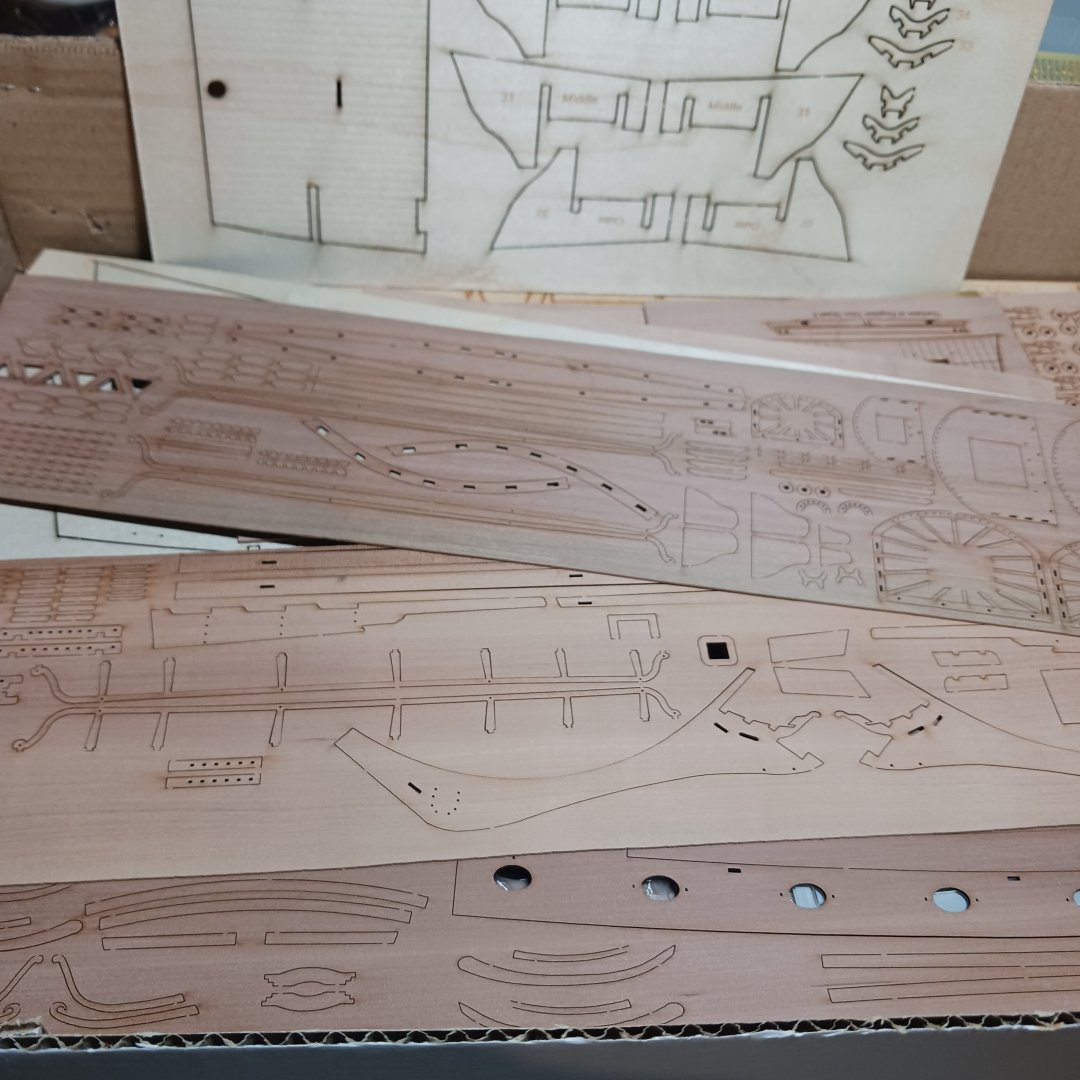
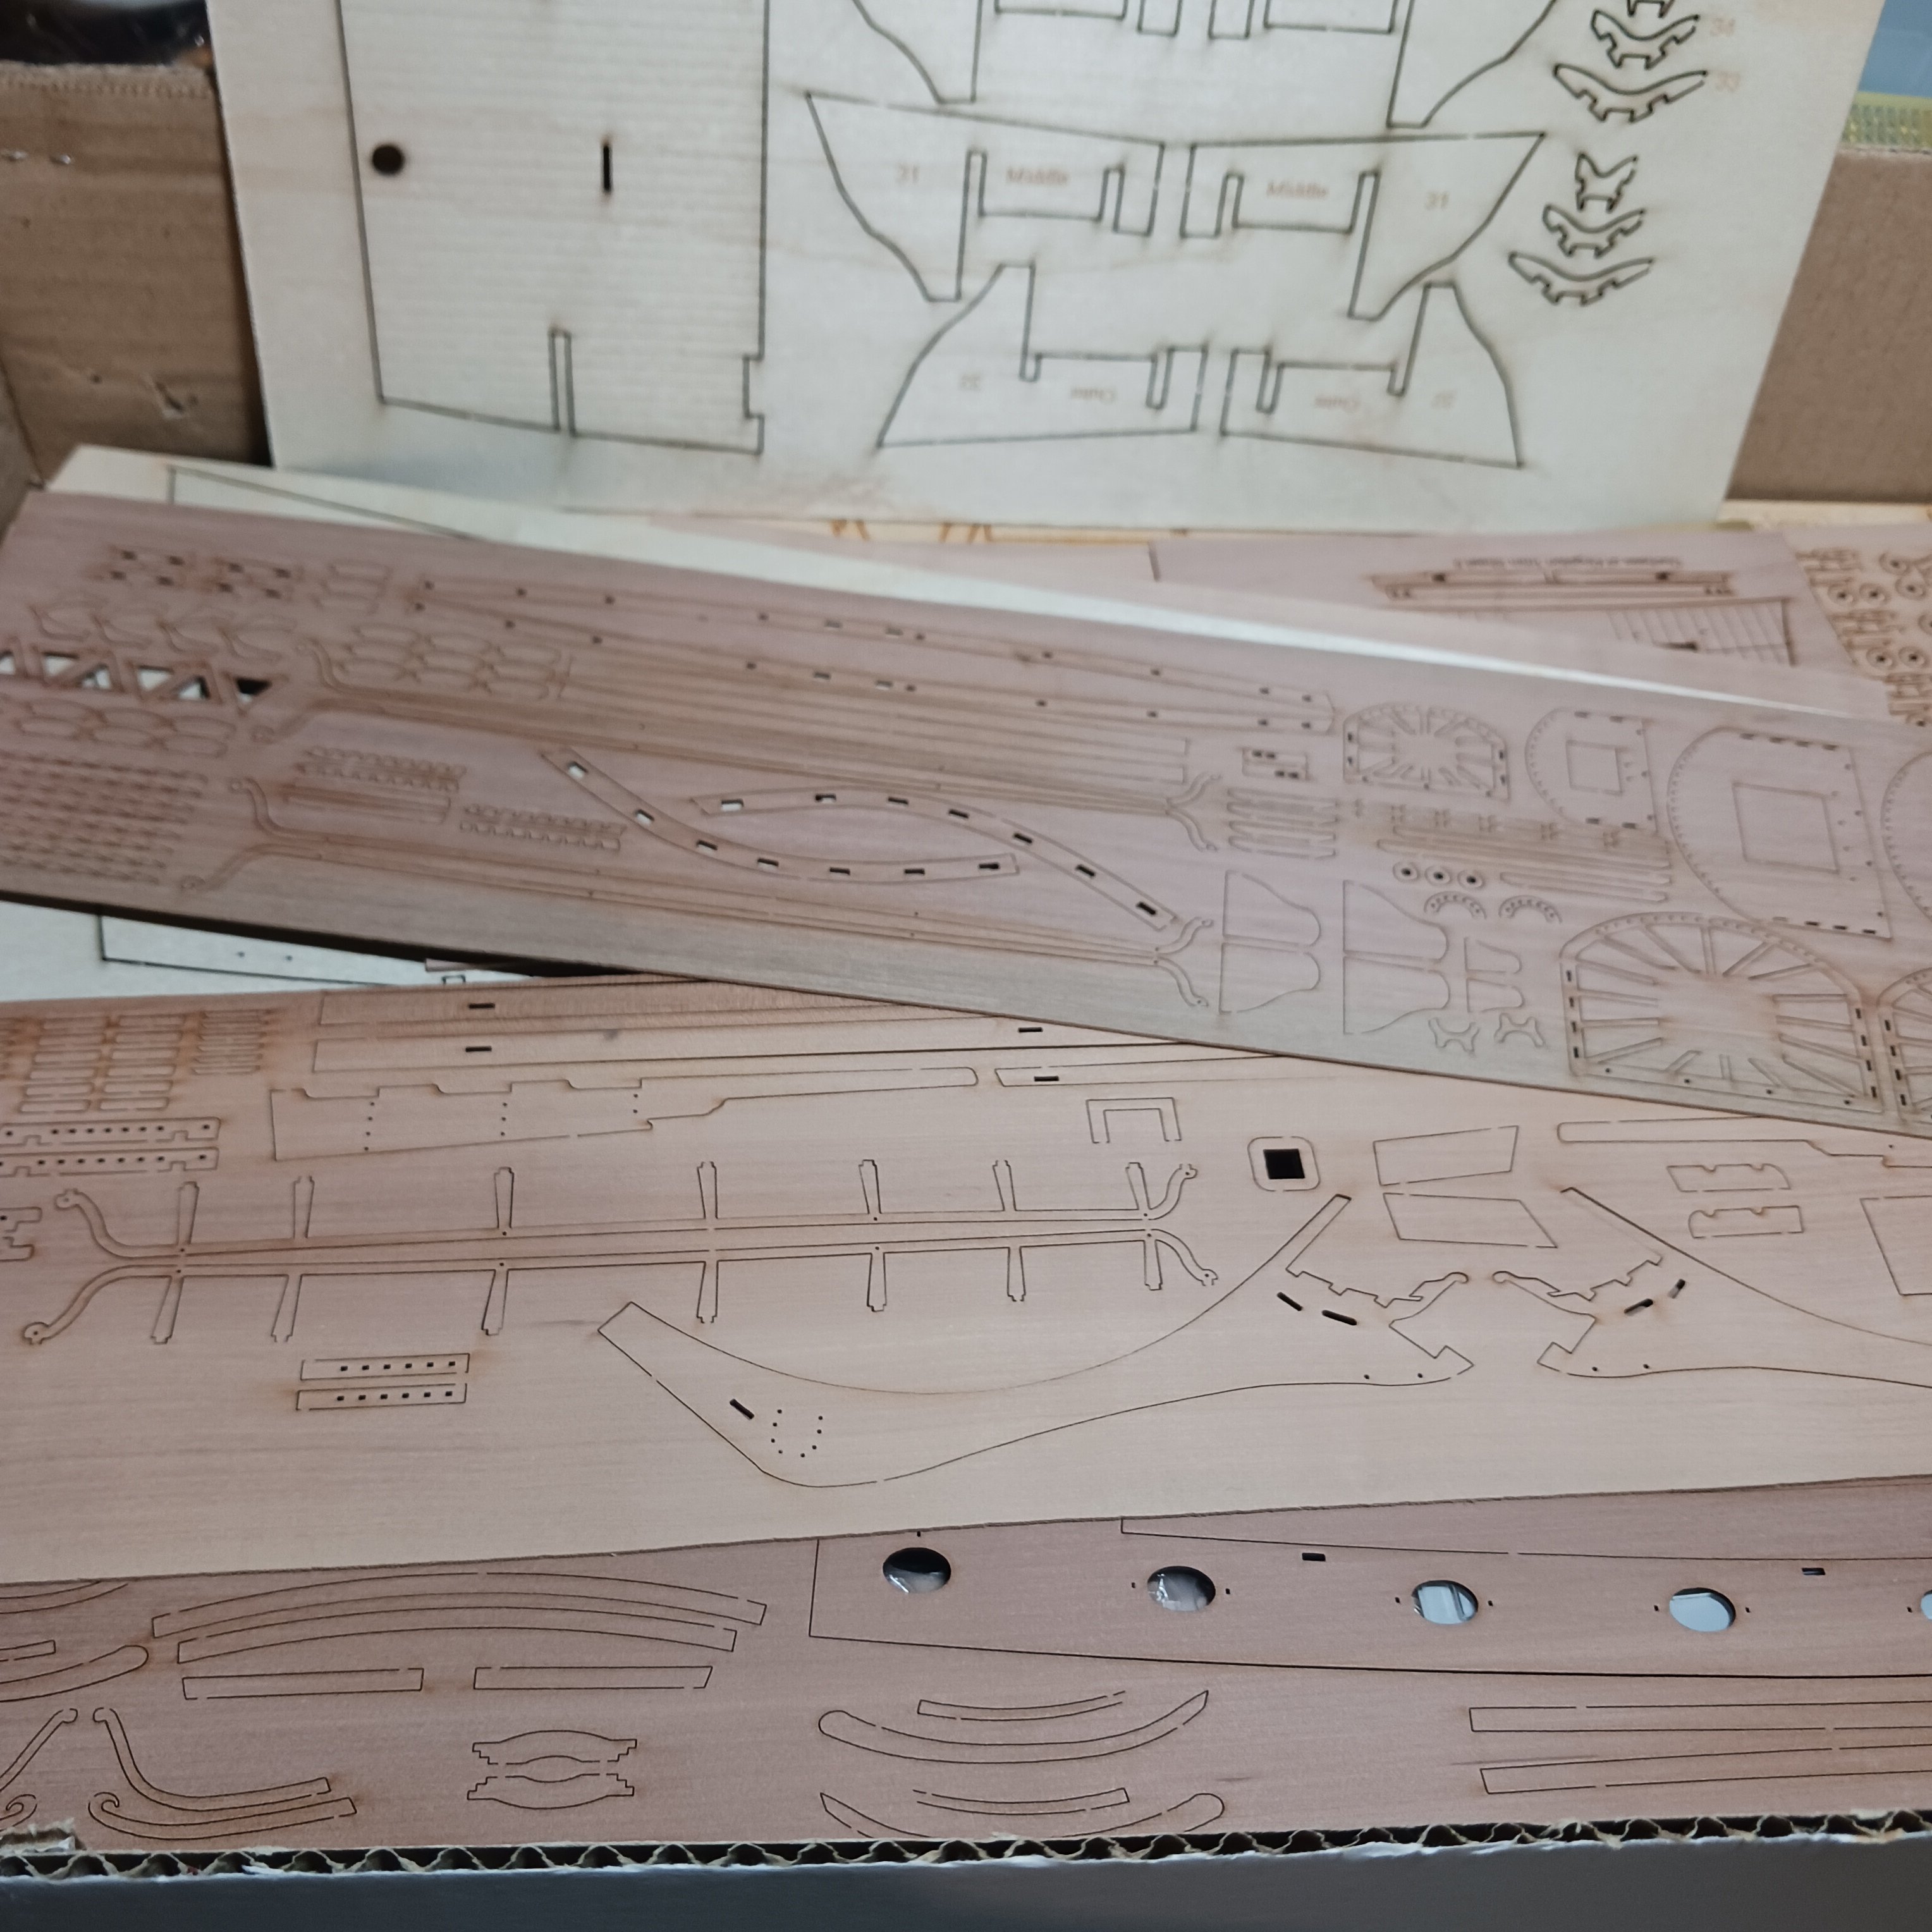
wow packed with goodies, and fine quality wood, I have never used pear wood before, its beautiful stuff
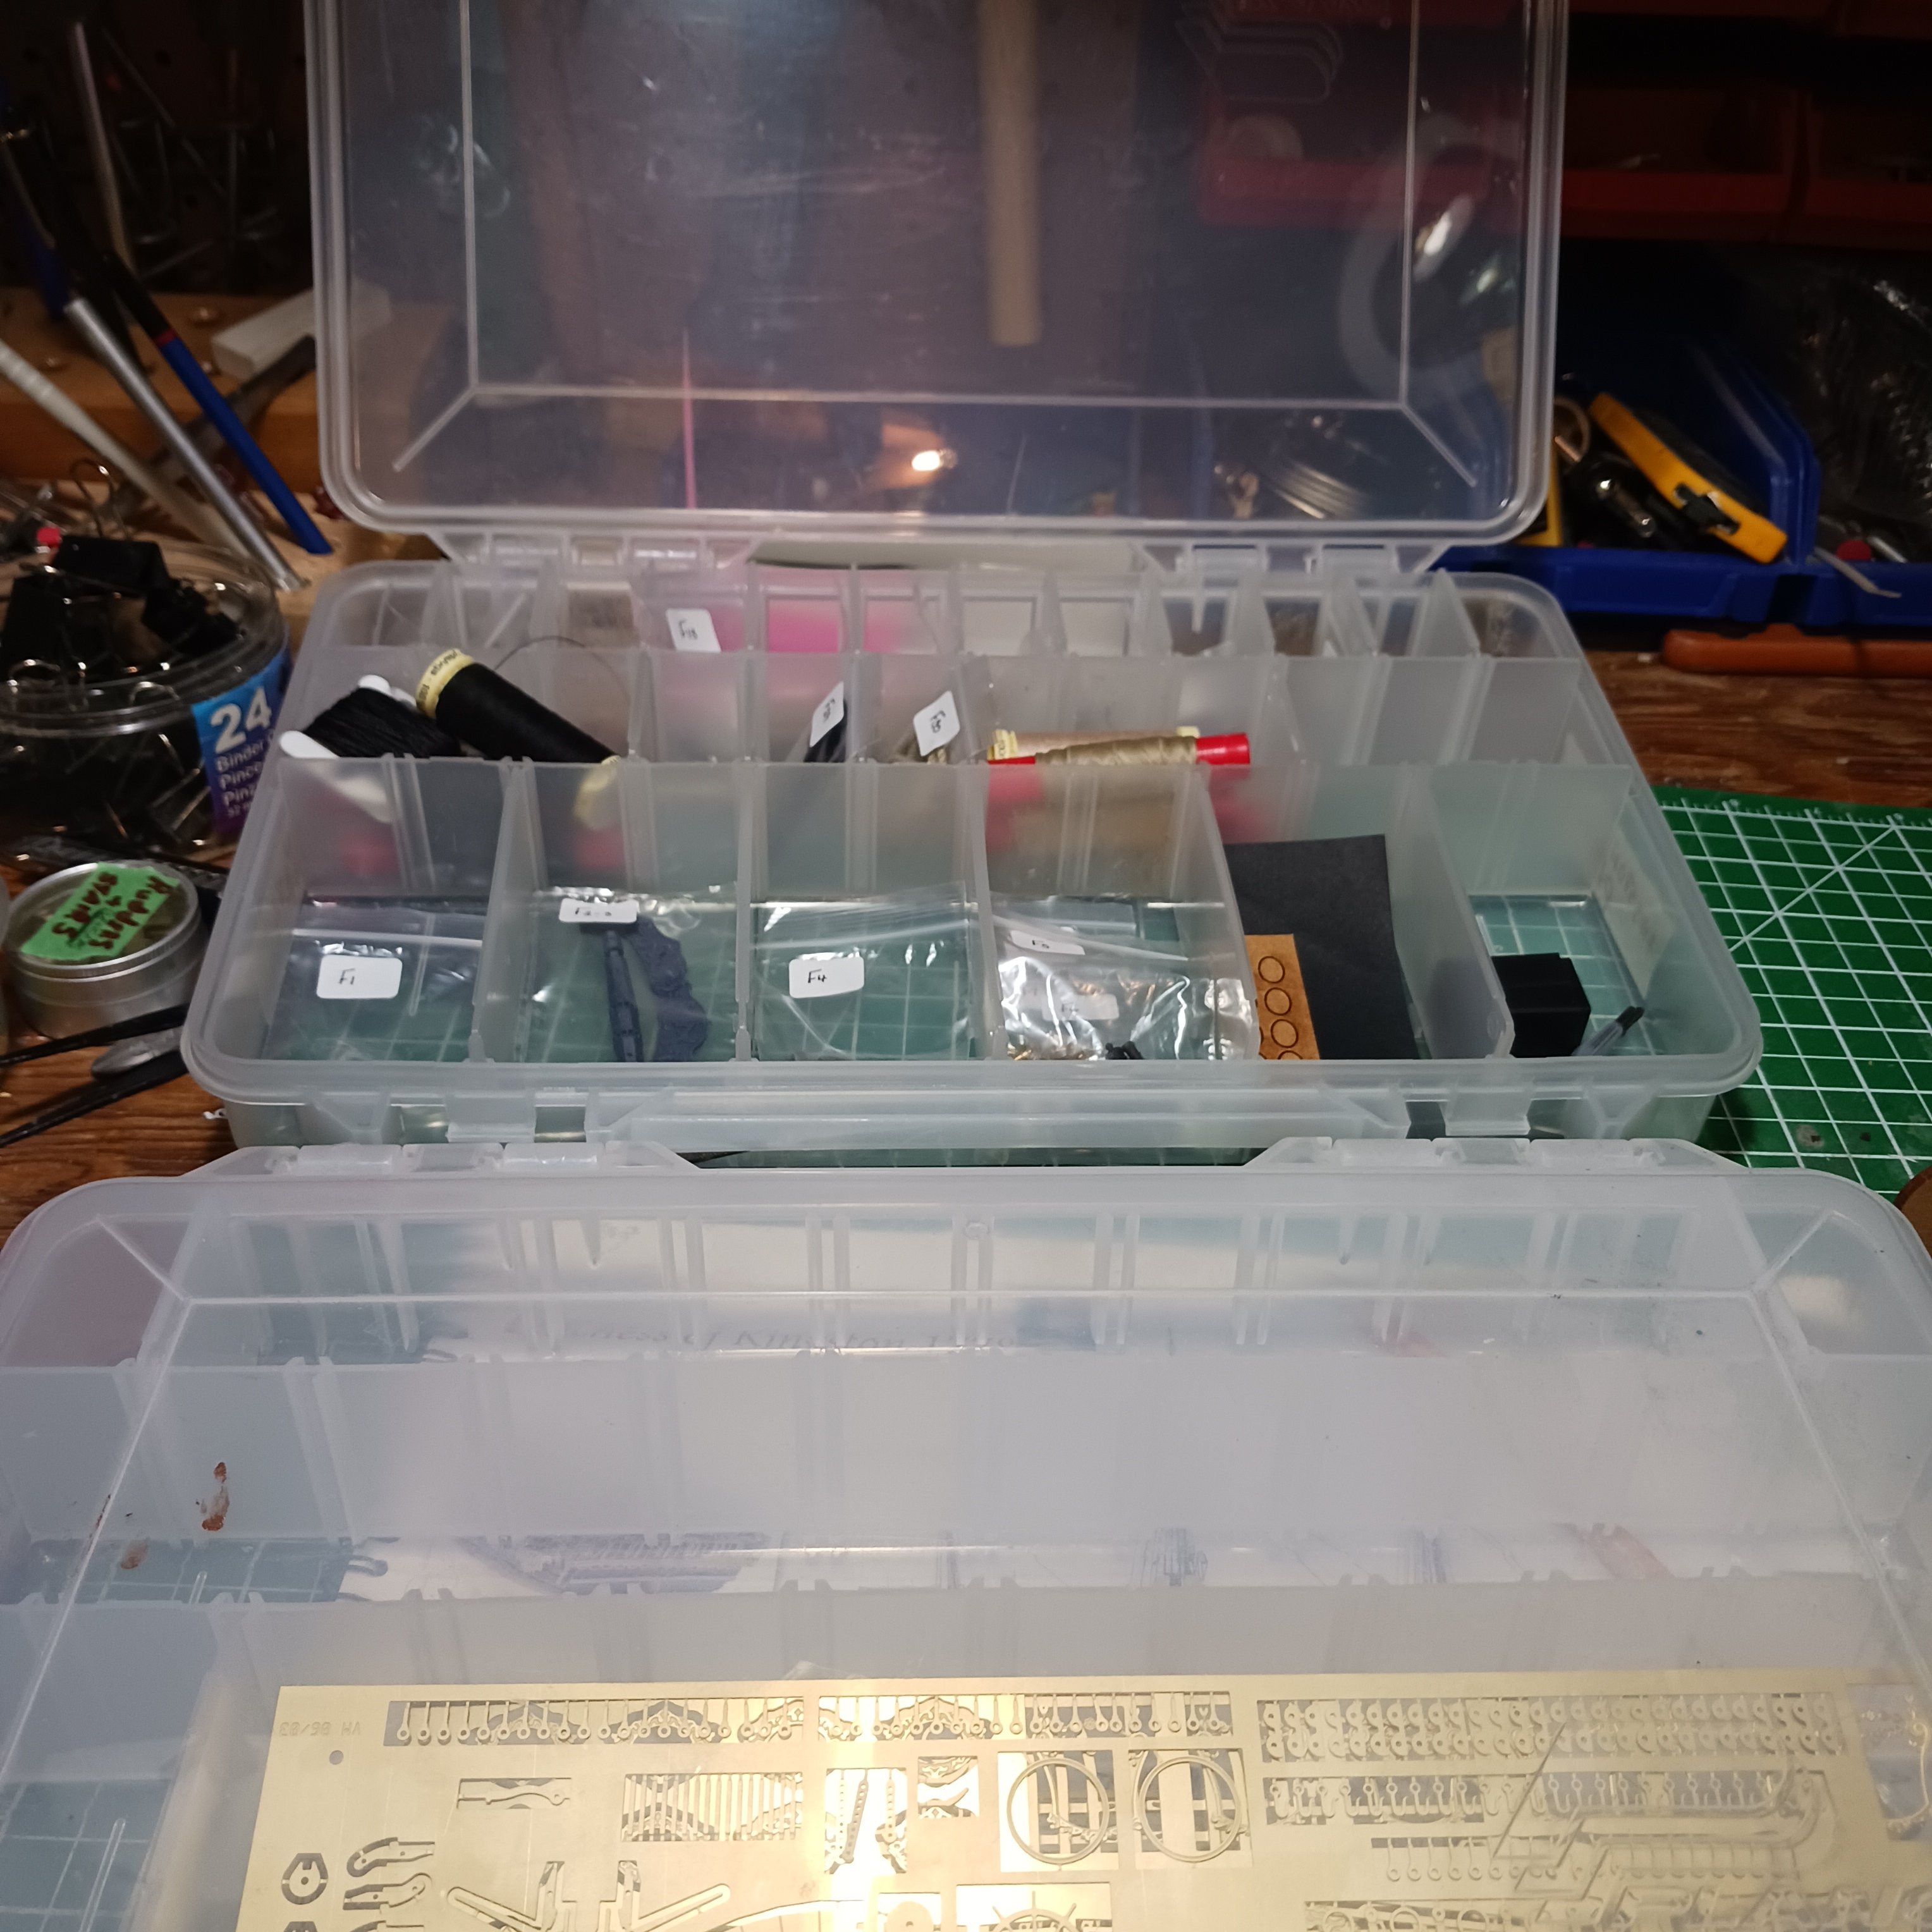
I put it all away, into a box for the wood and two plastic containers for the peices and rigging.


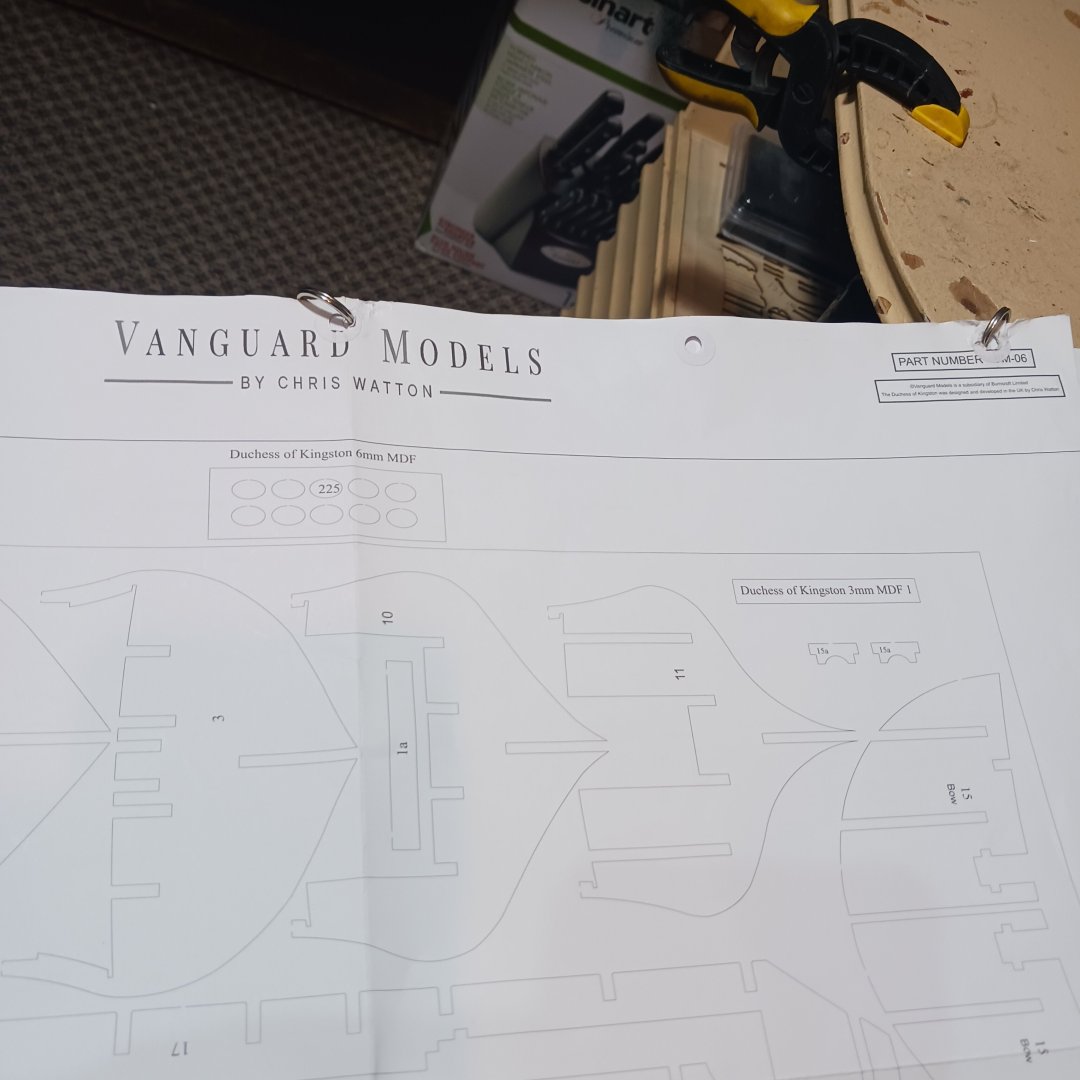
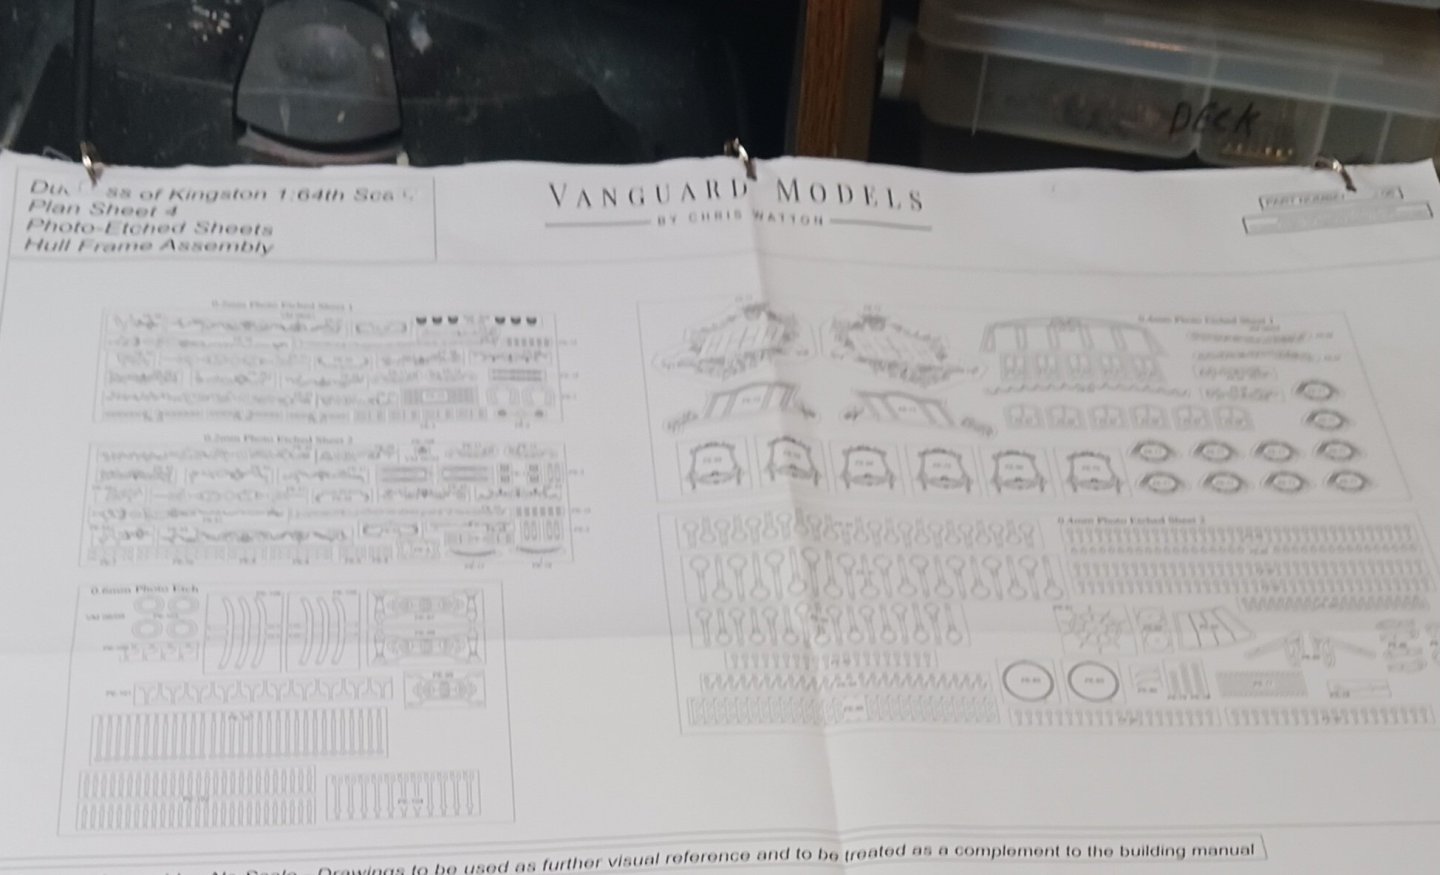
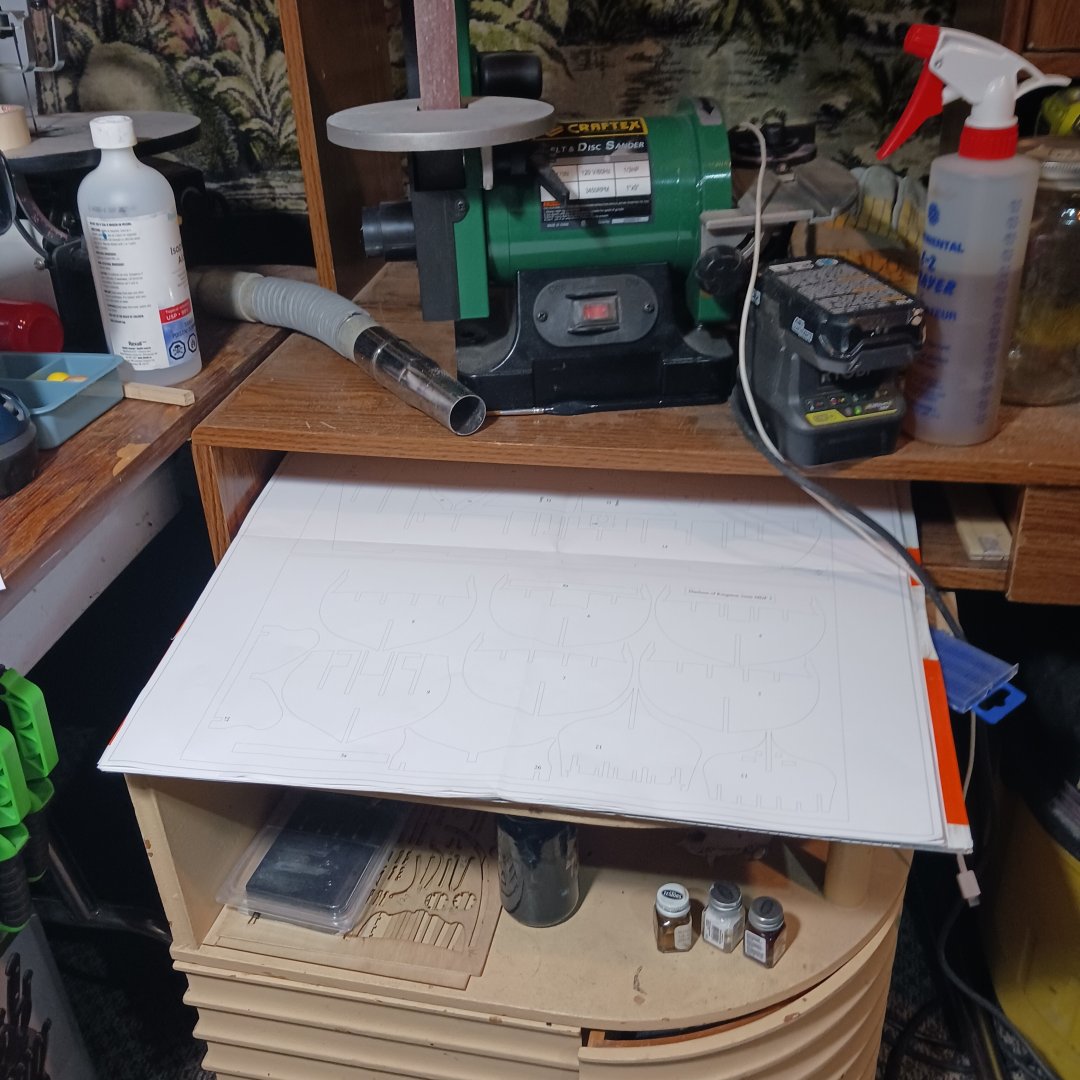
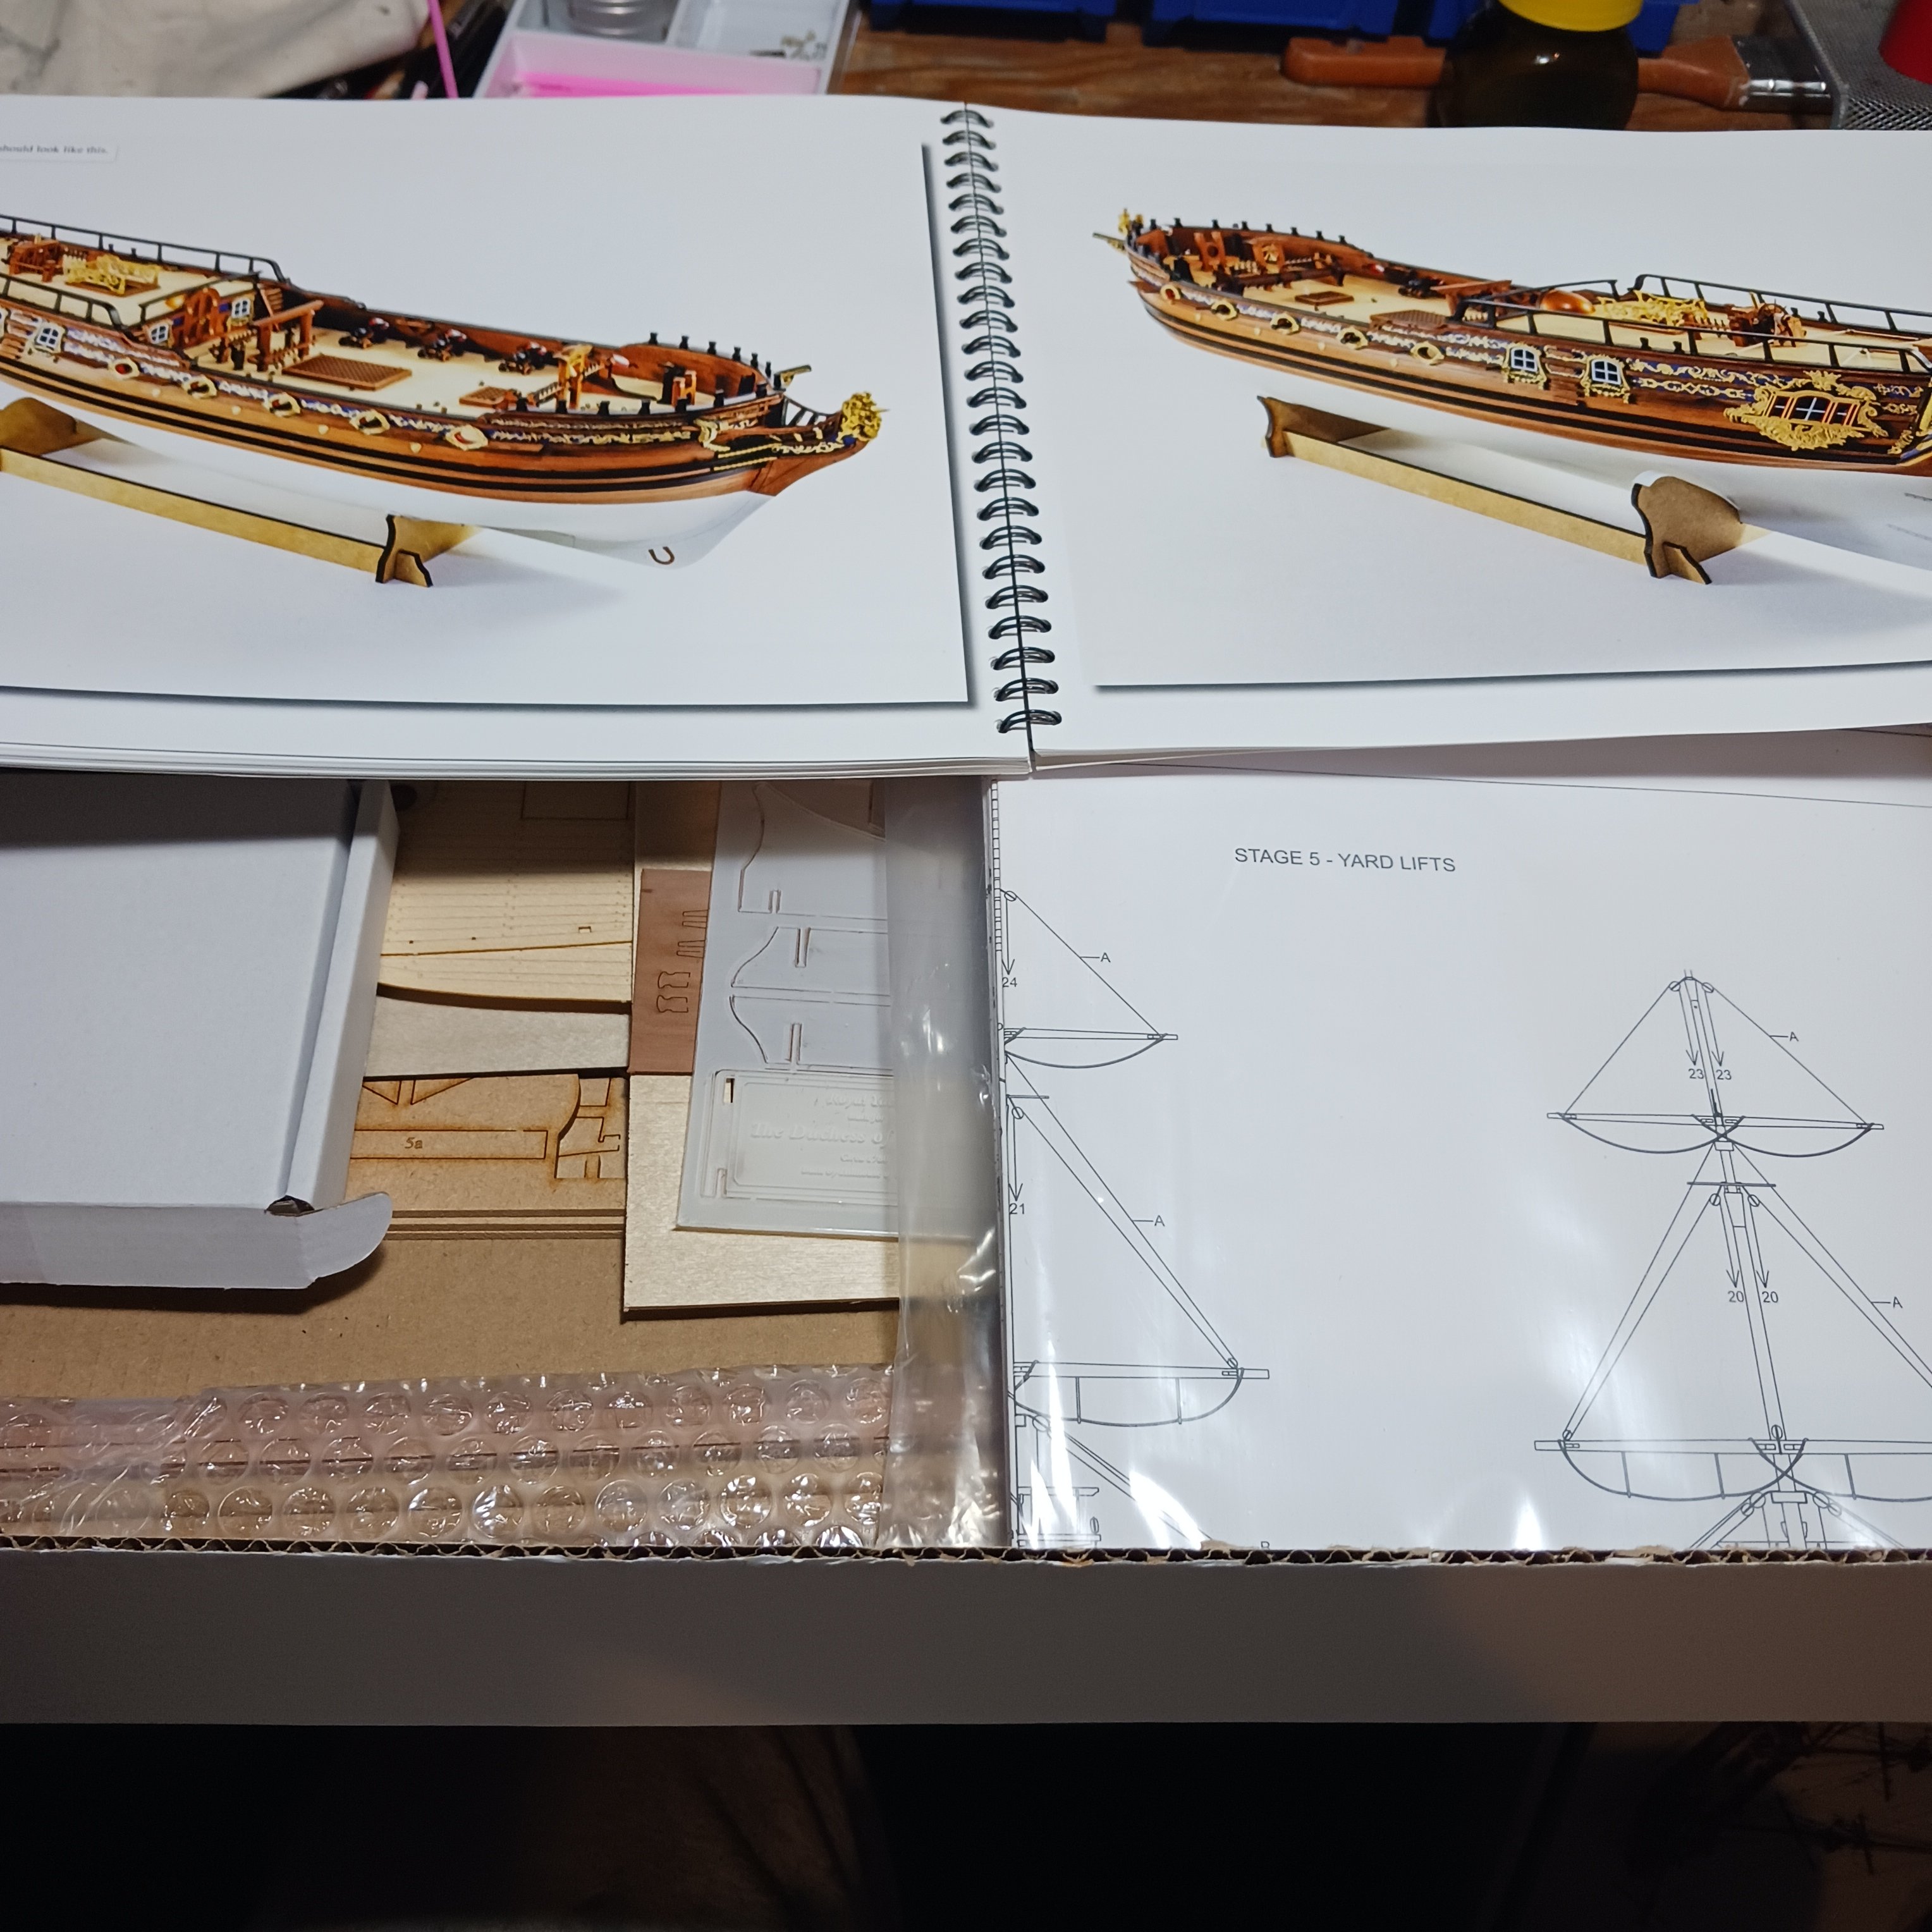
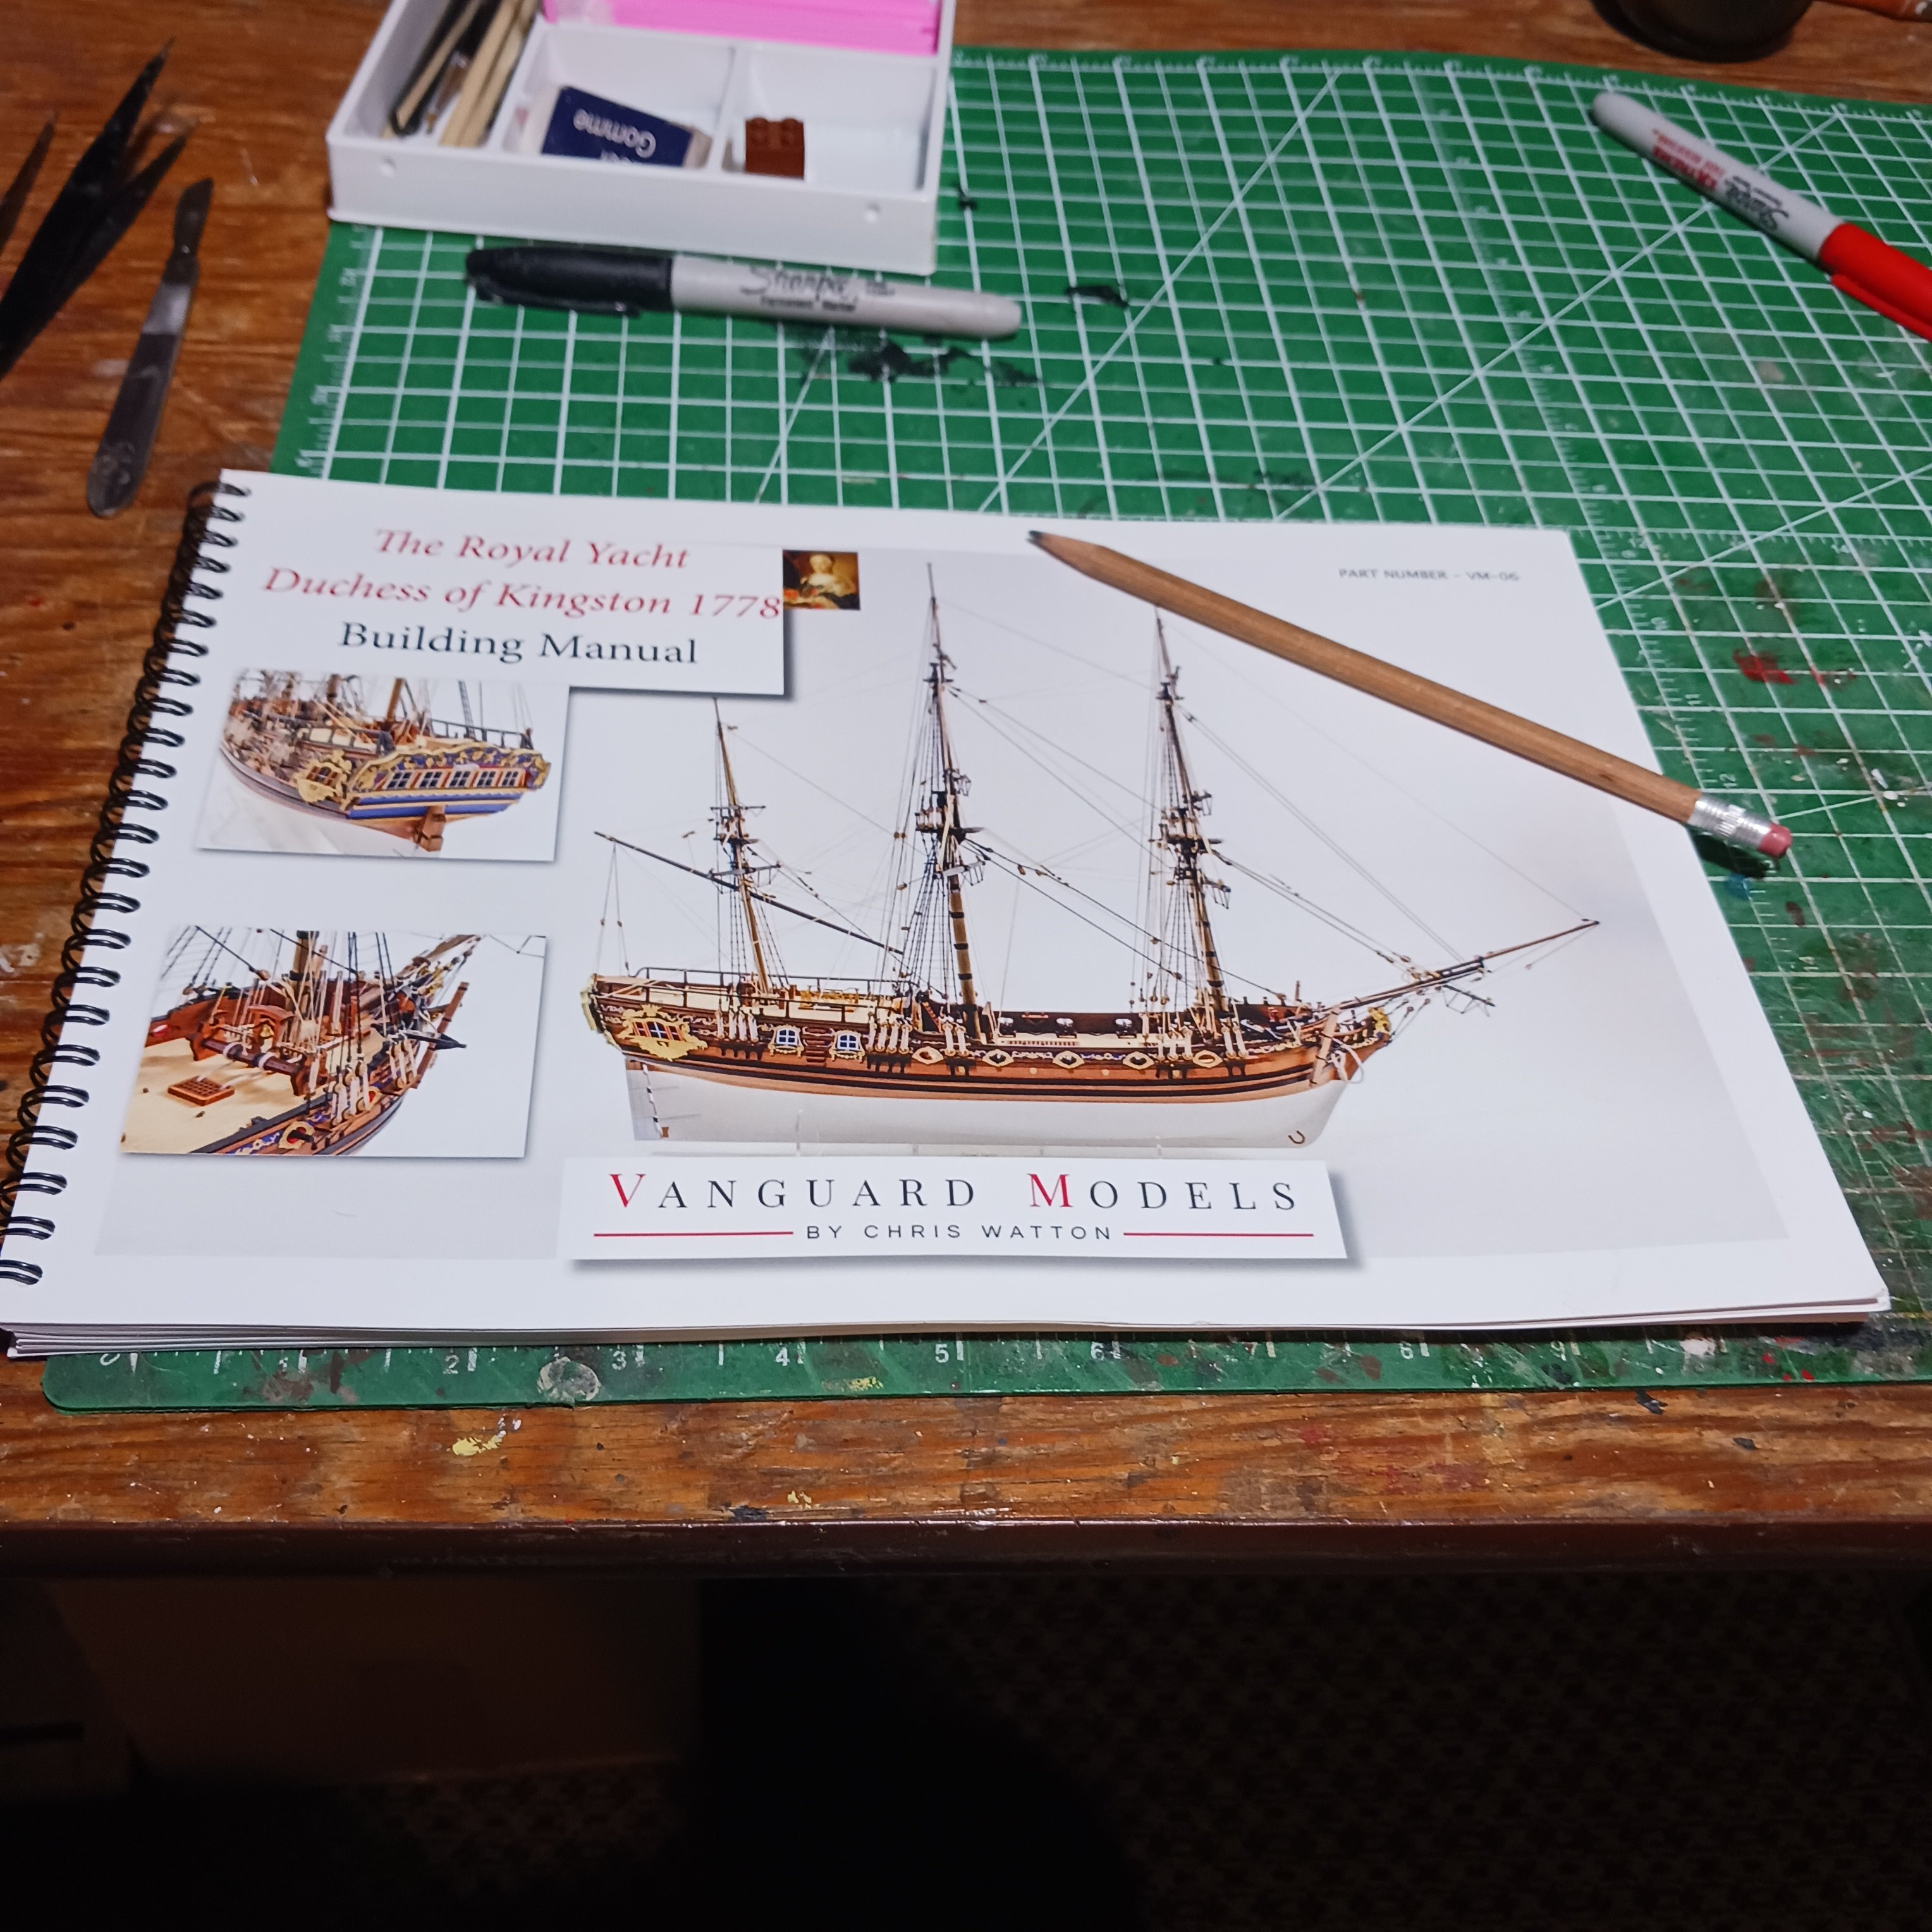
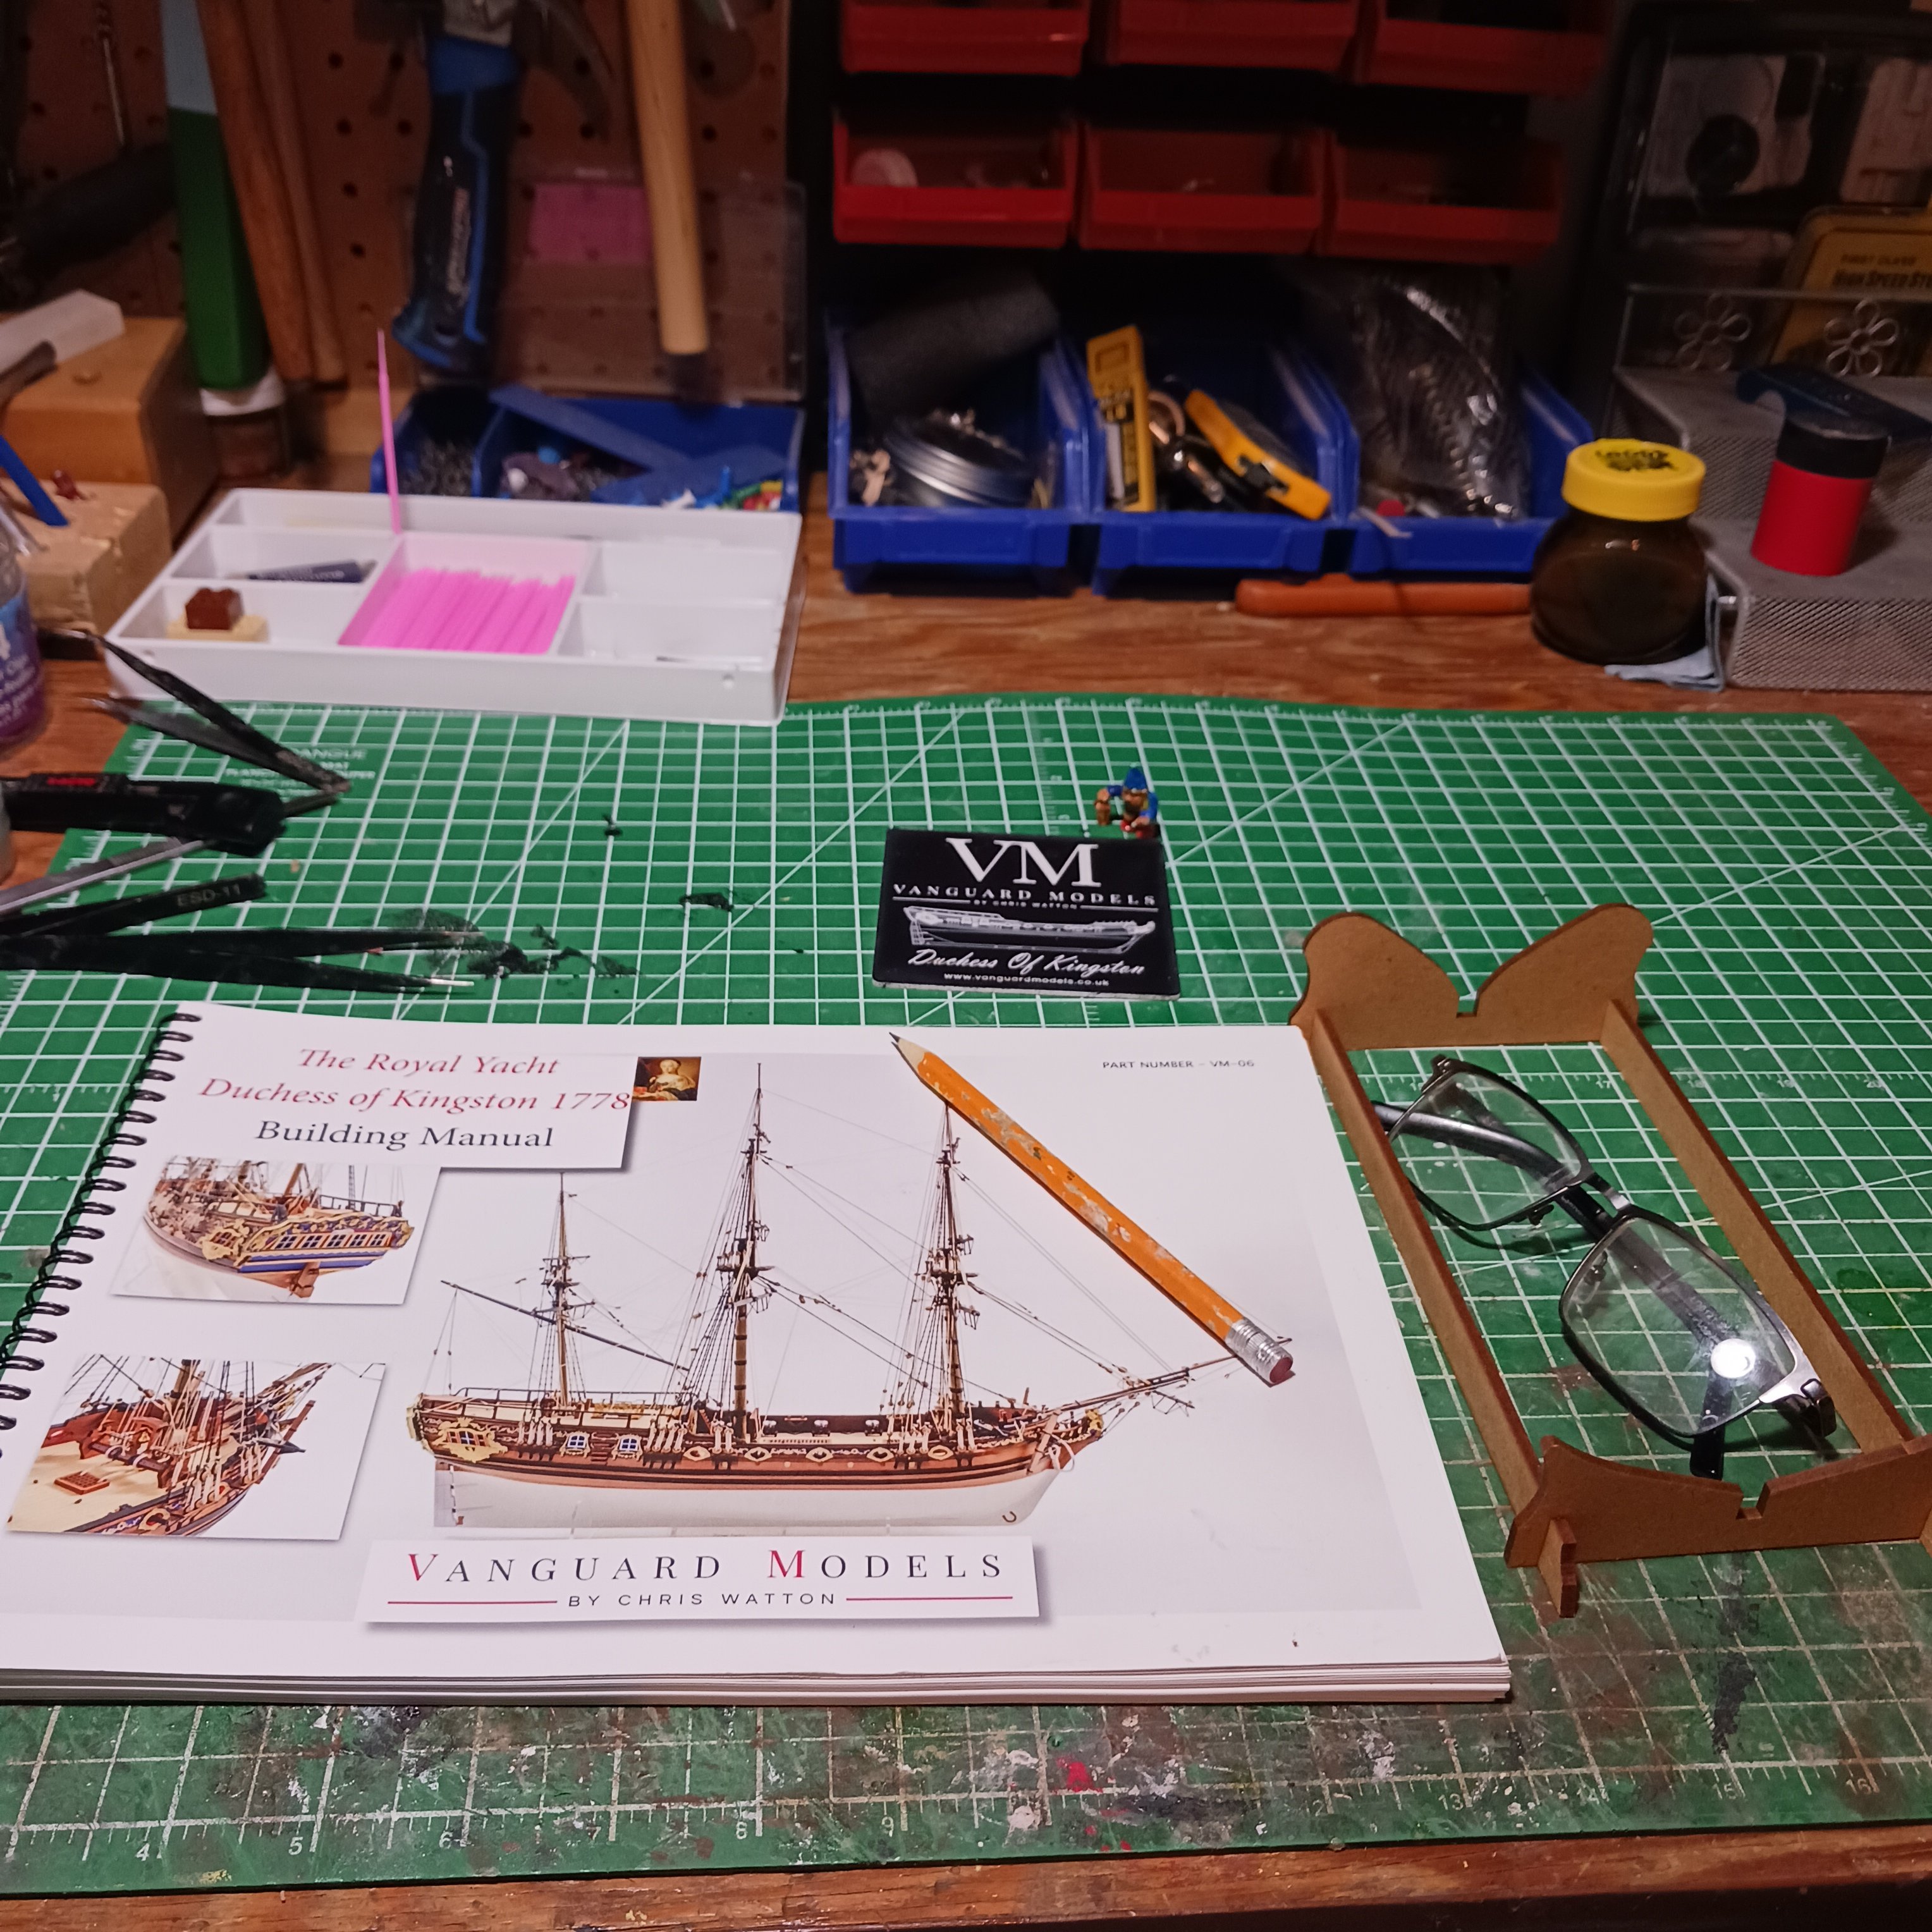
And this great 80 page understandable instructions manual 😀. And 13 pages of plans. I made a flip binder so to speak, I made holes in all the tops and put it on a corrugated plastic board. I placed reinforcements rings on both side of the plans. I was going with 5 rings but three proved to be adequate. It works good just flip to the pages you want then slide it into the desk out of the way.
I really want to do this build up right so I peiceed my servo machine back together and I am going to study how and what size of rope I need to make the shrouds. I made a few test peices and need more practice. But I will get there this time.
So with that I am at step 13. And will close the book for now because I will be working on my King of the Mississippi diorama for the next little while. I will be very anxious to get back to this build .
Thanks for looking at the start of my next adventure.

All the other logs for The Duchess of Kingston are full of facts about this ship so you can read about it there if you like.
Much appreciation to the staff at MSW and NRG for all the help they've given me over the past 3 years and to all who have help along the way thanks.
SO let's build something.
Bob M.
PILE says "Long winded canadain"

-
-
Great work, you might try a sheet metal roller, a small one hand crank is about 150 Canadain ,might work 😉
Bob M.


HMS Pegasus 1776 by Moonbug - Amati Models - 1:64
in - Kit build logs for subjects built from 1751 - 1800
Posted · Edited by Knocklouder
A picture is worth a thousand words, thank you so much for all those words") . About the Fire boom I tryed for several hrs yesterday to find an answer for you, but I can't
. About the Fire boom I tryed for several hrs yesterday to find an answer for you, but I can't
But if I were to guess, it was stowed by the ships boat, with the spare masts.,just a guess.
Thank you for all your pictures, I for one enjoy them immensely ,Thank you.
Bob M.