HOLIDAY DONATION DRIVE - SUPPORT MSW - DO YOUR PART TO KEEP THIS GREAT FORUM GOING! (Only 36 donations so far out of 49,000 members - C'mon guys!)
×


Knocklouder
-
Posts
2,920 -
Joined
-
Last visited
Content Type
Profiles
Forums
Gallery
Events
Everything posted by Knocklouder
-
 Nice looking ship, are you making a case for it. Protect your keep sake, it's is awesome, well done.
 -
Wow did that ever whiten those sails amazing work
-
Good luck on your journey, with the names you have mentioned you are in good hands. Looking forward to seeing your log.
- 61 replies
-
- 2
-

-
- Granado
- Caldercraft
- (and 1 more)
-
-
Congratulations!!! It looks marvelous, the grandchild will love it. So glad you made the dead line on this ship, finally lol. Waiting to see what it looks like in the case. Well done my friend
- 59 replies
-
- 2
-
-
- Santa Maria
- Artesania Latina
- (and 1 more)
-
Hello Kevin, glad to hear from you. Hope you get to building soon people here are missing you.
- 129 replies
-
- 2
-
-
- Bounty Jolly Boat
- Artesania Latina
- (and 1 more)
-
-
Hello All - From Santa Barbara, CA
Knocklouder replied to Blu330ciracer's topic in New member Introductions
-
Navy guy excited to be here 🏴☠️
Knocklouder replied to GRATEFUL LITTLE PHISH's topic in New member Introductions
-
Have a great time on your vacation. We will be waiting for your return
-
Very nice details. A fine job, looking forward to your Revenge log,
-
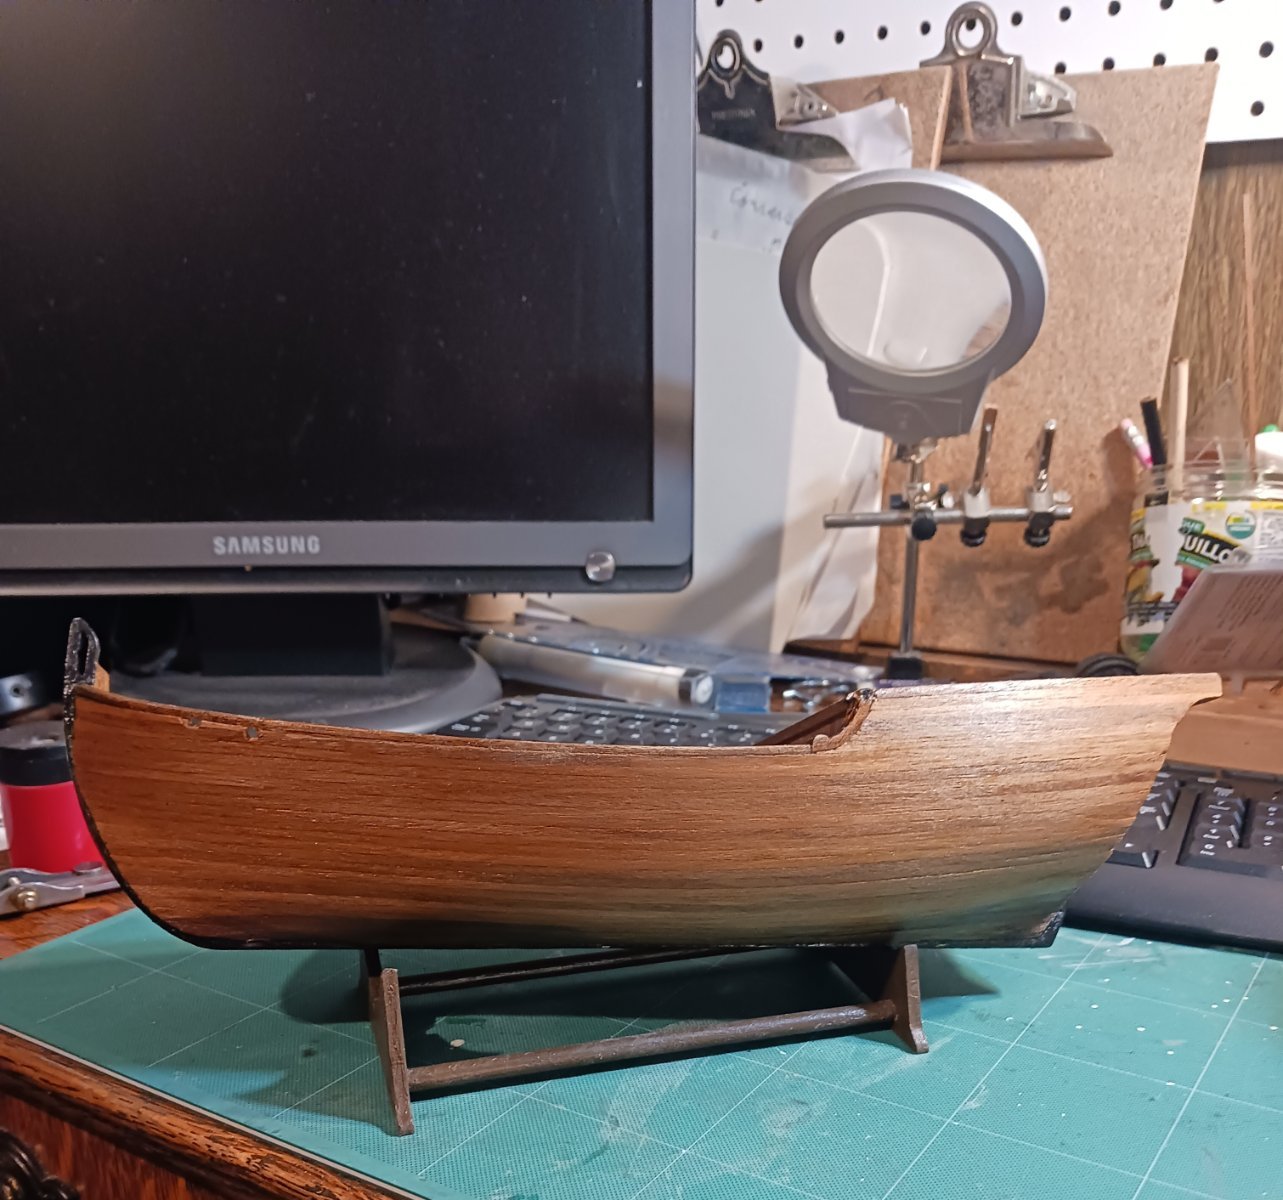
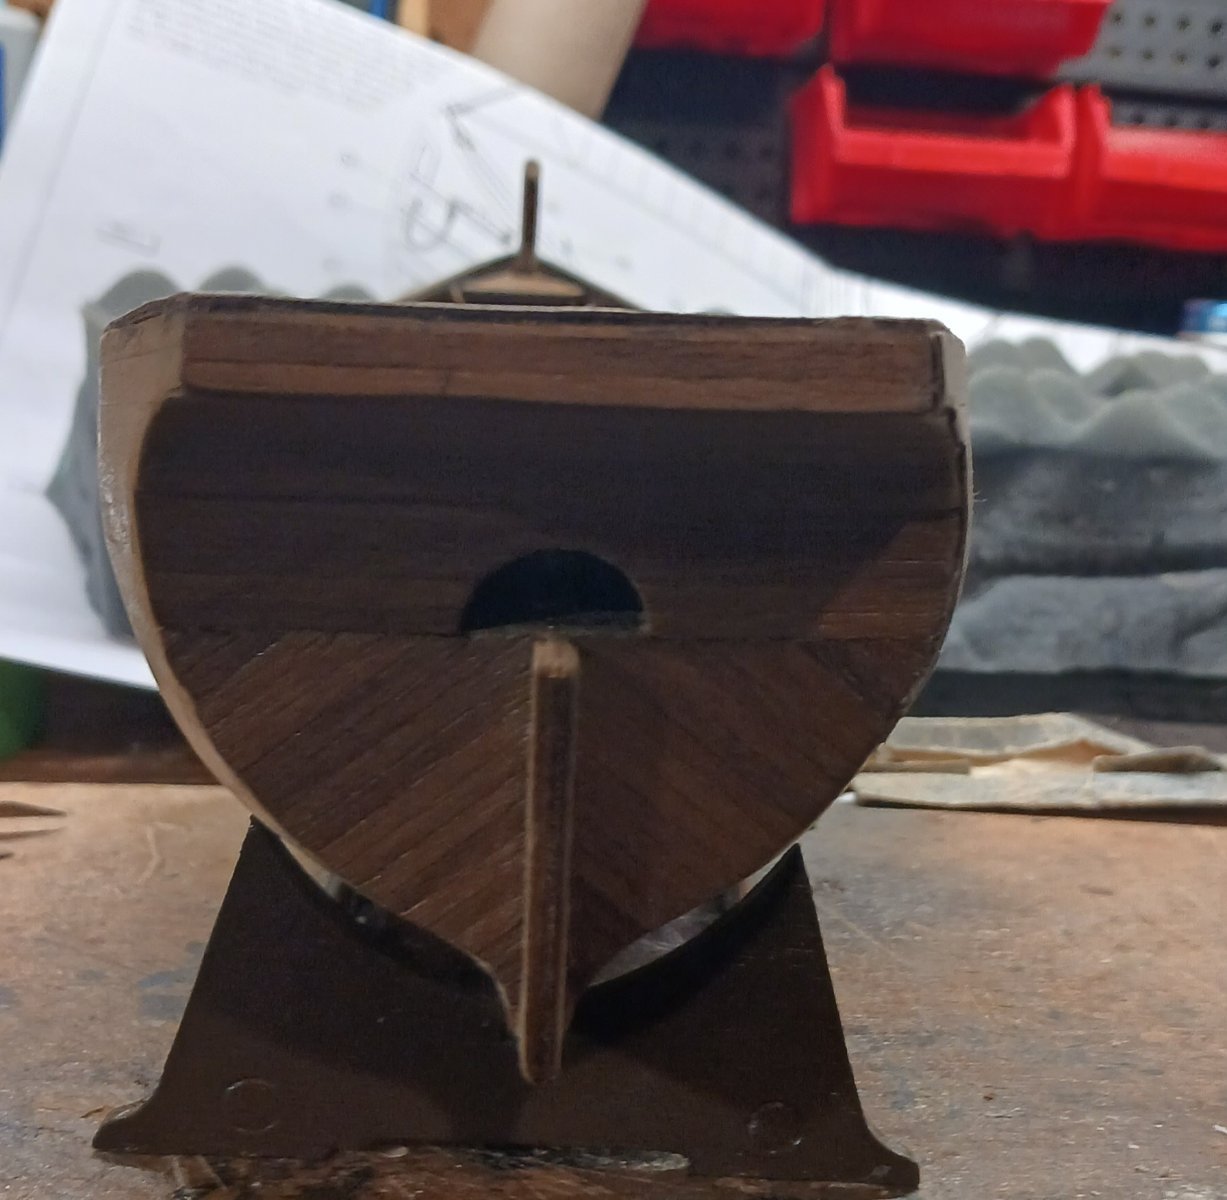
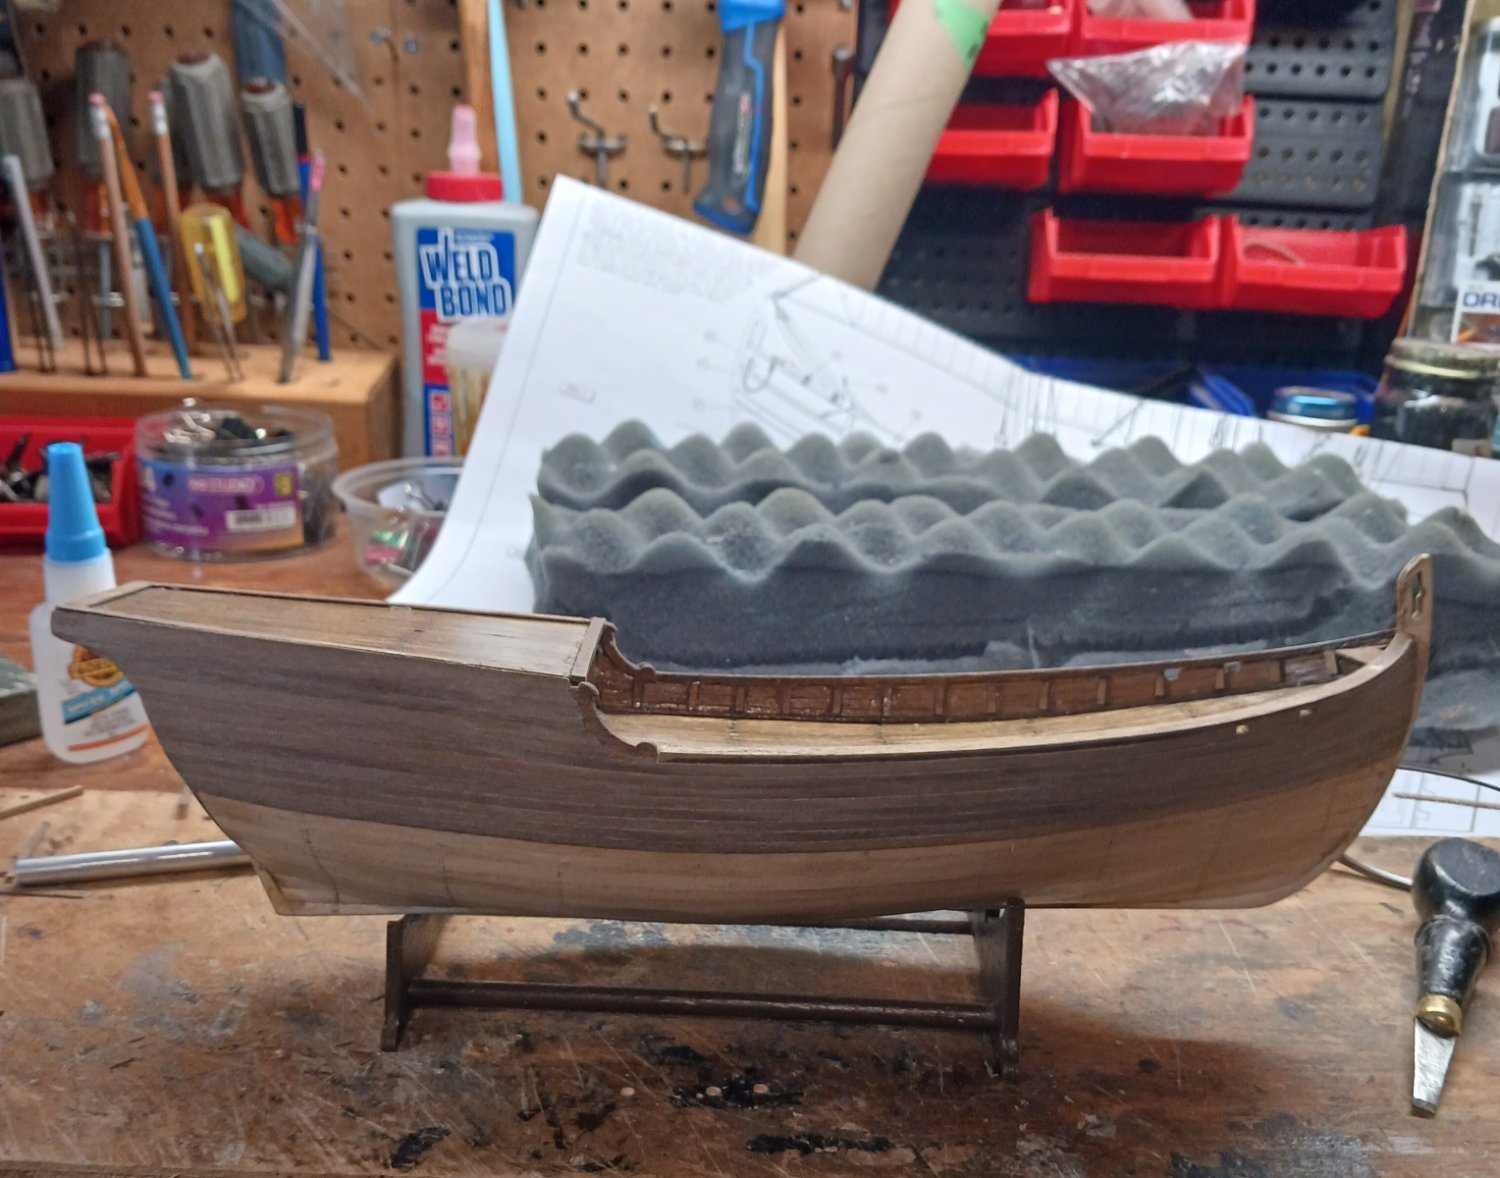
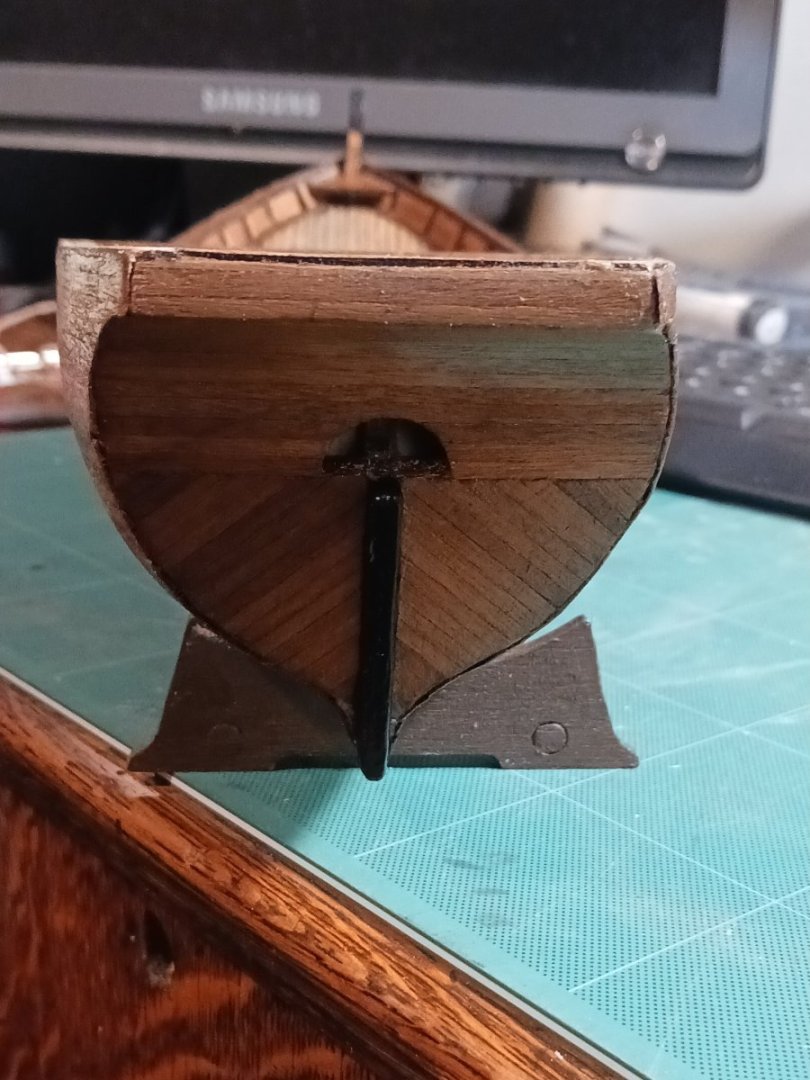
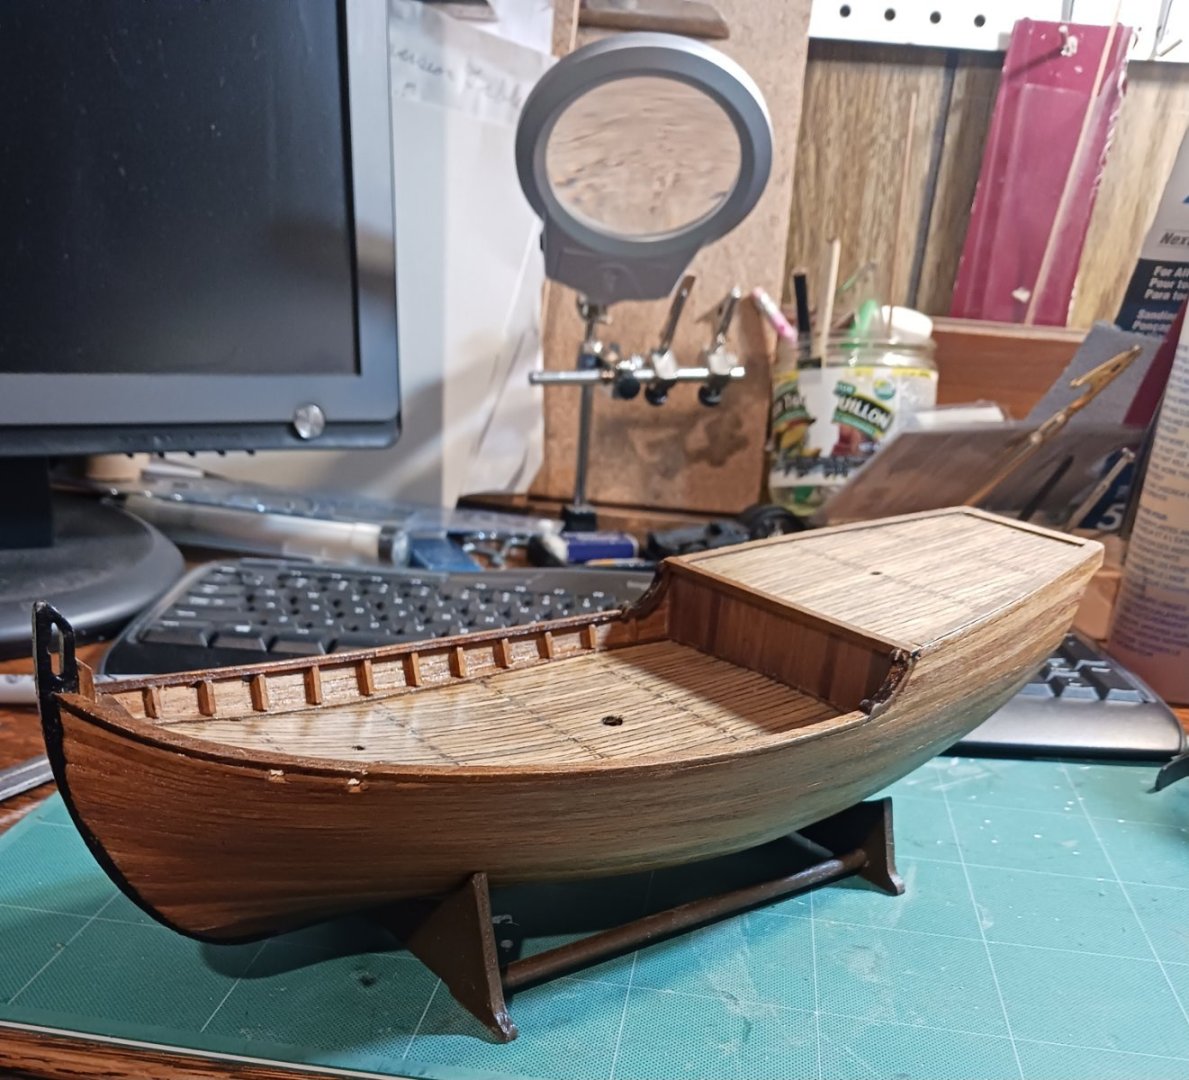
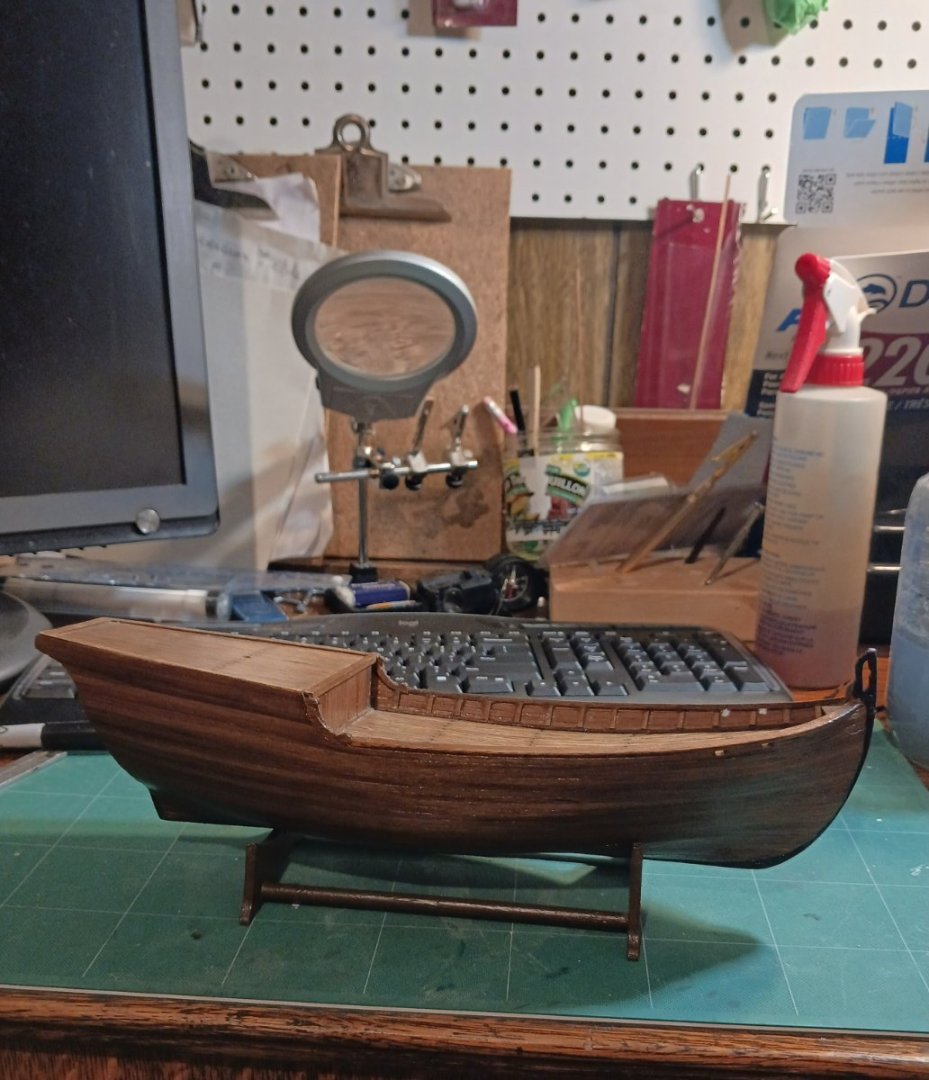
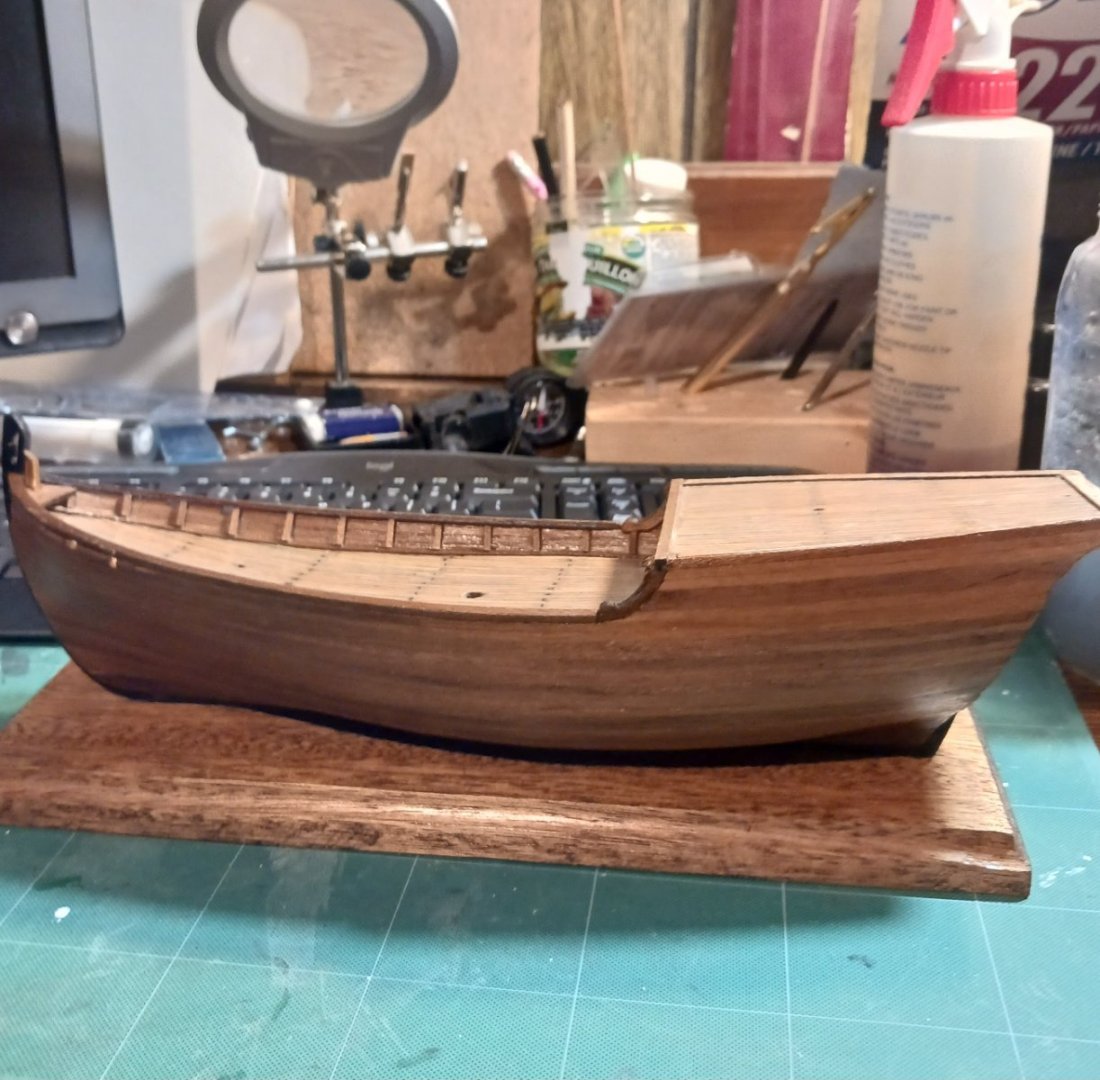
Thank you all for your get well soon and likes. I have had a lot of time to think these days. Seems like that's all I could do lol. All though I have been working on the ship for a few days now , I get really tired after a few hours. So the Frist Mate says I have to take the weekend off 🙄. But my planking went well. Best one so far, hope that carrys on to my next ship the Pegasus lol. I can't wait for that one to finally start. . So ,next week it will be the whalers, then on to the deck furniture, mast, sails and done lol.,but lets not get ahead of our self lol. Here is my Nina as she sits now. 9
- 49 replies
-
- 12
-
-

-
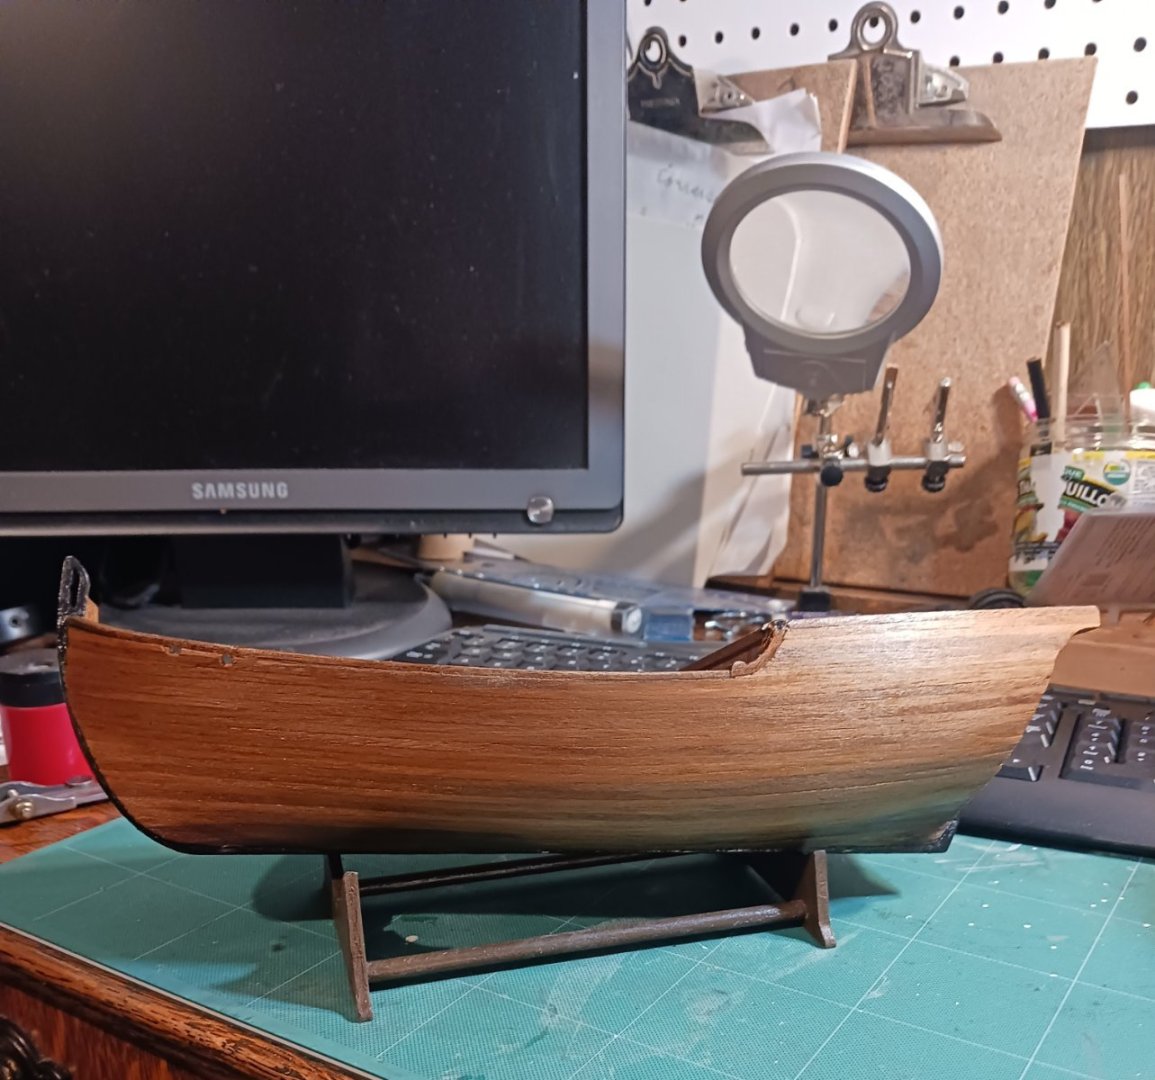
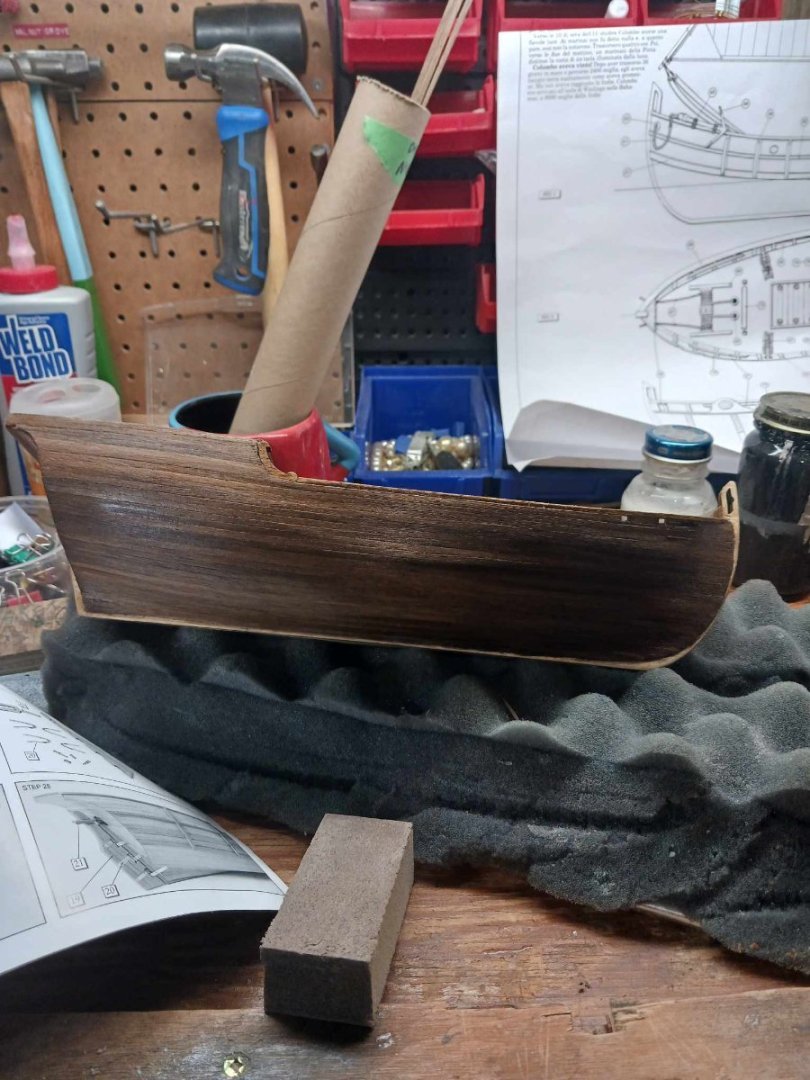
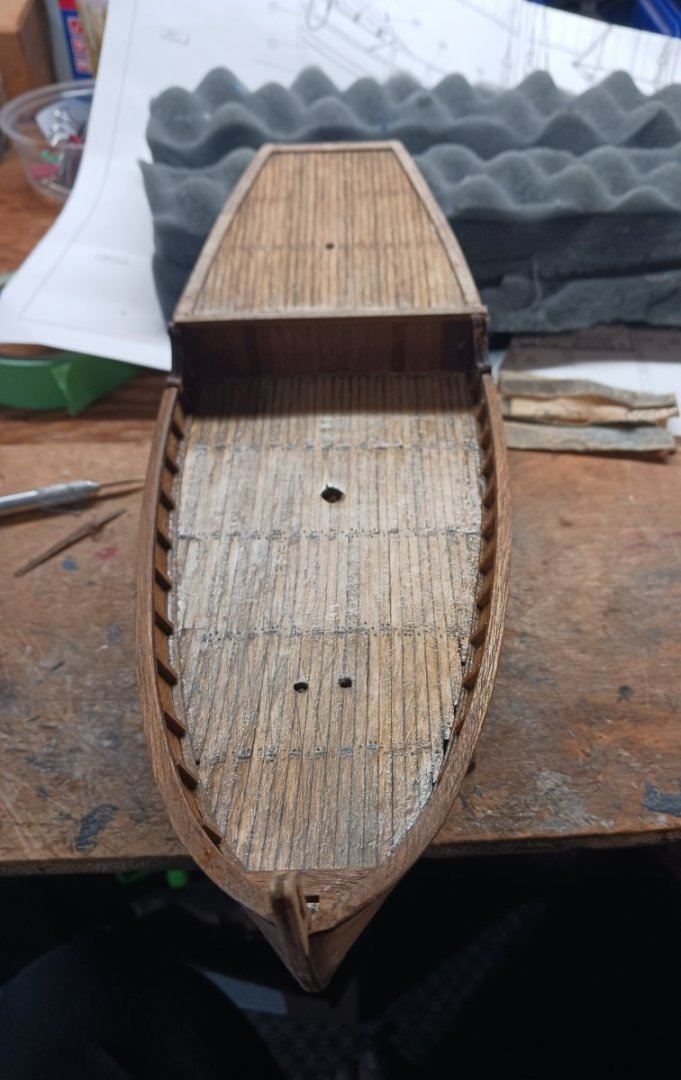
Ahoy everyone, well finally work has rezoomed, after a long serious respiratory illness, I have recovered enough to get a few hour a day back in the shipbyard. Still get very tired after a few hours but a quick nap and I am good to go. I have lots of out side work to catch up on, so work will progress slowly at first. The First Mate is keeping a close eye on me so I don't get to exhausted. I have worked on the deck as far as I want to go for now, because I will be doing the planking and will be turning the ship upside down and everyway to get the planks on.. A few pictures only, but It's a start.


-
Nice work my friend, if I ever get to mine this log will help immensely, your details are amazing. Thanks for your log , well done.
-
Looks good my friend. There is all kinds of methods to use to stop leakage, certain types of tape, using a clear sealer first, brushing up away from the tape not down into it. But for me I just use green painter's tape, making sure I use a flat small flexible putty knives to take the air out of the edge to be painted. Works most of the time lol. Still your ship is looking good
- 49 replies
-
- 2
-

-
-
- muscongus bay lobster smack
- Model Shipways
- (and 2 more)
-
-
Ahoy SC. Welcome to MSW. This is the place to be , everything you will ever need to know is here. Good luck on your journey!!!
-
-
My thoughts and prays for your friend, my friend. And a extra pray just because she is your friend
- 290 replies
-
- 6
-
-
-
- Quinquereme
- Finished
- (and 1 more)