


Knocklouder
-
Posts
3,018 -
Joined
-
Last visited
Content Type
Profiles
Forums
Gallery
Events
Everything posted by Knocklouder
-

Naval History On This Day, Any Nation
Knocklouder replied to Kevin's topic in Nautical/Naval History
https://www.foxnews.com/lifestyle/this-day-history-oct-21-1797-legendary-warship-uss-constitution-launched-boston Today's History lesson. I found it interesting Old Ironside !!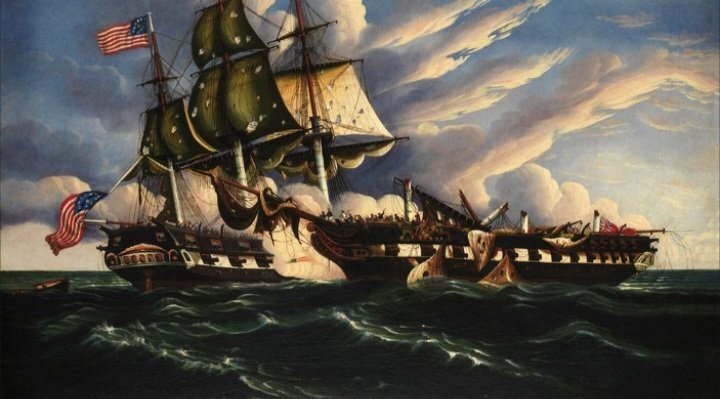
-
-
Nice start. I really like those river boats,got one in my stach as well. Good luck on your journey, pulling up a chair as they say here !! Bob M.
-
Great looking ships!!!! Bob M.
-
That looks really cool, I may have to try that myself for my Pegasus,, I will call it the "Harbor Stand" .
-
Some very nice work!!!!
-
That's a very nice job , impressive frist model my friend. Way to go ,
-
Billing boats bluenose ll late father's model
Knocklouder replied to Simon29's topic in New member Introductions
-
Maciek, Welcome to the crew !! Bob M.
-
Deja ve, lol. It will be fun to watch it all over again, can't wait to see what this one will look like Good luck my friend
- 134 replies
-
- 1
-

-
- sea of galilee boat
- SE Miller
- (and 1 more)
-
Welcome back . Bob M
-
Great job on your build, Congratulations Bob M
-
Hello from Lower Franconia, Germany
Knocklouder replied to Macika's topic in New member Introductions
This is the place to be, you will find lots of crew members here that will go out of their way to help. Sorry I don't have any advice on first models lol , but lots do. Welcome to the crew. Bob M. -
Very nice , can't wait to see what you build next. Thanks for posting such a wonderful log, I enjoyed it immensely, well done .
- 134 replies
-
- 2
-

-
-
- sea of galilee boat
- SE Miller
- (and 1 more)
-
I just ran though your log again, you are doing great my friend. That ship of yours's looking really good.
- 59 replies
-
- 3
-
-
- Swift
- Artesania Latina
- (and 1 more)
-
-
Hi Brian, glad to see you back, I always enjoy your work. Keep moving even if it at a snails pace, your Granado is looking great my friend.
-
Nicely done, it looks great. Congratulations!!!
