Dave_E
-
Posts
1,282 -
Joined
-
Last visited
Content Type
Profiles
Forums
Gallery
Events
Everything posted by Dave_E
-
Hi All, The Lady Nelson kit came with some black thread and what they call natural. I’ve seen a few completed builds of the Lady and the rat lines are natural. The kit says to use India ink and use a paint brush to paint it on after your done constructing the rat lines. What’s the forums opinion on this? It won’t break the bank to purchase some .1 mm black rope.
-
 Hi Mary, I’ll pass along something someone showed me (thanks Glenn). Get it at Amazon. Best cutting, holding tool I ever had. Works good for planks. Don’t forget to change that #11 blade often and don’t try to make the cut all the way through on one pass. Shinwa 12" Extruded Aluminum Cutting Rule Ruler Gauge with Non slip rubber Backing 33279
-
HWM - Nice to have you aboard. Start a build log when you get comfortable so we can watch your progress. 👍😀
-
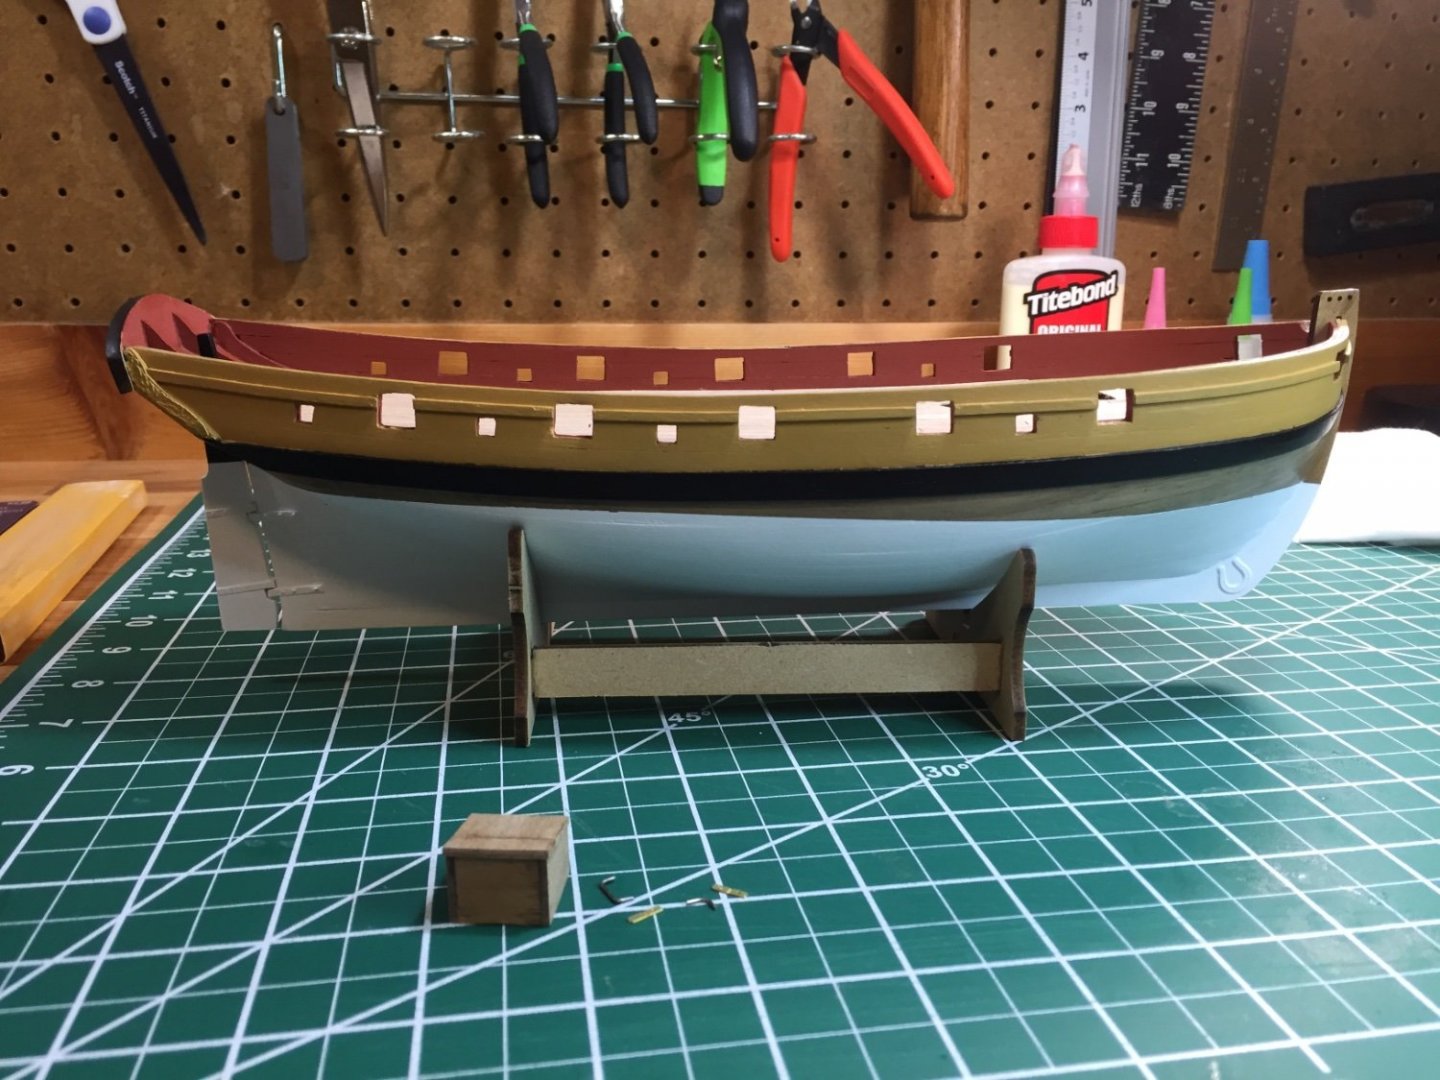
Painting under way and experiencing the learning curve for sure. I used Tamiya 6mm tape and was very happy with the masking results. However I do have a couple spots to touch up and am scratching my head wondering how I’m going to touch up such slight imperfections. I did just purchase a set of tiny rubber tipped “brushes”, might give them a try for the touch up. In the foreground you can see the house with implements for hinges and handles. The kit shows 1mm thick brass wire for these things. I got out my new best friend, the “scale converter” 😁, and sized up a large grab handle and large door handle type lever. Then I used the left over wire from the Syren rudder kit I just got and think that will be a lot more to scale than big honking 1mm wire. I’m not through my first build and have paid so much attention to the “scale” expertise here on the forum, that I’m easily recognizing things that aren’t even close in the kit.
- 362 replies
-
- 9
-

-
- Amati
- Lady Nelson
- (and 2 more)
-
Dave, this is Dave. Welcome to the forum! 🙂
-
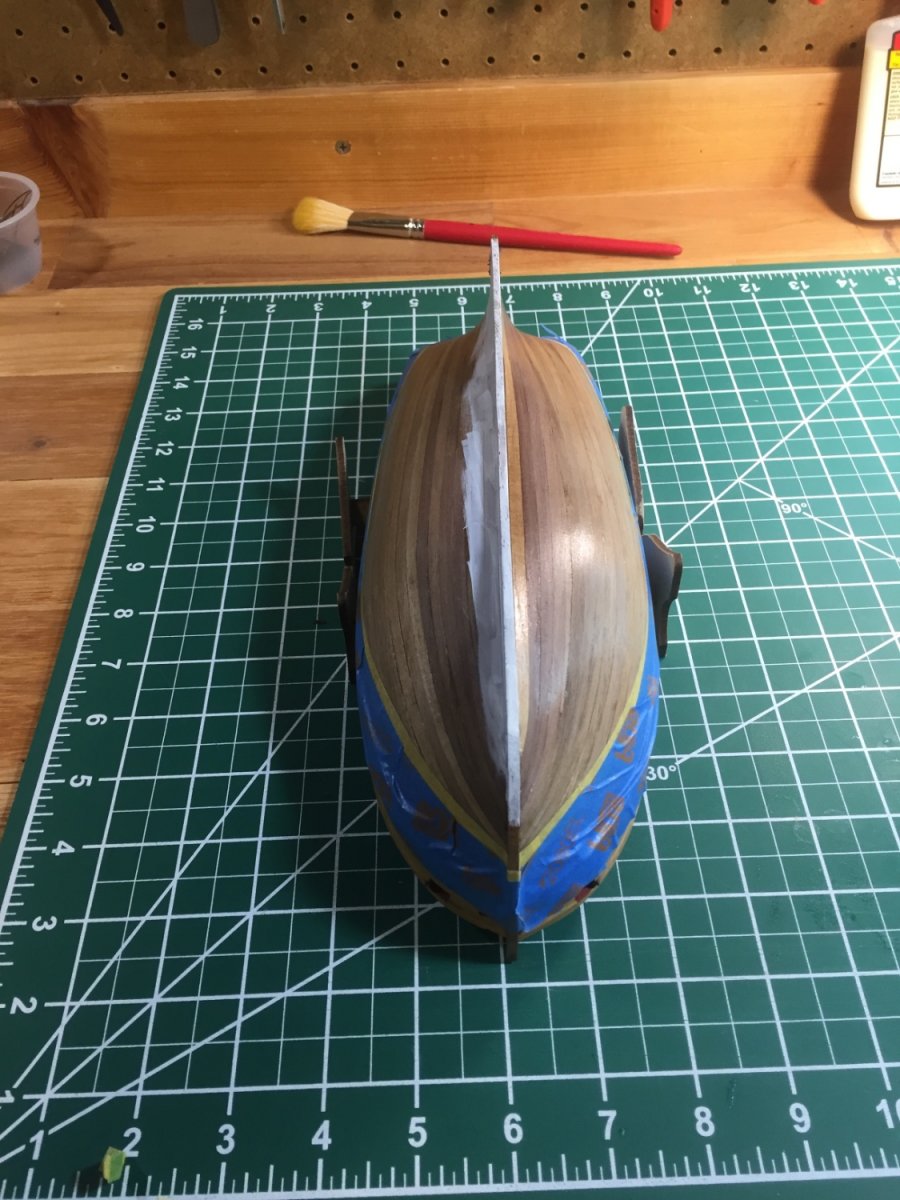
Hi All, Masking for the Lady went well, painting went well. De-masking went well. However... I have some spots around the top that say "look how thick the bottom paint is". What's the best way to feather acrlic? Or should I even bother? From 2' away, you cant see it. Up close... 😯
-
Hi John, 3 years will be a blink... I just retired in December and remember the countdown. Savor it Brother, it goes faster everyday. That being said, I have crazy enjoyed being in the shipyard more. You will as well. 😀 I have a Rattler on the shelf, so I'm following you. 👍😎
-
Hey Dion, Welcome aboard mate, glad to have you.
-
HM Cutter Cheerful 1806 by JpR62 - 1:48 scale
Dave_E replied to JpR62's topic in - Build logs for subjects built 1801 - 1850
Jean-Paul, VERY good work Sir… perfection! 👍😀 -
Bug, Did you hand paint all that pretty yellow trim under a magnifier? What size brush? What color yellow is that? Crazy good work Sir! 👍😀
- 419 replies
-
- 2
-
-
- Victory Models
- Pegasus
- (and 2 more)
-
I have many, in fact most of what I have seen here on the forum. That will soon include Lego blocks. 😁 As a newb ship builder, doing my research, I run across all these “special tools”. That’s why I bring them to the forum, because I know I will get the answers and advice I need! Thank you all! 👍😀
-
I'm on the hunt for a basic lego set before I start!!! Cool Man! 😎
-
Thanks Guys, I’m kind of wondering is it necessary at all? I see a ton of ships made without a dock… I put the Lady together without one. Are larger ships (even if they are still 1:64) more susceptible to frame misfair? I’ve seen some pretty ingenious methods here on MSW.
-
Hi Evan, Welcome do the forum! You can edit your post by clicking the 3 dots on the upper RH corner and edit your post. 👍
-
Hi Mary, Welcome aboard. Jump in! I’ve found this forum to be much more than just model ship questions and answers. Friendly, knowledgeable, helpful folk reside here. 😊
-
Rudder painted white?
Dave_E replied to Dave_E's topic in Painting, finishing and weathering products and techniques
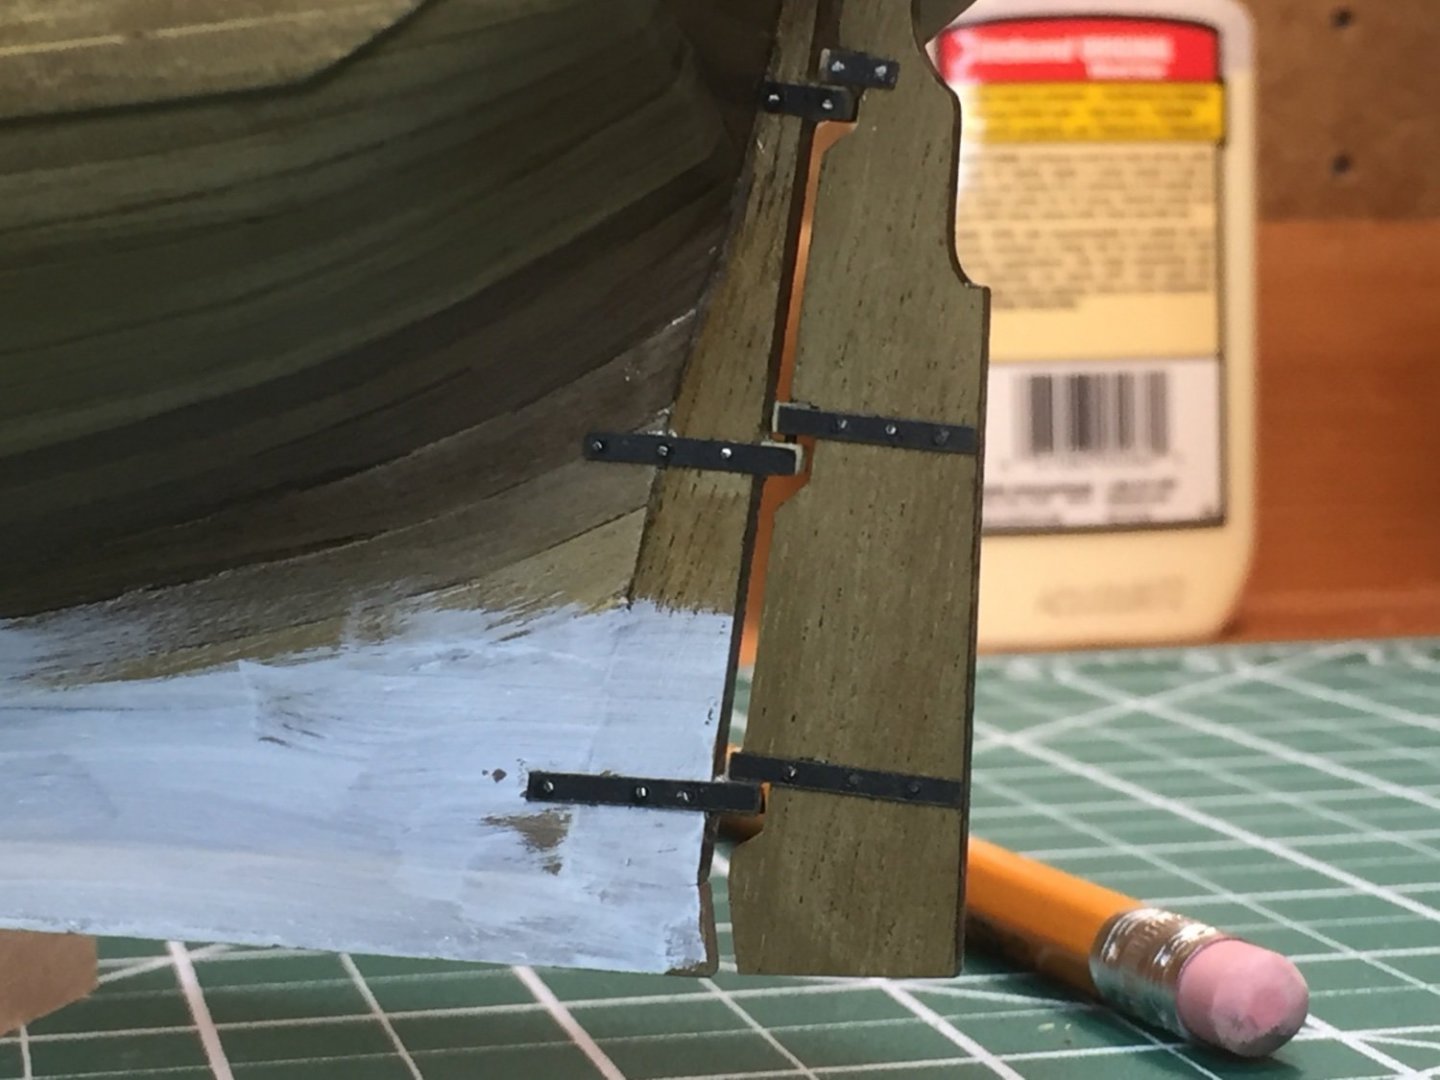
Concur completely. So… wanting to be more accurate than not… rudder will match the hull waterline. -
Hi All, Getting ready to paint the Lady's hull white. I've seen several models (of many different ships) where they did not have the rudder painted white and the rudder hinges not painted either. I'm going to guess this might be for athetics and not historically accurate? Input?
-
Hi All, Model Expo has the USS Rattlesnake I'm ready to purchase, and they have a big kit that includes the "fair-a-frame", a plank bender and a 10 bottle set of paints for the ship. Anyone have experience with the fair-a-frame? I
-
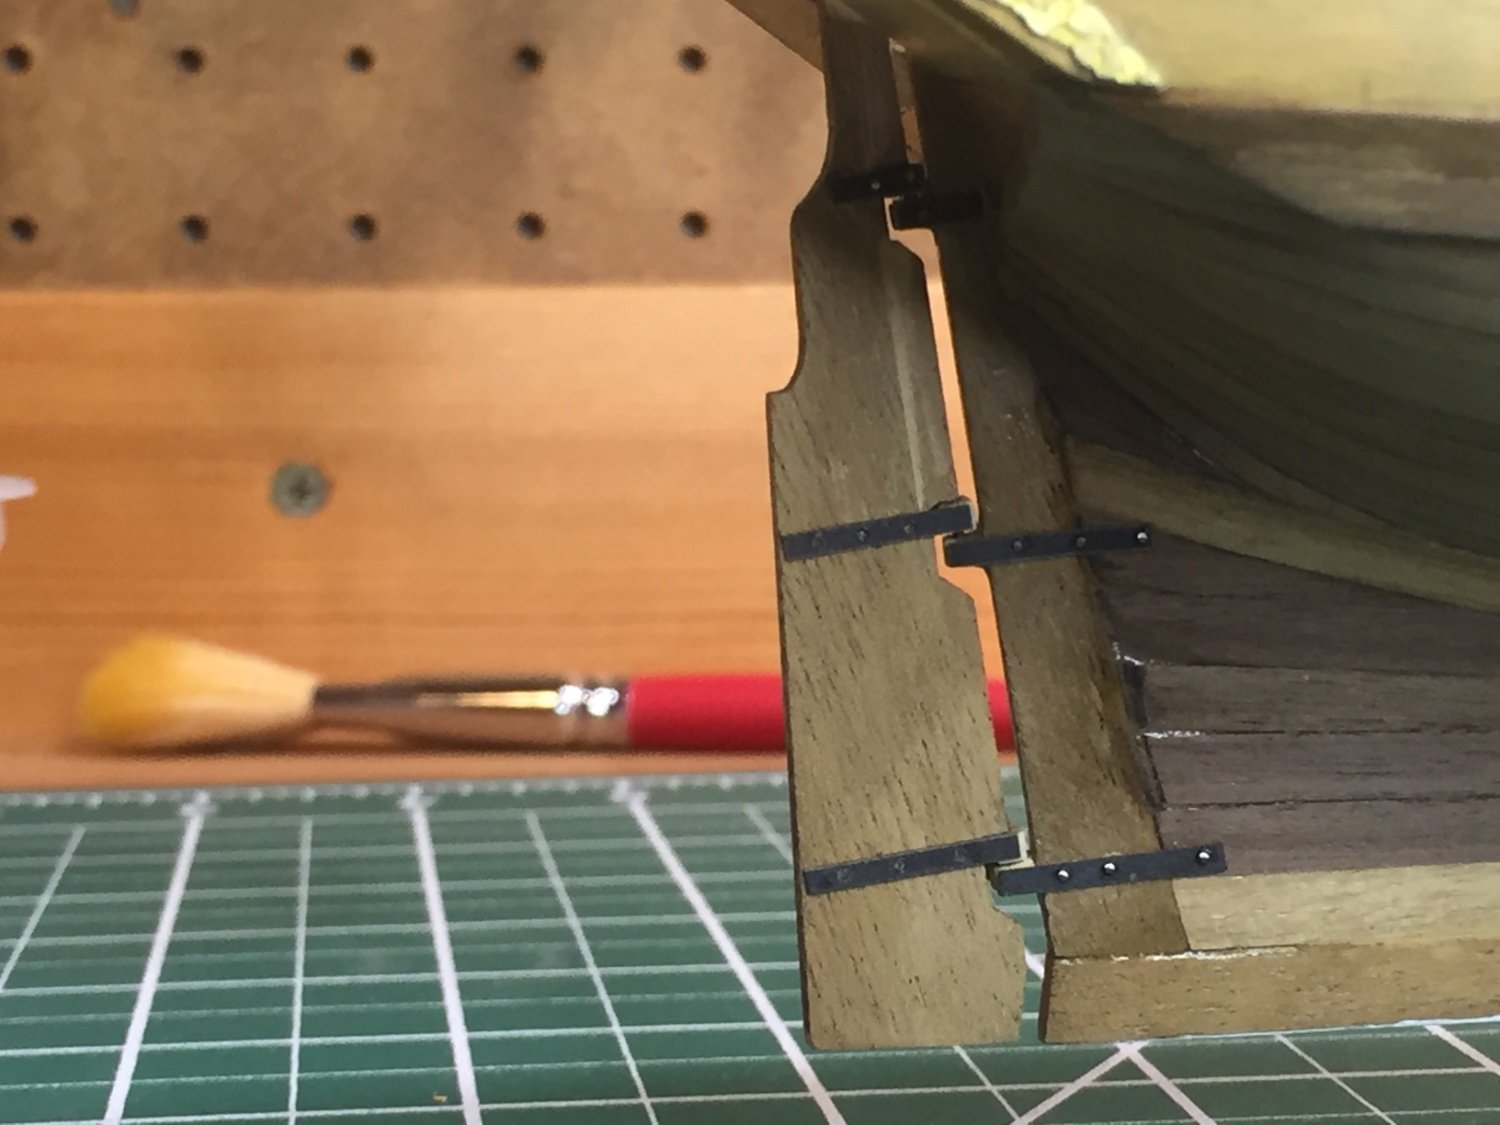
OK Fellas (and any Ladies visiting), I got the rudder hinge kit from the Syren store. These little rudder parts had to be the smallest parts I’ve worked with in recent memory. The saving grace perhaps is all the hinges will be painted. However it was a good first experience. Next step, painting. 😎


- 362 replies
-
- 7
-
-
- Amati
- Lady Nelson
- (and 2 more)
-
Your New "cautionary tale" posterchild here!
Dave_E replied to Valkyrja68's topic in New member Introductions
Welcome to the forum! Keep reading. 😄 -
Thank you all very much. Another interesting point (for me anyway) has been the history of the ship itself. I love all the period sailing ships (and tv shows and movies), and found that the early United States had part in their ongoing development and purpose on the ocean. After doing a lot of research on the colonial period ships (didn’t know there were so many actually), I decided to look and see how many kits there were available for United States Ships. Note… I’m not a scratch builder and know I’ll never be one, so the next best task is to find the best kits for representation of ship accuracy and then If I want to substitute or upgrade (bashing I think is what you call it) I certainly have the option. Thought I was building models and now I’m enjoying research on Naval history. 😀
-
I guess it was Mamoli... never heard of them.