Ferrus Manus
-
Posts
1,407 -
Joined
-
Last visited
Content Type
Profiles
Forums
Gallery
Events
Everything posted by Ferrus Manus
-
 The flag i designed for Habsburg Spain, which will go on the mainmast:
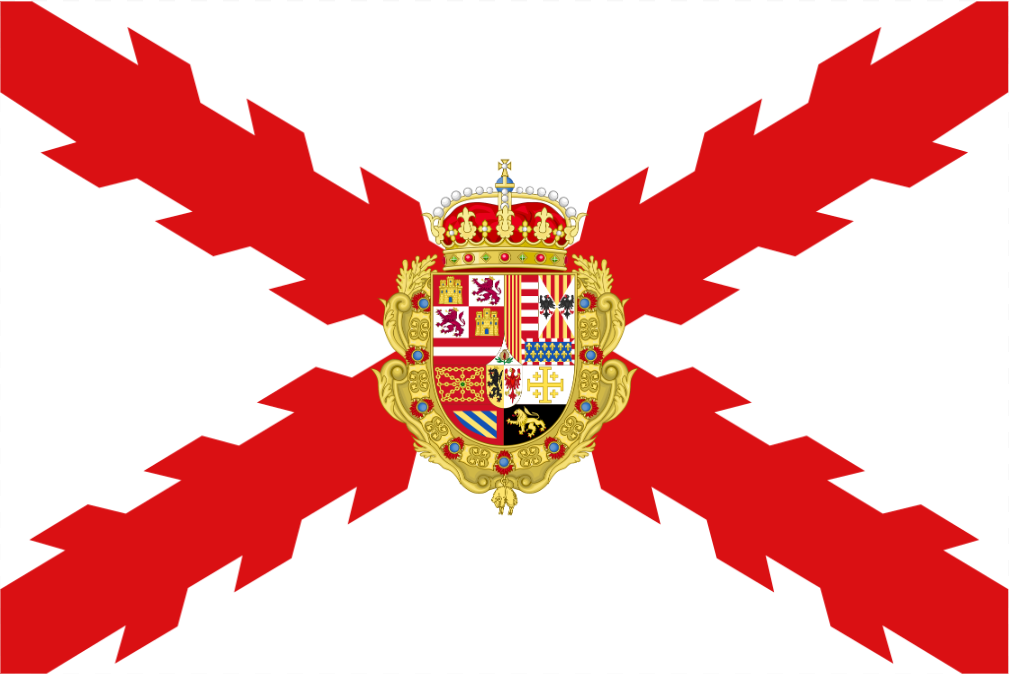
- 279 replies
-
- 4
-

-

-
- Spanish Galleon
- Imai
- (and 1 more)
-
The other three flags will be the flag of Castile, the flag of Aragon, and the flag of Habsburg Spain.
- 279 replies
-
- 1
-
-
- Spanish Galleon
- Imai
- (and 1 more)
-
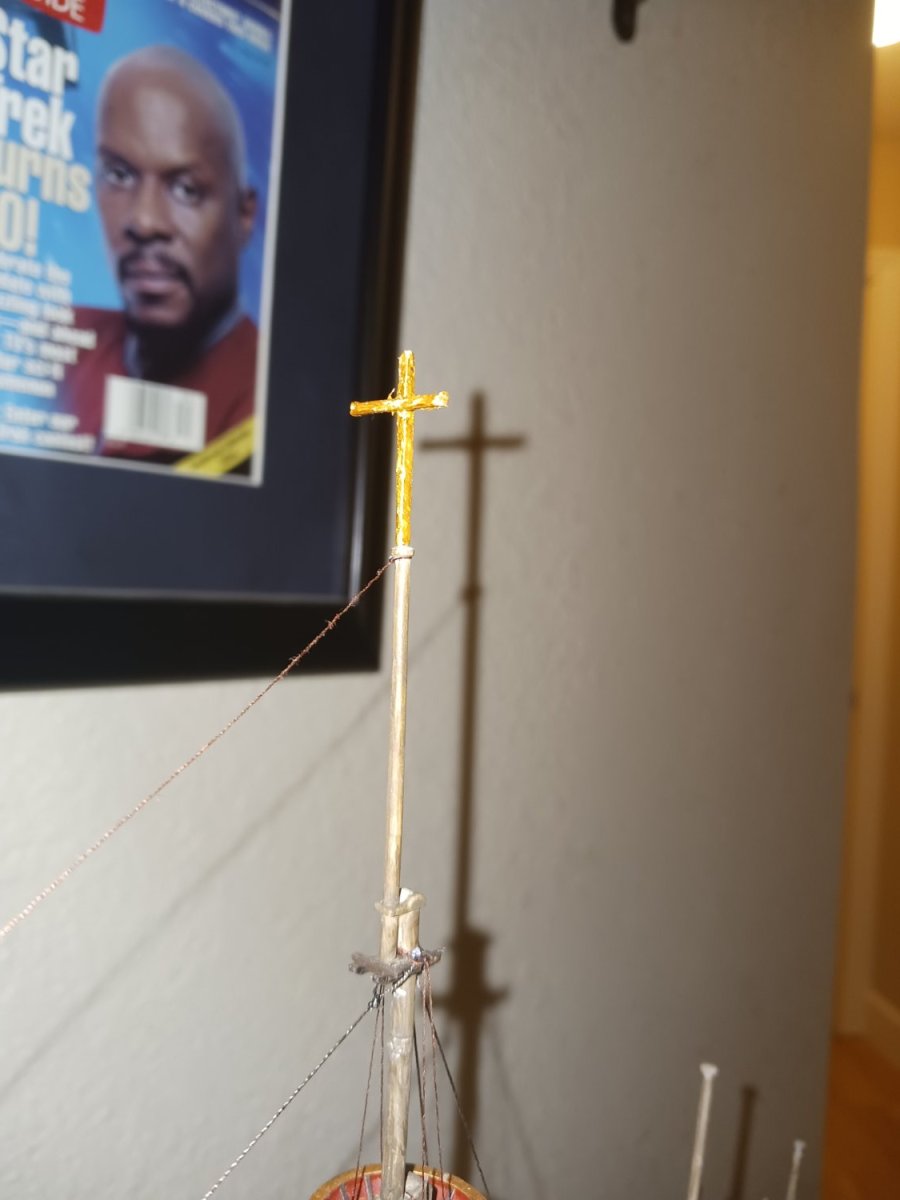
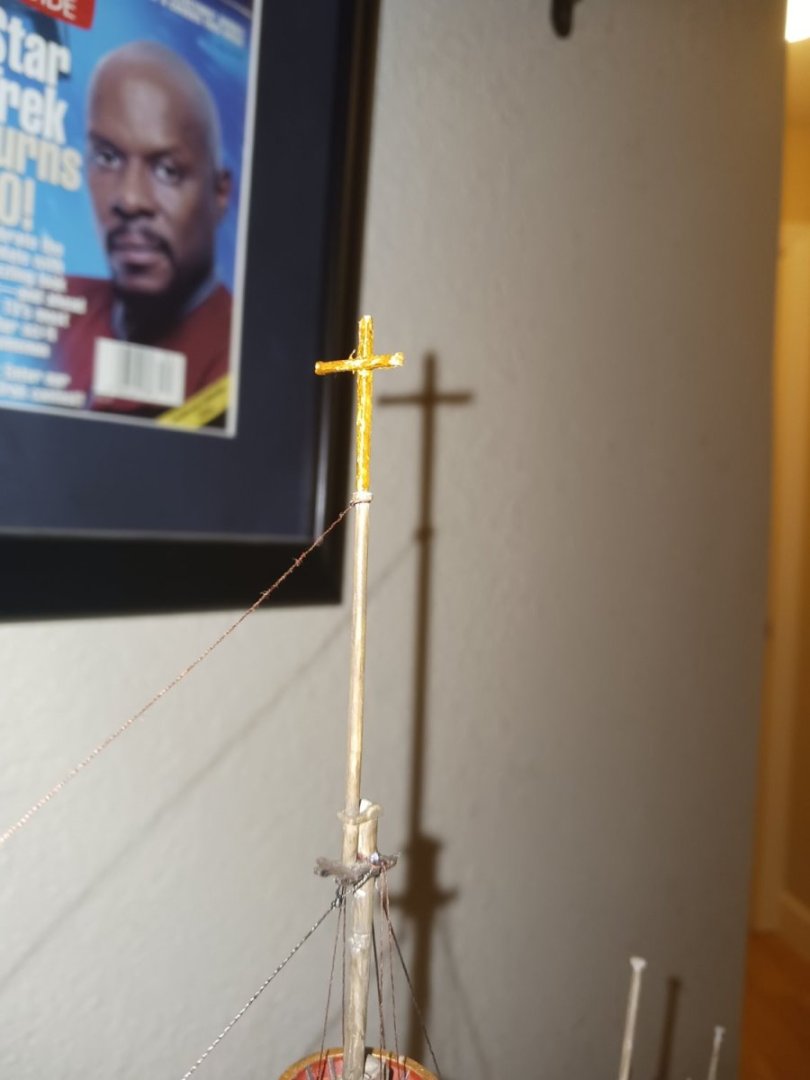
I designed the flag for the bonaventure mast: Those are the Greek Alpha and Omega symbols. In the Bible, God is portrayed as both Alpha and Omega, the beginning and the end. This makes its way into much of Christian theology, as well as Catholic art. The cross is of the Order of Santiago, the religious order that in 1493 was officially integrated into the Spanish Crown.

- 279 replies
-
- 3
-
-
- Spanish Galleon
- Imai
- (and 1 more)
-
I also did this, because Spain: I also drilled a sheave for a pig stick below the bonaventure truck.
- 279 replies
-
- 2
-
-
- Spanish Galleon
- Imai
- (and 1 more)
-
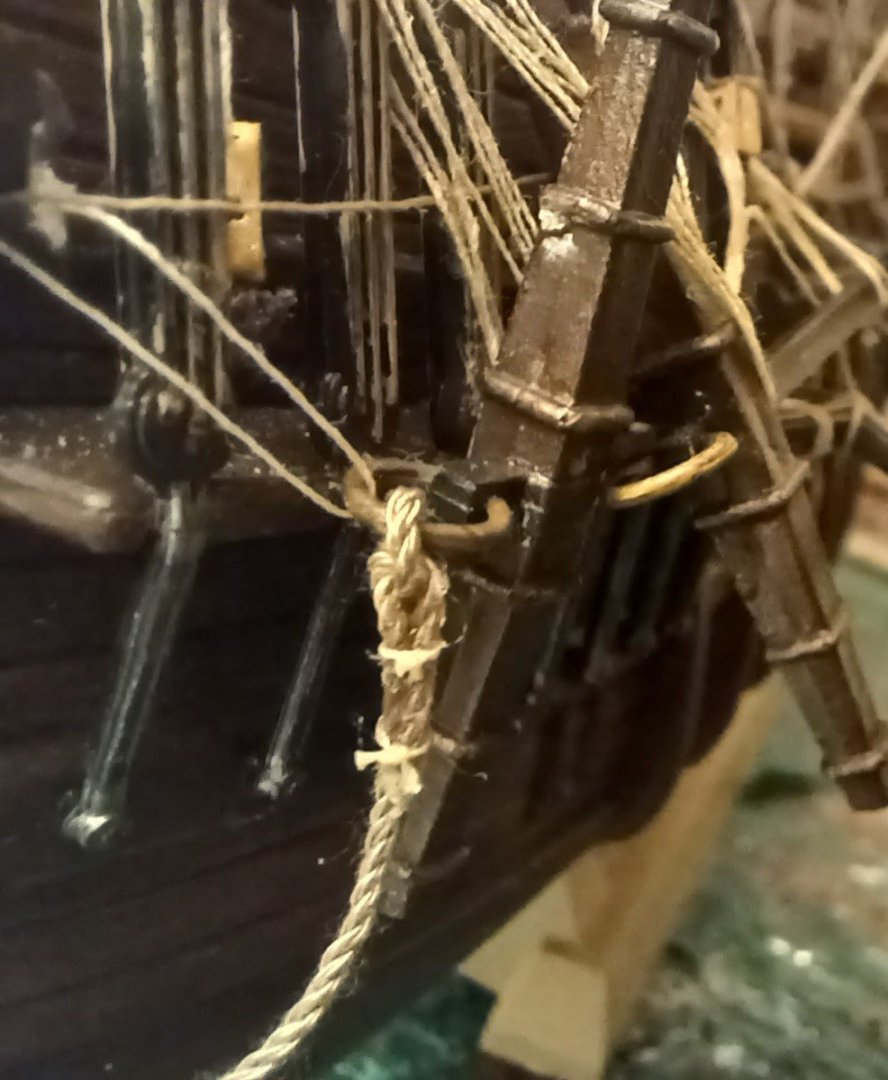
Okay, so here's what i did. In order to change out the existing anchor line, i glued the end of the old like to the end of the new one, and just pulled until the new line was through both holes. Then, because actual anchor rope knots are horrible, i did a simple half hitch and then seized the end onto the anchor rope.
- 279 replies
-
- 2
-
-
- Spanish Galleon
- Imai
- (and 1 more)
-
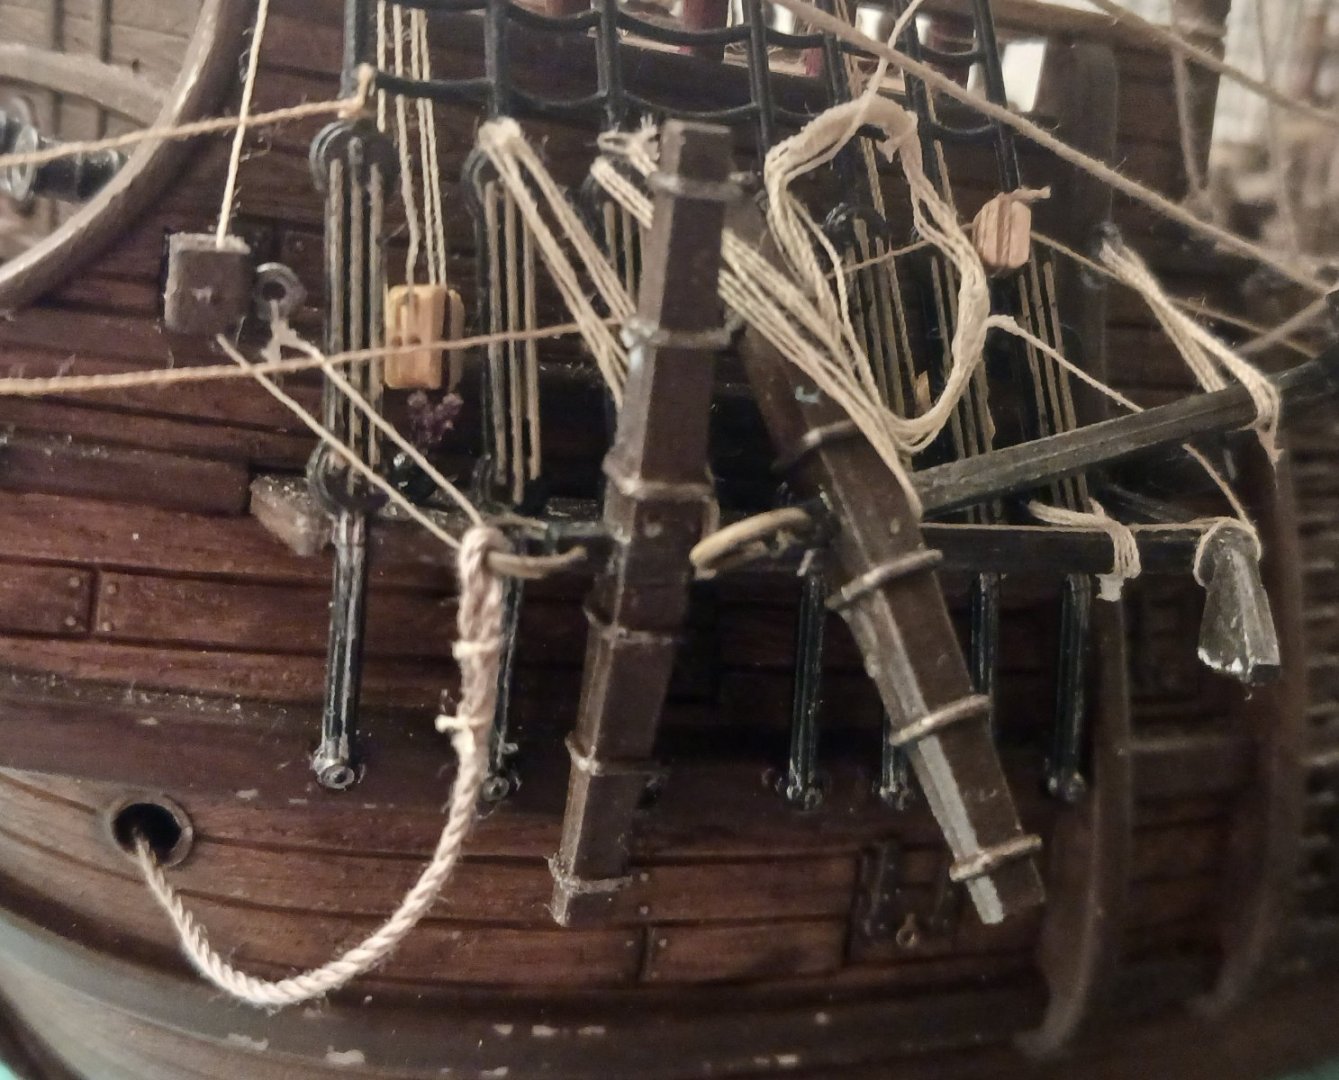
I would have put the anchors under the channels, in and amongst the preventer stays, like in the paintings. However, that would present an issue on this ship, that being the fact that at least four of the guns would not have been able to fire. That irritates me when i see it on Victory builds, although it's hard to prevent. Imagine what the crews of those four guns would have thought upon opening the gunport lid and seeing a massive anchor stock in their face. It would have been quite frustrating not being able to let loose on the French (or in this case, the Dutch), without ruining an anchor or its rigging.
-
The other set of anchors: And the four anchors as viewed from the ship's bow:
- 279 replies
-
- 1
-
-
- Spanish Galleon
- Imai
- (and 1 more)
-
On most paintings, the spare anchors are basically stacked almost directly on top of the main ones. This is the only way they could be stored. Anchors in the galleon age were absolutely huge. You'd think this anchor would have been on a ship like HMS Victory. Anyways, the other two anchors they gave me were to be used. They expected me to tie them to the main channels, and for obvious reasons there's no way i would have done that.
- 279 replies
-
- 4
-
-
- Spanish Galleon
- Imai
- (and 1 more)
-
The anchor itself, and the one on the other side, is done. That is, except for the anchor ropes. The spare anchors are next.

- 279 replies
-
- 4
-
-
- Spanish Galleon
- Imai
- (and 1 more)
-
I have now made up and painted the anchors, which look very similar to the ones in paintings, being long and slender. They took about a half hour to paint, which wasn't bad. Look at the anchors on the galleon.
- 279 replies
-
- 1
-
-
- Spanish Galleon
- Imai
- (and 1 more)
-
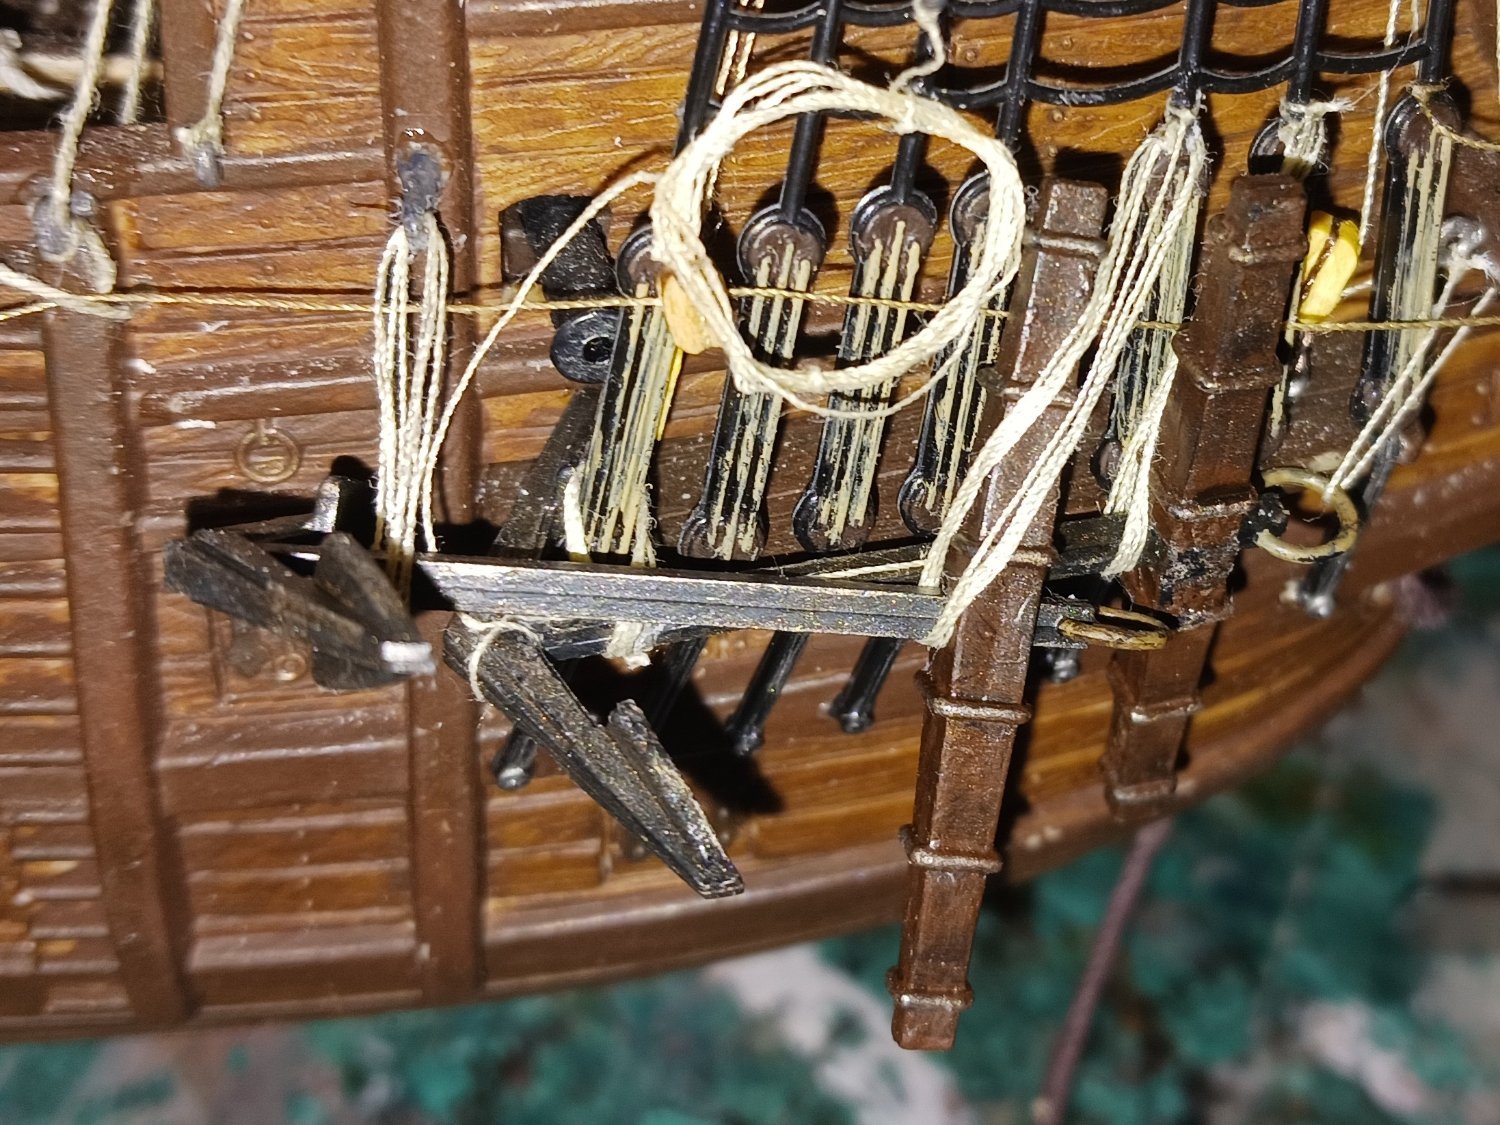
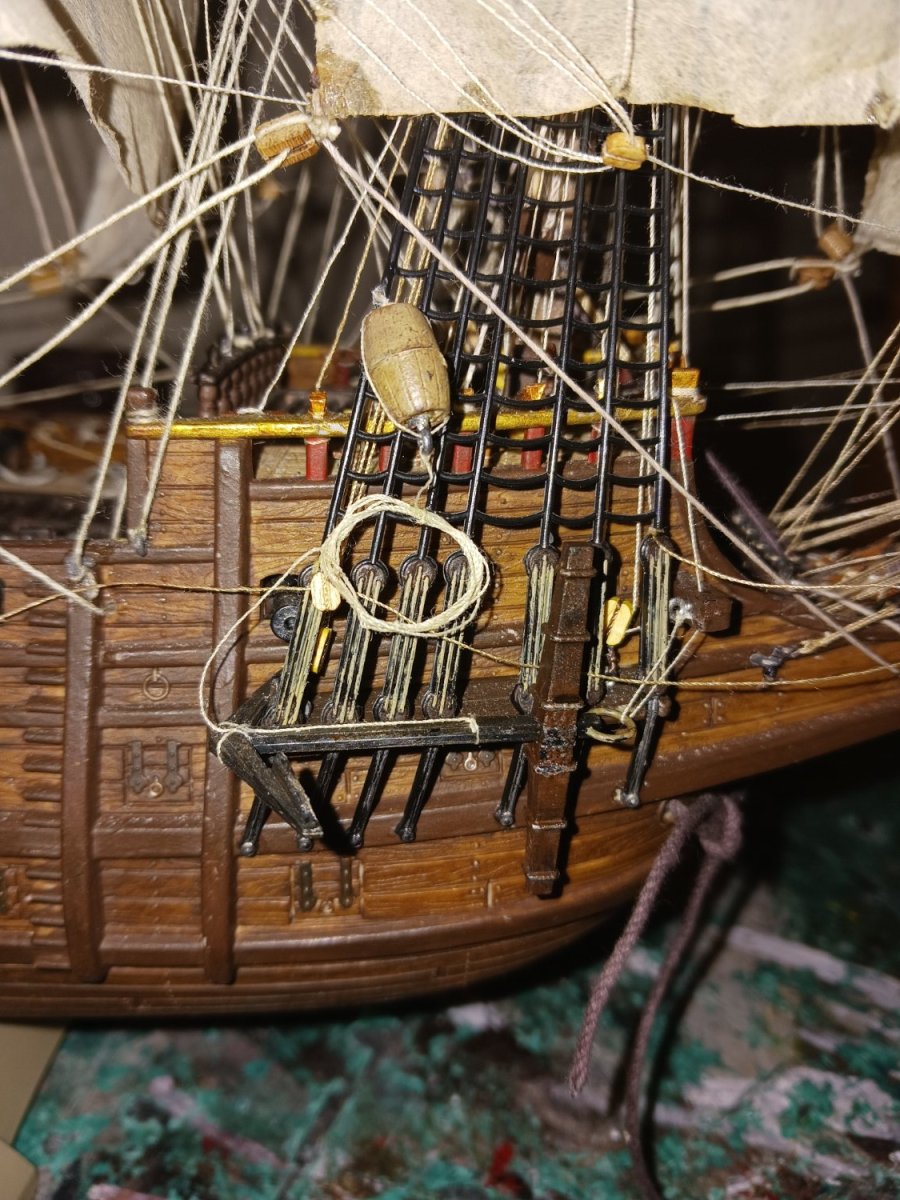
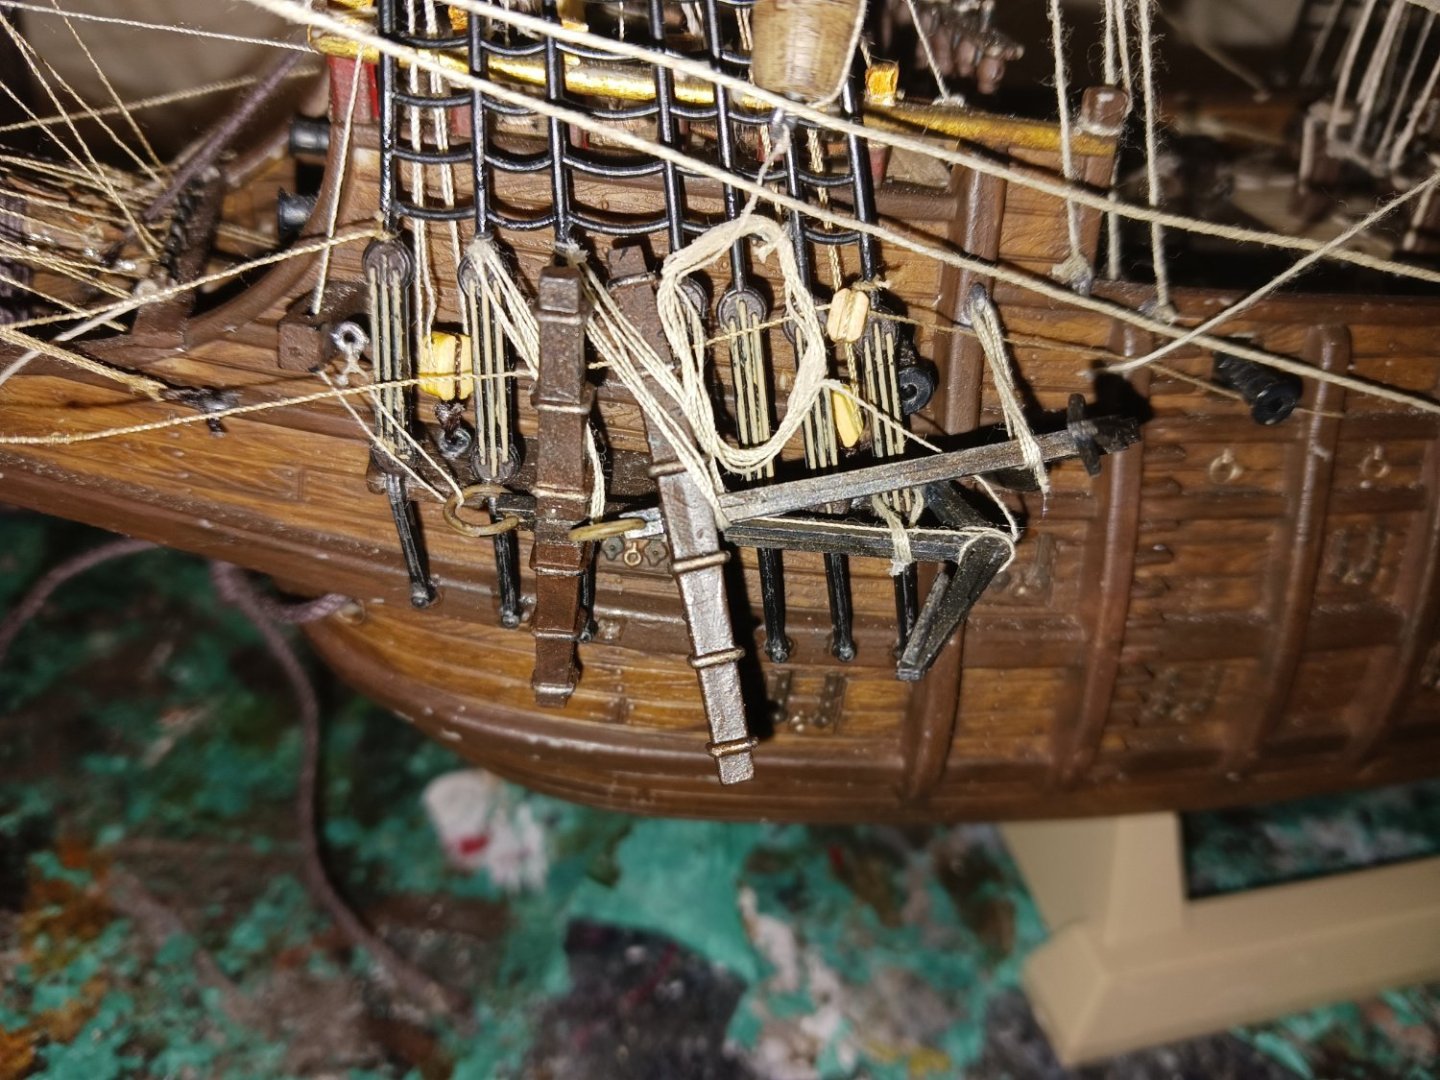
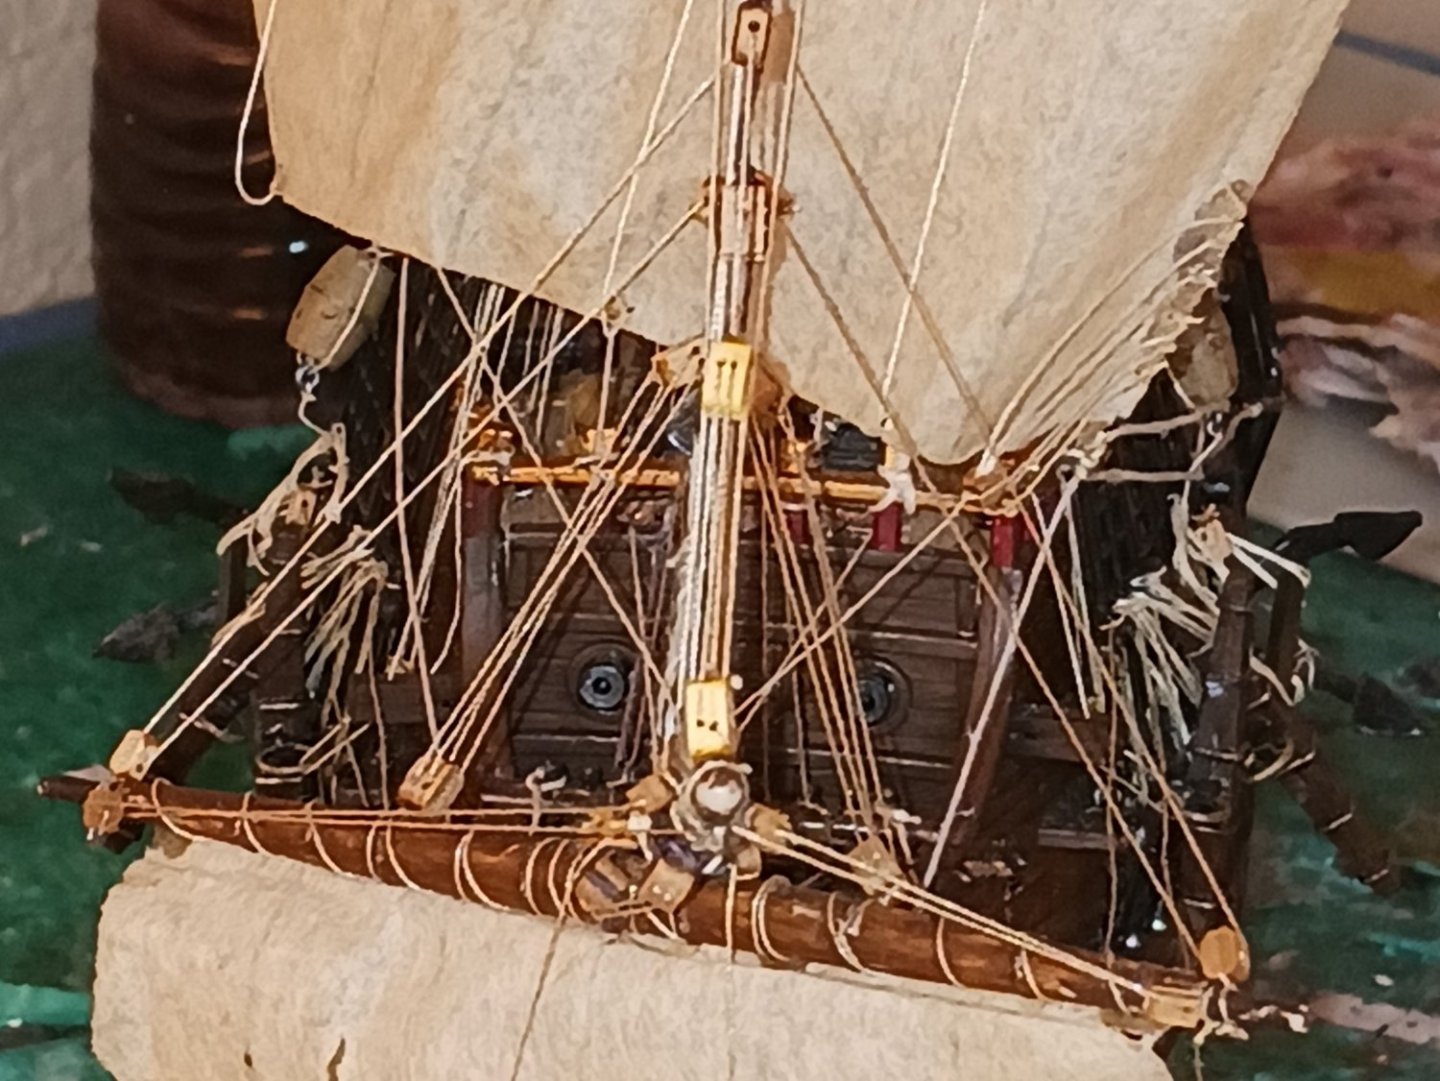
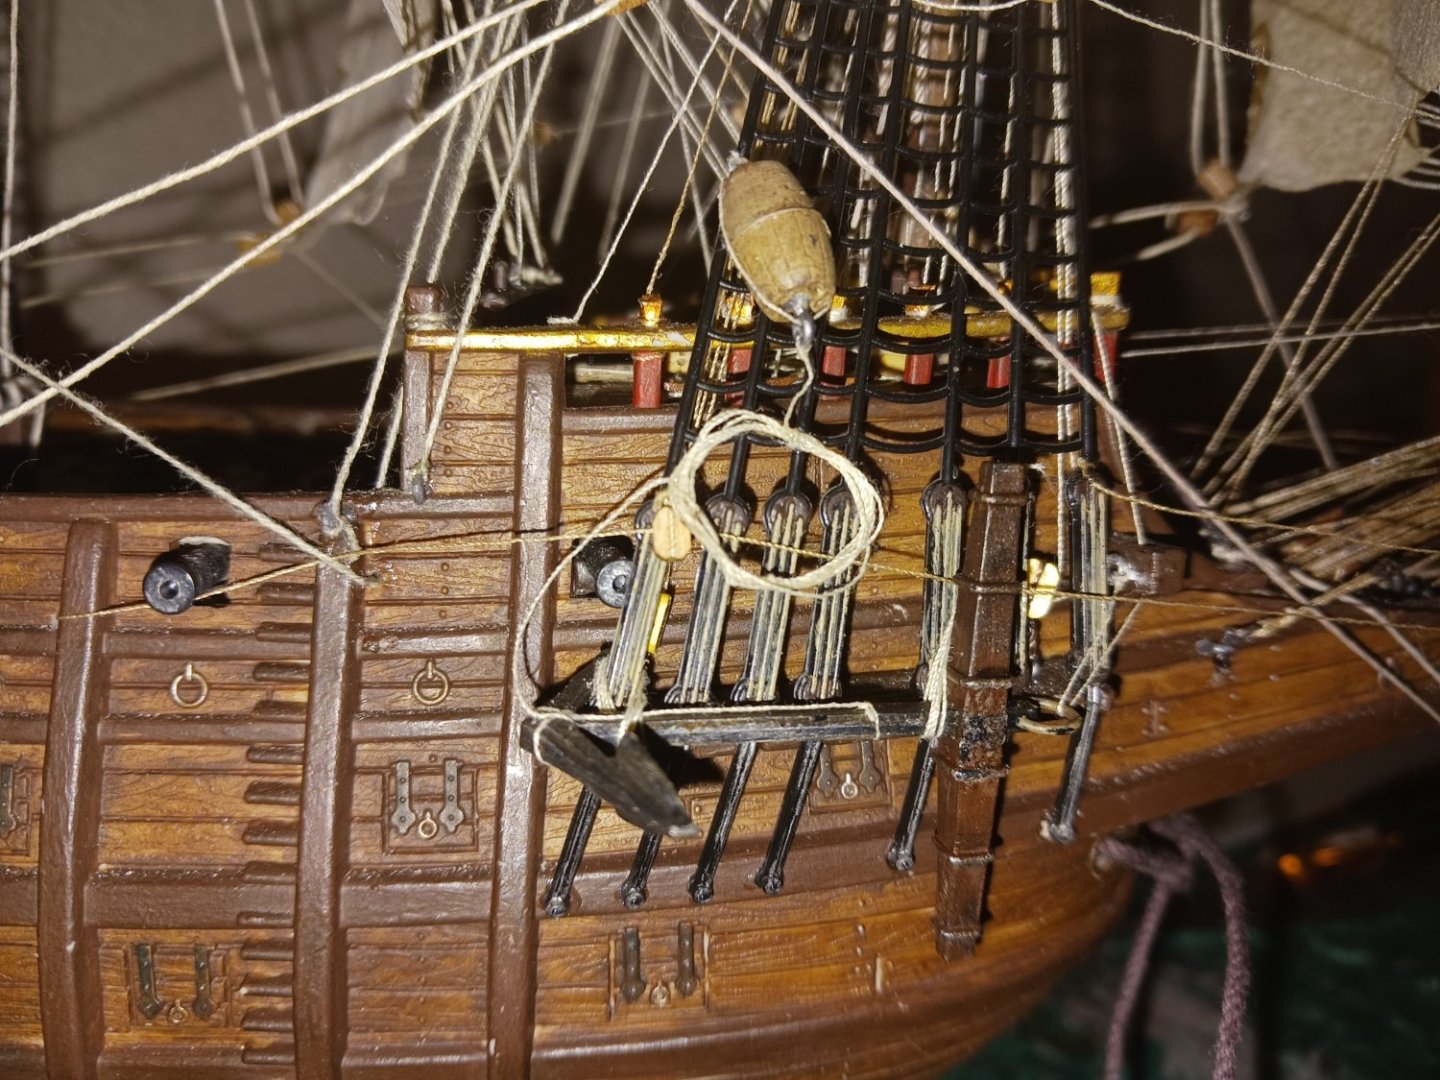
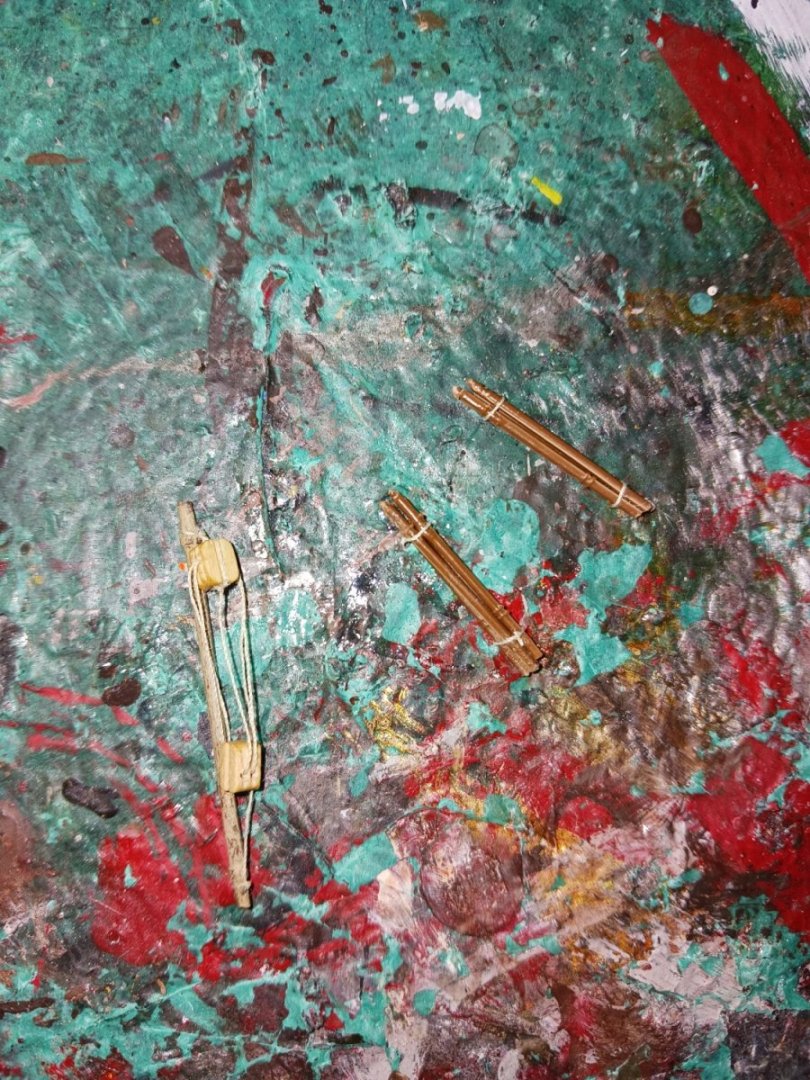
The anchors are massive. They are each individually almost as long as the fore channels. I think i can fit them, however.
-
The two bundles of capstan bars, and the stowed anchor tackle:
- 279 replies
-
- 3
-
-
- Spanish Galleon
- Imai
- (and 1 more)
-
Regarding the anchors: The ship only has one hawse hole per side, instead of two. However, the kit contains four anchors. Should i include all four, or only two. Some depictions show two anchor lines coming out of one hawse hole.

- 279 replies
-
- 2
-
-
- Spanish Galleon
- Imai
- (and 1 more)
-
Thanks. Stay tuned. Just one of those little details that's going to irritate me if i don't add it in my build.
-
The finished sail: Now, i have gotten to designing flags ahead of time. This will be the one that goes on the stern flagpole:

- 279 replies
-
- 4
-
-
- Spanish Galleon
- Imai
- (and 1 more)
-
Where would the capstan bars be stored on your Vasa?
-
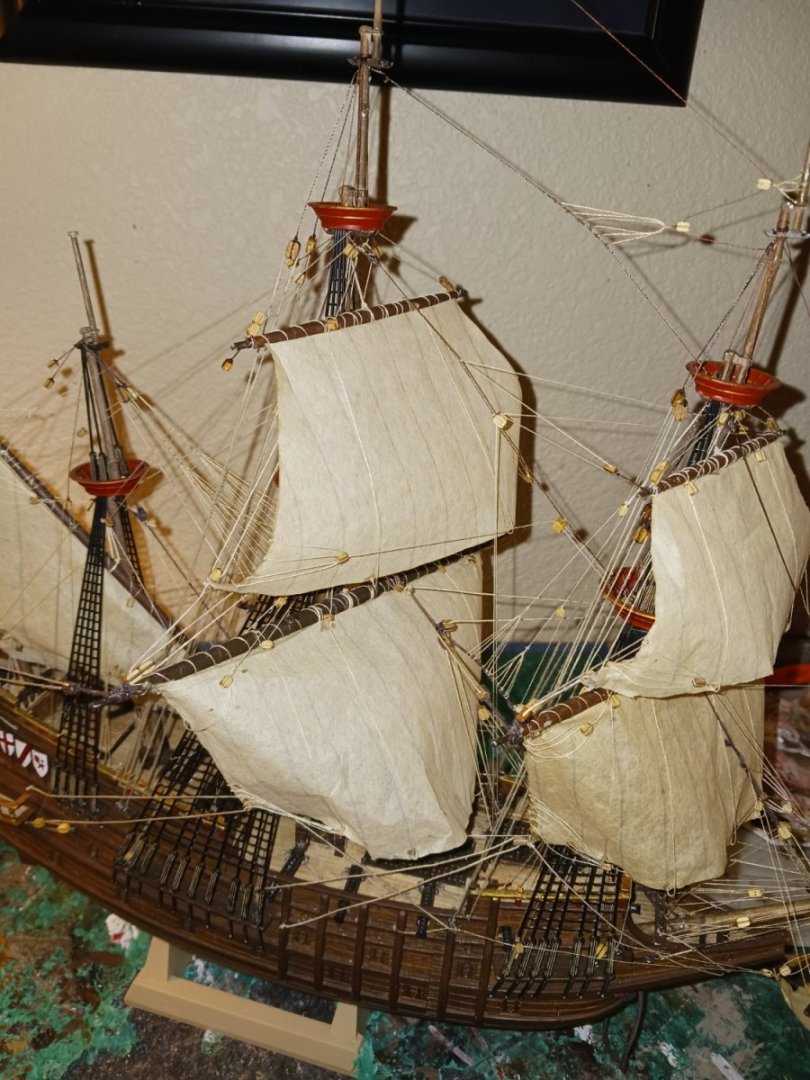
Regarding the topgallant sails: This kit obviously came with no lower decks, and all the gunports molded shut. Only 10 cannons were provided. This ship is obviously not currently participating in a naval combat engagement. So, it will not be necessary to fly combat sail. As such, the topgallant sails will be fully raised and set. It's a good thing, because i have never furled a silkspan sail before. THAT would not be something you would want to see, and i genuinely believe Kirill would never stop crying. Anyway, the topgallants will be fully set, with all rigging.
- 279 replies
-
- 1
-
-
- Spanish Galleon
- Imai
- (and 1 more)
-
If you want, we could merge and become Michael2. Your Vasa is absolutely phenomenal, dude. I often think i'm getting somewhere, and then i go back to your Vasa and Kirill's Galleon just to put things back in perspective. You and JeffT are only about an hour's drive away, and i could easily fly or long-haul my way down. 🤣 How's the Vasa coming along?
-
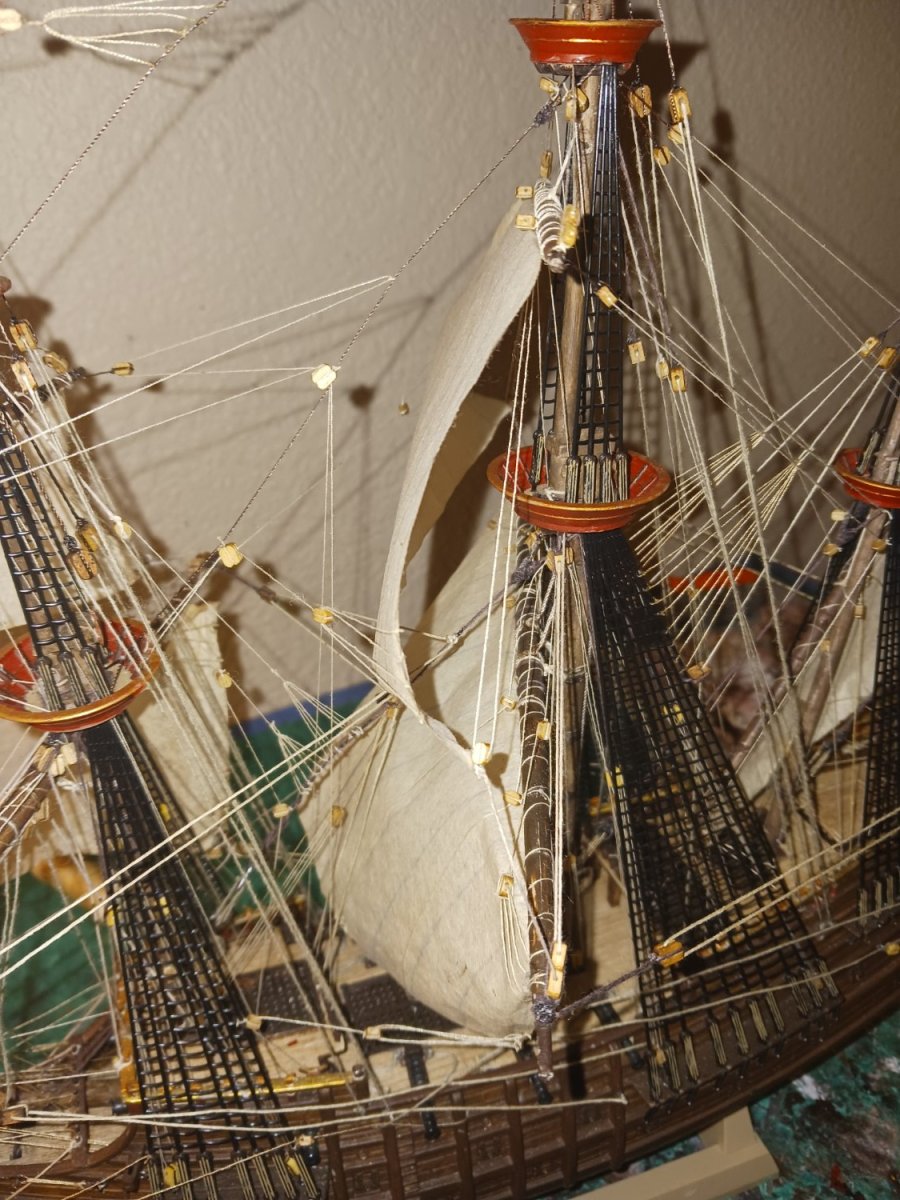
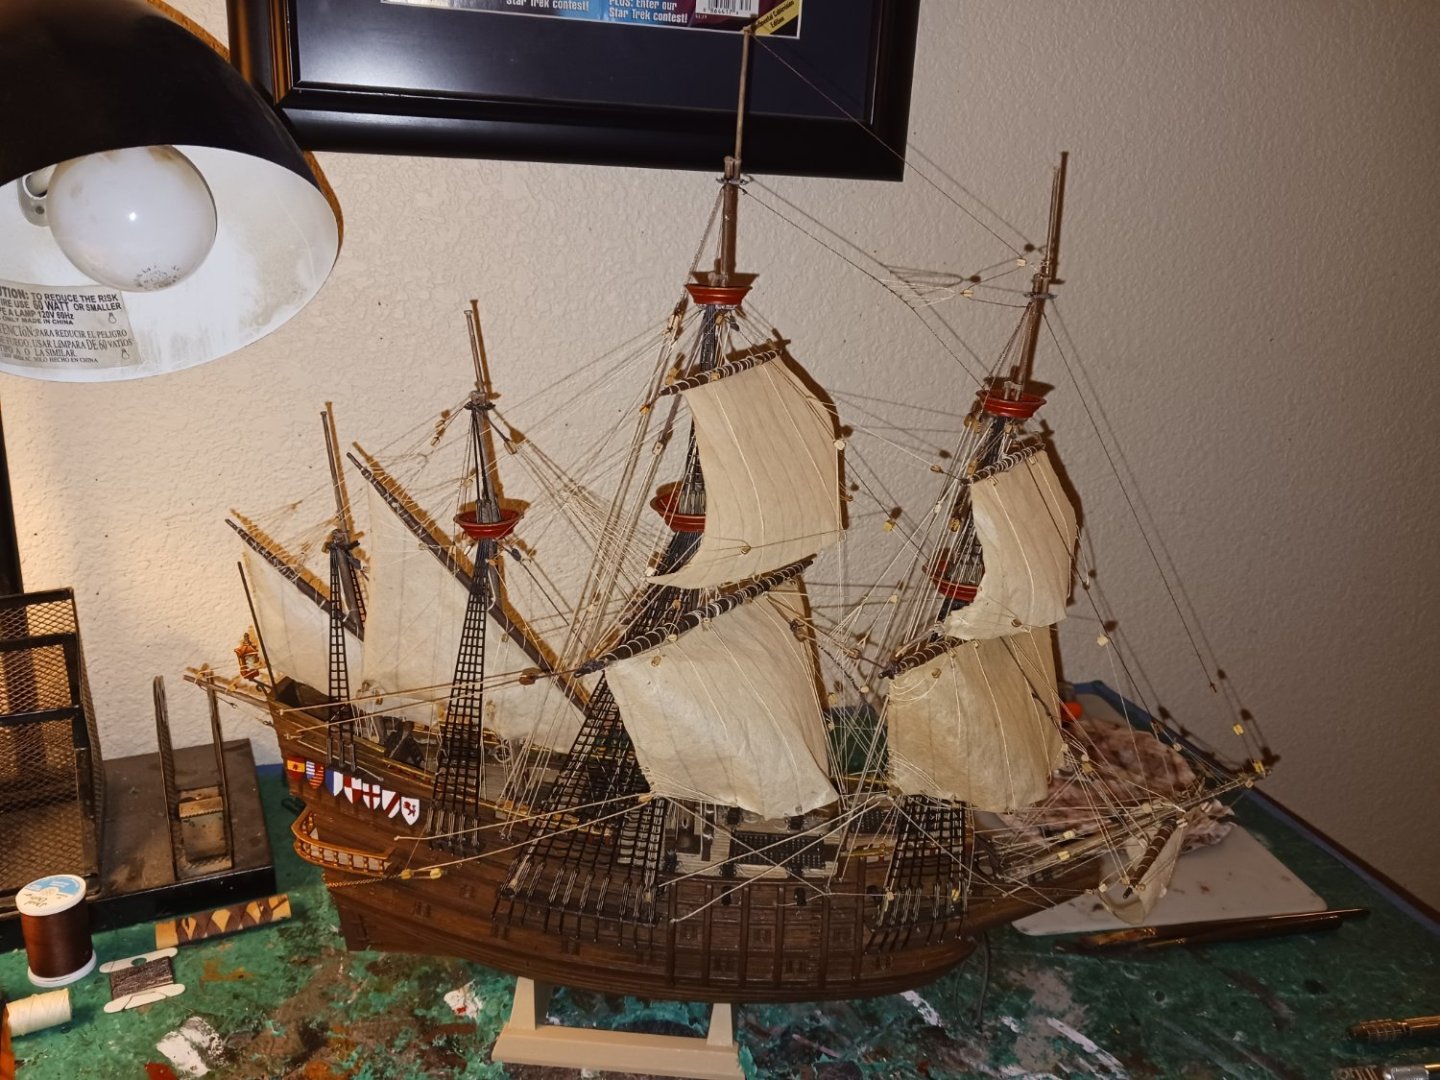
I love how it actually looks like it's in a painting from the time period. That's a pretty big morale boost.
- 279 replies
-
- 1
-
-
- Spanish Galleon
- Imai
- (and 1 more)
-
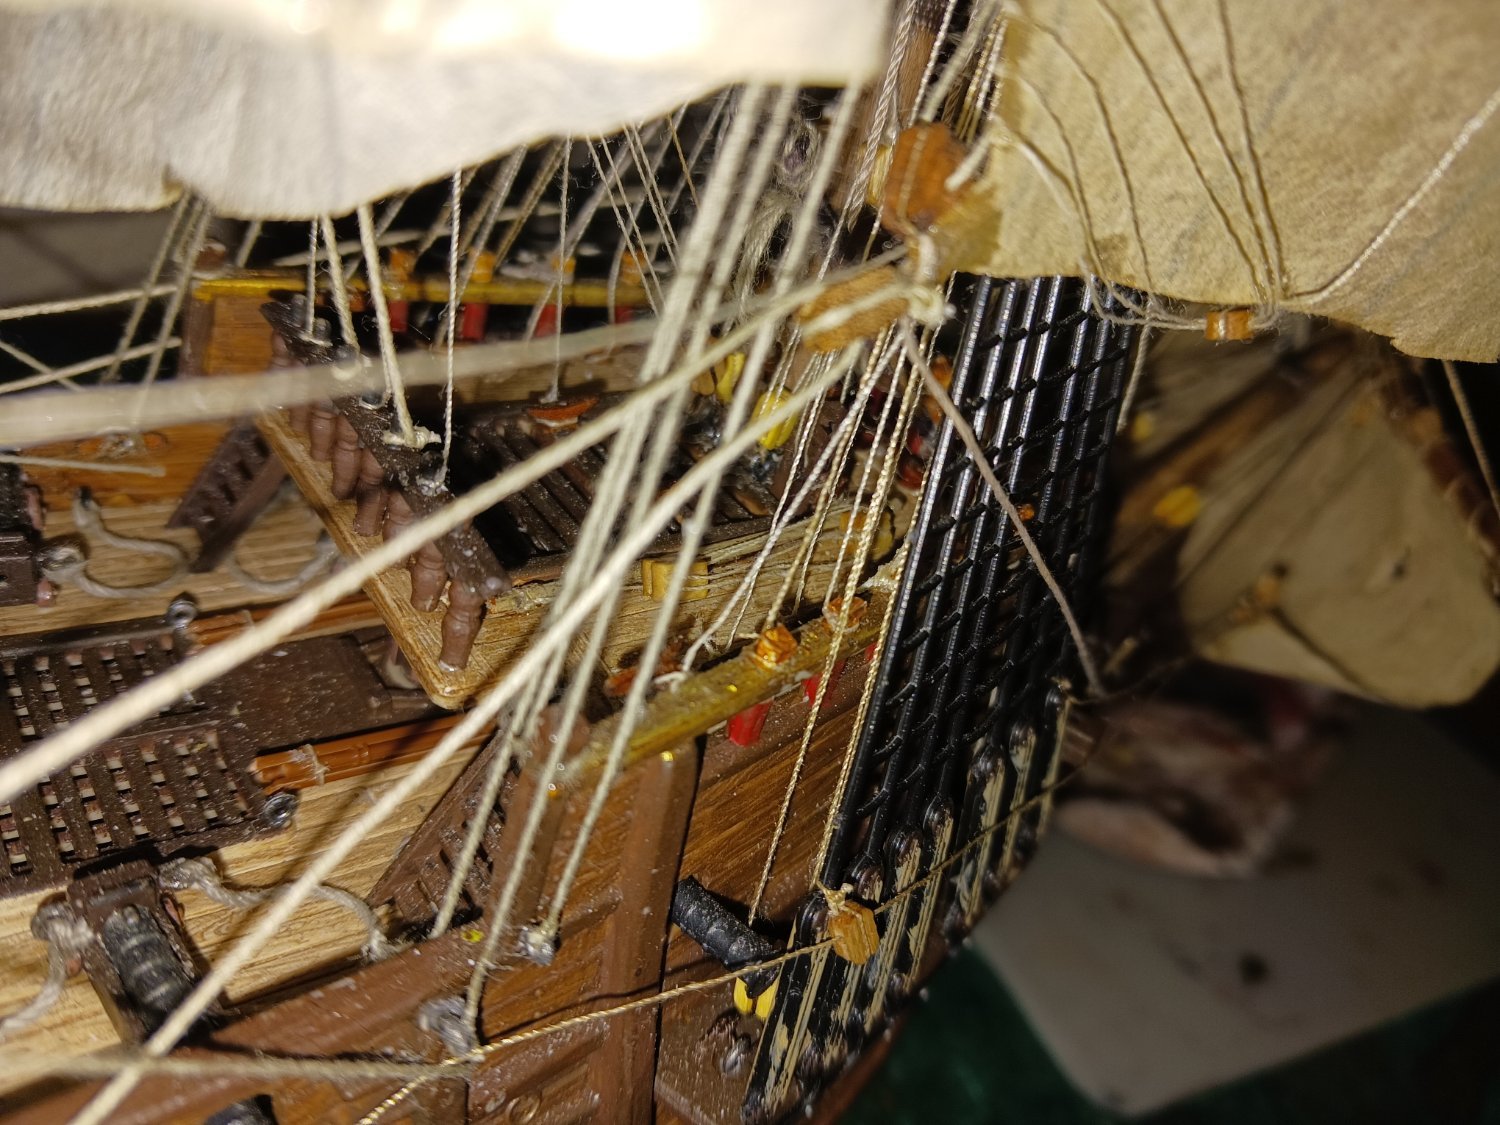
Re- my last message, i don't think i will need a blood transfusion. However, it's still pretty serious. Didn't mean to leave you wondering like that. The brace lines, topping lifts, and clewlines are done and belayed. Bowlines, sheets, and buntlines are next. I want to push forward and get it done today. Enough waiting. Excuse the crappy flash. It actually kinda looks like the sun is shining on the ship. Looks nice, actually.
- 279 replies
-
- 4
-
-
-
- Spanish Galleon
- Imai
- (and 1 more)
-
Dude, your model is just fine. We all have to learn, and most of that learning comes from ruining something. In your case, ruining does not apply. Nice model! It's a WHOLE lot better than the Revell version i built when i was 14. If i were you, i'd be very proud of the model, especially for only being a second ship. (future historian here) I can see from your name that you are definitely someone i would like to associate myself with. Is the "1066" part of your name in reference to the Norman Conquest?
- 88 replies
-
- 1
-
-
- Constitution
- billing boats
- (and 1 more)