


HIPEXEC
-
Posts
2,698 -
Joined
-
Last visited
Content Type
Profiles
Forums
Gallery
Events
Posts posted by HIPEXEC
-
-
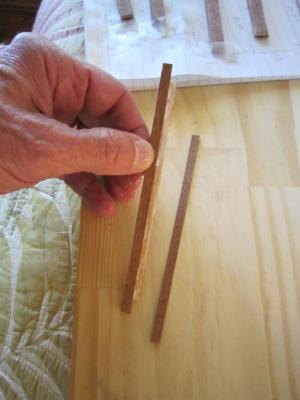
Another day...another problem. I went to set pins in the channels before mounting to the hull and found out the channel material is much softer than the iron hard Sapele hull. When I pushed the channel into the hull...the pin just disappeared into the channel. So, I experimented and settled on setting the pin into the channel with Crazy Glue, then drilling the same size hole in the hull as the pin, then driving a small nail into the hull hole to widen it just enough for the channel pin to slip in but remain tight. It works! The channel is nice and tight even without any glue.

-
I'm going to try to heat the part I need to flatten since just squeezing the cold brass only flattens it a bit.
-
-
No...I want to flatten round wire.
-
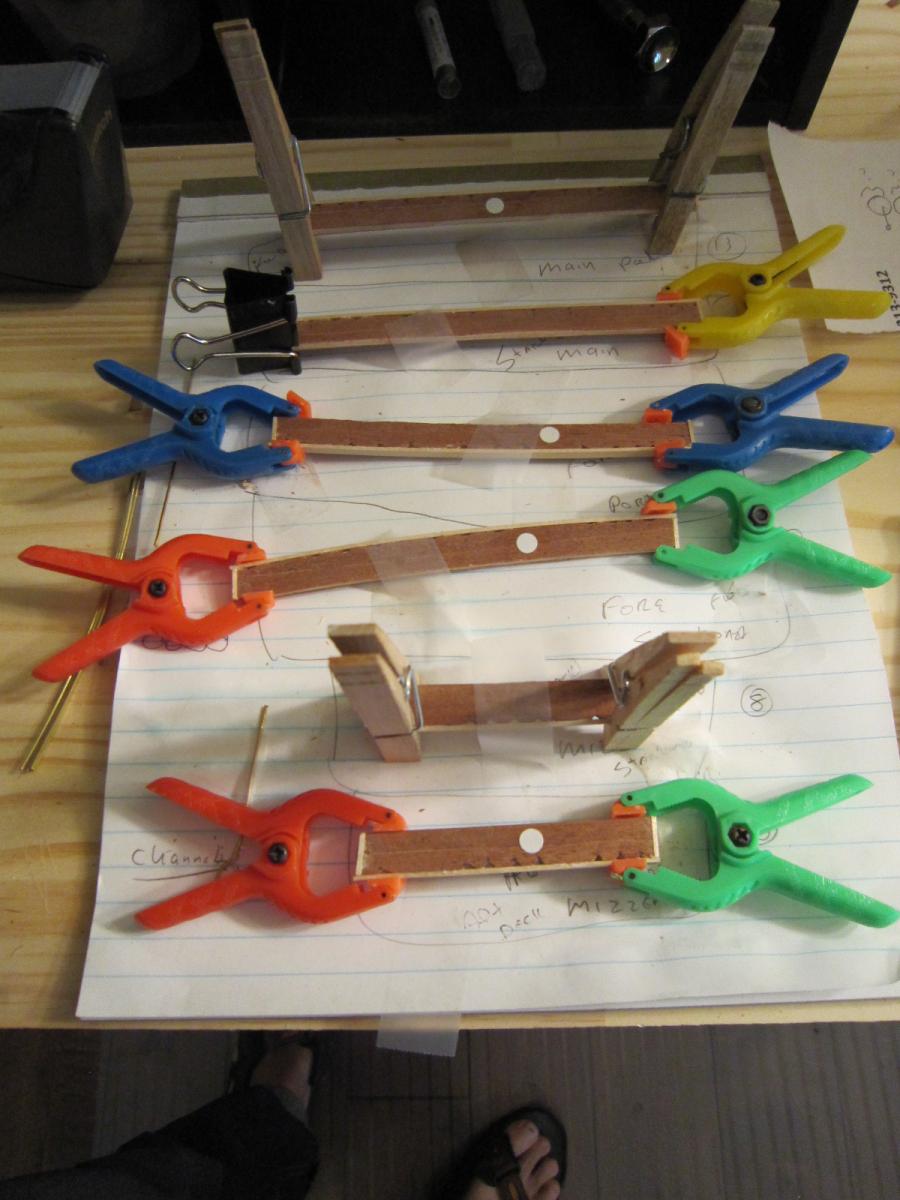
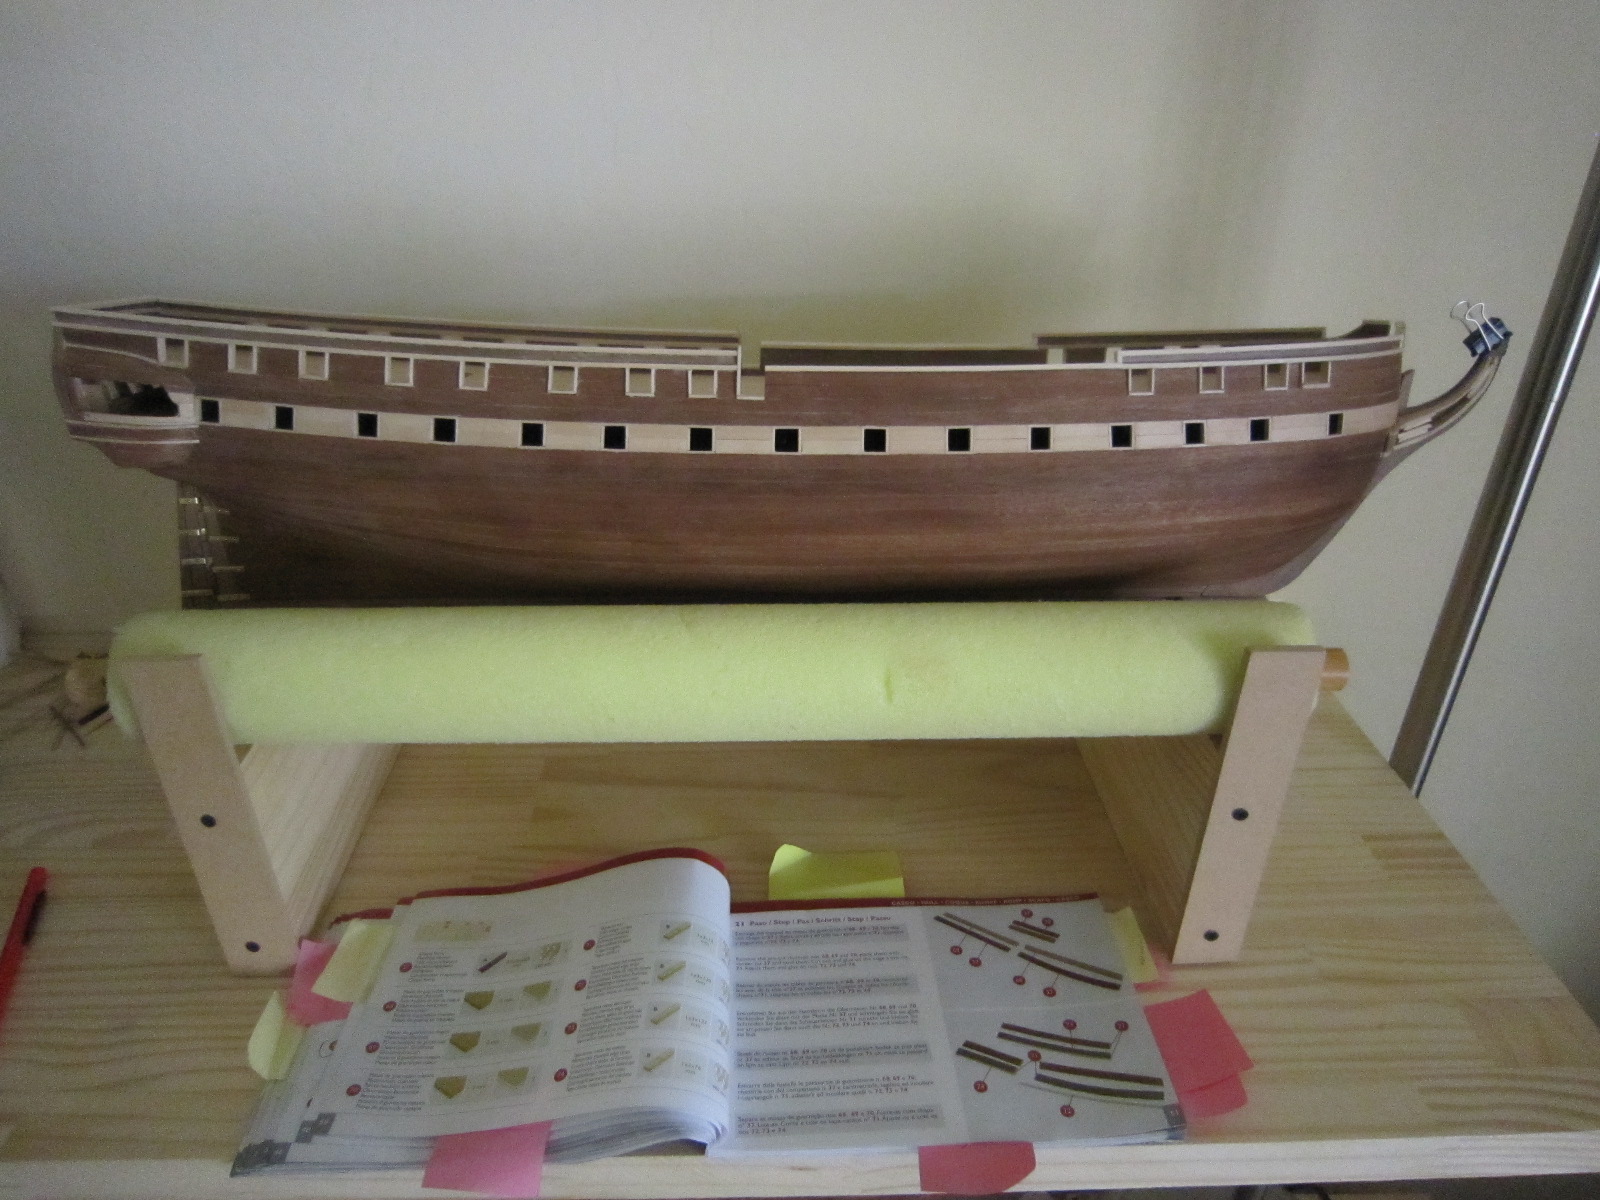
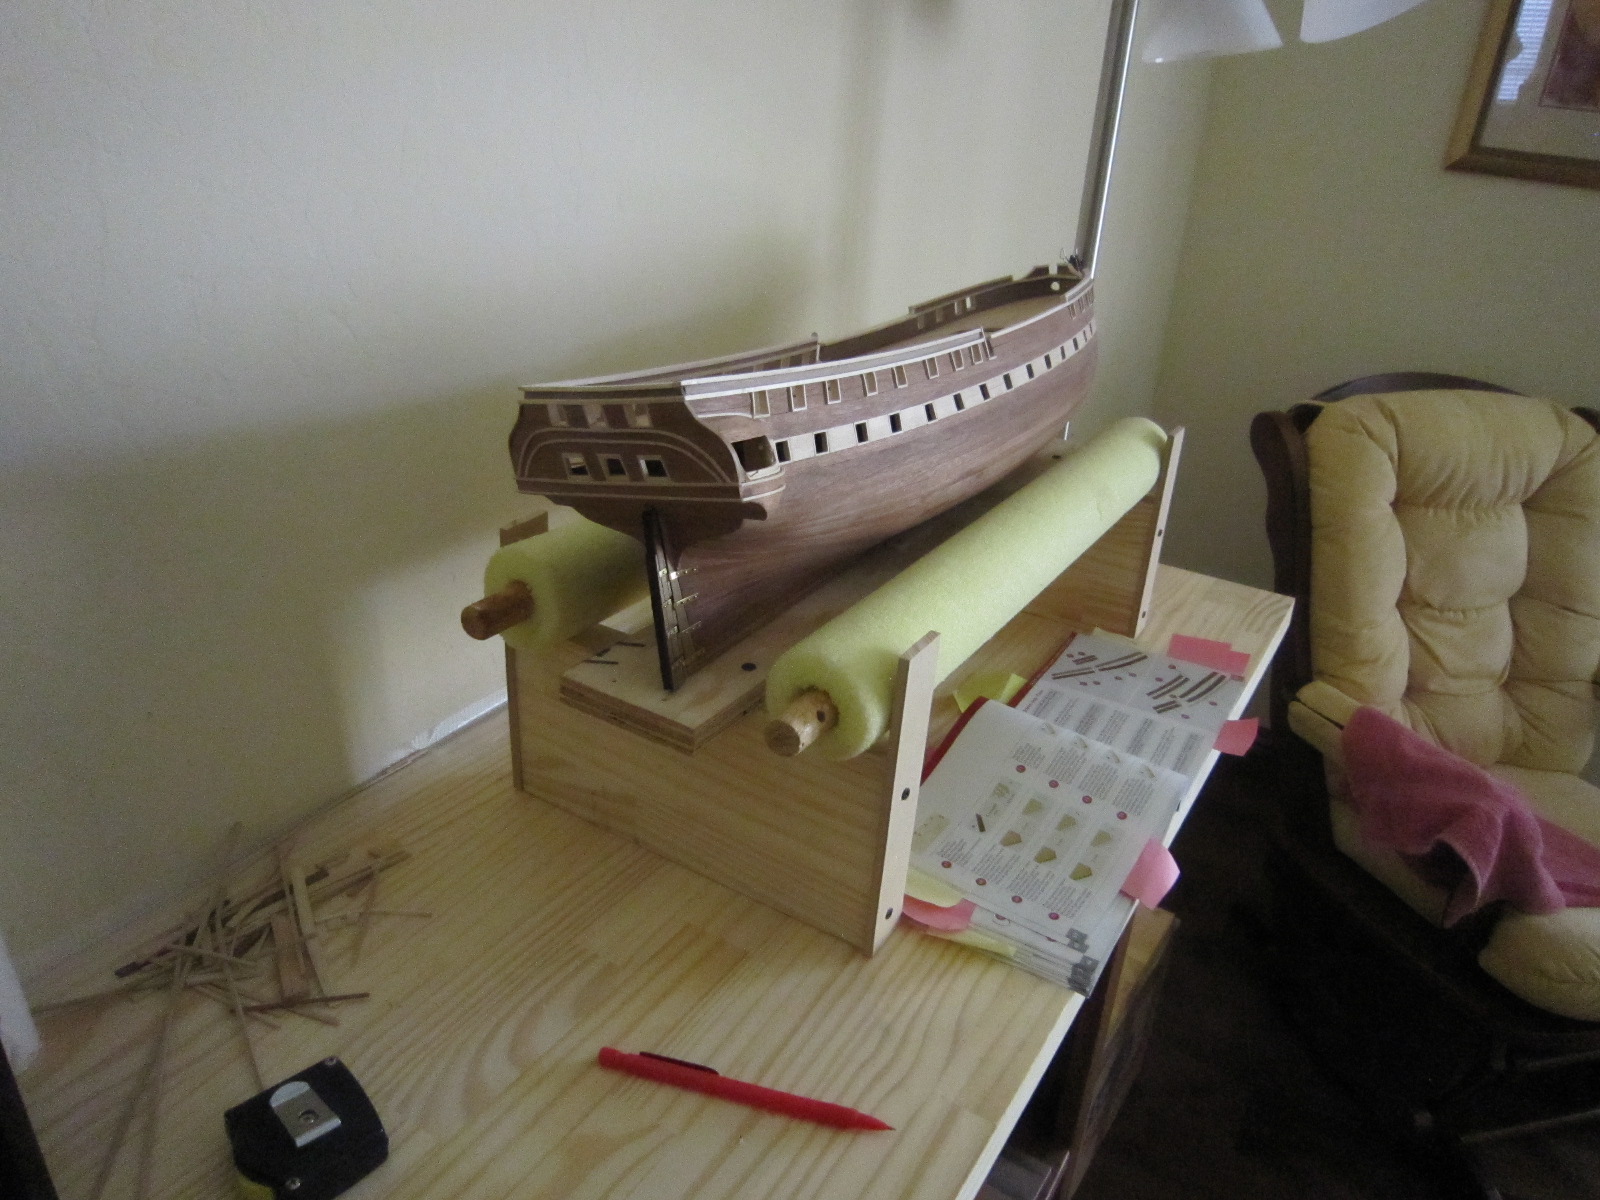
Just finished putting the side trim and making the chainplate holes in the channels. I read ahead in my instruction book to see if placing the holes where I did would give me a problem down the rigging road. I didn't see one so I plunged ahead. Tomorrow I'll glue on the front trim followed by pins, then mounting all six of them.
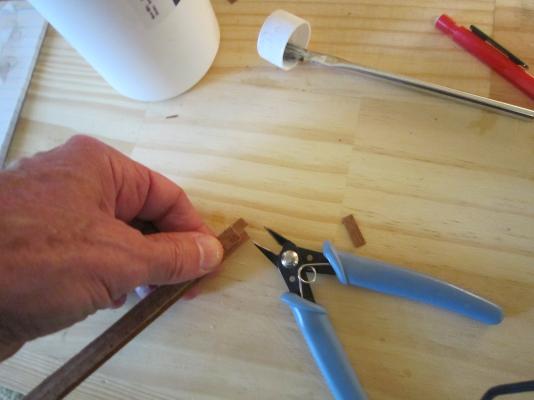
Also, I'm experimenting with making chainplates as well as looking at other choices.
-
-
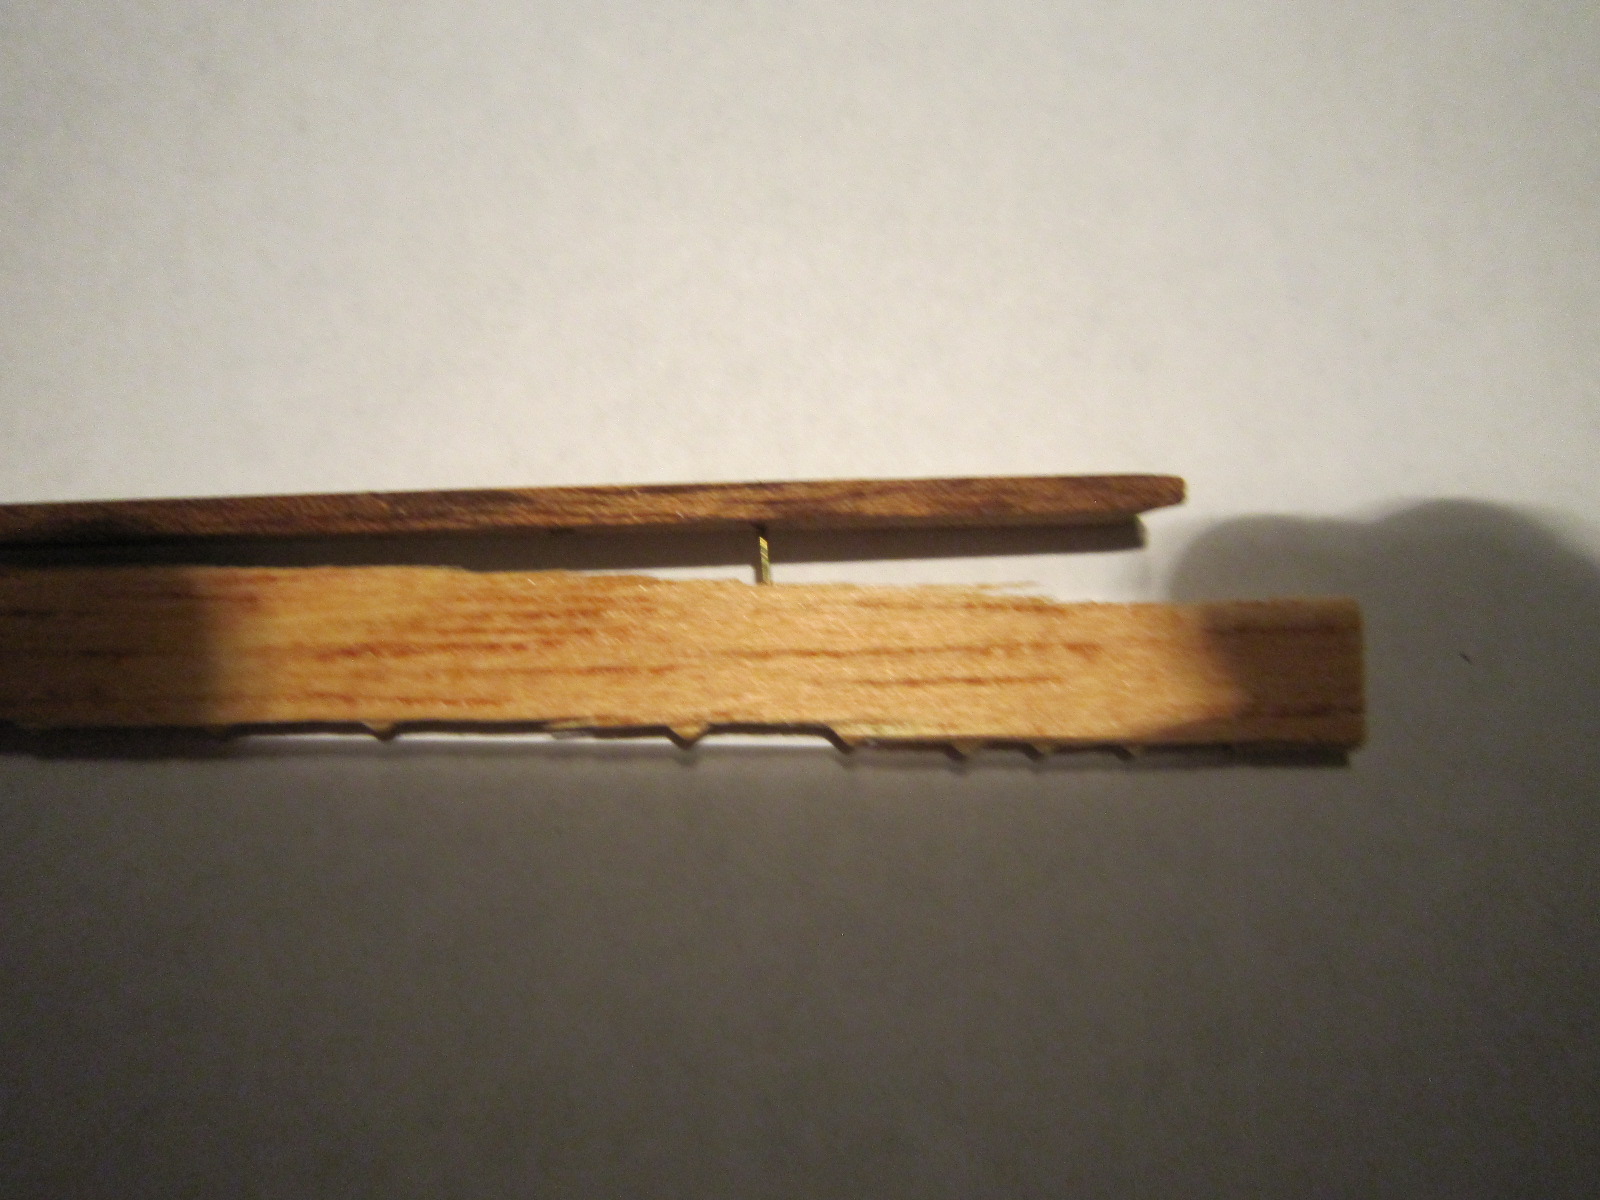
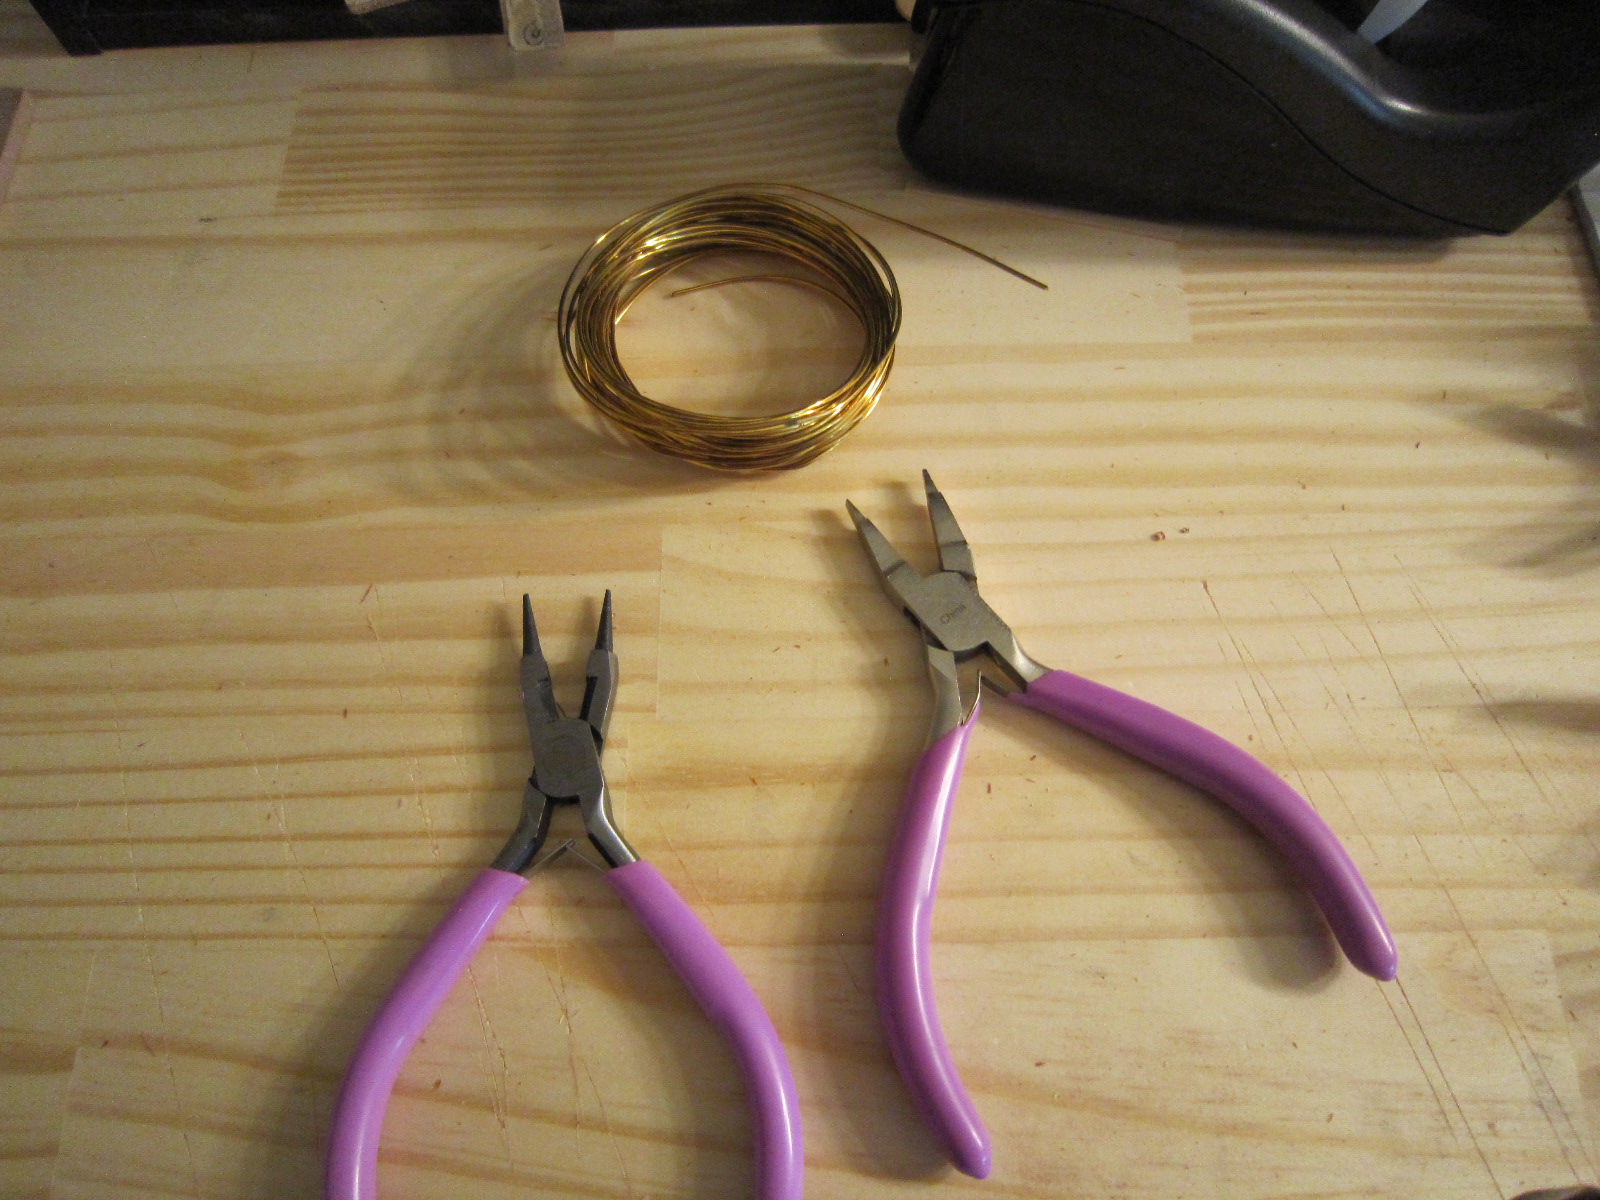
The wire rolls out nice and straight. Now I'm trying to flatten the end so I can drill small nail holes, but all I get when I flatten the wire with pliers or vise grips is a rippled effect. How do I get a nice smooth flange?
-
That's a good trick....rolling the bent wires with another small board. Now, how do I get a nice smooth, flattened flange to drill two small holes? When I flatten the wire end with pliers or a vise grip...I get a corrugated effect.
-
-
-
Yes...just a coil of wire. I'm not too happy with that. There are 78 chain plates to make. So, I'm looking for some other alternative. I don't think I have the metal working skills to make 78 all looking exactly the same. Any suggestions?
Thanks,
-
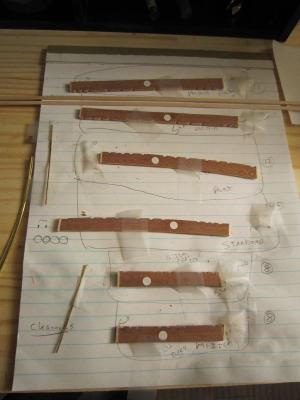
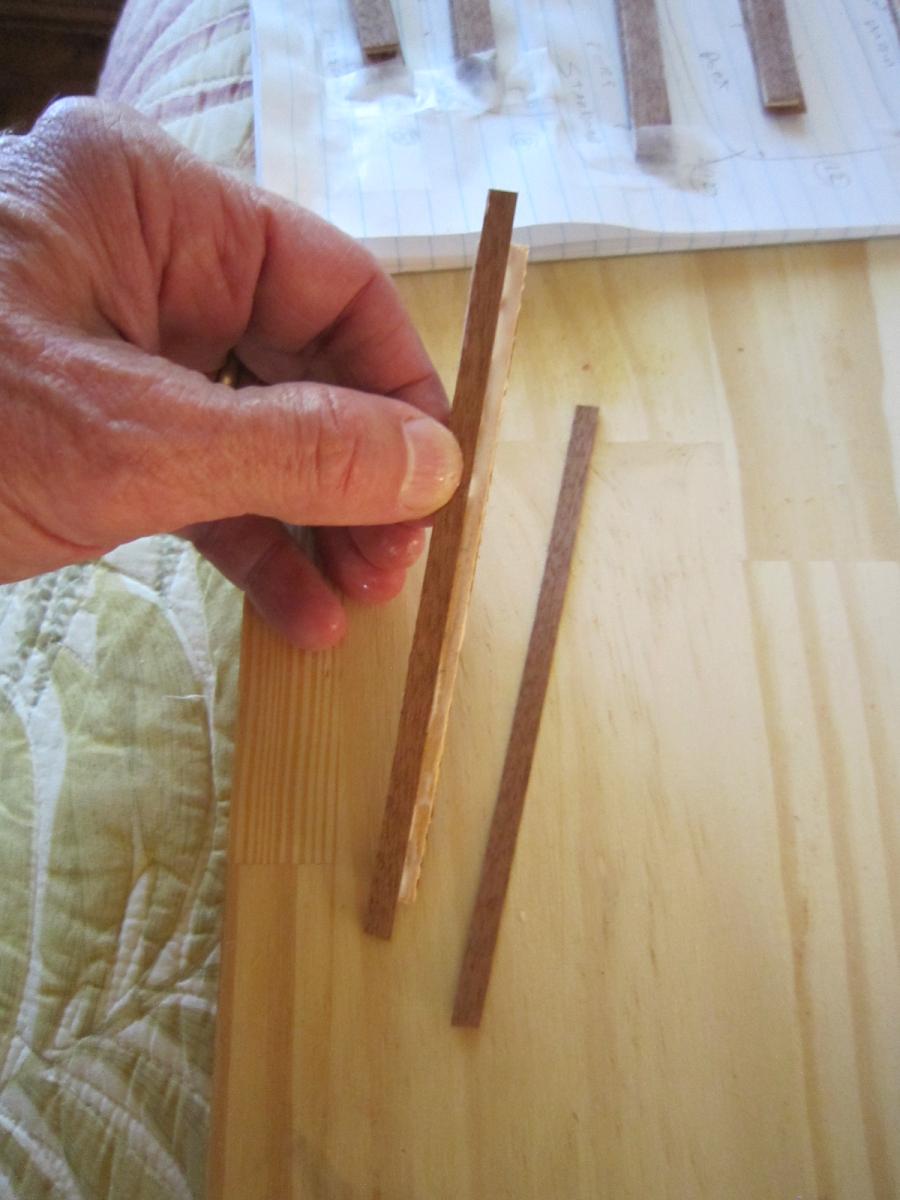
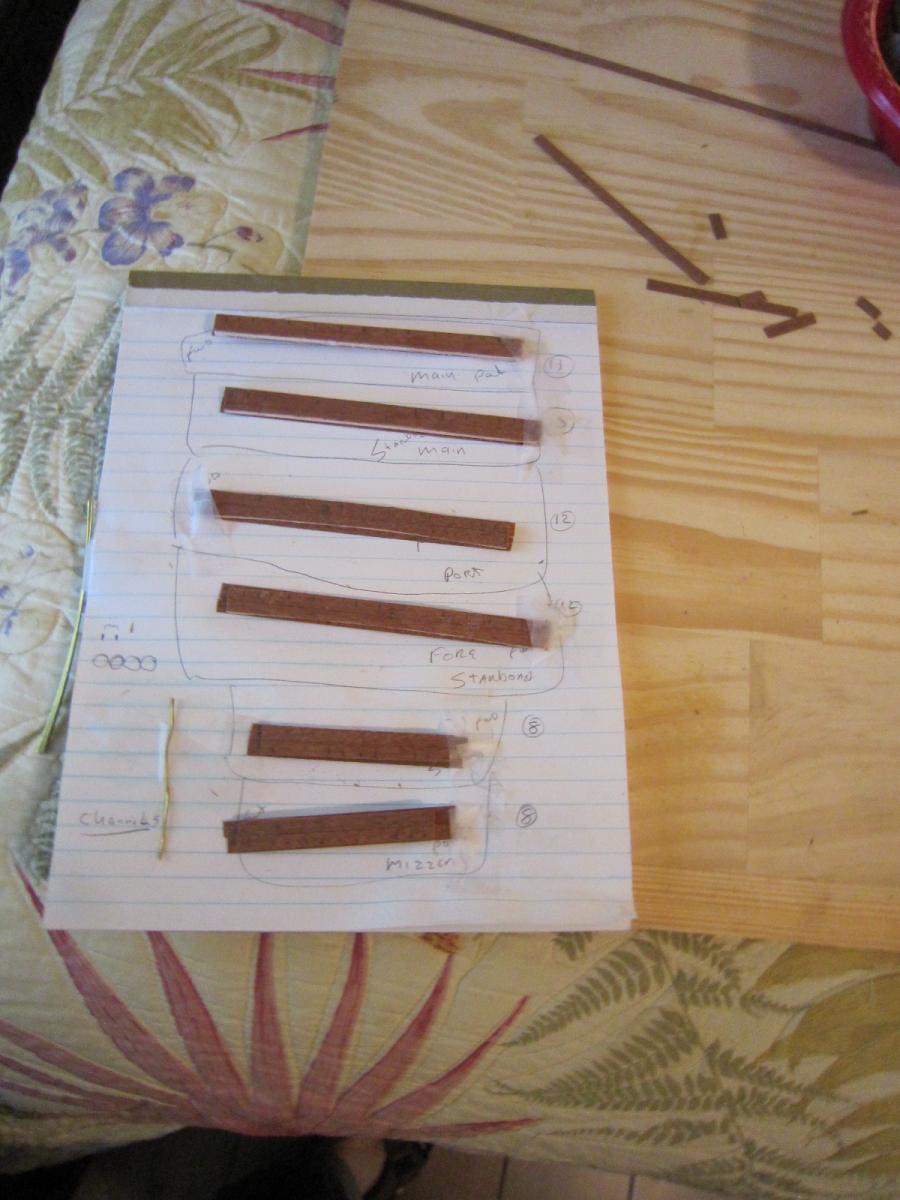
After I shaped them to fit the hull, I layed out the channels and here I am putting Sapele veneer on them. I marked where the chainplate holes will be drilled. After I put the edge trim on them I will pin and glue them in place. I have taped them on to their own well marked slot on a sheet of paper so I don't mix them up.


-
-
I like the touch of actually installing the pair of "four holers" in the bow. I just found out that's where the men did their business and wondered why my kit didn't call for them. Nice work in accuracy. I knew the Captain's privy was in the gallery.
-
-
While checking for how to accurately place items on my model, I ran across a drawing of what the original USS Constitution used the bow area for.....according to this drawing, it was the head for all the men! I wonder why no kit shows the bow with numerous seats with holes in them?
-
-
-
What's the difference between Ayous and Basswood? I can't find 2mm x 2mm Ayous strips in stock anywhere.
-
Good luck, we'll enjoy watching your build.
-
What do you mean "V" grooves?
-
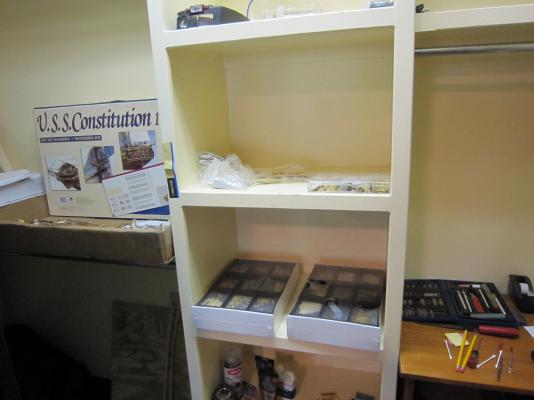
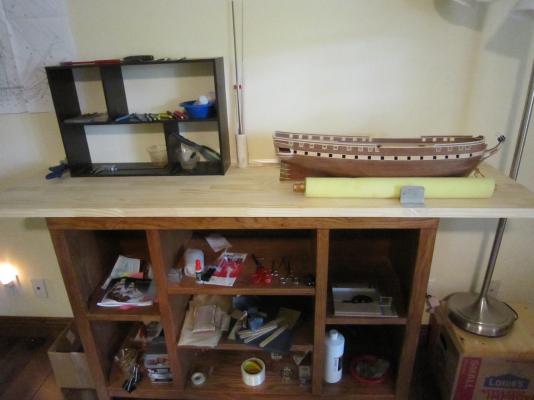
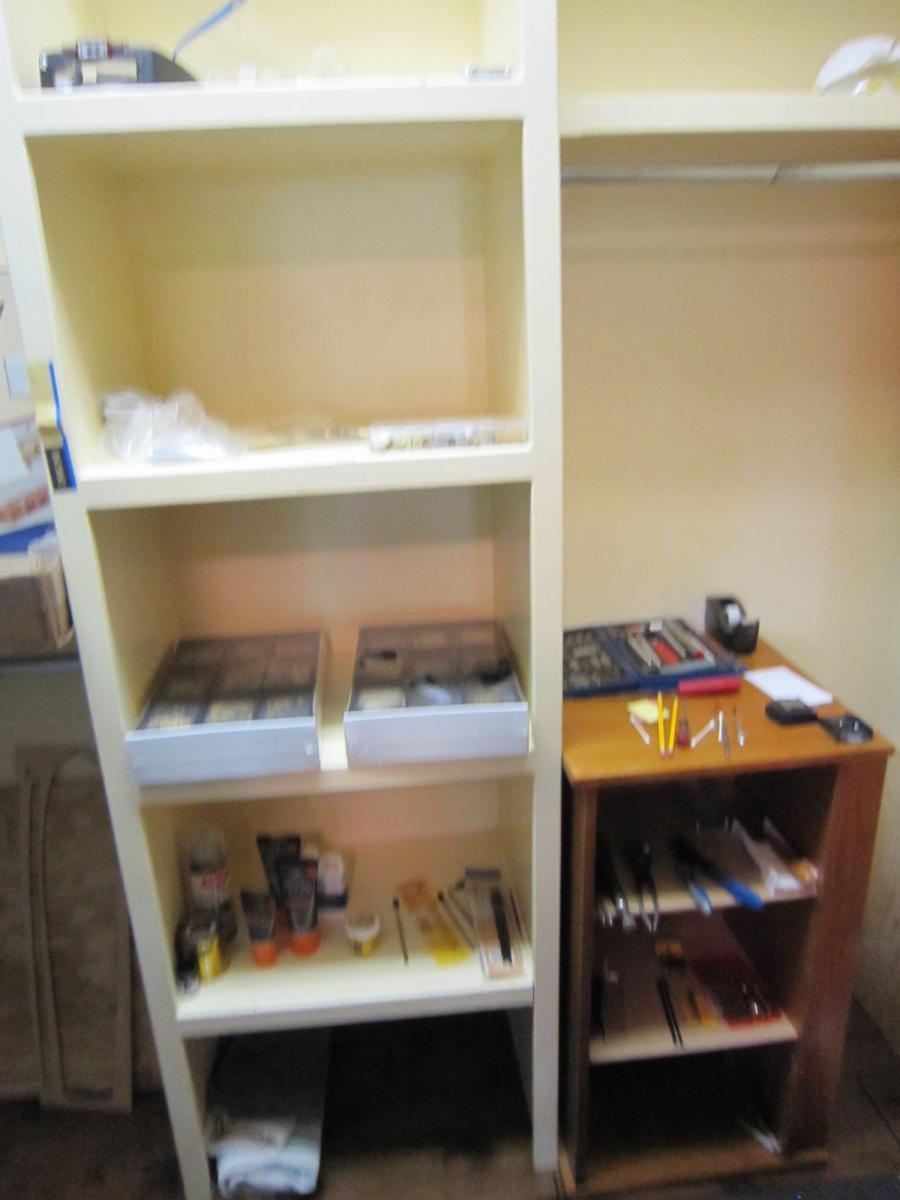
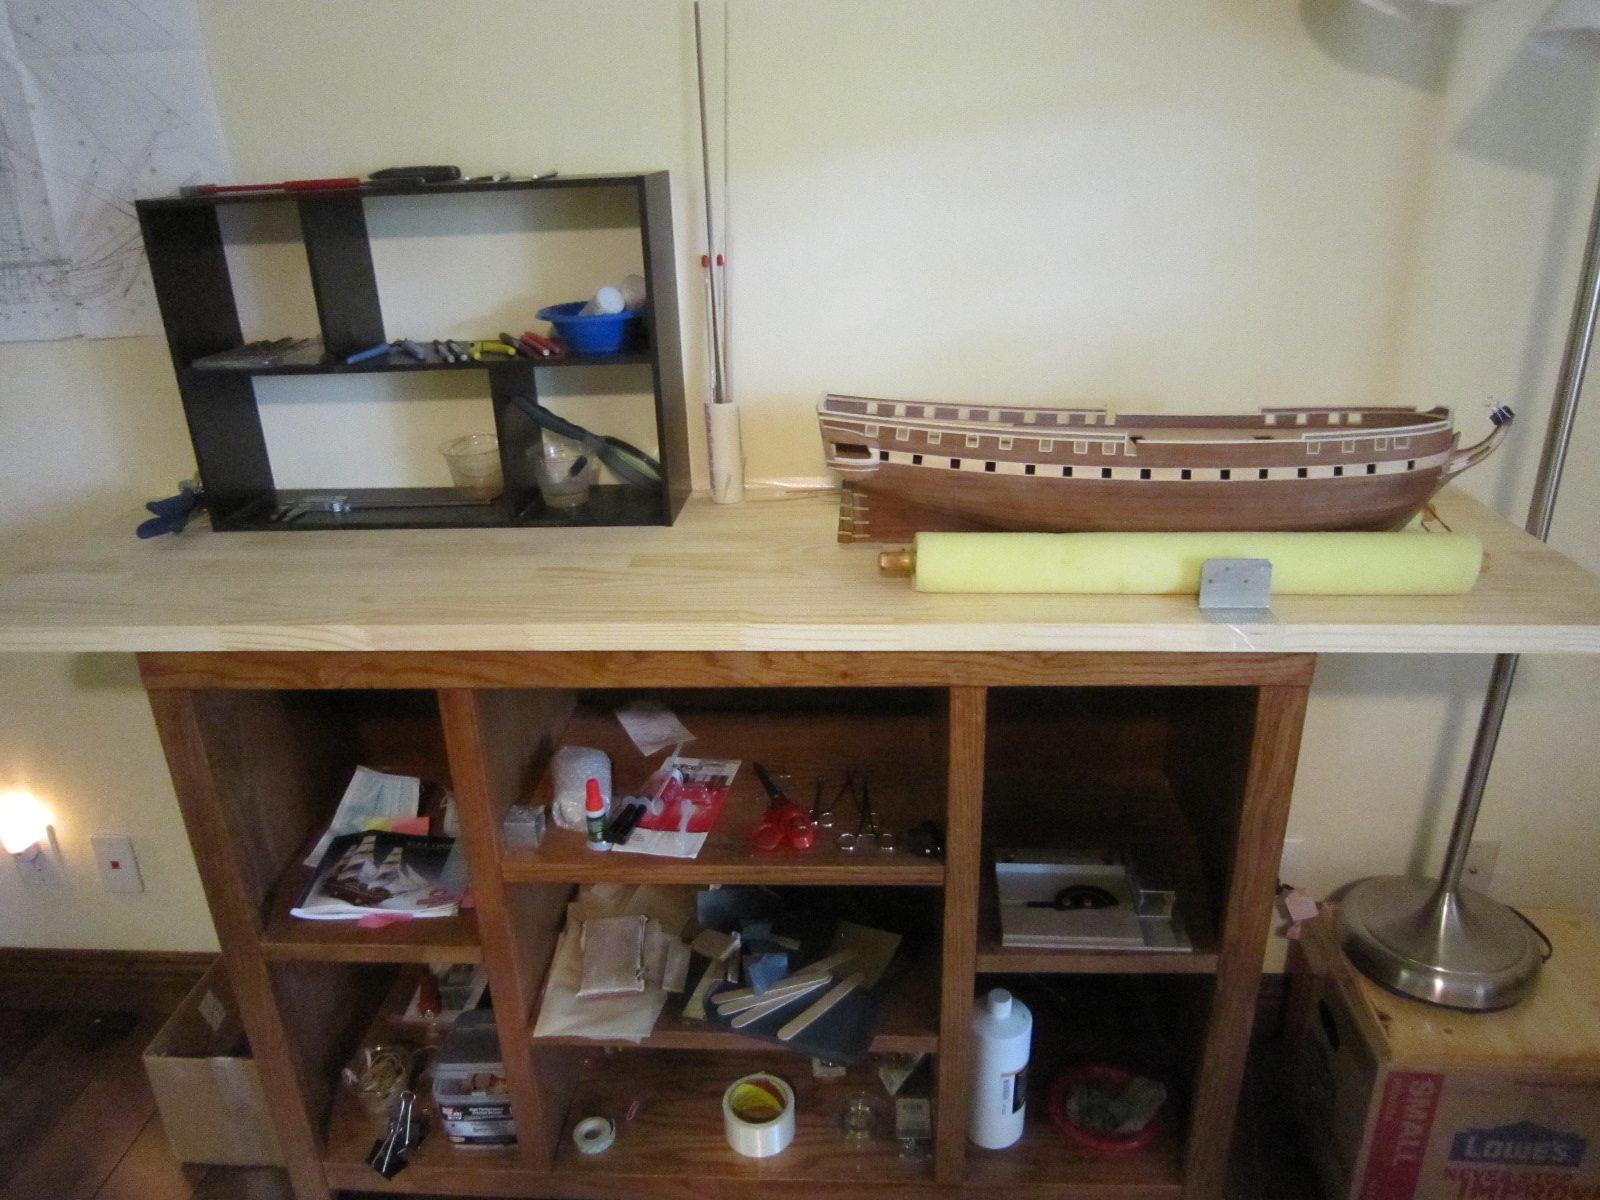
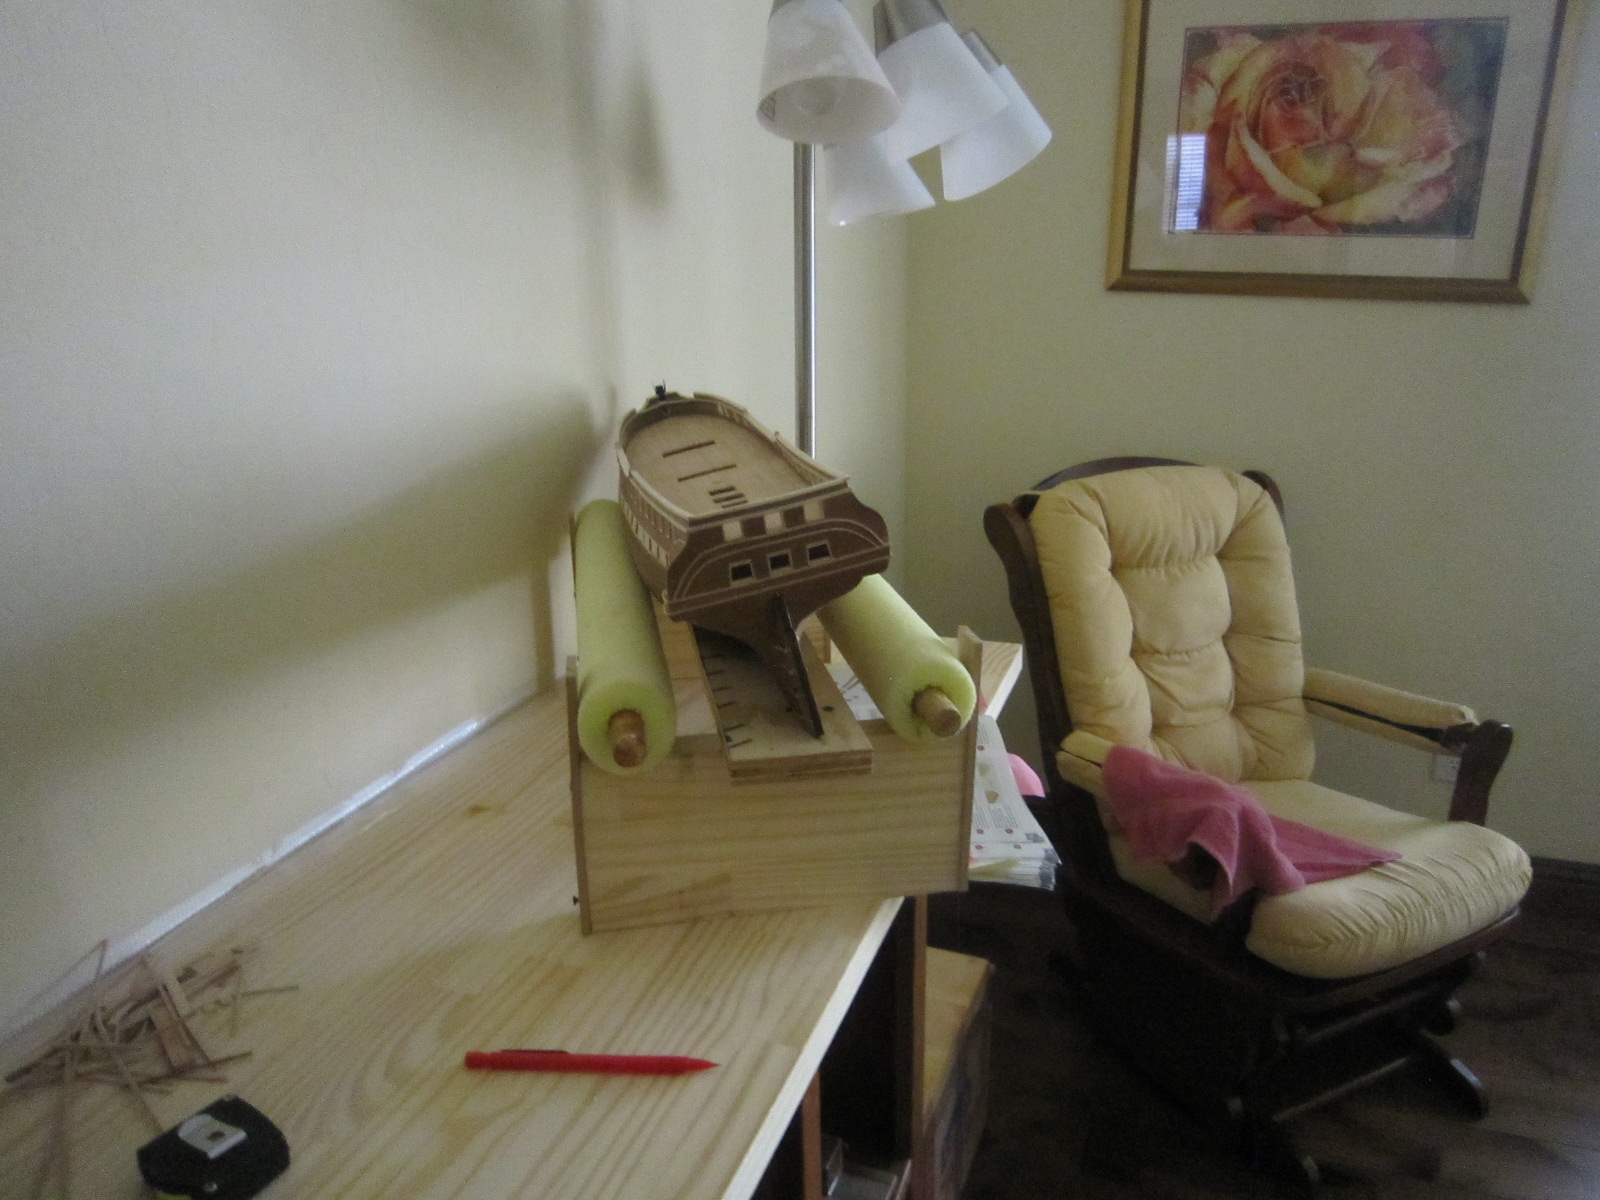
Except for the new lights over my workbench, my new shipyard is complete. All the stuff I had piled to the left and right of my workbench have been neatly stored on the nearby closet that my Admiral allotted me. I also added two feet of working space on my bench and of course my new drydock. I'll shall resume ship building forthwith. I'm still trying to get 2mm x 2mm ayous trim with no luck. I've found every size but 2mm x 2mm?


-
-
My shipyard renovations are going very smoothly with the Admiral helping me! Got an electrician coming in two weeks to add lights and electrical outlets. Still no reply from Constructo about my shortage of 2mm x 2mm trim?


USS Constitution by lambsbk – Revell – 1/96 - PLASTIC – With Fiber Optics
in - Kit build logs for subjects built from 1751 - 1800
Posted
Your work is terrific. The deck guns are worth copying!