


HIPEXEC
-
Posts
2,698 -
Joined
-
Last visited
Content Type
Profiles
Forums
Gallery
Events
Posts posted by HIPEXEC
-
-
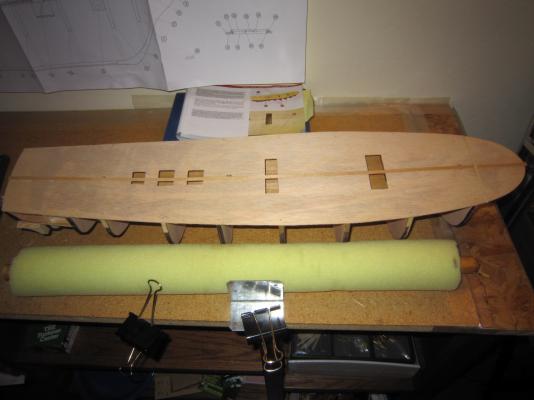
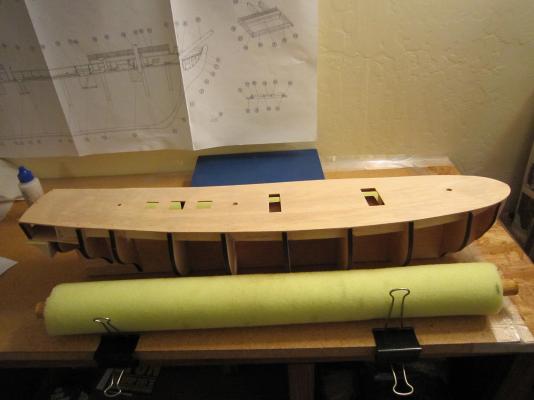
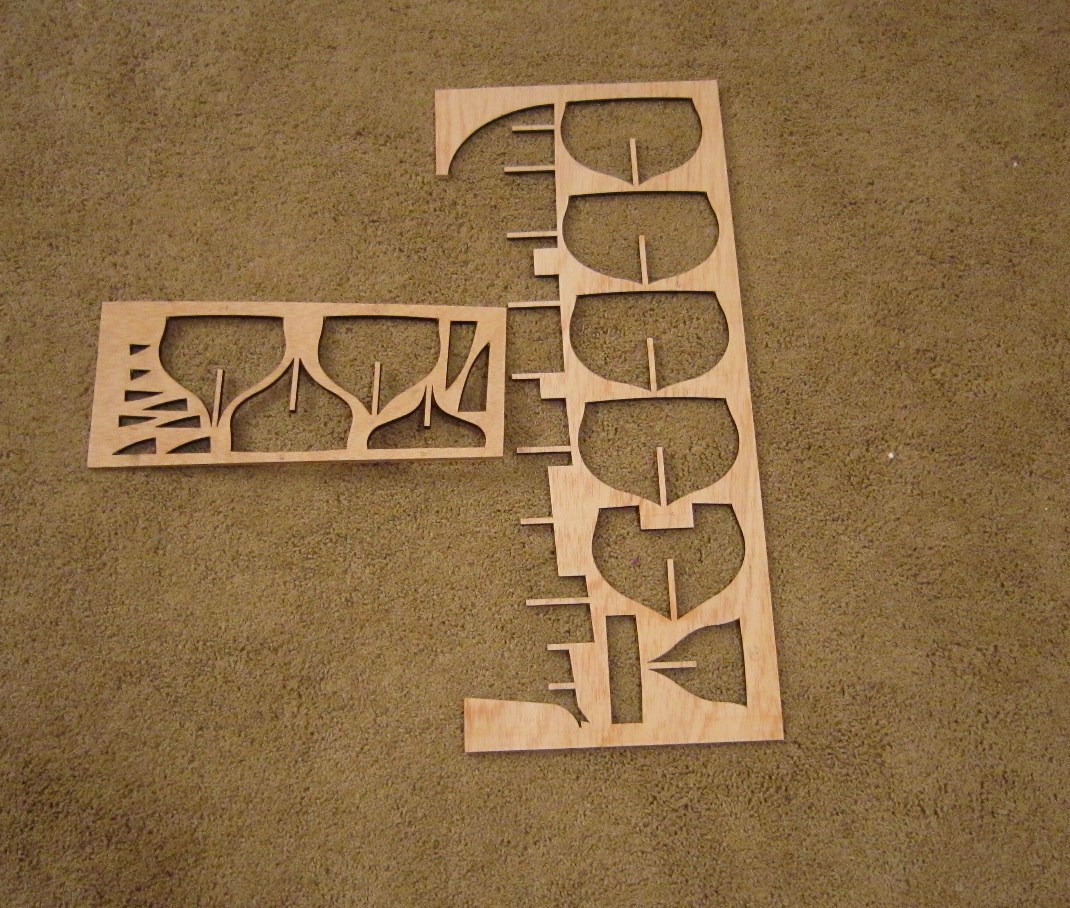
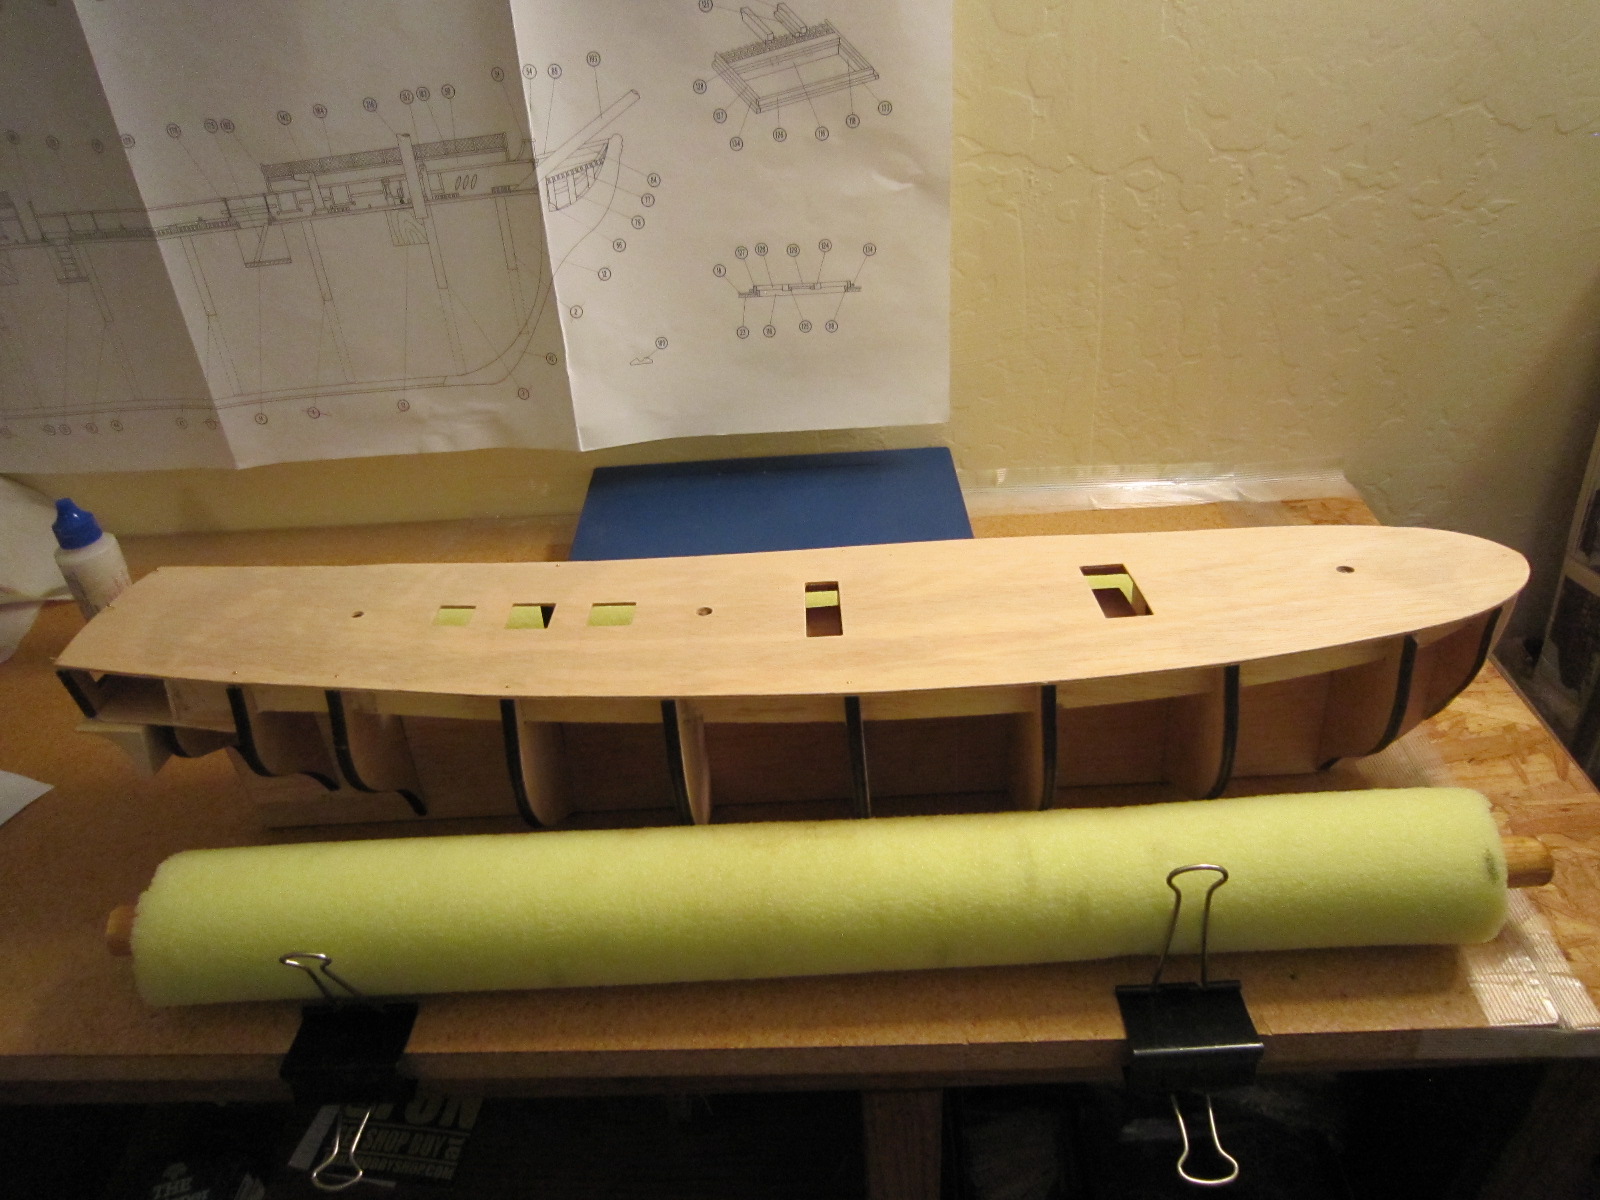
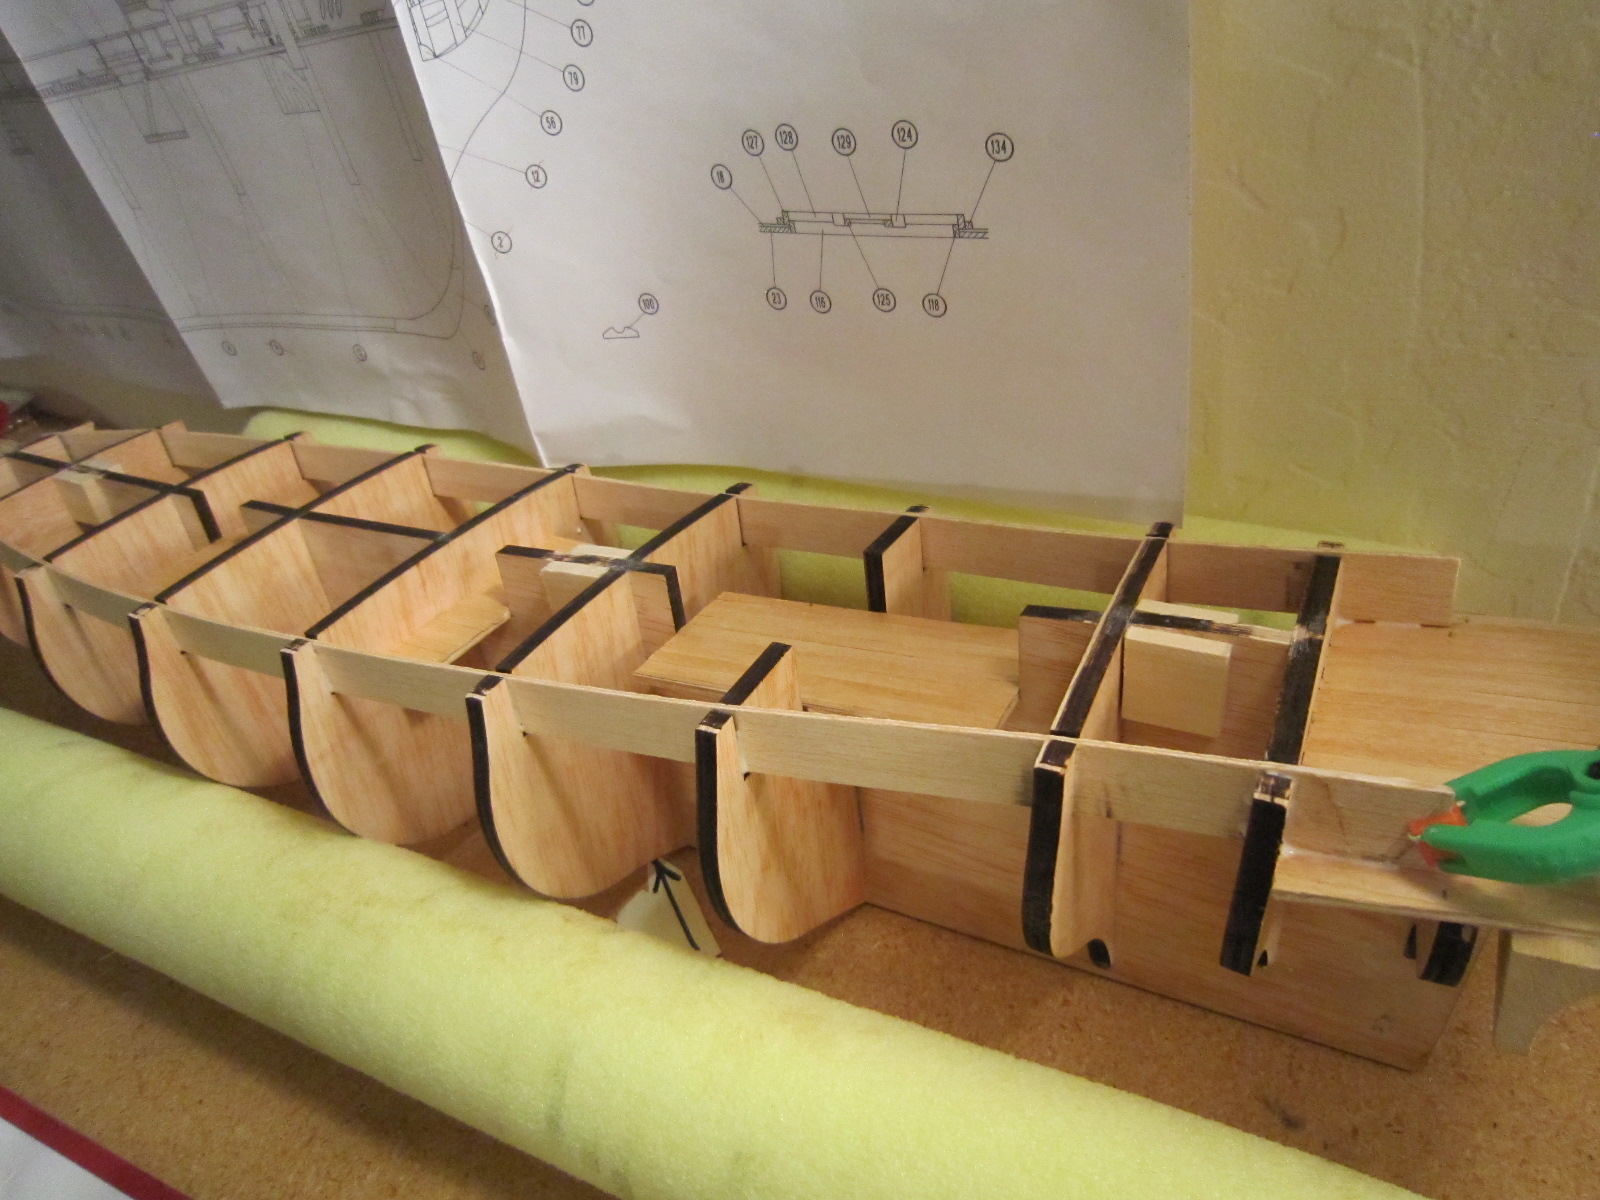
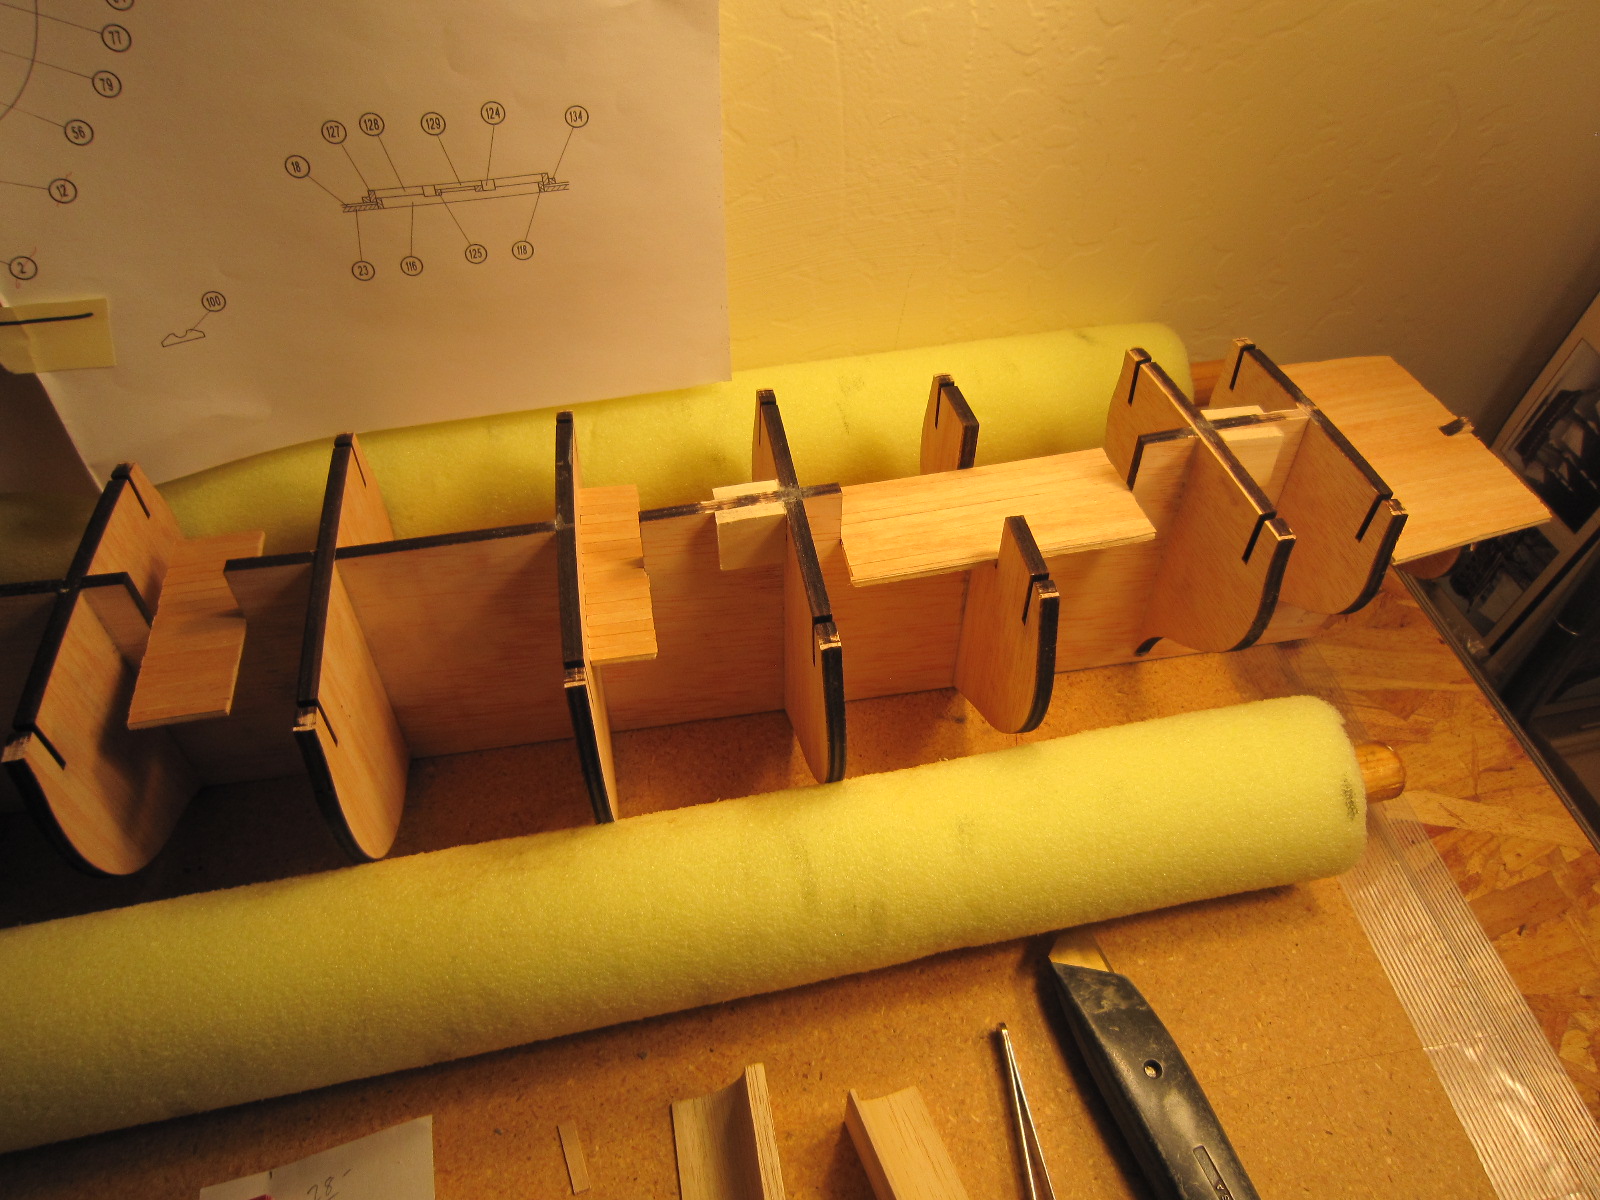
I had a few hours to kill before I had to head to the airport last week, so I added a deck (see photo) to my gun deck in order to add some additional vertical ribs so I can make proper and square boxes around each gun port. The plans don't call for this, but I think I can make it work. I'll use the cutouts from the bulkhead sheet that came with the kit to shape each new rib. I'll "blend" the shape of the new rib depending on which rib is closest to it.
I also just bought on E-Bay a new digital caliper. Using my old metal ruler won't do anymore if I want to be accurate and repeat piece after piece. Building my Swift didn't give me that kind of challenge. After looking at all your builds, I must shape up or ship out.
Rich
-
-
-
Just got back from Canada. Fishing was great! Bear watching and whale watching fair to poor. Attached are some photos. My wife and I caught a lot of fish. My wife more than me. We had to release a few since they were protected. We also gave a bunch away. The last pic is the birthday feast a local chef created with the big pink salmon my wife caught. My family is throwing a birthday party for me tomorrow, so I won't get back to my USS Constitution until next week. I had plenty of time to plan my next moves, though. Boat building is really like playing chess.
Thanks for the birthday greetings. 75 seems so old! The good news is, I don't feel that old.
Rich


-
Sjors,
The way you did your gun ports is how I want to make my lower gun ports. Just like your LeMirage, mine are exactly two planks high, so If I build a box around each port, I need only to make veritical cuts in each plank with a saw. They should all be very neat like yours.
Rich
USS Constitution Hipexec
-
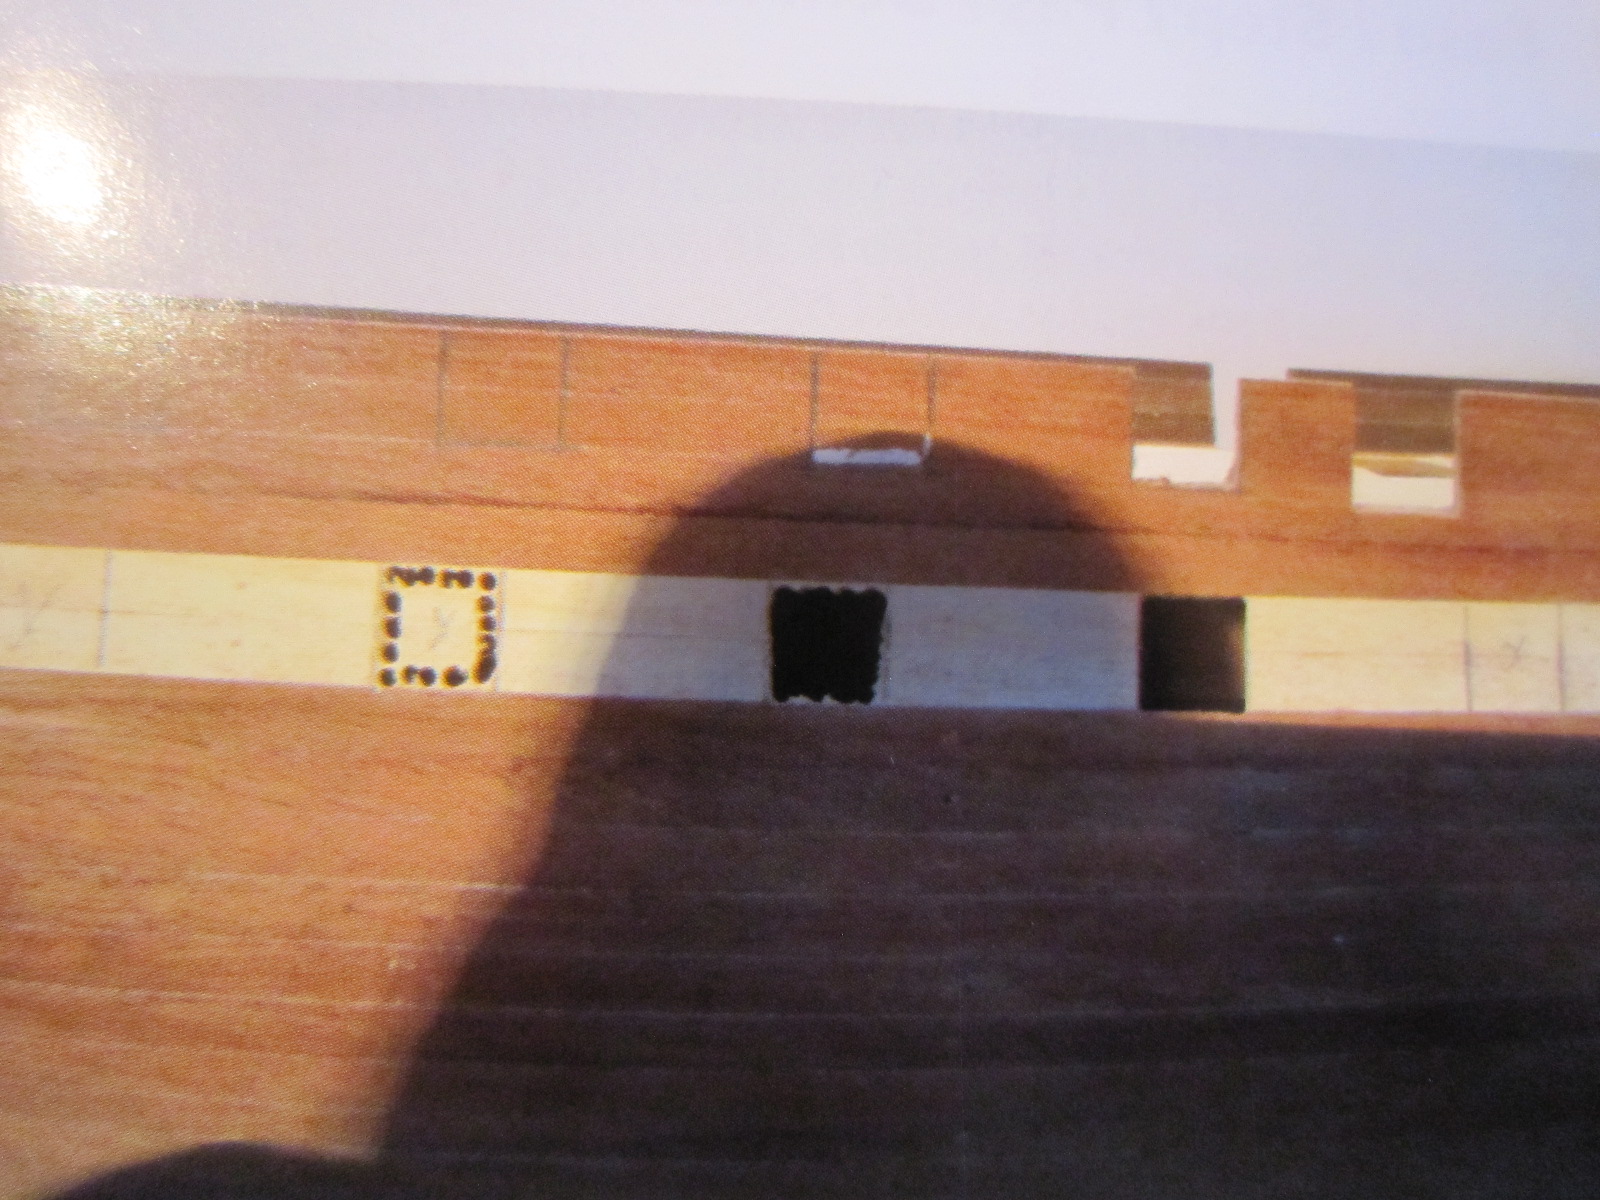
The picture of the gun ports above is from the instruction book. I haven't gotten there yet. Just trying to stay a step ahead. Drilling all those small holes then filing it smooth works, but I was just wondering if there is a better way.
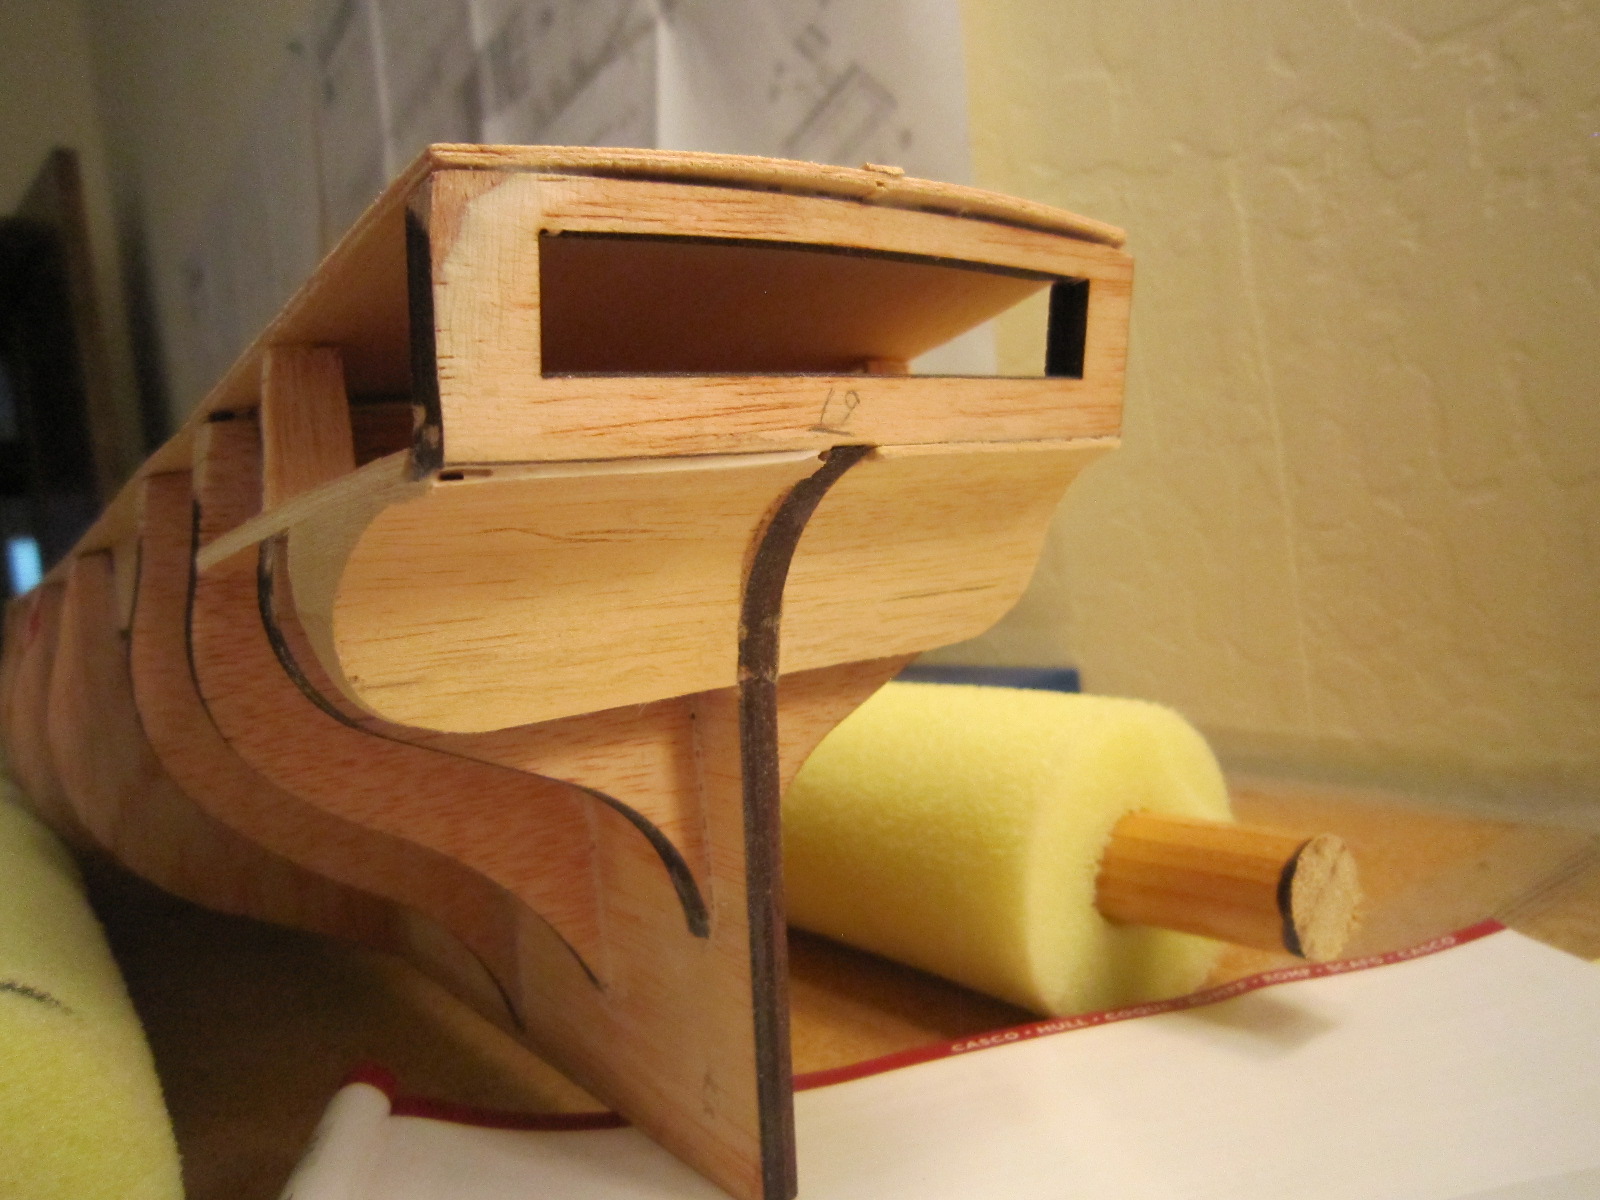
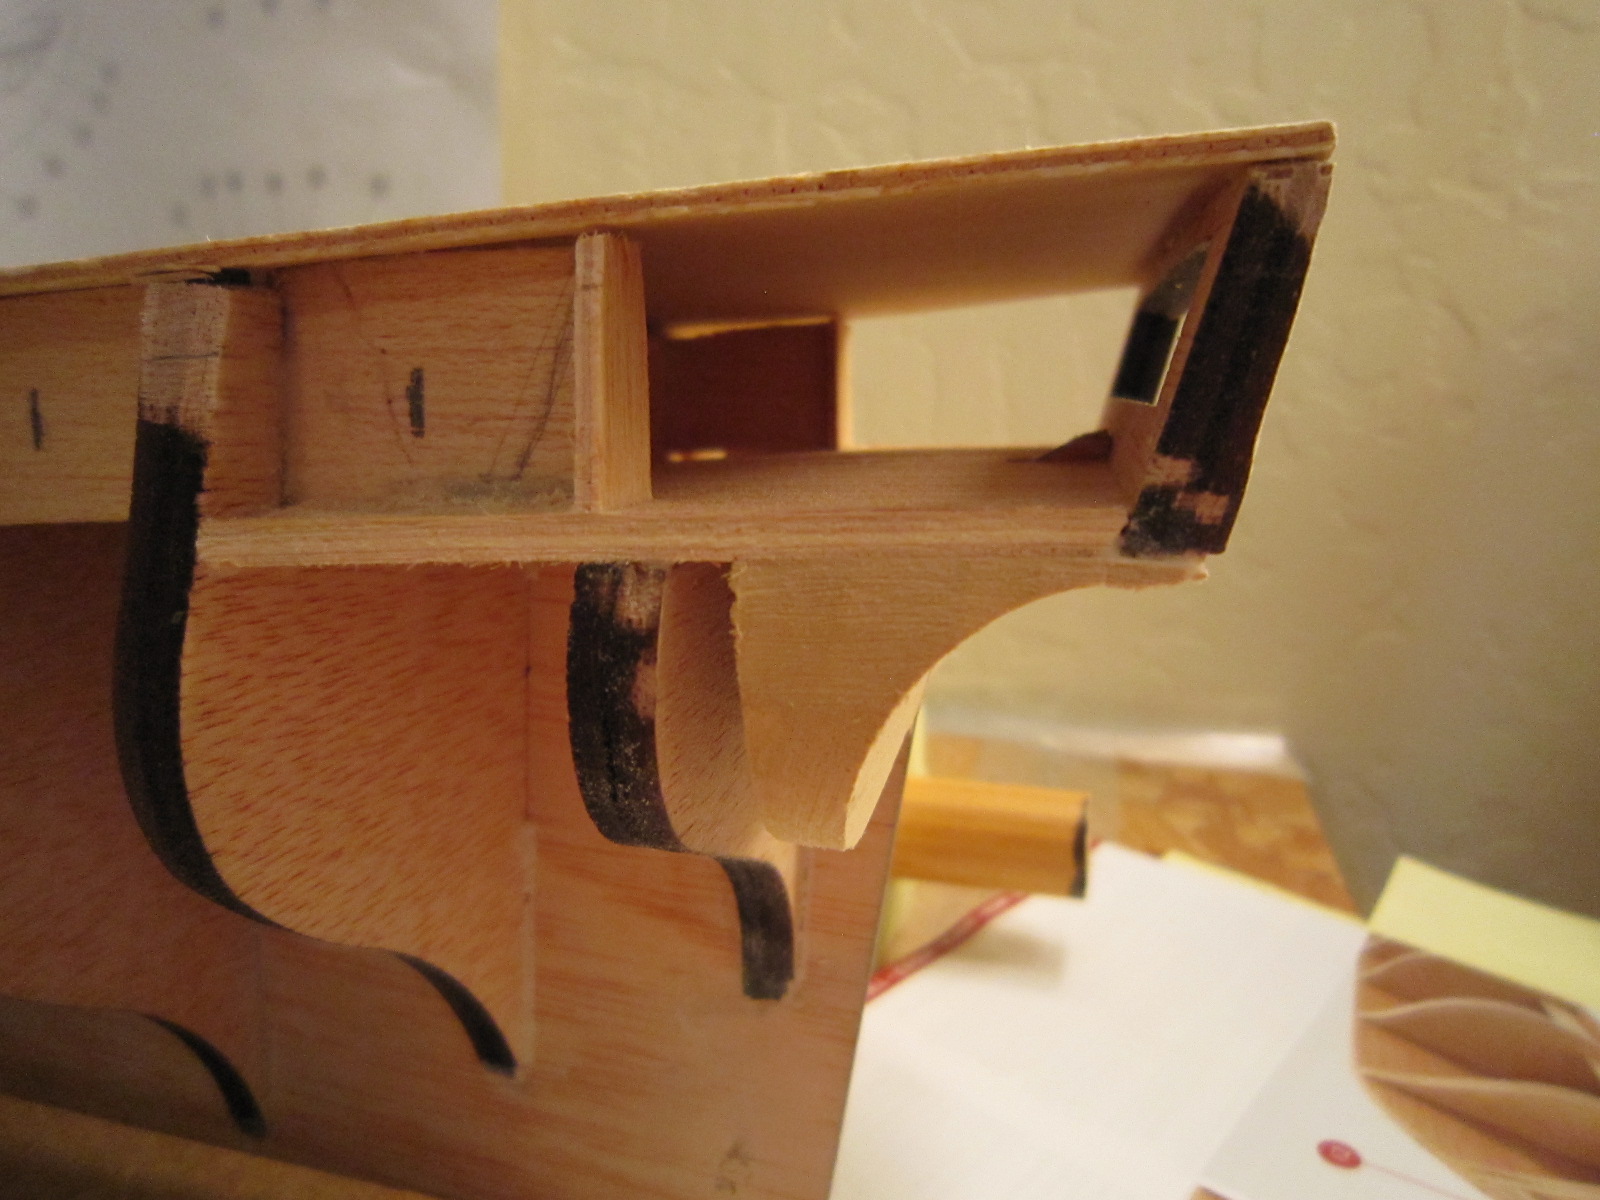
I just added 5mm to the lower deck gun port back walls since my measurements show that when I drill the hole to mount the cannon, it will be very close to the edge of the wall bottom. I didn't like that, so I added 5mm.
I fly to Canada tomorrow night.
Rich
-
Is there a better way to build gun ports than the way Constructo instructs? I'd like them to be straight, square and even. Their method doesn't look very precise.
Rich

-
Augie,
I'm going to copy your plank bending jig. I think it's simple and effective looking. How do you bend a plank on two axis? Horizontally as well as vertically to take into account the curvature of the hull and also its rake?
Rich
Hipexc USS Constitution.
-
If I catch a big salmon and bring it home, the way I figure it , it will cost me $1,000 a pound!
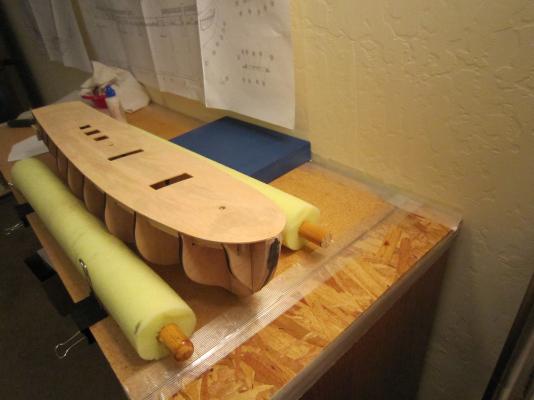
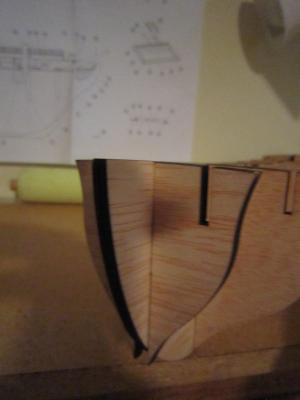
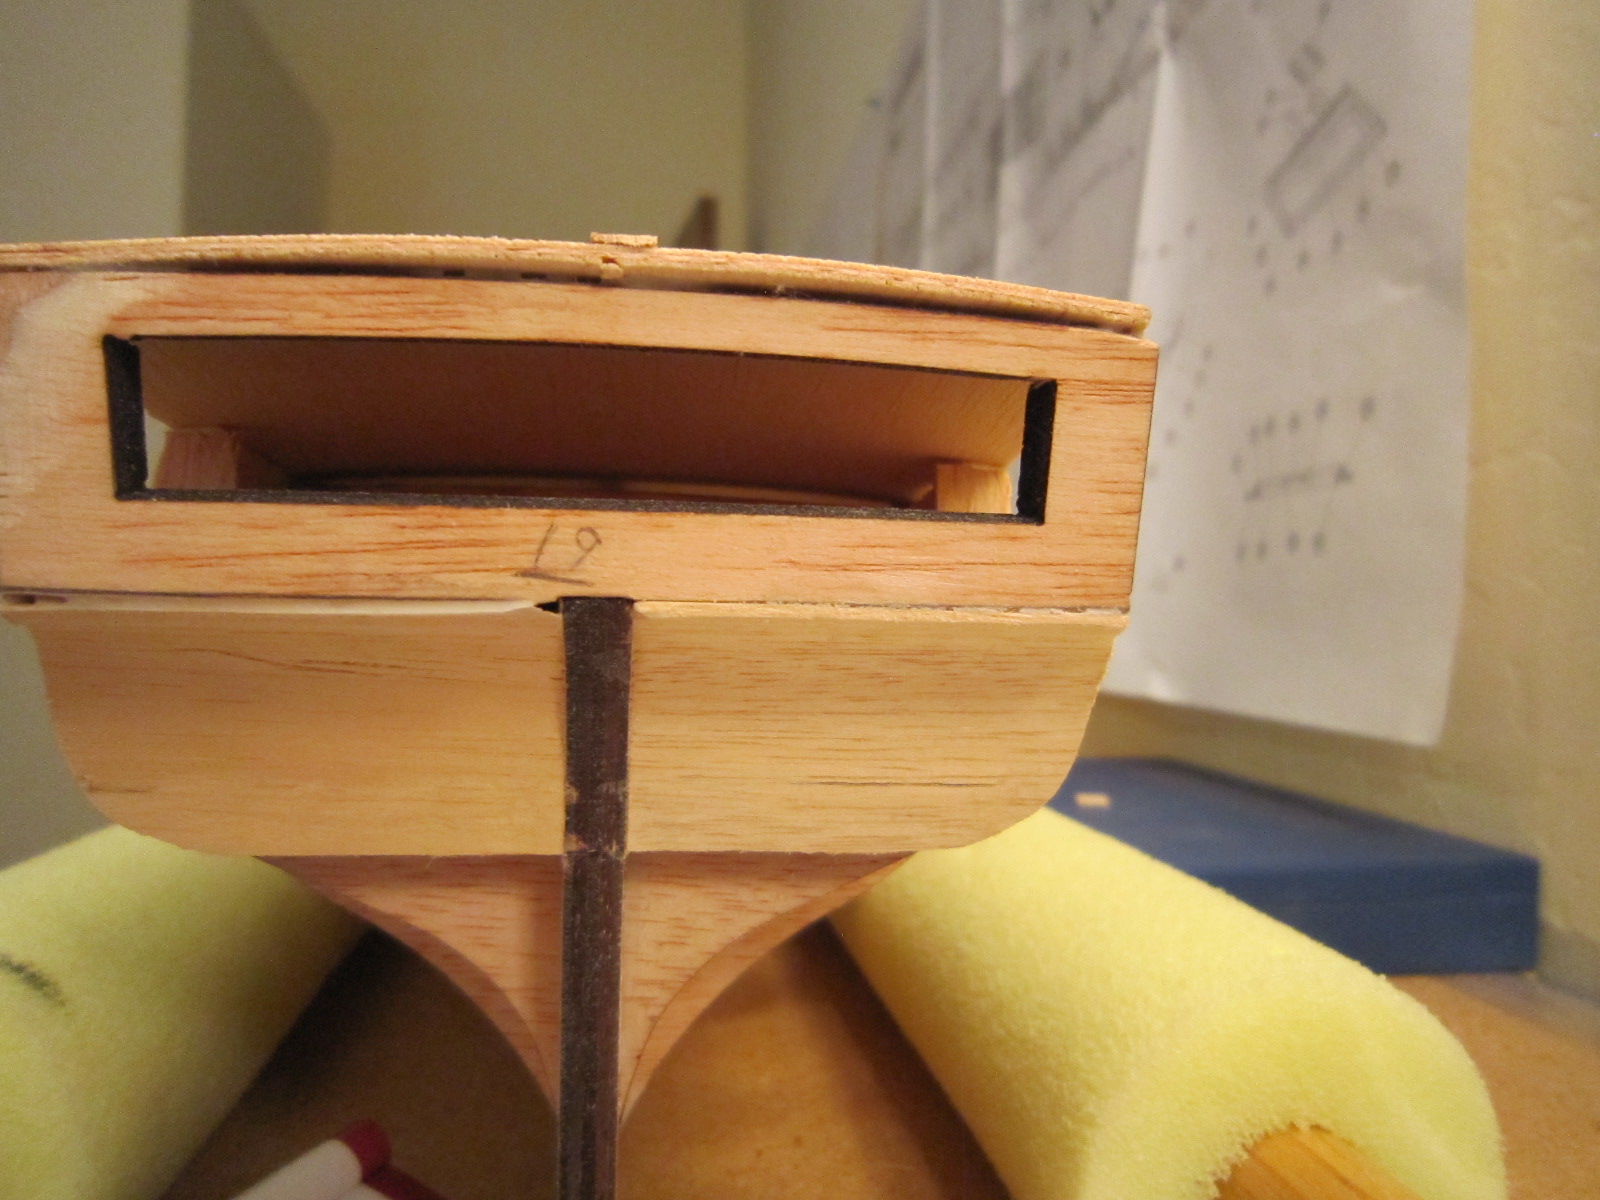
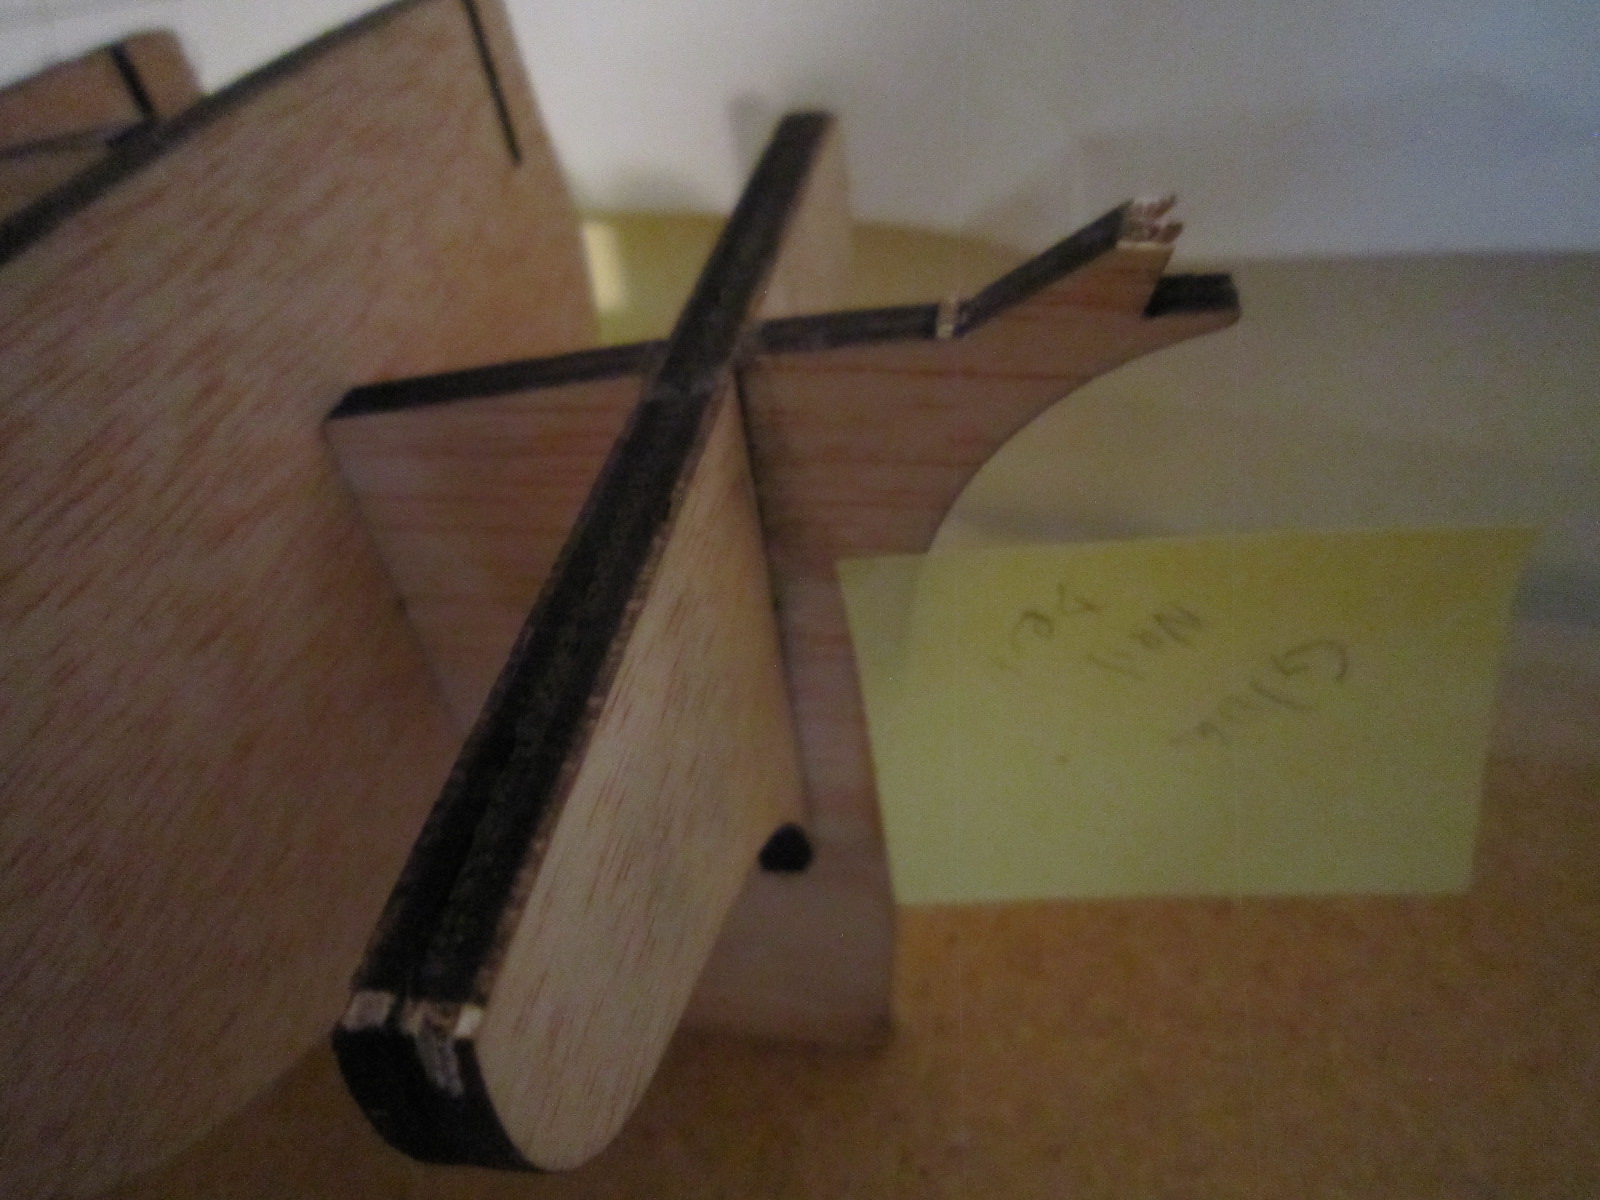
I finished shaping the stern blocks. There was a lot of material to remove, so I used a fine saw, a knife, my Dremel and some sanding blocks. I measured real carefully so as not to take off too much. It seems to have turned out real good. I had made a real muck of the stern blocks on my Swift and didn't want to repeat that mess.
I'll work on the bow while I add deck planks before heading to Canada.
Rich


-
Hi Sjors & Augie,
I'm going to use whole planks since the finished deck is so busy, it would take an expert to see the subtle difference. To me, it's not worth the extra work. I might break it in a few places, though if it looks too plain.
Now, the work slows down. One piece at a time. Also, I'm taking a week off to go the Canada for some Salmon fishing and Grizzly bear watching. I'll leave Sunday. In the meantime I'll keep adding deck planks and carve the filler blocks. I never heard from Constructo about the over-hanging frame, so I'll just blend it so the hull planks run smoothly.
Rich
-
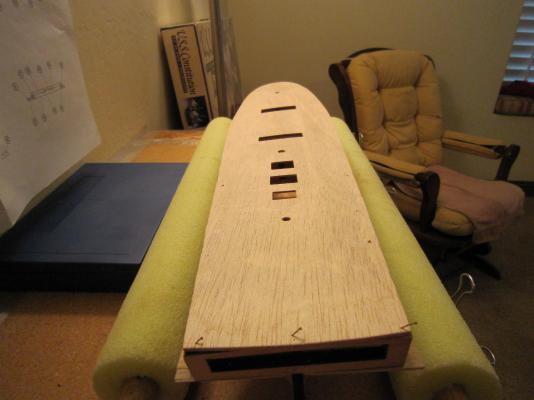
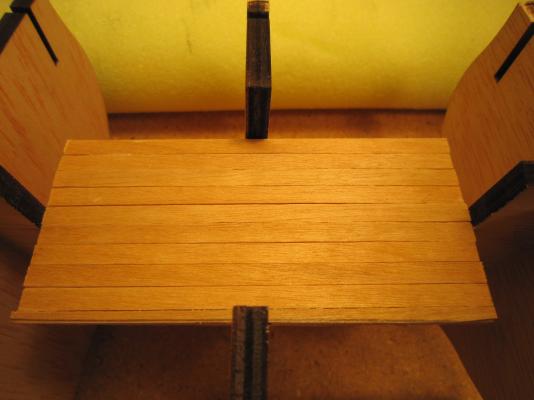
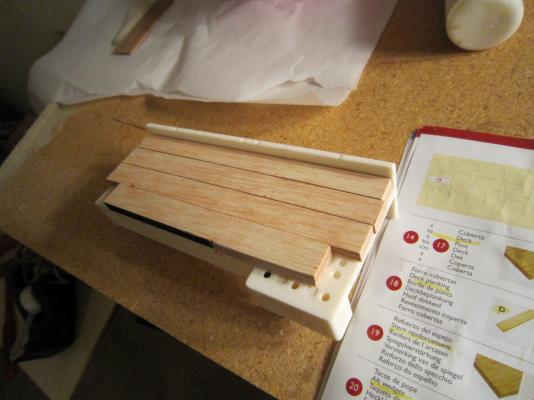
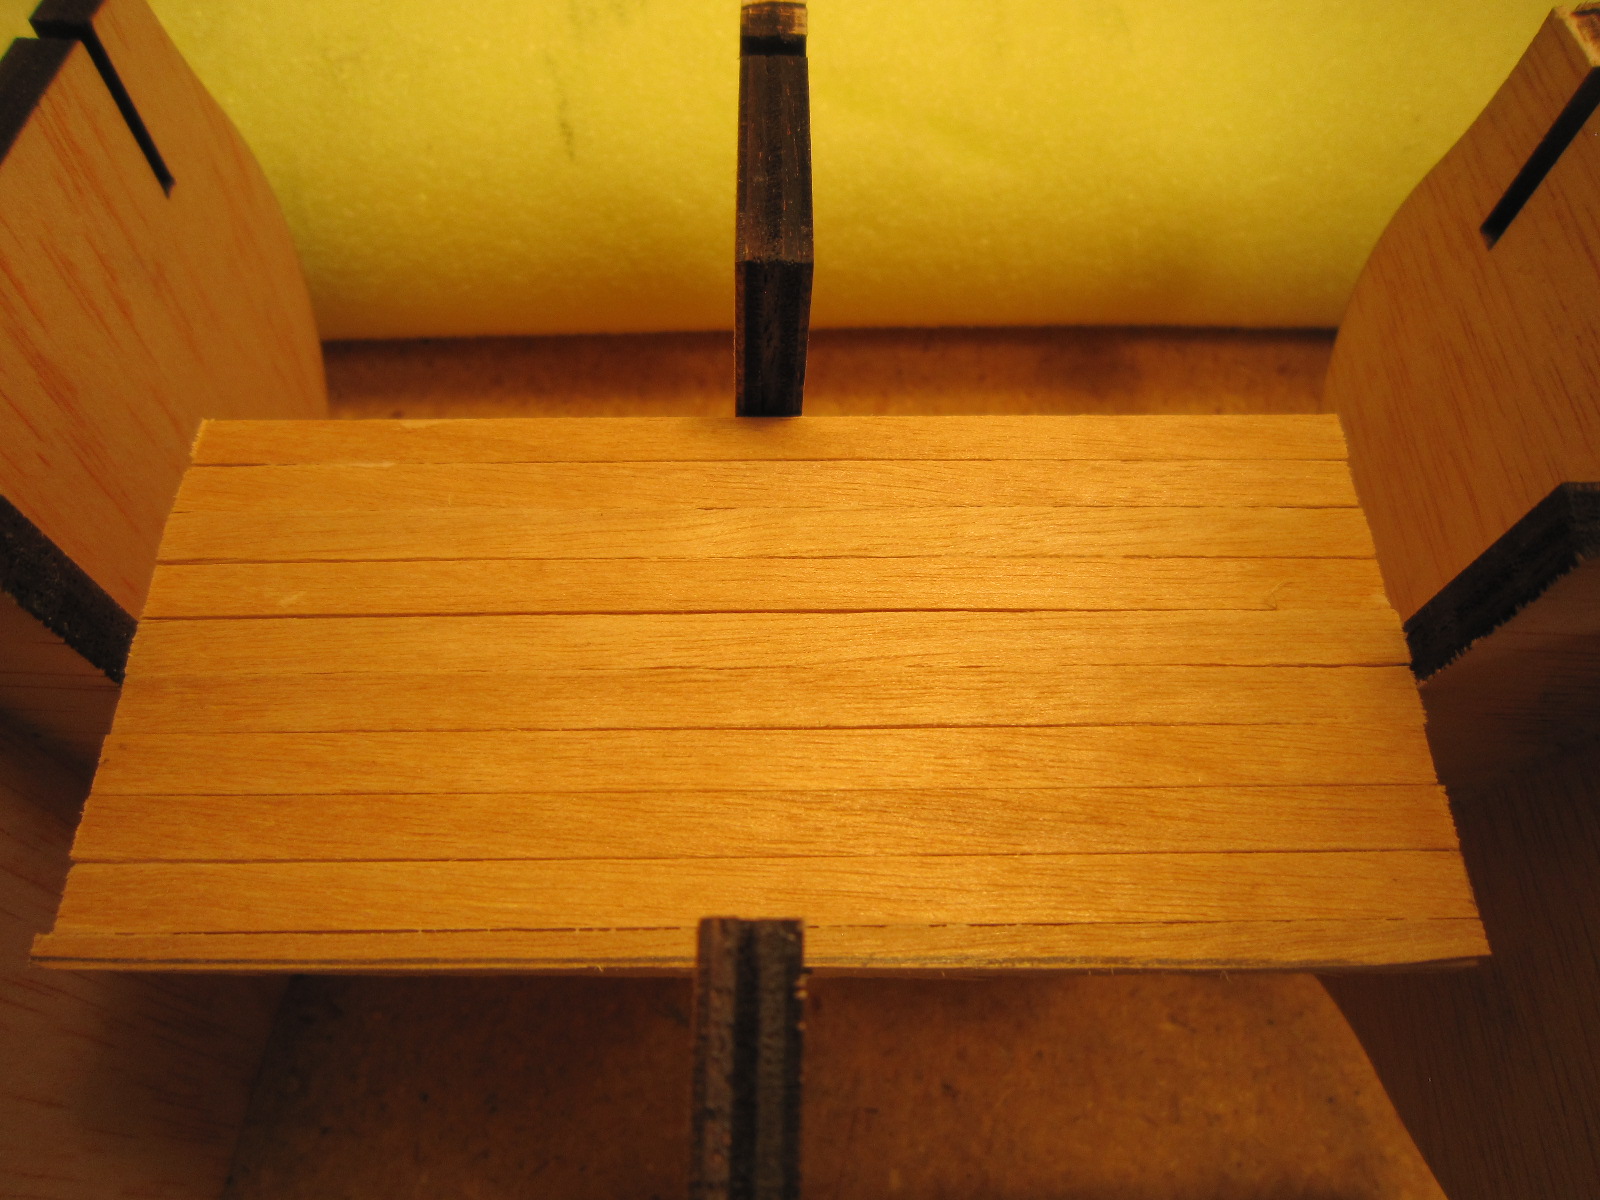
Here's a pic of the first deck plank!
Rich
- SkerryAmp and Dimitris71
-
 2
2
-
Sjor, roger about the below deck varnish.
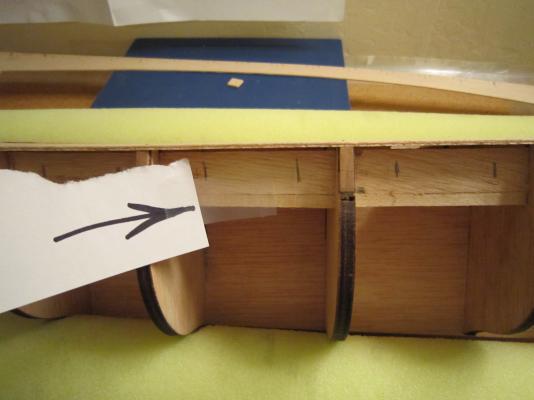
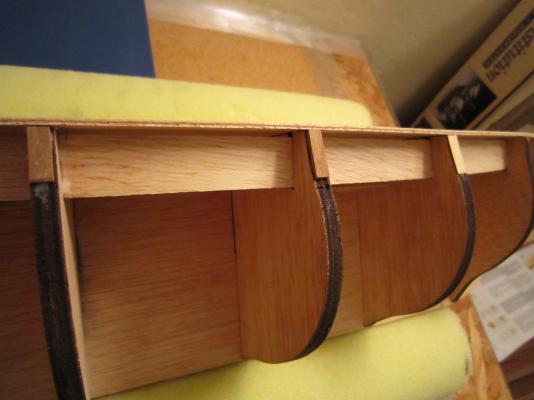
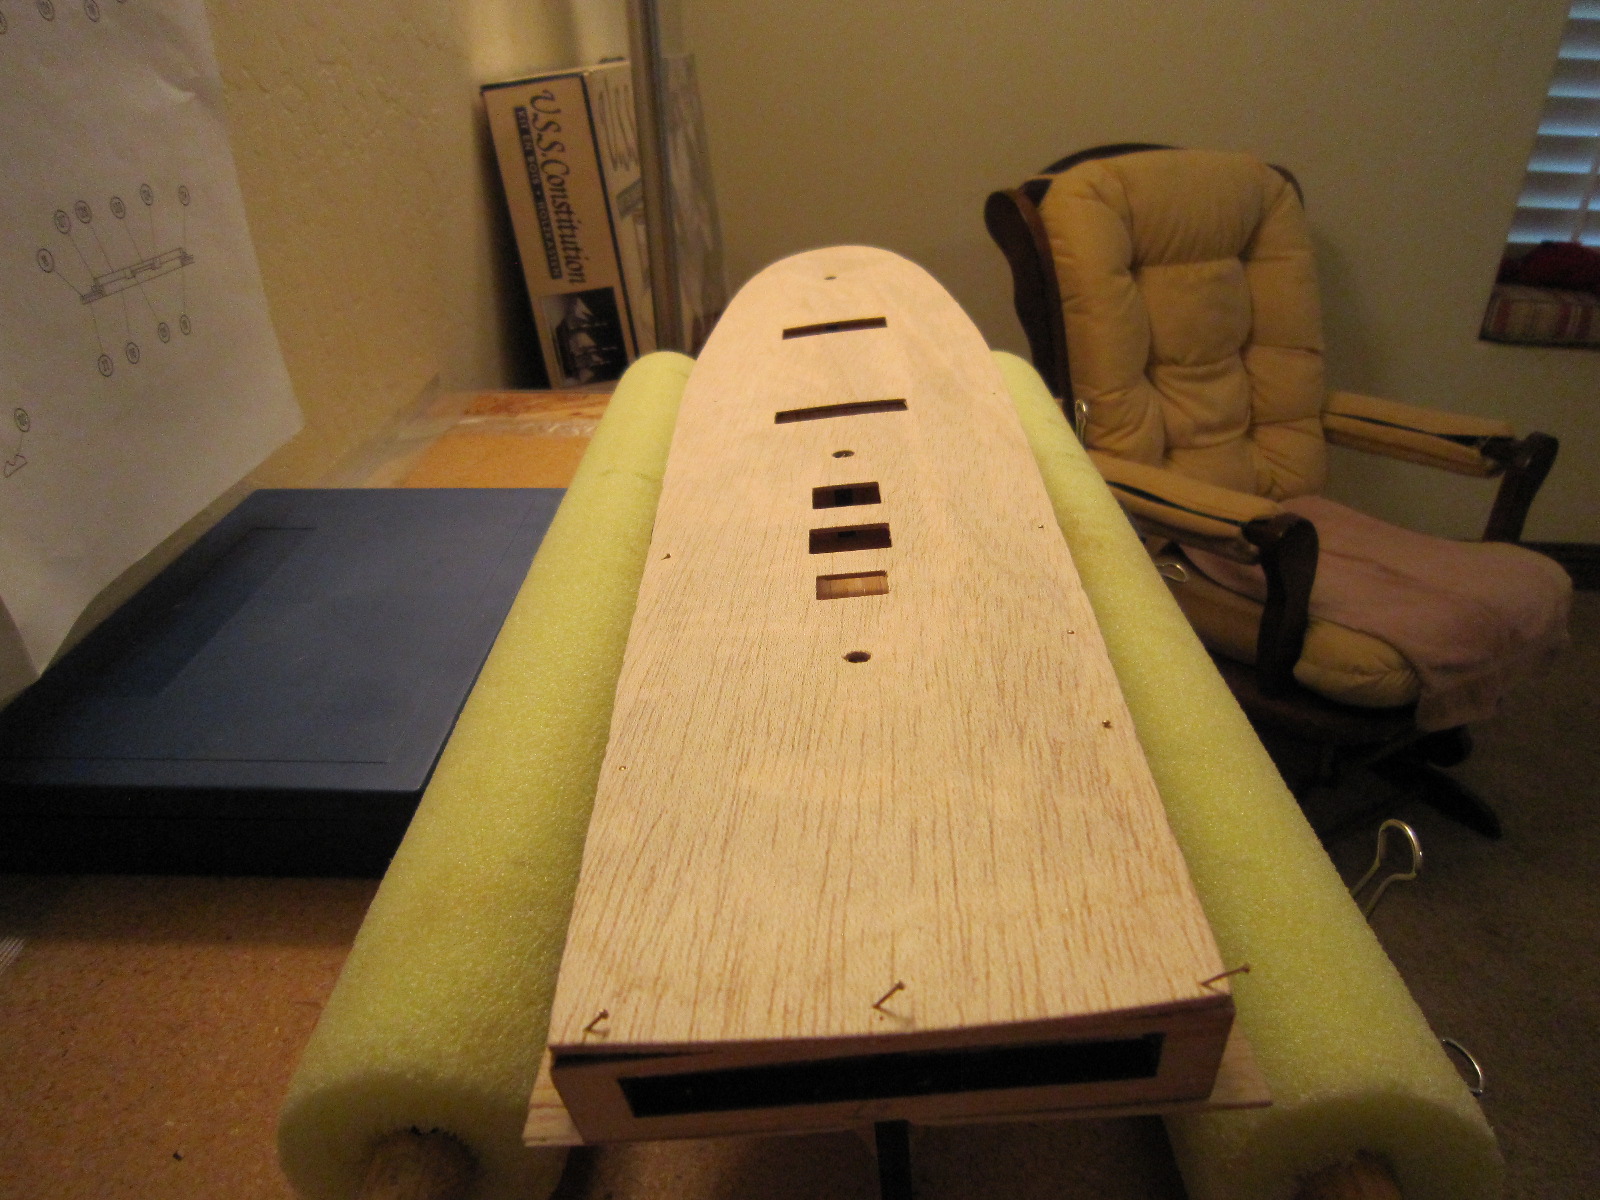
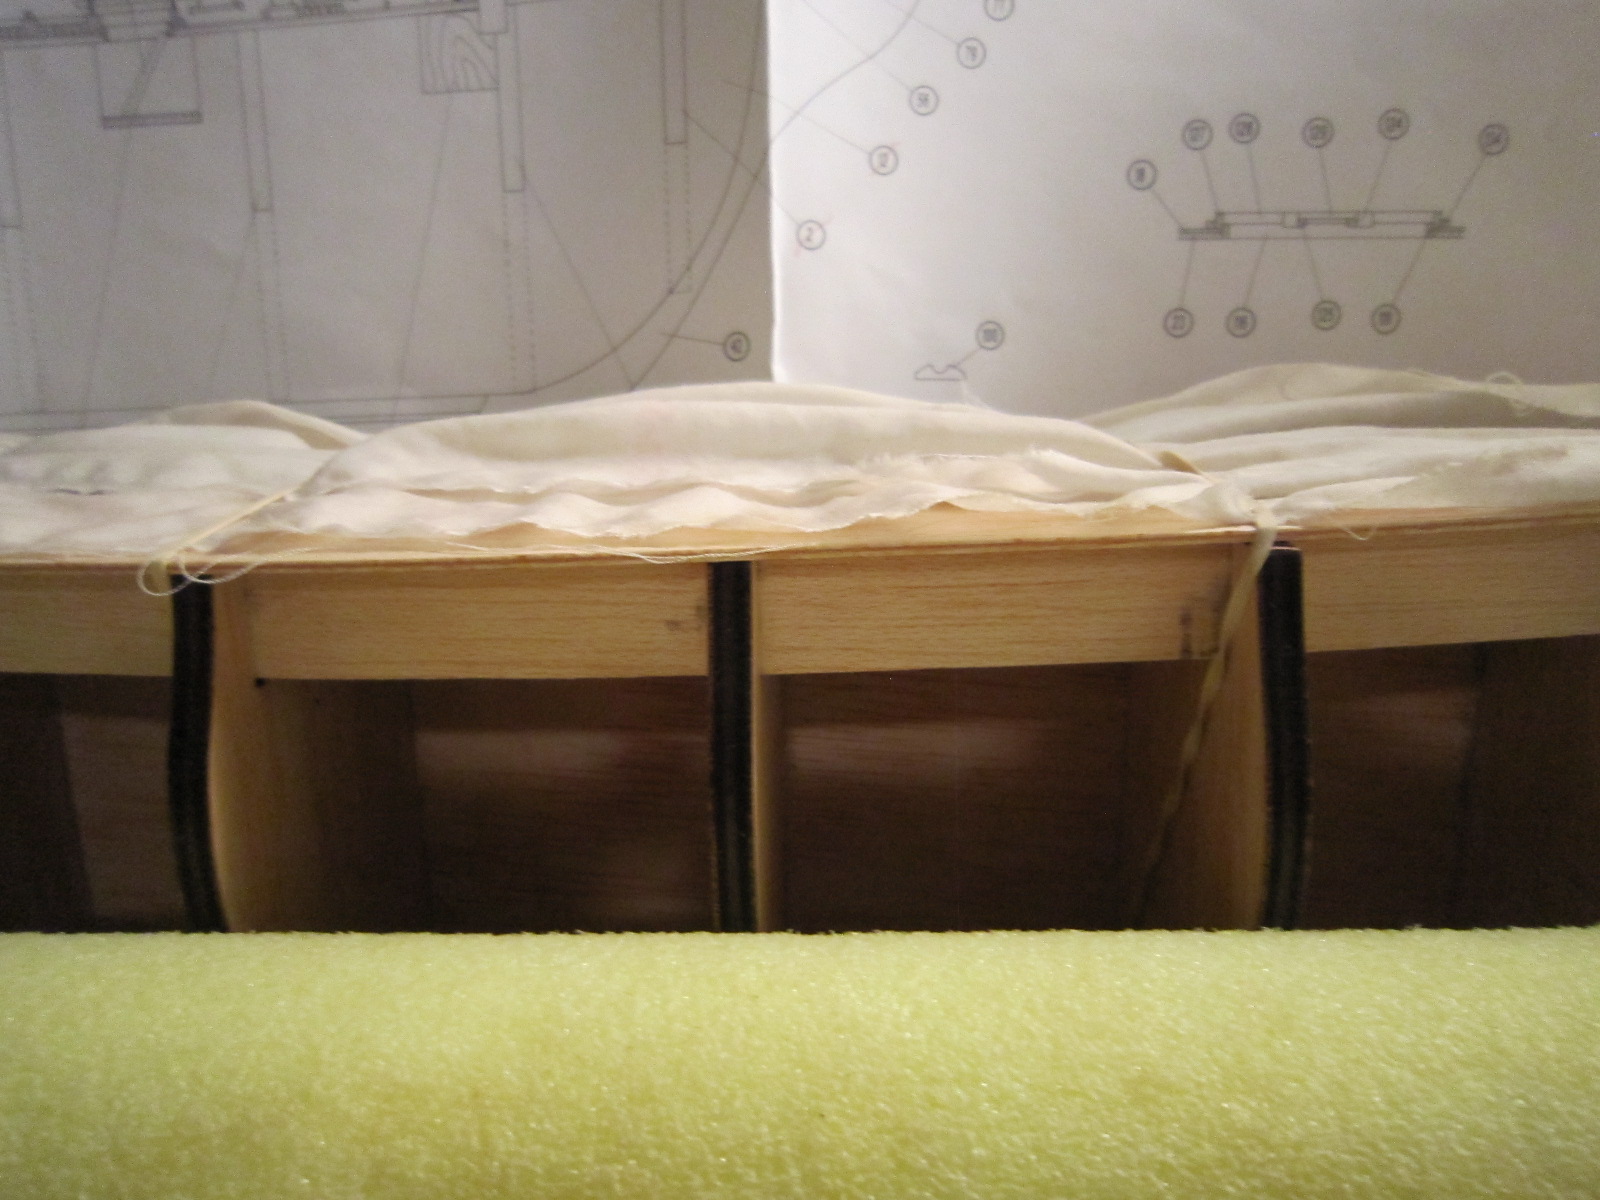
I discovered some very small over-hang of the deck over four frames? Don't know why, but something got crooked in the last few days. So, I shimmed them and will sand them to conform with the frames. They have to be exact since I must go several plank layers above the deck and it all has to be flush and smooth.
Rich
-
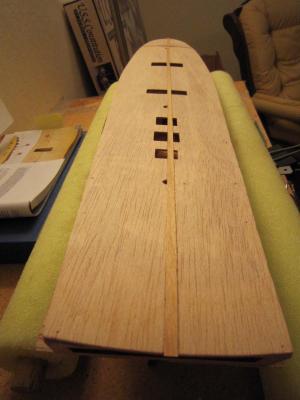
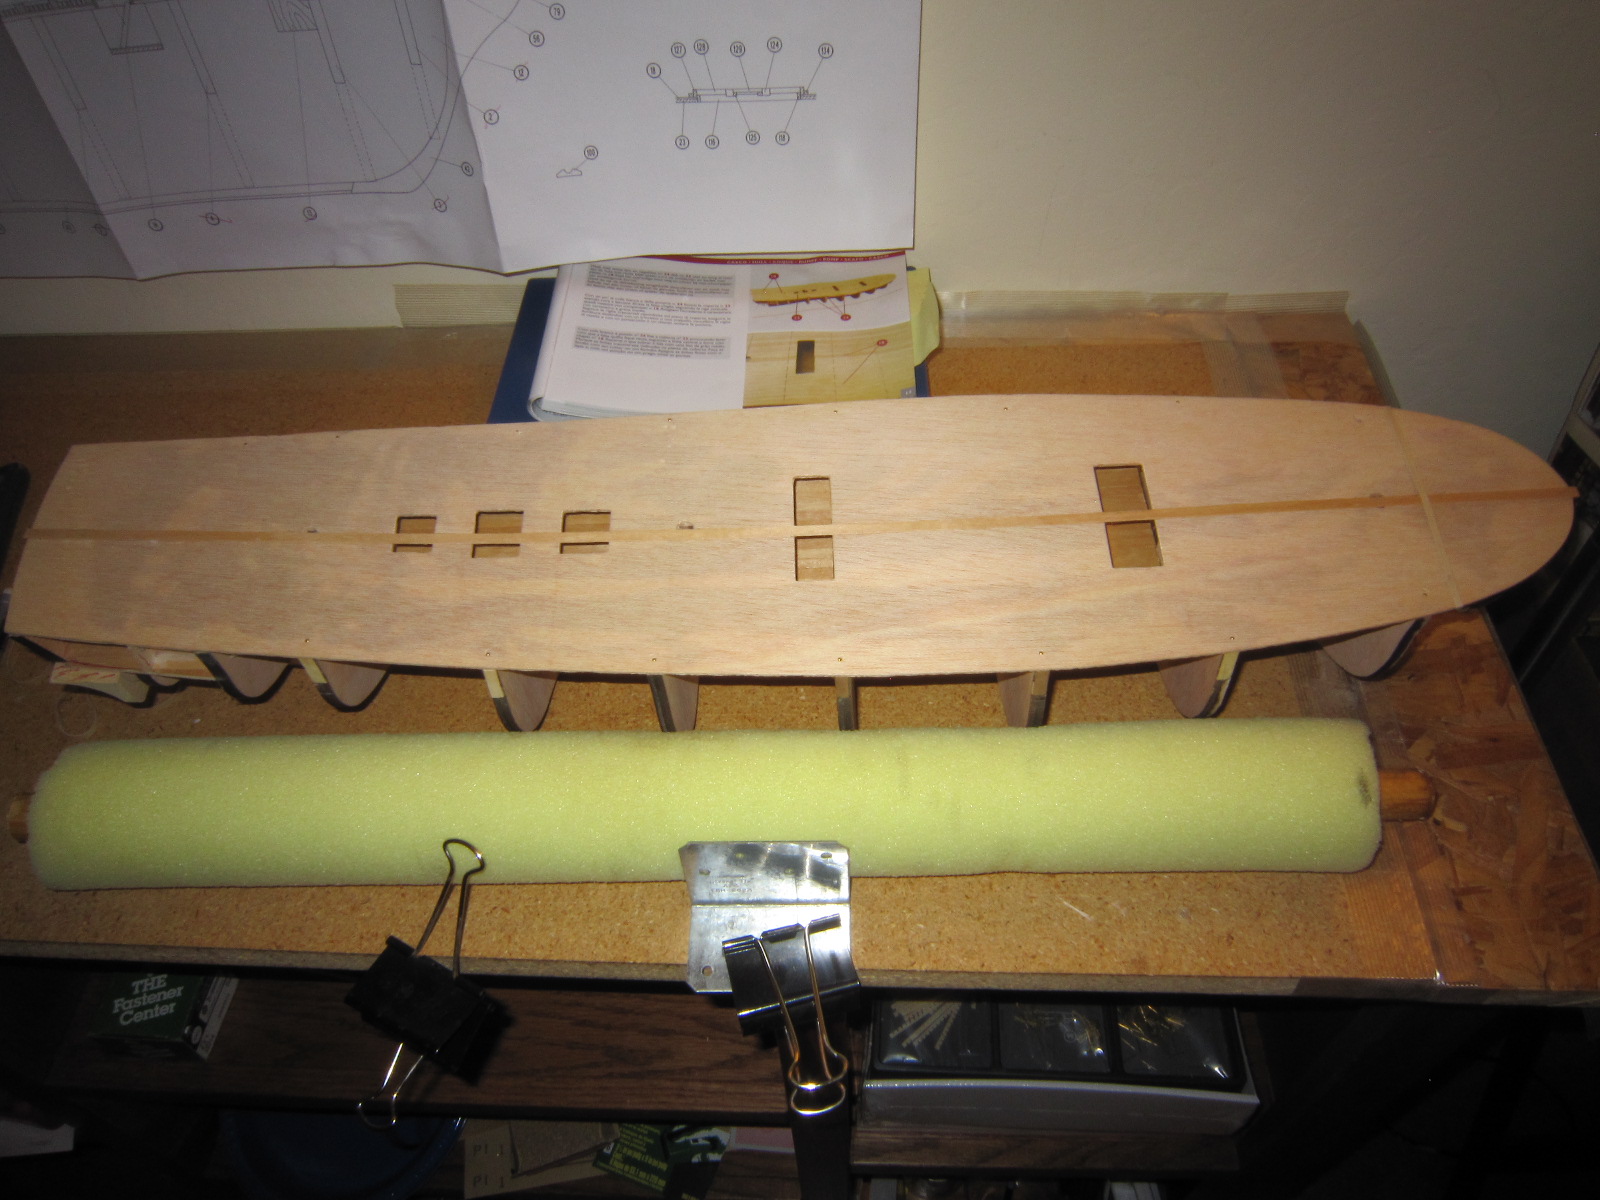
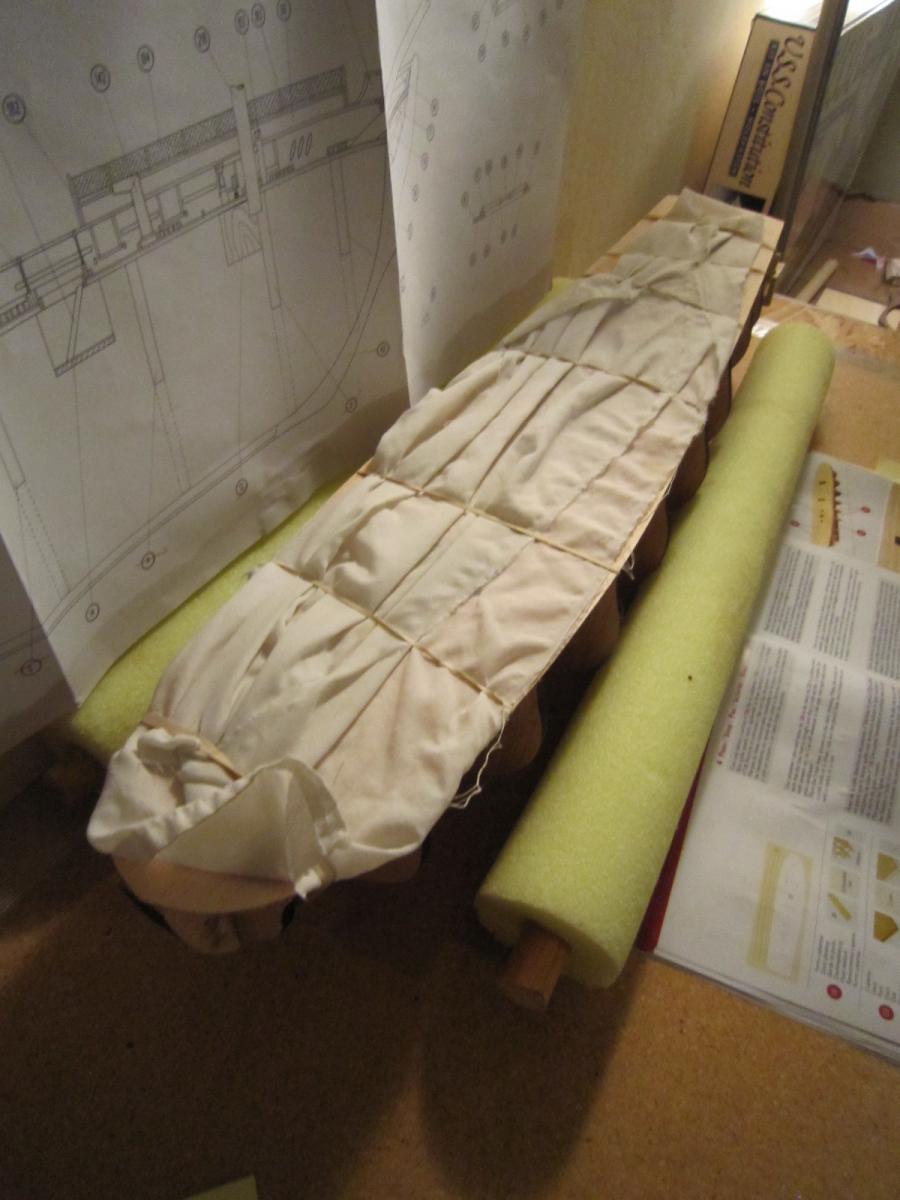
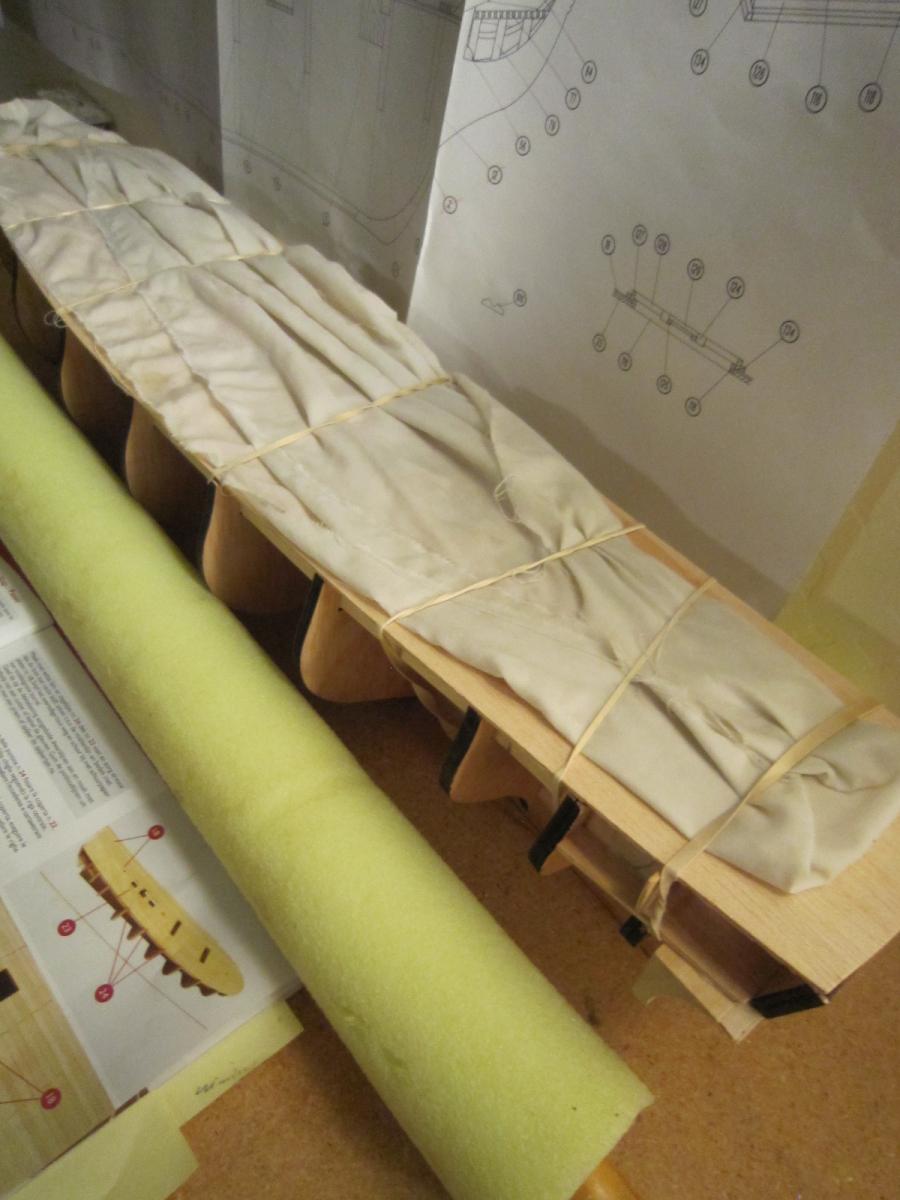
Deck's on!
Because it was pre-curved and pre-bowed, it went on real easy. I didn't do that when I built my Swift, and had a real wrestling match.
I'll start planking when the glue dries and I pull out some of the small nails.
Rich
P.S. I varnished all those planked below decks. I still don't think anybody will see much of those when it's done.
- Dimitris71, JPett, Sjors and 1 other
-
4
-
-
-
-
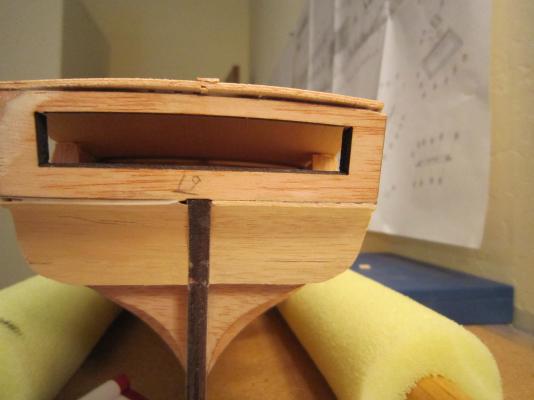
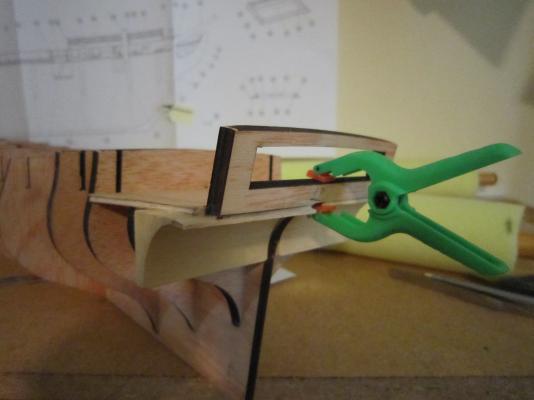
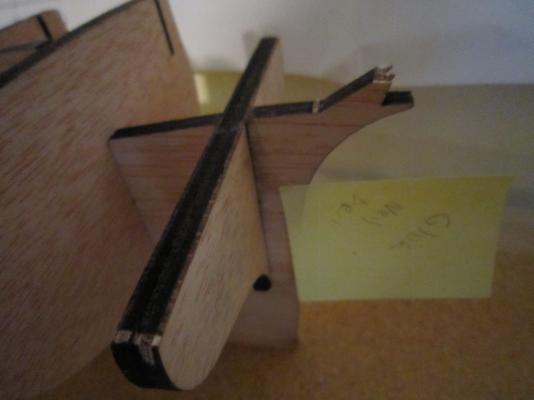
Sjors, I do need any help and advise you care to give. You too Augie. I just put the transom on after using my Dremel to sand the correct angle. One of the balsa fillers they sent me with the kit was missing a critical section. I had to re-build it. Now I'll have to use filler and sanding to finish it.
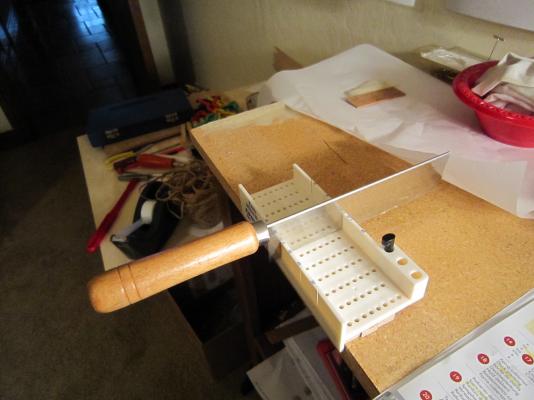
The plastic mitre box is great. It gives me perfect cuts (if it can last).
Rich
-
Stil no reply from Constructo?
I discovered I have to file a raked angle at the transom that is not mentioned in the instructions but shows a raked angle transom in the pictures. I also planked the below deck areas as per the instructions. I guess these areas are visible when the ship is complete? I also ran into a problem with my new plastic mitre box. It looks like it would have "sawed" through only after fifty or so cuts. I glued reinforcment wood underneath. I hope it get me through to completion.
Hipexec


-
I hope they answer, too. You're right, unless told by Constructo otherwise, I will "play" with it to make the planks run true.
Rich
-
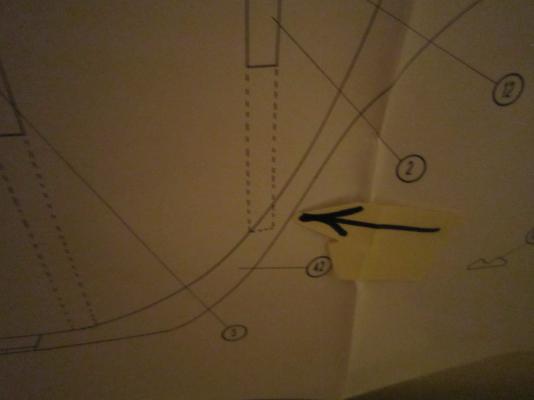
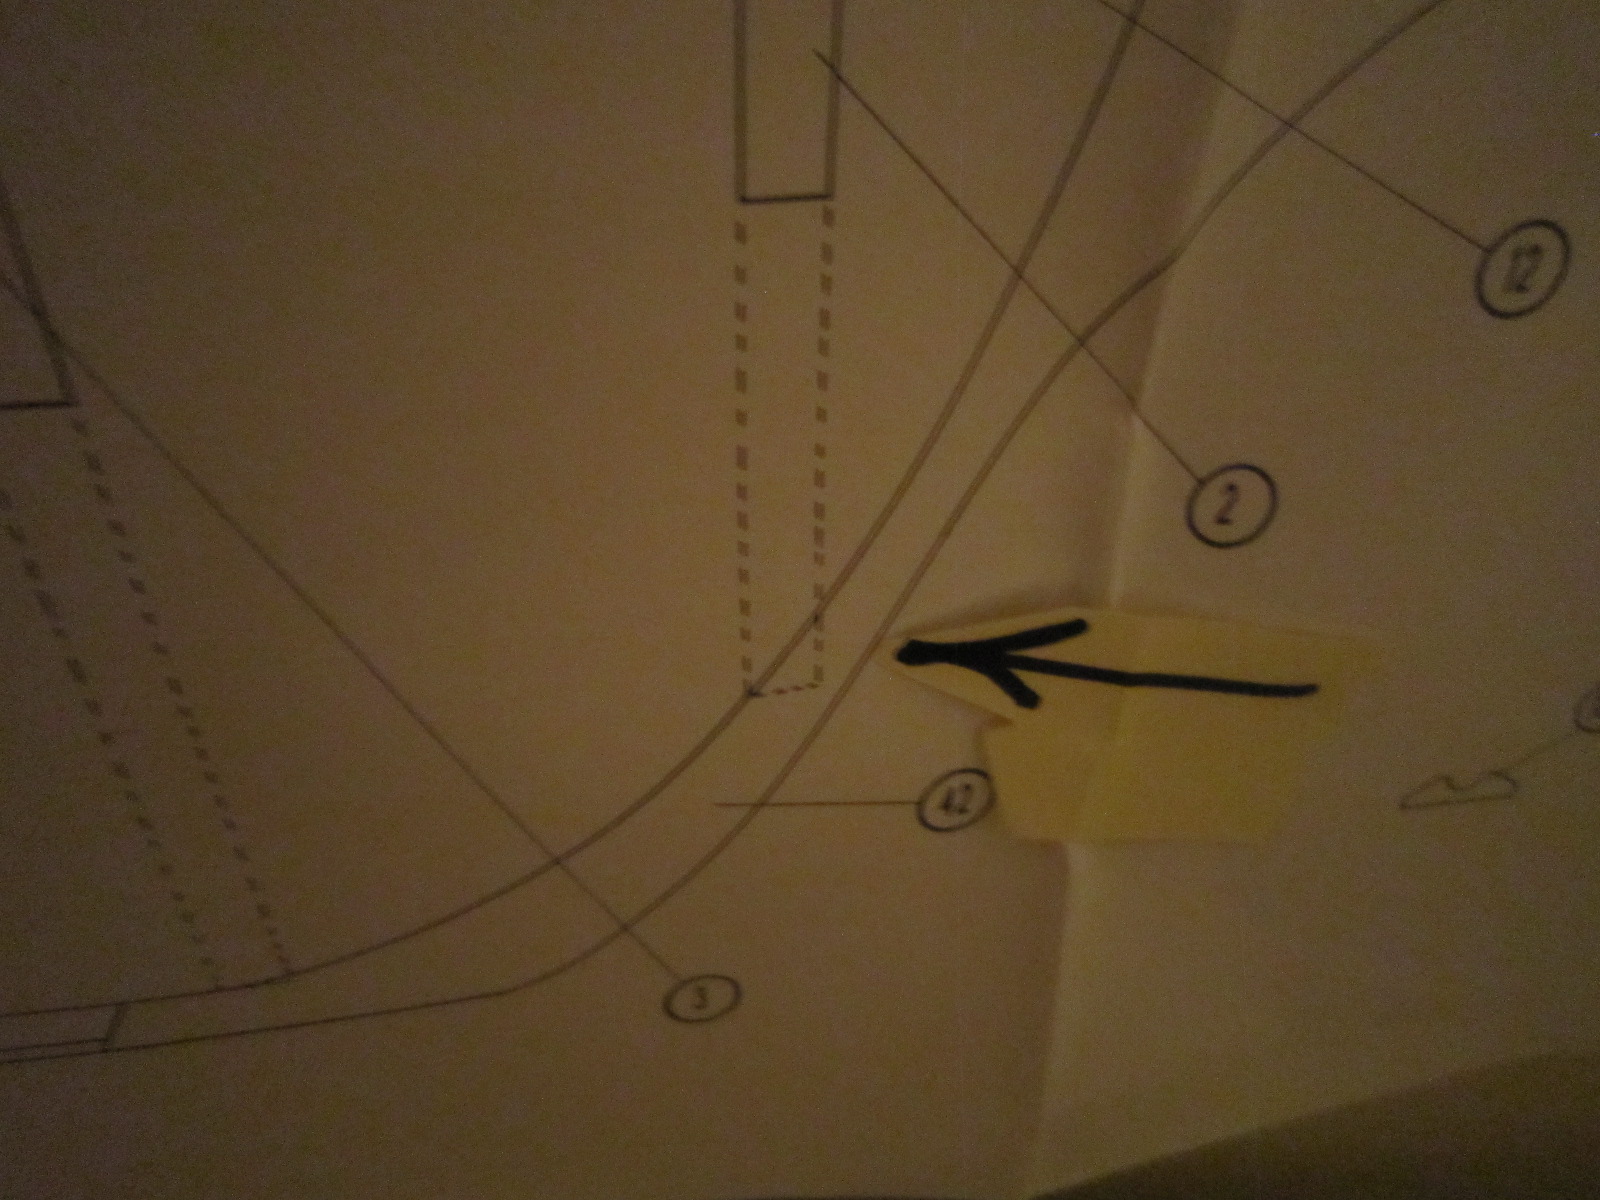
The intrusion even shows on the drawing? I e-mailed Constructo. I'll see what they say. Otherwise I'll wing it and make sure the planks run smooth. Here's the pic of the drawing. All the other bulkheads look good.
Rich
-
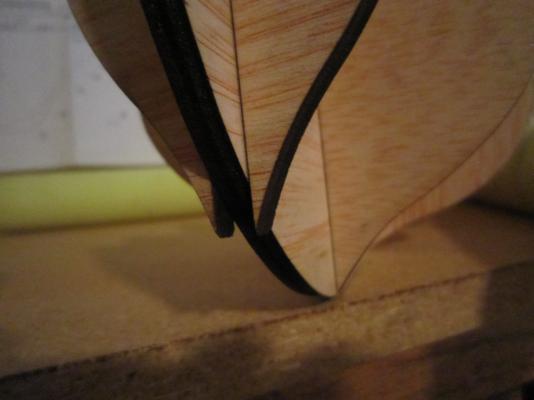
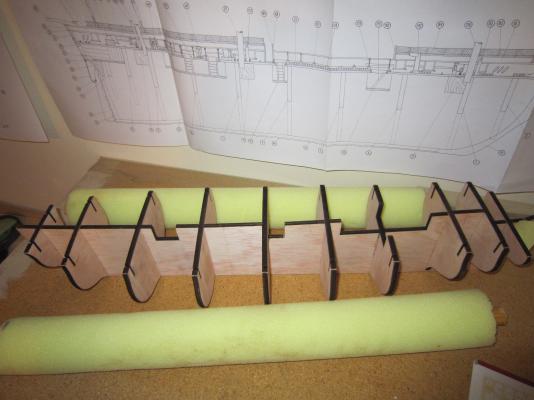
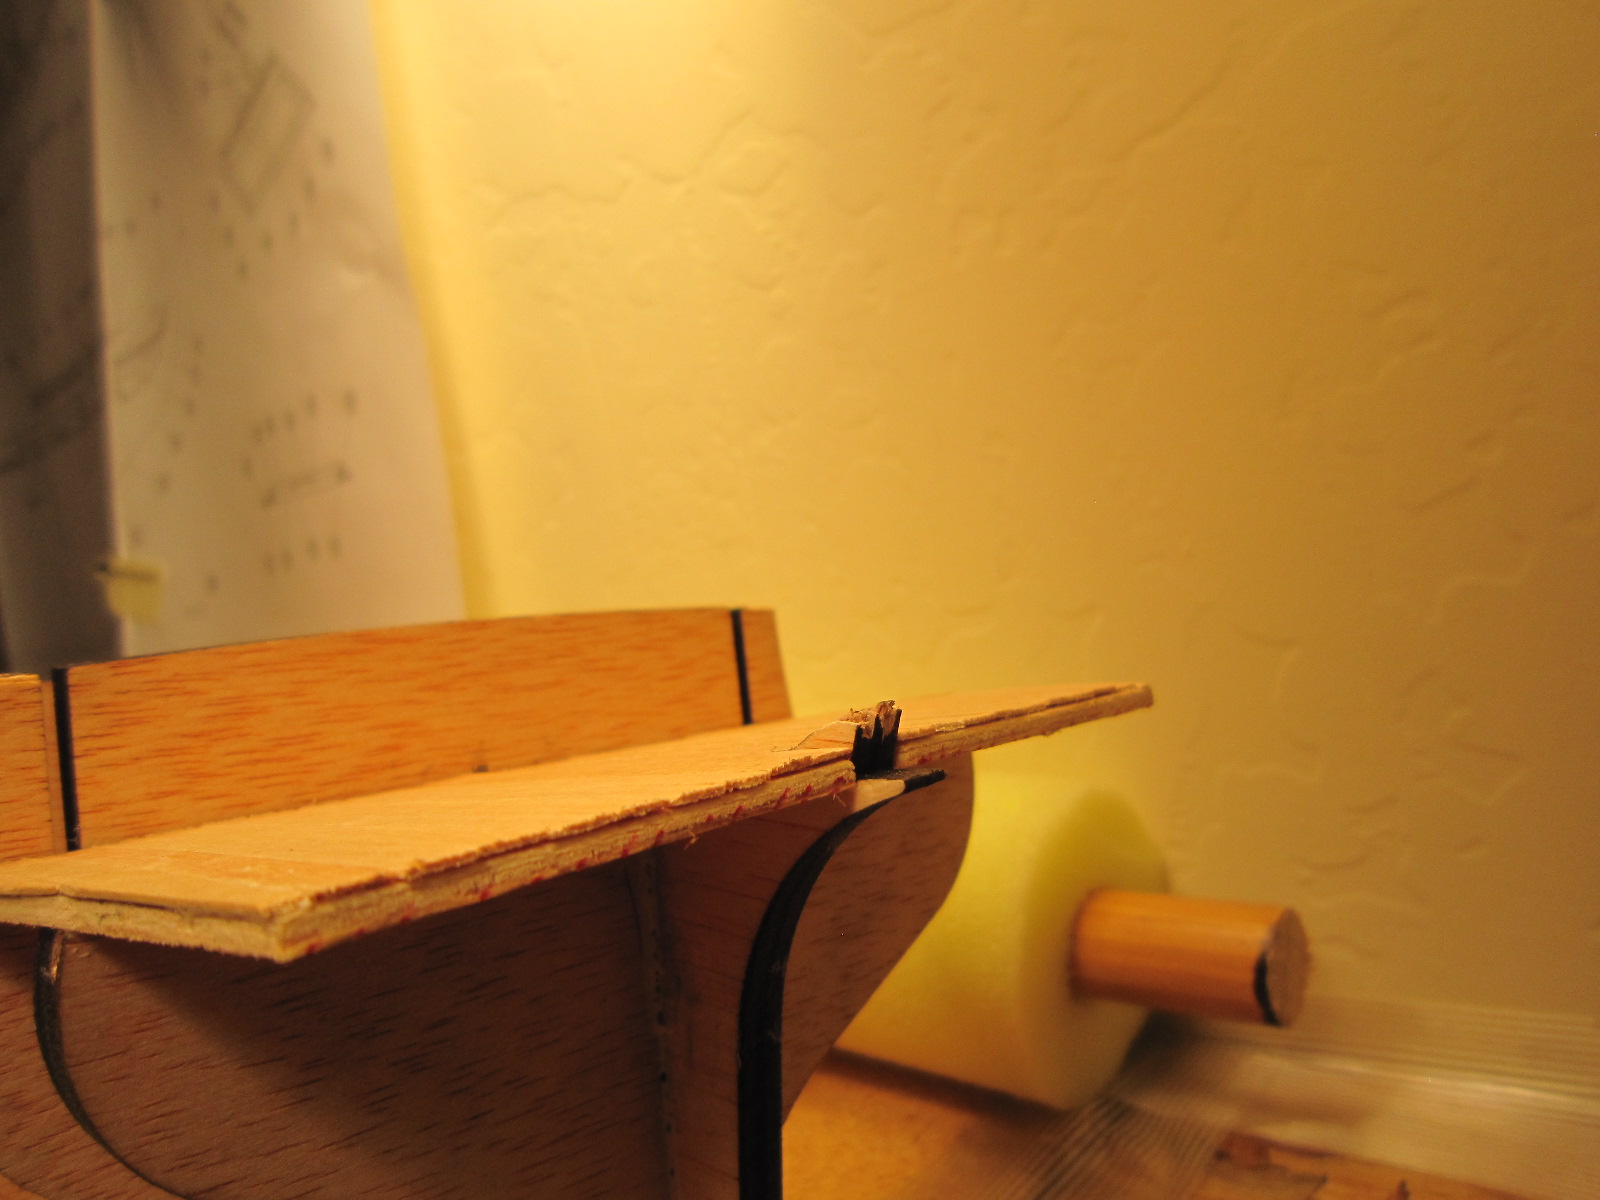
I just noticed that the foward most bulkhead, while flush at the top or deck level, sticks down beyond the bottom of the false keel while all the other bulheads are flush with the bottom and top of the false keel. Any ideas?
Rich
-
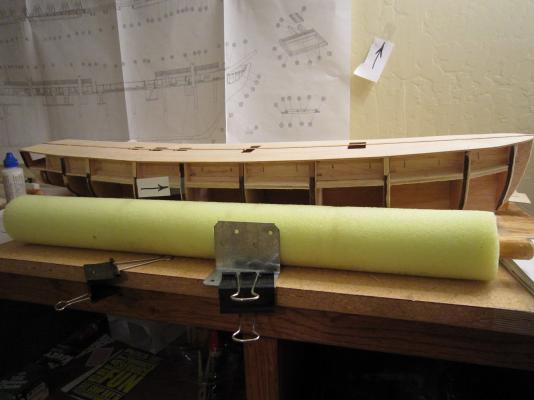
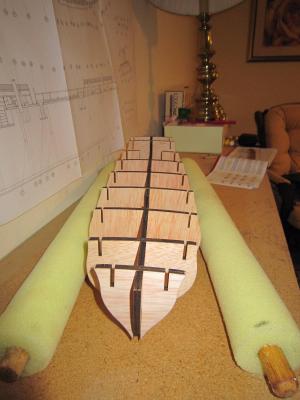
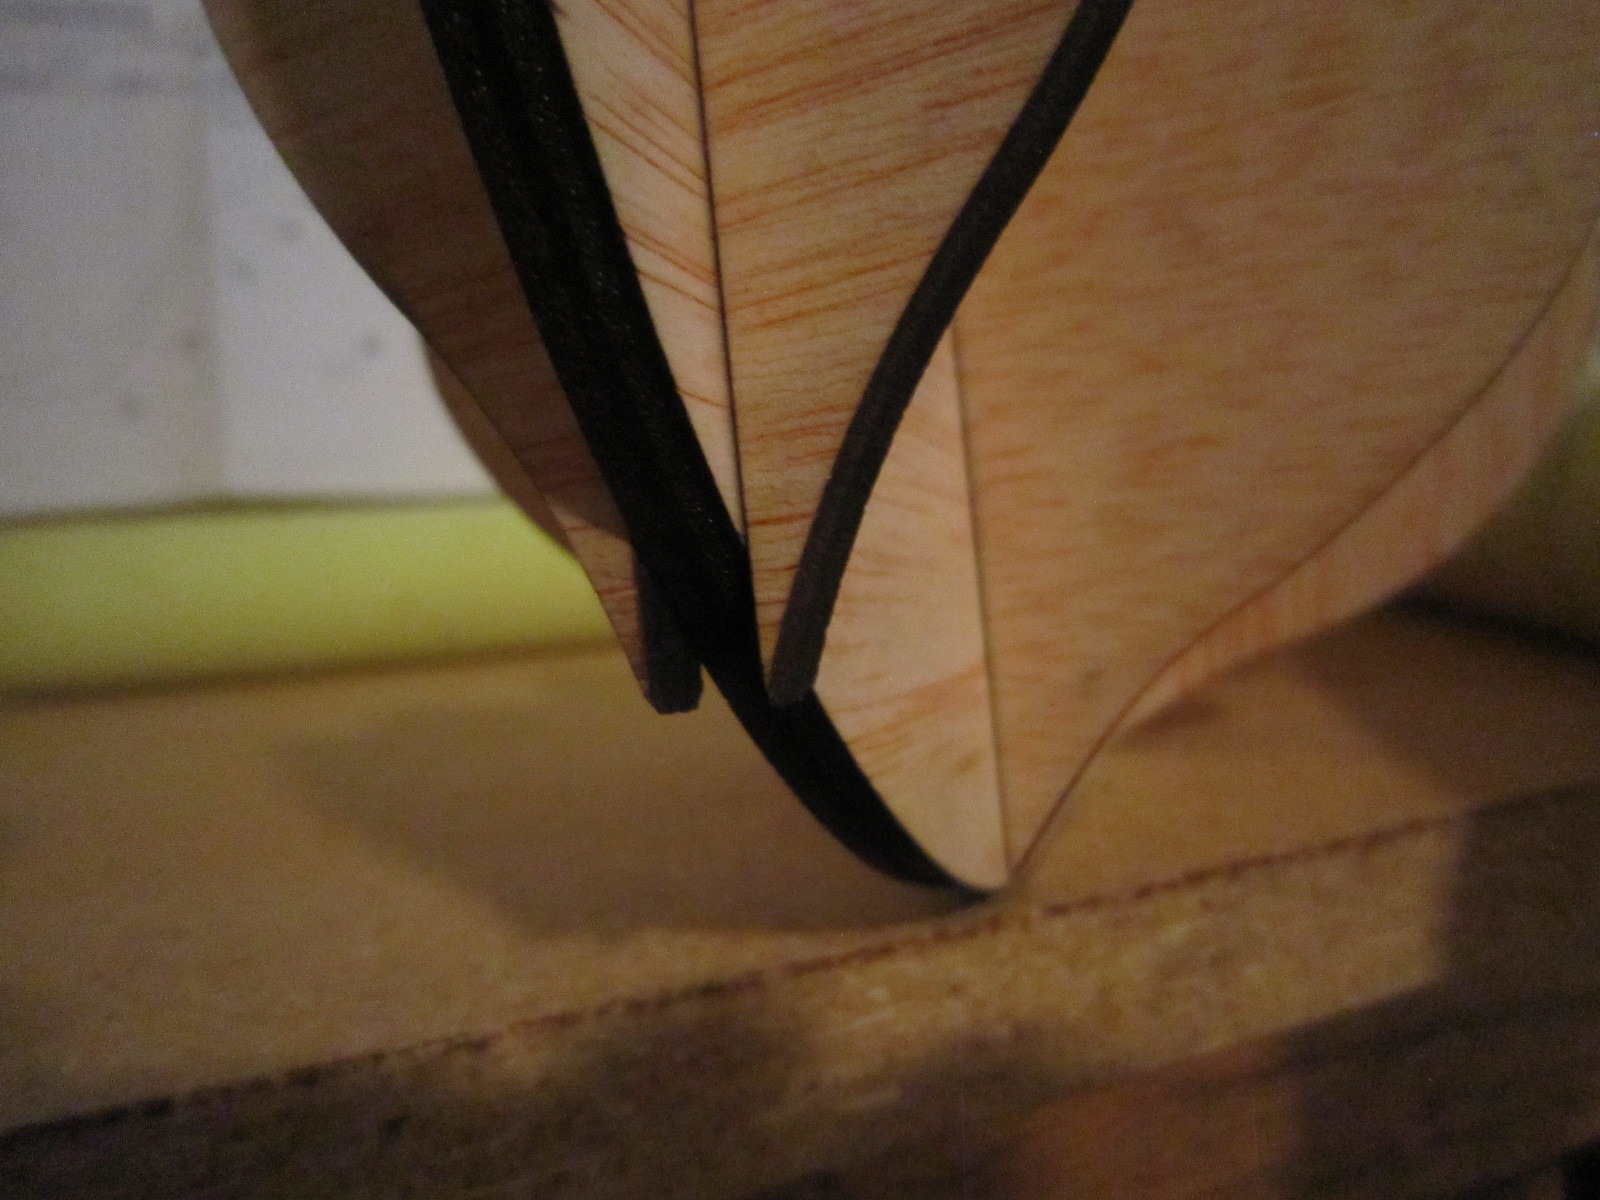
Overbending did it! Here's the false keel and bulkheads all nice and straight. Everything fit very tightly and a small crack developed at the stern end of the false keel. I have to reinforce that before plunging ahead.
Thanks for all the tips. I tried them all.
Rich
-
-


USS Constitution by Hipexec - FINISHED - Constructo - 1:82
in - Kit build logs for subjects built from 1751 - 1800
Posted
Finally finished the deck planks. Next step will be to fine sand the deck. I'll now continue to "box" the below deck canons. As I said, this is not called for in the plans, but I think it will make a better build.