HOLIDAY DONATION DRIVE - SUPPORT MSW - DO YOUR PART TO KEEP THIS GREAT FORUM GOING! (Only 13 donations so far - C'mon guys!)
×


rtropp
-
Posts
936 -
Joined
-
Last visited
Content Type
Profiles
Forums
Gallery
Events
Everything posted by rtropp
-
As I start to do more work on metal parts, I realized that I don't really know the difference between wood and metal files. Also, if there is a difference, what key descriptors would I look for when purchasing. Thanks, Richard
-
I have bought wood from Rockler. When I called about bad pieces they replaced them at no charge. woodcraft might do the same. Richard
-
by the way, do you have a build log? Richard
-
That is good to know, Since the Syren is my first kit, I am trying to build it as described. But, as my skills improve I am considering rebuilding... just to see if I really have learned anything. On the rebuild I may omit the quarter badges so nice to know it has some basis in history. Richard.
-
I have seen equipment on Little Machine Shop and their extensive library of helpful information. I was wondering if anyone had experience with their lathes and mills or with their support. I have found them helpful for accessories but wonder about their machines, especially as compared to Sherline. Richard
-
With Titebond or similar glues, I can remove the parts with alcohol. Also, I can clean any squeeze out with a brush and water. Can either of the glues be handled similarly? Richard
-
Hi Keith, I was curious about the sub par results you were having with Titebond. Thanks, Richard
-
HI all, I have been caught up in a massive "honey do" list and am just getting back to modeling. Bob, I tried your solution using Stainless Steel 304 Welded Round Tubing, 1/8" OD, 0.093" ID, 0.016" Wall, 36" Length. I was unsuccessful. After a few tries, and since it is the discs that I wanted more than the hole, I decided to try a disc maker. As Davec suggested I went to UMM. They suggested a unit so I ordered it. As soon as I finish up this household chore, I will give it a try. Richard
-
Sal, Very nice. its a pleasure to follow your build. Richard
- 659 replies
-
- 3
-

-
- syren
- model shipways
- (and 1 more)
-
Proxxon Micro Mill vs. Drill Press
rtropp replied to whaynes's topic in Modeling tools and Workshop Equipment
I have seen mills that have handles/levers to act like a drill press. Does the lever impact the precision of the mill? Richard -
Ed, At what point in this build did the first Young America book end? Thanks Richard
- 3,618 replies
-
- 4
-
-
- young america
- clipper
- (and 1 more)
-
Thanks all for the insights. I will play with some and see how if works for me. Richard
-
I bought some finished stock from Jeff Hayes a while ago. Also I decided to mill my own so placed an order for box and Swiss pear from Gilmer Wood. https://www.gilmerwood.com. These came as rough planks but are a lot less expensive than buying pre-cut to size. The boxwood in the pictures above were milled down from a 2" x 5" x 34" plank. Richard
-
Hi, I was looking at an ad for "Old Brown Glue", a brand name for a liquid hide glue, no glue pot required. I was curious to hear if anyone had experience with this or any other liquid hide glue. thanks, Richard
-
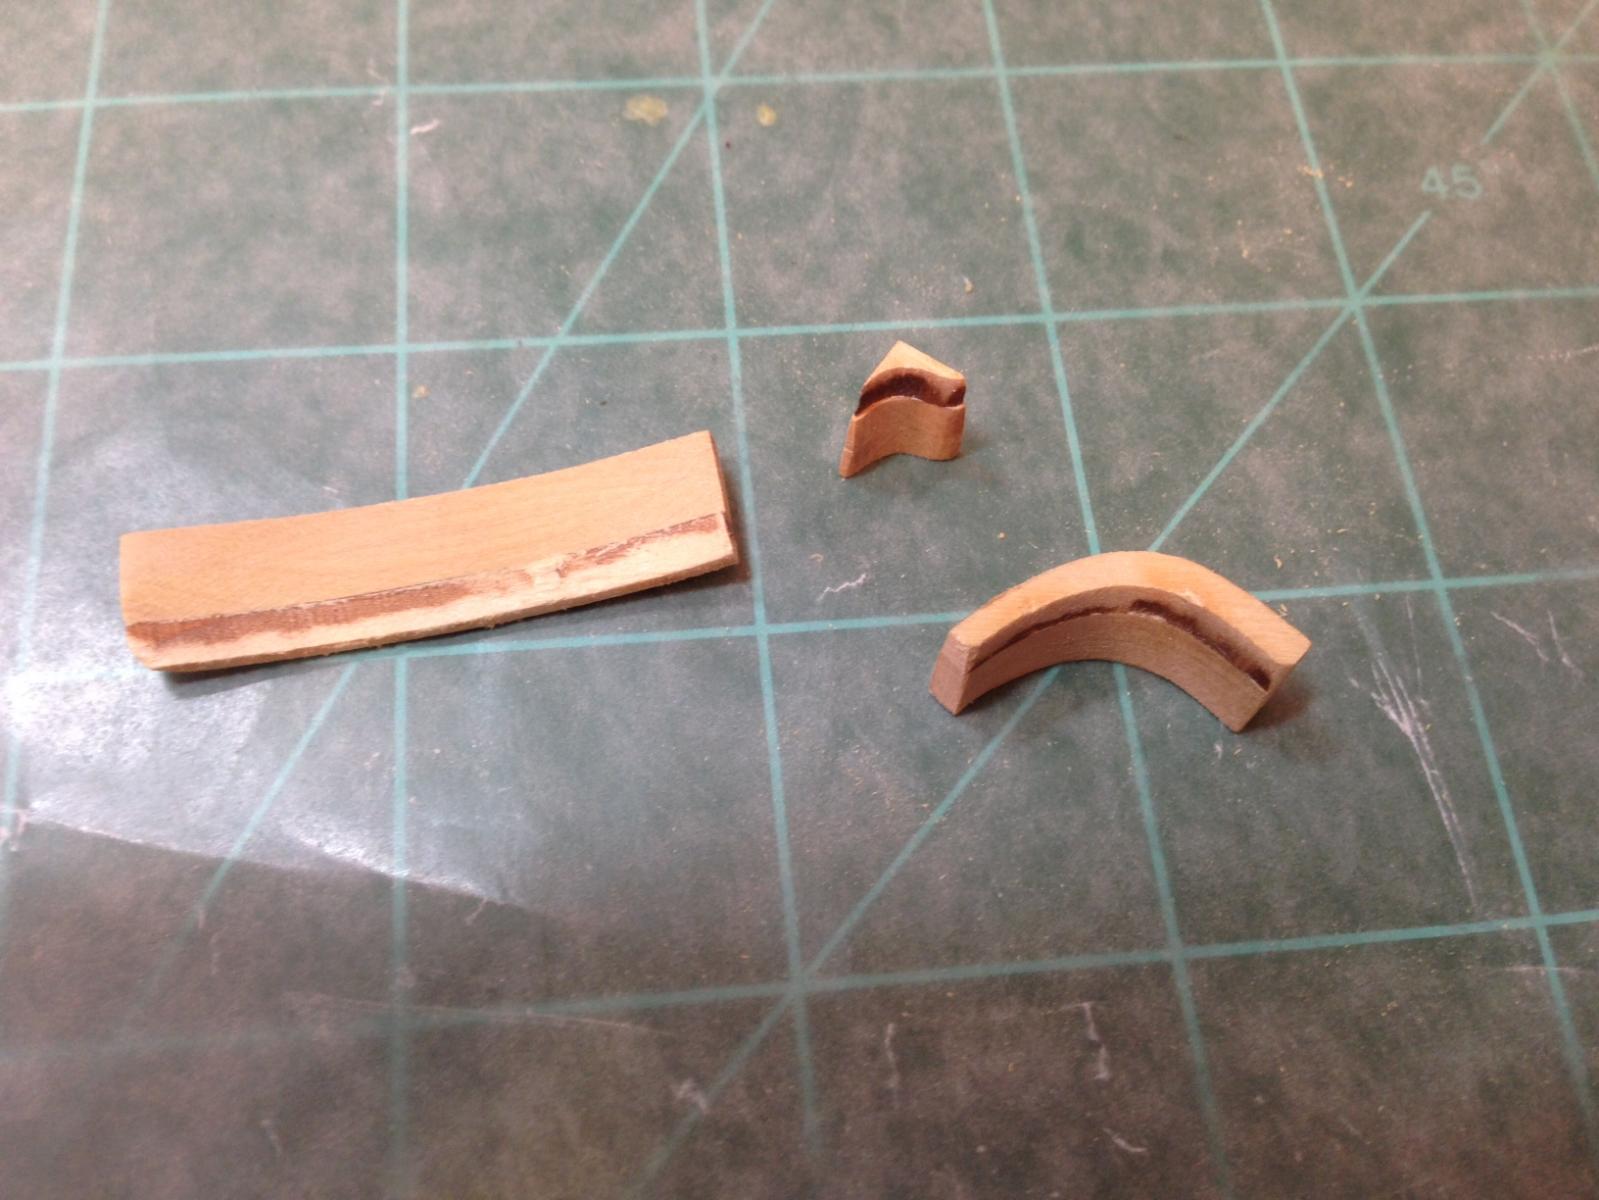
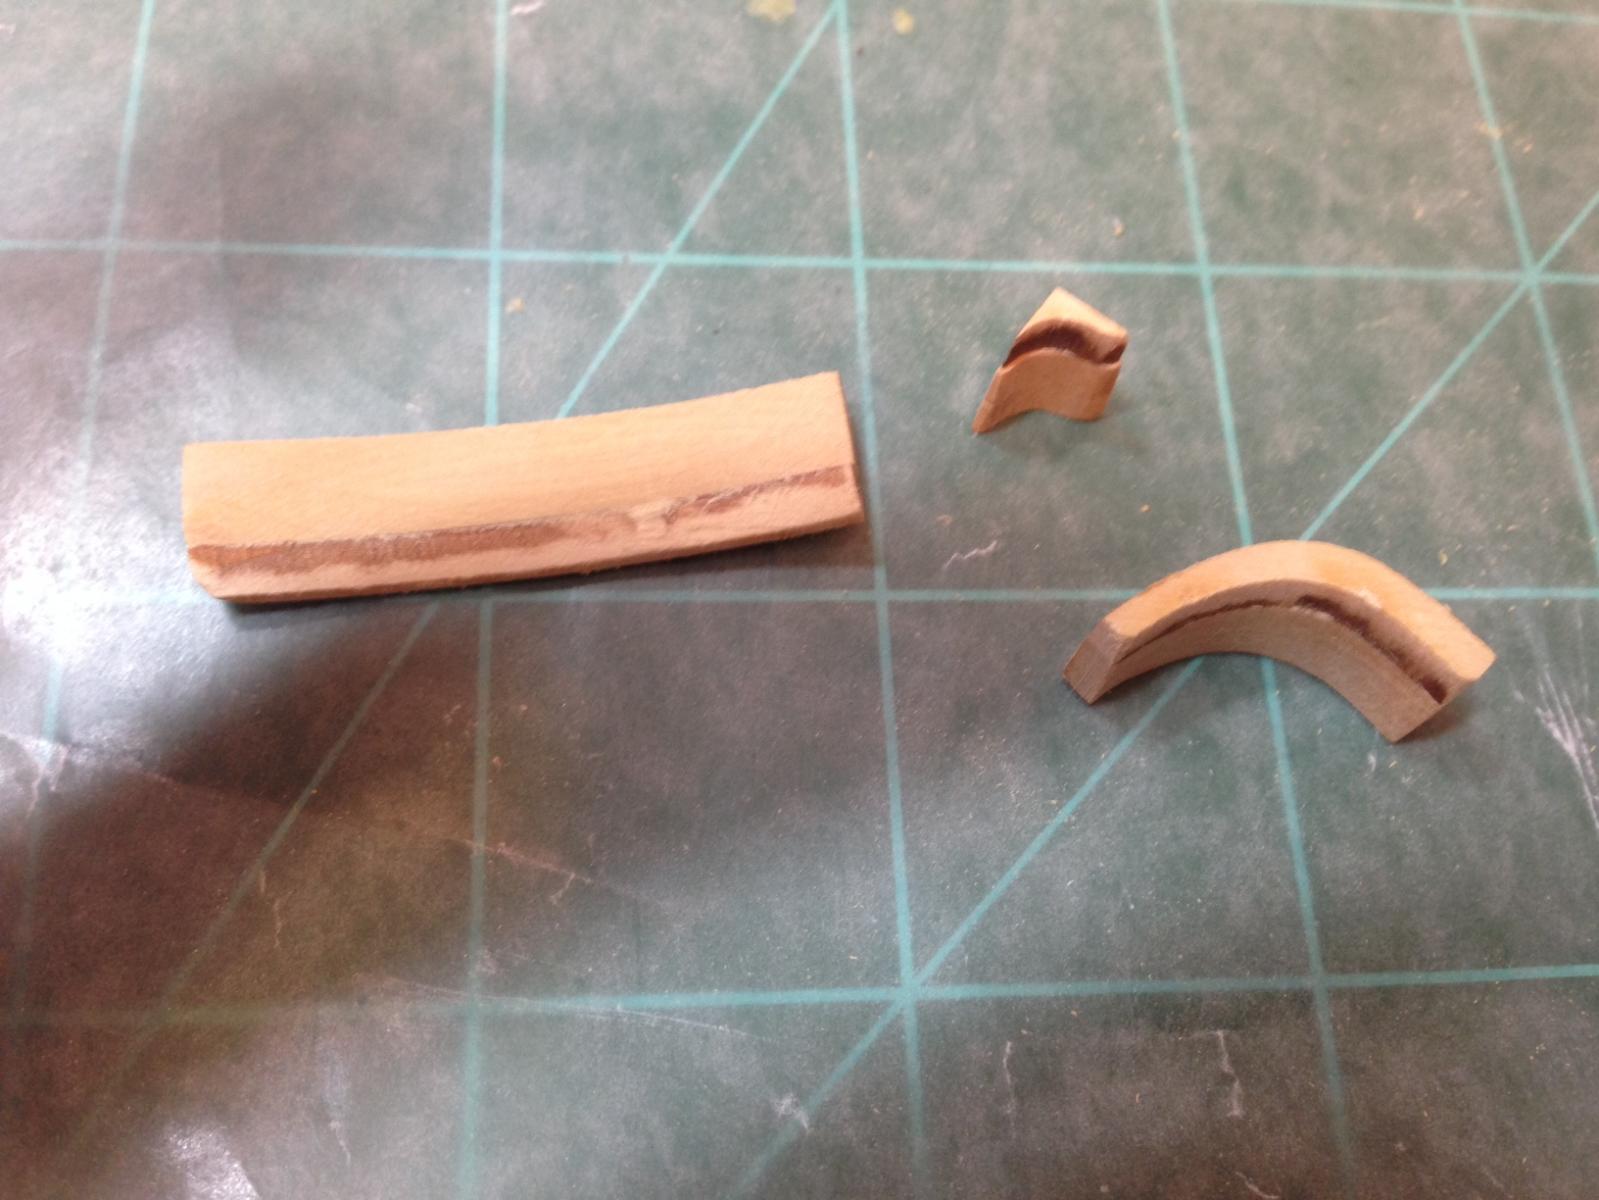
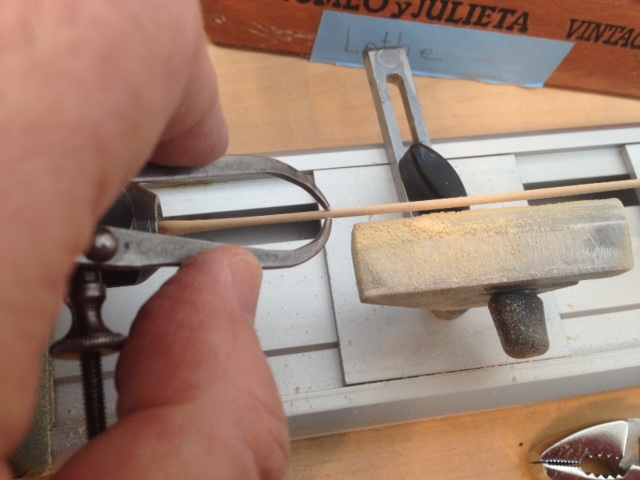
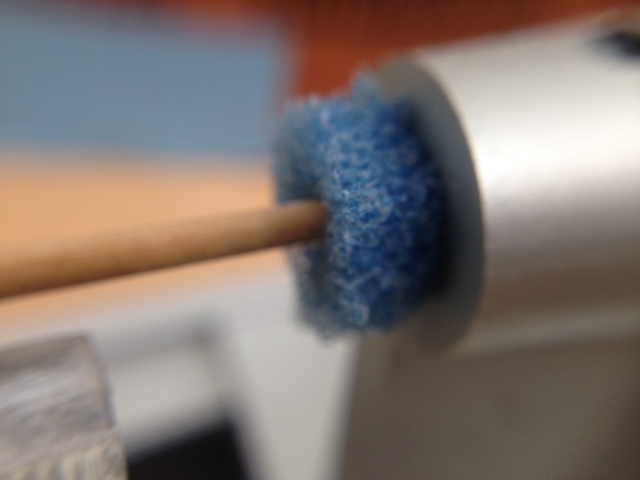
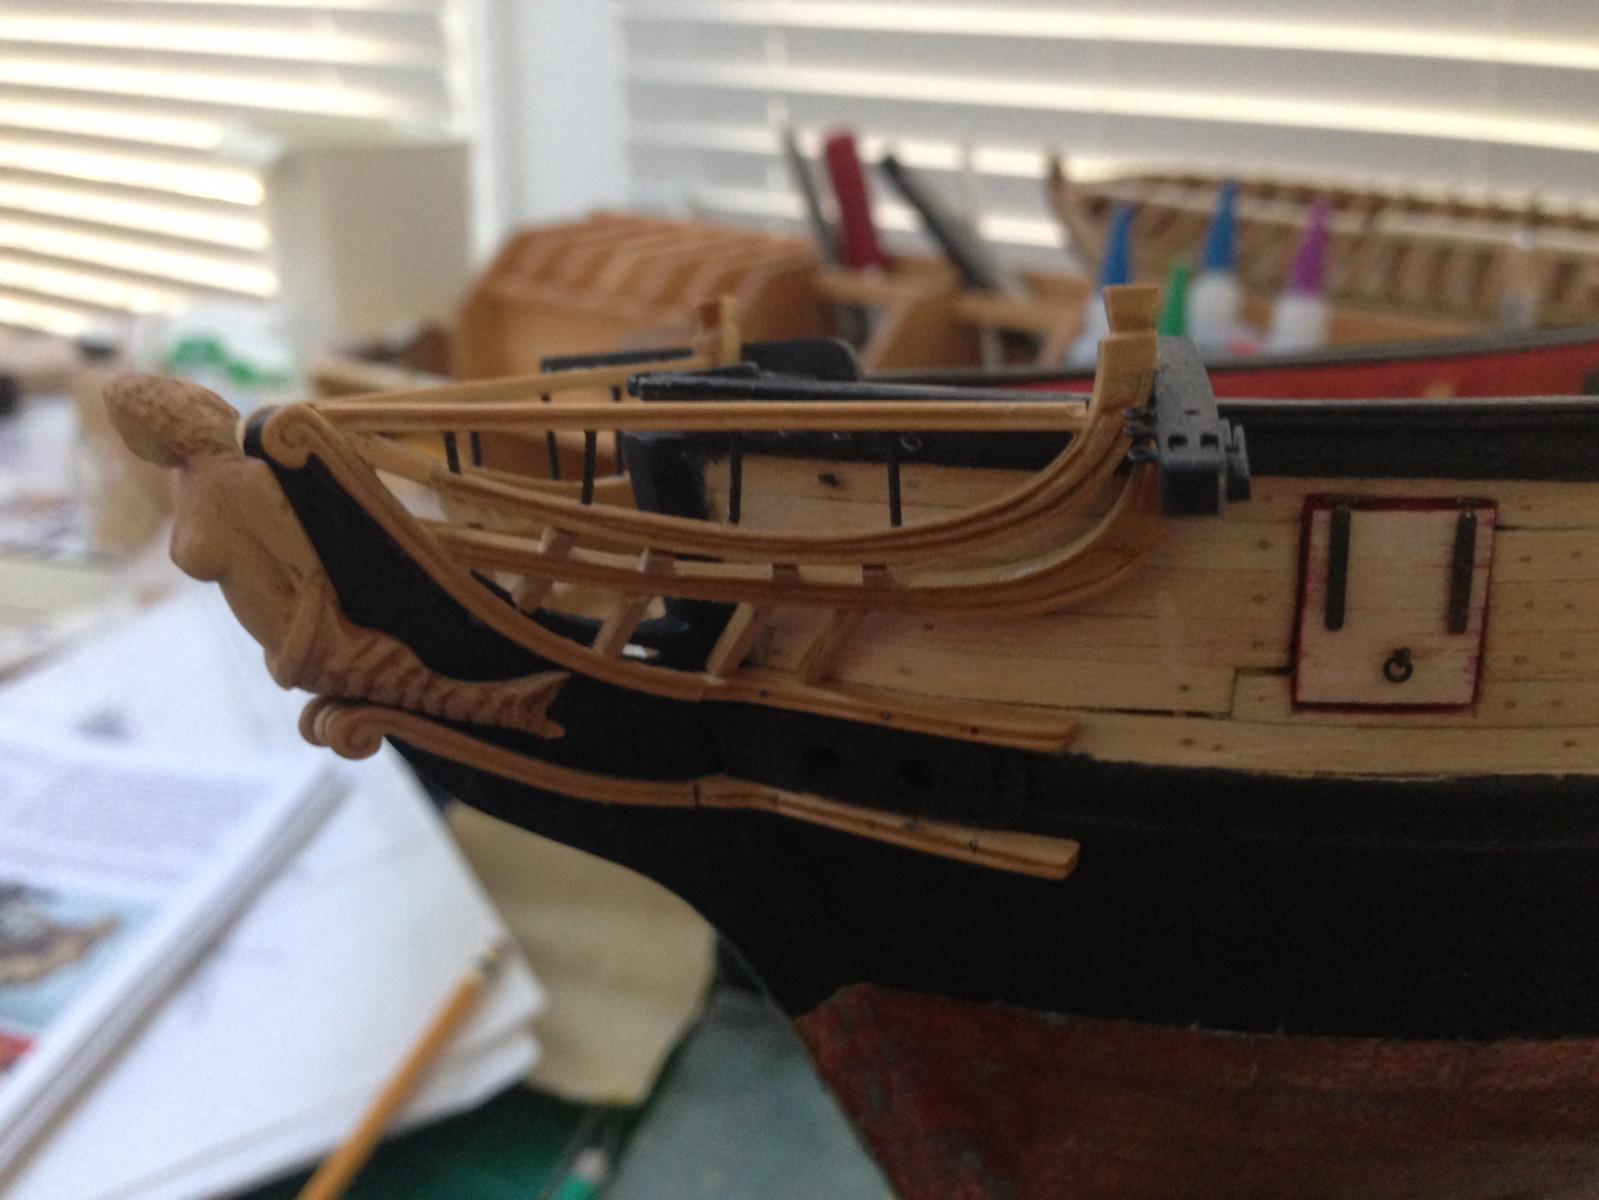
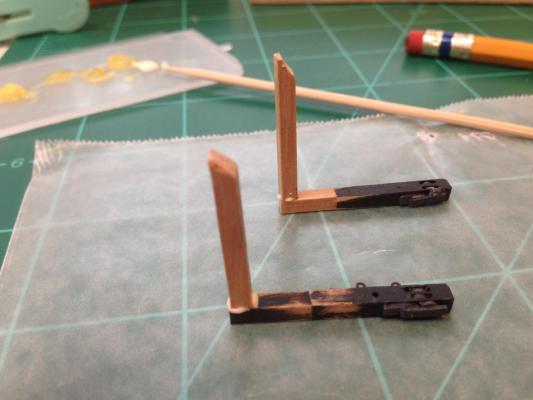
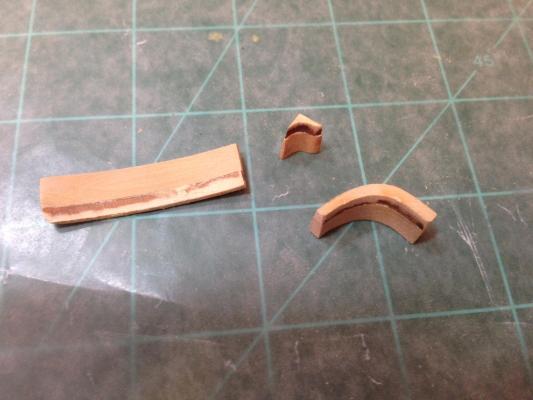
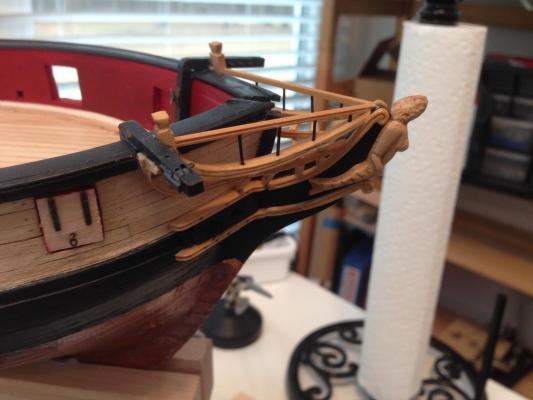
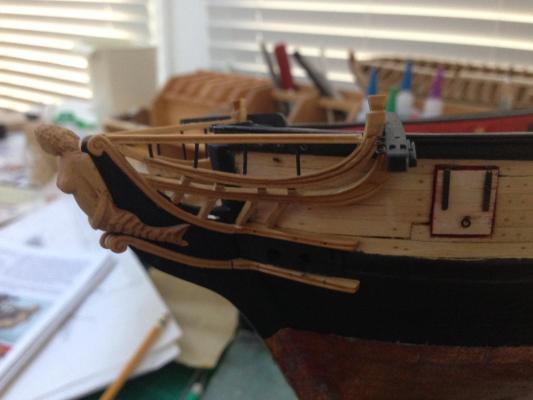
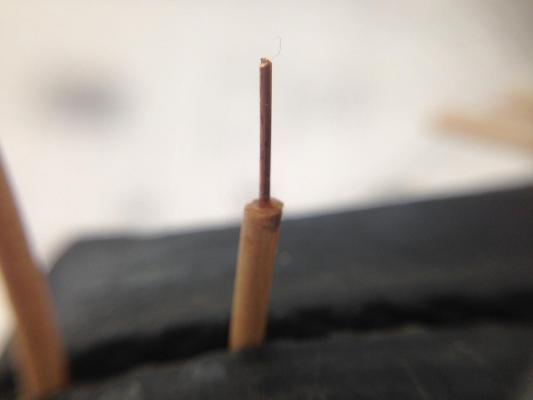
almost a month has gone by but I have finally finished this section of the practicum. I decided to try and salvage the cat heads which had their top pieces too short. I took them apart, glued a piece to lengthen them and then installed. It was only a tiny extension so I needed to be careful when cutting and sanding after they were attached. Next I worked on the middle rail, again building it from scratch using boxwood. I used the laser cut pieces as template first gluing the stock in layers then gluing the template. Then added the rest of the structure. Next I went to work on the bumpkins. I am holding off on installing them until later as advised by Chuck in his build log. I decided to use my proxxon wood lathe to reduce a strip of 1/8 boxwood to 1/16. I was having some difficulty stabilizing the back end. I had seen several suggestions but noticed some foam packing near the work table. I cut out a round piece and pierced it so I could push it around the end of the work piece. I then stuffed that into the tail stock. Using sandpaper and files I reduced the bumpkin width to 1/16. (the thinning operation was too fragile for me to use a chisel.) I did use a chisel for the end cuts. , then added the wire extension but will not cut them to size until installation. While things on the bow were uncluttered, I drilled the holes to receive the bumpkins' wire inserts. Finally I added the remaining structure sans bumpkins which I will hold until later. The figure head is not permanently attached. Her face is a little flat so I wanted to look at it some more before deciding to keep or re-sculpt. It came out reasonably well but I can work that looks "off" or "clumsy" in workmanship. After spending a lot of time fabricating the pieces, I seem to still have an unsteady hand when attaching them. I decided to try using a solid base for my hand while I am attaching or drilling. I have a piece of 8" by 8" by 17" bass wood and sanded the sides smooth. I is a little heavy but is a really solid hand rest when needed. Now, on to the next section Richard


-
Ed, I am starting to schedule my next build... which should be a while yet. I know you have not started it yet, but can you estimate when you plan to have Volume two of young america published? Richard
-
To spile or not to spile...
rtropp replied to fish's topic in Building, Framing, Planking and plating a ships hull and deck
hi all, There is an interesting book, A Practical Course in Wooden Boat and Ship Building, that was written on the eve of WW1 to help train carpenters in shipbuilding. One section describes spiling in some detail. It is on google books. The part with spiling is at https://books.google.com/books?id=ITGmOqThhl4C&pg=PA64&lpg=PA64&dq=what+is+spiling+in+ship+building&source=bl&ots=Y5fYIsozj0&sig=wZw6aG2GRq-6NC7YZnan1Z_b_E0&hl=en&sa=X&ved=0ahUKEwjmsK3t2eXKAhVINiYKHST7AkEQ6AEISTAI#v=onepage&q=what%20is%20spiling%20in%20ship%20building&f=false The I dont think you can copy and paste the whole address but need to copy each line, one after the other to the address line. Richard -
Sal, Really nice work and great explanations. These are a big help to me. FYI, hobby lobby has a 40% off one item coupon on their website. You can use a new one each day. That's good for me because I have one just down the road. Richard
- 659 replies
-
- 5
-
-
- syren
- model shipways
- (and 1 more)
-
Ed, I don't remember seeing much, if any, metal work on the Naiad. Is that correct? Richard
- 3,618 replies
-
- 4
-
-
- young america
- clipper
- (and 1 more)
-
US Brig Syren by Gahm - Model Shipways
rtropp replied to Gahm's topic in - Kit build logs for subjects built from 1801 - 1850
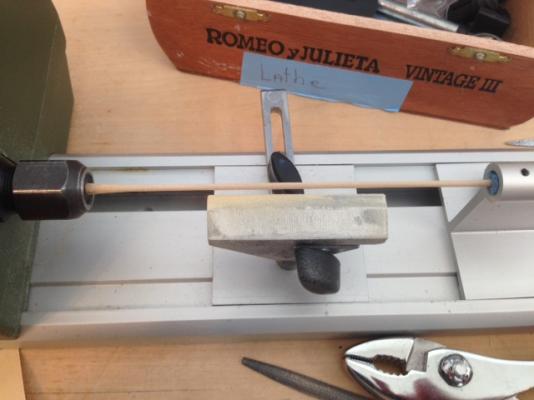
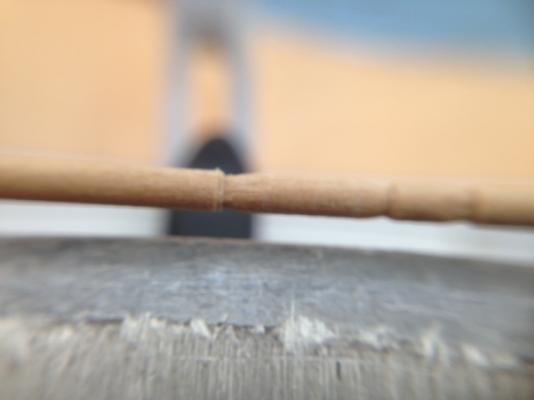
Gahm, beautiful, makes me want to try it myself, I do not fully understand what I am seeing in 1a. (never used a lathe before.) I see two brass pieces but not sure how they are related. Cannot make out the set up. If you have time, I would appreciate some help in understanding. Richard -
Jessie, tough break. It happens to me all the time but no cat... just clumsy. So, I bought some fine mesh window screen repair patches (4" squares) and clamped them to the end of my 1 1/4 inch vacuum hose. It is now permanently mounted so I can use the vacuum to collect saw dust at my work table. I actually have a car kit extension over the mesh. If I pick up something I need, i just take off the car kit and the the object is caught in the screen. Richard
- 1,306 replies
-
- 9
-
-
- syren
- model shipways
- (and 1 more)
-
Bolt Heads on Brass Strips
rtropp replied to mikiek's topic in Metal Work, Soldering and Metal Fittings
Sorry, hit send too soon. I had looked at the decals but did not like the flat look. The brass miniature rivet heads had dimension and I may try those again. In my attempts with it, I did not have the problem with glue interfering with the blackening. Either I was able to use really small drops of CA or I was just lucky. Richard -
Bolt Heads on Brass Strips
rtropp replied to mikiek's topic in Metal Work, Soldering and Metal Fittings
Mike, I just realized your were talking apples and I was talking oranges. I am considering the disc maker for flat disks, such as those used in sheaves. For rivet heads I have been turning brass into short nails using the methods described by others on the site. I tried to use a set of miniature rivet heads that came on a sticky backing, but found them hard to control. That was earlier in my experience and I was not able to control them very well. The punch looks like it would do well if the coloring issue could be resolved. I have had been using Blacken-it which took a lot of abuse and kept its look, but blacken it is no longer manufactured. I will be trying Liver of Sulfur next. Richard -
Bolt Heads on Brass Strips
rtropp replied to mikiek's topic in Metal Work, Soldering and Metal Fittings
Mike Good to know about the rawhide mallet. As for the blackening, how do you think blackening the stock before making the disc would work? at worst only the edge should need blackening after that. Also, when I blacken small parts, I put them on a white surface to help them stand out. Richard