HOLIDAY DONATION DRIVE - SUPPORT MSW - DO YOUR PART TO KEEP THIS GREAT FORUM GOING! (Only 13 donations so far - C'mon guys!)
×


rtropp
-
Posts
936 -
Joined
-
Last visited
Content Type
Profiles
Forums
Gallery
Events
Everything posted by rtropp
-
Thanks Sal, I appreciate the info. As I look at the rails and cat head I am not completely satisfied. They are not positioned as well as I would like. I have already spent over a month but since I am not really in a rush I am considering removing, rebuilding and re mounting all of it. That would also give me a chance to try some ideas I have been offered for cutting the grooves, creating sheaves. The good news is that I am getting good at "deconstructing." Bad news is that i need to be good at "deconstructing." Richard
-
I will enjoy following along. I will be trying the same thing in the future and appreciate watching your work. Richard
- 8 replies
-
- 2
-

-
- diana
- ships boat
- (and 1 more)
-
I have reworked the rails a number of times. I decided to use boxwood, which was a lot better than the supplied basswood. Even so, with my inexperience, i have remade, reinstalled and remove the rails a number of times. I think, after a number of weeks, that I may be ready to get it right. I will try your paper clip idea as I am not have a lot of success with the razor blade shaping approach. Richard
- 1,306 replies
-
- 7
-
-
- syren
- model shipways
- (and 1 more)
-
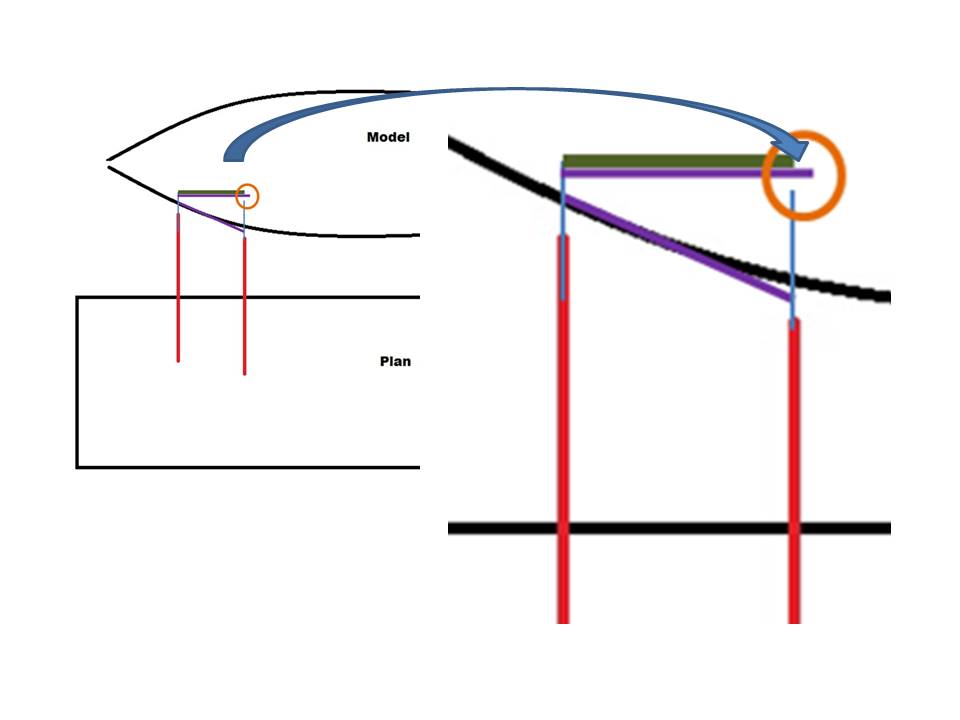
Mark, I had a similar need for transferring the hawse pipes. My difficulty was that comparing the curve length to the "straight" length showed a difference. The purple line is rotated to allow comparison to the green line. My difficulty was that on the Syren, I could not find the hawse holes depicted on a top down view. Let me know if my logic is wrong...:-) Richard

-
Hope you have all had a good holiday and new year. I have a question about the stanchions supporting the top rail. On page 46it seems to give two dimenisions for the wire, 22 gauge at the top right of the page then, further down, 28 gauge. Am I missing something, Thanks, Richard
-
Very nice Sal, Mine is going slowly. lots of rework and it helps to review yours and the others as I go. Happy New year, Richard
- 659 replies
-
- 5
-
-
- syren
- model shipways
- (and 1 more)
-
Tool for Shaping Brass Strip
rtropp replied to mikiek's topic in Metal Work, Soldering and Metal Fittings
If pieces need to be "re-hardened" how would it be done. I'm thinking of pieces that need to be bent, but then need to hold some weight or pressure. Richard -
Hi Sal, A primary consideration when I got the Proxxon sander was the speed control. For fine work I will put it on slow so I don't over do it. Also, I found you can clamp a piece of wood to the platform and get it closer to the sander for some narrower pieces. Here to the slower speeds help. Richard
- 659 replies
-
- 5
-
-
- syren
- model shipways
- (and 1 more)
-
Jesse Looking very sharp. Its a pleasure to watch your work Richard
- 1,306 replies
-
- 6
-
-
- syren
- model shipways
- (and 1 more)
-
George, a happy and healthy holiday and New Year to you and your family Richard
-
thanks Sal and David, That is something I will try out. I thought I would have to do it right away, but first I am going to try and salvage the cathead I have now by adding a small piece or 1/8 to extend the cat head to the proper length. If that does not get the result I will have to rebuild and try cutting down the copper tube for it. If it does work I will still experiment with the copper tube because there are still plenty of sheaves ahead. Richard
-
Thanks Sal, That is helpful. I will give it a try. I think I have to rebuild the cathead. The top part appears to be too short. On the plans I measured from the inside of the cap rail to the outside of the cathead but it does not seem to be correct compared to yours and others. Can you tell me the length of the top part of your cathead? Richard
-
Sal, I was tried but was having difficulty cutting down the tubing so it was close to the correct size. How did you cut the tubing on yours? Richard
-
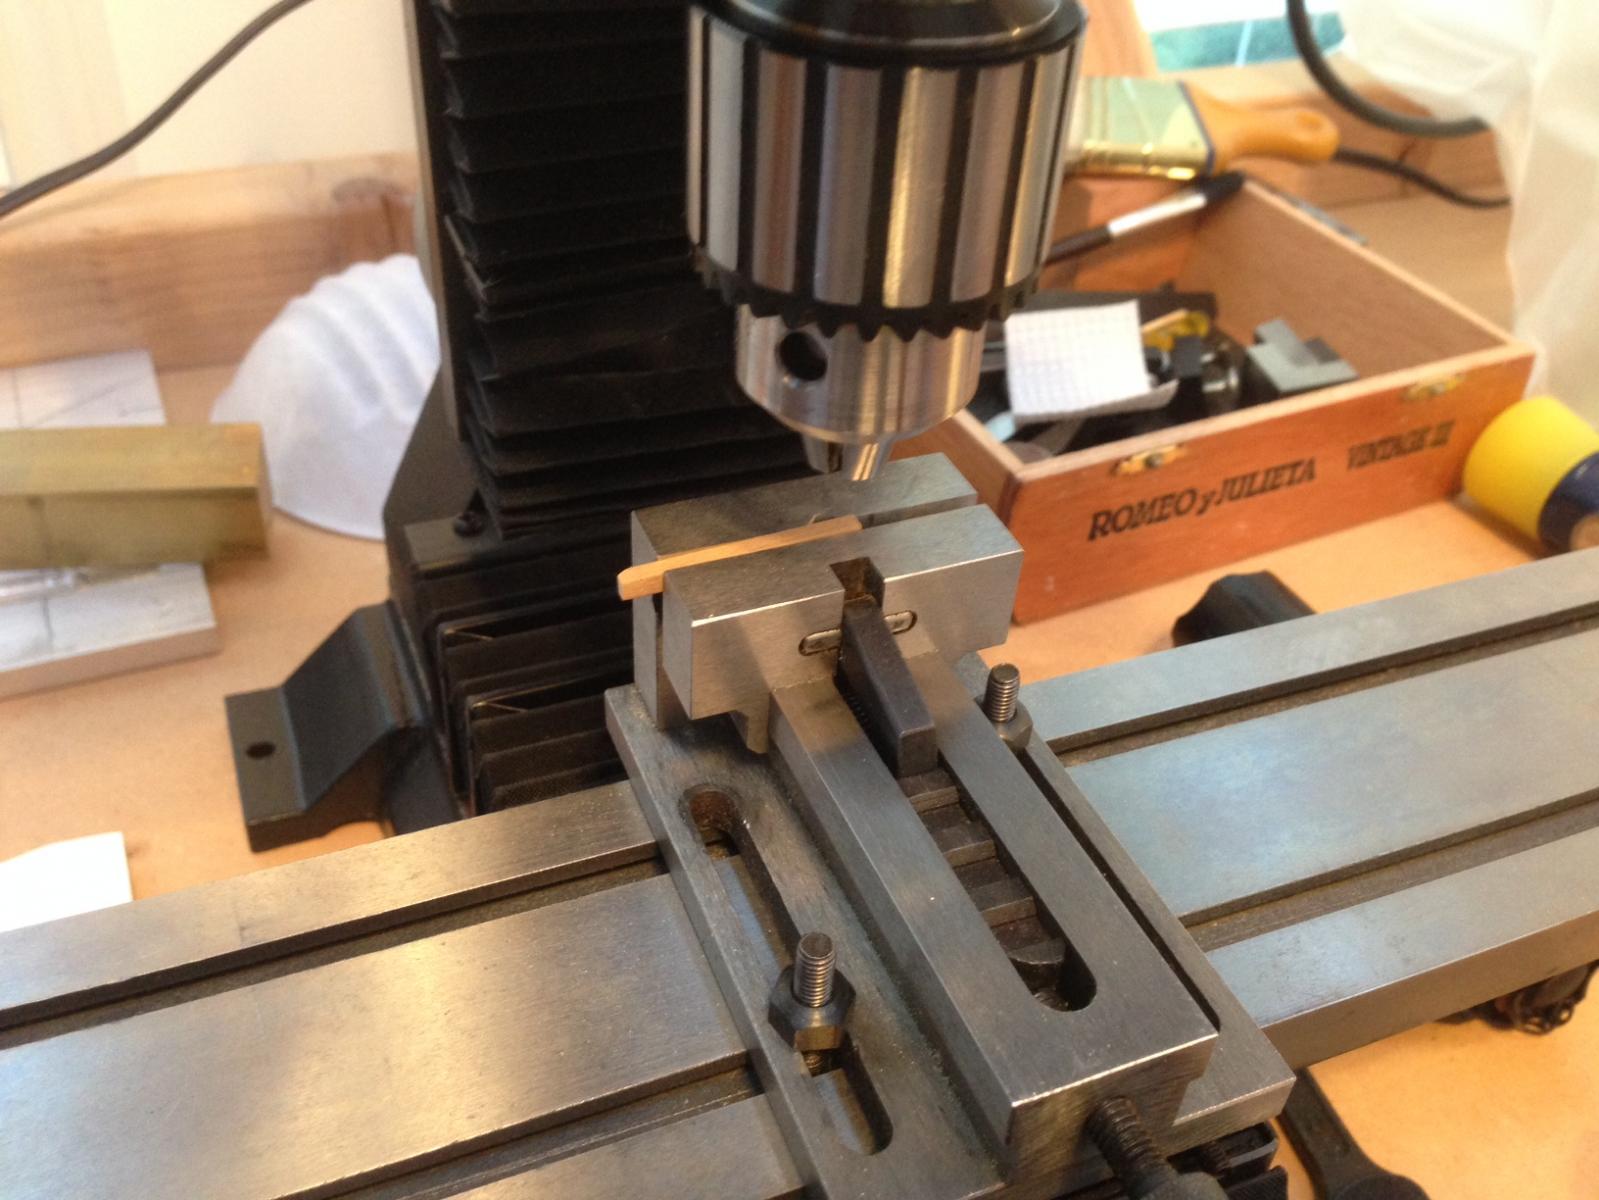
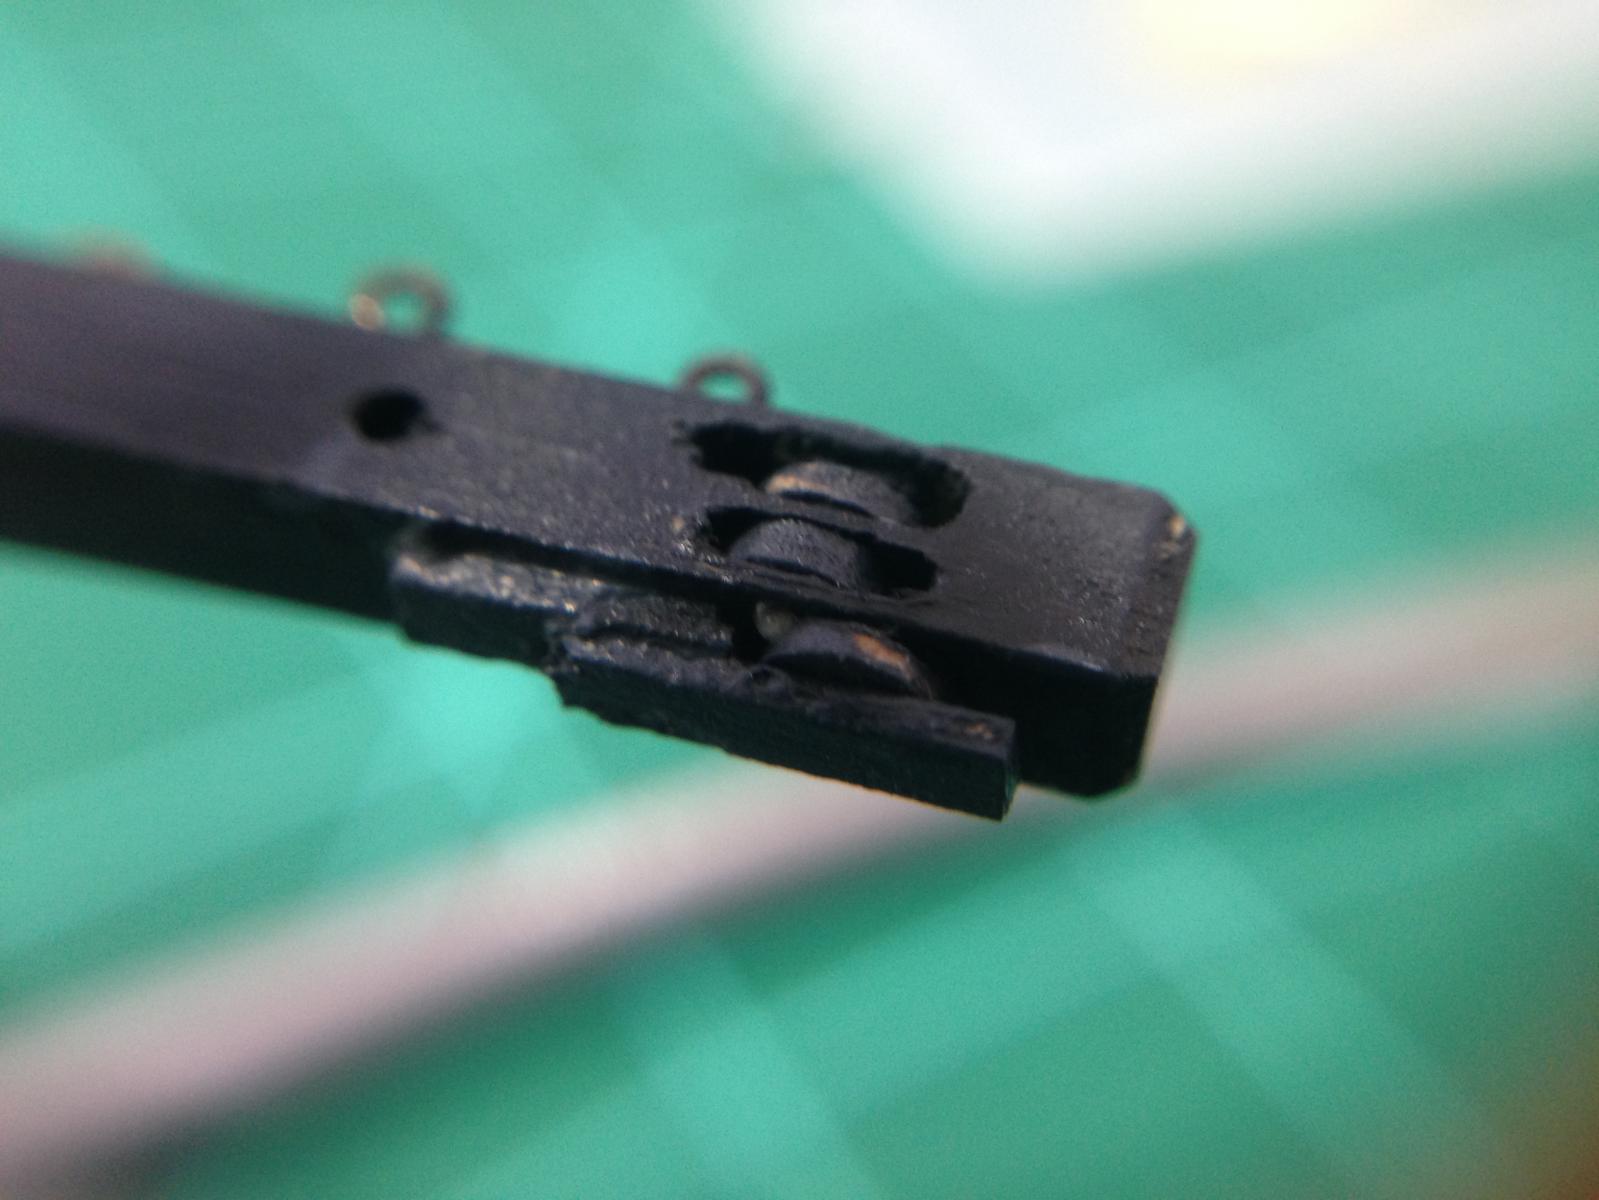
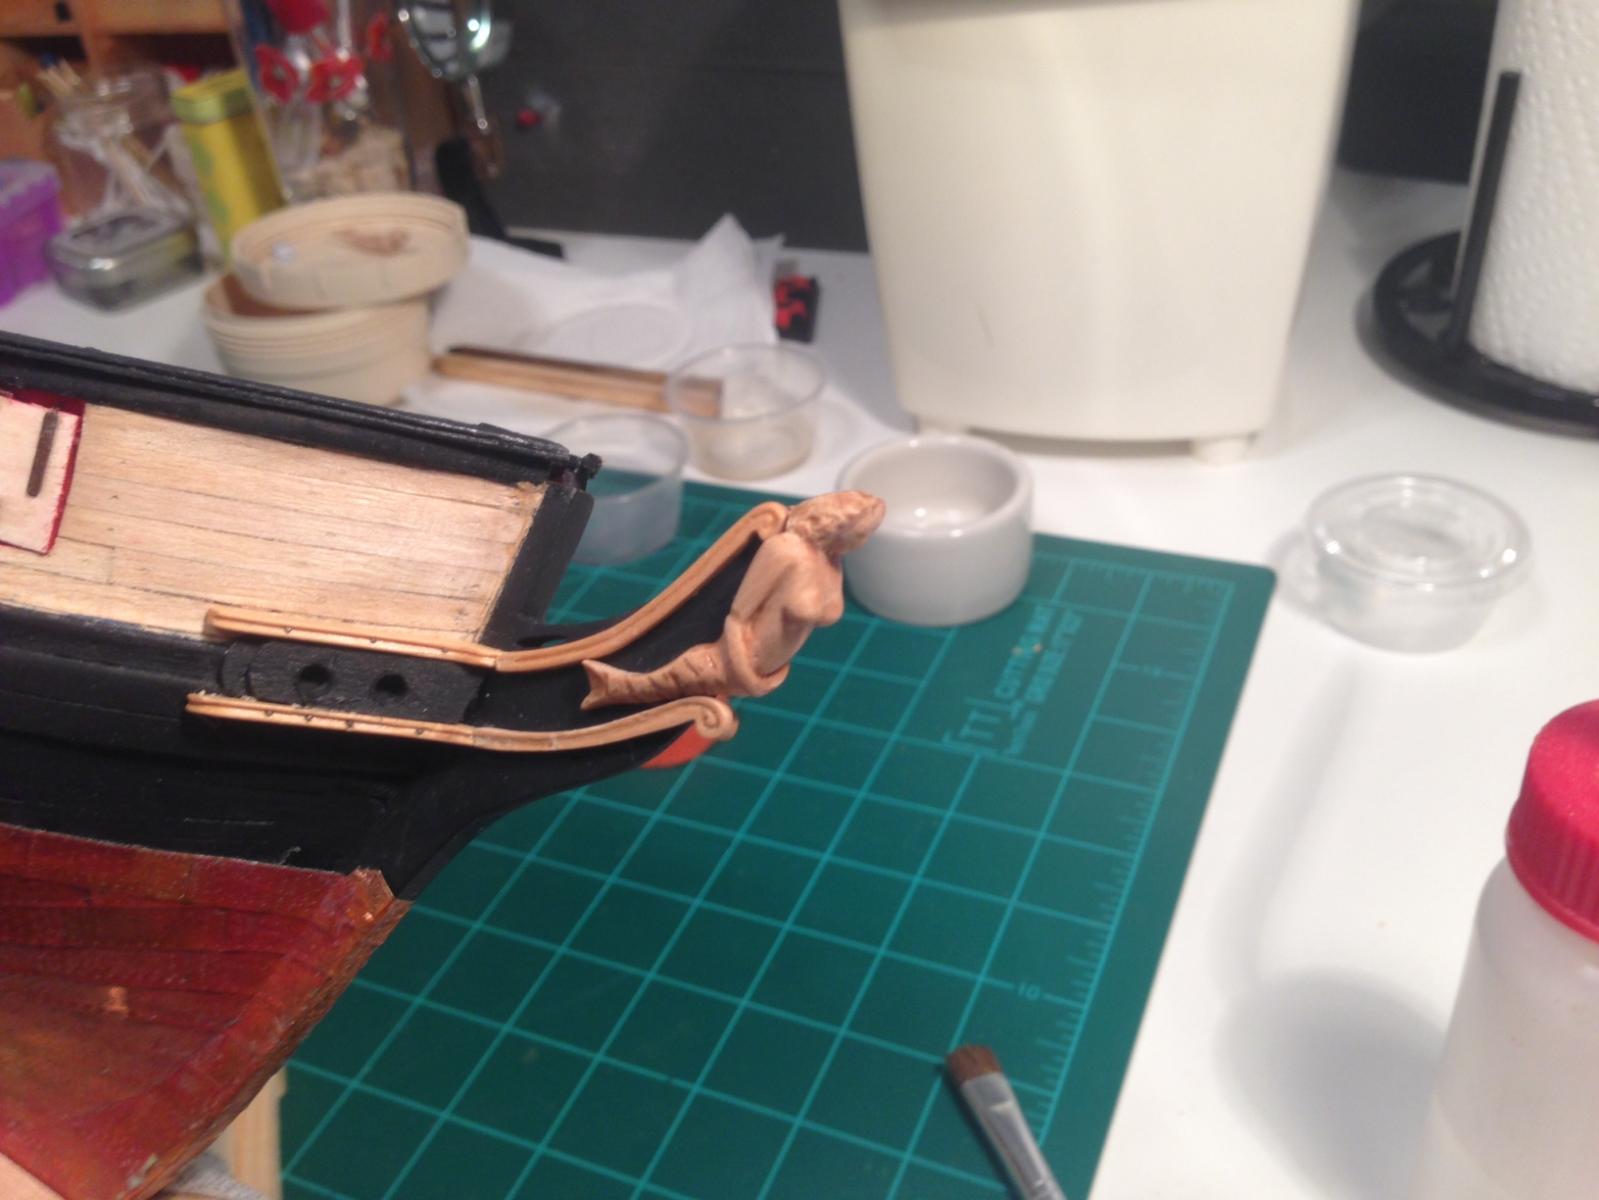
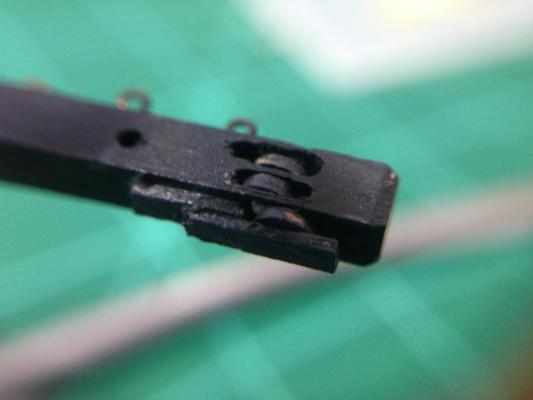
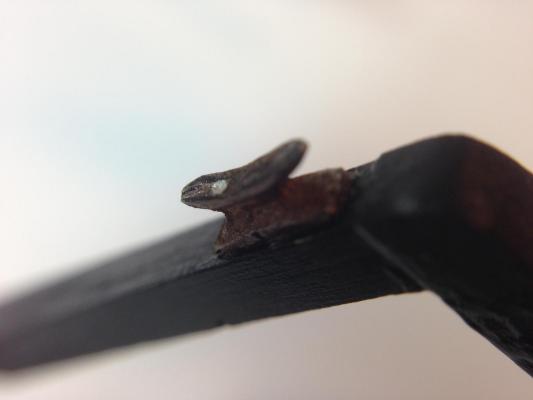
My last post was about a month ago so it has been going slow but steady. Fabricating the parts from box rather than using the laser cut parts has made things slower, especially since i am also learning to use the tools. But, if at some point I am going to challenge myself with a scratch build, I need to improve my skills. After completing the figure head and head rails I moved on to the catheads. Before attaching the upper head rail, I wanted the catheads fabricated so I could better determine the spacing. These were also made from boxwood. I decided to see if could make sheaves that more closely simulated reality. So... Using a mill I cut the two channels for the sheaves using vary tiny burrs they were either .6mm or .6MM. I tried cutting copper disks for the sheaves using a pliers type hole cutter. I was able to get two cut but must have dulled the punch because it would not cut anymore after that. (On another thread I am researching other options that might include a disc cutter, either from MicroMark or another one that seems to garnish recommendations.) So, being impatient, I decided to cut them from box and paint them with badger model flex marine color wrought iron black. After going through all this work I wanted to be able to see the sheave against the black of the cathead. the third sheave on the side was also painted with the wrought iron black to help it stand out below the sheaves are dry fit and the painting is not yet complete. The cleat was from those supplied with the kit. I used blacken-it (still have some left) and liked the appearance better than painting. I am curious as to whether anyone has fabricated the cleats or just used those supplied. Now that I have the head rail and the catheads I can start fitting them. Richard


-
Sal, looks great, thanks for the alligator tip, I will try it when I get to that point. Richard
- 659 replies
-
- 5
-
-
- syren
- model shipways
- (and 1 more)
-
Bolt Heads on Brass Strips
rtropp replied to mikiek's topic in Metal Work, Soldering and Metal Fittings
Mike, thanks for the link. I am experimenting with the leather punch on boxwood and painting with wrought iron and copper colored paint. Not really crazy about that so I am thinking of investing in the RP punch. As far as you can tell, will the business end of the punches hold up when used with metal such as copper or brass? Thanks Richard -
Bolt Heads on Brass Strips
rtropp replied to mikiek's topic in Metal Work, Soldering and Metal Fittings
Mike, where did you get the set. It is something I have been looking for and would be interested depending on the price. Thanks, Richard -
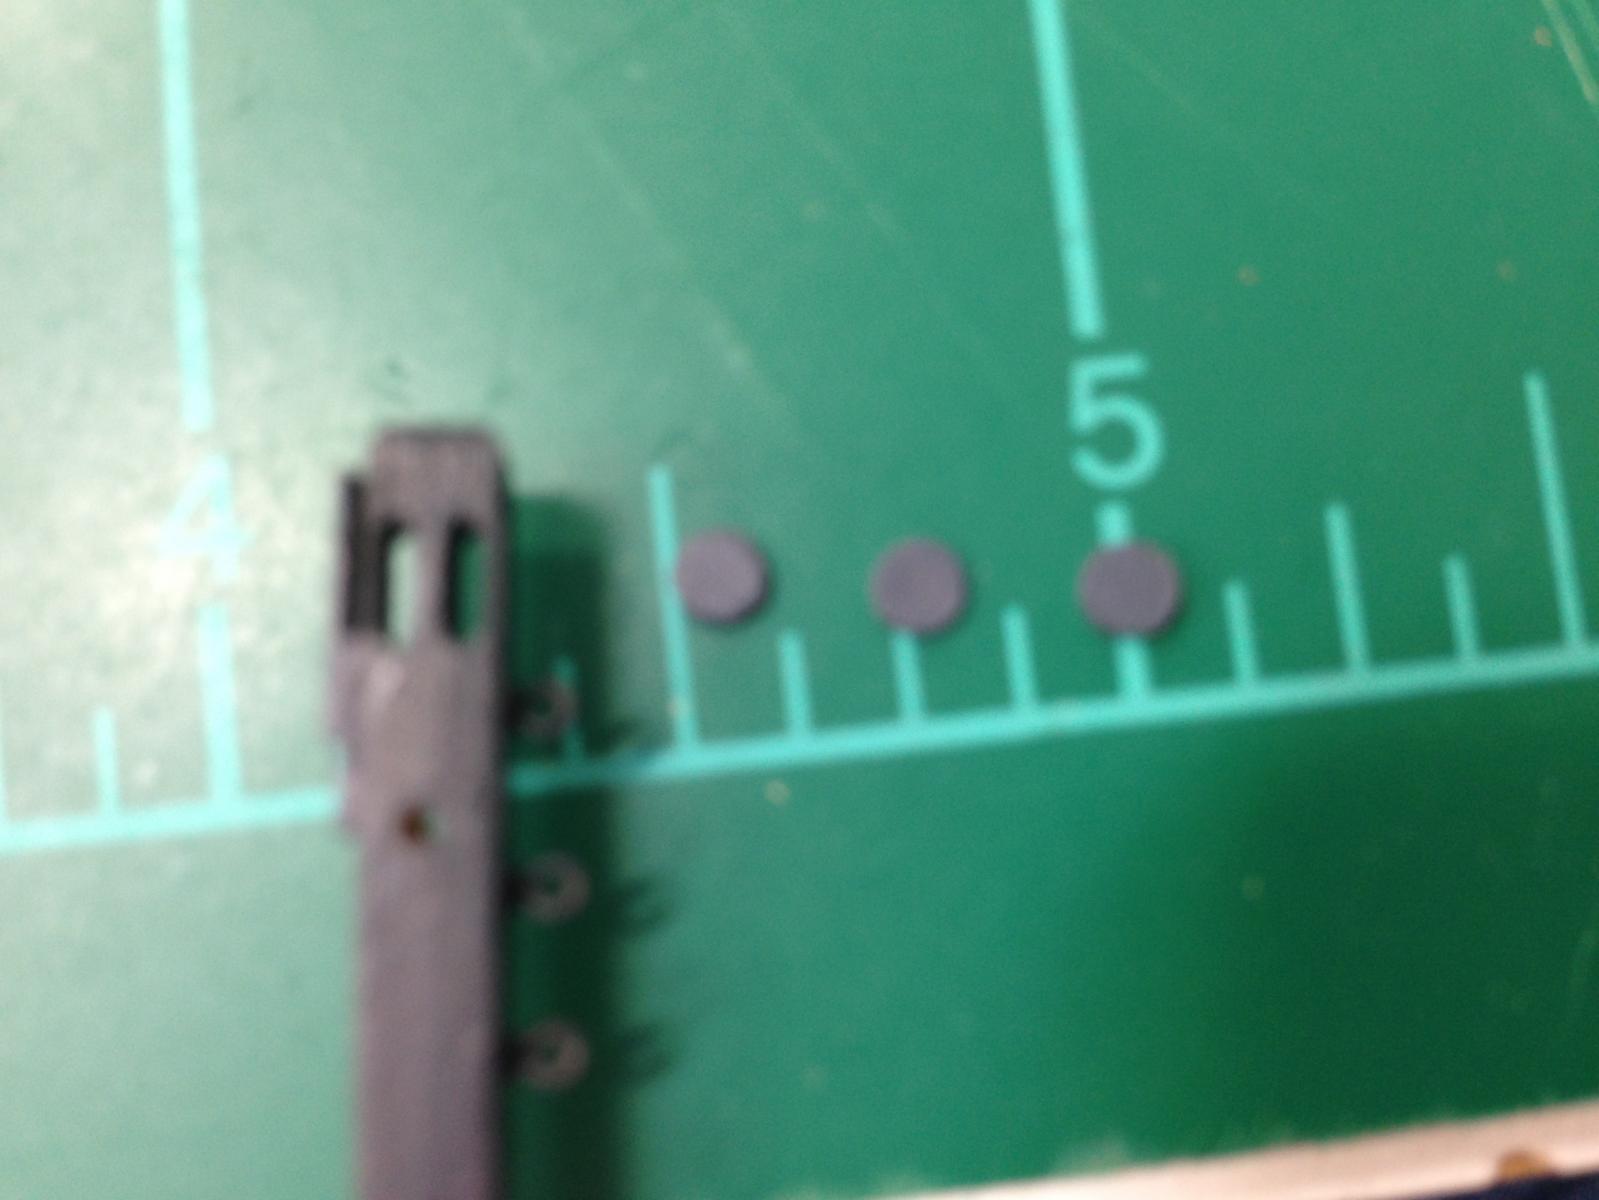
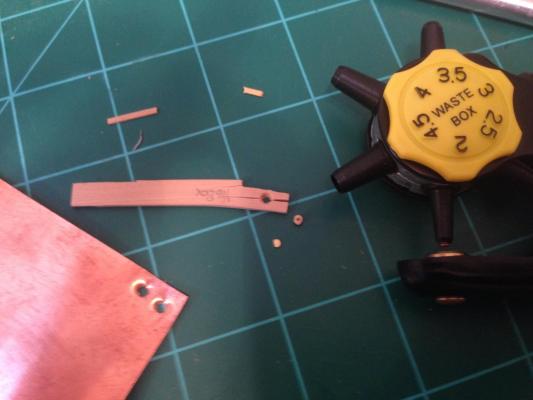
I want a disk cutter that will give very small disks in metal. I have tried a "scissor" type model with some success but it seemed to stop being effective after the first two copper disks. The Micro Mark has one called "micro punch set" which will make disks down to 1mm but it seems kind of pricey and seems to have some plastic in its build. I have search and found no other metal disk cutter punches that will provide disks smaller than 1/8 Inch. Does anyone know of any others that will create disks to the micro sized 1mm? Has anyone used the micro mark and able to provide some feedback? Finally, I have considered making one. The idea of making custom sizes is appealing but do not think I have the tools or skills to build one. Thanks, Richard
-
great work Sal, I hope to get more time for my build after New Year's. Your work will help greatly, Richard
- 659 replies
-
- 4
-
-
- syren
- model shipways
- (and 1 more)
-
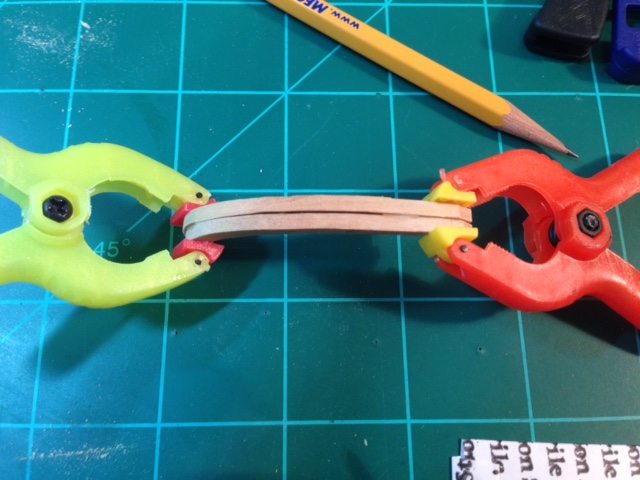
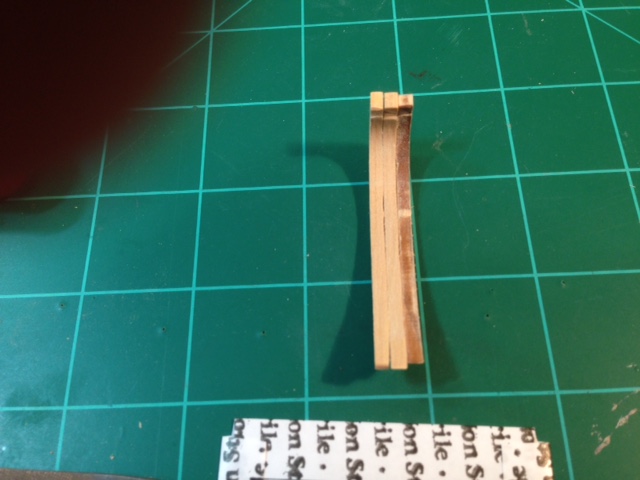
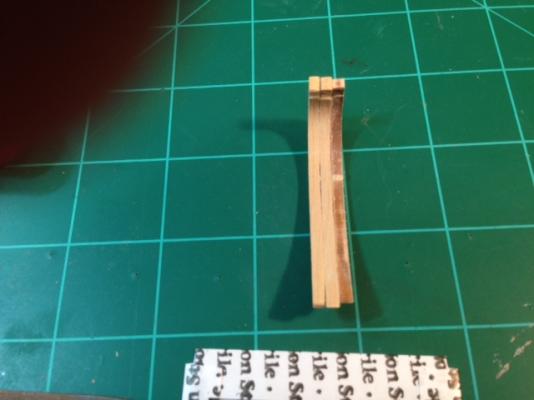
Well, a month has gone by and I have completed the figurehead. It is not as good as I had hoped, but it is better than I expected. The figurehead is not permanently attached yet. Then I moved on to the upper head rails. First I rough cut the shapes, then I temporarily glued the shapes together along with one of the upper head rails from the kit Using the kit supplied head rail as a template I sanded them to shape on a Dremel shaper/router. I started to use the sanding spindle I made for my mill but with the size of the pieces it was better done on the small shaper. Its nice to find a use for the shaper. I continued to sand until I could see the sanding marks on the template's laser burnt edges The channels have not been cut into the head rails yet, they have only been shaped to this point to make sure they fit before going through the effort to finish them. I find the going slow since started fabricating most parts from scratch out of Boxwood. I want to build skills in preparation for a scratch build and I find it rewarding to "do it myself." Richard


-
Hi Ed, I have been watching your build and enjoying the heck out of it. I have a question that might have already been answered. For the full framed version, have you decided if it will be fully rigged? Thanks, Richard
- 3,618 replies
-
- 3
-
-
- young america
- clipper
- (and 1 more)
-
Hi Jessie, Before I bought my torch I used Solder-it, a low temperature soldering paste. It is available from Amazon, among other places. http://www.amazon.com/gp/product/B0058ED0GO?keywords=solder%20it&qid=1446389742&ref_=sr_1_1&sr=8-1 Ideal for speeding up soldering tasks Works with the heat of a match or lighter Will join 22 different combinations of metals Easy-to-use, no mess, no-waste syringe 7.1 grams . No, its not as good as silver soldering, but that requires a pretty good investment and can be difficult to master. It seems to hold up well, especially in areas that do not experience much pressure or pull. Mine, so far, have held up just fine. Richard You might want to try it.
- 1,306 replies
-
- 7
-
-
- syren
- model shipways
- (and 1 more)
-
Nick, do you have pictures of your jig? Richard