-
Posts
333 -
Joined
-
Last visited
Content Type
Profiles
Forums
Gallery
Events
Everything posted by Azzoun
-
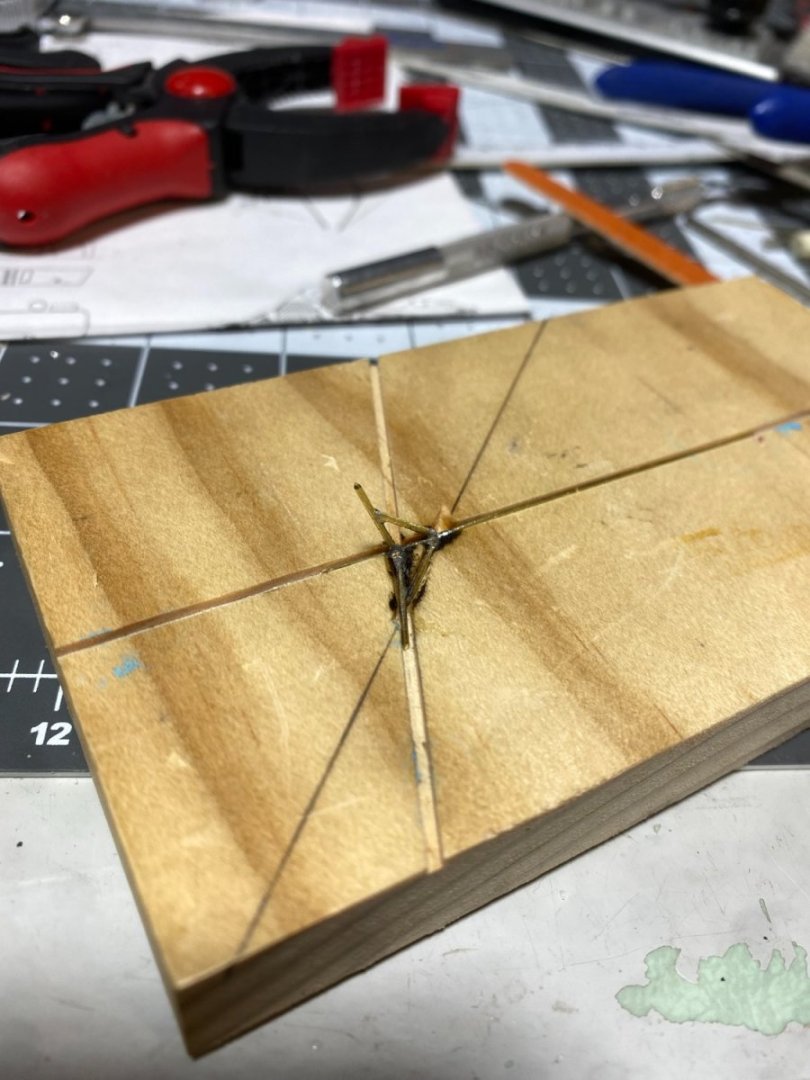
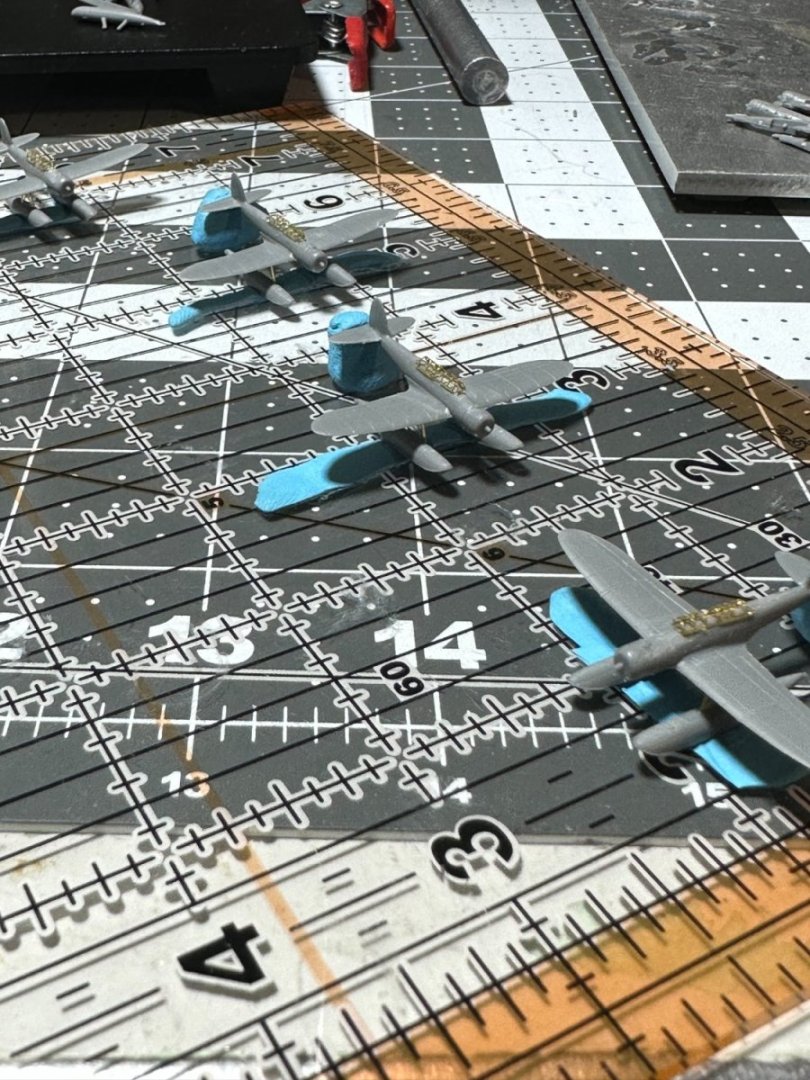
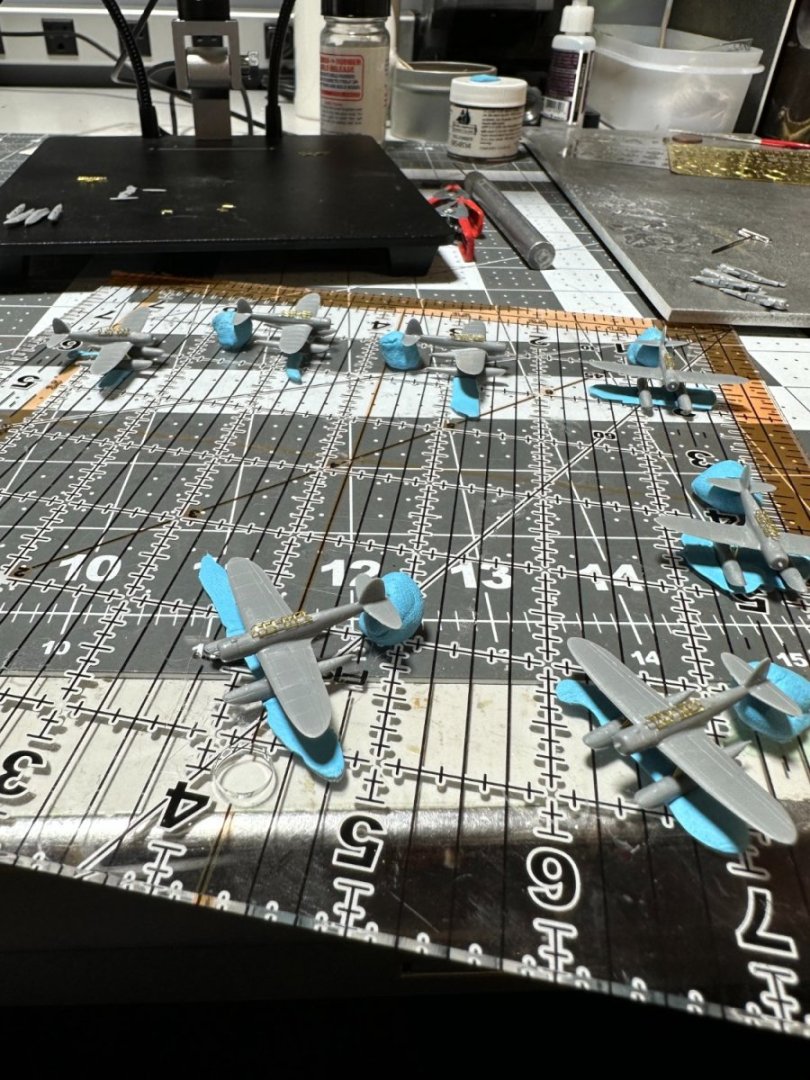
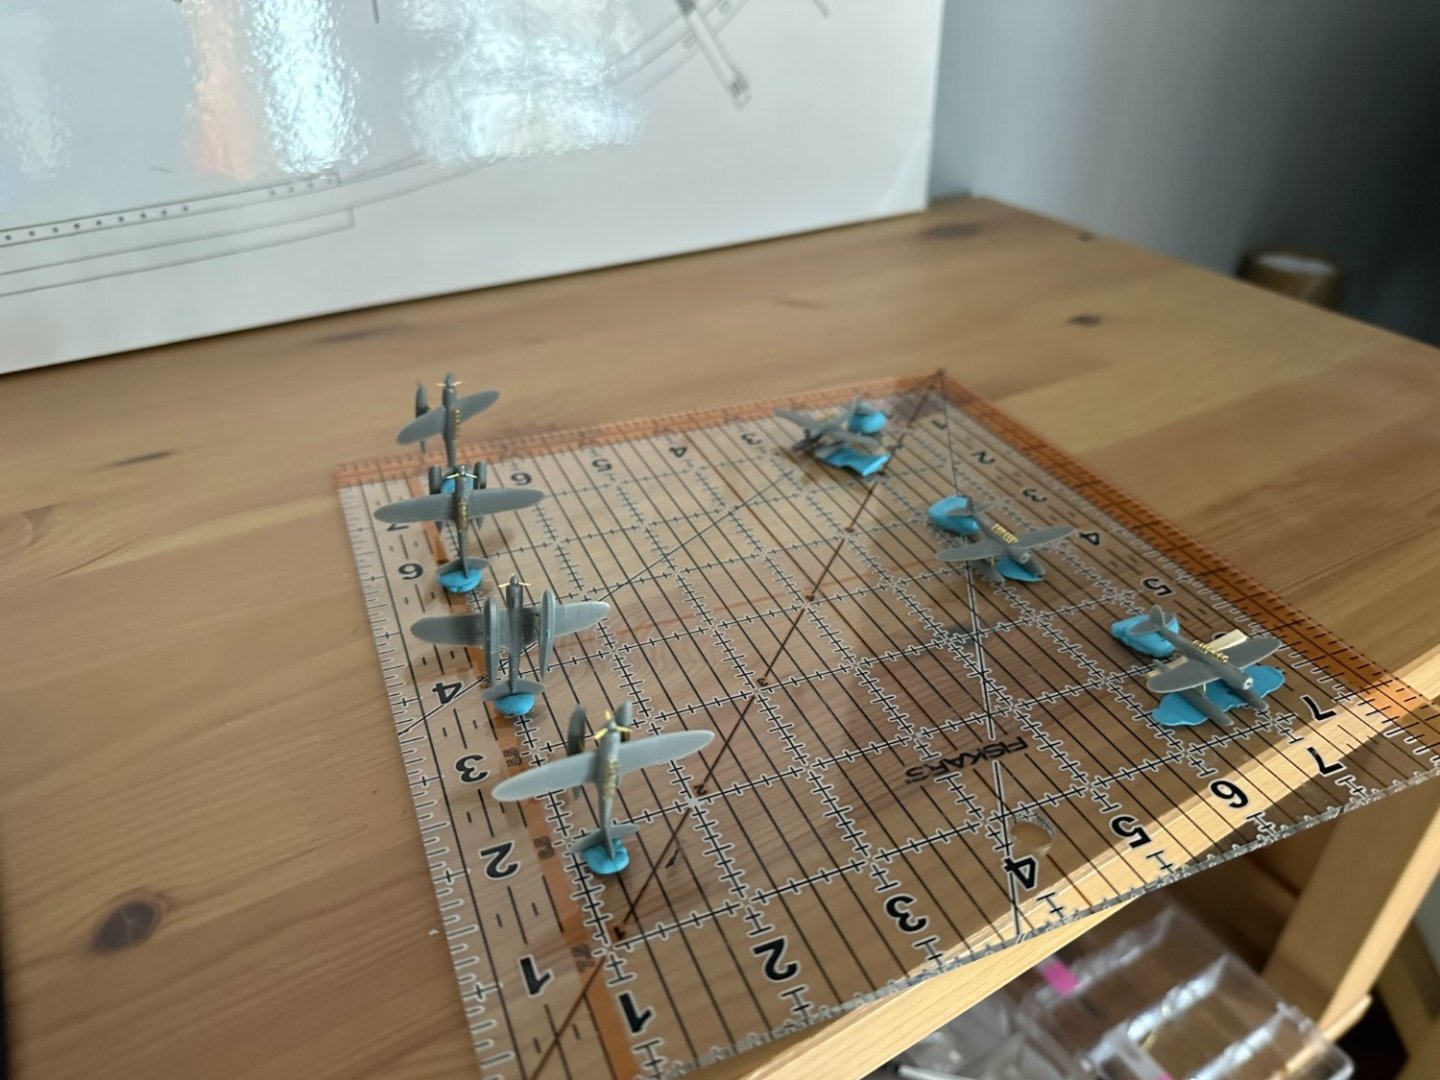
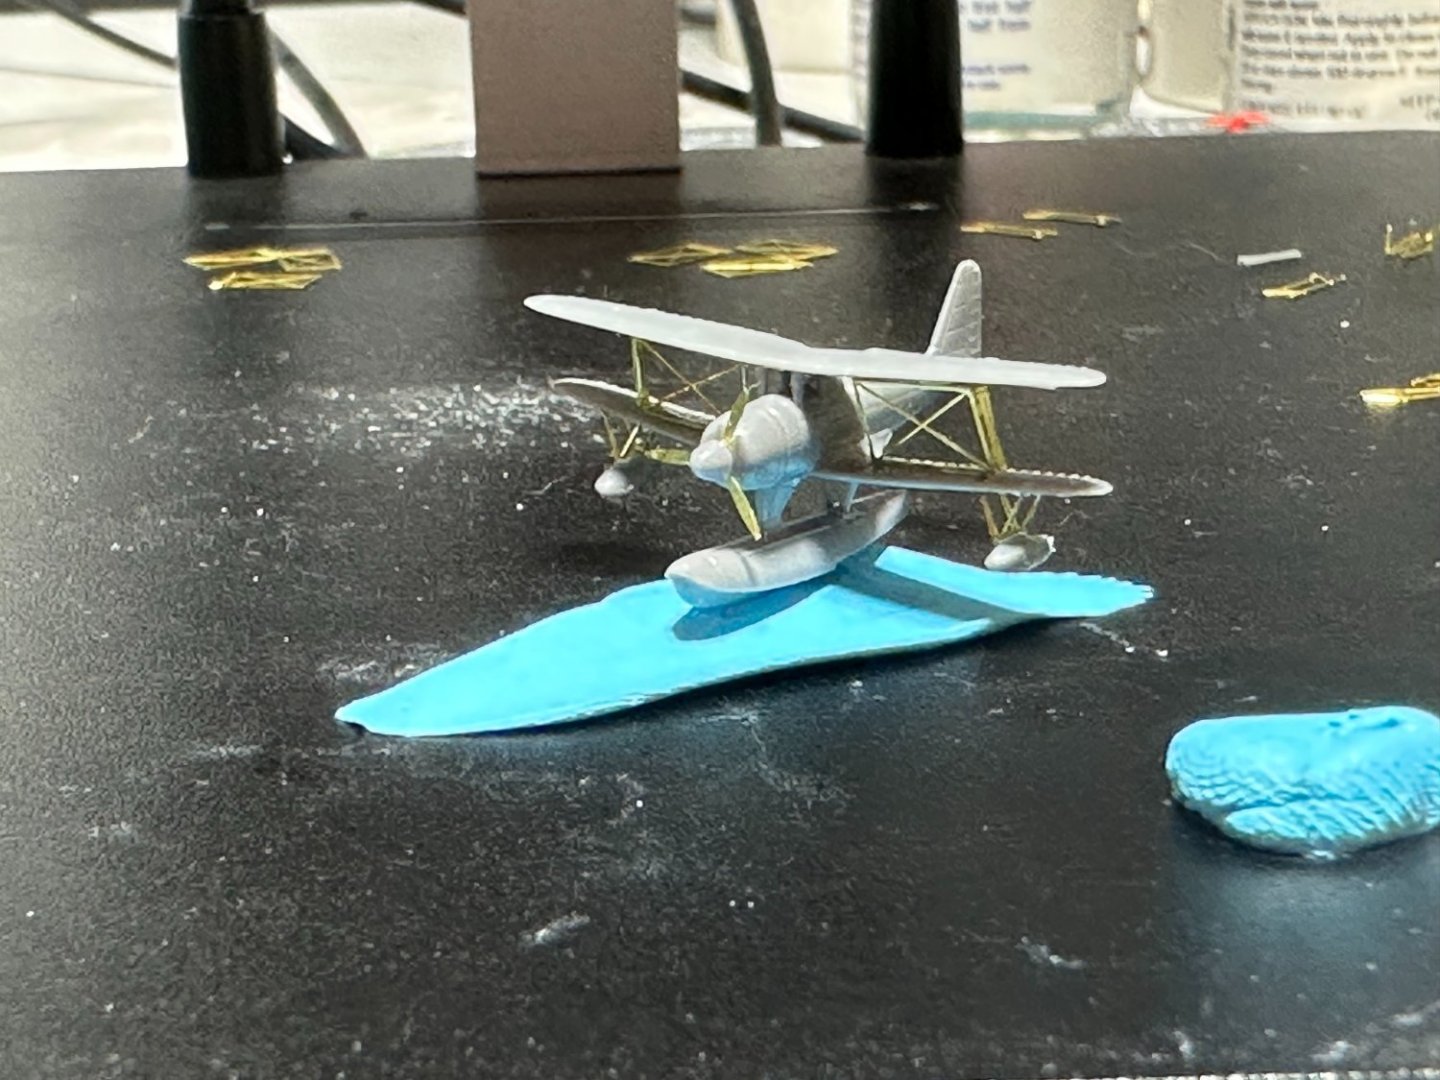
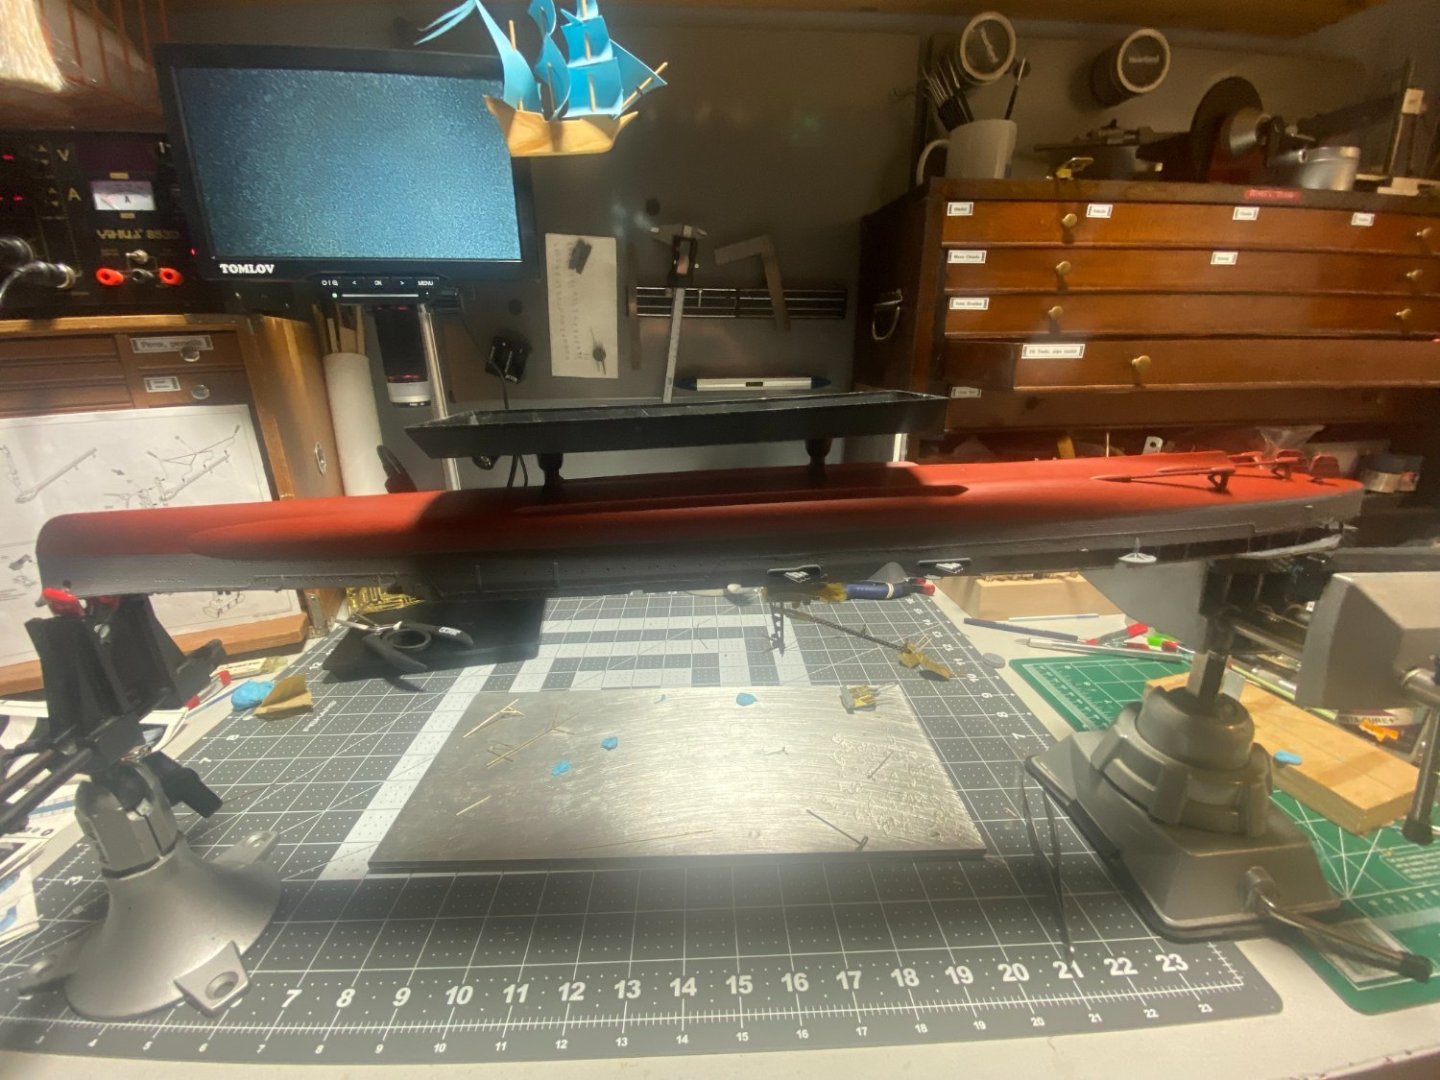
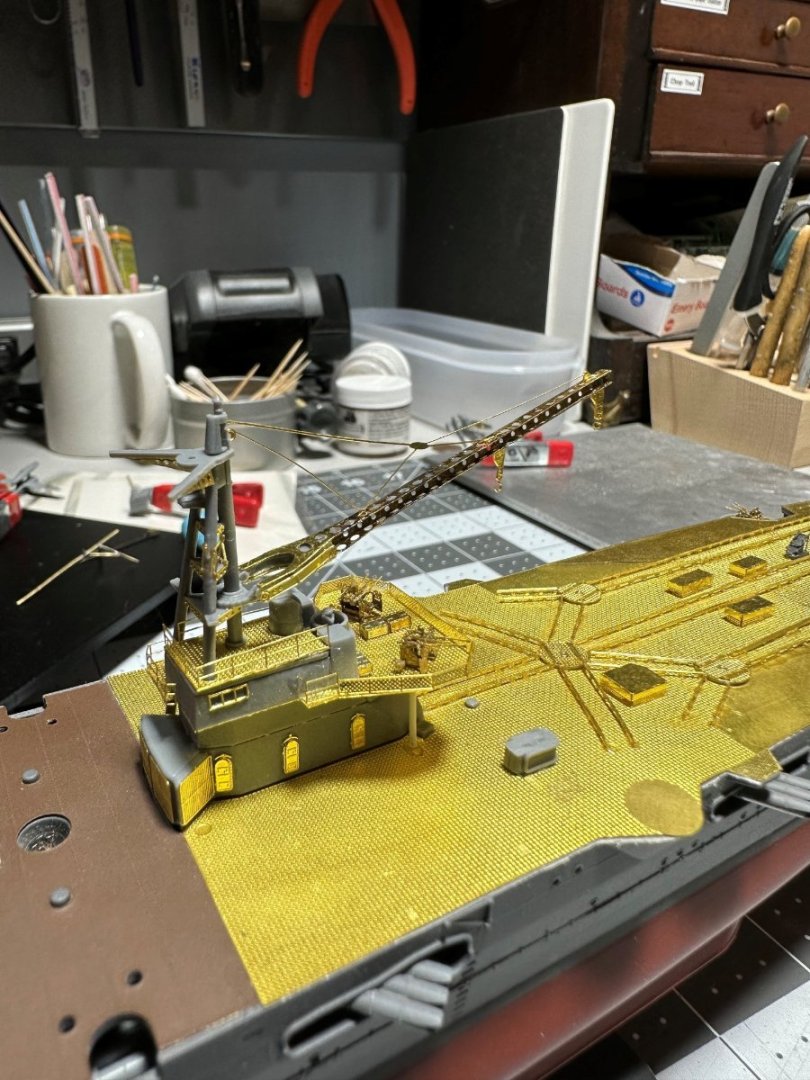
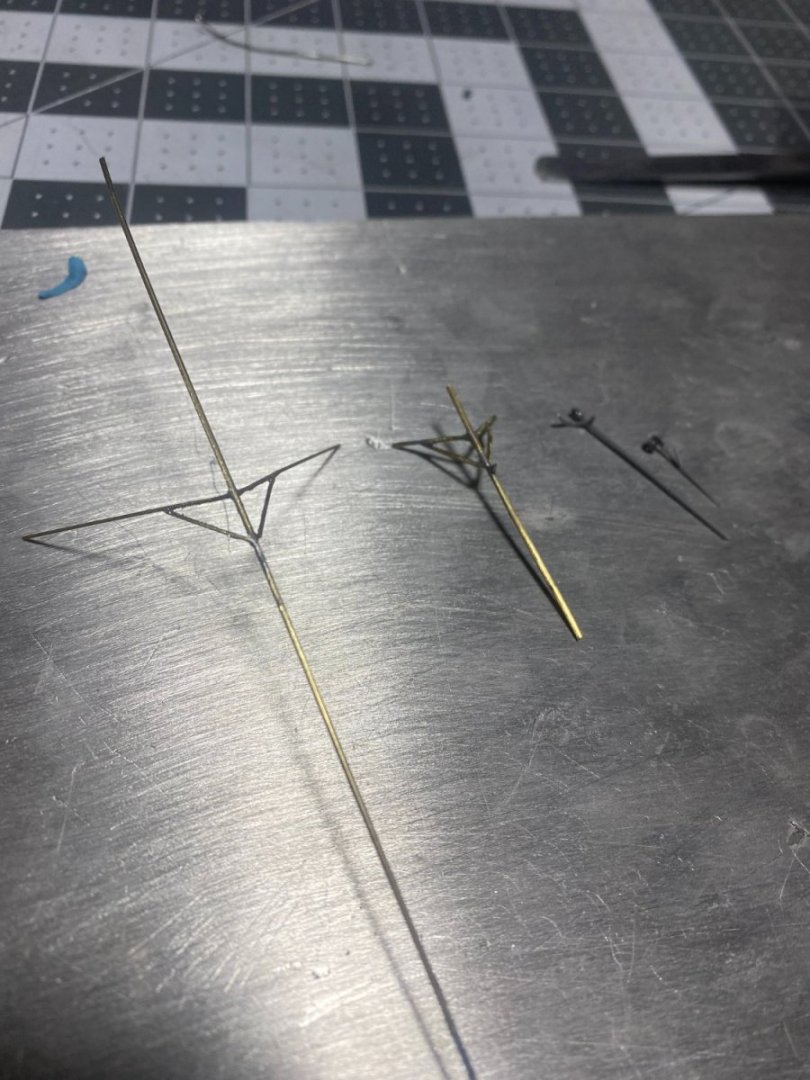
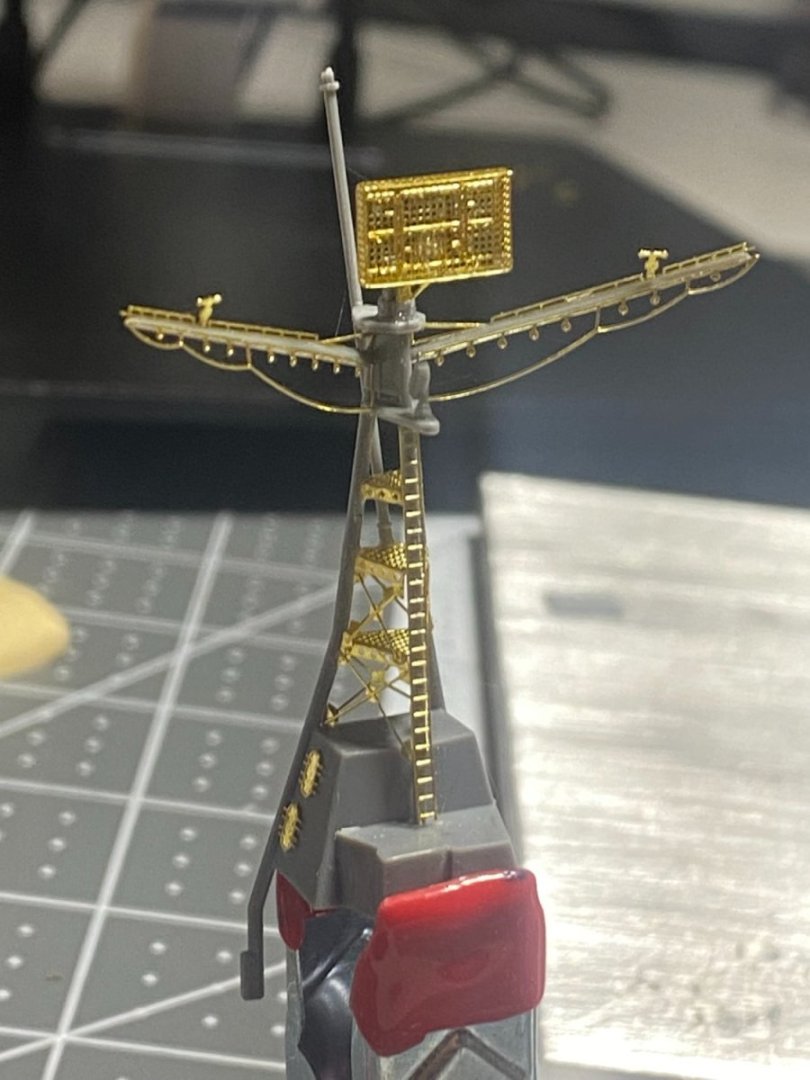
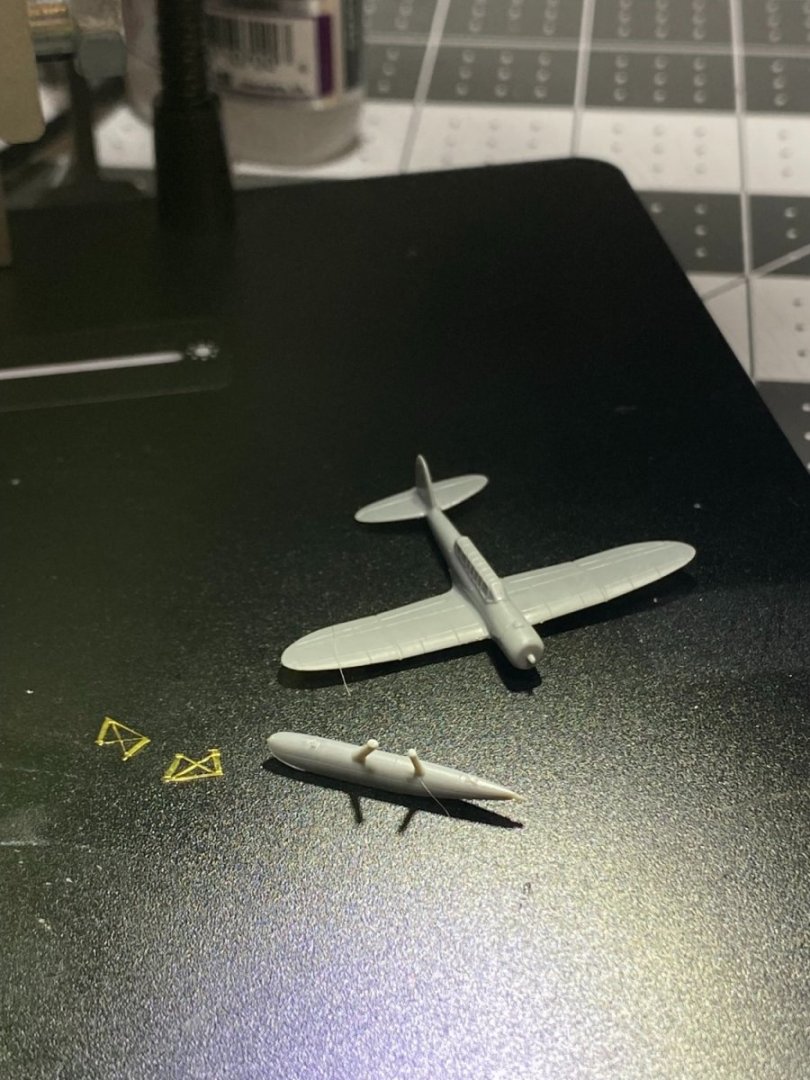
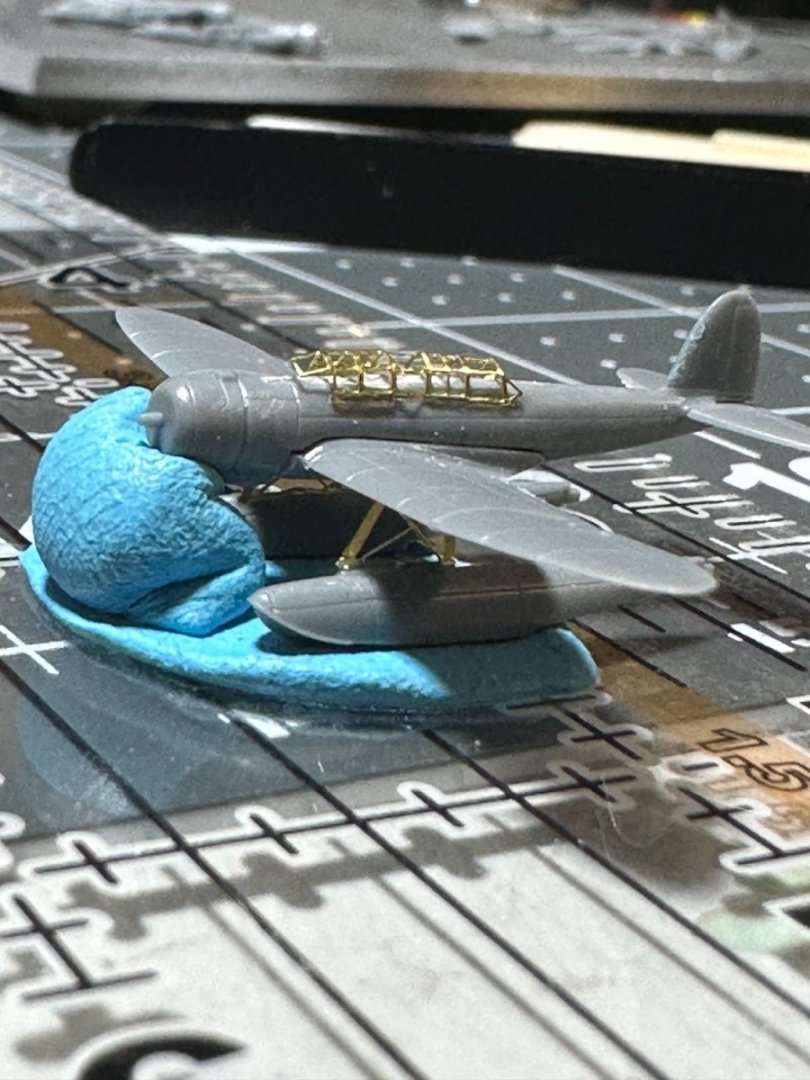
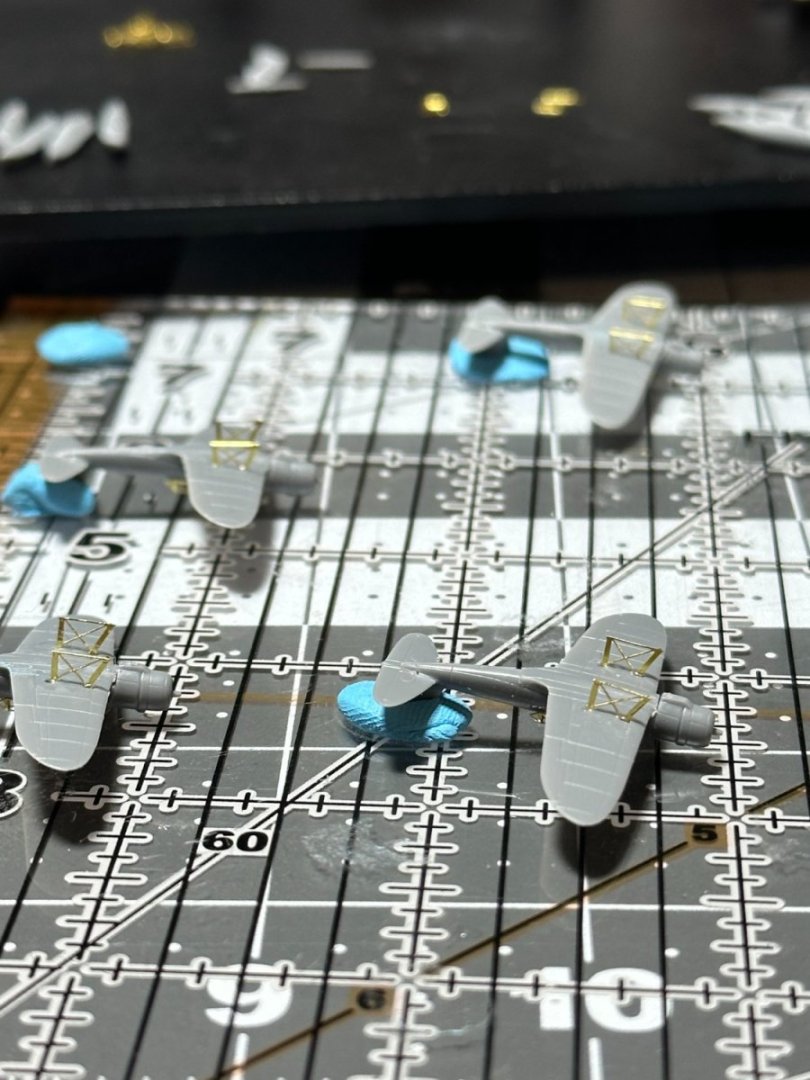
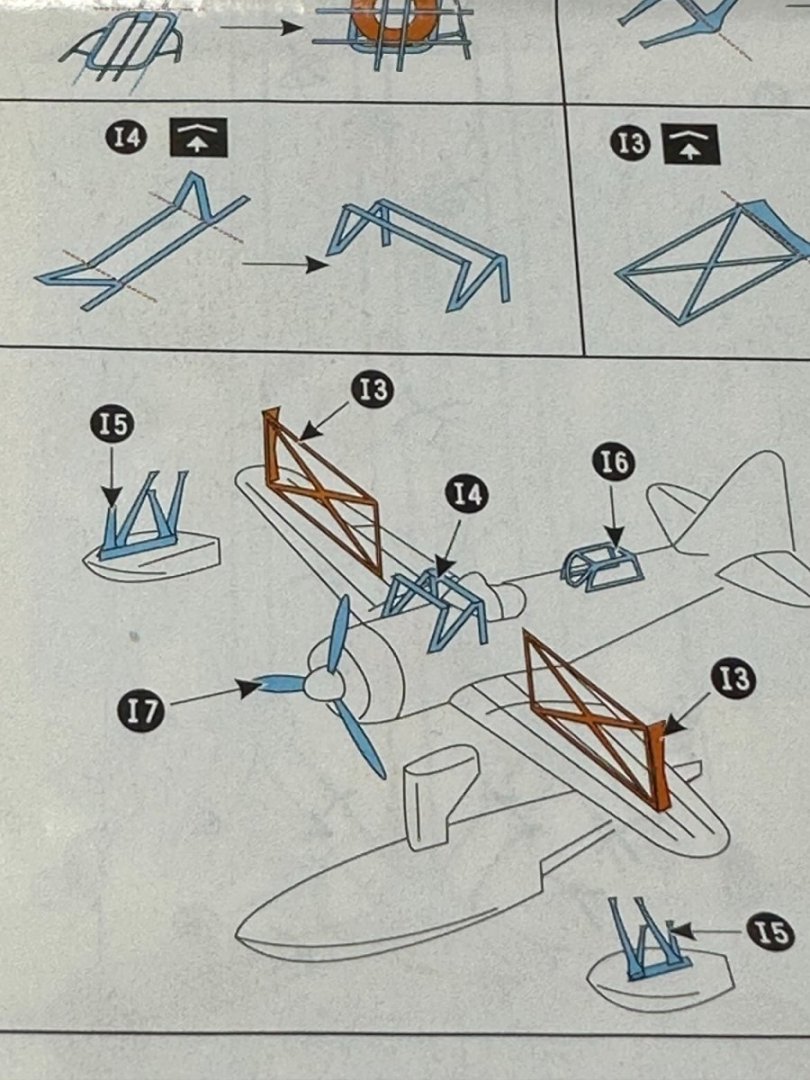
Along with new toys, work continues which includes the radar array, the aft masting and planes, planes, planes. I tried adding PE to the given plastic mast, screwed things up, tried to use a lighter to clean up the glue. Yes, this was a bad idea, before I knew it, the part was a cloud of plastic floating particles. Somehow I knew I was going to building this part from brass because of the rigging I plan to do, so it just became a self-fulfilling prophecy. To accomplish, I took the angles from the drawing, made a jig by sawing guide slots in the wood and soldered the part together. Second attempt was better than the first which in below, it's the left most part that needs to be trimmed. Otherwise, the Mogami has 13 planes, which I'm deciding on the final presentation which all had PE detail parts along with their related carriages. Finished a good portion of the aft bridge and crane, however I did notice I had the hooks on backward. In order to get these PE parts to sit right while the glue sets often requires, for me at least, to orient the part to allow gravity to assist, so to fix, the whole model had to be mounted upside down to fix the hooks. Other wise, blue tack and patience is the order of the day!
-
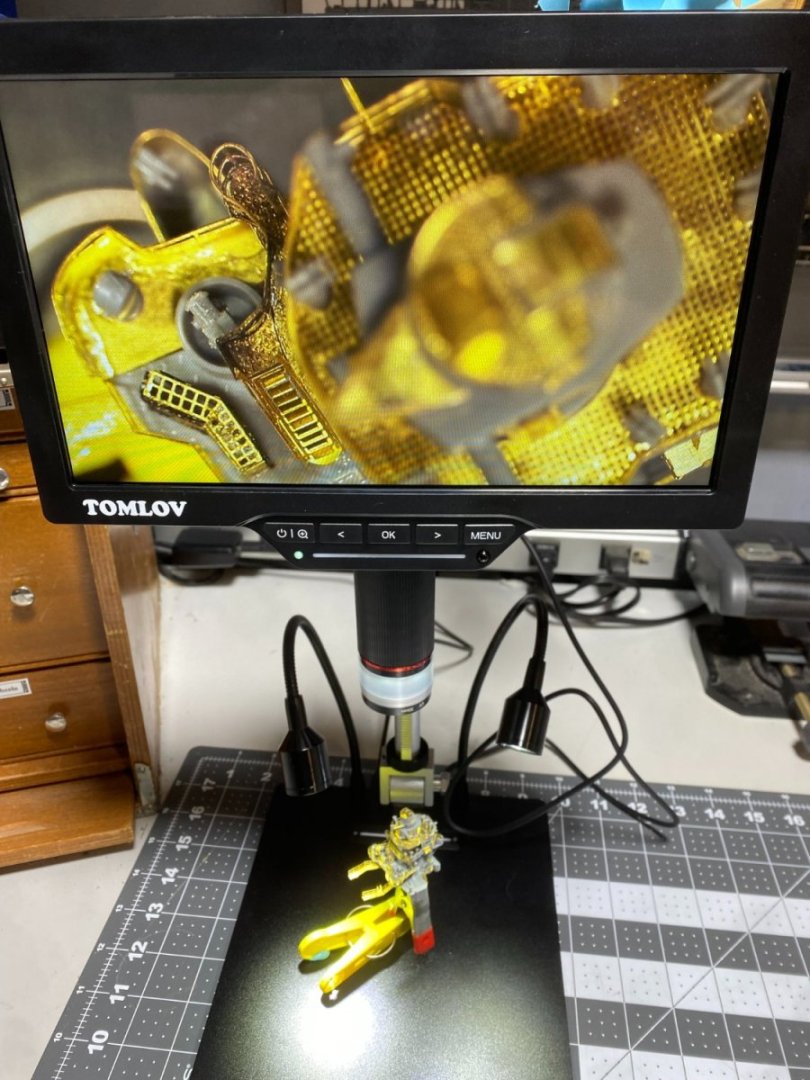
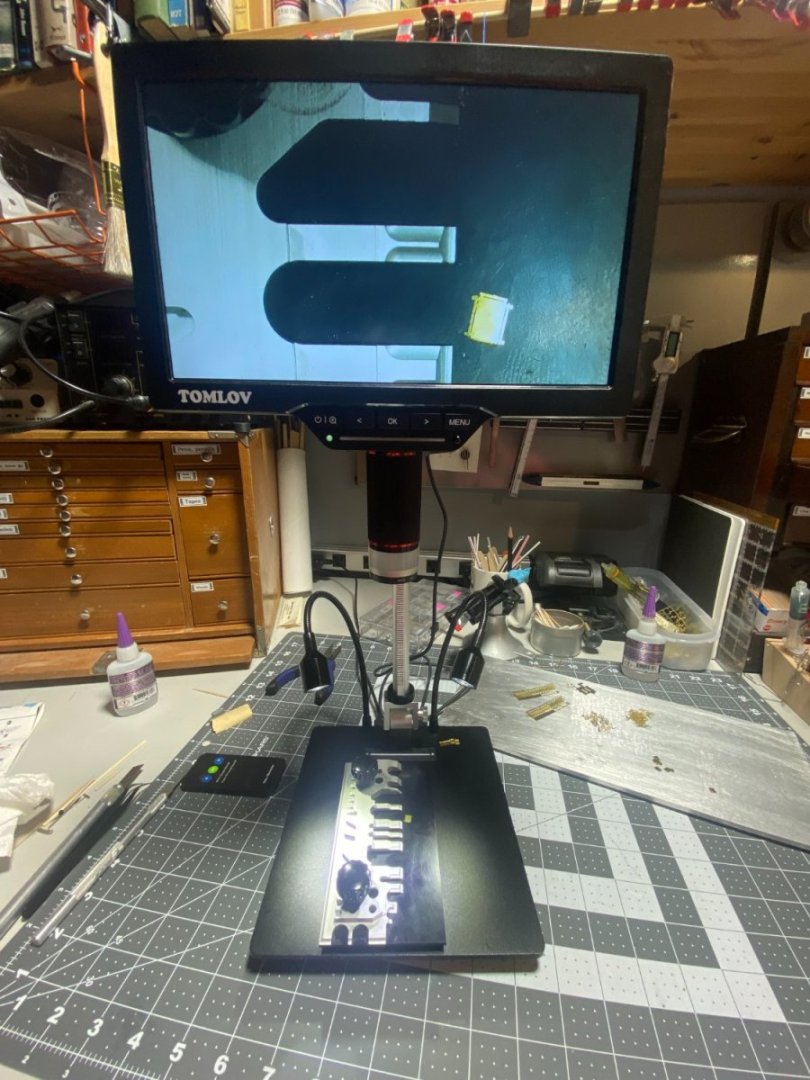
Hello all, All I can say is what I've heard in many places, photoetch is a love/hate relationship! But! To put more into the love bucket out of the hate bucket, I bought a new tool that I found in the circuit hobbyist section of Amazon, a digital microscope. I wasn't sure how useful this tool was going to be but I had some Christmas money. I'd say it's great for things like getting in close to line up your knife to the PE tabs when cutting out a part, bending certain individual pieces and lining up the seams with the bender tool, or to determine which side has the textured side. General assembly seems to still prefer the headgear magnifiers hunched over two pairs of tweezers. Overall, I'd recommend it to anyone who has trouble seeing this stuff!
-
I'll be curious on watching your Nichimo build, I have that kit but recently replaced it with the new Trumpeter Yamato..... so.. deciding if I want to sell the Nichimo.
-
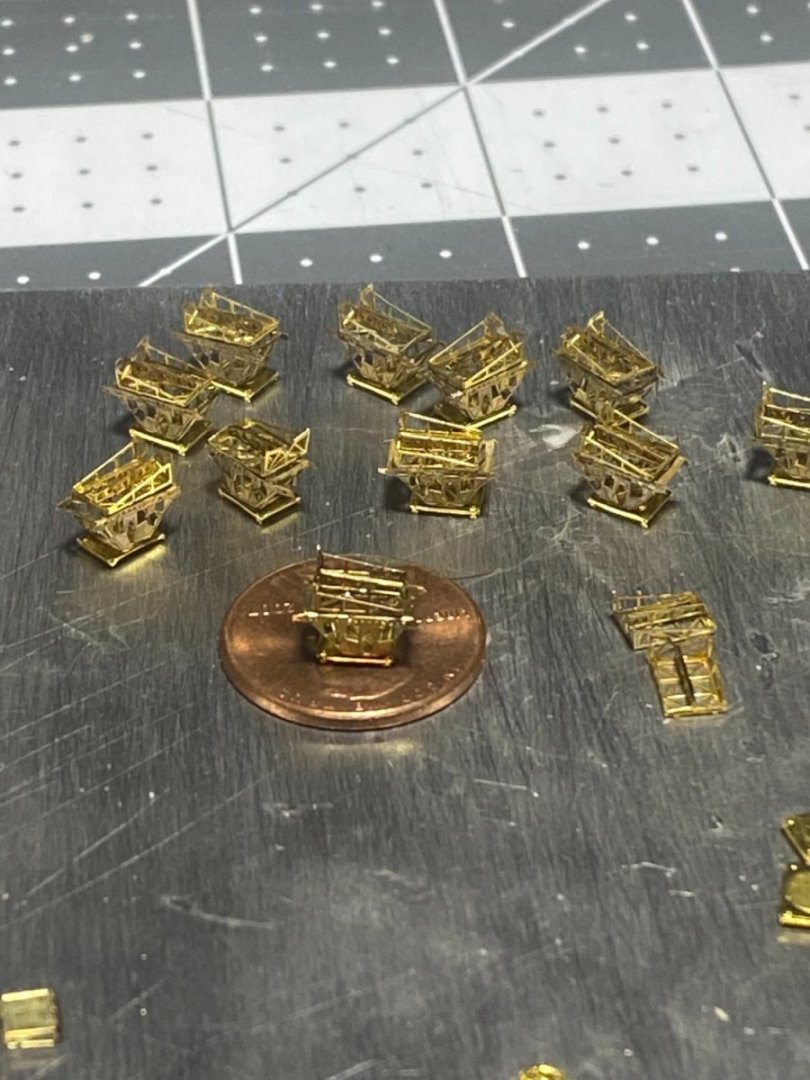
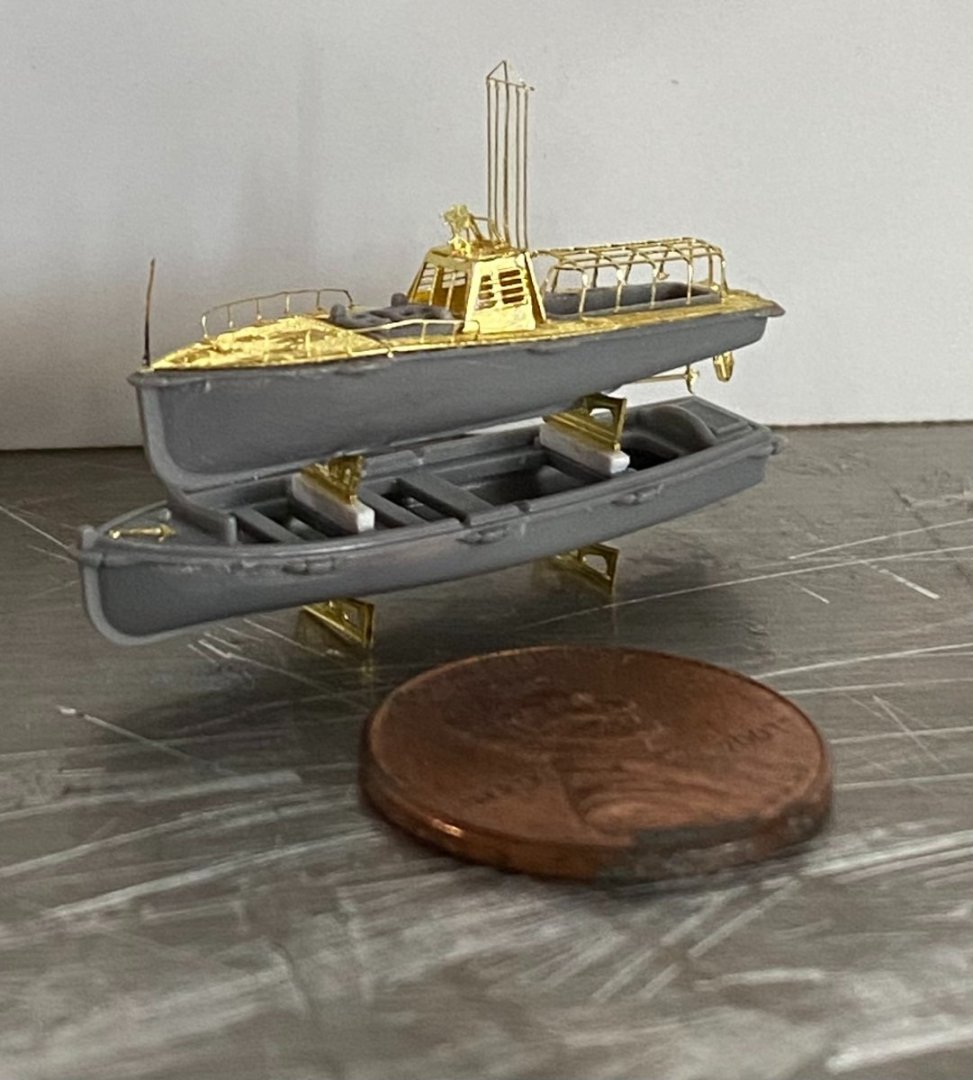
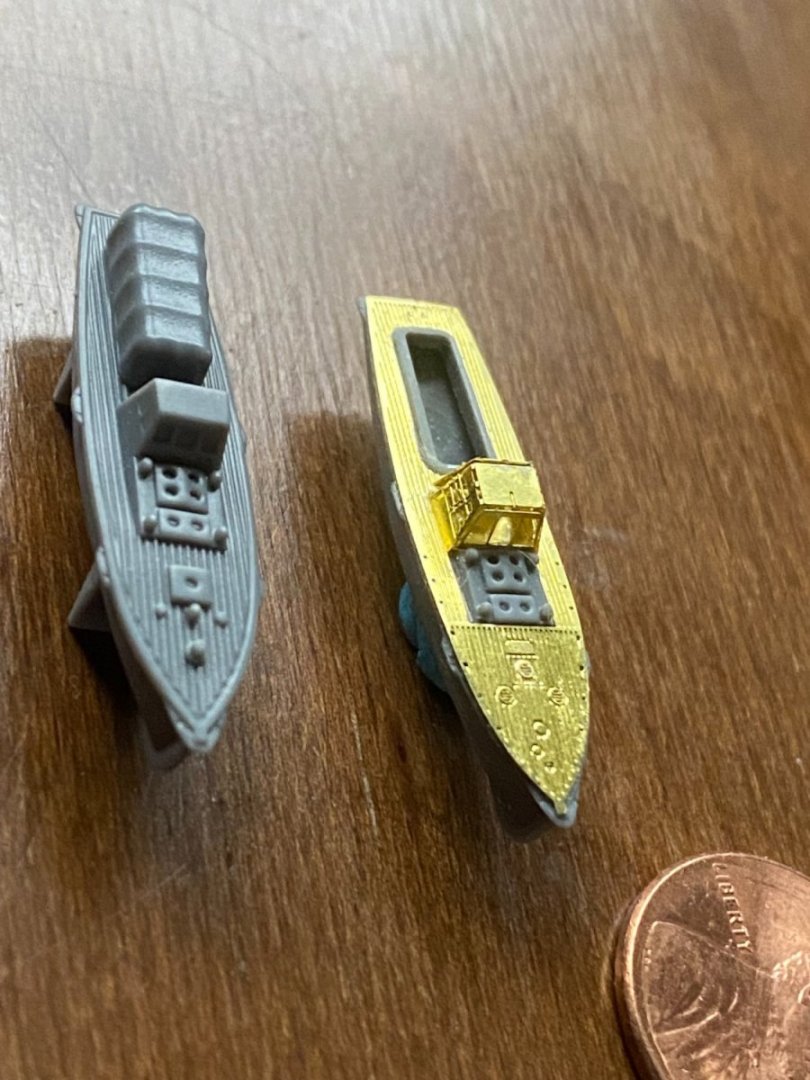
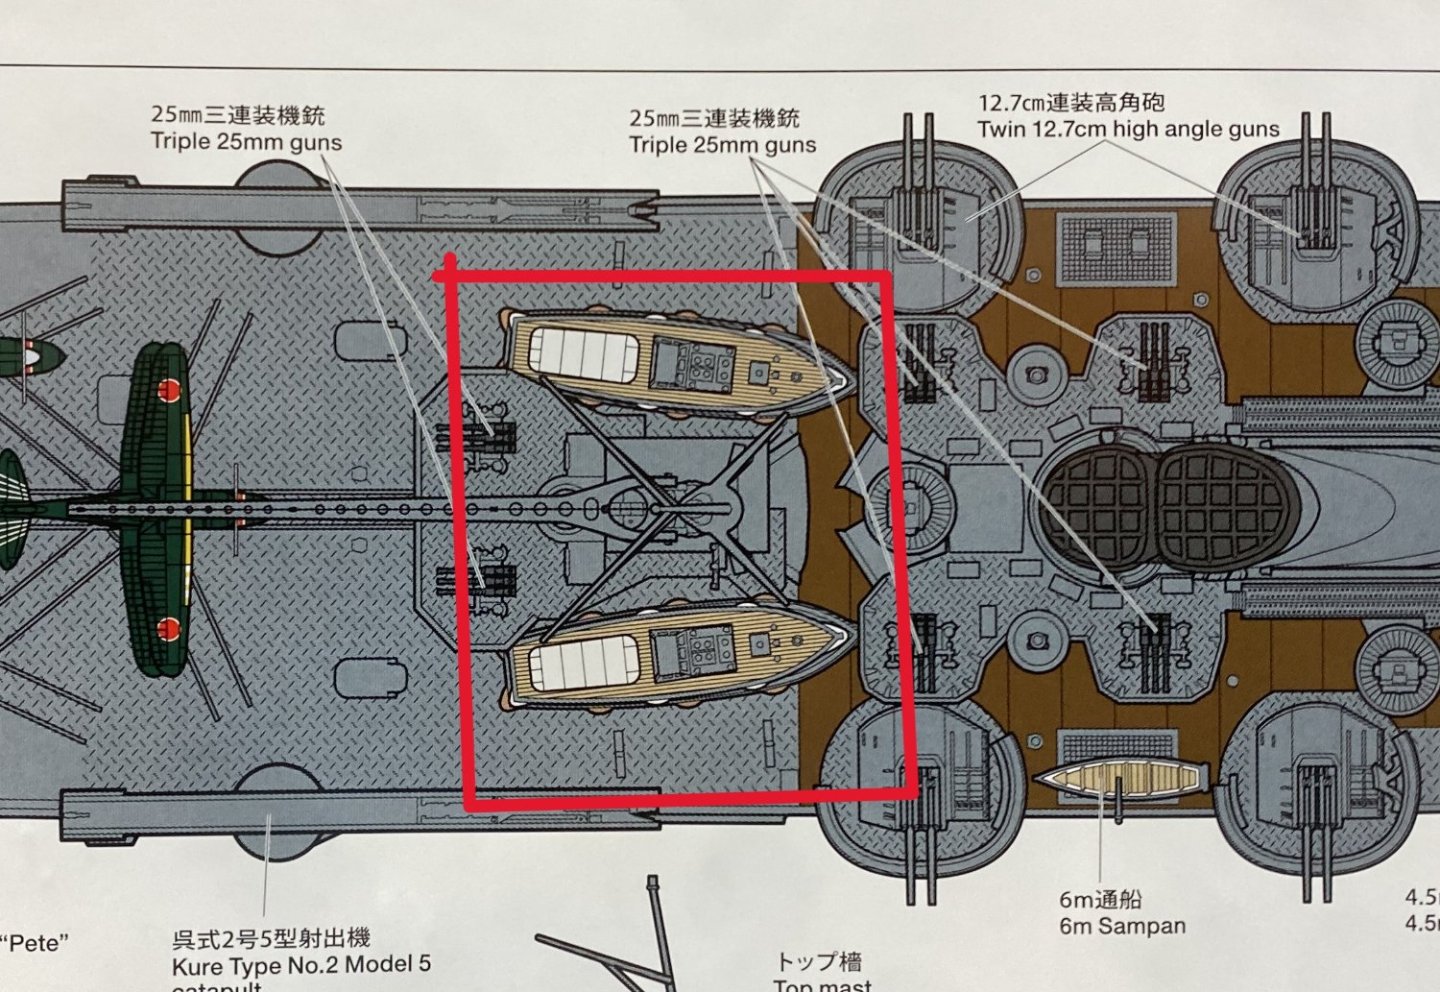
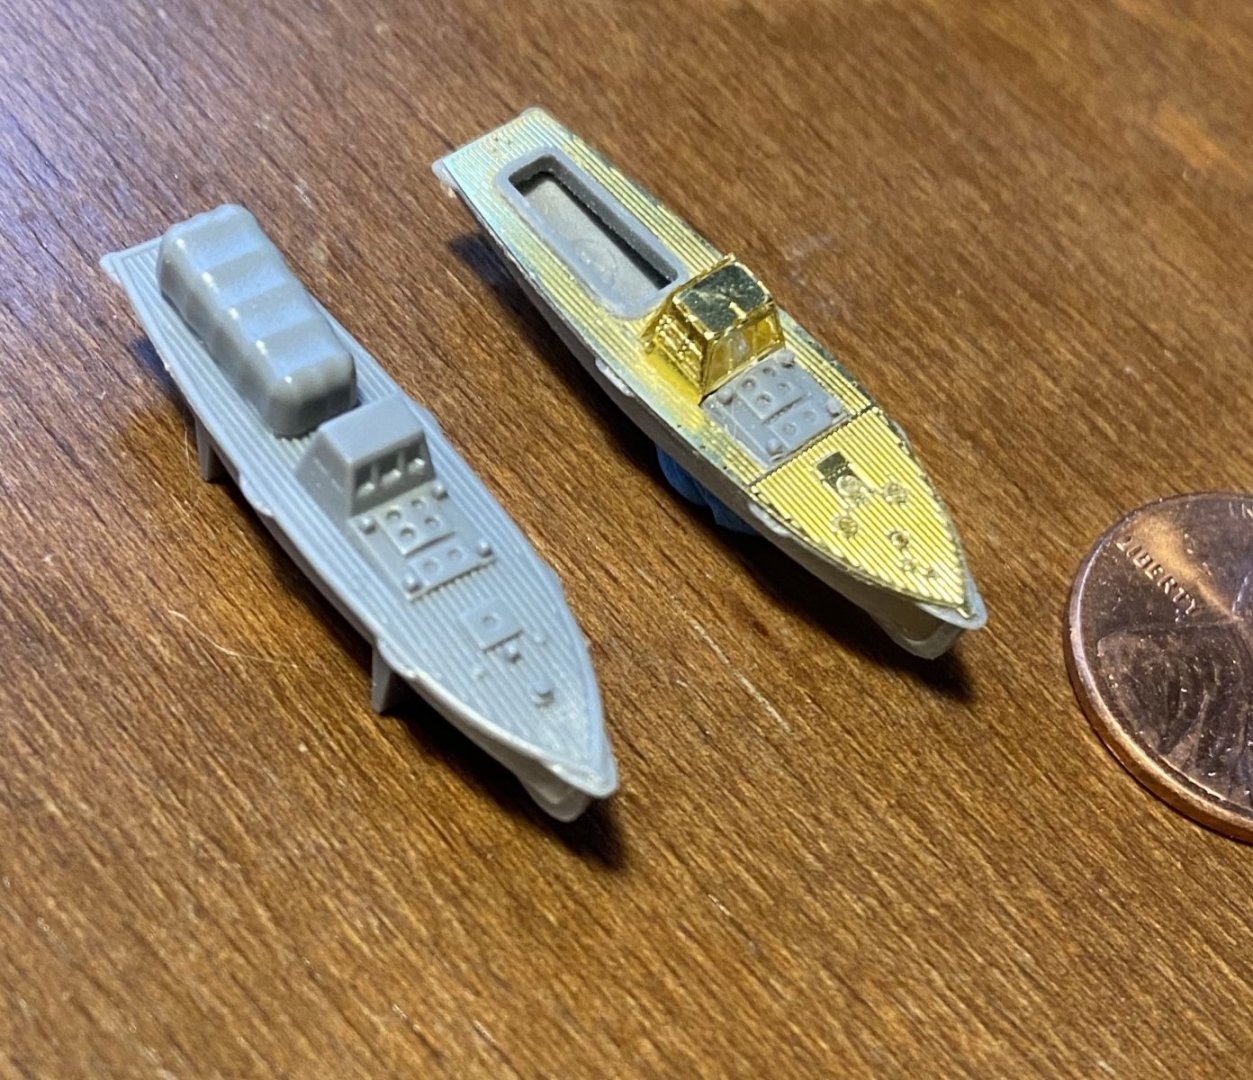
Ah when 3 parts become 20ish! Detailing out this motor launch became a small project in of itself. I threw up my hands after the detail kit instructed me to cut off the plastic molded supports to stack the motor launch on top of the barge in exchange for brass only to discover that they're not tall enough. And then, entertainingly, the exampled photo doesn't show all the parts offered being used! I worked it out as best as I could for now and this is what I ended up with. Couple discoveries along the way, Blue Tack is great for holding small parts to a build plate and Duco is best used for super small parts like that the bow flag staff, which took about 10 attempts to achieve the picture. In the end, I love this stuff! I love the madness of the hyperdetailing and it's great practice, and I really loved when I shared this picture below to laymen friend of mine, he thought the penny was a coaster!.
-
Yeah, the more I was working with it, the more I realized it's value really is for only temporary work. To really get it to stick on, you have to stick with CA.
-
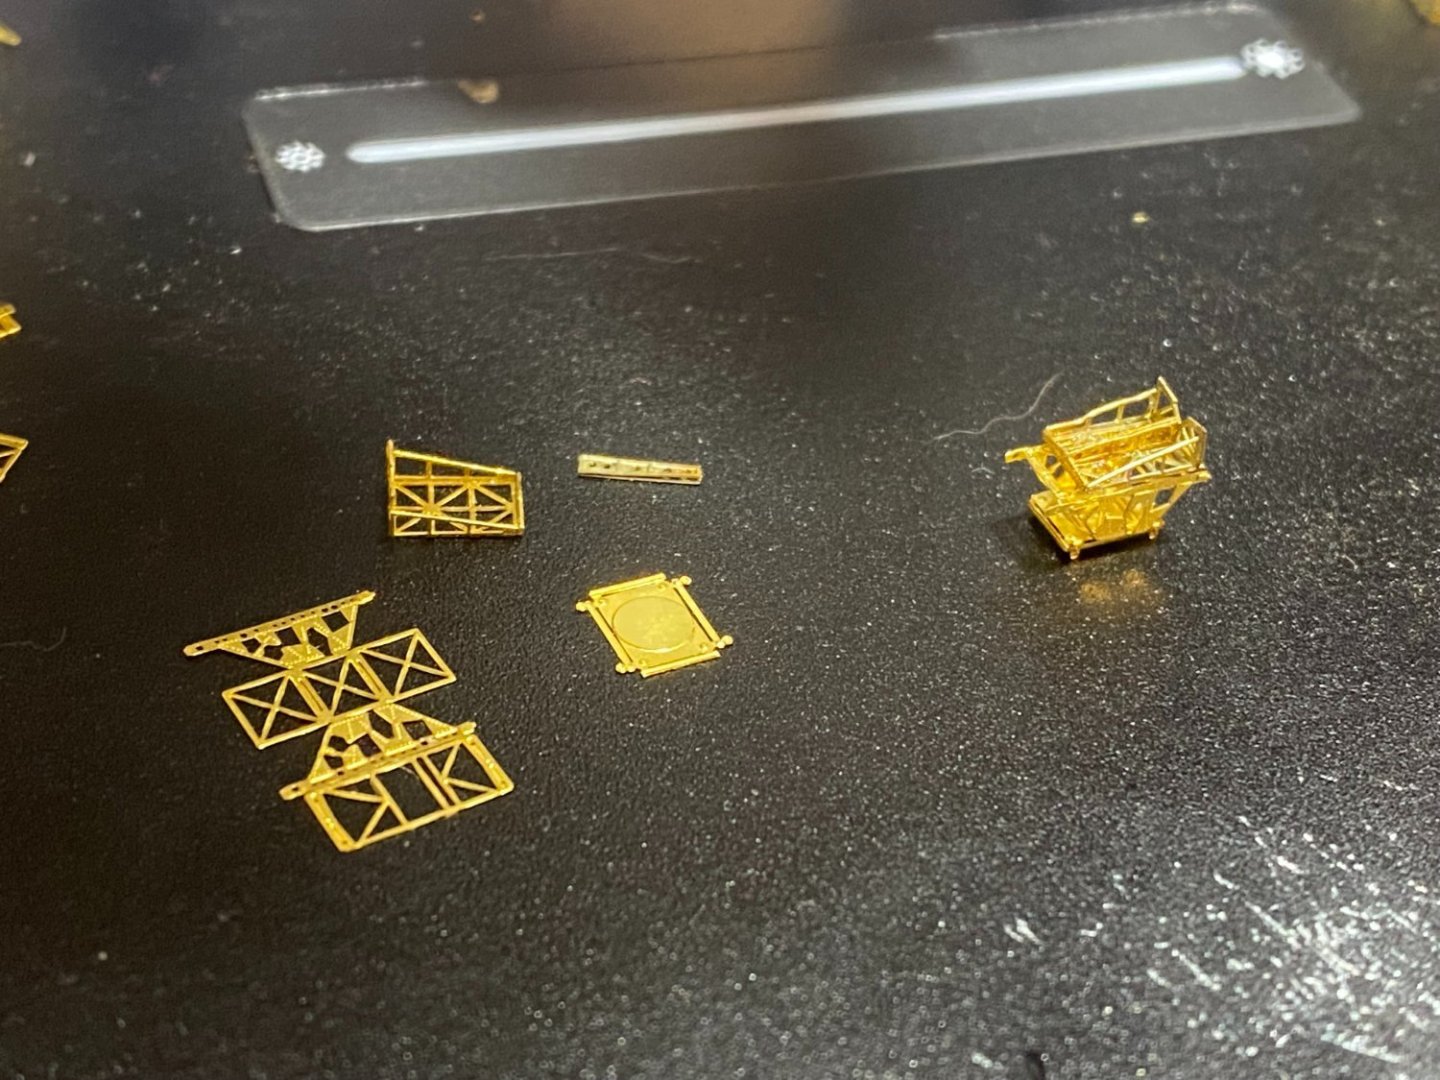
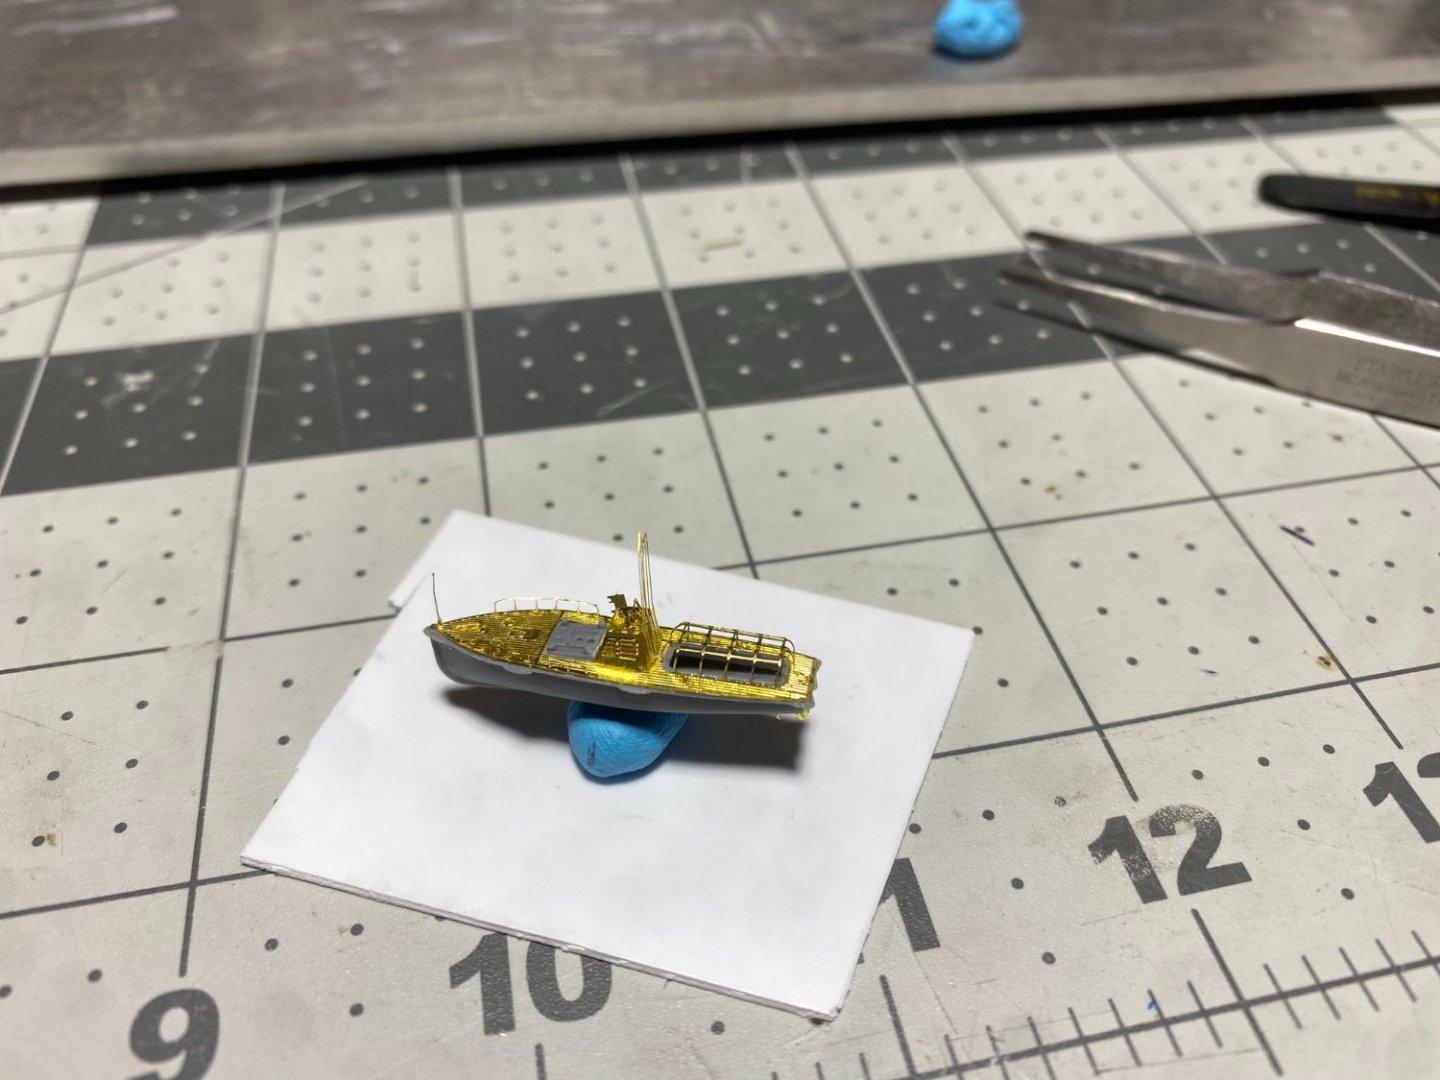
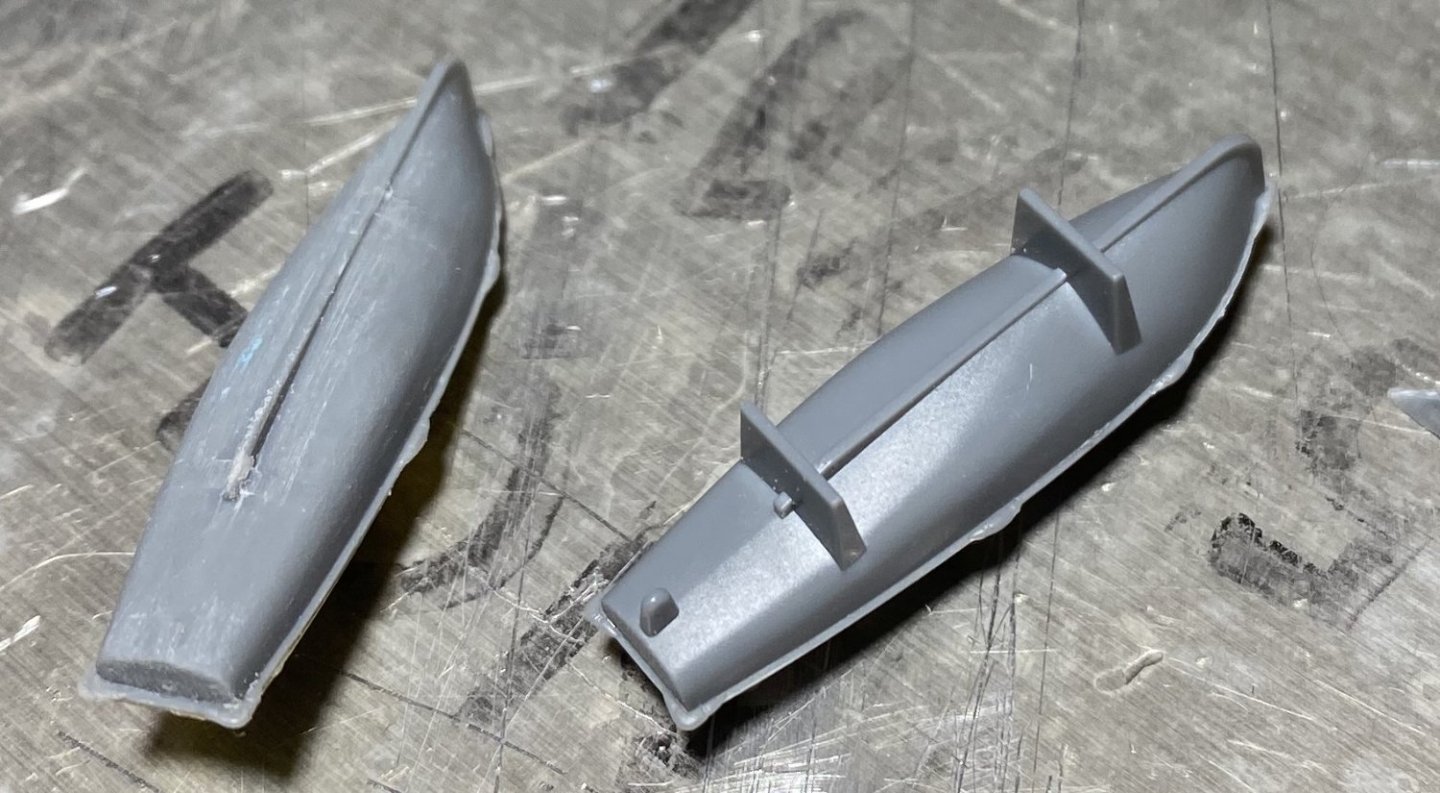
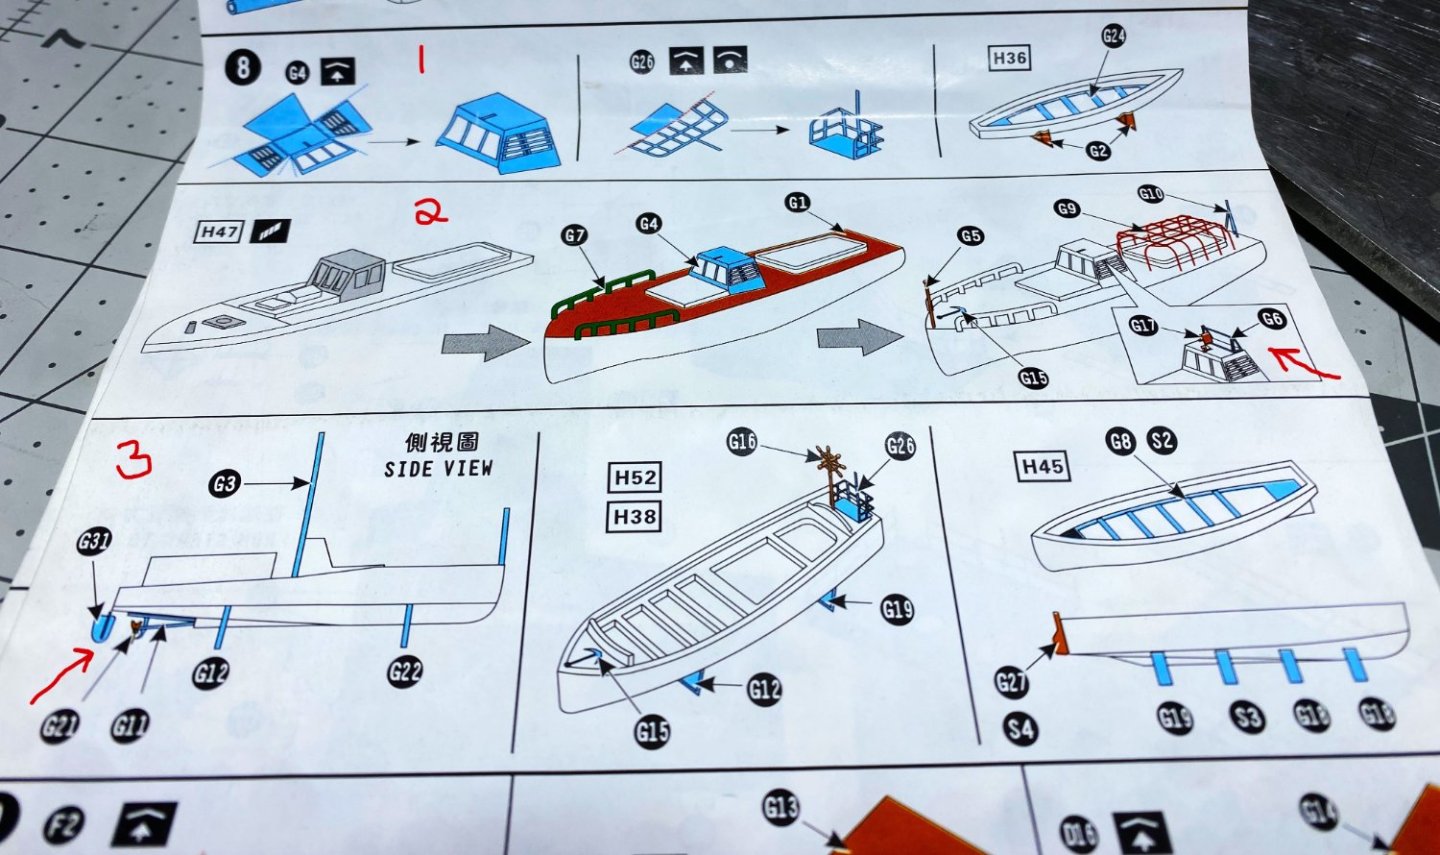
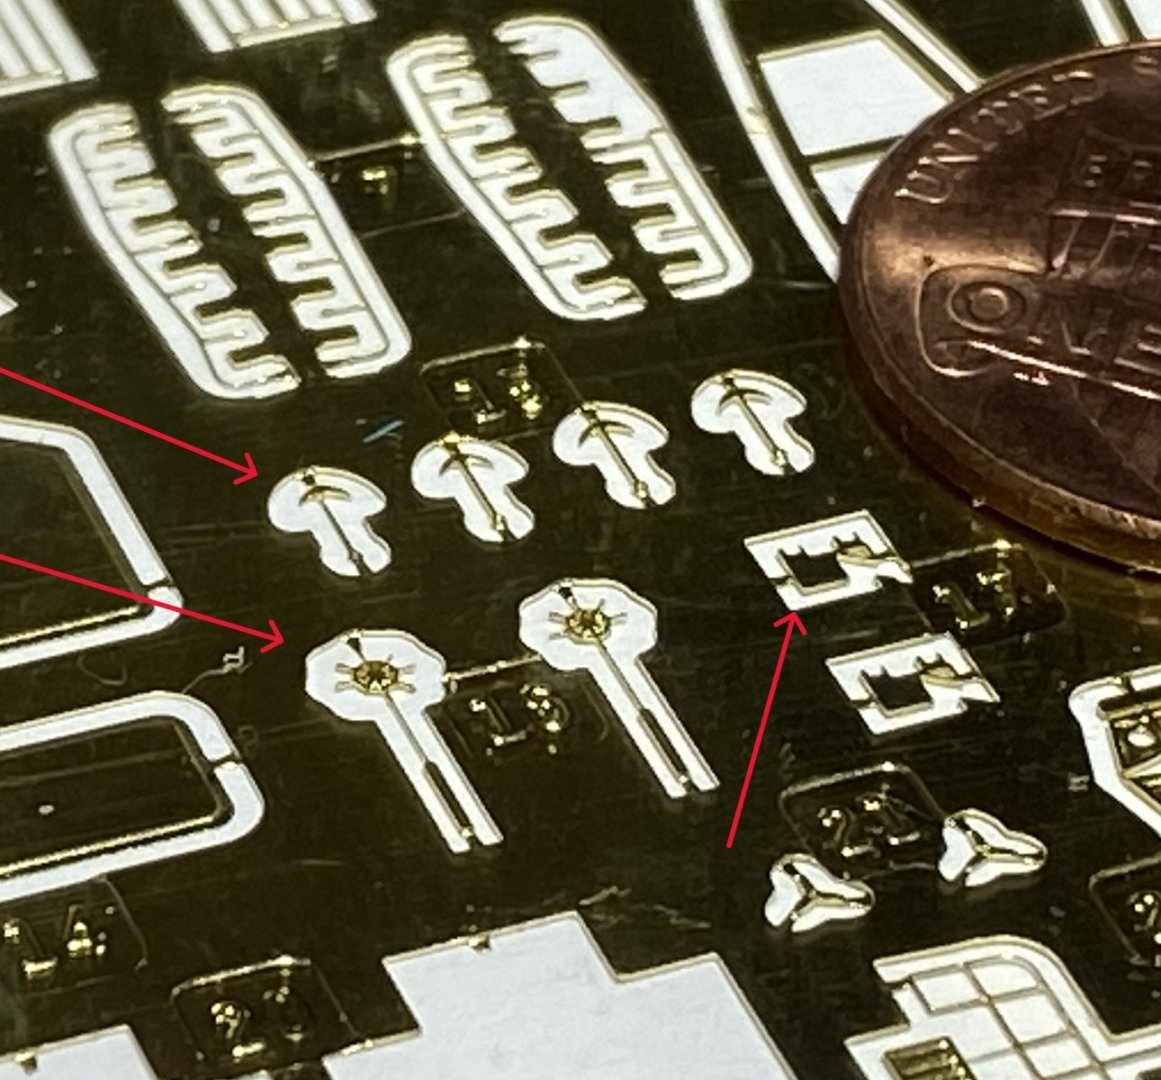
I'm always amused how you try to sit down to do what you think is a small isolated project for your main build, like building a motor launch only to realize it needs to be integrated sooner than you think. Last night, I said, "Self, we'll need these eventually, let's just build a motorlaunch." But as I scoured the details and dug into it, considering all the fine detail that the photo etch kit provides, there's no way that I can think to safely handle this part once its completed. You can see an example below of how small the propellor and rudder is in the sheet. Therefore, I decided to build out the underside with the stands, prop and rudder, then glue it to the main project and build off the ship all of the topside details. From a painting perspective, the initial coat of the launch will be the same as the rest of the ship and then I'll still have access to detail paint the other parts. Below are pictures the overall instructions and as always, love to show the comparison of value that the photo etch offers compared to the stock part, which is shown complete as the kit alone intended. This is how far 2 hours got me between planning and executing on one motorlaunch. As you can see in the instructions, there are several more parts to be added. I need to figure out a good material to coat the grating once it's in place, maybe 00 silkspan soaked in diluted pva. Added an overview of the Mogami status with most structures only dry fitted to the painted deck. Thoughts?
-
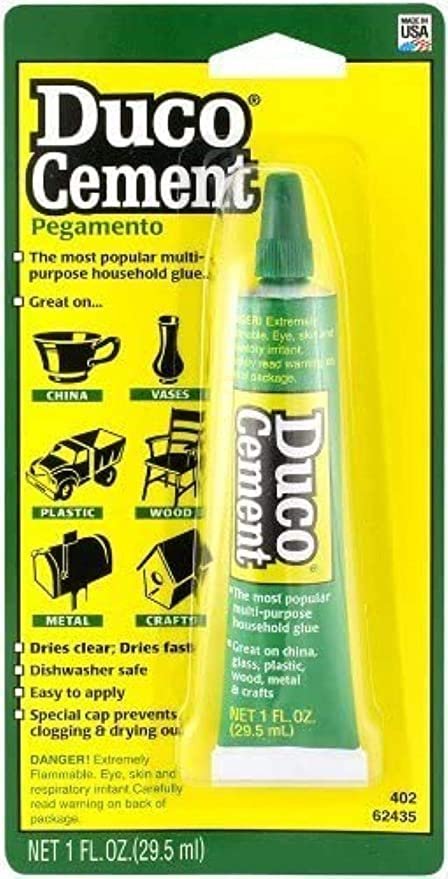
Everyone has their own preferences and I'm trying to work out mind for the types of glue to use. One of our more experienced members swears by Duco cement, some pretty old school stuff! What I like is that it sets relatively quickly but you have about 20 seconds to adjust things, dries clear but the most important thing is it allows for a do over. Parts with this glue can be peeled off without destroying the part and the residue is easy to remove leaving both parts looking like the glue was never there. Been a nice add to the arsenal. The one CON I have is the metal tube it comes in, one small indentation of the tube and you end up with excess glue waste. I let it drip on my build plate and once dries, scrapes up really easy. Price has gone up a bit in the past 2 years but you can pick up a 6 pack for about $20 on amazon.
-
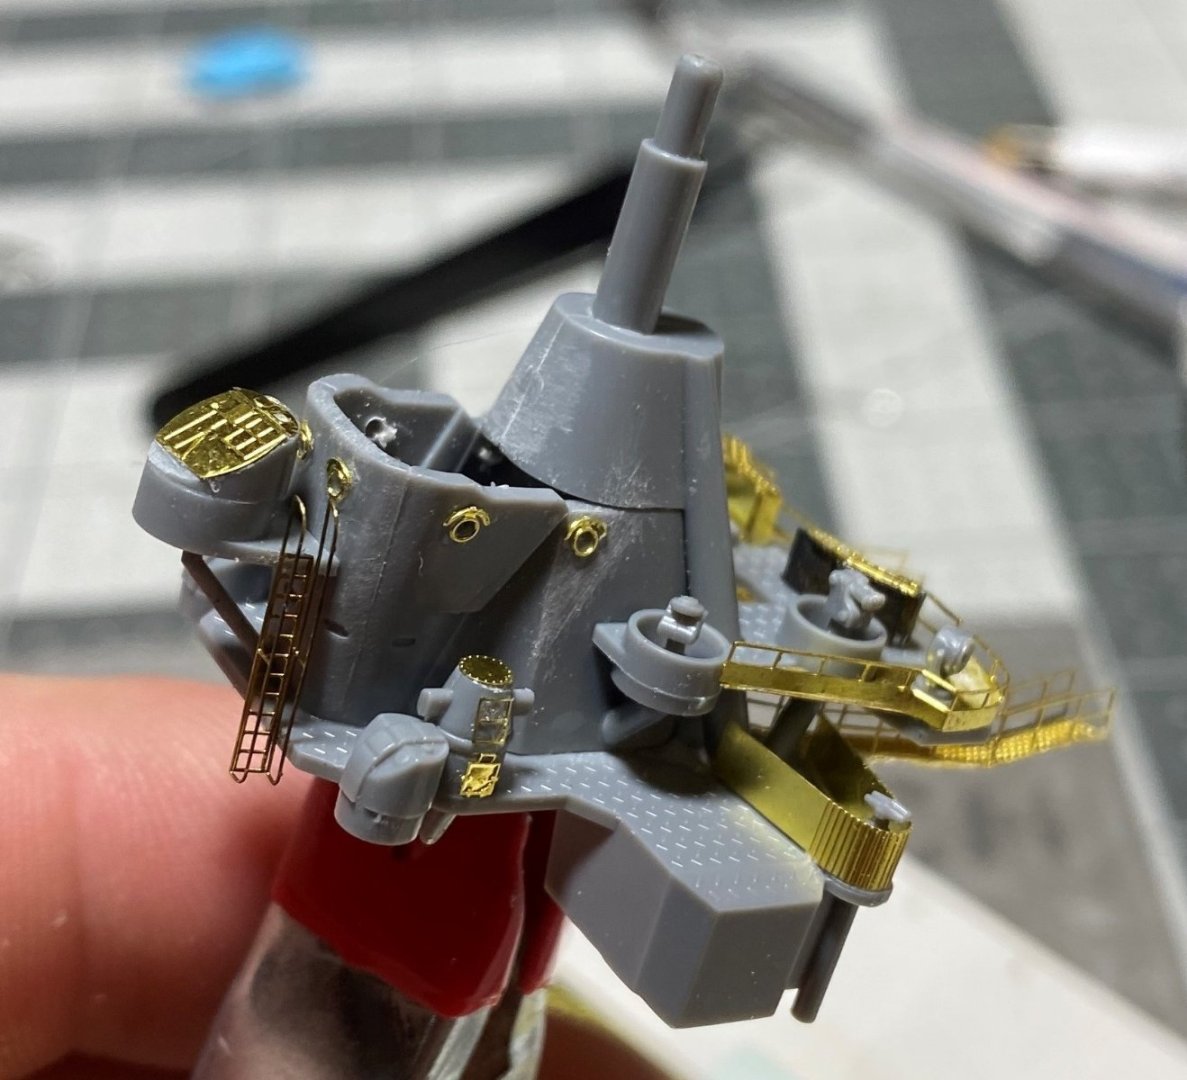
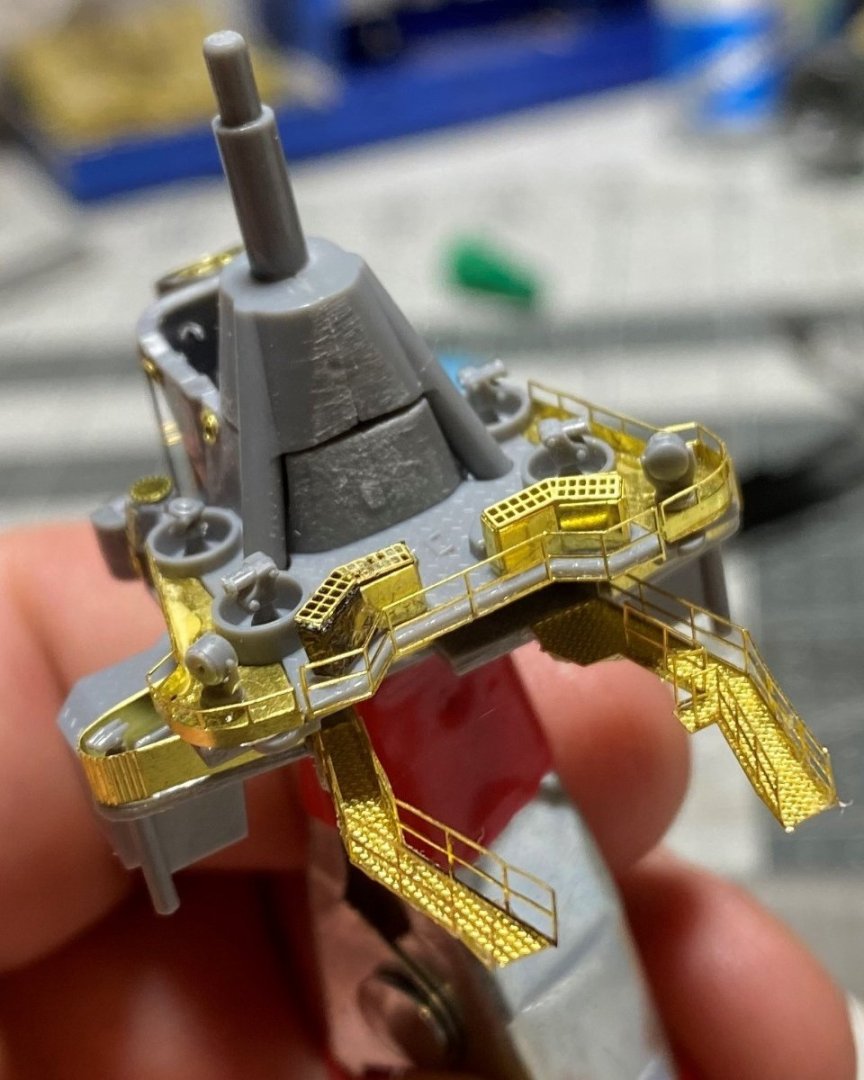
This part of the Superstructure turned out nice so far. The seam gaps won't be noticeable once other portions of the superstructure are layered on. For now, I'm working as much brass and build as I can before pulling out the airbrush. Dry fitting as needed to see the progress.
-
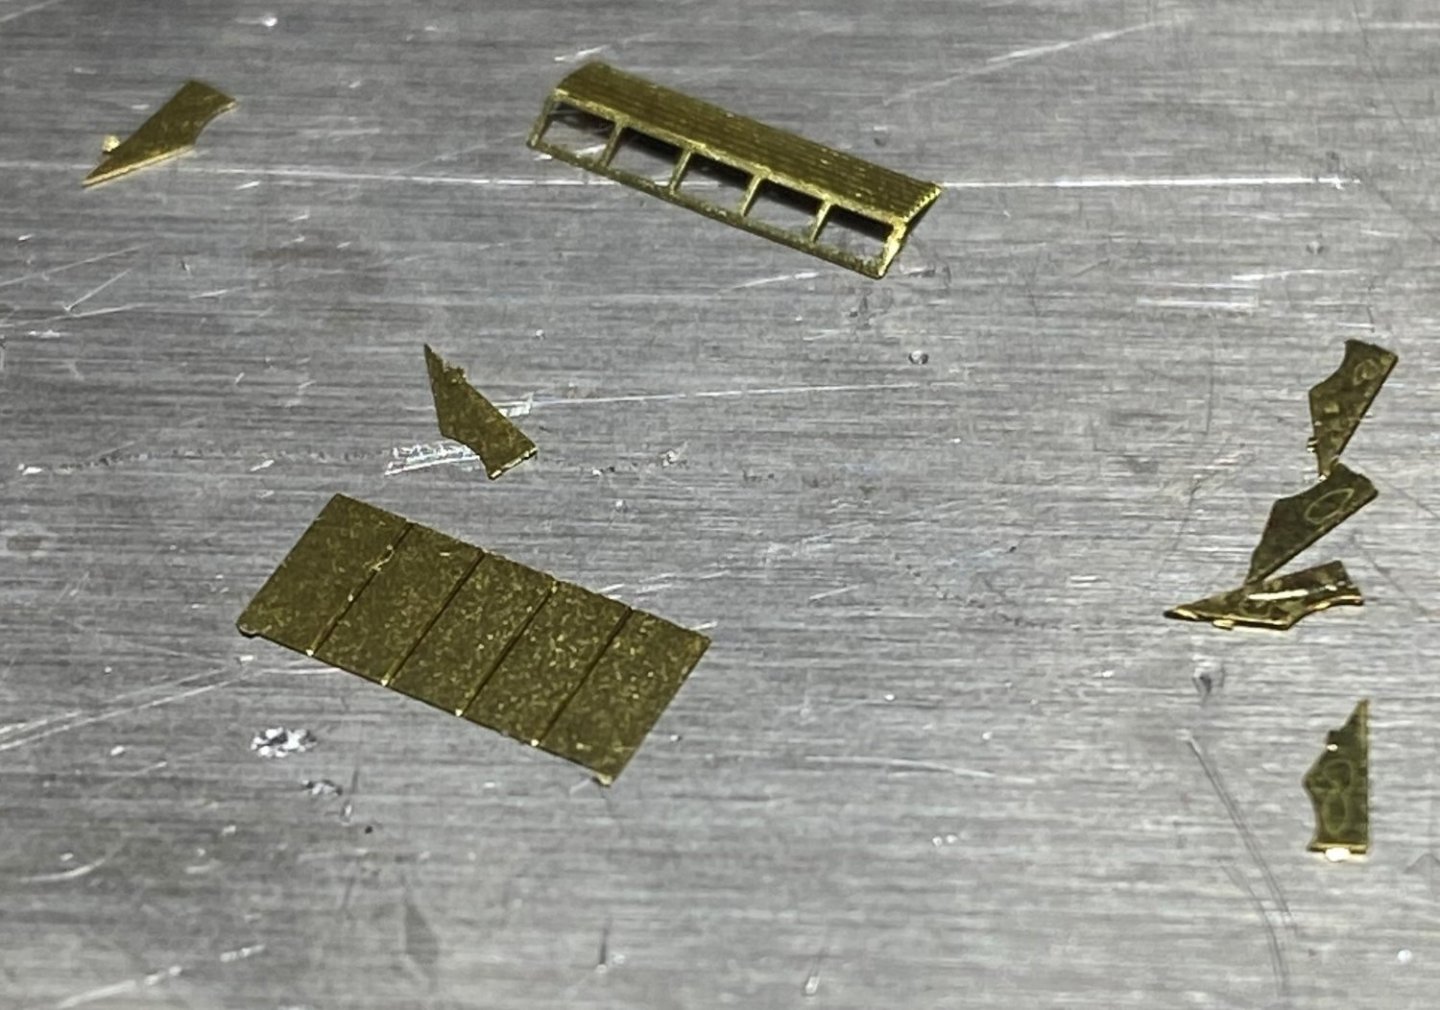
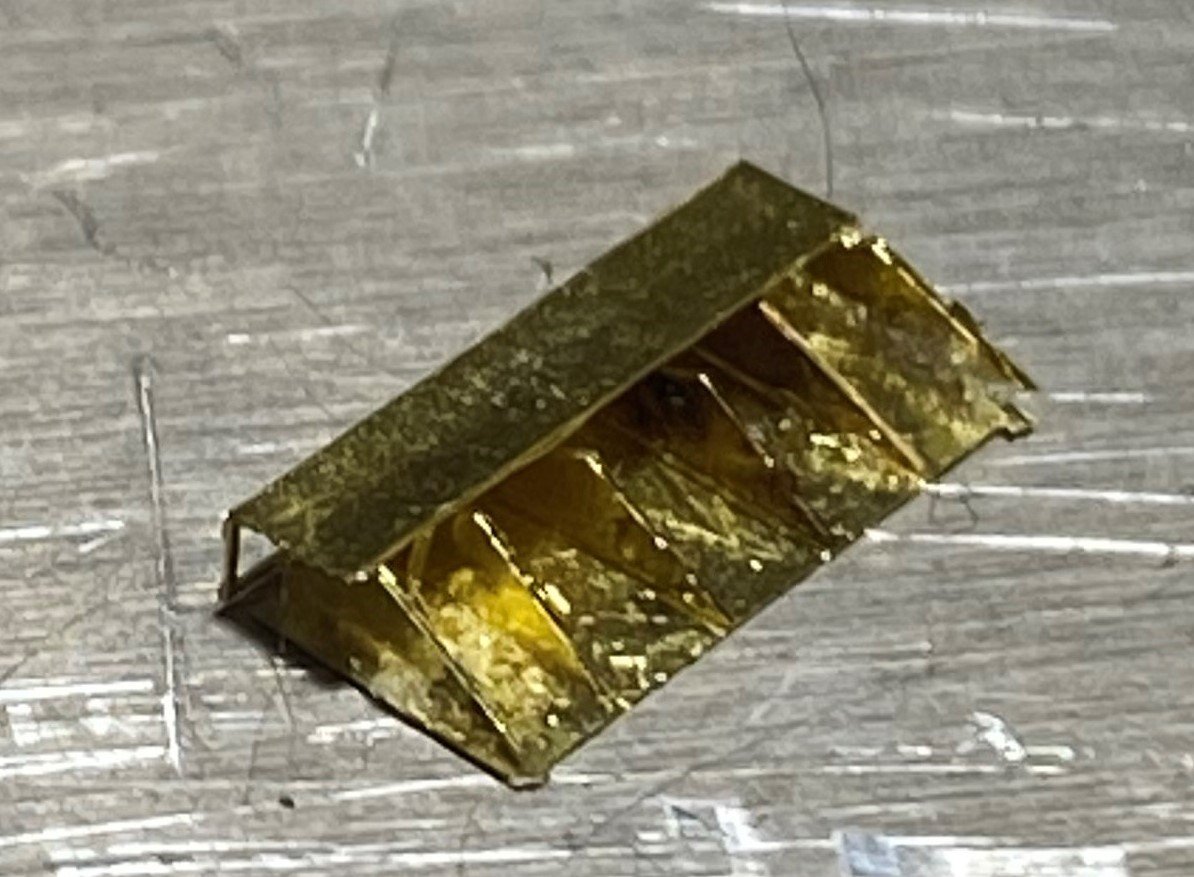
Been needing to satisfy that PE itch again, granted that taking close up pictures can be a bit brutal. I overworked this grating for the bridge and it became many pieces. After 6 attempts, I landed with this. A bit glazed but it's a relatively small part and once painted, won't look so frumpy. I did straighten it out a little bit after I took this pic, here it is compared to its plastic counterpart.
-
I remember having to shave the openings up larger to get it to fit.. it wasn't a smooth experience.
- 7 replies
-
- Prince De Neufchatel
- Model Shipways
-
(and 1 more)
Tagged with:
-
Looks like another winner Ron, can't wait to see her in the diorama. I need to learn flag making from you! See ya at the meeting Joshua
- 542 replies
-
- Sphinx
- Vanguard Models
-
(and 3 more)
Tagged with:
-
- 7 replies
-
- Prince De Neufchatel
- Model Shipways
-
(and 1 more)
Tagged with:
-
I was actually rounding the edges of the timbers for the base in the hospital while my wife was in labor.
- 7 replies
-
- Prince De Neufchatel
- Model Shipways
-
(and 1 more)
Tagged with:
-
- 7 replies
-
- Prince De Neufchatel
- Model Shipways
-
(and 1 more)
Tagged with:
-
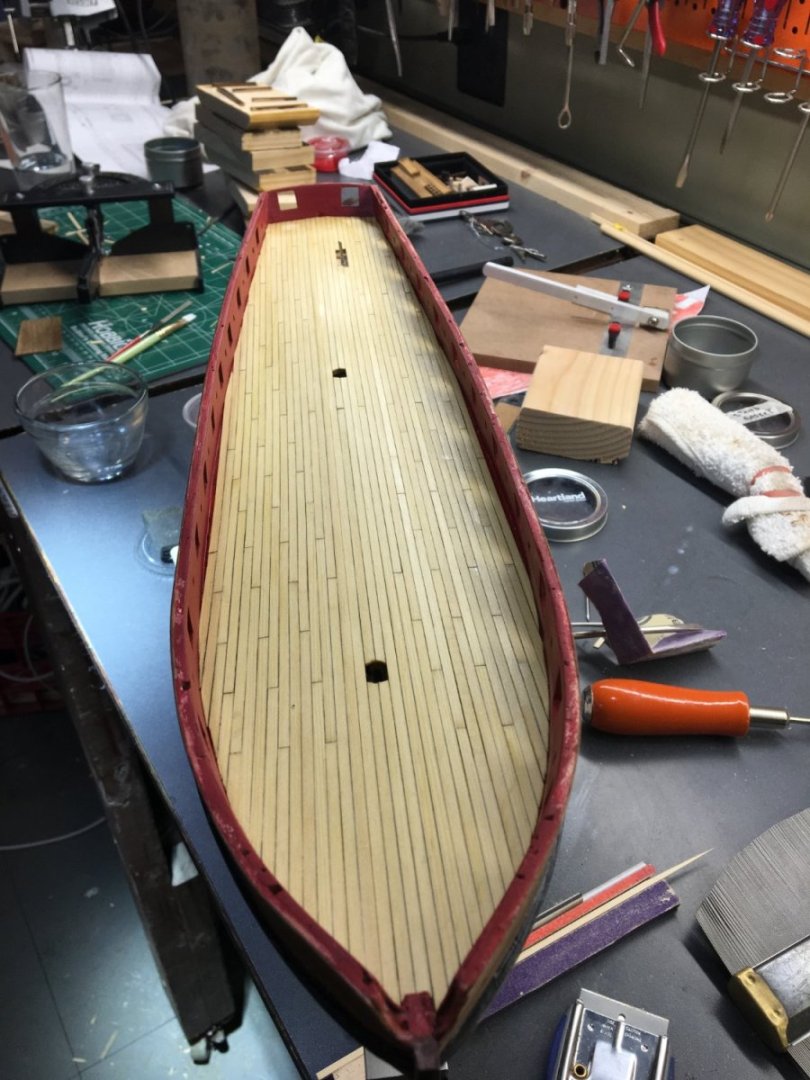
Hello, After being distracted with other projects, it’s time to resurrect a previous build log of this shelf queen, Model Shipways (Now not so popular) 1/64 Prince De Neufchatel. Operated as a privateer for the United States during the War of 1812. Started the project back in 2015 as my third build and suffered some analysis paralysis late 2018. Since 2018, it has resided on the shelf in this current state. Hull planking and deck planking (Alaskan Cedar) is completed on its completed base. My daughter was born in 2016, it’d be very sentimental to complete this build considering this picture of her as an infant. I have a better understanding of ship model building since then and am better equipped to get beyond the vague instructions and drawings. I’ve also acquired the Smithsonian Plans which should also assist. Plan to display bare poled, level of rigging is to be determined.
- 7 replies
-
- Prince De Neufchatel
- Model Shipways
-
(and 1 more)
Tagged with:
-
Great work painting the captain.. looking forward to seeing it all together. urg, i should start a build log..... maybe Joshua
- 542 replies
-
- Sphinx
- Vanguard Models
-
(and 3 more)
Tagged with:
About us
Modelshipworld - Advancing Ship Modeling through Research
SSL Secured
Your security is important for us so this Website is SSL-Secured
NRG Mailing Address
Nautical Research Guild
237 South Lincoln Street
Westmont IL, 60559-1917
Model Ship World ® and the MSW logo are Registered Trademarks, and belong to the Nautical Research Guild (United States Patent and Trademark Office: No. 6,929,264 & No. 6,929,274, registered Dec. 20, 2022)
Helpful Links
About the NRG
If you enjoy building ship models that are historically accurate as well as beautiful, then The Nautical Research Guild (NRG) is just right for you.
The Guild is a non-profit educational organization whose mission is to “Advance Ship Modeling Through Research”. We provide support to our members in their efforts to raise the quality of their model ships.
The Nautical Research Guild has published our world-renowned quarterly magazine, The Nautical Research Journal, since 1955. The pages of the Journal are full of articles by accomplished ship modelers who show you how they create those exquisite details on their models, and by maritime historians who show you the correct details to build. The Journal is available in both print and digital editions. Go to the NRG web site (www.thenrg.org) to download a complimentary digital copy of the Journal. The NRG also publishes plan sets, books and compilations of back issues of the Journal and the former Ships in Scale and Model Ship Builder magazines.


