HOLIDAY DONATION DRIVE - SUPPORT MSW - DO YOUR PART TO KEEP THIS GREAT FORUM GOING! (Only 24 donations so far out of 49,000 members - C'mon guys!)
×


Azzoun
-
Posts
333 -
Joined
-
Last visited
Content Type
Profiles
Forums
Gallery
Events
Everything posted by Azzoun
-
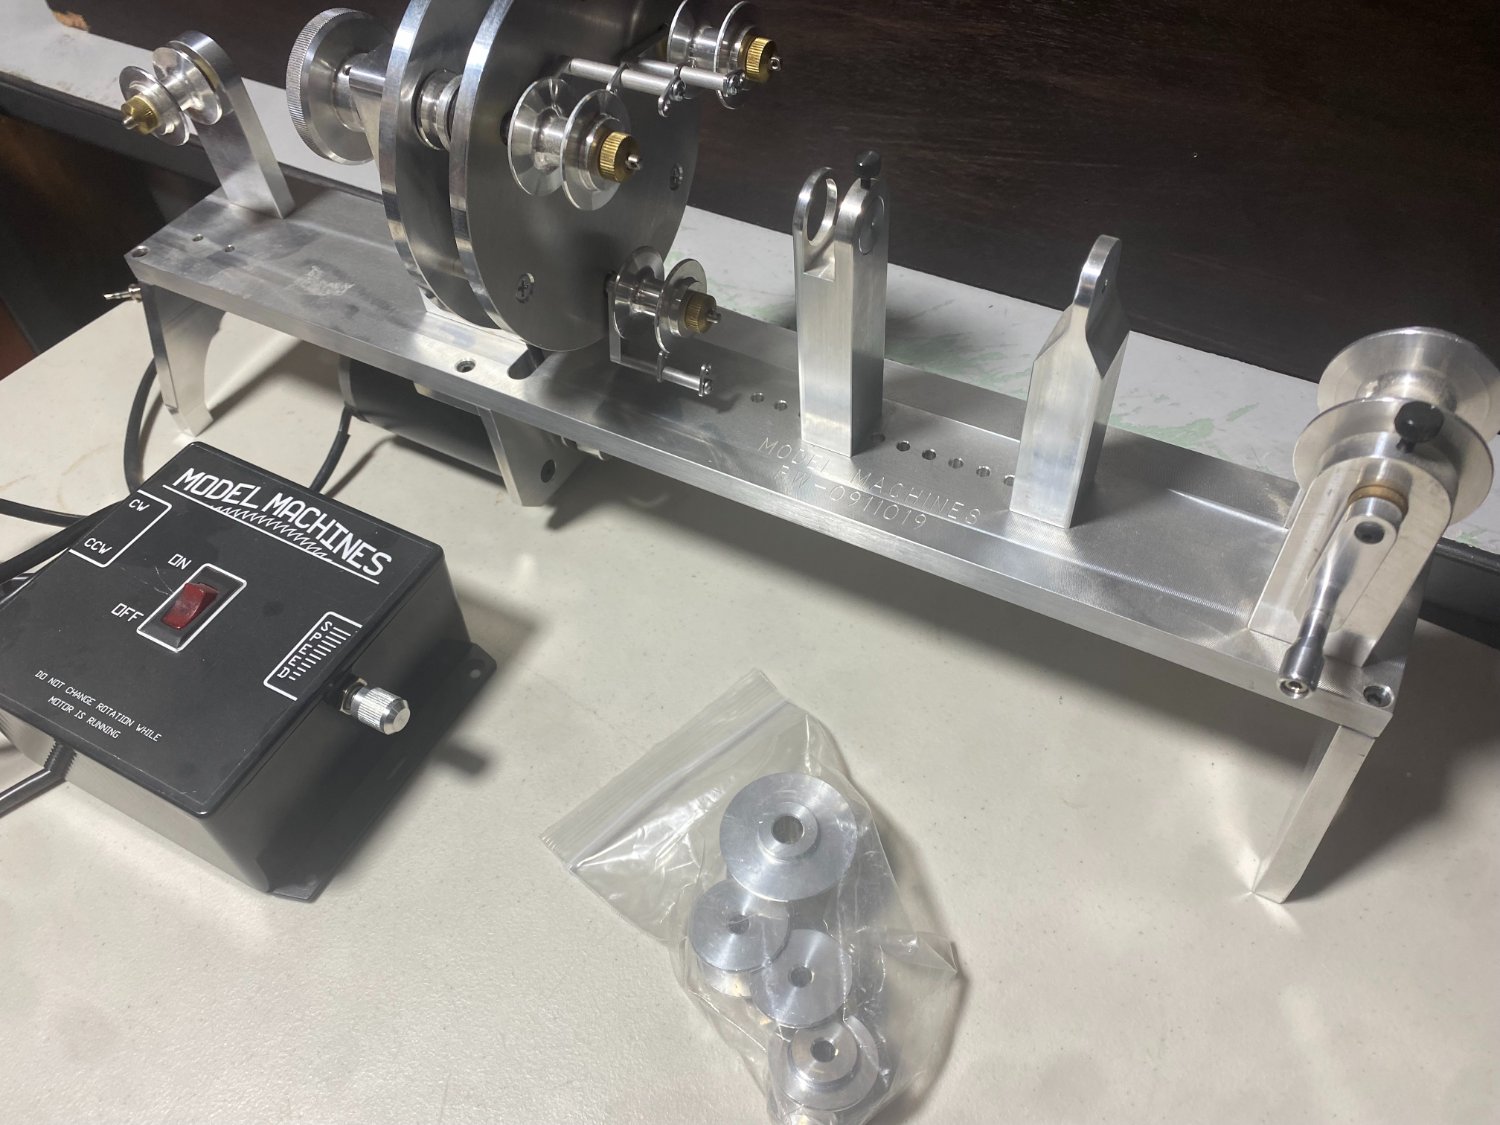
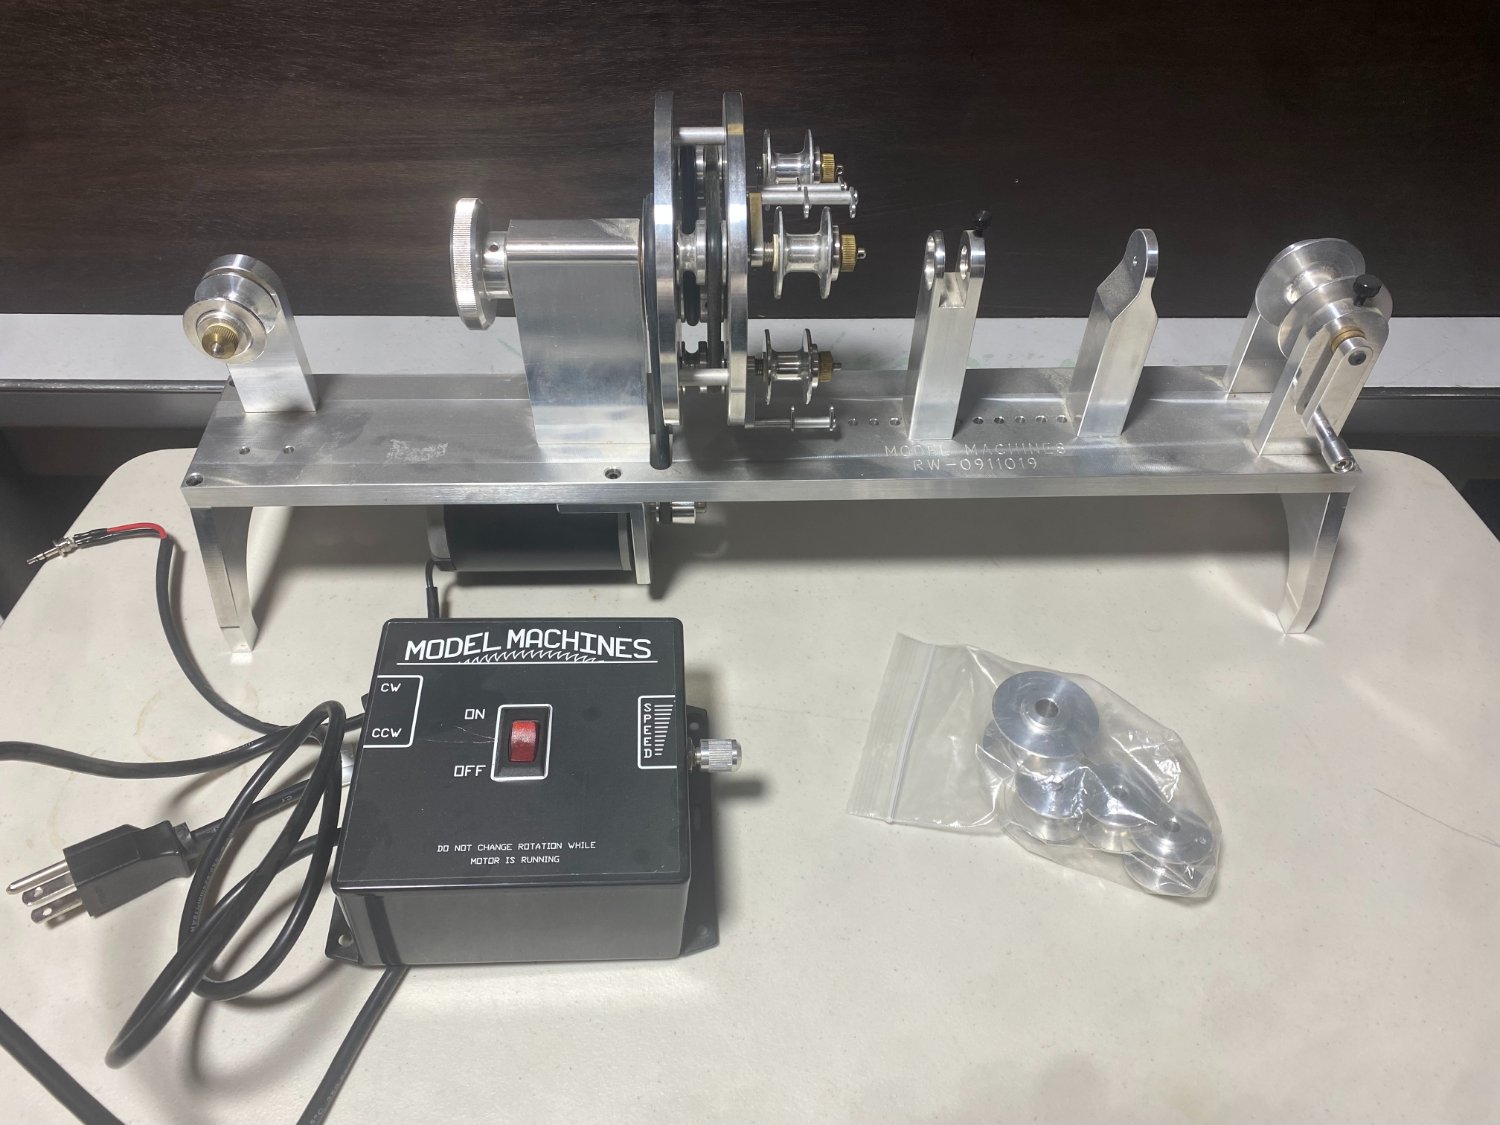
 Hello, Selling a Jim Brynes Ropewalk, never used. Beautiful piece of machining, comes with everything seen in the pictures. Seeking $300 plus shipping from New Jersey, 08053. Happy to discuss via PM or a phone call. Can accept Venmo, Paypal, or check if a must. Thanks!

-
Here's Hollowneck sail presentation on YouTube - did you see this?
- 542 replies
-
- 5
-

-
- Sphinx
- Vanguard Models
- (and 3 more)
-
Pulling up a chair.. I have this kit in my back log Joshua
- 35 replies
-
- 2
-
-
- Nantucket Lightship
- BlueJacket Shipcrafters
- (and 1 more)
-
just curious, what's the box look like for this kit? I think I have the same one!
-
Greeting from Pennsylvania
Azzoun replied to New England Captain's topic in New member Introductions
That's a drive! Here's the flyer and participation sheet for the ModelCon, has all the info! As for the meeting, we're gathering at the Independence Seaport Museum at 6:30p. If you end up paying for parking at the museum, the club is doing at least a partial reimbursement. I can PM you my phone number if you think you're going to make it in case you have any issues. Joshua 2022 Modelcon Volly Flyer .pdf PSMS ModelCon2022 Participant Sheet.docx -
Greeting from Pennsylvania
Azzoun replied to New England Captain's topic in New member Introductions
Hi Andrew, if you're close to Philly, maybe you'll consider visiting the Philadelphia Ship Model Society, we meet at the Independence Seaport Museum the first Thursday of every month, so we have a meeting this Thursday. Good Luck with your build. Also, if you're interested, you should consider participating in ModelCon onboard the Battleship NJ on August 6th. Bring a model on board to display with the rest of us, you'll can tour the ship for free. If any of that is interesting, let me know and I can provide additional information. Joshua Joshua -
1/200 Trumpeter IJN YAMATO - issued by MRC/Gallery Models
Azzoun replied to yvesvidal's topic in REVIEWS: Model kits
Is there a discussion somewhere on why the old Nichimo kit is so off compared to this kit? I have that old Nichimo kit. Joshua- 104 replies
-
- 5
-
-
- MRC/Gallery
- Yamato
- (and 1 more)
-
Nice finish is it coming to show and tell?
-
Why I love your Company sir! Thanks!
-
This Bluejacket Olympia is available for a reasonable price on Ebay. Bluejacket Ship Crafters 1:128 USS Olympia Wooden Ship Model Kit Rare Complete | eBay
-
Various applications of 3D drawing
Azzoun replied to 3Dships's topic in CAD and 3D Modelling/Drafting Plans with Software
That's lovely, are you going to post this anywhere for others to use? Would these be suitable for 3d Printing? -
How many kits do you have on the go at the moment?
Azzoun replied to CaptnBirdseye's topic in Wood ship model kits
I can relate to this, the only time I've considered scratch building is to build a subject that doesn't have a decent kit. I find there's enough scratch building that occurs in building a kit to satisfy that need. Joshua -
Love all the details! quick question, what software are you using to draw the 3d parts prior to printing? Thanks! Joshua
-
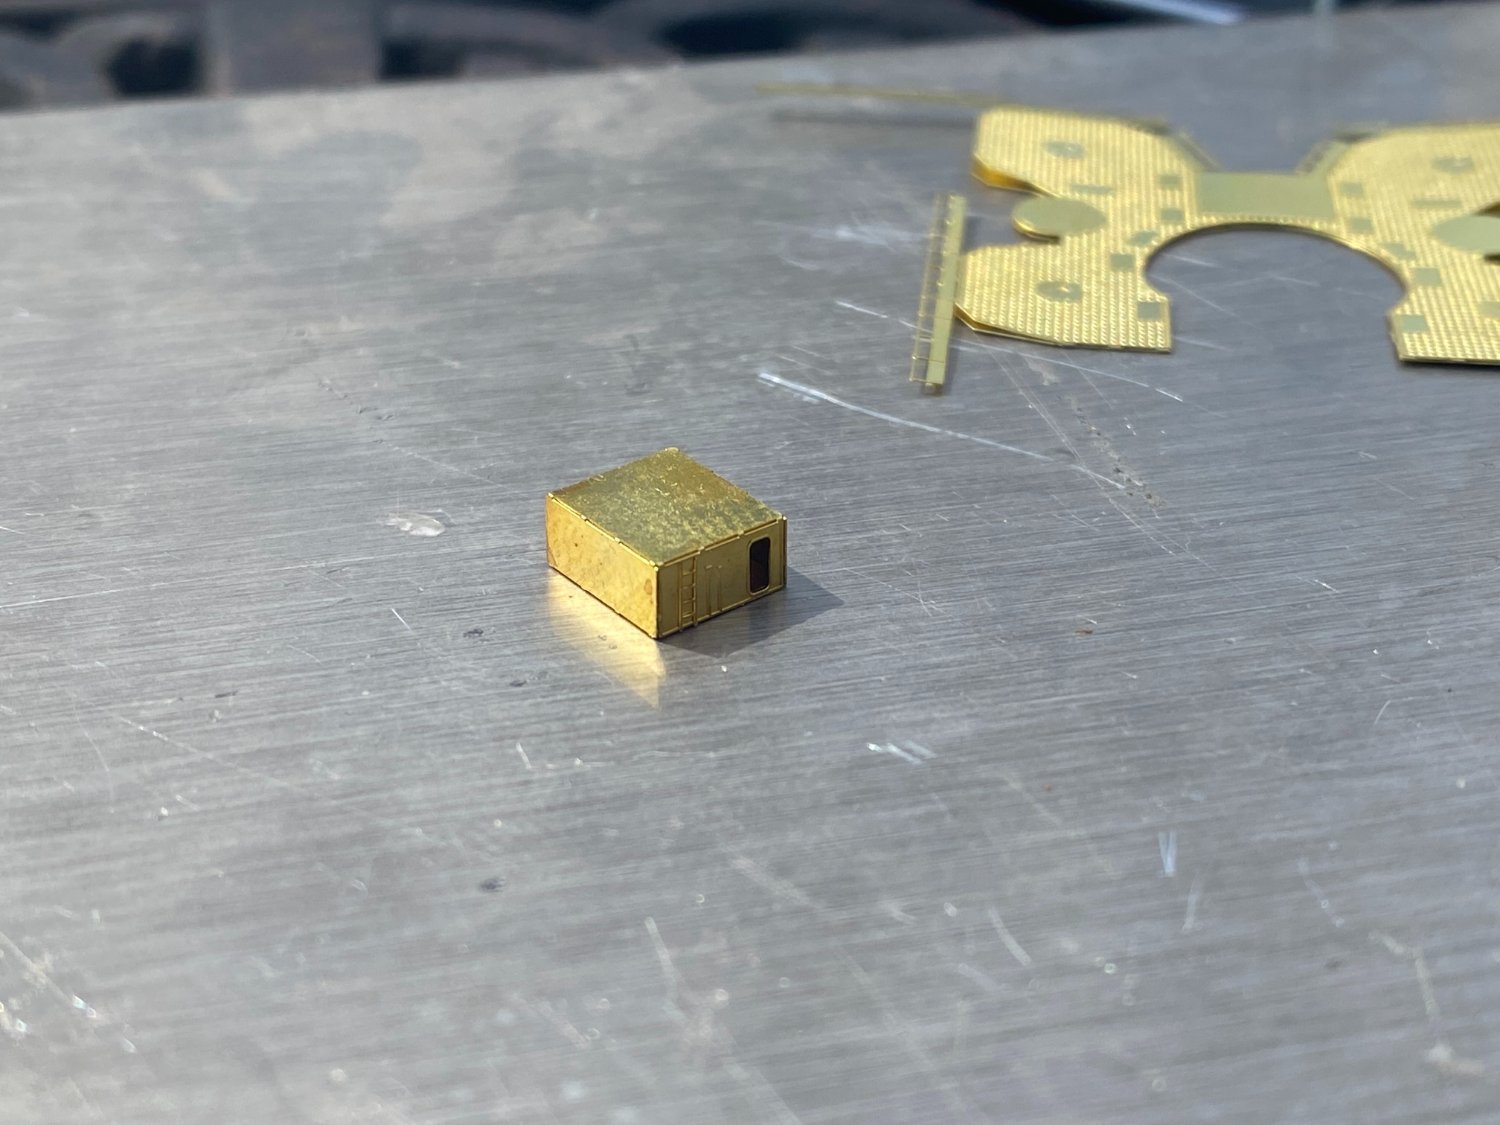
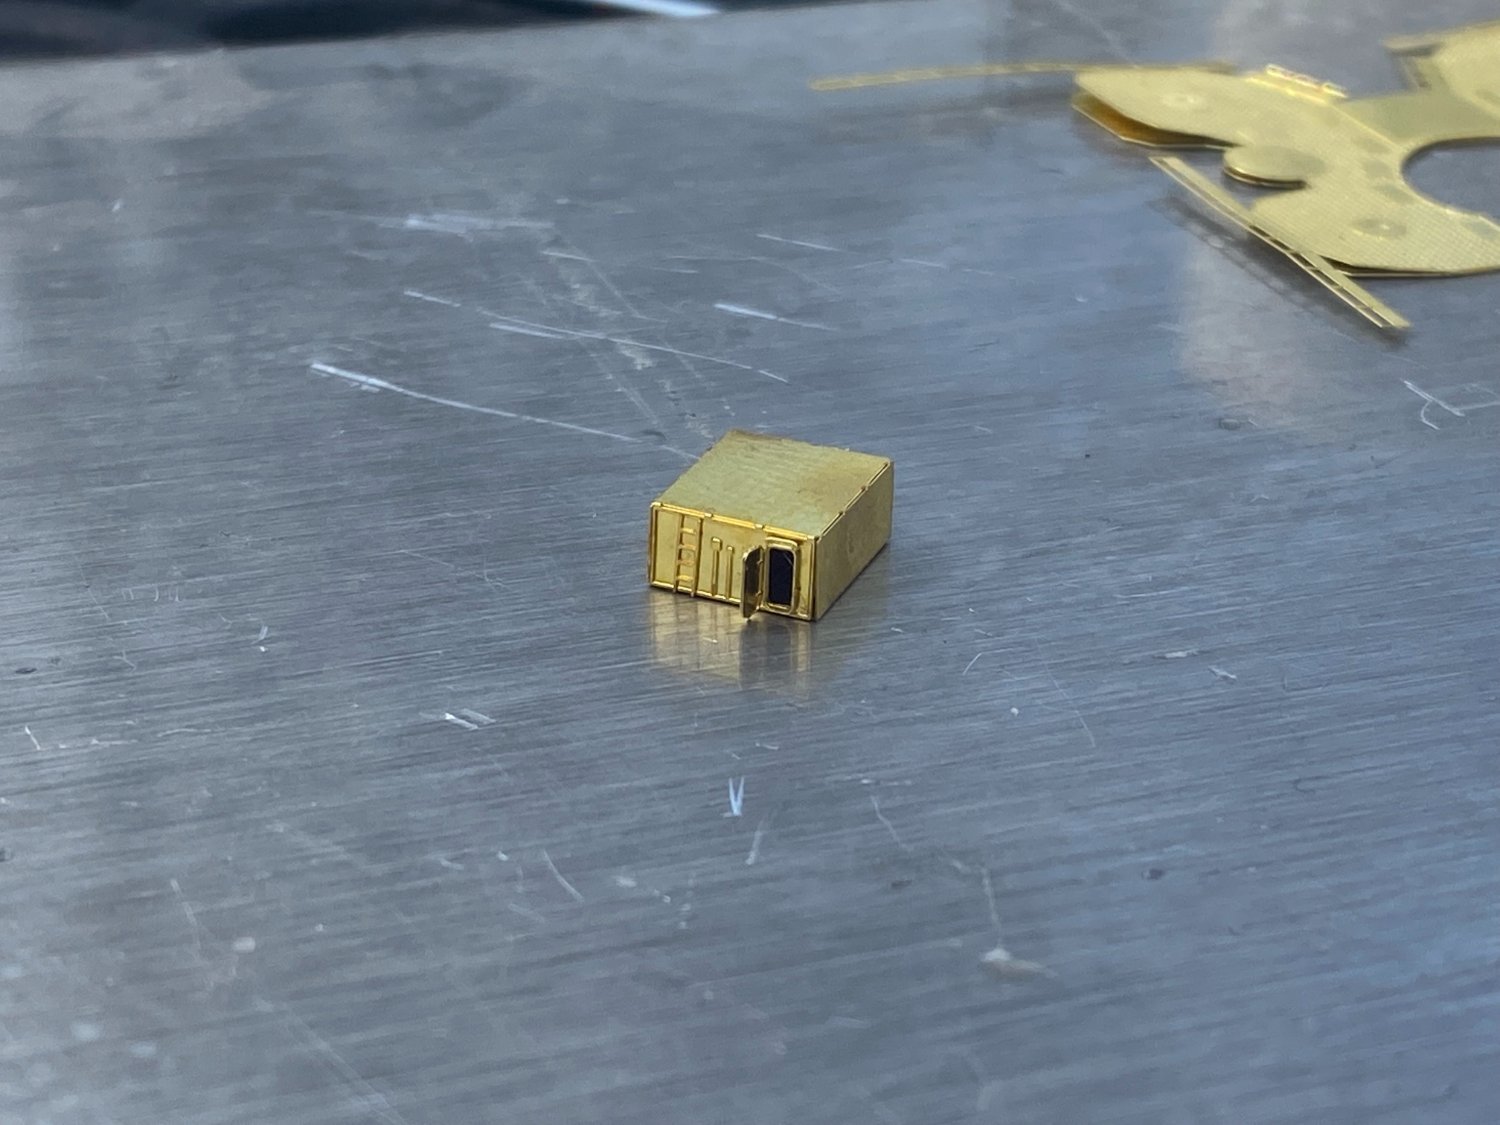
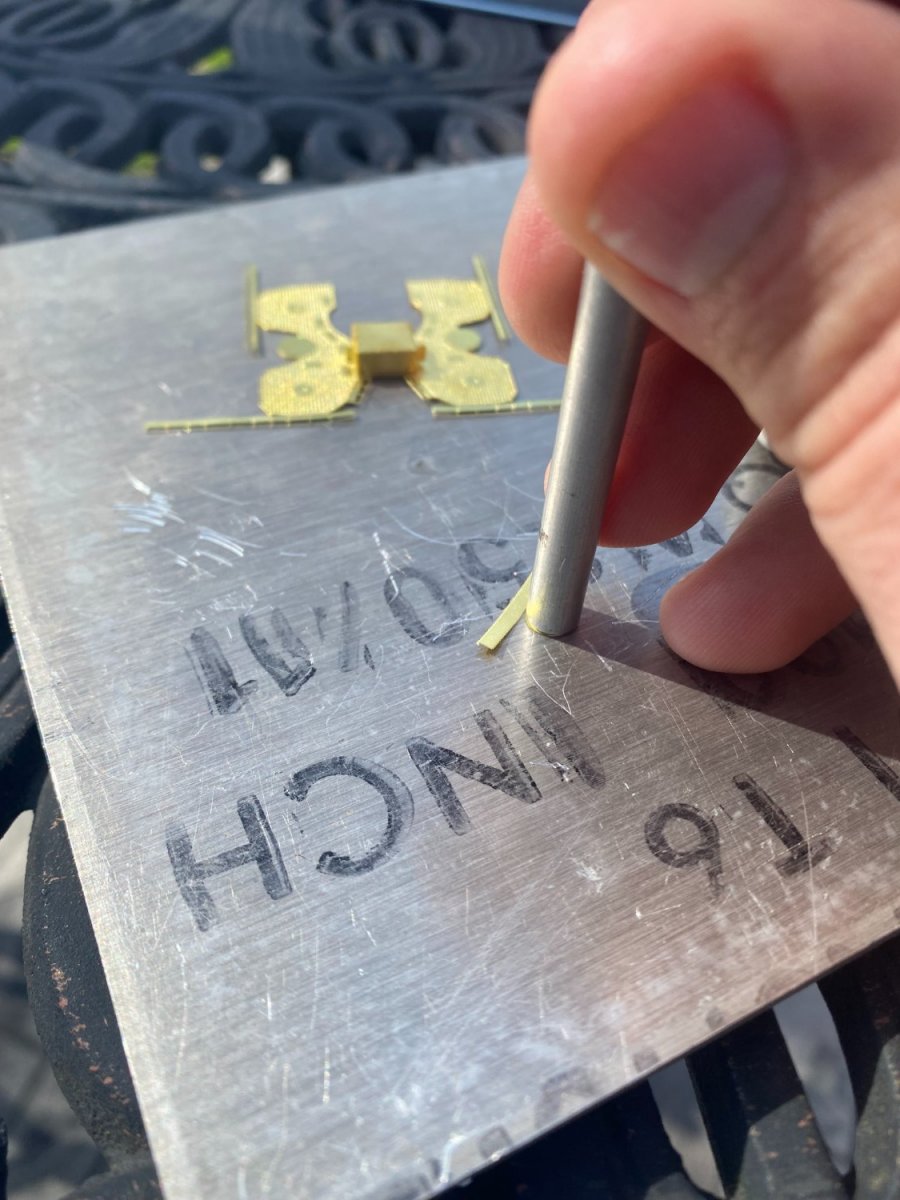
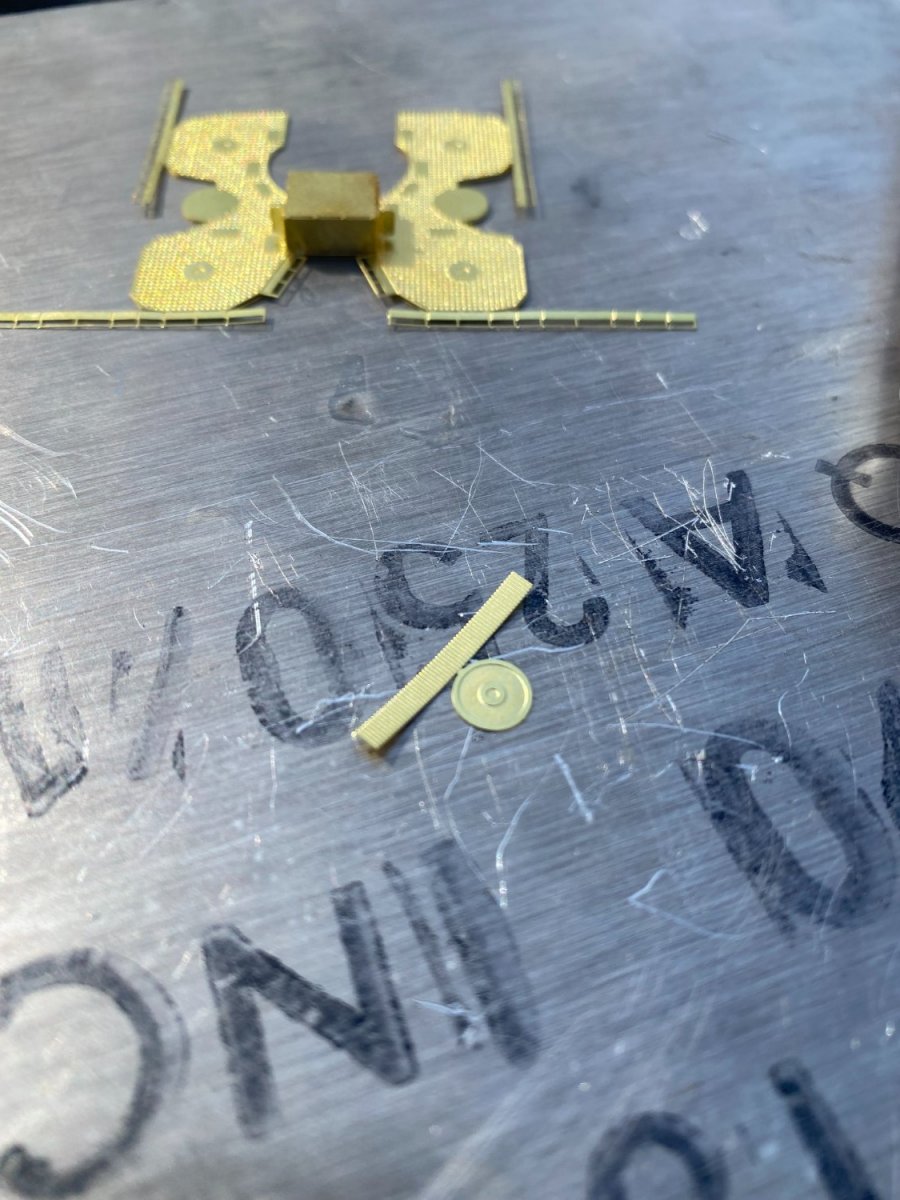
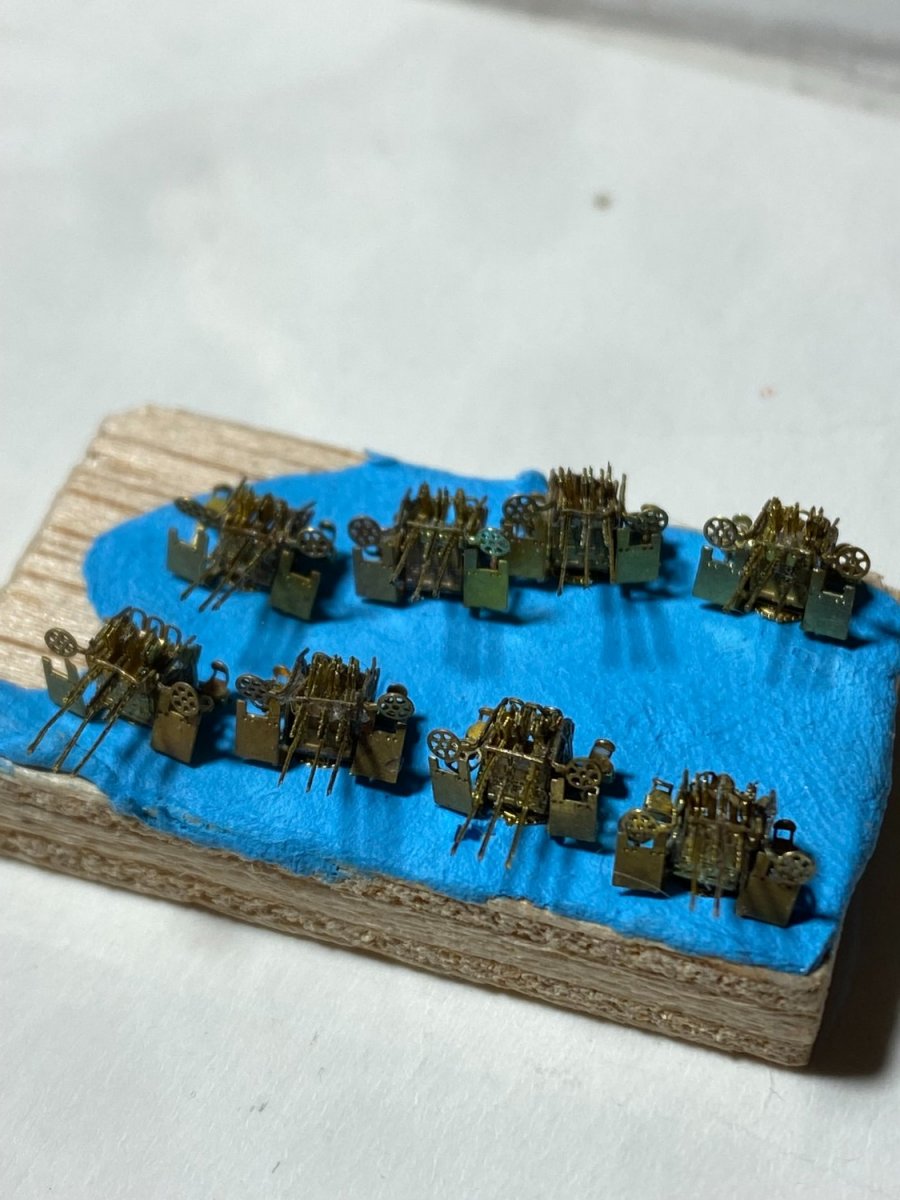
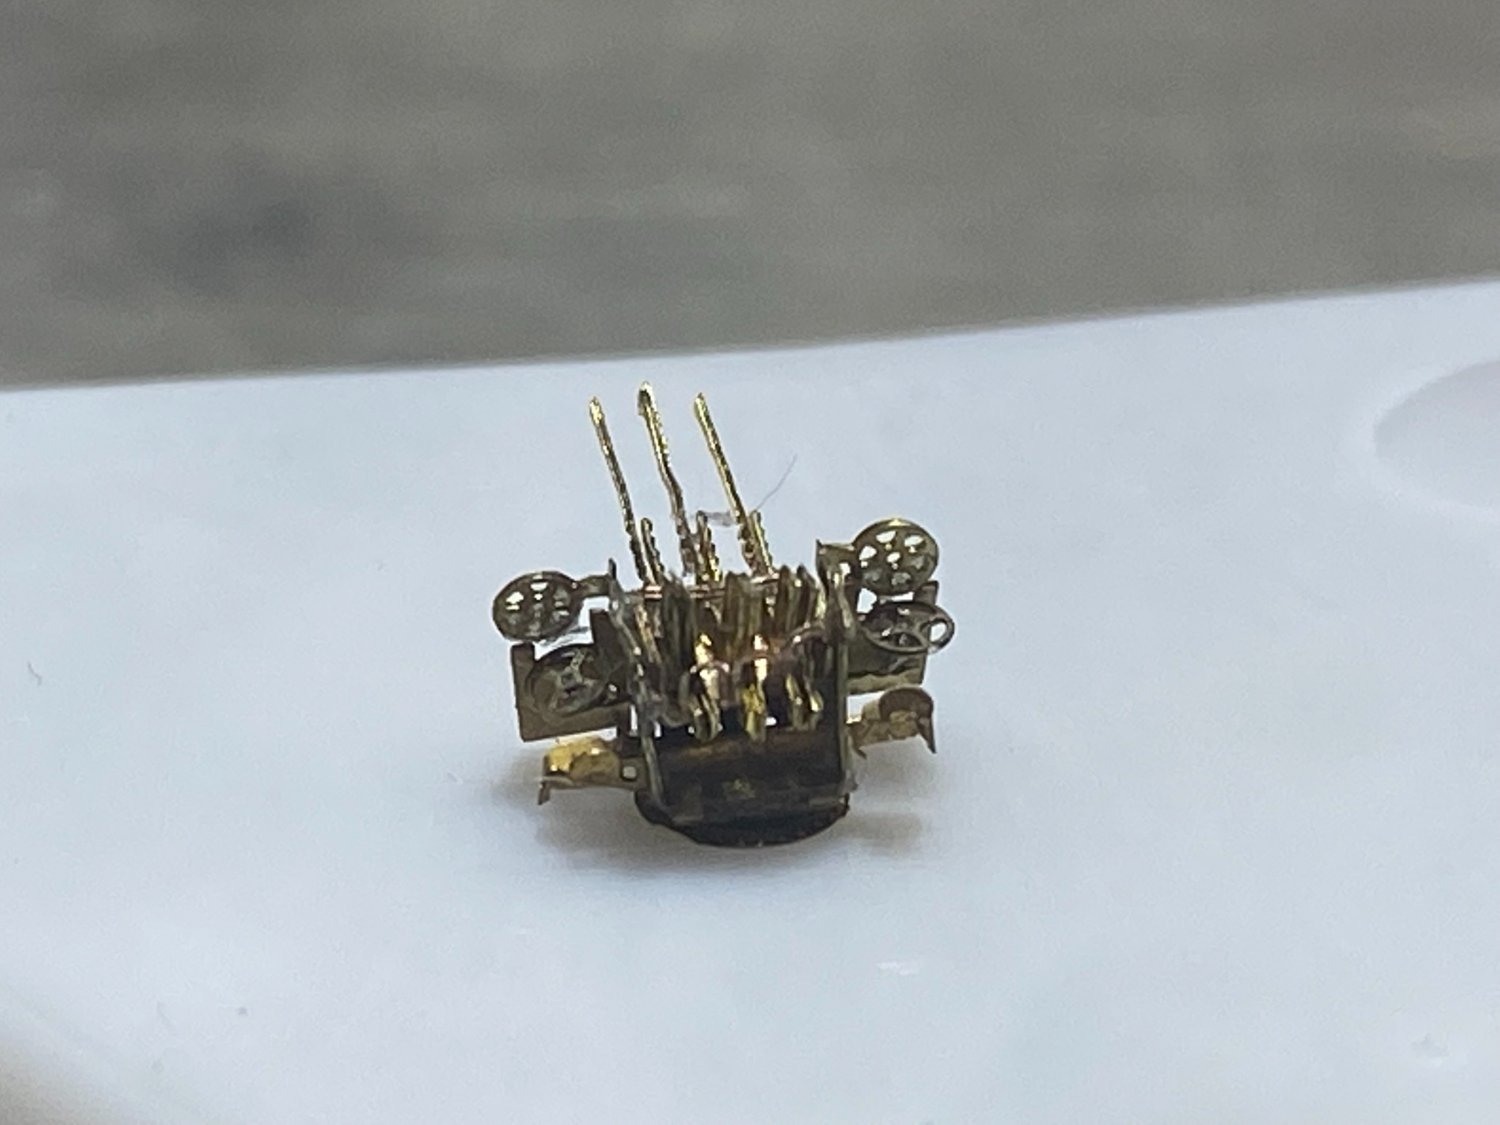
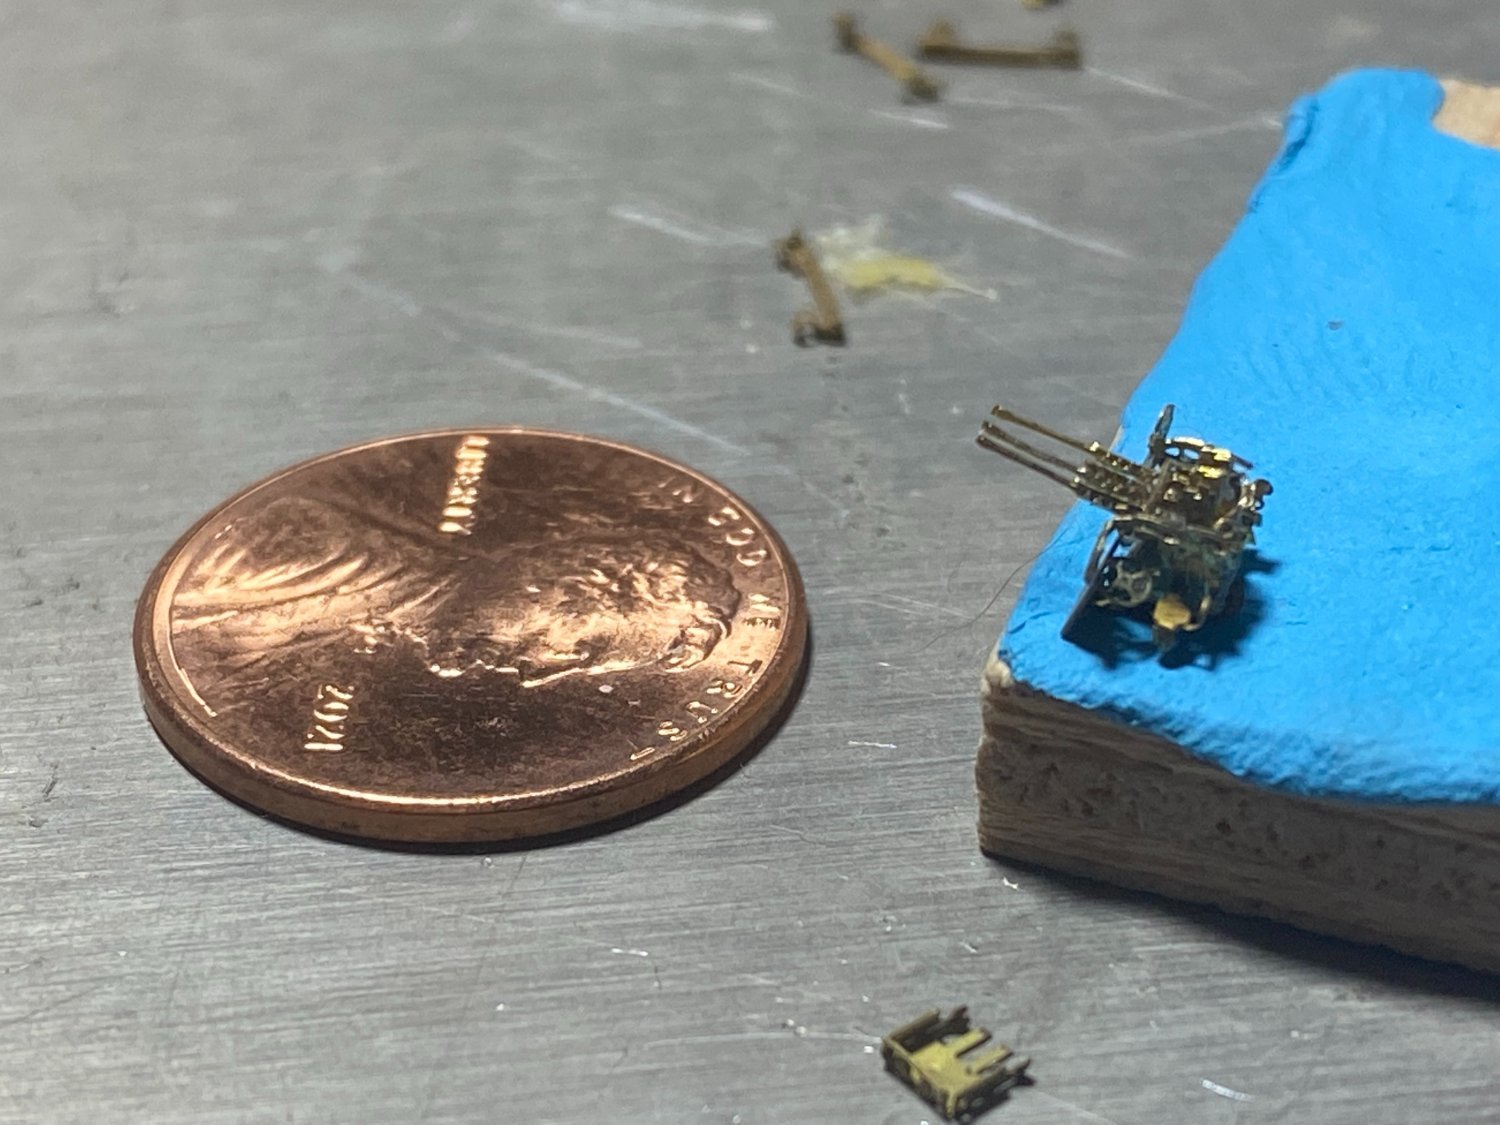
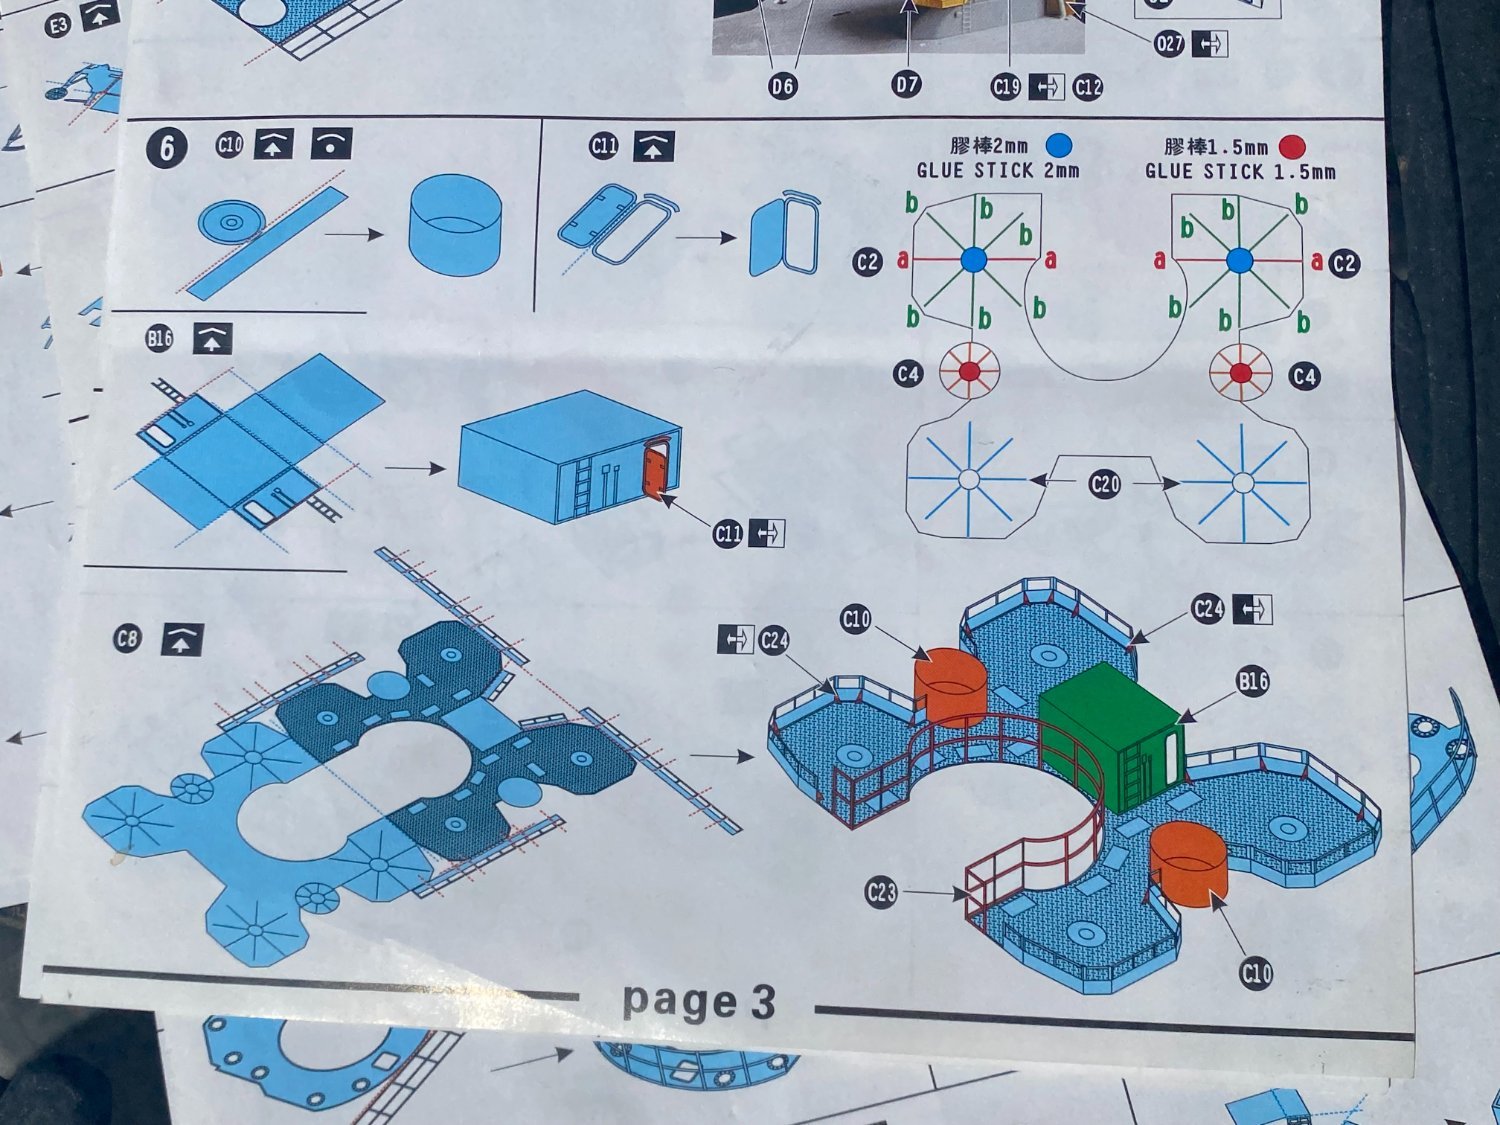
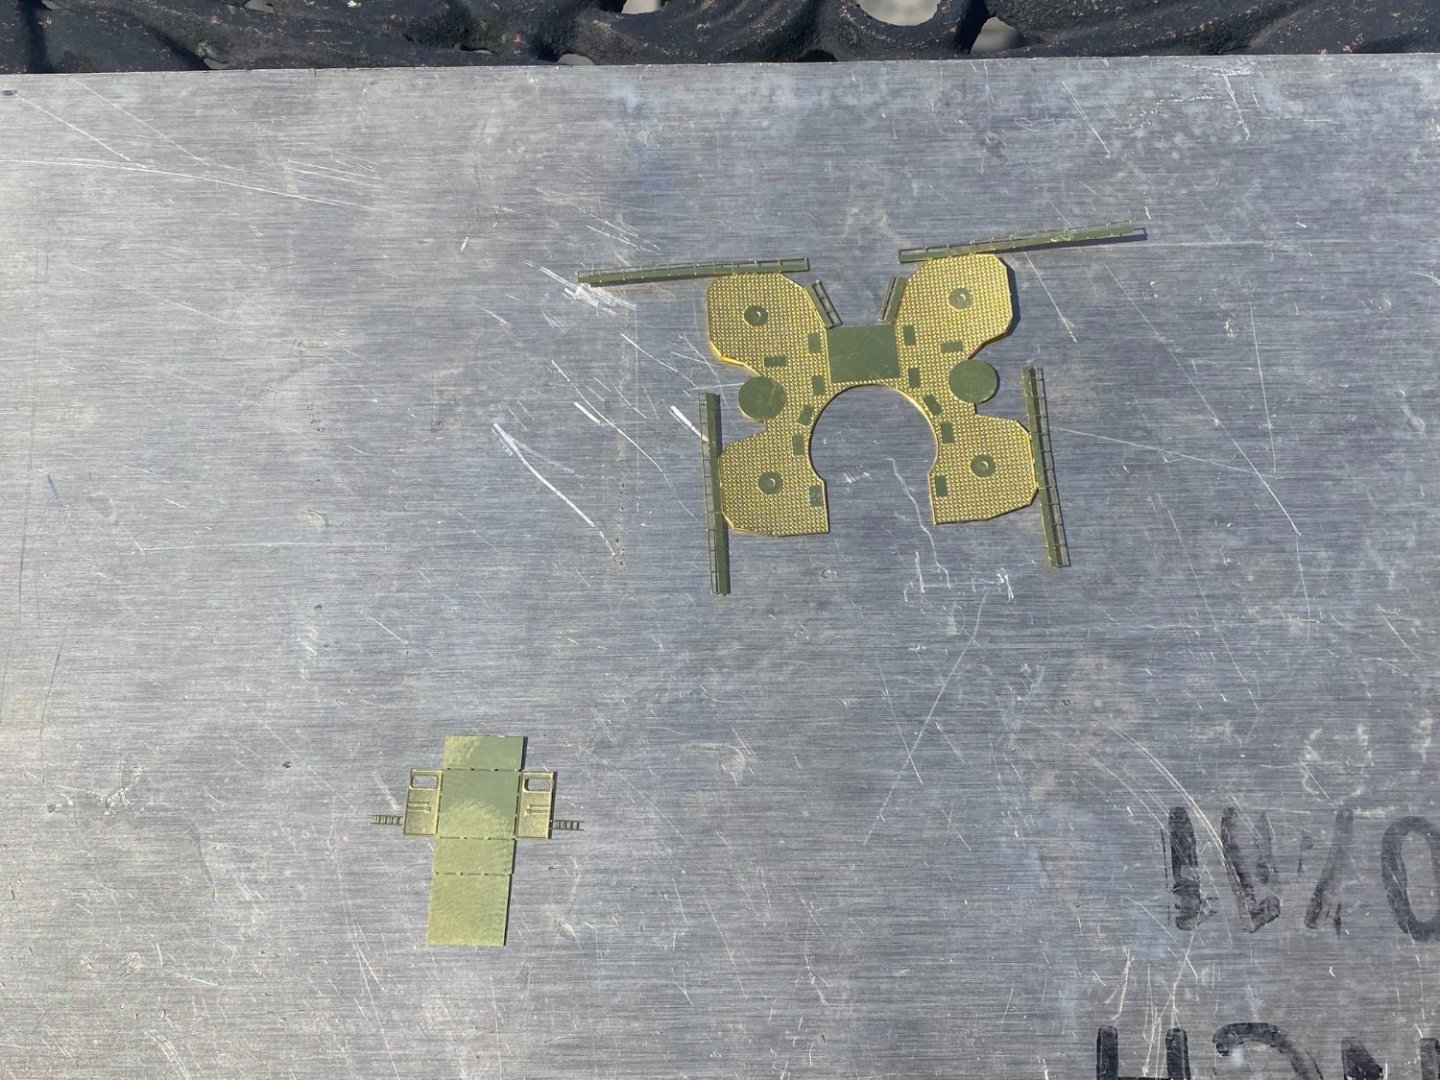
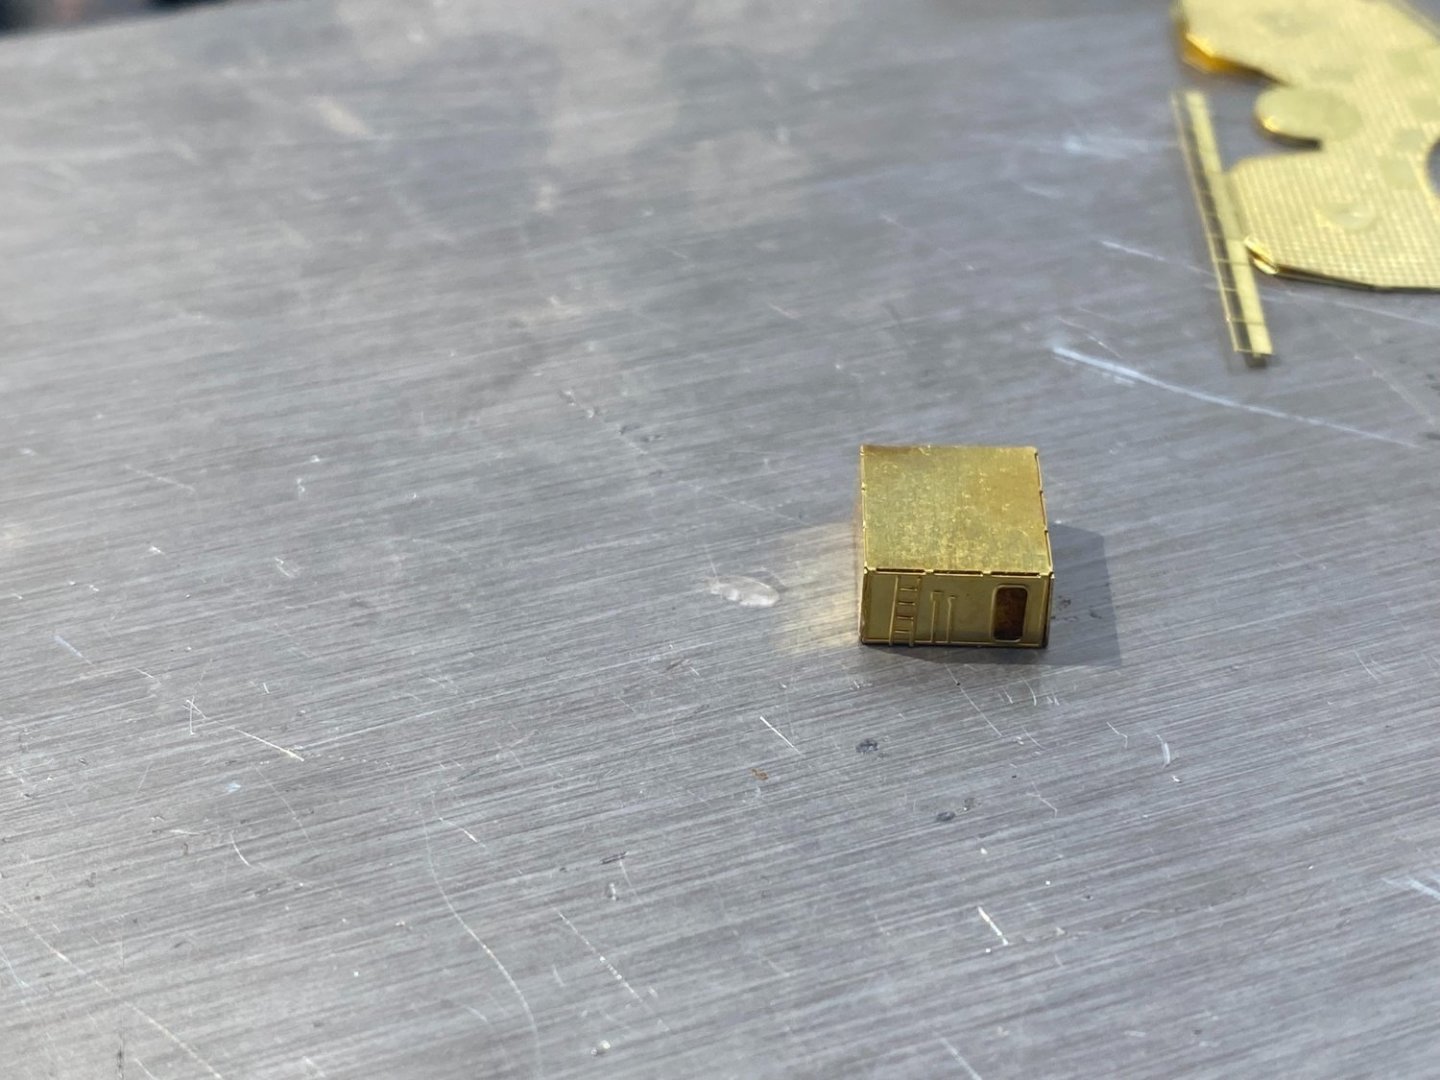
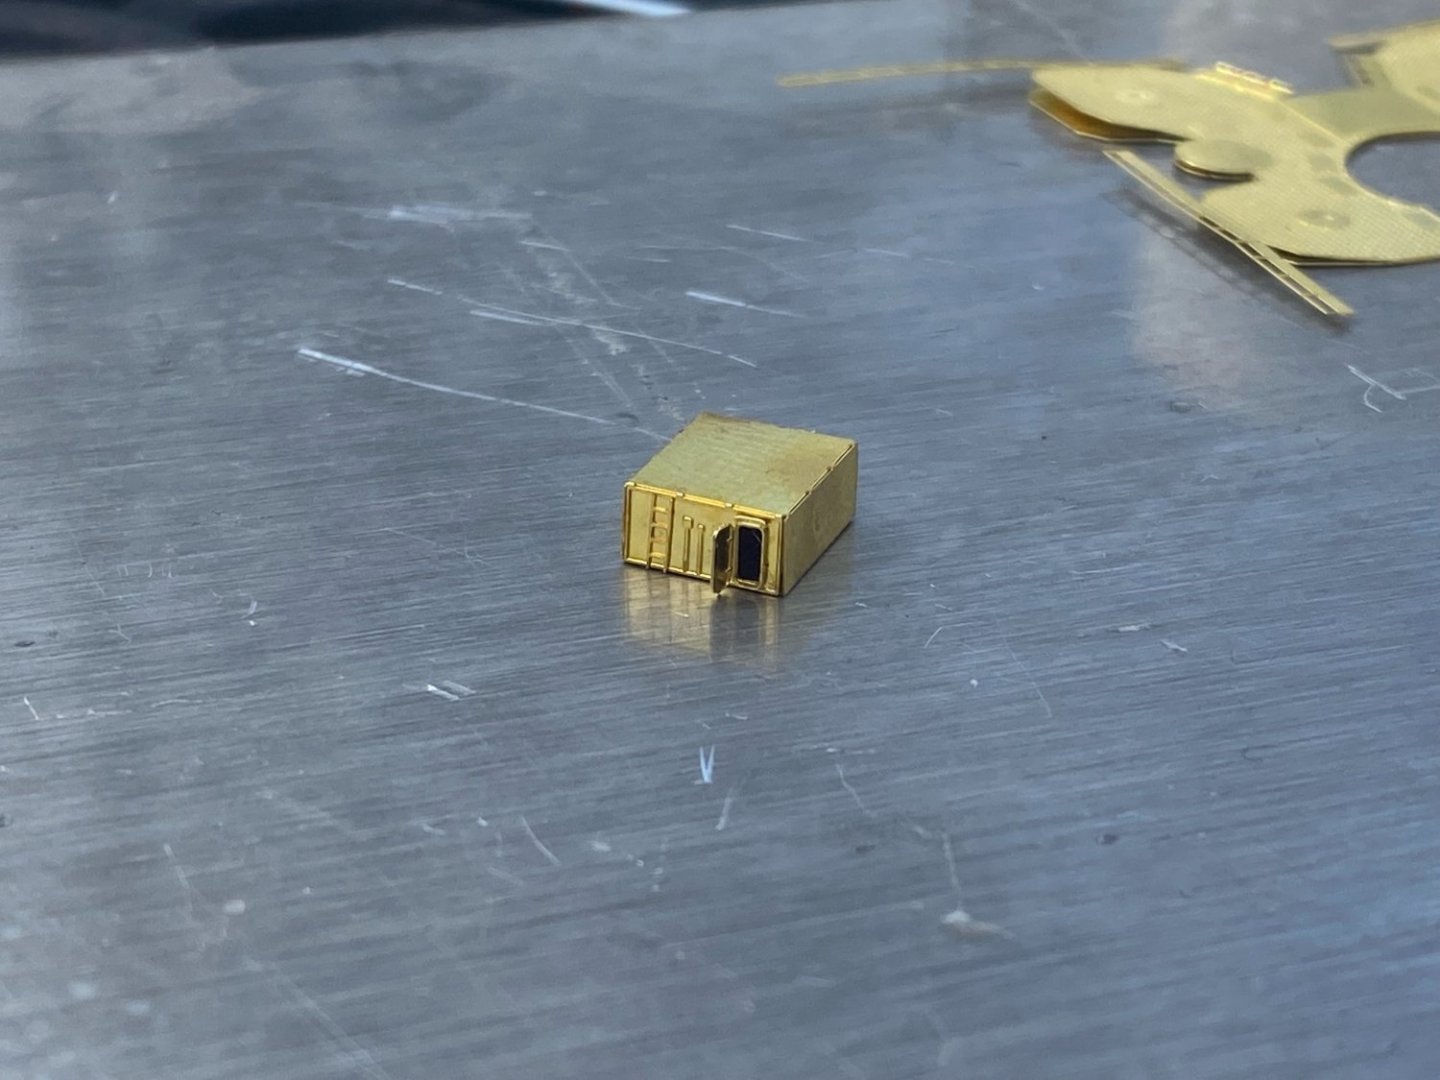
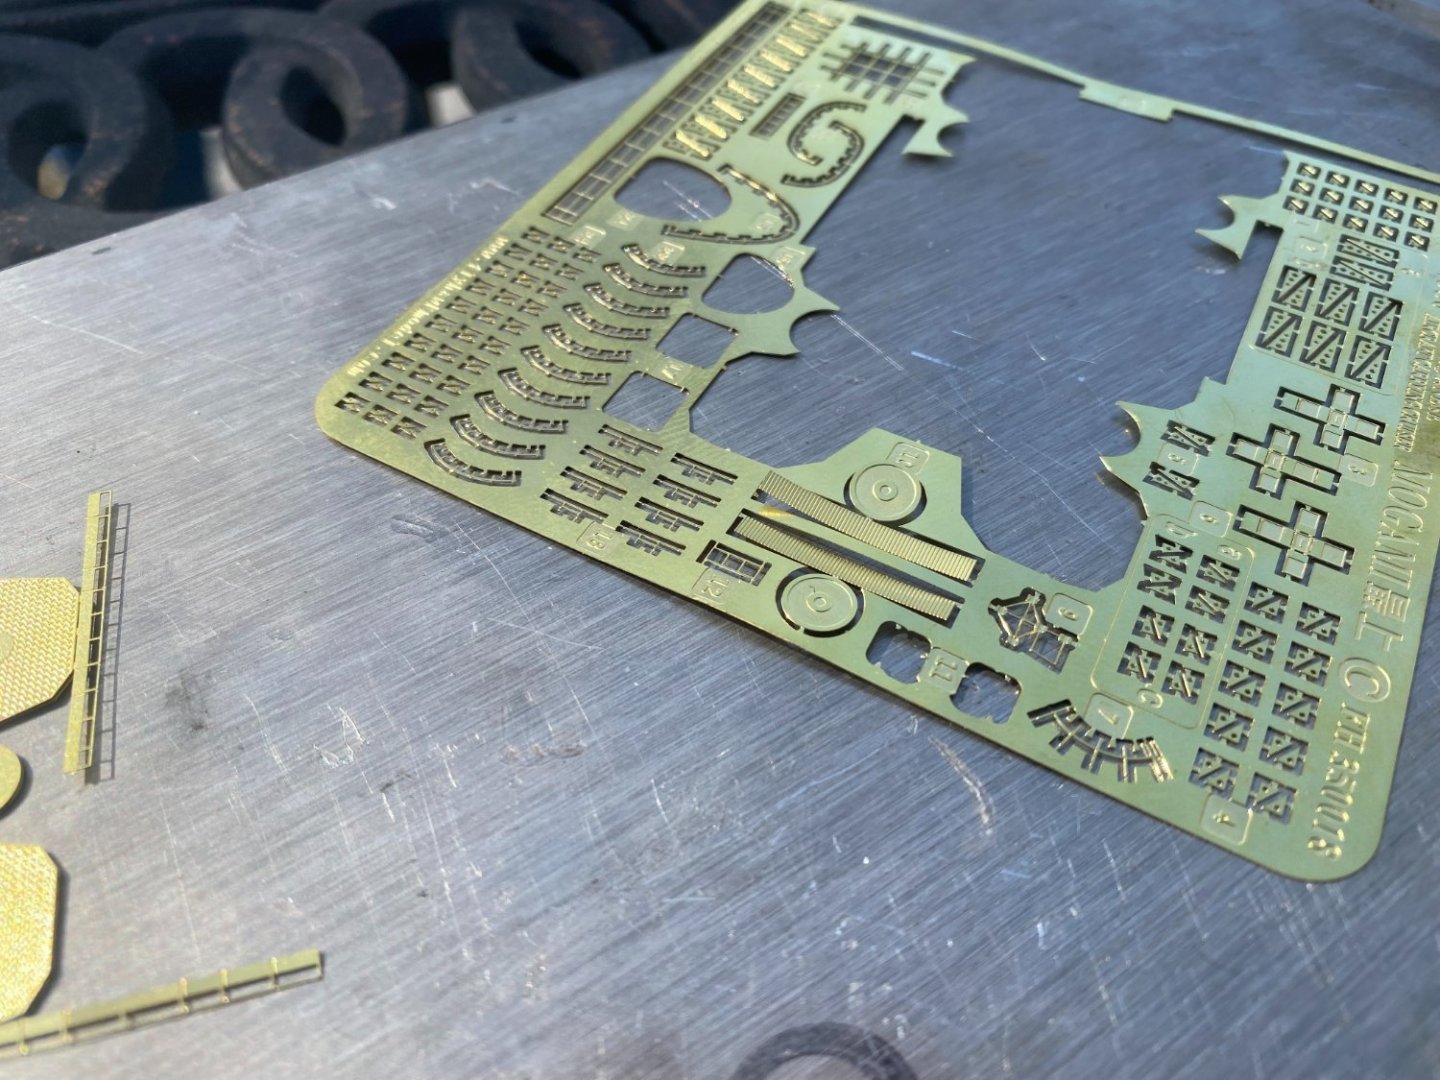
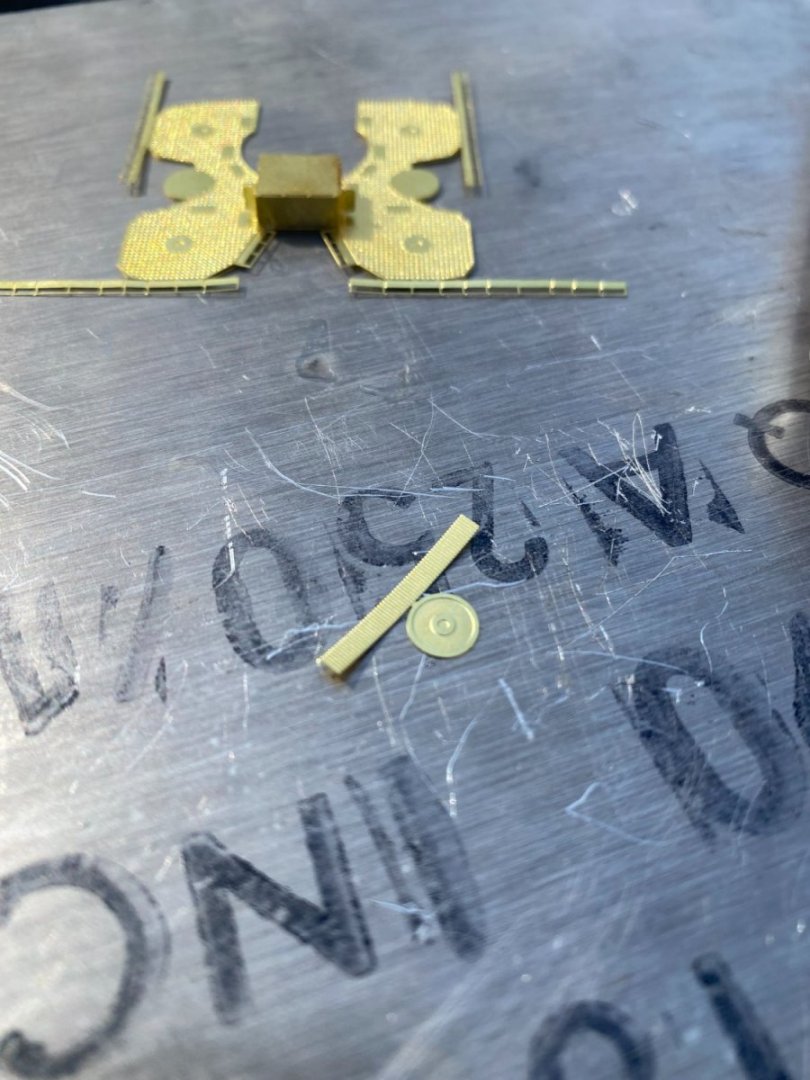
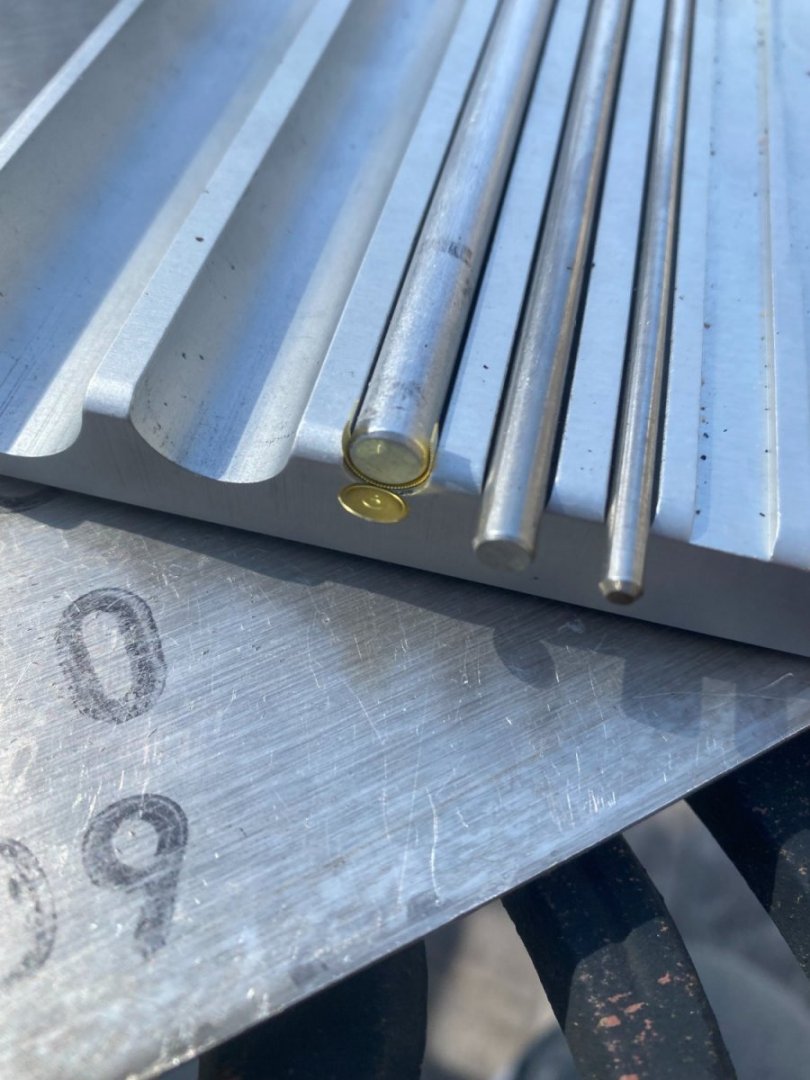
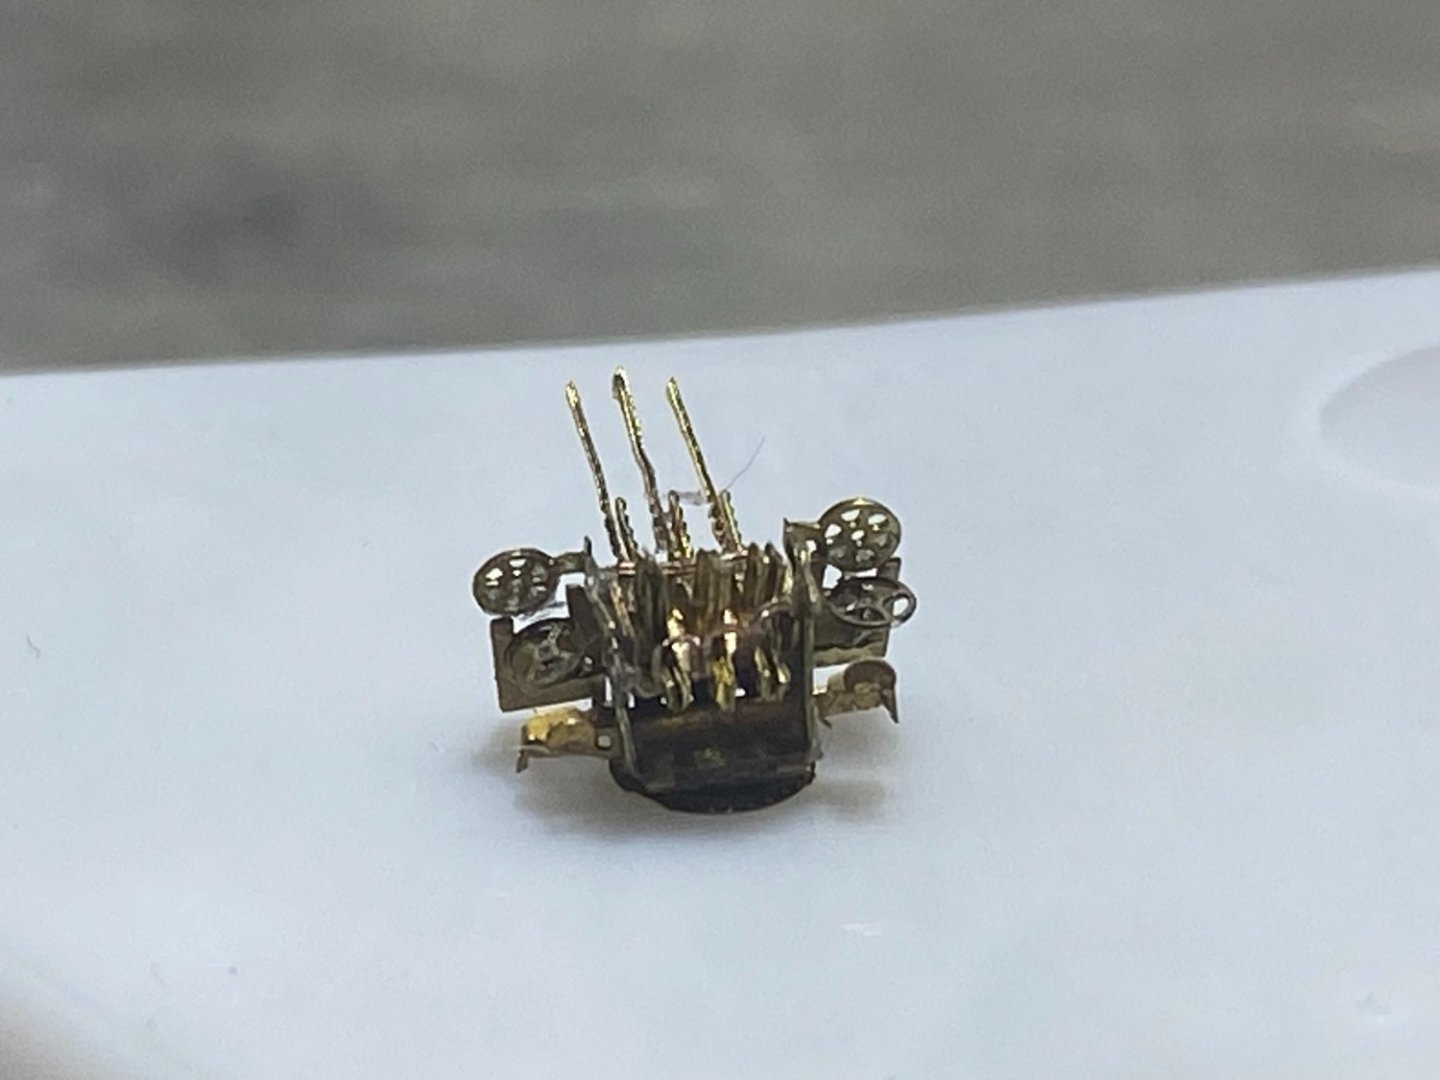
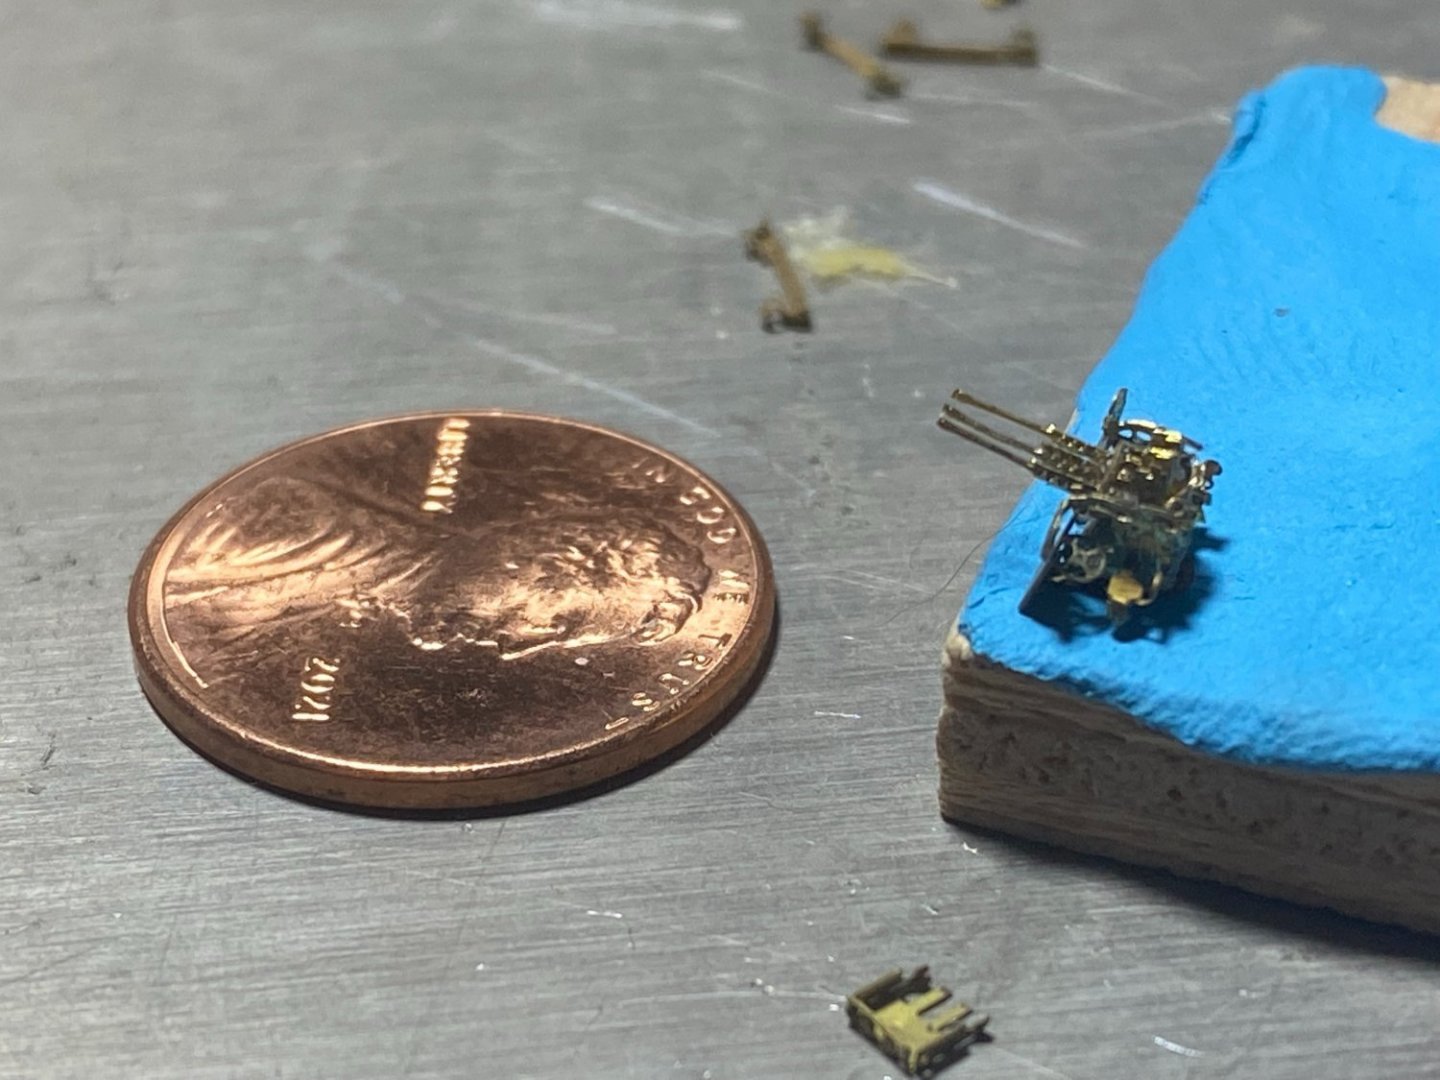
Good Evening, \\It appears I'm on my anniversary of working on the Mogami away from other projects. The triple AA guns demoralized me the last time but this time, I decided to take it up again and had a fair bit more success. Out of the 12 sets they gave me, only 8 survived the assembly which leaves me 2 short. Some parts succumbing to the carpet monster, which I recently taught my daughter about, others just didn’t make the folding process. I acquired another sheet of Flyhawk PE IJN triple AA guns to attempt another 12, pick the best 10. Really enjoyed the result so far with the photo etch. Started working on the aft aa bridge where I made a box with a door. It to mostly replace the plastic provided portion of the superstructure. Should be fun to do a compare later. Glued together the funnel which I’ll also focus on to get my PE jollies. More to come… Joshua


- 57 replies
-
- 13
-
-
USCG Harriet Lane - 1:96 1/8" = 1' Model Shipways
Azzoun replied to kurtvd19's topic in REVIEWS: Model kits
Is it me, or do the upper shroud deadeyes on this look overscale?. Thoughts? I've eyed the previous version of this kit before but was turned off by the smaller scale. This kit is appealing to me, when steam met sail is a really interesting time for maritime architecture. Joshua -
No worries bud - we meet every first Thursday, I'm trying to keep the website updated for upcoming events. You coming to the Northeast Conference in New London?
-
Hi Baron, Welcome to MSW, you've taken up a very rewarding hobby with good people! Maybe you'll consider checking out the Philadelphia Ship Model Society, we meet on the first Thursday of the month at the Independent Seaport Museum at 7p. Our next meeting is on 3/3. There will be individuals there who would be happy to assist and discuss your goals! www.philadelphiashipmodelsociety.com Maybe we'll see you there! Joshua
-
Is there an expected timing on go-to-market?
-
Less costly rigging rope for Pride of Baltimore II?
Azzoun replied to Brewerpaul's topic in Masting, rigging and sails
Build a ropewalk, get twisting - it's not that difficult. -
Hello from New Jersey
-
Looking forward to seeing your progress on it.
-
How many kits do you have on the go at the moment?
Azzoun replied to CaptnBirdseye's topic in Wood ship model kits
I love these types of topics! I actually have that Bismarck kit you're working on, the Russian version. Takes up a lot of space! I want to get started on it just to free up my area! Otherwise, I'm working on 1/50 Hachette Black Pearl that started on because I got a little burned out on the Prince De Neufchatel - Pretty focused on getting this done with a scratch built rigging based on the Royal Caroline. Most of the remaining elements are built, in the process of assembling and running the running rigging, then shrouds, anchors, and some remaining details. Presenting with Topsails, Driver and Jib set. Courses, Bowsprit and Topgallants furled. 1/64 Model Shipways Prince De Neufchatel - Hull is done, many of the hull related details are done, need to be assembled. Obtained the plans from the Smithsonian to confirm rigging and spars - will present with bare spars. 1/350 Tamiya Mogami - Lots of photo etch to work through, hull and portions of the super structure are started. 1/350 Revell German Submarine TYPE VII C - assembled, waiting for paint and weathering - want to put in a diorama with resin and contact mines. I'm diligently avoiding starting anything else until I finish the first 2 items on this list. Joshua -
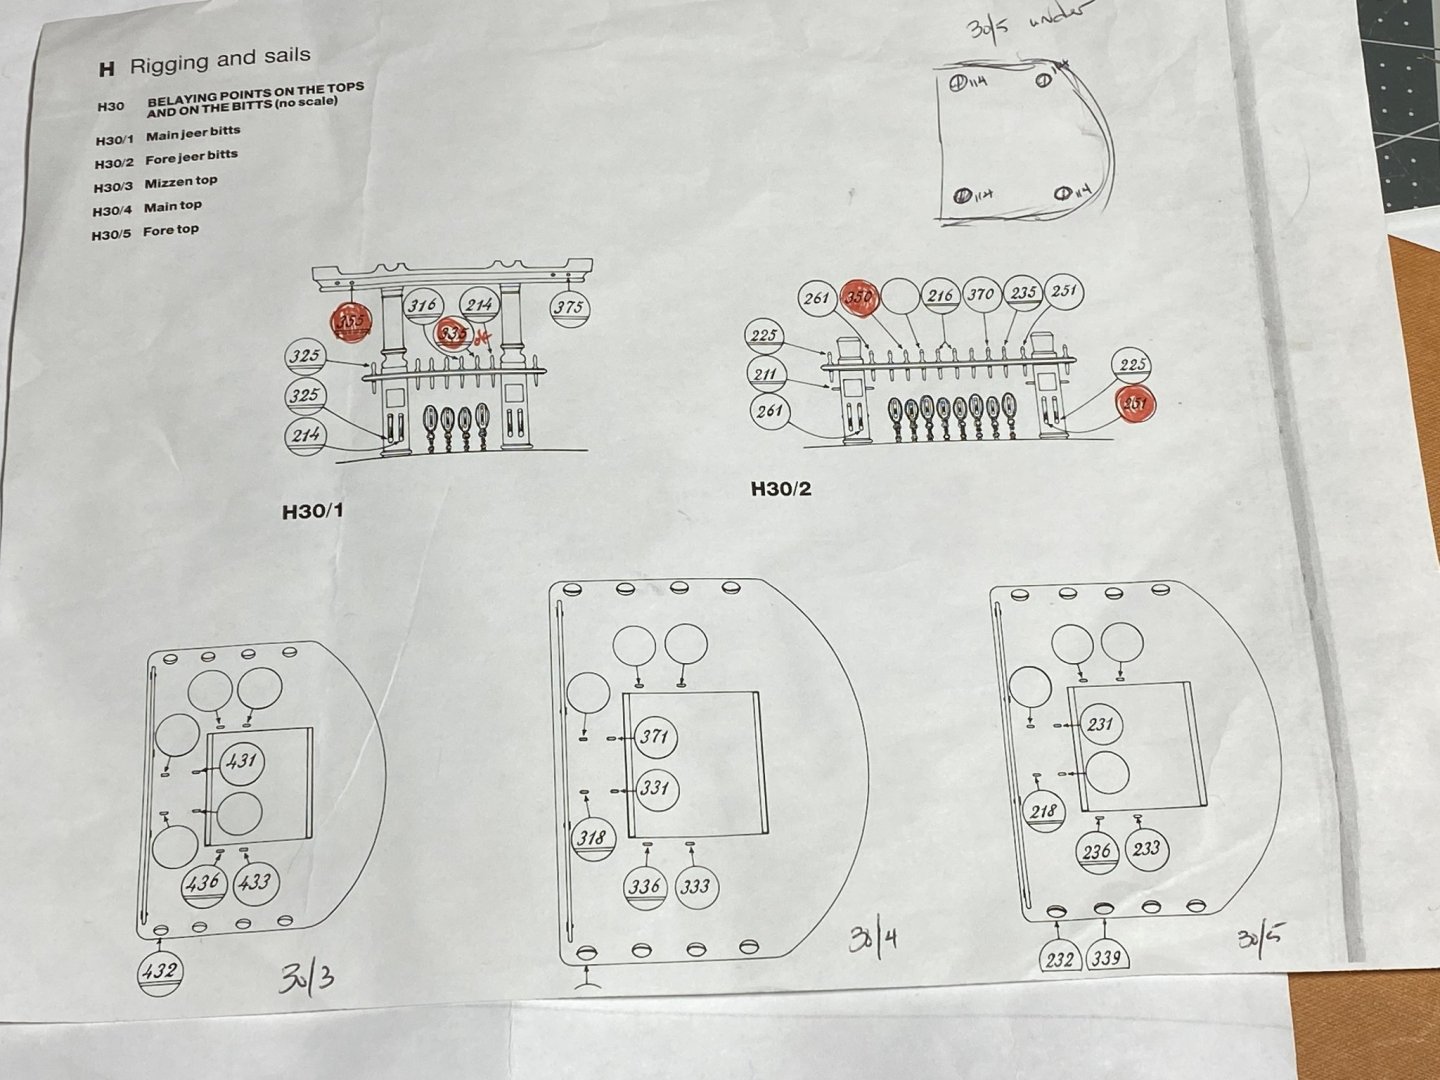
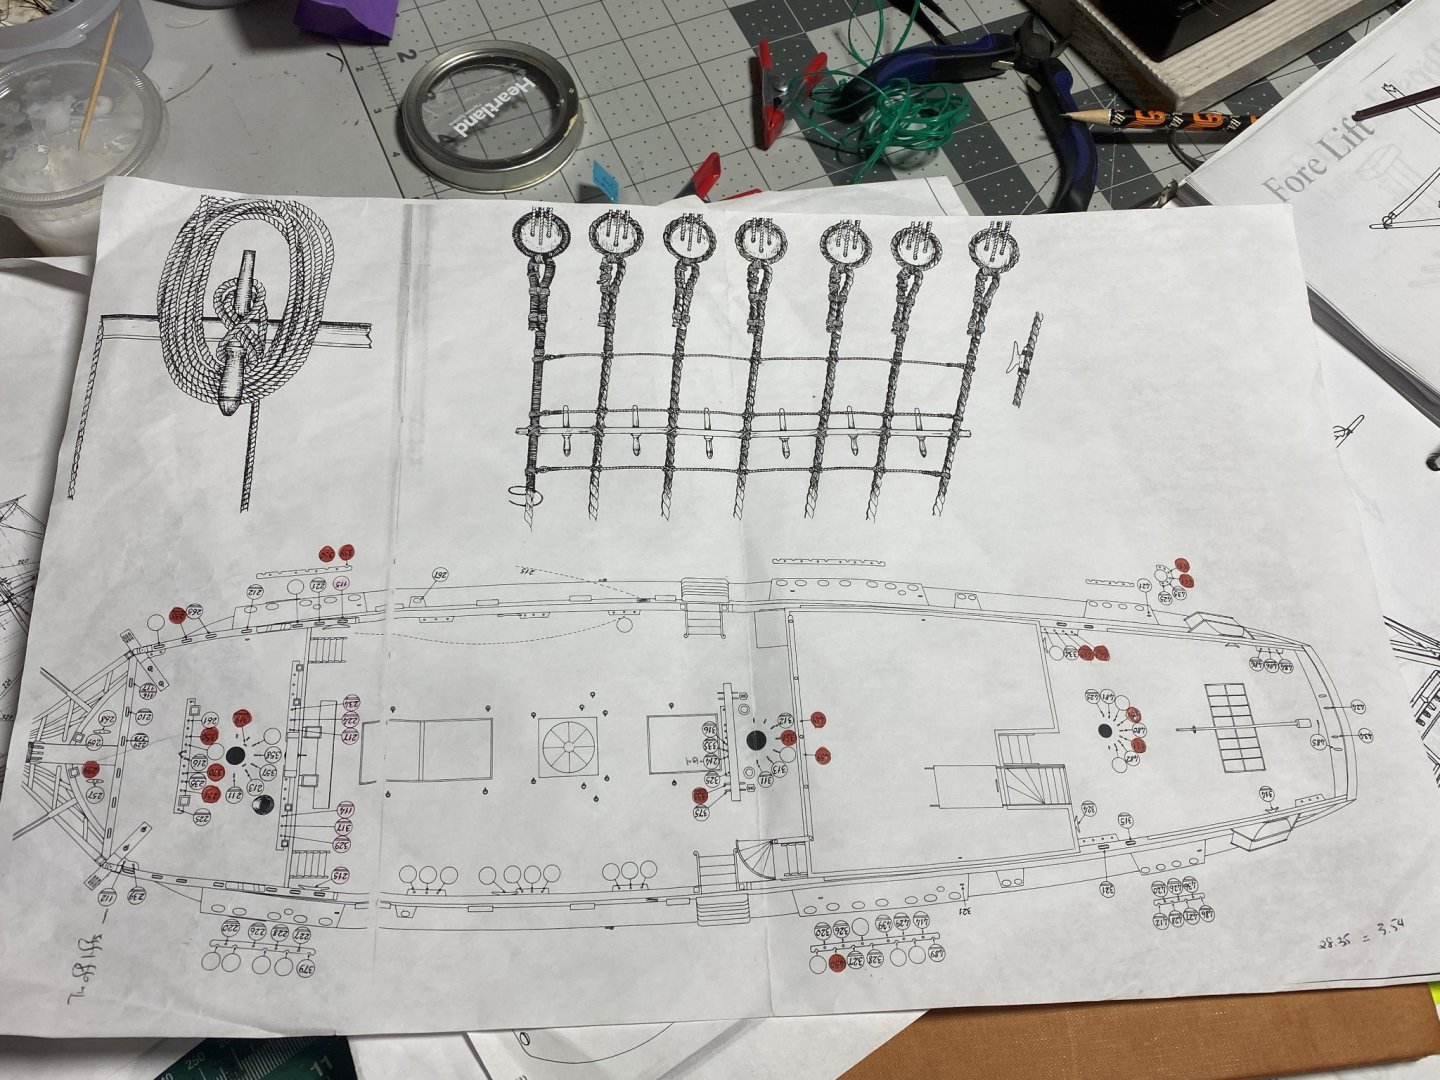
I'm hoping someone can assist, I've looked in several books and similar models of the Royal Caroline and I'm a bit lost now. The below resources is the Anatomy of a Ship for the Royal Caroline. Per the review of the deck, none of the lines indicated on the fighting tops belay at the deck level. How would these lines belay at these locations on the fighting top? For context, the some descriptions of the lines shown belayed at the fighting tops are topgallant cluelines (X36's), topgallant parrels (X33's), course leechlines (X18's), topgallant halyards (X31's), and Topgallant Lifts (X32's). Any diagrams or thoughts you may have would be very helpful in understanding how these lines terminate here. Thanks in advance! Joshua
-
Looks great, what would you say was your best resource in learning how to mask and weather a ship for painting? I really want to get into weathered hulls. Most of my building has been wood ship models. Thanks In advance Joshua