Rustyj
-
Posts
2,535 -
Joined
-
Last visited
Content Type
Profiles
Forums
Gallery
Events
Everything posted by Rustyj
-
 Ben noticed that the port was a bit farther aft than it should have been. I moved it forward about 1/8" to get it closer to the plans. Thanks everyone for stopping by and the likes.
- 642 replies
-
- 3
-

-
- winchelsea
- Syren Ship Model Company
- (and 1 more)
-
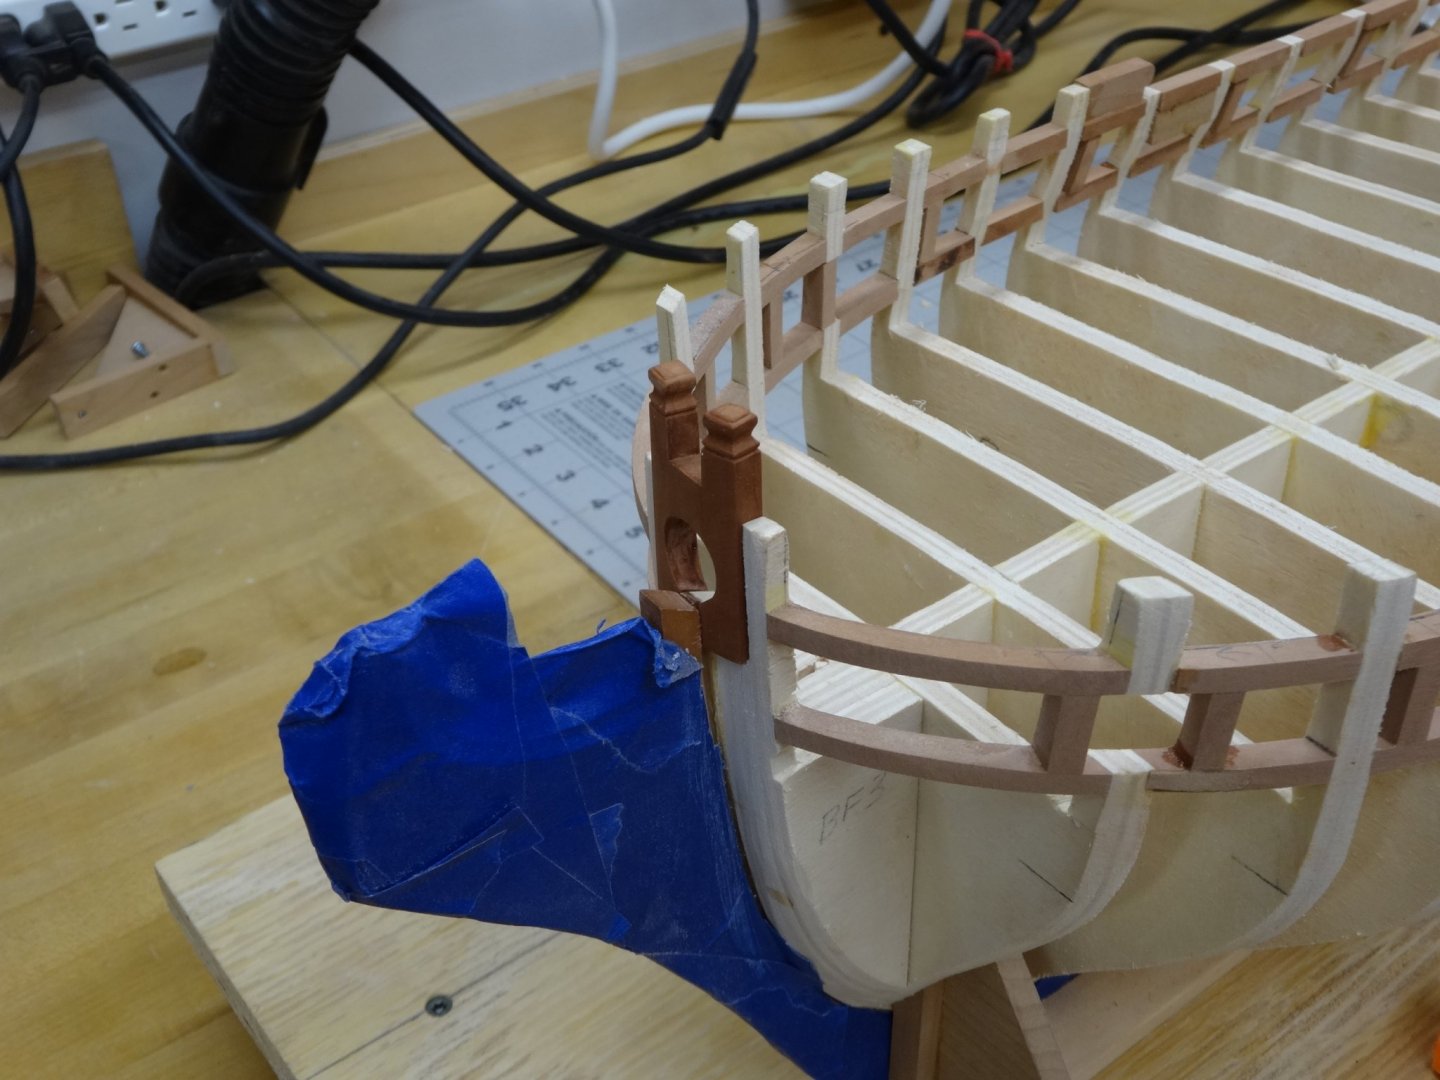
Happy New Years to you Chuck and everyone else too! I completed the bollard timbers a while back. While doing the counter and wales I constantly flip the hull upside-down, spin it around and just manipulate it a lot. So to be safe I tucked them away and kept them off until the last possible moment. If all goes well I'll be putting them on later today. I'm also re-doing the forward most gun port opening to be more inline with the plans.

- 642 replies
-
- 18
-
-
- winchelsea
- Syren Ship Model Company
- (and 1 more)
-
That looks good Bob, I hope mine comes out as nice! It's my intent to give the tabs under the ports a go. We'll see how that turns out.
-
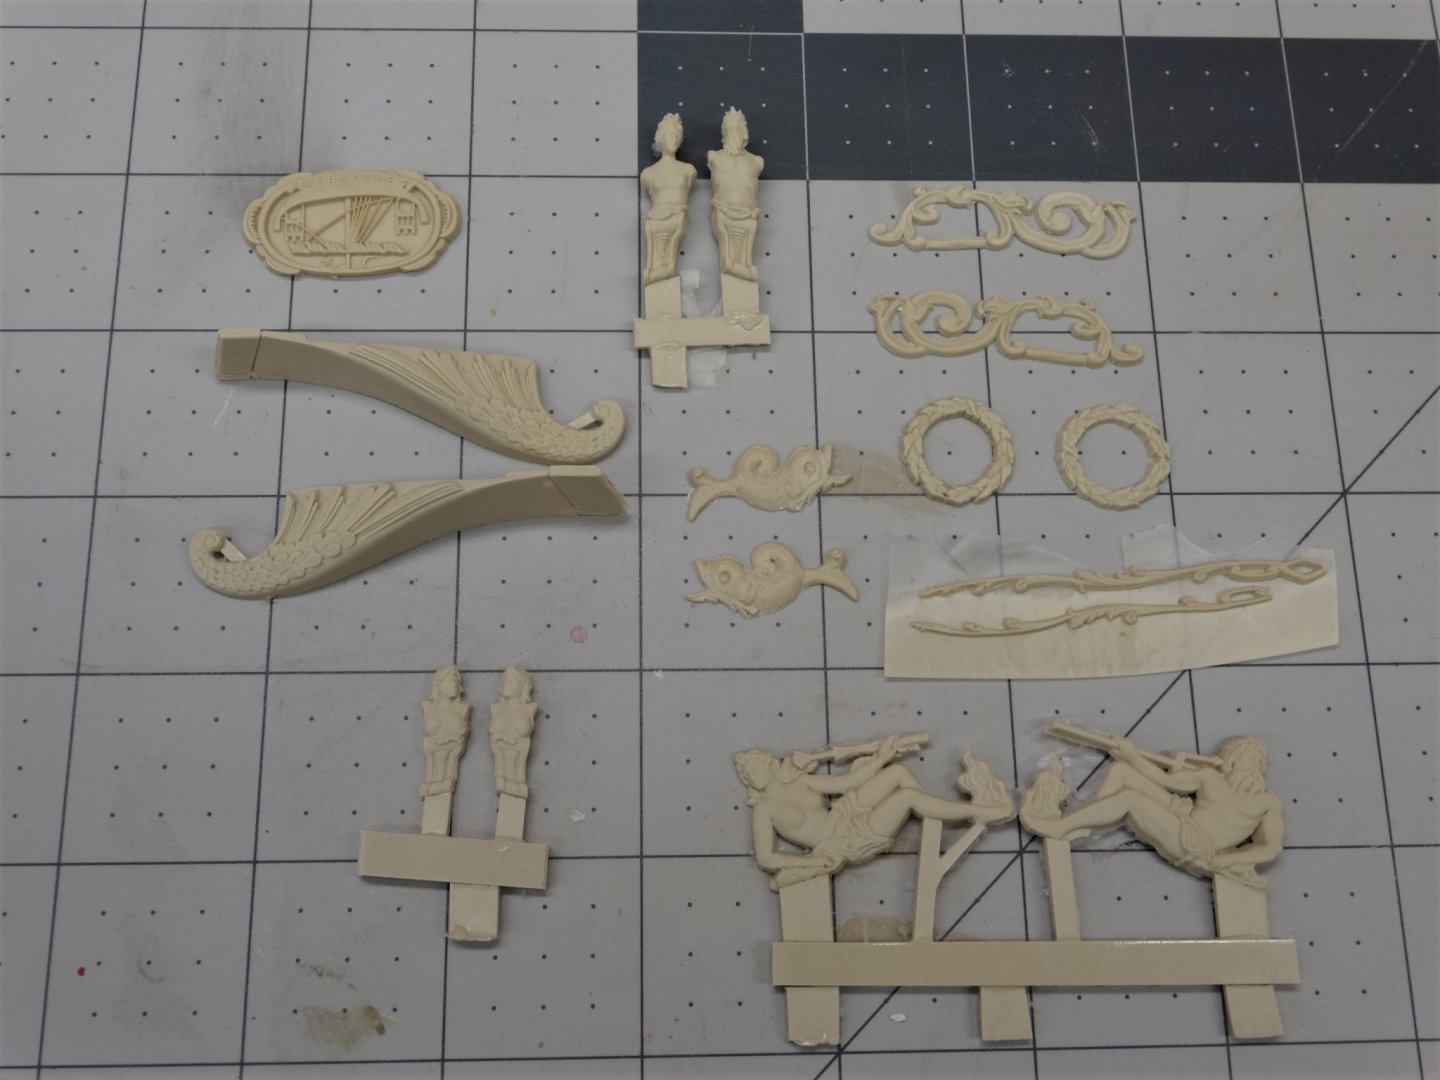
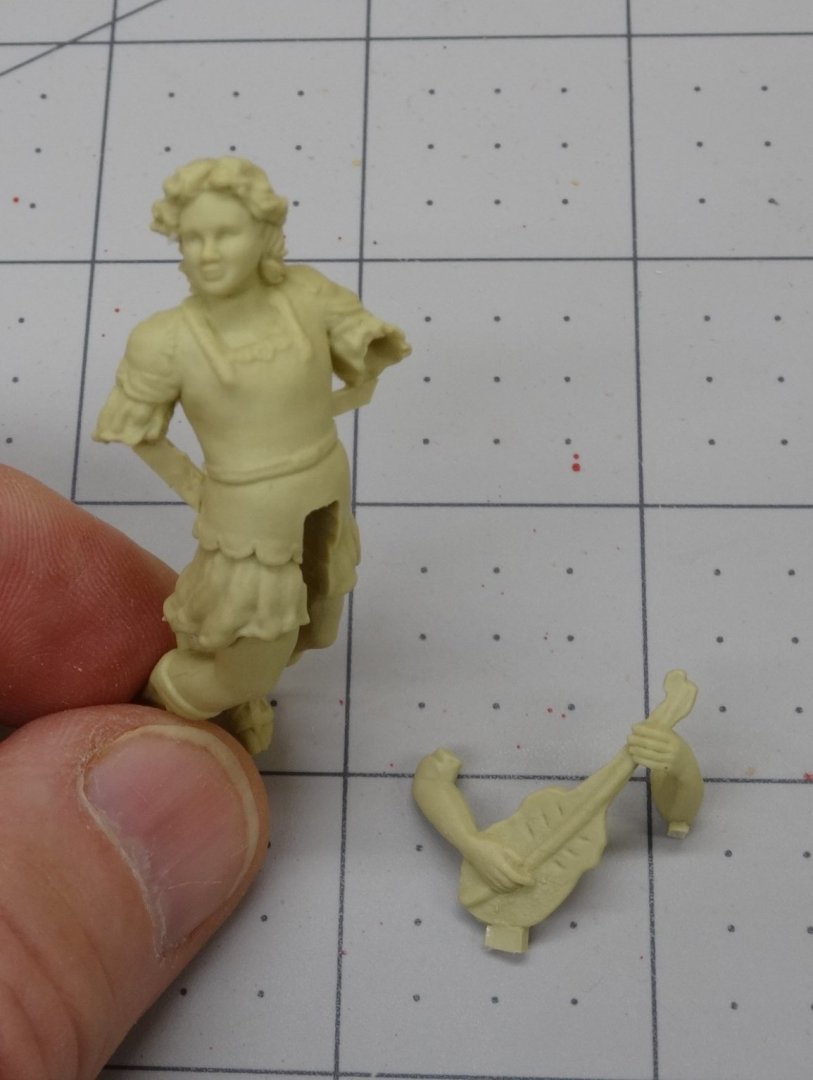
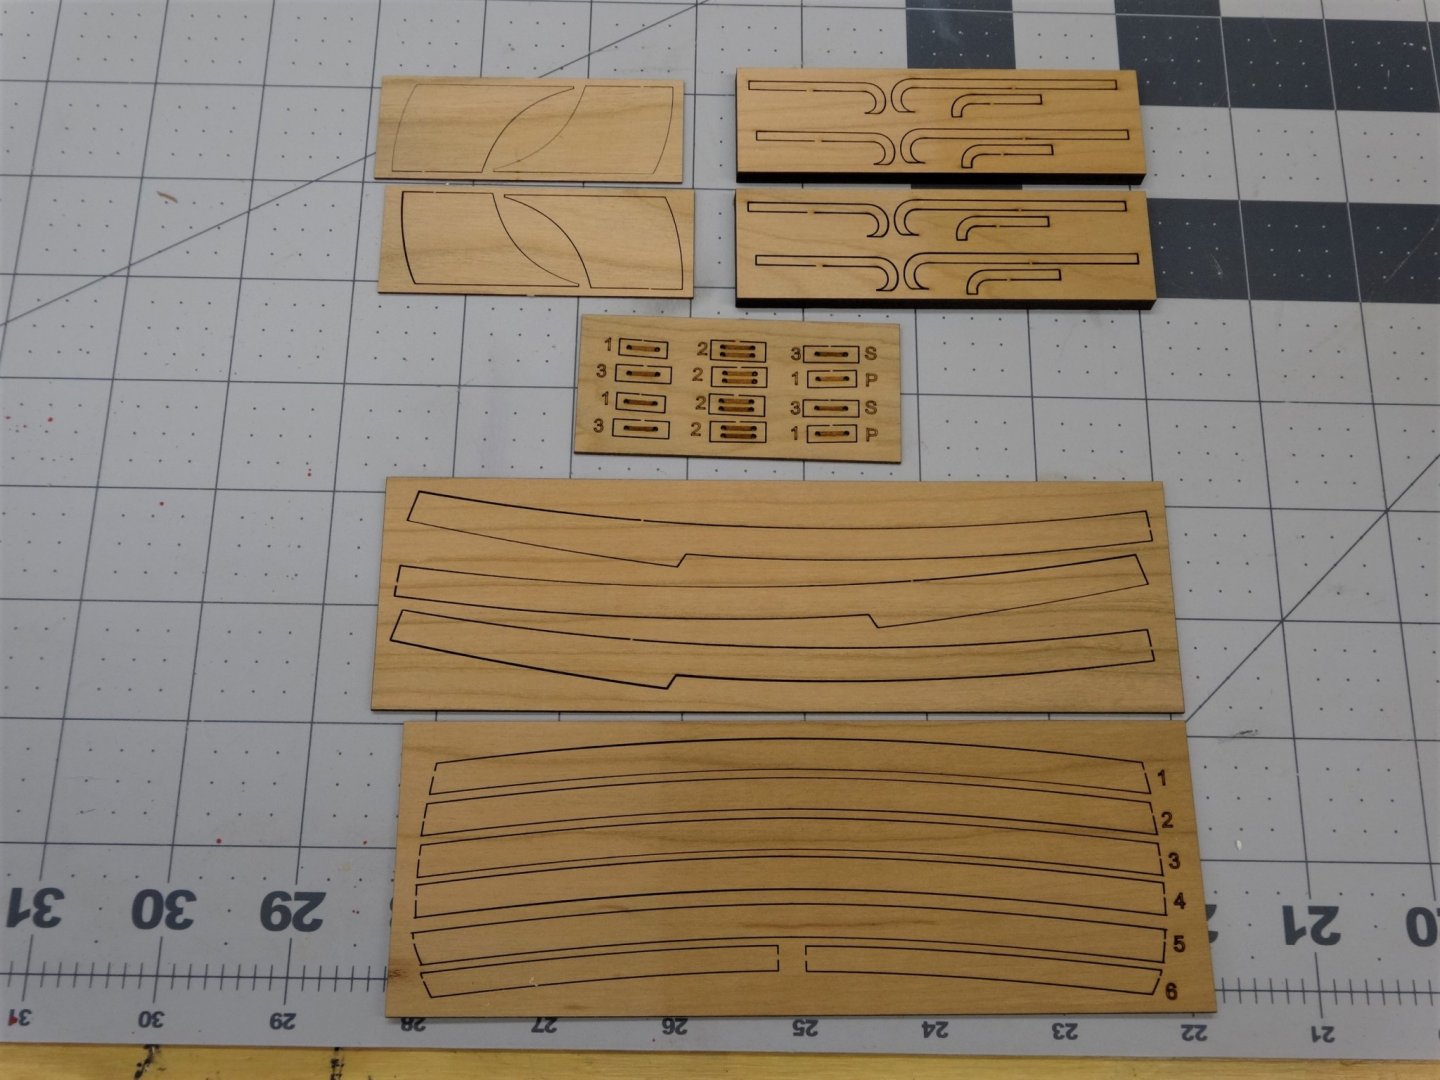
My resin castings from Syren arrived a couple of days ago and they are great. I can't believe sharp and nice the fine detail is. They came in a nice sturdy box which they were returned to and tucked safely away until needed. I also received the chapter two laser cut set in cherry. These are my fall back if I have issues when I attempt to scratch them. The gun ports have all been painted red ochre so hopefully some planking will get done this weekend.
- 642 replies
-
- 21
-
-
- winchelsea
- Syren Ship Model Company
- (and 1 more)
-
Your build is looking very nice! Well done. I've used ebony in the past and yes it is very hard. Whatever blades you use to cut it will be dulled and only good for cutting ebony after that. The wood is very hard and bending is difficult. The dust is toxic and it sticks to unsealed wood and everything else a lot like toner dust. I wore a mask and latex gloves when working with it. It does produce a nice look when done but it wasn't worth the risks and trouble so I don't use it anymore.
-
I don't see it being a problem. It gives you 5" off the center line which should be plenty.
-
Thanks Chuck. I think your idea of having her planked in "no time" and mine might differ just a little bit. Mldixon, I measured my ply from National Balsa and it was .232 - .234. Thanks all for the likes and I hope for a Merry Christmas for all!
- 642 replies
-
- 4
-
-
- winchelsea
- Syren Ship Model Company
- (and 1 more)
-
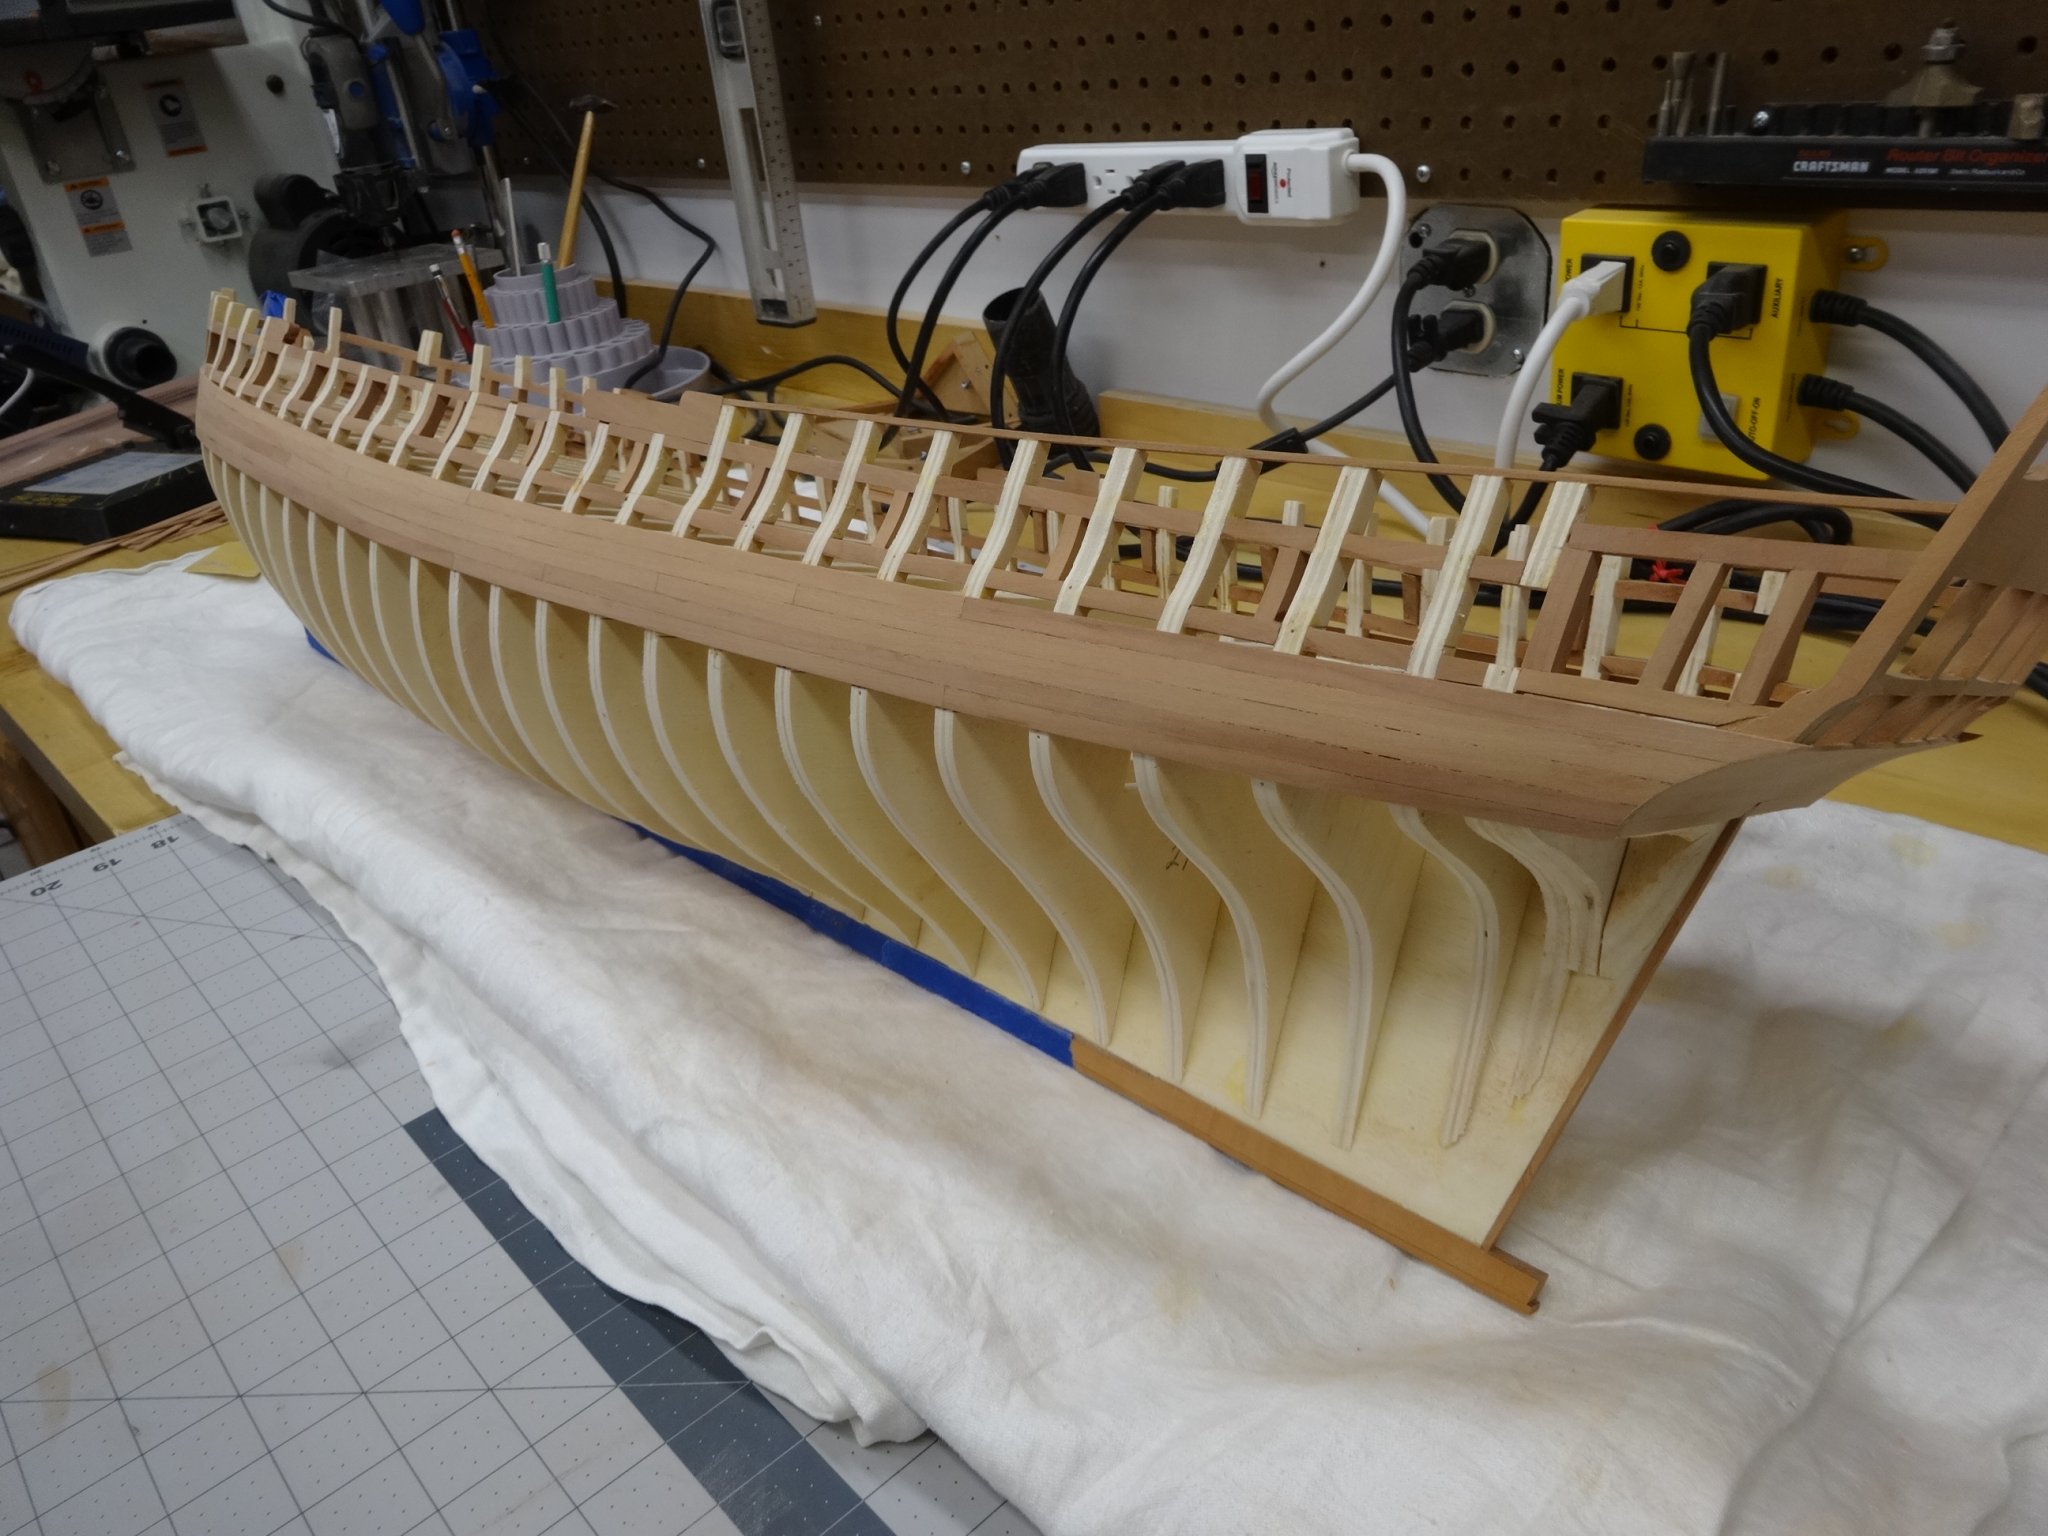
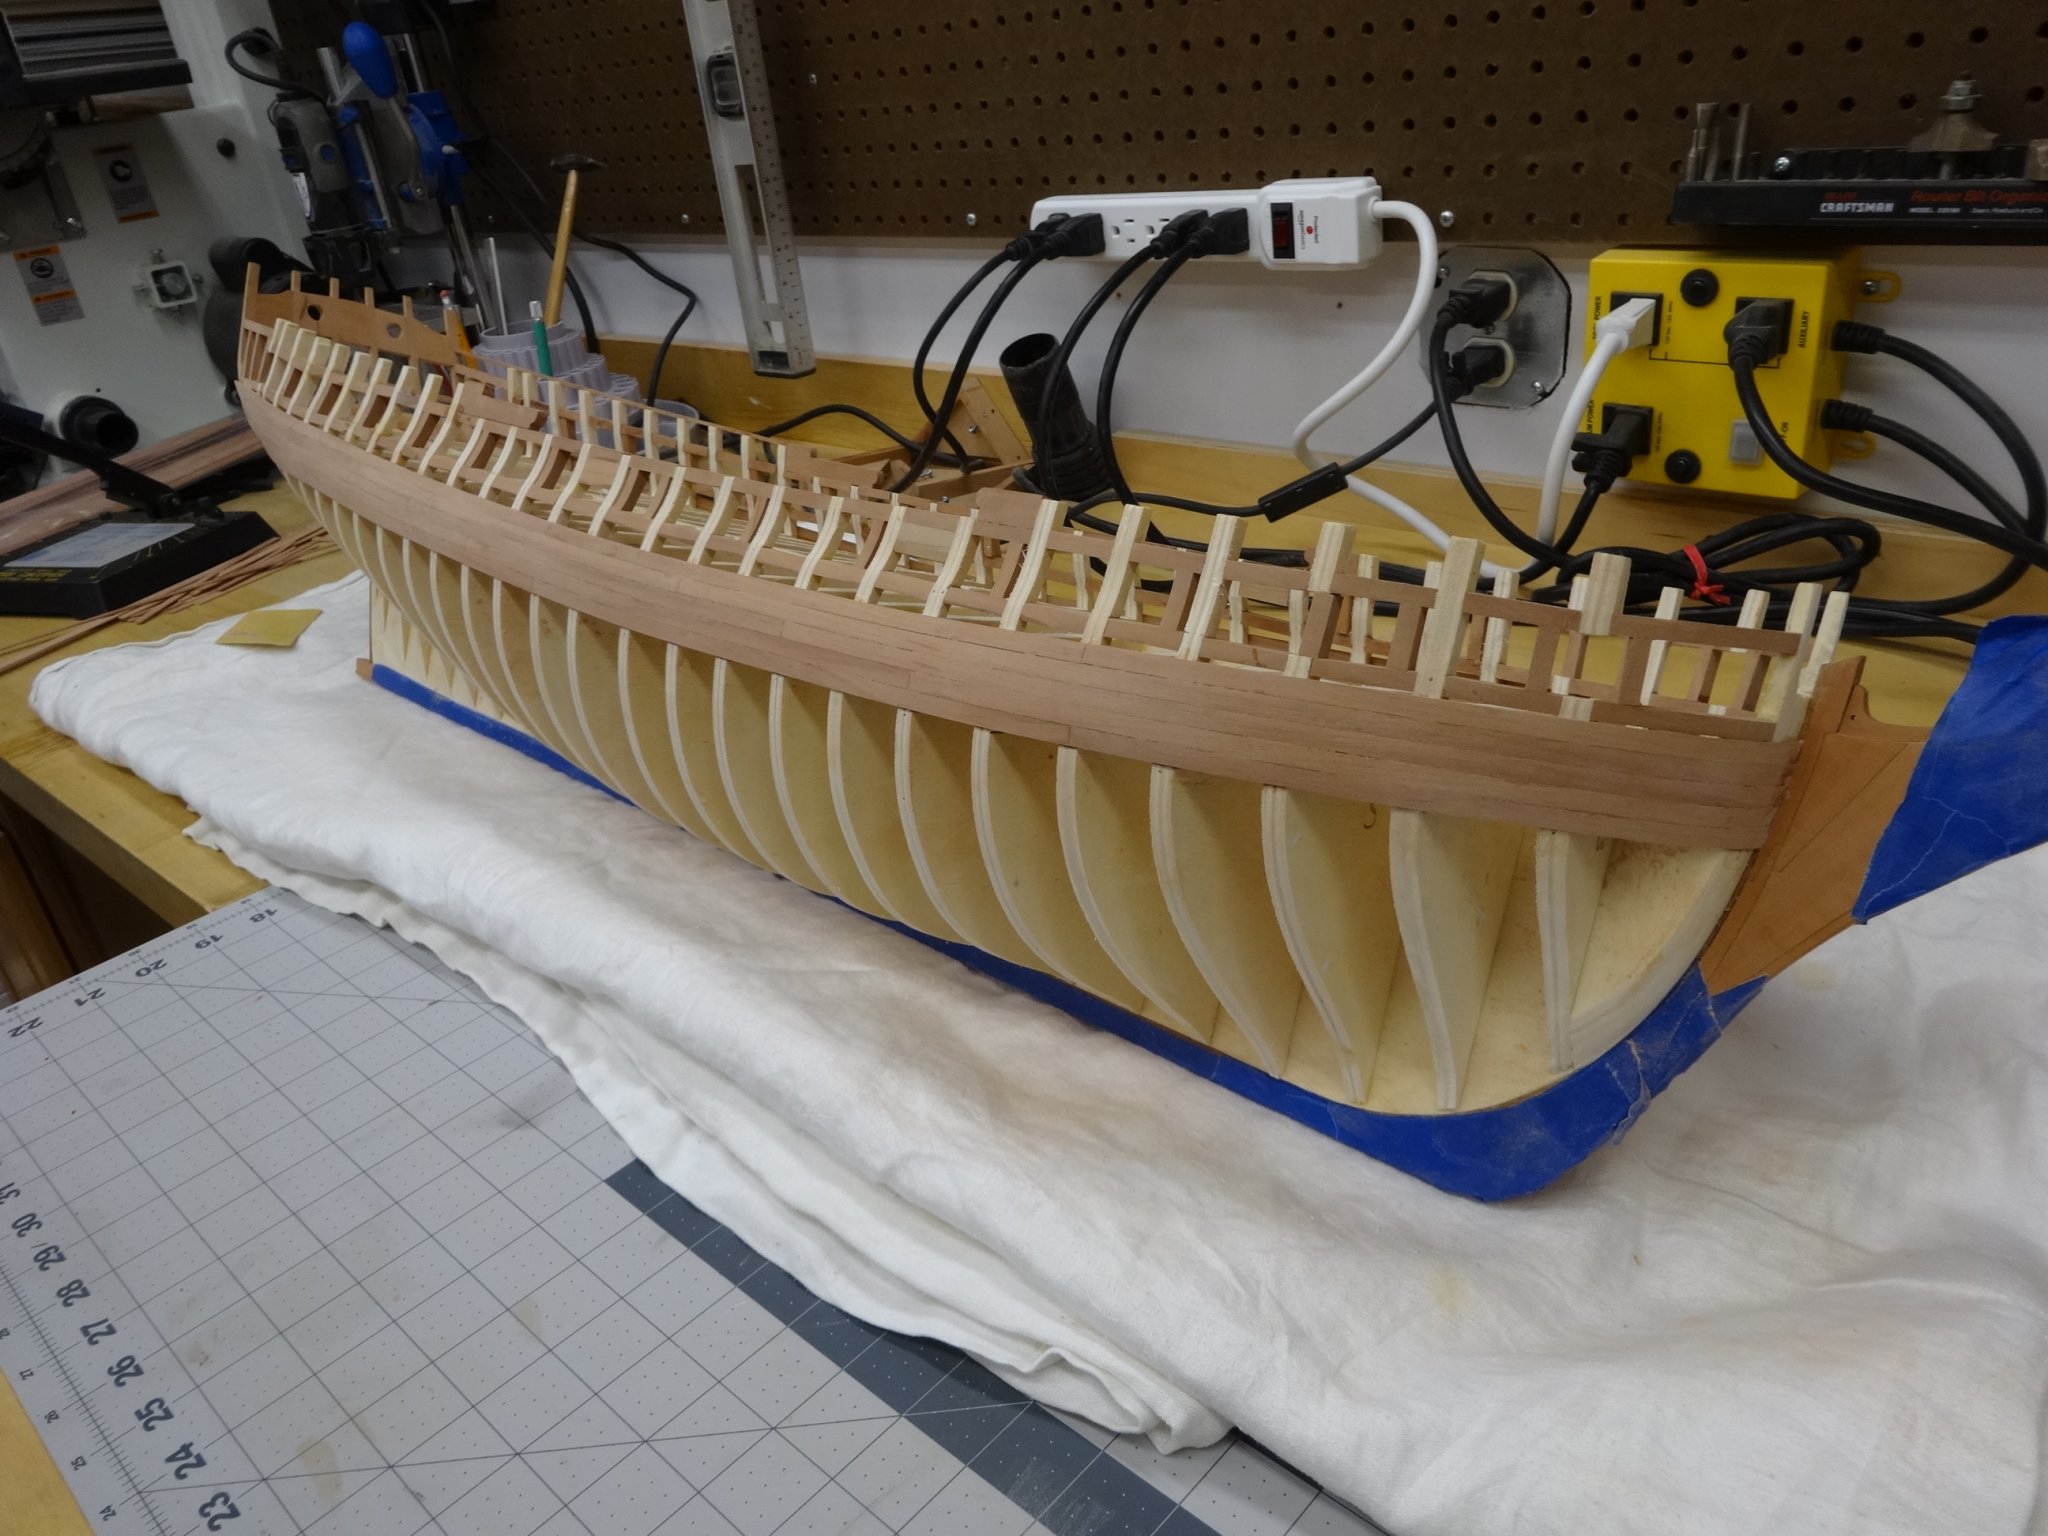
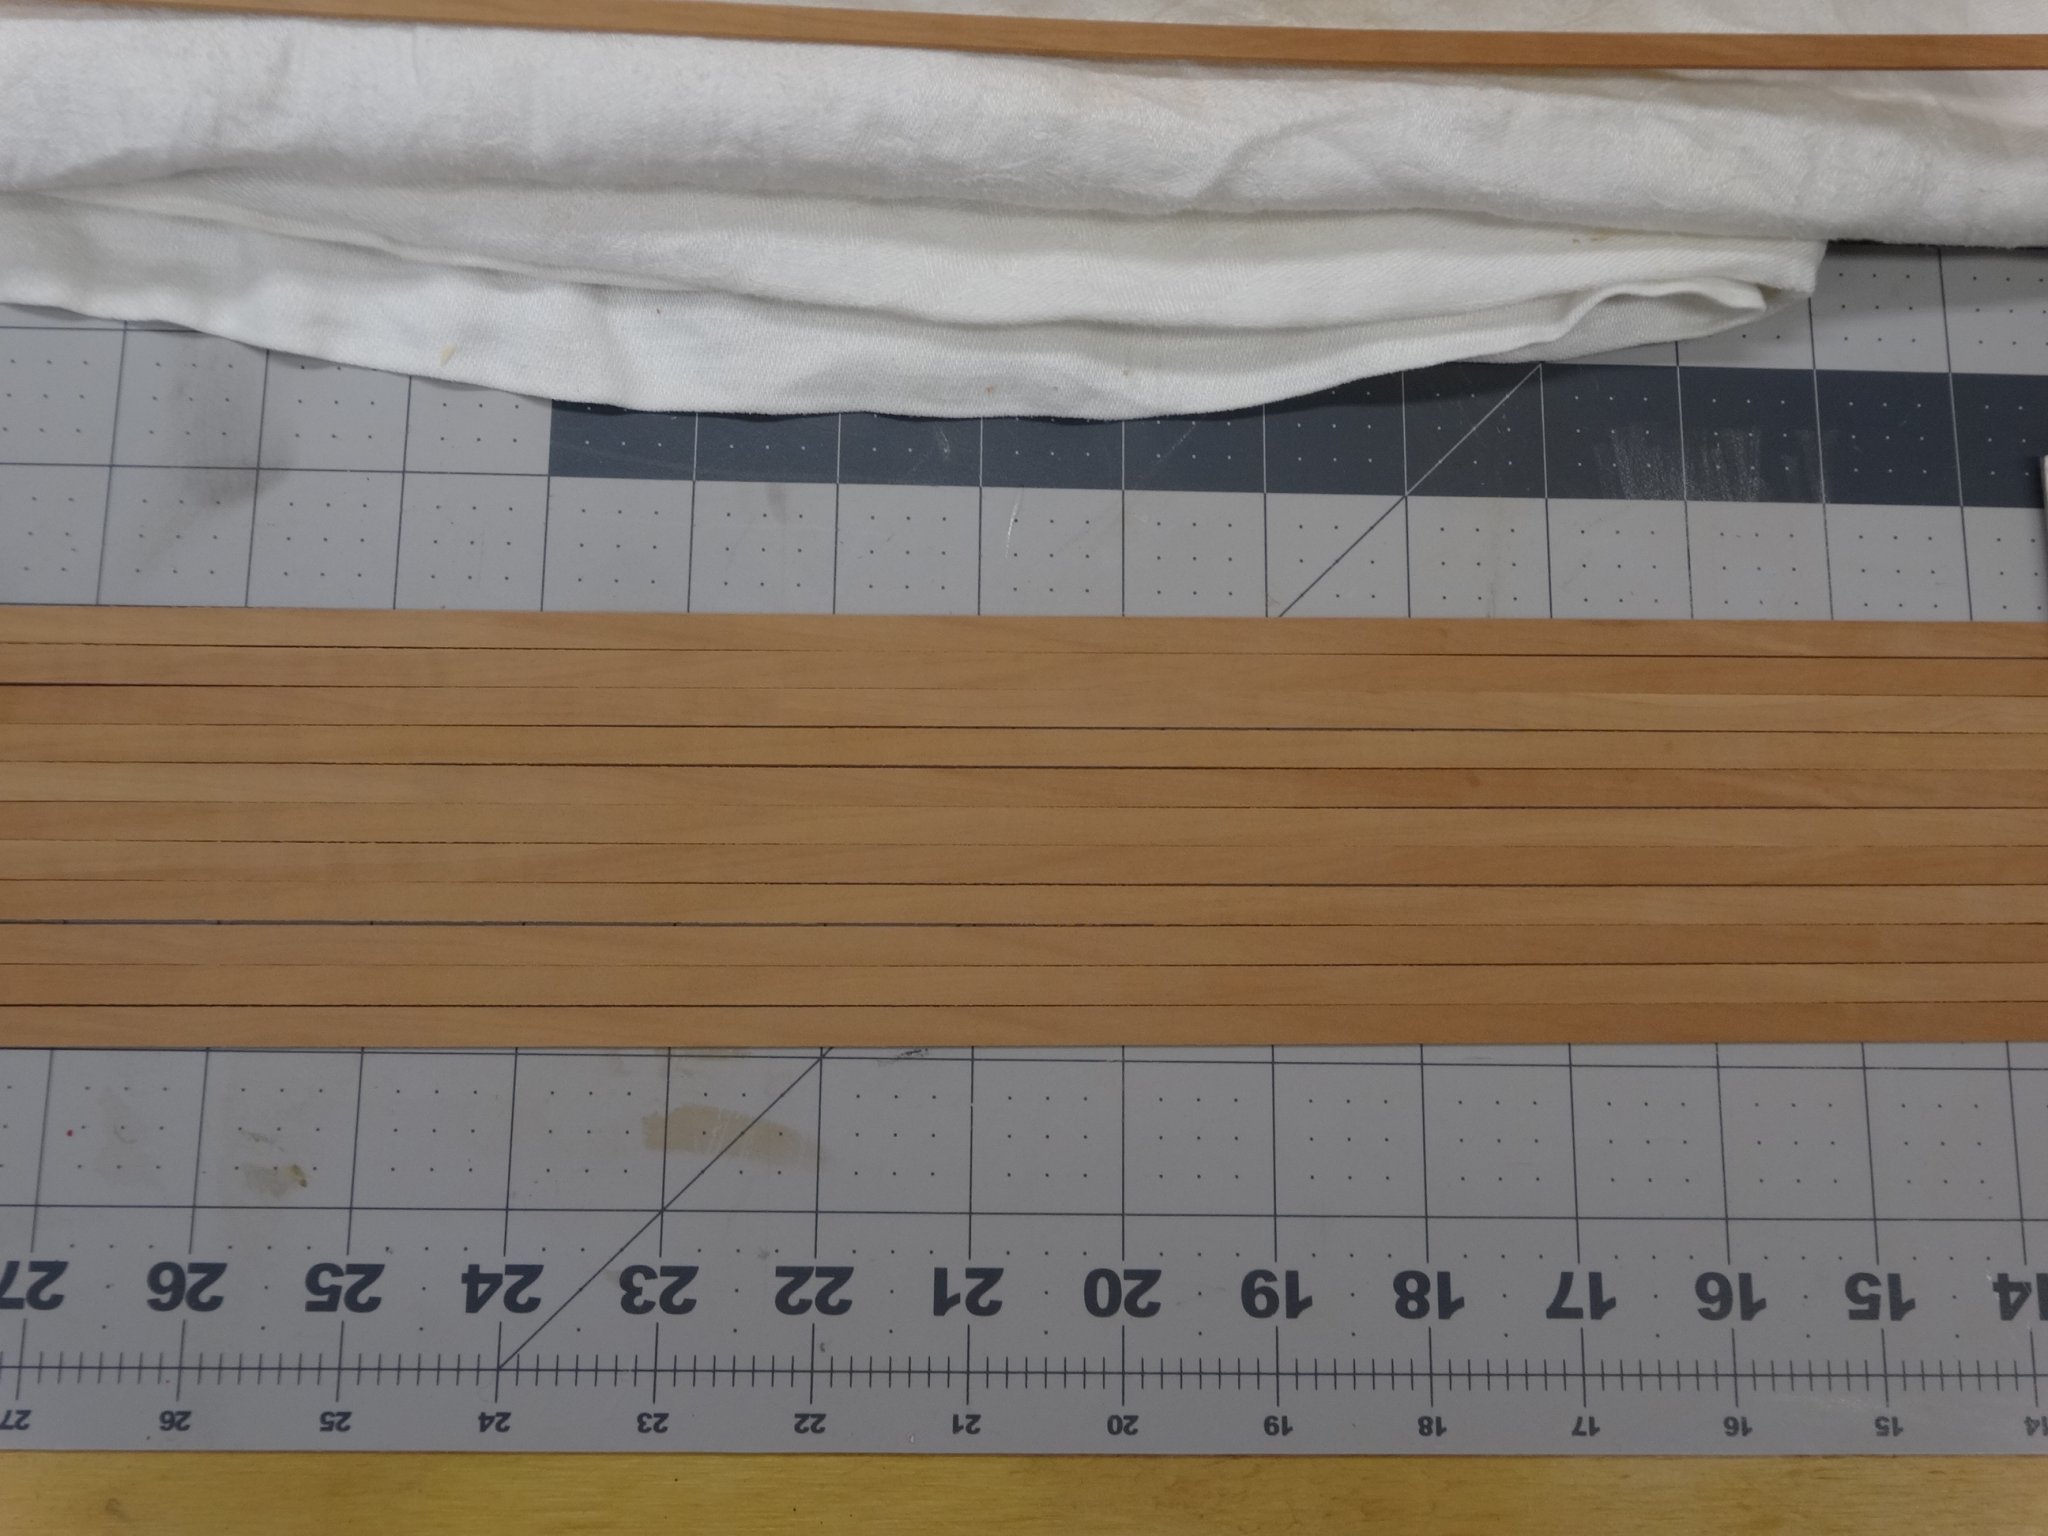
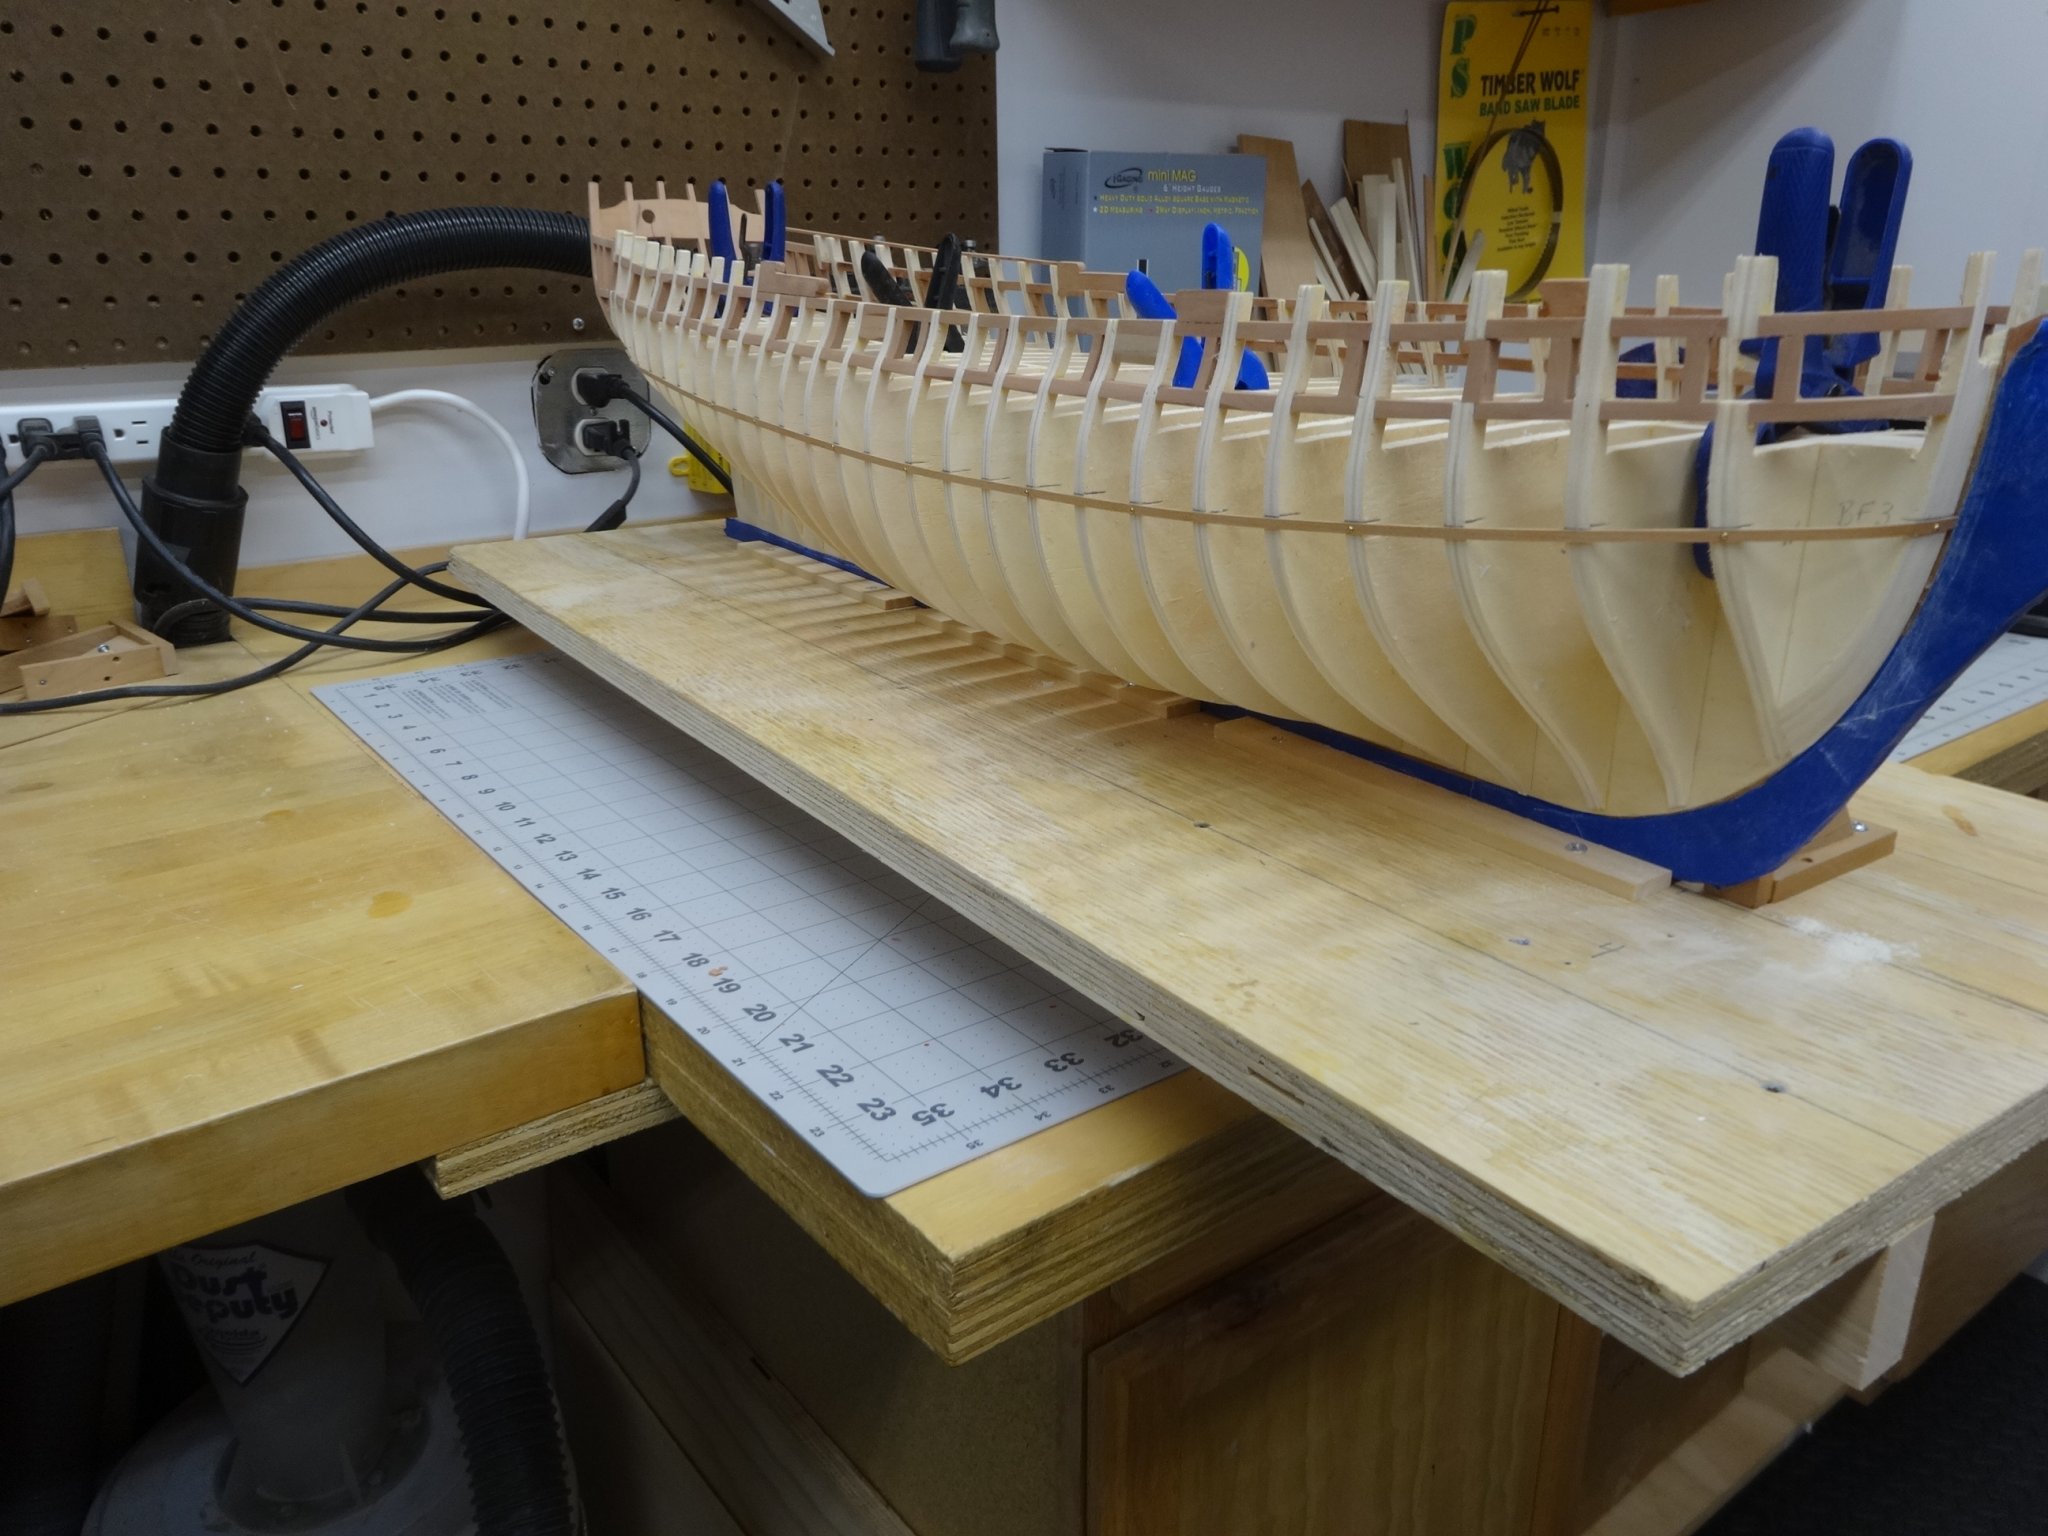
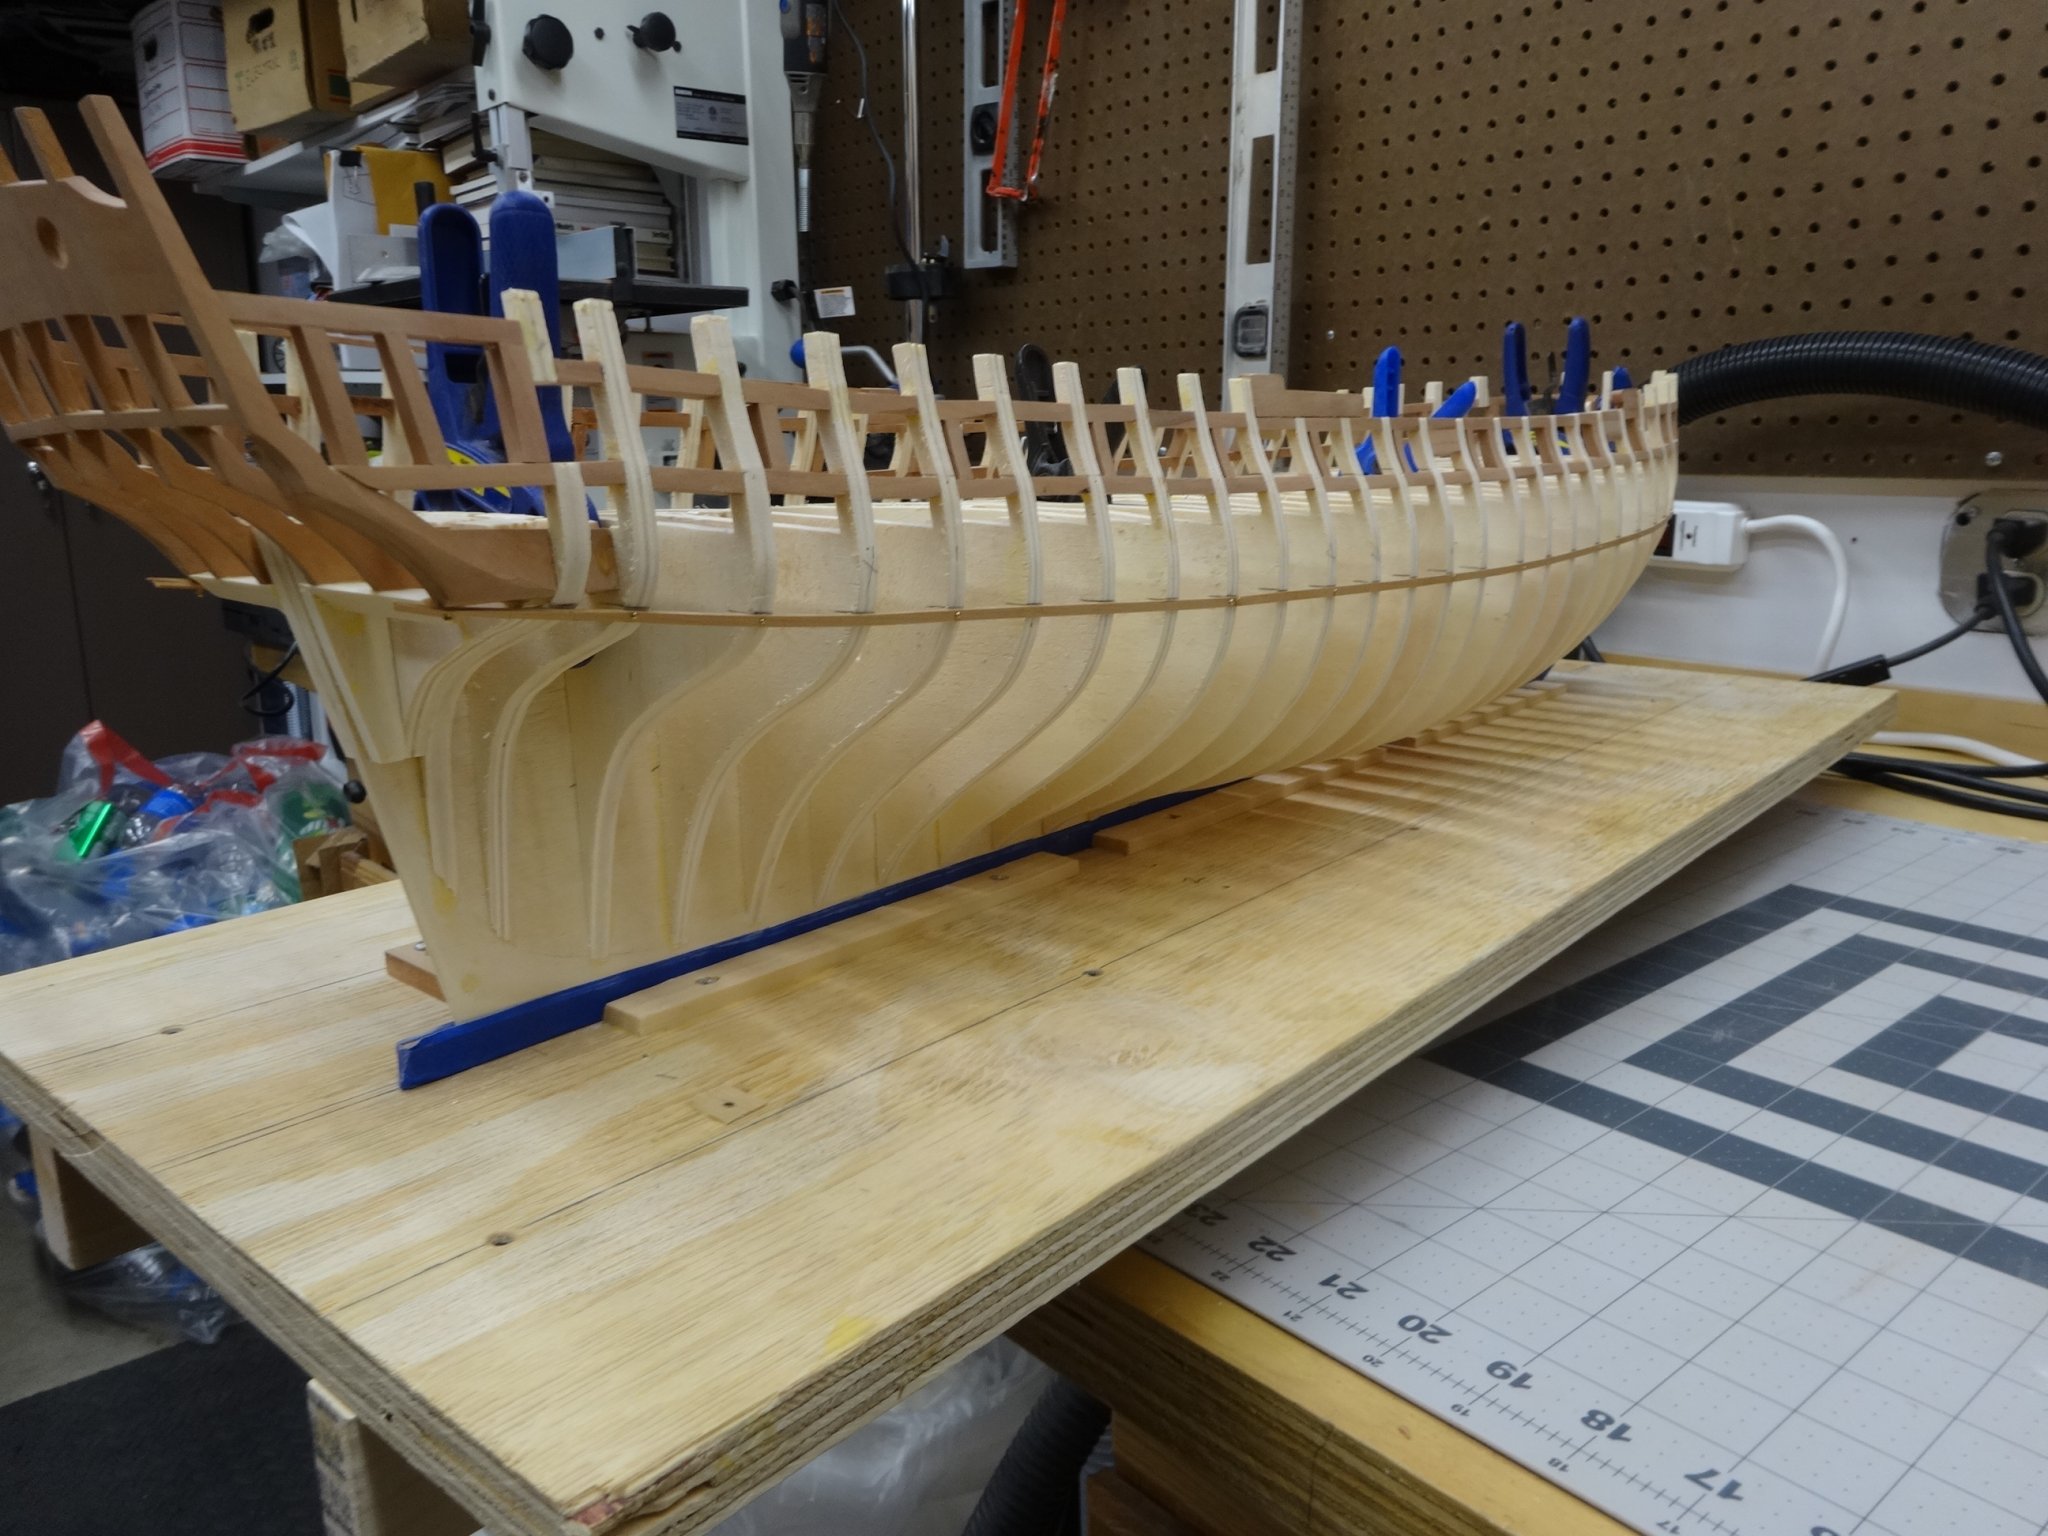
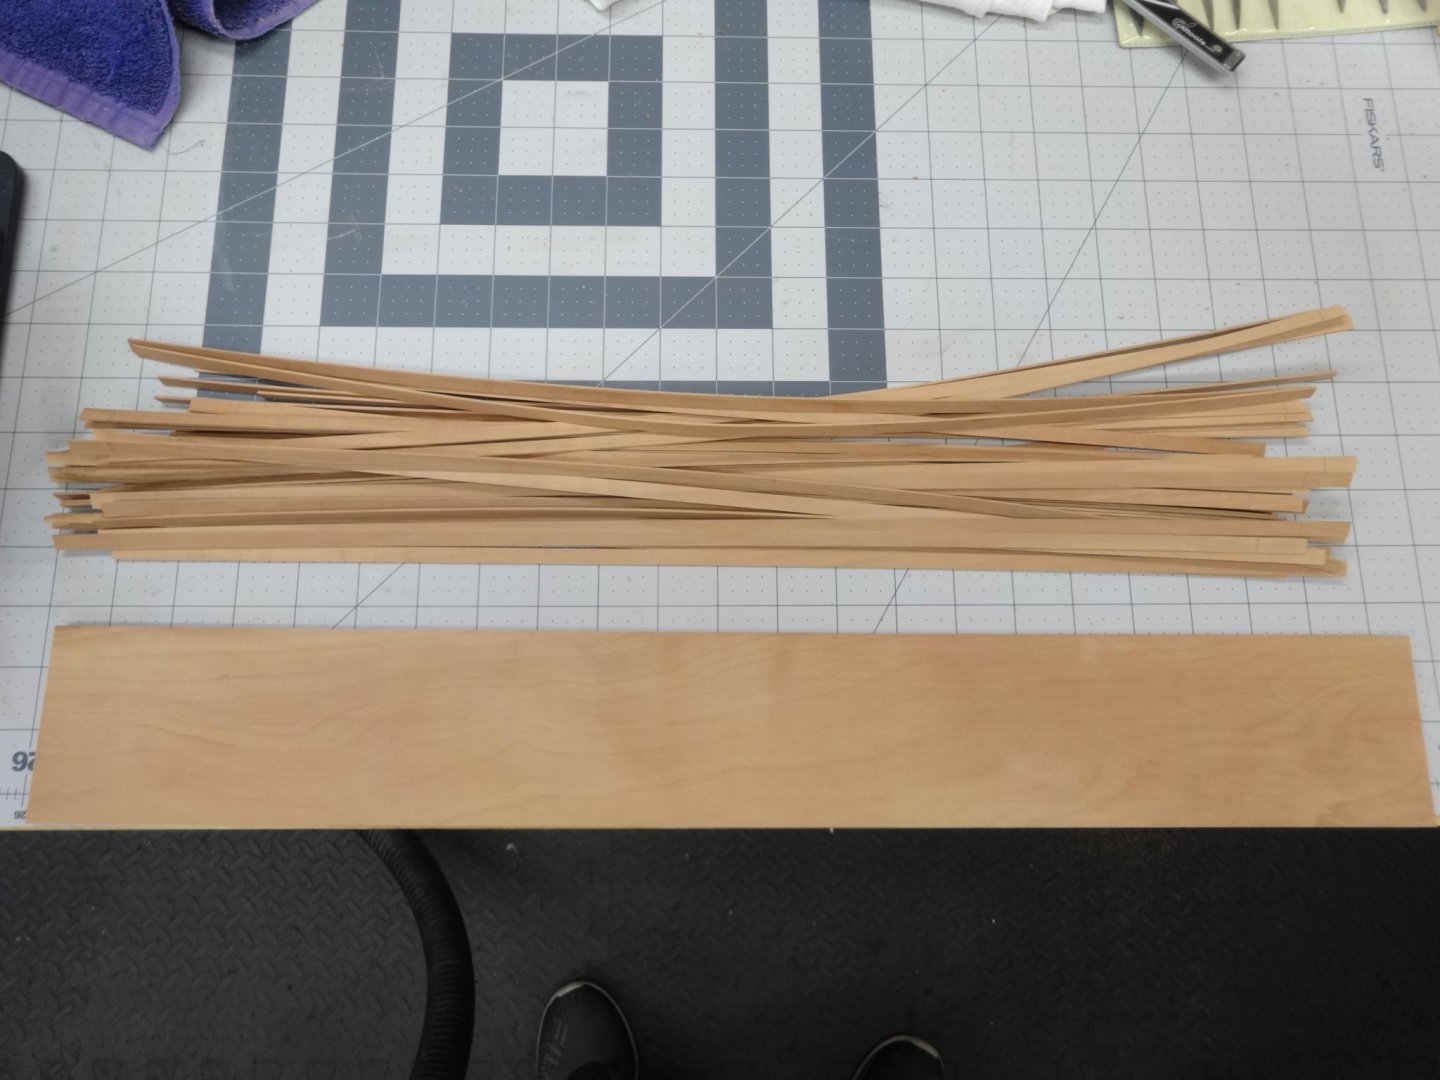
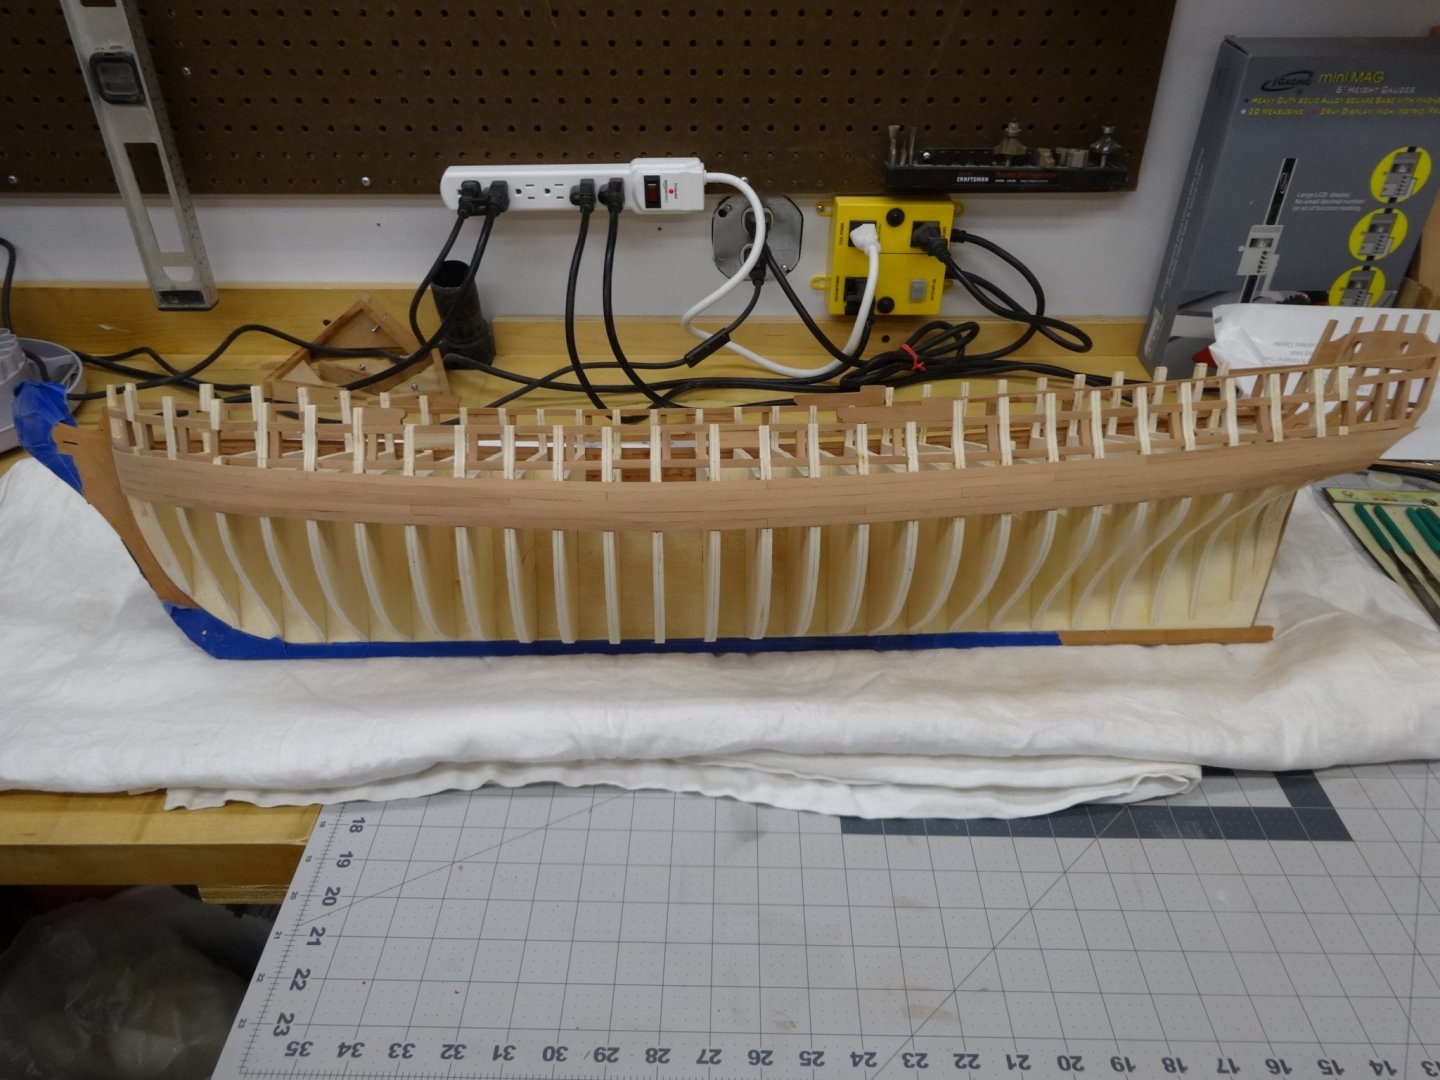
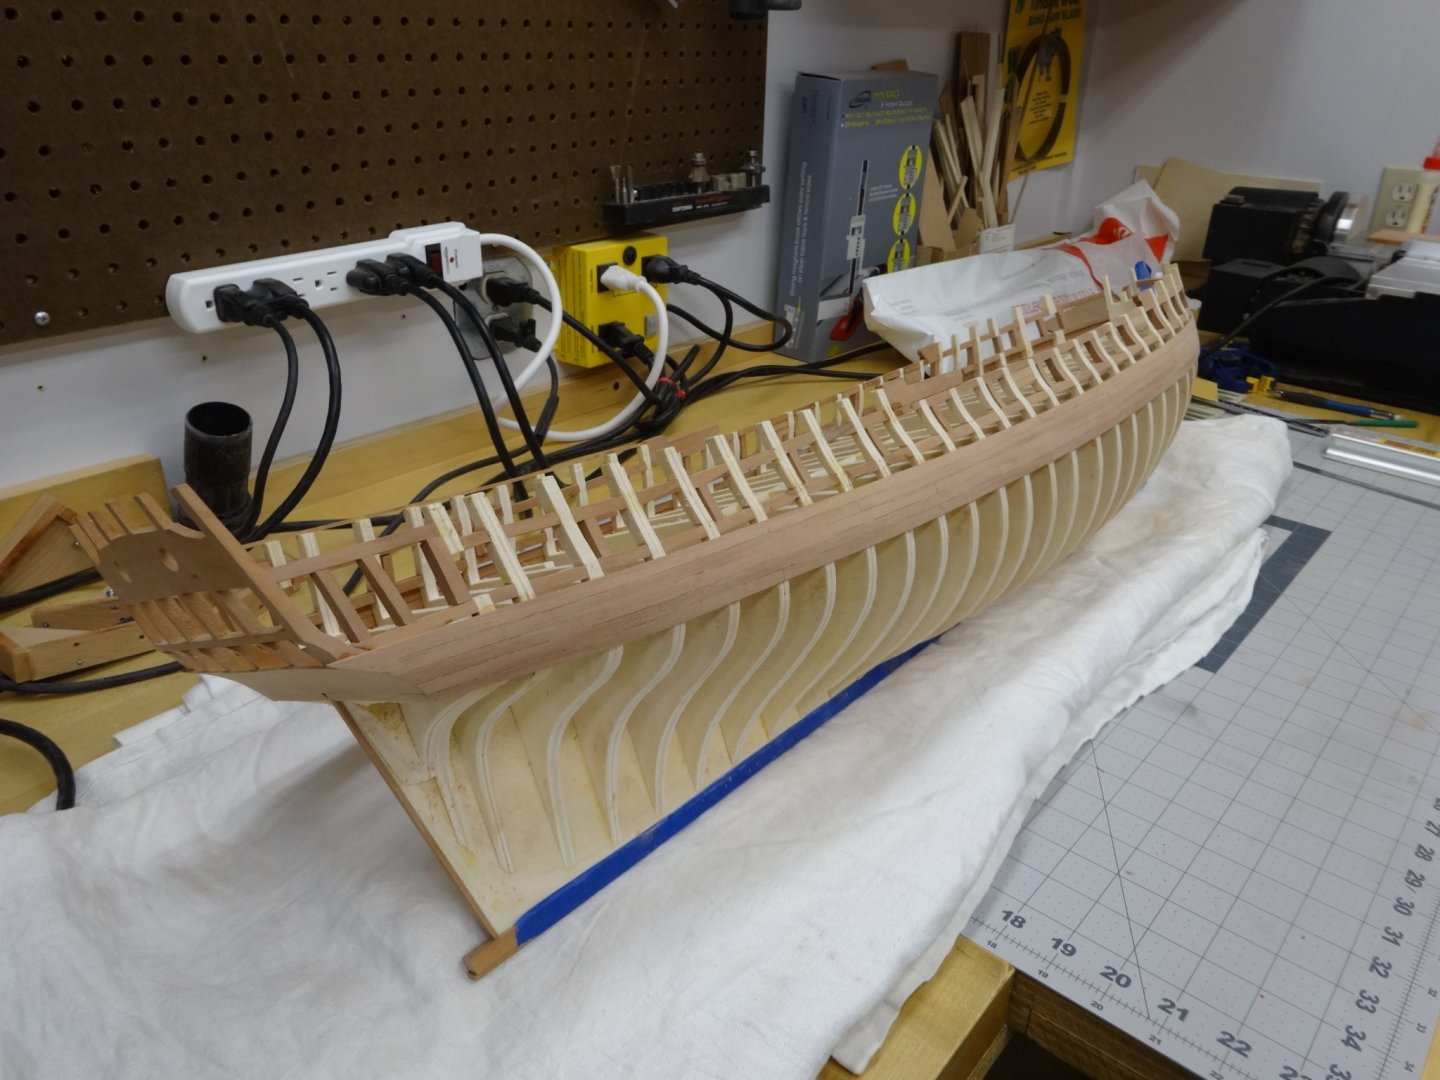
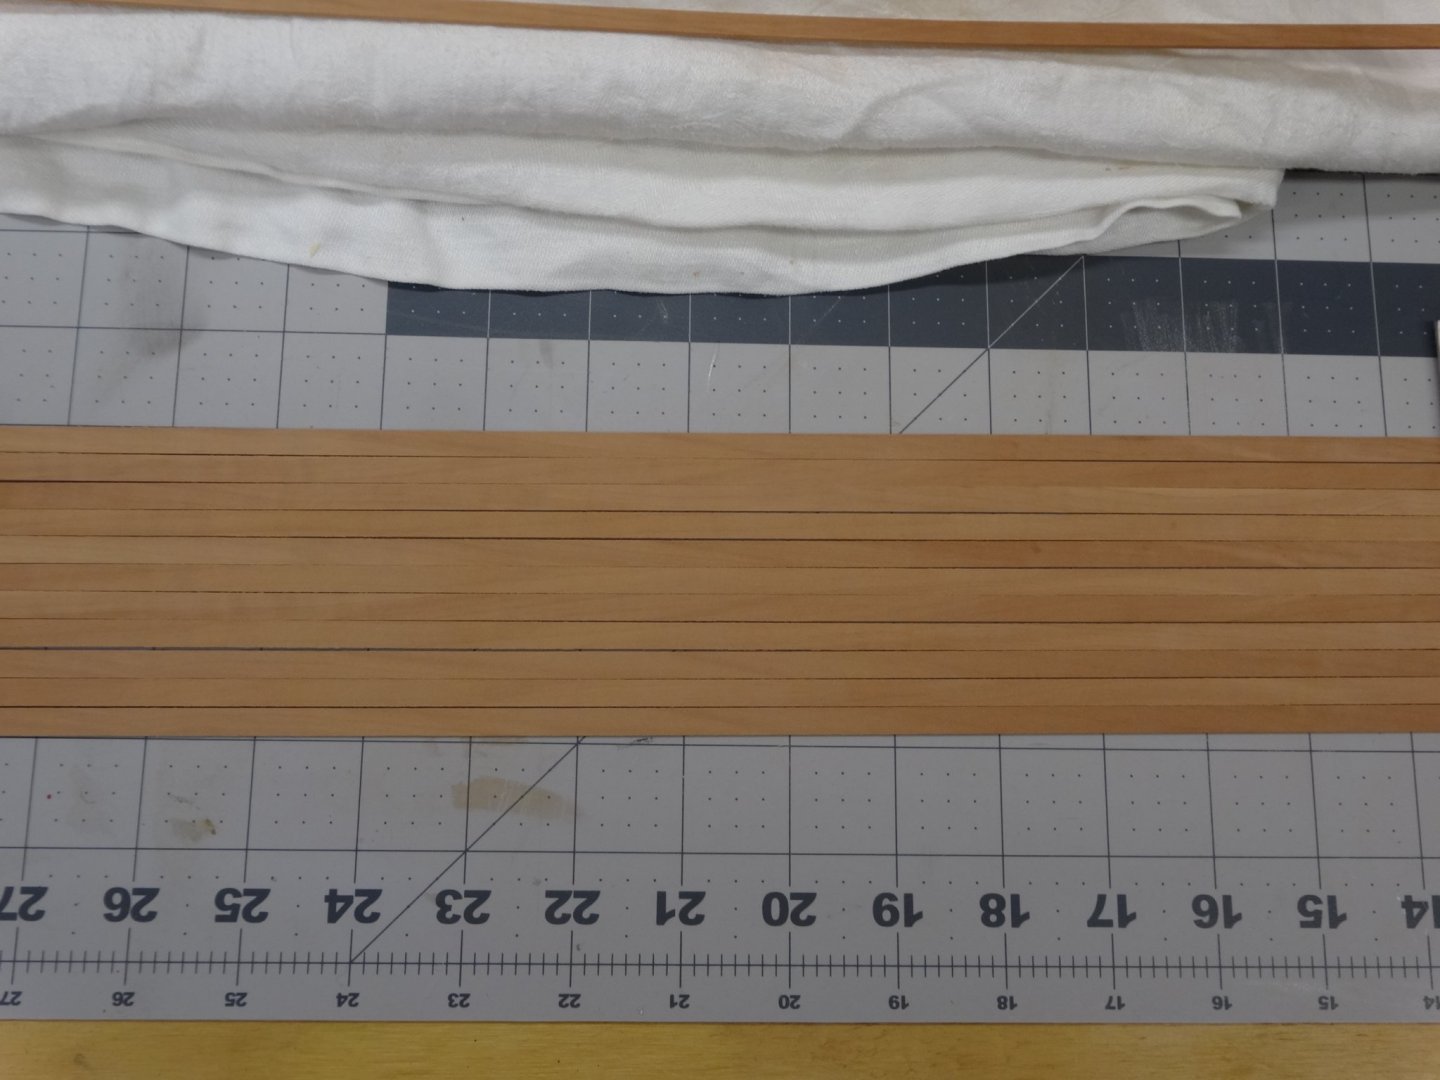
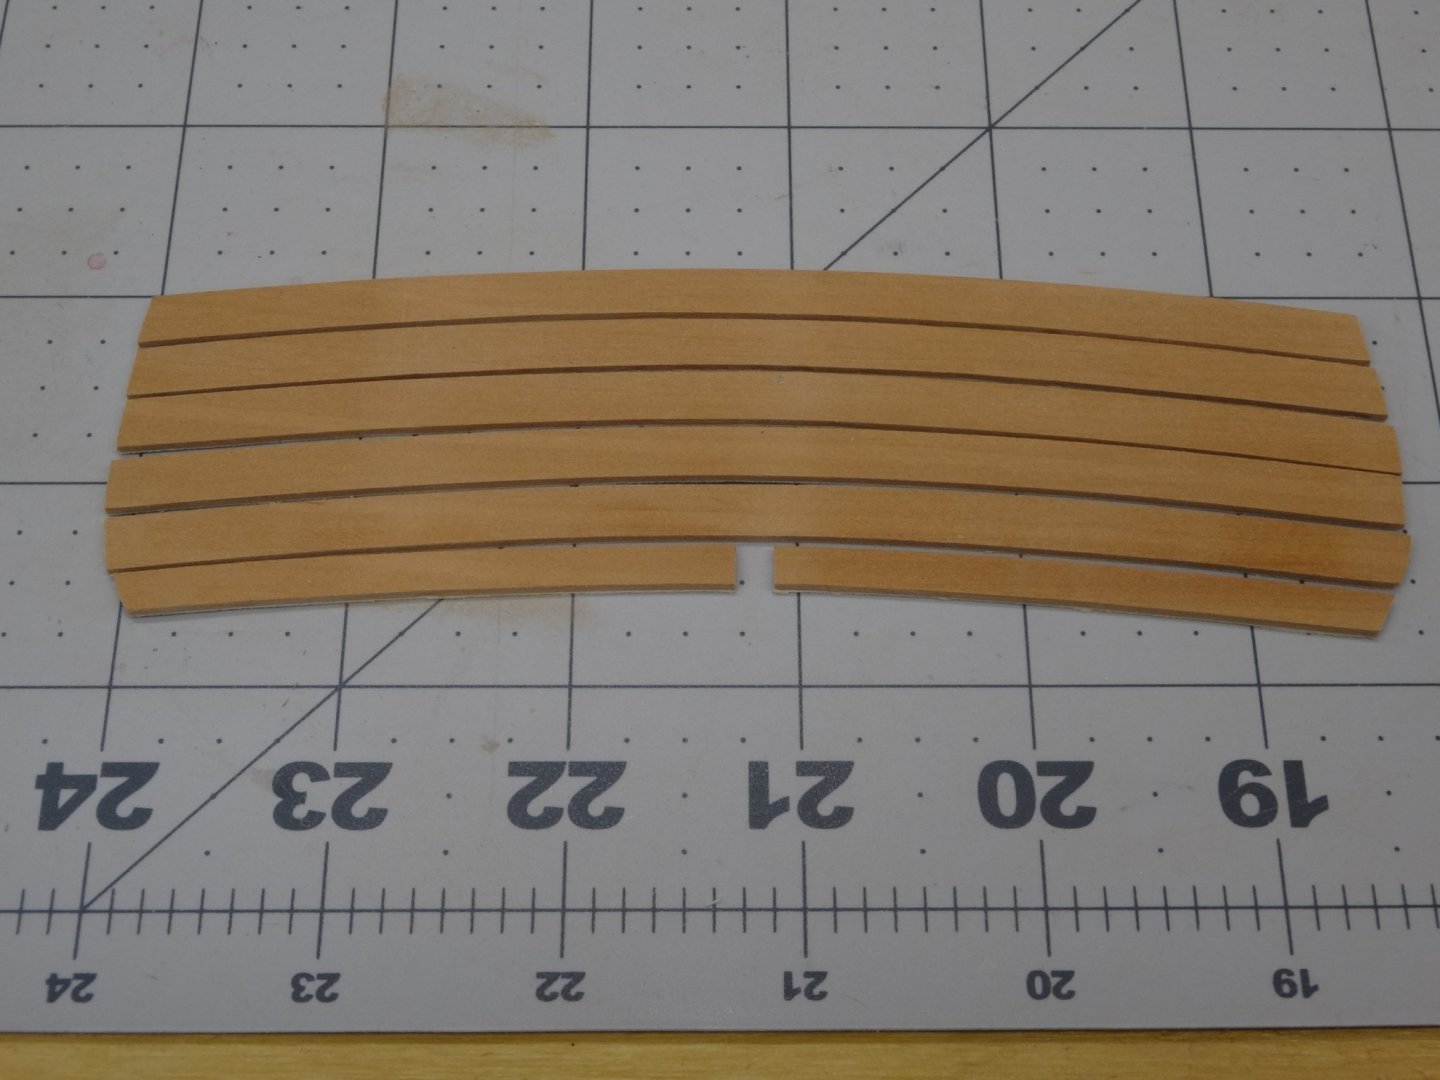
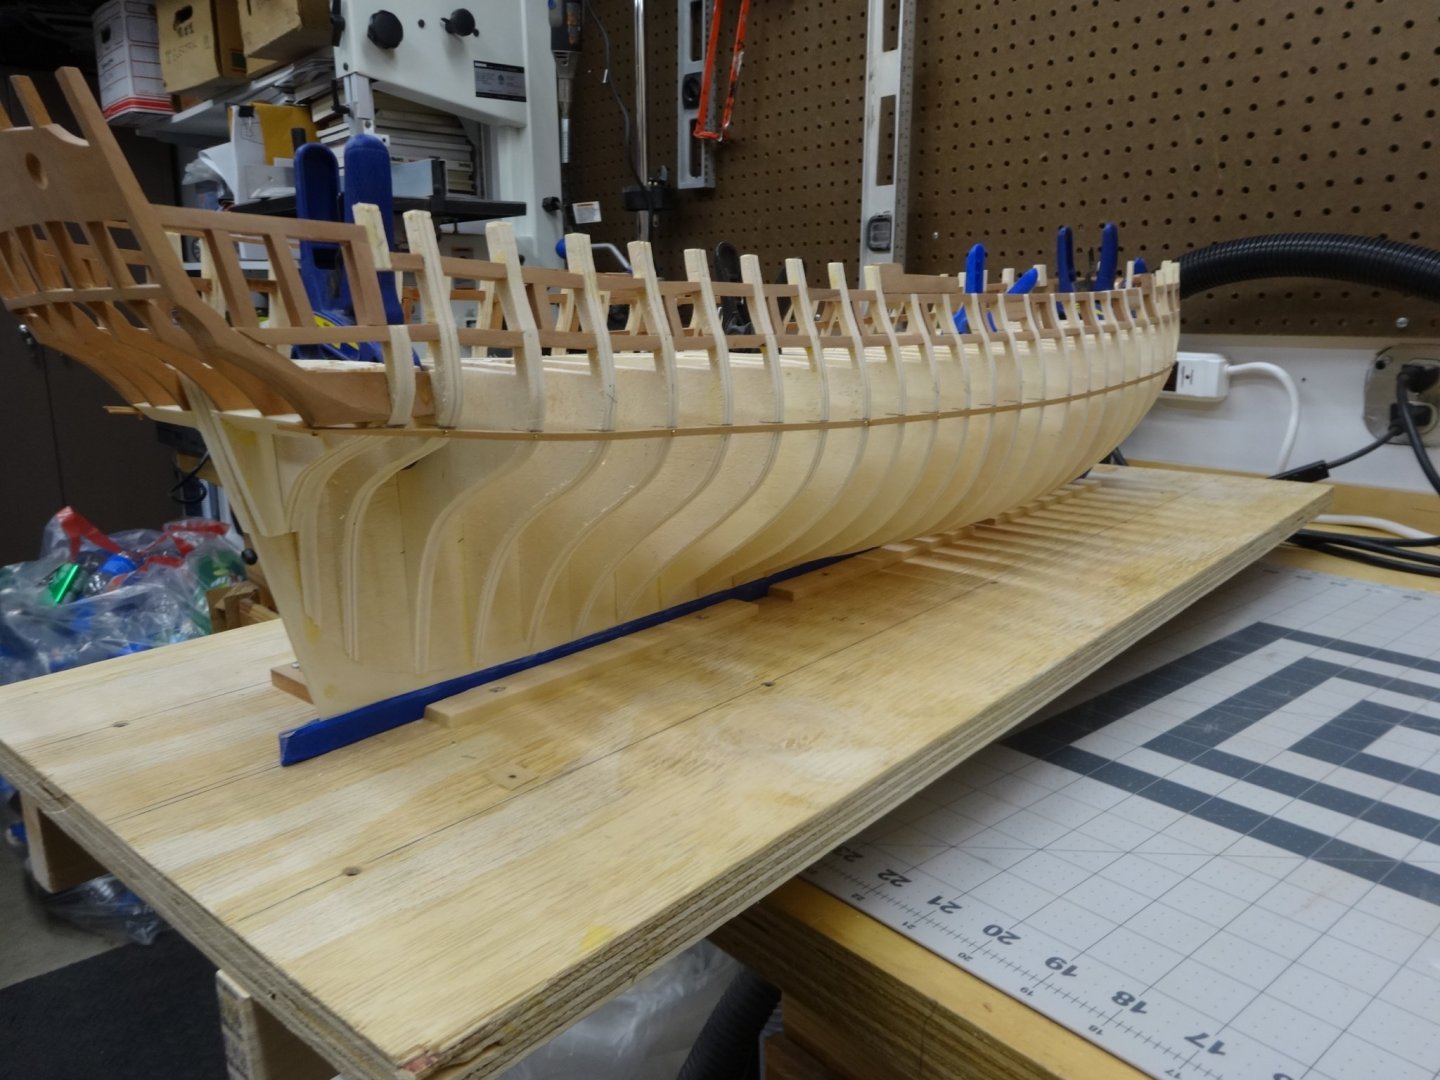
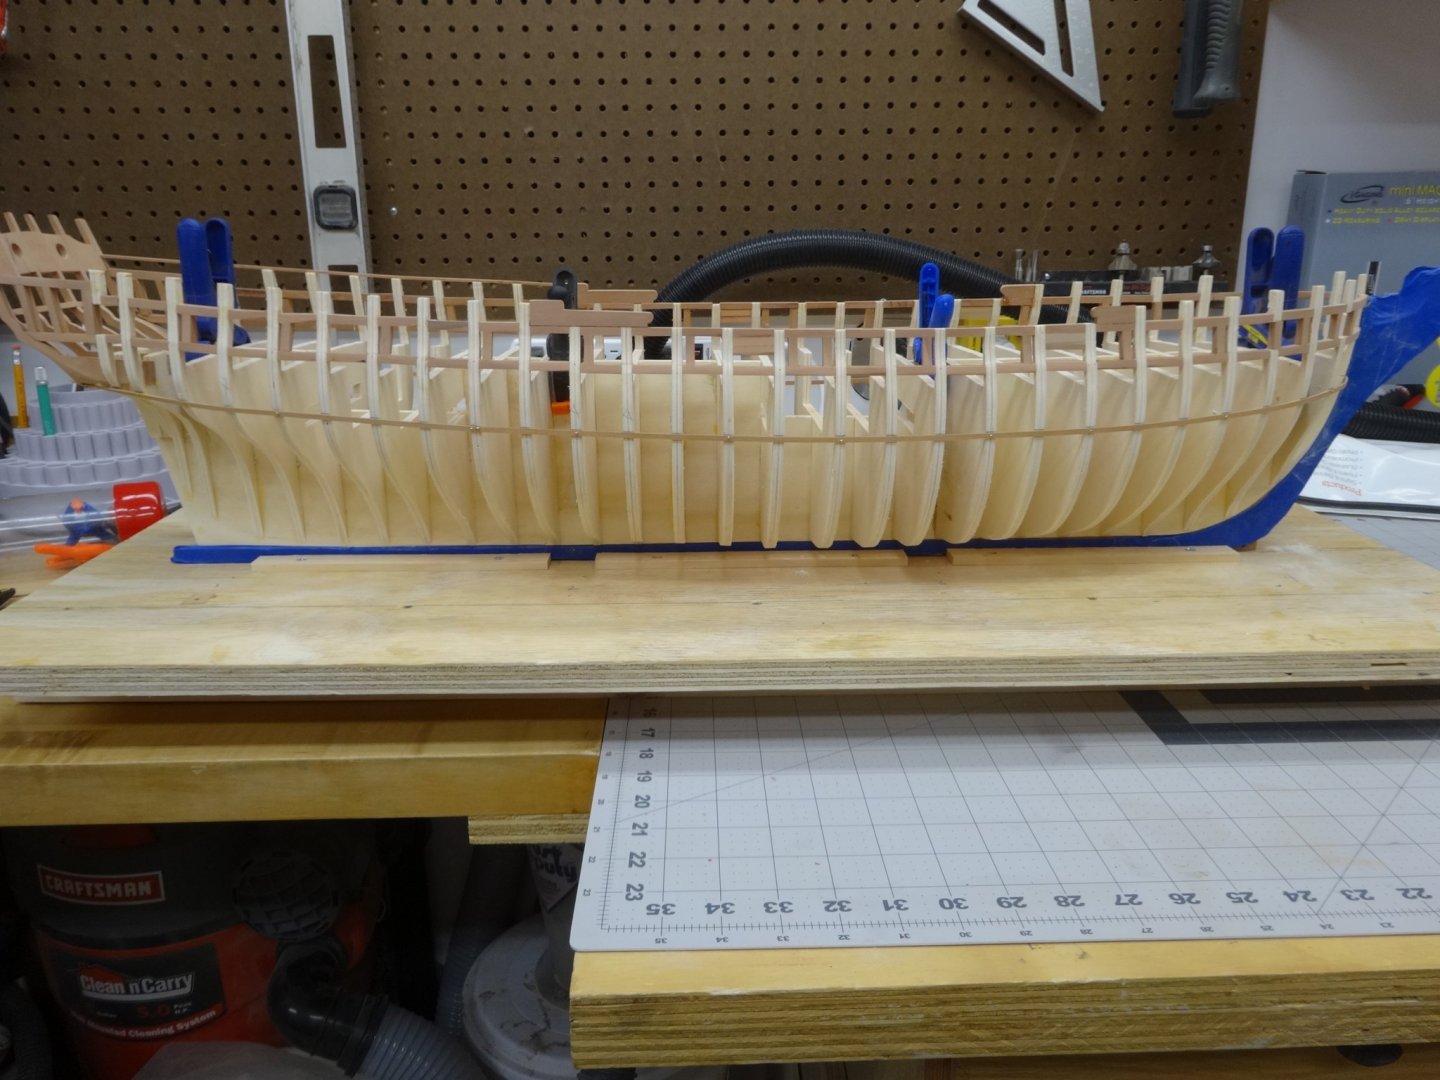
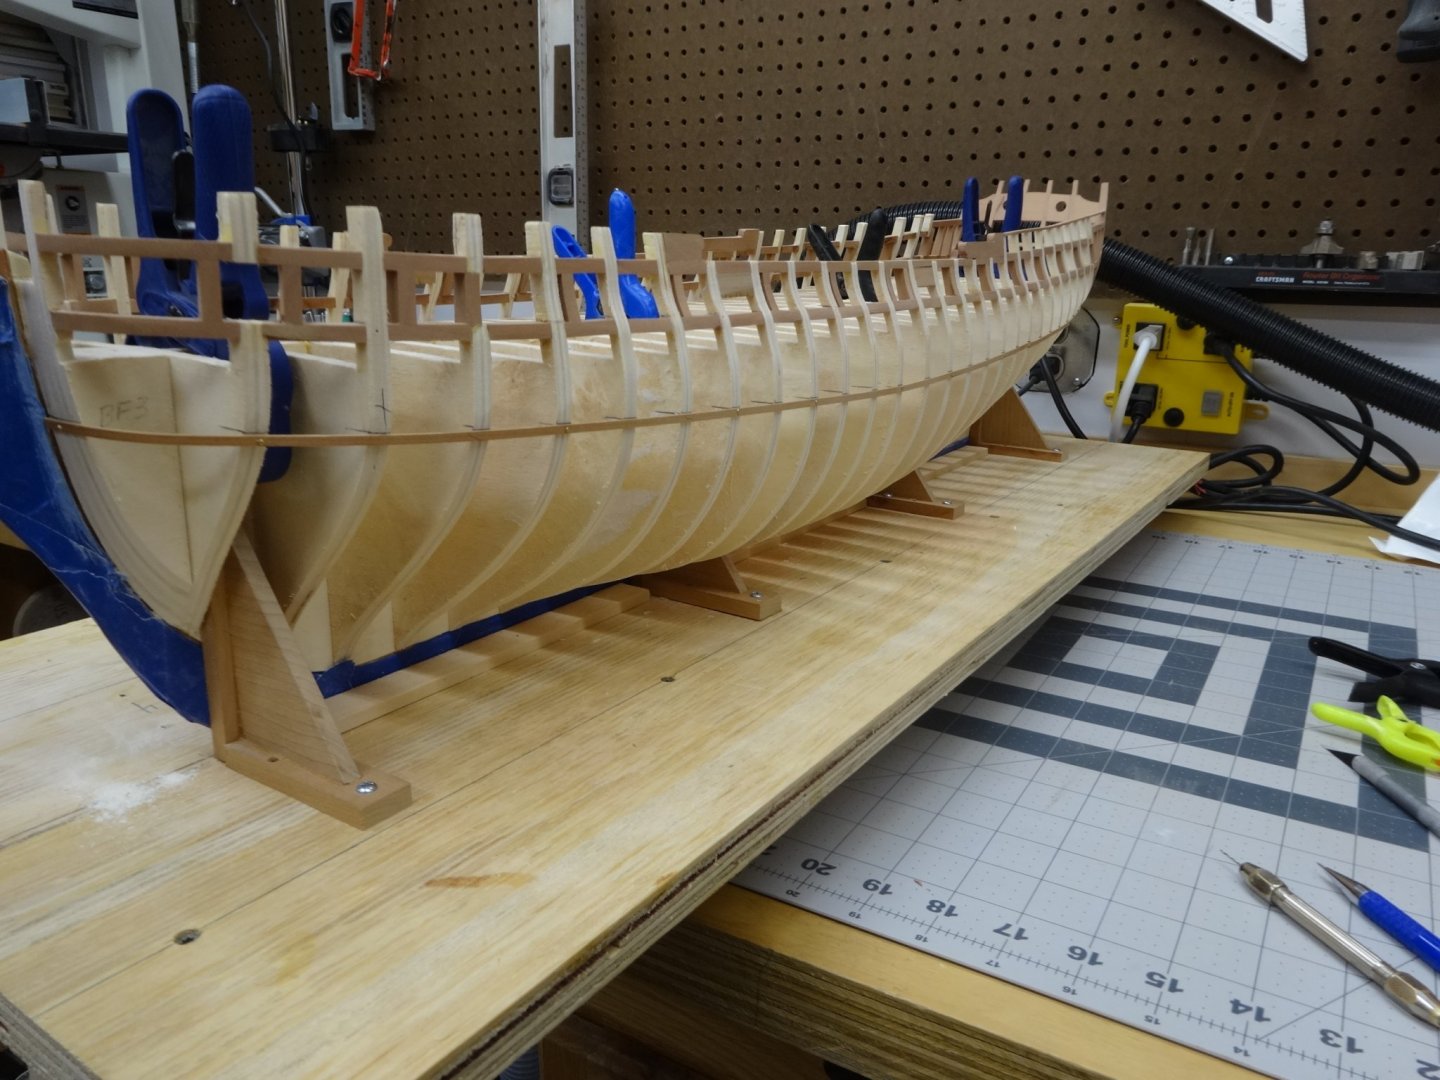
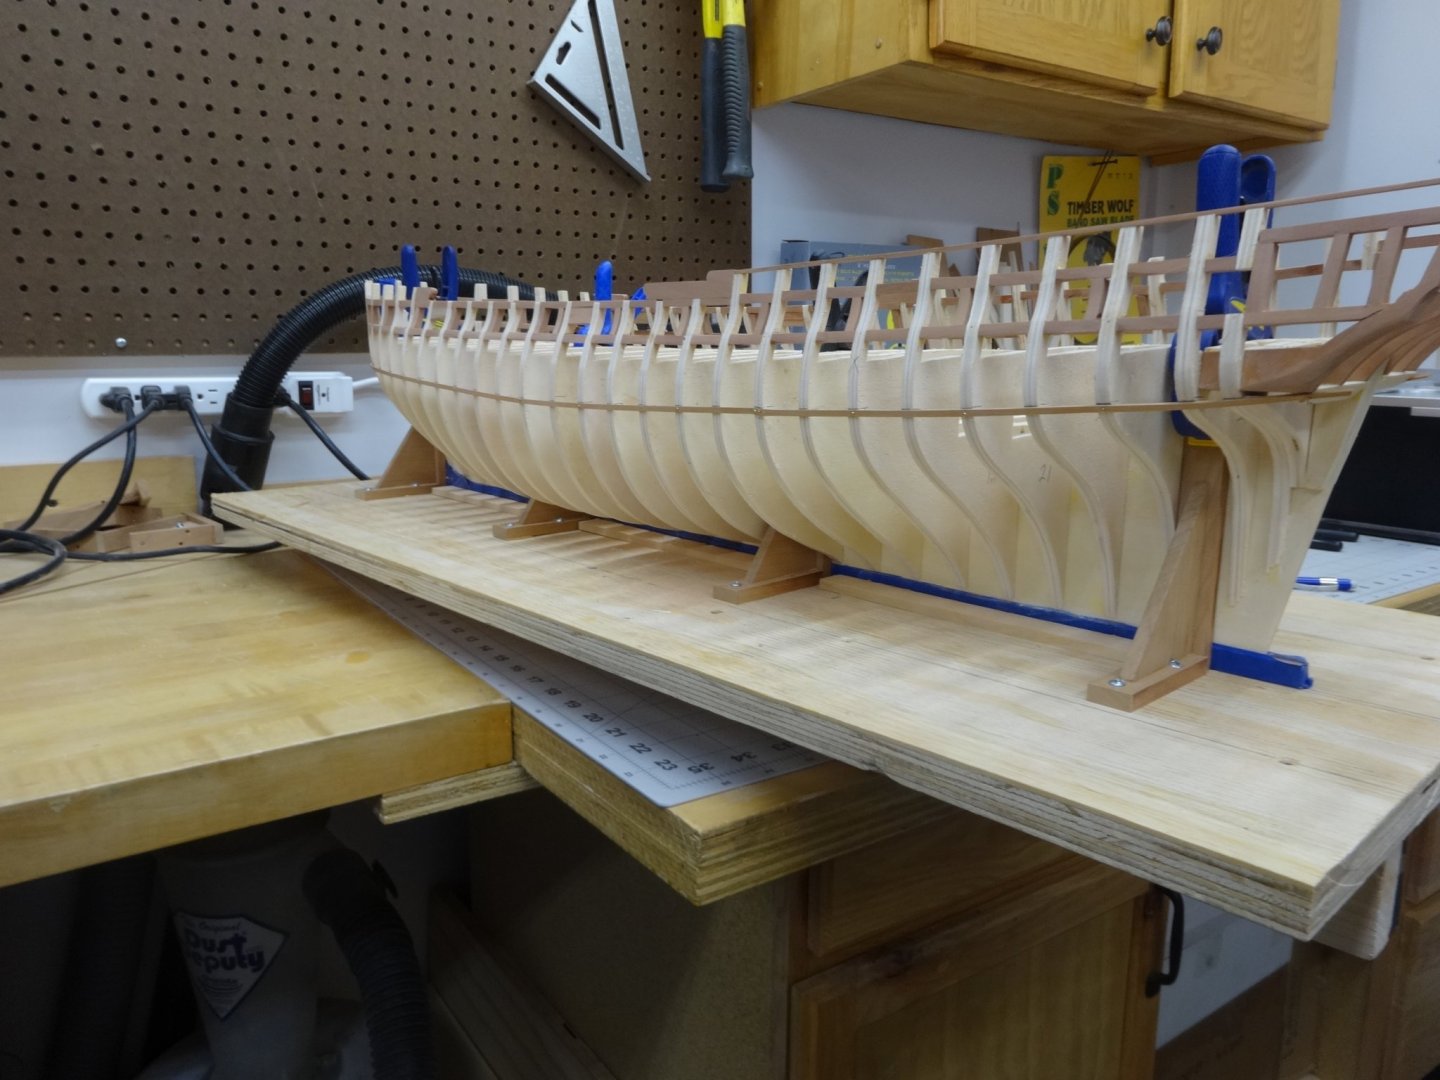
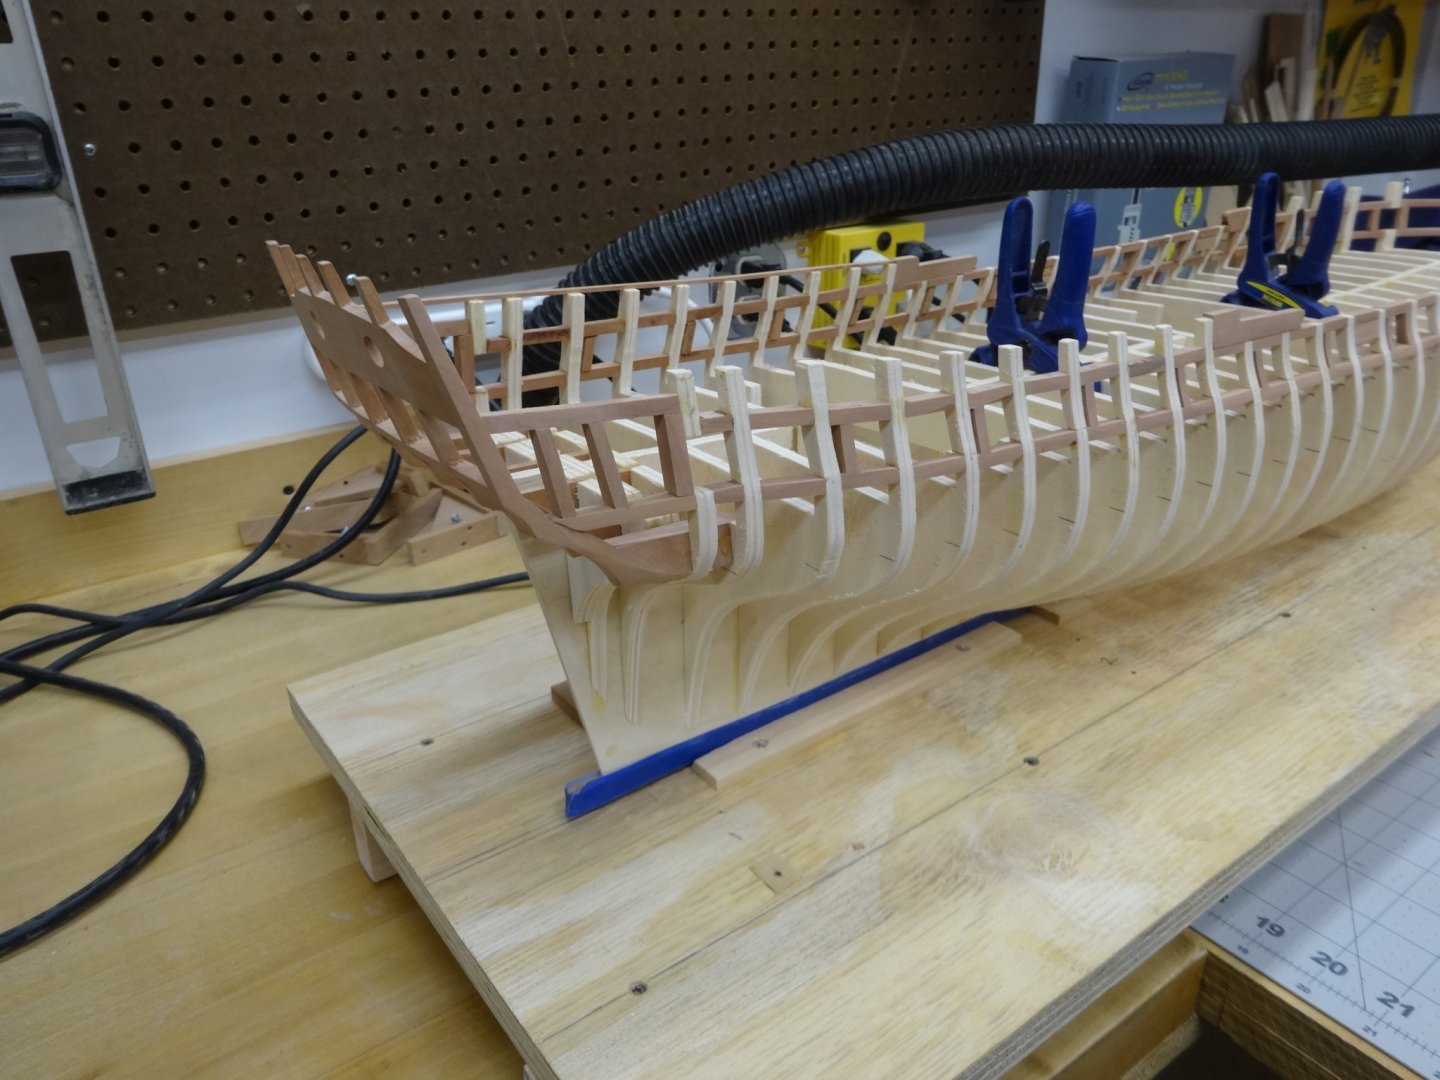
I have completed the first 4 rows of the wales and the fifth row being the black strake. These strakes will have a second layer added to them later. All five strakes are 7/32" x 3/64". Here's the wales first layer in all their dirty glory. As you can see I also use some old table cloths laid out on the work bench to protect the model while out of it's build board and planking etc. I've started cutting the 1/4" x 3/64" planks for the rest of the hull planking. I start by cutting strips from a billet at approximately 0.050" thick. I then pass them through the Byrnes thickness sander bringing them down to 0.047" (3/64"). This ensures that all planks are of the same thickness and takes away any user error when cutting the strips on the table saw. The second thing I'll do is start sorting the strips so that I have strips that are close to the same color. As you can see from the second picture that even though the stripes have all been cut from the same piece of wood the not only vary in color from piece to piece but also end to end. Pieces that vary too much in color will be used in the areas covered by the frieze.


- 642 replies
-
- 23
-
-
- winchelsea
- Syren Ship Model Company
- (and 1 more)
-
I really can't say enough about your build process and how stunning it looks. Going to the 1:48 scale was a great choice! Also the darker roof on the quarter galleries looks better to me too.
- 1,784 replies
-
- 3
-
-
- winchelsea
- Syren Ship Model Company
- (and 1 more)
-
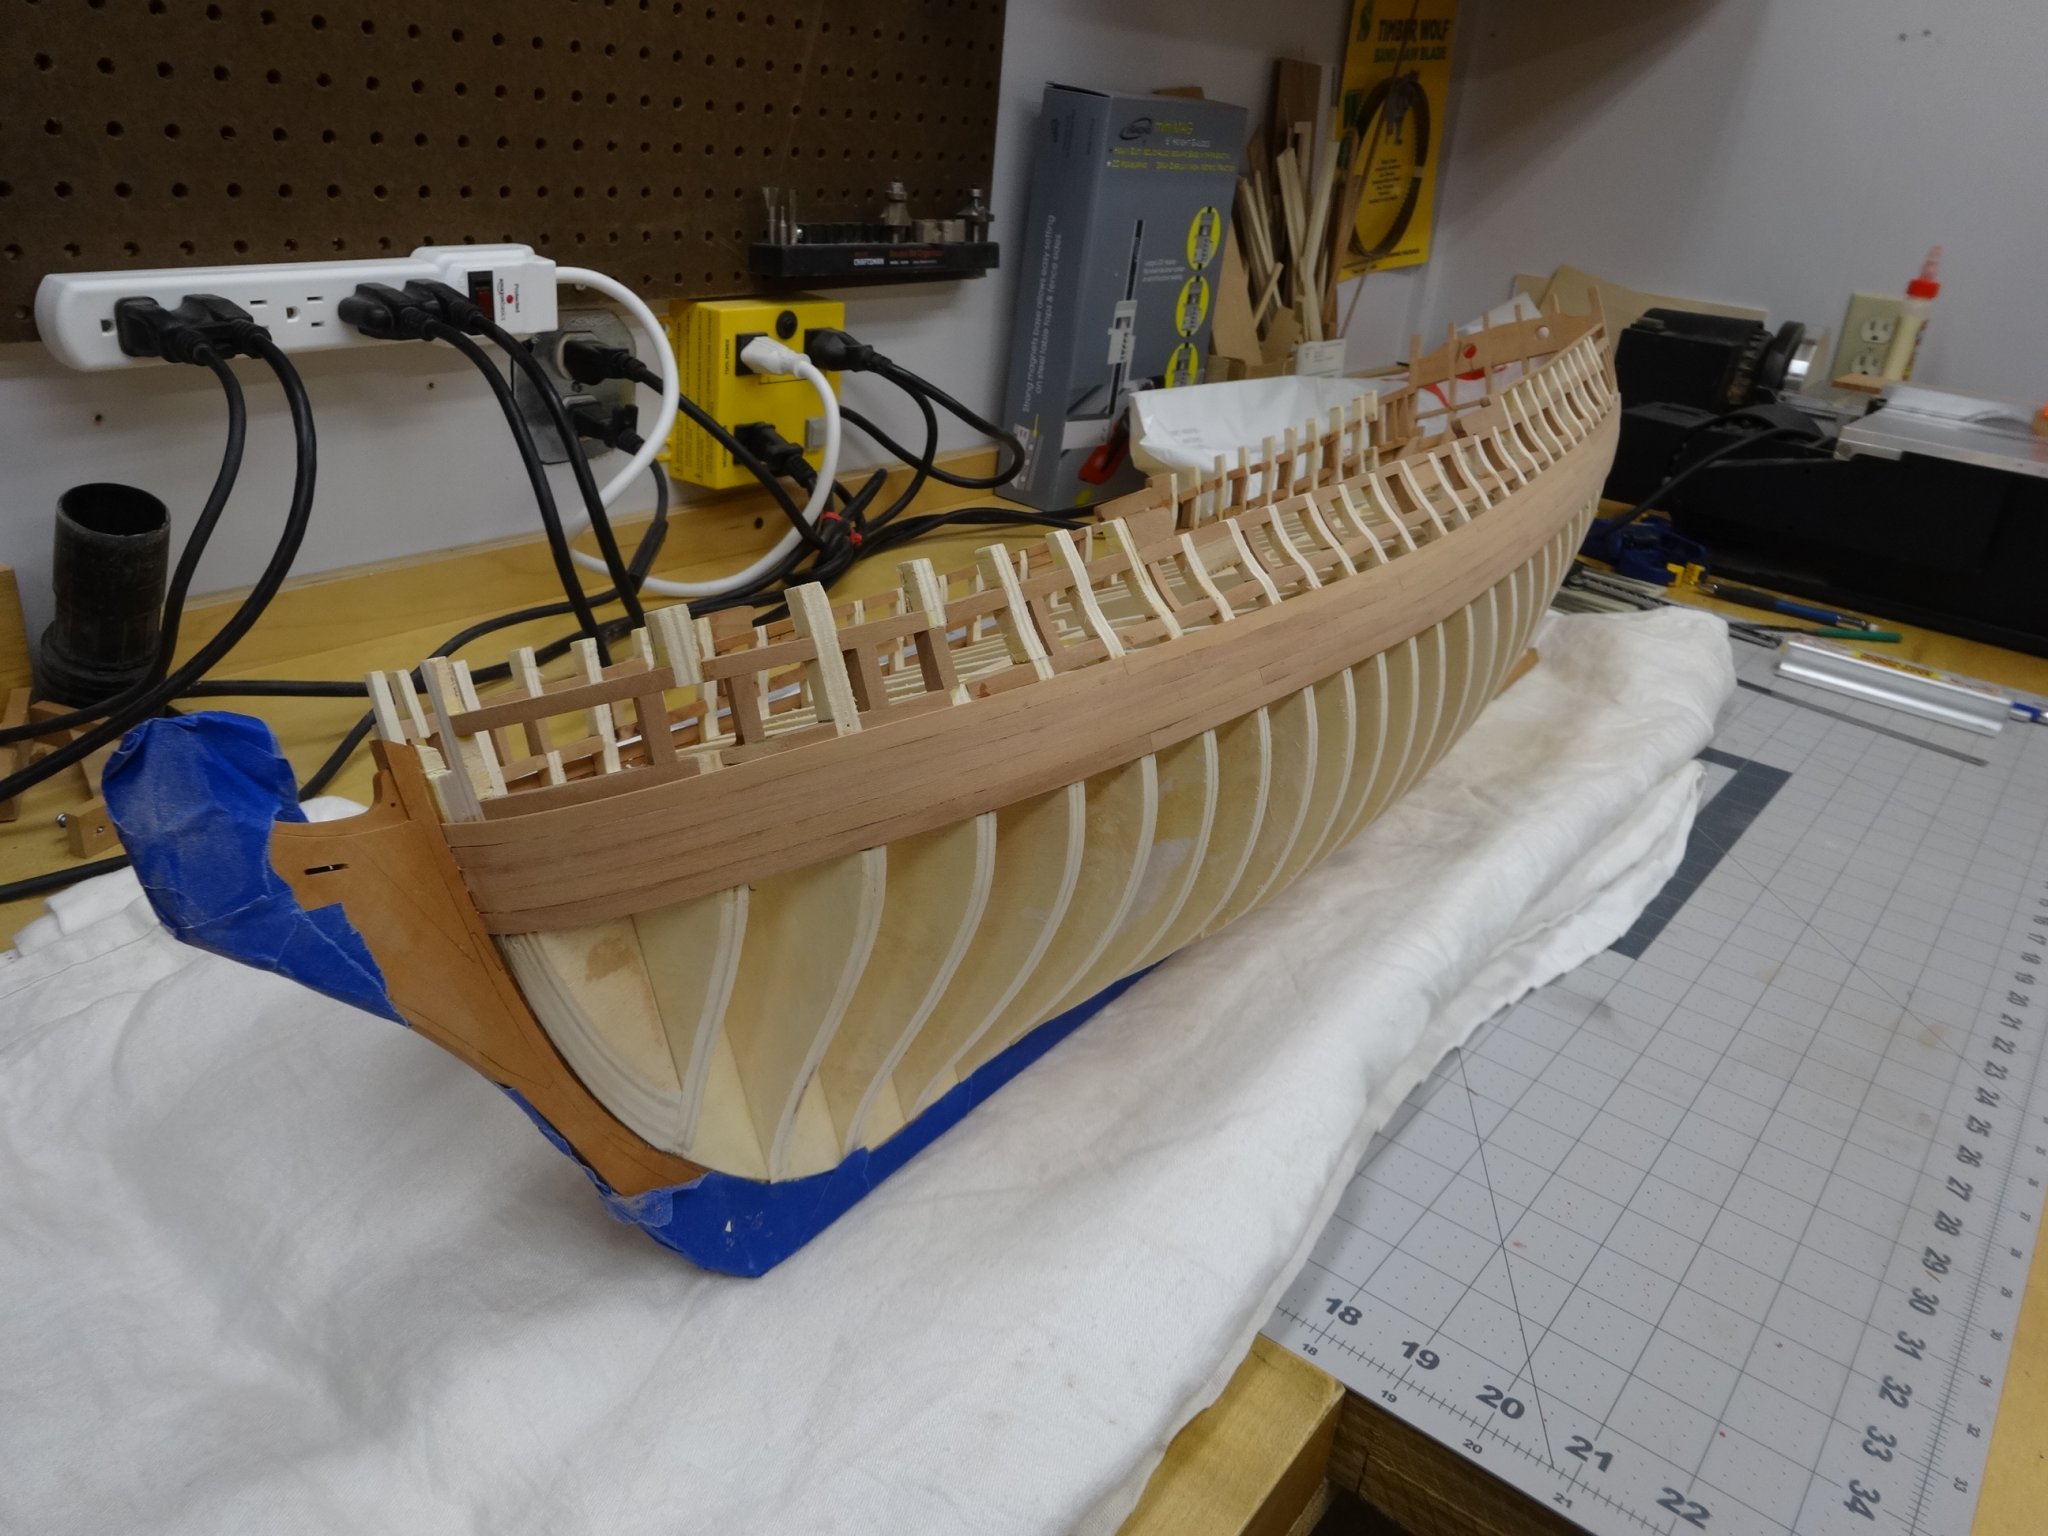
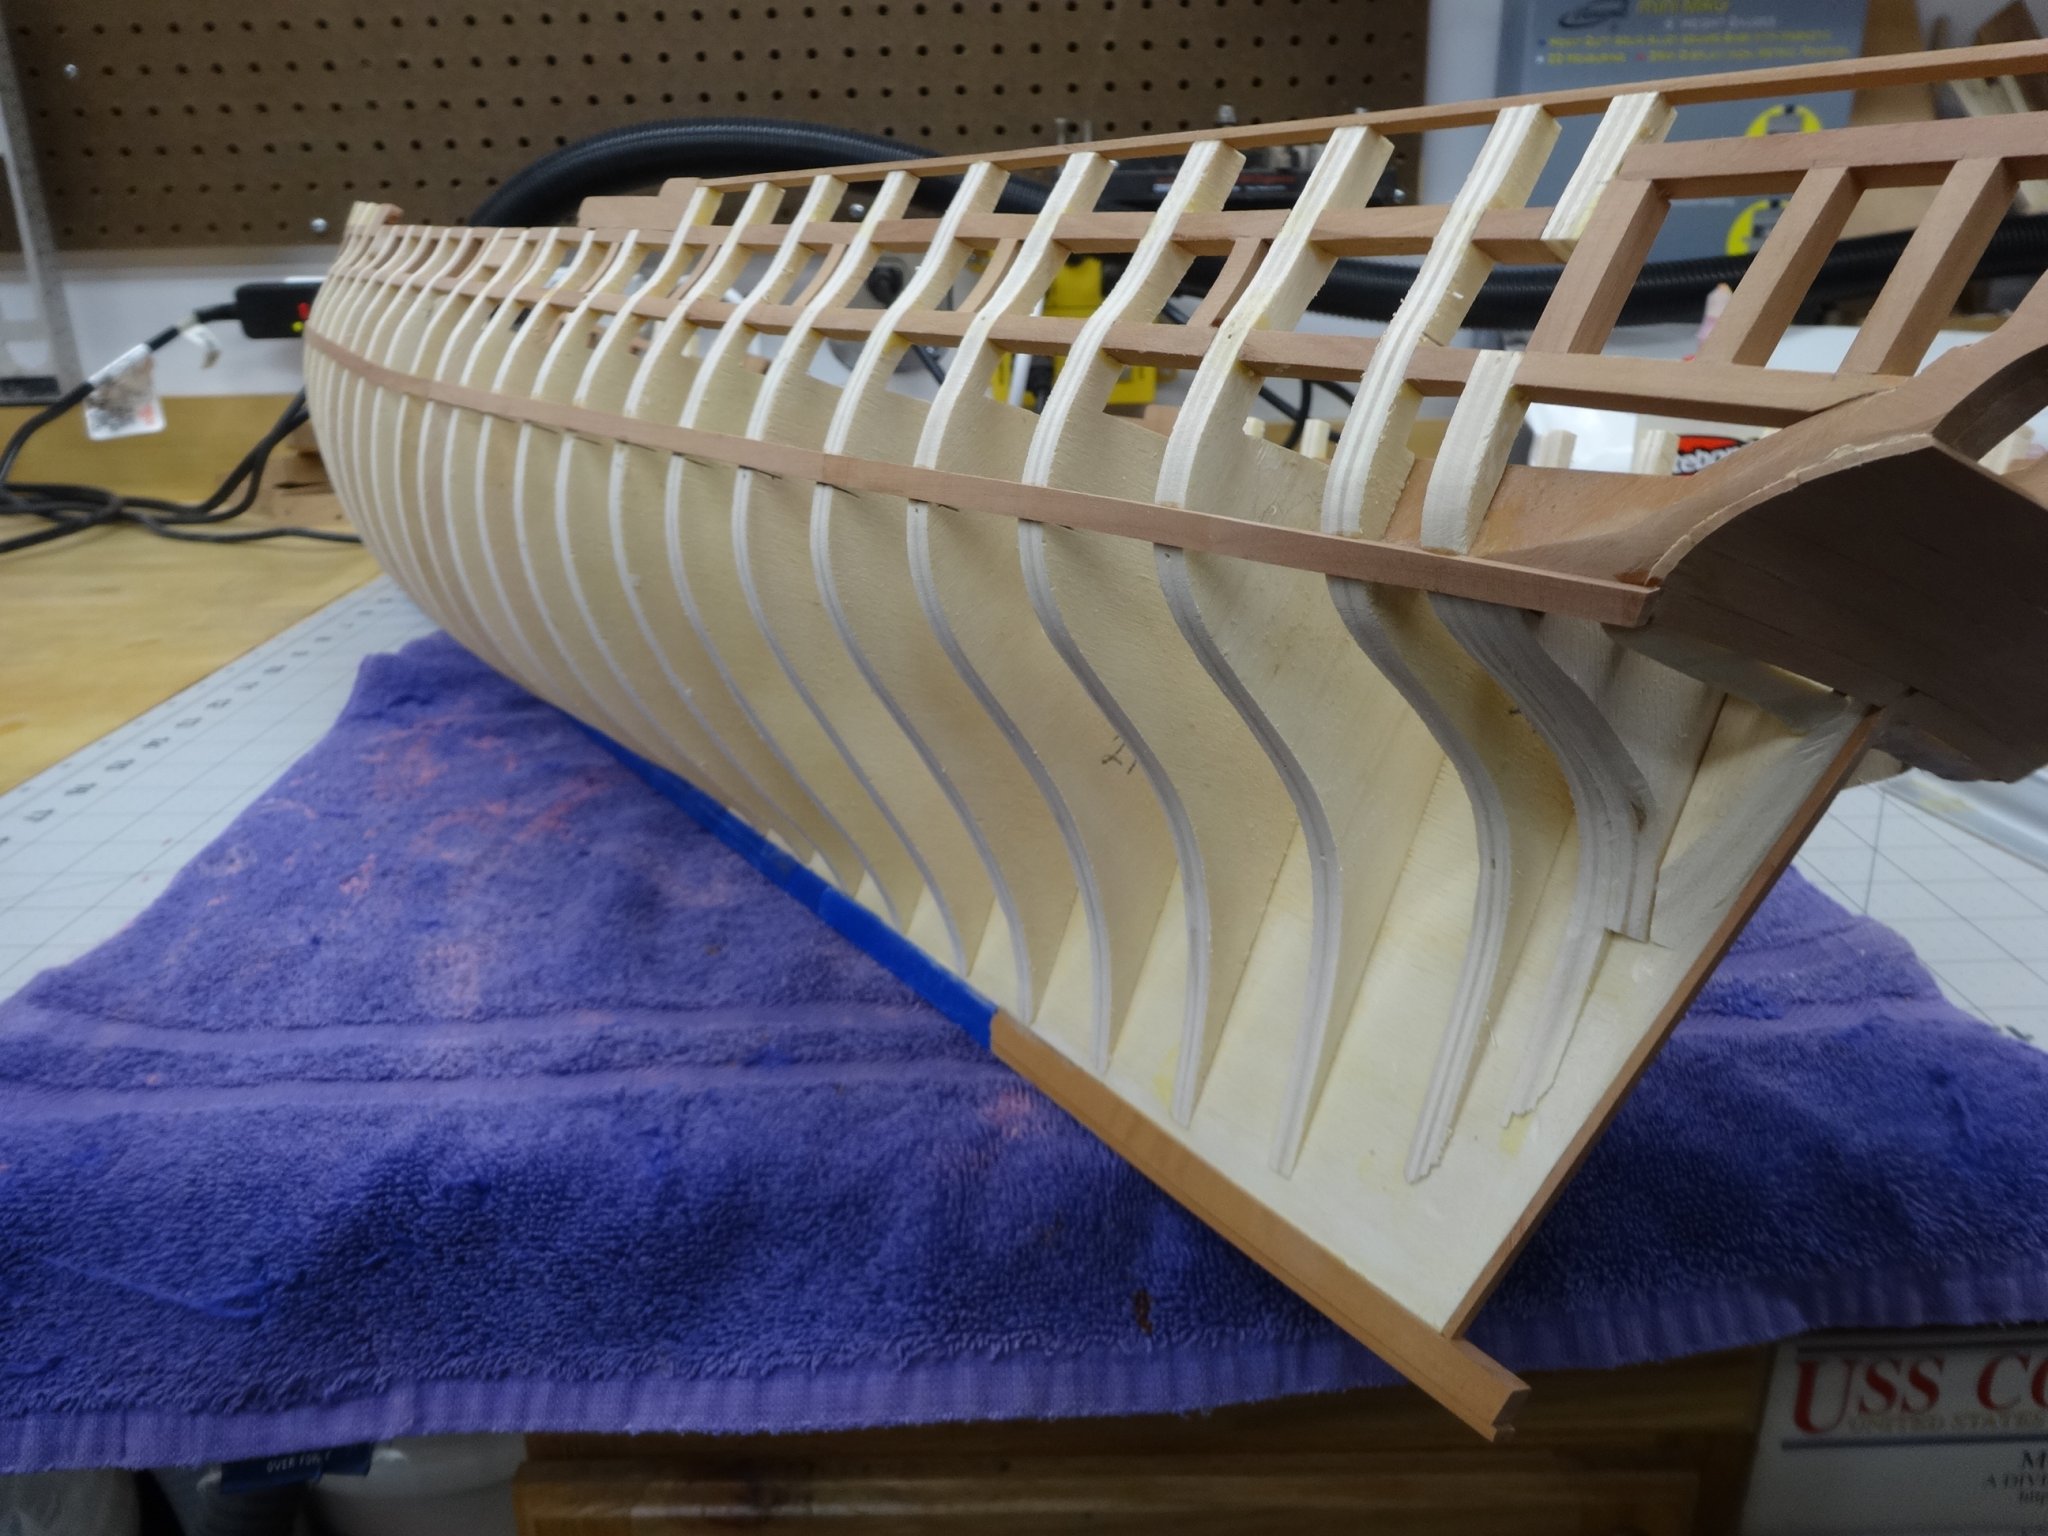
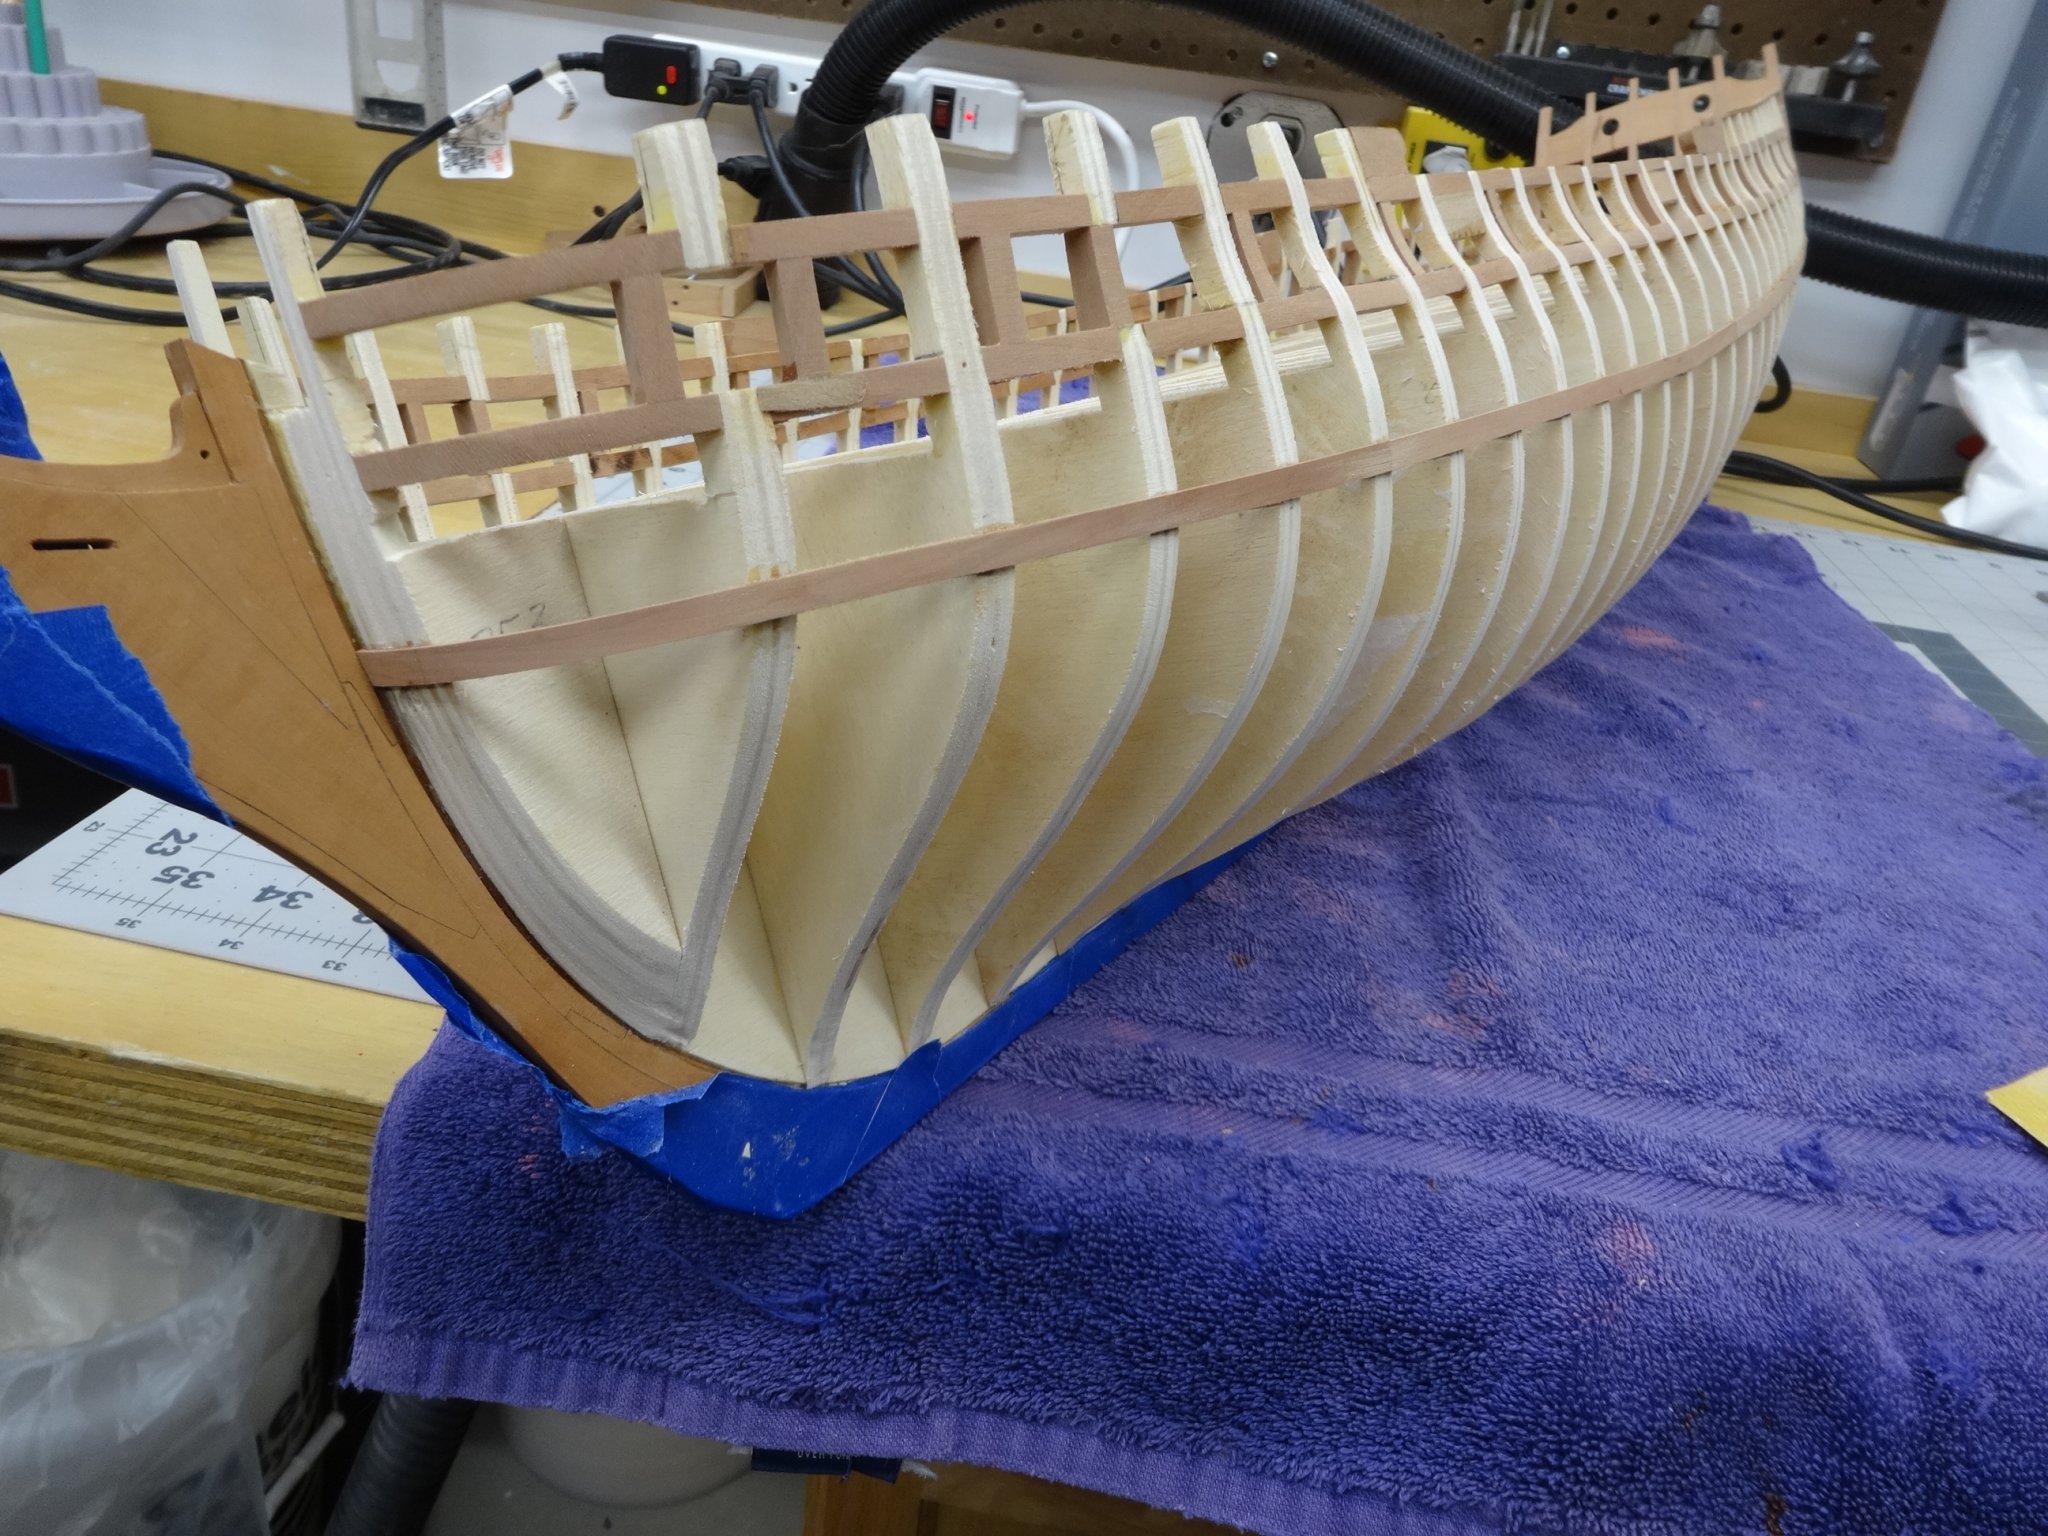
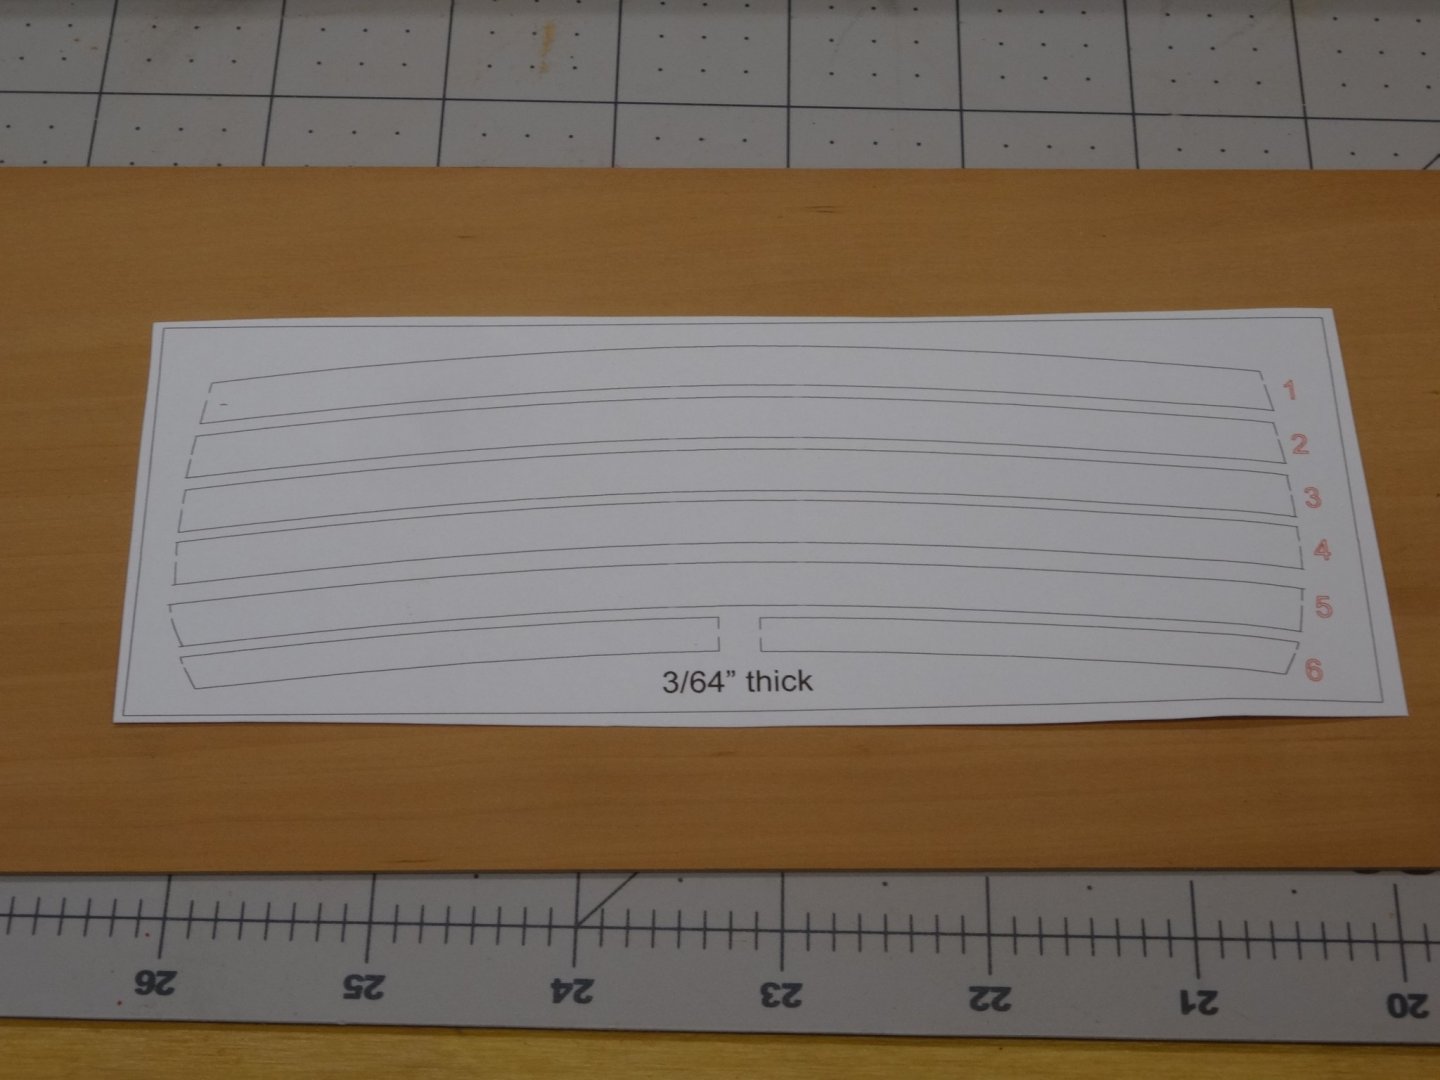
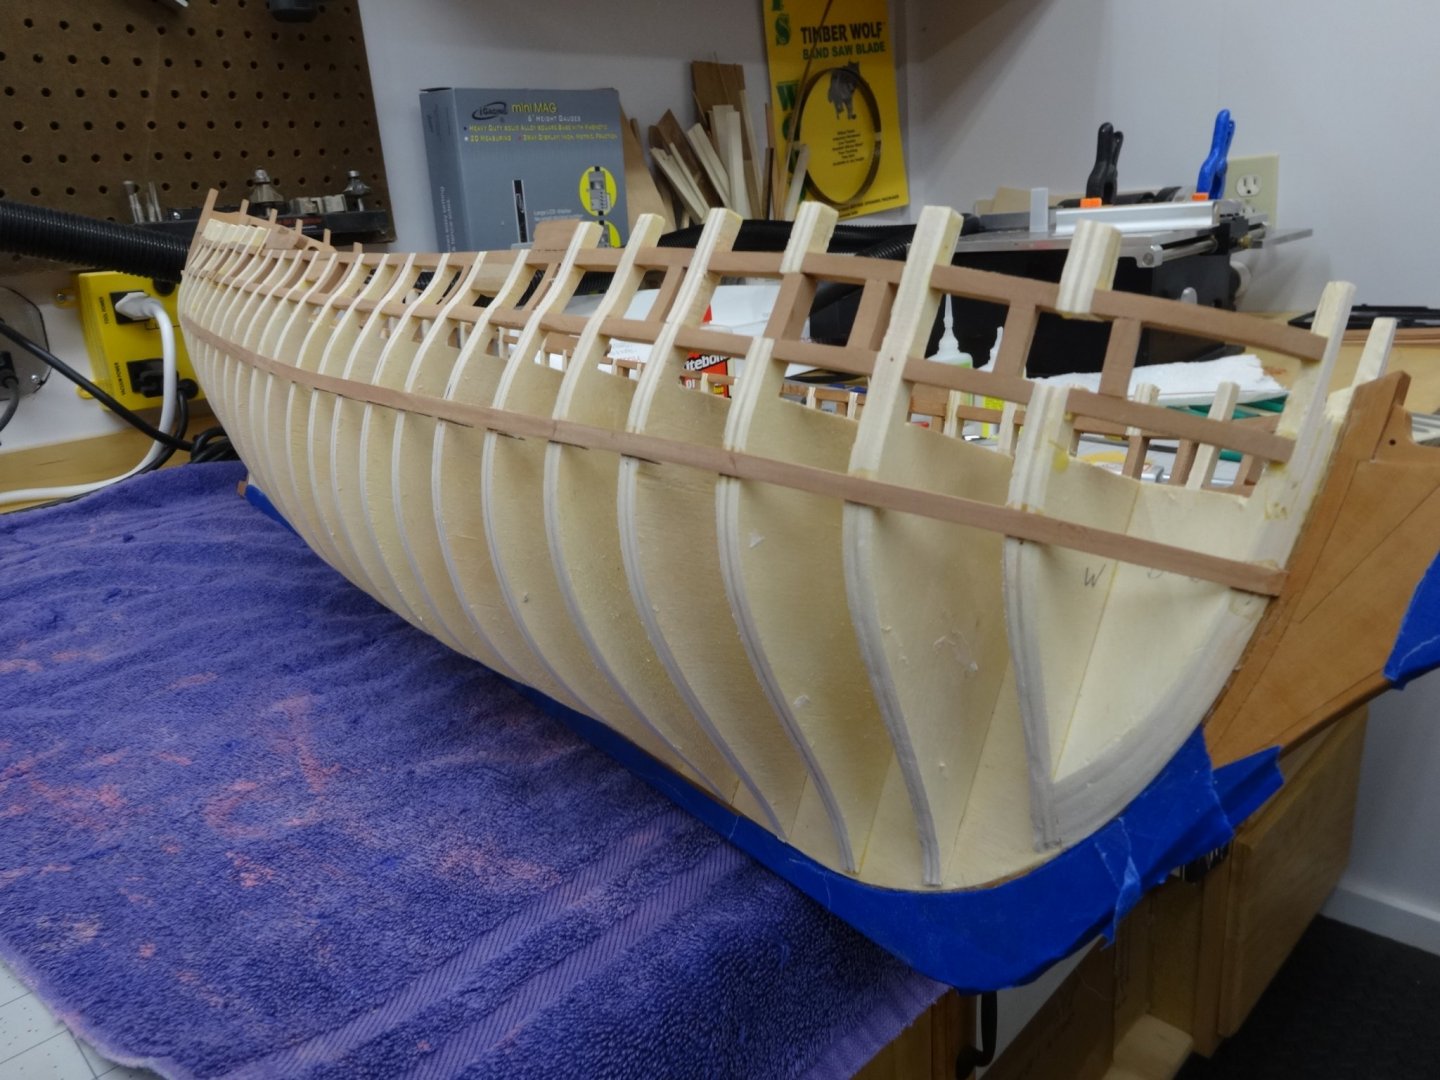
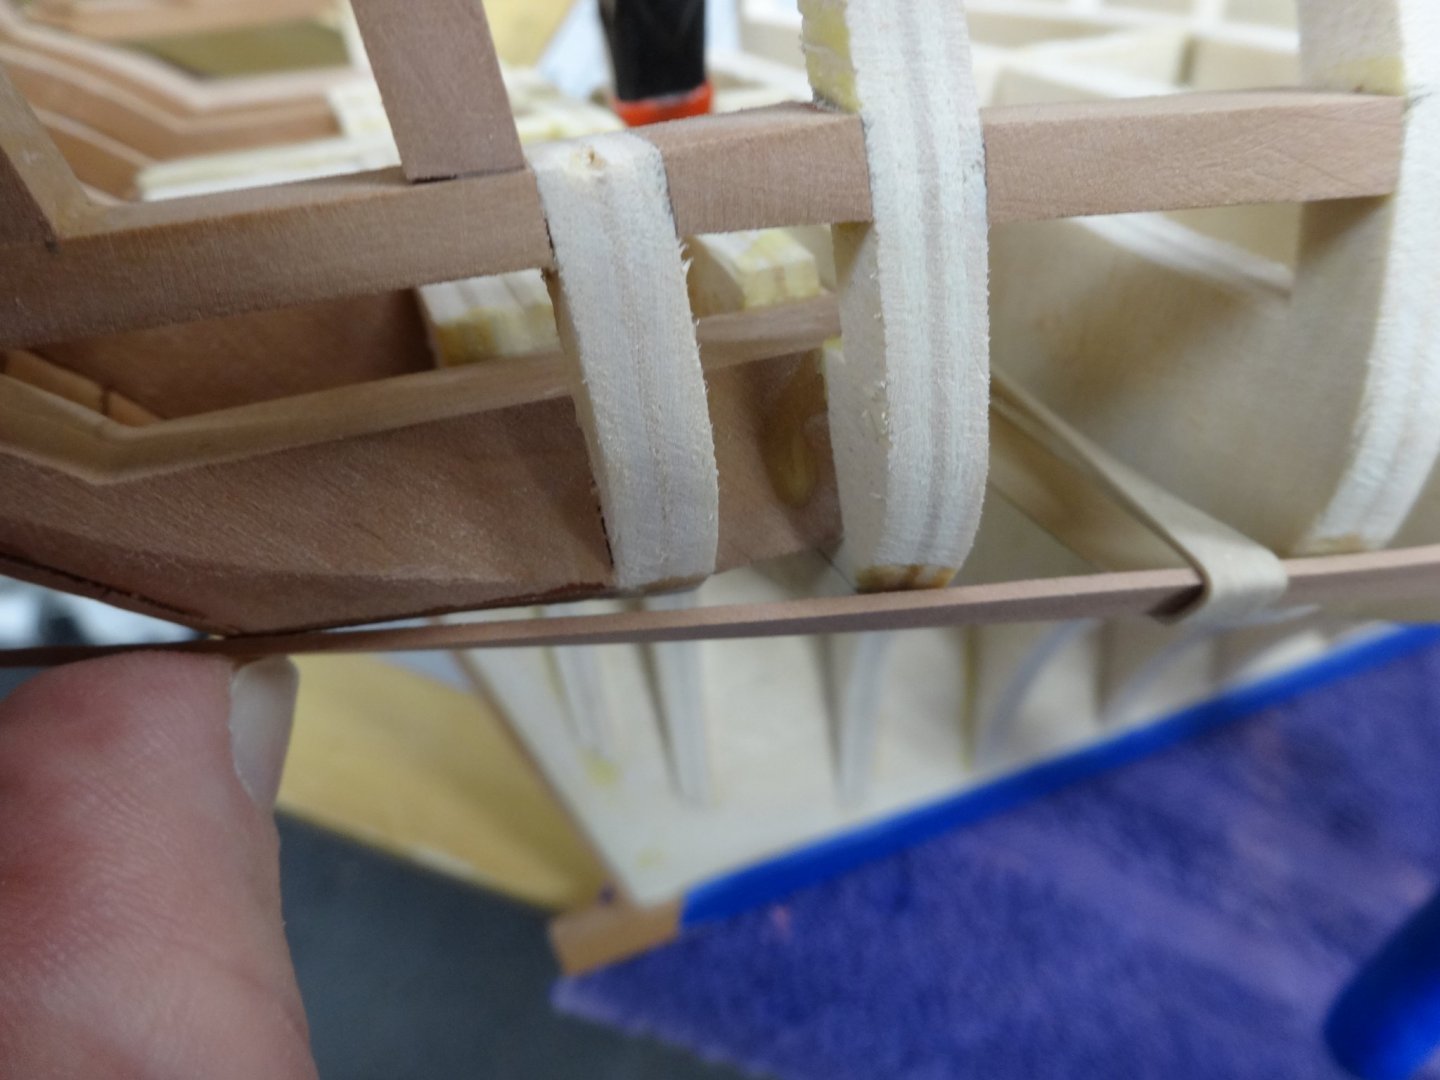
I started working on the lower counter and the first row of the wales. I used the plans to cut the planks for the lower counter. They are preshaped for a better fit. After the counter was planked I started the do the first row of the wales. The port side seemed to go well though I leave that to sharper eyes than mine. The starboard side from the bow to the next to last piece again went well. When I was putting the last strake on I noticed that at frames 27 and 28 I had sanded too much off. The normal run of the plank showed a large gap. If I laid the plank down to the frame there would have been a big dip in the wales. So I pulled the last strake and I've added some basswood to the face of the frame and once the glue dries I'll re-fair it. Hopefully all will be right then and I can continue with the rest of the strakes.


- 642 replies
-
- 14
-
-
- winchelsea
- Syren Ship Model Company
- (and 1 more)
-
Looks great Chuck and I've placed my order! Take your time shipping and enjoy the Christmas holiday with your family!
- 1,784 replies
-
- 2
-
-
- winchelsea
- Syren Ship Model Company
- (and 1 more)
-
Thanks Matt and Chris, Hi Ben, Thanks for the input. I think the quarter gallaries doorway angle can be adjusted as I plank it. The foremost port will be easy to adjust. Thanks!
- 642 replies
-
- 6
-
-
- winchelsea
- Syren Ship Model Company
- (and 1 more)
-
Hi Chuck, I've just caught up with your progress and she is looking outstanding. I throw my vote to the painted group. I'll be fun to see the various approaches everyone takes.
- 1,784 replies
-
- 3
-
-
- winchelsea
- Syren Ship Model Company
- (and 1 more)
-
Thanks JJ. Also thanks for the likes!
- 642 replies
-
- 1
-
-
- winchelsea
- Syren Ship Model Company
- (and 1 more)
-
I think it looks spot on. Well done.
-
Thanks for the kind words Mark. And also for all the likes. Well I'm back from vacation and though it's cold and snowy out it's warm in the workshop. I spent the afternoon running the baton strip to mark the bottom of the wales. I'll look them over again tomorrow, after ugh work, with a fresh eye. Next up I'll cut the pieces for the lower counter.


- 642 replies
-
- 18
-
-
- winchelsea
- Syren Ship Model Company
- (and 1 more)
-
Very nice progress Bob.
-
Yes that looks really good. I like it too.
- 1,784 replies
-
- 1
-
-
- winchelsea
- Syren Ship Model Company
- (and 1 more)
-
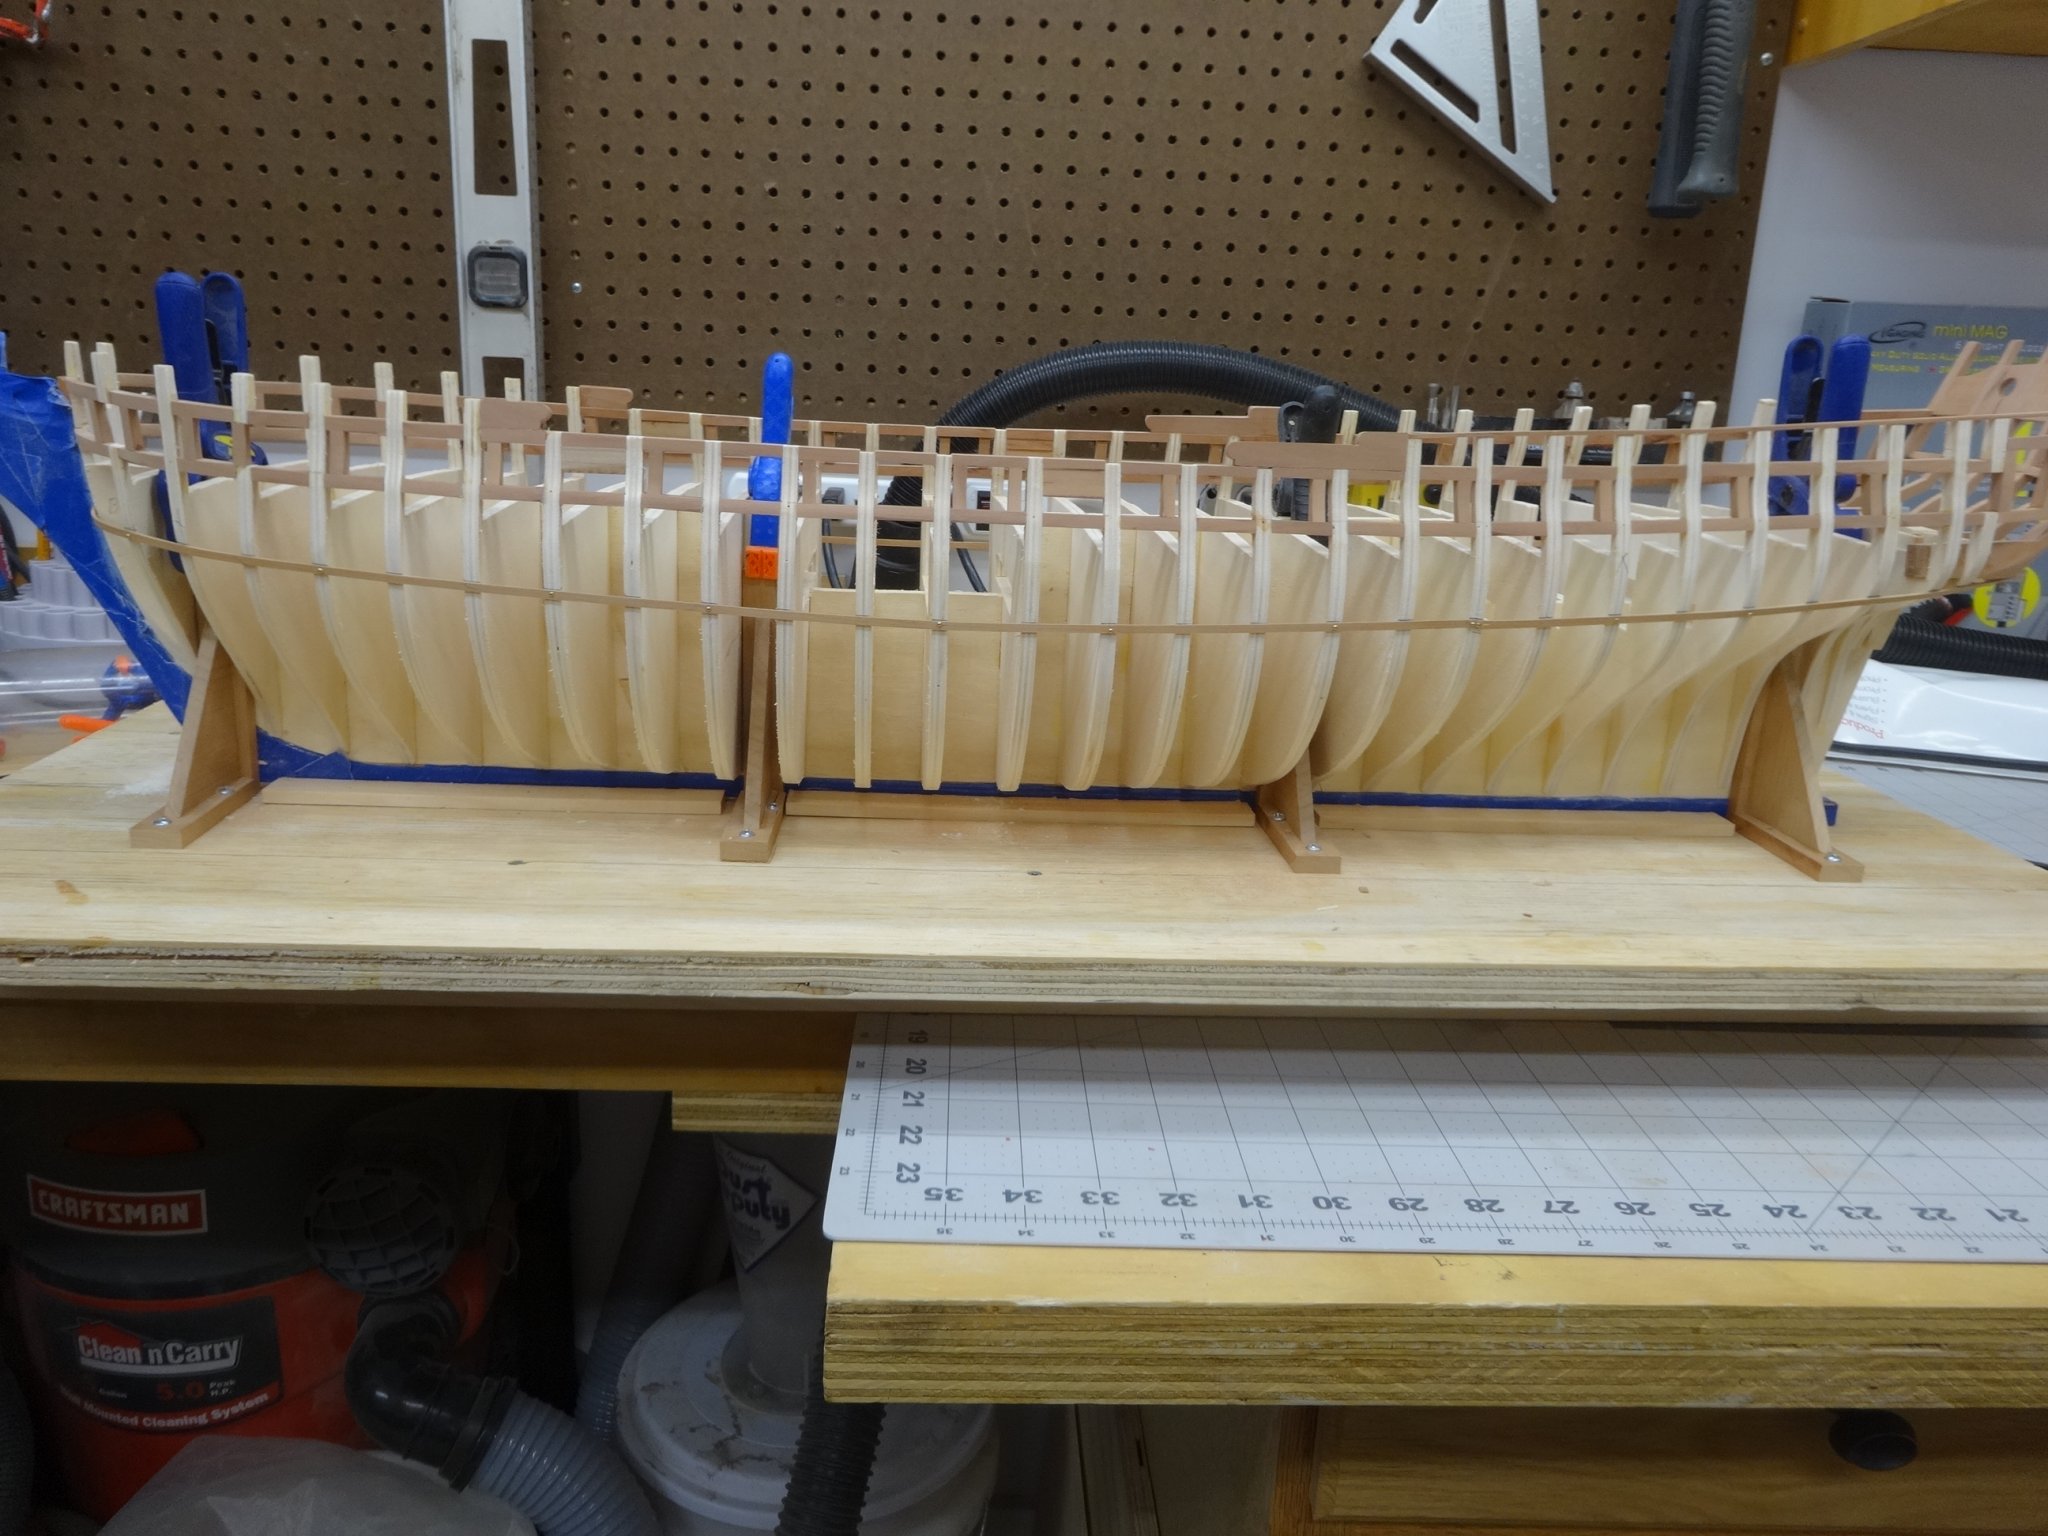
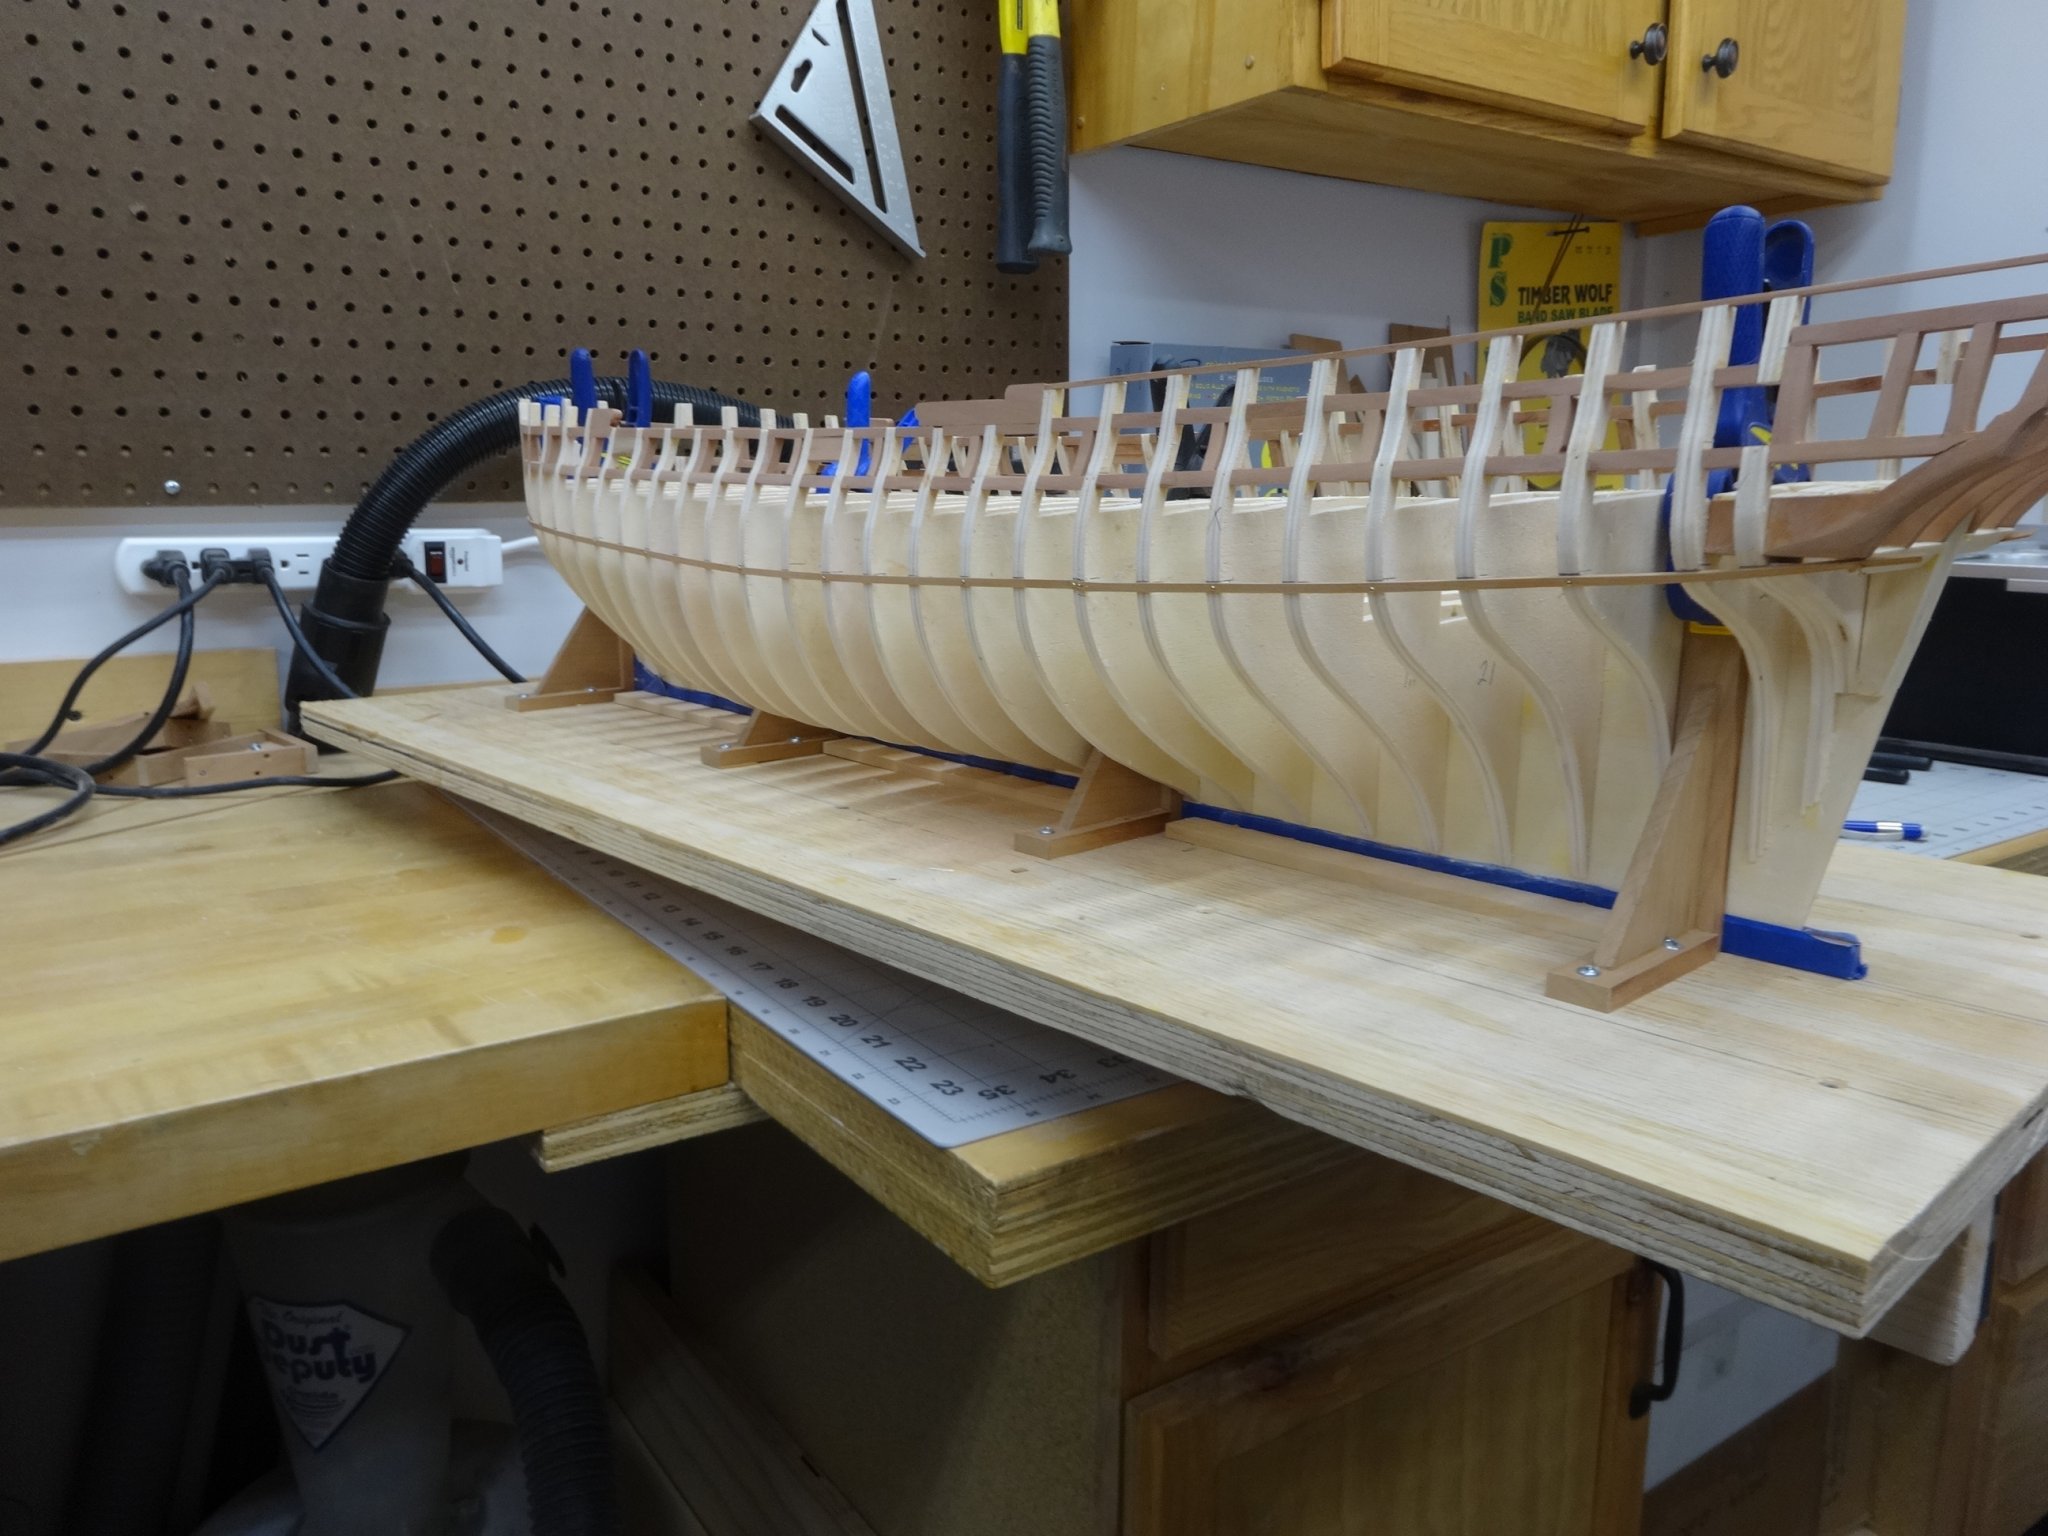
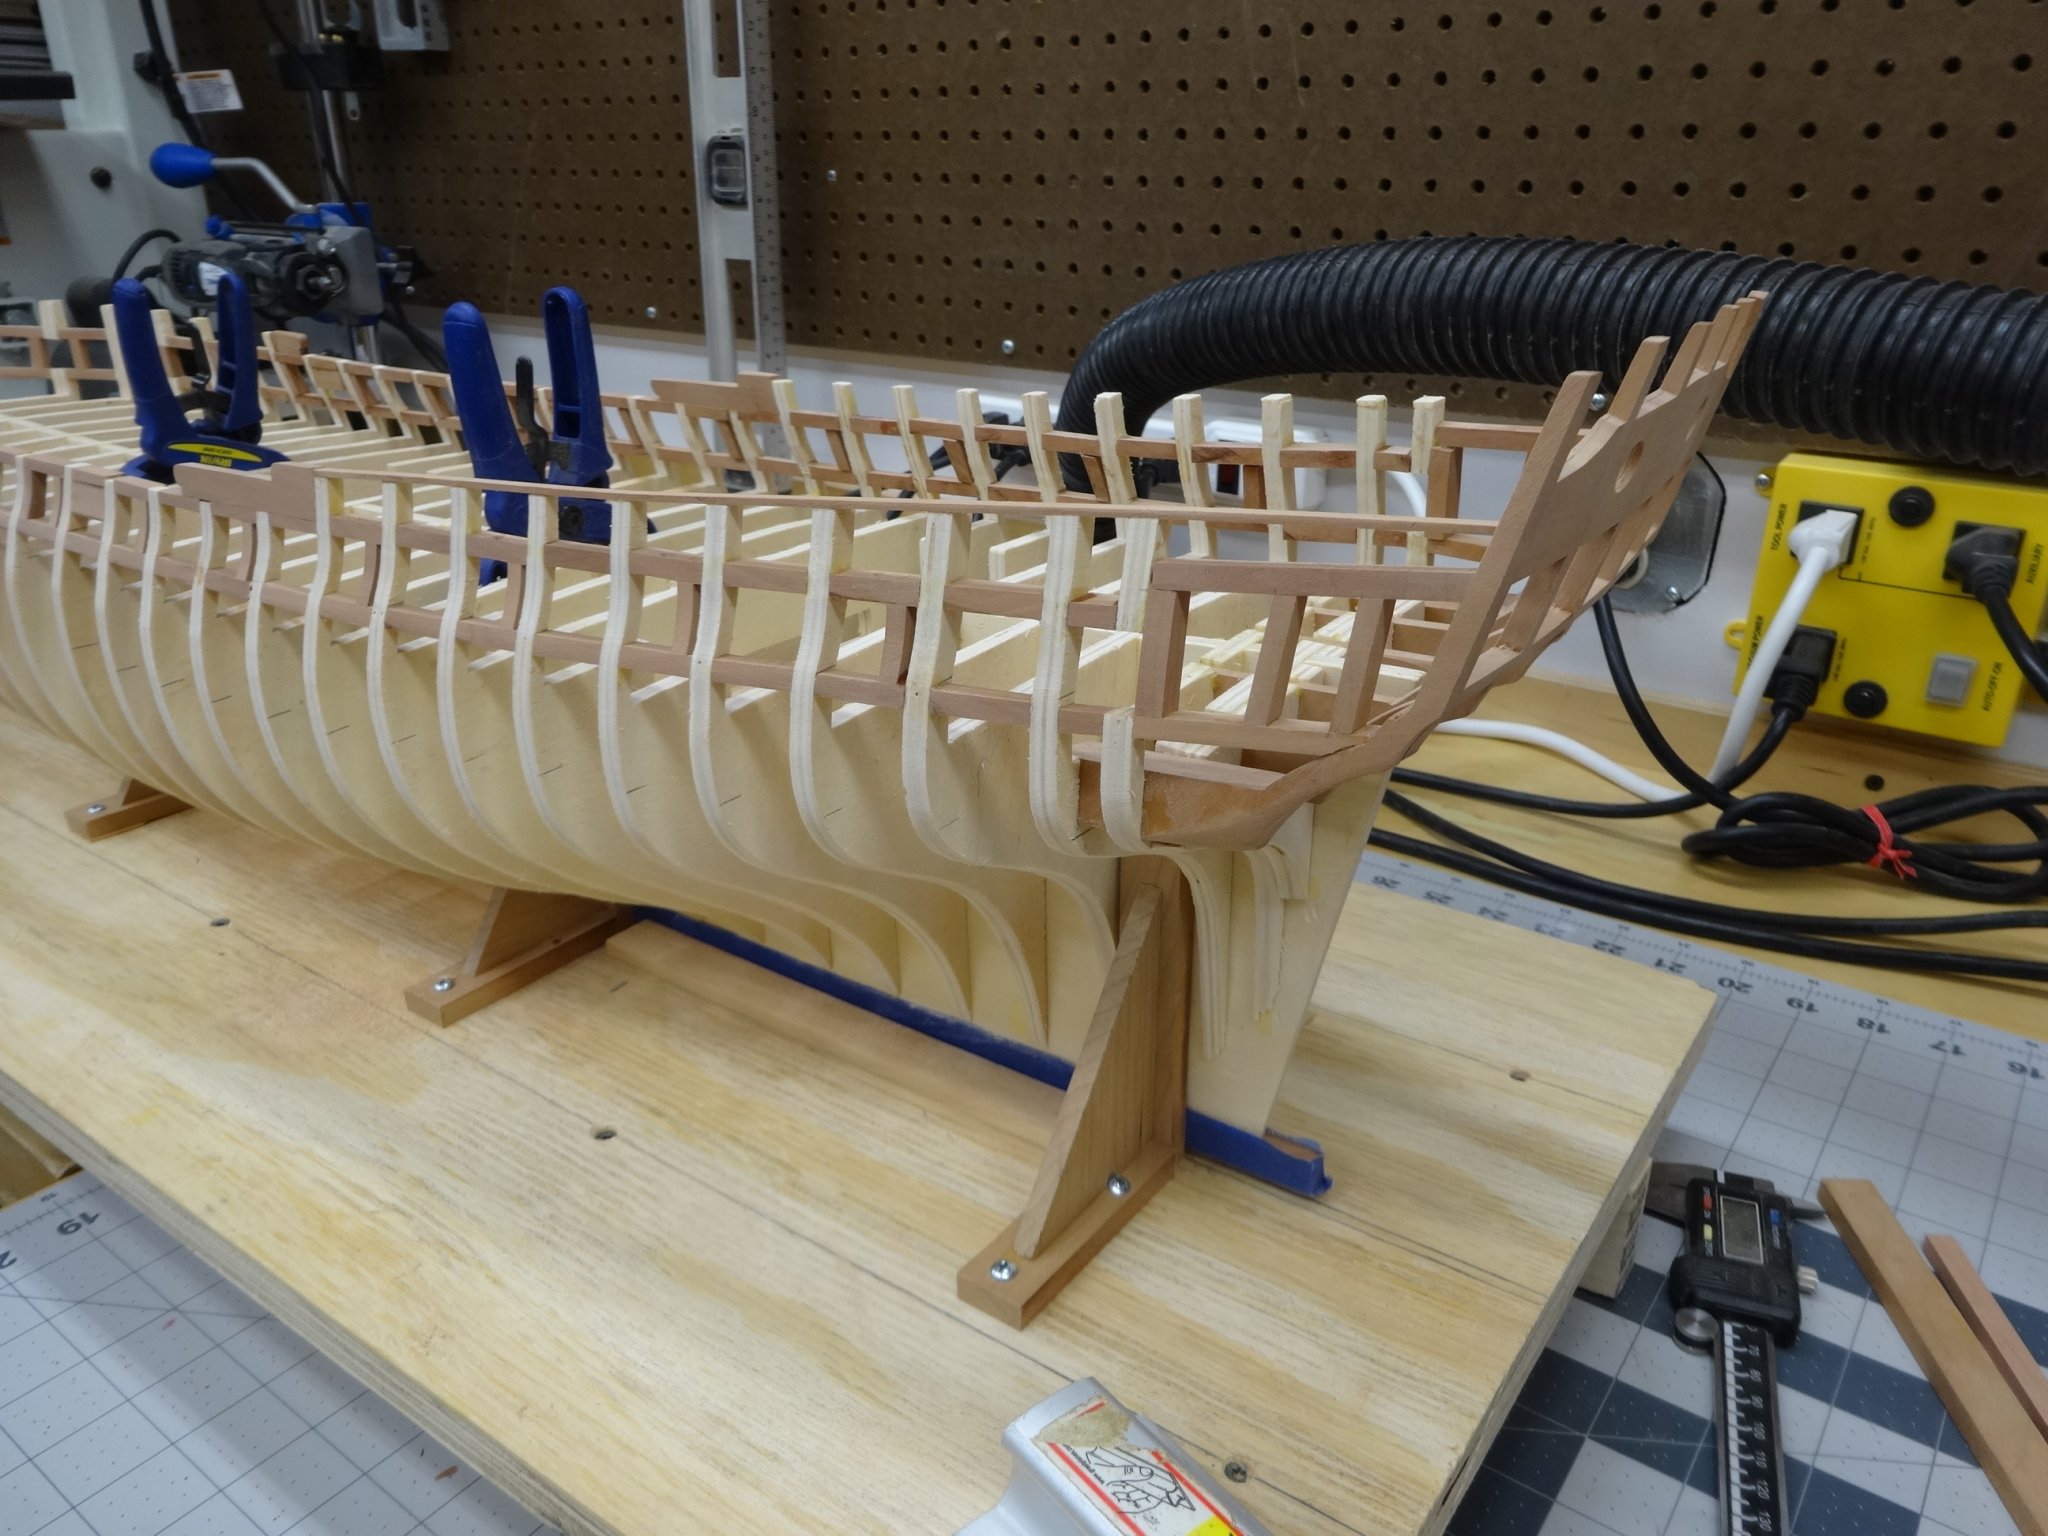
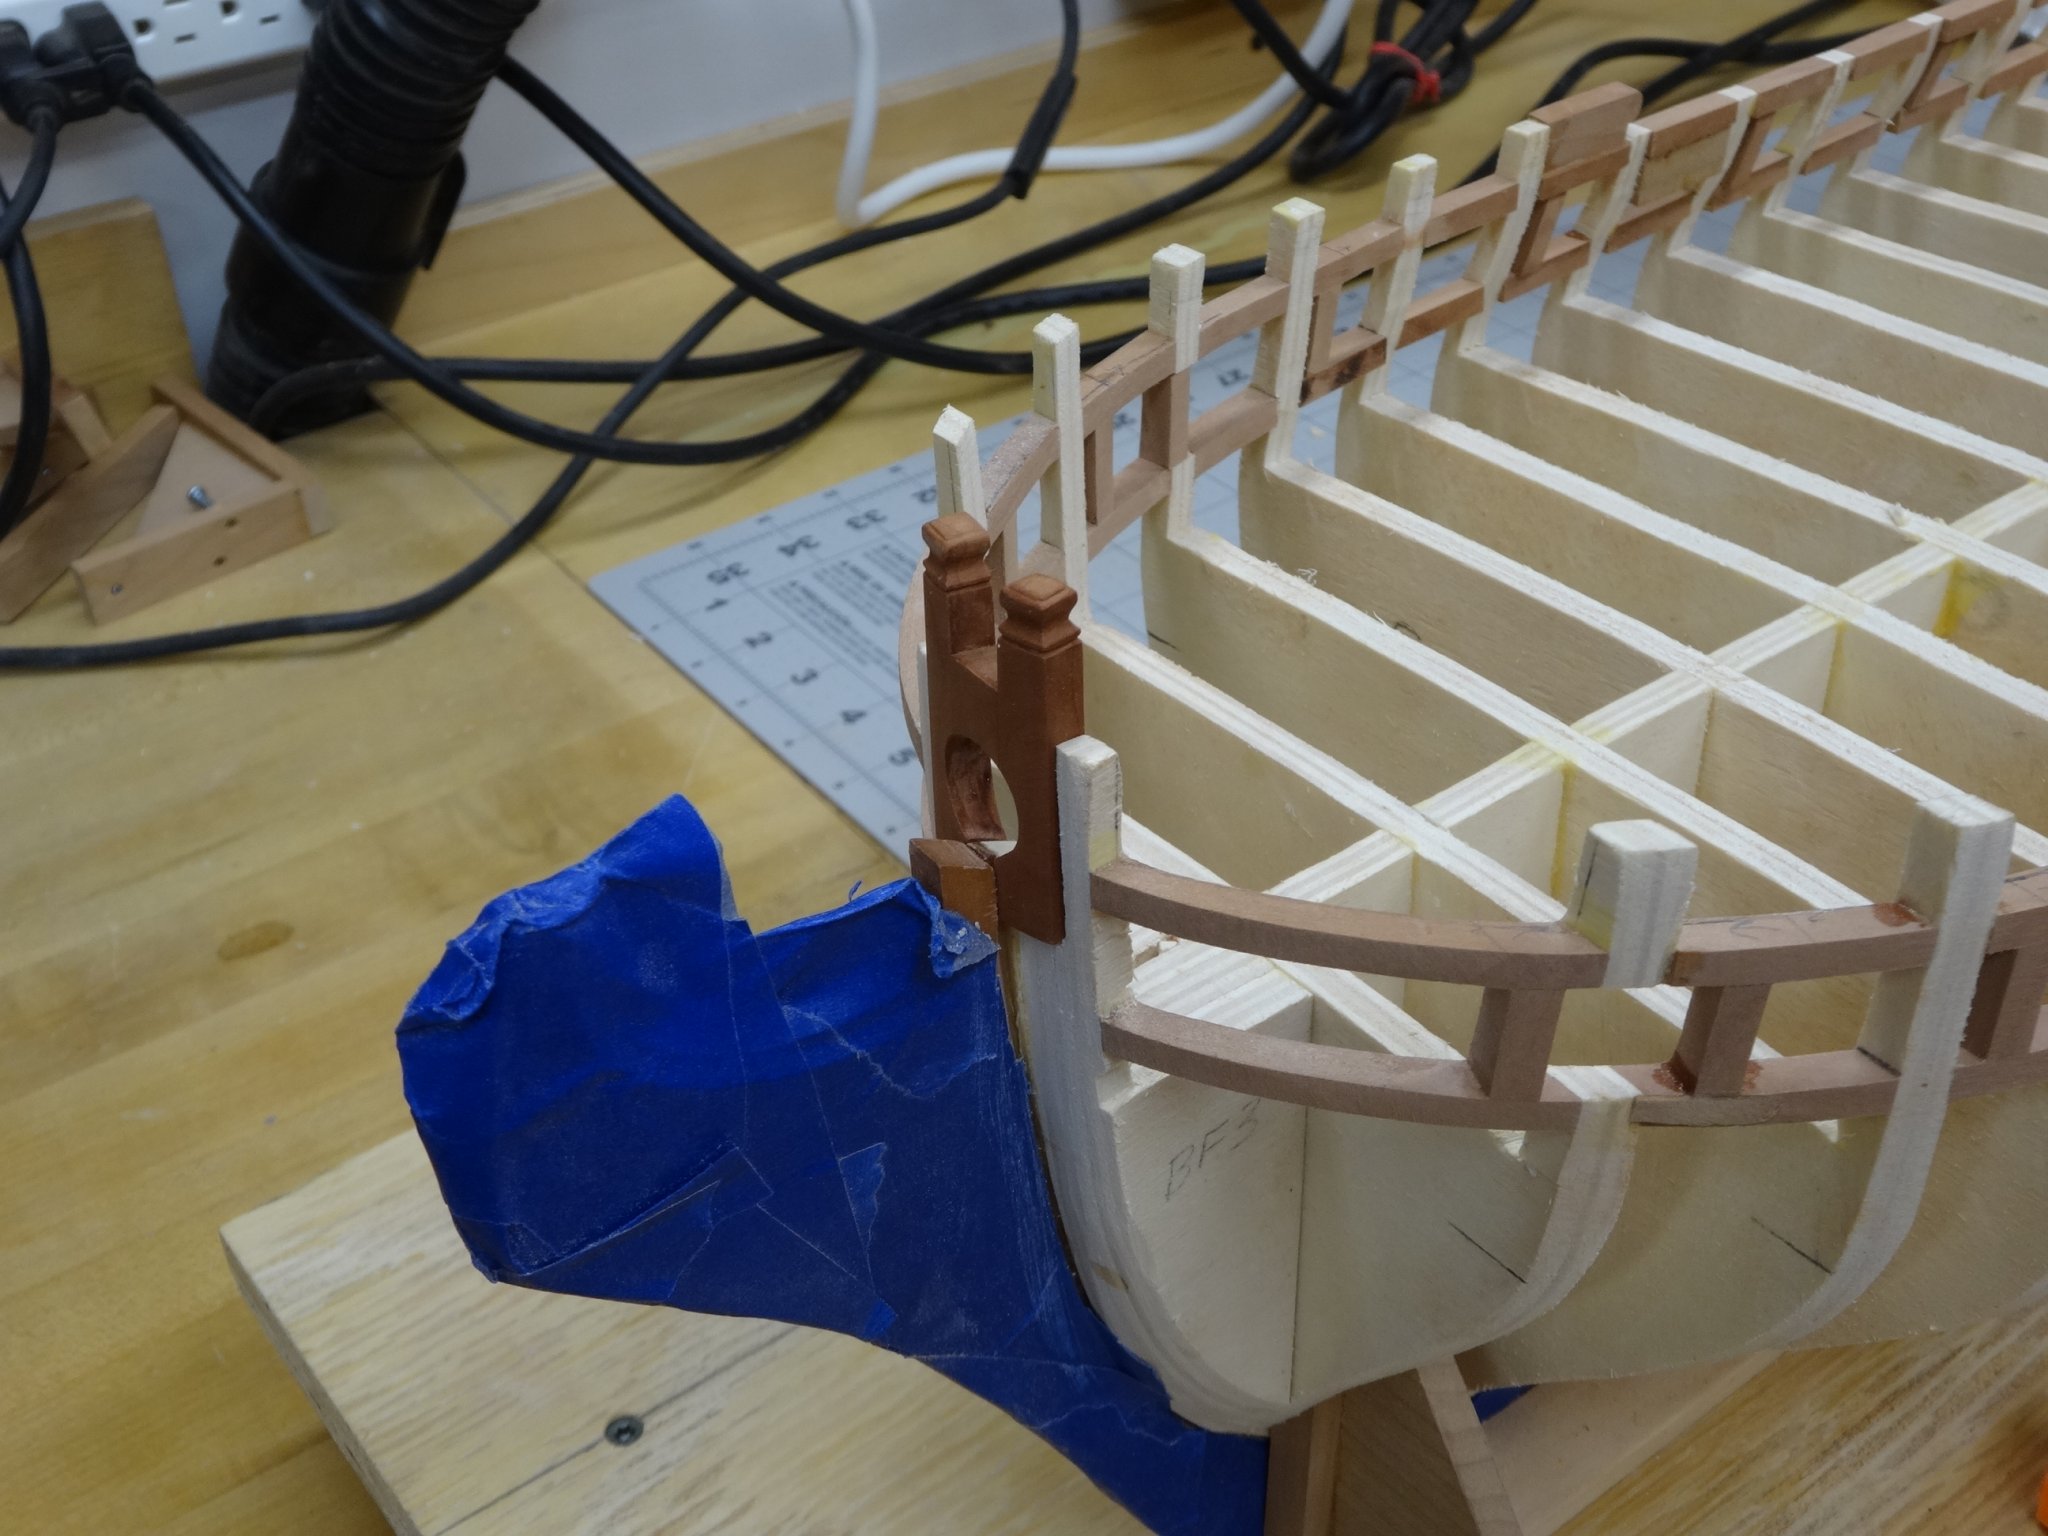
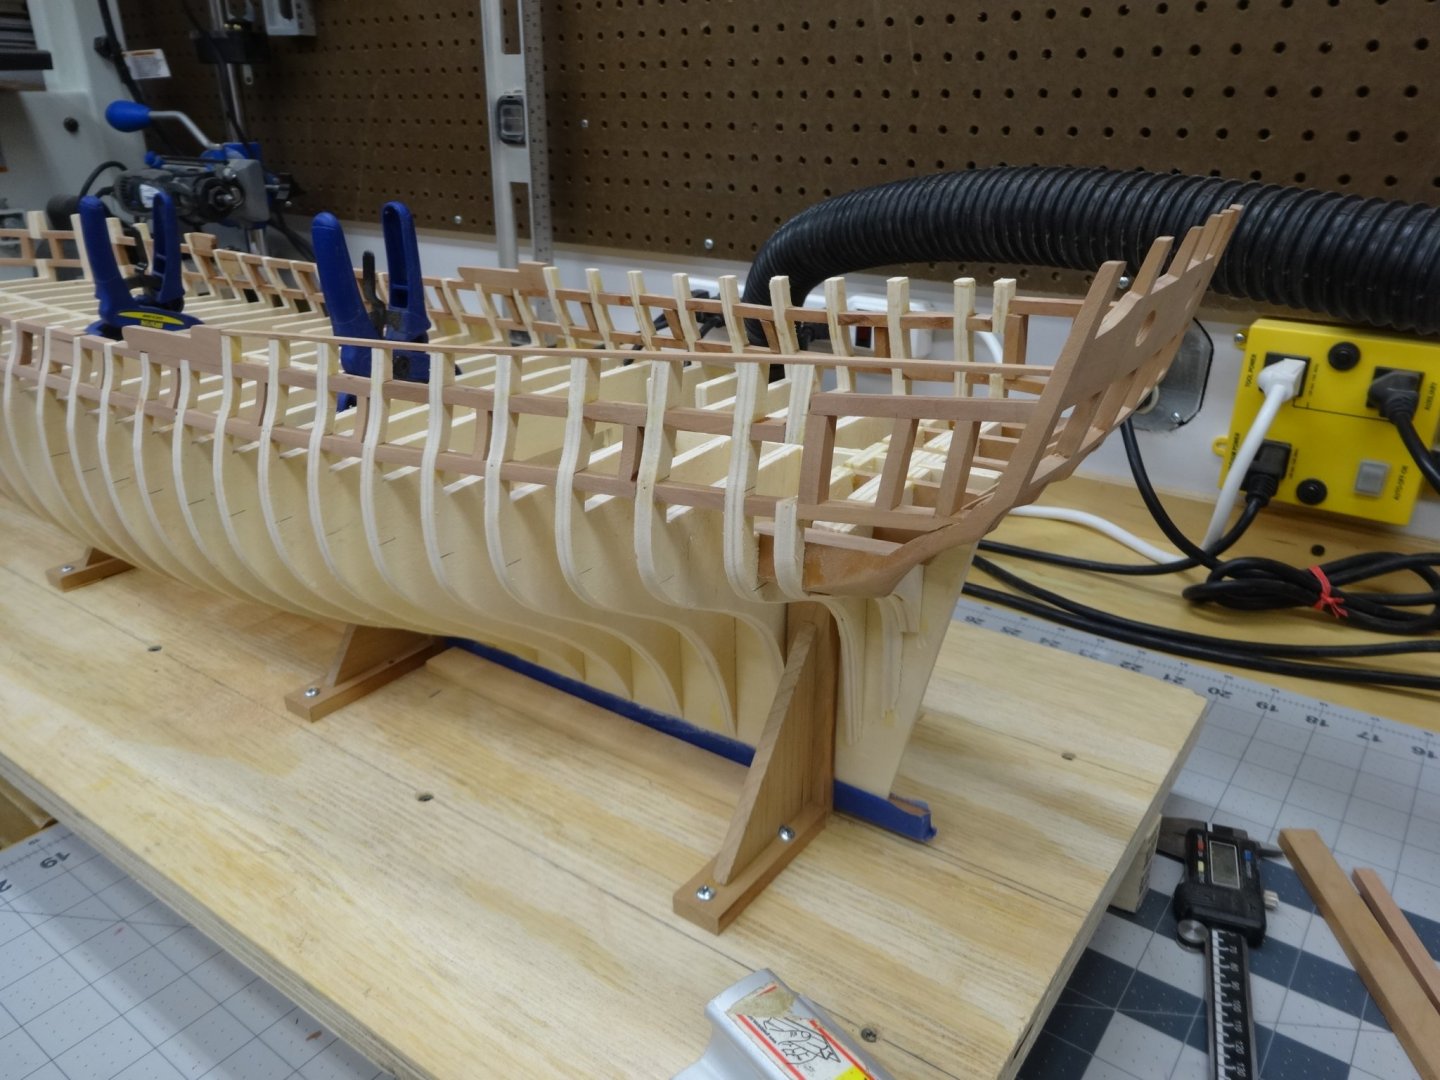
The stern framing in the quarter gallery area has been redone again and finally I think it's right. I've also completed the bollard timbers though I haven't glued them in place yet. I'm holding off until after I complete the lower counter planking. Just a quirk of mine. This completes the 1st chapter! I want to wish everyone a happy Thanksgiving. With the holiday and then taking the Admiral on a vacation the Winnie will be in dry dock for a couple of weeks. I won't even have access to MSN while we're away. Sigh. See you all in a couple of weeks.
- 642 replies
-
- 20
-
-
- winchelsea
- Syren Ship Model Company
- (and 1 more)
-
Great work Chuck. I think having the drop and the figure when building the quarter galleries would really help proof the galleries. At least for me that is.
- 1,784 replies
-
- 1
-
-
- winchelsea
- Syren Ship Model Company
- (and 1 more)
-
Just keep on as you're doing. Sand some, check the lay of the plank, sand some more and keep repeating until you get a nice lay of the plank. If you take off too much it can be built back up but if you keep checking the run of the plank you should be fine.
-
I cut close to the line but leave the line. That leaves me the flexibility to sand to a final fit.
-
Welcome aboard Derek. You'll love building the Winnie!