-
Posts
2,535 -
Joined
-
Last visited
Content Type
Profiles
Forums
Gallery
Events
Everything posted by Rustyj
-
Looking really nice Ben. A lot of fun planking in your future!
- 399 replies
-
- winchelsea
- Syren Ship Model Company
-
(and 1 more)
Tagged with:
-
Thanks Glenn, Funny your builds have always inspired me! I agree the cherry on our Fair American's have aged very nicely. A large portion of the pear I'm using came from Jeff too.
- 642 replies
-
- winchelsea
- Syren Ship Model Company
-
(and 1 more)
Tagged with:
-
Thanks scrubbj427. Thanks Chuck, the pear is kinda like cherry on steroids. It'll be interesting to see how it ages.
- 642 replies
-
- winchelsea
- Syren Ship Model Company
-
(and 1 more)
Tagged with:
-
Thanks Ryland. I've never used this much pear before and I'm happy with the look. Thanks everyone for the likes too!
- 642 replies
-
- winchelsea
- Syren Ship Model Company
-
(and 1 more)
Tagged with:
-
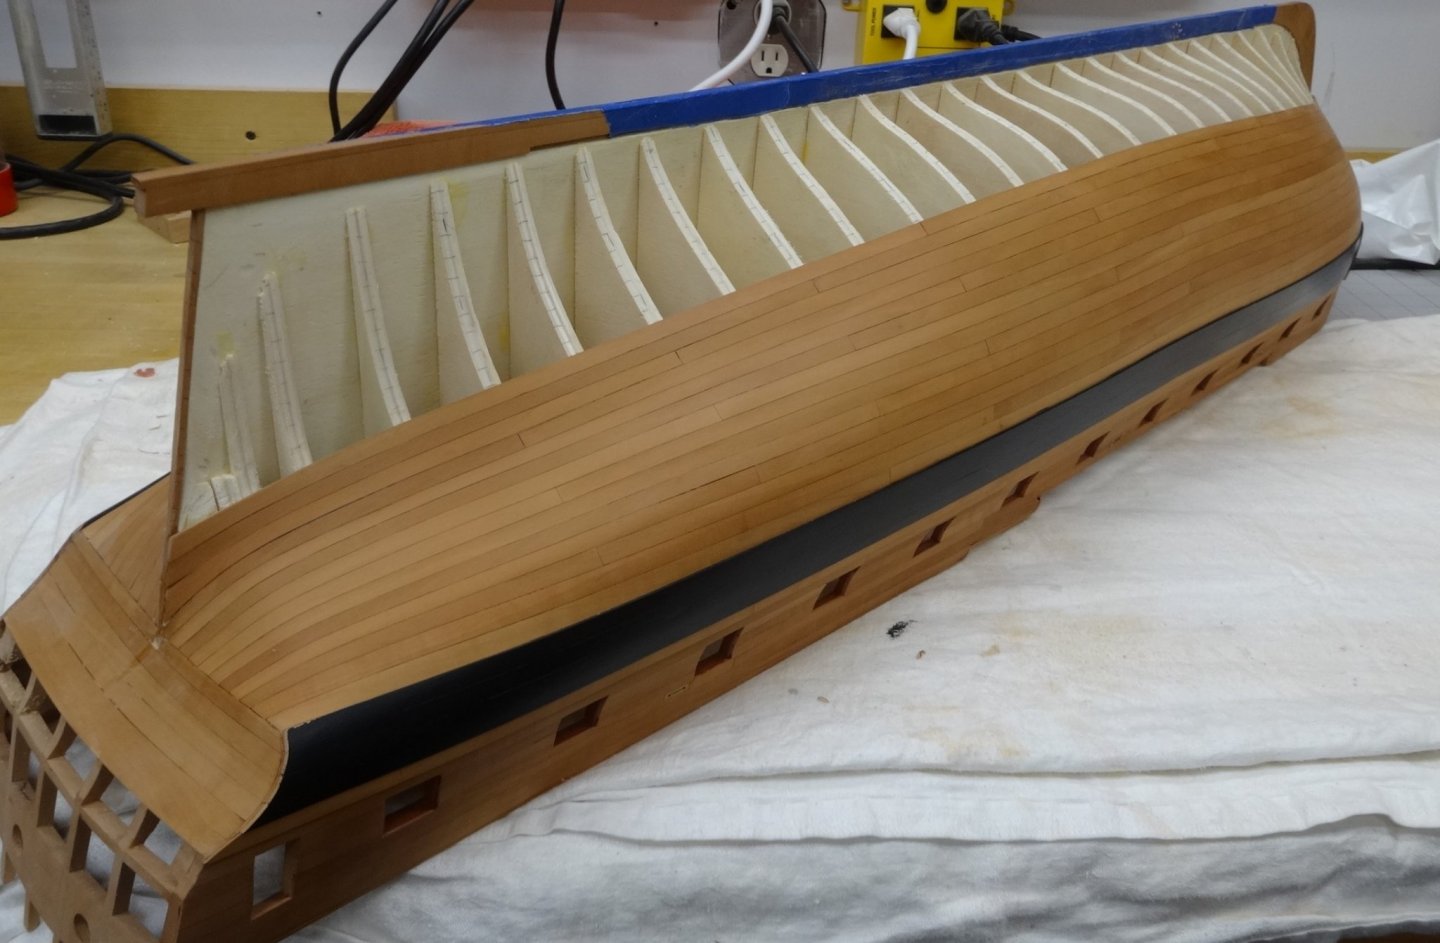
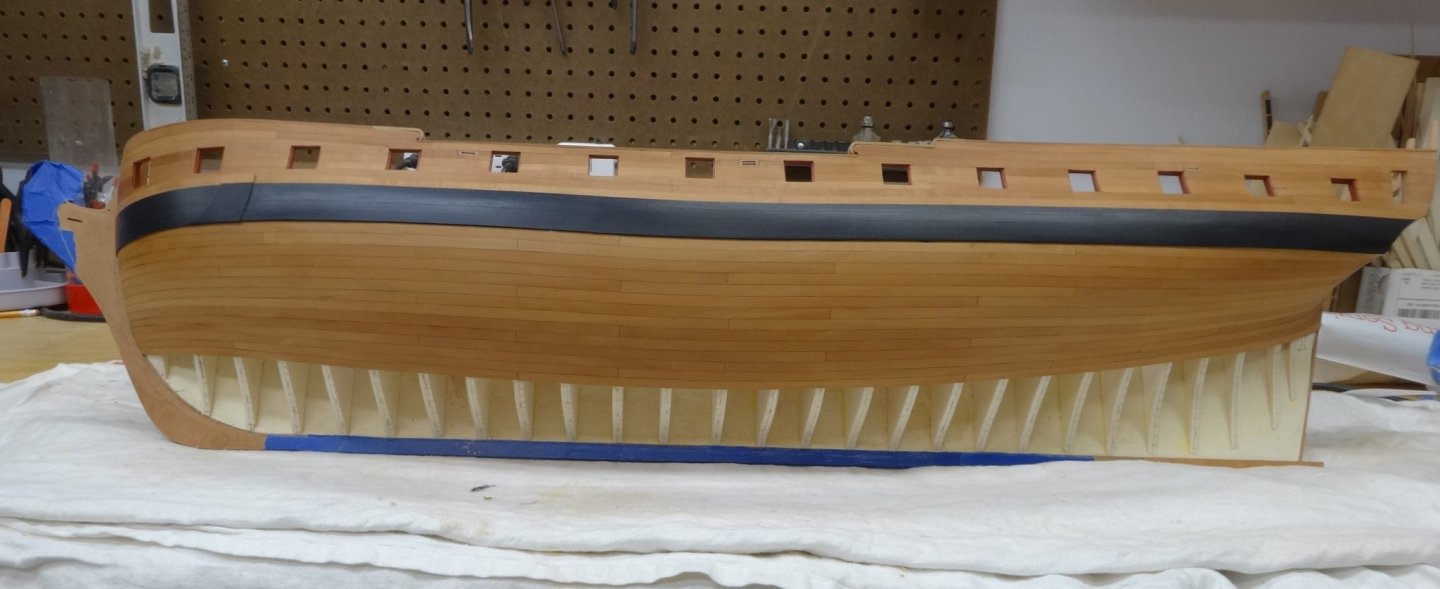
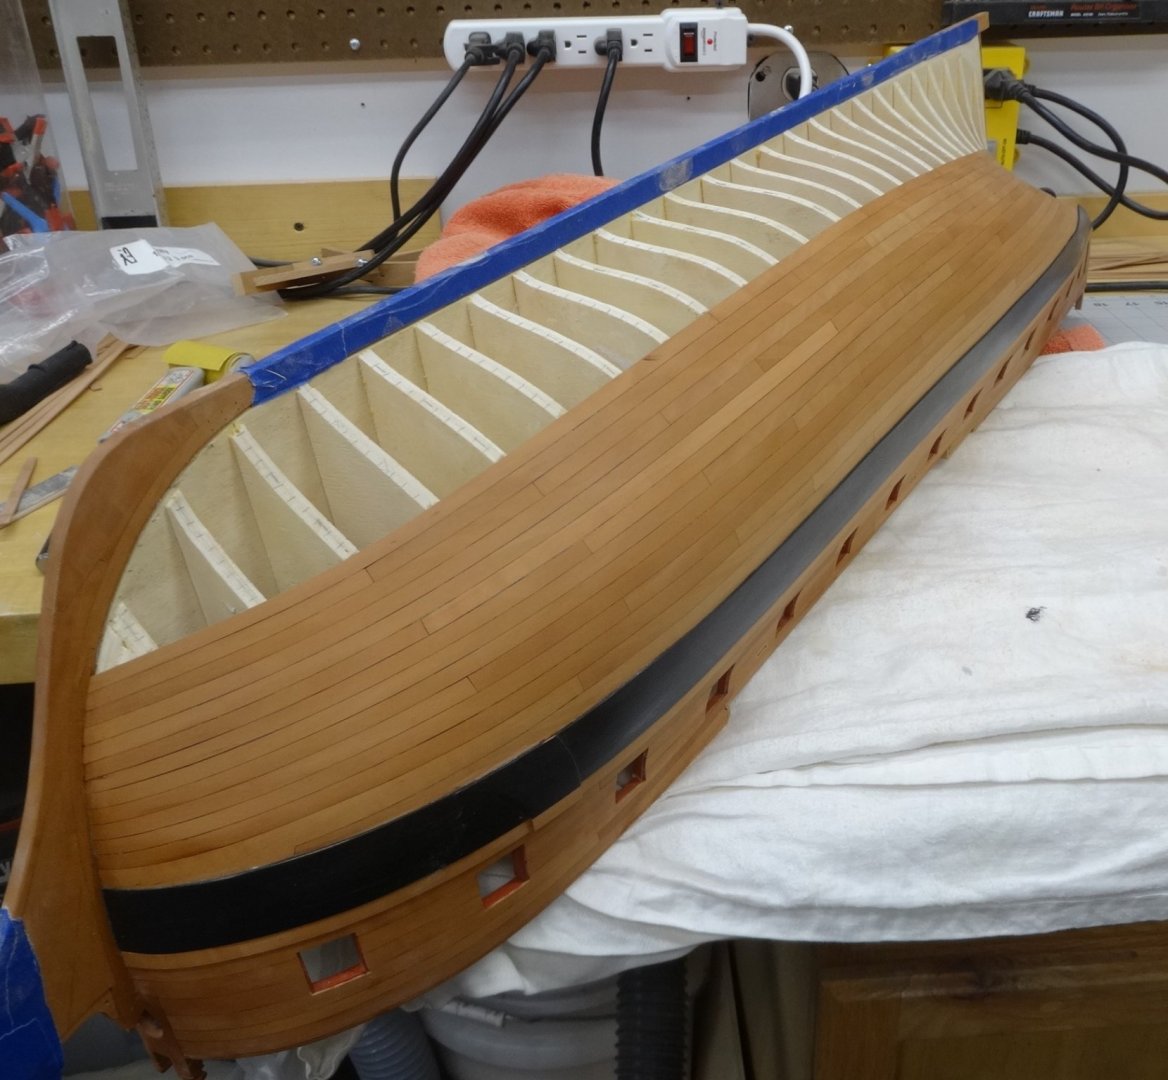
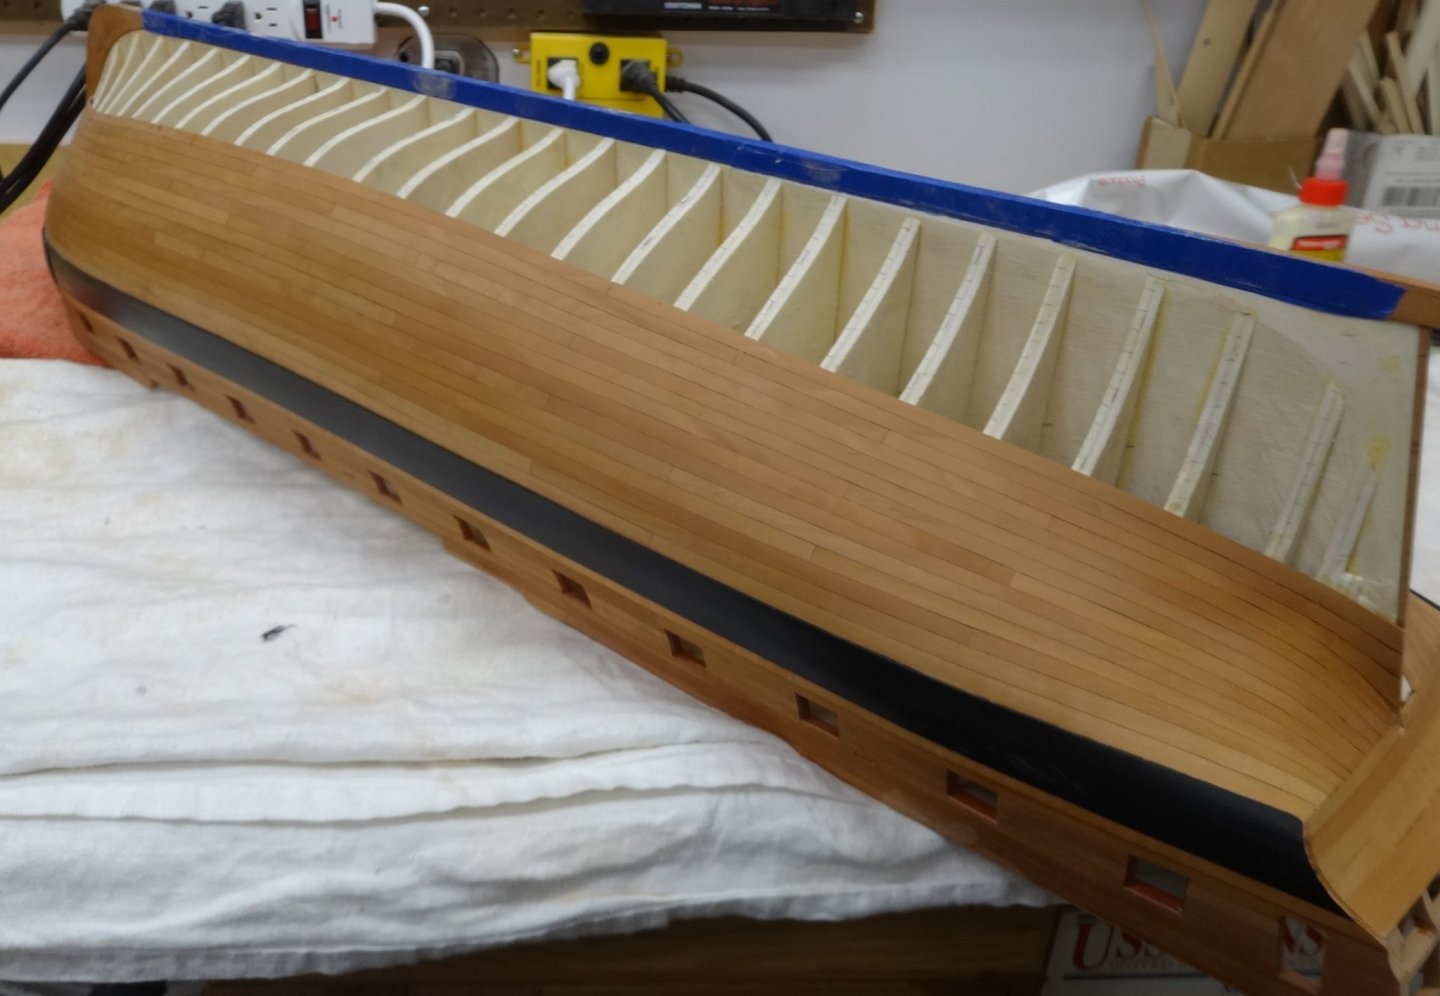
It's been 5 weeks and I've been slowly plodding along. I've now planked the second band of six strakes on both the port and starboard sides. The number of planks broken or miss shaped are too numerous to keep track of. Also on the starboard side after resting for the night and then resuming the next day I did not like the look of first three strakes. So the first two planks from the stem aft were removed and redone. Here's how she looks right now. I'll be starting from the keel up next. As always thanks for stopping by and stay safe!
- 642 replies
-
- winchelsea
- Syren Ship Model Company
-
(and 1 more)
Tagged with:
-
Great workmanship Ryland. I remember that demonstration well. You did a great job applying it!
- 263 replies
-
- Medway Longboat
- Syren Ship Model Company
-
(and 1 more)
Tagged with:
-
That planking is looking really good! I hear you on the broken/messed up planks. I've probably have enough in the bin to plank a small cutter!
- 99 replies
-
- winchelsea
- Syren Ship Model Company
-
(and 1 more)
Tagged with:
-
Very nice Ben. I'm looking forward to the hull planking!
- 399 replies
-
- winchelsea
- Syren Ship Model Company
-
(and 1 more)
Tagged with:
-
Very nice job. I'm glad that you redid it seeing you weren't happy with the first planking. I've replaced many offending plank and am much happier for it!
- 137 replies
-
- winchelsea
- Syren Ship Model Company
-
(and 1 more)
Tagged with:
-
That molding looks fantastic!
- 607 replies
-
- winchelsea
- Syren Ship Model Company
-
(and 1 more)
Tagged with:
-
Looking really good Steve. I do as Chuck suggested and haven't had any issues gluing.
- 99 replies
-
- winchelsea
- Syren Ship Model Company
-
(and 1 more)
Tagged with:
-
Thanks Chuck and Ben. Chugging along slow and steady and loving it! Also thanks for all the likes too.
- 642 replies
-
- winchelsea
- Syren Ship Model Company
-
(and 1 more)
Tagged with:
-
The anchor lining has been added to the port and starboard sides. Next I'll resume the hull planking.
- 642 replies
-
- winchelsea
- Syren Ship Model Company
-
(and 1 more)
Tagged with:
-
Very nice Mike and great explanation.
- 607 replies
-
- winchelsea
- Syren Ship Model Company
-
(and 1 more)
Tagged with:
-
Very nice Mike. So clean and crisp!
- 607 replies
-
- winchelsea
- Syren Ship Model Company
-
(and 1 more)
Tagged with:
-
Yes I saw the issue popping up and I’ll be checking mine also. I’m sure some sort of “adjustment” will be needed. I’ll let you know. Thanks
- 642 replies
-
- winchelsea
- Syren Ship Model Company
-
(and 1 more)
Tagged with:
-
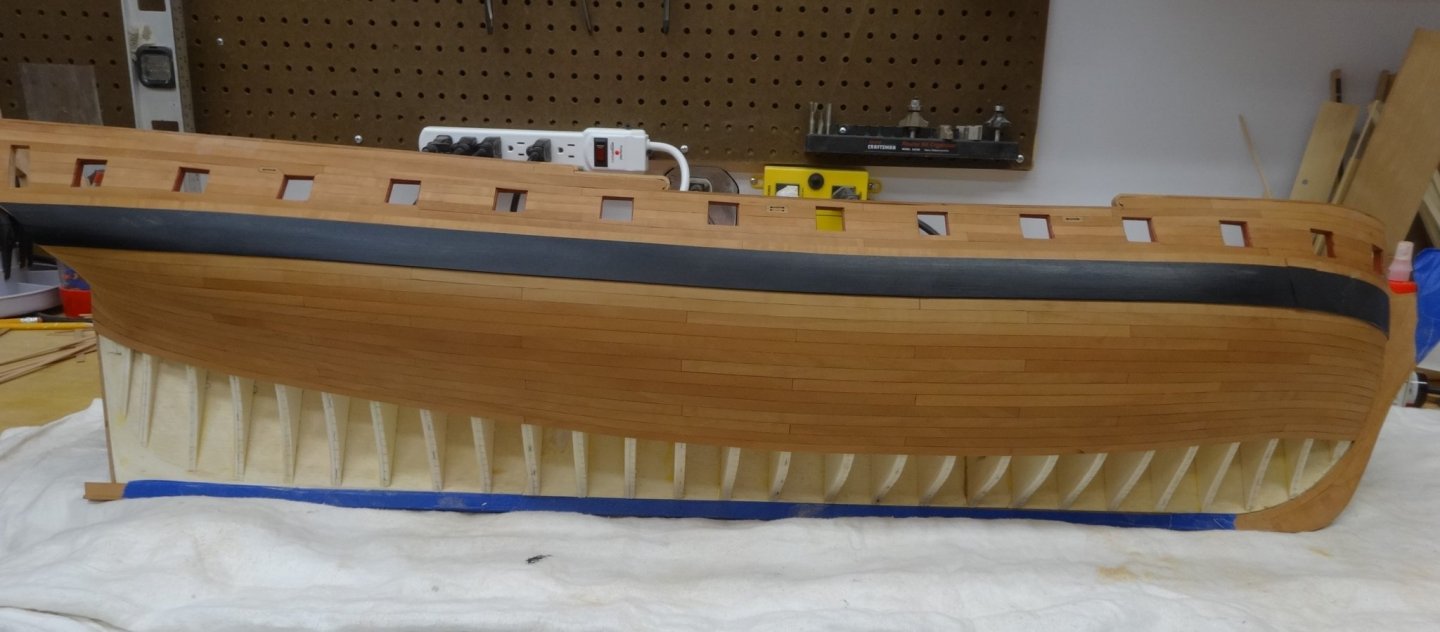
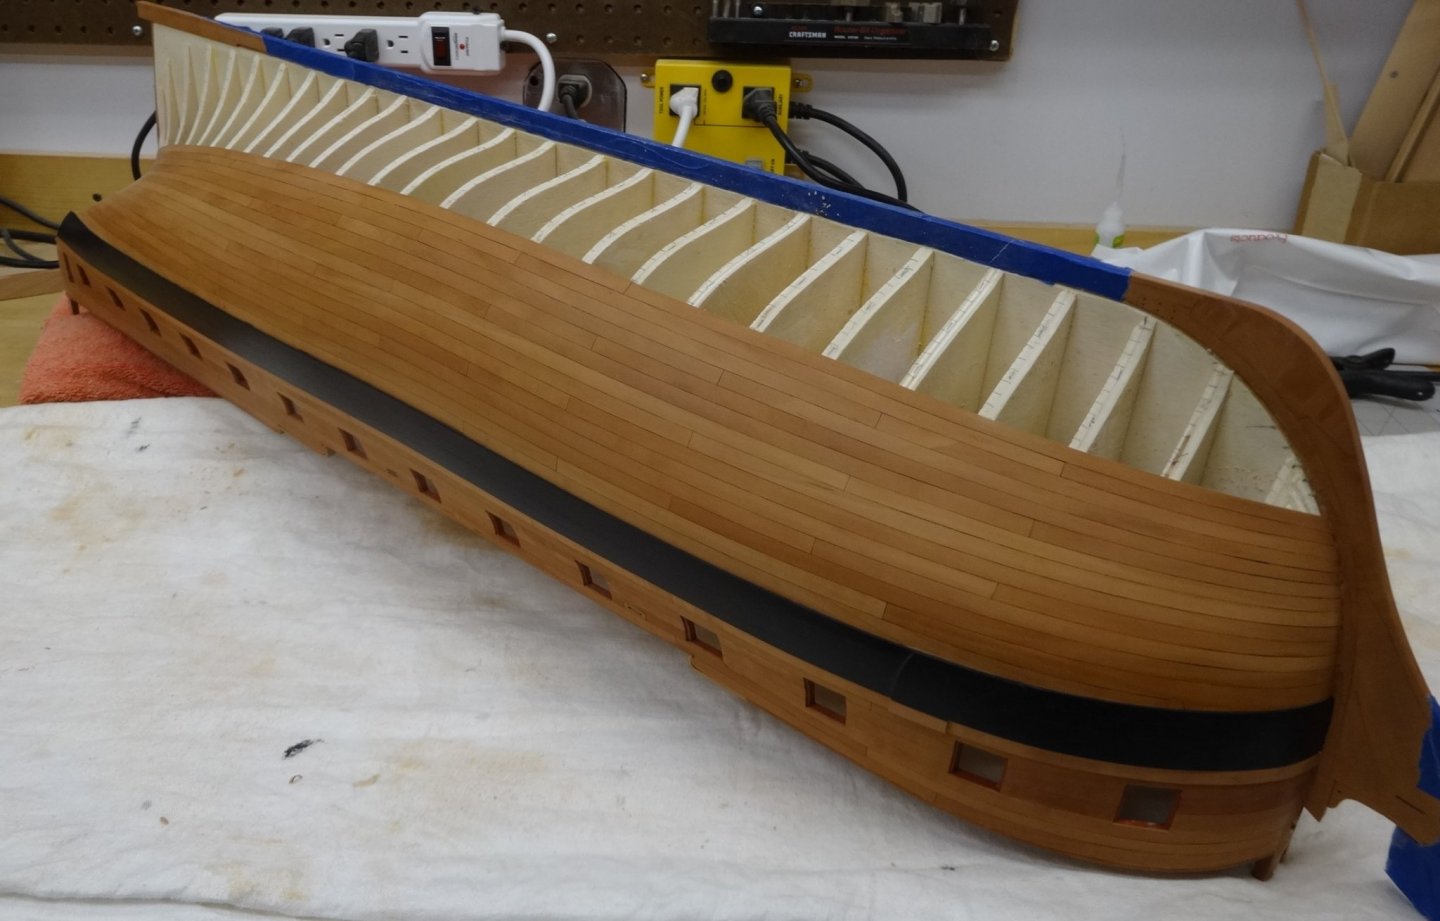
I've returned to the second planking layer of the wales now. The first four strakes are 3/64" x 7/32" and will be painted black. The fifth strake is the black strake will be added after the wales are finished being painted and will be left natural in color. As the wales and black strake are supposed to taper to almost nothing at the stem. This is to make them look like they fit into the rabbet. I pre sanded them down to 1/64" before gluing them in place. This helped me smooth them down without having to take as much off and risk damaging the stem. Here she is in all her dirty glory. The starboard side is unpainted and the port side with a first coat of paint. I am using Admiralty Paints "Matt (Metal) Black" Many coats of paint to go and then I'll add the black strake.
- 642 replies
-
- winchelsea
- Syren Ship Model Company
-
(and 1 more)
Tagged with:
About us
Modelshipworld - Advancing Ship Modeling through Research
SSL Secured
Your security is important for us so this Website is SSL-Secured
NRG Mailing Address
Nautical Research Guild
237 South Lincoln Street
Westmont IL, 60559-1917
Model Ship World ® and the MSW logo are Registered Trademarks, and belong to the Nautical Research Guild (United States Patent and Trademark Office: No. 6,929,264 & No. 6,929,274, registered Dec. 20, 2022)
Helpful Links
About the NRG
If you enjoy building ship models that are historically accurate as well as beautiful, then The Nautical Research Guild (NRG) is just right for you.
The Guild is a non-profit educational organization whose mission is to “Advance Ship Modeling Through Research”. We provide support to our members in their efforts to raise the quality of their model ships.
The Nautical Research Guild has published our world-renowned quarterly magazine, The Nautical Research Journal, since 1955. The pages of the Journal are full of articles by accomplished ship modelers who show you how they create those exquisite details on their models, and by maritime historians who show you the correct details to build. The Journal is available in both print and digital editions. Go to the NRG web site (www.thenrg.org) to download a complimentary digital copy of the Journal. The NRG also publishes plan sets, books and compilations of back issues of the Journal and the former Ships in Scale and Model Ship Builder magazines.


