HOLIDAY DONATION DRIVE - SUPPORT MSW - DO YOUR PART TO KEEP THIS GREAT FORUM GOING! (Only 27 donations so far out of 49,000 members - C'mon guys!)
×


Rustyj
-
Posts
2,530 -
Joined
-
Last visited
Content Type
Profiles
Forums
Gallery
Events
Everything posted by Rustyj
-
 Hi Bob, I'm glad to see that you are back at it. The hull planking looks good. We all have times where we are not "happy" with how a portion of a build looks but then again we are way to hard on ourselves. I too hit periods of less enthusiasm than others and I make sure not to "force" myself to work on a build. Time off can be a good thing. I look forward to seeing how you approach the quarter galleries. They are interesting and fun.
 -
She's looking really good B.E. I like you modifications too. Well done.
- 195 replies
-
- 1
-

-
- lady eleanor
- vanguard models
- (and 1 more)
-
Very nice workmanship! Yes those tick strips were a great help.
-
Great job on the planking JJ. Looks real nice.
-
Very nice workmanship Matthias!
-
Picking that hull up and moving around makes it seem 1:10 scale too! Thanks
- 642 replies
-
- 2
-
-
- winchelsea
- Syren Ship Model Company
- (and 1 more)
-
Thanks Chuck. Yes I plan on painting them black and use some weathering powder. I'll definitely sand them down and try my best to balance them! Thanks nzreg, She had her walkies and needed a nap! When she's awake she's usually asking for a treat. Also thanks for the likes.
-
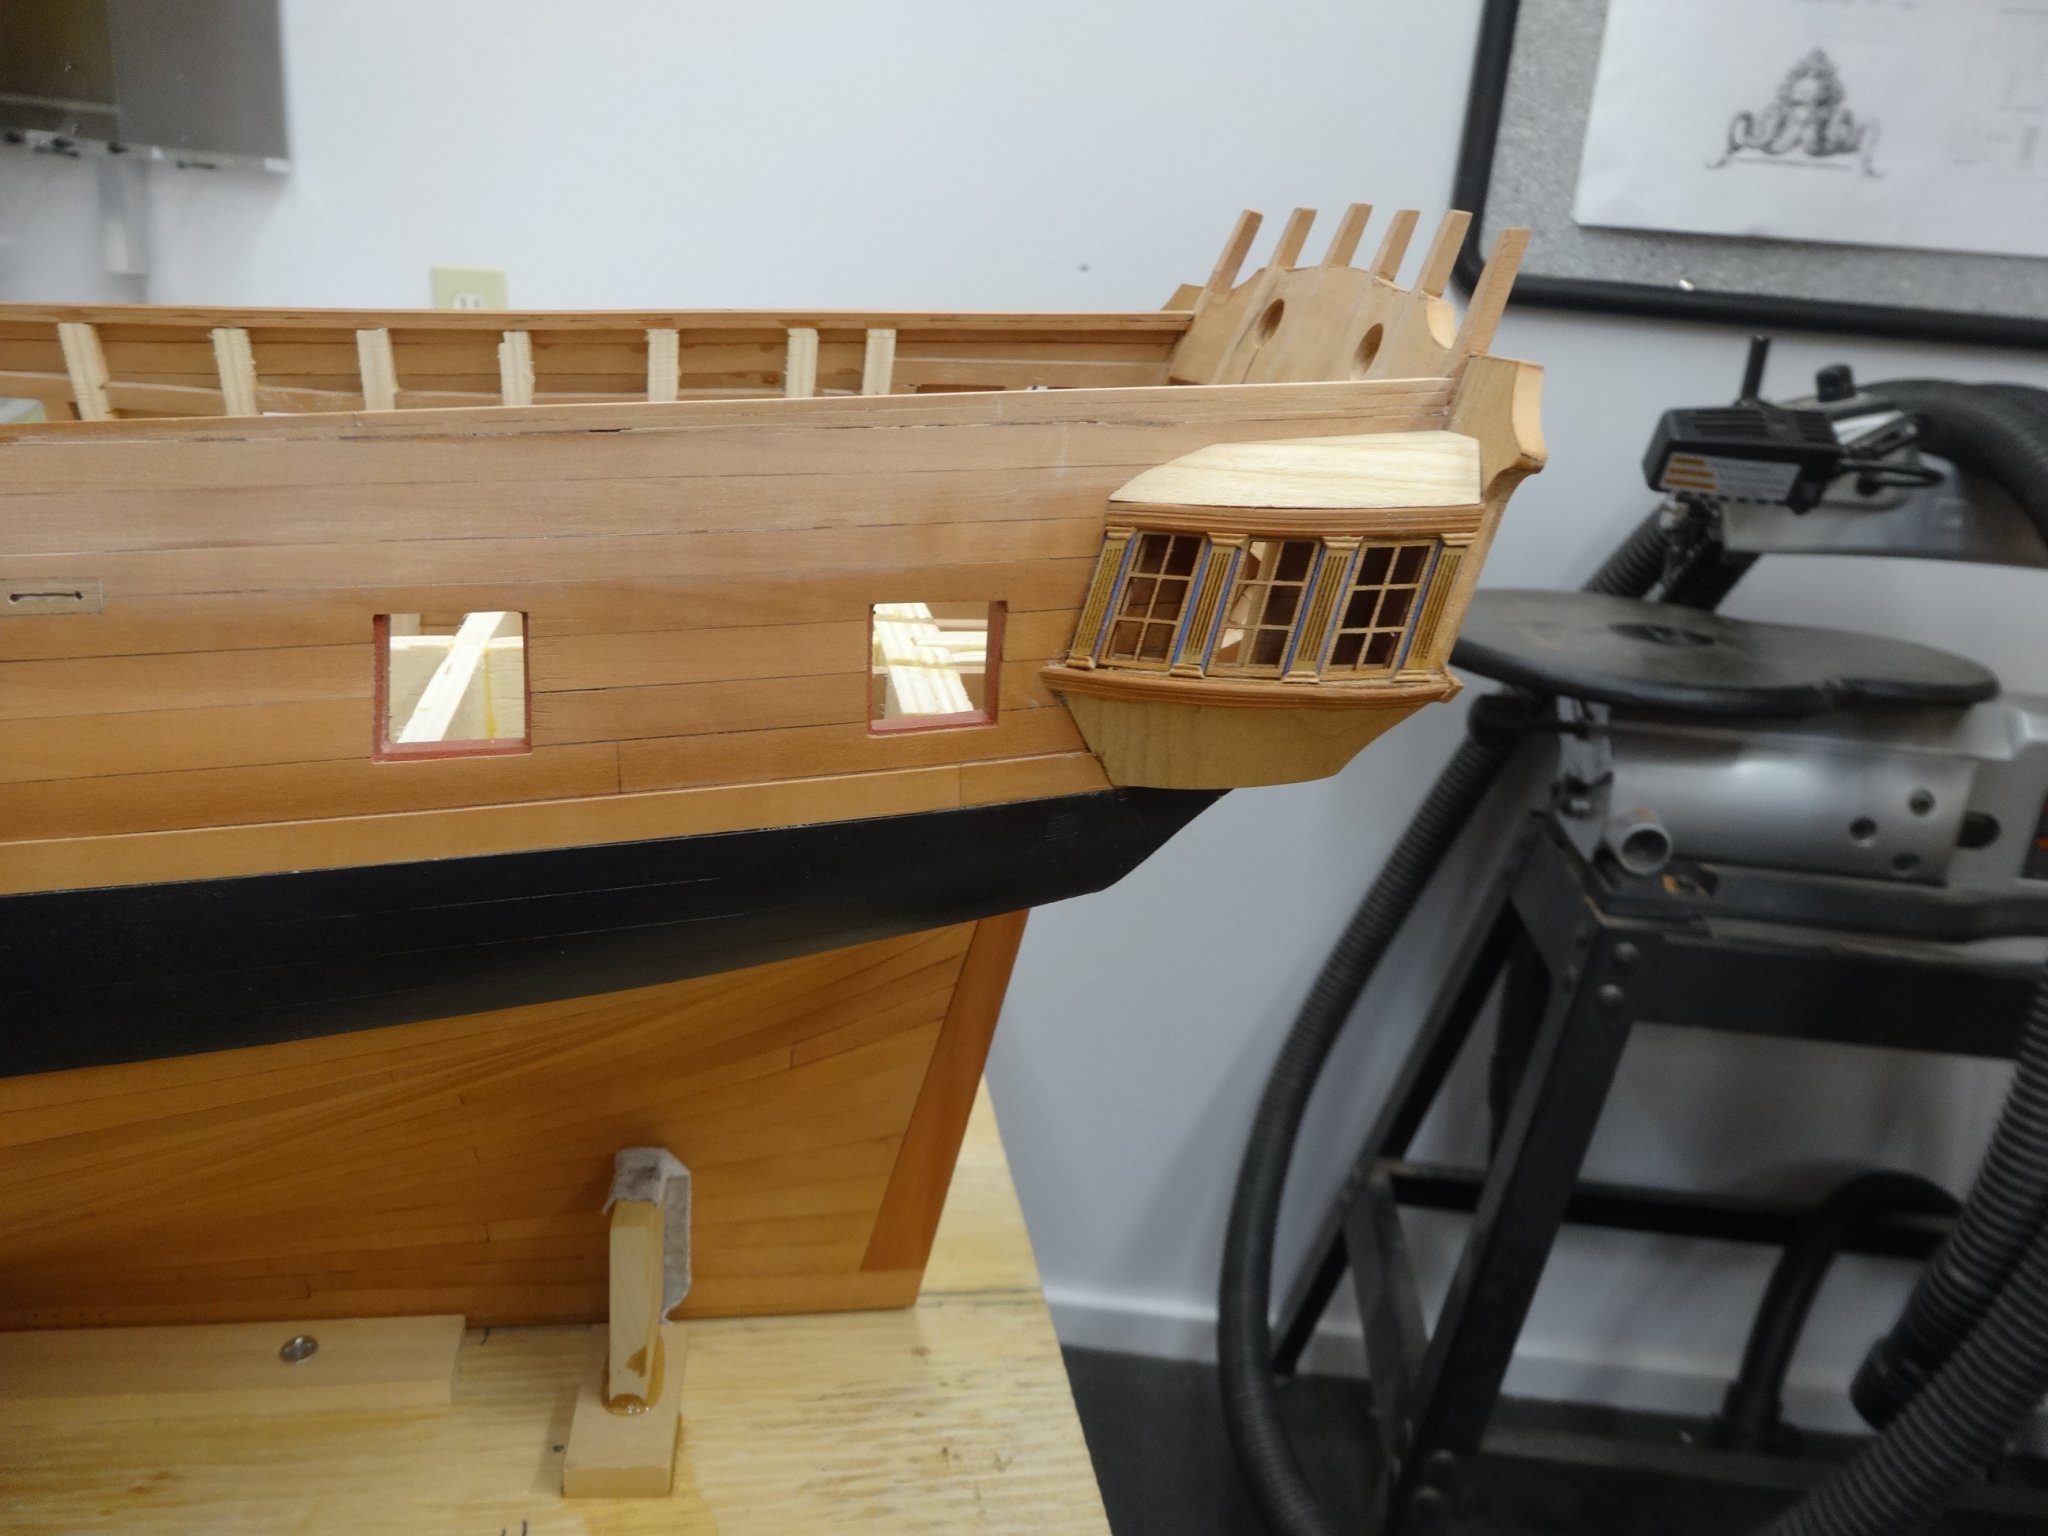
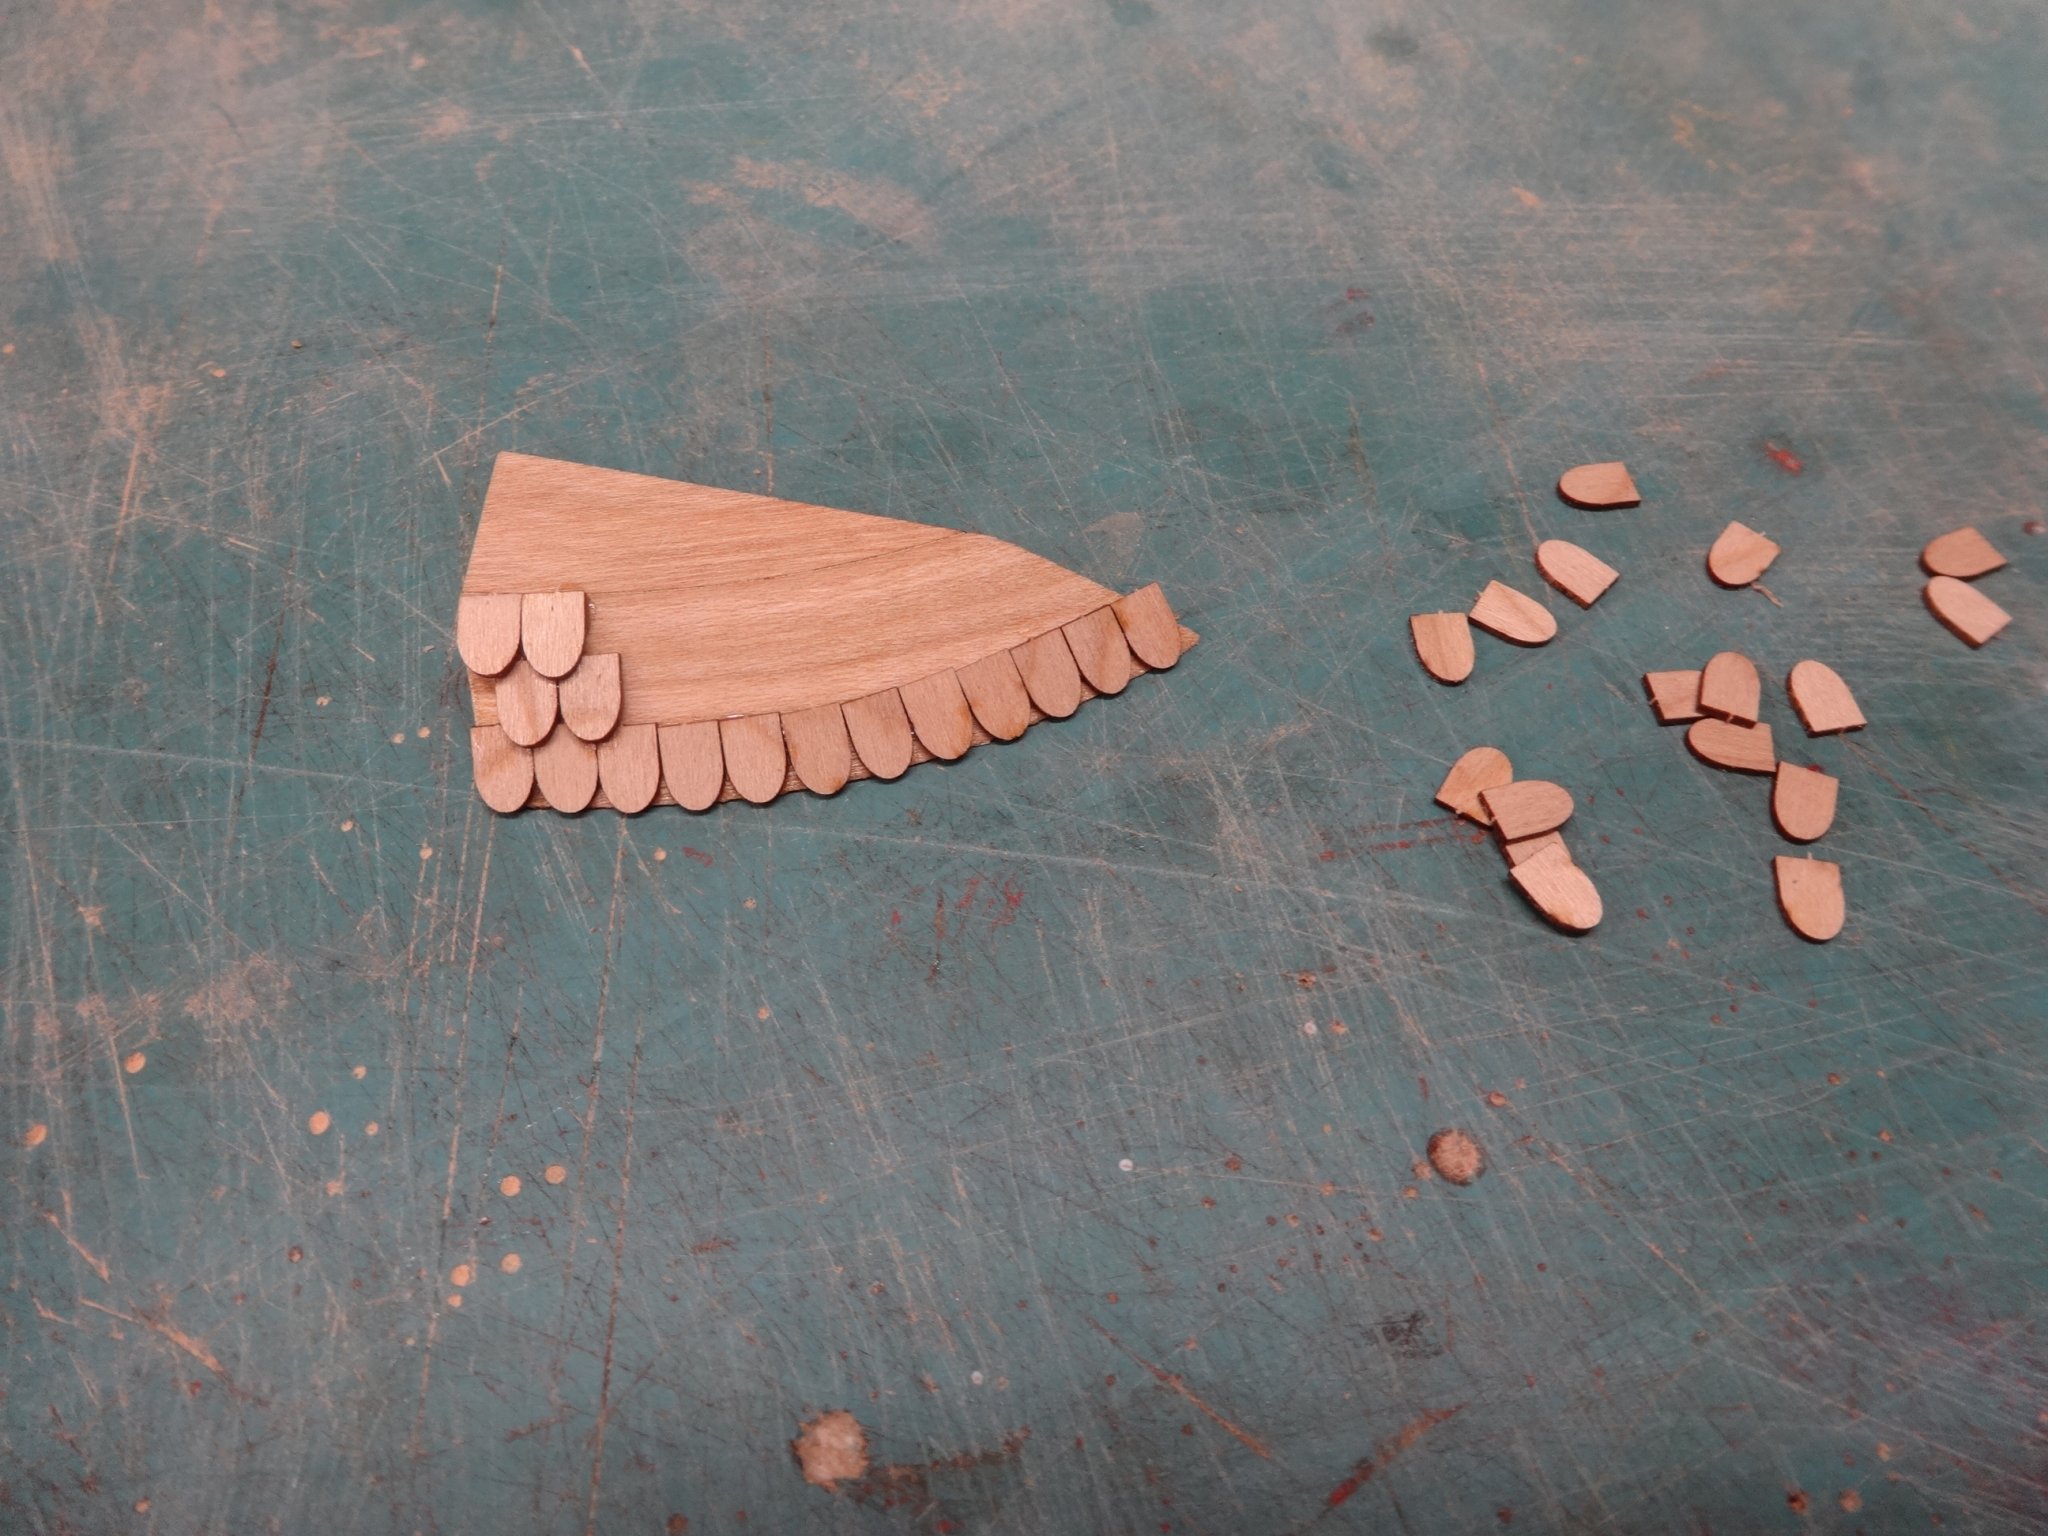
I've added the Syren laser cut fluted columns to the qgalleries and sanded the slope for the roof. I've also made a test run of the shingles for the roof sticking them in place with rubber cement. I just wanted to familiarize myself with the placement prior to gluing them in place. This size roofing shingles are much easier on the body though I'm having a hard time finding a nail gun in this scale!

- 642 replies
-
- 17
-
-
- winchelsea
- Syren Ship Model Company
- (and 1 more)
-
Thanks Glenn! Thank you Chuck. Yes they go together very nicely. If I didn't already have the pear I definitely would have done her in cherry.
- 642 replies
-
- 1
-
-
- winchelsea
- Syren Ship Model Company
- (and 1 more)
-
Thanks Mike! Having fun when I can get into the shop! Also thanks for the likes.
- 642 replies
-
- 1
-
-
- winchelsea
- Syren Ship Model Company
- (and 1 more)
-
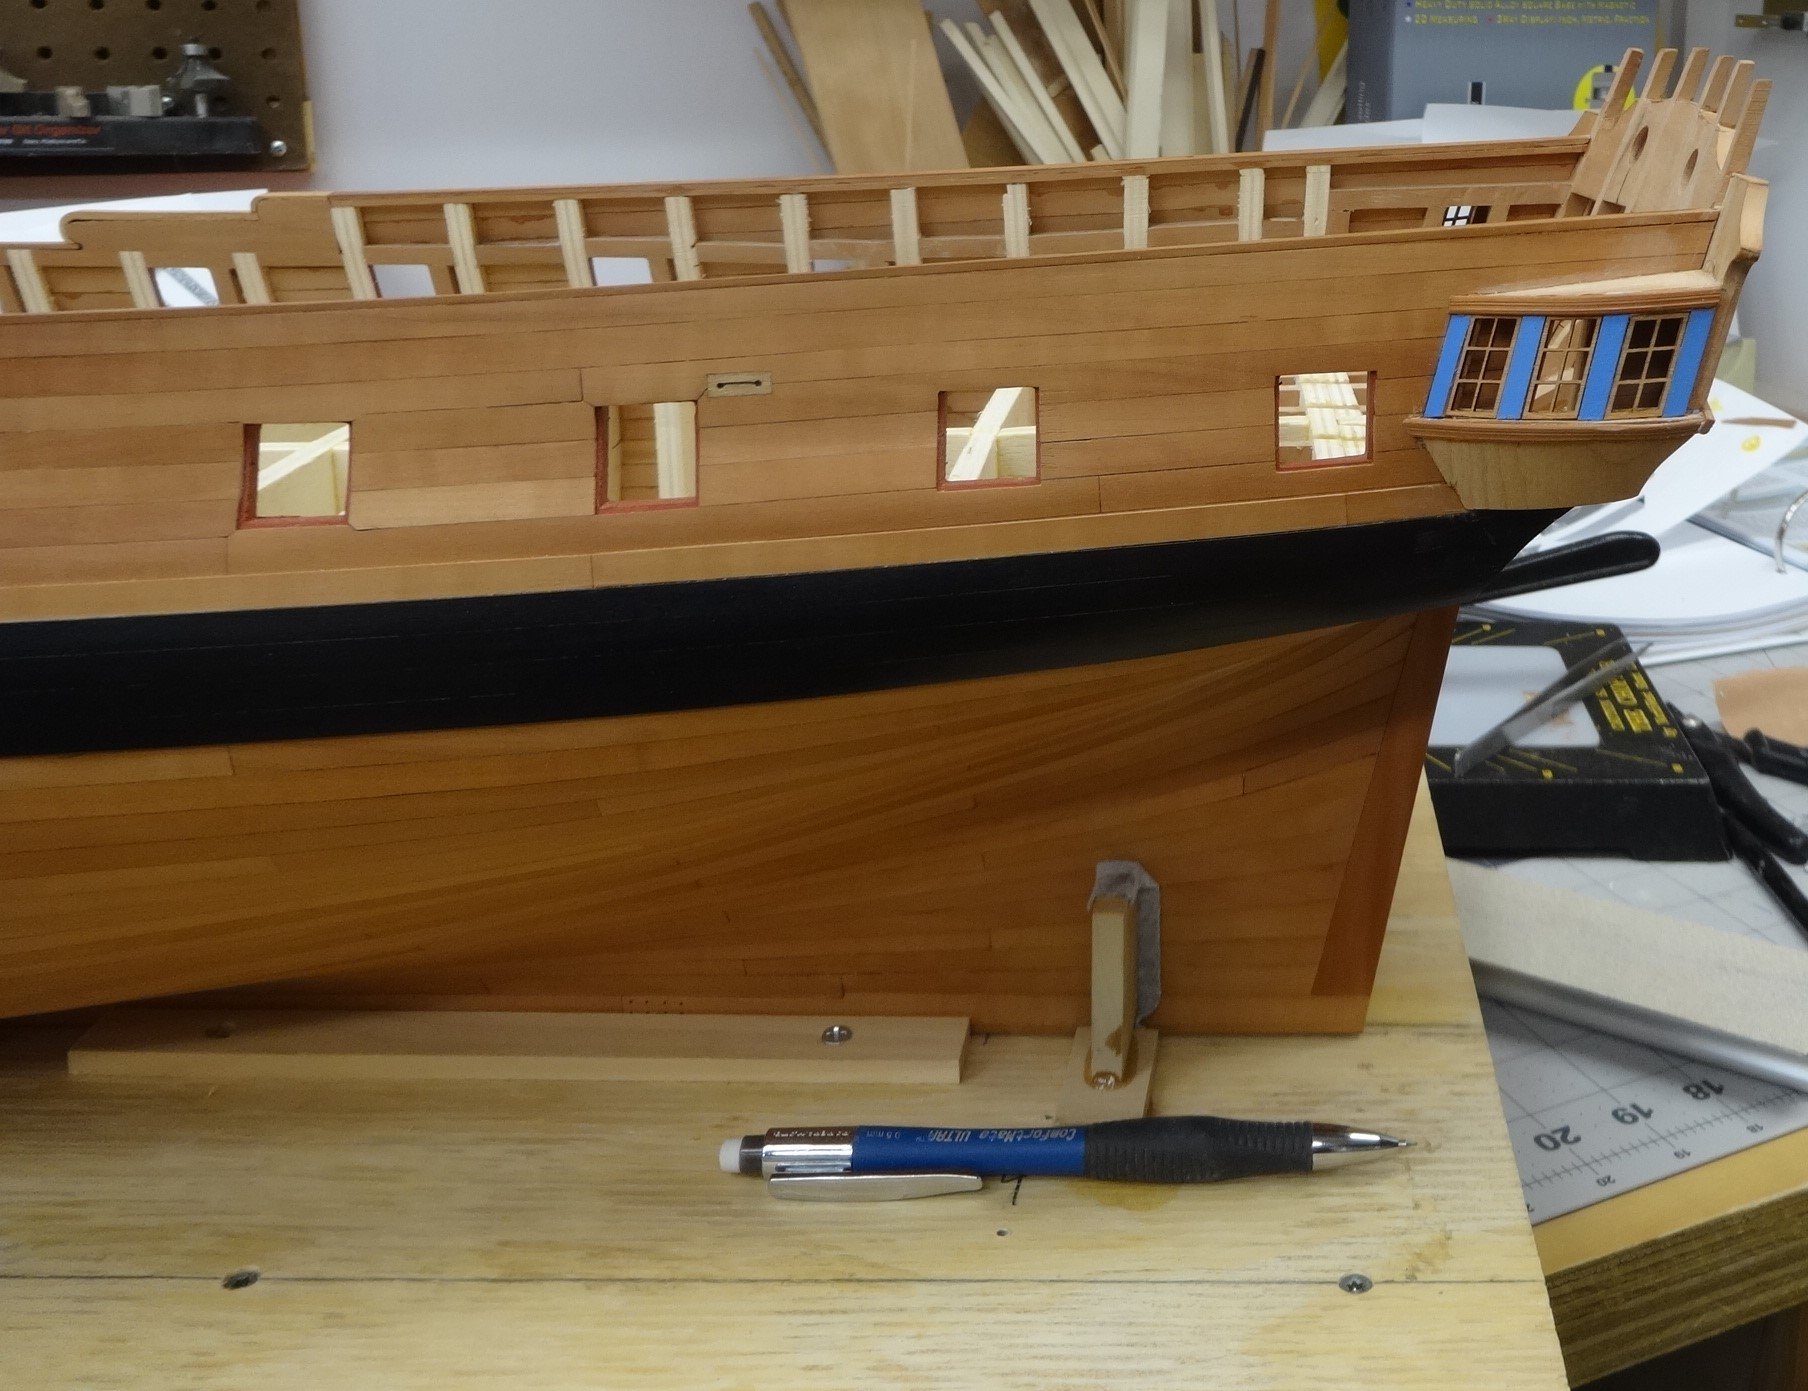
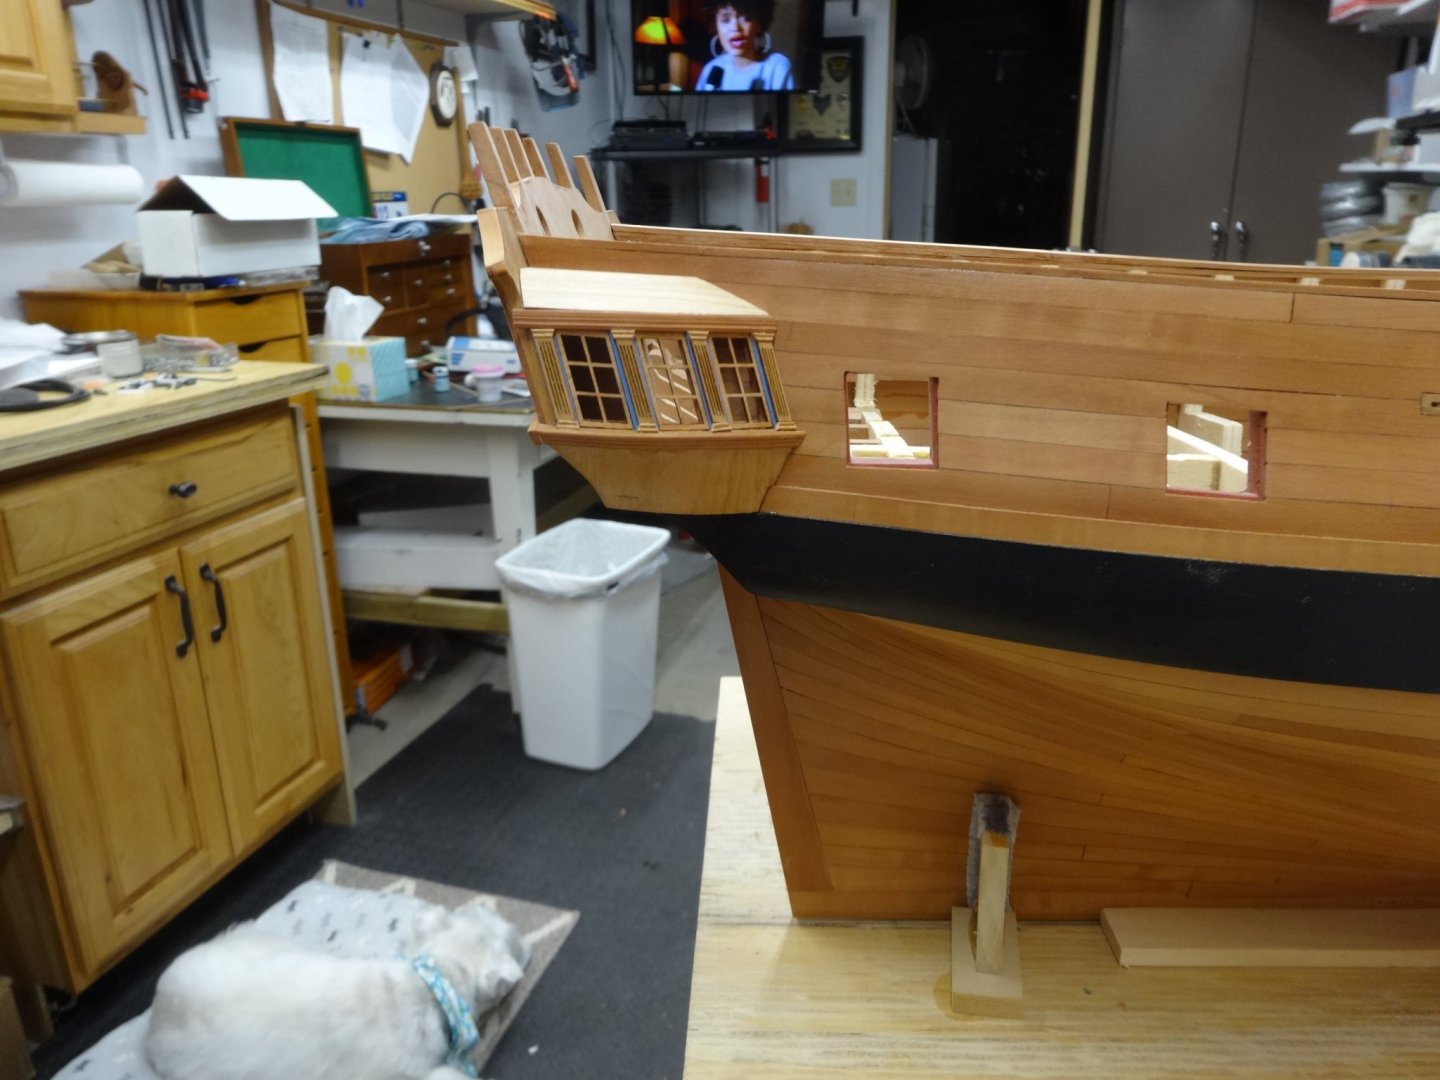
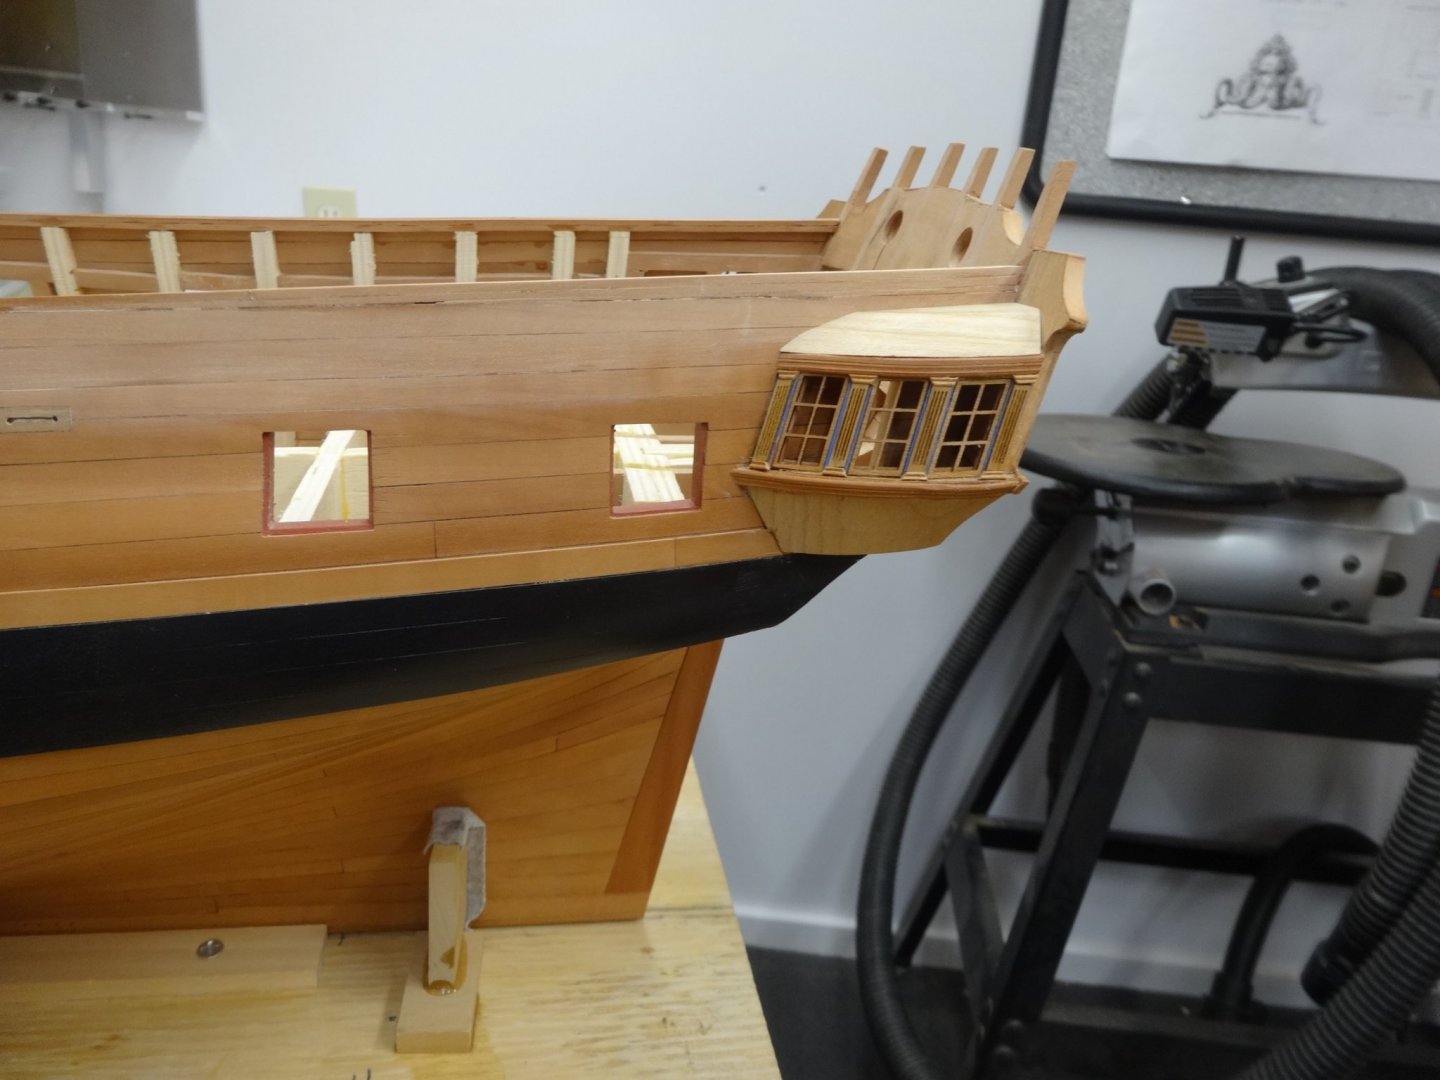
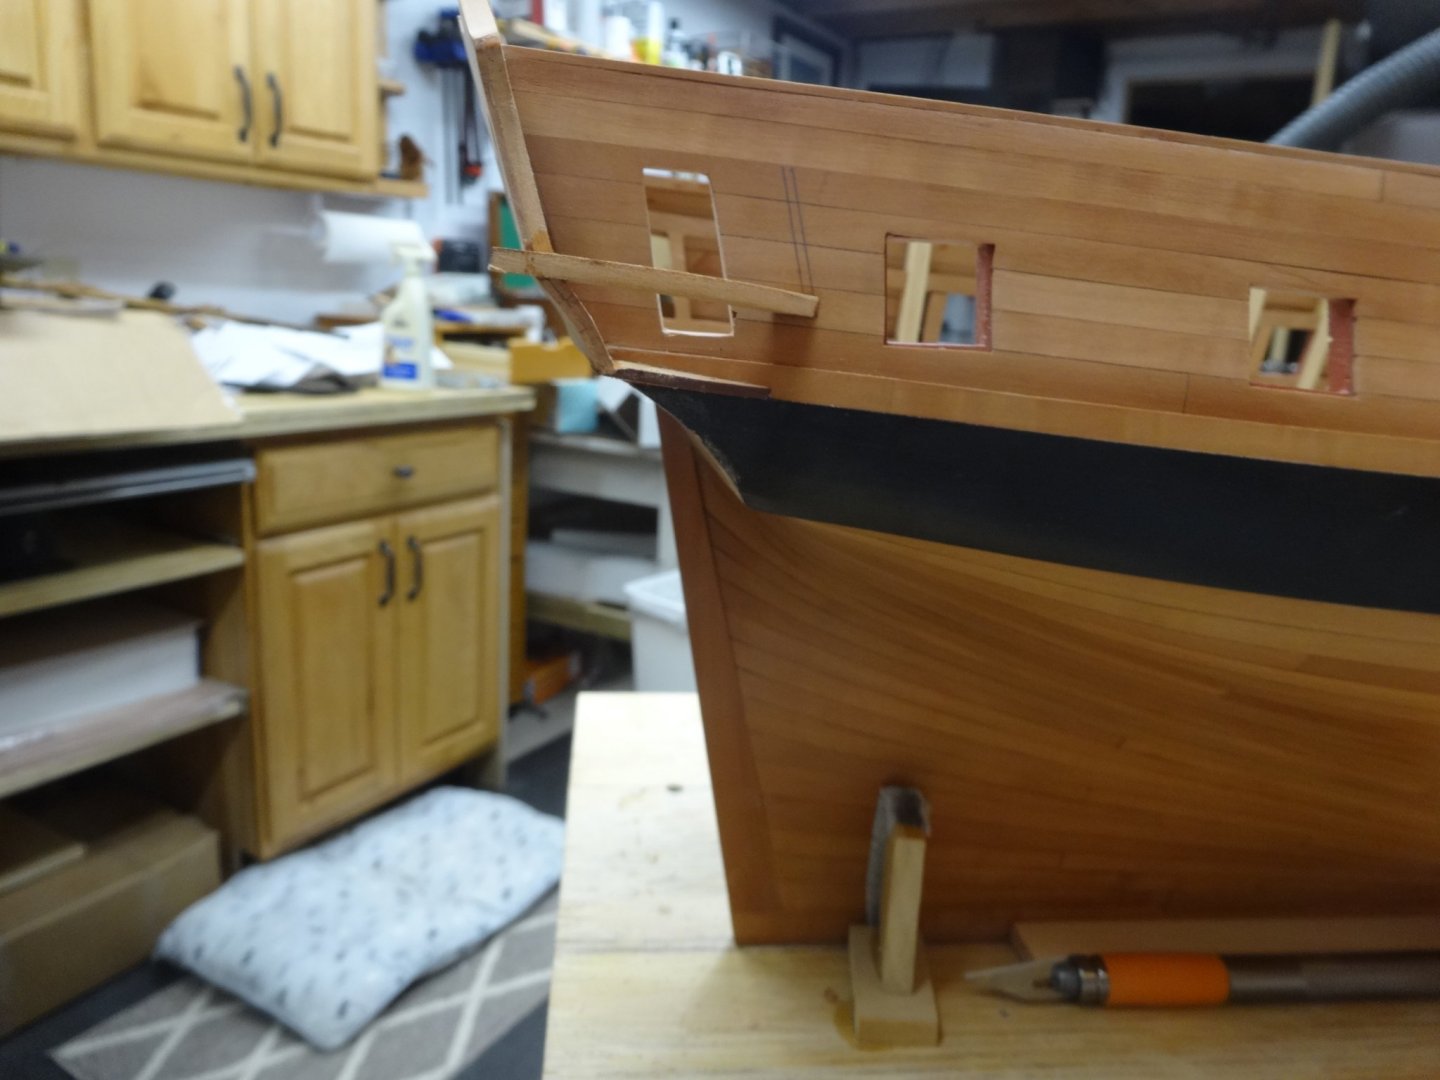
Thanks Fred. With summer upon us you will probably go roaring past me in no time. I've framed in the windows for the qgallaries. The window frames as well as the rest of the chapter three parts that came from Syren are first rate. Not that it comes as any surprise. Chuck includes extra window frames and lucky for me as I had one casualty. As I said it's busy the summer time with home projects so progress will definitely suffer.

- 642 replies
-
- 18
-
-
- winchelsea
- Syren Ship Model Company
- (and 1 more)
-
Looks great Glenn. A coat of poly now is what I normally do.
- 778 replies
-
- 4
-
-
- cheerful
- Syren Ship Model Company
- (and 1 more)
-
Everything is looking really good. I like that you planked the deck too!
- 195 replies
-
- 2
-
-
- lady eleanor
- vanguard models
- (and 1 more)
-
Hi Don. I seldom use a dremel for fairing except at the most severe angle. For me it is way to easy to take too much off. Aleve is my friend when fairing.
- 144 replies
-
- 3
-
-
- winchelsea
- Syren Ship Model Company
- (and 1 more)
-
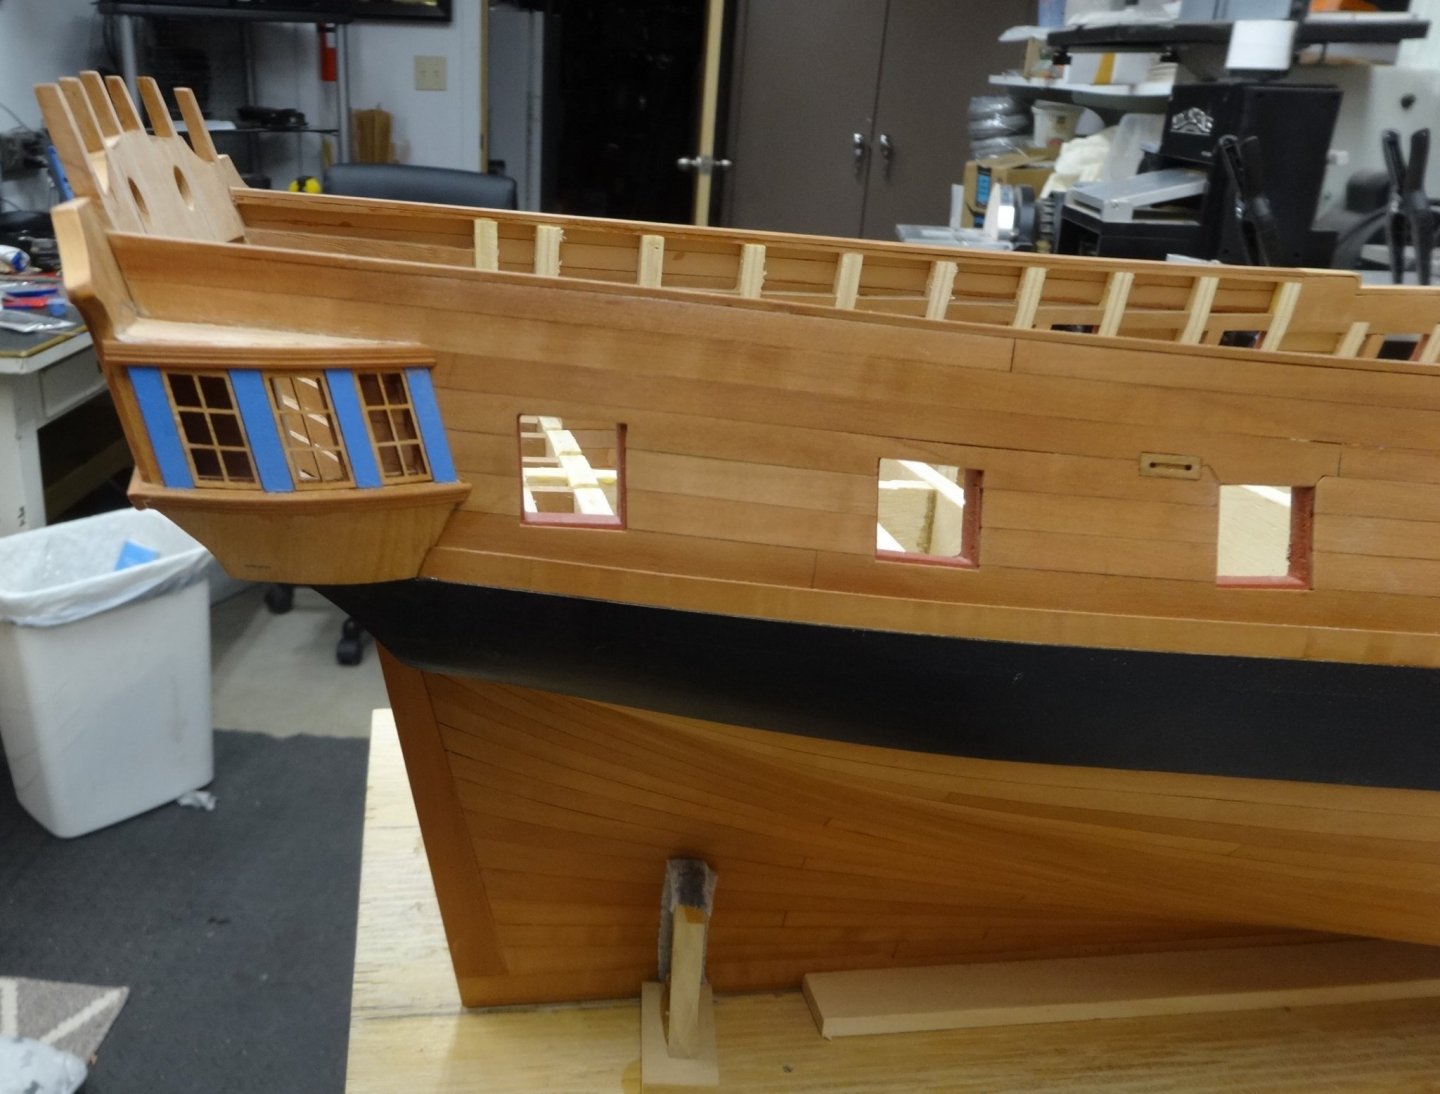
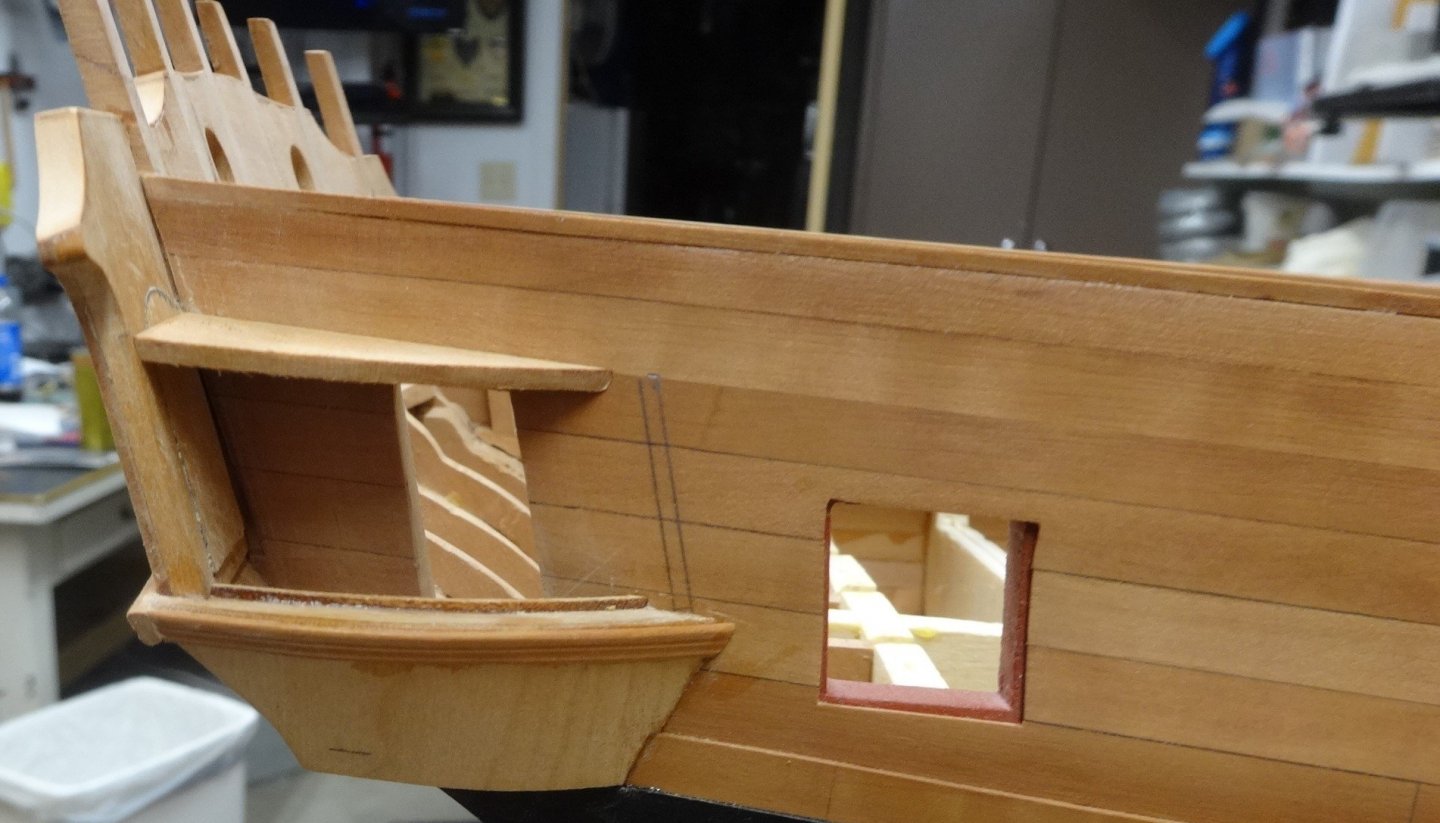
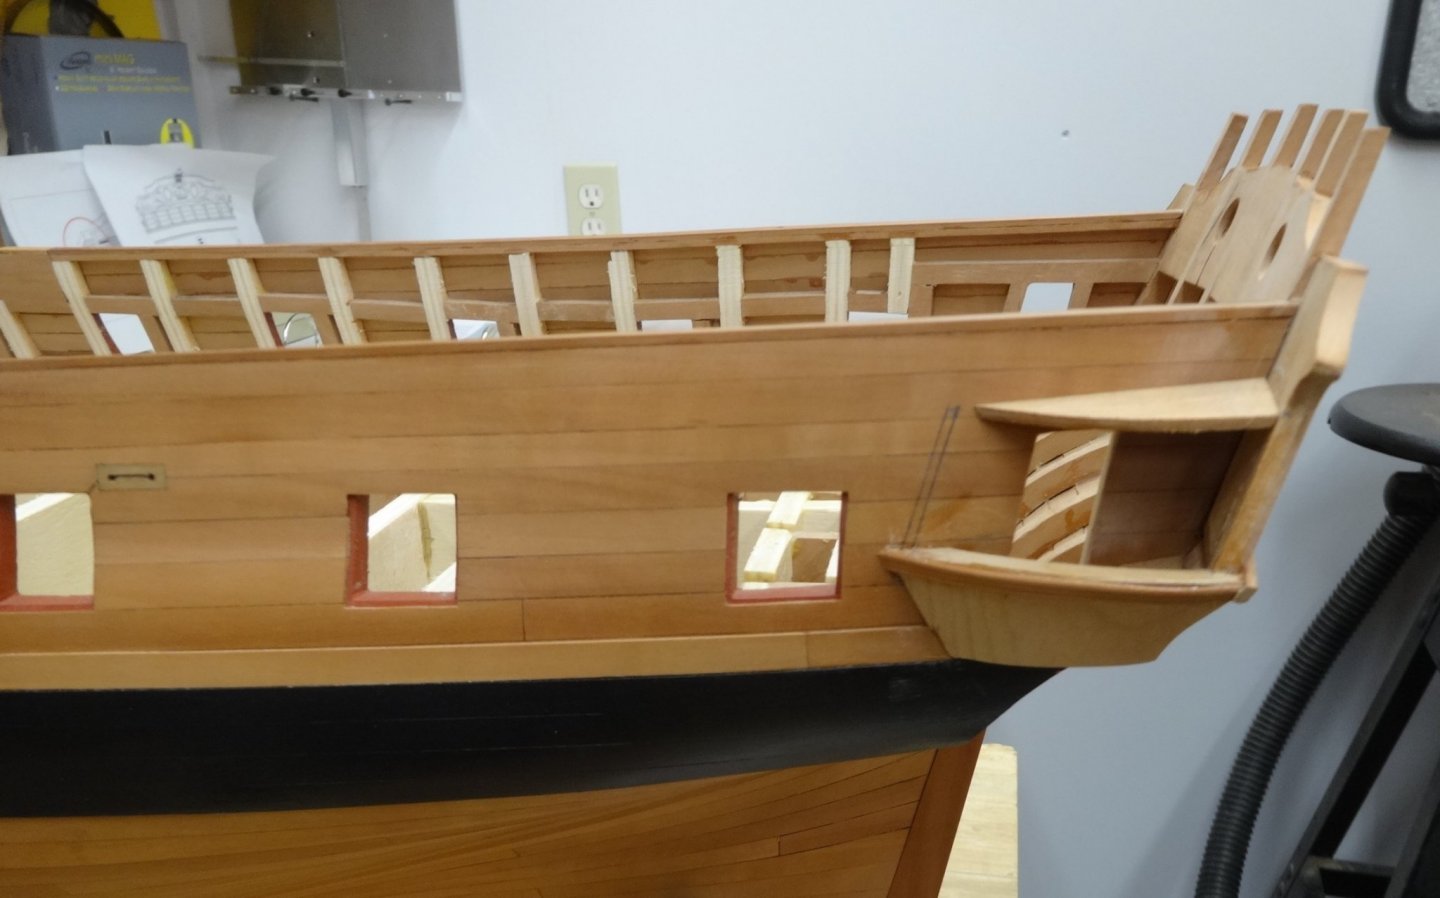
I've placed the molding across the stern under the windows. I've also shaped the tops of the qgallaries and temporarily tacked them in place as well and glued the molding to the lower portion of the qgallaries. Excuse all the dust and shop debris in the background.

- 642 replies
-
- 16
-
-
- winchelsea
- Syren Ship Model Company
- (and 1 more)
-
Thanks Glenn. I've been "adopting" everyone's practices here for years. Thanks Jean-Paul and all the likes too.
-
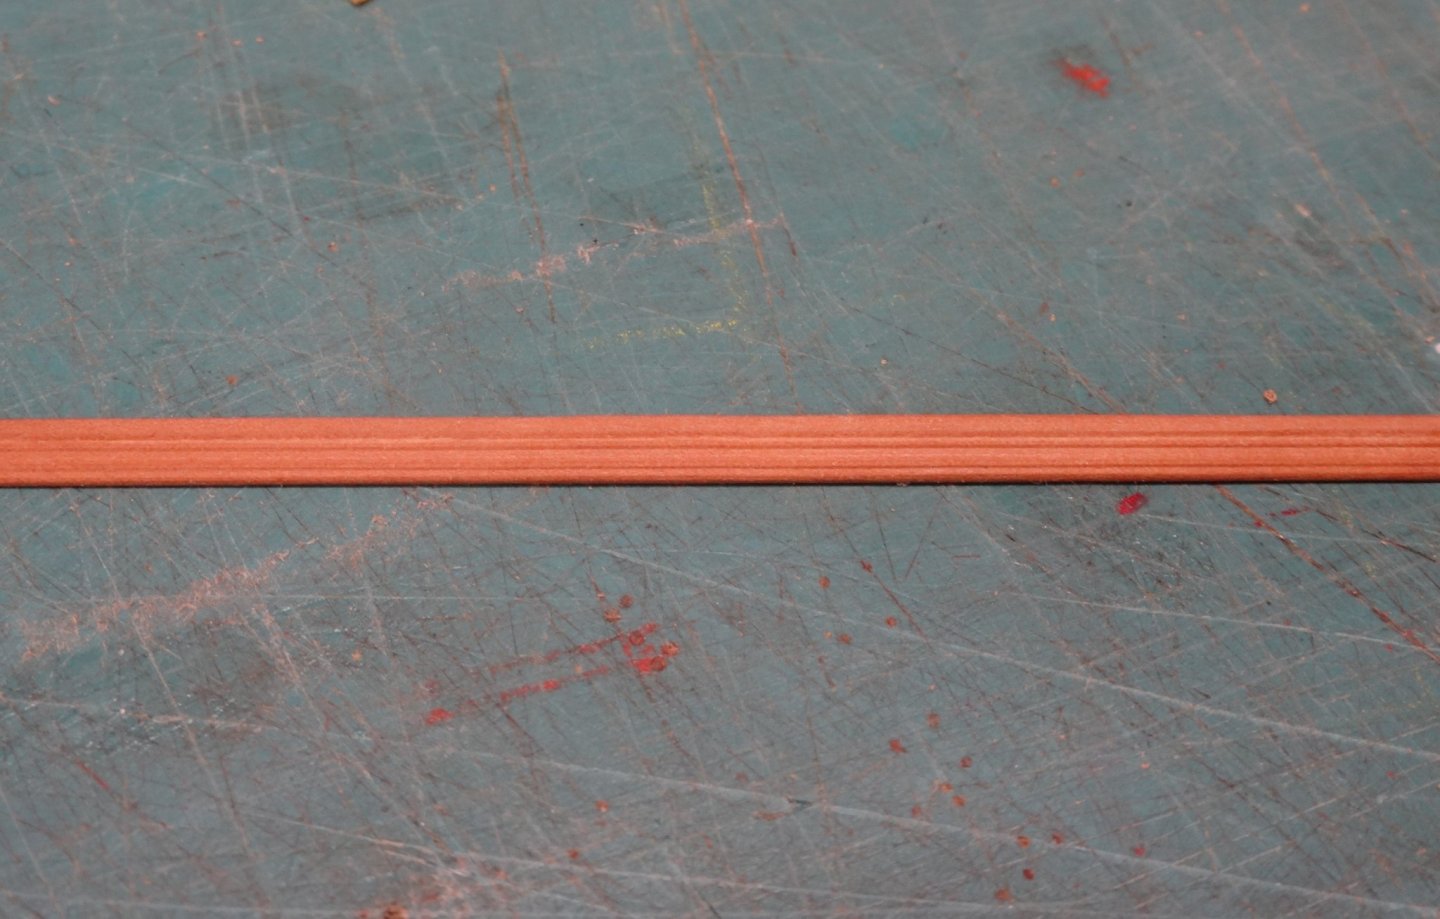
I'm tinkering with scrapping the moldings for the qgalleries and stern. This is the third attempt and the first worth posting. The molding is 1/8" wide and 1/32" thick. The picture isn't real clear but I think this is close.
- 642 replies
-
- 13
-
-
- winchelsea
- Syren Ship Model Company
- (and 1 more)
-
Oh don't I know that. I must say I like the changes you've made to the v2.0 qgalleries over the ones we did in v1.0. Thanks nzreg. I've downloaded all sorts of pictures from various build logs and continuously bounce between them, the plans and Chucks directions. I'll still mess some up but hopefully will keep it to a minimum.
- 642 replies
-
- 5
-
-
- winchelsea
- Syren Ship Model Company
- (and 1 more)
-
Ouch! Sorry to hear about the battle damage your first hull received. I'm so glad you reordered and are back in business. Great job on the winch by the way!
- 778 replies
-
- 3
-
-
- cheerful
- Syren Ship Model Company
- (and 1 more)
-
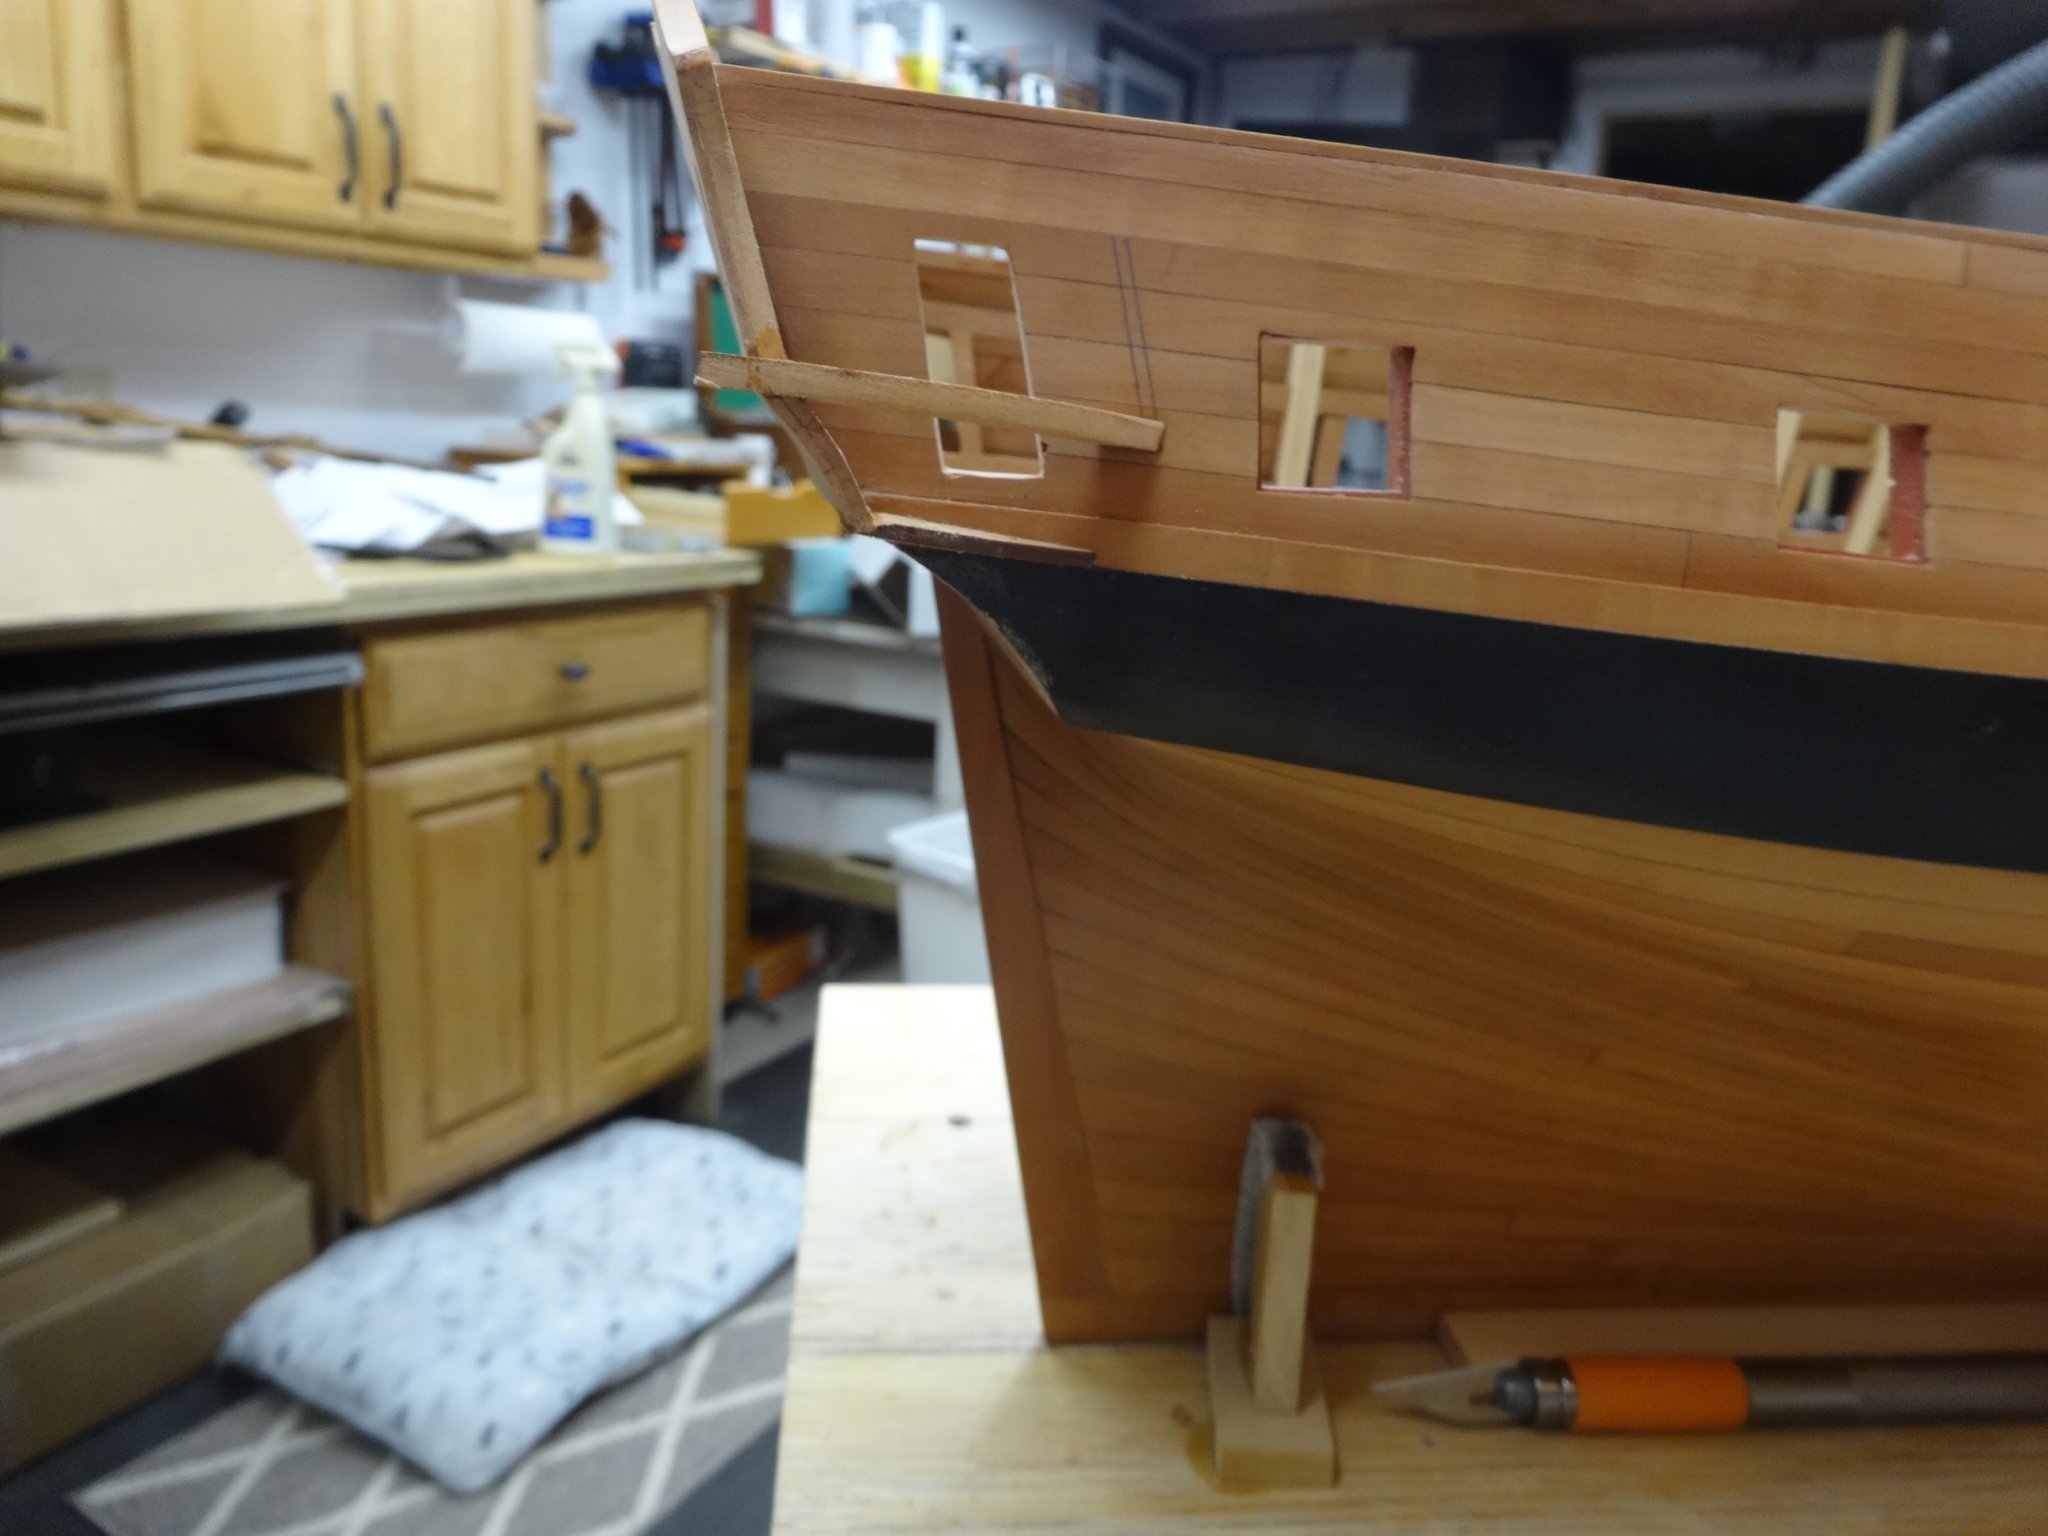
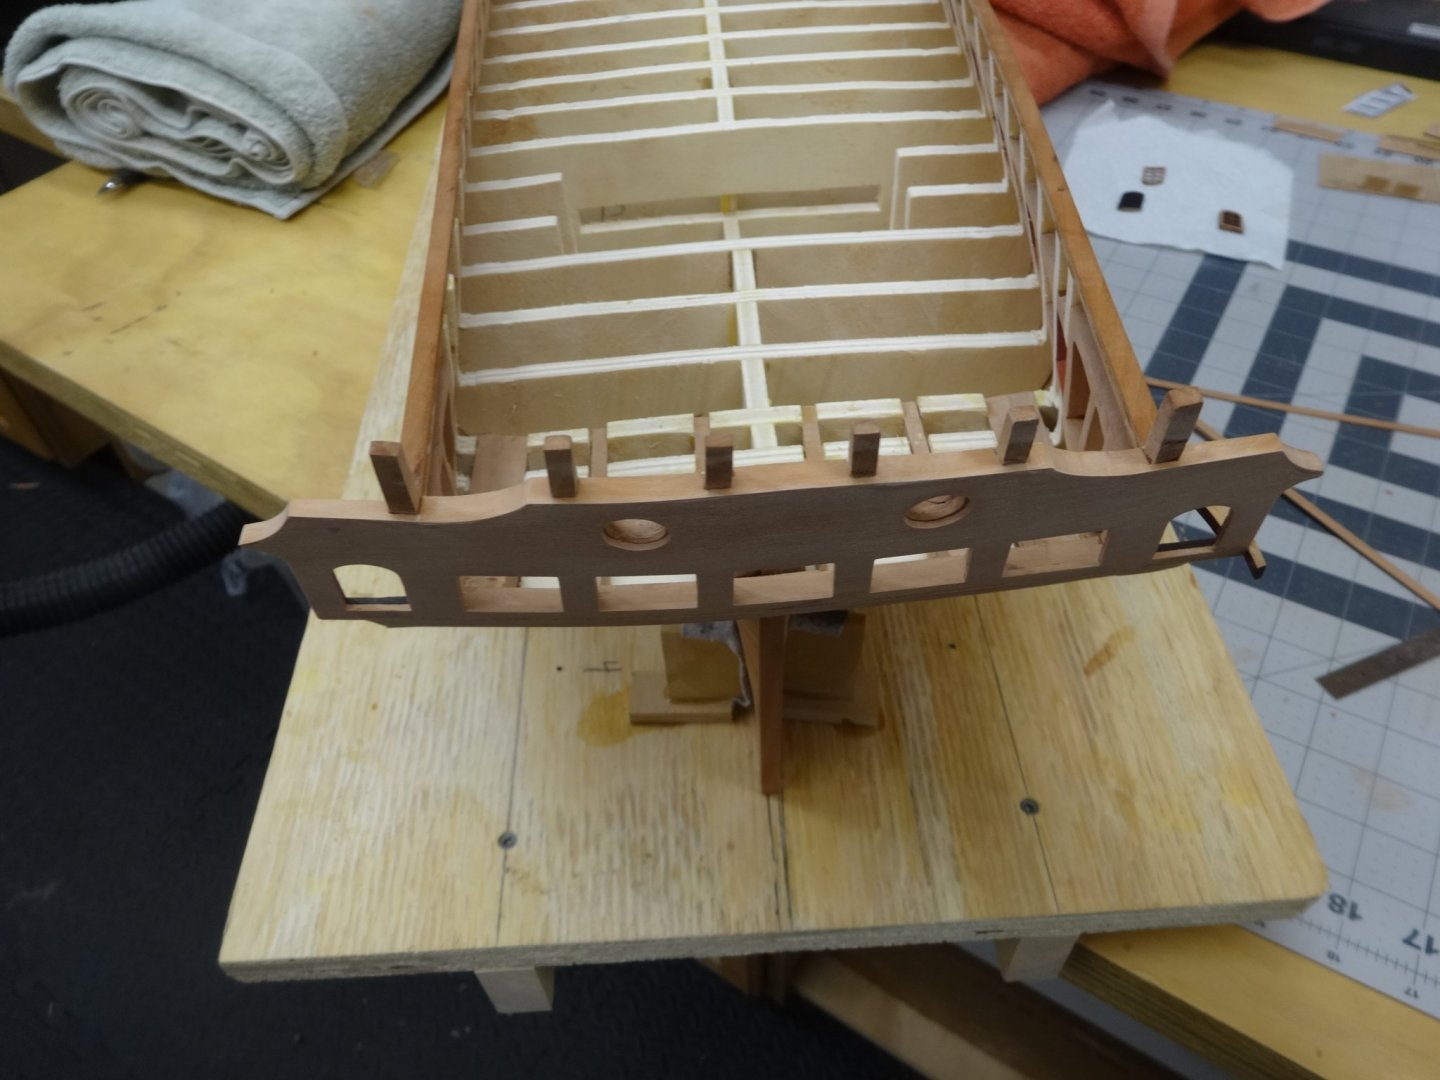
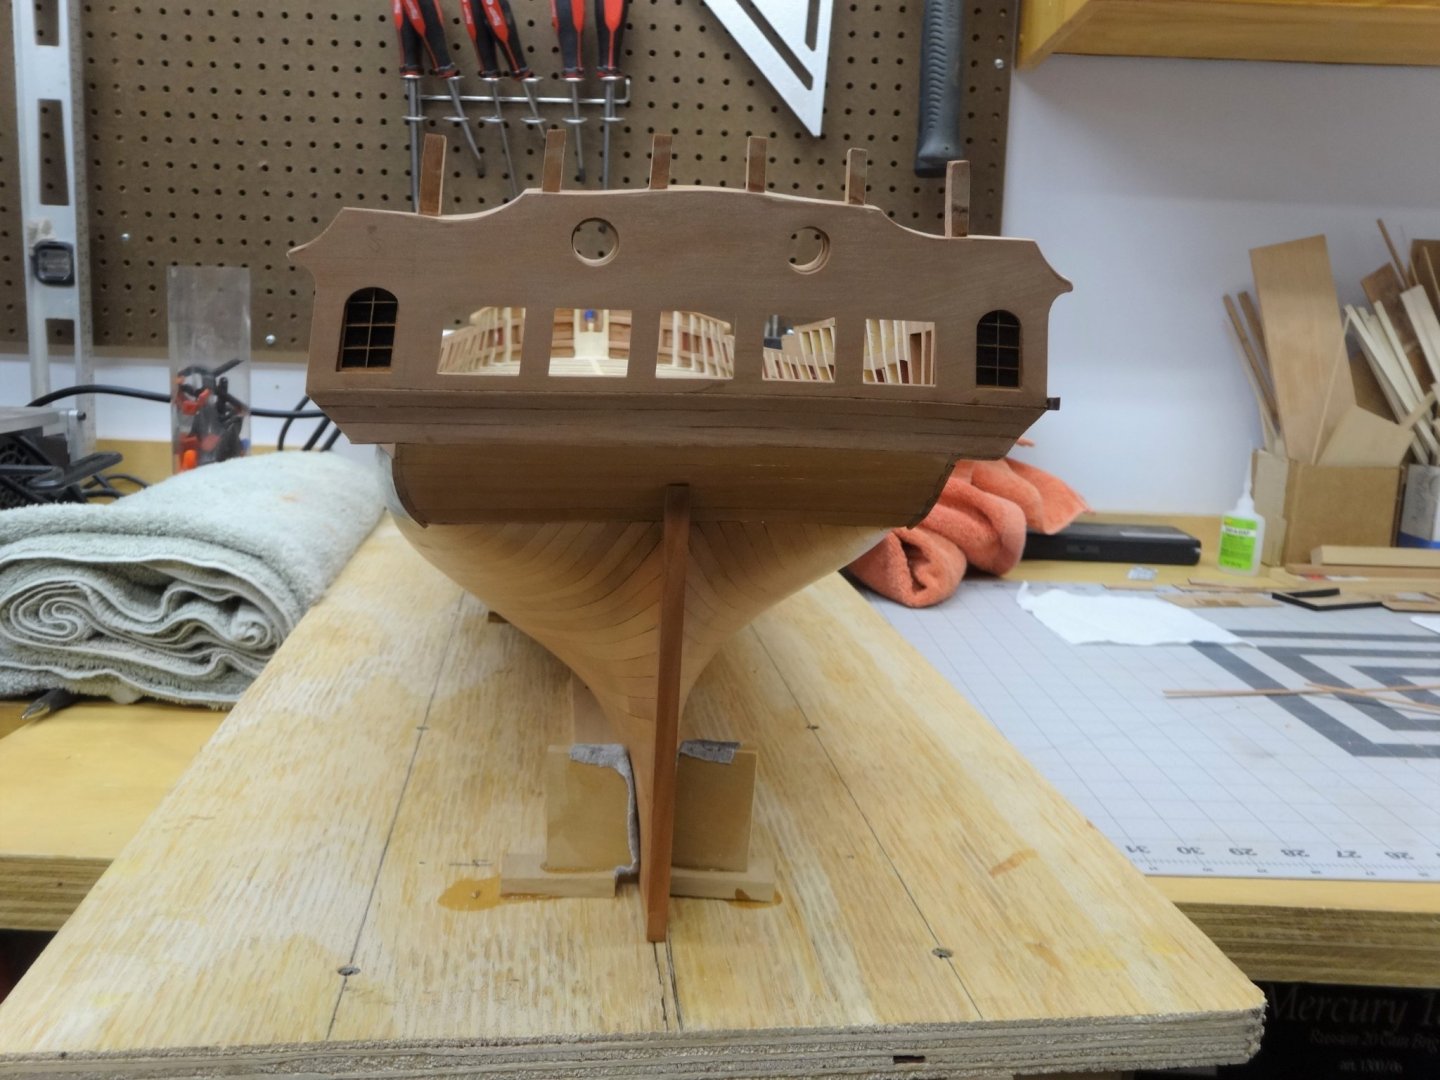
Thanks Jorge and thanks for all the like too! I've glued the transom in place and the filler pieces have been placed on top of the transom to cover the two layers. They are 1/64" thick! I've also placed the quarter galleries window. The starboard side framing has started. The two pieces have been temporally placed with rubber cement as I check them out before permanently gluing them in.
- 642 replies
-
- 17
-
-
- winchelsea
- Syren Ship Model Company
- (and 1 more)
-
Hi Shawn, Welcome aboard! I'm sure you'll enjoy building the Winnie. Don't worry about miss steps, we all could fill volumes confessing ours. Just take it slow and steady and continually check and recheck everything. Something I could do more of myself.
-
Great workmanship and explanation Mike. Always a pleasure seeing your updates!
- 607 replies
-
- 2
-
-
- winchelsea
- Syren Ship Model Company
- (and 1 more)