Paul Salomone
-
Posts
188 -
Joined
-
Last visited
Content Type
Profiles
Forums
Gallery
Events
Everything posted by Paul Salomone
-
 Hello Kevin, That is quite a good site. I browse that site from time to time, as they always add something new. One of the most important things is research. for example - in 1:200 scale, items like control cables and electrical line must be present in the model. The 3D Bismarck site, show the fuse setter assembly, which was mounted on each side of the twin 105mm diameter anti-aircraft mounting. The image shows also the control and power wiring. In your scale that wiring is a must. A bit hard and delicate, I Know - but you will surely get the best out of your model my friend.
 -
Hello Piet, Just send me a private message with your home address and I will send you a piece of copper sheet. I have loads of it.
-
Hello Kevin, A friend of mine has just bought that kit, and can say that Trumpeter has just proved itself as one of the best scale model manufacturers in the world. There is also a photo edged aftermarket set + timber deckings for this kit. Master Barrel of Poland has also issued the brass barrels for the main guns, the secondary armament and the AA guns. There is quite a lot of information on the Bismarck, especially book and videos. The AJ-Press set of five books on the Bismarck is a wonderful reference, full of useful photos and plans. Browse also the Bismarck.dk forum. When it comes to plastic kits, I can give you some guidelines on the assembly techniques. The most important thing is not to rush. Do one bit at a time and make sure that you have the right scalpel surgical blades to enable you to separate the parts from the sprue, and clean off the joint lines and access plastic.
-
Hello Sjors, Looks like you are building a whole fleet of ships. Finally I just found some time to browse through your build log. Time is not on my side, as my new job is taking most of my life time including Saturdays. Fantastic model my friend, neat construction and well cared finish. Well done.
-
Hello Popeye, beautiful work mate. I agree with Adam, the wood staining is superb. Looking forward to see more of it.
-
Hello Piet, Looking better by the day. The propeller drive assembly and the rudders are a wonder. What about the prop blades? I suggest copper sheet.
-
Getting better and better, good job Piet.
-
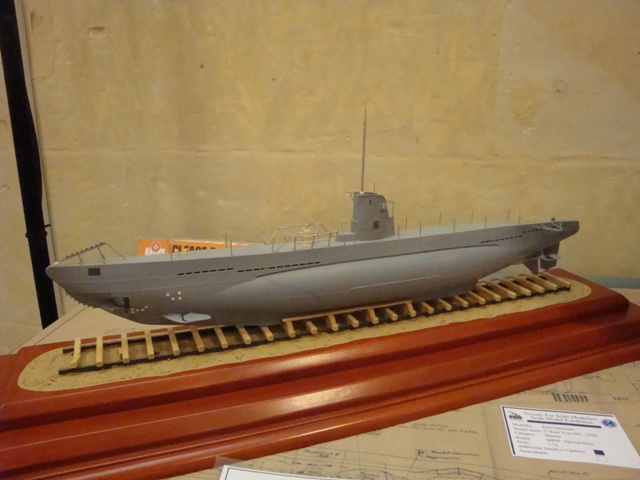
Hello Piet, The plating seems to be well under way and nearing completion. Well done a very neat job. I was studying the photos of the hull you posted on page 22 of your log, especially the thickness of the overlapping. You need not worry about the thickness of the over lapping. If the covering plates of the hull were 20mm thick - at a scale of 1:50, the thickness of the card should be 0.4mm. If the thickness of the plate was 25mm, the overlap would be 0.5mm thick. The photos show some overlapping of the plates and the thickness is evident. As for the rivets issue. Piet - You are doing a wonderful job. I cannot comment on timber period ships as I feel stupid to do so - it's just not my line of hobby. But steel ships are. Believe me, with some patience, you will end up with a real jewel. I assume that you shall be displaying it on a wooden base, and fully agree with you. Remember, whilst in docks or slipways, the subs used to be seated on timber slider blocks. See below picture. A 1939 German Type IIA submarine. I shall be finishing it whitish grey, as was the standard colour at that time, with a fully rigged mast. Just imagine your sub on a similar base, and to high light the detail, some slight washes, especially around the rivets, high lights and dry brushing. Wow I dare not continue. My fanatical friends at the club, will surely give you some lectures as how to finish the hull. They are real experts at the thing. I compare myself as a beginner, when comparing my work with theirs.

-
Good morning all, Manky thanks to all of you. Your kind and encouraging comments are just the right potion to boost up my moral meter and continue. I have to admit, that many a times, I end up in a cross roads situation, but thanks to God, I always seem to have taken the right decisions. Just can't wait to start posting progress pics again. Hello Larry - Didn't know that you had heart problems - I'm sorry mate - hope you are better now. Just take it easy. We are not getting younger. Only yesterday, I shifted some timber planks to make way for other things and could hardly get up from bed this morning. Please give my best regards to your wife, and hope to see you again next Summer here in Malta. By that time my little museum project shall be finished. Hello Amfibius - thanks for looking in and for the kind words. As I said, it's the rude attitude of others that forced me to do all the works at home. The only contractor, that entered my house, installed the aluminium windows, after which I ended up with a nice number of aquariums; with condensate water which generated between the double glazing. I plan to have them scrapped by next year. I shall order the windows from Sicily or Germany and install them myself. Once again - Thanks guys.
-
Hello Joe, I can fully understand you. To move in is the most difficult process of all. I had my share as well, as both mw and my wife had to pack all the things we had at our parents dwellings and transport everything to our new home. You seem to be very good at AutoCAD. I have to find some time to learn the 3D, so that I can finally buy the 3D printer and produce all the difficult parts. I guess that this is the most difficult part of the job - that is - designing all the frames. Once this is ready, it will all be up to your good and able hands to do the rest, coupled of course with hours of patience and dedication.
-
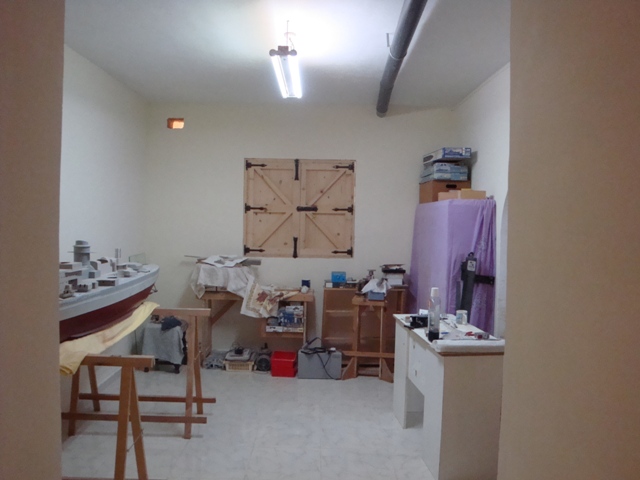
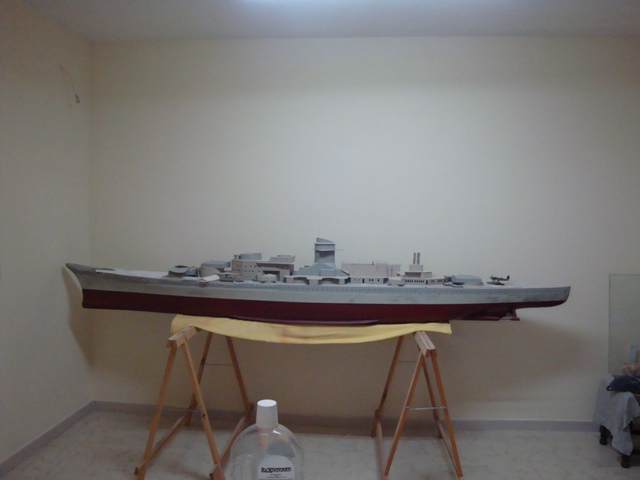
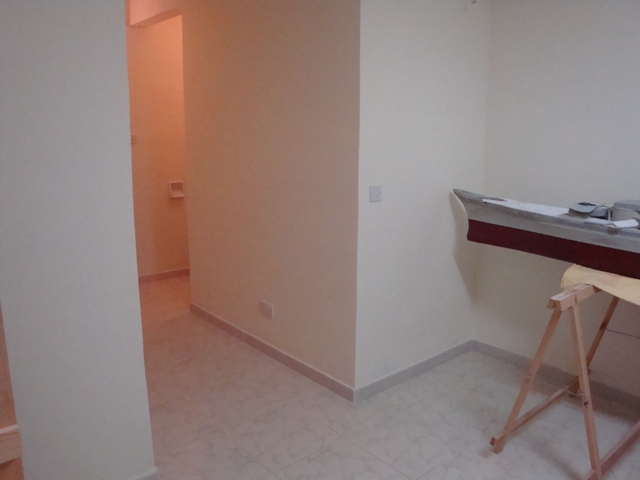
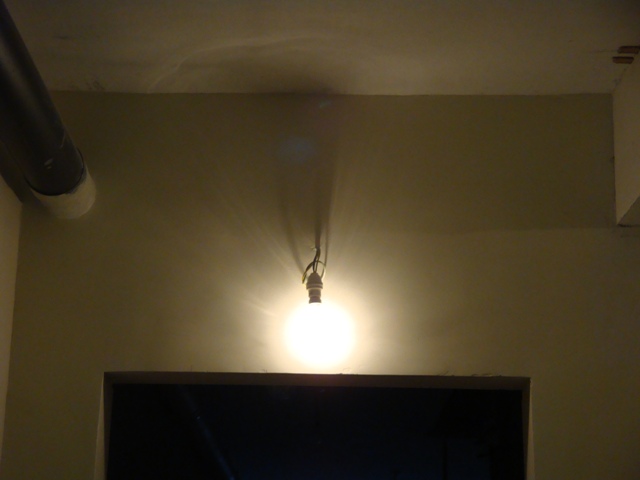
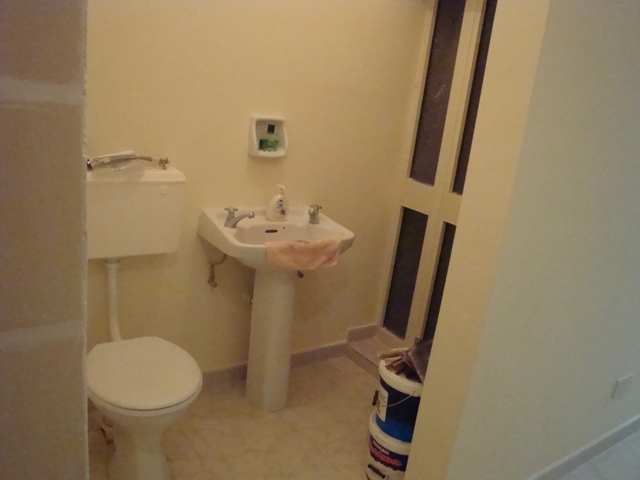
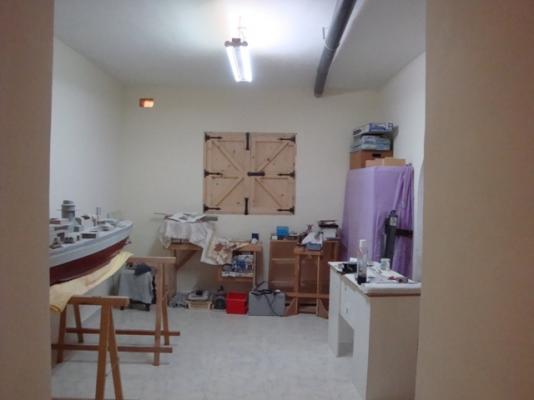
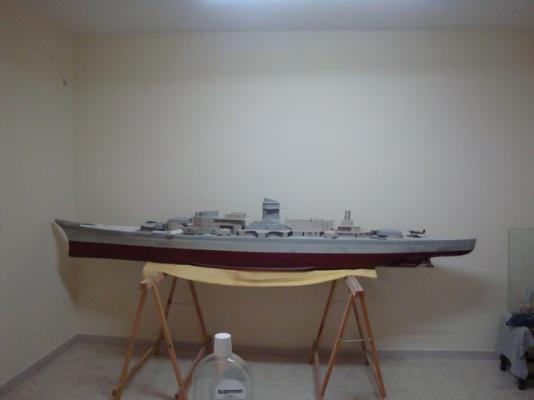
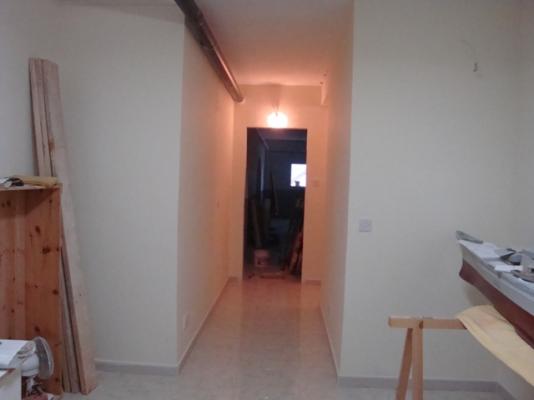
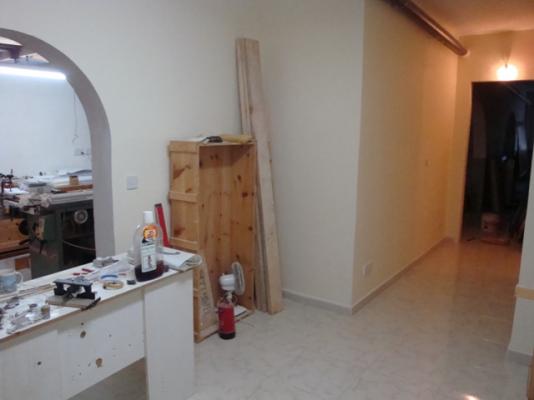
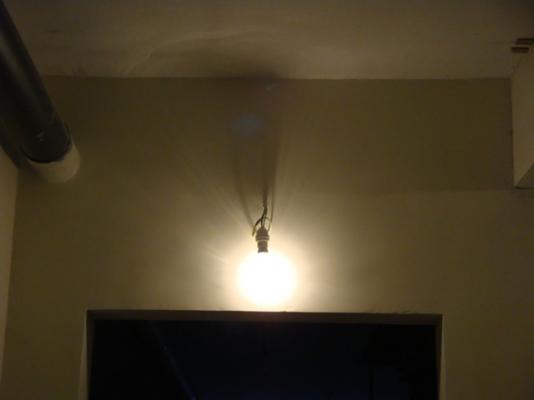
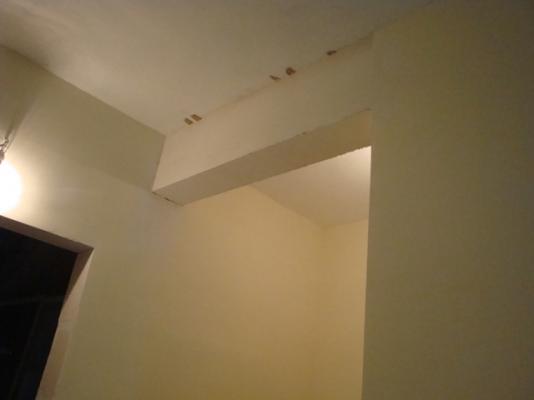
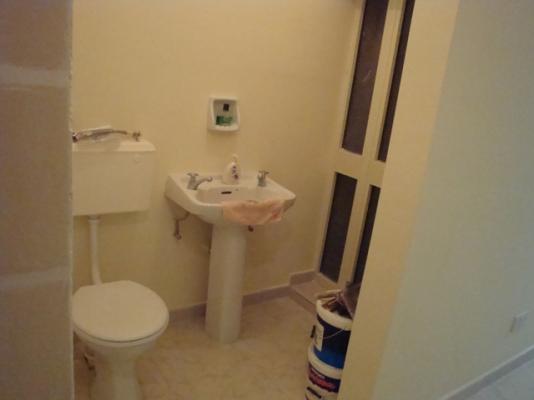
Good morning all, I am posting some pictures relating the progress carried out so far on the redecorating and civil modifications carried out, to create my little private world of modelling. Here goes. DO YOU RECOGNISE THIS ROOM - SURELY MORE ORGANISED THAN IT USED TO BE & CLEANER. As you may notice, I scrapped the large table on which the Scharnhorst rested, as I shall soon start off with the construction of the display cases and cabinets. Thus requiring all the space I need, and the large table was becoming more of an obstruction then of help. The corner leading to the corridor. The small corridor, leading to the garage area. The left hand side corner. The large wooden box, was part of the storage for my WW2 rifles, but now It shall be turned into a display case. The picture also shows the arched door leading to the workshop. I had to construct a door way, in order to separate the room from the rest of the basement area. I constructed this from lime stone, including the door linthyl. Finally a strong lockable timber door shall secure the room under lock and key. I had to put in another beam to strengthen the structure. This time a concrete beam with steel reinforcement. Last but not the least - the most important area in our private world - the poo poo room. I managed to create enough space to fit it in. Shall post more pictures next week. DO NOT WORRY GUYS - I SHALL SOON BE BACK AND POSTING SCHARNHORST PICS.

-
Hello Piet Thanks for the info. Applying rivets, is not that difficult. You can apply them on wet paint or glue them in place. I use 0.3mm, 0.4mm, 0.6mm, 0.8mm and 1mm rivet heads on my build, and believe me - THEY DO ADD THAT FINISHING TOUCH. I have also considered archer decals rivet sets, as Remco suggested. Archer, have hem in single layers, double layers and overlapping layers, as I need them for the hull upper lining.
-
Hello Piet, Great job. What materials are you using for the plating? At that scale, it might be worth considering putting on the rivets as well. Tichy Train group produces some very good rivet heads and in all scales as well. Yes I know - It is a very hard job to put in all those rivets. But my friend, believe me, they will add the final touch to such a beautiful and well built model. The Scharnhorst had an all welded steel hull, but the steel angle and cross beam member which joined the main deck to the hull were locked in place by rivets. if you see any close up pictures of the Scharnhorst, you will surely notice, what looks like a belt made up of rivet heads. I calculated that I would be requiring some 90,000 rivets per side to close off the job. I am surely not thinking on doing the job now, but at the end - YES - I am sincerely thinking and planning as how to find a quick way to fix the rivet heads.
-
Hello Sherry beautiful piece of wood carving. I can only imagine the number of hours invested to create the figure head. But at the end you will always realize that it was worth the hard work. just one question, what grade of sand paper did you use to smoothen the surface? well done.
-
Good morning to all, Many thanks for your support and understanding. Popeye - You will soon see - Basically, I am refurbishing the room, in order to have the Scharnhorst displayed in in final resting place; a wall to wall display showcase, which shall also house the Graf Zeppelin. The room shall be my little private museum, where my modest collection of firearms shall be displayed as well, together with my collection of militaria and scale models. Will post some pictures as soon as the room is ready.
-
Hello to all my fine maritime friends, Just a short note to tell you that I am still alive, but buried under loads of home improvement projects. Do you recall the room in which the Scharnhorst is based? - Well you will all see the huge improvement. You will hardly recognize the room. I still have the construct the access doors leading to the room, together with some more lighting and civil works. But in a month's time, I will be back again and finally posting more progress pictures.
-
Hello Piet, Good work indeed, This is the first time that I am seeing teeth mounted on diving flaps. Were they mounted to cut through underwater protection steel nets or to cut off cable laid sea mines?
-
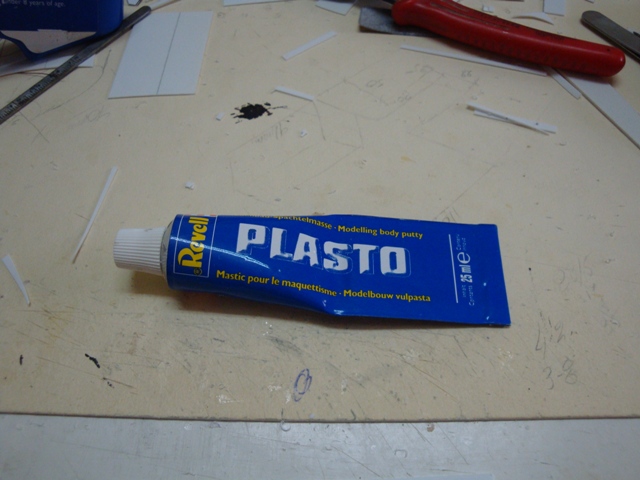
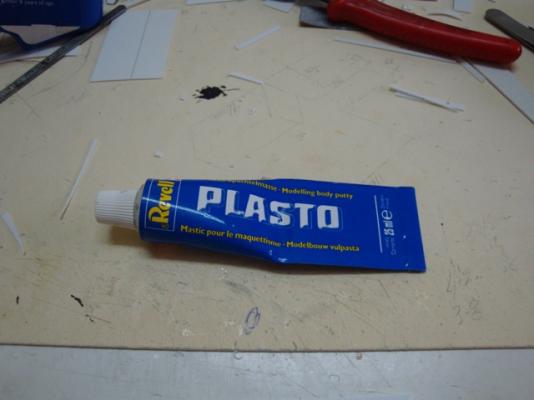
Hello Brian, Thanks for looking in. Plasto is a great filler, especially for plastic builds like when using styrene sheets; and sands down quite easily.
-
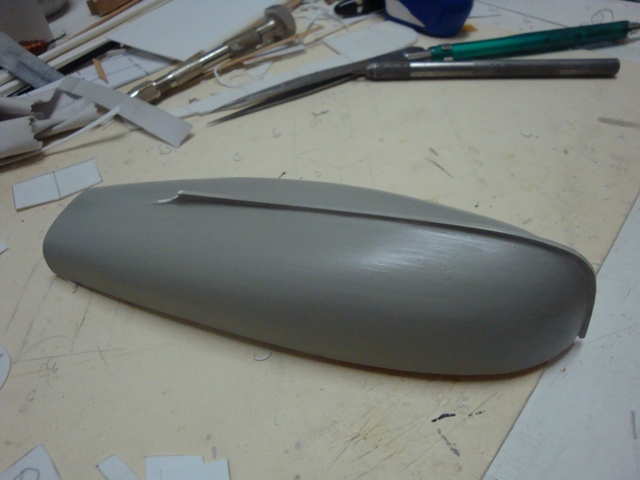
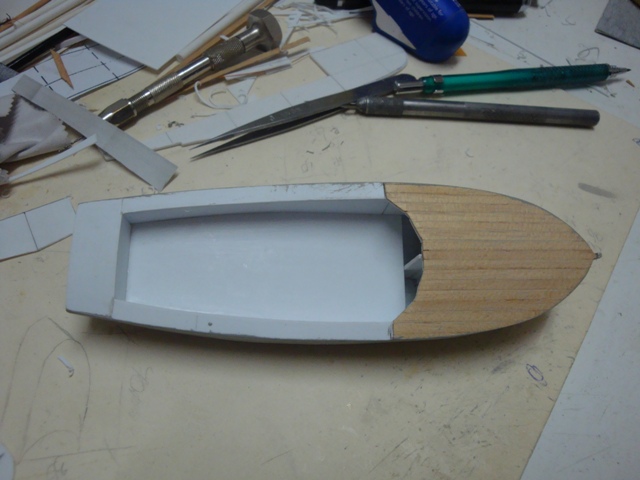
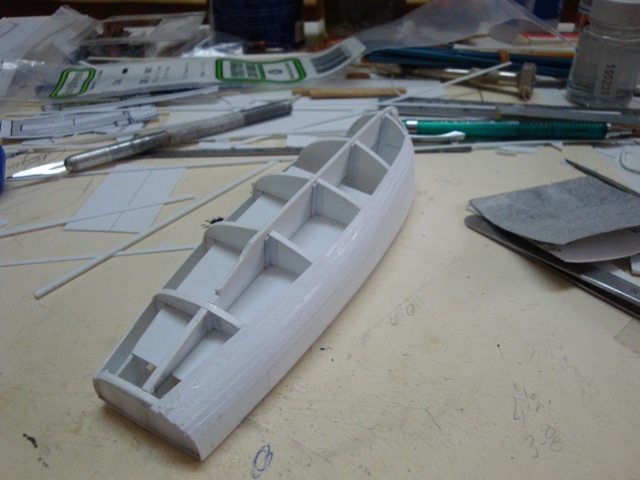
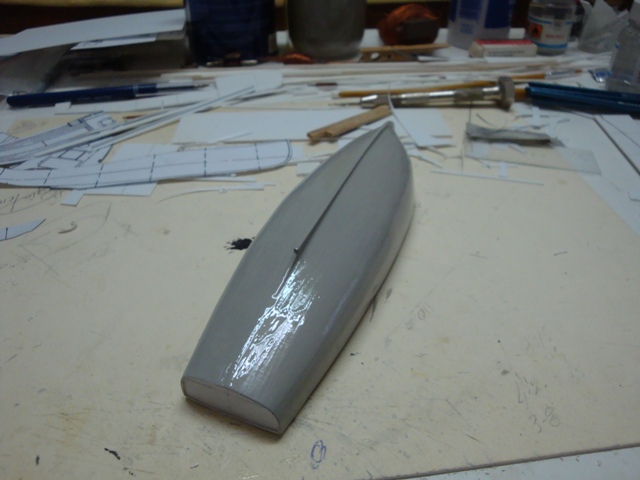
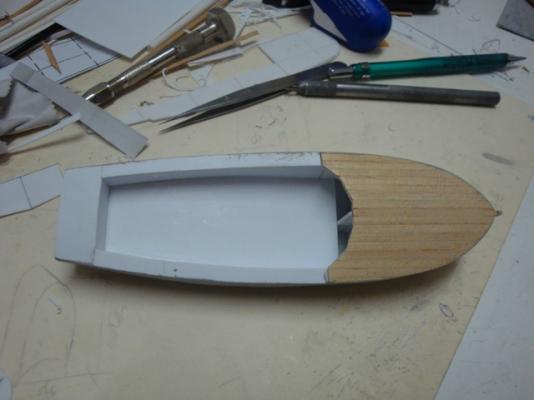
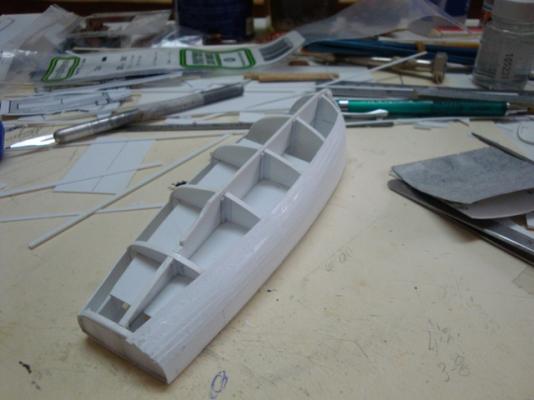
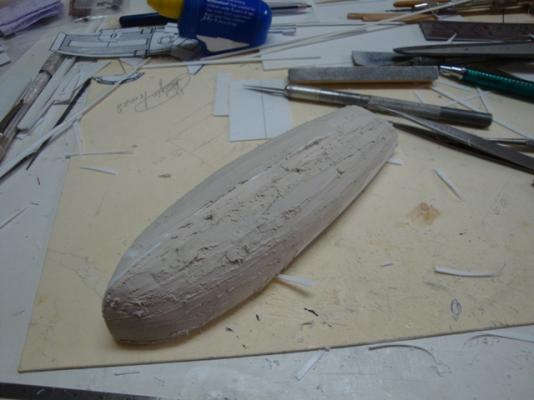
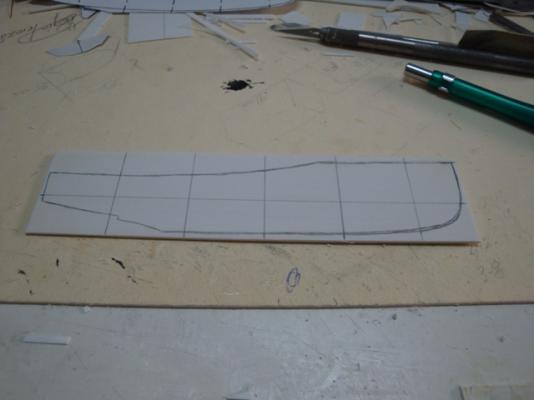
Good morning all, Some more updates related with the construction of the first work boat. Not much I'm afraid, as I had to carry out some maintenance works in the house. Here goes. Nearing the finish line. Starting off with the decks of the boat. Shall upload more updates next week.

-
Hello Piet, Glad to hear that you shall be putting in the torpedo launching tubes. Wow, that's a whole lot of detailing. They look rather complicated. Just one advise. Since, they shall be fitted in a confined space, I strongly suggest that you apply some washes and highlighting, in order to get the effect of the detailing. Nothing of the extraordinary. Just keep it simple. The most important thing is the have the effect you wish - that is - the detailing stands out. I quite agree with you, even with my Scharnhorst, I am not considering any weathering. Just oil washes, shading and highlighting, together with some dry brushing, to get the detail out.
-
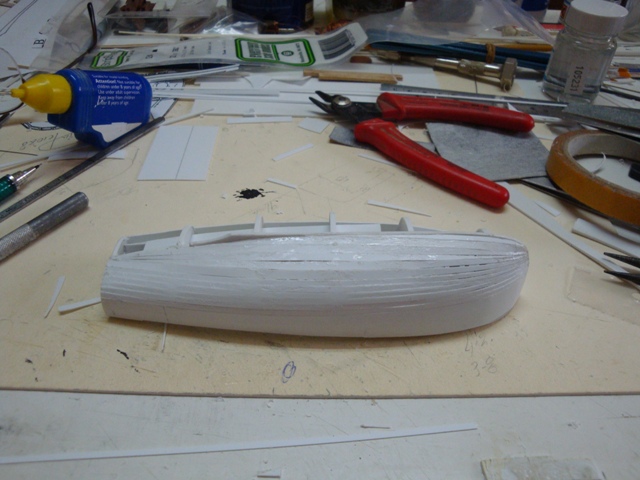
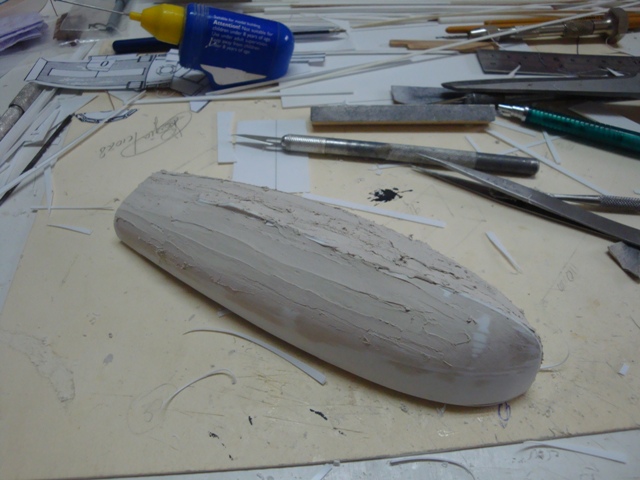
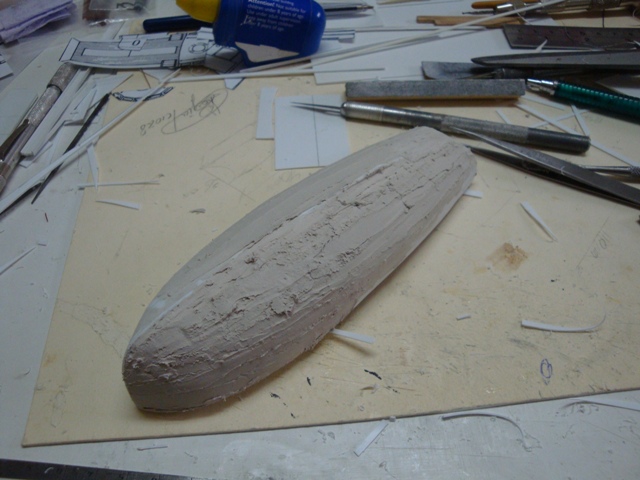
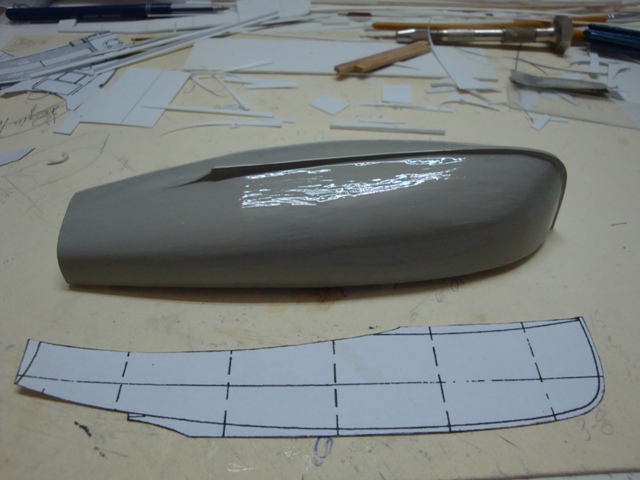
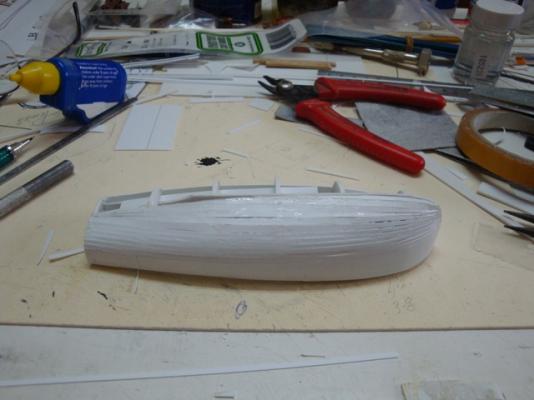
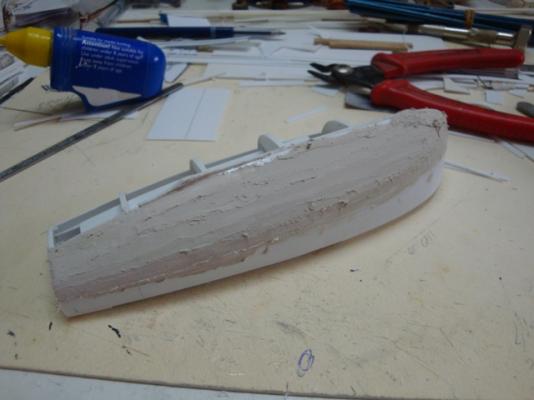
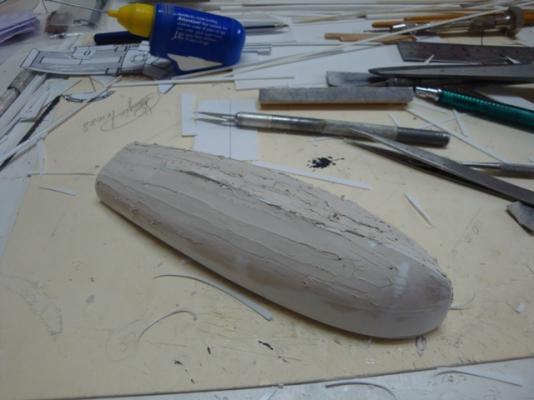
Good morning all, Hello Pat - Good, That what I would look forward to, after a hard day's work - a good pint of chilled beer. Some more updates on the first work boat. Here goes: Starting off with the outer skin. The first side ready - not bad for the first time and using styrene strips. The filler to use on styrene. The best in town. First coat of filler. The second coat of filler, applied on both sides. A view from the other side - a bit crude, but better a thick coat and sand down to the right curvature. Applying the first thick coat of primer. This helps a lot in obtaining a good finish. A longitudinal view. While awaiting for the coat to dry, I started off with the second work boat. Shall be posting more pictures next week.


-
Brilliant effect.
-
Hello Piet, Very good work indeed - excellent finish. Any chance of having the torpedo tubes as well? They would look a wonder, and if I were you, I would do fix in place at an angle of some 55deg. to the side. That would really highlight the detail; and with some oil washes and weathering, the result would be stunning. I am experimenting with oils washes at the moment - still on the learning curve, but the electrical panels in the bridge shall look true and realistic. I only saw the photos in your thread, but if any welding processes were used, I would reproduce the weld lines by using copper wire.
-
Hello all, Thanks guys for looking in. Grant - I have already downloaded a scale plane of the boats davits, that were located forward, just after turret "Bruno". yes it's a challenge, but can be done. of course, most of the items, shall be worked out on the lathe, but it's the end result that counts. PAT - get that beer ready.