


JoeMacD
-
Posts
50 -
Joined
-
Last visited
Content Type
Profiles
Forums
Gallery
Events
Posts posted by JoeMacD
-
-
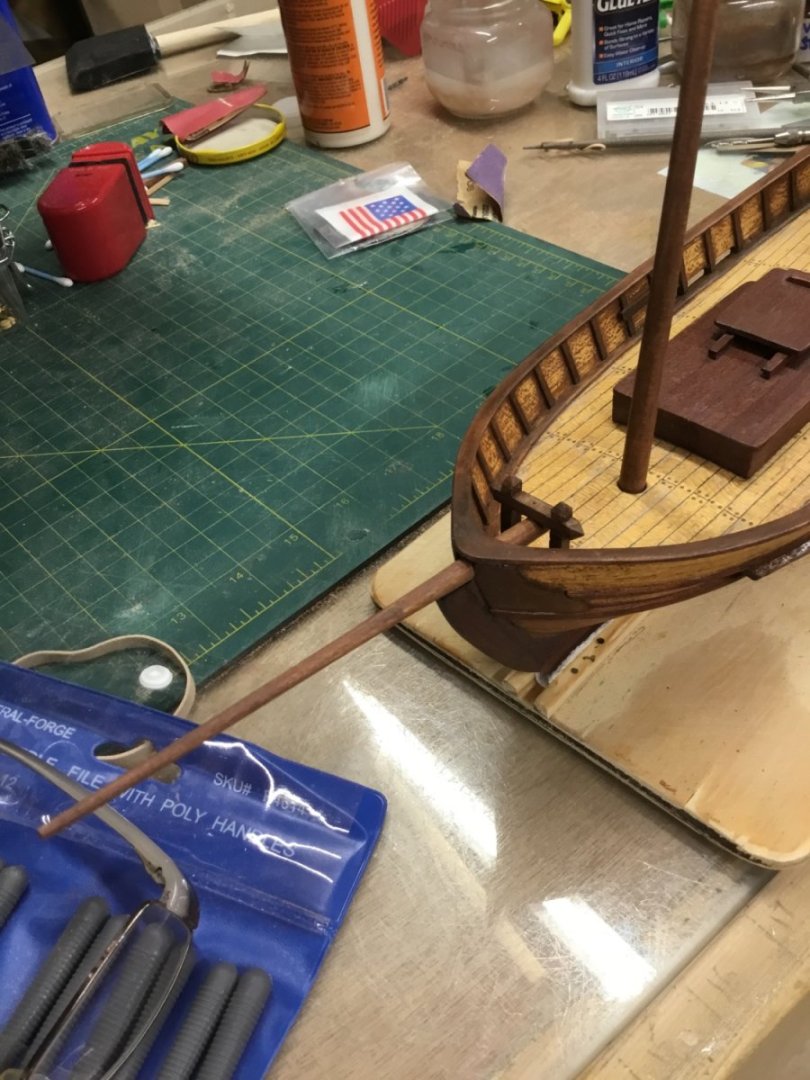
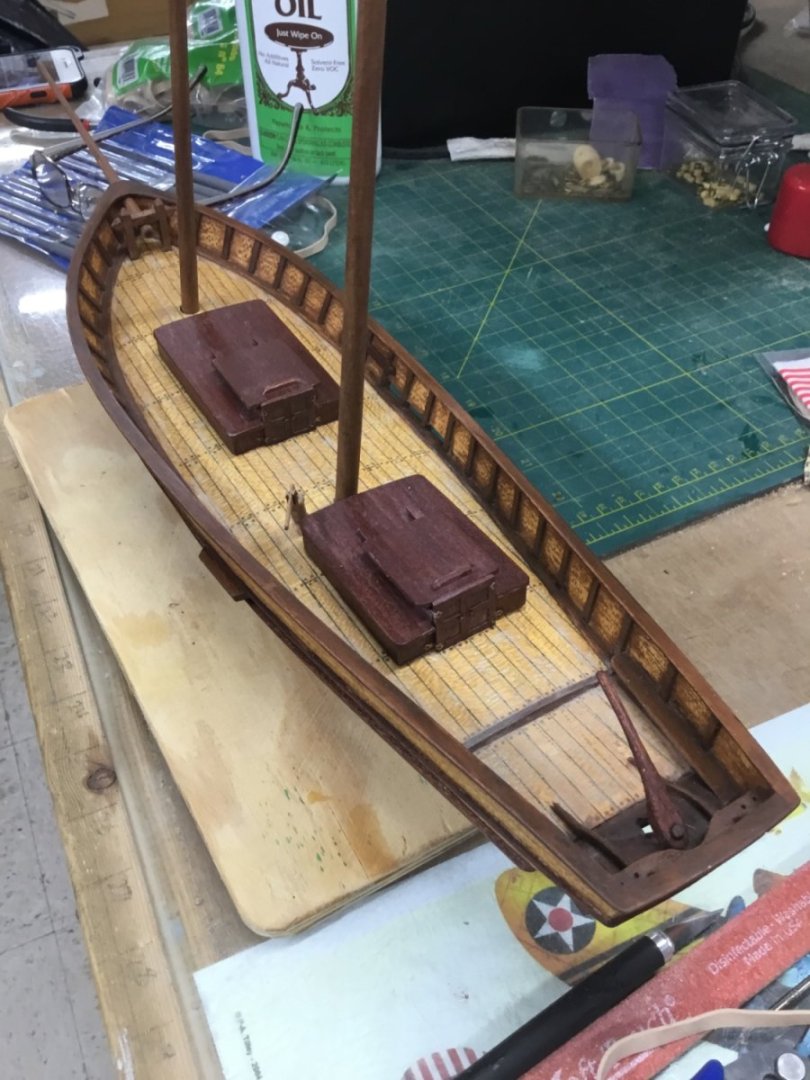
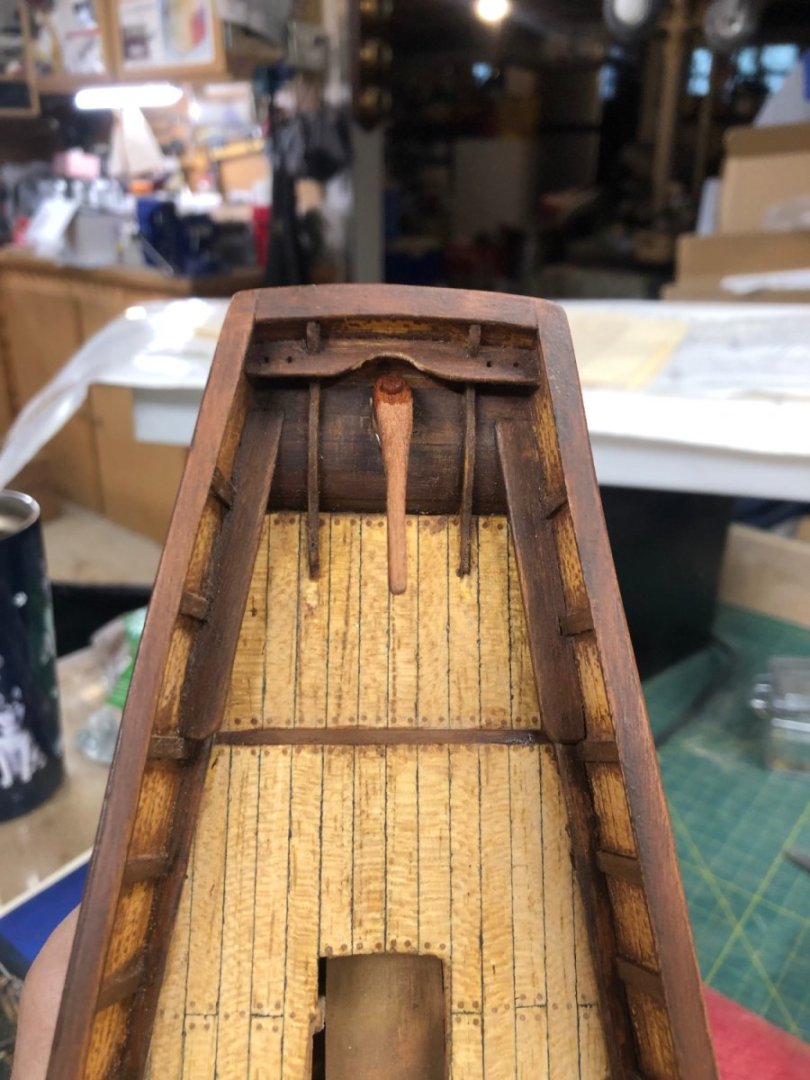
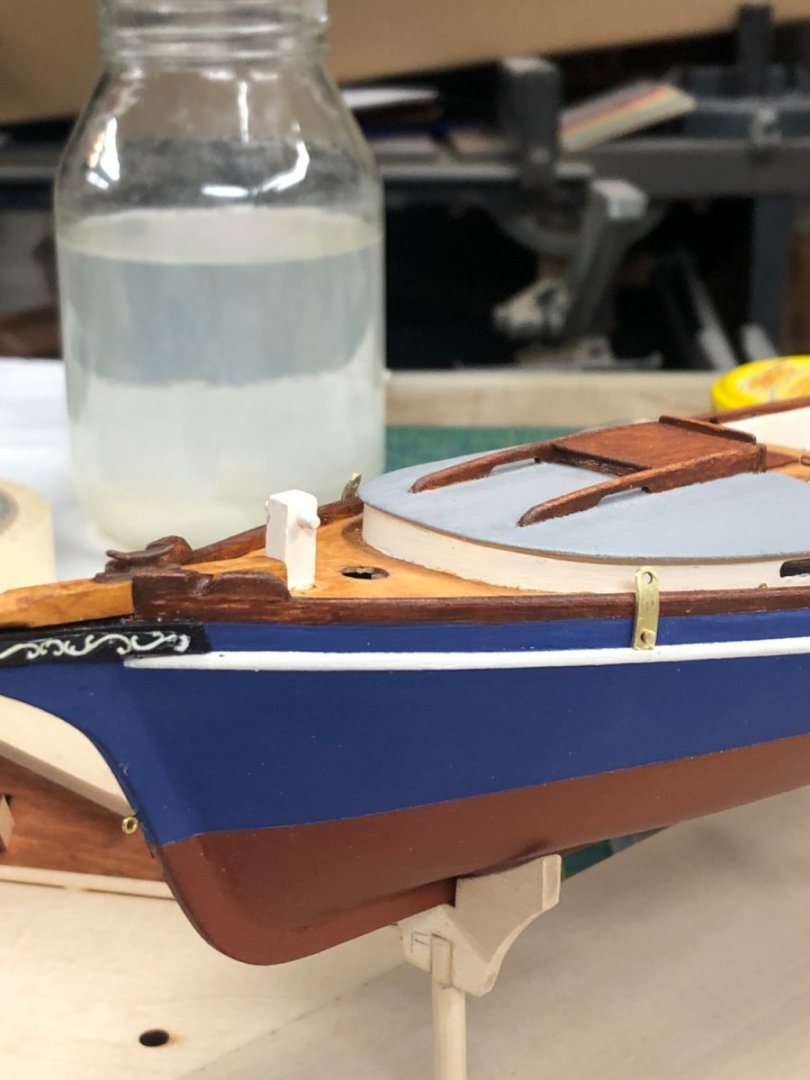
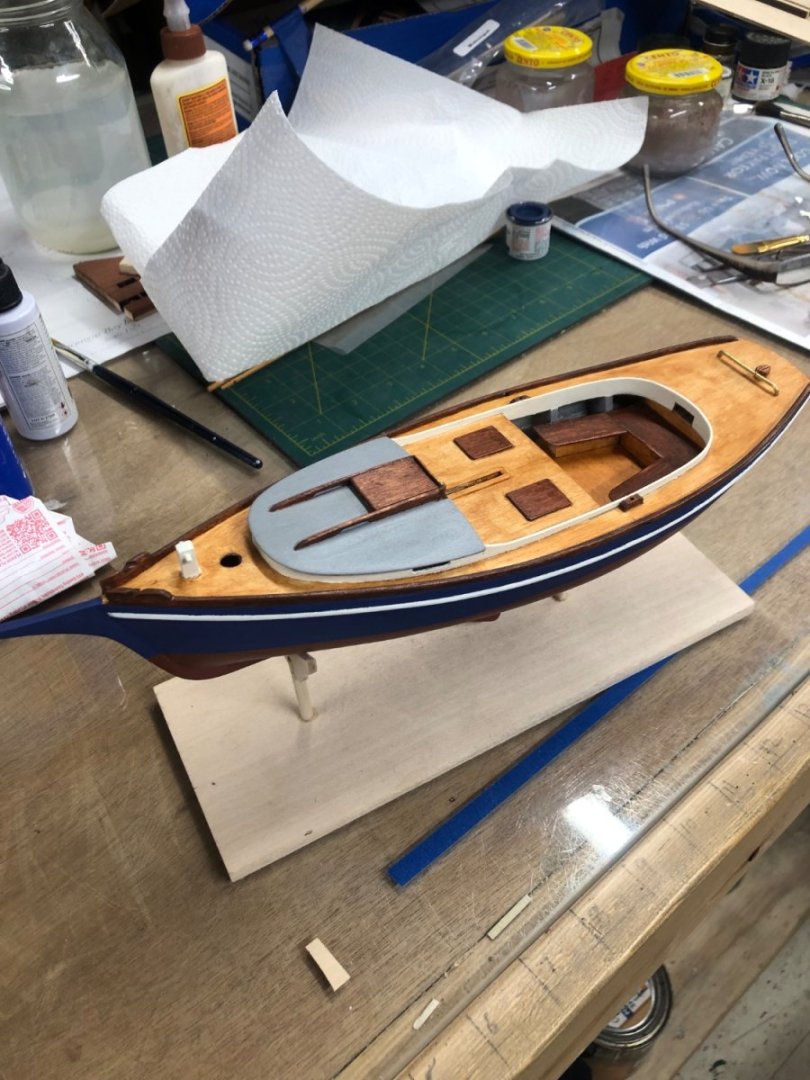
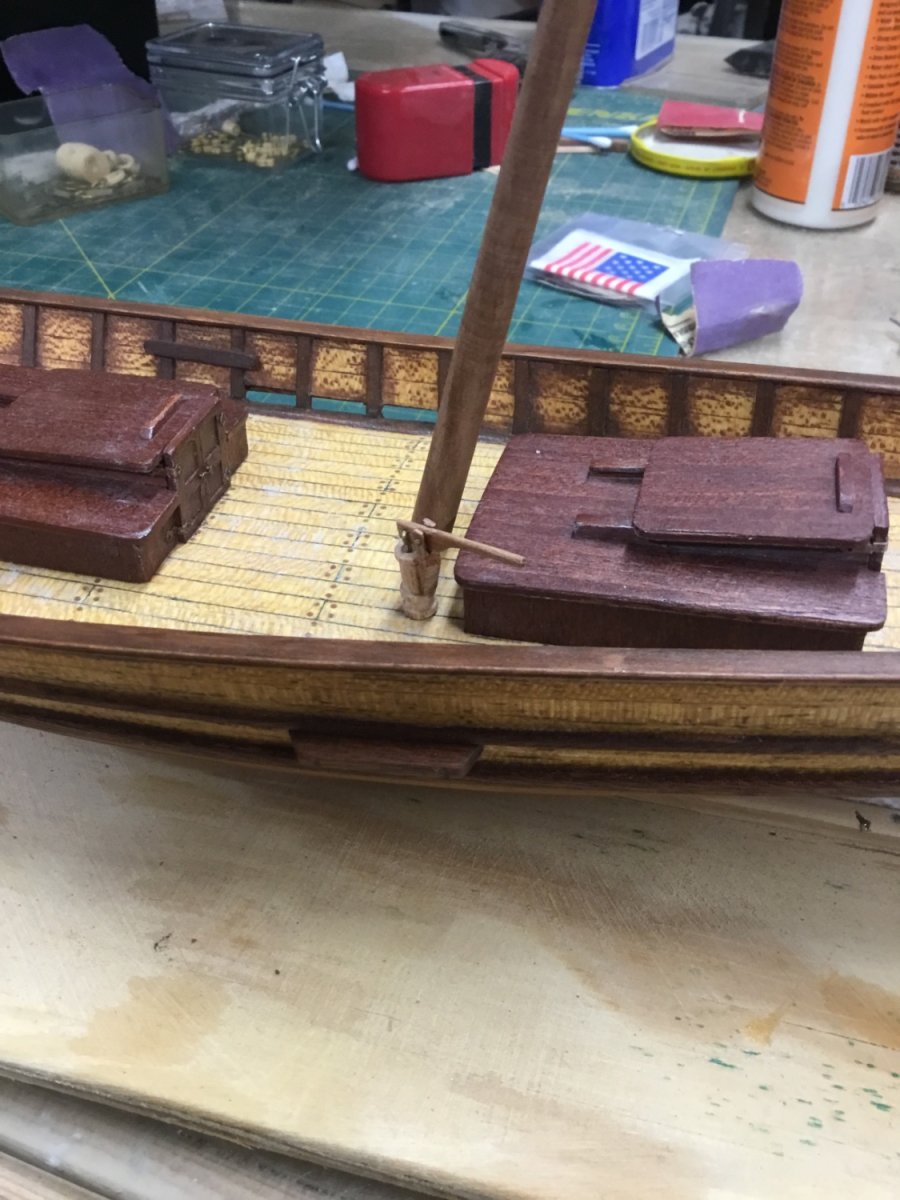
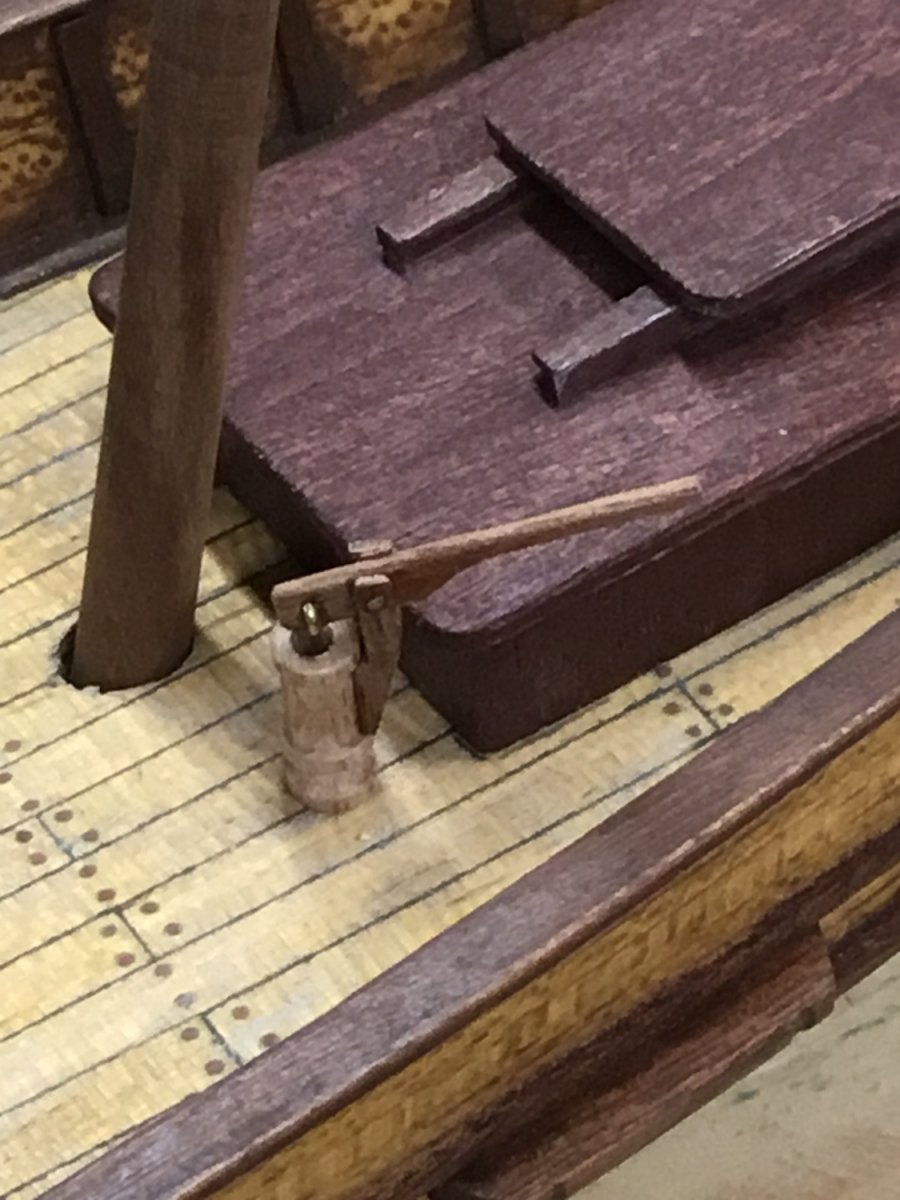
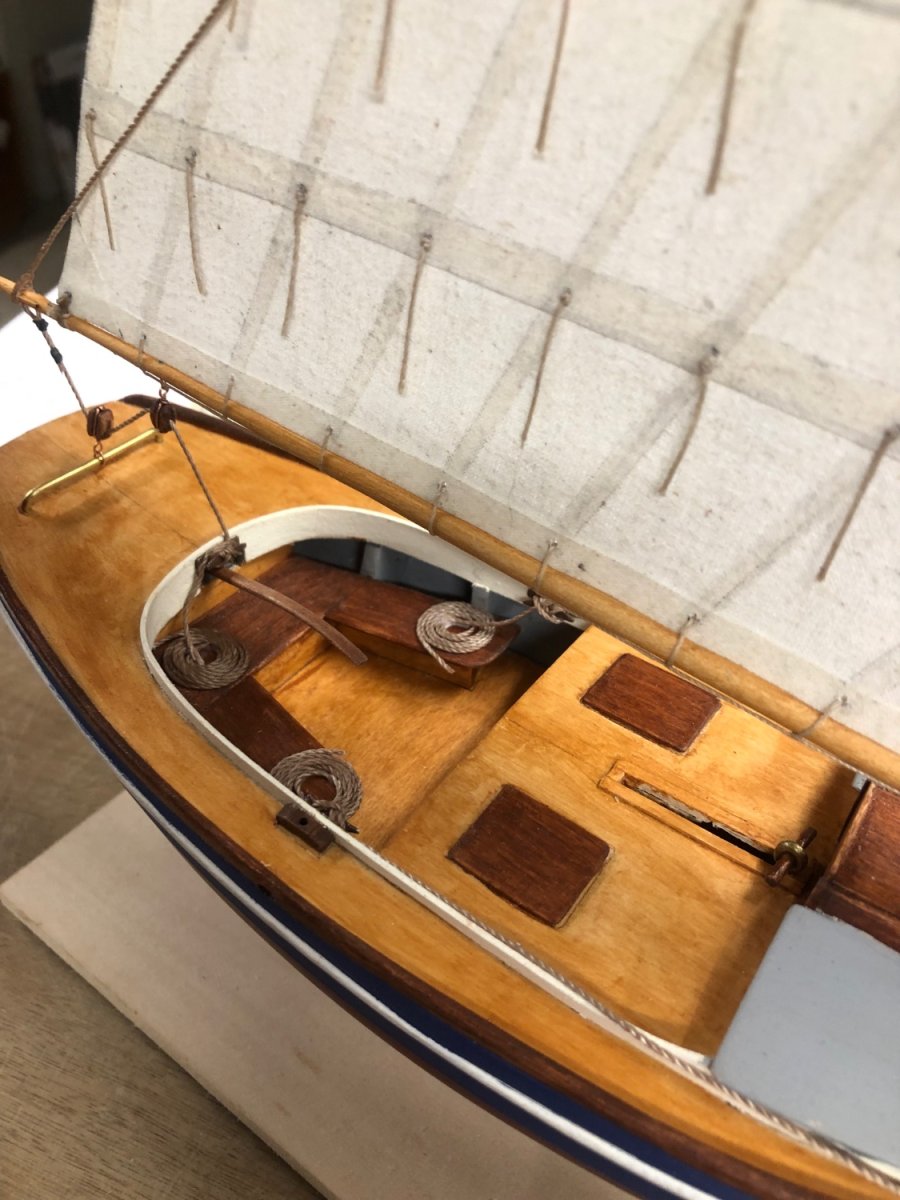
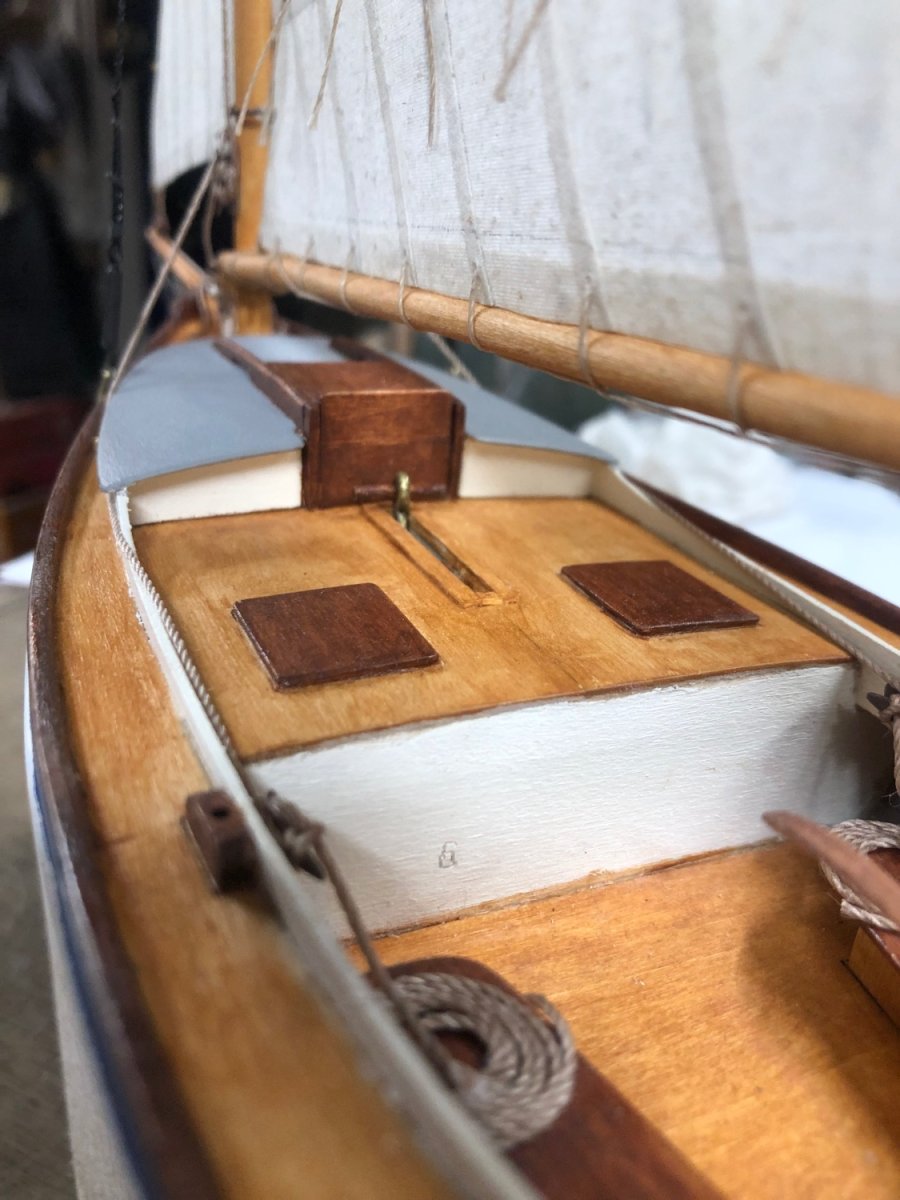
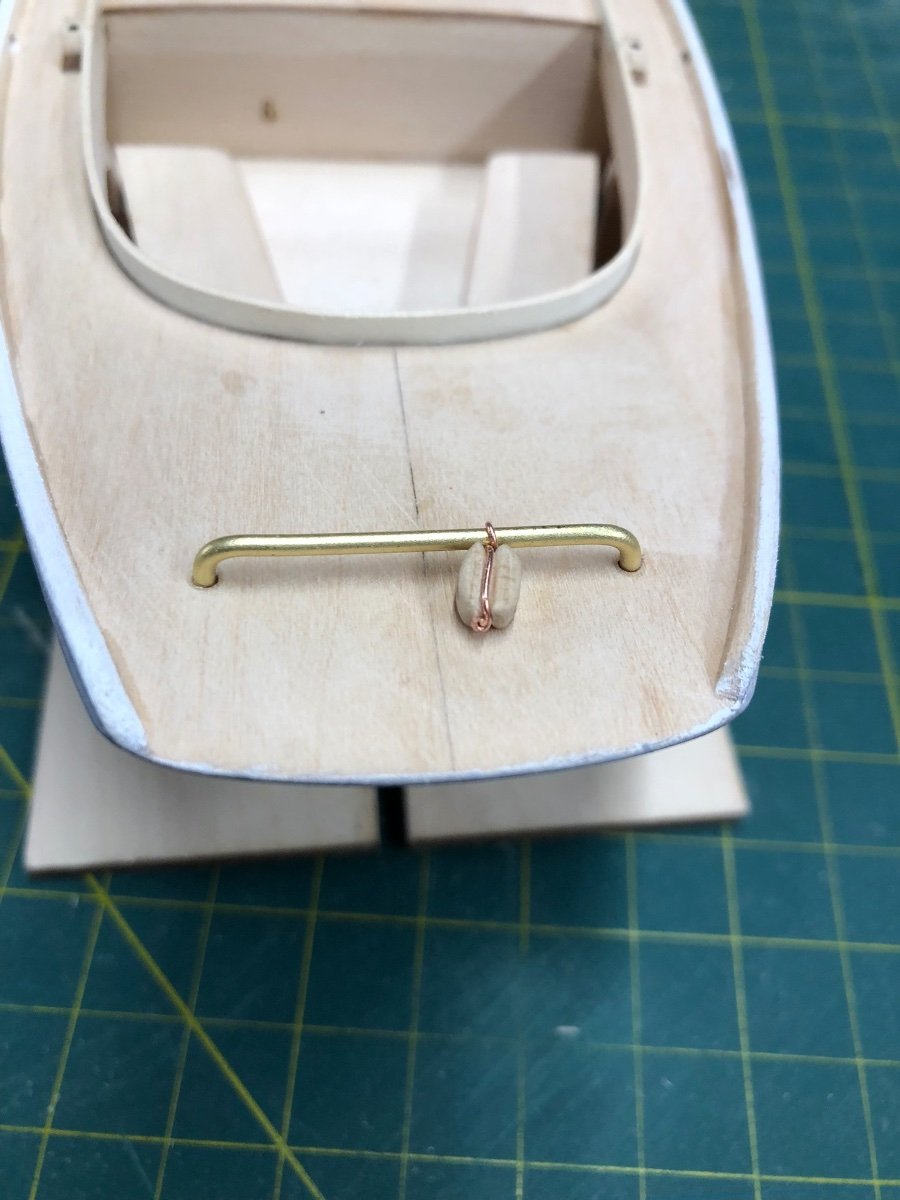
Here are some more pictures of progress! Deck housing and bilge pump, bowsprit bitt!


- Altduck and Bryan Woods
-
 2
2
-
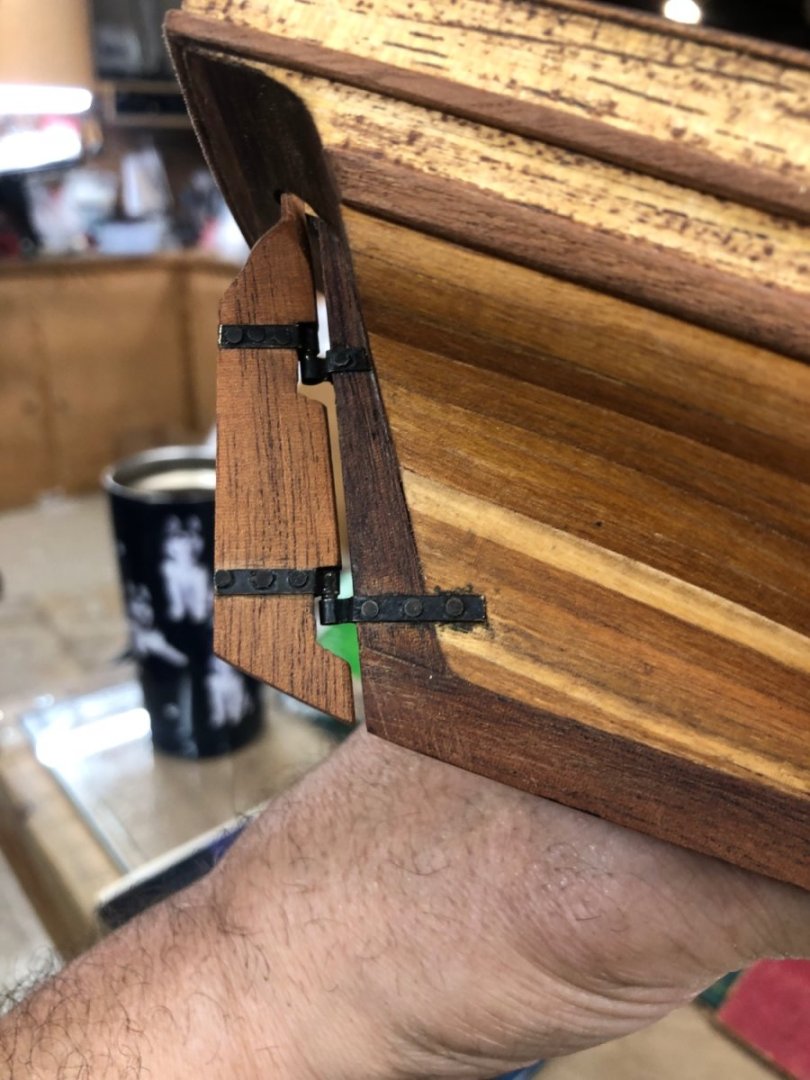
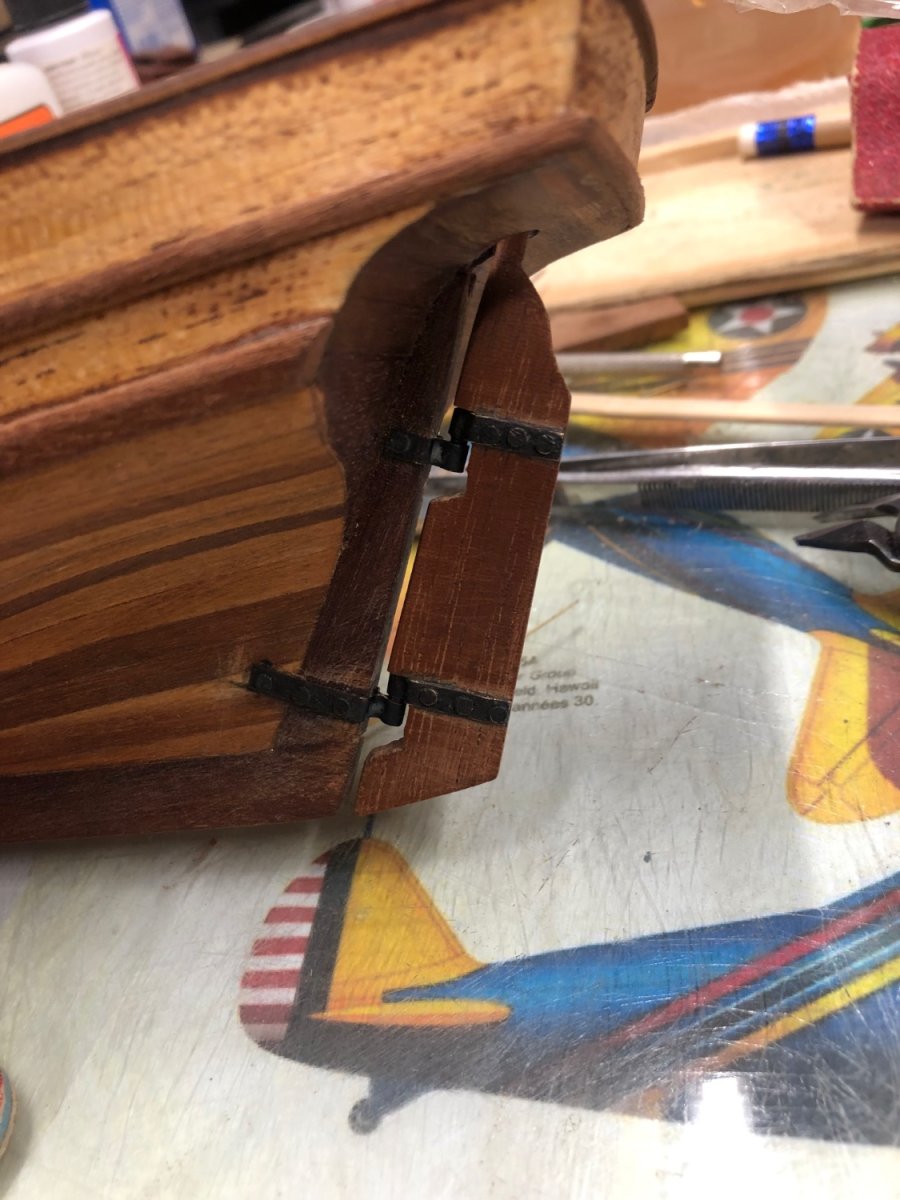
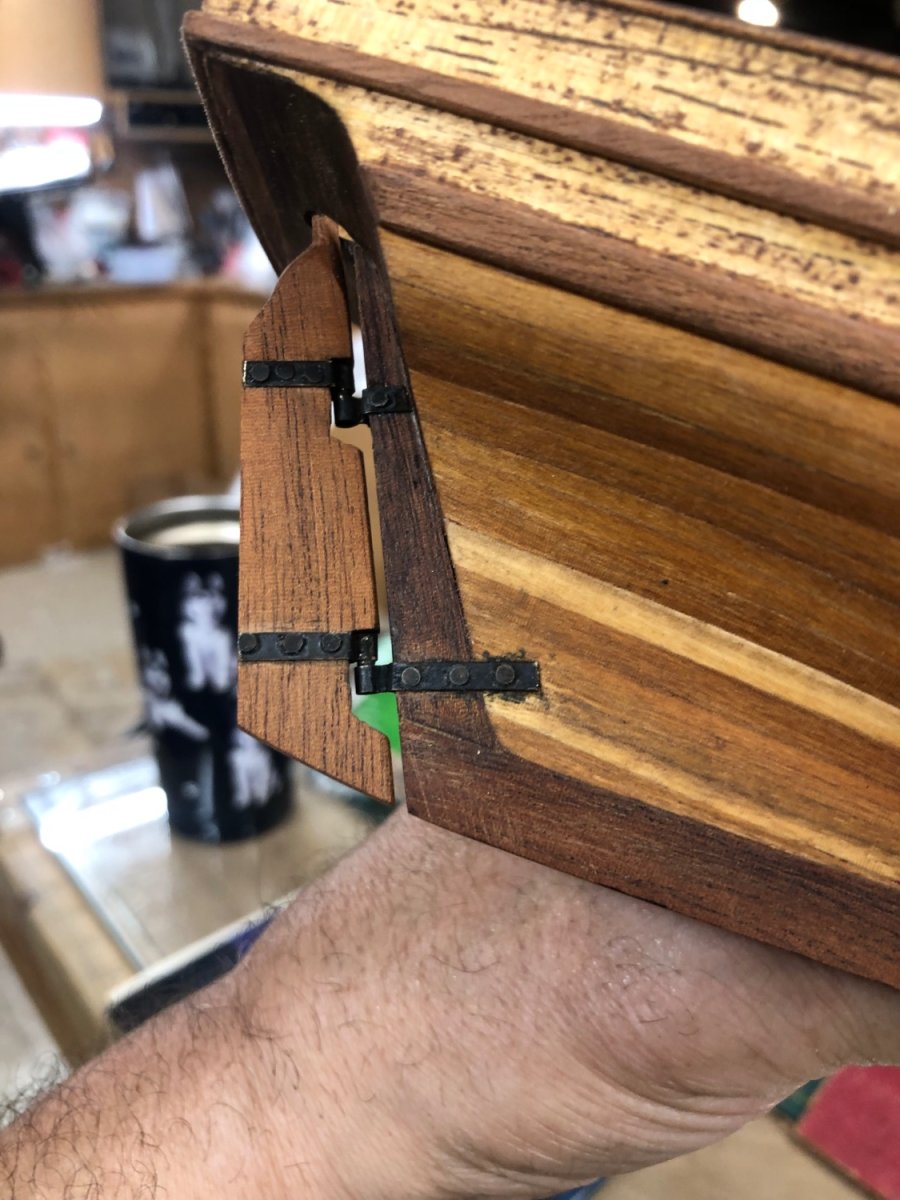
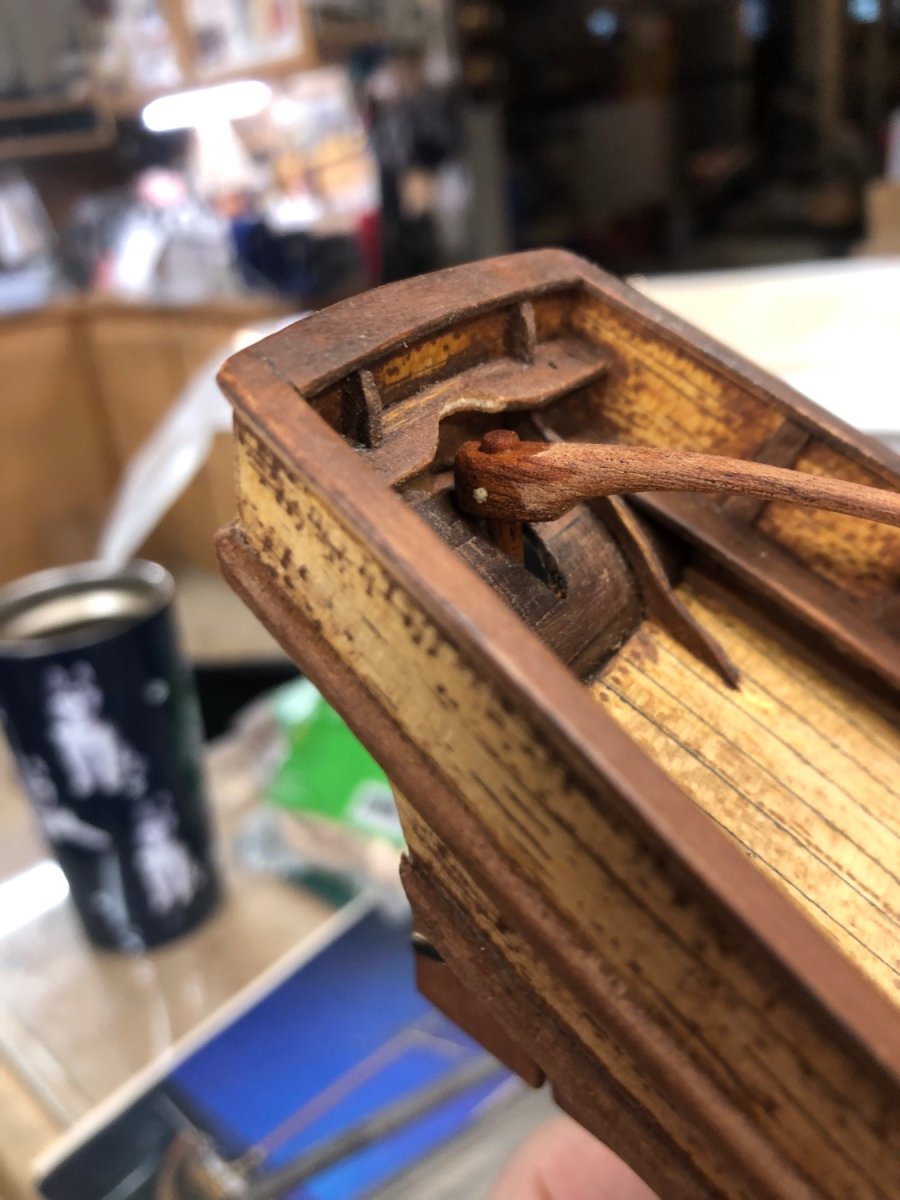
Worked on the rudder and tiller!


- Bryan Woods, Altduck and ccoyle
-
2
-
 1
1
-
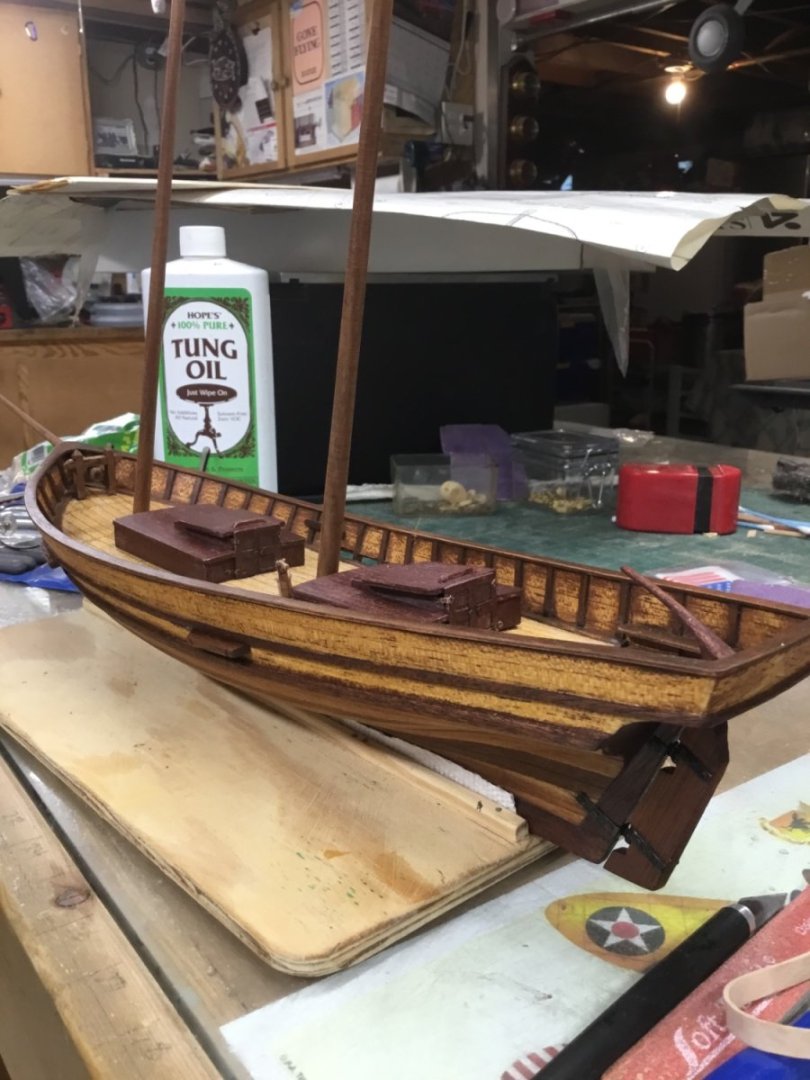
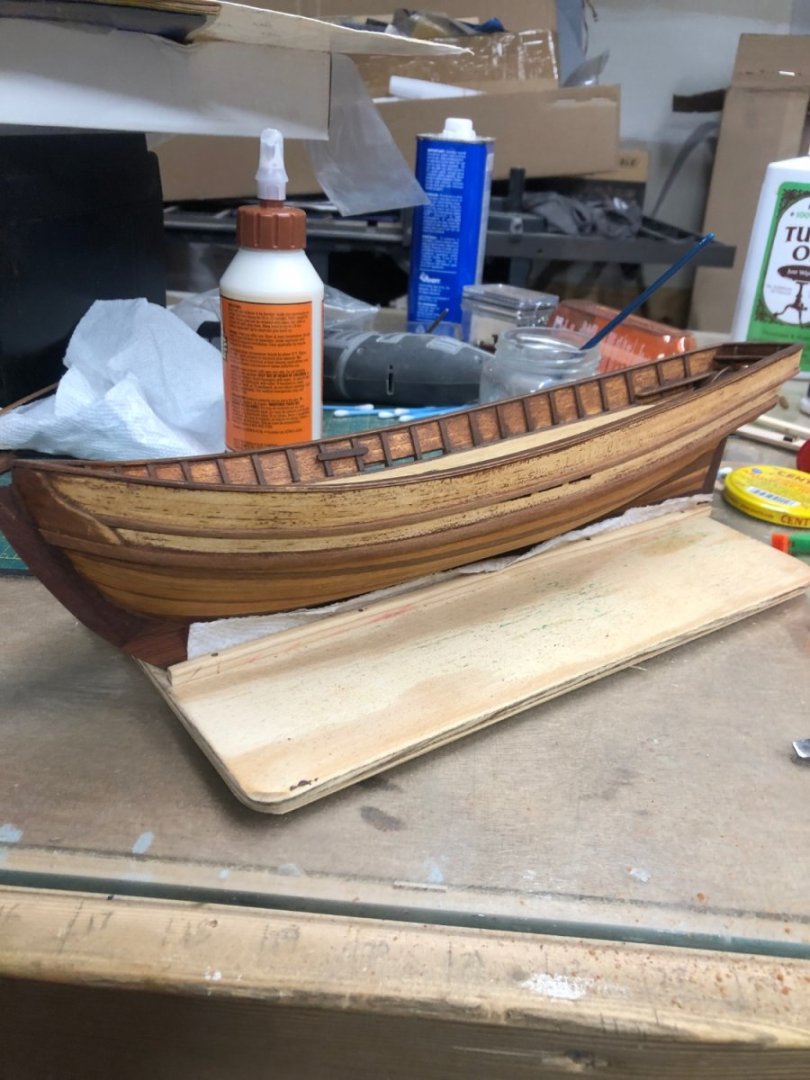
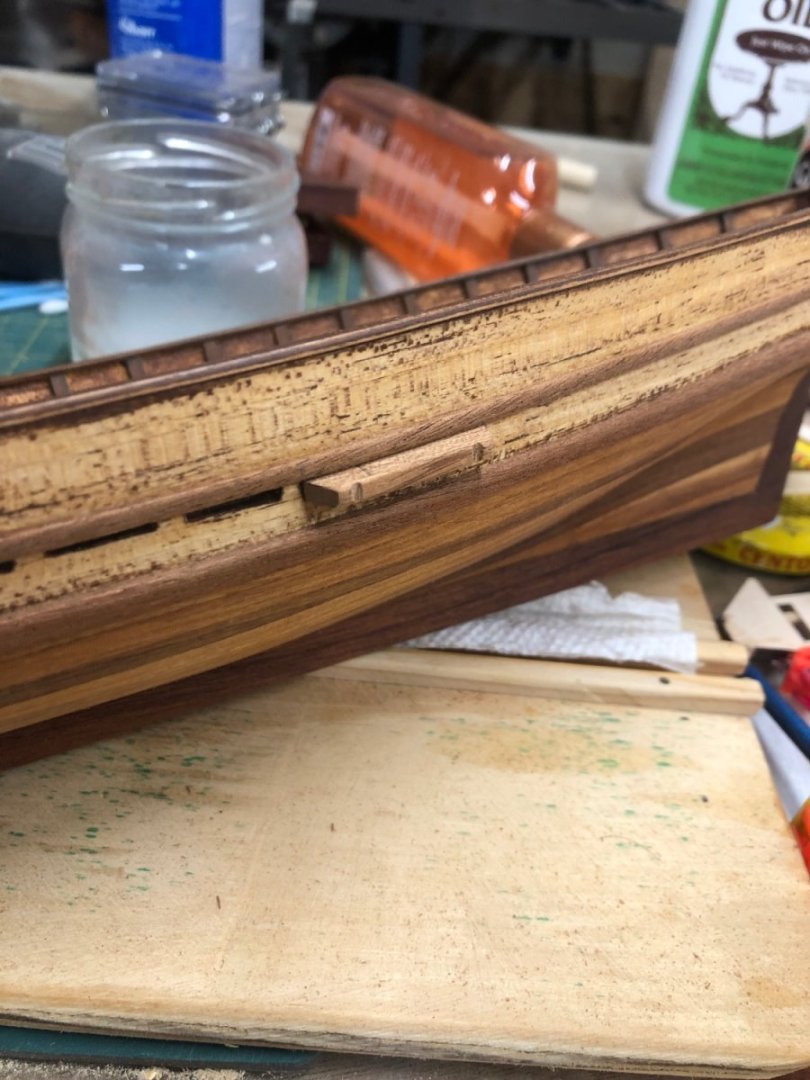
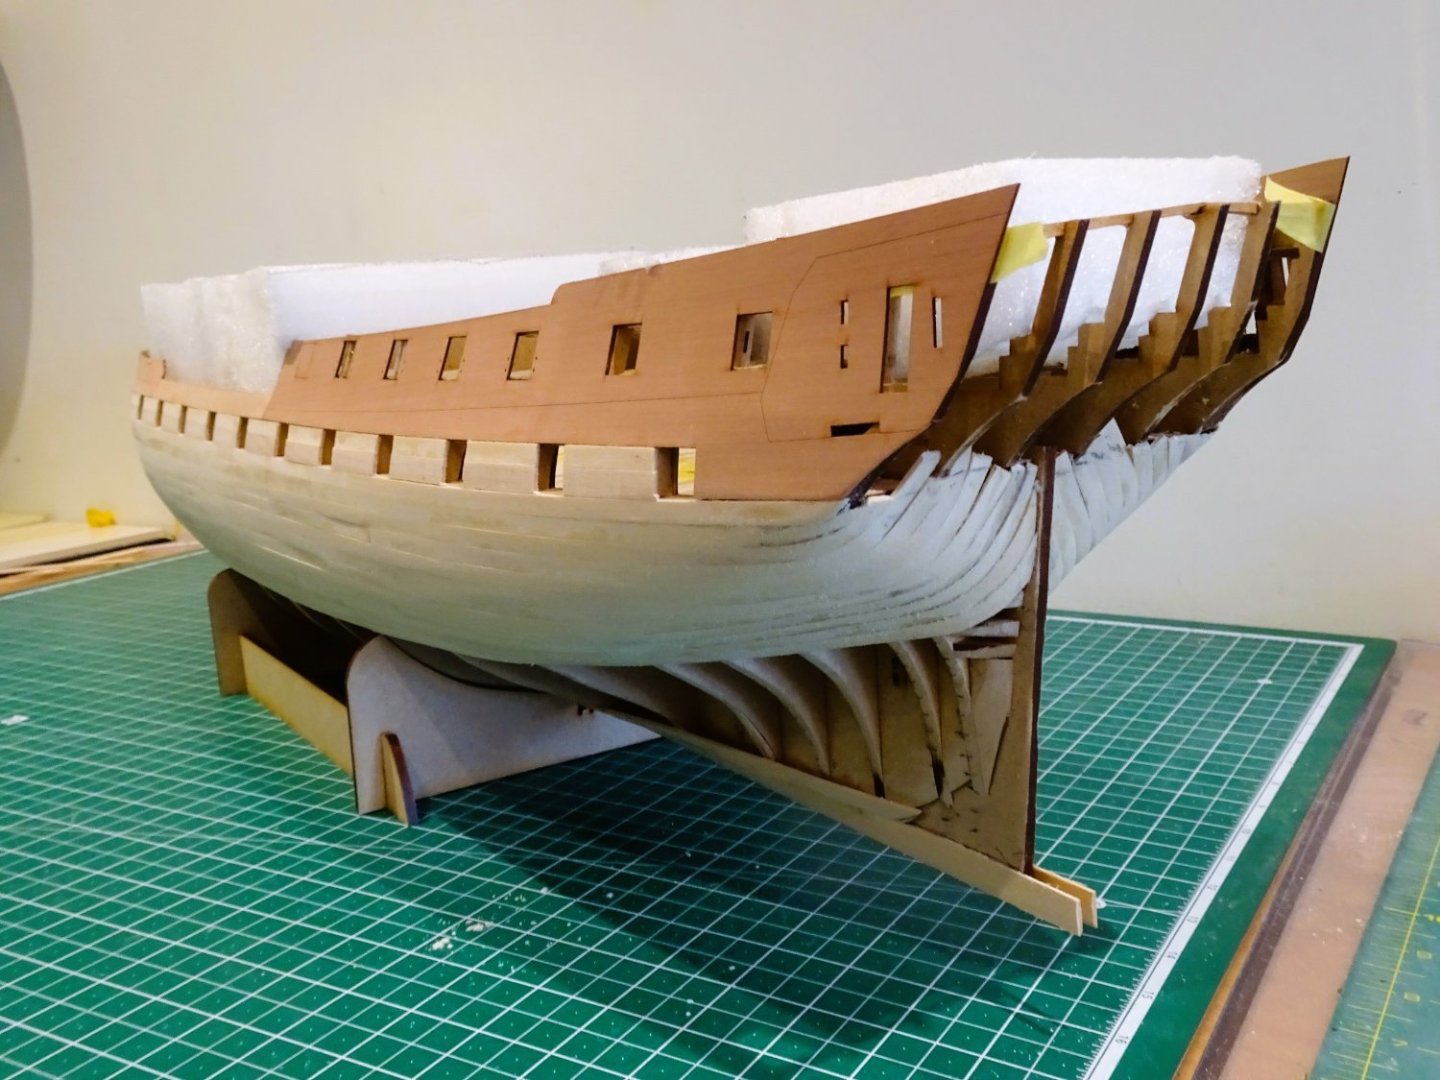
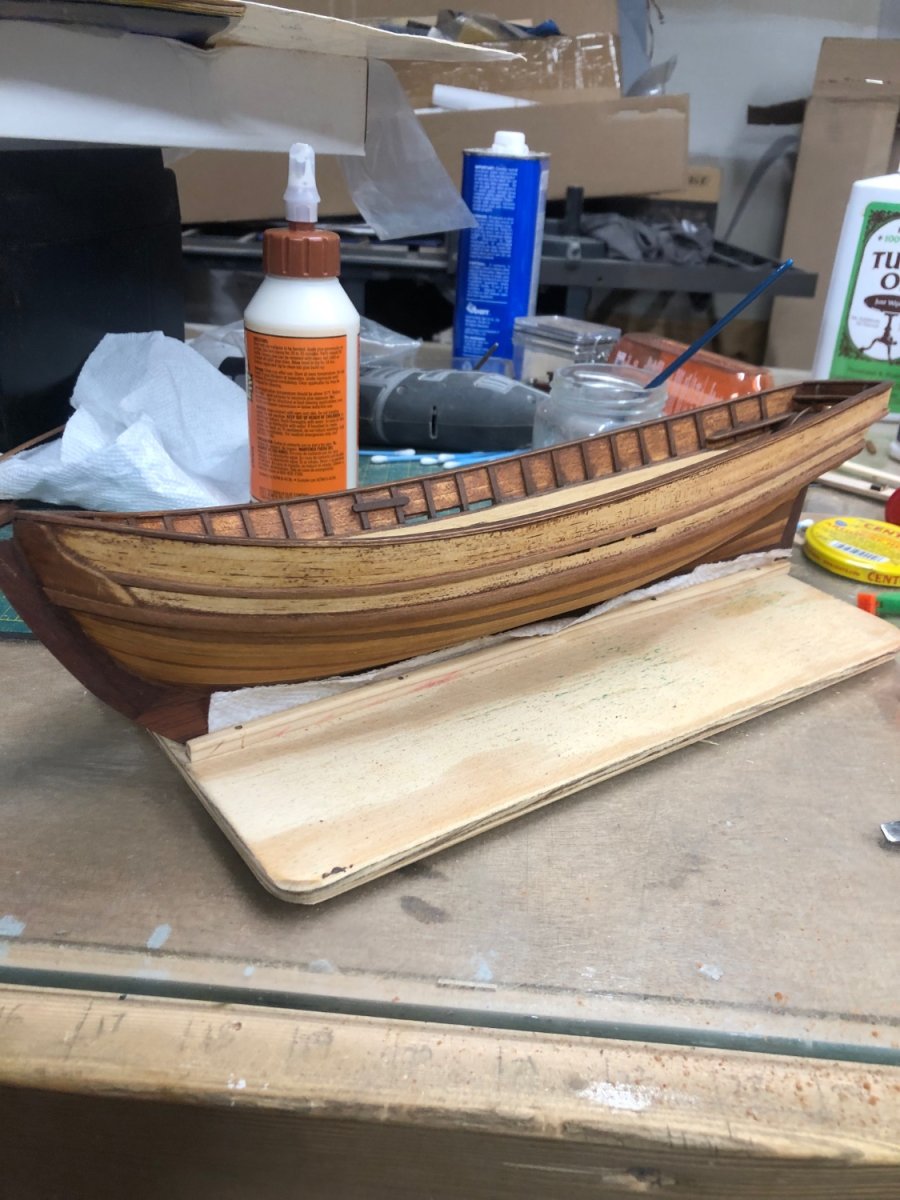
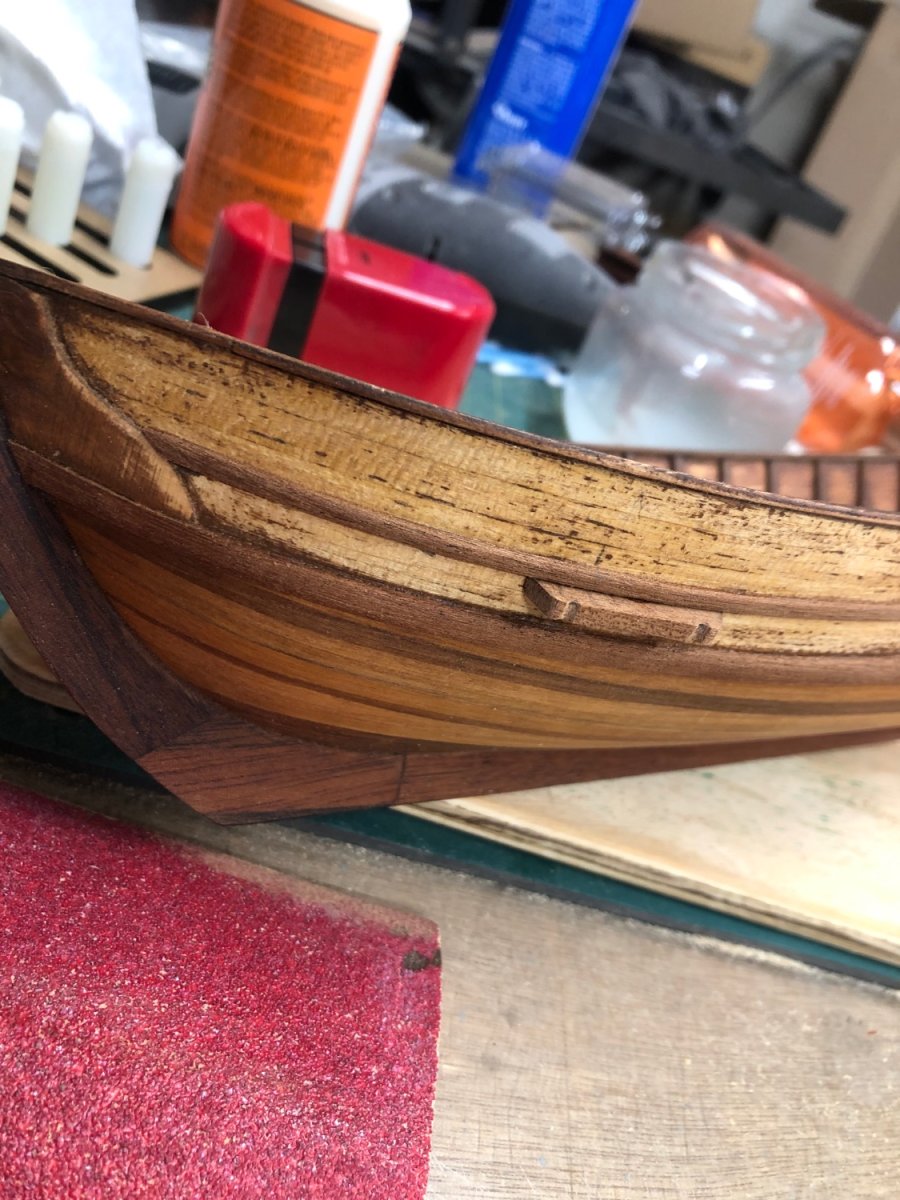
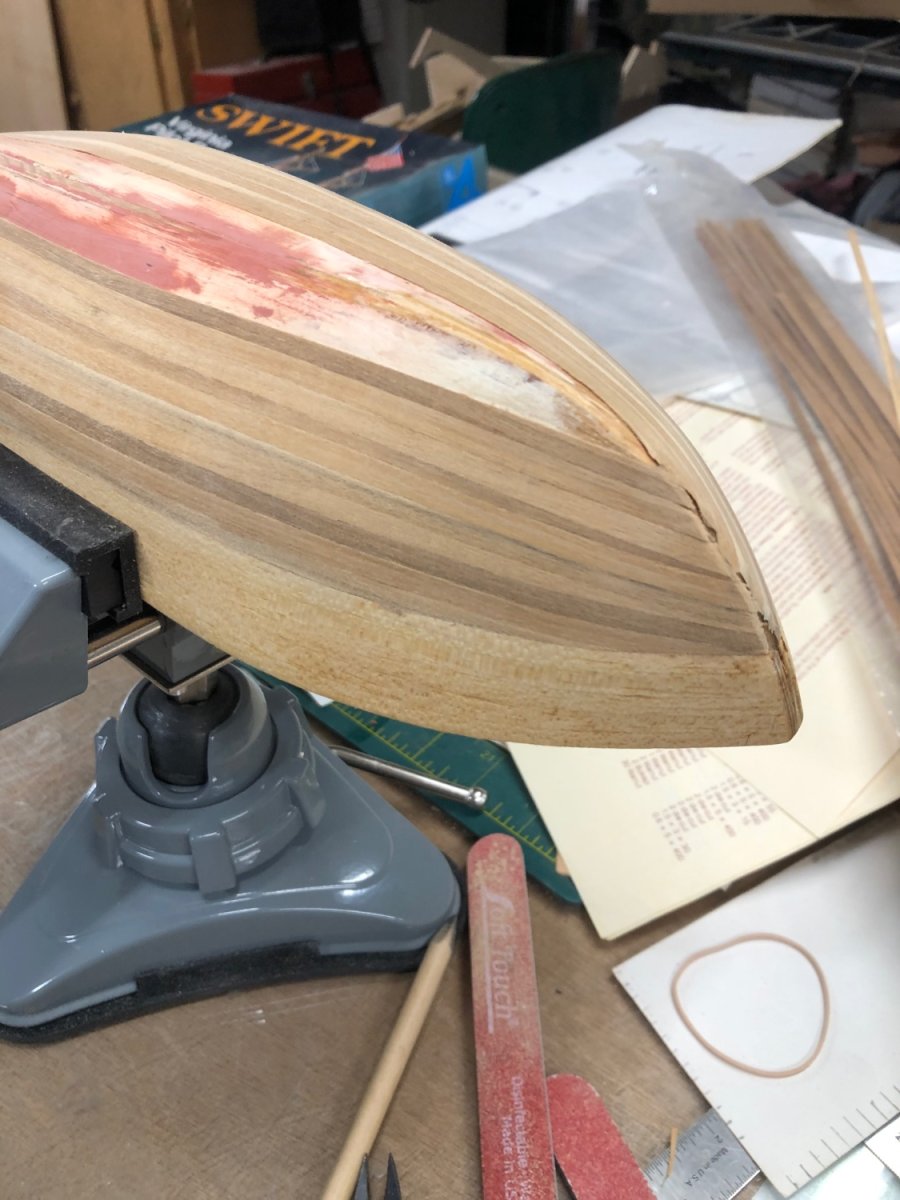
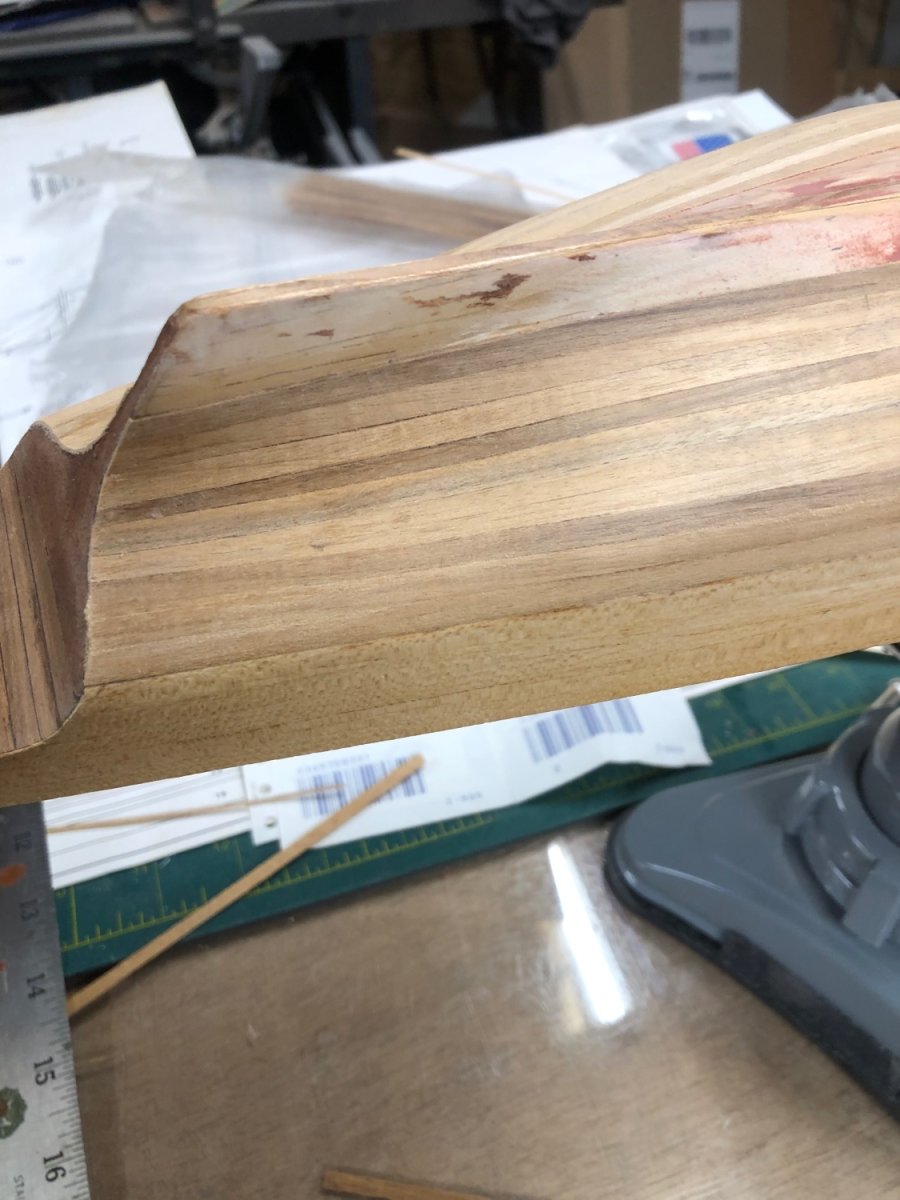
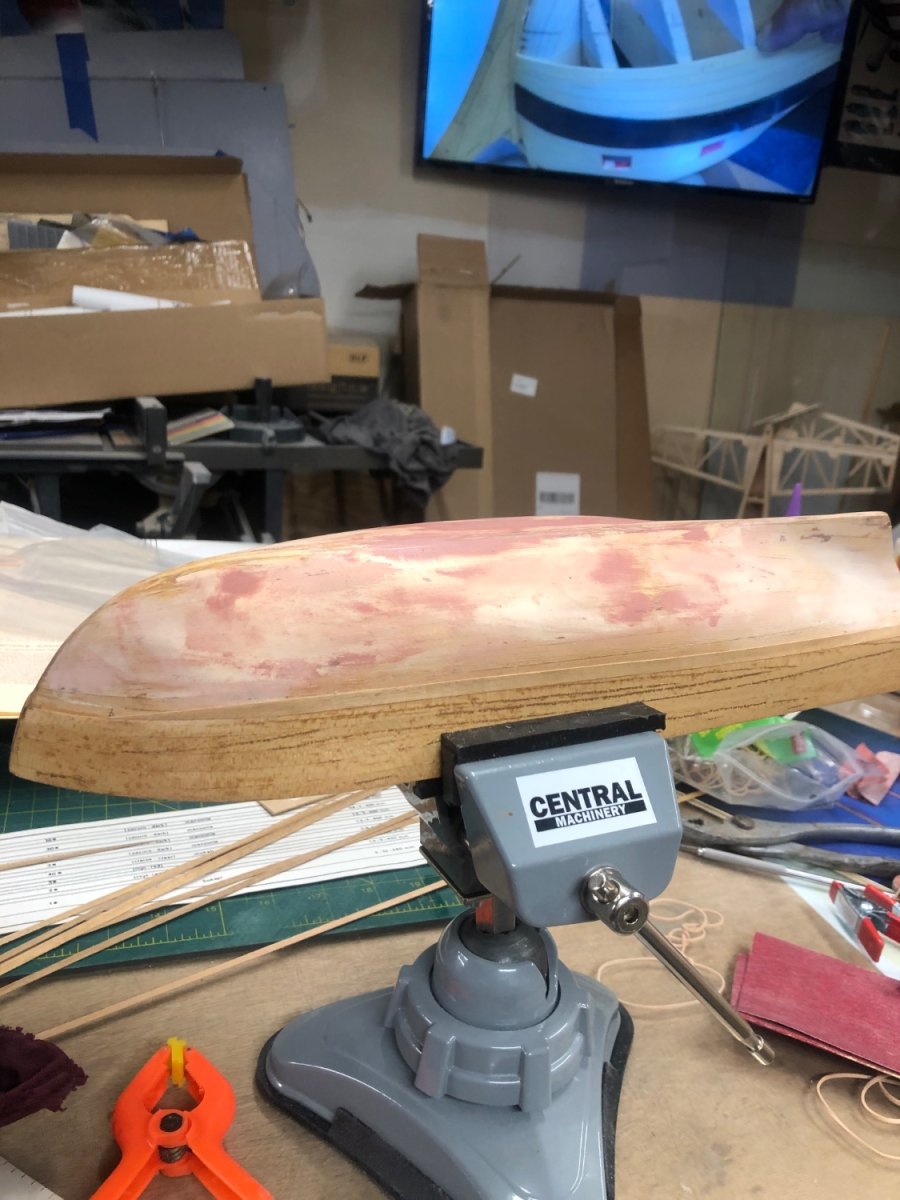
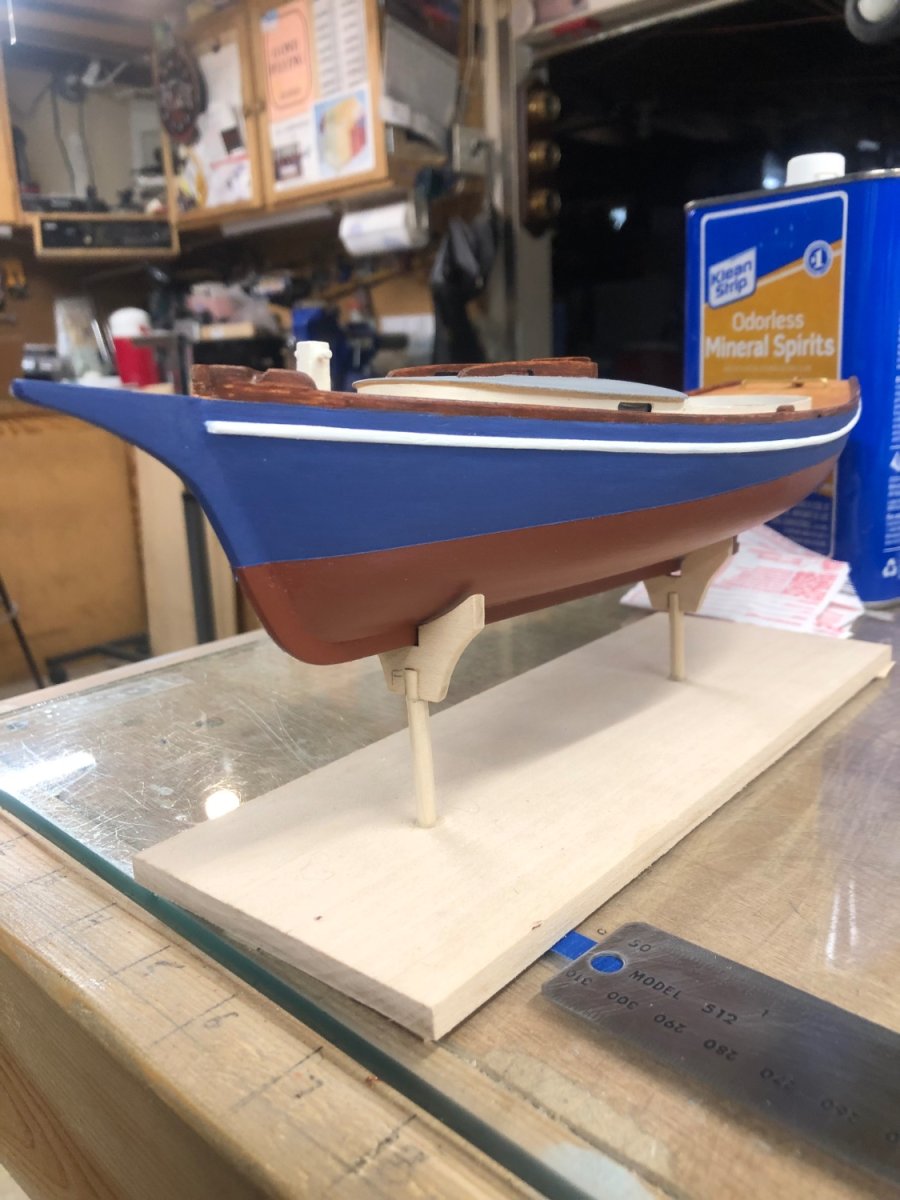
Moving slowly I managed to get some work done! I added the cheeks, sheer strake and main wales and channels! I also played around with some staining and Tung oil on the bottom of the hull!


- GrandpaPhil, ESF and Artesania Latina
-
3
-
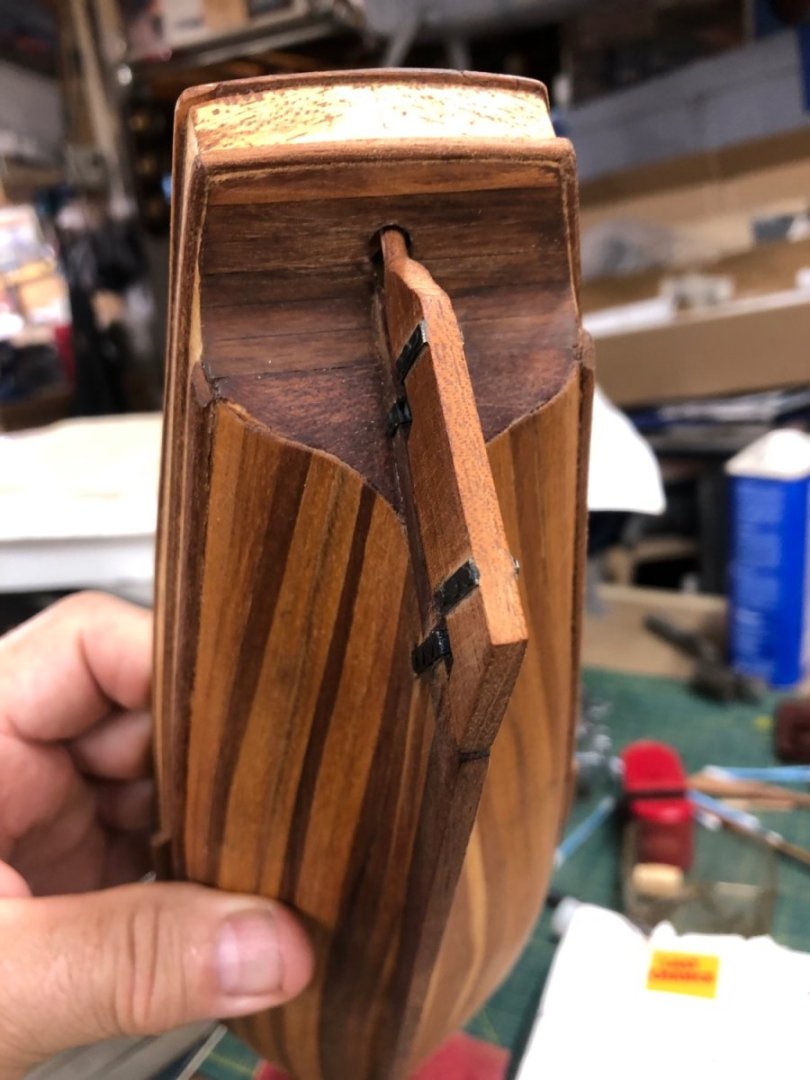
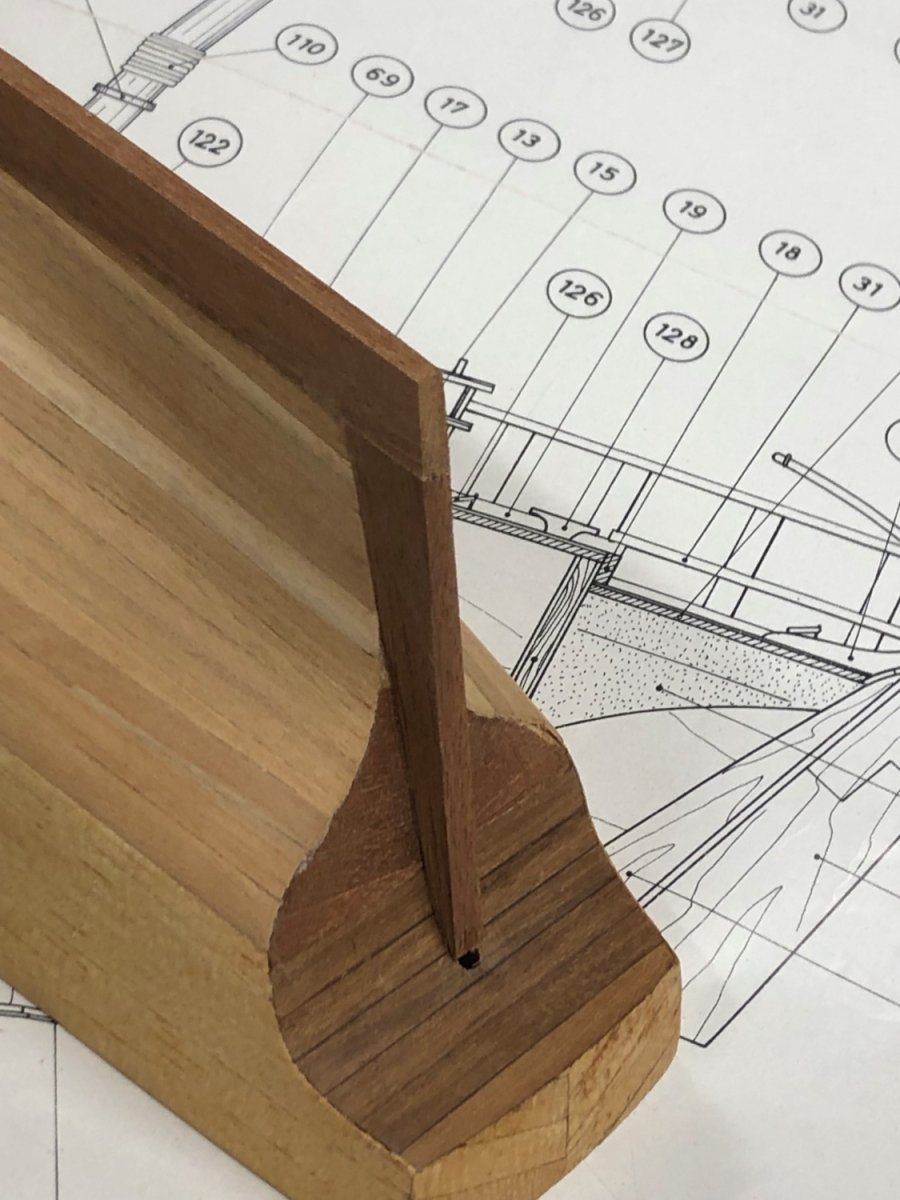
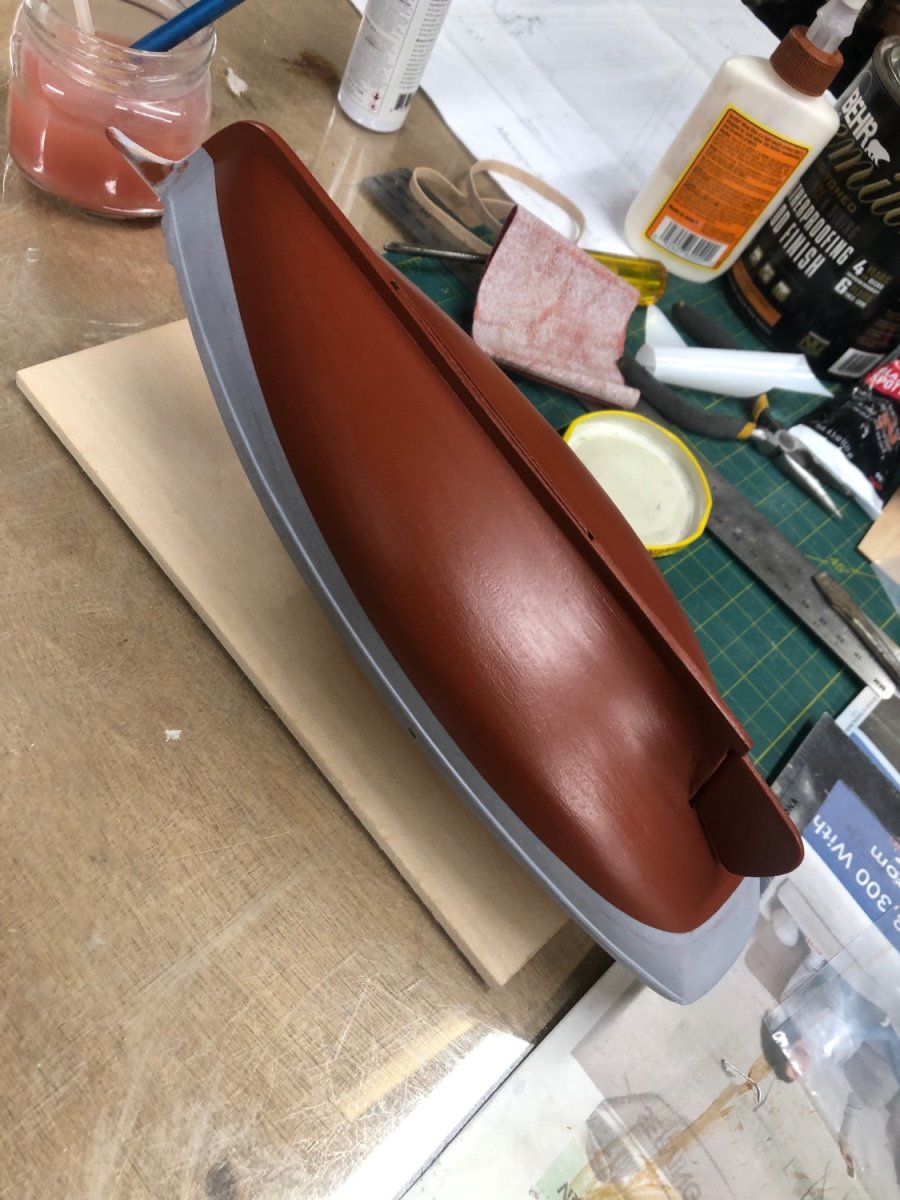
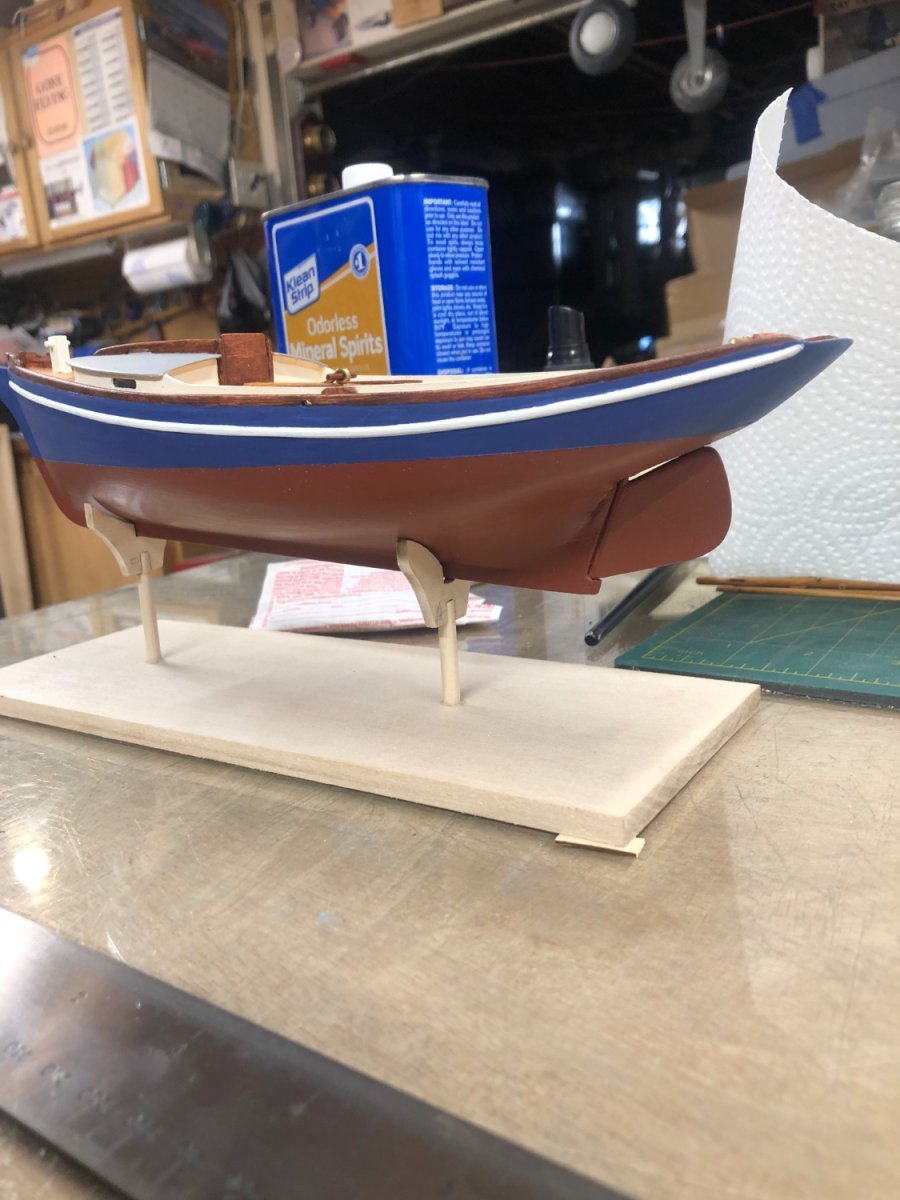
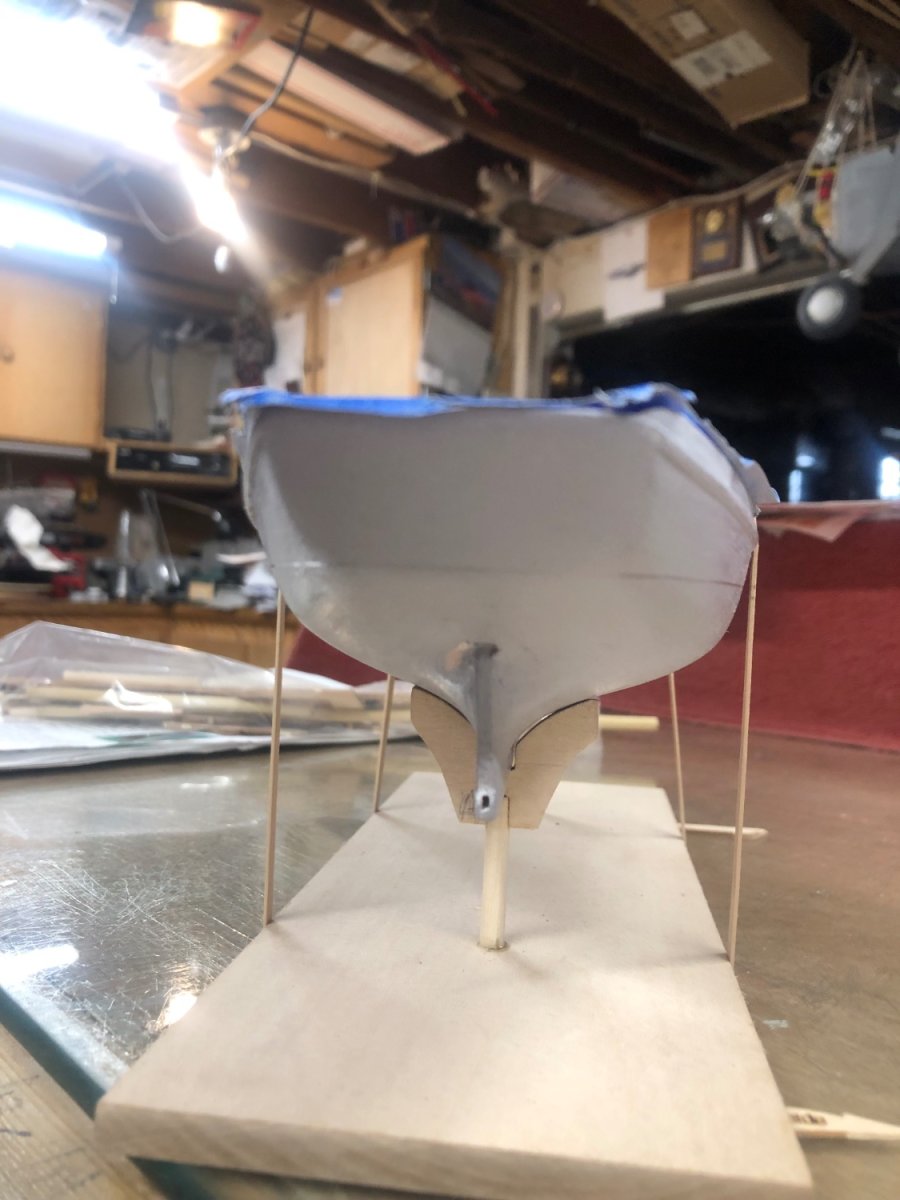
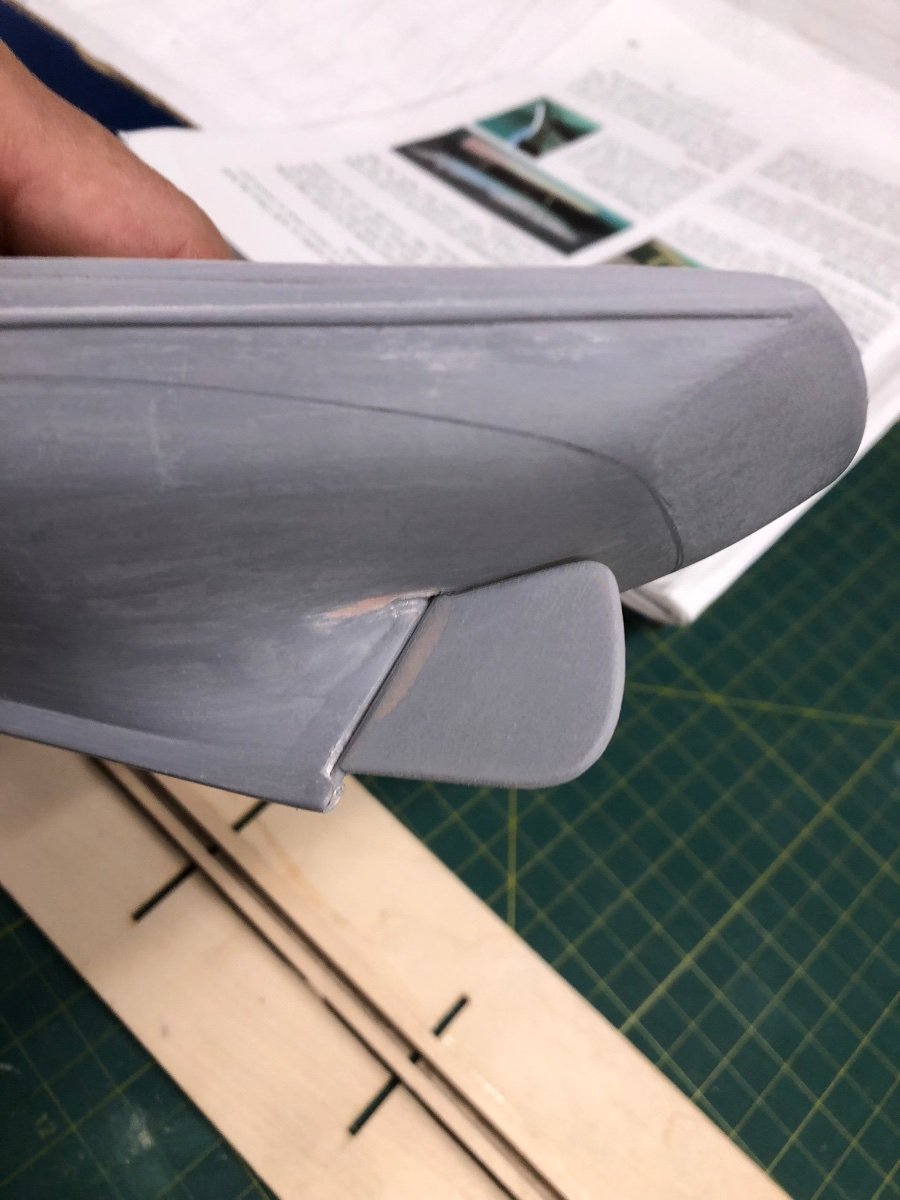
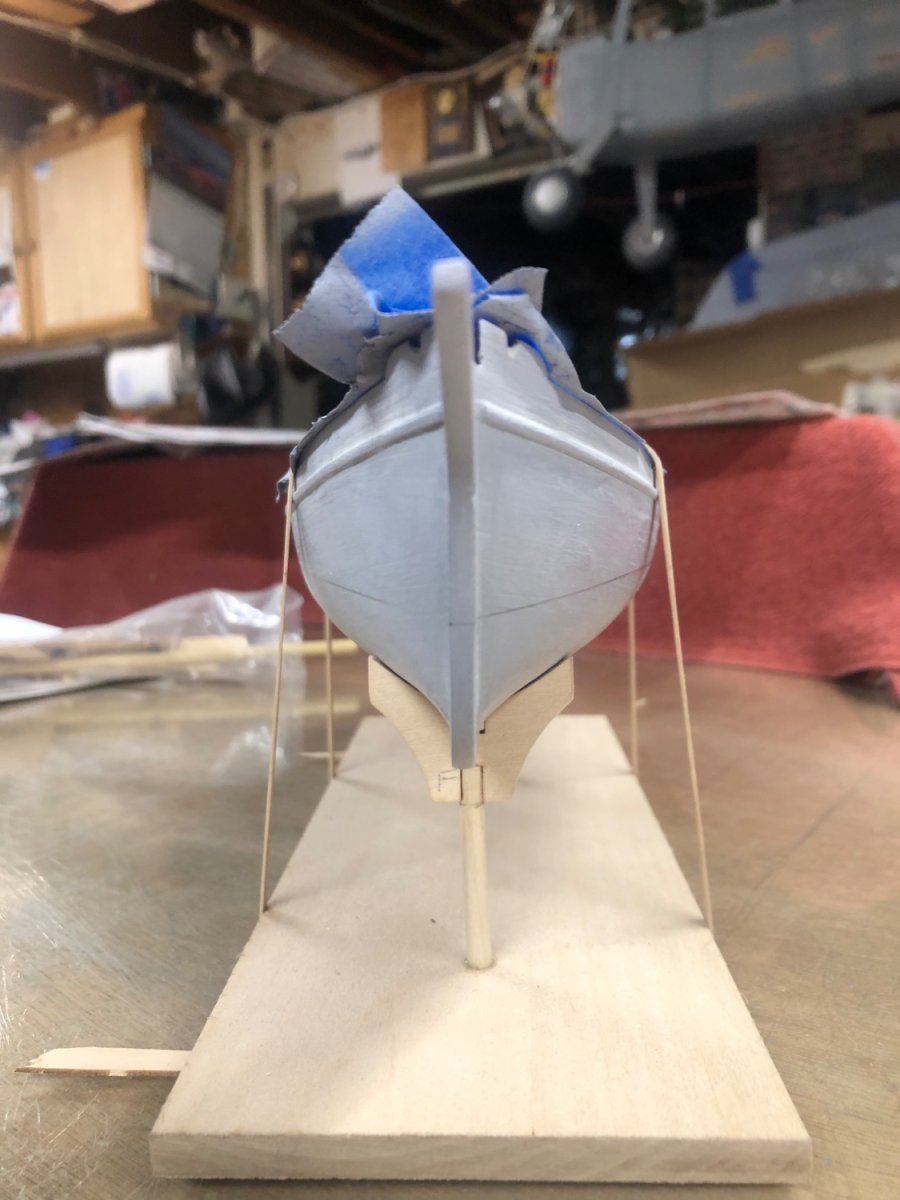
Finally got the keel installed and pretty satisfied with it!


- bruce d, Paul Le Wol, Thukydides and 3 others
-
6
-
WONDERFUL BUILDING ON THE INDY, I FOUND THIS ON YOUTUBE WHICH I FOUND VERY INTERESTING HISTORY OF THE INDY!
A BATTLE OF THE INDY!
- davyboy, ECK, Blue Ensign and 3 others
-
6
-
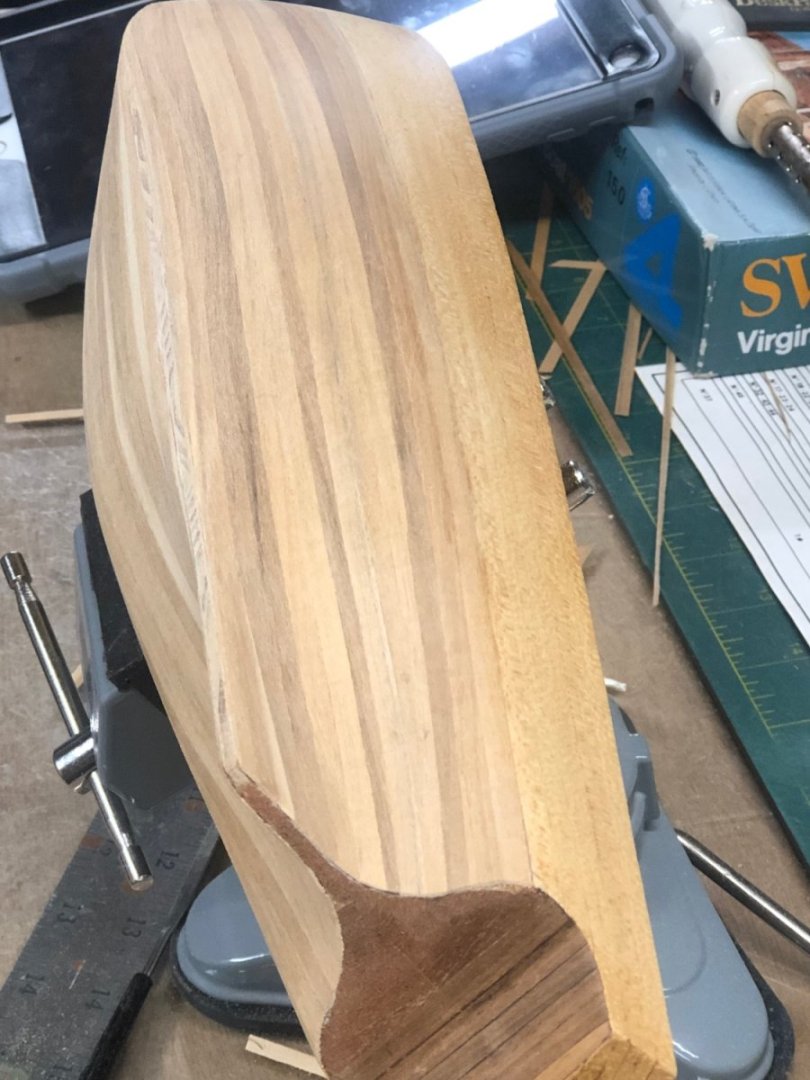
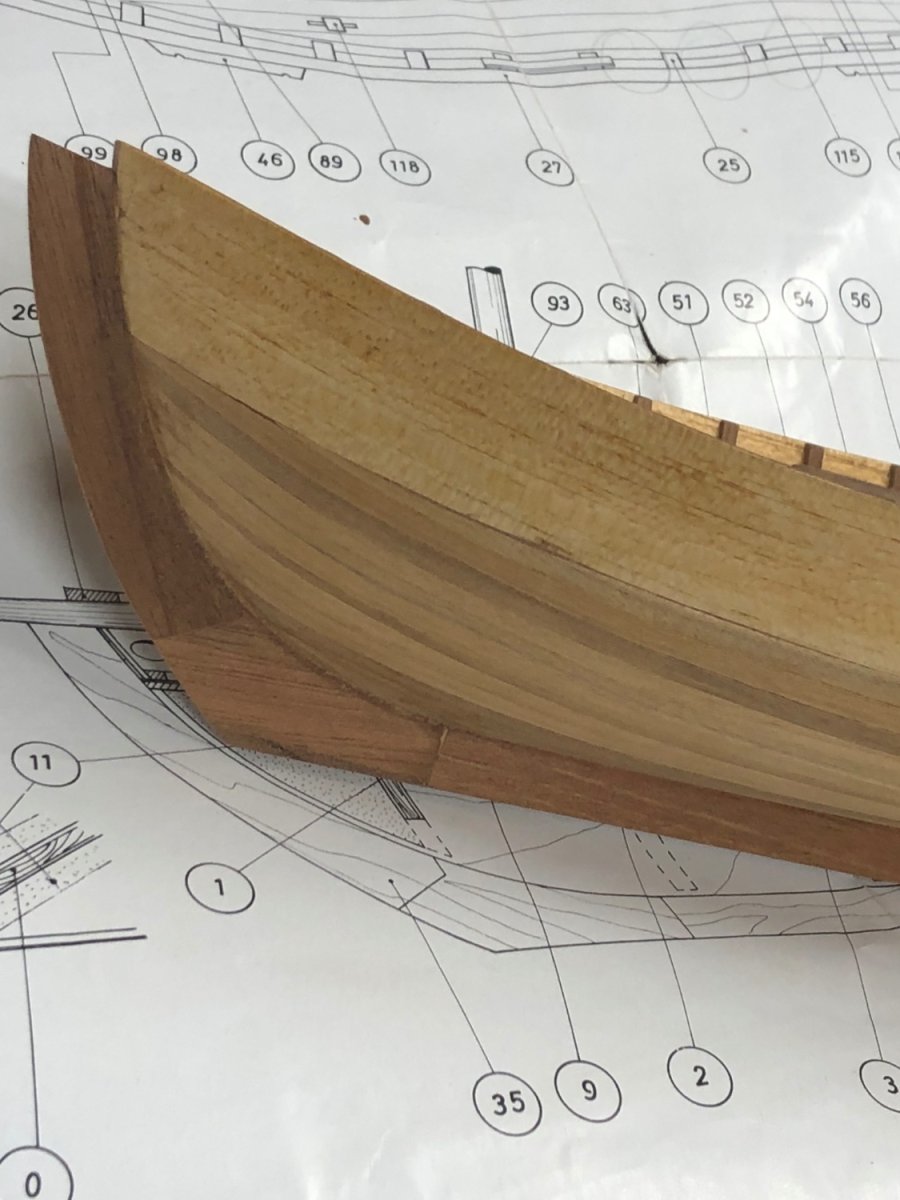
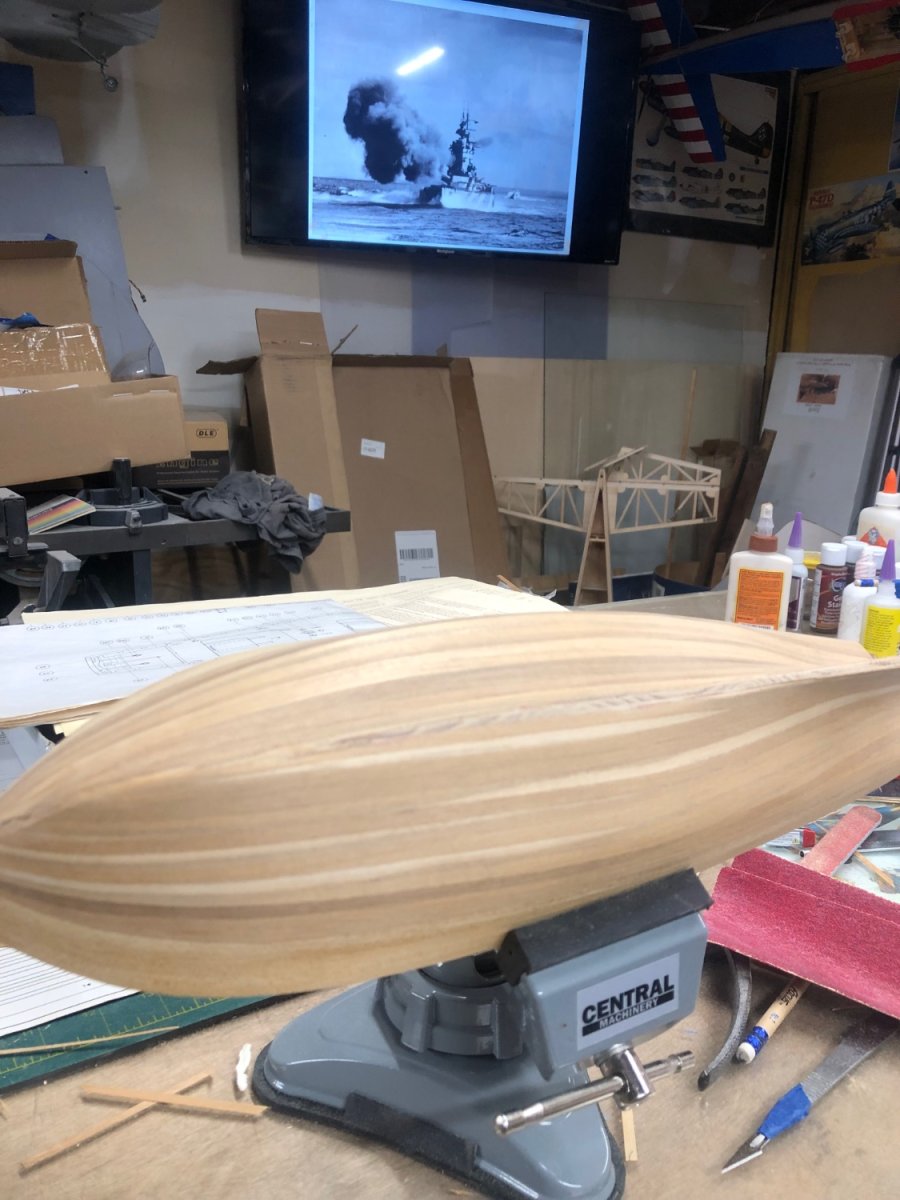
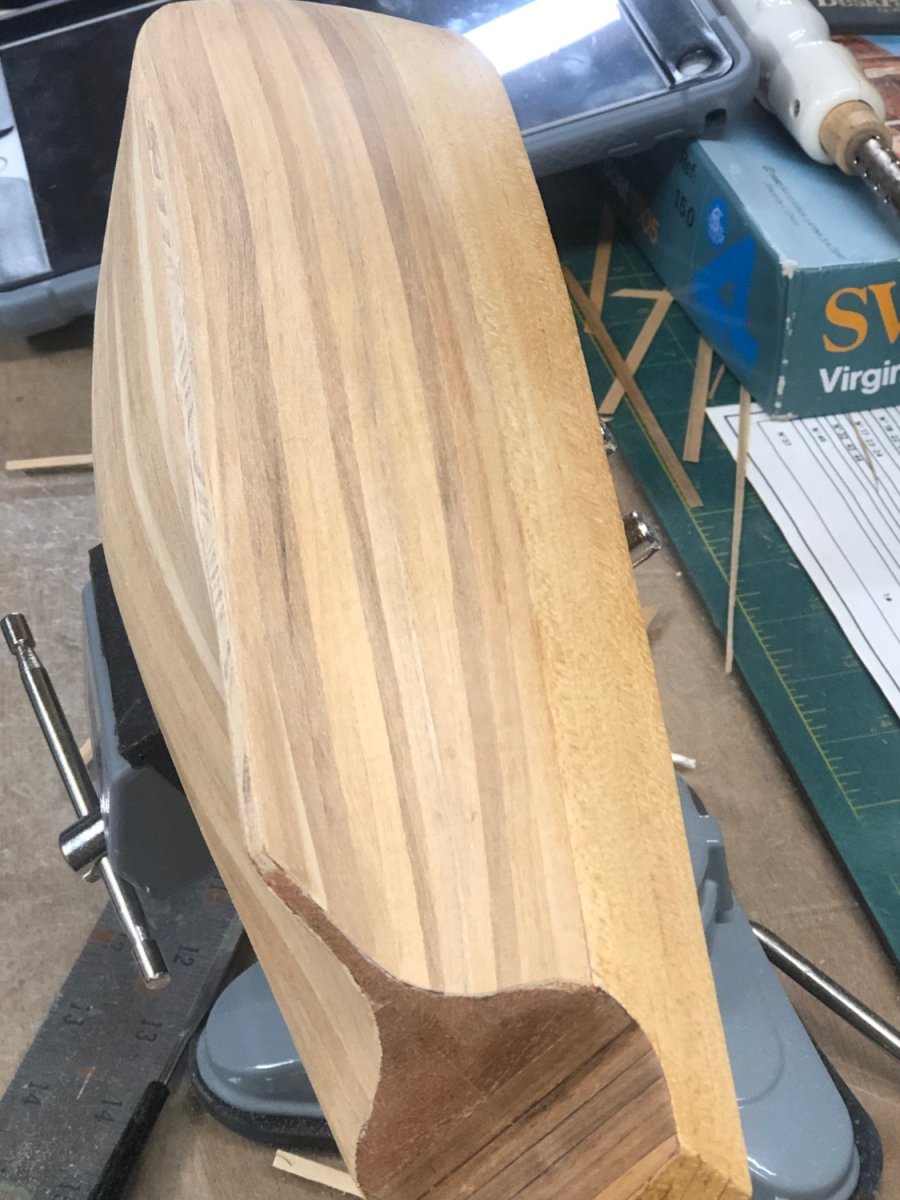
It took me 34 years to finish the planking ! I’m now hoping and planning to complete this one in a month or two!

- Bryan Woods and bruce d
-
2
-
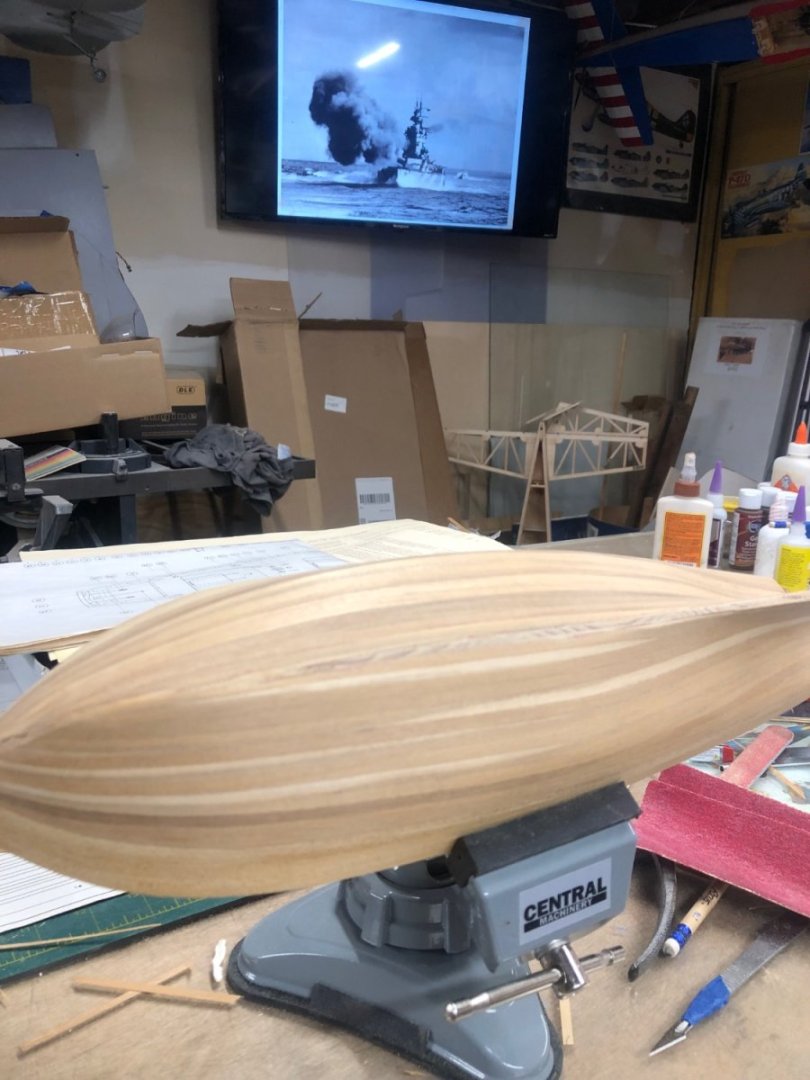
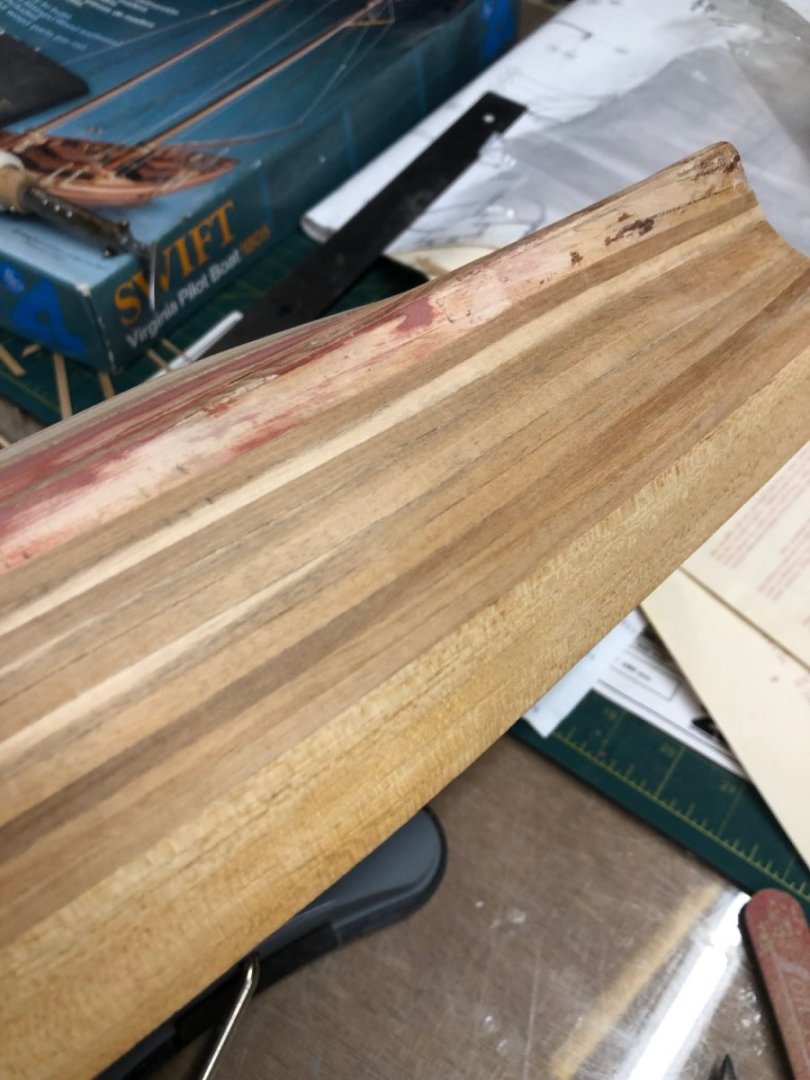
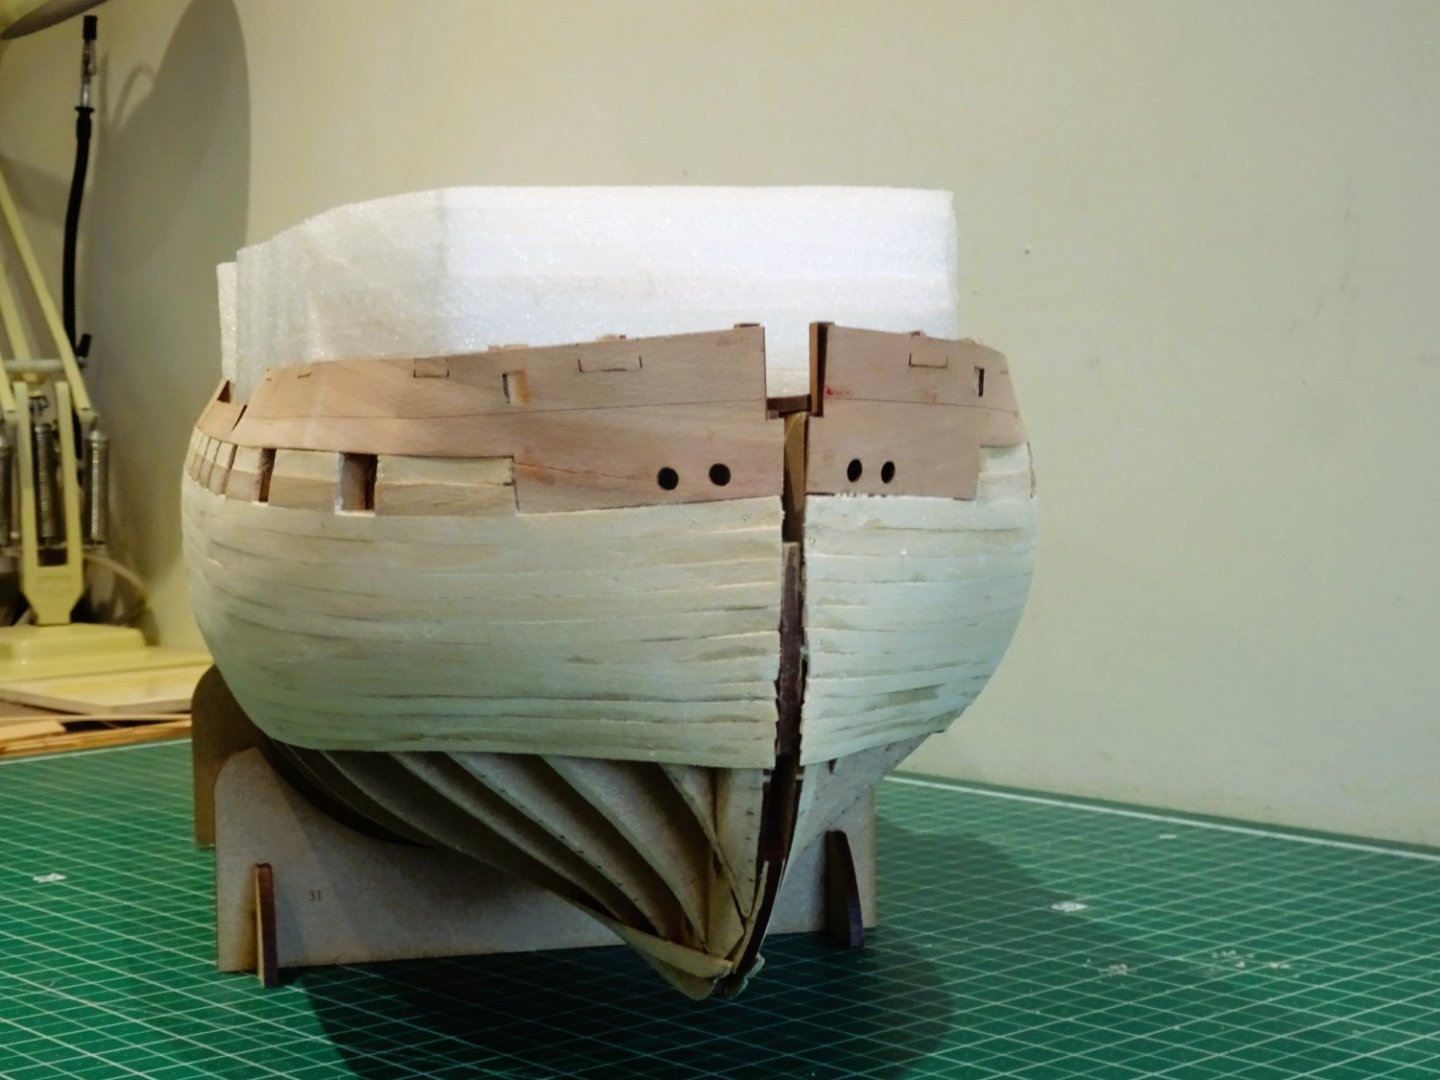
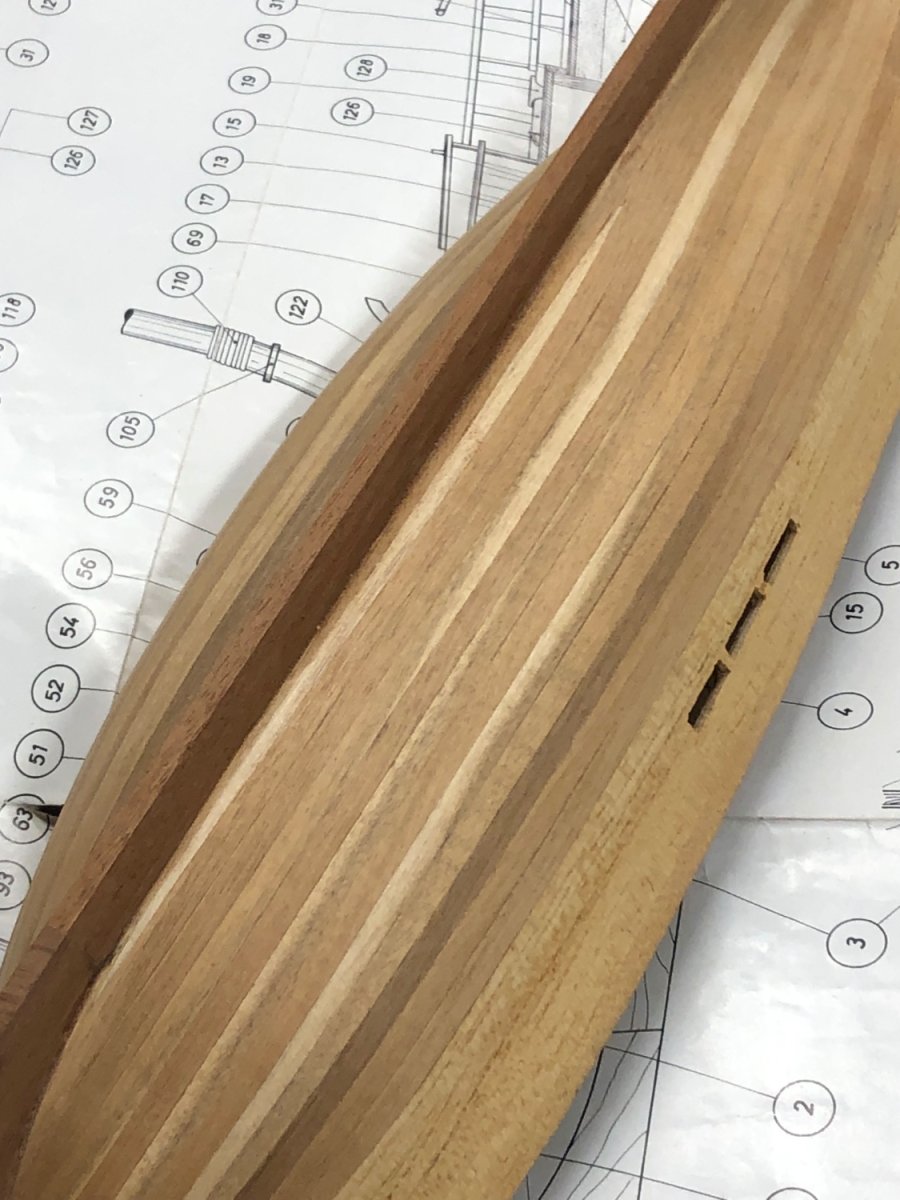
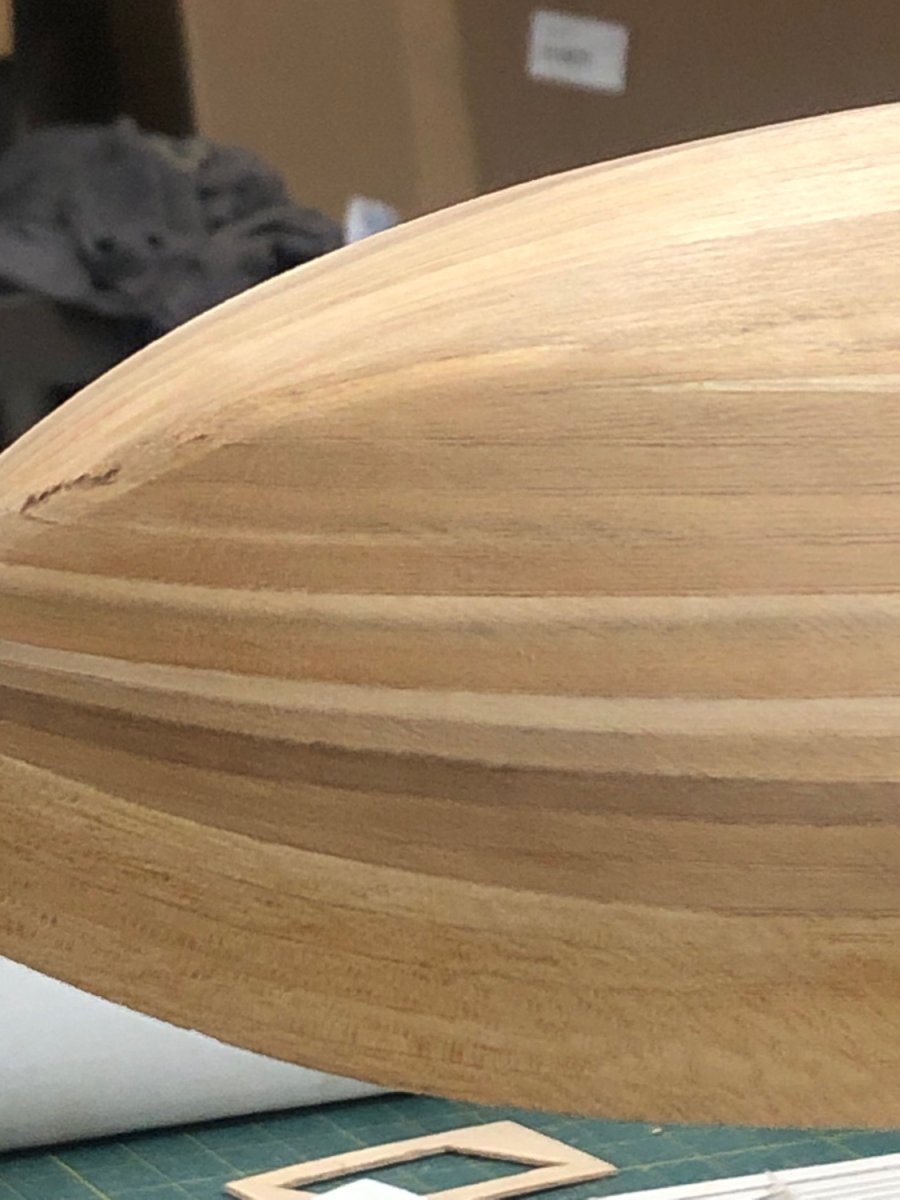
A few more hull planks add and more experience leaned! I did more YouTube tutorial research on planking and bending planks!


- bruce d, ESF and Bryan Woods
-
3
-
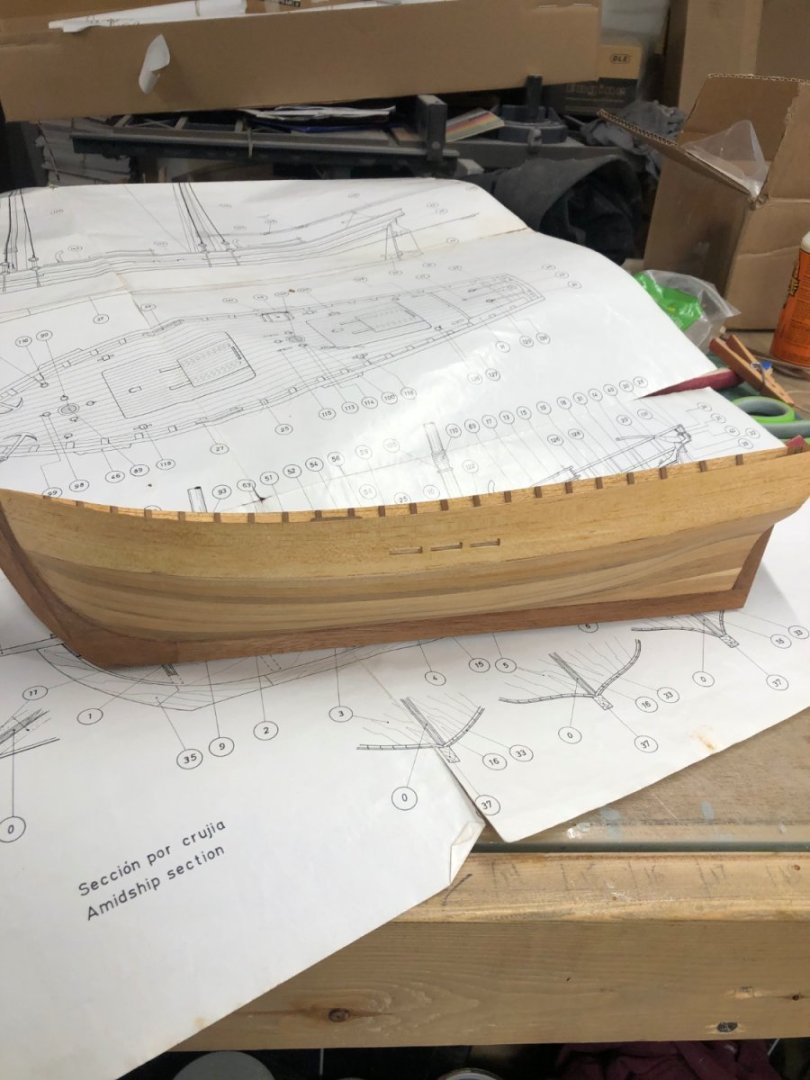
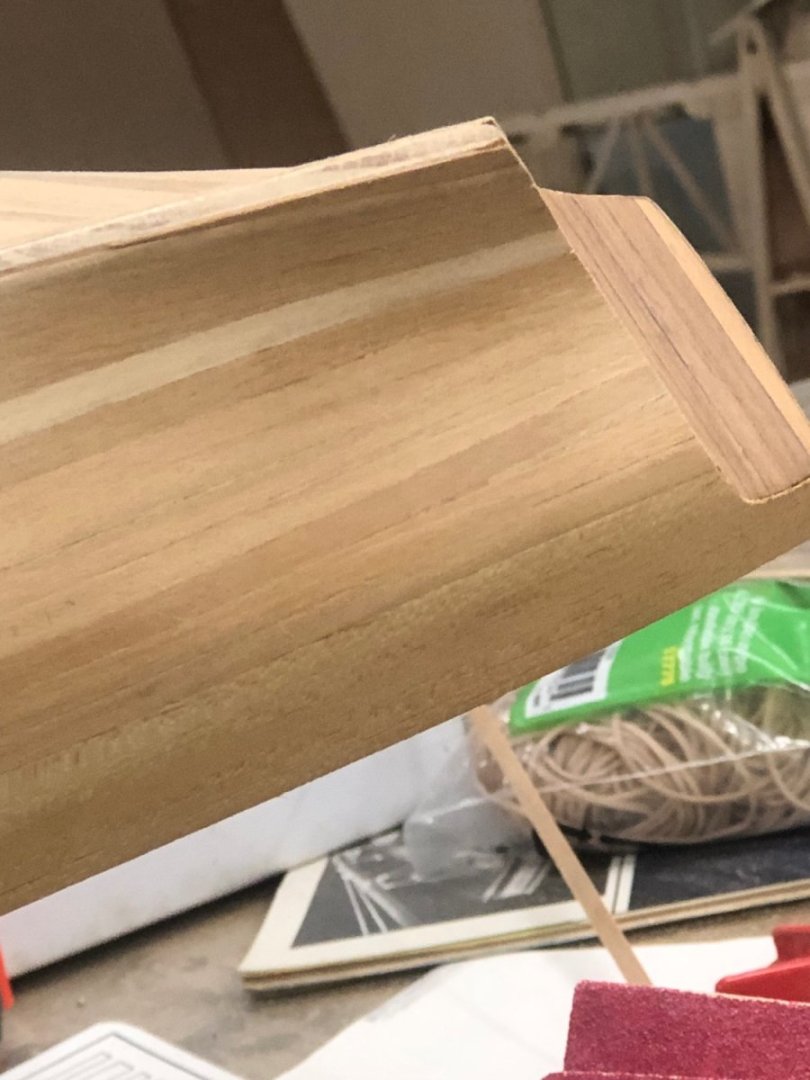
I bought the boat model from Model Expo back in 1989 along with the solid hull Phantom which will be another re started build!
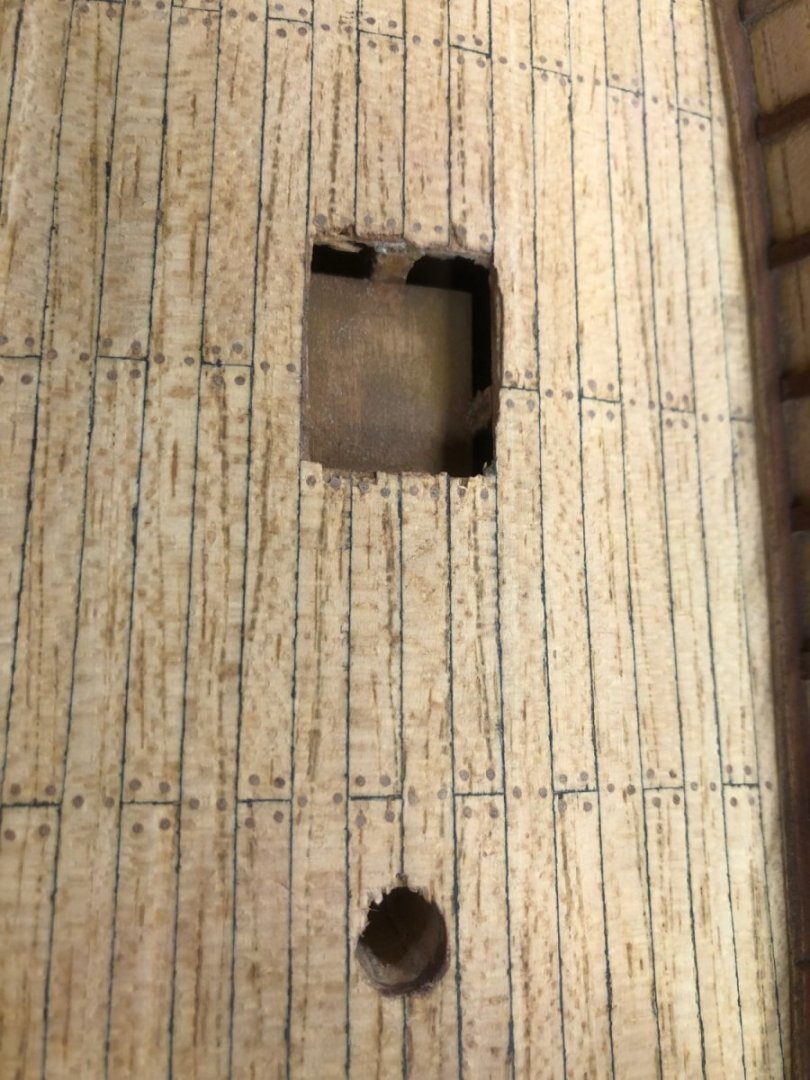
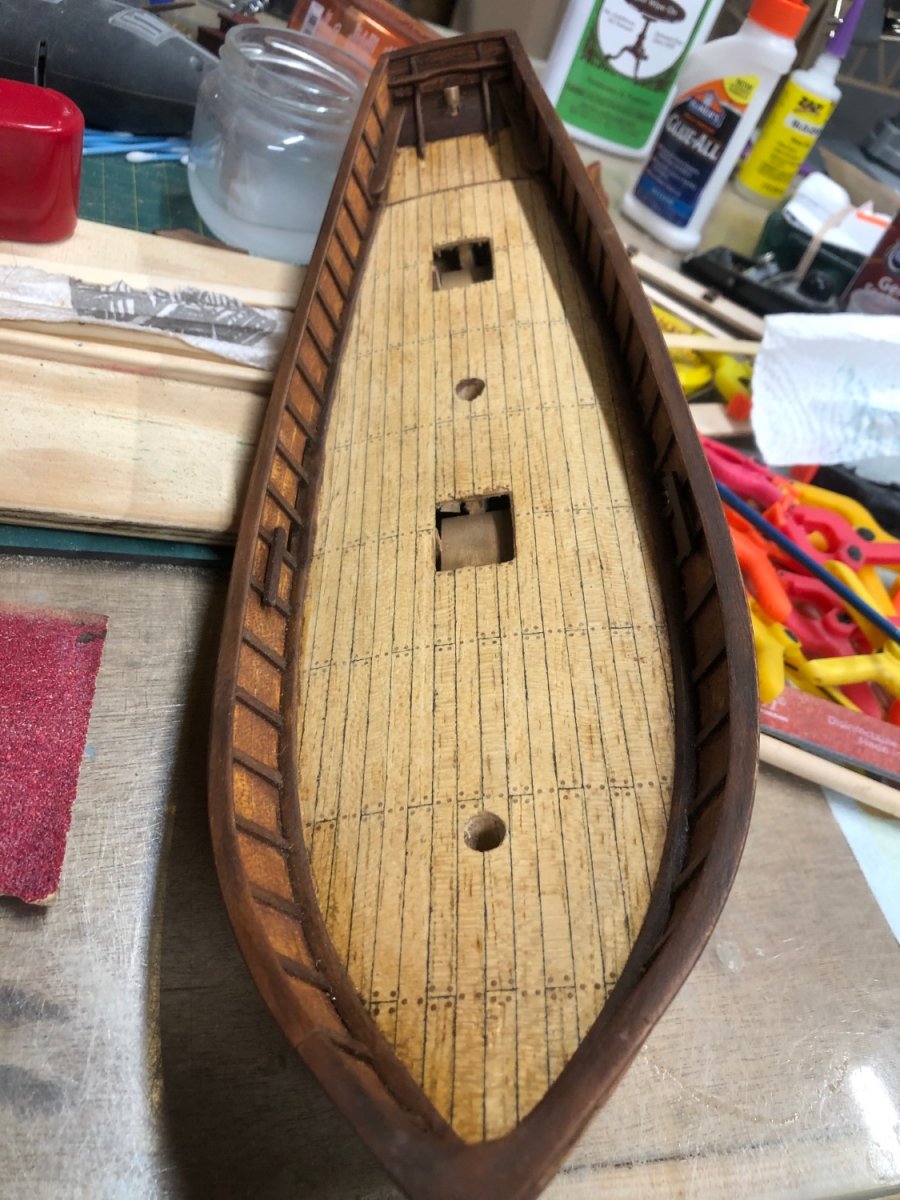
I framed it up and planked the deck and used toothpicks for the treenails, using a sharpie around the edges of the deck planking!
I then performed the first hull planking and this is how I left it since 1989! My hopes are with my renewed interest in model ship building I will finally finish what I started decades ago! Tonight I added one more plank to the hull both side of the hull since then now understanding tapering! More building and pics to follow!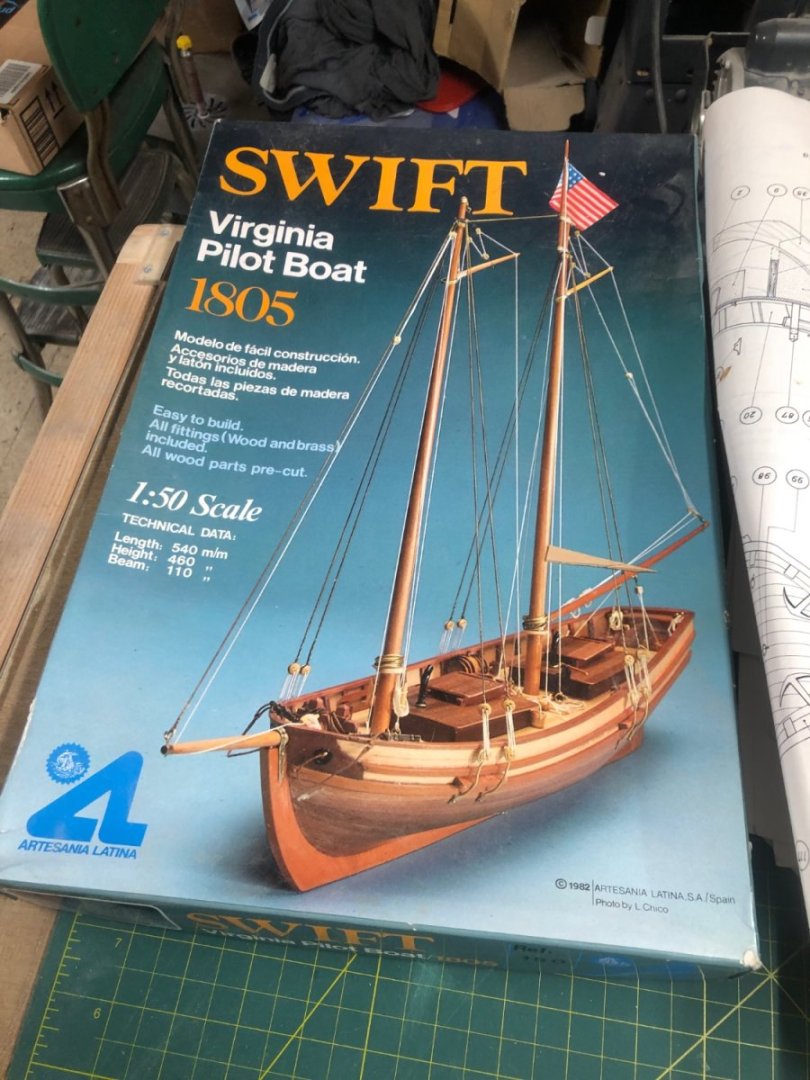


-
1 hour ago, Roger Pellett said:
If this is a working craft then rigging hardware including turnbuckles would be galvanized steel; a dull grey.
Yes thank you for your input very much appreciated! I never knew that they are Galvanized steel Taking artistic license I painted them Floquil enamel Bronze,

- druxey, Ferrus Manus and robert952
-
3
-
2 hours ago, Ferrus Manus said:
Why only one spanker boom lift? I'm just curious.
Cause I’m a newb following kit instructions 😂
-
-
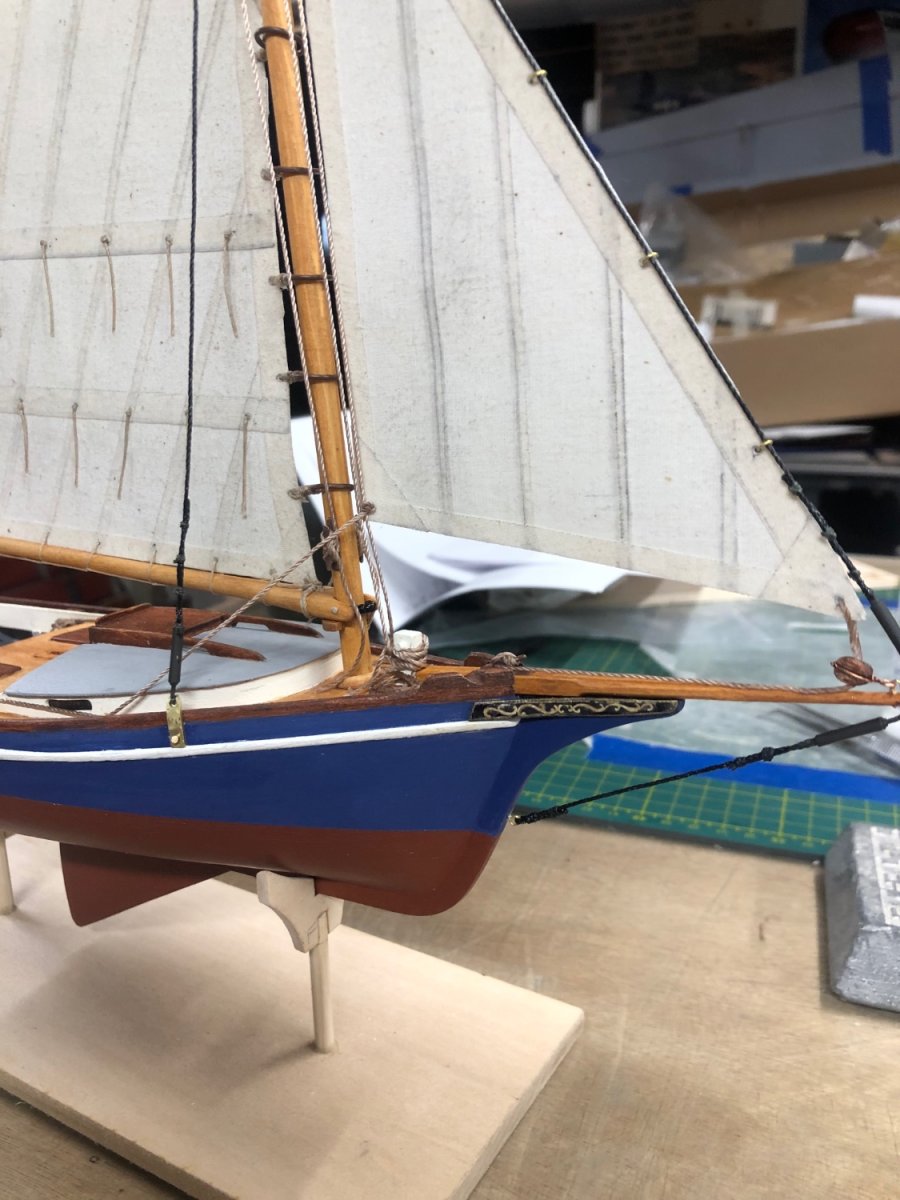
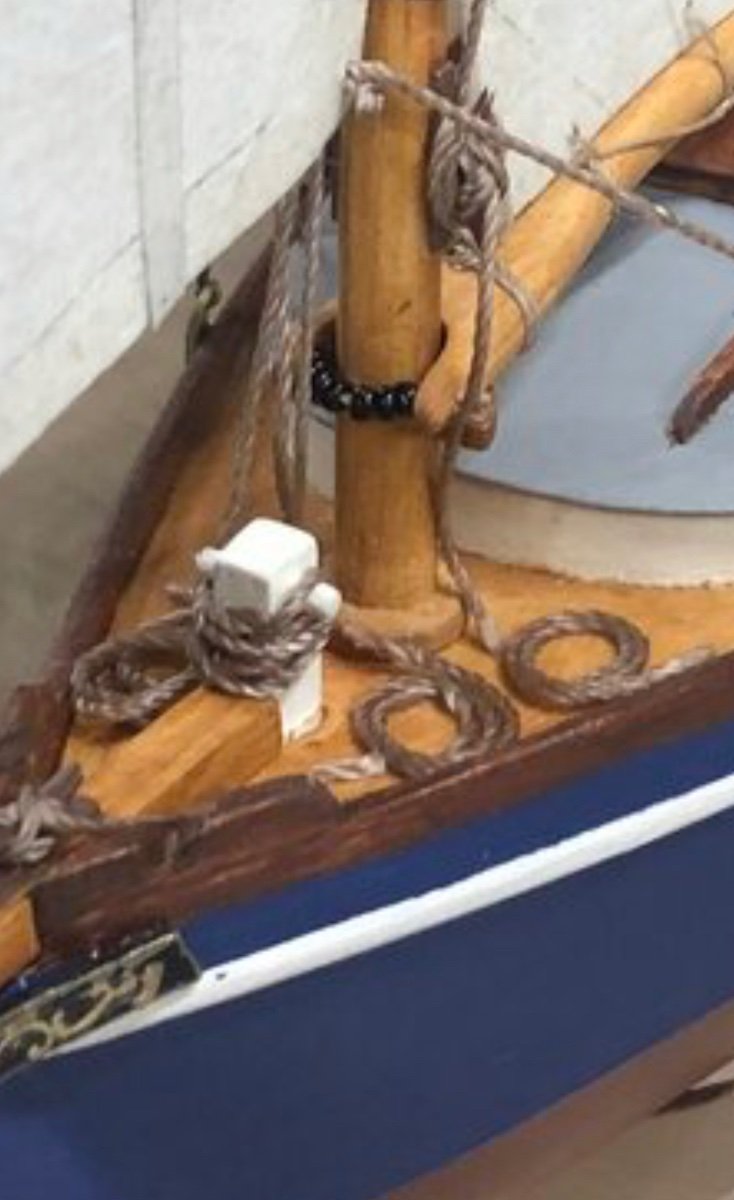
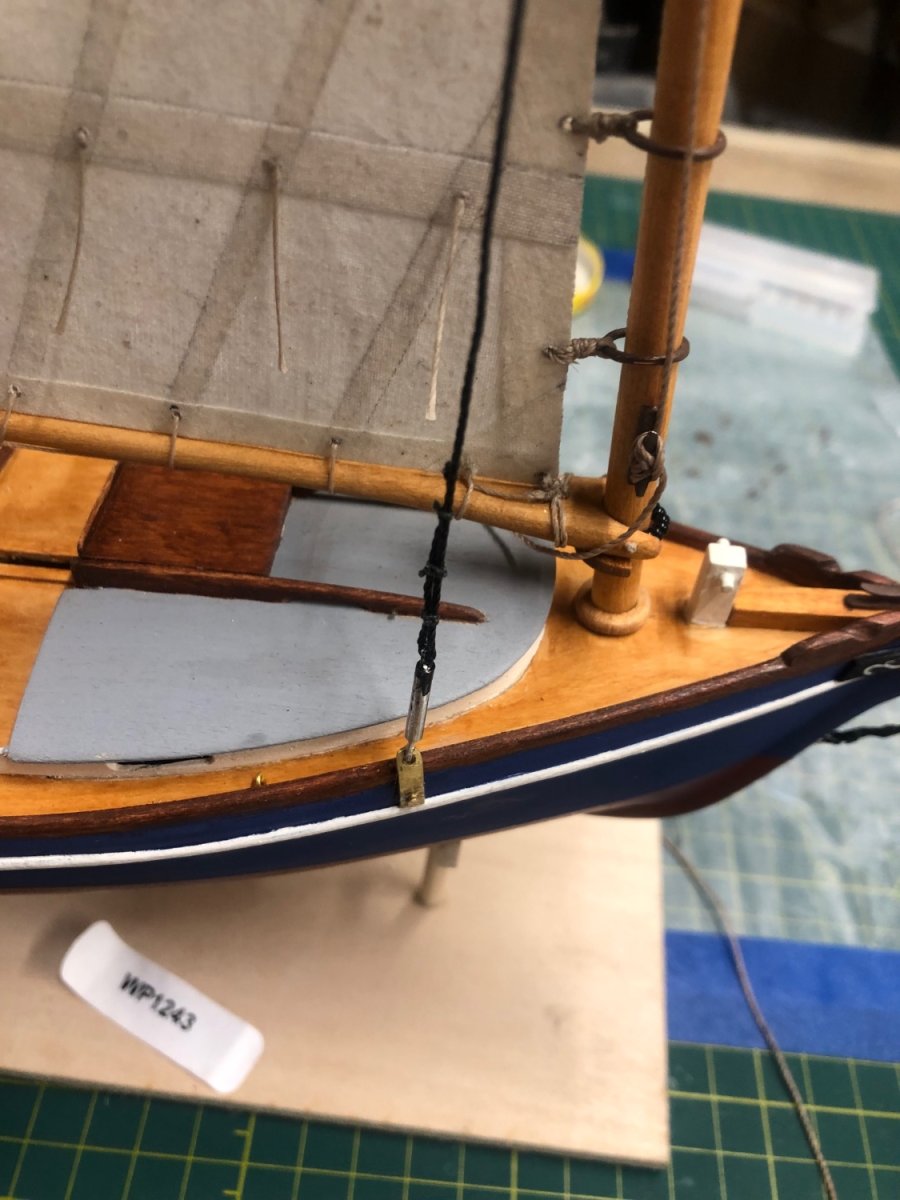
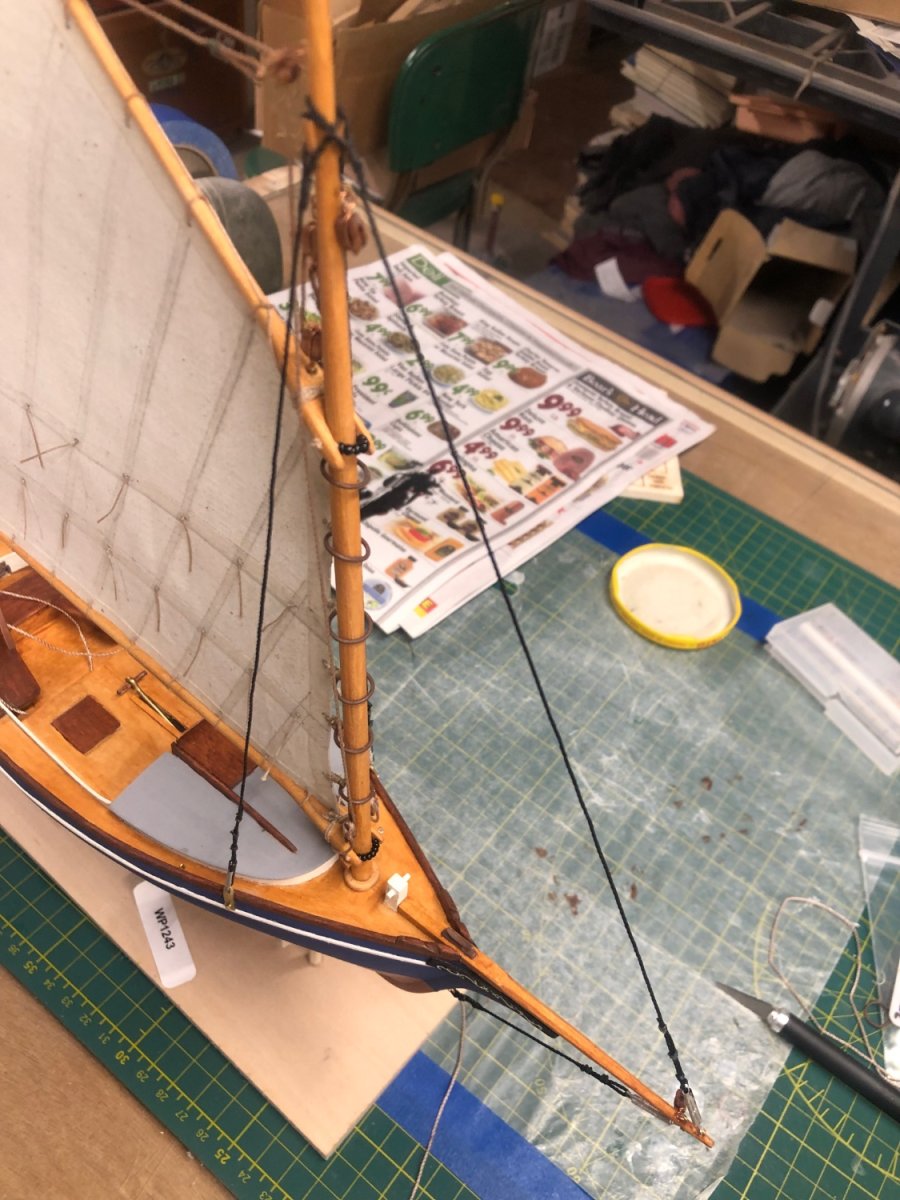
Tonight I installed the STAYS, the Bob stay, Fore stay, and the Back stays and made lashings to the turnbuckles!
I’m wondering exactly what color should I use on the turnbuckles that would closely resemble the real ones?
Input on this appreciated! please!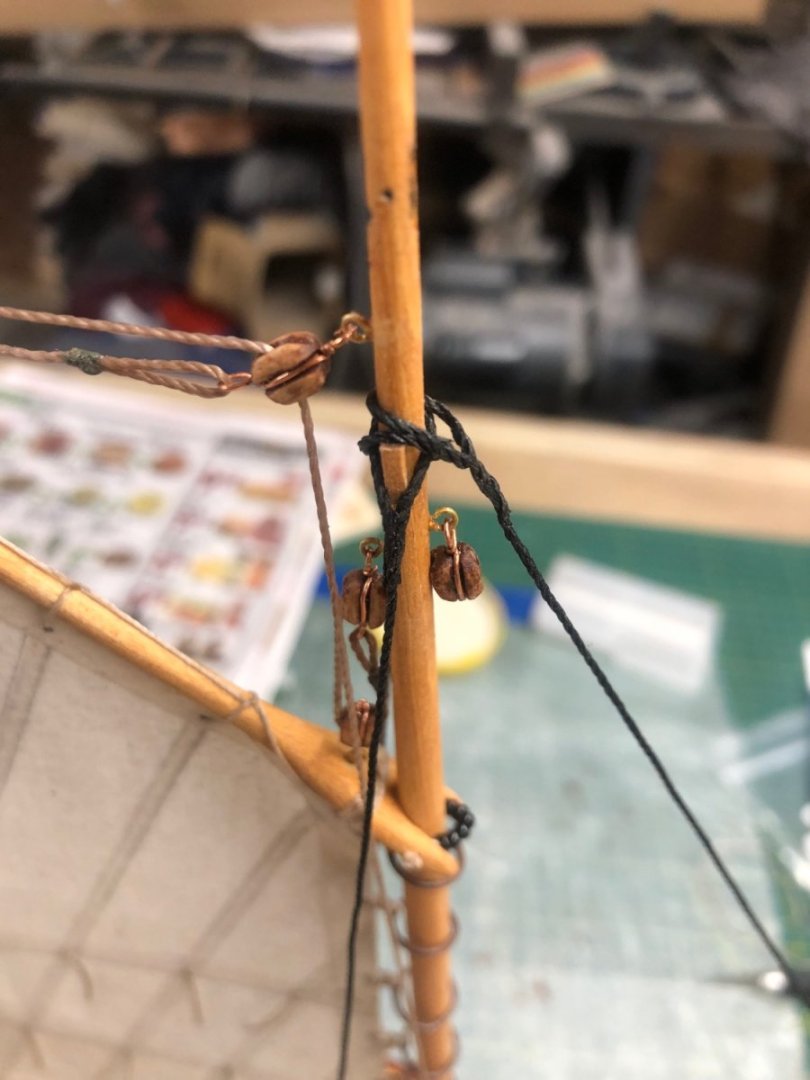

- Bryan Woods, ccoyle and markjay
-
3
-
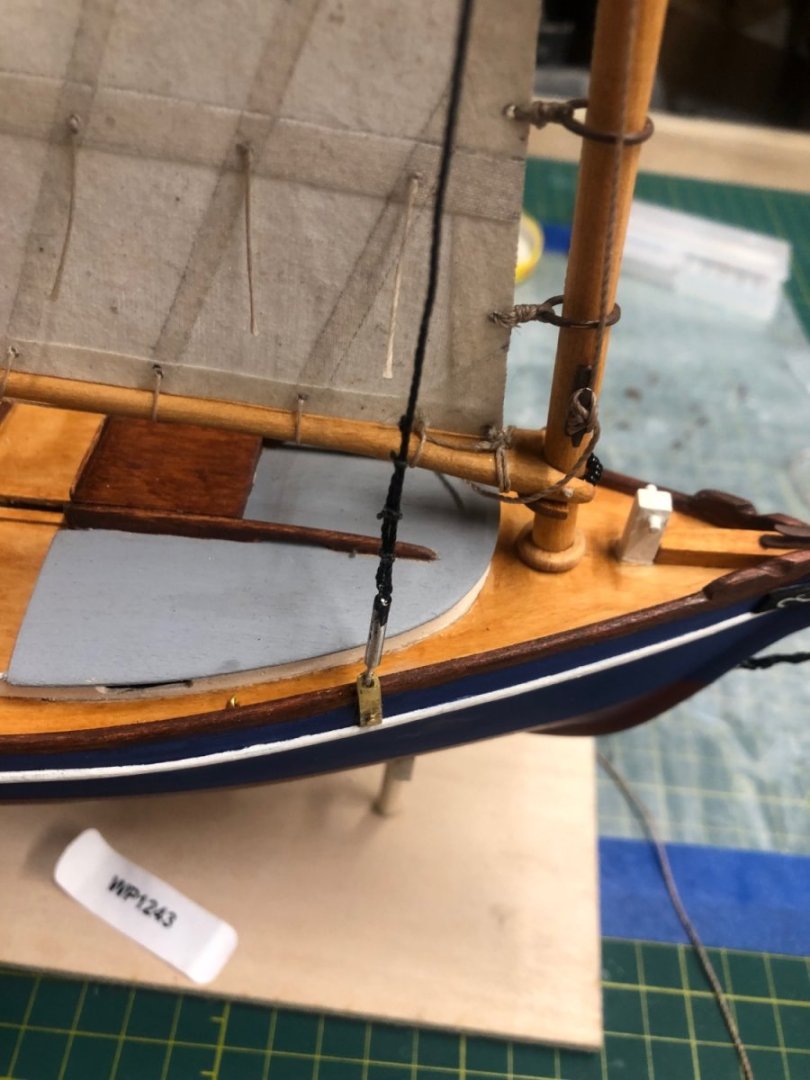
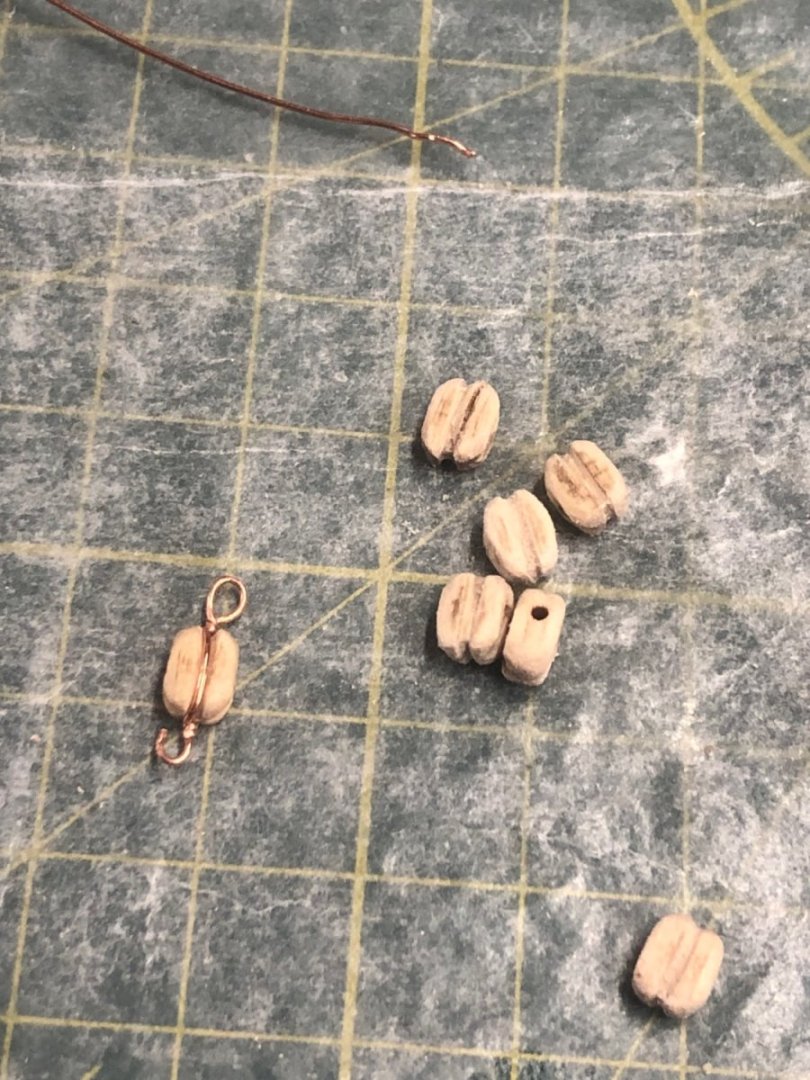
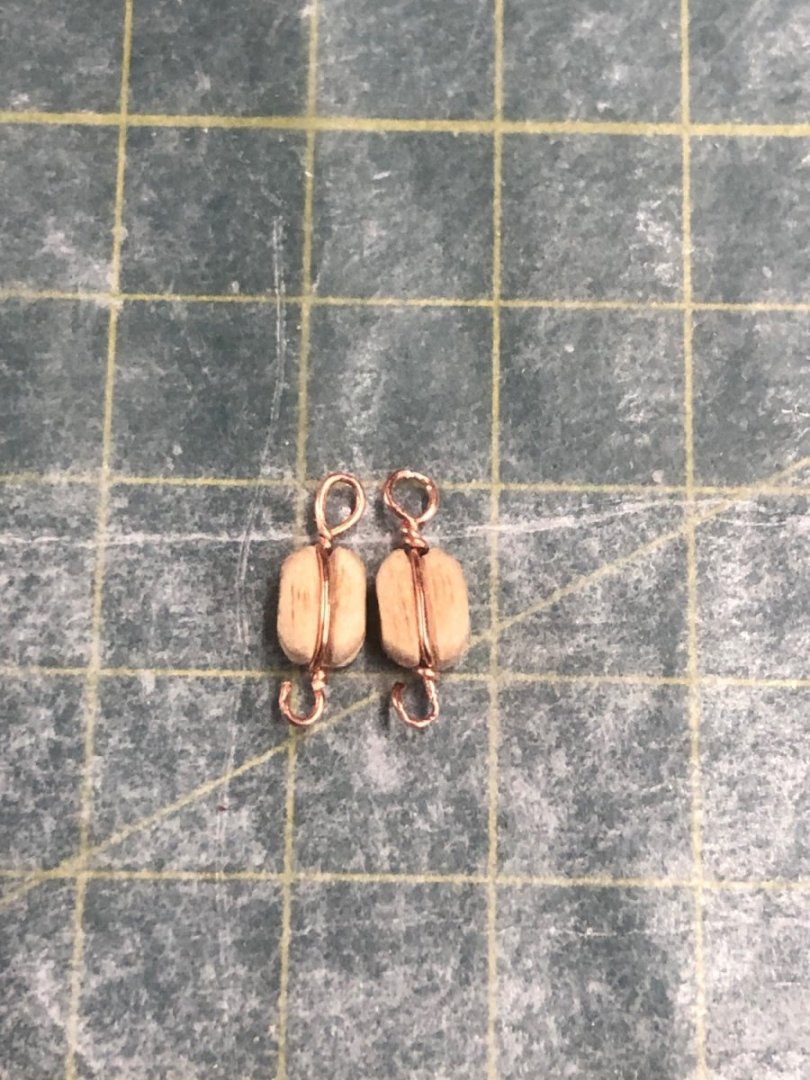
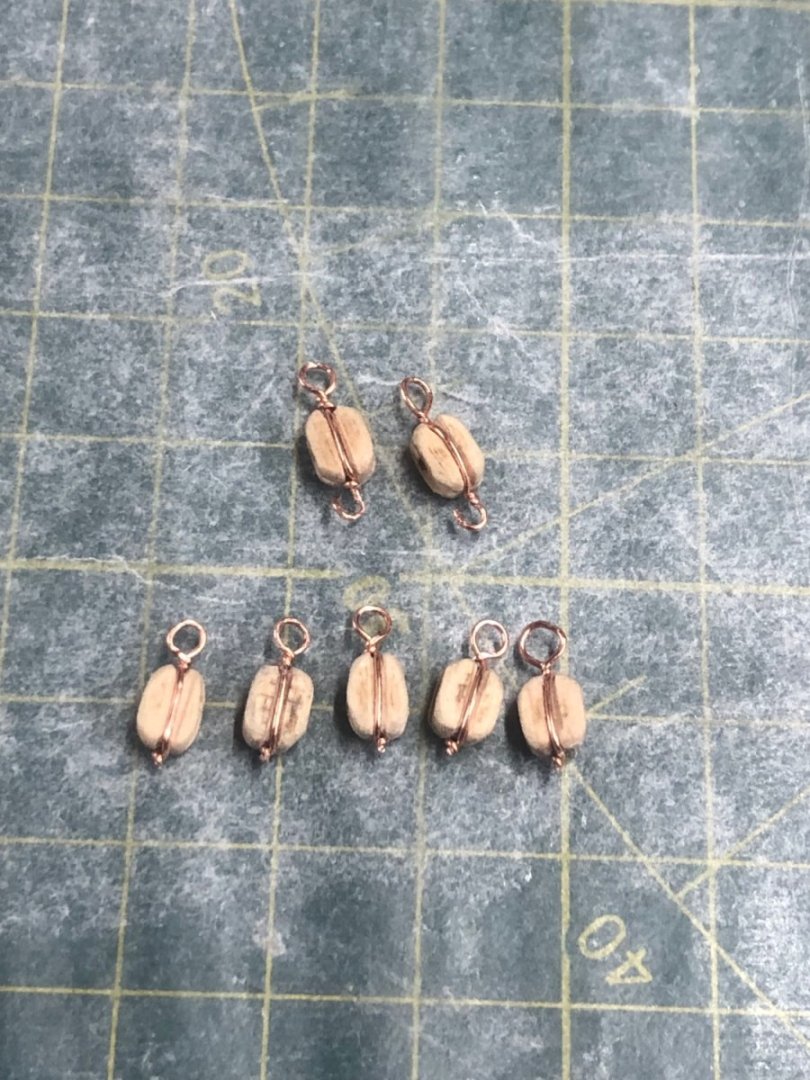
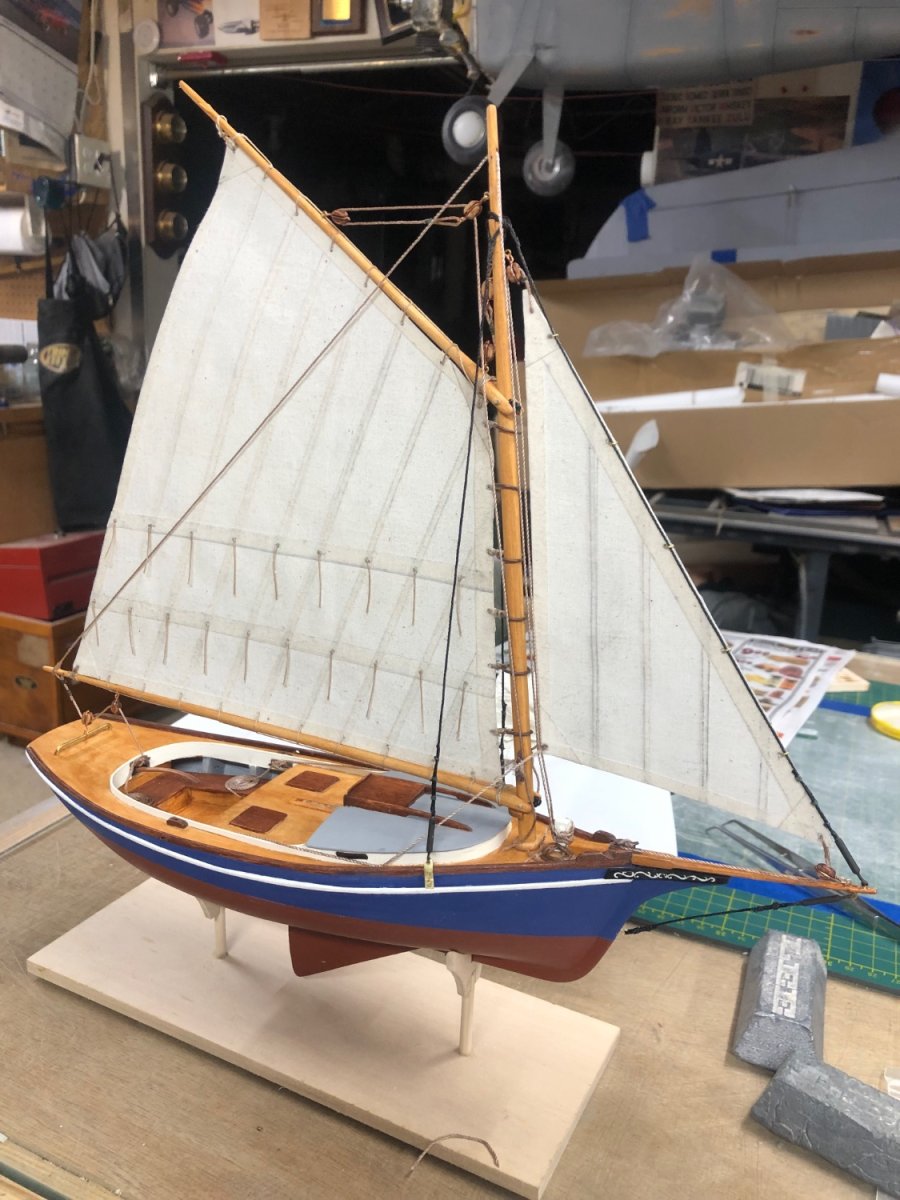
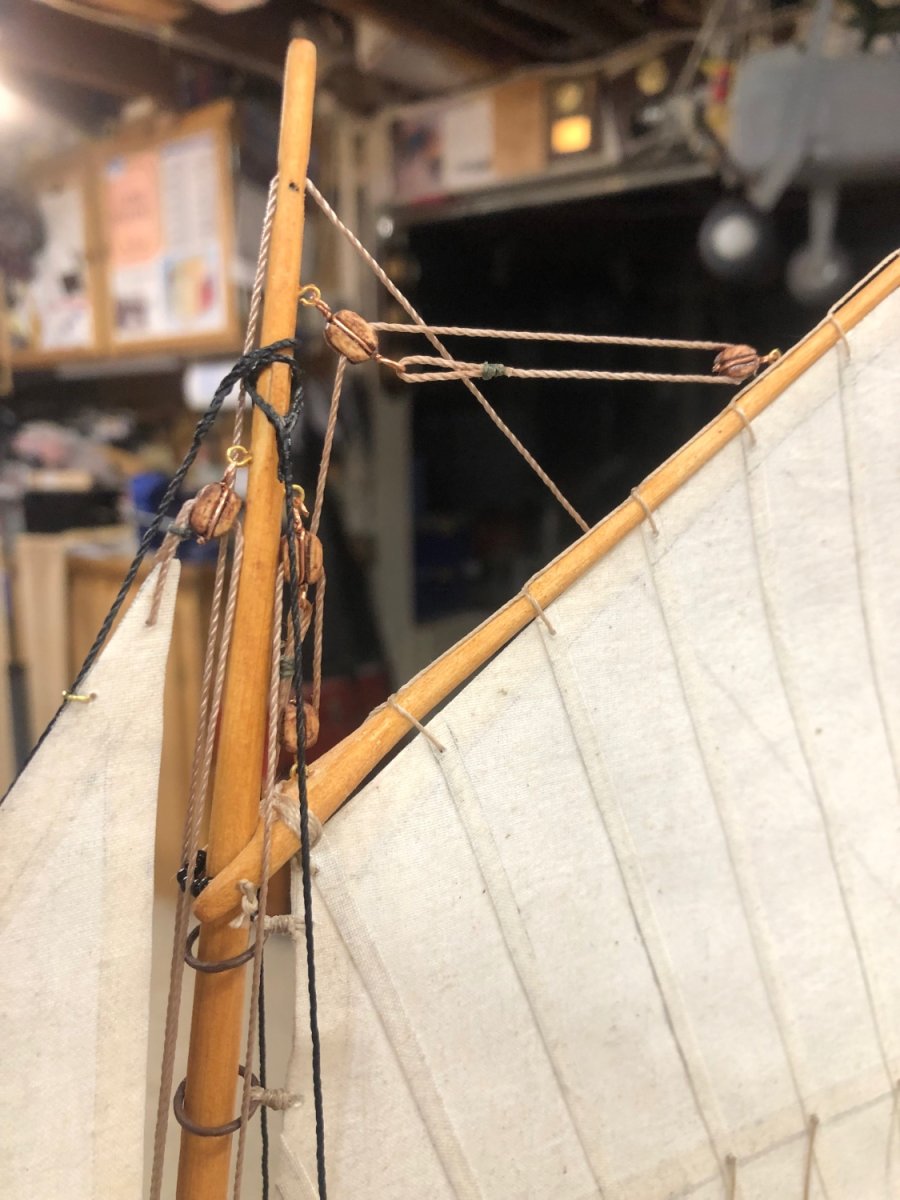
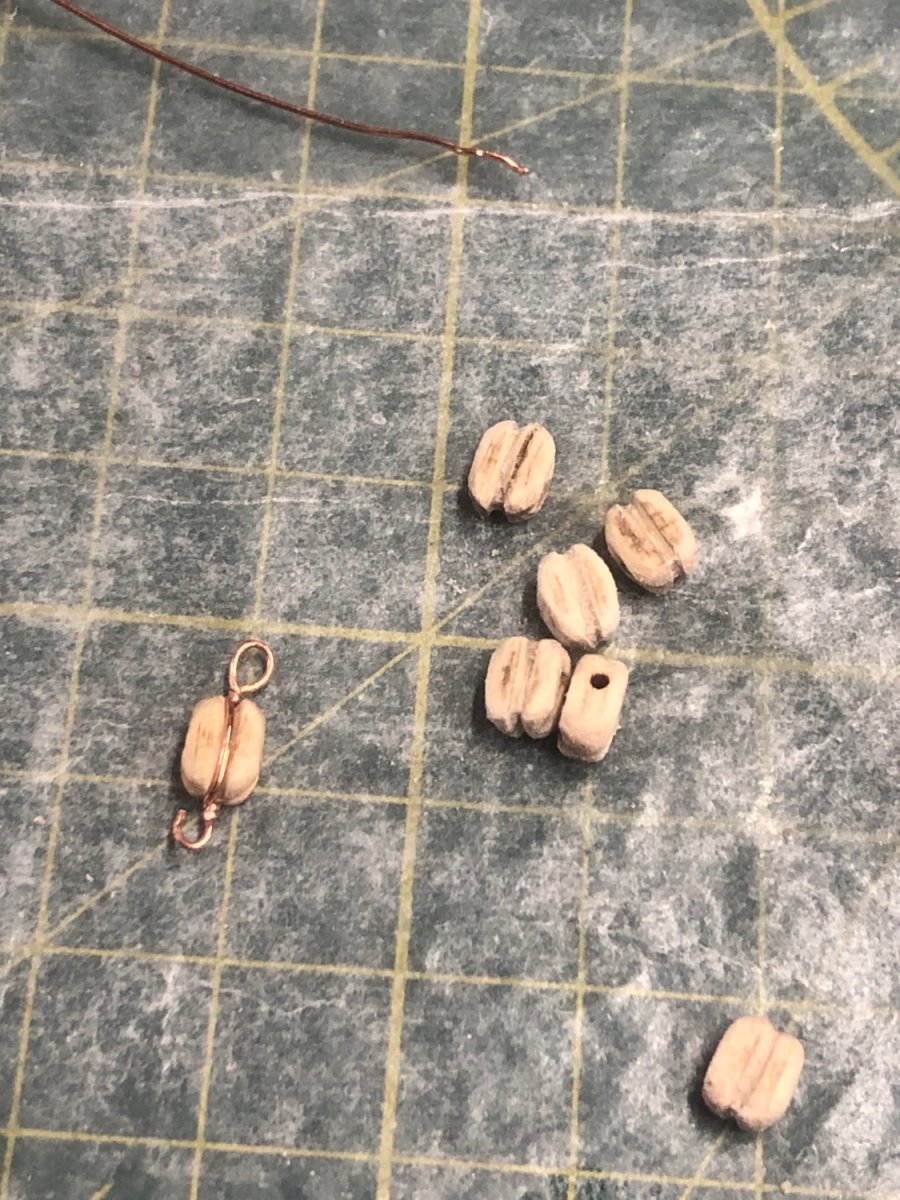
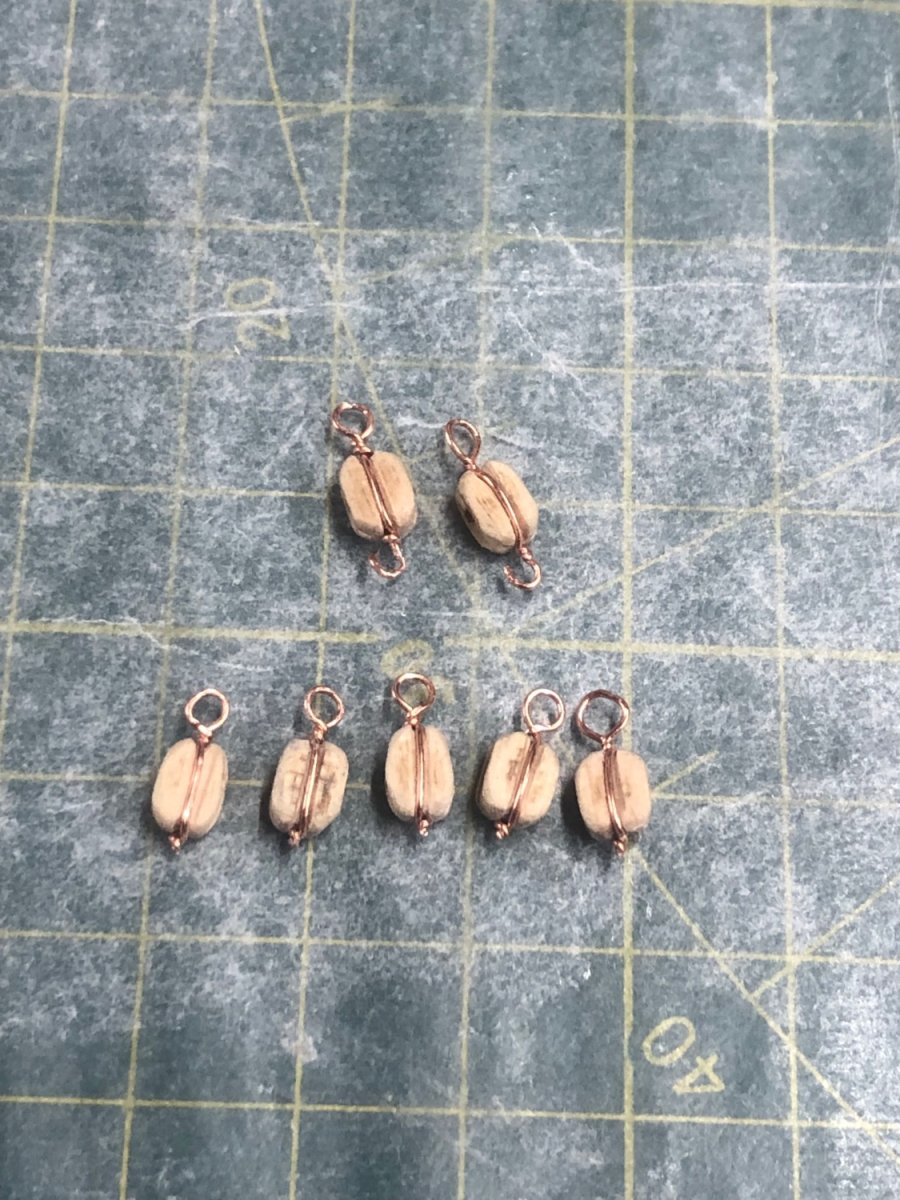
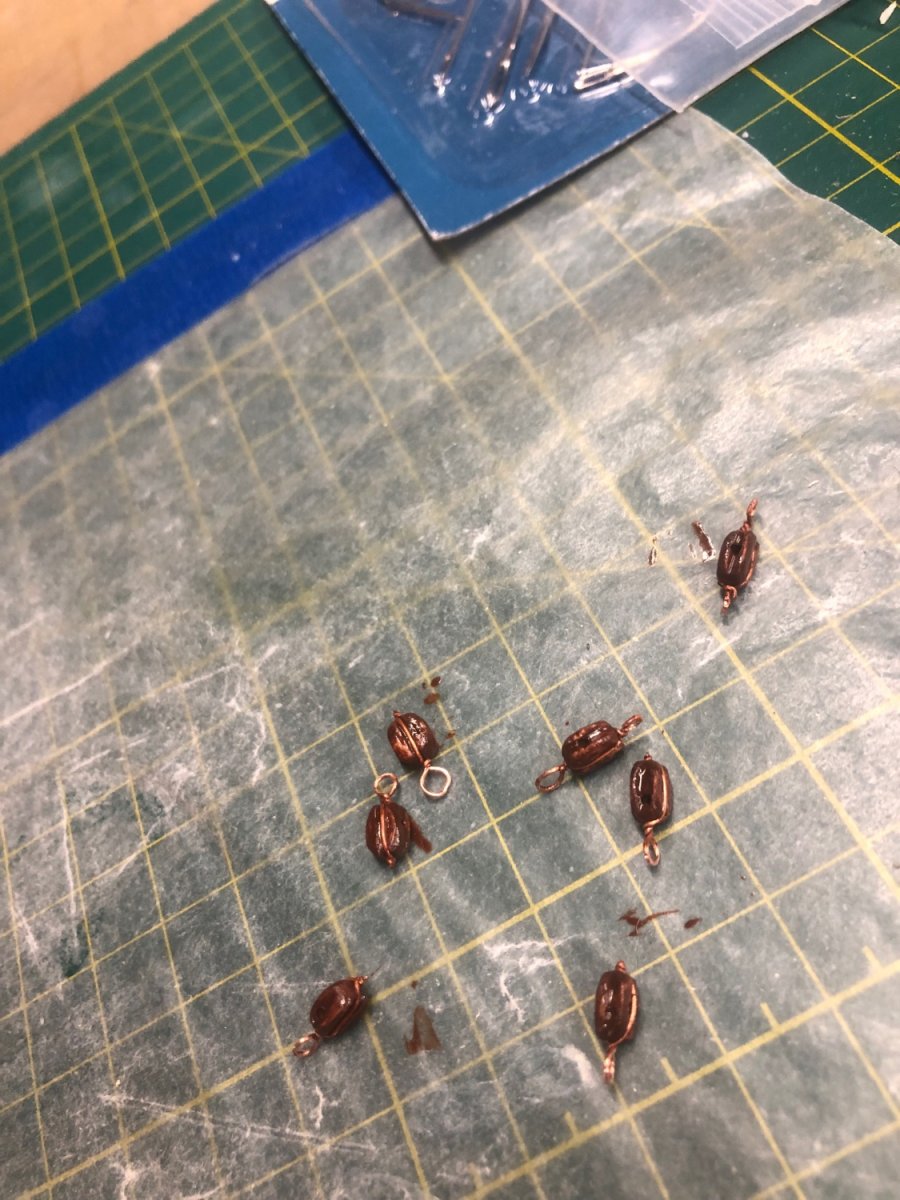
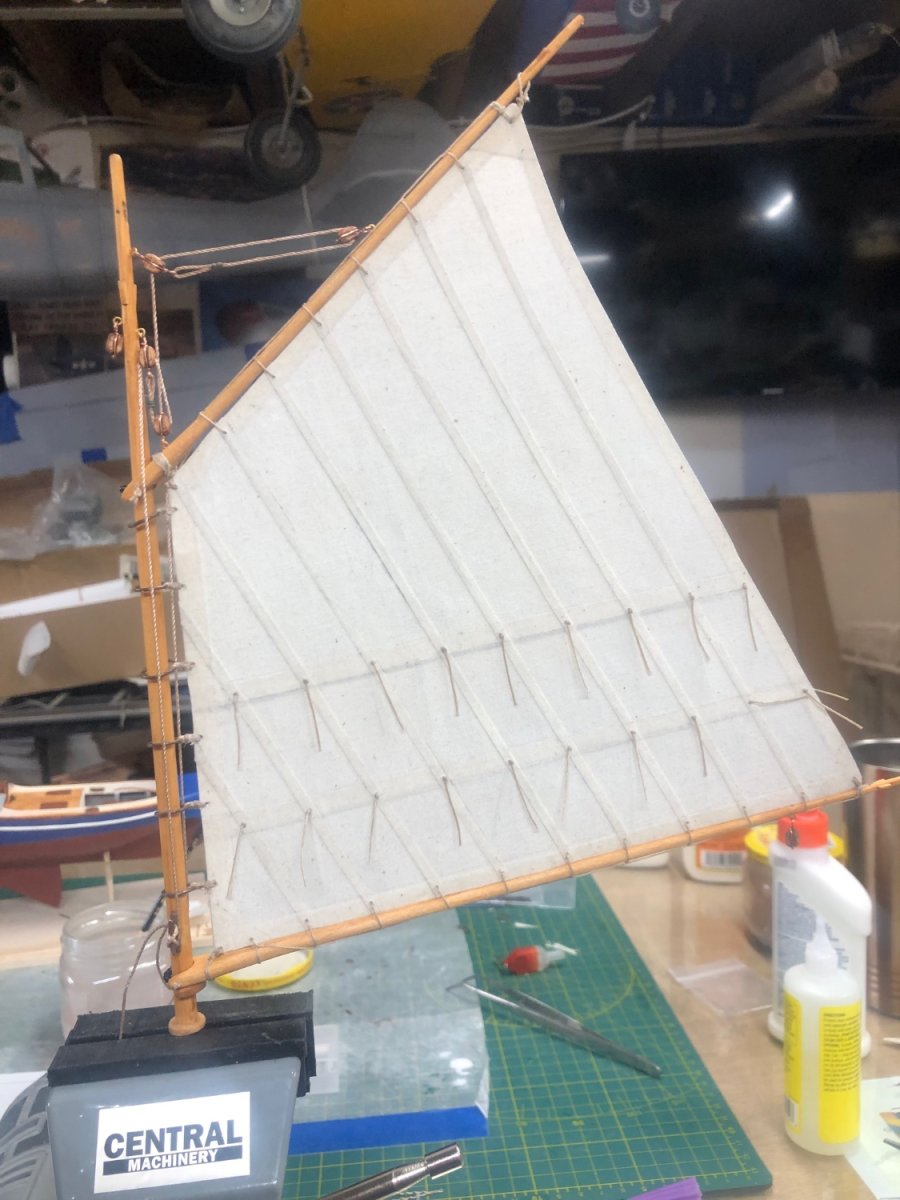
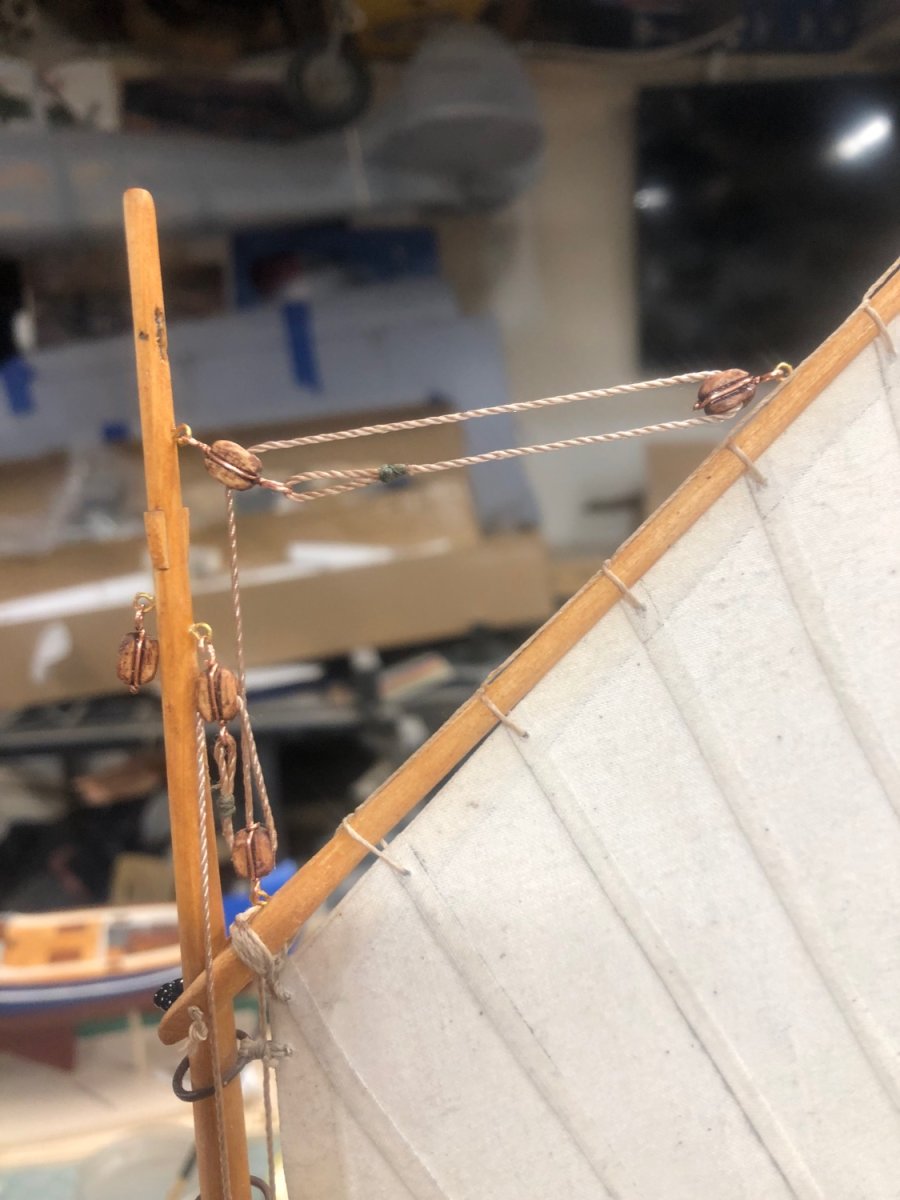
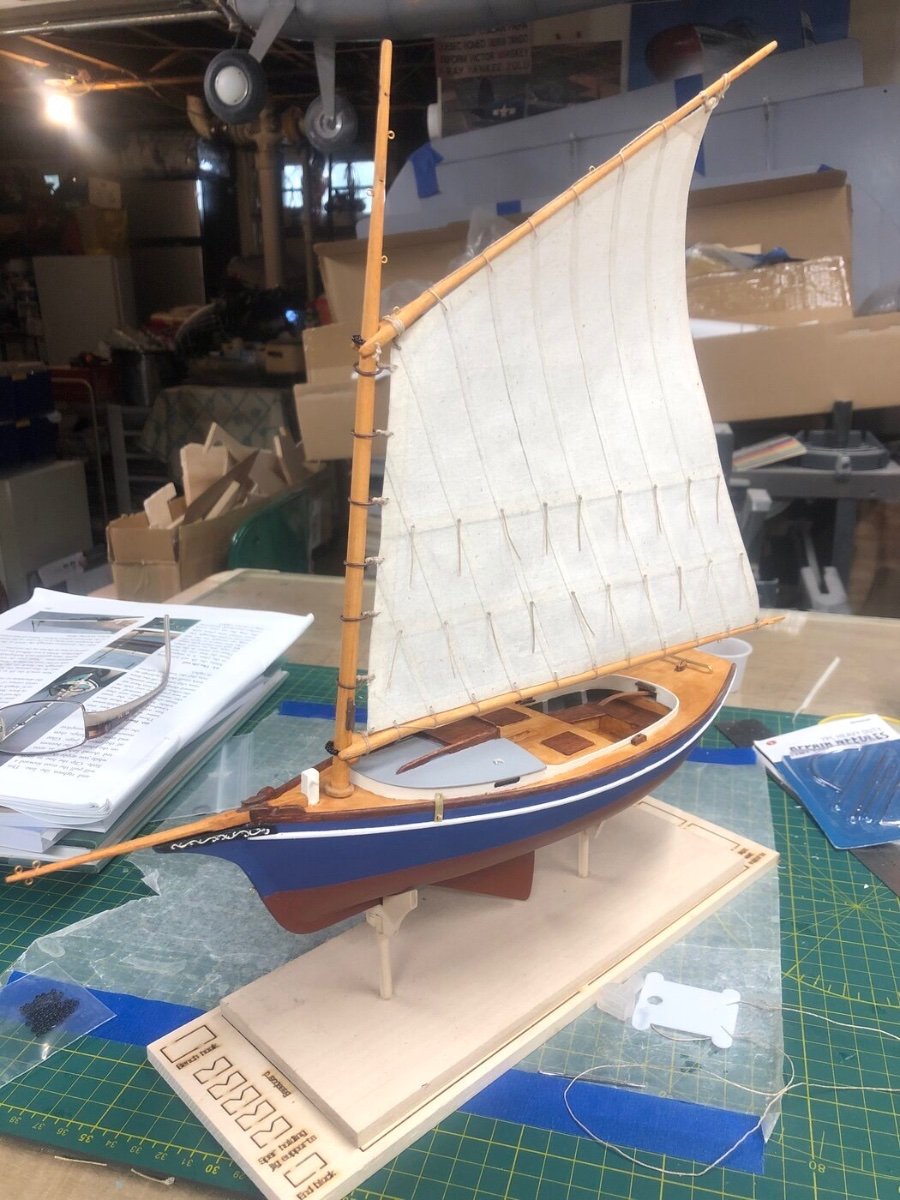
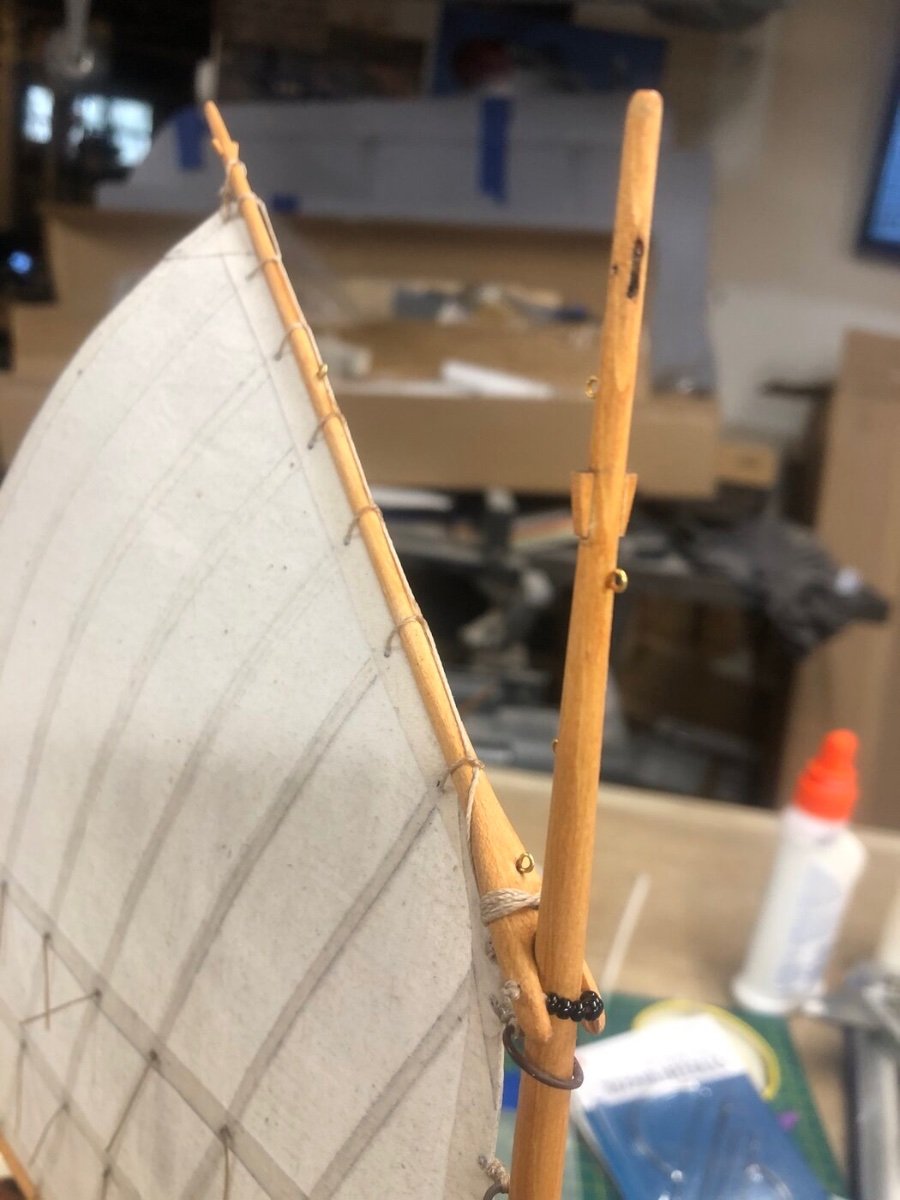
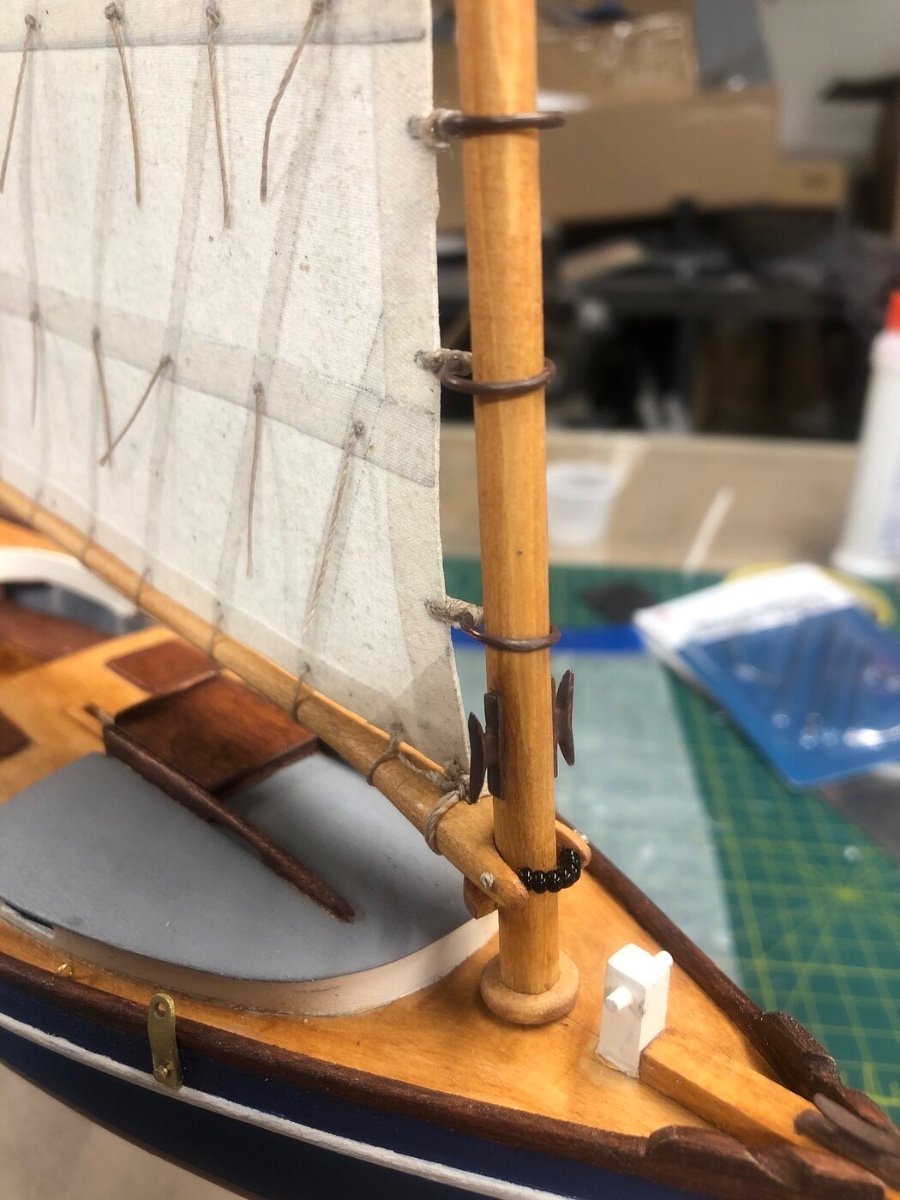
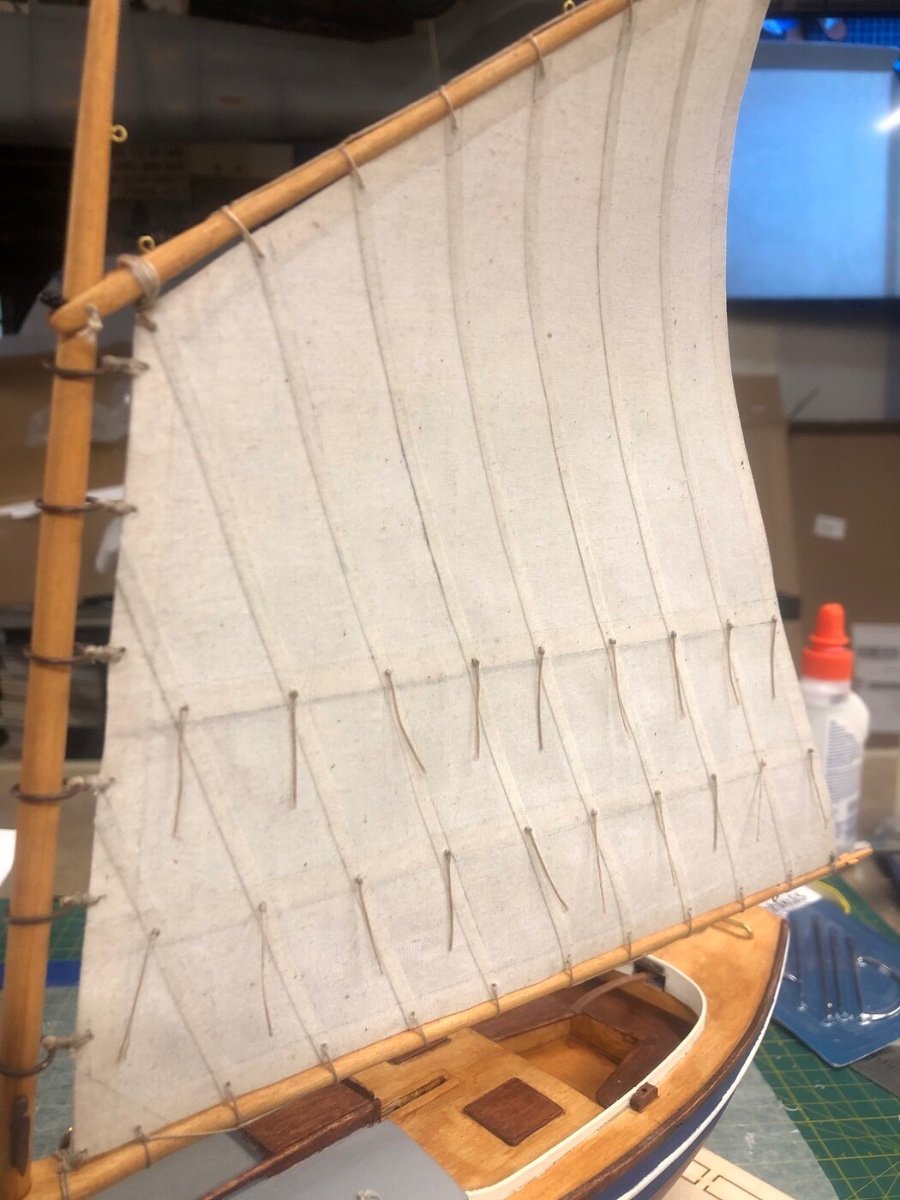
Making the Blocks and rigging up the sails!


- MajorChaos, Bryan Woods, robert952 and 2 others
-
5
-
-
23 hours ago, chris watton said:
I have set the kit price at £325.
That's $404.63 USD, thank you! A very reasonably priced for such a beautiful ship!
- markjay, hollowneck, chris watton and 2 others
-
5
-
-
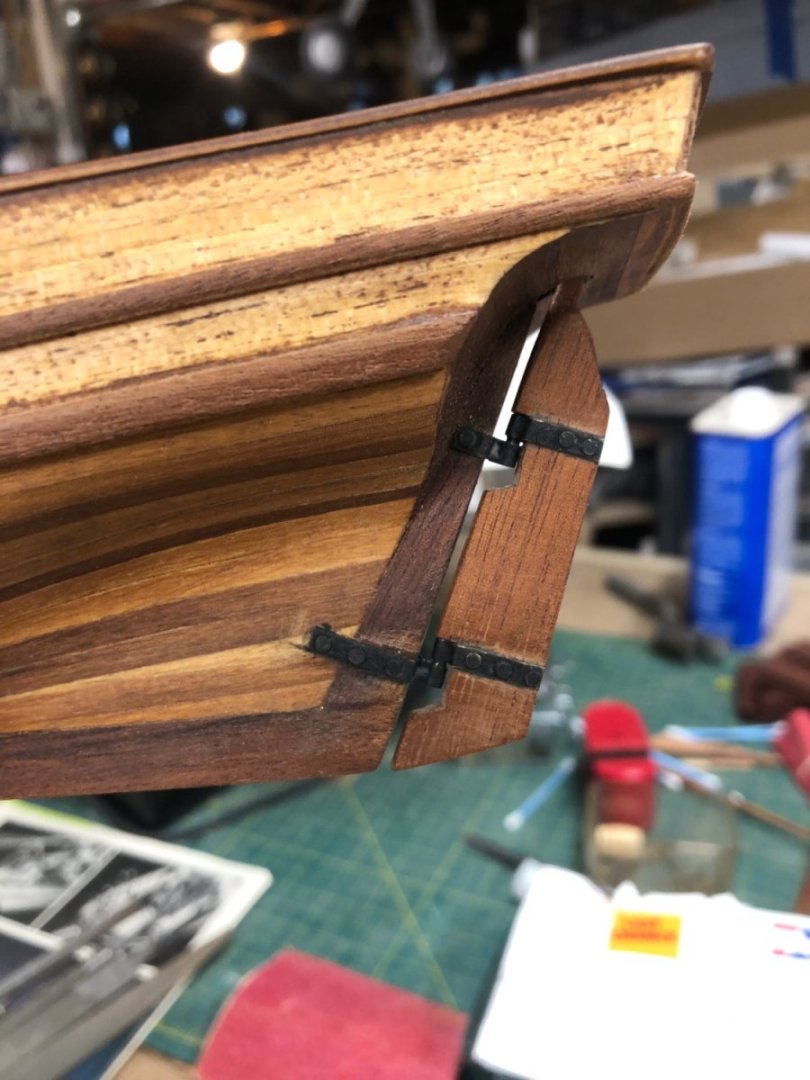
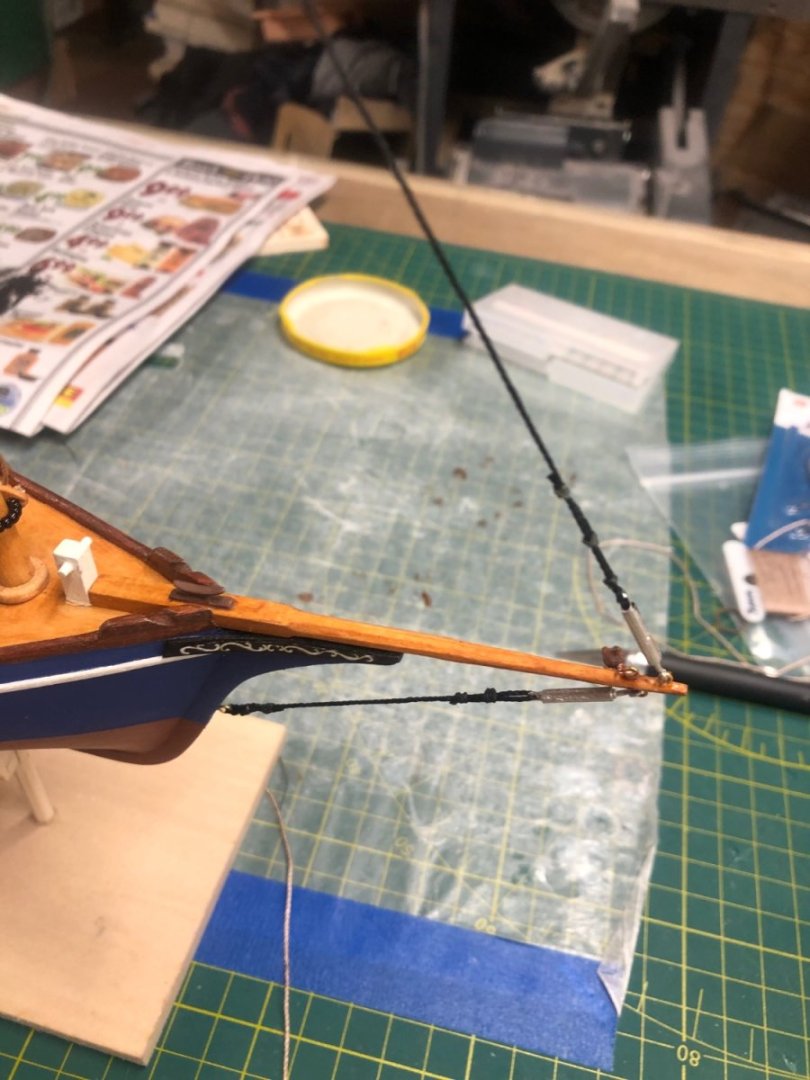
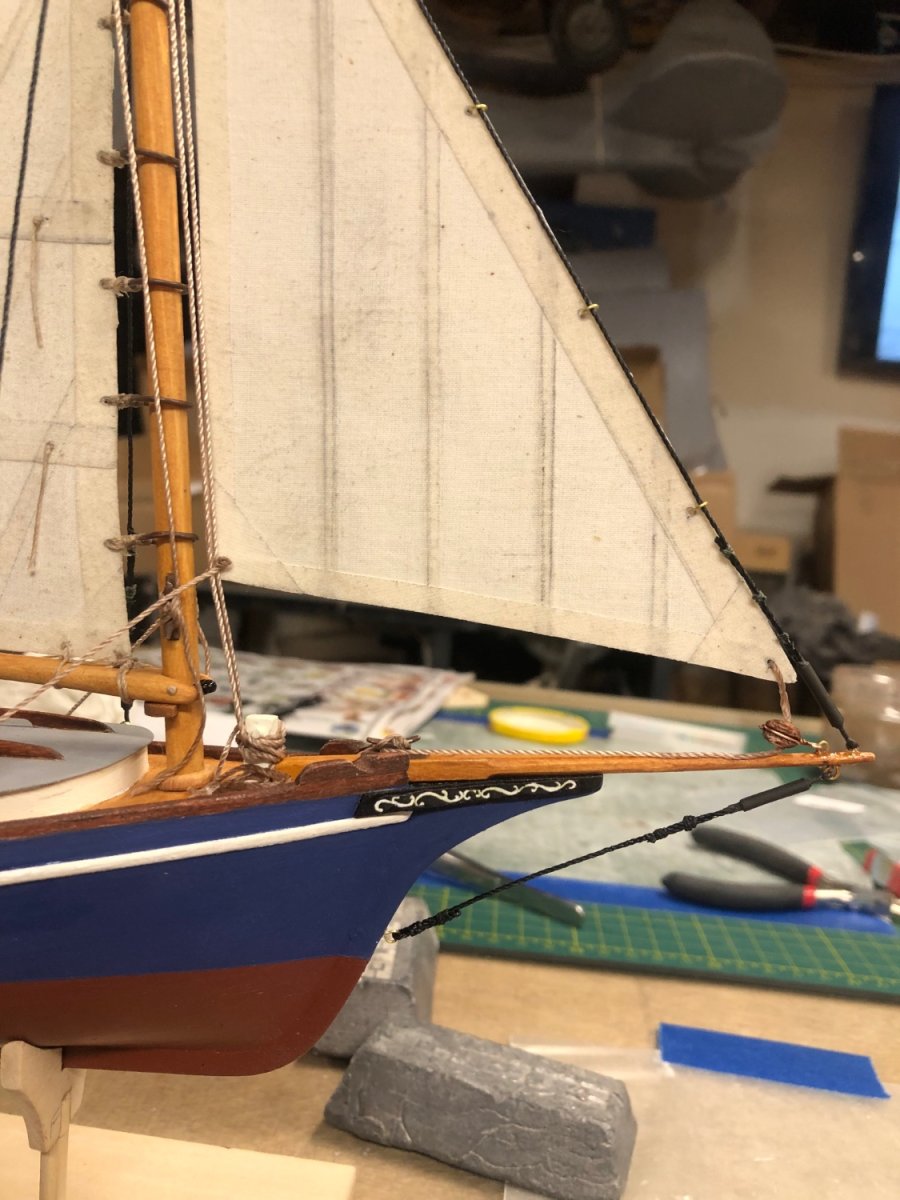
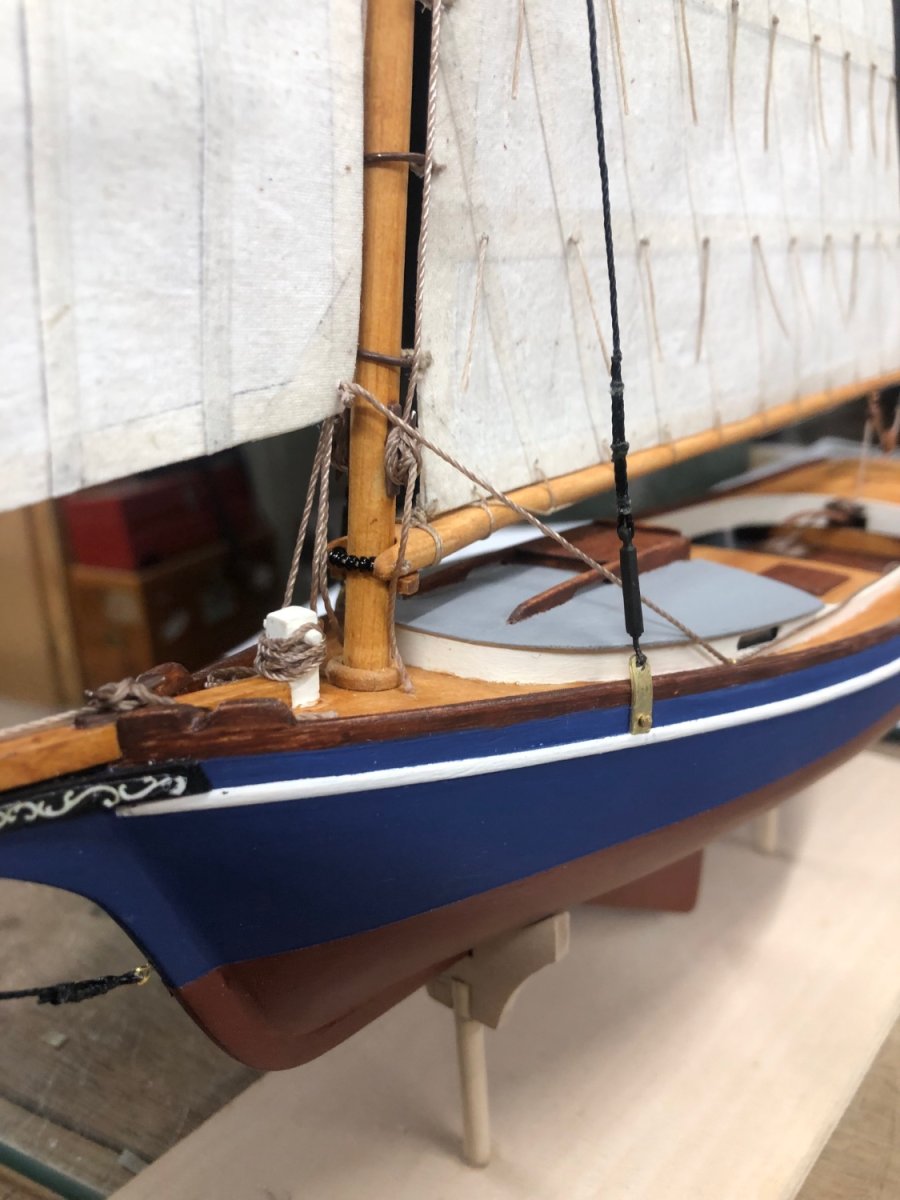
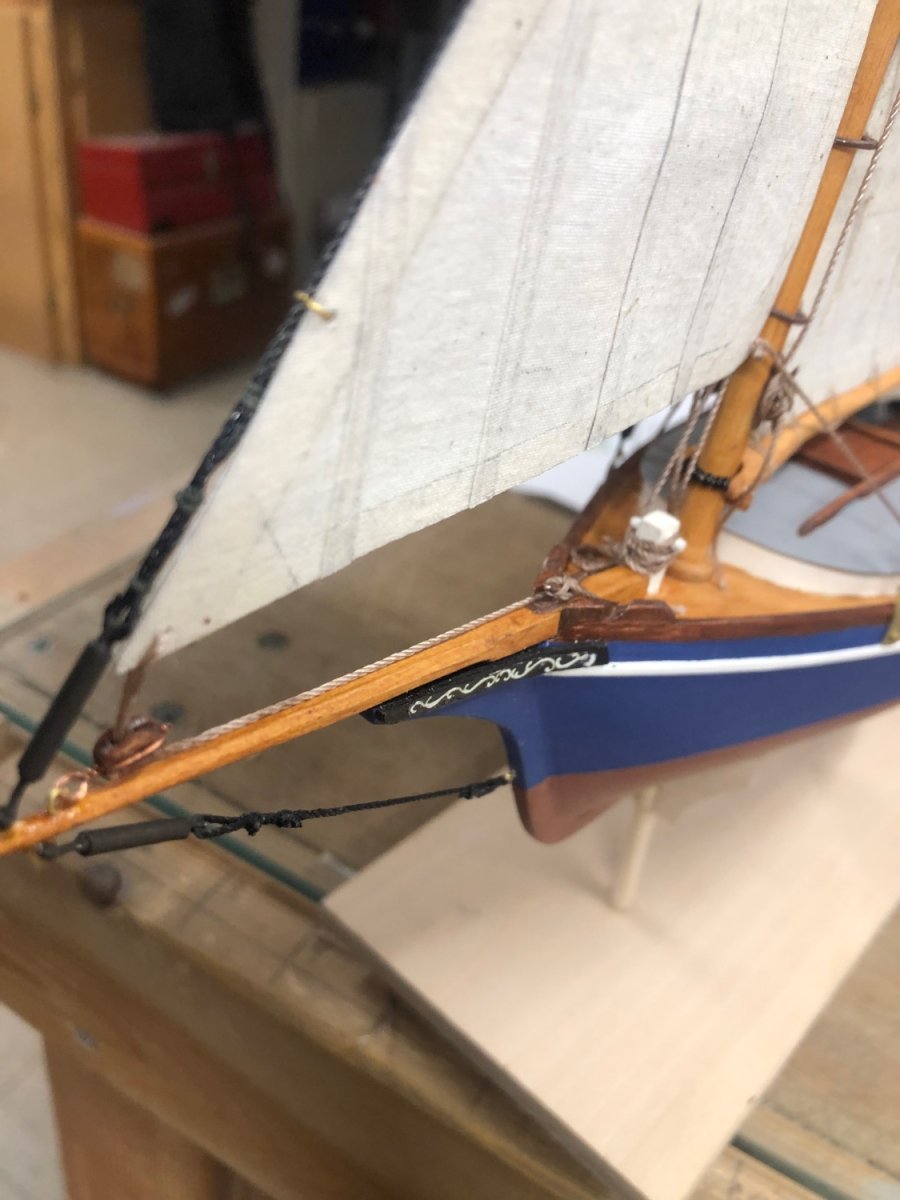
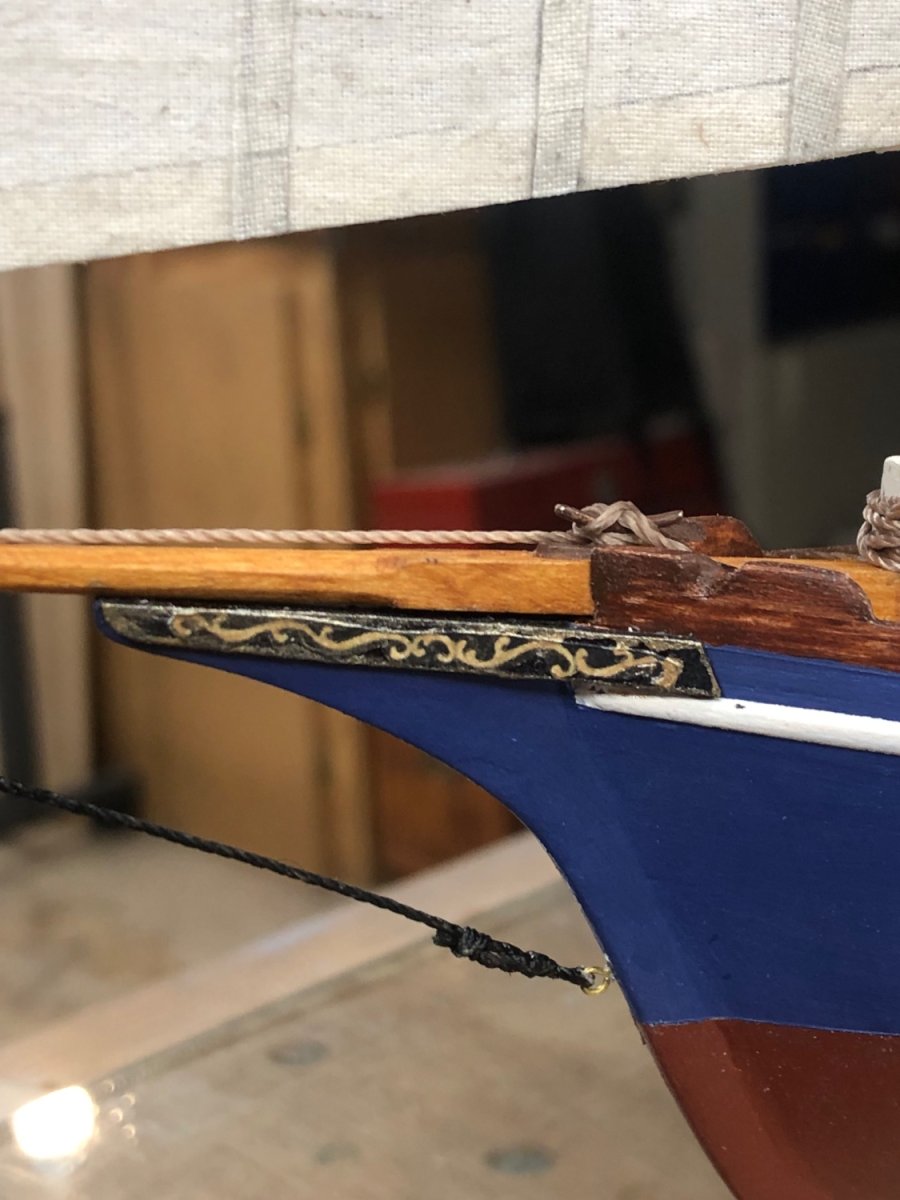
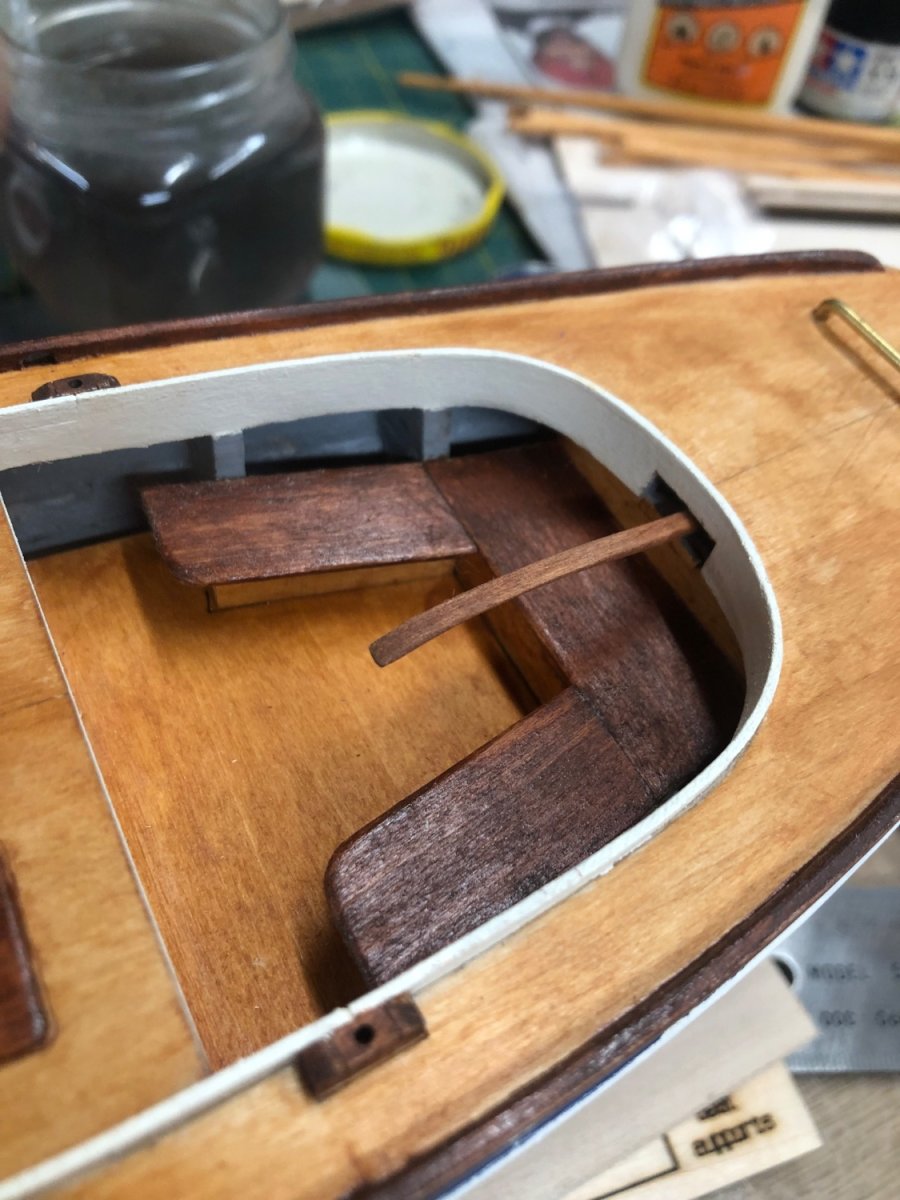
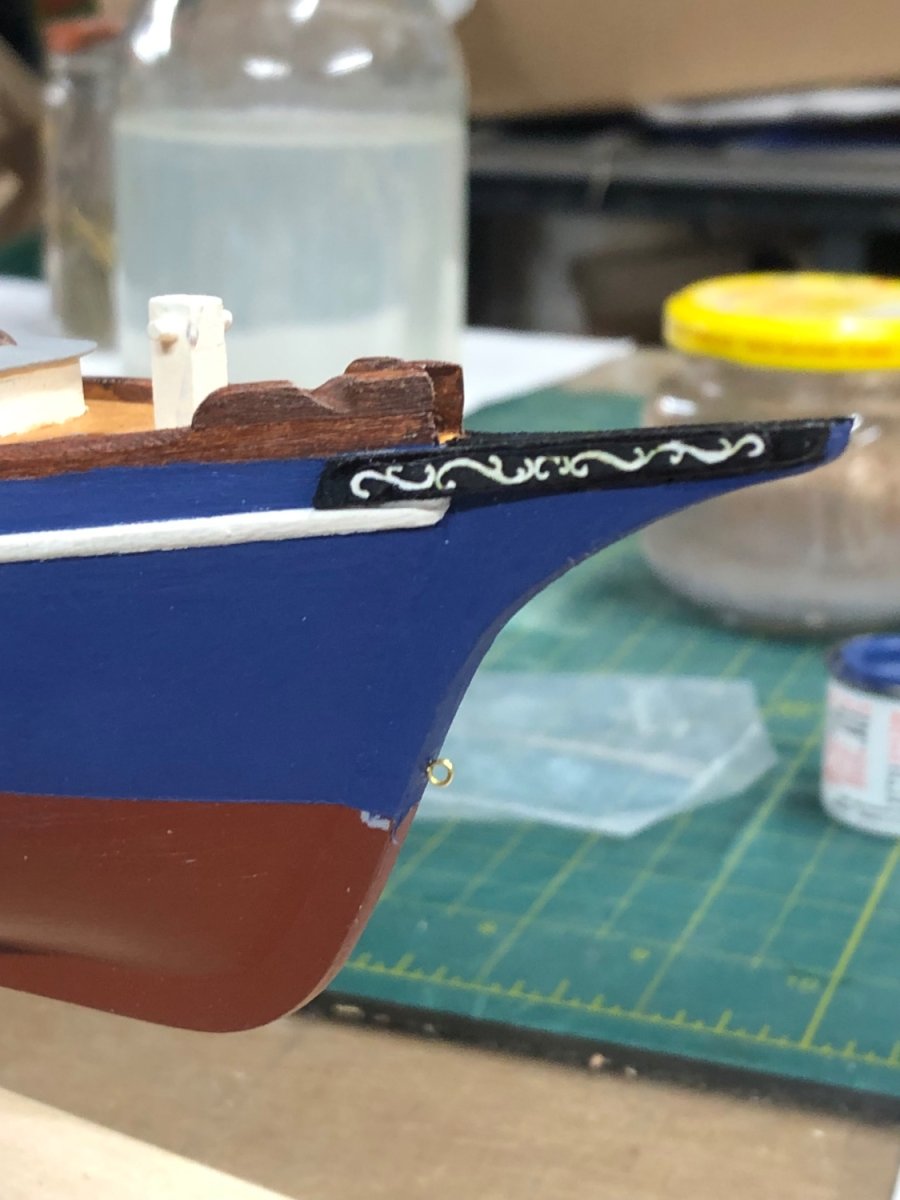
I glued in the tiller

I painted the trail boards with semi-gloss tamiya black then glued them to the boats beak!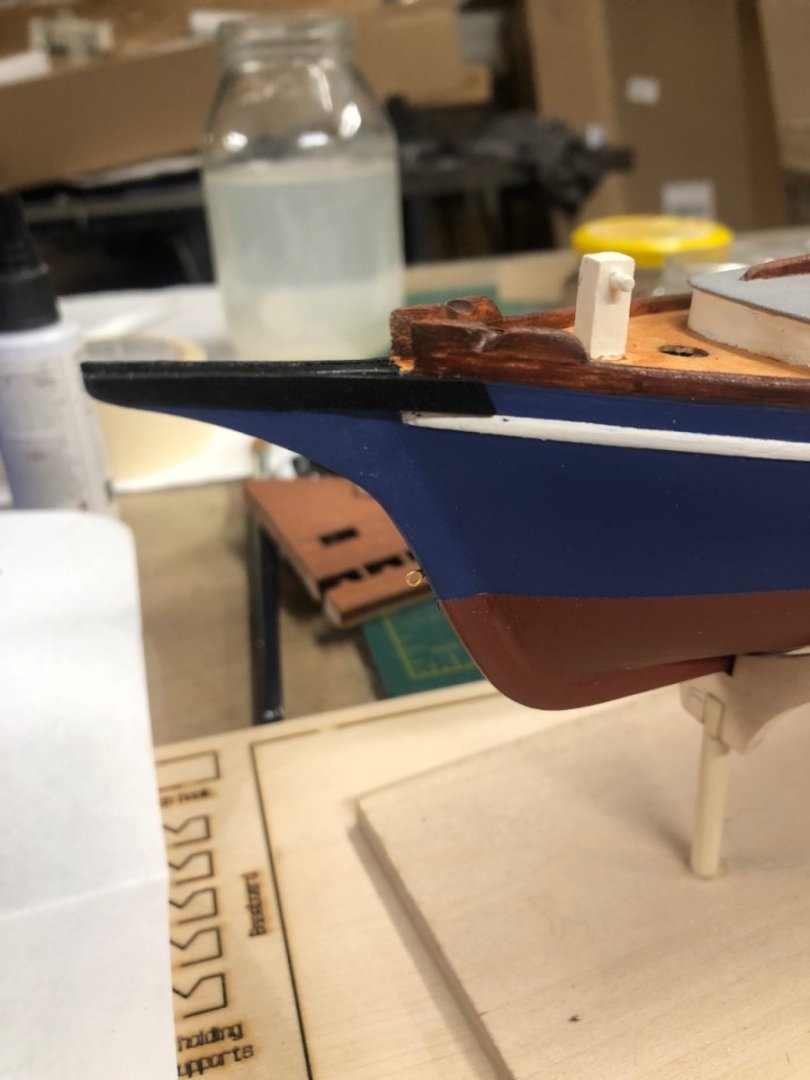
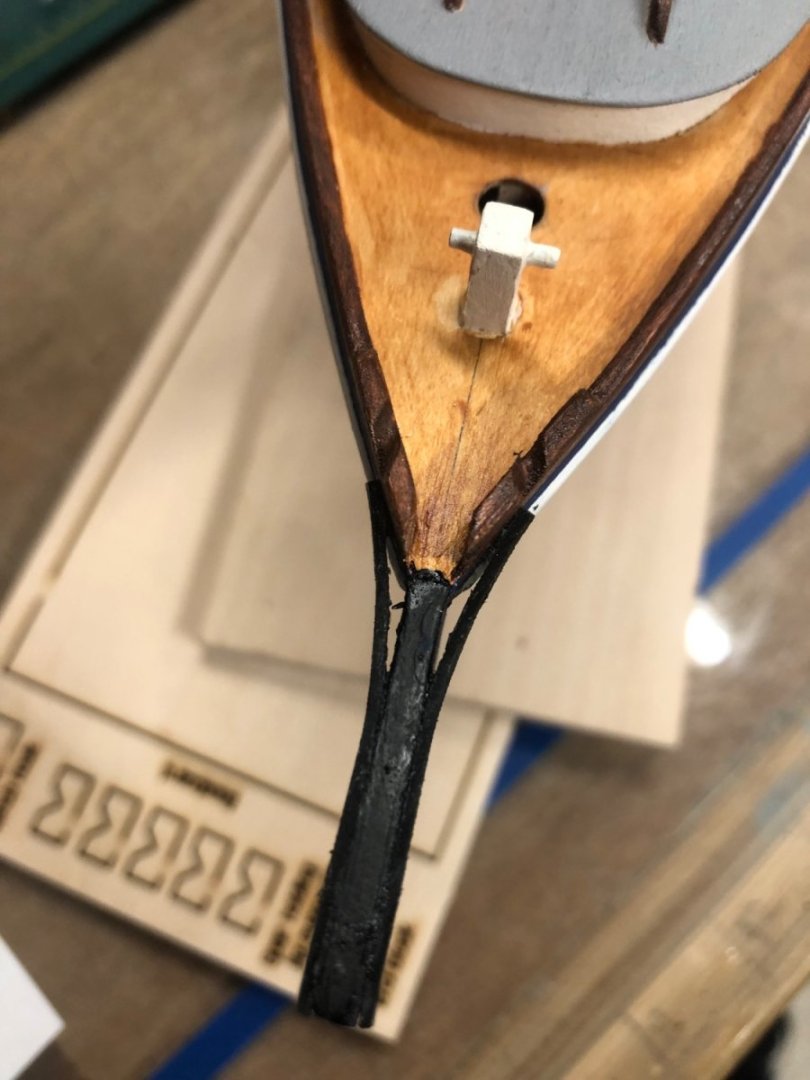
I then carefully cut and glued the scrolling from instruction sheet and then glued it to the trail boards, I also used a black sharpie to blacken the white from the paper, I will later seal it with a semi gloss varnish,

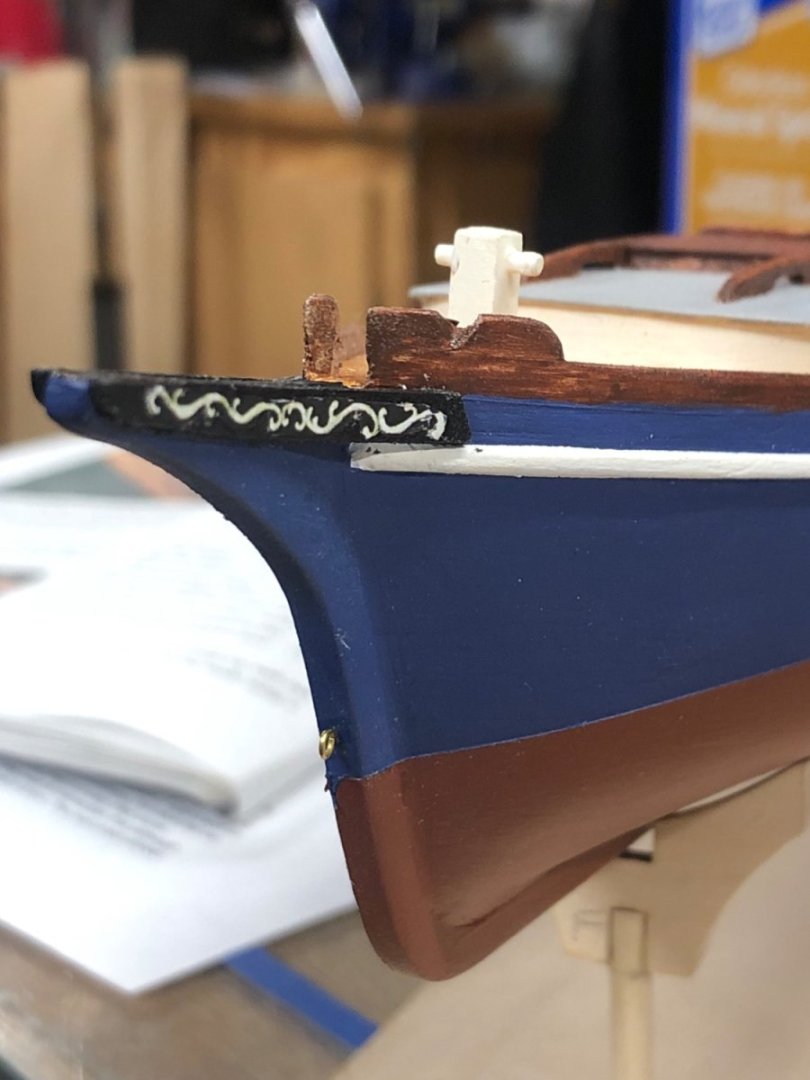
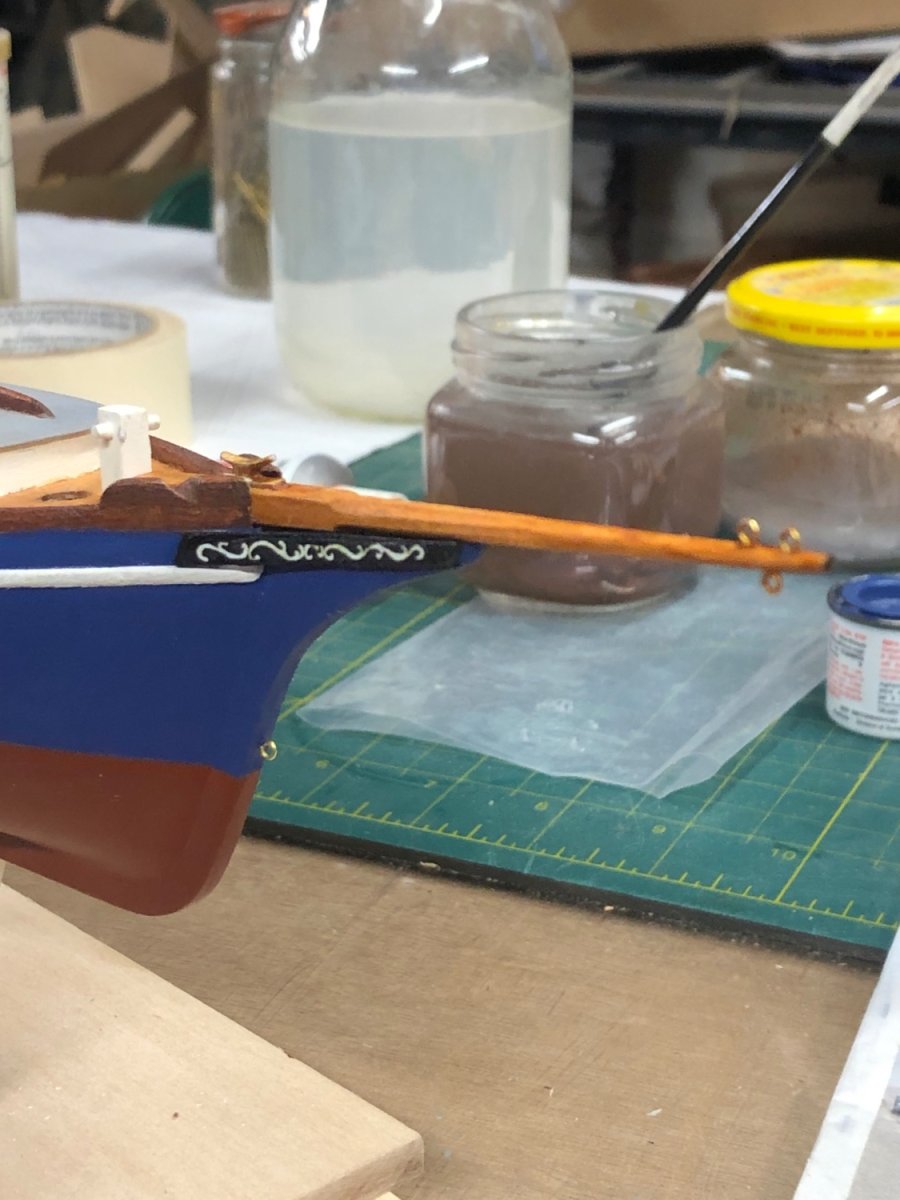
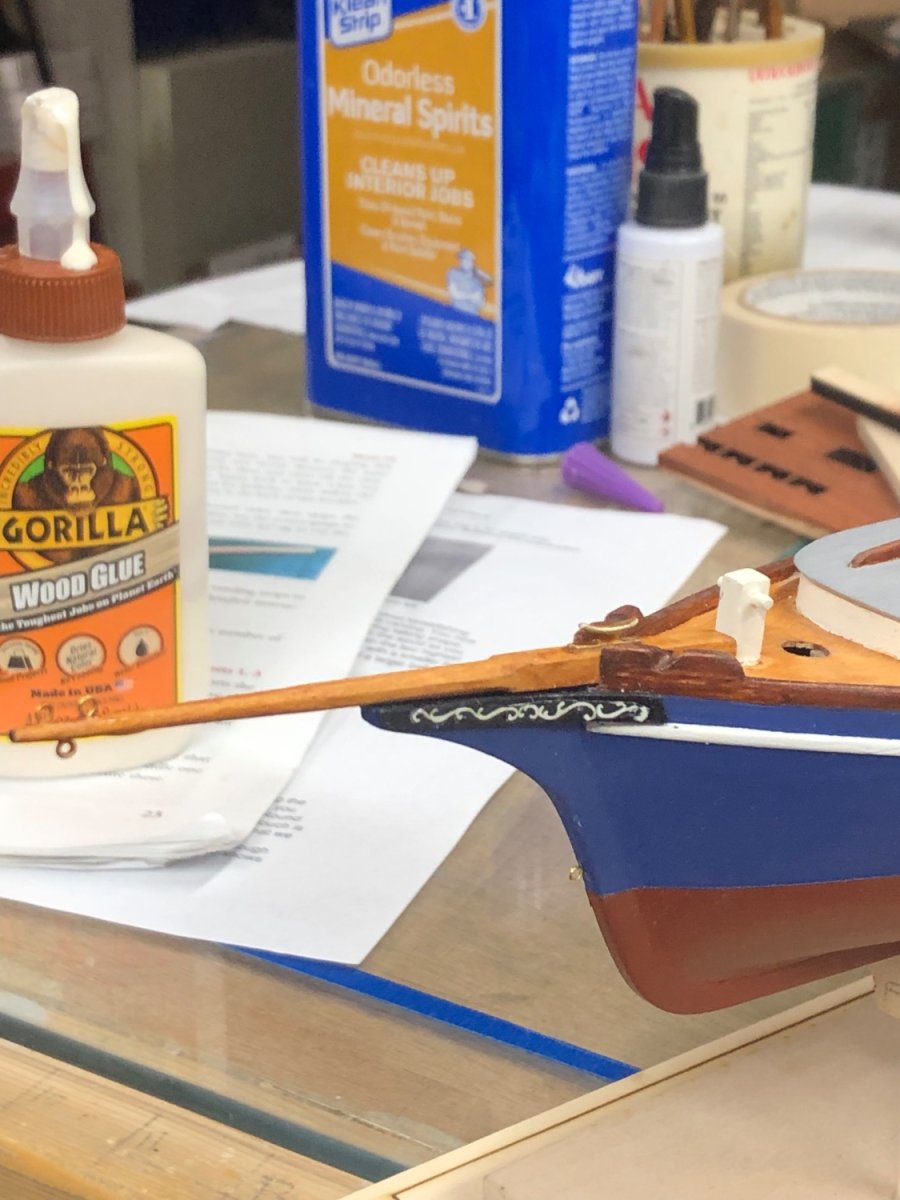
I then glued the bowsprit to the boat!
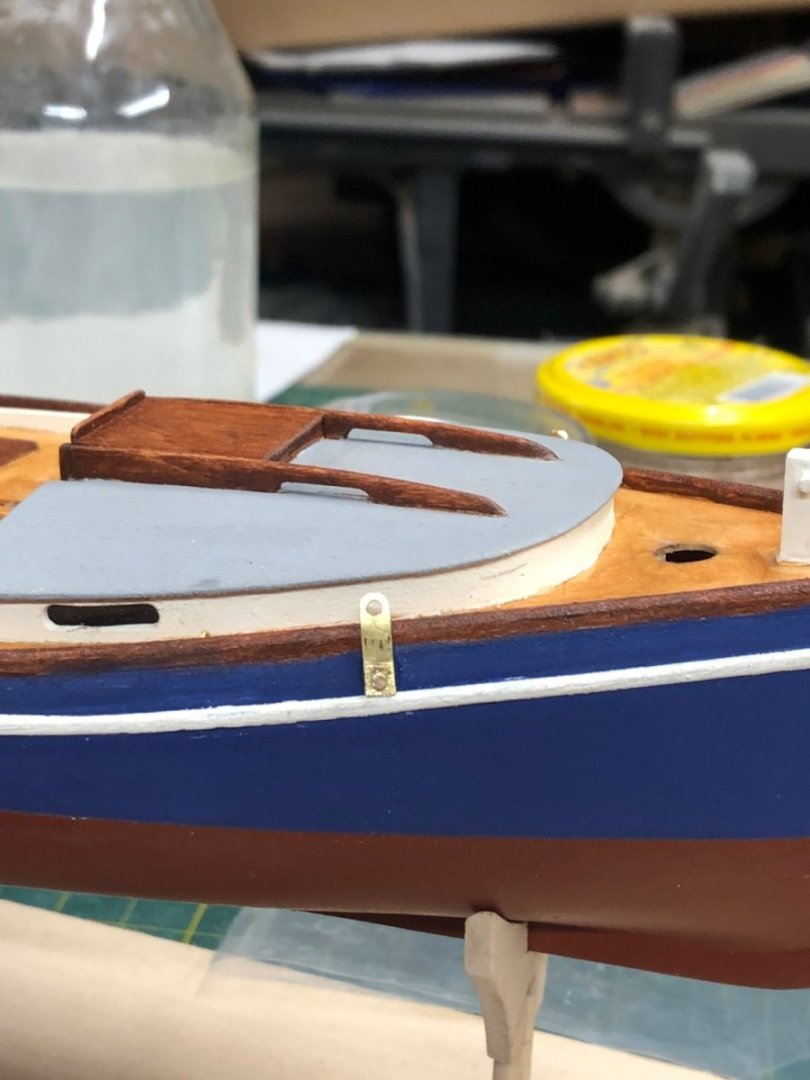
I then made and installed the chain plates for the backstays!
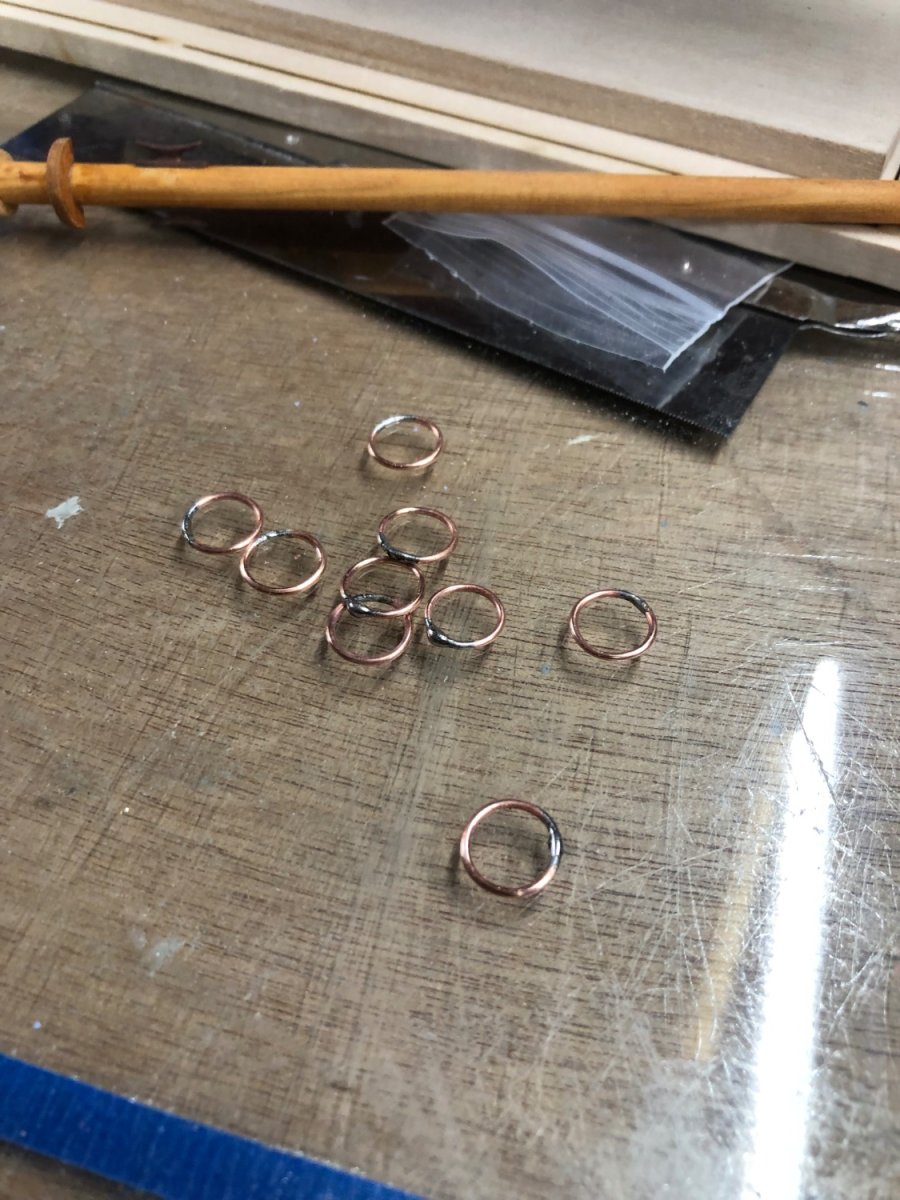
I then made and soldered the masthoops

they will be cleaned up and painted!

- Ryland Craze, MajorChaos, BobG and 4 others
-
7
-
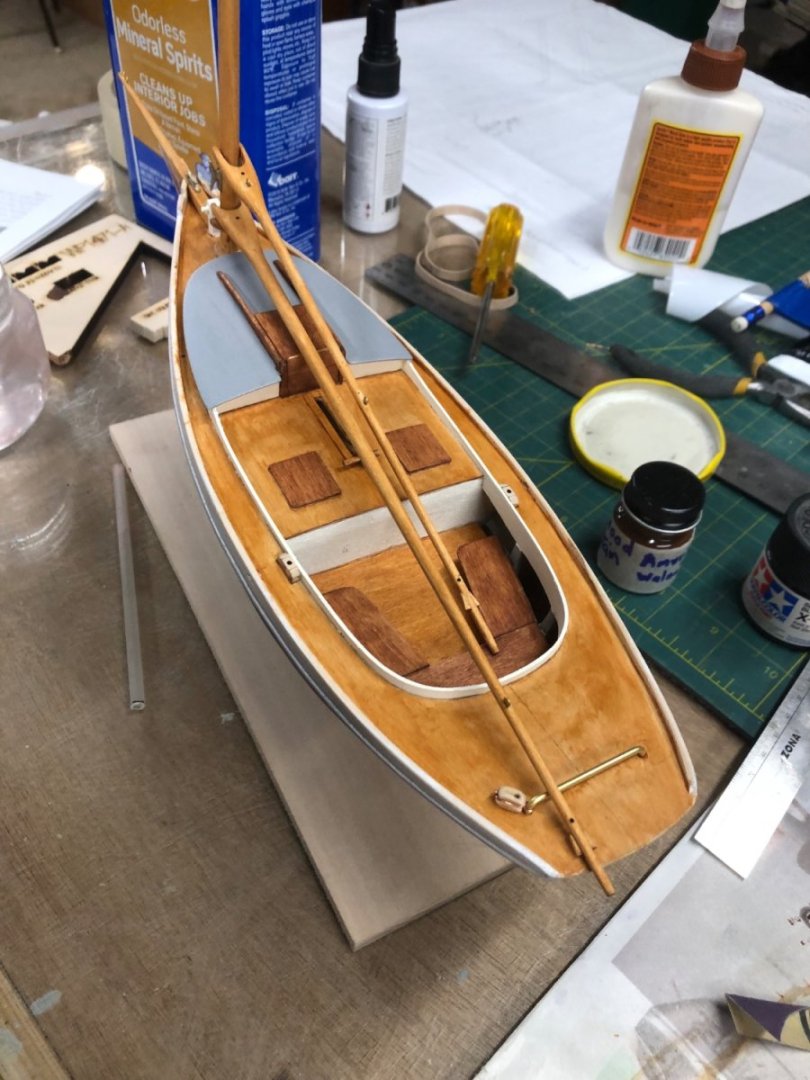
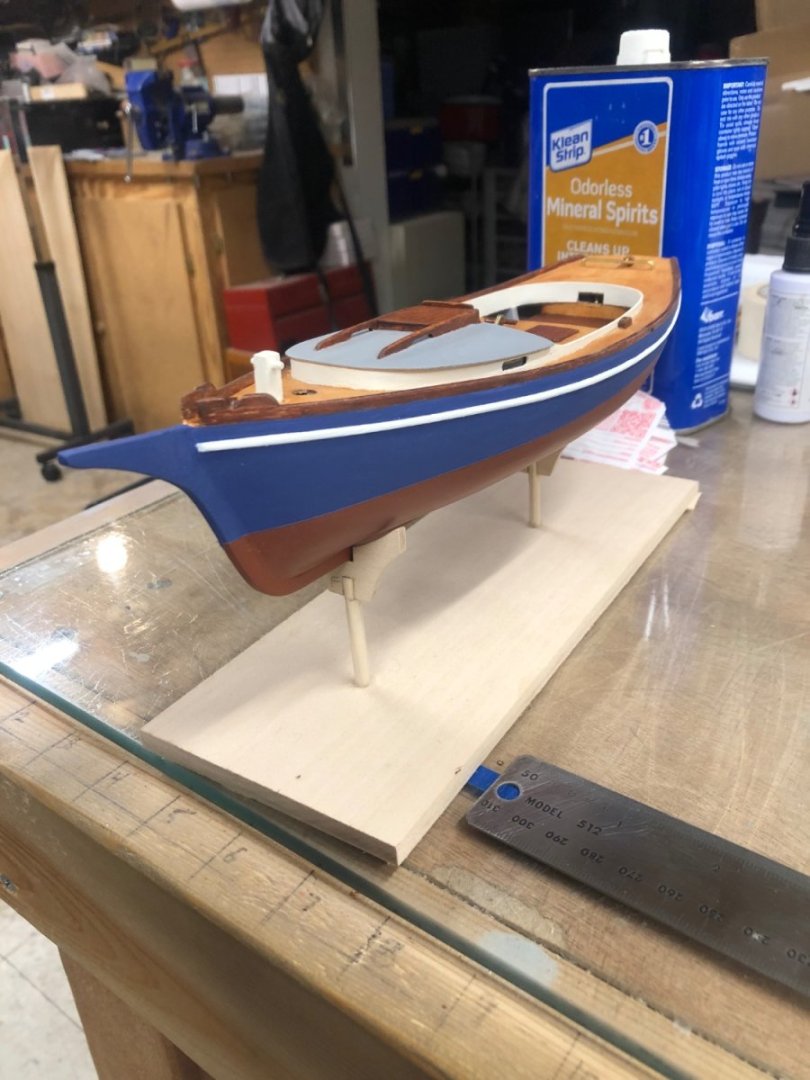
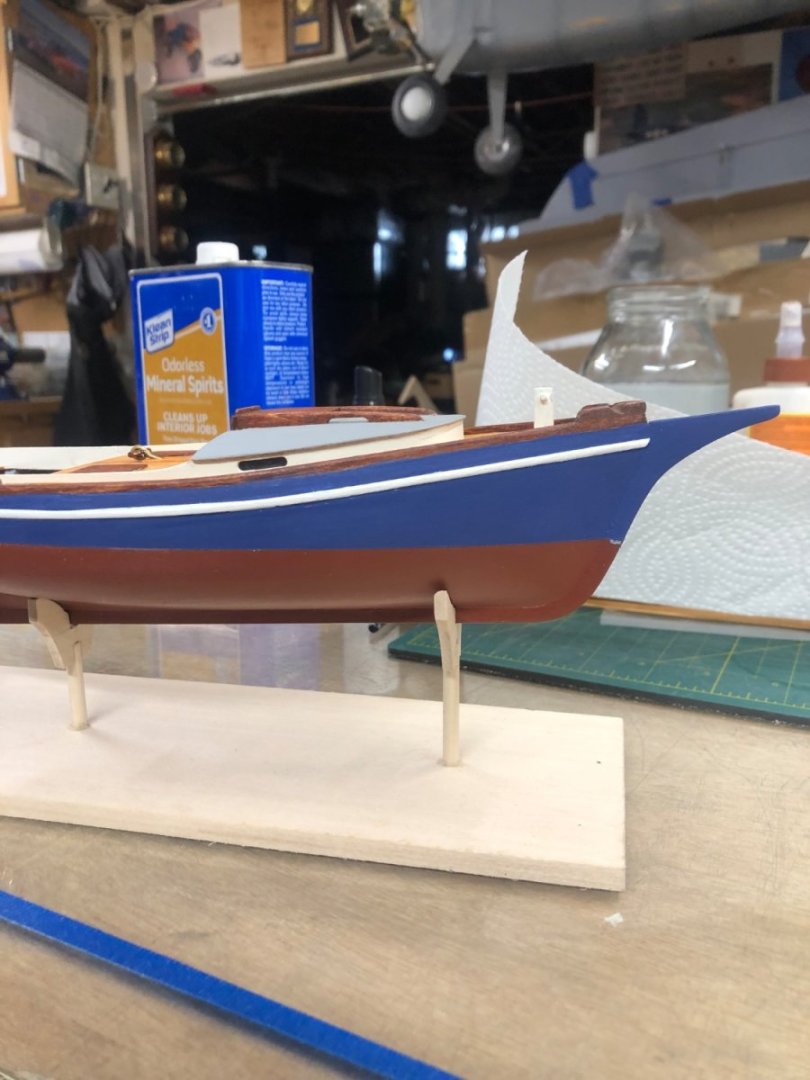
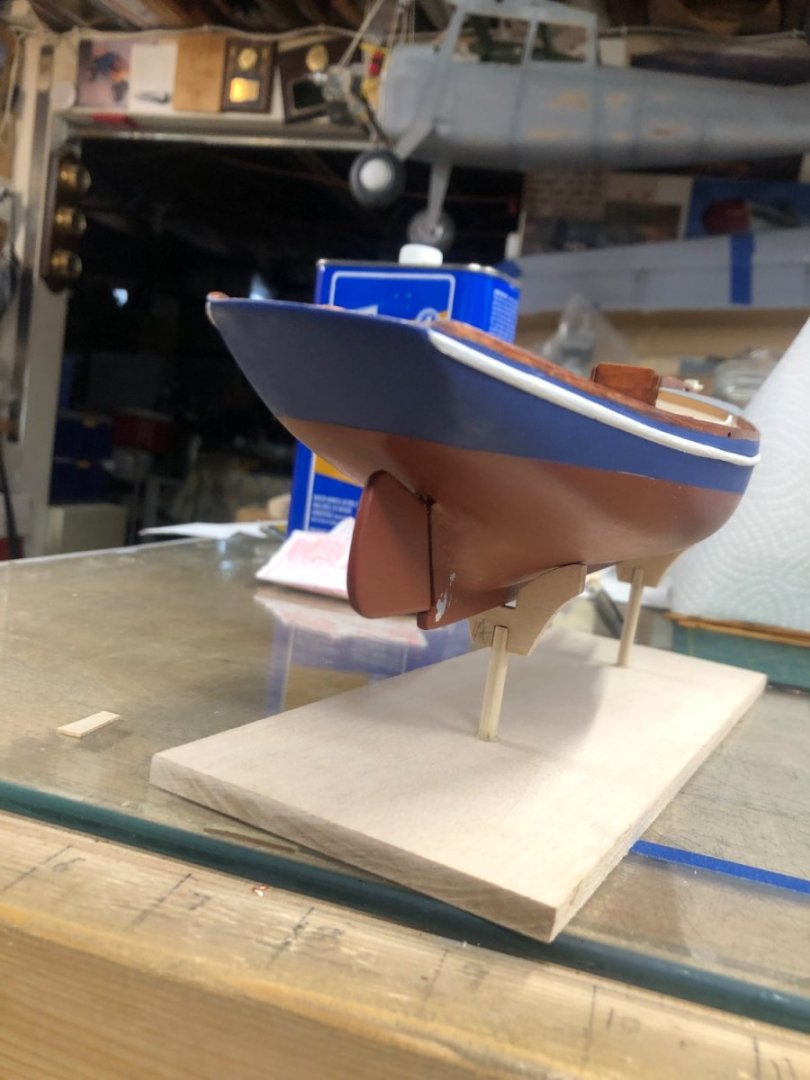
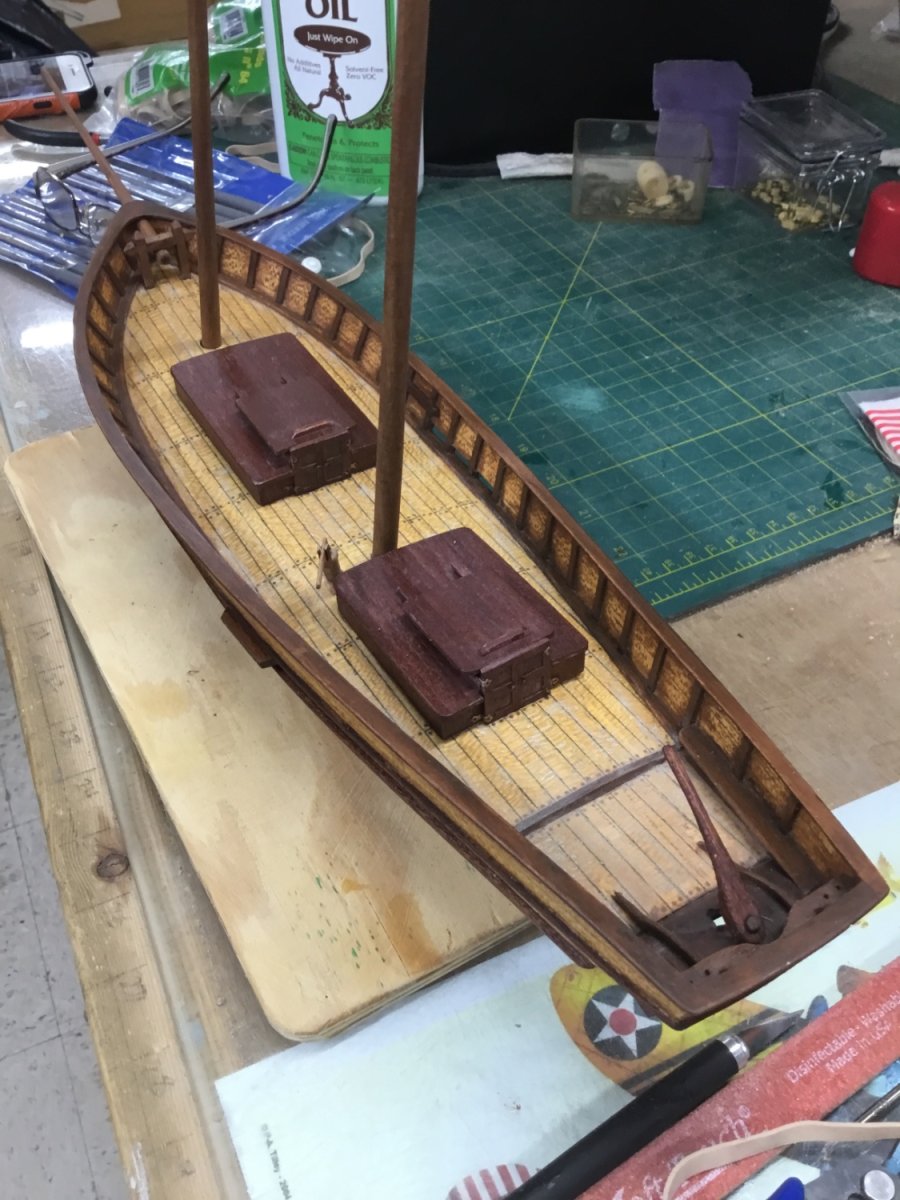
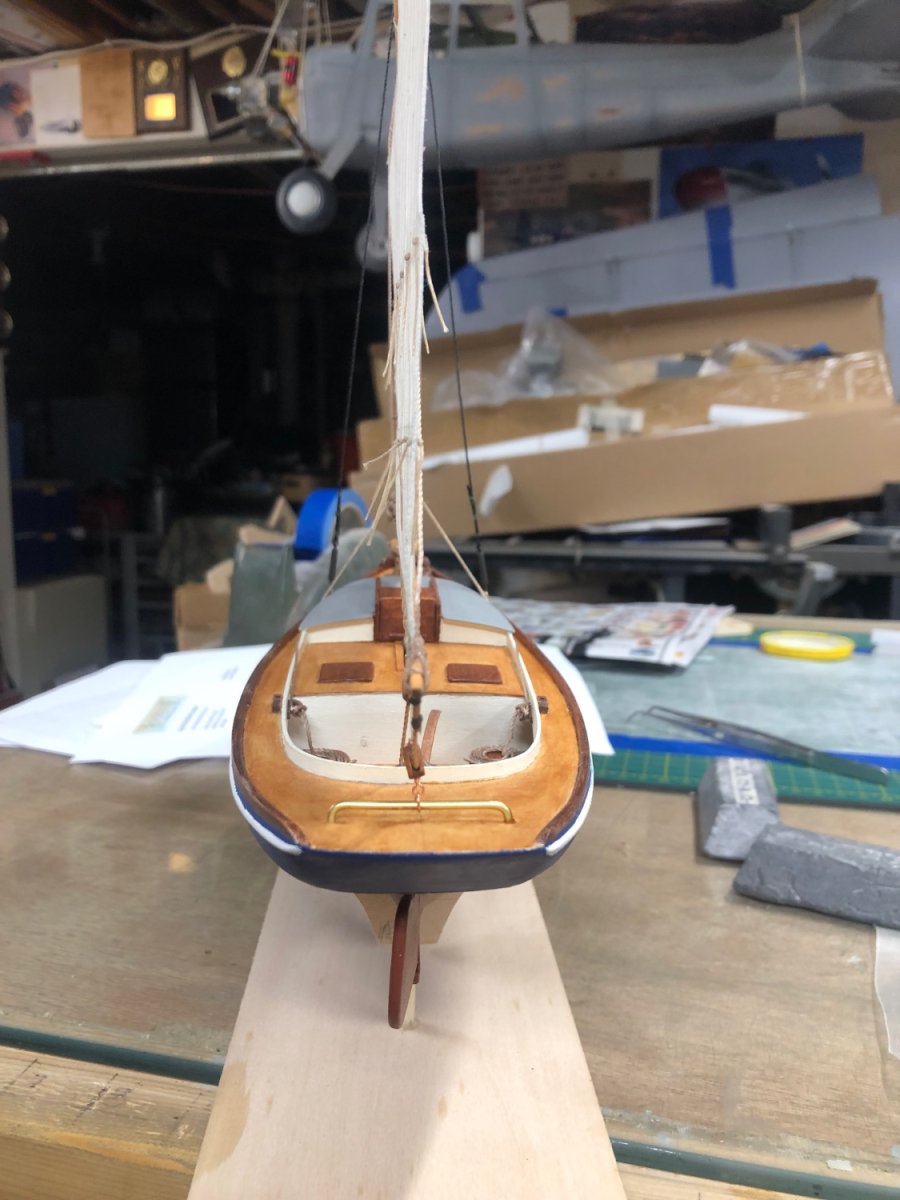
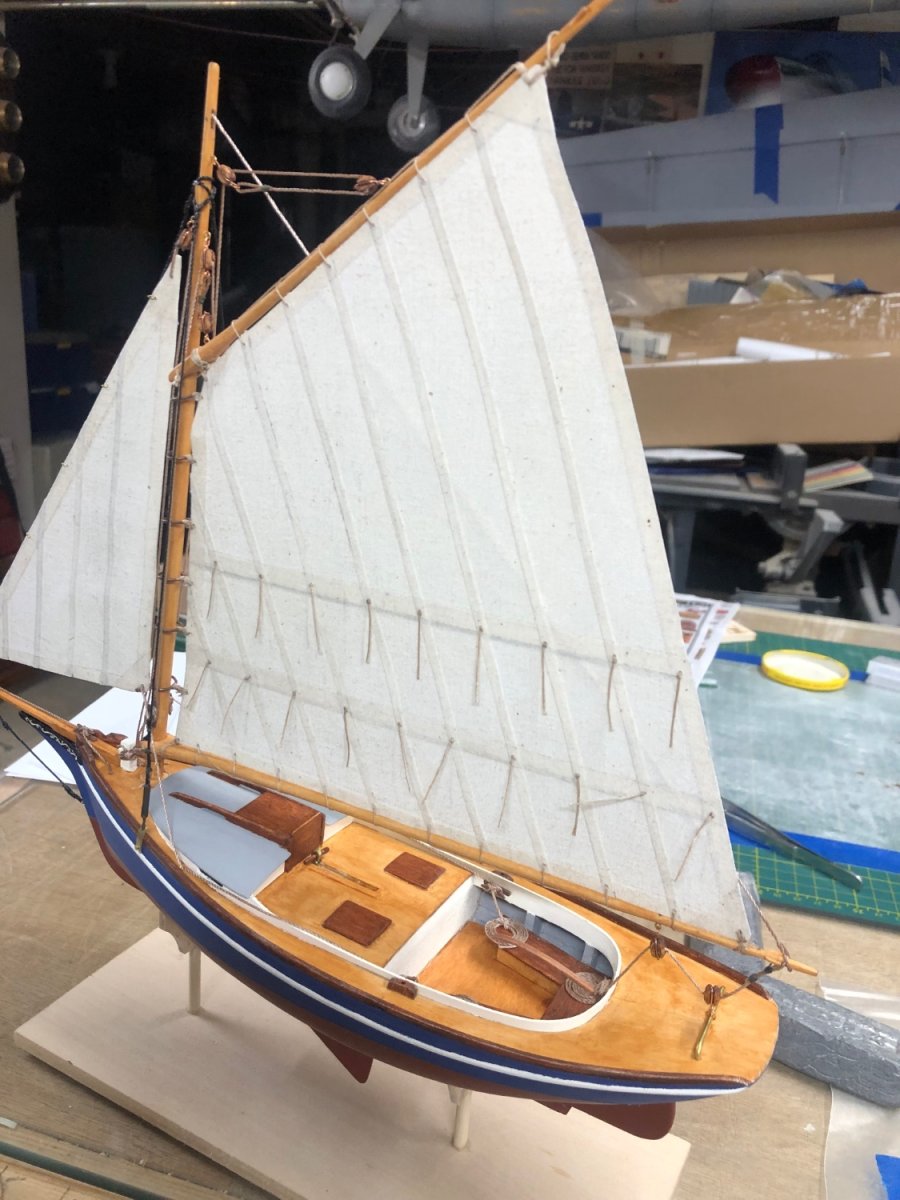
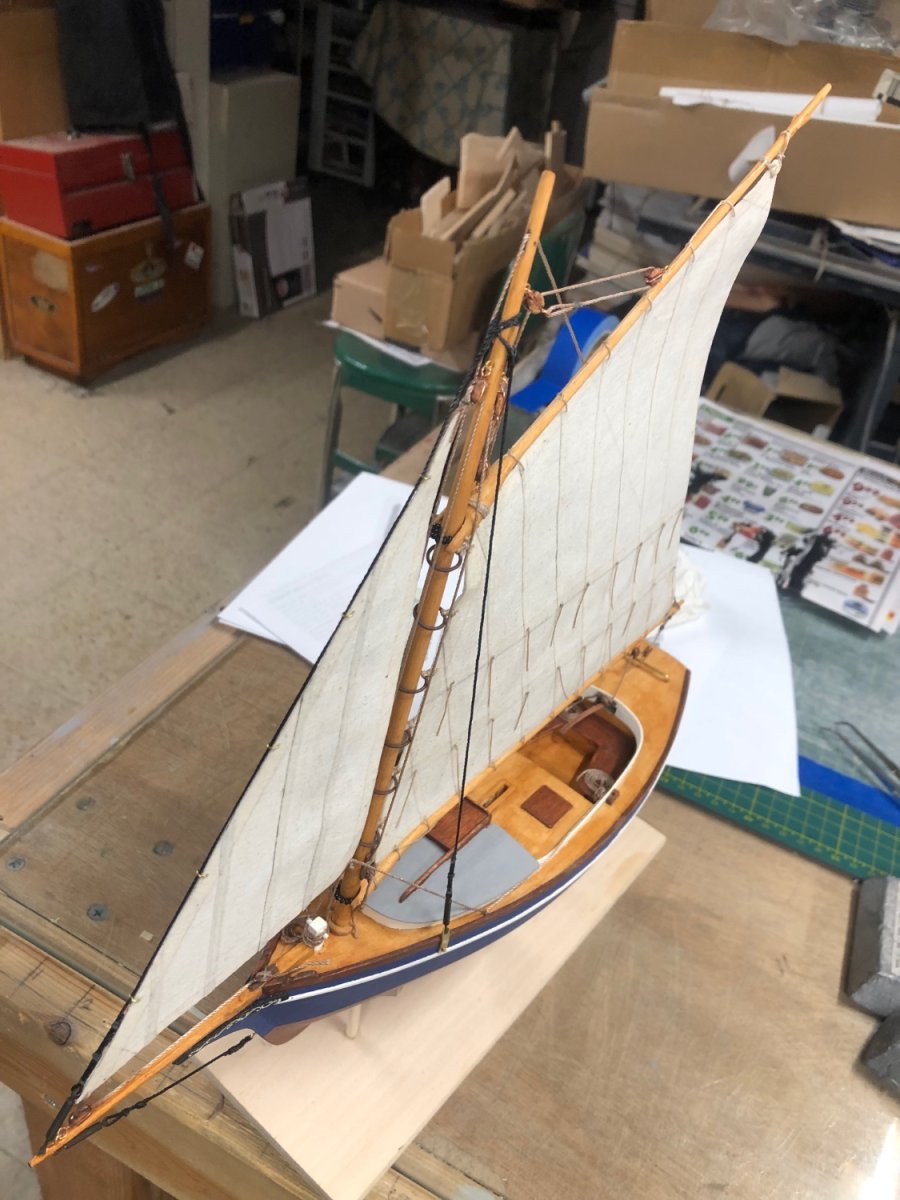
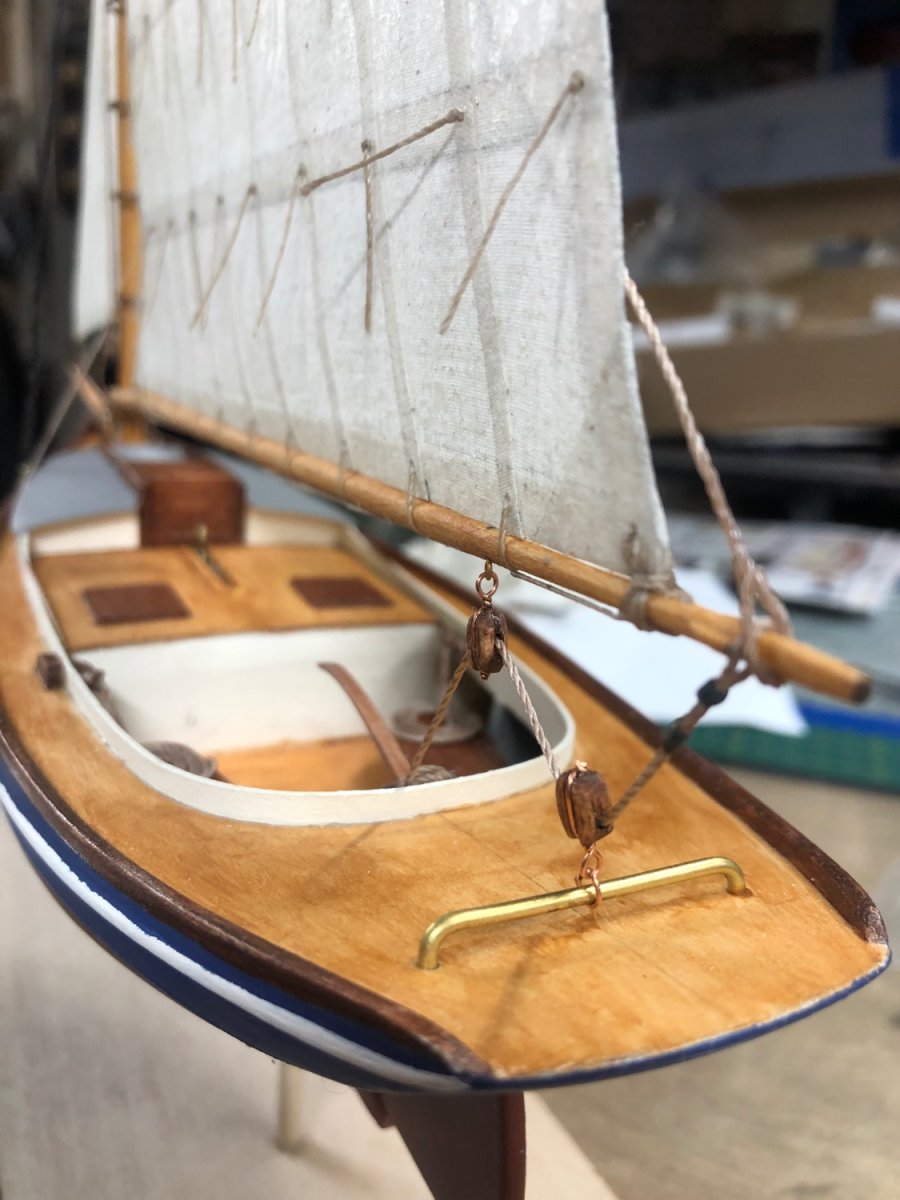
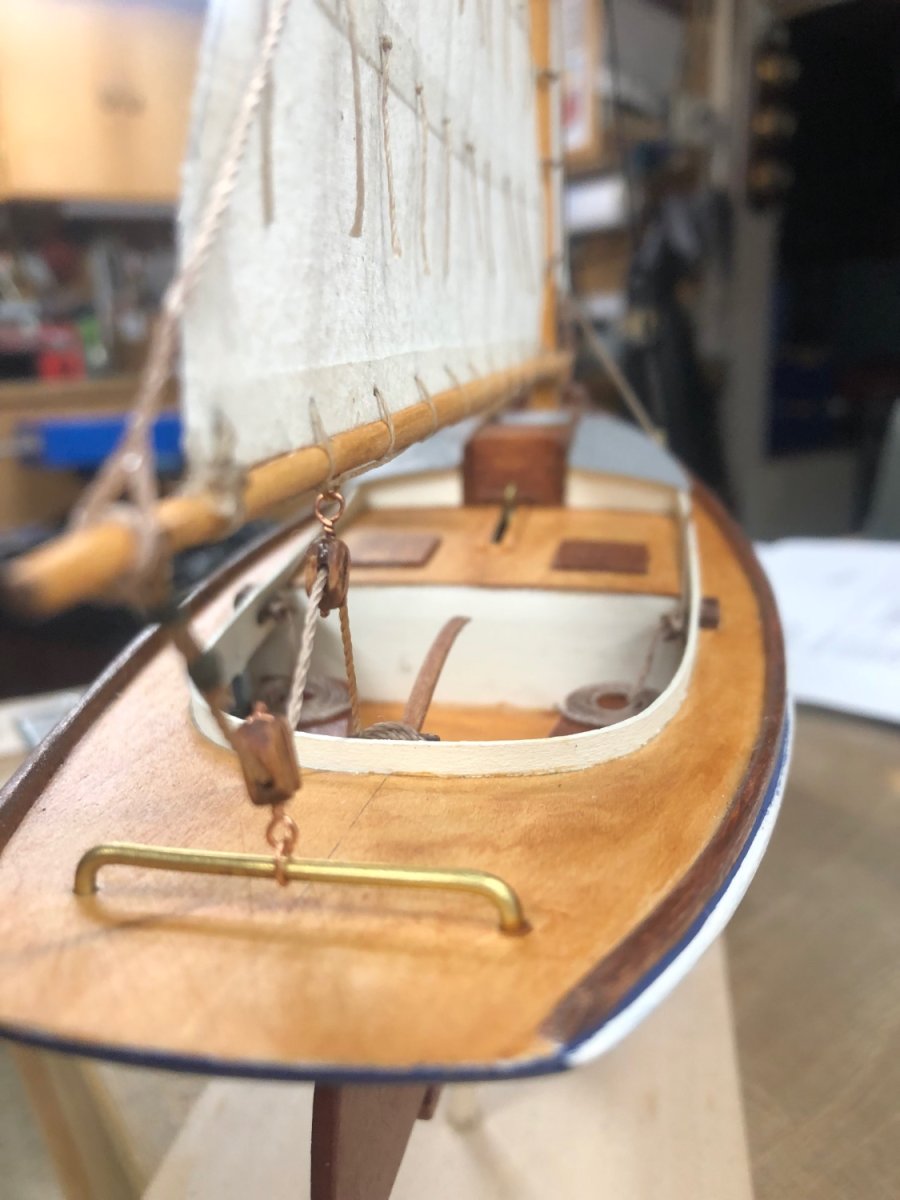
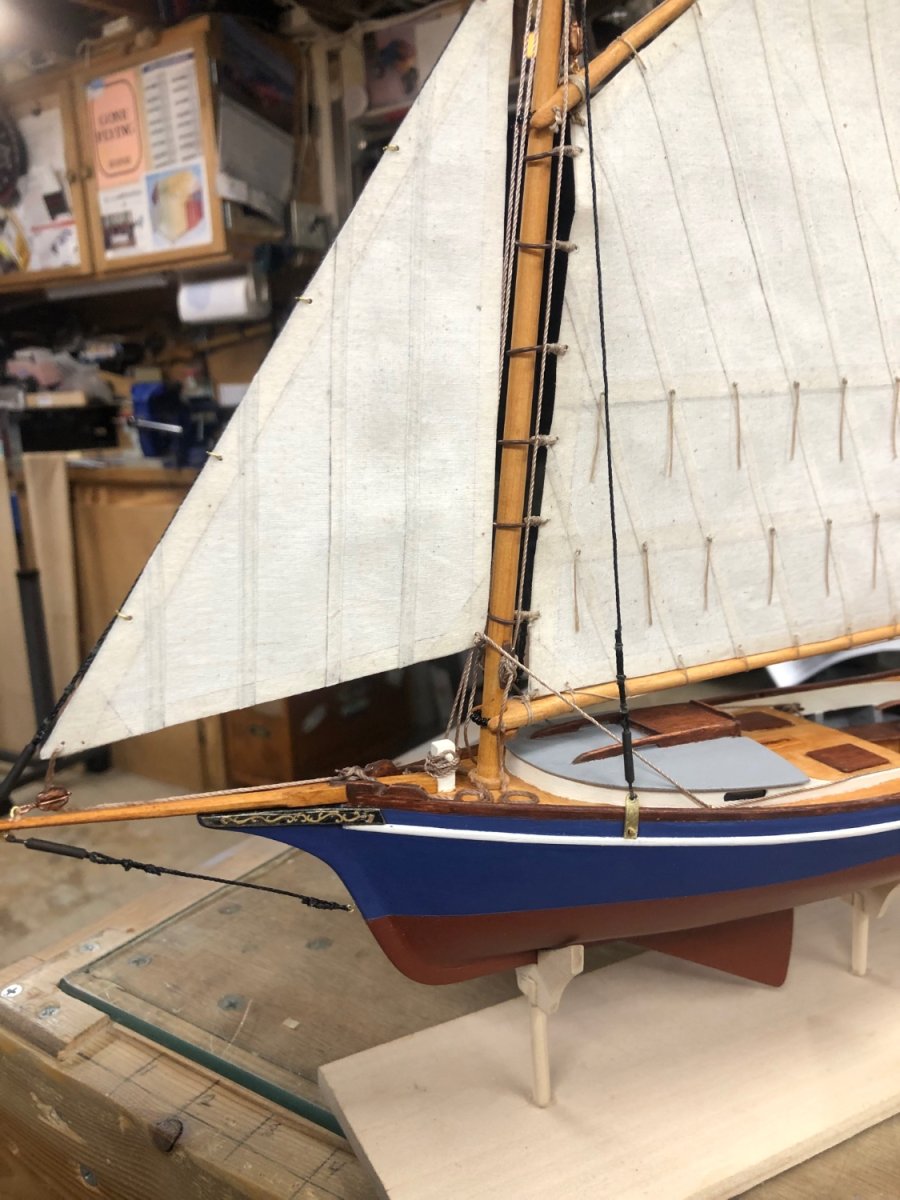
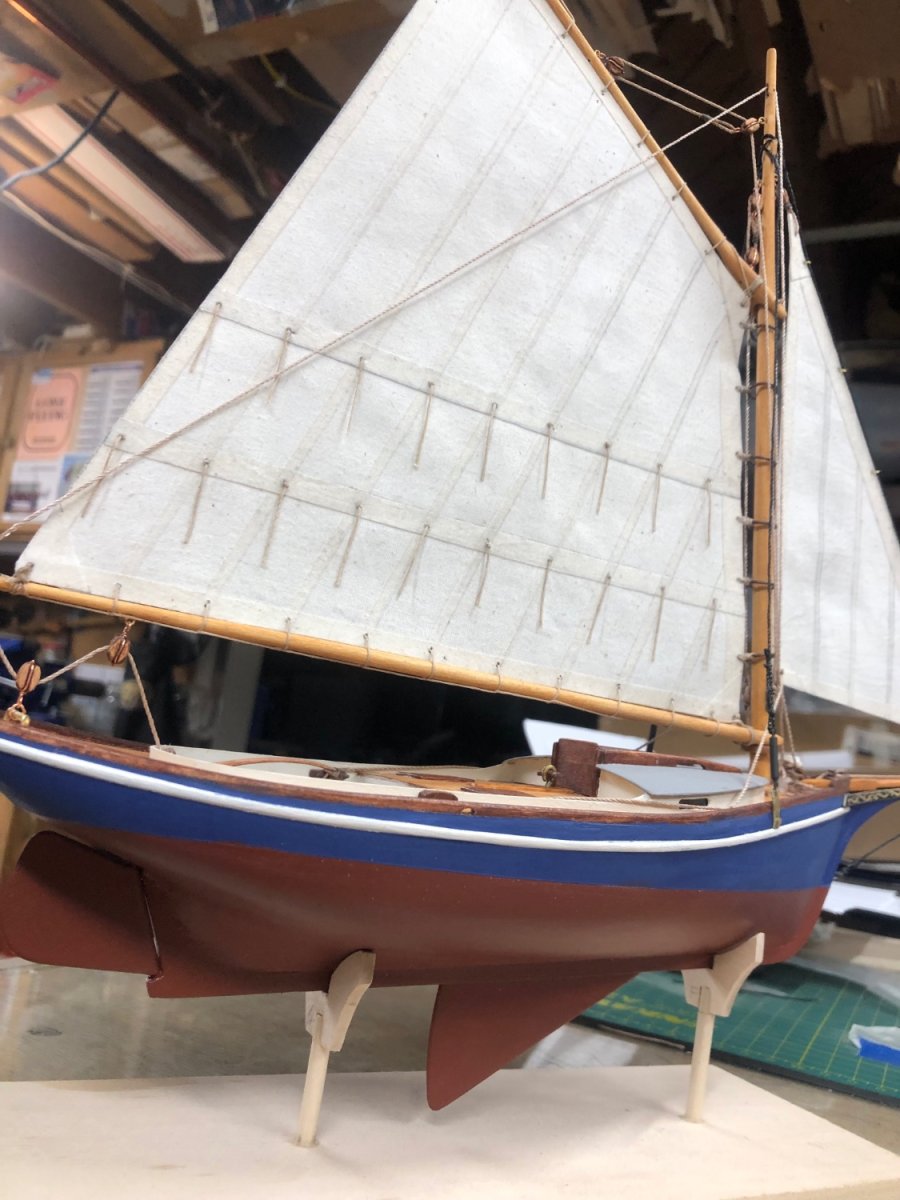
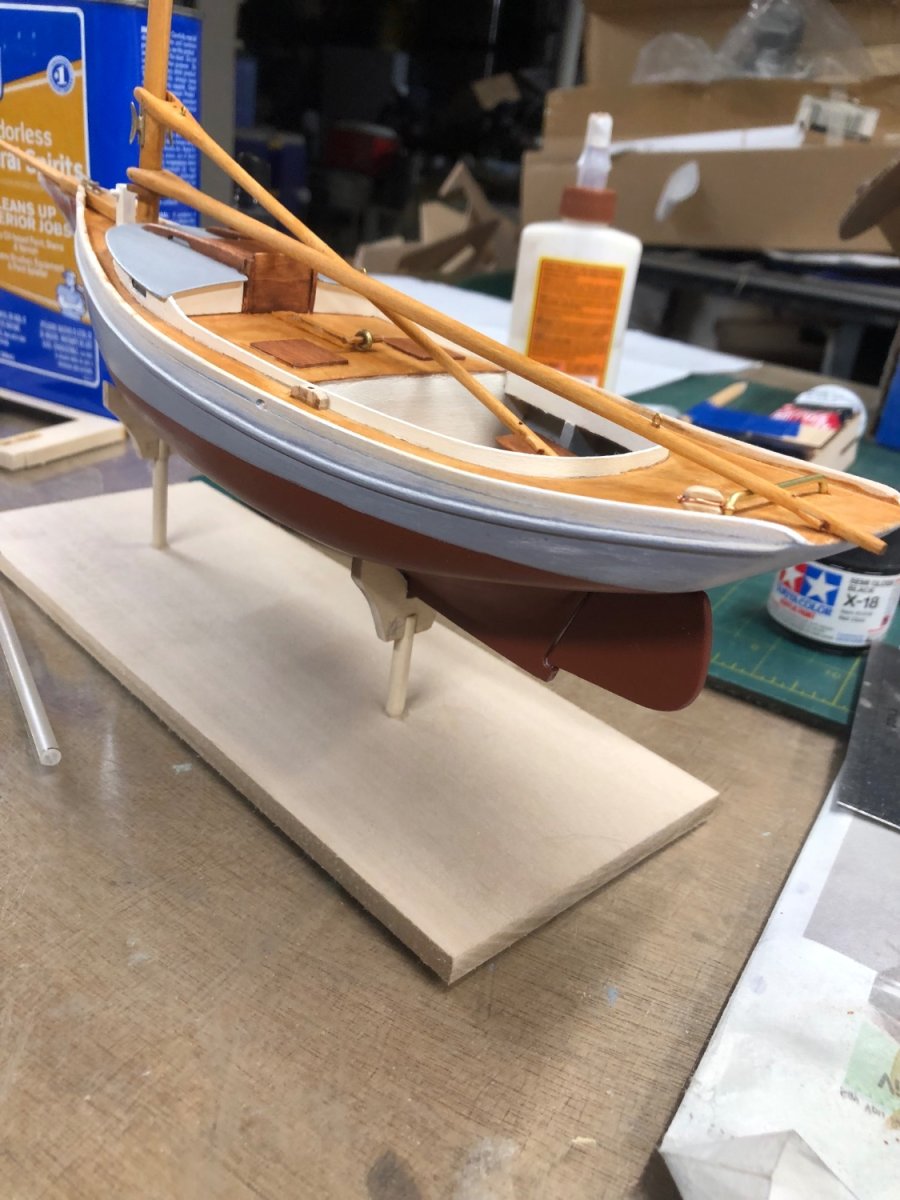
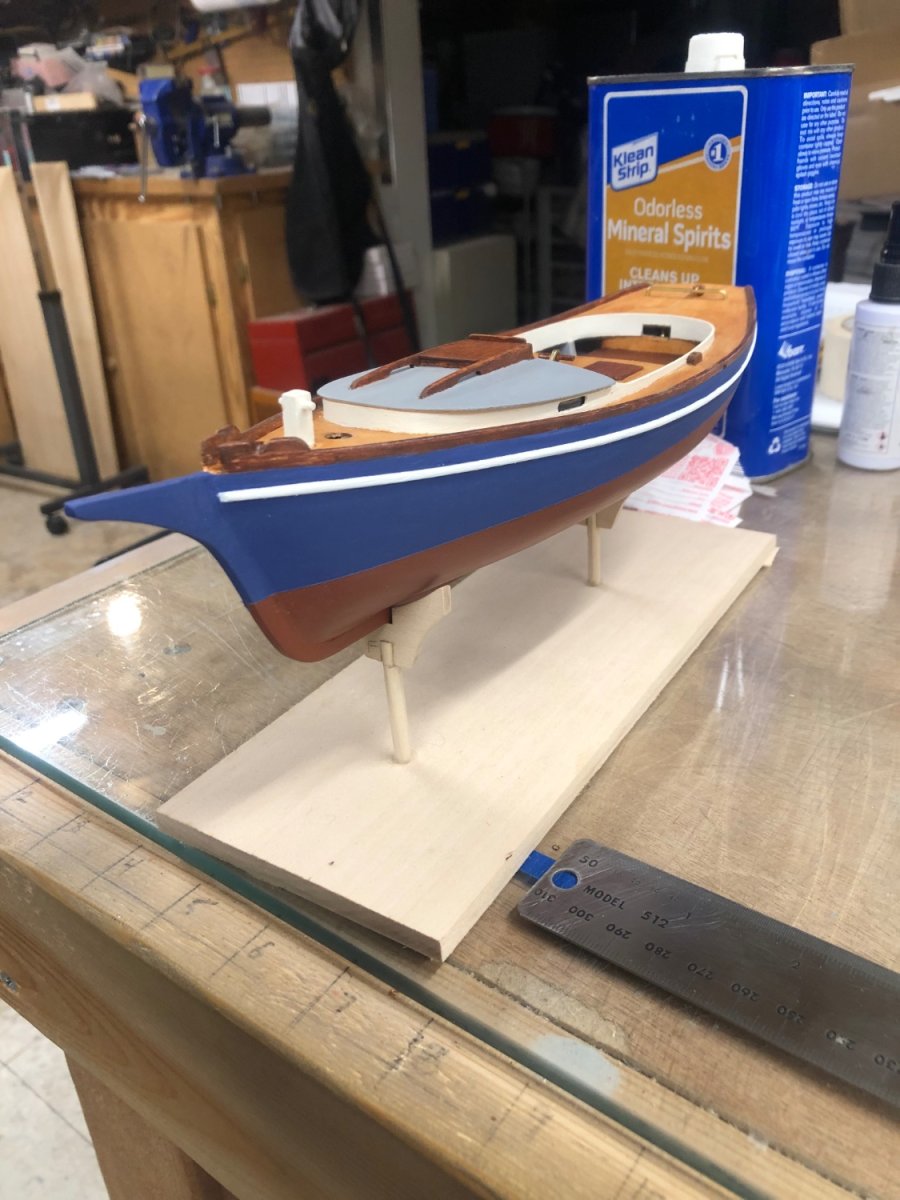
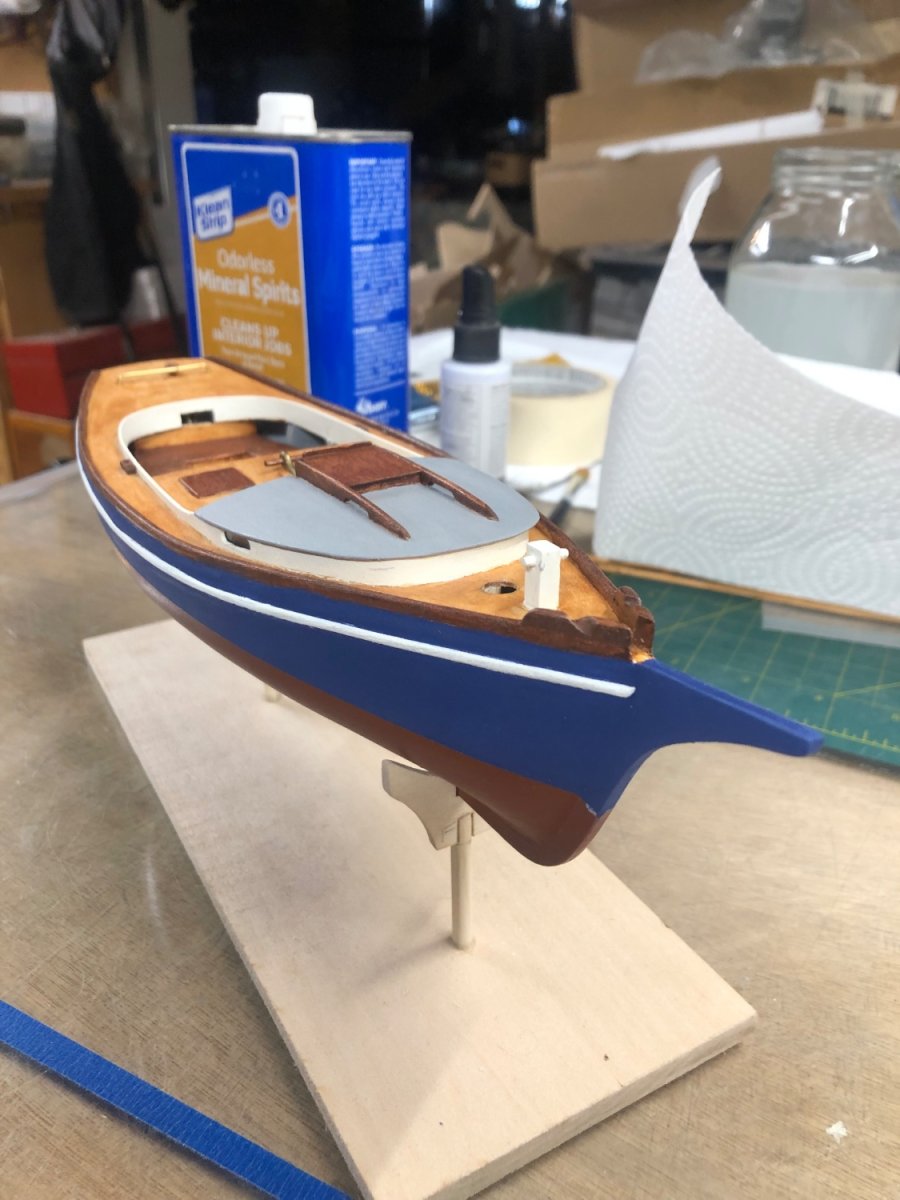
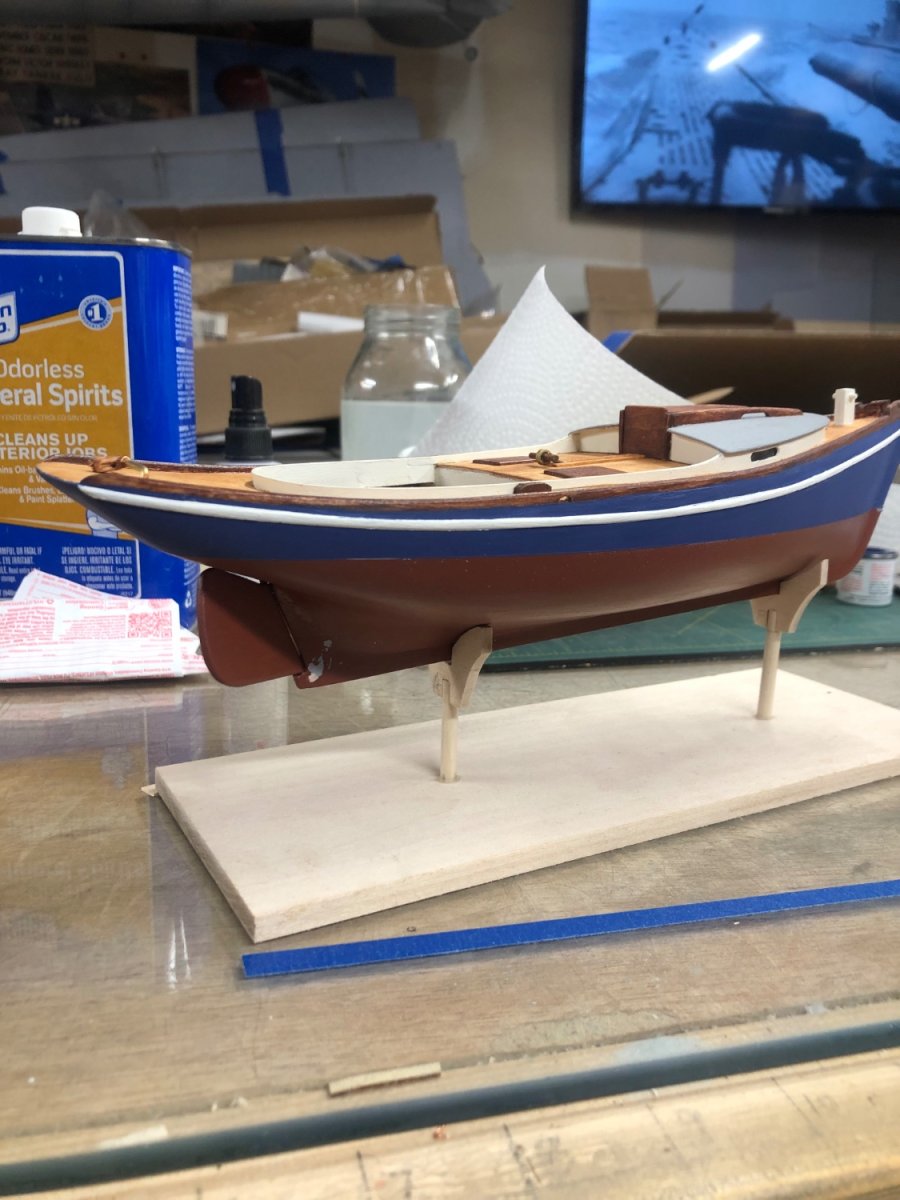
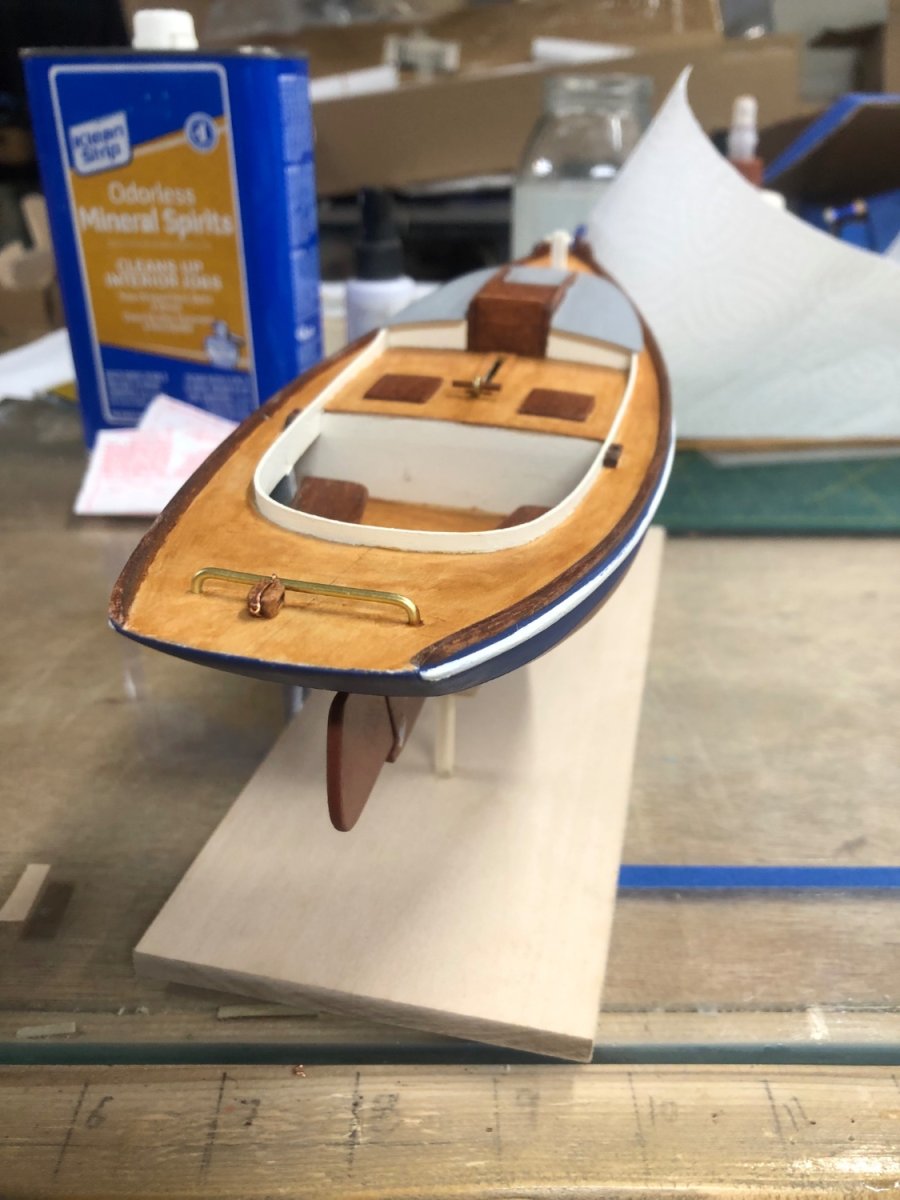
Moving along on the smack!


- WizardOfOs, robert952, druxey and 5 others
-
8
-
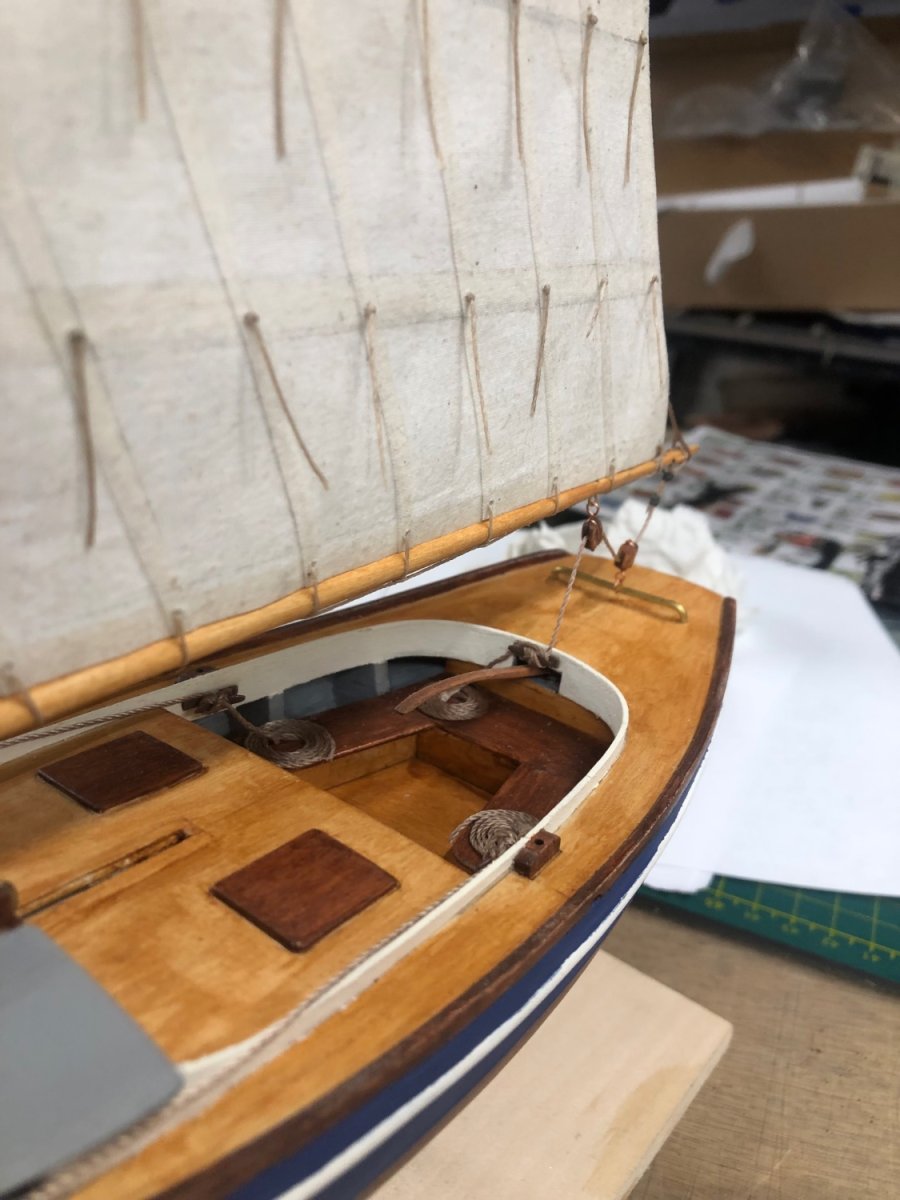
The planking on the cockpit floor a very nice touch! I wish I had the forethought to plank mine! Keep up the great work 👍😎
-
-
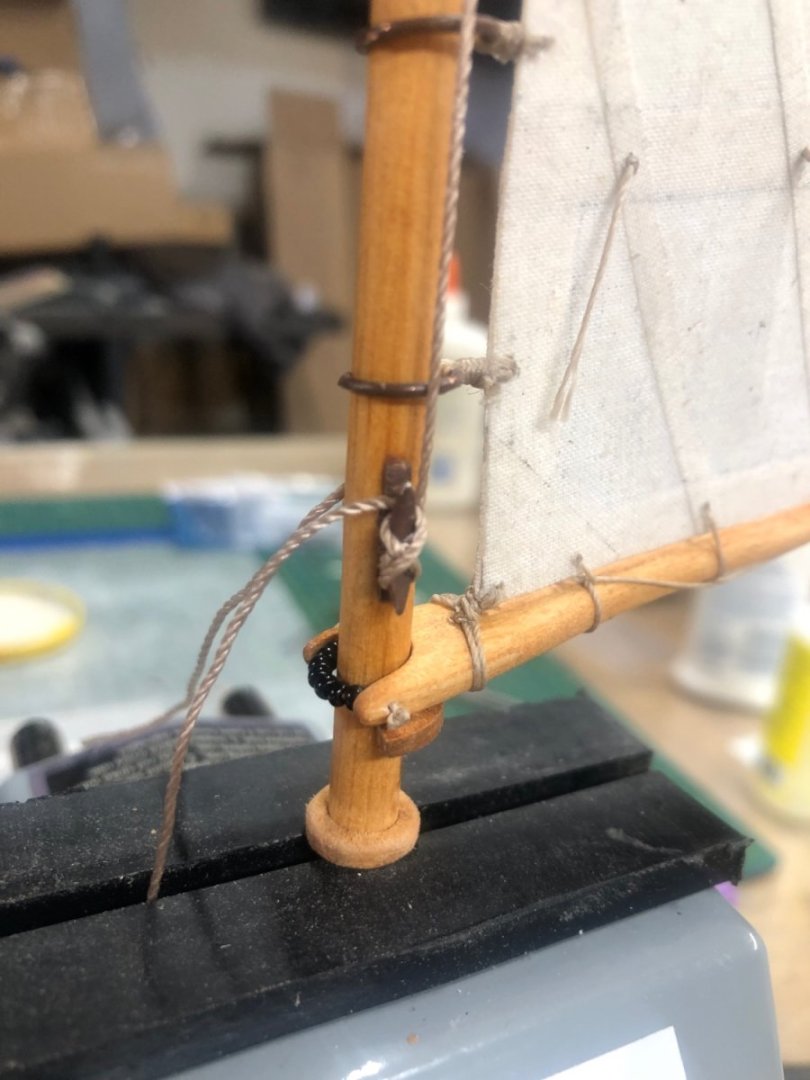
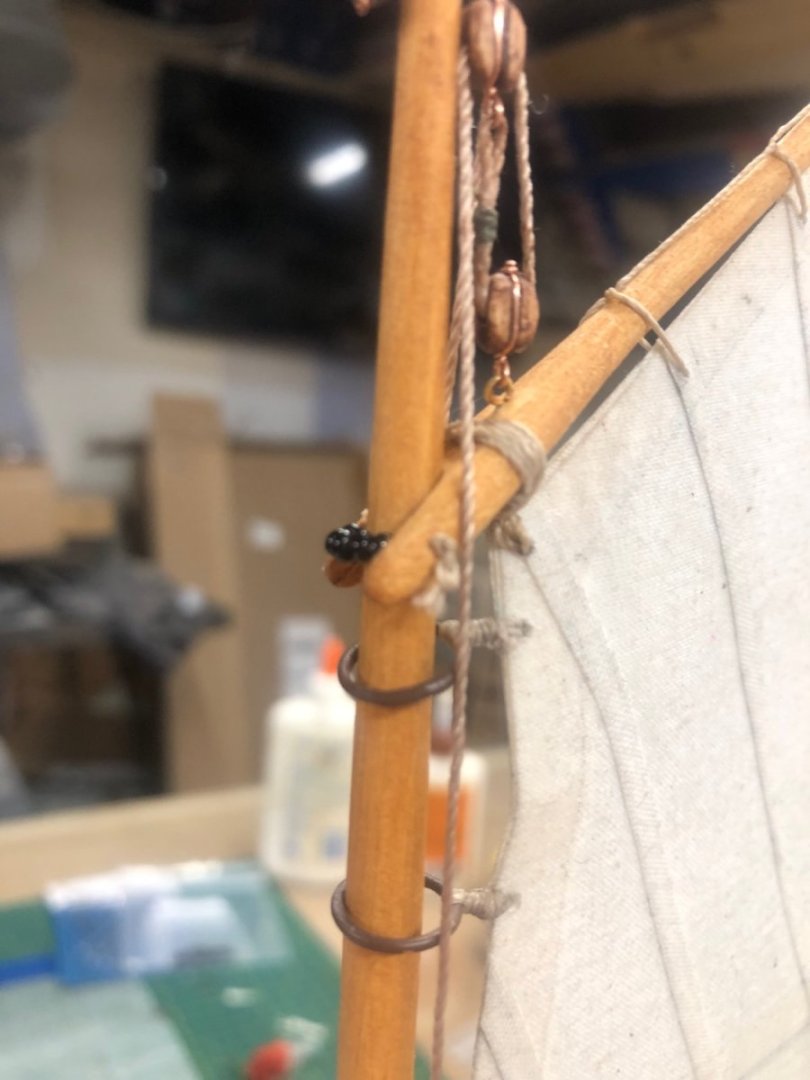
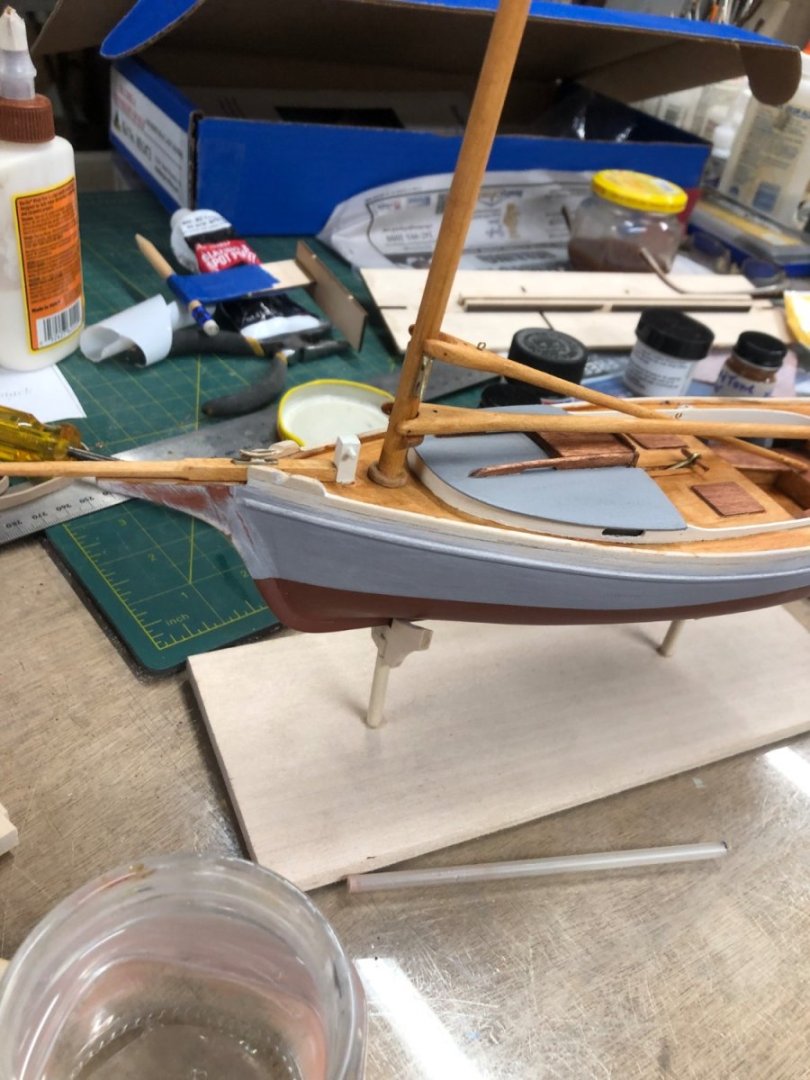
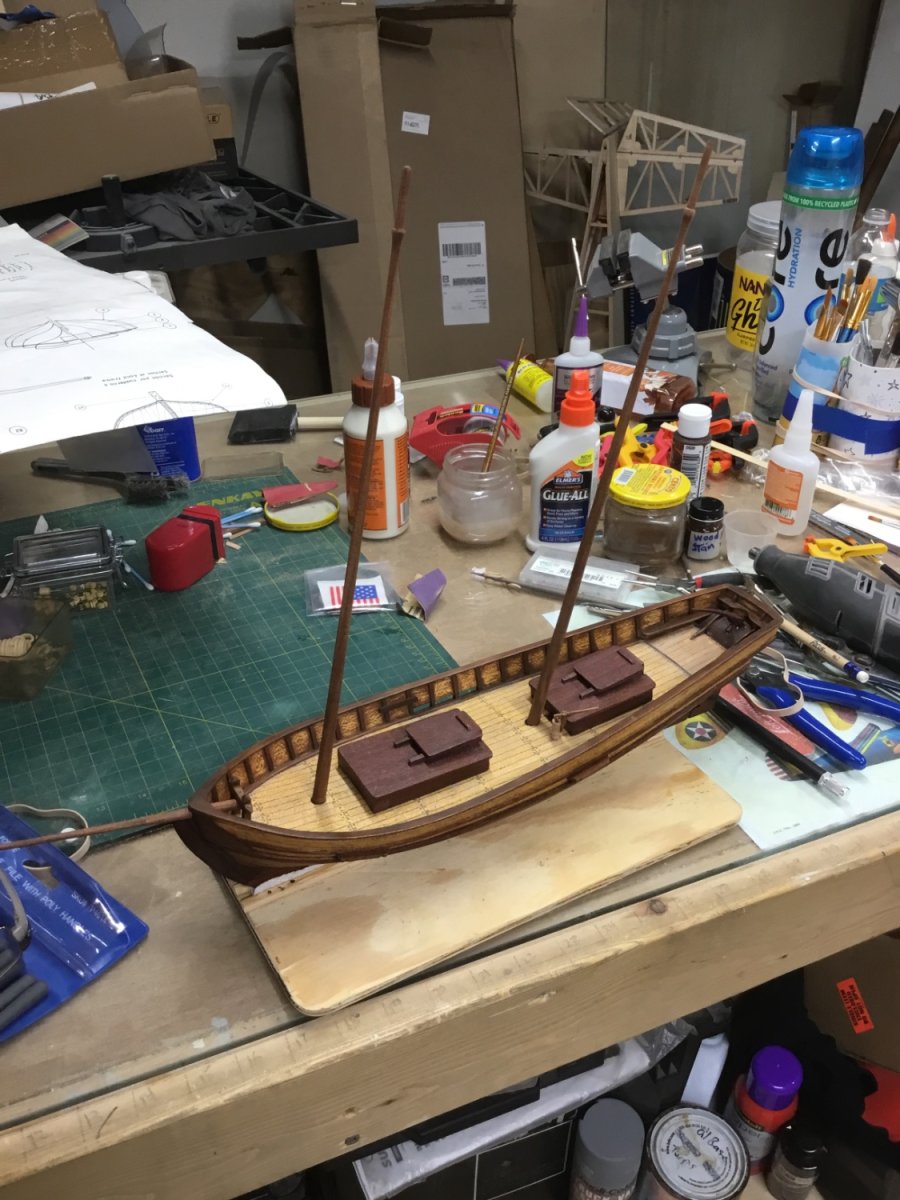
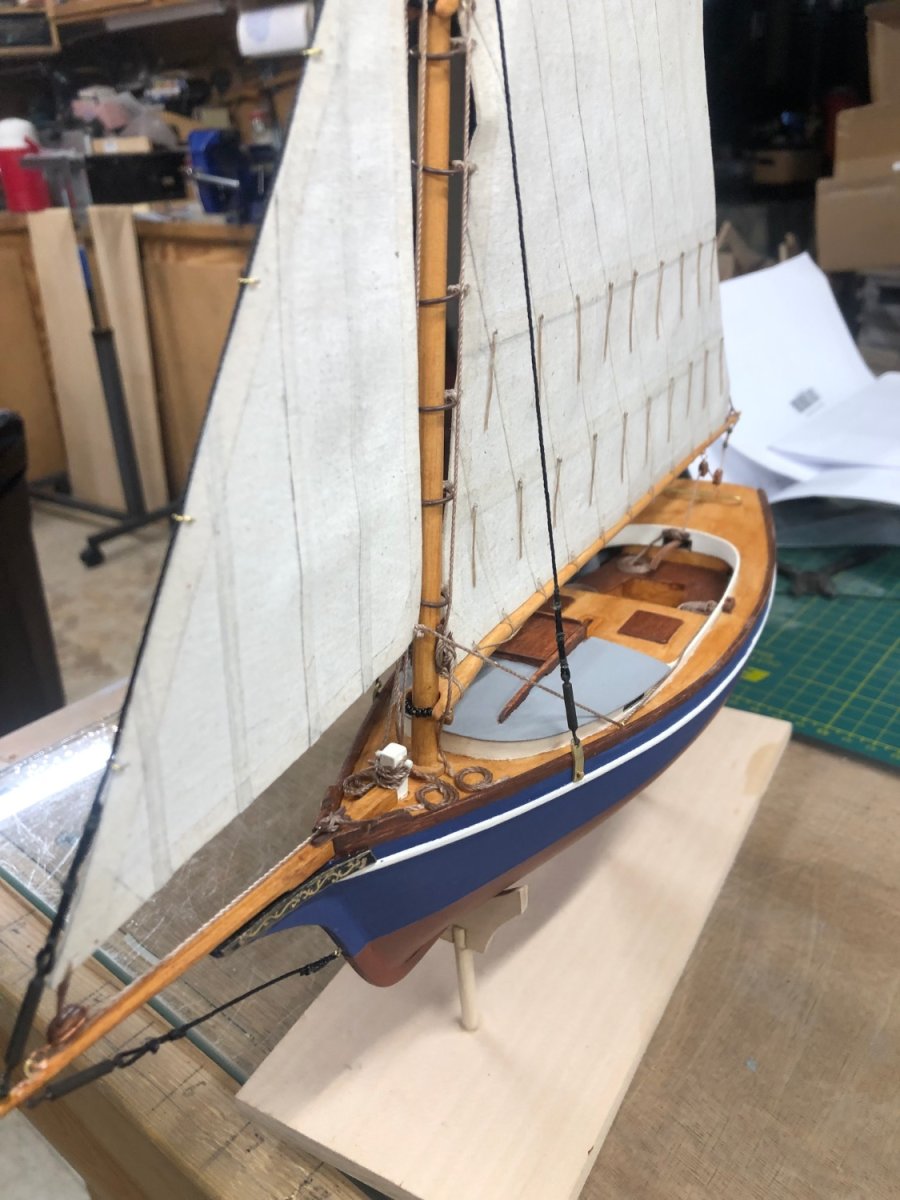
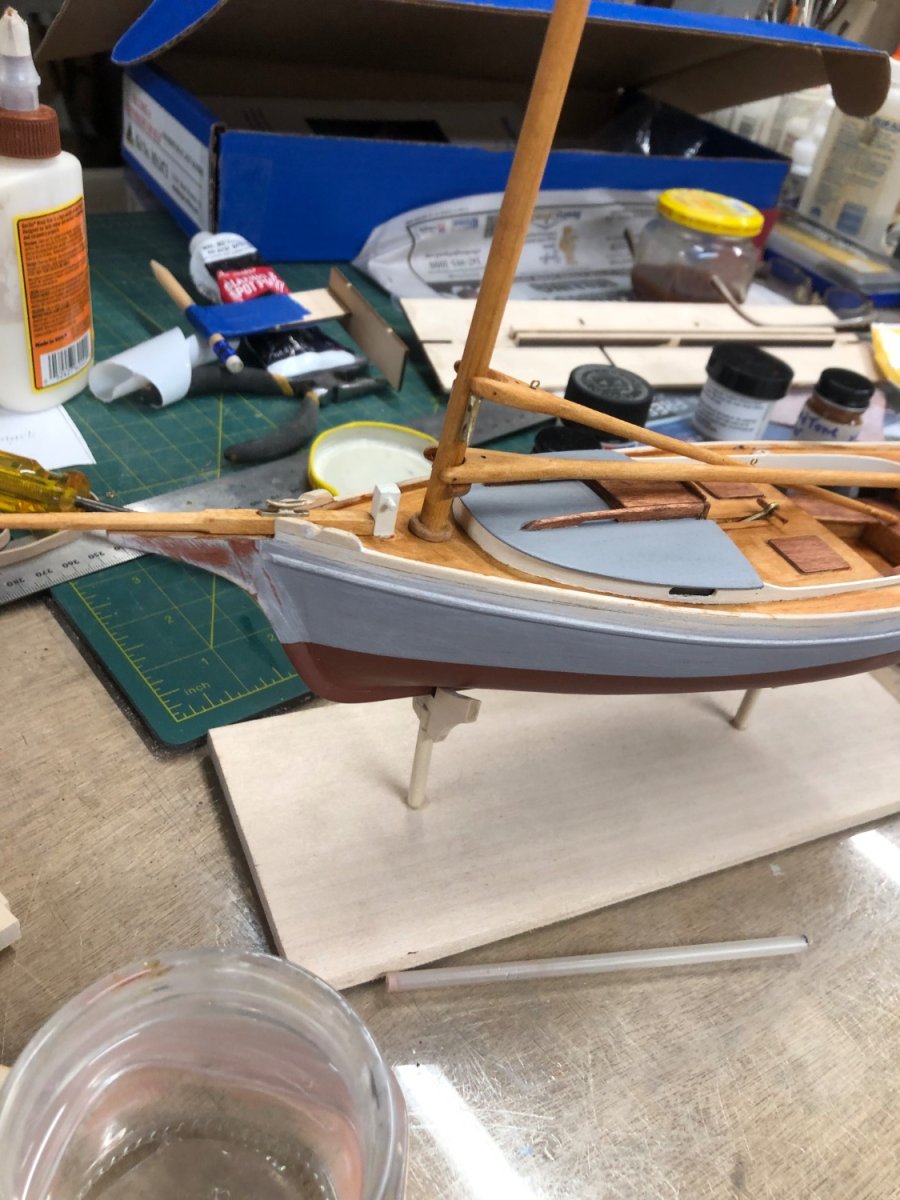
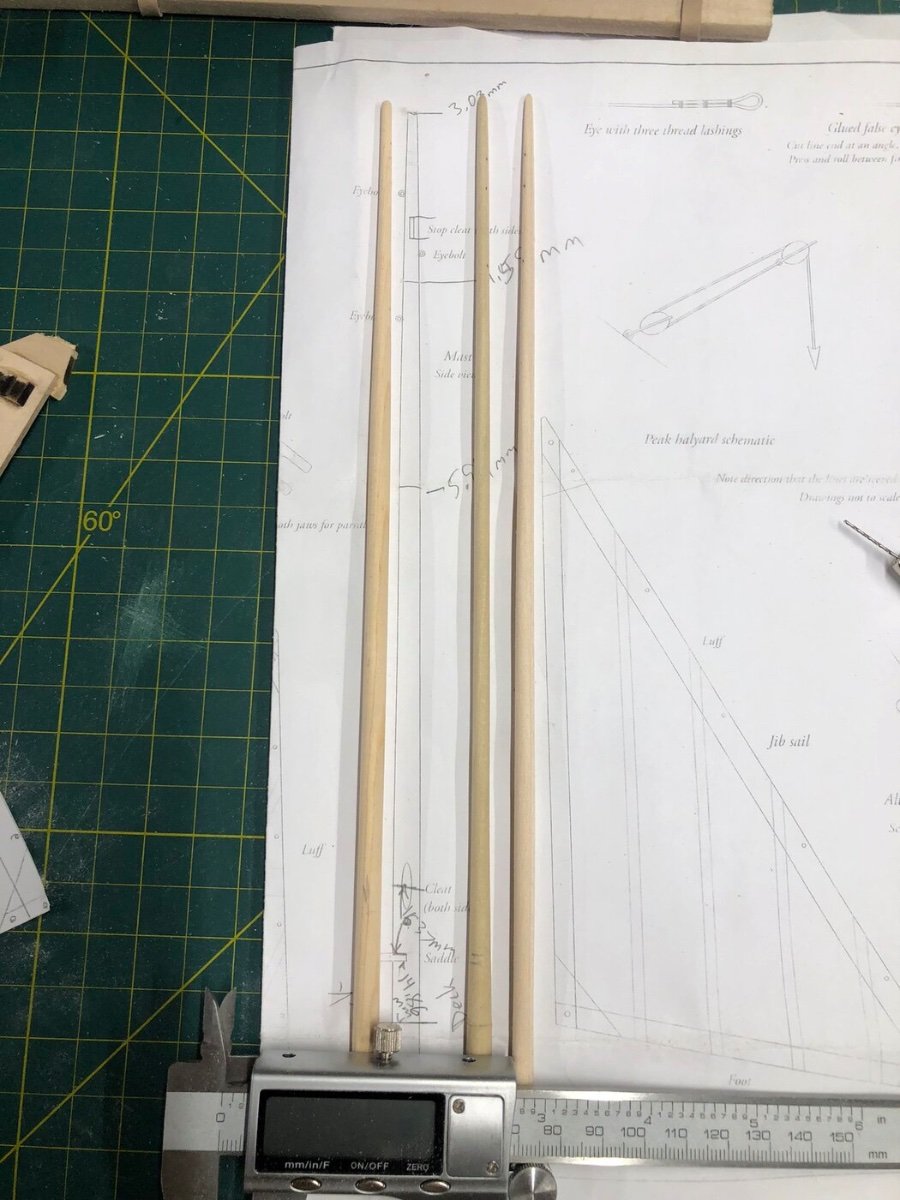
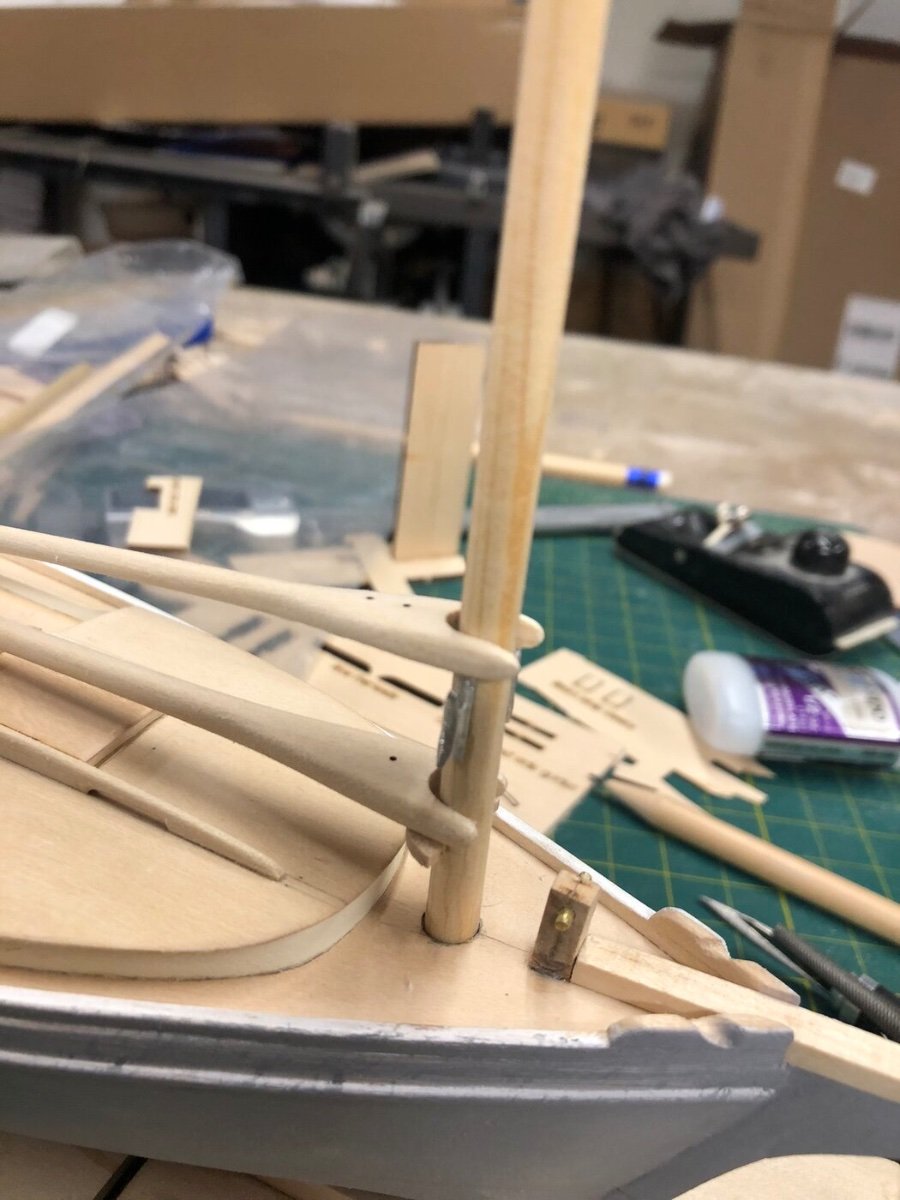
Here is some of the mast work, getting closer, I’ll install it after I paint the hull!

It took me 3 attempts but 3rd time is a charm!😊 The 2 on the right were a bit anorexic! 😩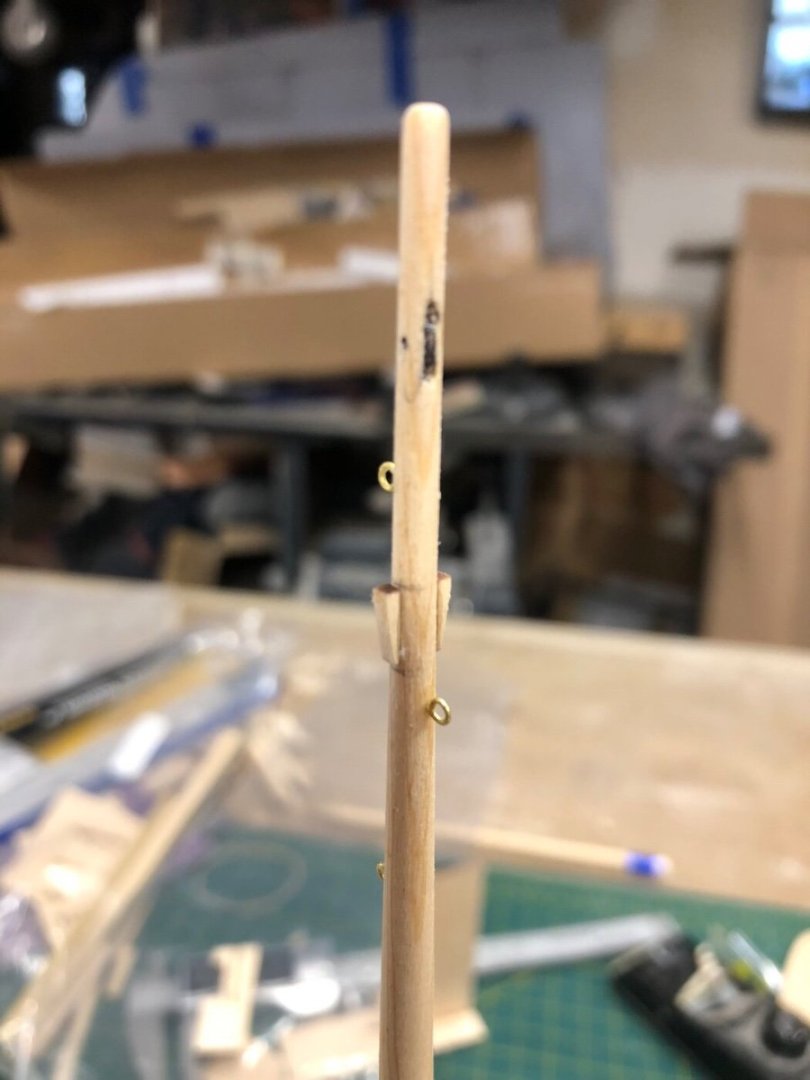
The top of the main mast!

I also started shaping the Boom and Gaff
- MajorChaos, robert952, druxey and 3 others
-
6
-
Thank you, I also can see the wisdom of this method. I guess putting it into practice would help me understand it even more! Once I start my bigger projects I will definitely put the process into effect!
I have already made a bench copy of both procedures.https://thenrg.org/resources/Documents/articles/LiningOffYourHullPlankingTutorialAndFan.pdf.
once again thank you 🙏😊😊
-
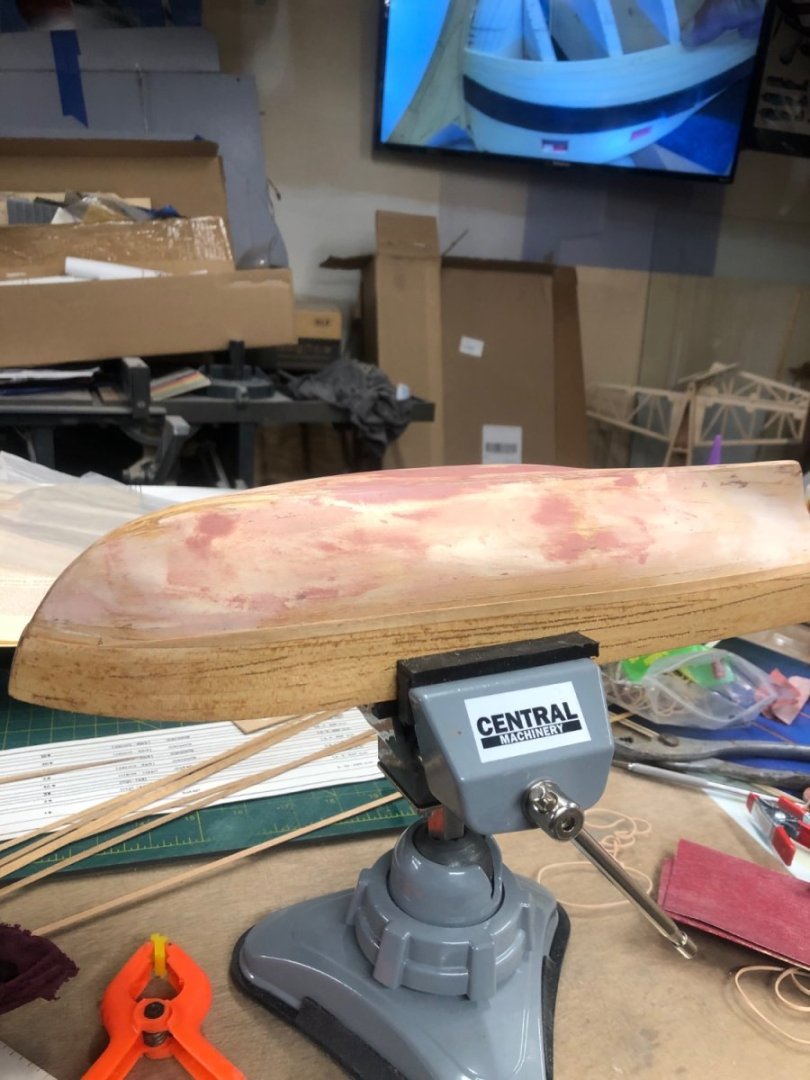
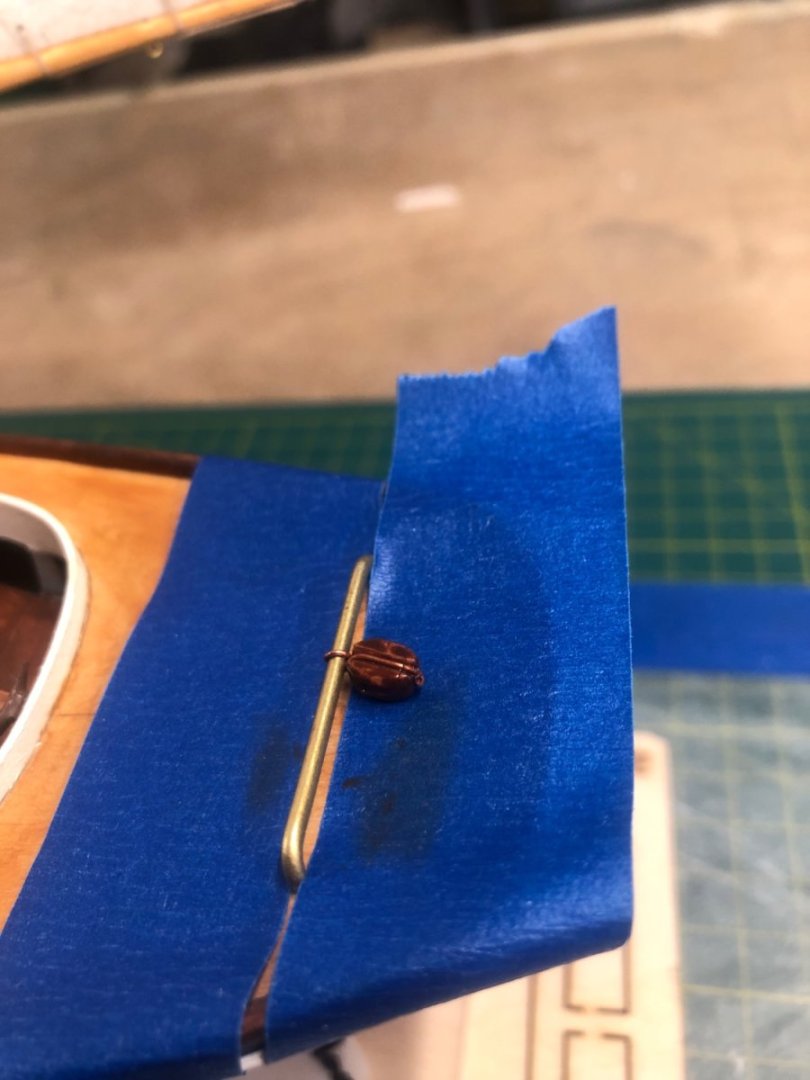
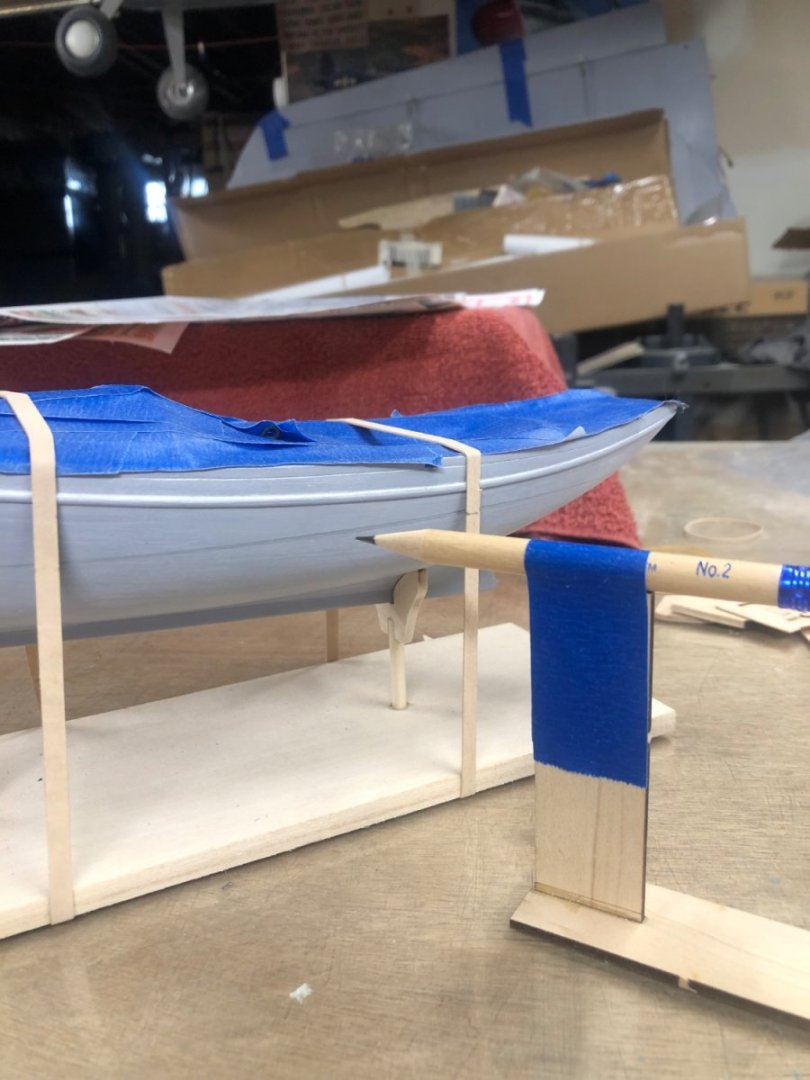
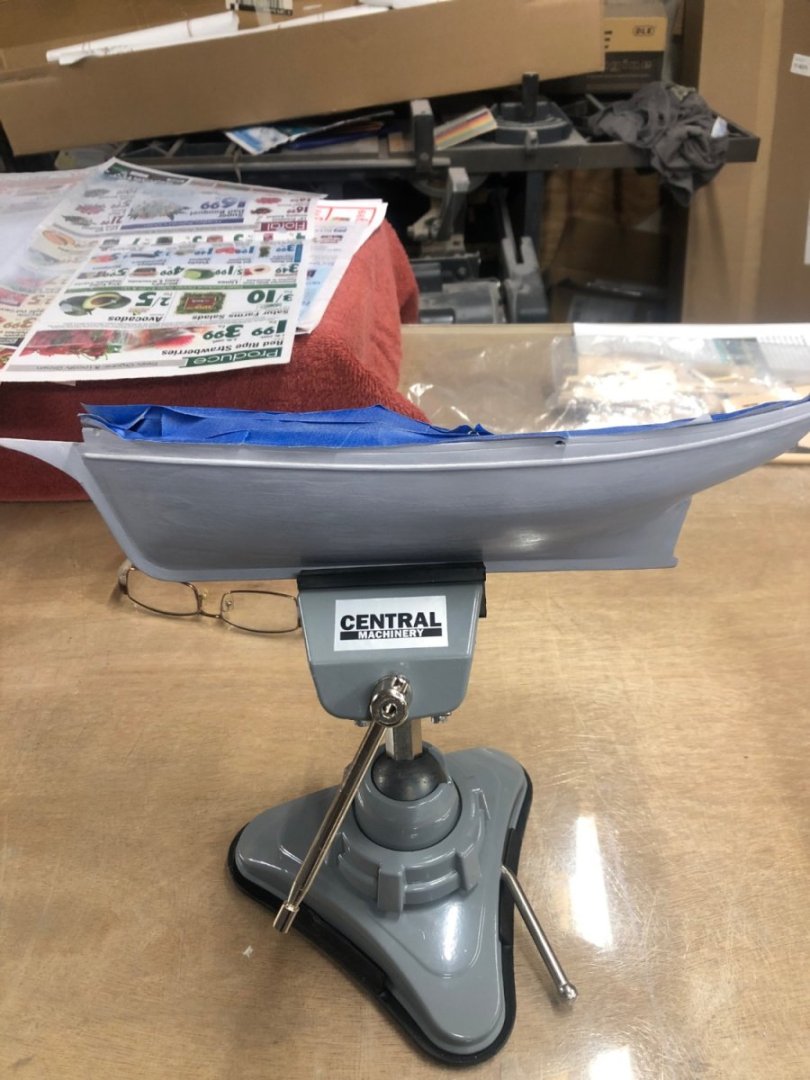
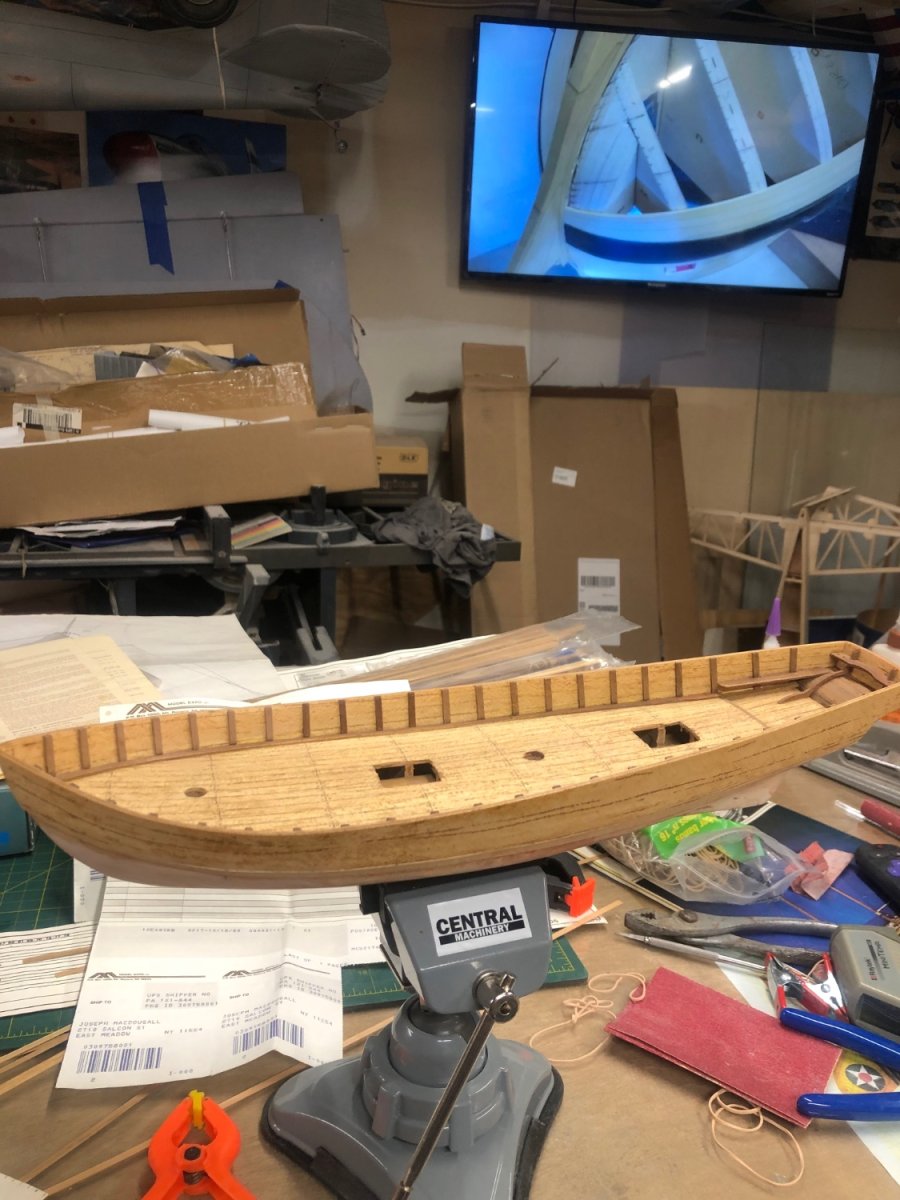
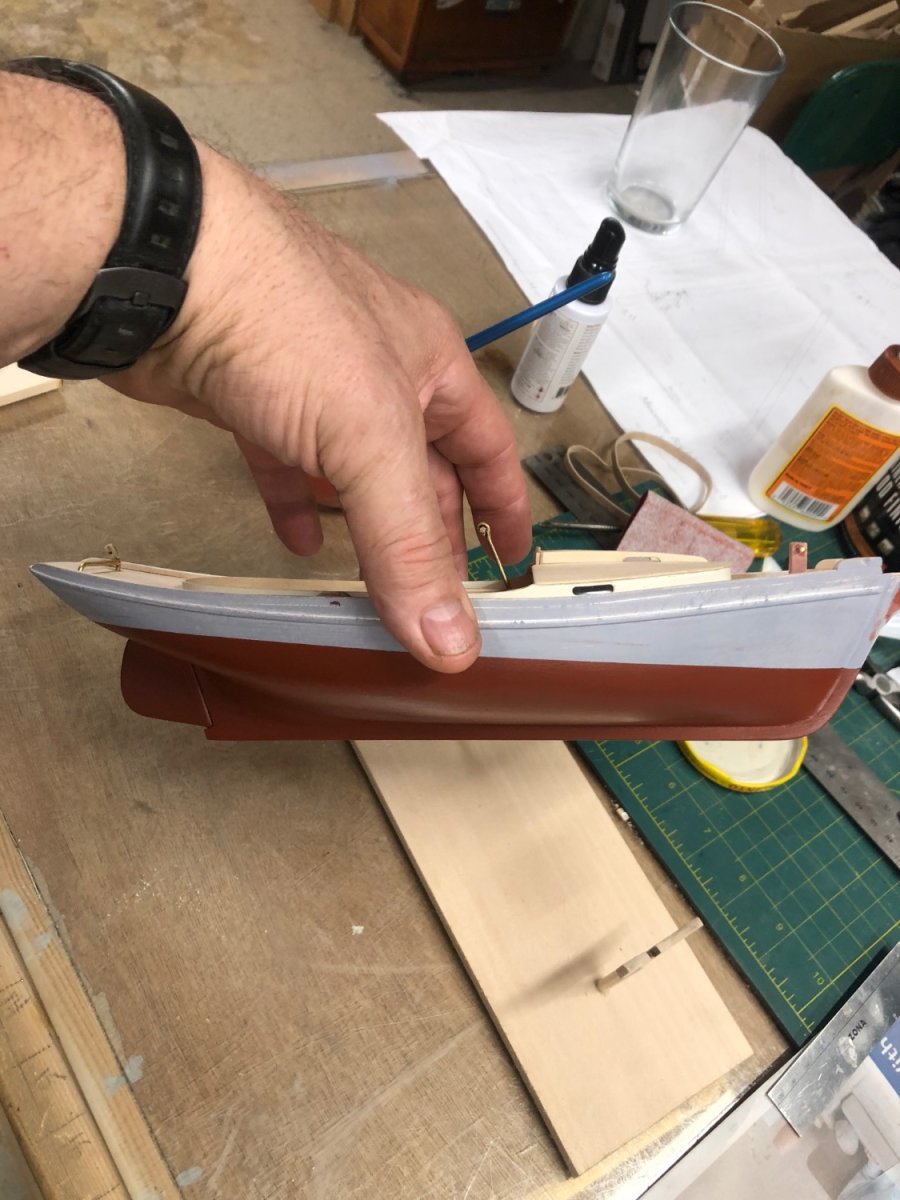
I recently bought the holding clamp from harbor freight and works great for me intended purposes!
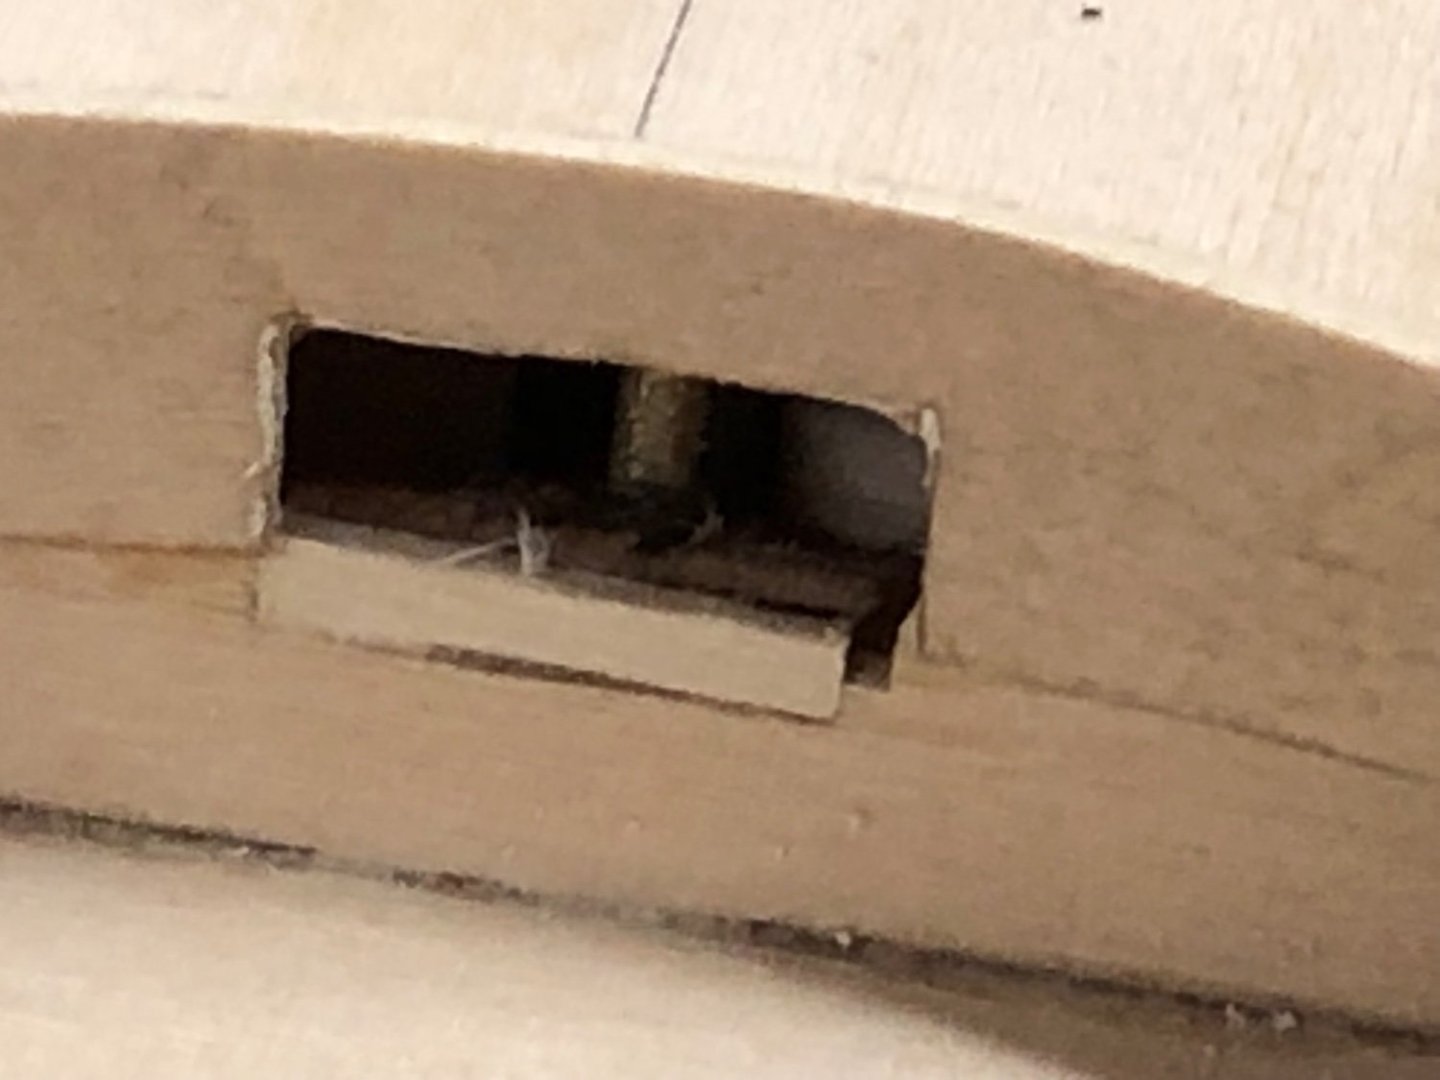
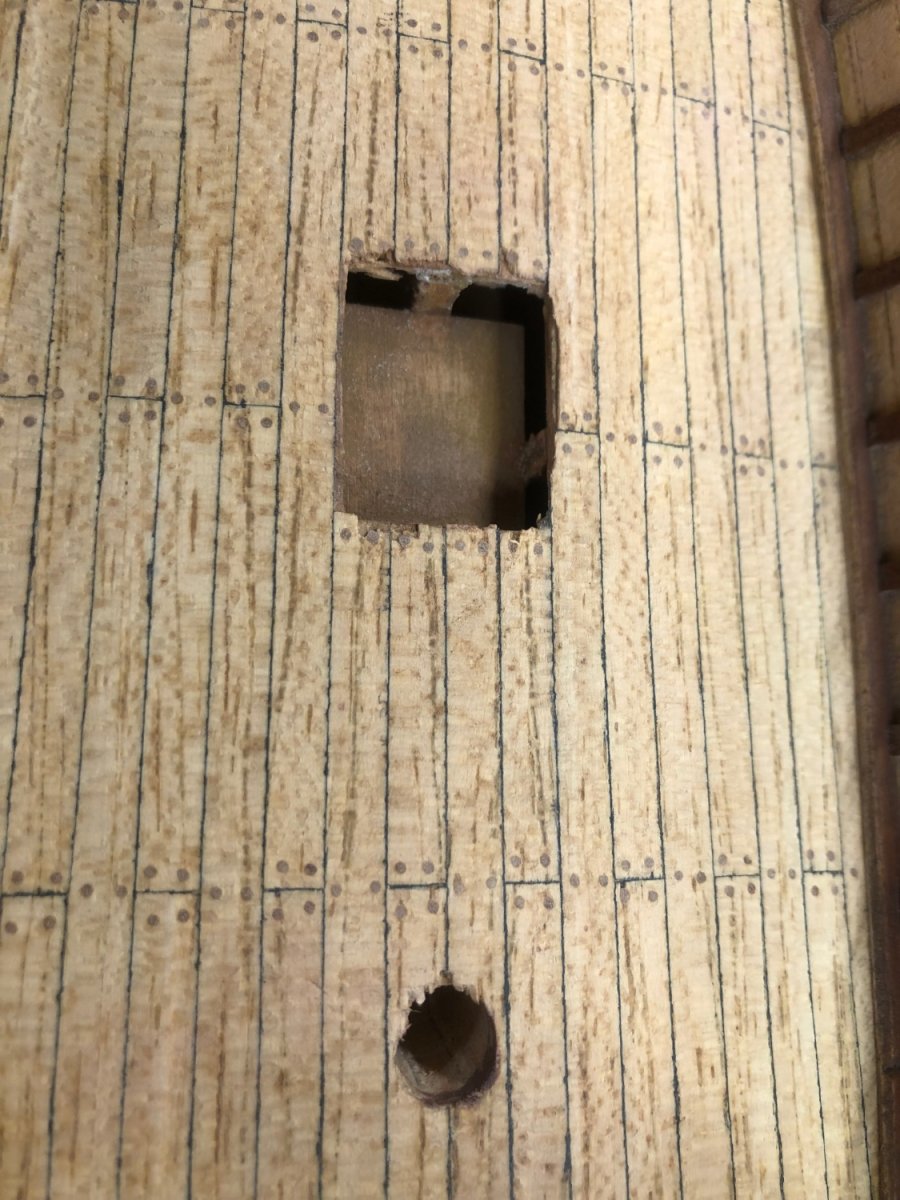
I then drew out the waterline with the included device.I then installed the block and bar into the deck. Working on mast boom and gaff now.


- druxey, robert952, Bryan Woods and 1 other
-
4
-
On 4/10/2023 at 9:19 AM, Blue Ensign said:
Post Nineteen
Hull planking continues
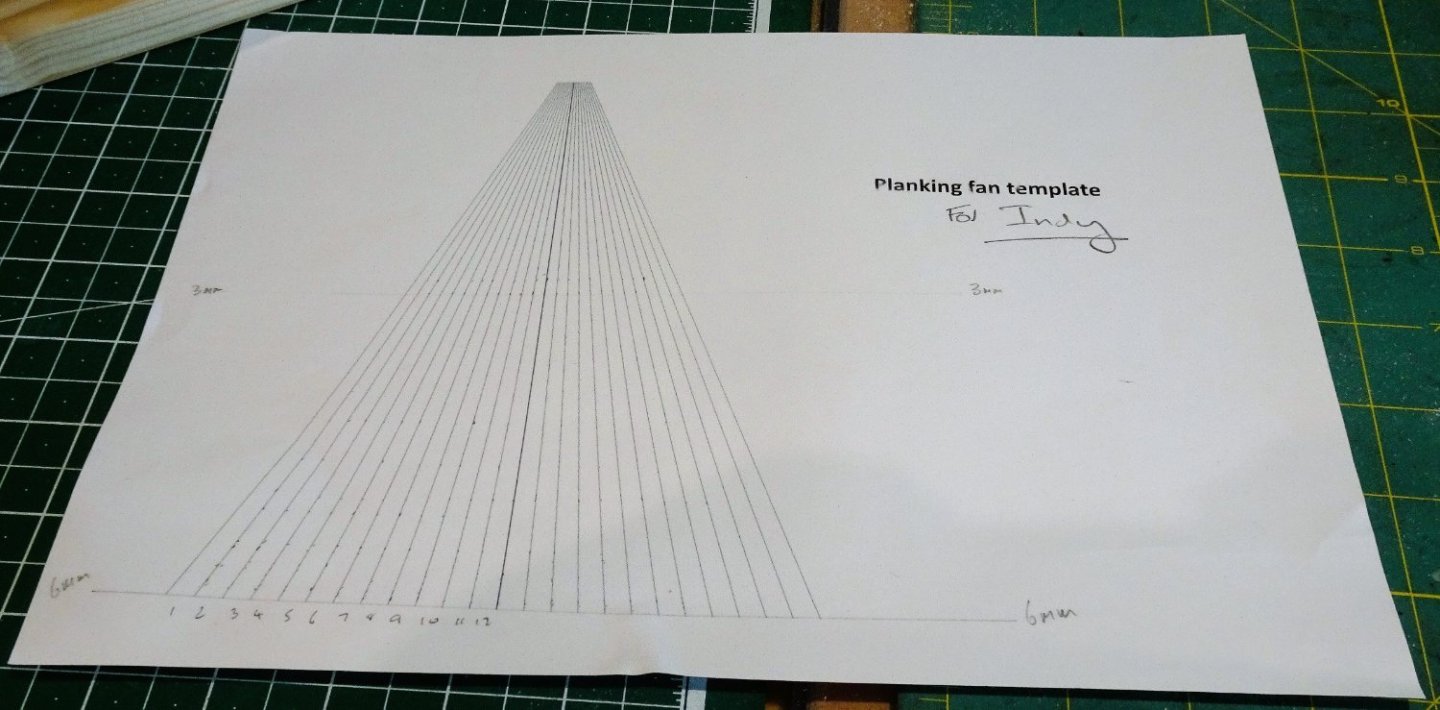
I can now work out the planking runs.
If my arithmetic is right, on paper at least I will need (20) strakes of 6mm stuff and (I) of 5mm.
At the bow the planks will need to taper to 3mm.
0718
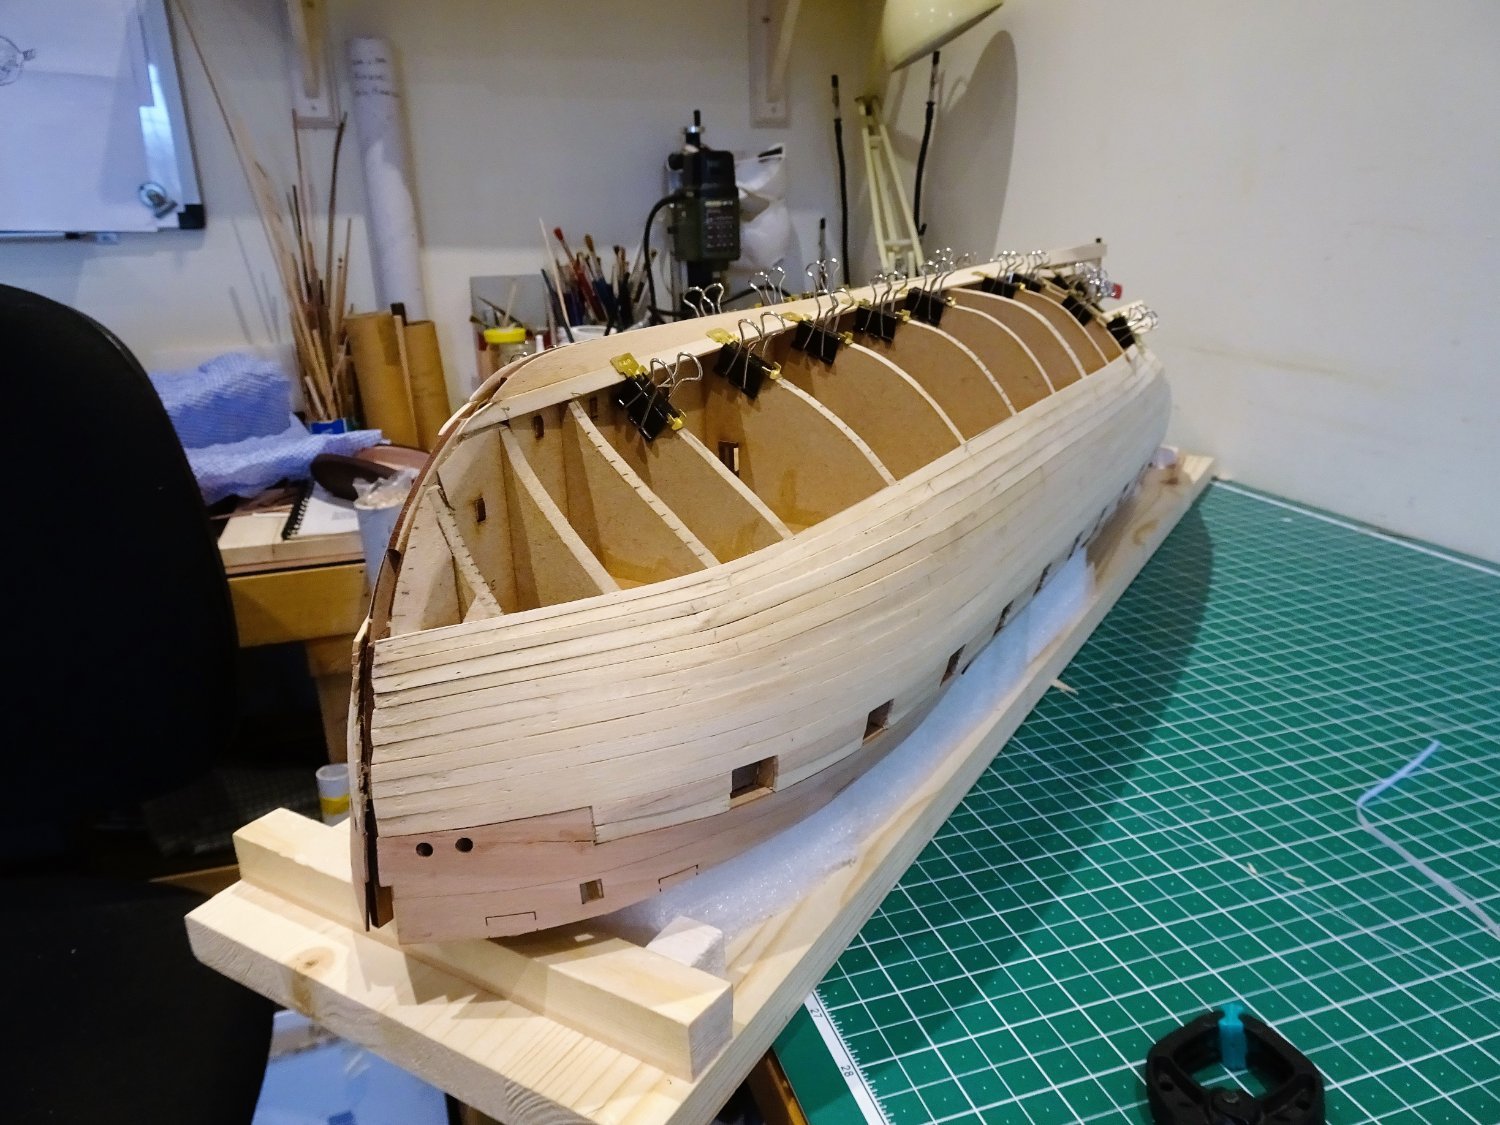
I am using the MSW download planking fan which has the added advantage of being the correct 6mm spacing at the maximum width of the base of the fan.
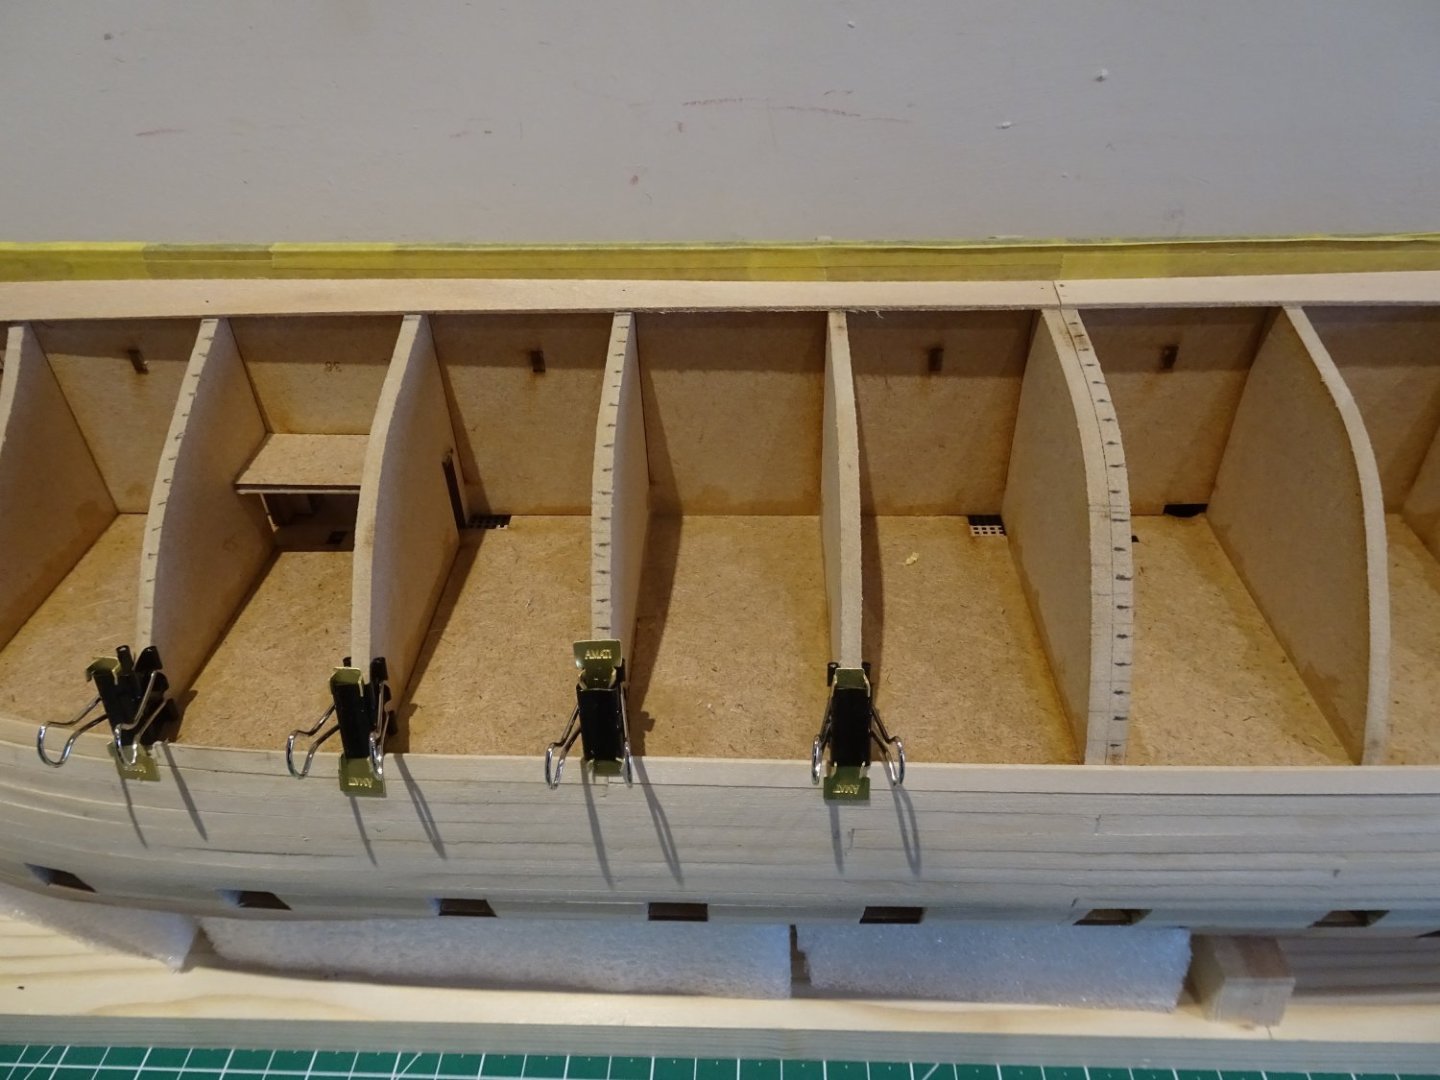
The provided lime strip is of a nice quality but there are variations in widths. A random sample indicates a range between 5.3 – 6.0mm and thickness 0f 1.42 - 1.58mm. These small variations do have a cumulative effect and create ridges and hollows. This is not a big issue and there is plenty of meat to sand out the irregularities.
0706
On first layer planking I use tick strips to mark the central and every other bulkhead with the planking lines.
Variations in plank widths will also impact on the marked plank runs and there will inevitably be error creep as the strakes are applied.
0707
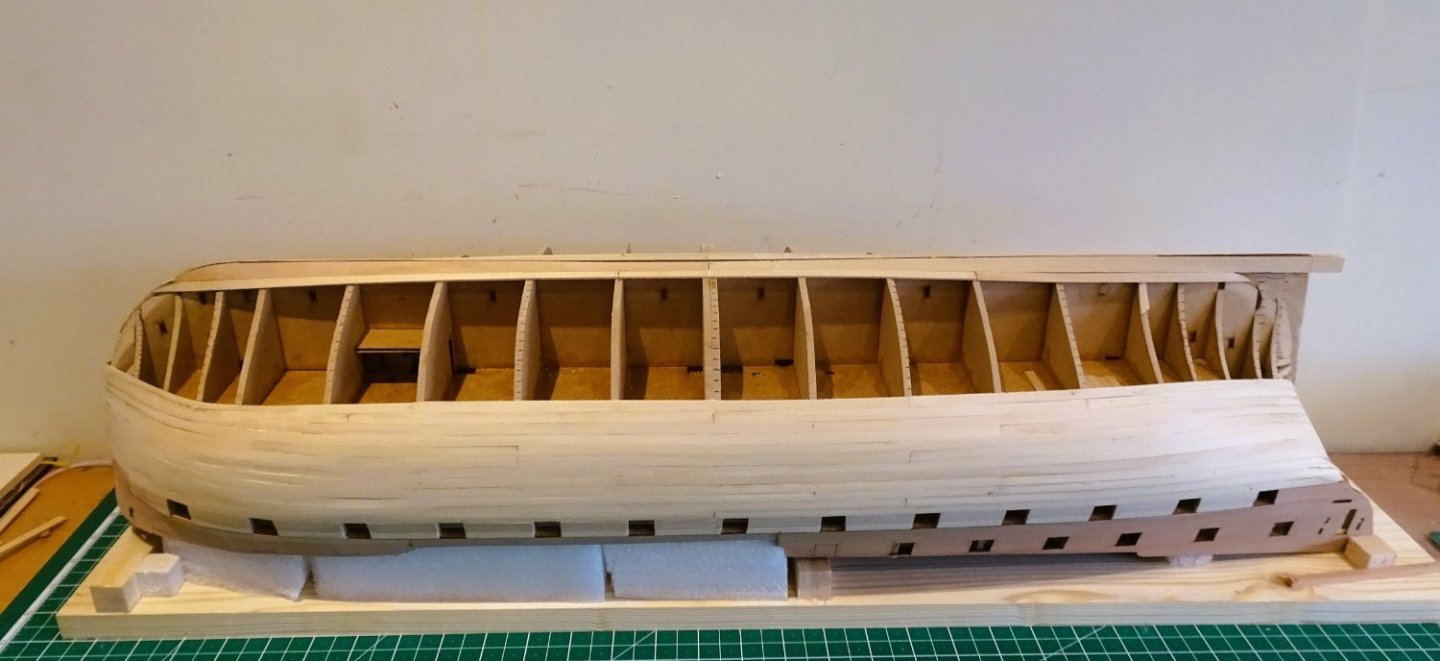
At this point five more strakes have been added, together with another strake adjacent to the Garboard.
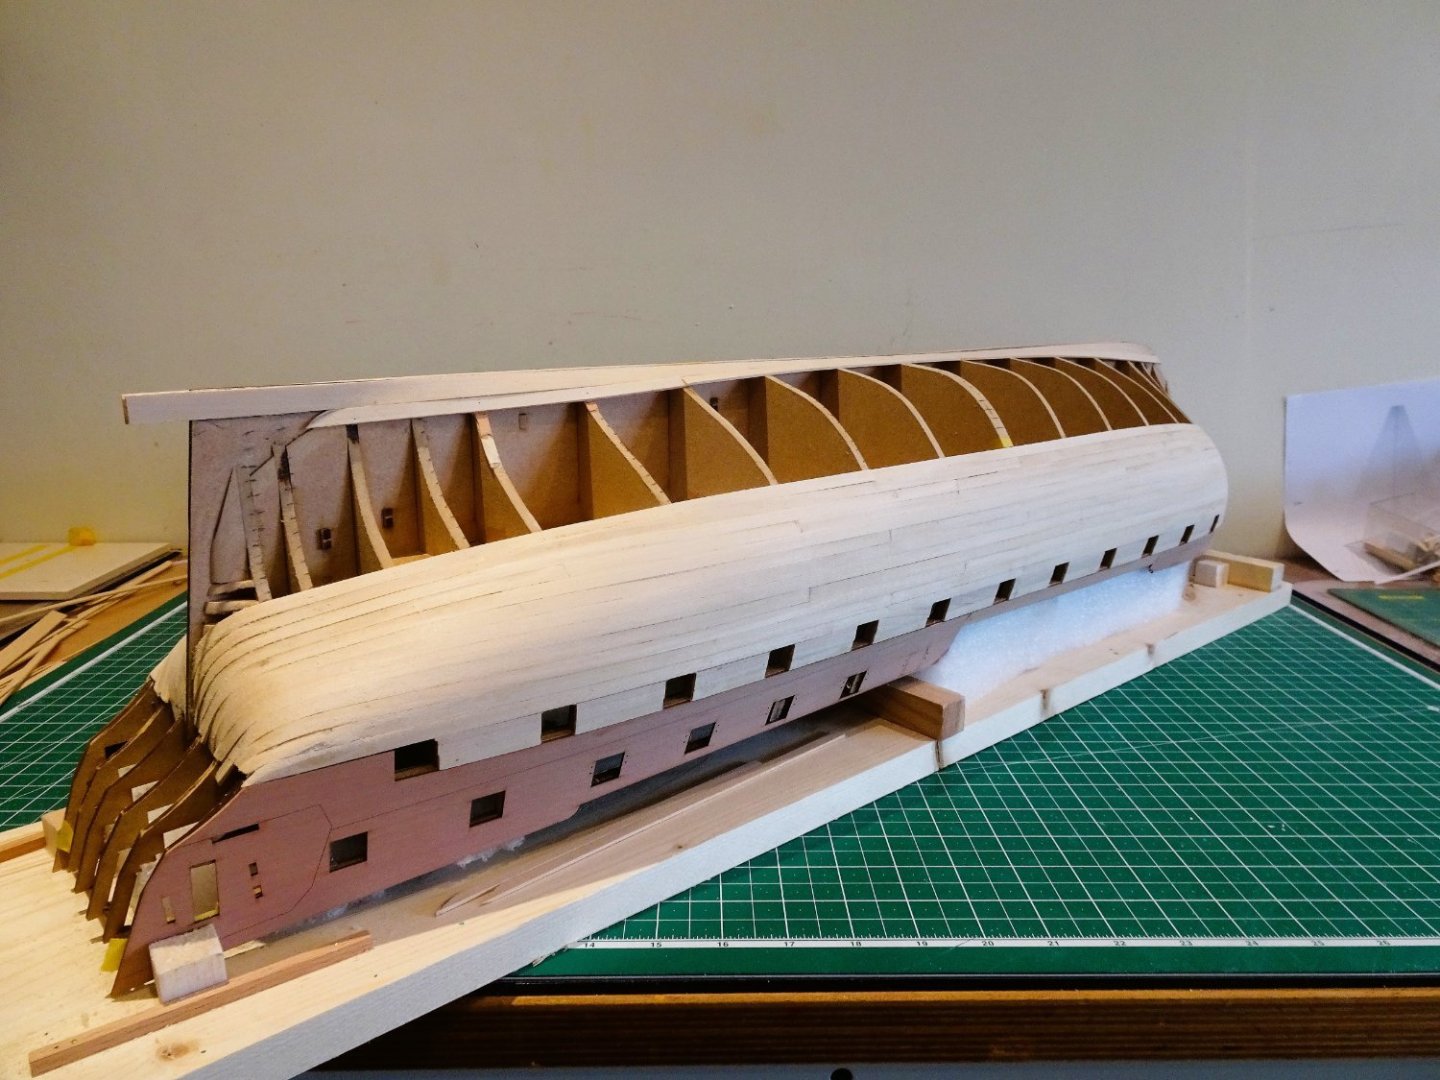
0713
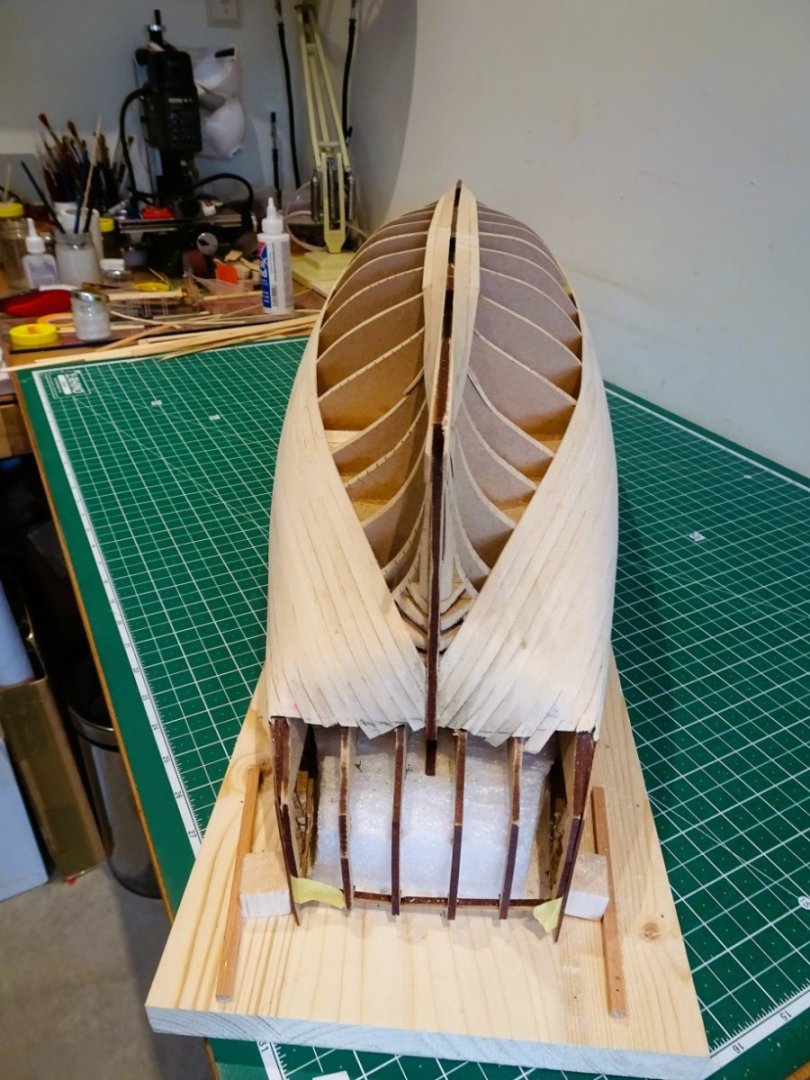
On this build I didn’t bother to thin down the false keel in the area around the bearding line to accommodate the second planking. I thought I would follow Jim’s example and finish the first planking short, and fay it to suit the second planking against the stern post.
0714
0716

0709
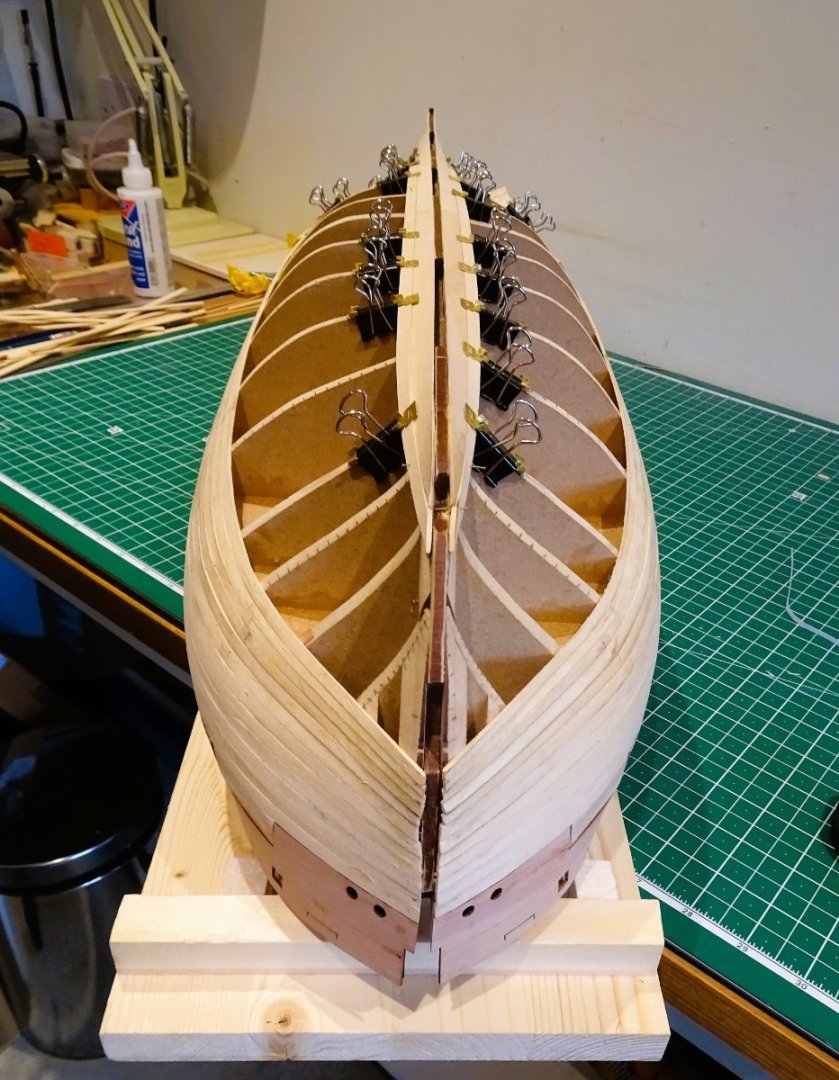
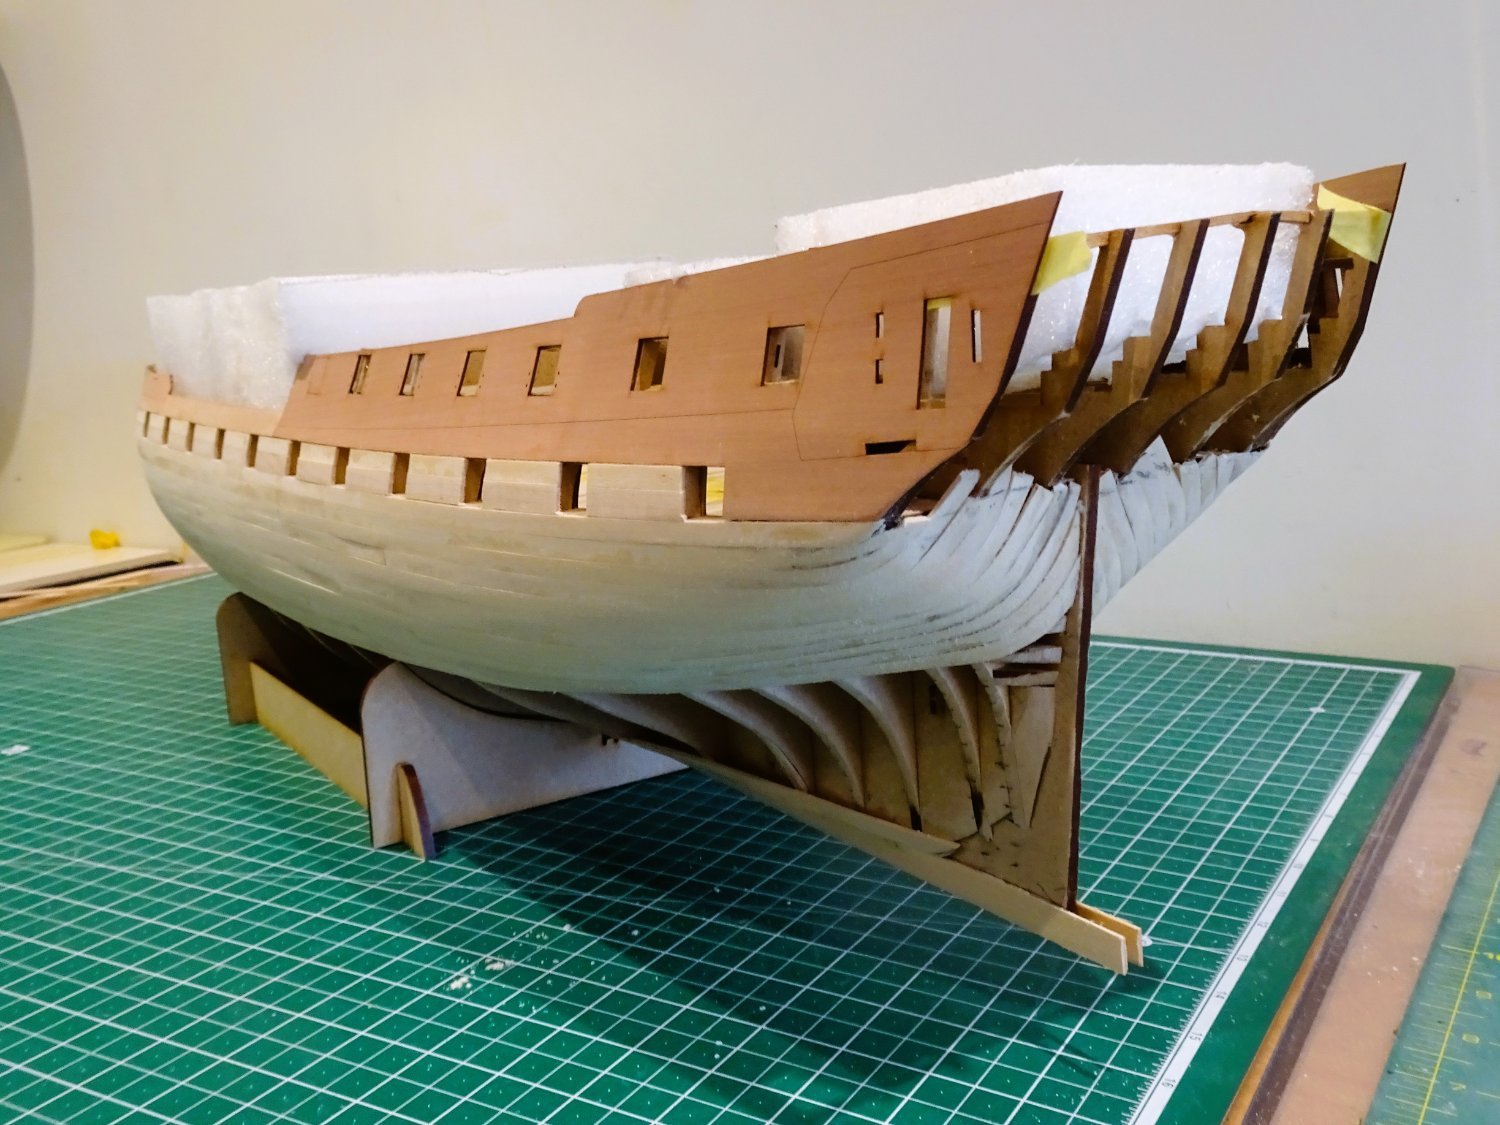
Edge bending is now required on all bow strakes.
0720
0721
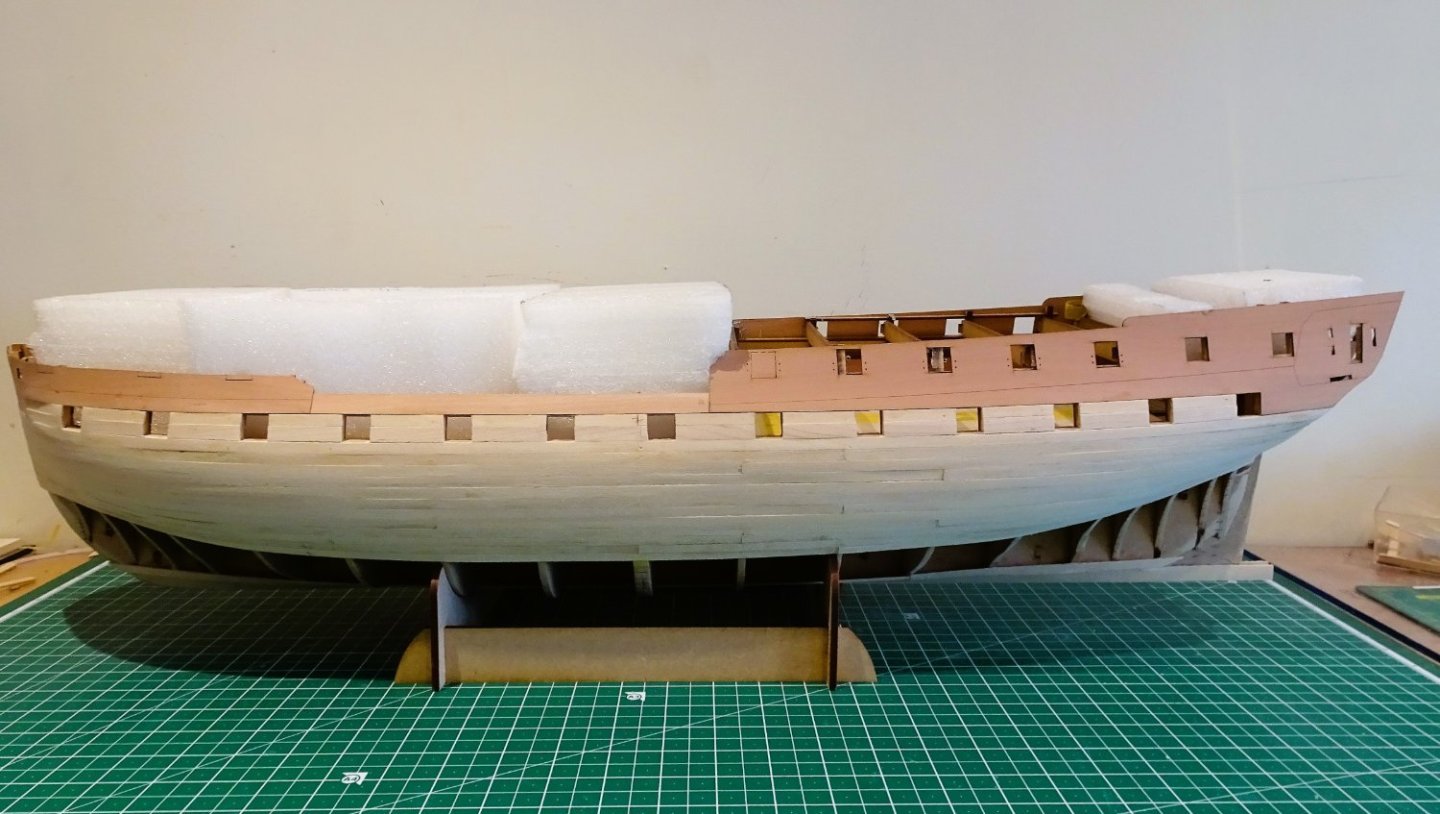
Not a pretty sight in its raw state, but hopefully she will emerge as a swan at some point.
0726
I will now re-mark the tick strip results in the remaining space and apply another five strakes.
B.E.
10/04/2023
The Indy is coming out beautifully. As a newb can you direct me to info on this planking fan, and how to correctly understand and use it! I’ve seen it elsewhere and I’m very curious to see and learn if it will help me to correctly plank my hulls!
Thank you!
- chris watton and mtaylor
-
2


SWIFT 1805 by JoeMacD - Artesania Latina - 1:50 - Virginia pilot schooner
in - Kit build logs for subjects built from 1801 - 1850
Posted · Edited by JoeMacD
I have to ask, is there a rule of thumb on design and installation of deadeye chain plates on a model such as the pilot boat SWIFT? when I build and try and attach mine the deadeye it seems to be coming up to the top railing and would probably be rubbing the rigging on the railing and I feel that would not be right to have rope rubbing back and forth on a real ship especially for a standing rigging .