HOLIDAY DONATION DRIVE - SUPPORT MSW - DO YOUR PART TO KEEP THIS GREAT FORUM GOING! (89 donations so far out of 49,000 members - C'mon guys!)
×


The Sailor
-
Posts
298 -
Joined
-
Last visited
Content Type
Profiles
Forums
Gallery
Events
Everything posted by The Sailor
-
 Floyd I plead guilty! Well, the quality of some of the supplied wood could be even better. Maybe thats the reason why I don‘t want starting with the deck. Anyway, I can‘t wait seeing the start of your build log.
 -
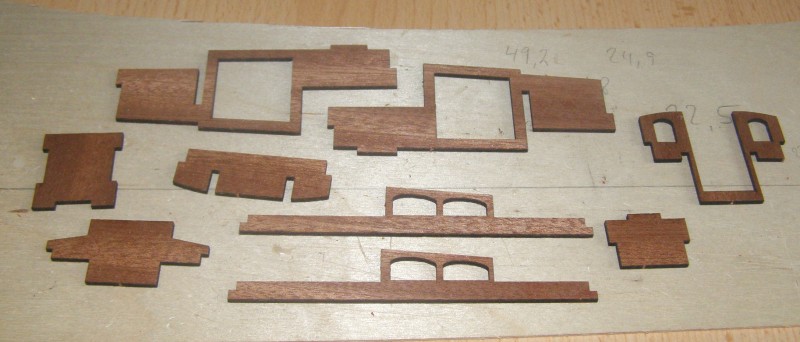
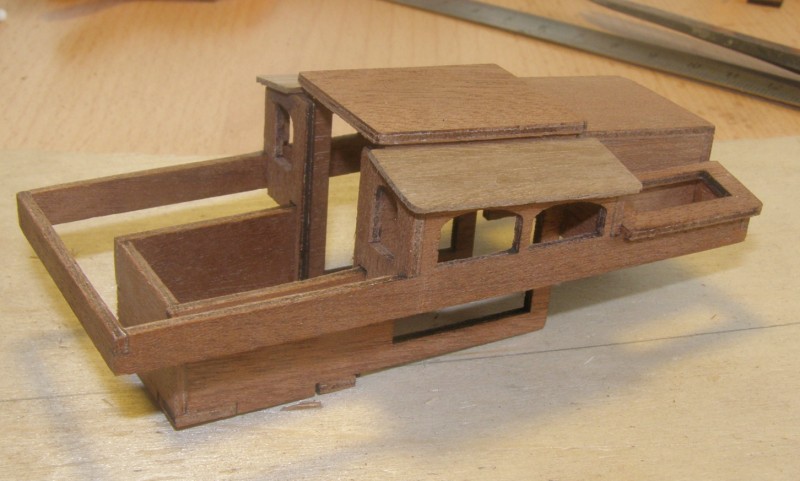
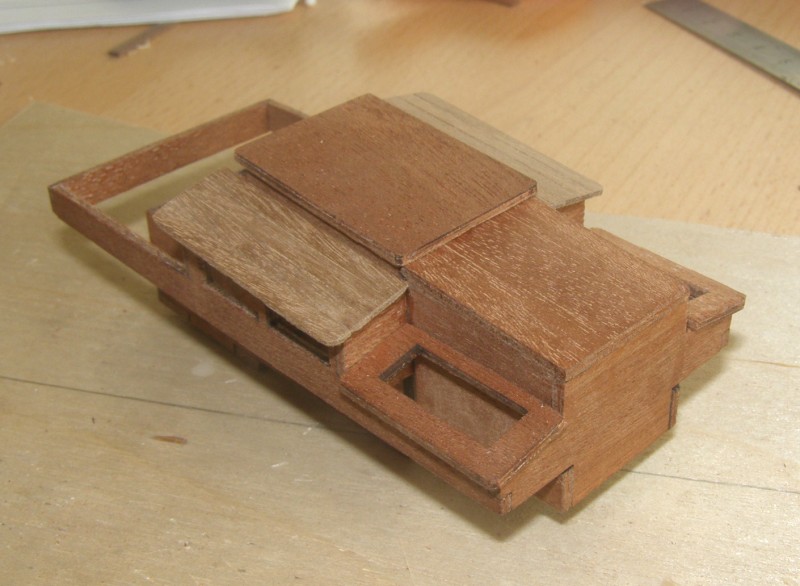
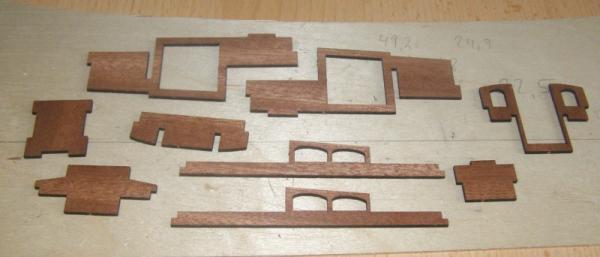
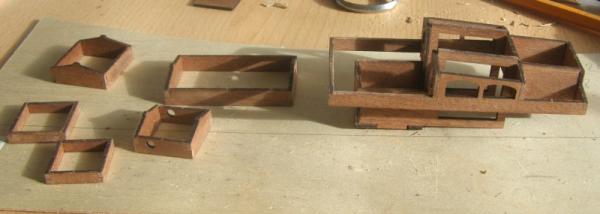
Good afternoon here‘s a small update after a long time. I‘m not in the mood for planking the deck so I decided to start with the deckhouse and the skylights. The parts of the deckhouse: Assembled deckhouse and skylights: The components are now ready for staining


- 162 replies
-
- 12
-

-
Thanks for this build log Nils. You did an awesome job - I'm just speachless.
- 113 replies
-
- 1
-
-
- heinrich kayser
- steamship
- (and 1 more)
-
Very nice planking job.
-
Very good start. You can use every type of colour you want even spray colour from your local building centre.
-
Very nice work Keith.
-
Thanks for the build log Nils. I'm really surprised about the sails on the plan...
- 113 replies
-
- 1
-
-
- heinrich kayser
- steamship
- (and 1 more)
-
Looking forward seeing the first pictures.
-
Hi Erik, I think following the planking guides is the best way to prevent this problem. It's necessary to taper the strip ends but before glueing the stripes you should draw all the lines onto the hull. It's a lot of work, but if you don't want to paint the hull it's the only way to get a planking without any 'meetings'.
-
Unfortunately not. The kit supplied wood for the deck ia a very bad joke! I think, I'll purchase some better wood for planking. I show some photos the next days.
-
Haha, I‘m following the instructions. The photo shows the reason: The stripes along the rail edges are part of the deck with one difference: They are blue like the hull above the waterline. That means planking the deck first and then sanding the complete deck to get everything to the same level. After this part is done I can paint the hull. The reverse order would spoil the coat of paint.

-
Thank you very much Hamilton and Floyd. Yes, I'll marking the waterline with a white stripe (white colour). I haven't decided yet which shade of blue is the best for the hull but first I'm planking the deck.
-
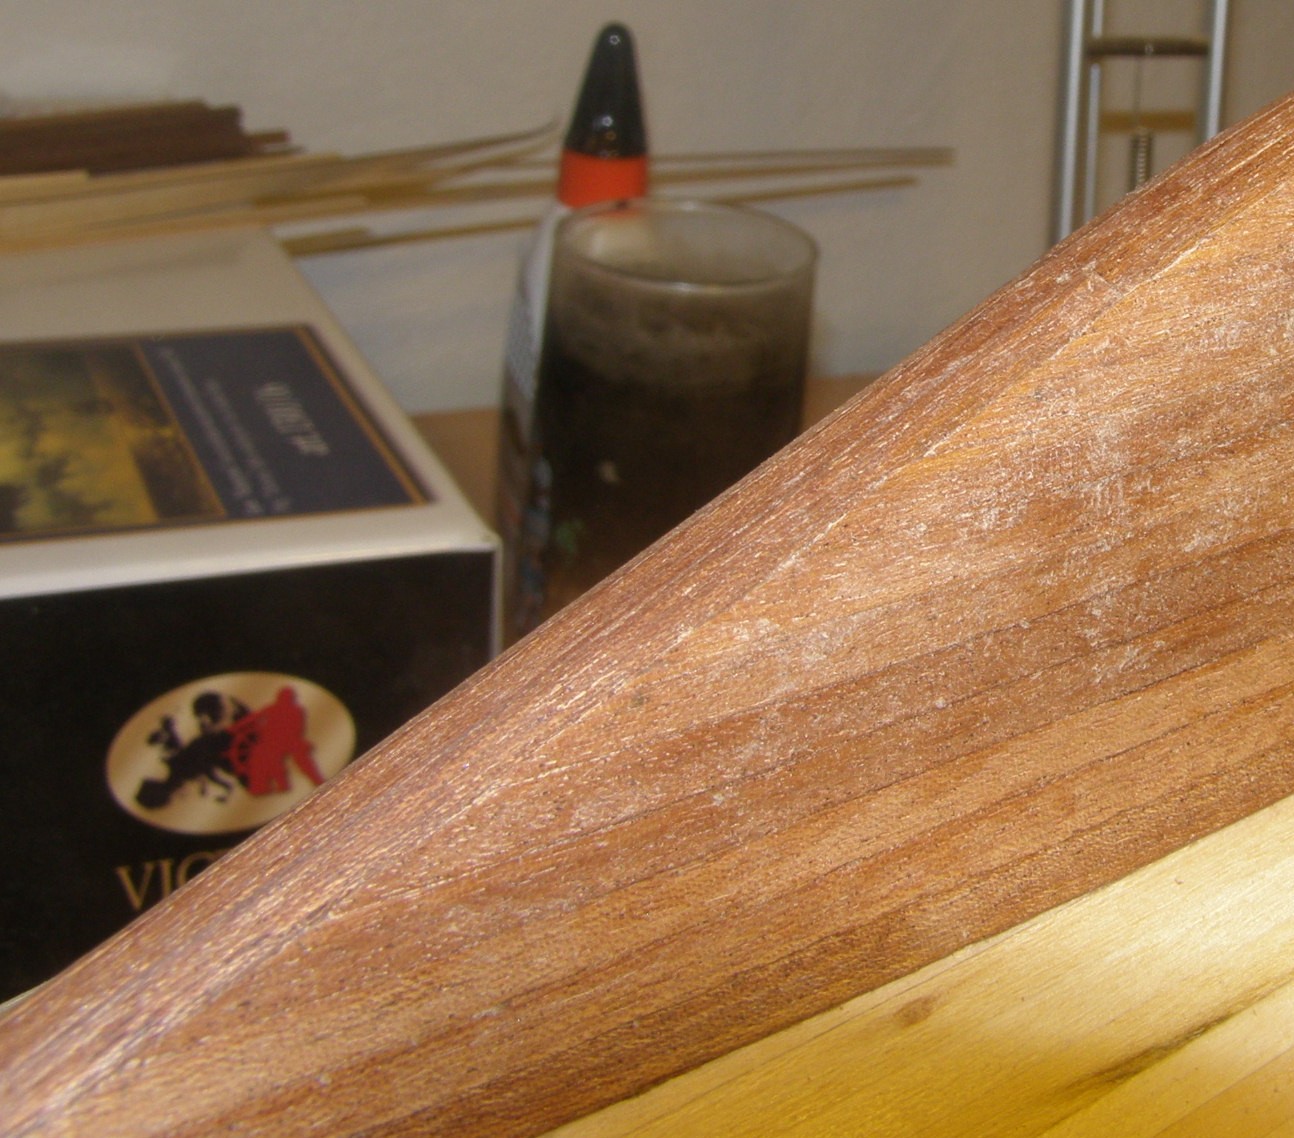
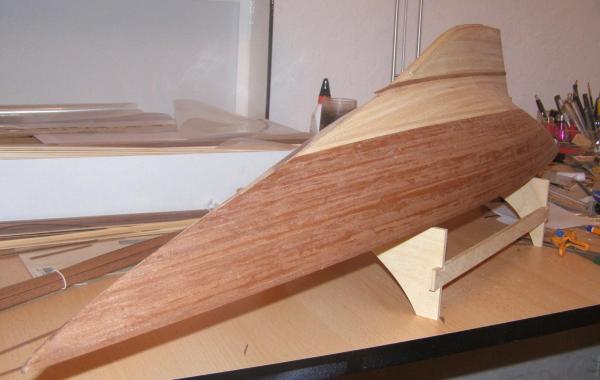
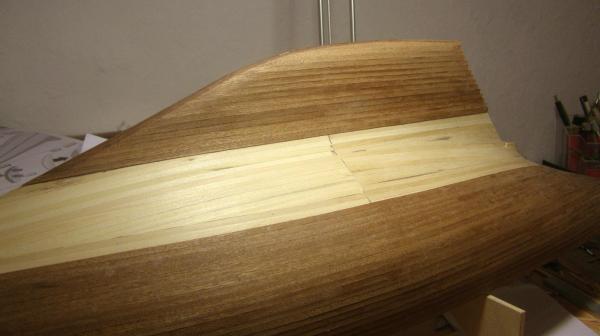
Thank you very much for your big interest, Alfons, Kerry and Floyd. You are right Floyd, the instructions are very limited. I started with the bulb area covering and then down from the deck line. I did the same with the second planking. Well, painting the hull. In fact Endeavour have a steel hull but one option of the kit is leaving the bottom covered with the mahogany planking. The photo shows how big this area is. I didn't measure the waterline exactly, but I think it's a little to low on this photo.

-
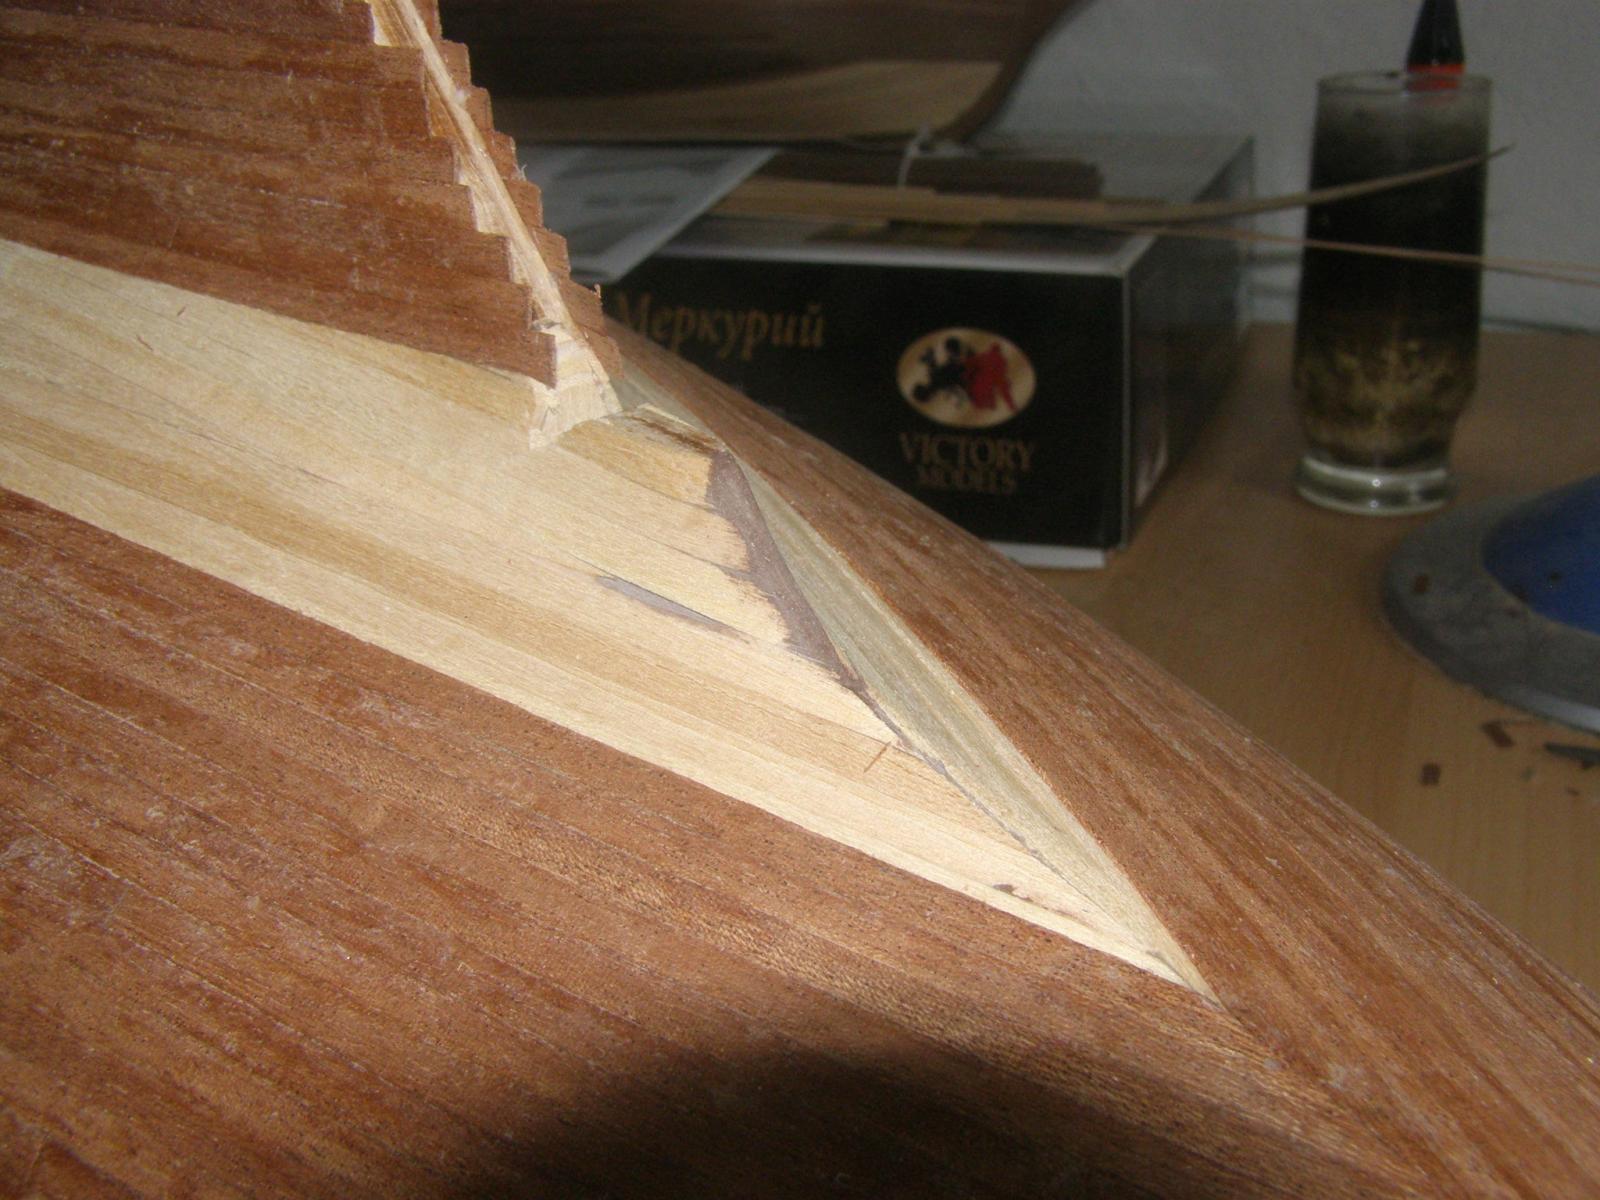
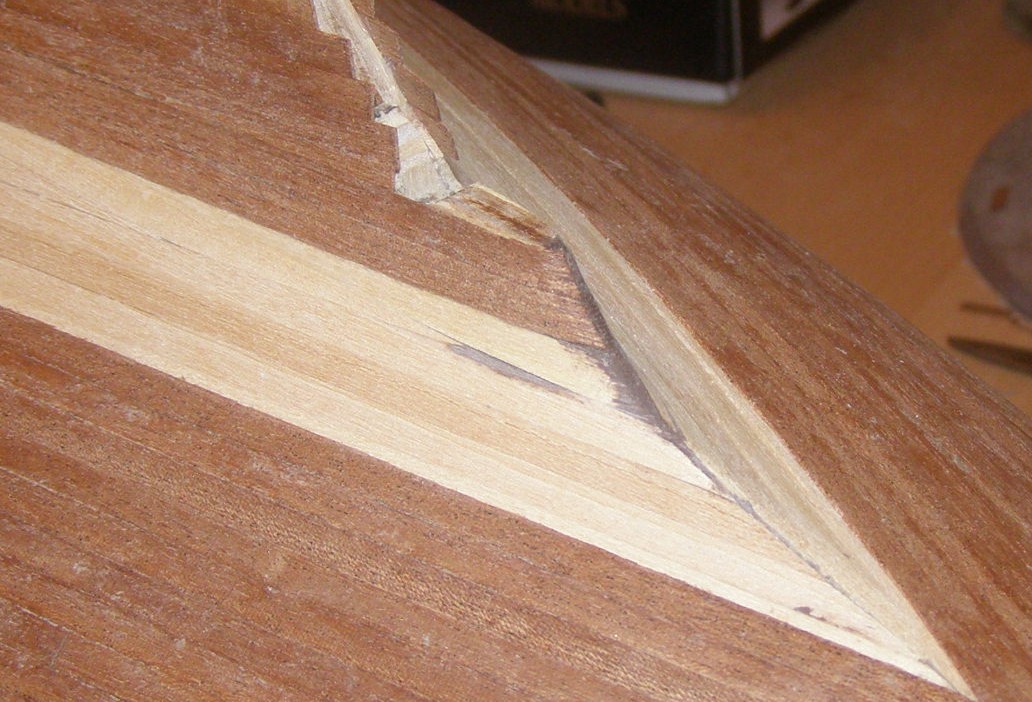
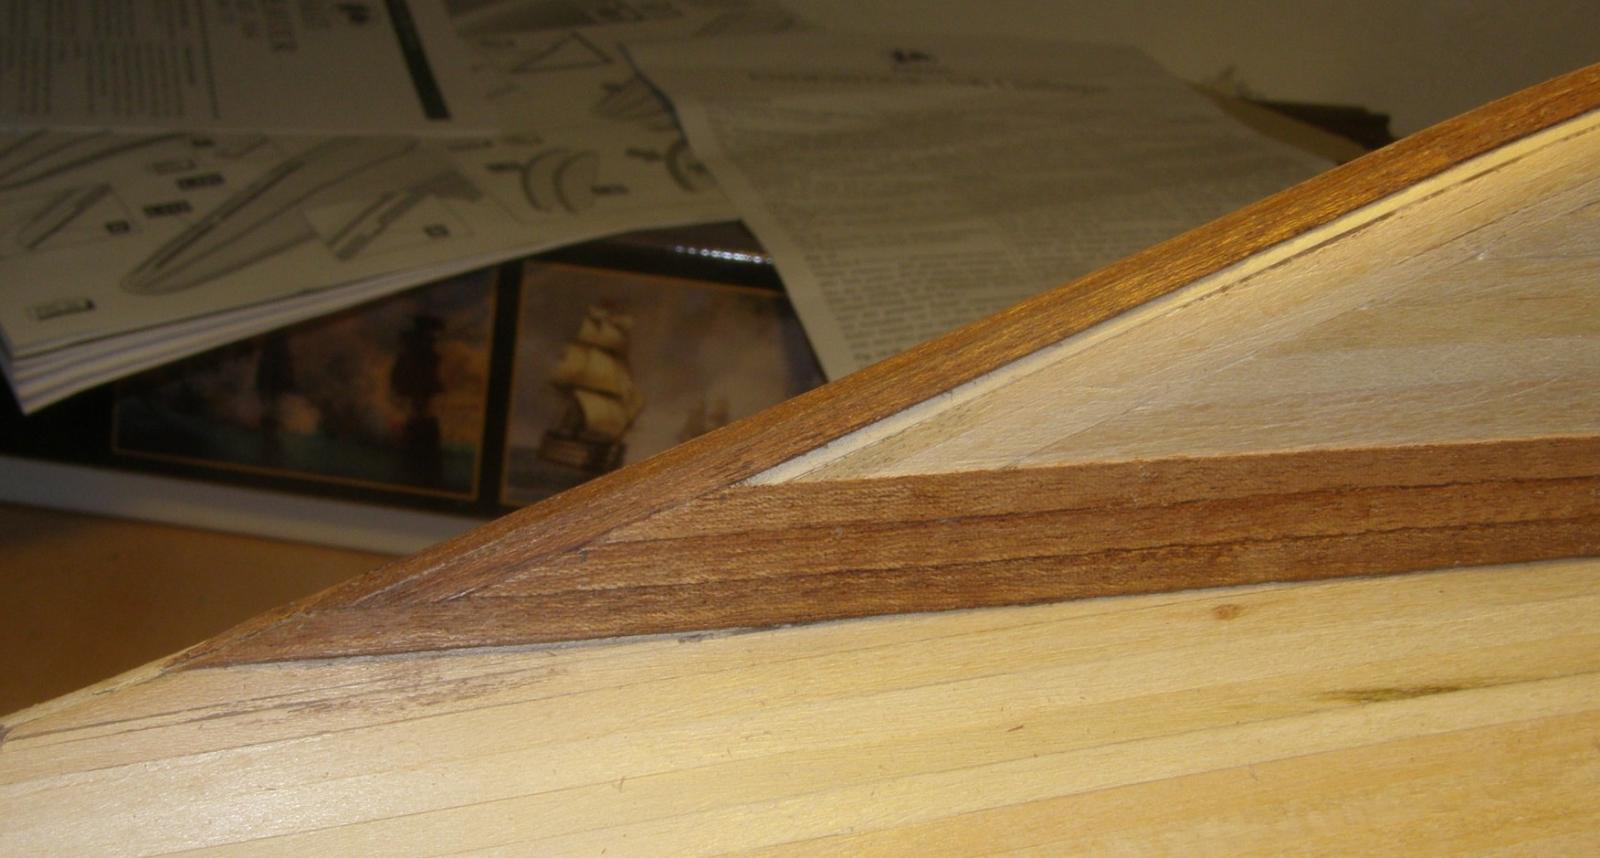
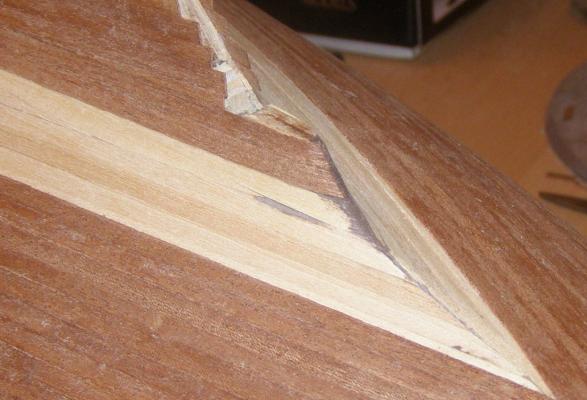
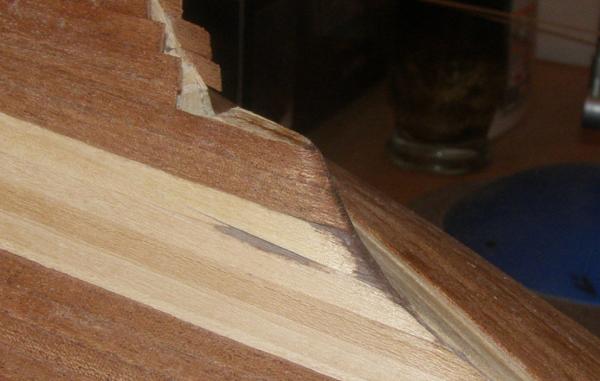
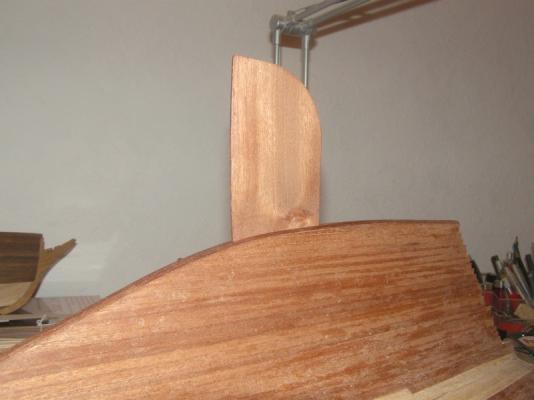
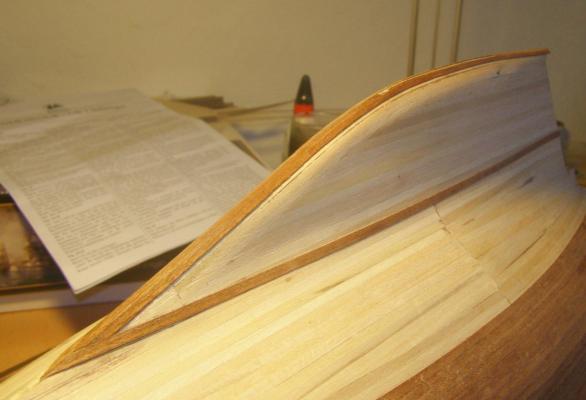
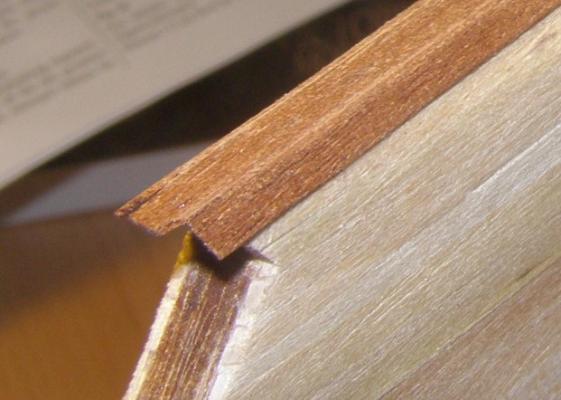
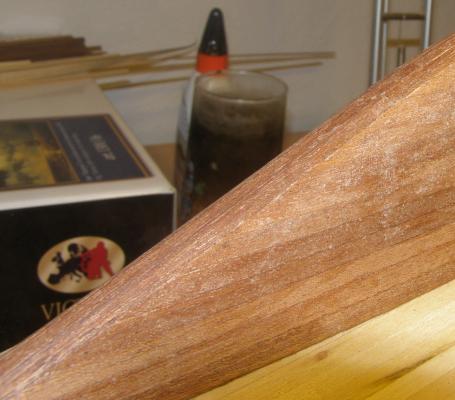
Thank you very much for all your nice comments and hitting the „Like“ Button. Hi henryjames, I‘m looking forward to seeing your build log. Hi Row, first of all you are a lucky man been aboard of Endeavour. Well, it‘s an odd hull form and - believe me - not everything looks perfect. But overall I‘m happy with the result and in doubt I can paint the whole hull. Hi klimi, I‘m building her as the Endeavour of 1934. Erik, the part straight above the rudder was indeed tricky to plank. As you can see on the photo, this part is moulded using wood filler. Fortunately the vaneer stripes are very easy to bend. Finally the last two photos: The planked stern... and the evidence... ...that the slot is still open!


- 162 replies
-
- 12
-
-
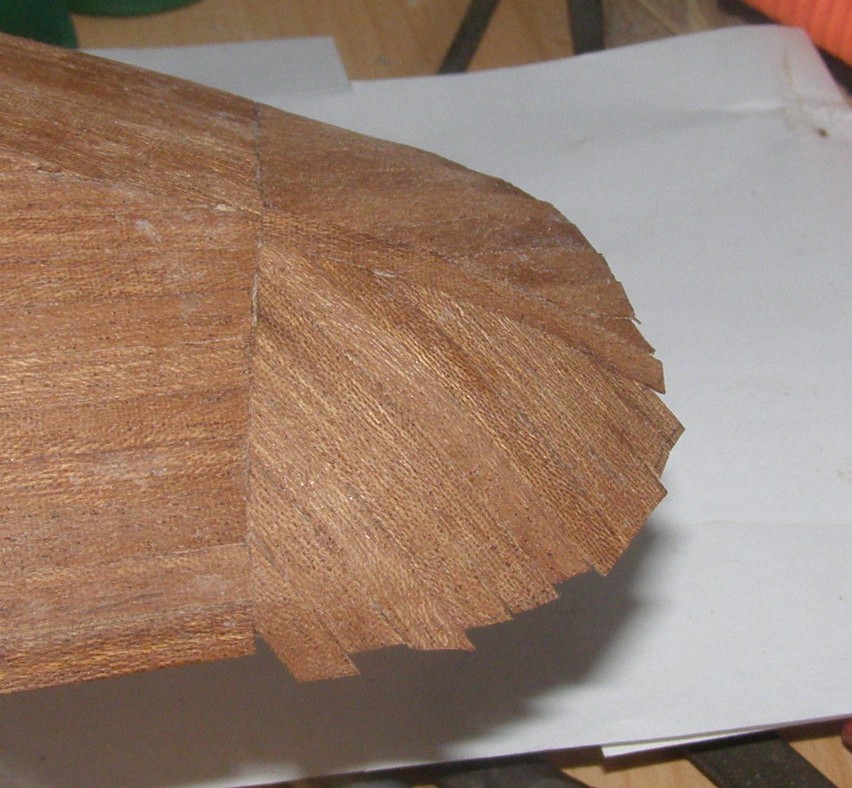
Hi Erik, I agree with demonborger. This method is very effective and interesting for planking a bow.
-
Hi Hamilton, unfortunately it's undetermined what the photo on the box shows but I think it's the painted version.
-
Thank you very much Floyd and Timothy. Floyd, I used some filler but not very much. Don't worry about the slot - it's still open. The reason of the second planking is I just want to paint her above the waterline and leaving the bottom covered with the mahogany planking. I know, it's nonsense because the Endeavour have a steel hull but it's an option of the kit. And it looks nice. The scale makes no different in planking or tapering the planks.
-
Thank you very much, guys. Alfons, the area is to big for painting so I'll use my airbrush. Well, time for a little update. Some more rows on and time for planking the keel. Again I started with the bulb area covering using 3mm stripes The rest was planked with the 5mm stripes

- 162 replies
-
- 11
-
-
Hi Erik, nice to see a Britannia build log. I look forward to following with big interest.