HOLIDAY DONATION DRIVE - SUPPORT MSW - DO YOUR PART TO KEEP THIS GREAT FORUM GOING! (89 donations so far out of 49,000 members - C'mon guys!)
×


The Sailor
-
Posts
298 -
Joined
-
Last visited
Content Type
Profiles
Forums
Gallery
Events
Everything posted by The Sailor
-
 She looks fantastic. Thanks for posting the photos.
 -
Nice to see you, Jason. Just have a seat. Yes, she's a real beauty but I'll go back to a period ship very soon as a second project. Planking the stern was funny like an ingrown toenail. The second planking needs to be handled in the same way. It's very much easier to plank such a surface. Michael Amati supplied 0,5x4 mm walnut vaneer for the second planking. My big dream is only painting the hull above the waterline.
-
Very nice work, Jason. Neat and clean.
-
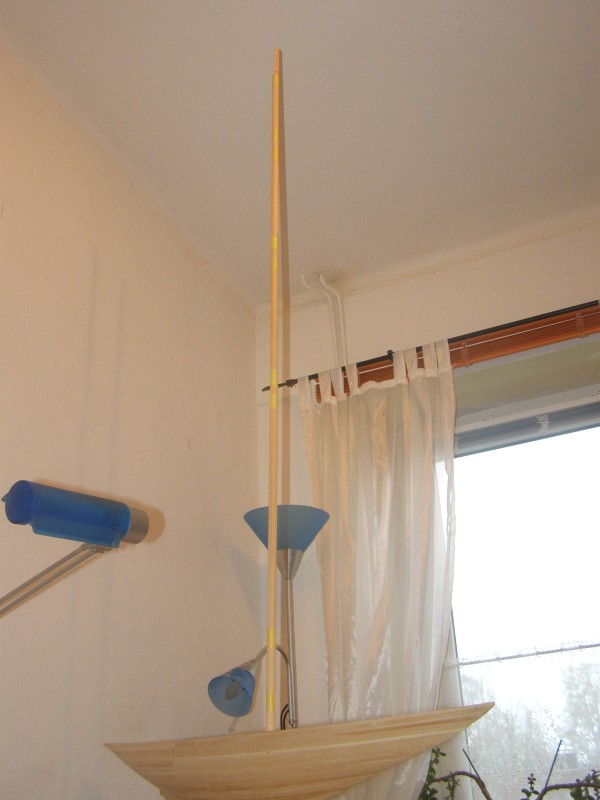
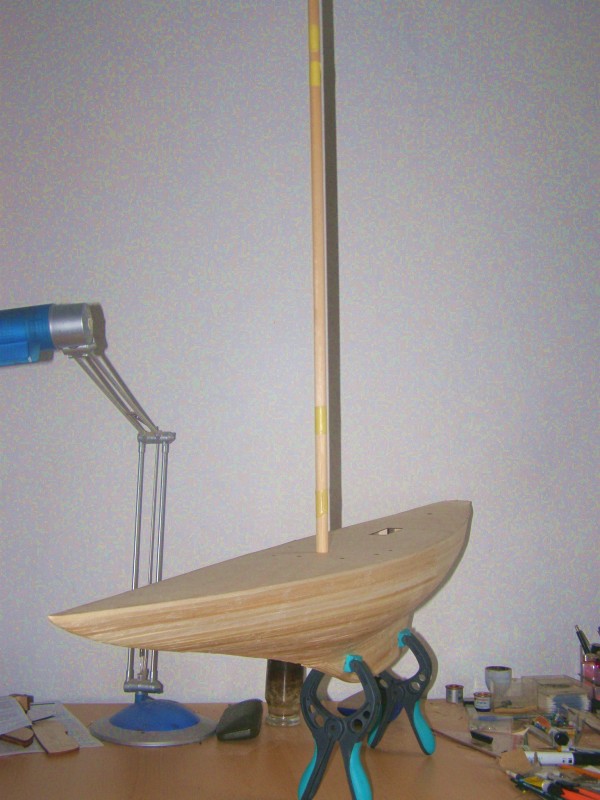
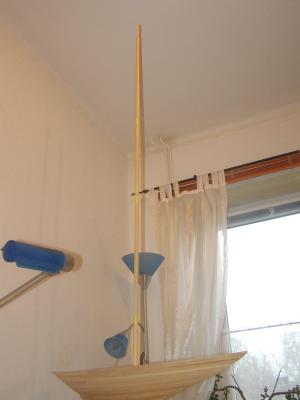
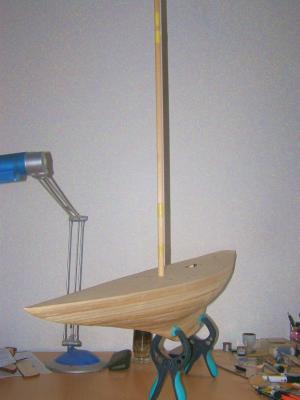
Thank you very much Eamonn, Pygothian and Floyd. The overall length is 115 cm (3,77 ft), the height is 146 cm (4,79 ft)
-
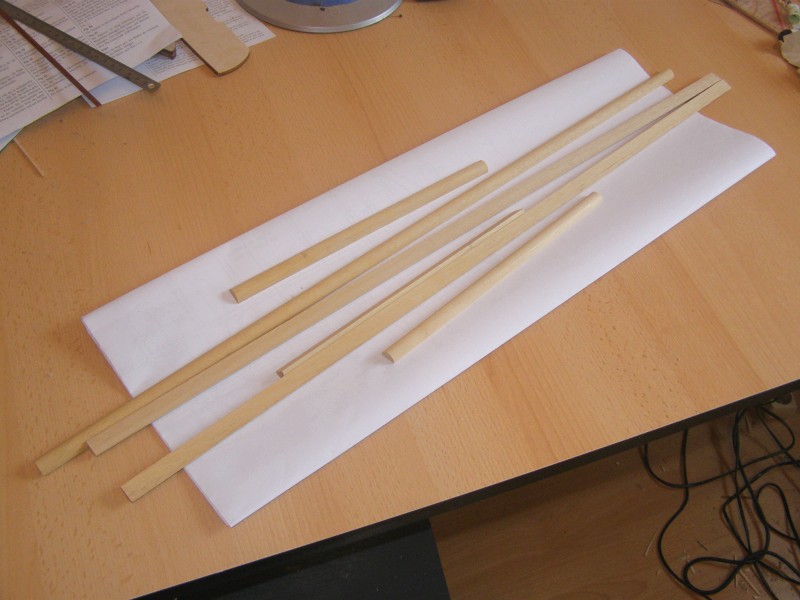
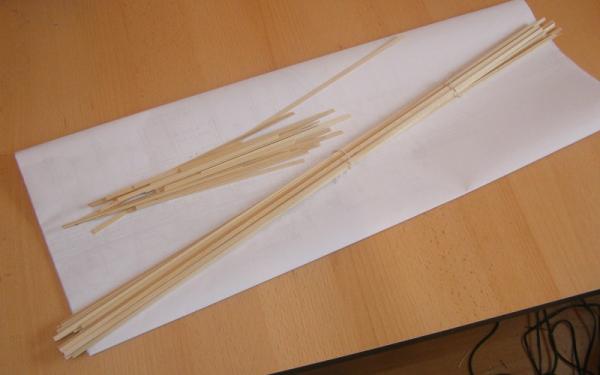
Thank you very much for your interest and your kind words, guys. Rich_engr Sorry for not having made myself clear enough. The parts of the mast have to be glued together first. Using a rectangular block of wood could be helpful with the shaping. Here are the six parts: Here you can see the height of the mast: BTW, the first planking is done. Next is filling and sanding the hull. It seems, Amati is very generous with the kit supplied material: Well, it's not enough for a second Endeavour, but enough for planking the hull of a small vessel.


-
Very good start Craig. Granado is one of my favourite kits. Keep the pictures coming.
-
Hello Pete, seems you like lobster smacks.
- 209 replies
-
- 1
-

-
- muscongus bay lobster smack
- midwest products
- (and 1 more)
-
Nice paint job, Pete. That looks very good.
- 209 replies
-
- 1
-
-
- muscongus bay lobster smack
- midwest products
- (and 1 more)
-
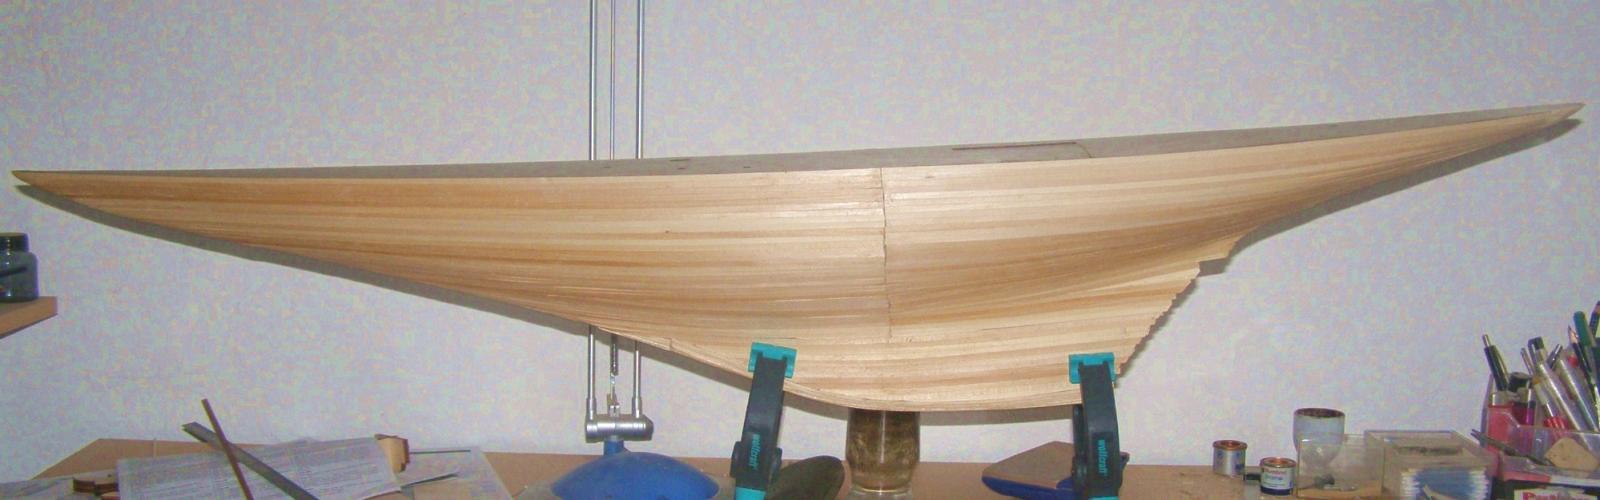
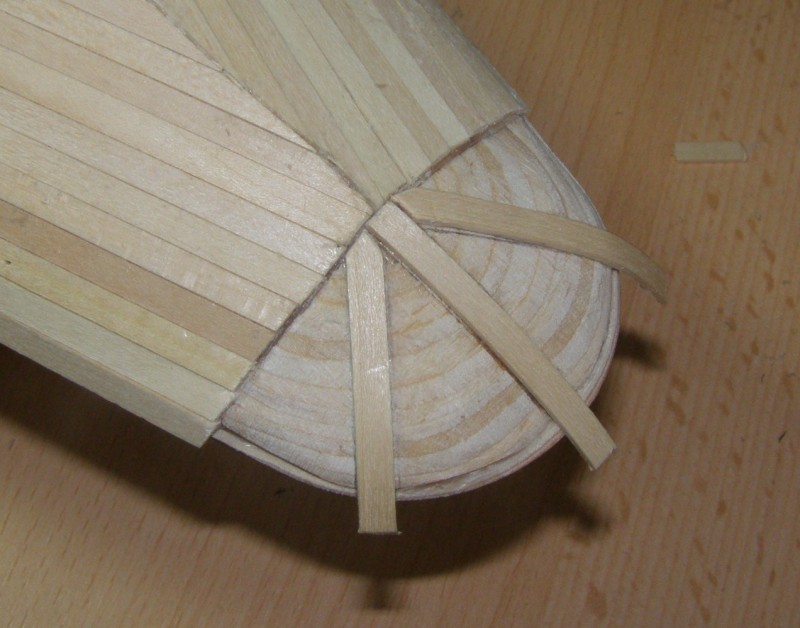
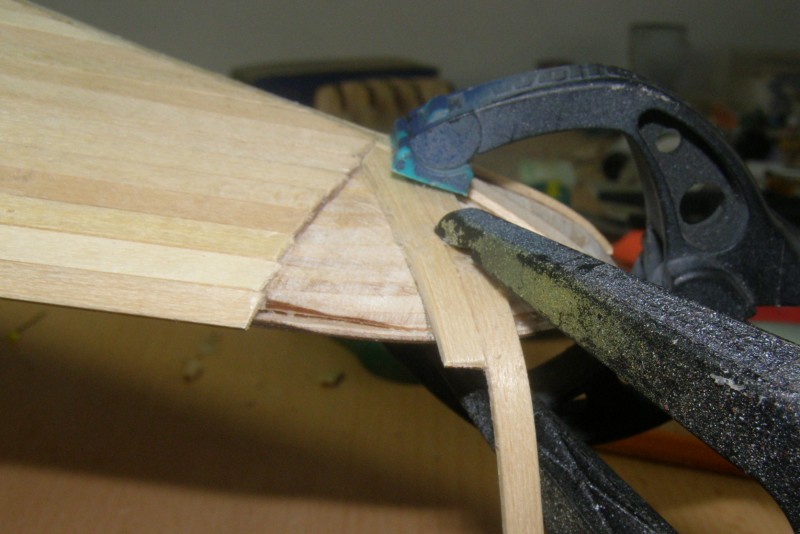
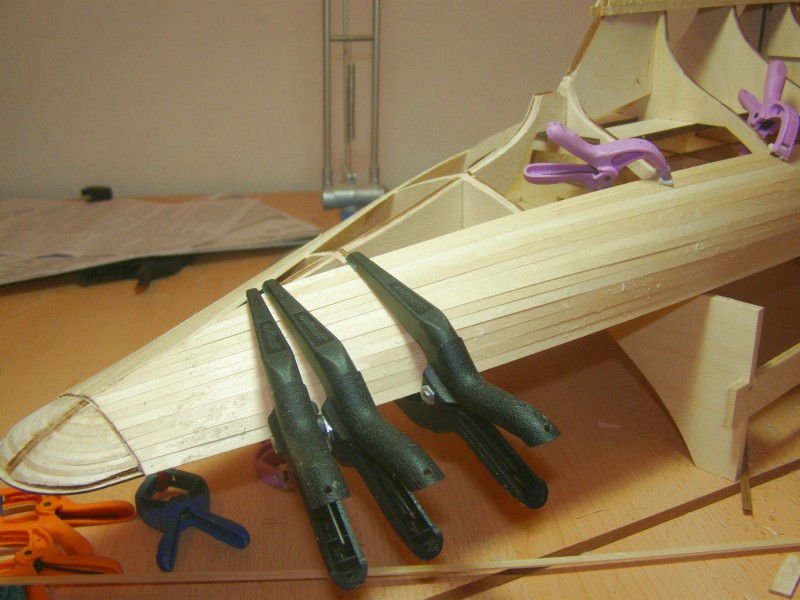
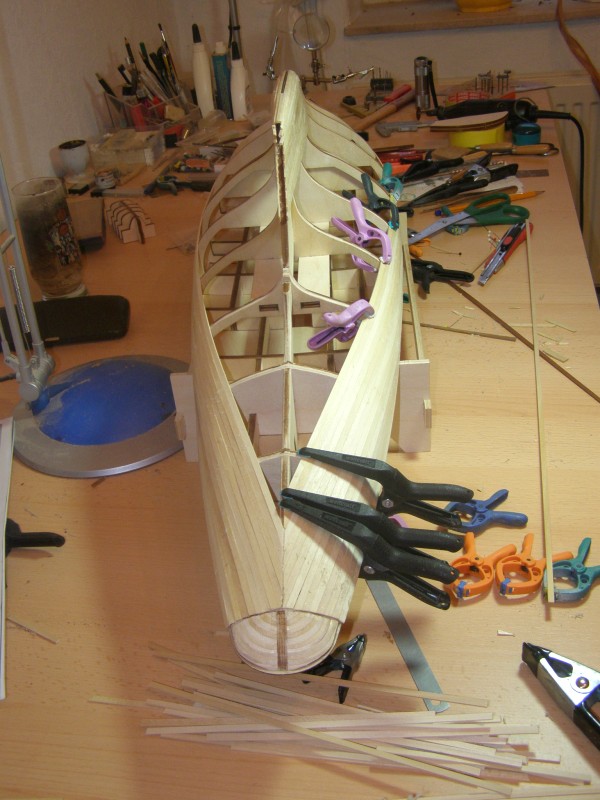
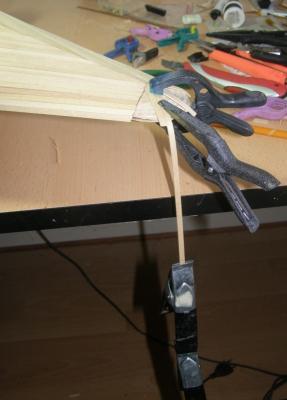
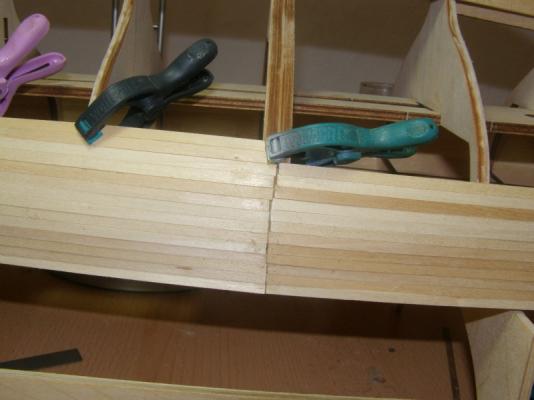
Thank you very much for the kind words, Ben. A few more rows on. Still the first planking but an end is in sight. Time for planking the stern. It was nearly impossible fixing the stripes with clamps or needles until the glue was dry. After one funky try I gave up and glued them with superglue. And here‘s the final result:


-
Very nice, Pete. I really like the two boats.One day I'll try a scratch build too. By the way: Cool saw horses.
- 209 replies
-
- 1
-
-
- muscongus bay lobster smack
- midwest products
- (and 1 more)
-
Thank you for the explanation, Yves and Rich. I've never build a ME/MS kit.
-
Thank you very much for your kind comments, guys. Well, i'm satisfied with this (my first Amati) kit. The instruction and the quality of the materials are good. I've build some Mamoli kits in the past and I wasn't even happy with them. Silly question: what are ME kits?
-
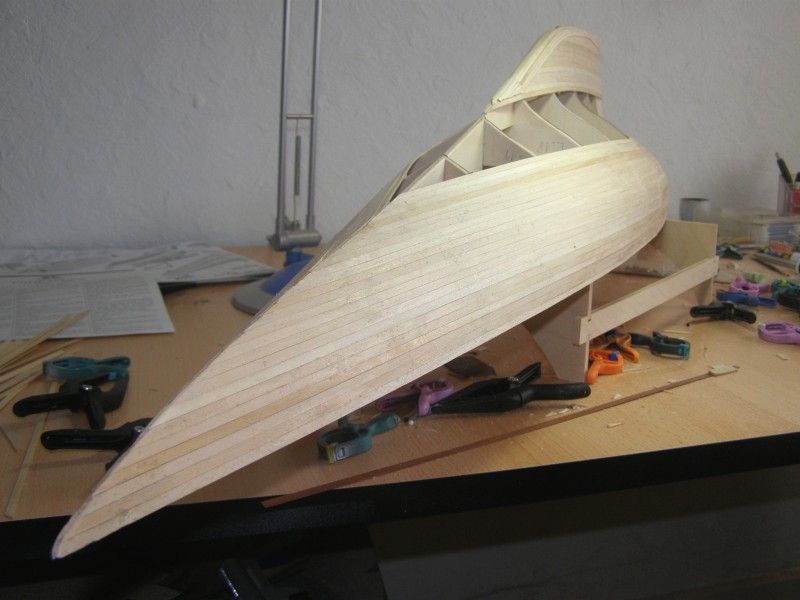
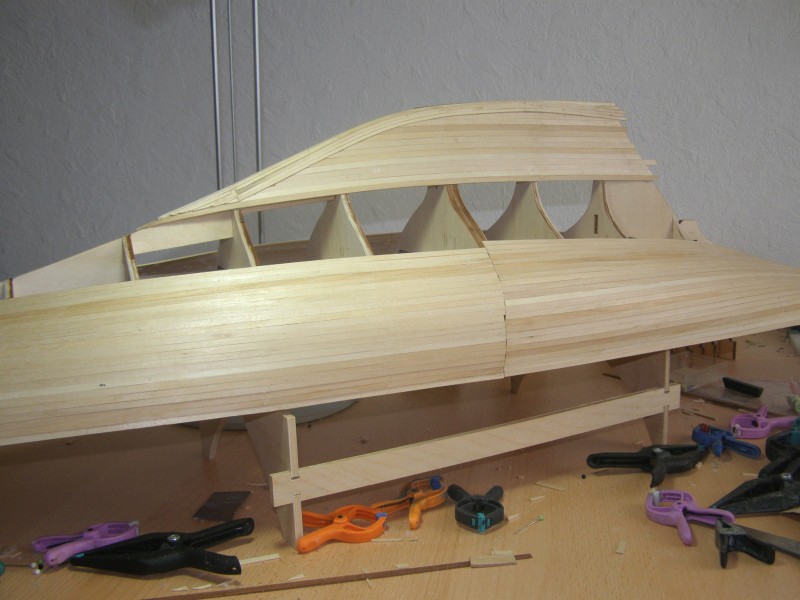
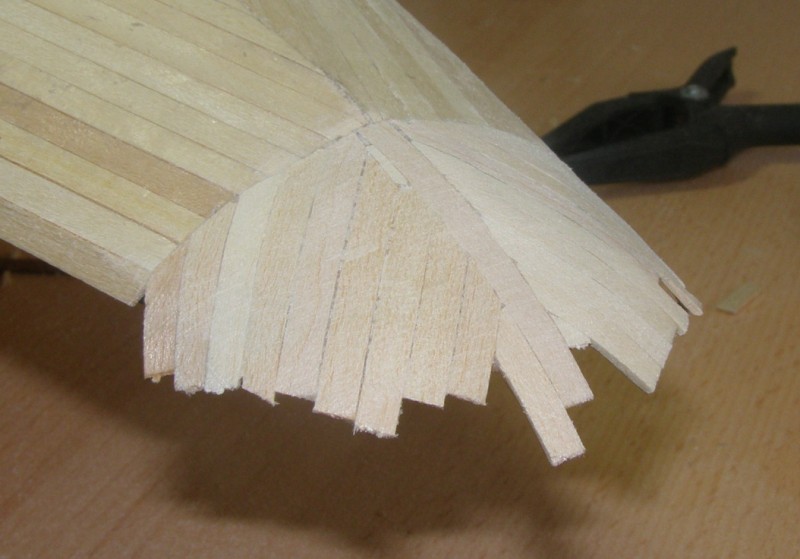
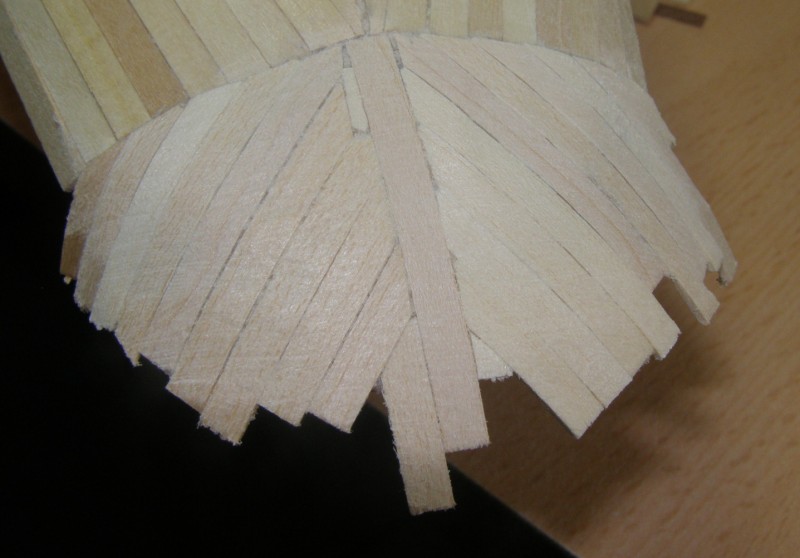
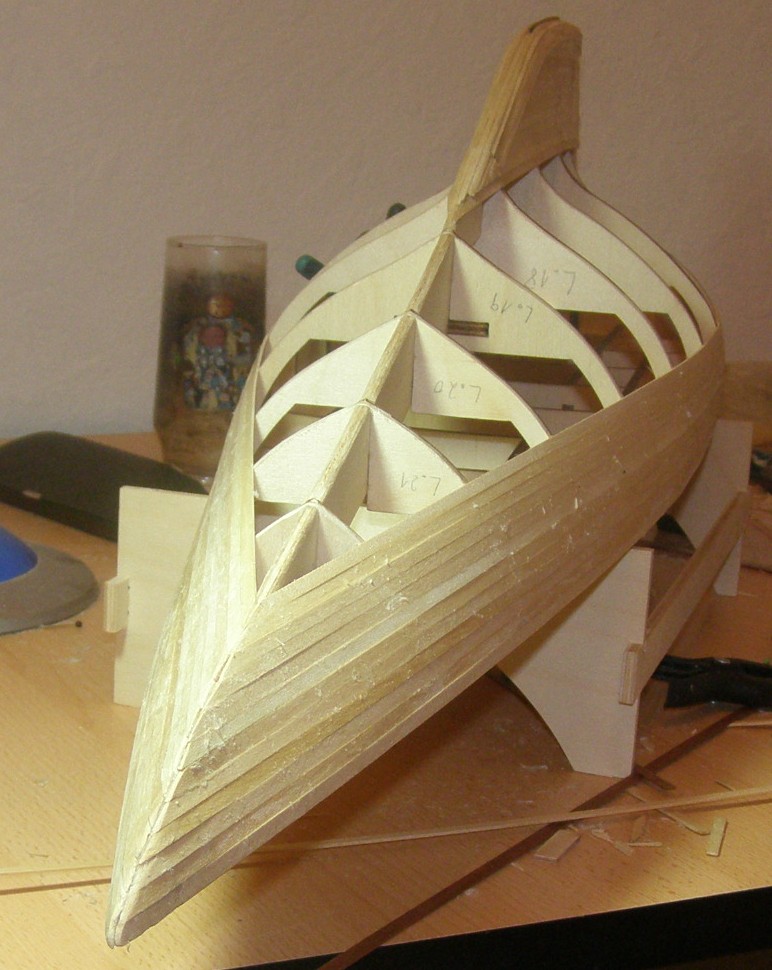
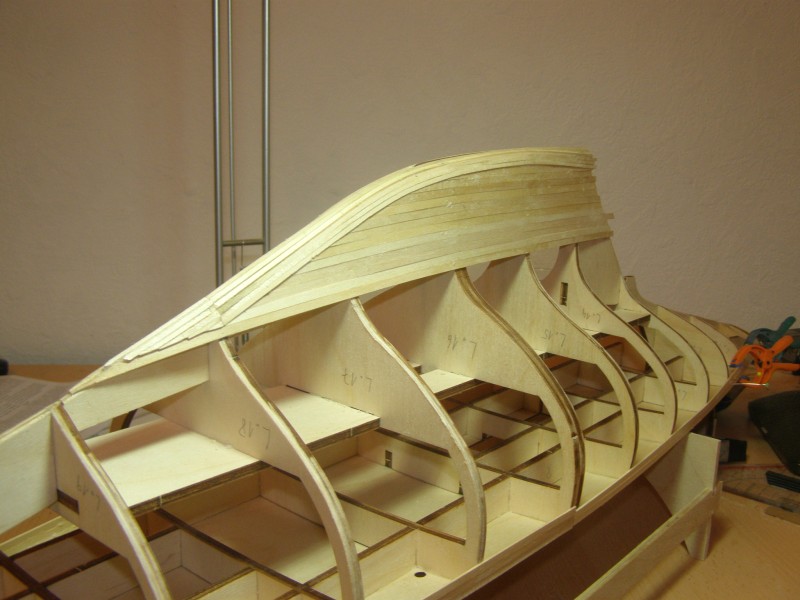
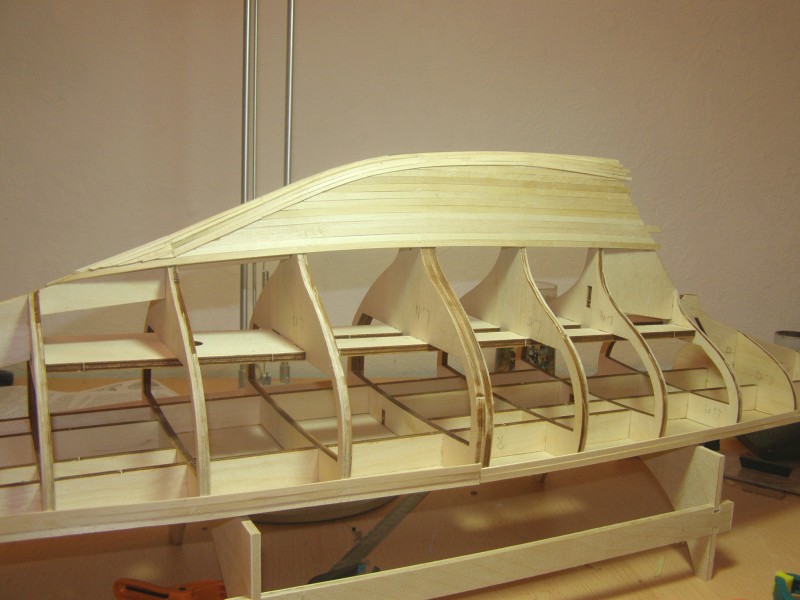
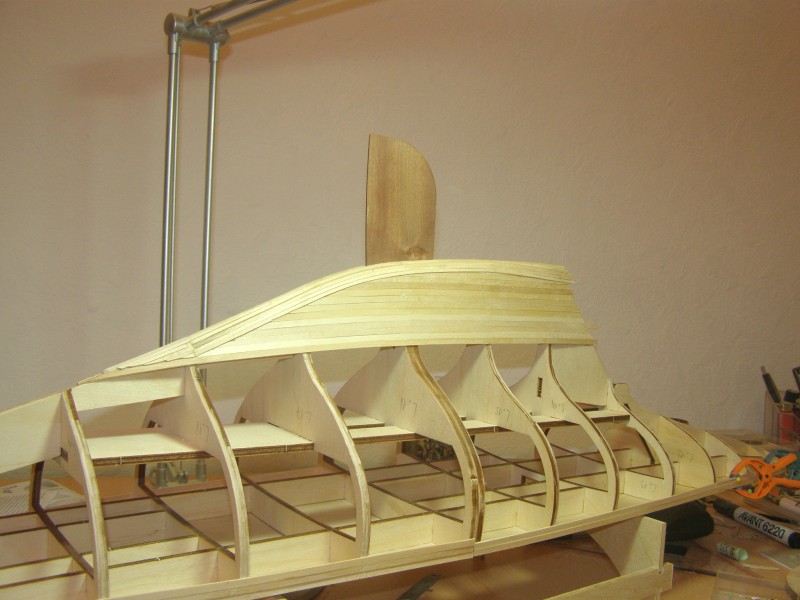
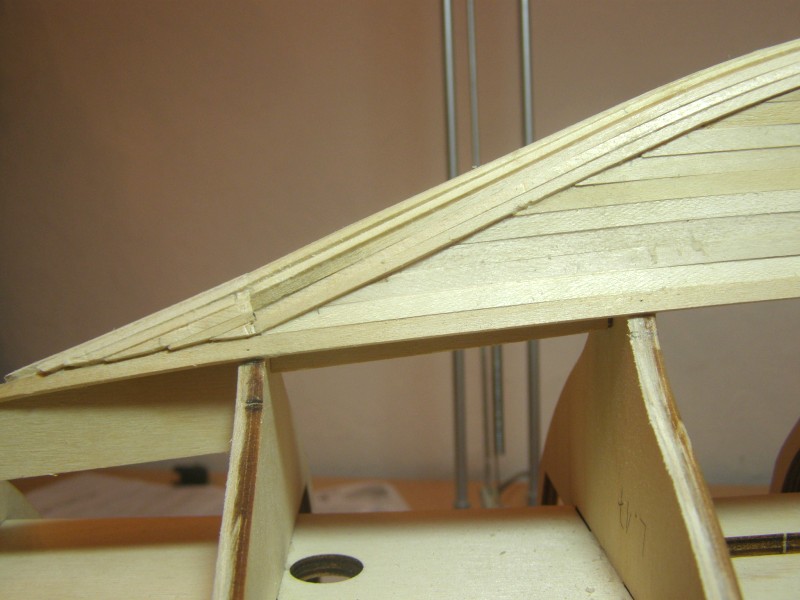
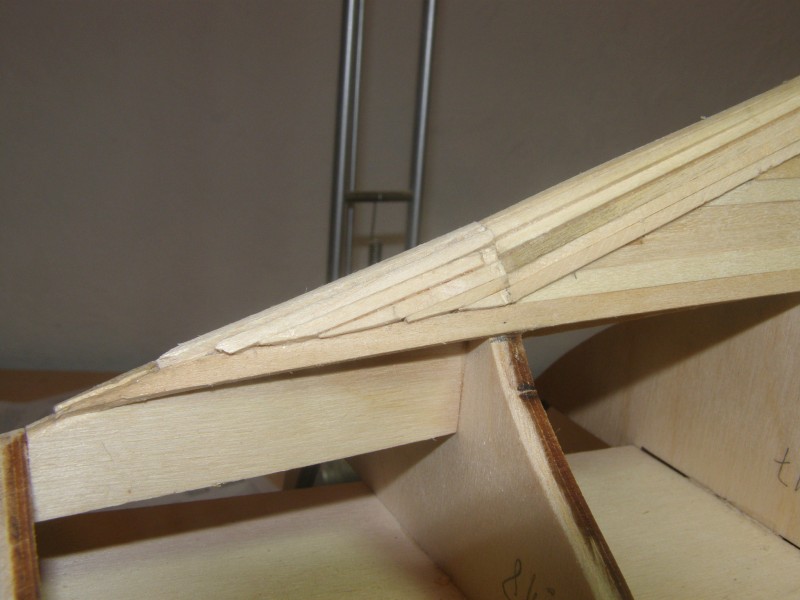
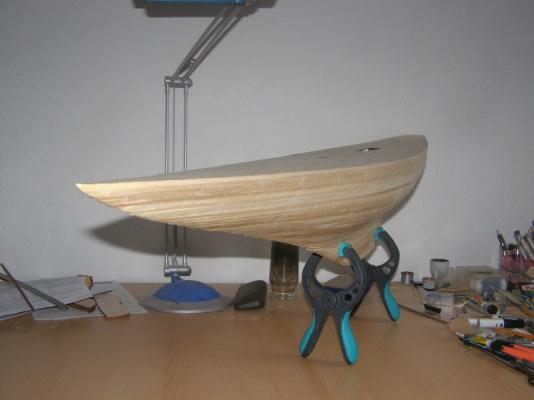
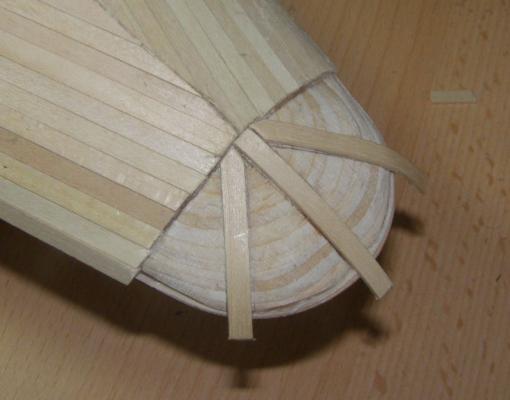
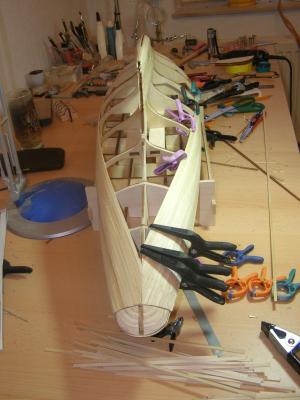
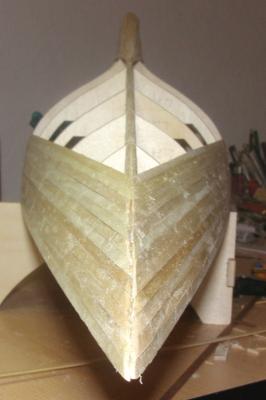
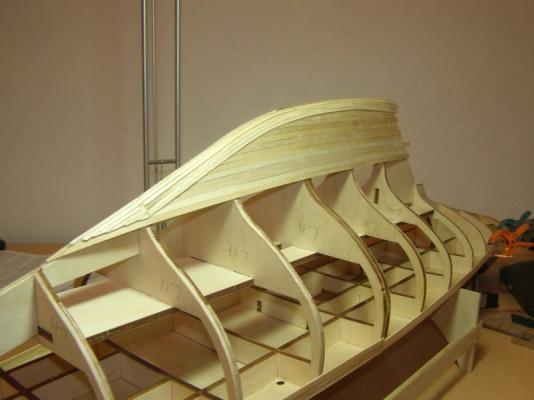
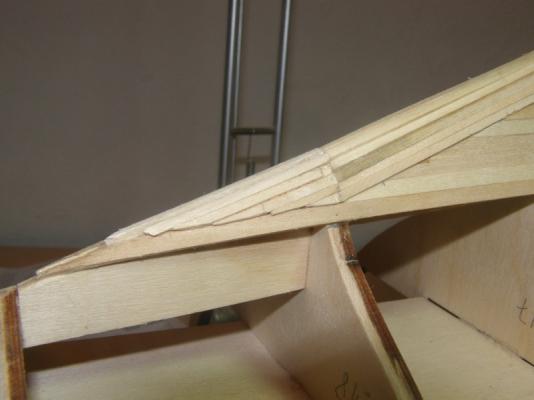
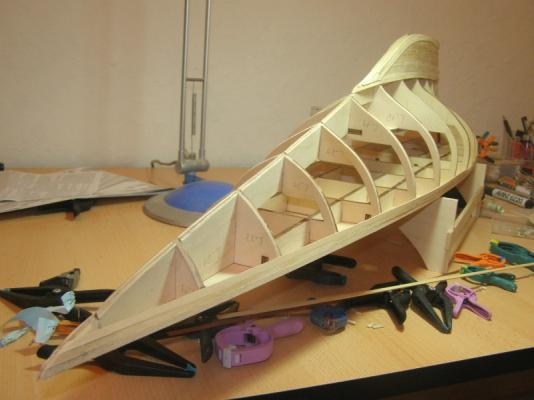
I‘ve too little time but I‘m still busy. The first frames are fully covered by the planks now. Here are some impressions: Note the termination of planking at frame 9. The stern will be planked diagonally, in order to adapt the stripes to the bending. Here you can see the only reason why the midship frame is a double frame: The planks of the lean bow:


-
Thanks for stopping by, Michael and Per. Michael thank you for posting the link. That model is really huge.
-
Thank you very much, guys. Thanks for the tip. Did you use the kit provided parts for assembling the mast? And I would like to see a photo of your Endeavour too.
-
Thanks for the nice comments, Pete and Hamilton. Hamilton It's indeed a feature. If I want a complete painted hull I can glue the second planking up to the edge of the 2mm bulb area covering. The different types of wood will be hidden by the colour. I want to try the second option and leaving the bottom of the hull covered with the mahogany planking. That means sanding down the 2mm planks and planking the bulb area with mahogany stripes.
-
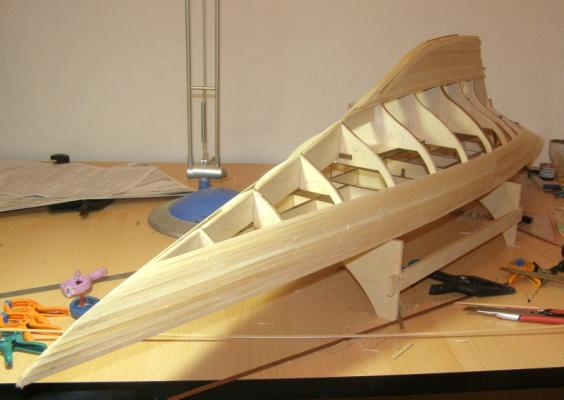
Thank you very much, Yves and Ben. And here are the next photos showing the progress of planking the hull (first planking): First I‘ve nearly finished the planking of the keel. As you can see on the next photos the 2mm planks have to be sanded down to the level of the 1mm planks. And some more planks:


-
Good job, Pete. The hull looks very neat and clean.
- 209 replies
-
- 1
-
-
- muscongus bay lobster smack
- midwest products
- (and 1 more)
-
Hi Jeff, that looks really nice.
-
Very nice start, Pete. Good luck with the boat.
- 209 replies
-
- 1
-
-
- muscongus bay lobster smack
- midwest products
- (and 1 more)