SiriusVoyager
-
Posts
502 -
Joined
-
Last visited
Content Type
Profiles
Forums
Gallery
Events
Everything posted by SiriusVoyager
-
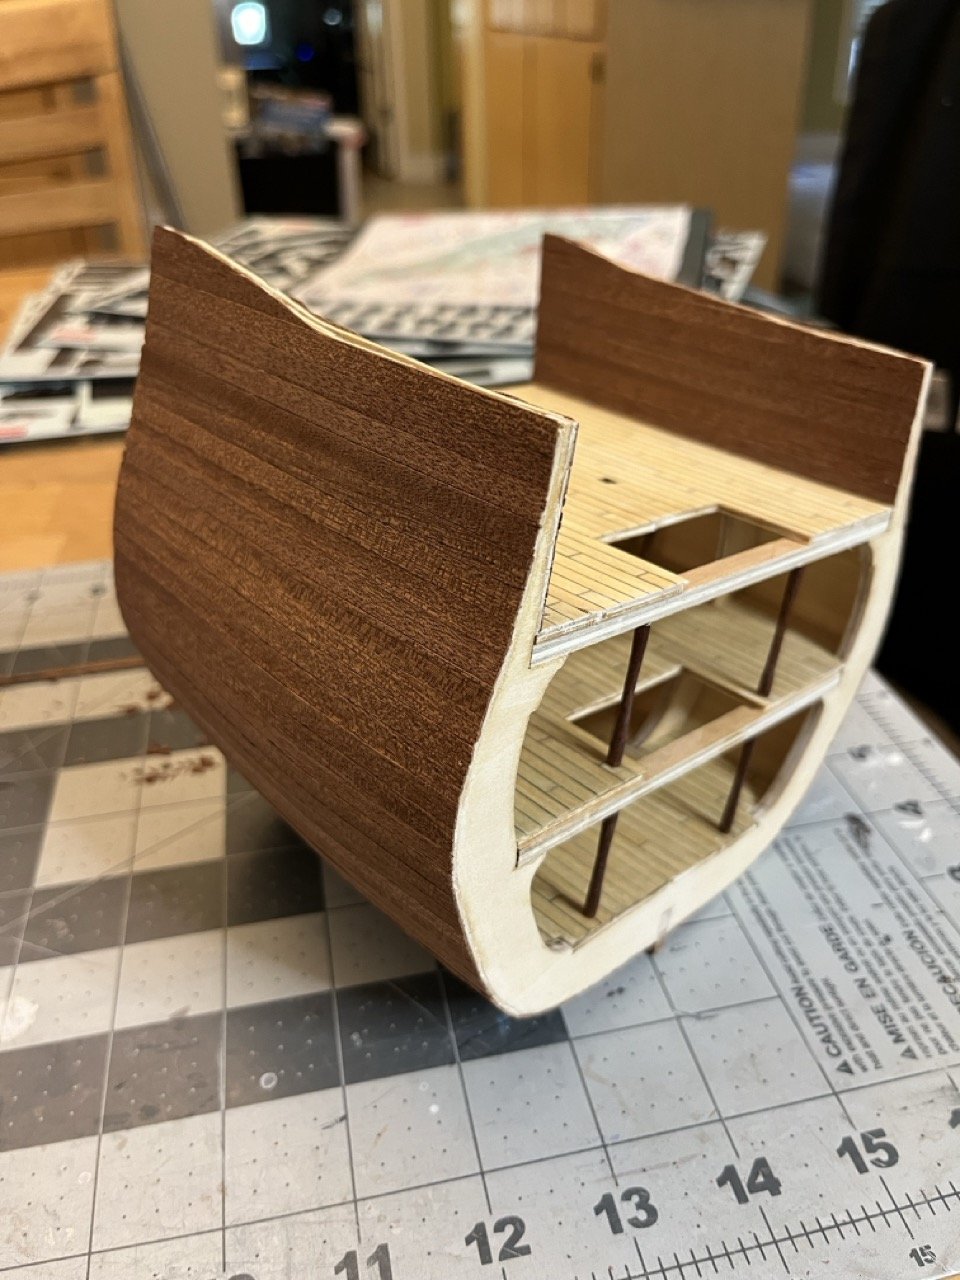
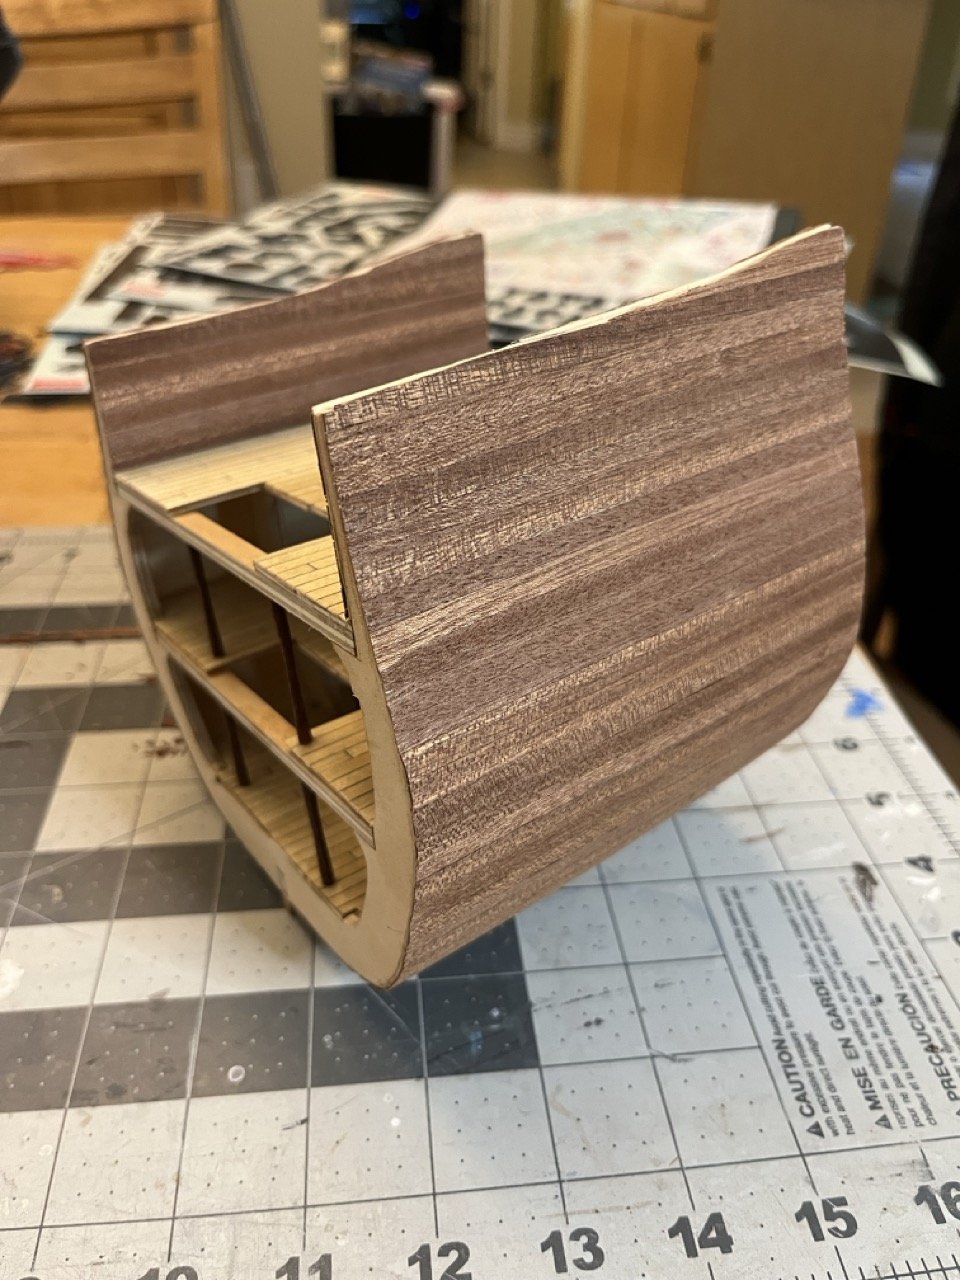
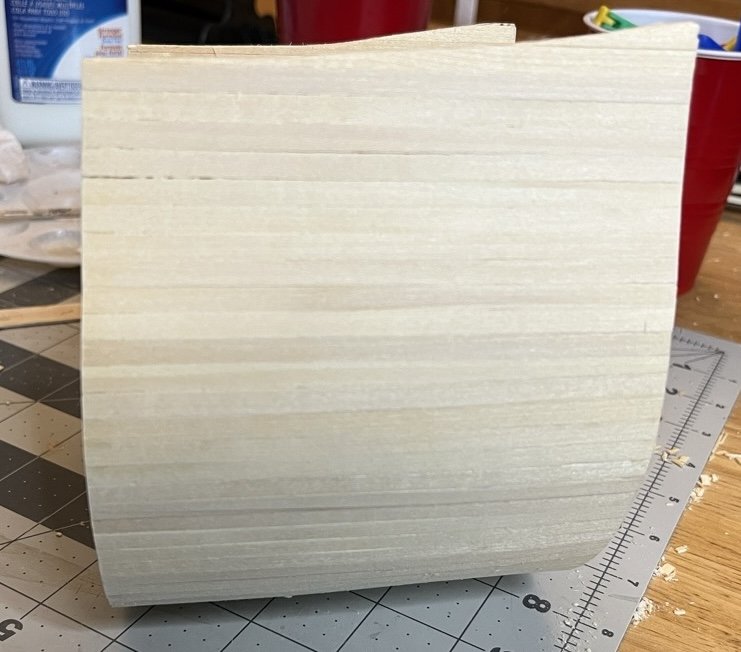
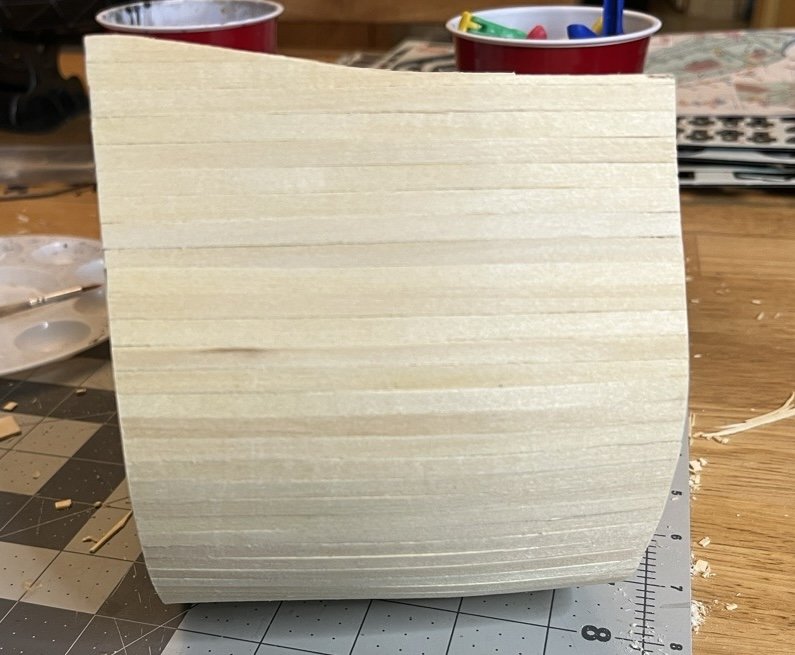
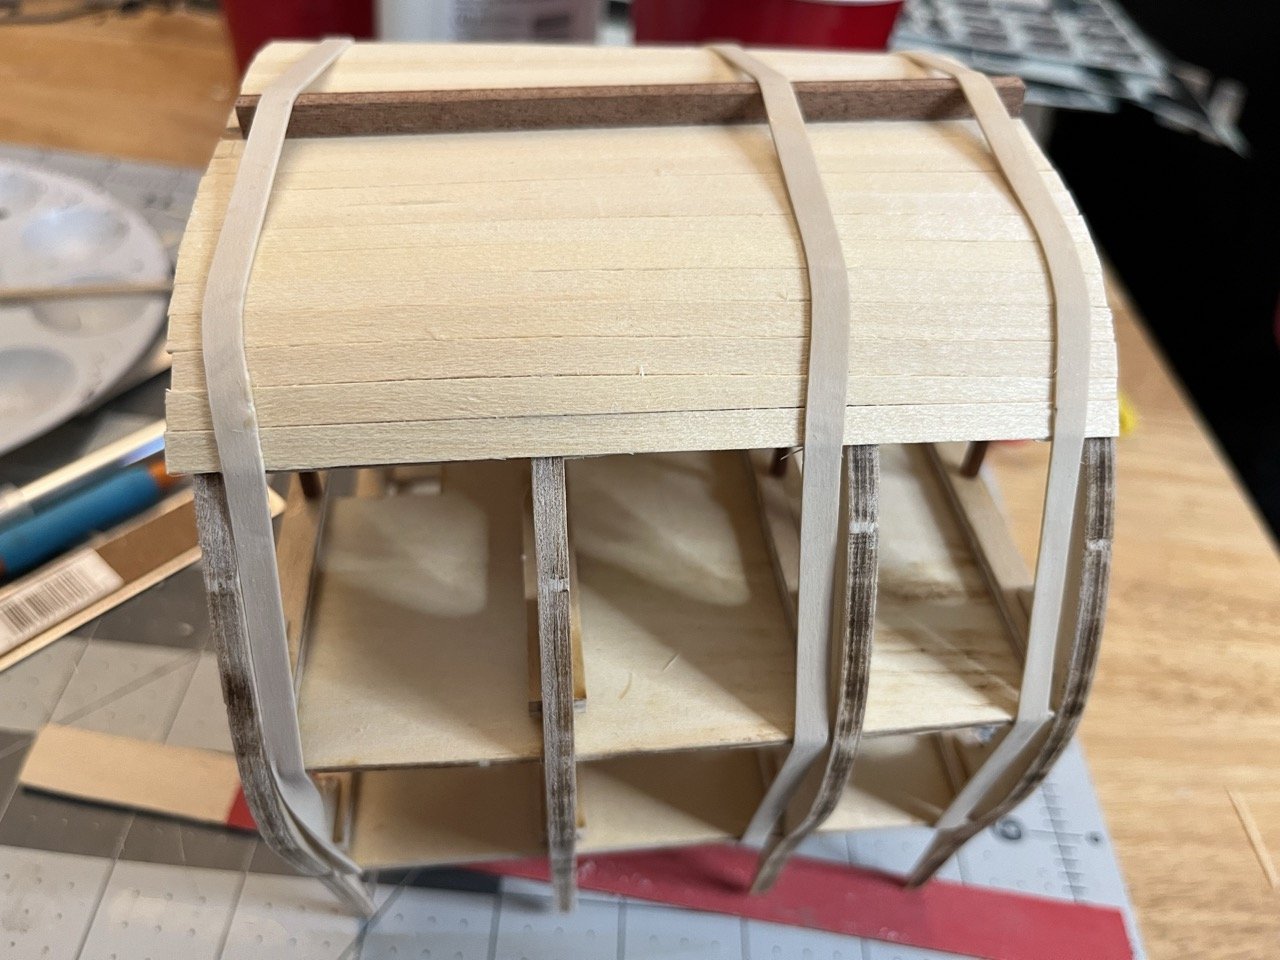
 Second layer planking laid, trimmed and sanded. I am going to try to remove some of the iridescence of the wood to make it look a bit more realistic. Maybe a raw umber stain.
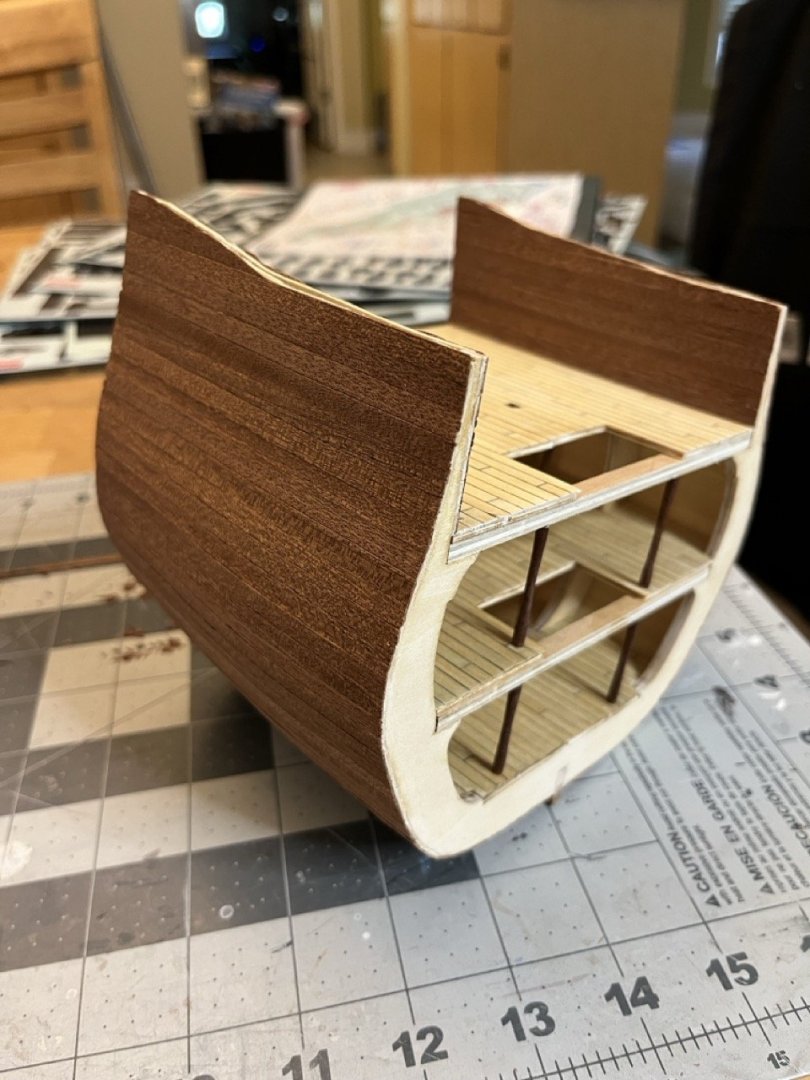

- 86 replies
-
- 5
-

-
- San Francisco
- Artesania Latina
- (and 2 more)
-
Great job! The ship looks amazing. I’ll be referring back to your build long when I start my own in about 6-9 months.
-
Welcome to MSW!
-
Welcome to MSW!
-
Welcome to MSW
-
Intro and interests, from a beginner
SiriusVoyager replied to Desert_Deckhand's topic in New member Introductions
Welcome to MSW! -
In both Occre and AL kits it is common for outer layer planking to be Sapele. I am sure that there are other kit manufacturers that use it as well, but these are the two I have had experience with. I don’t think the color looks quite right. Does anyone do anything to improve the look of this wood?
-
I have two of these carts from Ikea. I work at my dining room table and these make it easy to move my tools and equipment to the corner when not being used.
-
Welcome to MSW. This was my fourth build and it is a pretty good one for a beginner. Getting the Bulwarks on is a beast so be prepared for some frustration there. I was as conservative as I could be with the supplied wooden strips and I had a reasonable number left over, so don't worry too much about that. It looks like you are off to a good start.
-
I didn’t make a build log for the pram unfortunately and it’s been over 9 months since I would have been at this step. I seem to recall having a similar issue with the planks not quite fitting on the bow. My thinking is this. The planks can’t really be made larger, but the bow transom can be made smaller. I would fine tune the edges of the bow transom to fix the planks. As far as the glue, it should hold. When you use water to bend the wood, do you use hot water? My technique was to lay the planks in a glass baking sheet pour boiling water of them. After a 5-10 minutes I would clamp them across large sauce pan to get a nice permanent bend in them prior to attaching to the rest of the build.
- 86 replies
-
- 3
-
-
- Model Shipways
- Norwegian Sailing Pram
- (and 3 more)
-
Which Soleil Royal, Sergal or Artesania Latina?
SiriusVoyager replied to Ryk's topic in Wood ship model kits
You might get more responses posting a new topic. That being said, what is your experience level? If you are a beginner I wouldn’t start with a complex pricy kit. There are a many unfinished models and former model makers that started with something too difficult. -
First timer introduction and needing some advice
SiriusVoyager replied to Stuka's topic in New member Introductions
Welcome to MSW! -
Thank you for the kind words Chuck. I'm still a beginner and learning as well. I am sure the Constitution is quite the complex build. This kit is the Artesania Latina San Francisco Galleon. It is a relatively simple cross section, which is why I figured it would be good practice for honing technique.
-
The paint job looks great and nice choice of colors.
- 33 replies
-
- 2
-
-
- Model Shipways
- Norwegian Sailing Pram
- (and 1 more)
-
Thanks! Being mostly straight helped, but I definitely feel better about it than my previous builds.
- 86 replies
-
- 3
-
-
- San Francisco
- Artesania Latina
- (and 2 more)
-
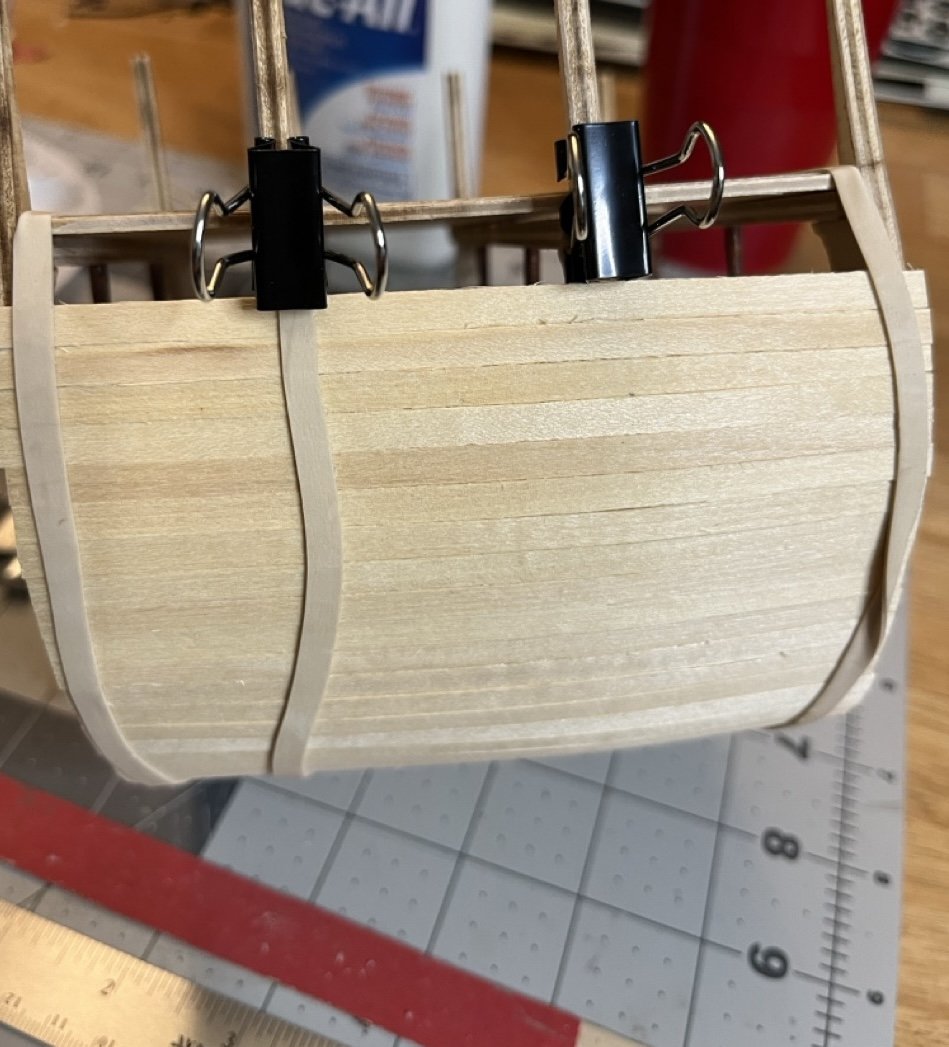
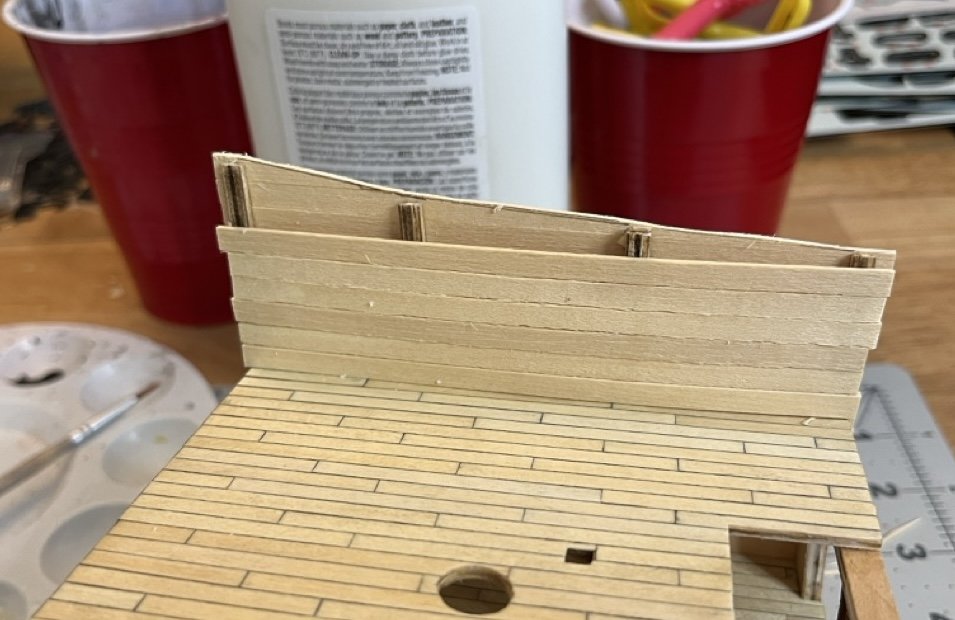
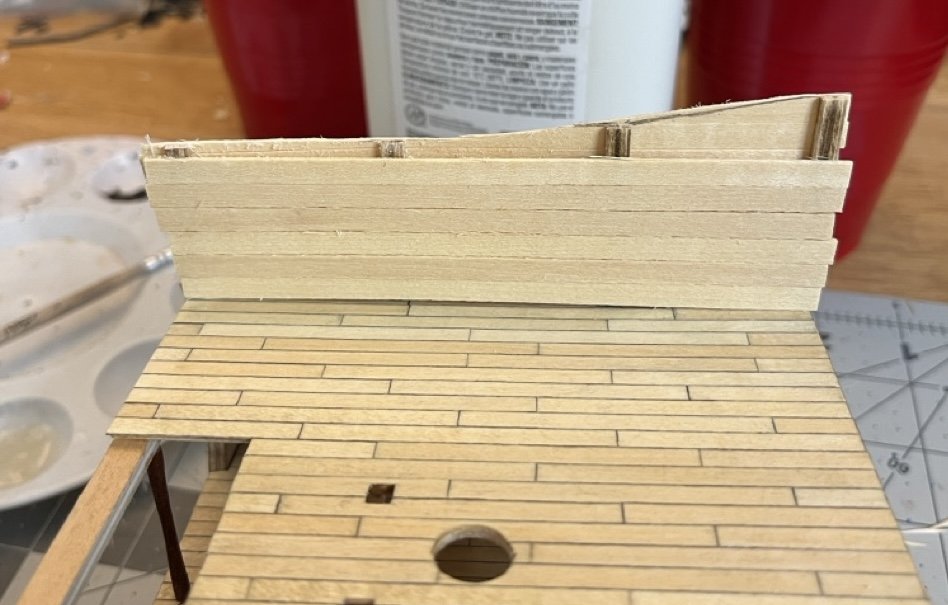
I continued adding more strakes to the frame. I came to another point where the width needed to be adjusted to keep everything straight. I simply held a strake as strait as I could and marked where the overlap was. I used a straight edge to trim a line between those two points. It's not exact, but it shouldn't be since the previous strake didn't have an angle at the overlap point. Sanded down the high points and fine tuned to fit. Nice and flush again. The bulwark is tricky because there is supposed to be a curve in it. The instructions say to draw a curved line connecting the frames, but I don't really see any easy way to do this well, other than free handing. Since I couldn't come up with a better way I drew a rough line, trimmed and sanded into the best shape I could. First layer of planking trimmed and sanded.
- 86 replies
-
- 2
-
-
- San Francisco
- Artesania Latina
- (and 2 more)
-
I would say either buy a wood stain that you like or you can use thinned acrylic paint as a poor man’s stain. If you have burnt umber as a color that is a good place to start. You can mix colors as needed and find recipes online for different color mixtures. Once you get the color you like add equal parts water (or acrylic paint thinner depending on the paint) to the paint then treat it like any other stain. Apply it with a brush, let sit for 5-20 seconds, then wipe off with a paper towel. The longer you let it sit, the darker it will be. Make sure to test it on scrap first to ensure that you like how it looks.
- 26 replies
-
- 1
-
-
- Solid hull
- Bregante
- (and 2 more)
-
Nice work so far. The paddle wheel looks really good!
-
That is a nice looking little model. Good detail on the deck. As far as the wood covering, is your goal to darken the mast?
-
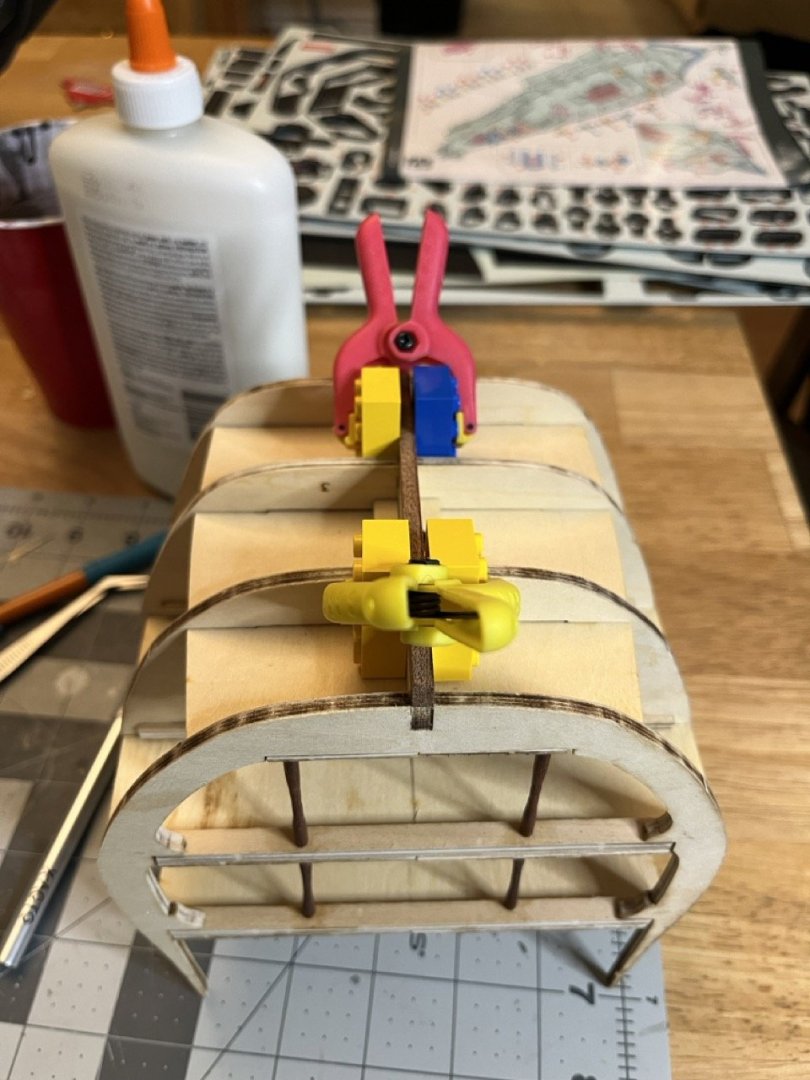
I think one of the biggest issues I have found as a beginner is making sure that anything that is supposed to be at a right angle, is actually at a right angle. It is very hard to eyeball it. Having a couple of perfectly square blocks that can be clamped to one or more sides will be helpful. I use Legos since I have them readily available.
-
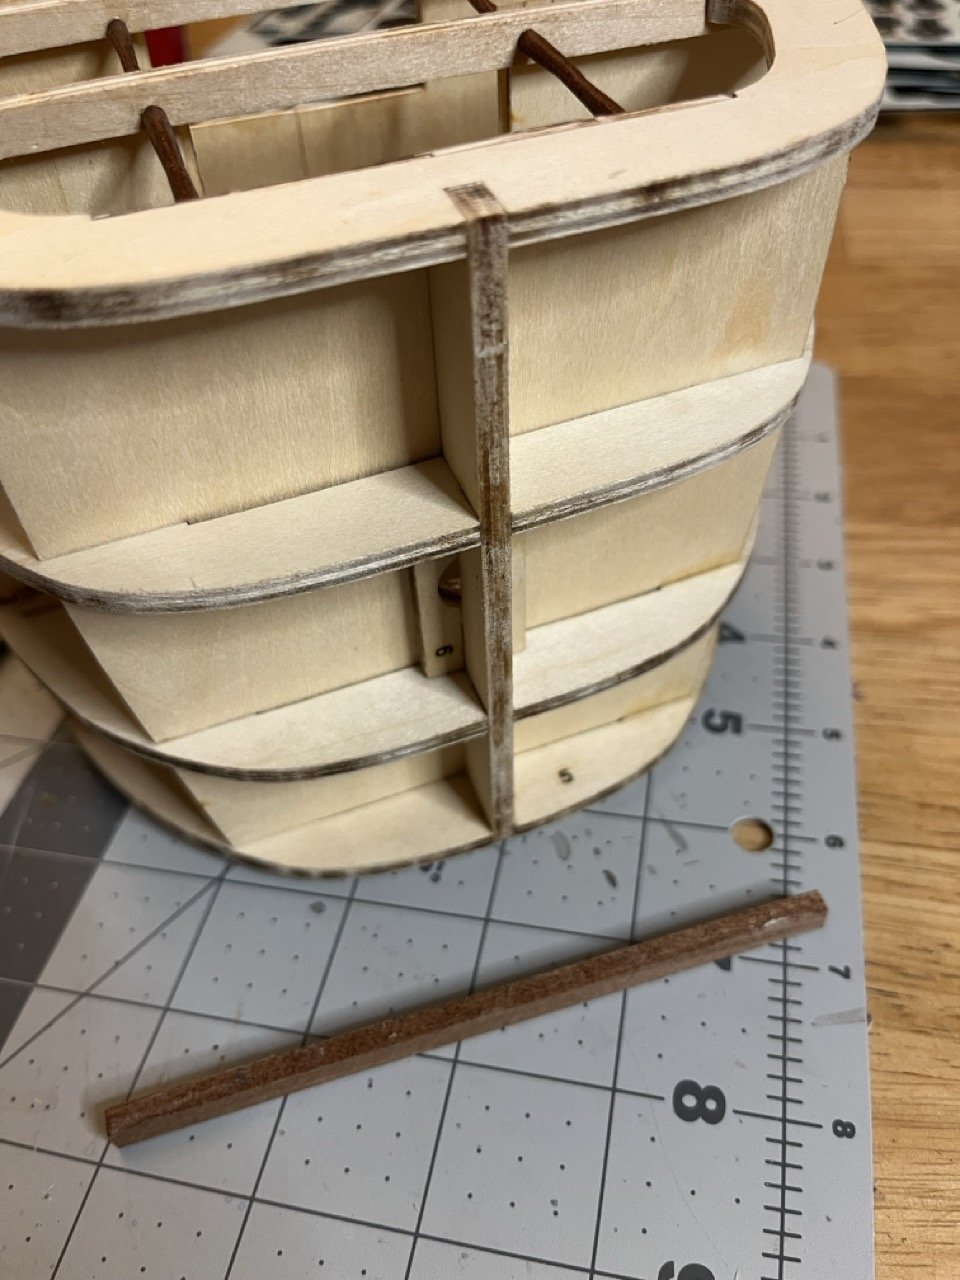
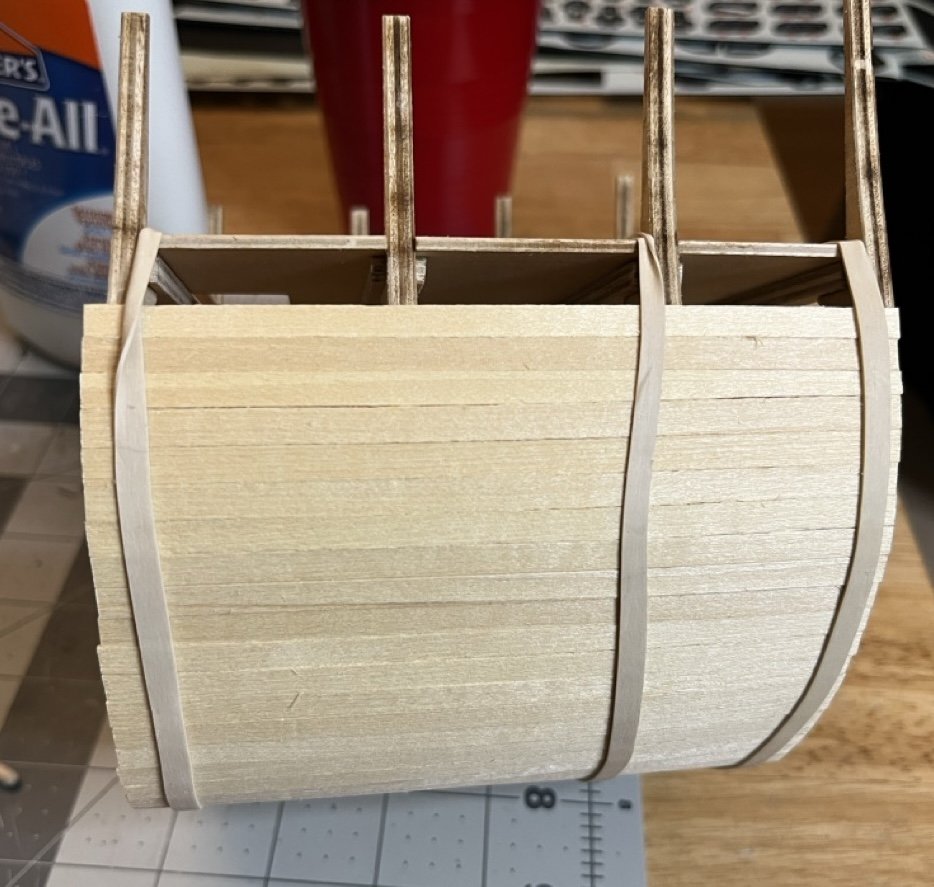
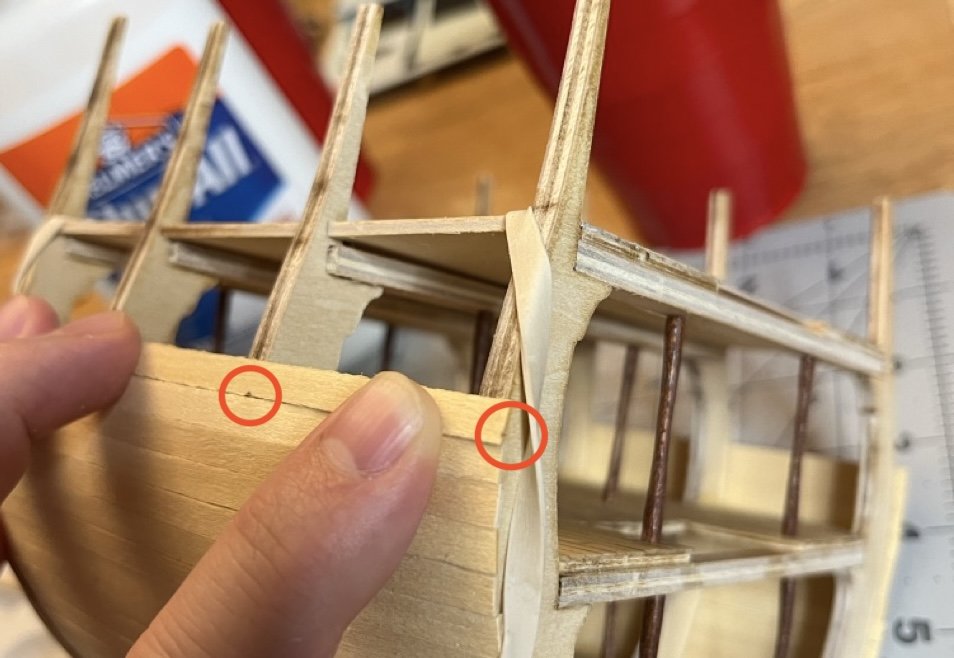
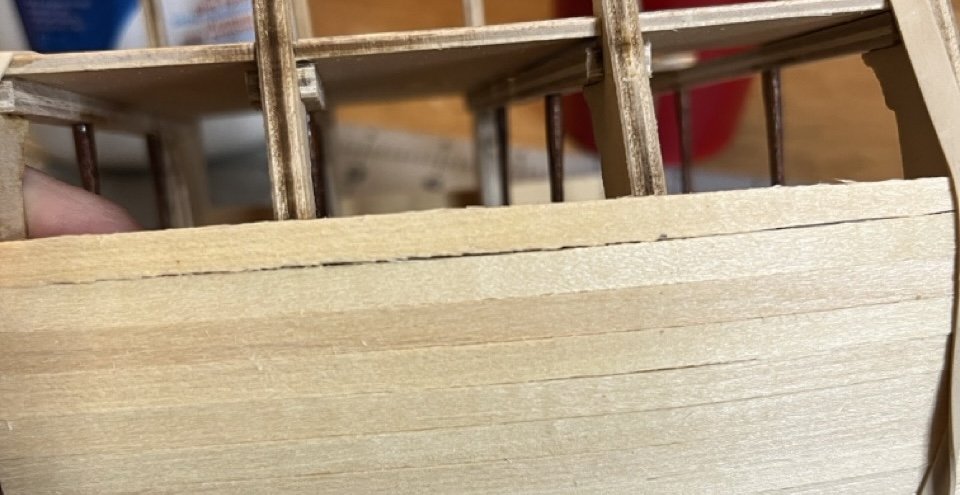
The keel looks much better now that it is square. Planking started. It is pretty straight forward being a cross section. I narrowed one plank (so far) to keep everything aligned. Beveling the edges is a bit tricky with the thin strips of wood. I found it easiest to only bevel one edge. Beveling may not be needed along the sides of the hull.
- 86 replies
-
- 2
-
-
- San Francisco
- Artesania Latina
- (and 2 more)
-
I notice a lot of those clamps here. I have some as well. They work pretty well. Another good option for soft clamping is clothes pins. You can get more than you need at Walmart for less than $3. You just have to be careful with glue since they are wood. The pram is looking good
- 33 replies
-
- 1
-
-
- Model Shipways
- Norwegian Sailing Pram
- (and 1 more)
-
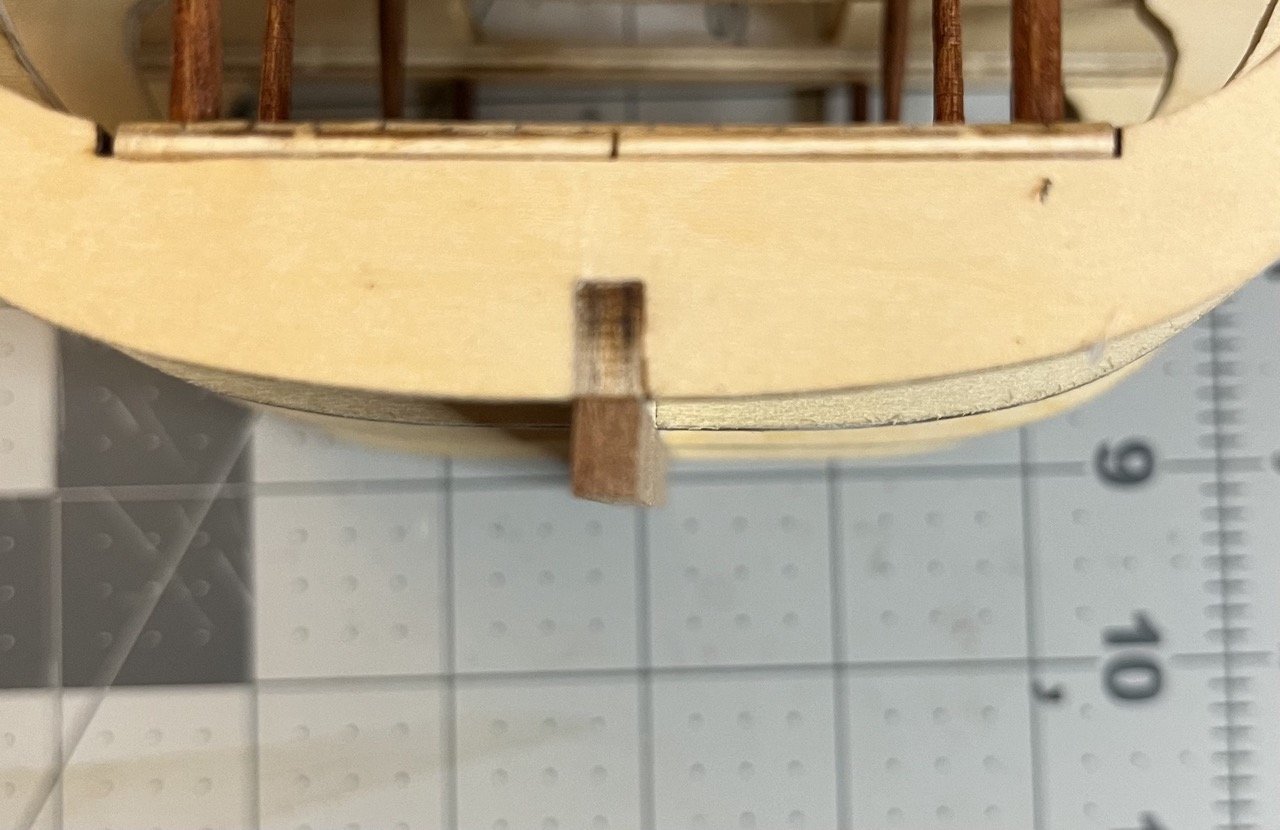
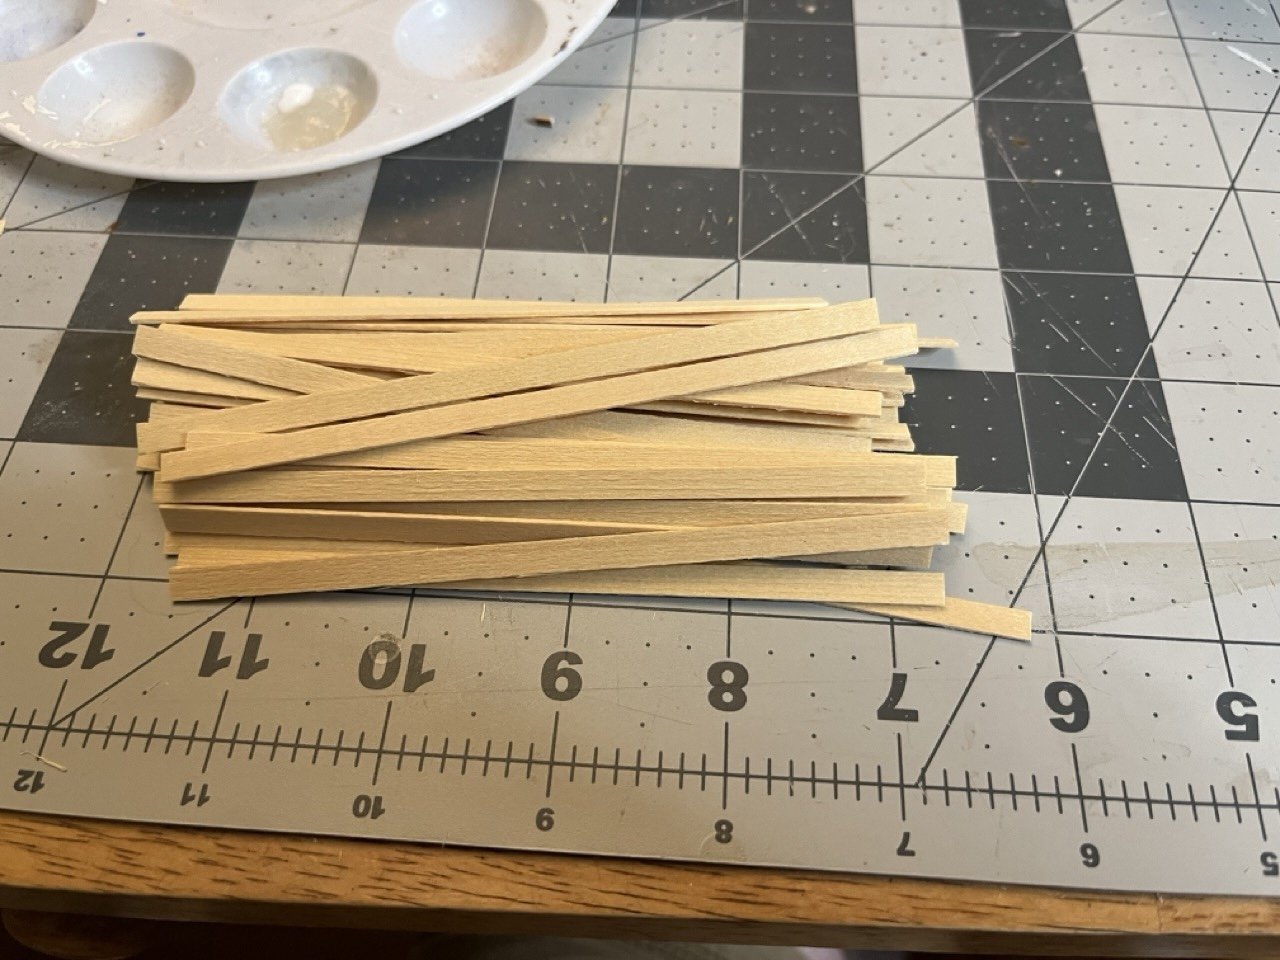
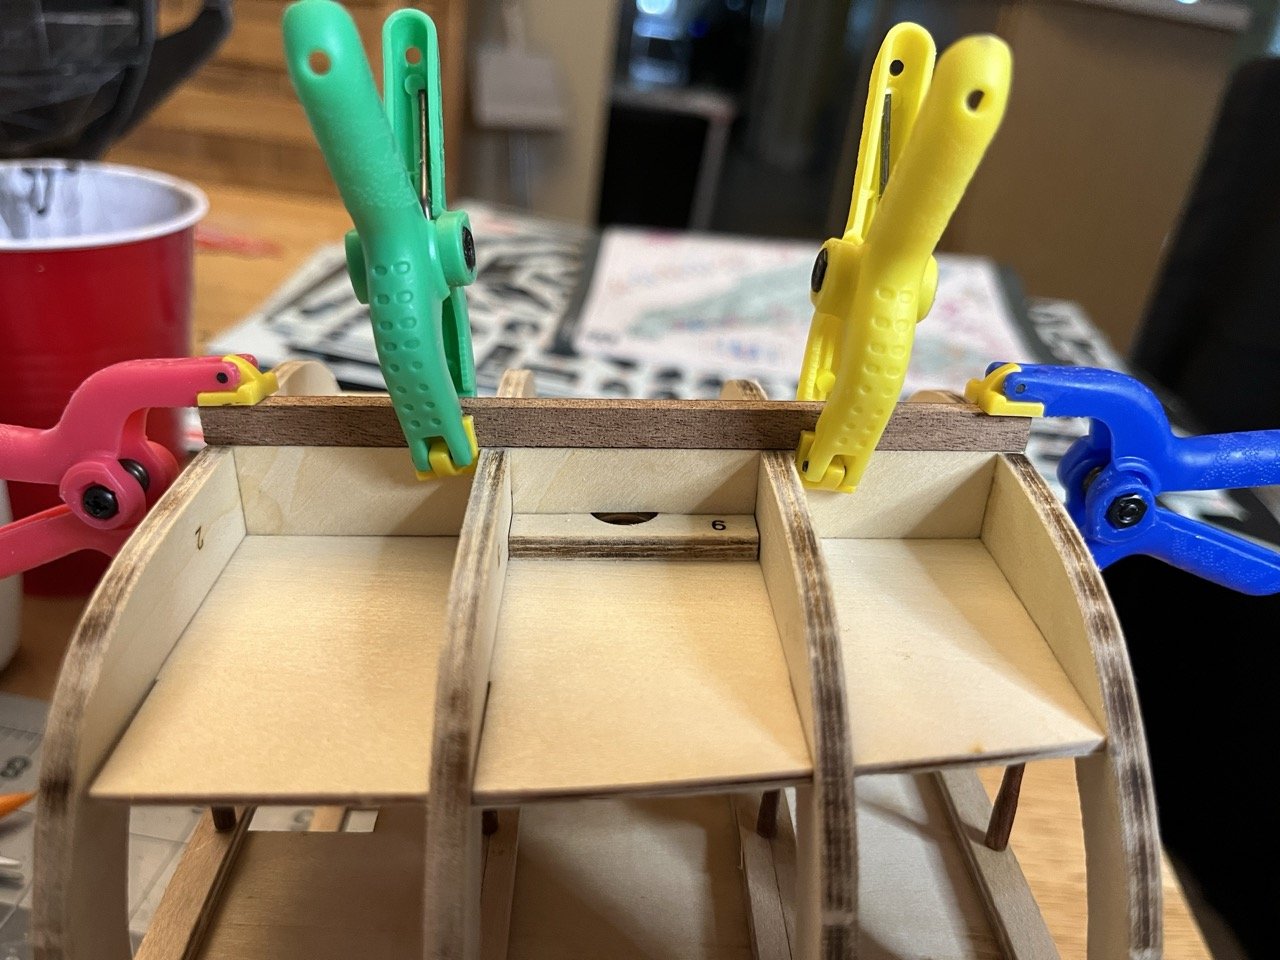
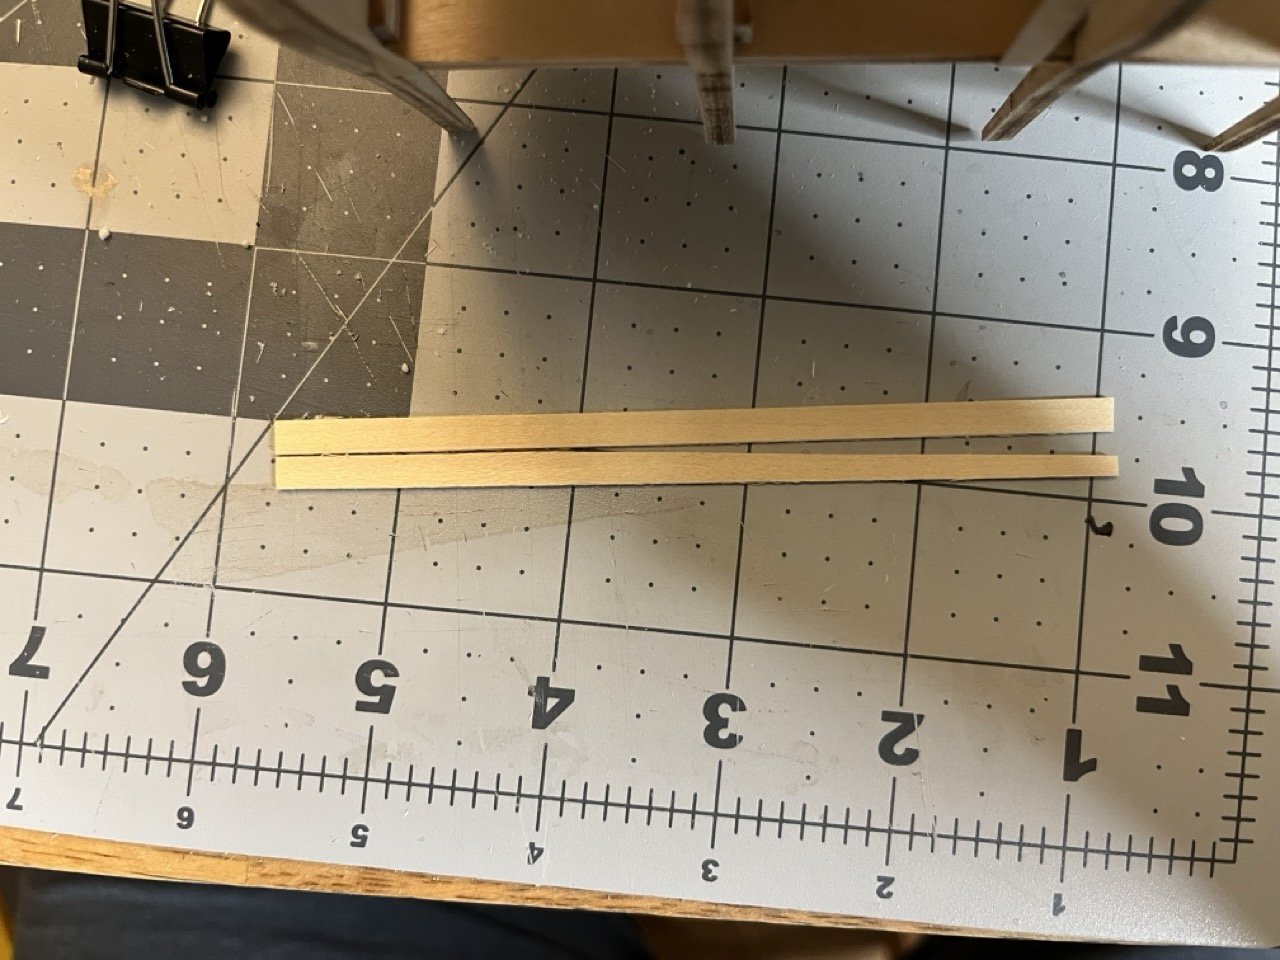
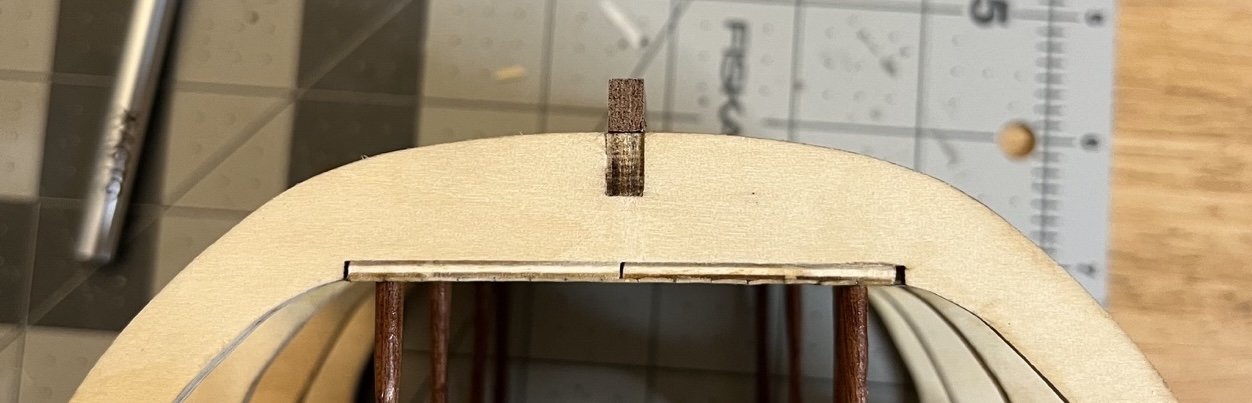
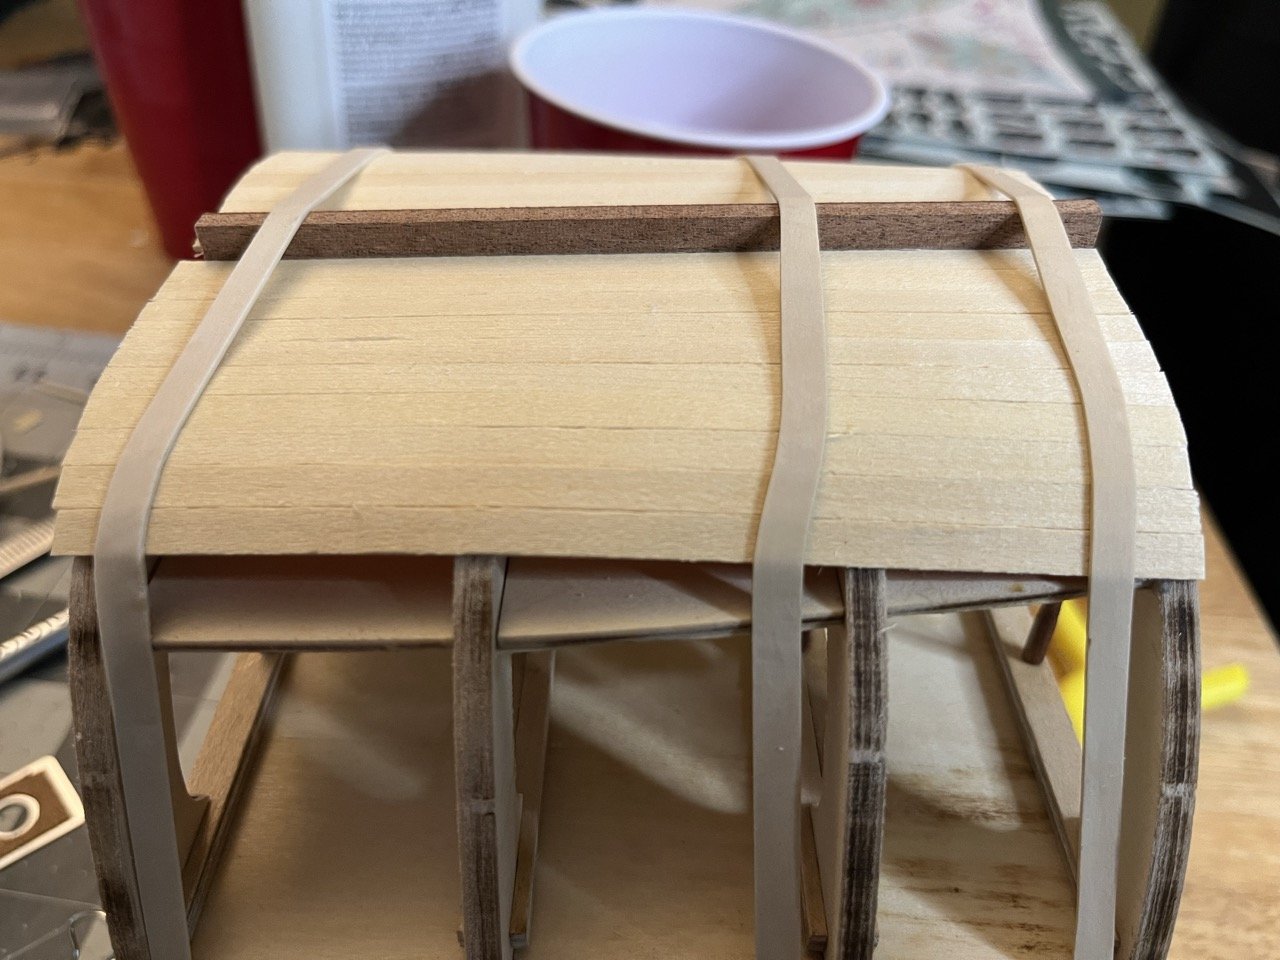
The next step in the instructions is to lay the first layer of planking. It calls for leaving a gap of 4mm to place the keel later. I have played that game before with the Palamos and didn't like it. No matter how hard I would try to leave the exact width of 4mm, something wouldn't be quite right and I wouldn't like the fit. I cannot see a good reason not to simply place the keel first so that is what I did. The length of the wood for the keel was 150mm so it had to be cut to 120mm first. A razor saw with a miter box was great for this. Here is the keel (first attempt) on the frame. The keel didn't sit on straight. I doubt it would have been noticeable in the end, but I didn't like it. Fortunately I noticed it before it fully dried, so with a little bit of IPA and a hobby knife I was able to get a pretty clean removal without a lot of fuss. Second attempt with some Lego (I don't like that the plural of Lego is Lego) to help keep it square. While the keel was drying I prepared most of the strips needed for the first level of planking. A very rough measurement shows about 18mm along the longest frame which means 36 strips per side. I cut each strip about 123mm to have a little overhang to prevent accidentally cutting any too short. I only cut 60 in case I need to make any adjustments towards the end.