


SiriusVoyager
-
Posts
502 -
Joined
-
Last visited
Content Type
Profiles
Forums
Gallery
Events
Everything posted by SiriusVoyager
-
 Very cool Bryan, it looks great! I would have never expected a model kayak to be an interesting build.
- 33 replies
-
- 2
-

-

-
- midwest products
- kayak
- (and 1 more)
-
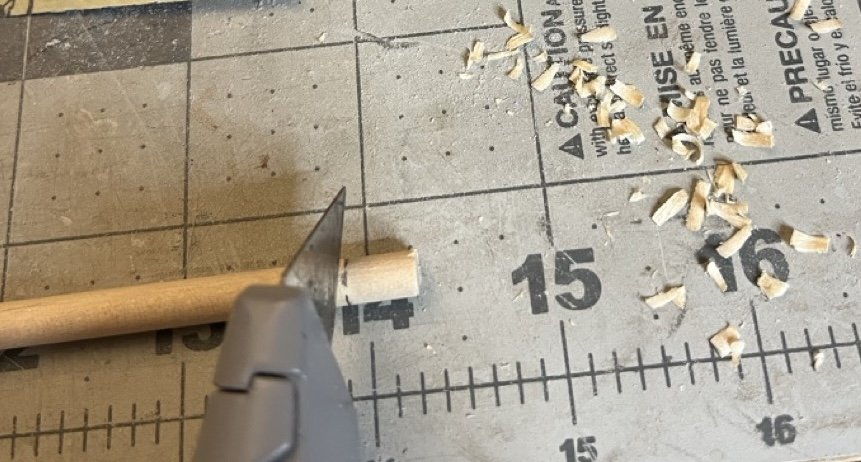
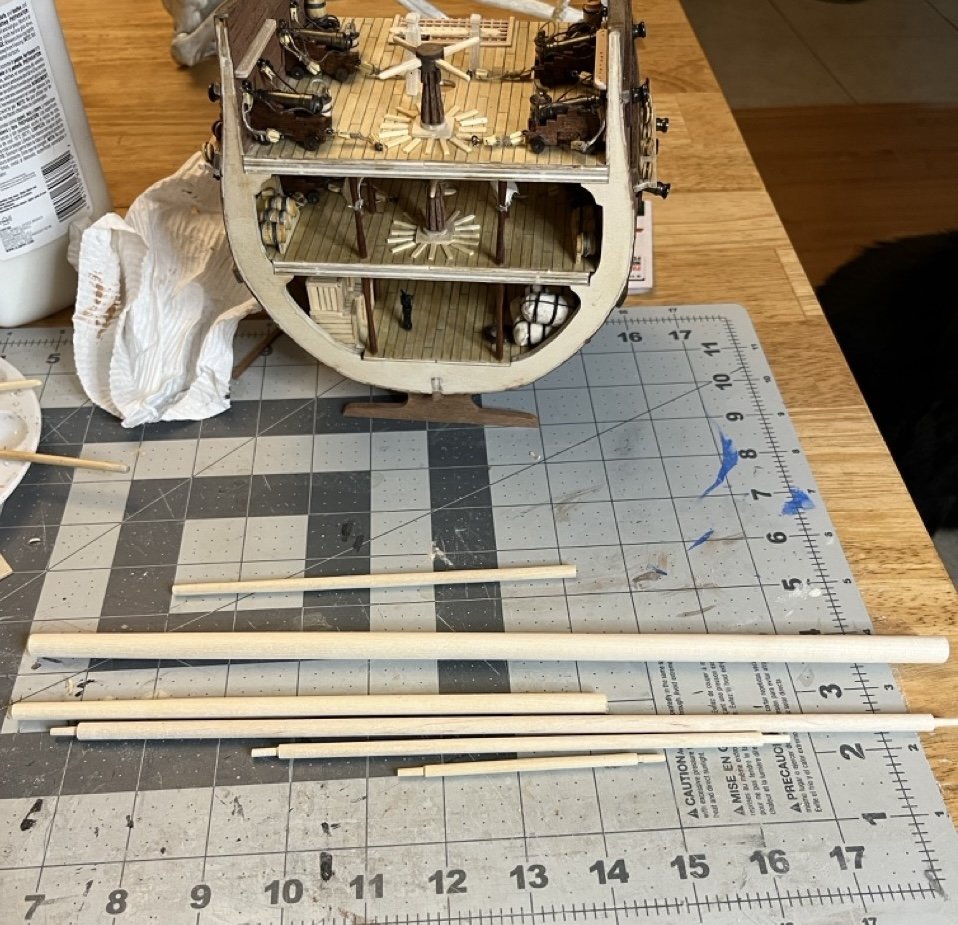
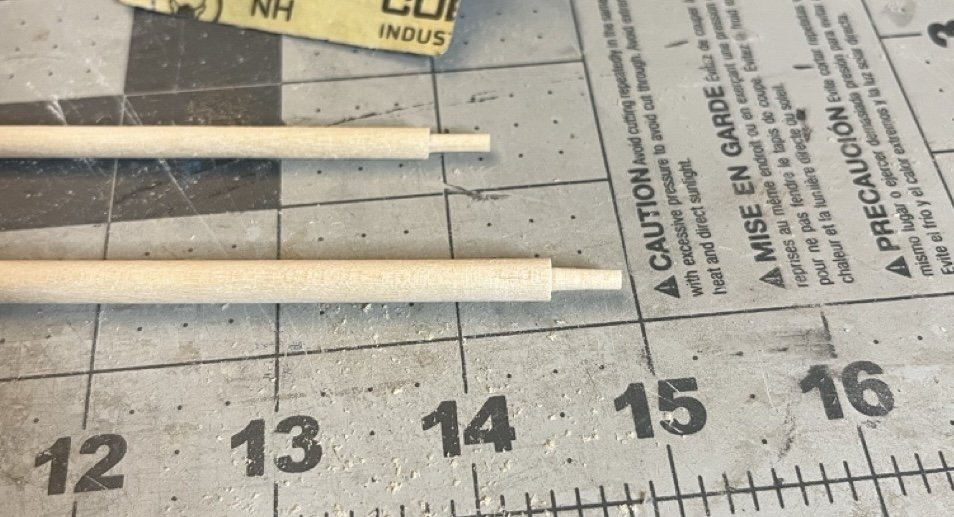
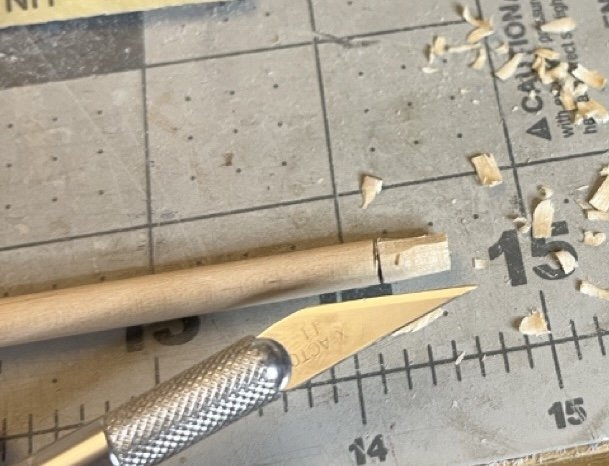
I shaped all of the mast pieces and yards so I could stain them in one sitting. The smallest yard called for using a dowel that is the same dimensions as the dowel used in making the capstans. Without realizing it, I cut off pieces for the capstan from each of the dowels. This meant that both dowels were too short for the yard. By a chance of pure dumb luck, one of the dowels was just long enough to be the full length of the yard minus one of the carved out ends. For that one, I glued a carved out piece on to the end. For the rest of the yards, I used a blade to cut into the dowel by rolling it under the blade. I then carved out pieces of the dowel using a hobby knife. I repeated this process until it was roughly the size and shape needed, then sanded it smooth. All of the masts and spars shaped and ready to be stained. The taper is only very slight and almost not noticeable, however they do match the dimensions listed in the instructions.
- 86 replies
-
- 4
-
-
- San Francisco
- Artesania Latina
- (and 2 more)
-
Welcome to MSW!
-
Welcome to MSW!
-
Welcome to MSW! I hope the hobby and the forums can provide some therapy for you!
-
Welcome to MSW!
-
Welcome to MSW!
-
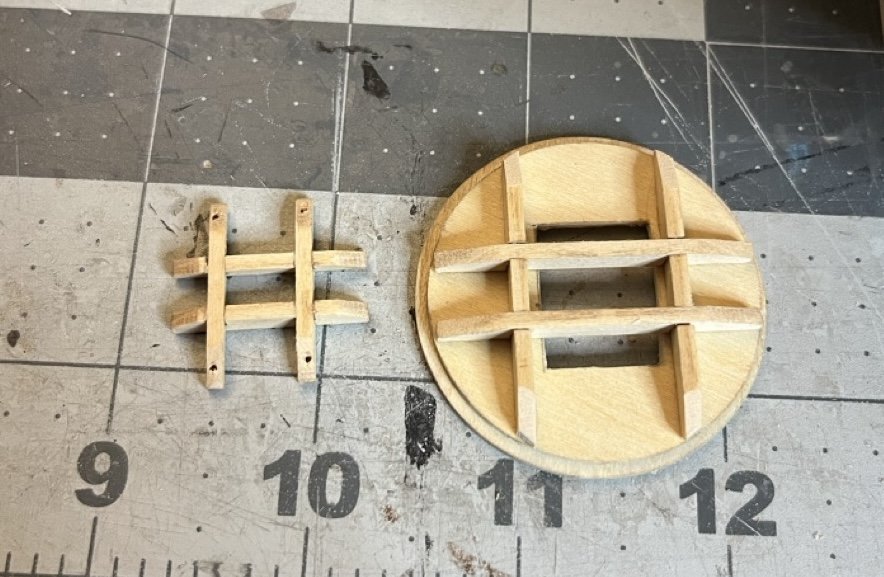
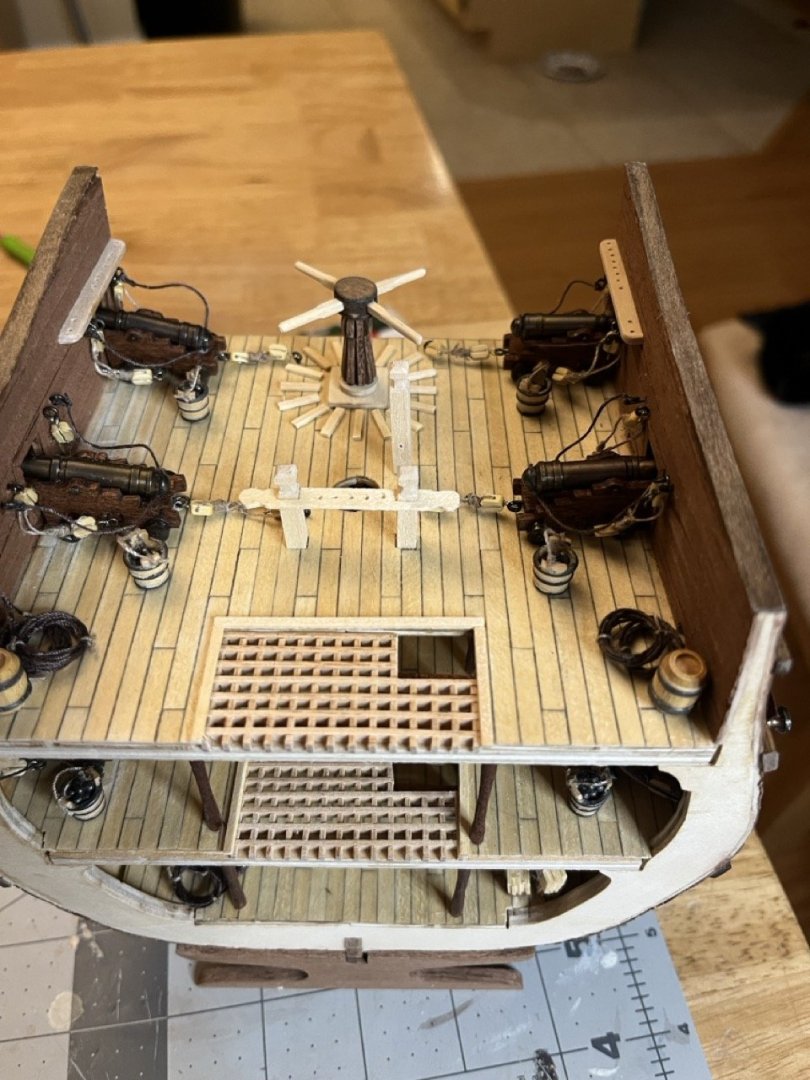
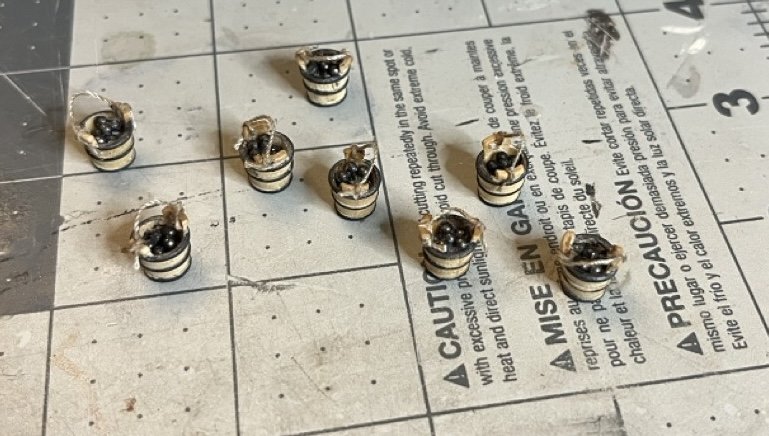
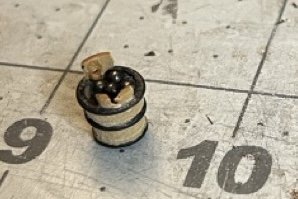
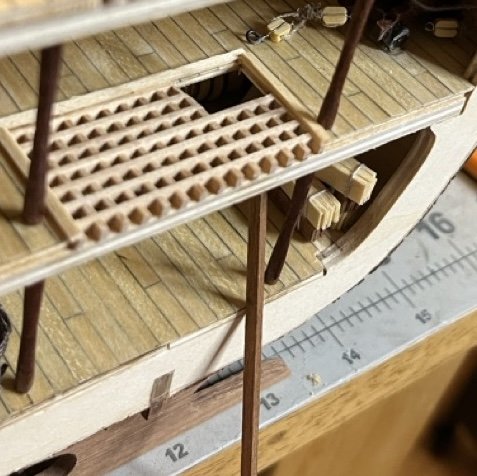
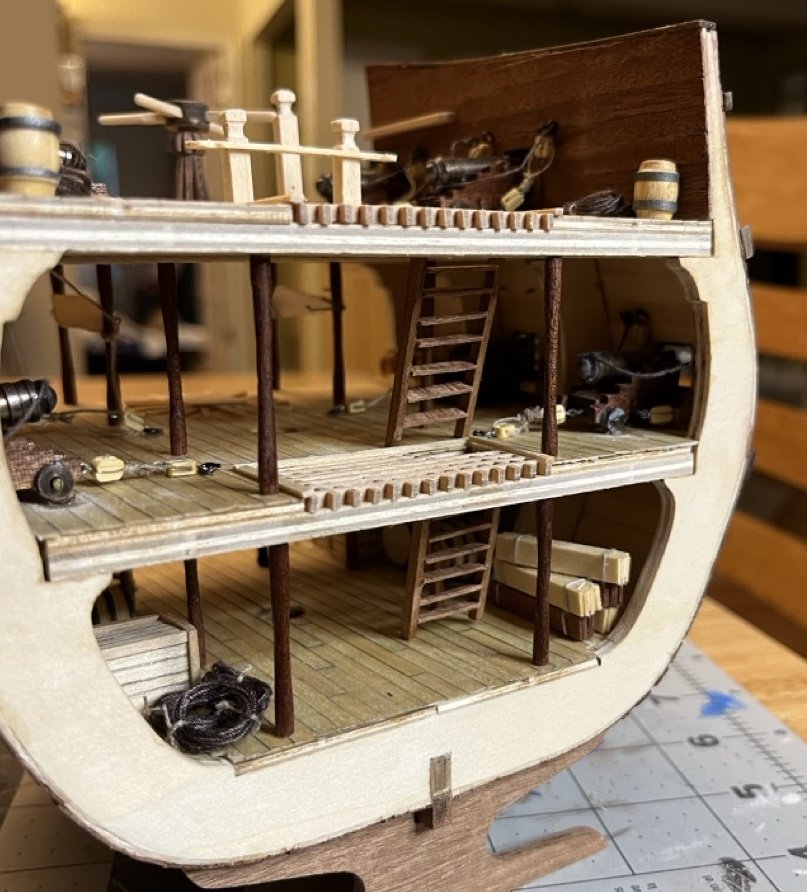
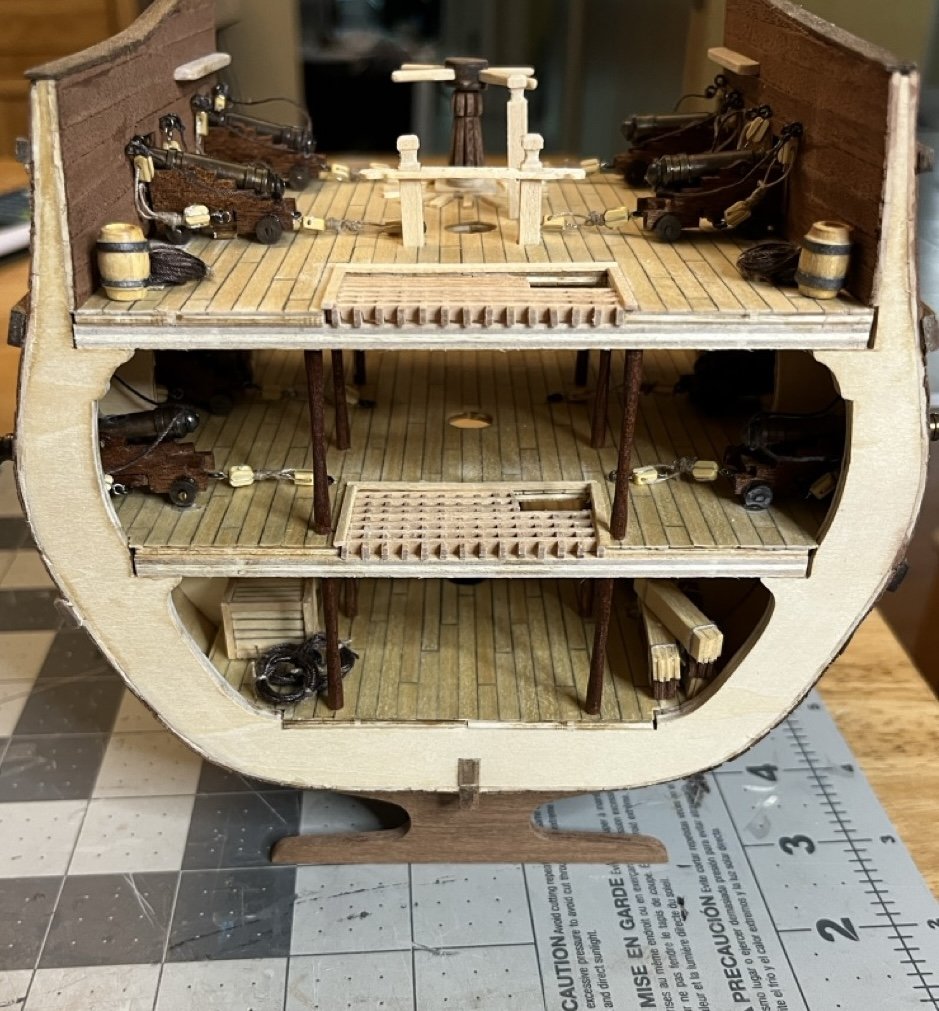
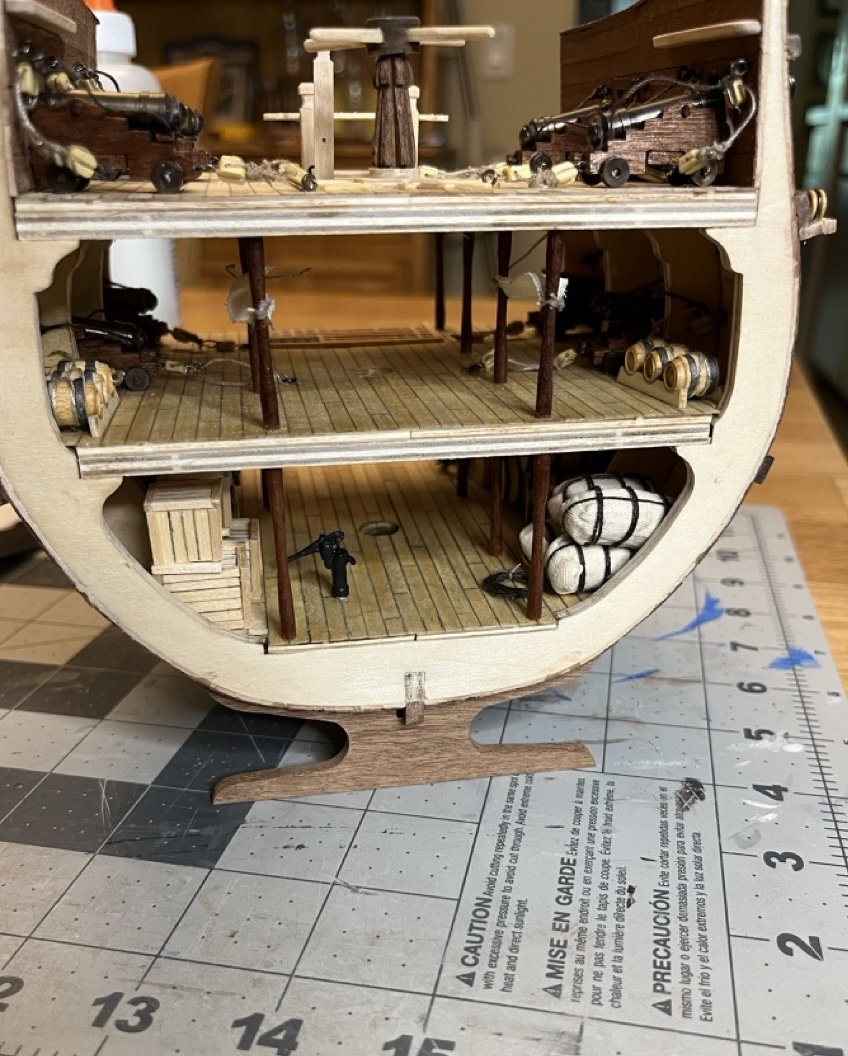
The second capstan is now installed. I basically made it the same way as the upper capstan but with the added shaft atop. Next is making the buckets for the shot. This again required either painting the iron bands on or making them from an index card. The bands on the buckets were much more pronounced which would have likely required me to sand them down had I made the bands out of card. Because of how pronounced they were, it was much easier to tape them off and paint them compared to the barrels. One bucket had a drilling error, but it was serviceable and won't be visible when placed in the middle of the gun deck. I used CA glue to hold the shot in place, then lightly painted them to make them look more like iron. I believe that all that is left now is the mast and rigging. I started working on the crows nest. Part of the frame required quite a bit of resizing to fit properly but was otherwise straight forward. One of my frustrations with this kit is that any removal of char in the notches causes the fittings to be loose (except for the grating which was very tight even with char removed). It would be nice if char removal was taken into account when sizing the laser cut pieces.
- 86 replies
-
- 2
-
-
- San Francisco
- Artesania Latina
- (and 2 more)
-
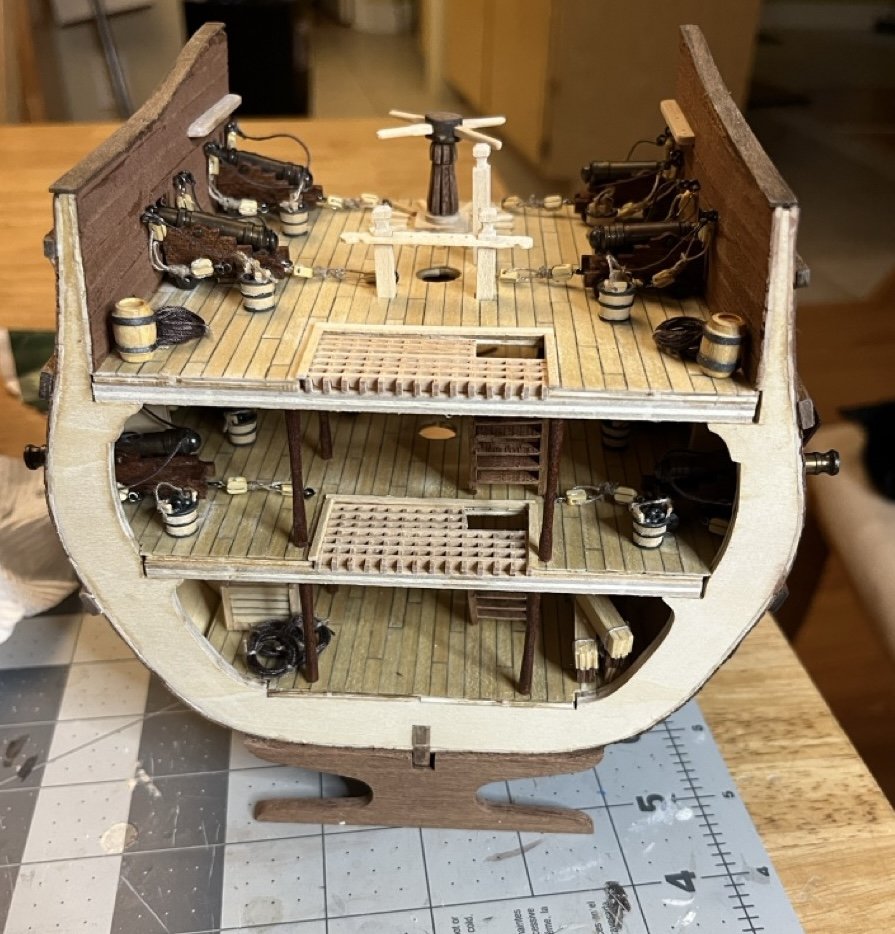
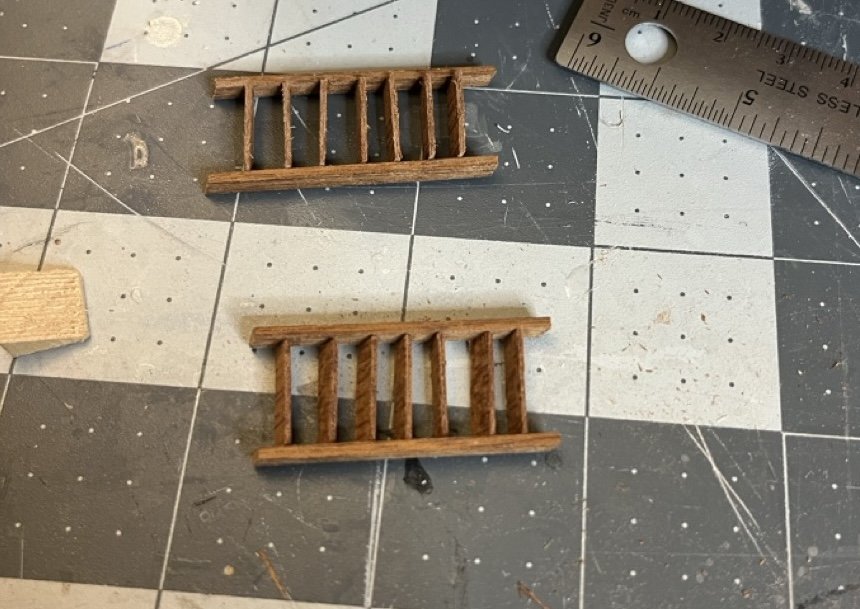
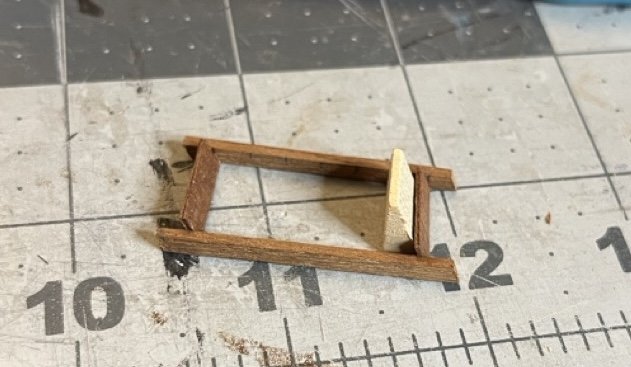
For the ladders, I didn't want to install them the way they are shown in the instructions. The slope is nowhere near realistic, even for normal stairs. To make them more steep, and to face for and aft, I decided that they will extend from the opening in the grating to just clearing the grating below. I used some trigonometry (who says you will never use math) and figured out the angle which was almost 65 degrees. My miter box has an angle of 65.7 degrees, which I figured would give me a pretty good angle. The first ladder I eyeballed the steps to try and make them parallel to the deck. For the second ladder I made a wedge at 65.7 degrees to hold the steps. I also measured the ladder railing by simply holding it up to the deck below. It is apparent which ladder used the wedge in the photo below. I also started laying the base for the second capstan.

- 86 replies
-
- 2
-
-
- San Francisco
- Artesania Latina
- (and 2 more)
-
Welcome to MSW!
-
Very nice looking vessel!
-
The instructions are available on AL's website here EDIT: I linked the instructions rather than the actual page they are on, so if you click on it it will go straight to the PDF download.
-
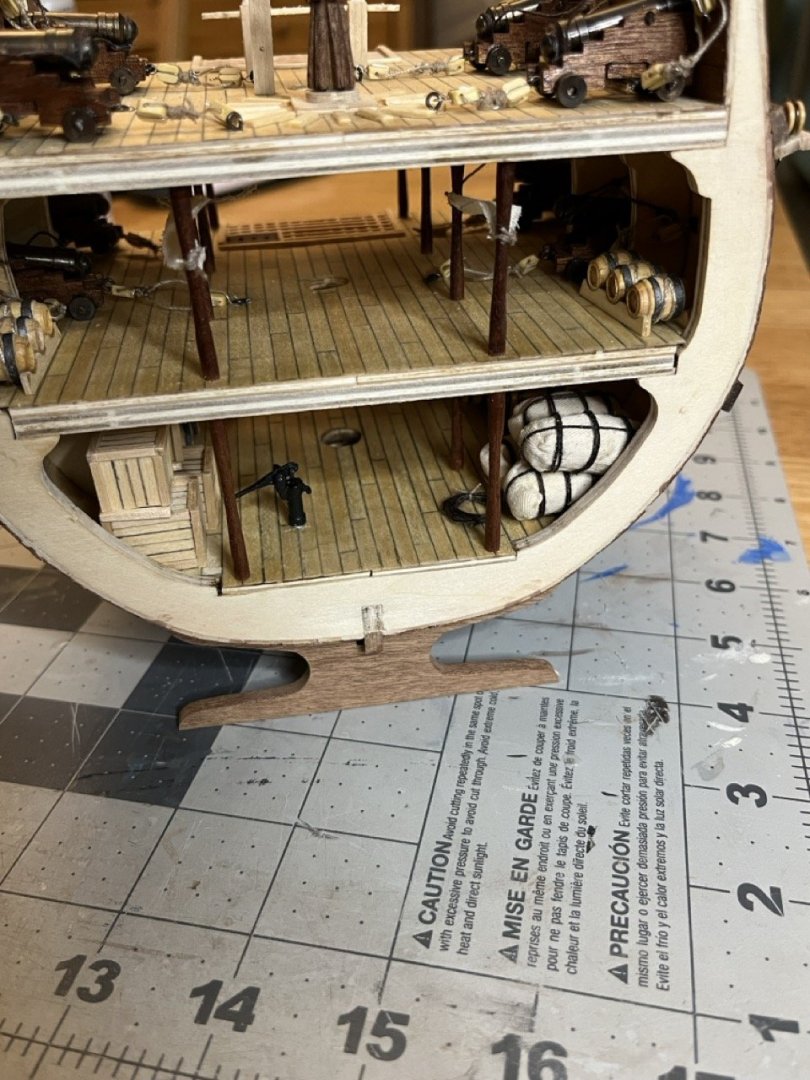
Bundles of spare rope are also now competed. I simply wrapped the coiled thread around a dowel and two pieces of tie thread. I then tied them while still on the dowel. This made making them pretty quick and easy. After sliding them off I added a little diluted PVA to hold everything together. I also assembled the bilge pump, of which the parts were painted earlier. At this point I could start putting the furniture in the ship. I also added the gun port hatches on the gun deck. A little touch up painting was required but nothing major.

- 86 replies
-
- 1
-
-
- San Francisco
- Artesania Latina
- (and 2 more)
-
Welcome to MSW!
-
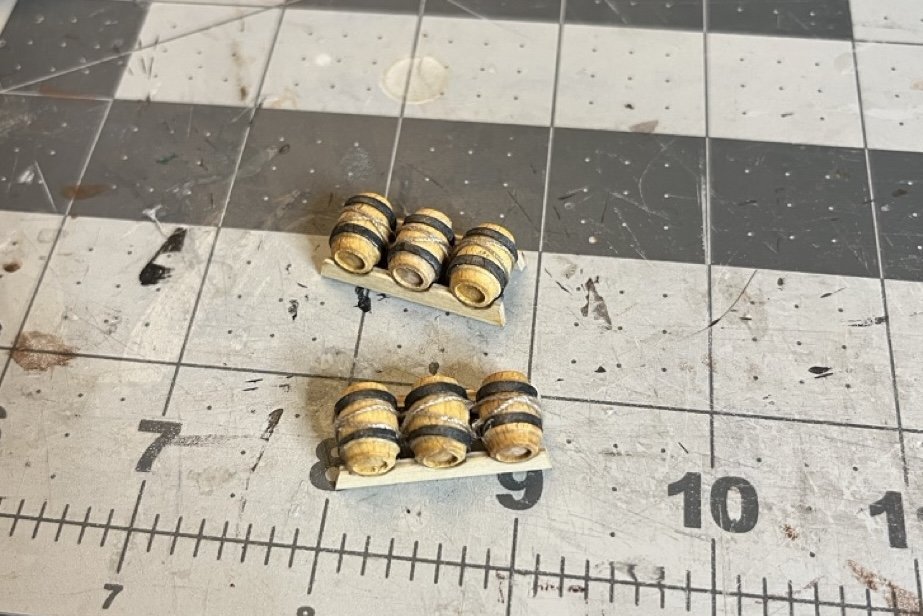
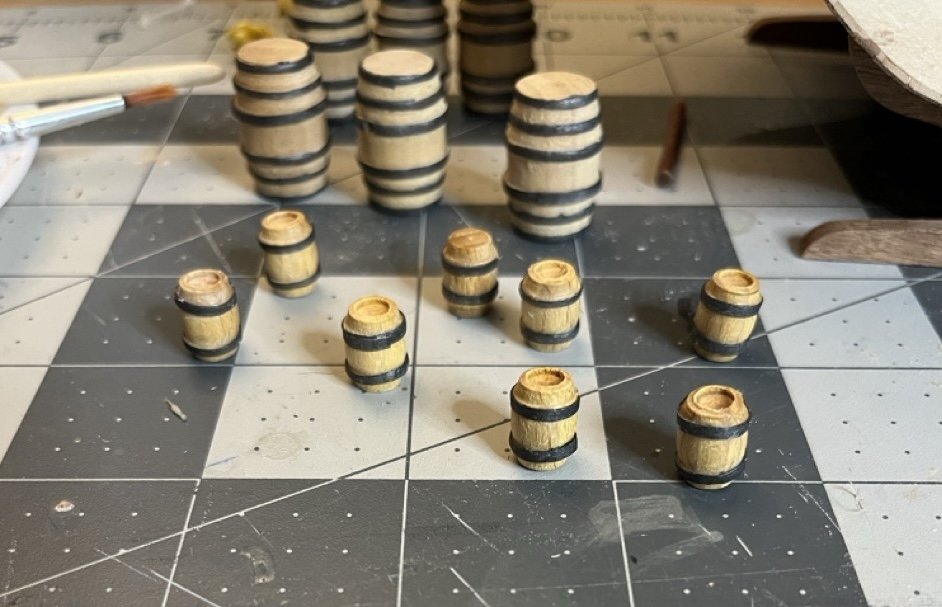
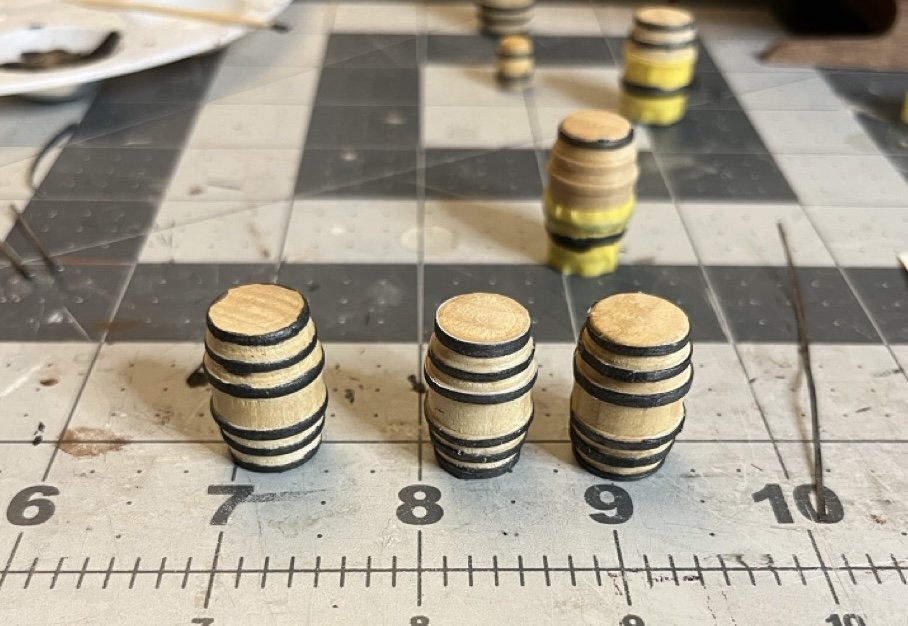
Working on more decorations. Mostly painting barrels. I started out trying to freehand paint it hoping I could keep the brush on the raised edges of the barrels. That didn't work well. So I went to masking. It was better, but trying to mask around a curved and tapered barrel still left a few areas where paint made it into small gaps. Finally I decided, why not just make bands. I took an index card, painted part of it black, and cut off strips for bands. This was much easier but then I noticed that the side of the strip is still white after putting them on the first barrel. Once the edges were painted it looked fairly good. The above photo you can see on the left where I tried to free hand on top and paint with tape on bottom. Using tape is definitely better. In the center you can tell the edges of the bands are white. On the right is the barrel with the bands painted on the edges. I like how that turned out and I think it took less time than trying to add and remove masking tape for every band. All barrels finished I also added more ties to the supply bundles.
- 86 replies
-
- 2
-
-
- San Francisco
- Artesania Latina
- (and 2 more)
-
Very nice looking model!
-
Thanks! There are fun aspects with this kit but as I work on it, I realize there is also a lot to be desired with it. It was relatively inexpensive though and it is serving its purpose.
-
Looks amazing!
-
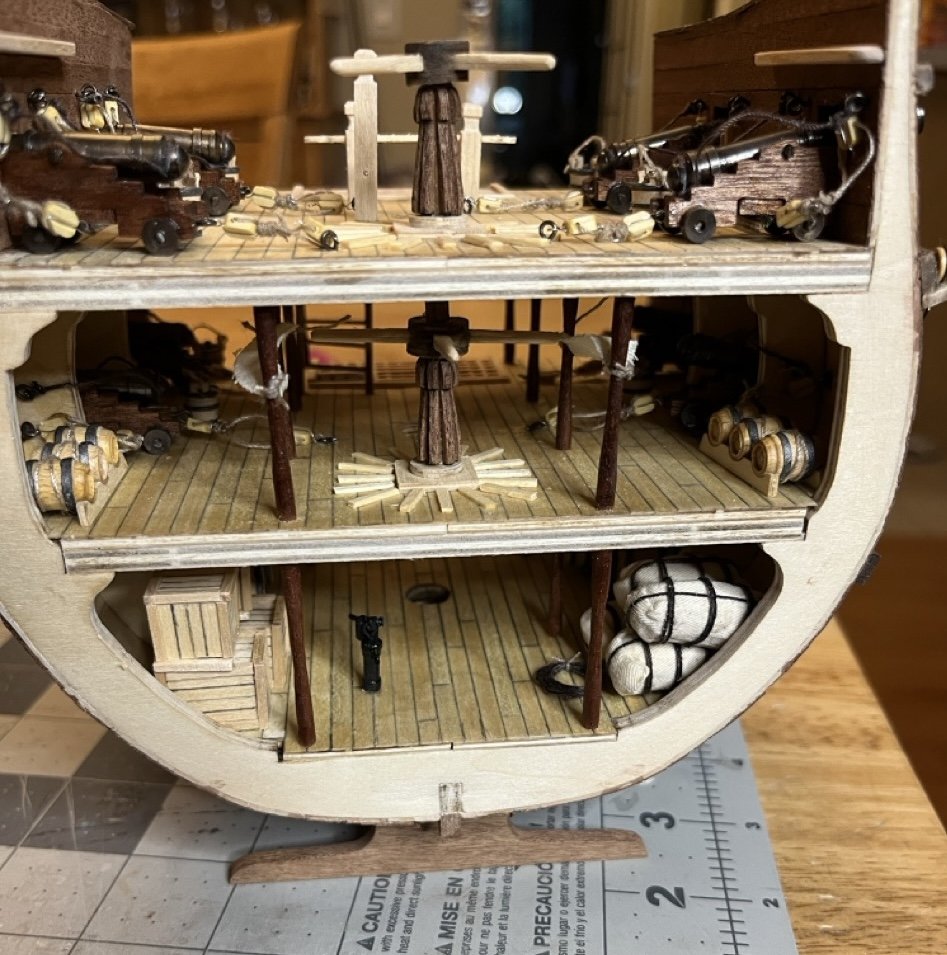
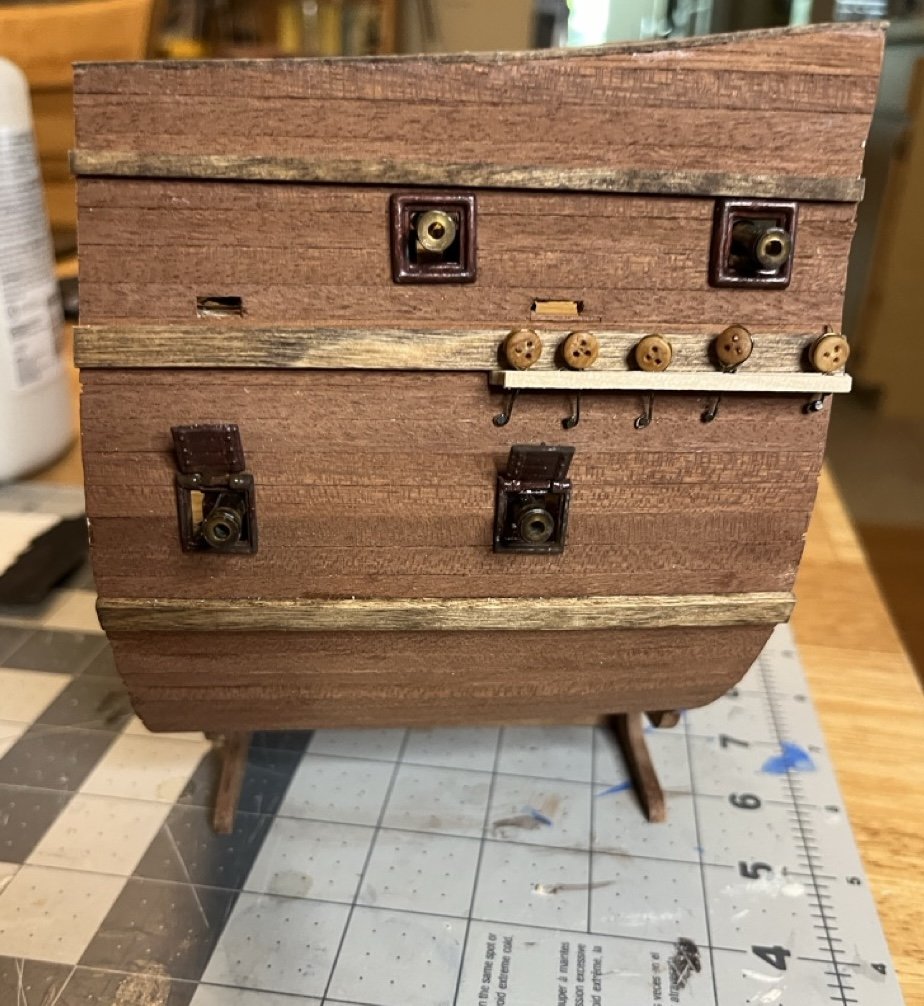
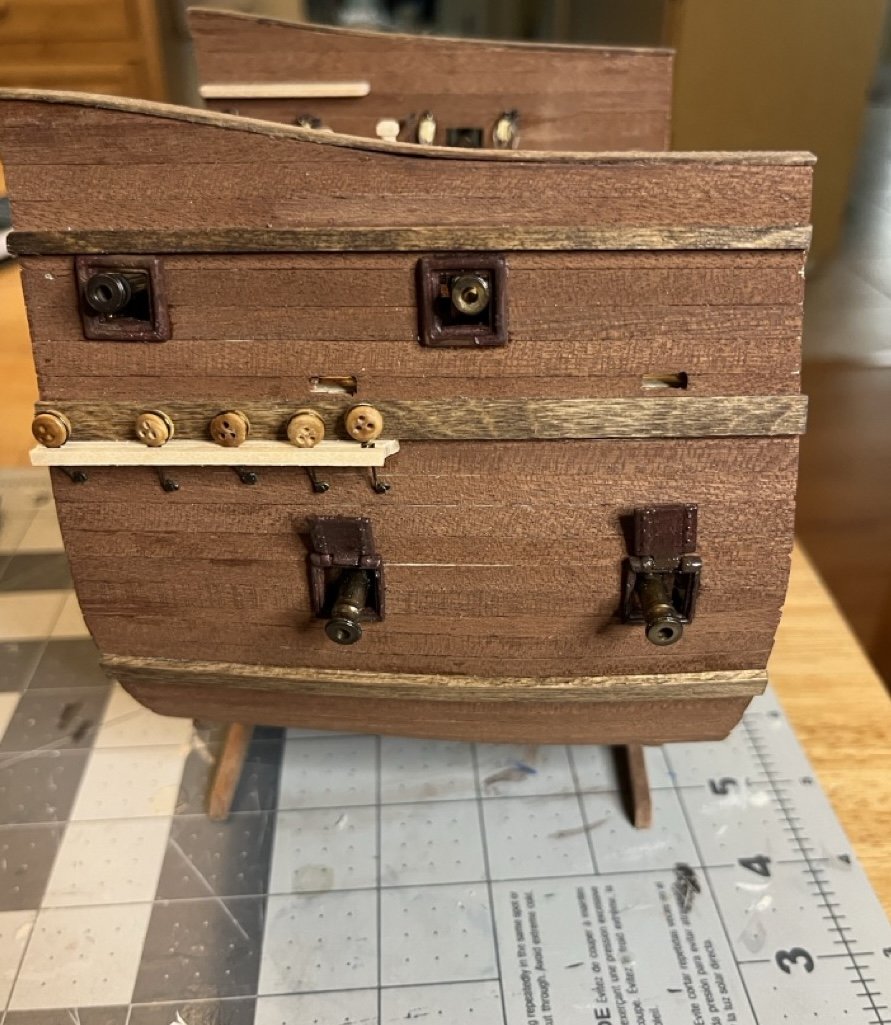
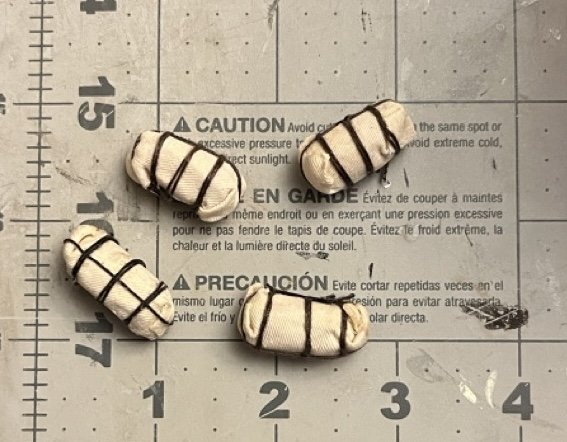
All eight guns are now installed. The trickiest part was getting the guns to stay in place. On the one side of the weather deck I added a small piece of wood under guns that wouldn't be visible. On the other sides I simply glued them to the bulwarks with PVA. On the gun deck I glued one wheel to the deck and the gun to the bulkhead. I used the dreaded CA there. For the rings to attach the breech line and tackle I used two methods. On the weather deck I drilled holes and bent the stems to hold the rings in place. On the gun deck, I glued the rings to the deck and bulkheads. I also made a few sacks of supplies for decorations. To add some randomness I made them with different numbers of ropes wrapped around them, but I think I will go back and make them more uniform after seeing the photos here.
- 86 replies
-
- 3
-
-
- San Francisco
- Artesania Latina
- (and 2 more)
-
I don't think it's ruined and is probably a fairly easy fix. The frames do look like they could be out of order. I think @Nirvana has a good point and that would be a good place to start. It is hard to tell from the pictures if the frames are really square or not, but they don't appear to be too far off. The easiest way to square them is to hold them in place with something that is perfectly square. I use legos. It also looks like there is a lot of char that has been stained over. Make sure everything is beveled properly and that may help as well if the frames are in the correct places. If all else fails you can shim up the edges of the frames. Just be very careful to make make it look nice since the frames are visible in an open boat. As far as removing the frames, a small paint brush with isopropyl alcohol and a hobby knife can actually separate them more quickly than you would probably expect (assuming you used PVA glue).
-
Great job! The boat looks good! Any ideas for your second build?
- 19 replies
-
- 1
-
-
- mississippi riverboat
- Mini Mamoli
- (and 2 more)
-
Halò from the Highlands of Scotland.
SiriusVoyager replied to Highlander's topic in New member Introductions
Welcome to MSW! -
I got a small blowtorch from Walmart for about $25. It is well worth the investment if you plan on building more.
-
Almost all of the info you need is really in the photos. You can download English instructions Here
-
How to make signs to identify models on display?
SiriusVoyager replied to Dan Poirier's topic in Wood ship model kits
You could print the names on paper, trim them out with a hobby knife then use then as a stencil on name plates.


