SiriusVoyager
-
Posts
502 -
Joined
-
Last visited
Content Type
Profiles
Forums
Gallery
Events
Everything posted by SiriusVoyager
-
 Great job on the Palamos! I think you should be pretty happy with the result. As far as the brass around the paddles at the stern, did you anneal it prior to drilling? I did break quite a few drill bits trying to get through those strips, even with the brass annealed.
 -
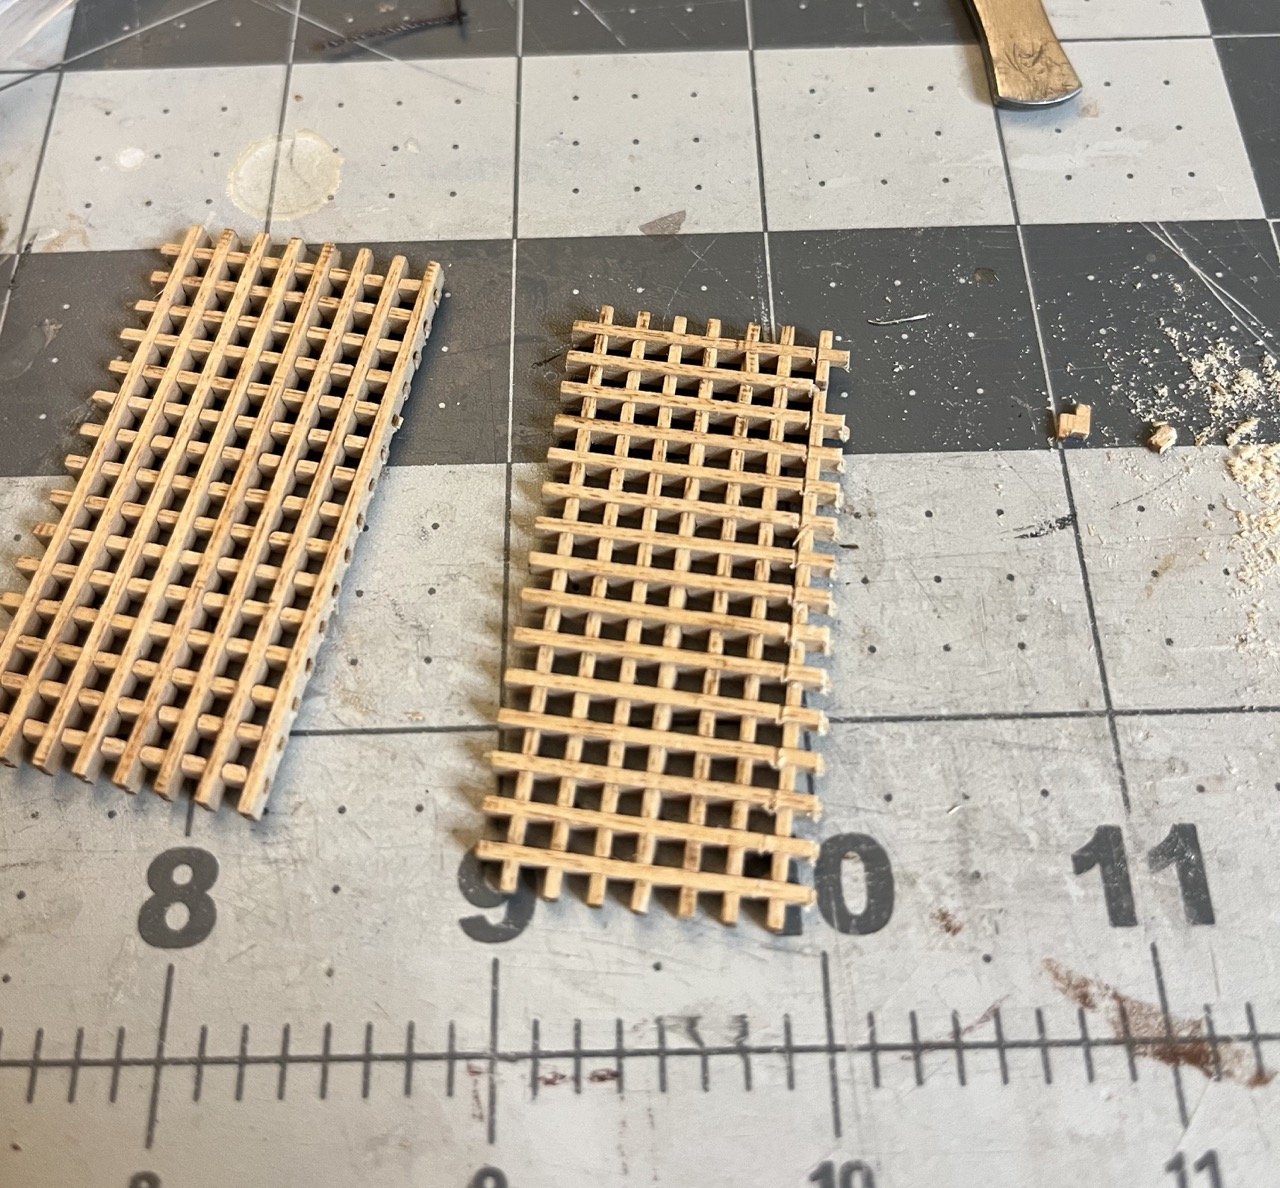
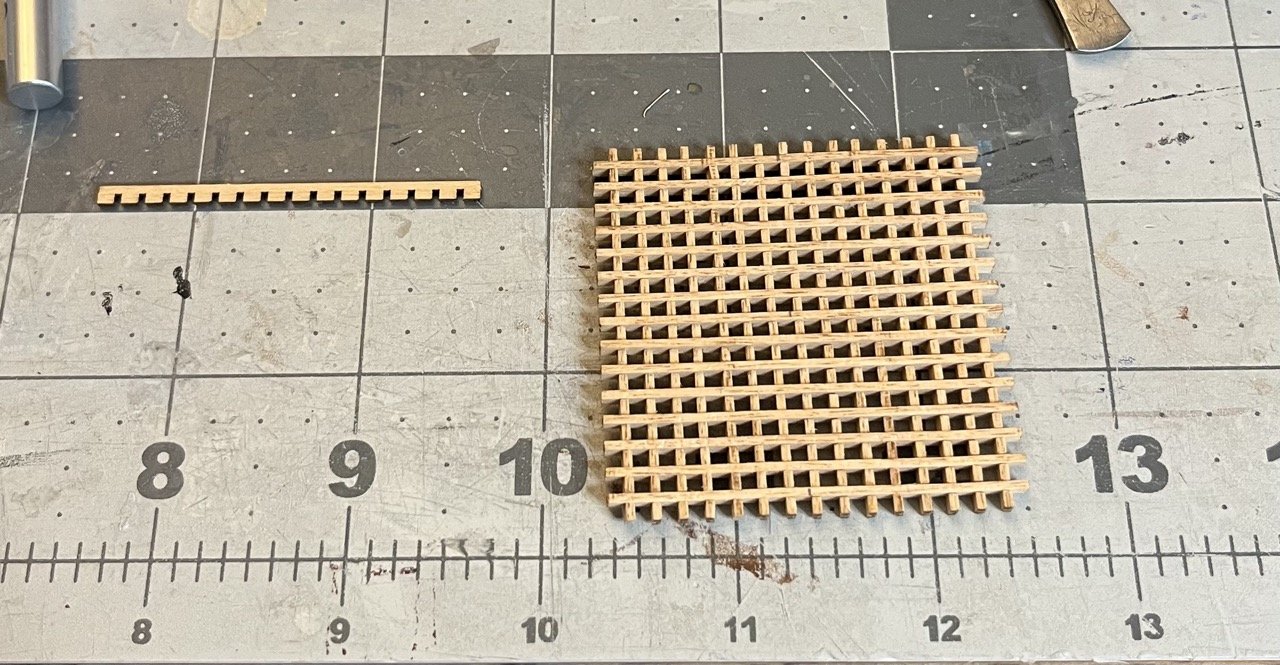
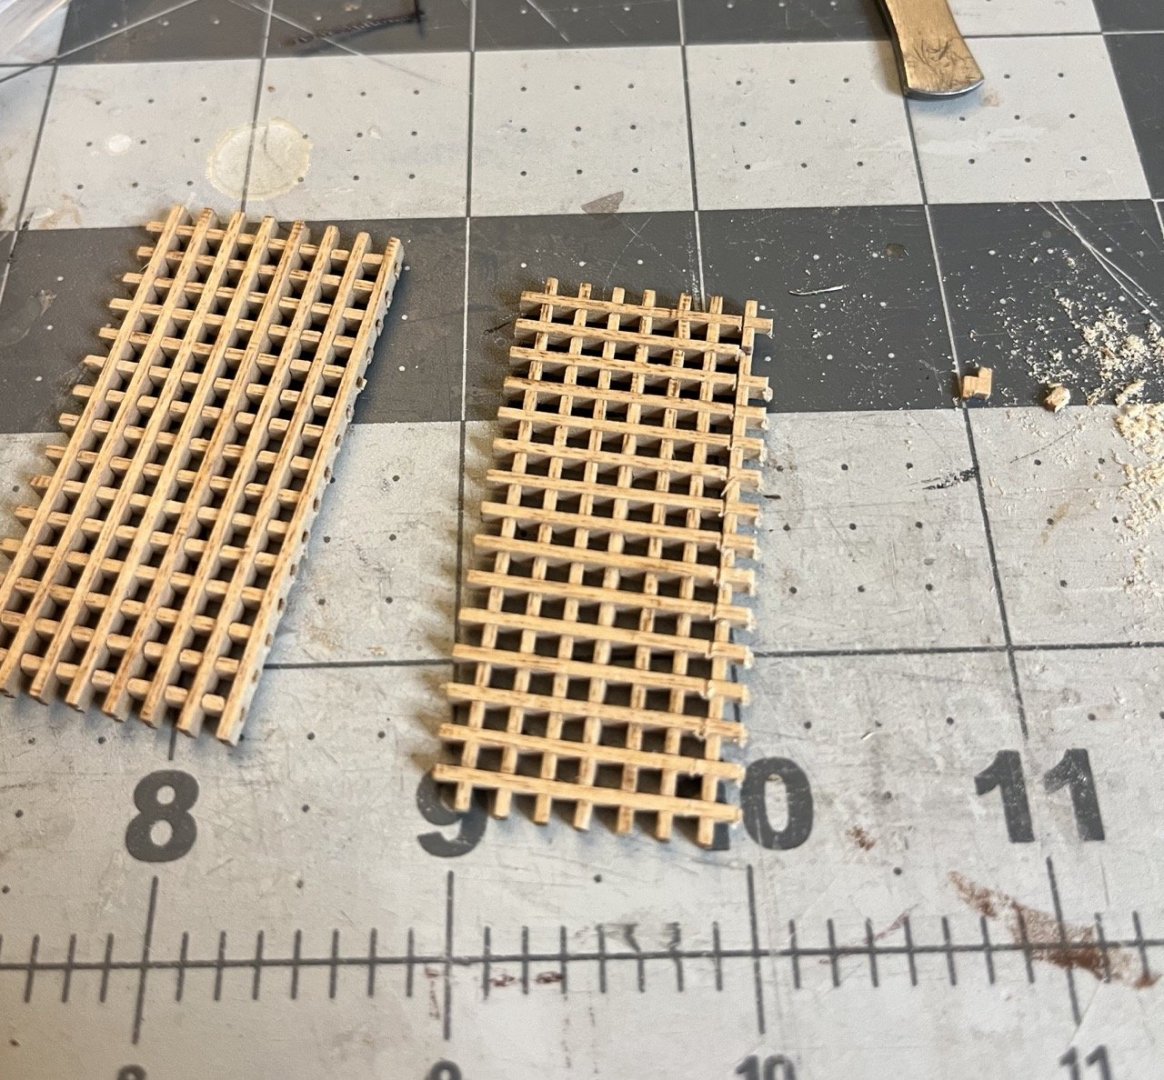
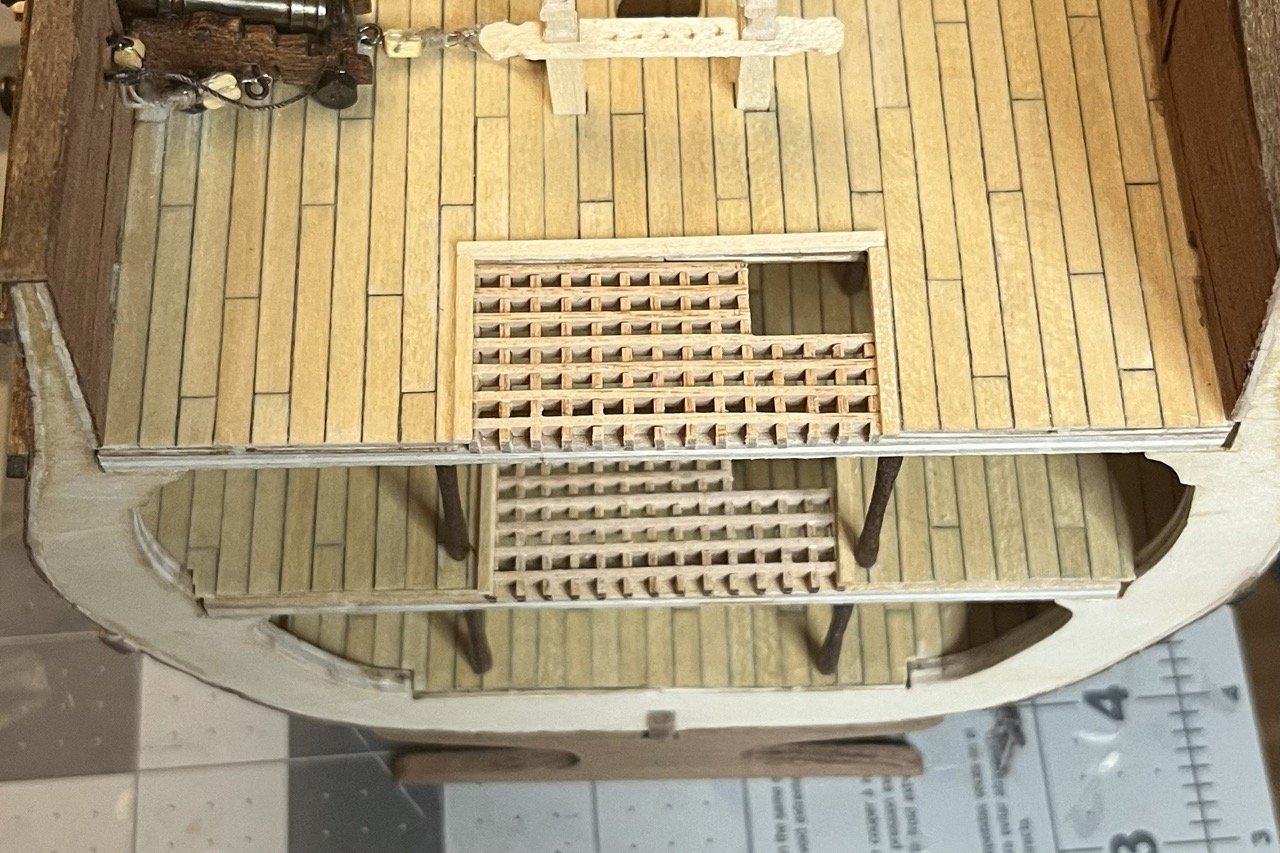
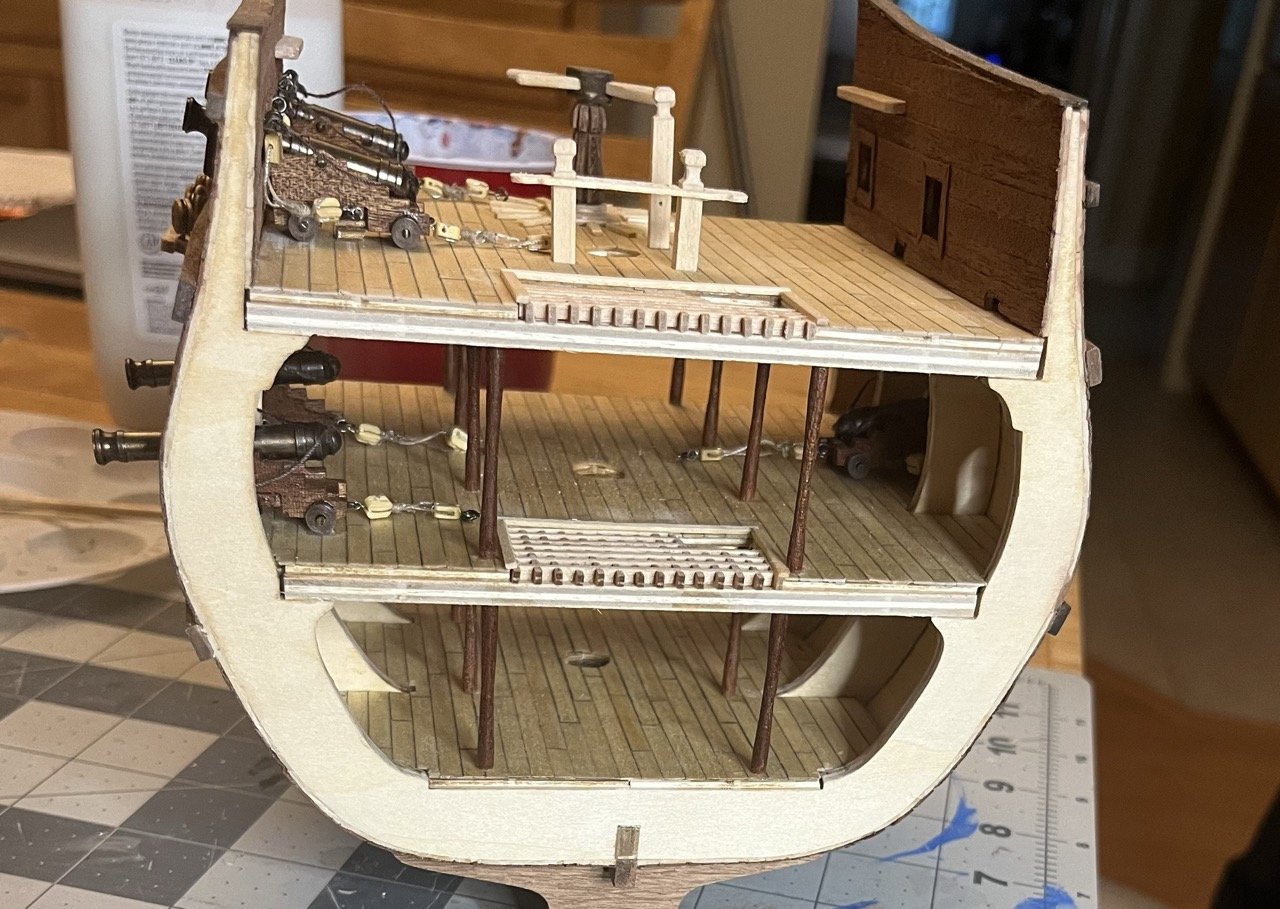
I have decided that I cannot have a gun deck with no guns, so I will get them in, one way or another. More on that below. Making the hatch grating was tricky. It would have been nice if the pieces fit together perfectly, but the notches aren't quite wide enough. I tried using a metal file, but it was breaking the 'teeth' too often. Fortunately the kit supplies many extra pieces. I eventually found that flossing the 'teeth' with a piece of sand paper folder over twice was wide enough to work. It still wasn't sanding quite evenly, but I was able to get it together. Making one grating should be enough for both decks after some trimming. I cut the opening for the ladder to slightly different dimensions than in the instructions because I am going to make the ladder face forwards and have a steeper slope. Now for the gun deck. Using every ounce of patience I could muster, long tweezers, gravity and that blasted CA glue, I was able to finagle 3 of the guns into place so far. The two guns more in the middle were really the tricky ones. The one on the end wasn't so bad, so once I get the fourth gun rigged, it should go in pretty easily.
- 86 replies
-
- 2
-

-
- San Francisco
- Artesania Latina
- (and 2 more)
-
Thanks Chuck, I hope you do better than I. Definitely don't follow the order of the instructions and otherwise just take your time. Do everything deck by deck since placing everything, especially the guns, will be much easier. The CD has the instructions in PDF and JPG format. There are also a couple of videos showing how to make mast parts. I downloaded the instructions from the AL website and saved them to my phone so that I don't have to have my computer right there all of the time.
-
What phone and browser are you using?
-
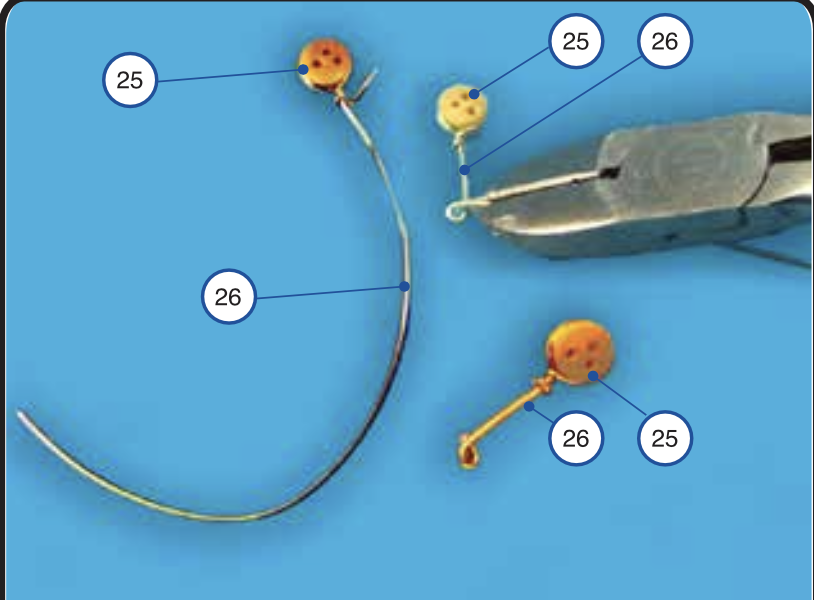
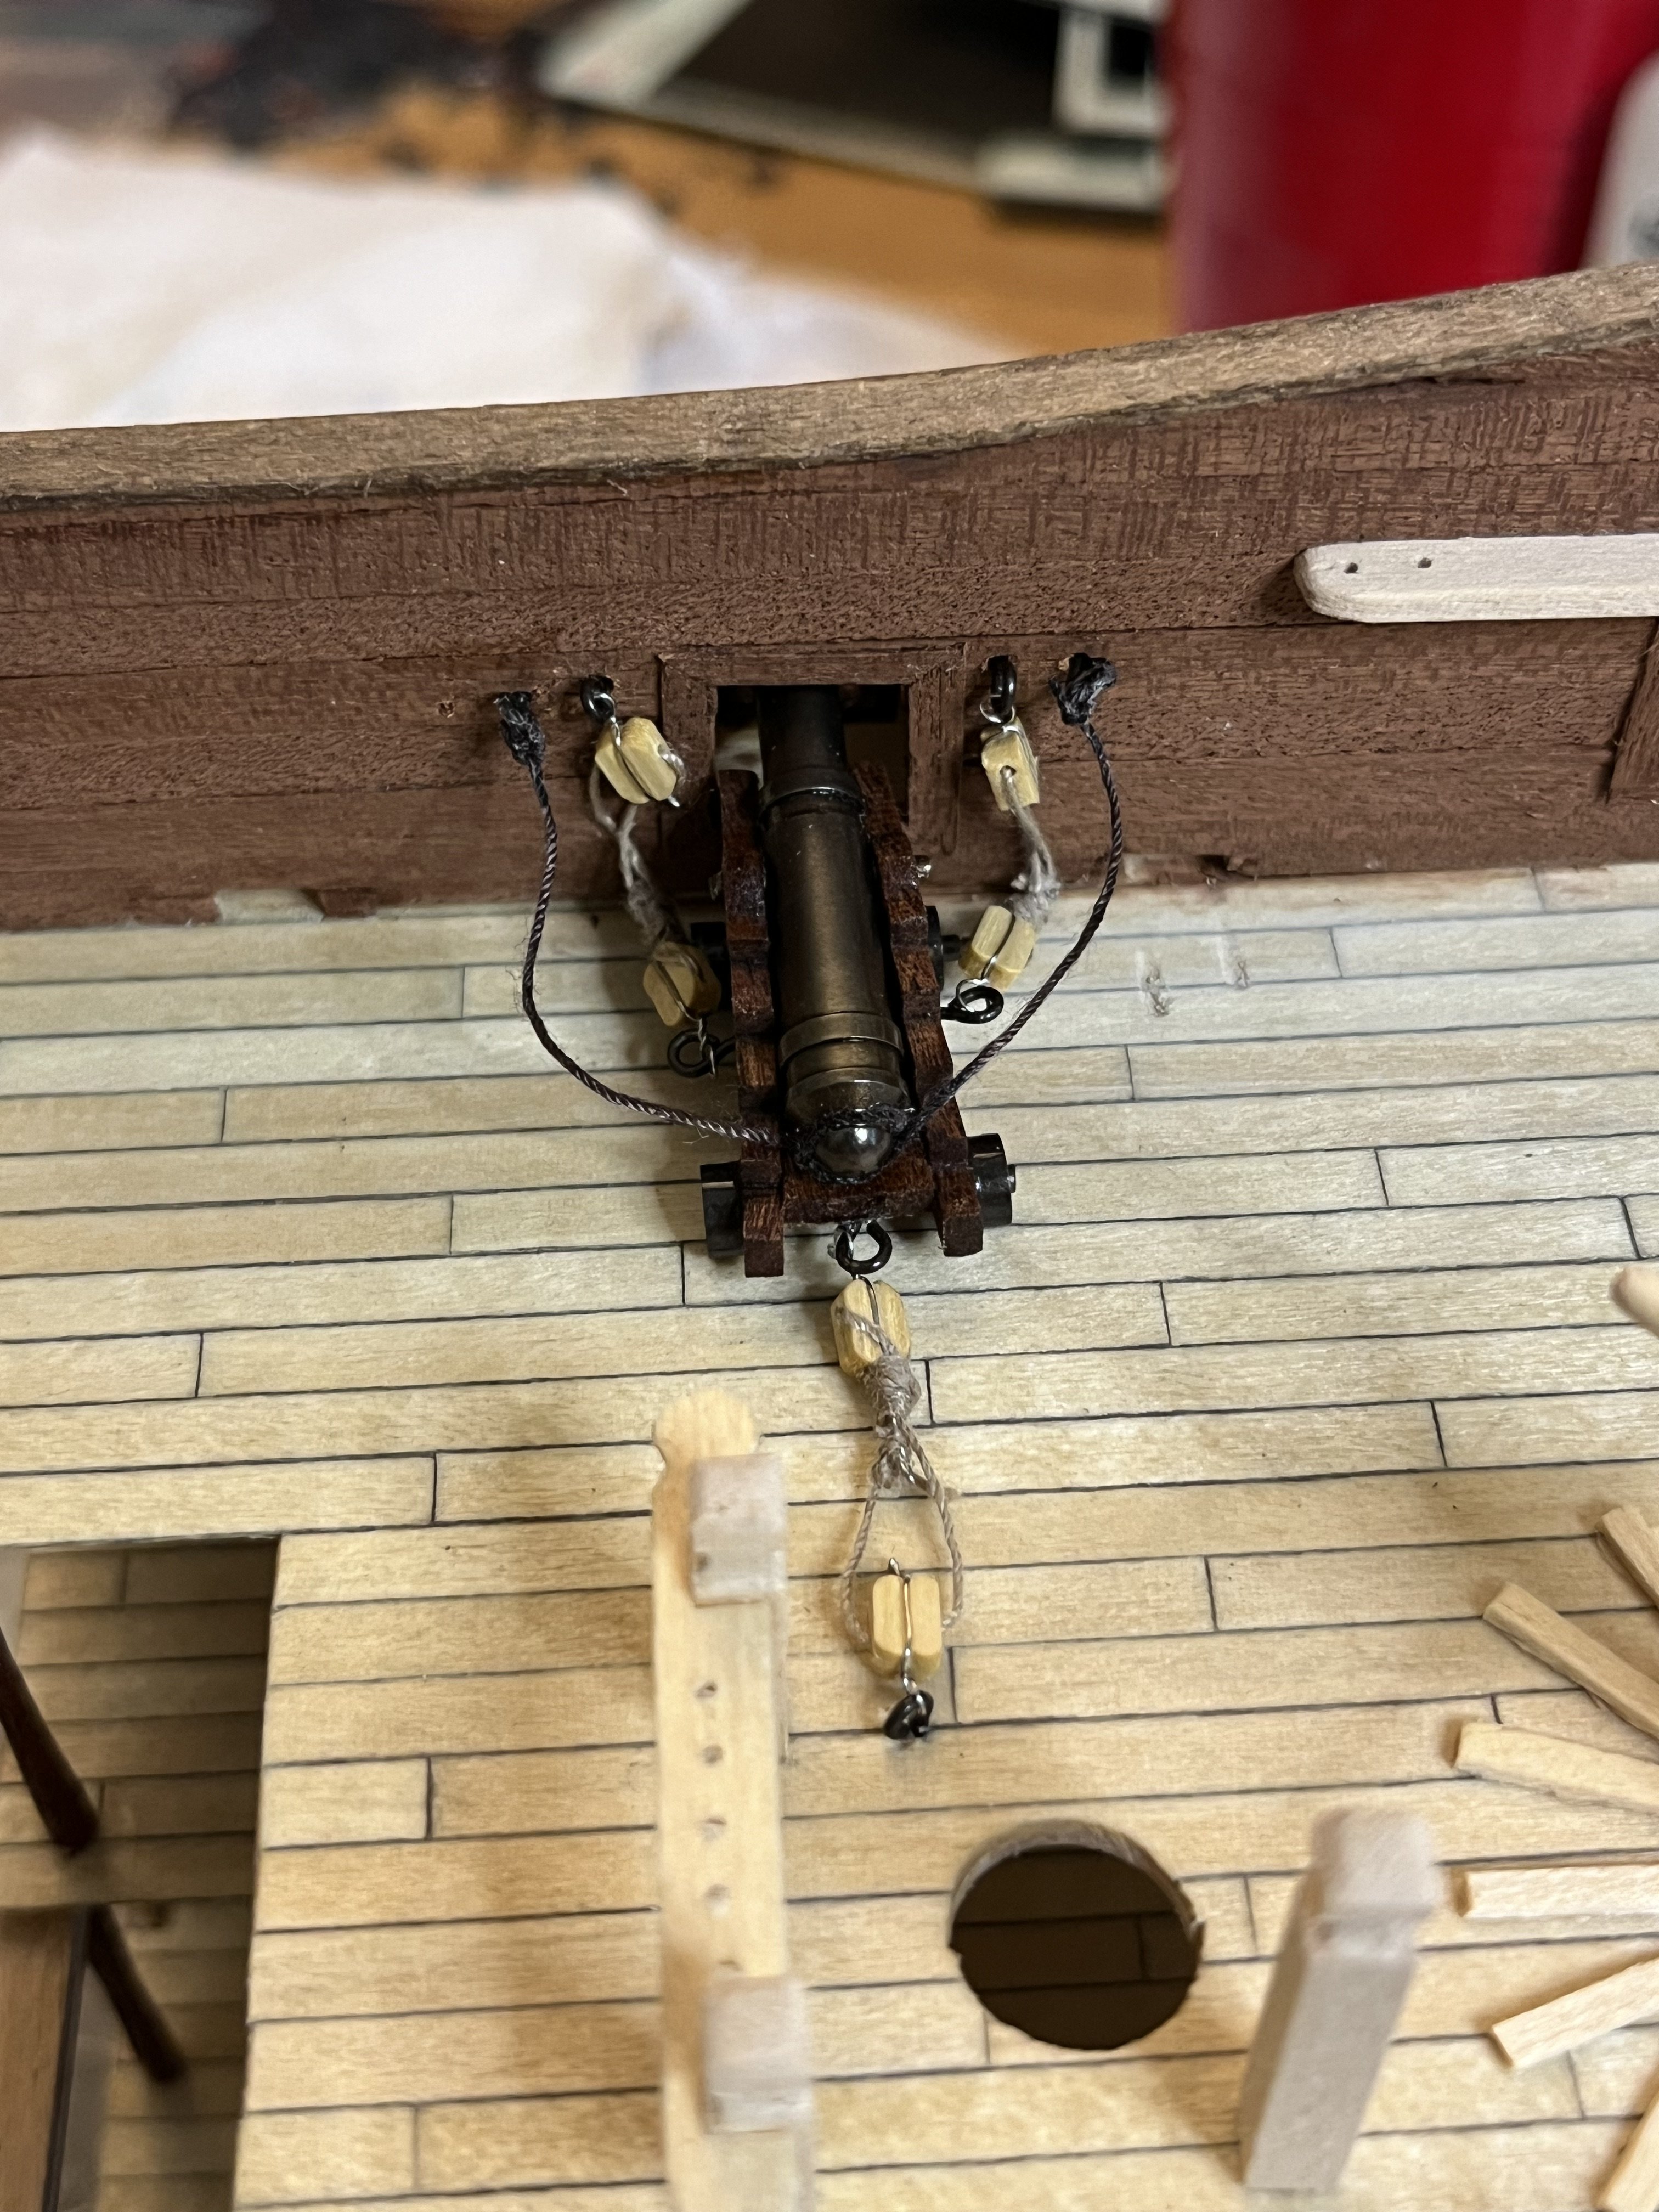
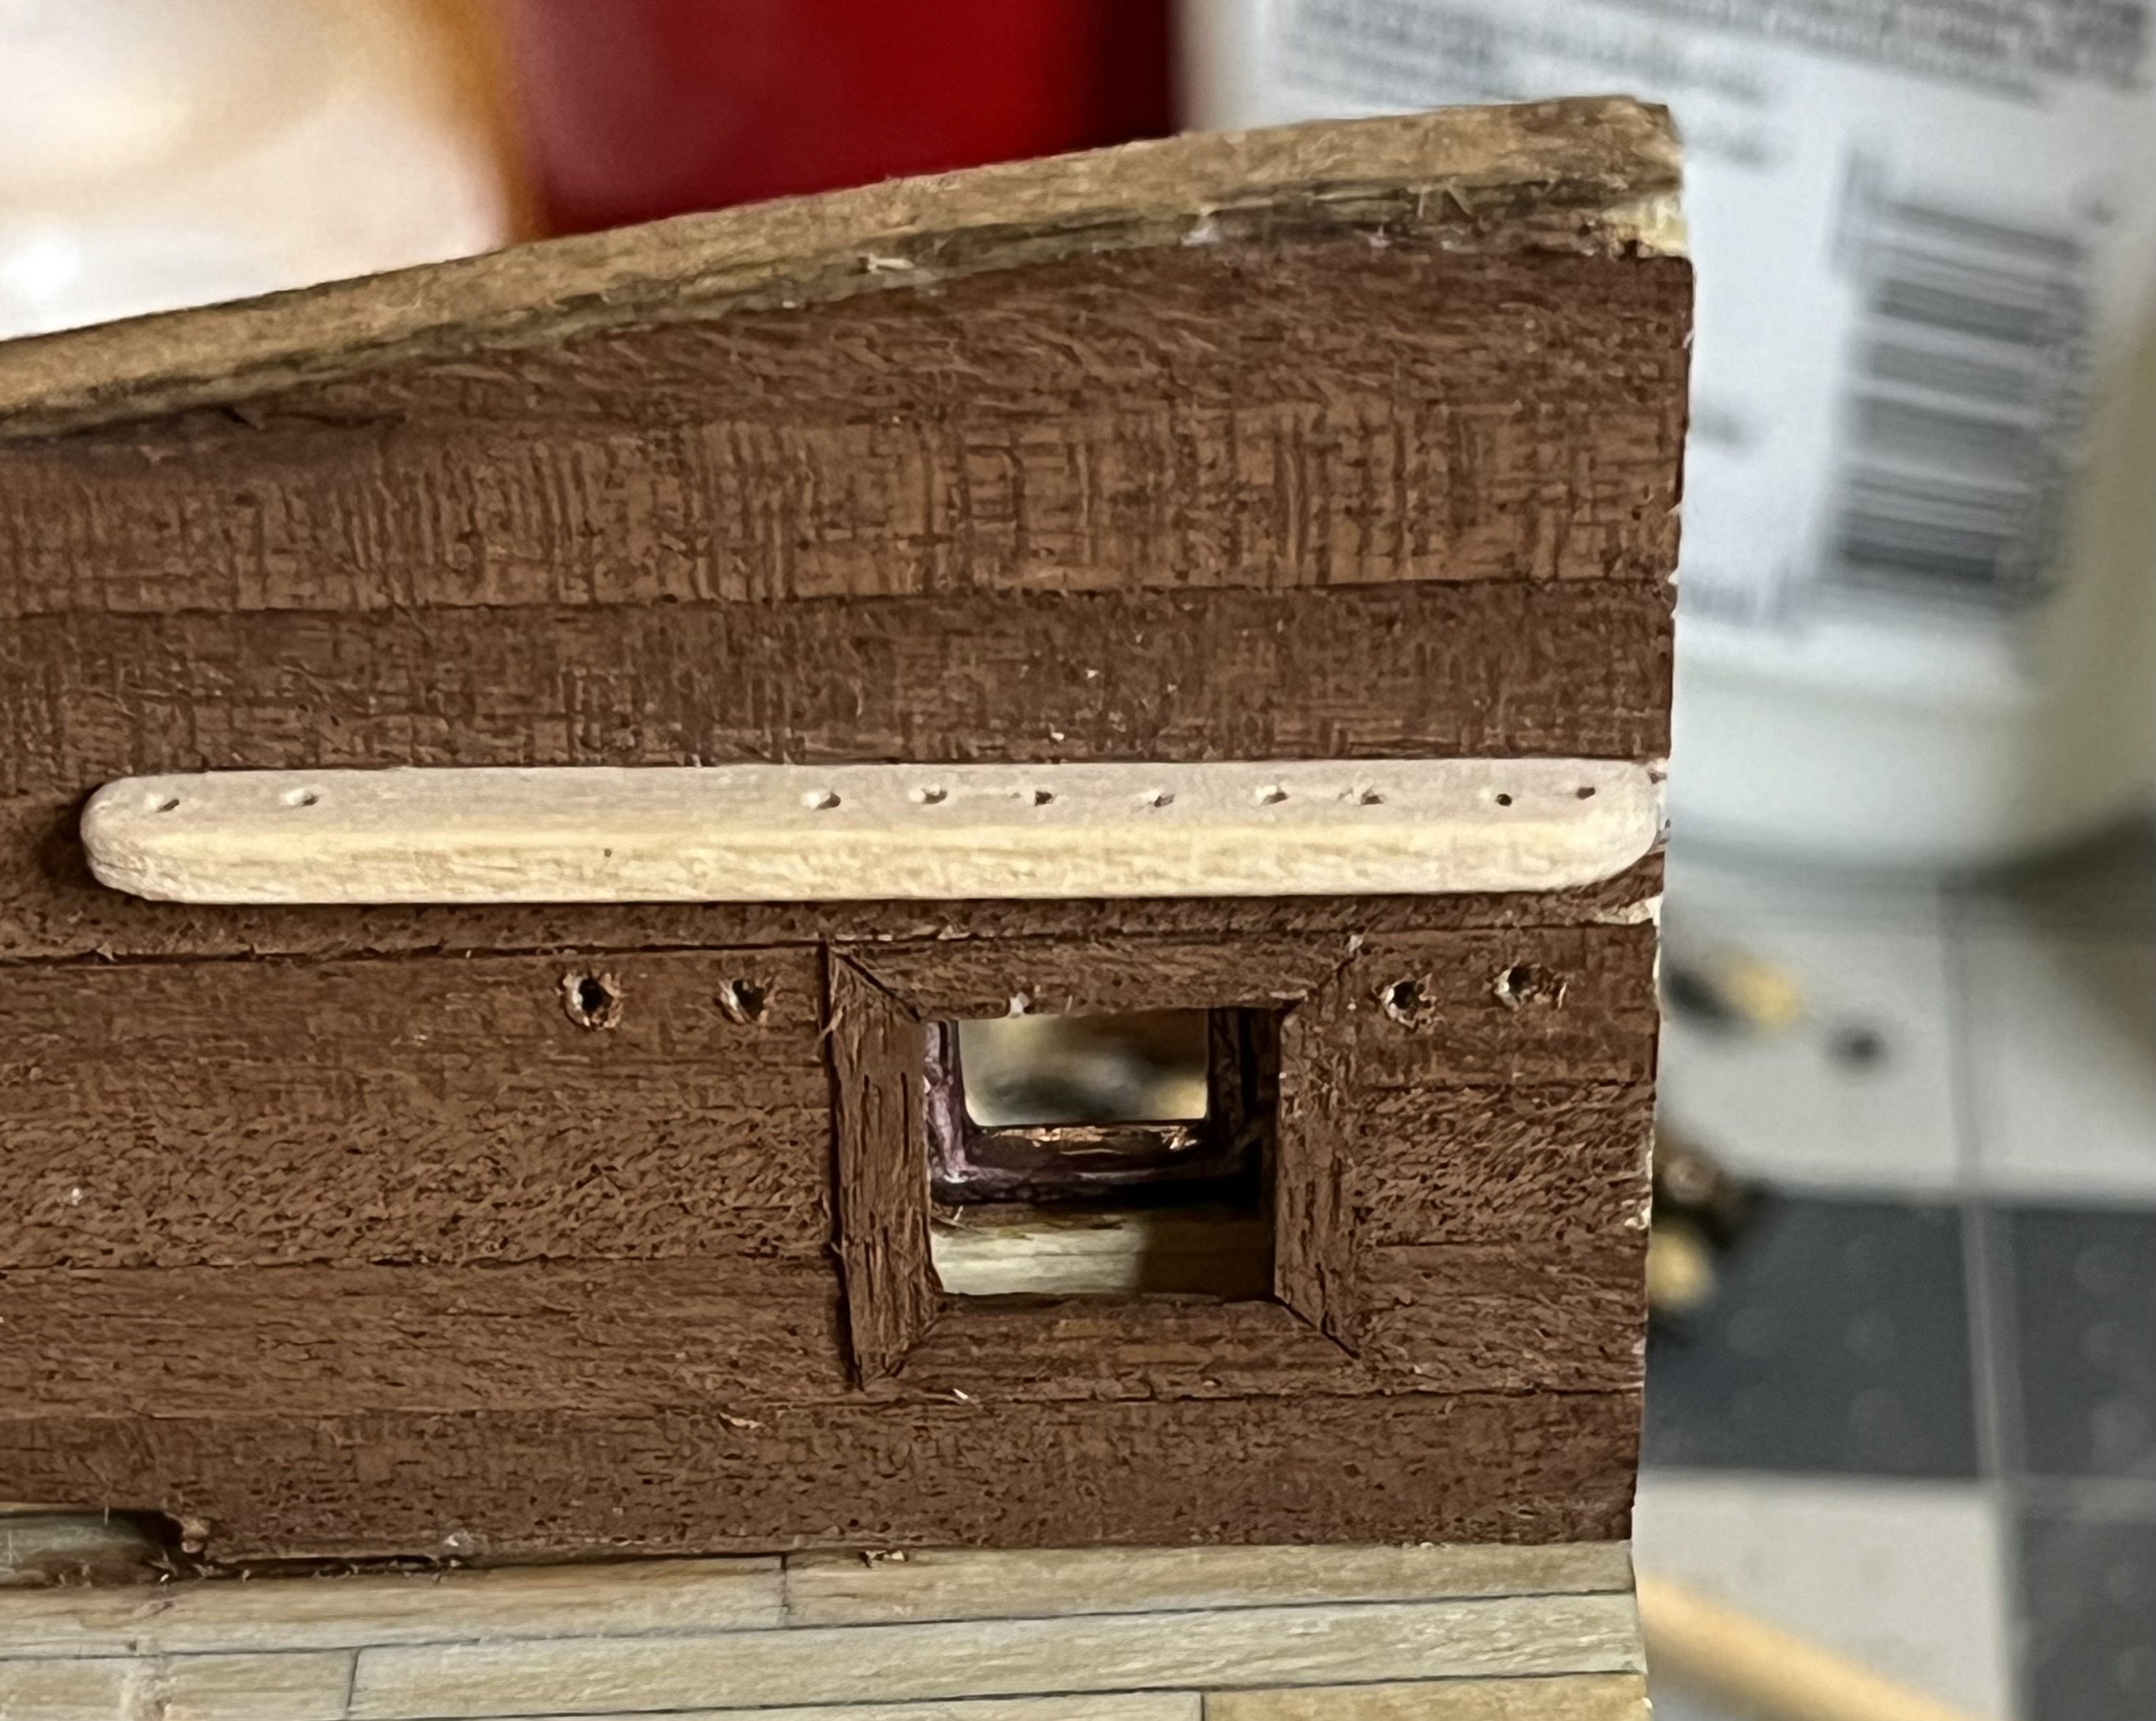
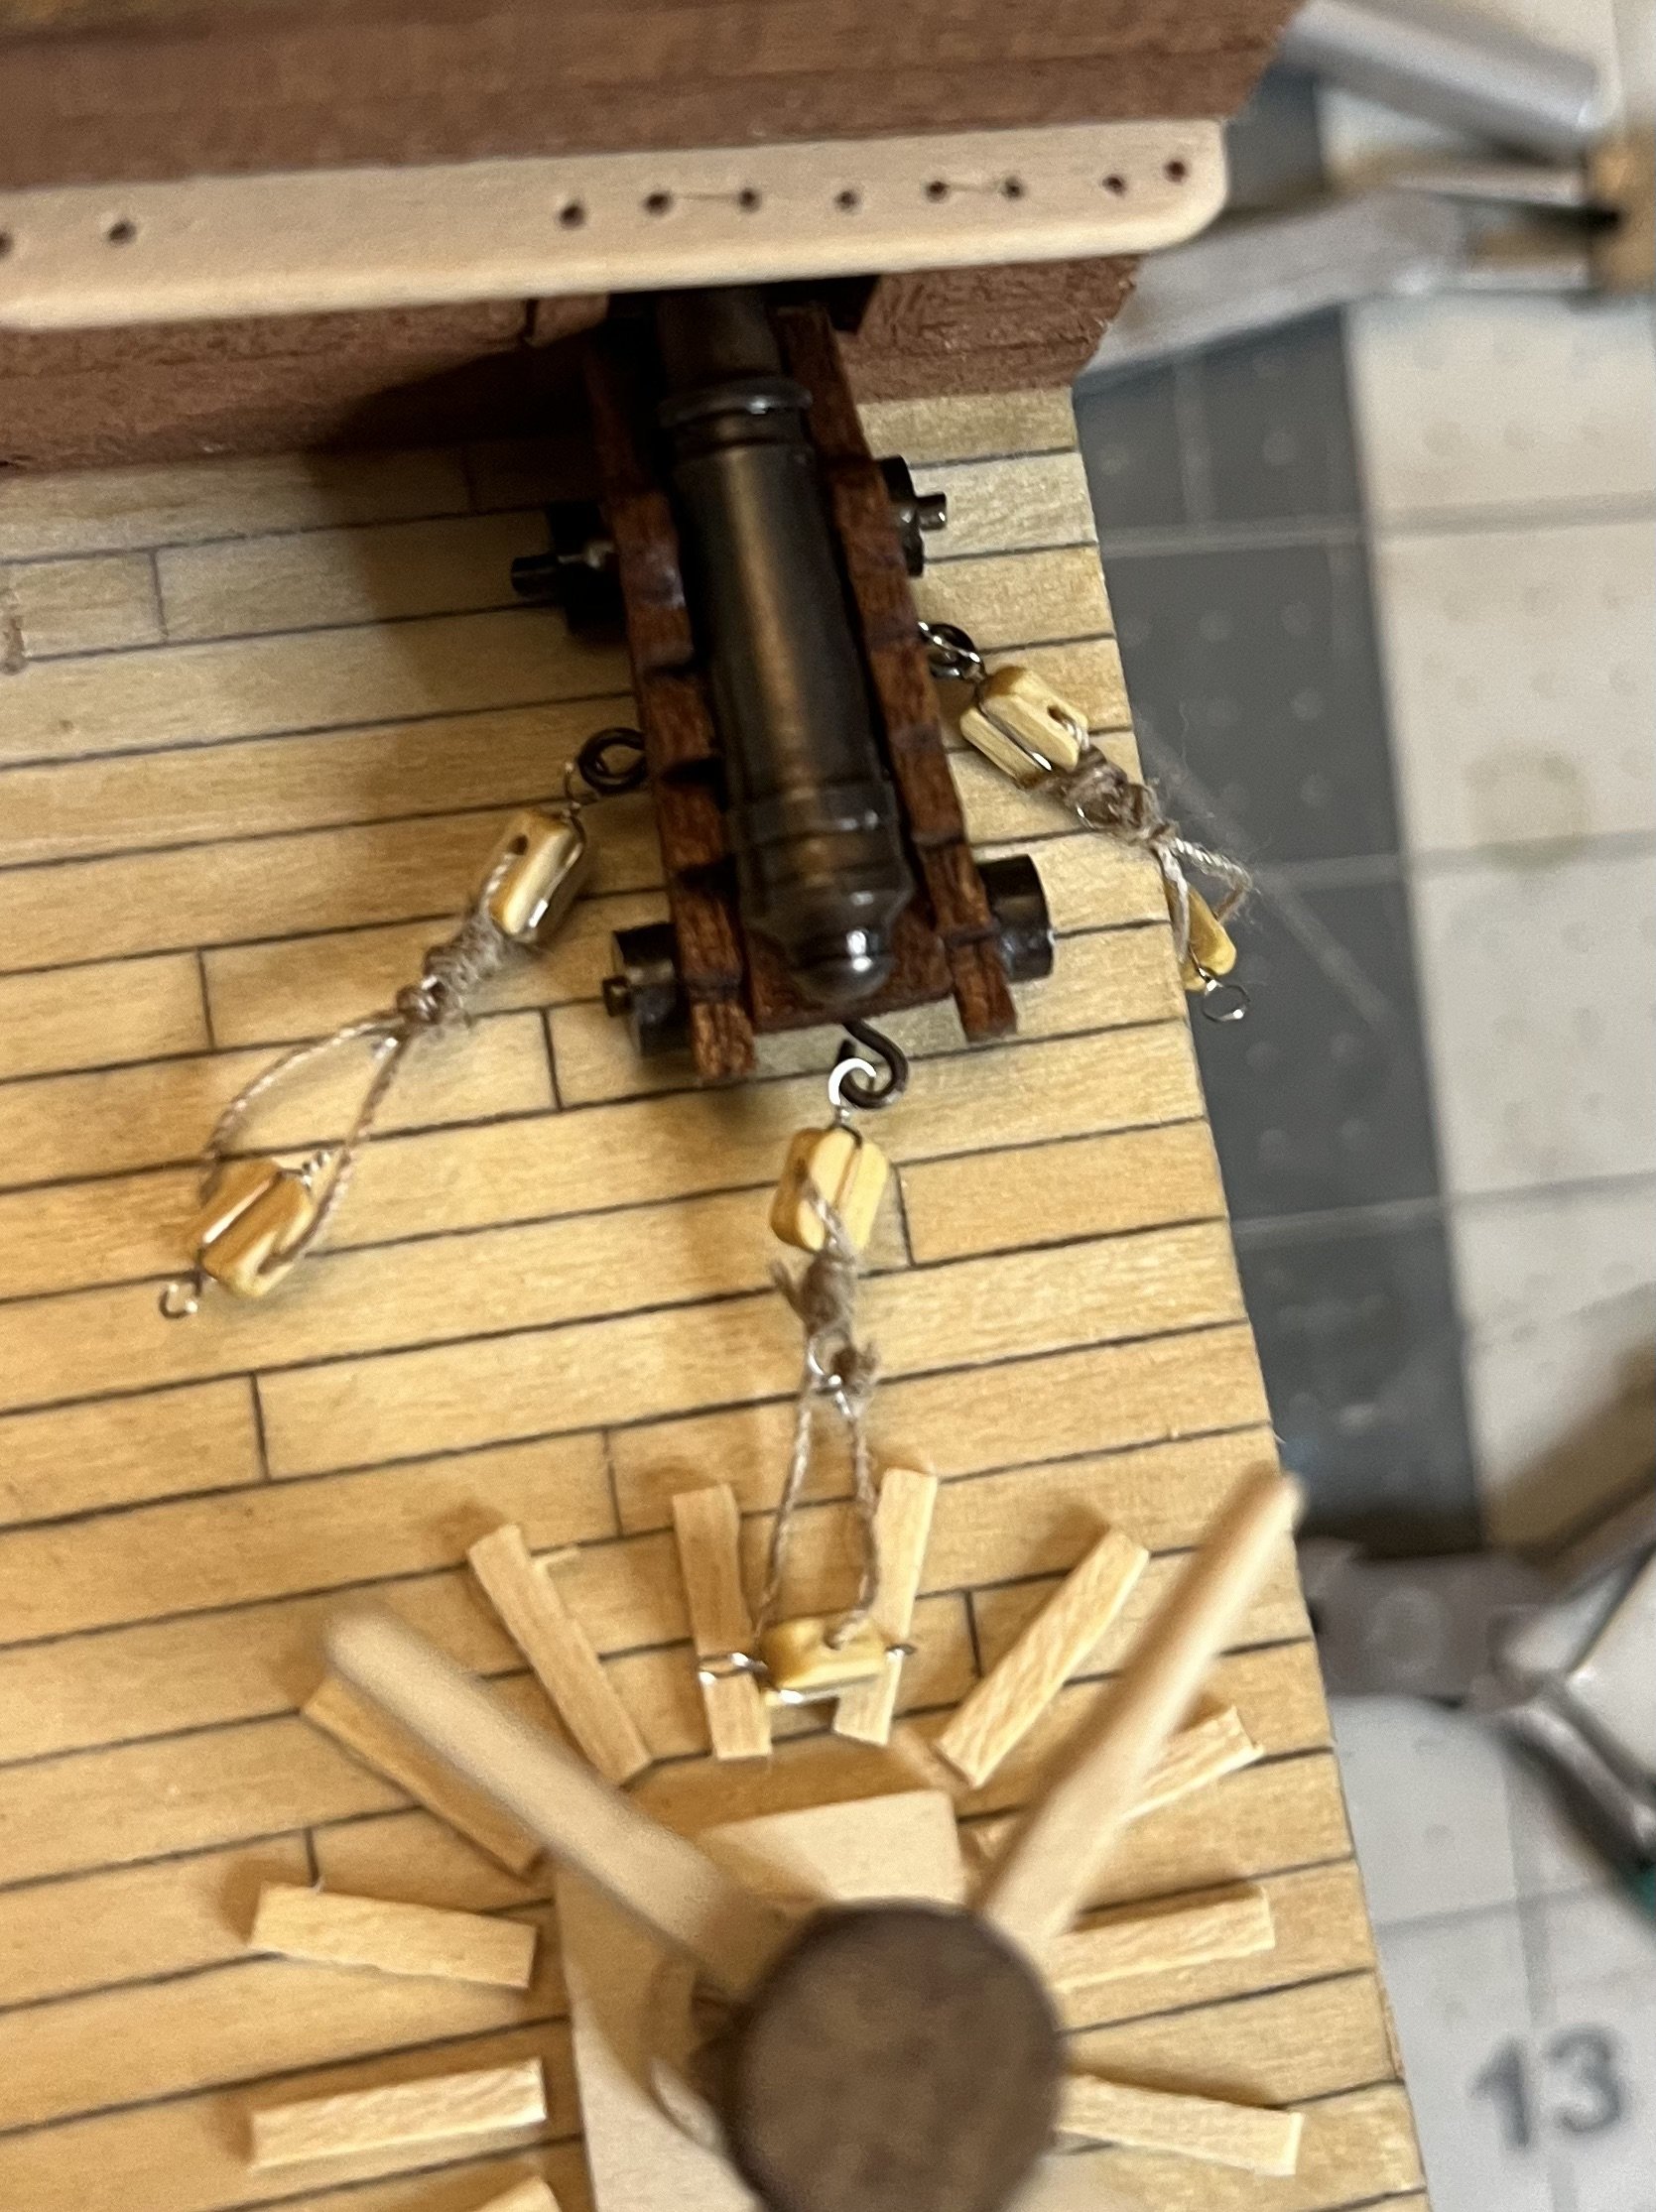
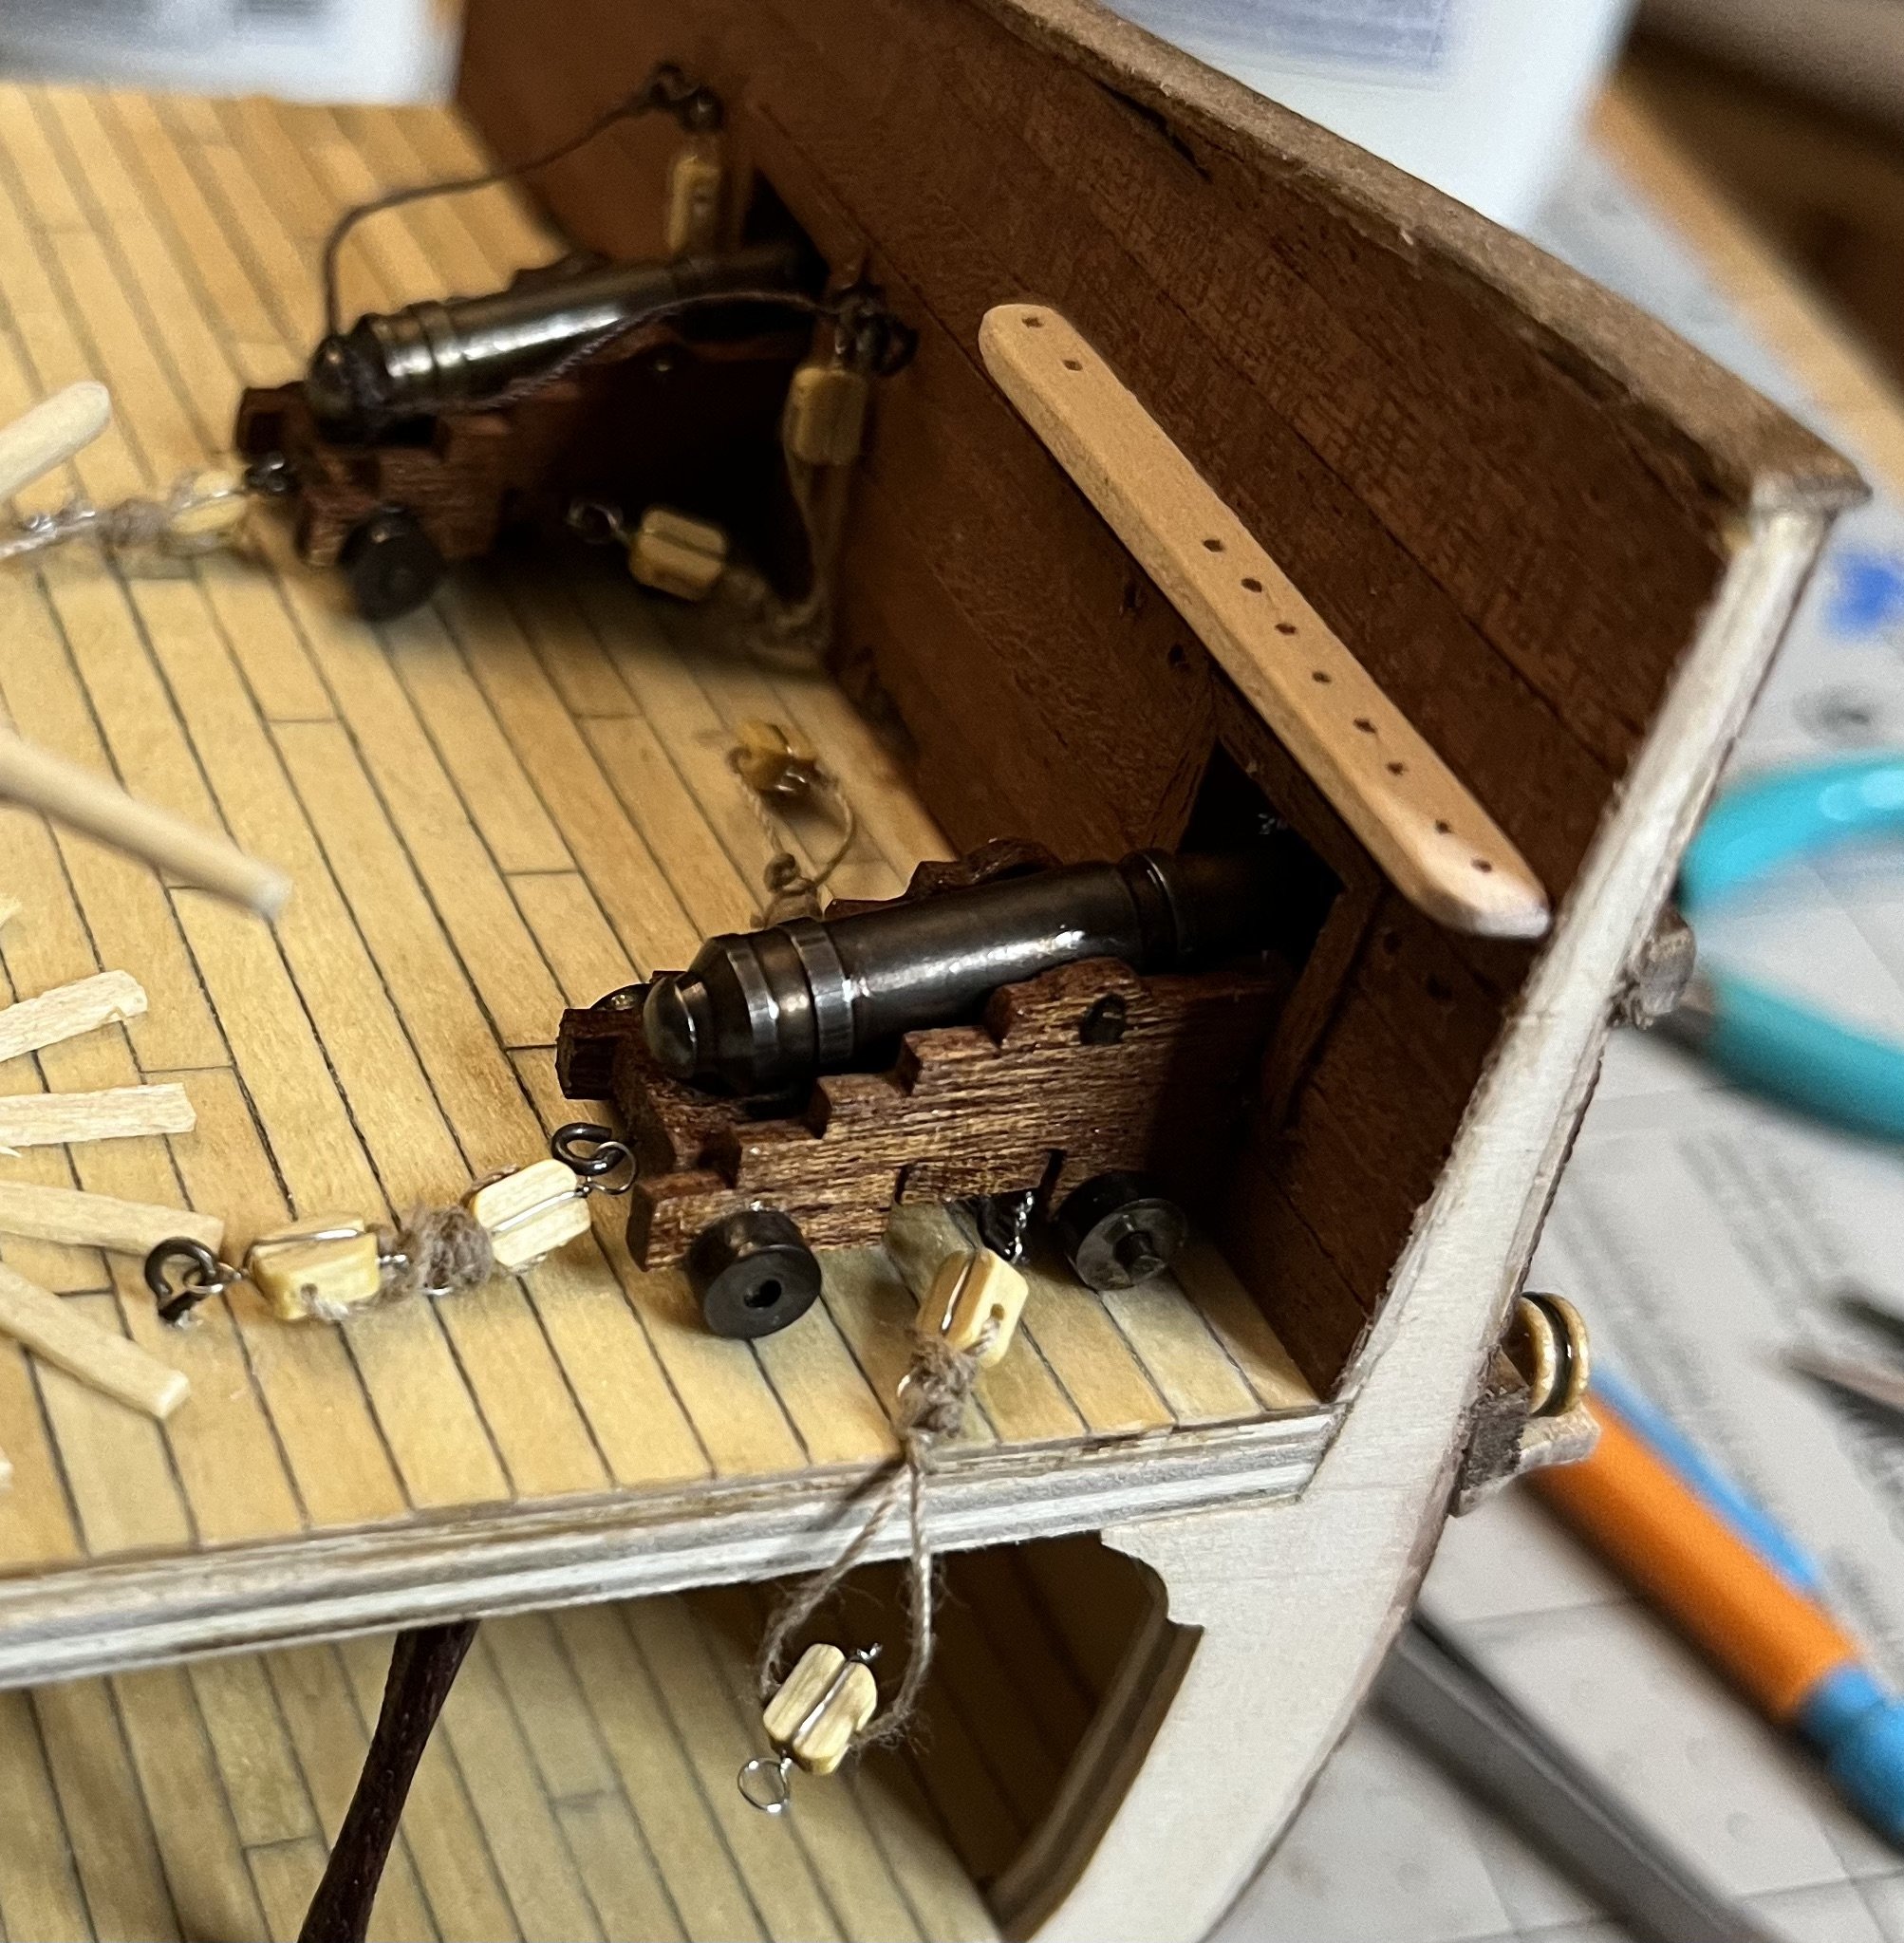
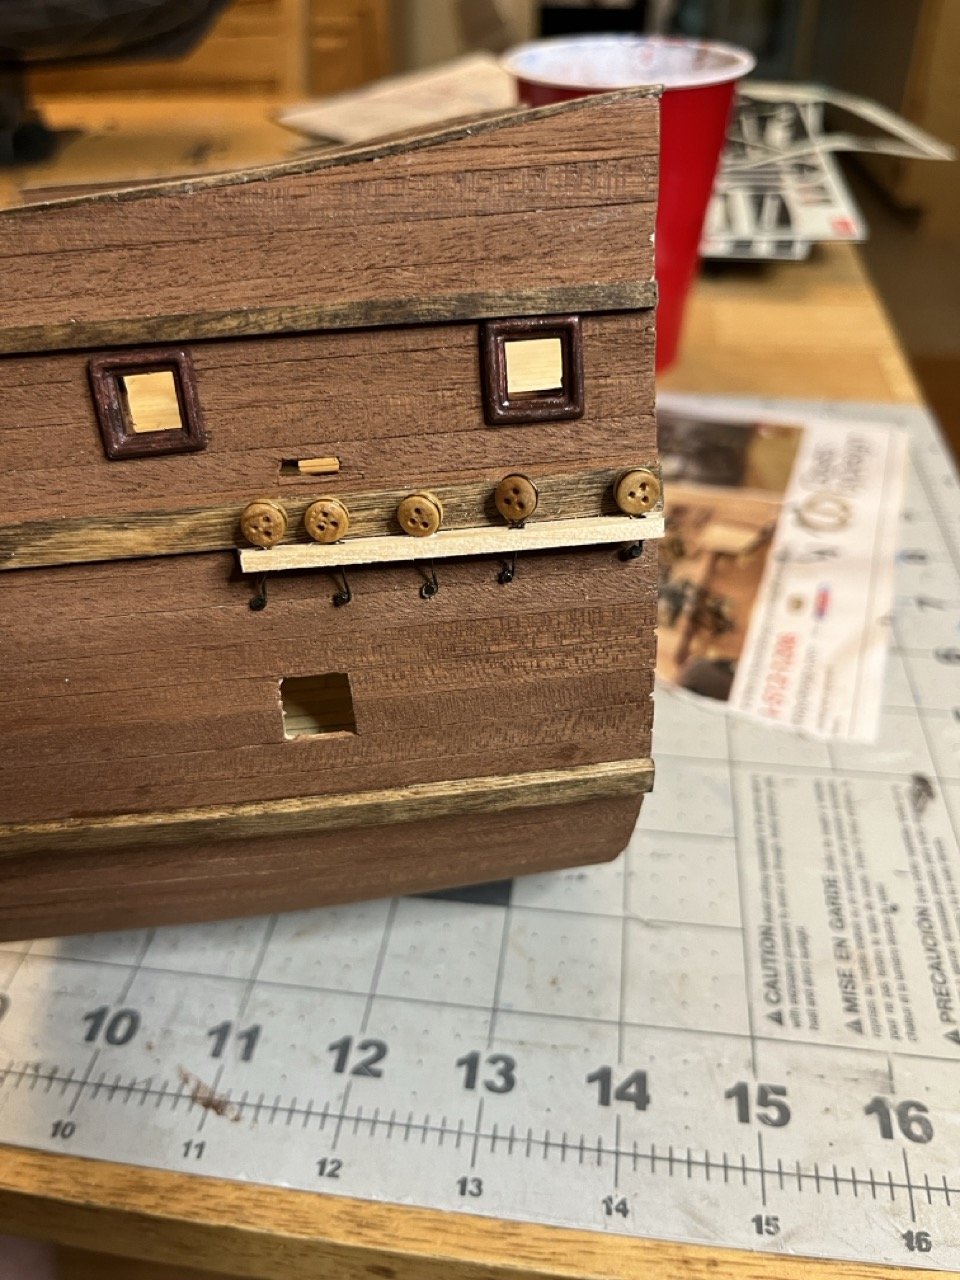
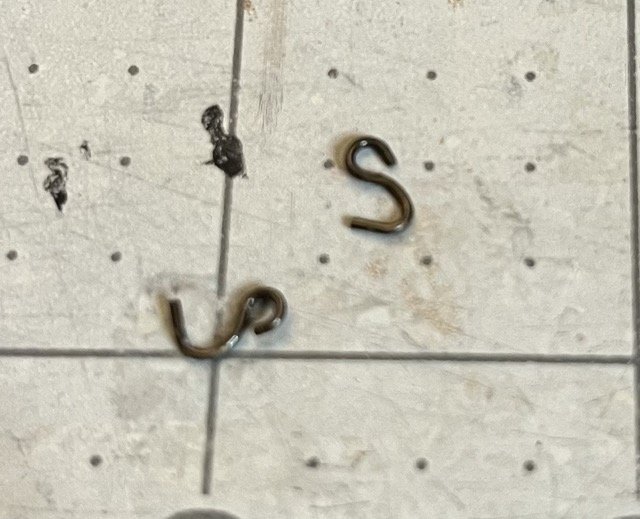
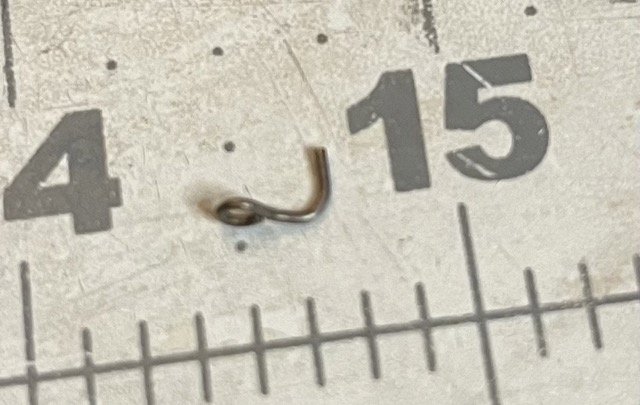
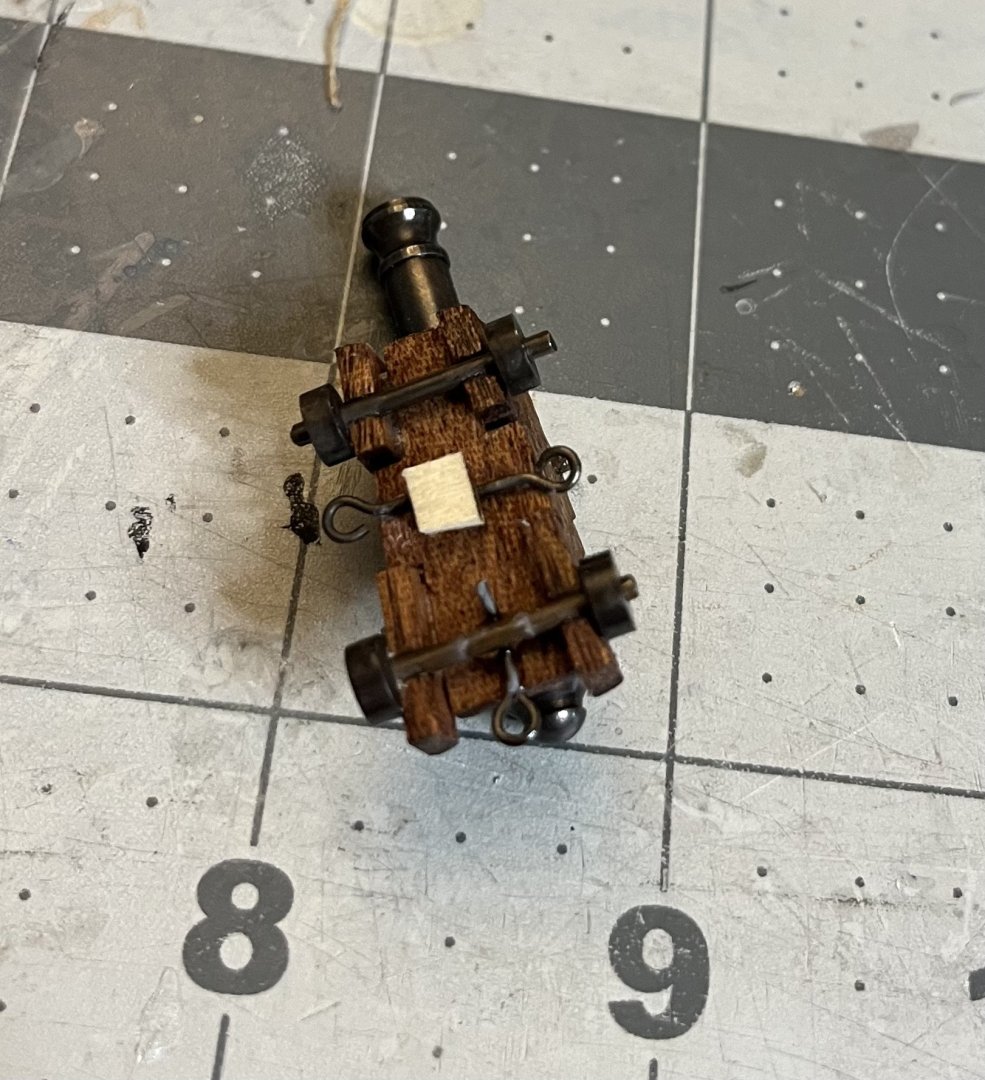
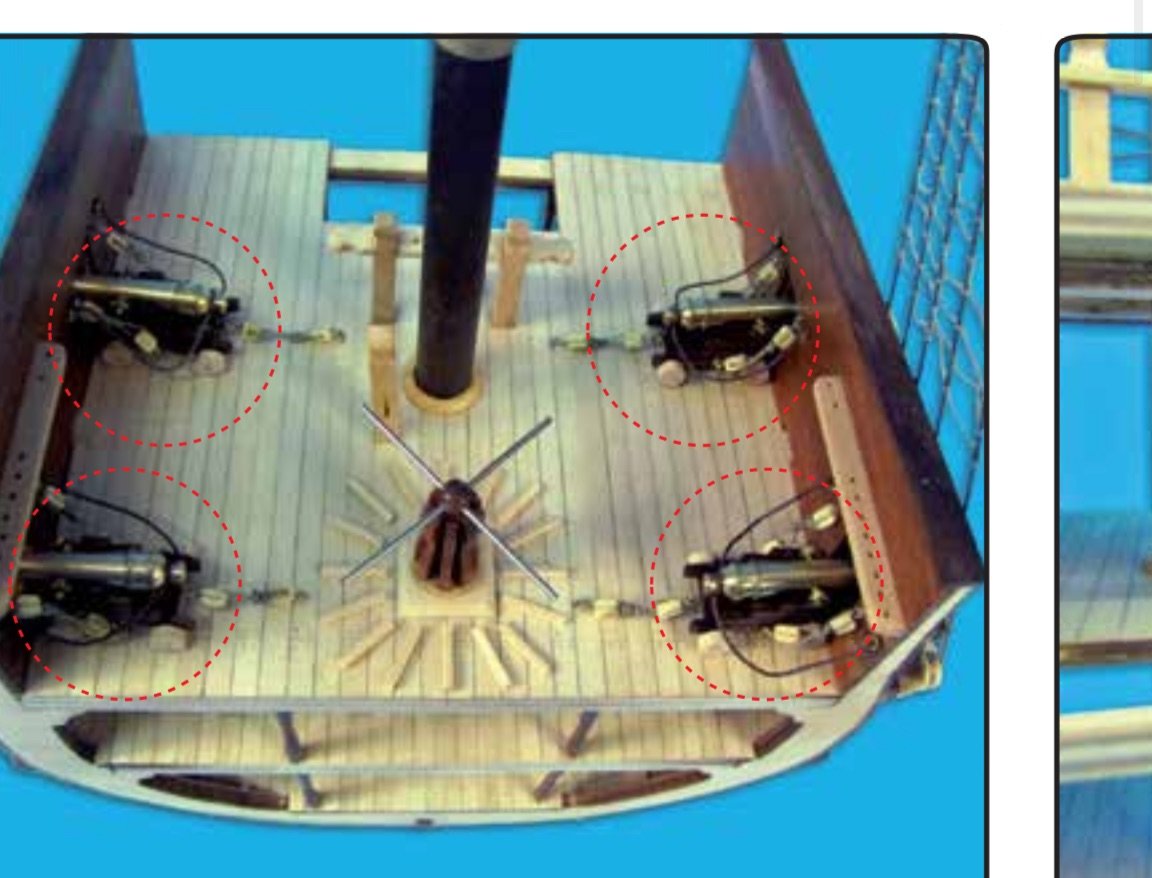
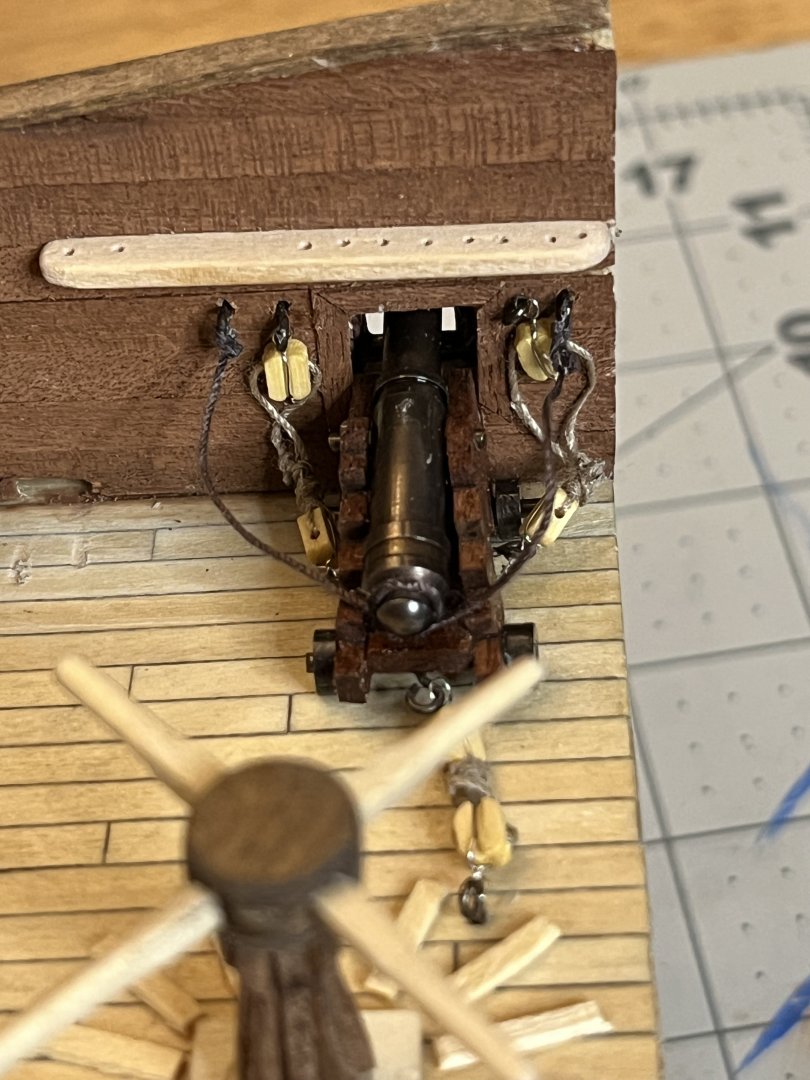
As I have spent more time working on the guns, I came to the realization that I should have followed my instinct and not installed the decks first. I cannot figure out a good way to properly install the guns on the gun deck. At least not without making a mess of CA glue. I was quite frustrated about it and decided that it wasn't worth the time, effort and frustration it would cause me so I am going to simply leave the guns off of the gun deck and have the guns ports closed. I may try placing them later but for now, I don't see a good way to do it. In the mean time, I will work on the guns for the weather deck. The instructions come in two parts. The first part had written descriptions. The second part is essentially only photos with no explanations. For the guns, it simply shows where they go, not how it is intended to mount them. The resolution isn't good enough to tell how the rigging is supposed to be attached to the bulwarks. I didn't want to use CA glue as it looks terrible, so I drilled small holes and bent the eyelets around to hold themselves into place. The instructions call for drilling the eyelets into the side of the gun mounts. I decided to simply glue them to the bottoms as it will look the same and won't be seen. I also added a small piece of wood to make it easier to glue the gun to the deck. I made my inhaul tackle a too long and now it conflicts with the capstan. I redid the inhaul tackle so it would fit a little better, but it still gets into the way of the capstan footing. The tackle is attached to an eyelet with the stem bent under the deck to hold it in place. Holes drilled for the rings to attach the outhaul tackle and breech lines. This is actually the second gun installed, but it is the one with more documentation. First gun installed. The inhaul tackle is longer, but not in the way of anything.


- 86 replies
-
- 1
-
-
- San Francisco
- Artesania Latina
- (and 2 more)
-
Looks like you did just fine for a first time planking to me. The nice thing is that AL kits use a second layer planking that will hide most of what you don't like. Just make sure you get everything sanded nice and smooth. Use wood filler if you need to fill any gaps.
- 7 replies
-
- 1
-
-
- Swift
- Artesania Latina
- (and 1 more)
-
The ship looks wonderful! This being your first model, you definitely have a gift and I hope to see more, even if it is a smaller boat.
-
An issue to consider down the road. You may sand to the point that the dagger board fits into the case, but after a couple coats of paint it will once again be just a bit too thick. I had to repaint my dagger board after putting it in the box because the paint became very scuffed. It is essentially permanently installed now.
- 86 replies
-
- 2
-
-
- Model Shipways
- Norwegian Sailing Pram
- (and 3 more)
-
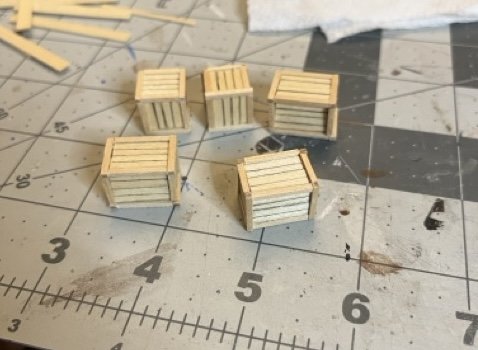
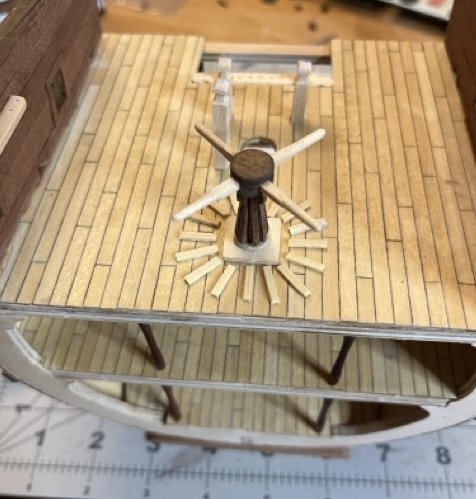
Footings added around the capstan. The instructions called for using 1.5 x 1.5 mm strip. I either couldn't find the strip or there wasn't quite enough supplied as I had already used 3 in making crate frames. I used some planking scrap and cut out my own strips. The aforementioned crates seemed like they would be relatively straight forward to make. In theory they were, but in reality making so many sides exactly the same size was tricky. It seemed that no two pieces could be cut the same size, no matter how many times I measured, measured against each other, and made sure the blade was just in the right spot. Every piece was a different size. At this size, half a millimeter is a large error. I found the simplest thing to do was to cut every piece slightly oversize then sand until everything fit more precisely.
- 86 replies
-
- 1
-
-
- San Francisco
- Artesania Latina
- (and 2 more)
-
Welcome to MSW!
-
Welcome to MSW!
-
I am a big fan of the city of Leiden as I had a great visit there. I will also be visiting Finland in a few months and am really looking forward to that trip. Welcome to MSW!
-
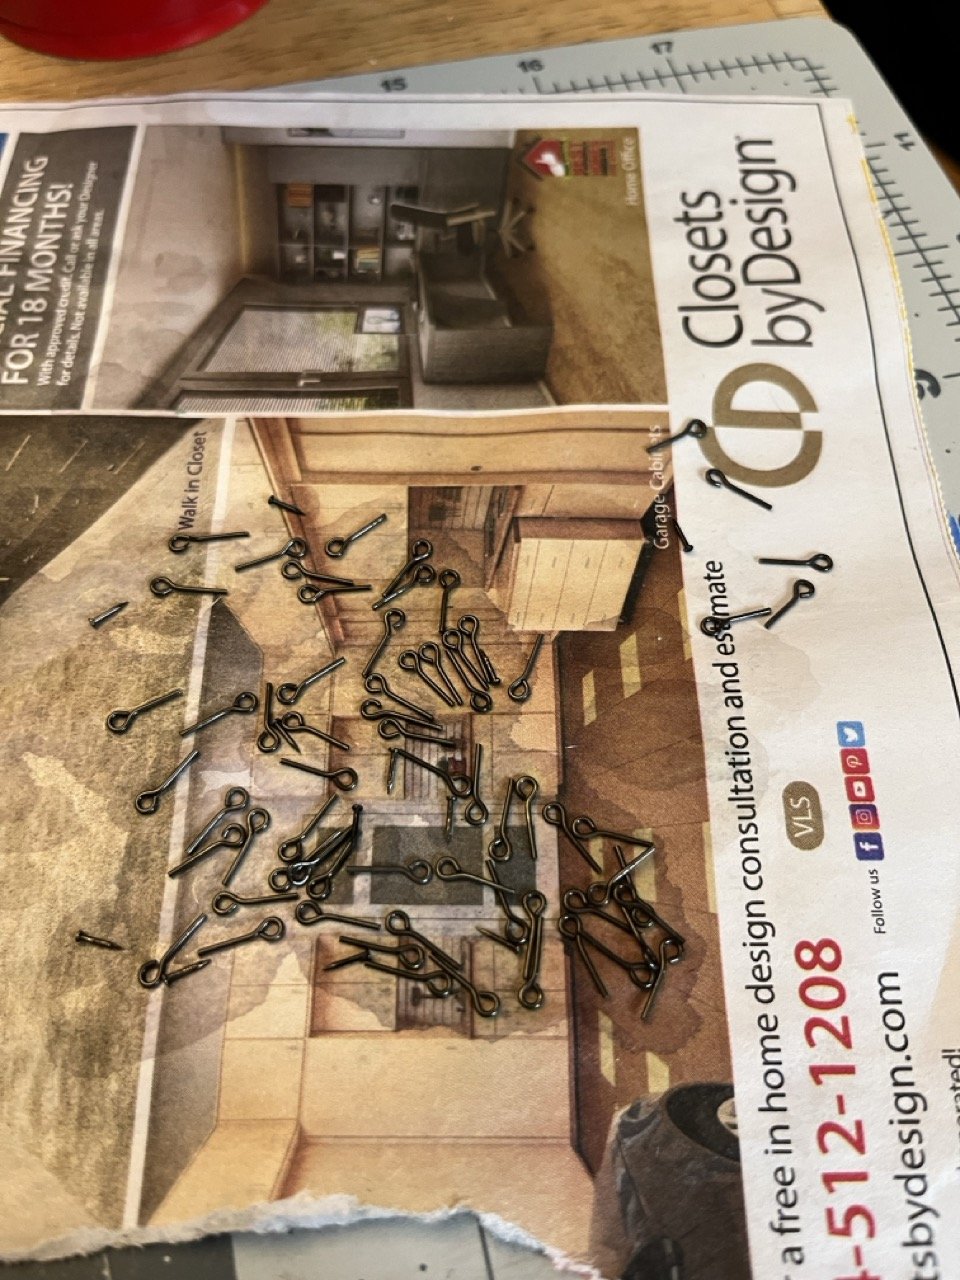
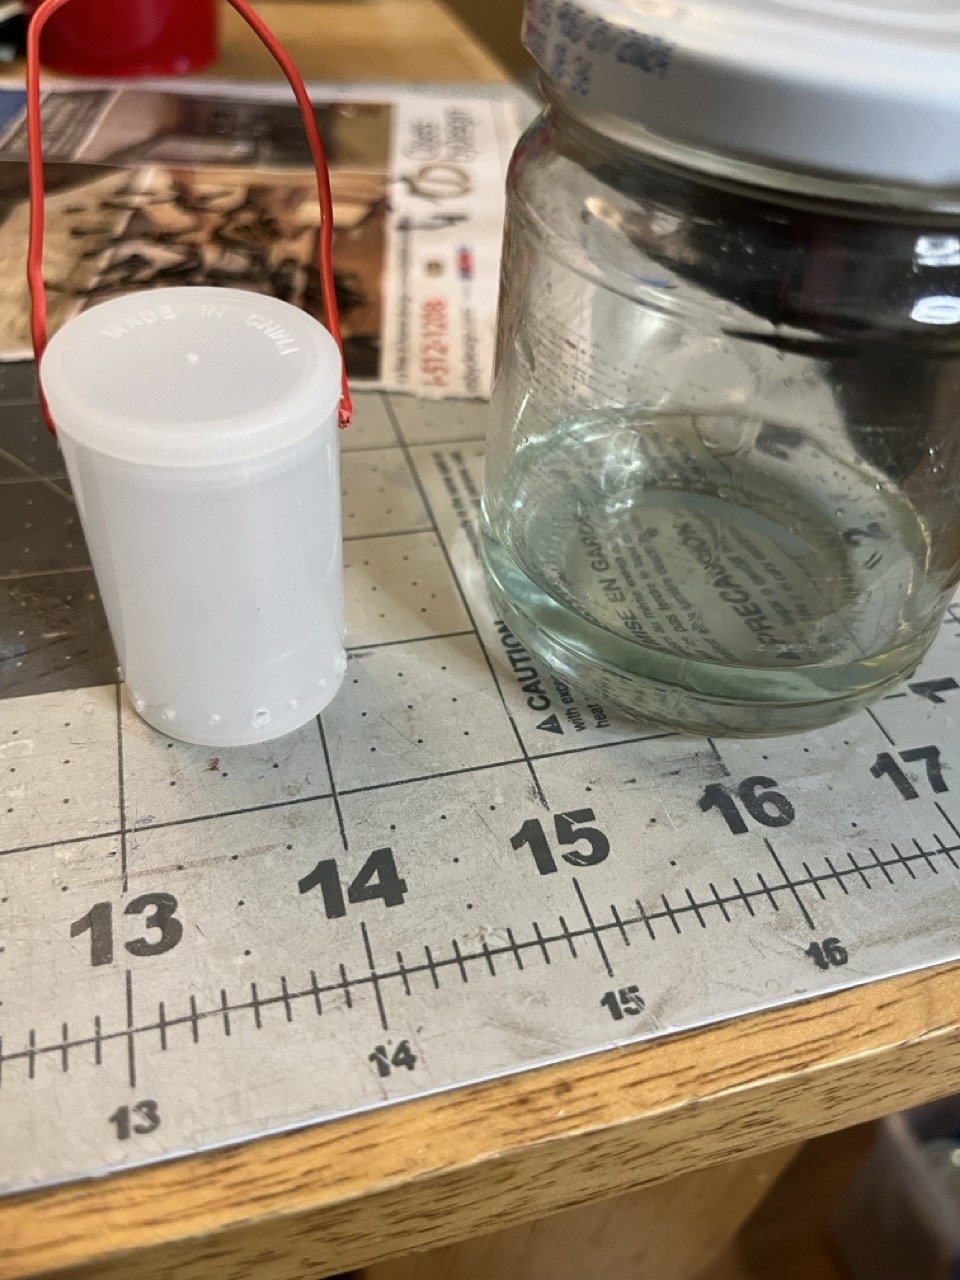
I blackened what should the last of the brass parts. Mostly eyelets and nails. To do it quickly and efficiently, I used an old film canister with holes drilled into it. I then lowered it into a jar of a very unscientifically measured 1:3 Brass Black and distilled water. Swirled for a few seconds until blackened to my liking, then dipped in distilled water to stop the reaction. There is also a coat of shellac on the nails and eyelets as well. Next was blackening the chains for the dead eyes. The model kit uses a pieces of brass wire to make the chains. I didn't want to blacken the wire first because of concerns with ruining the finish while working. I was also concerned about blackening after the wire was installed due to possible staining of the dead eyes. I decided to try out blackening the installed chains with the dilute solution of Brass Black with a cotton swab. It worked ok, and solution was dilute enough that there is no noticeable staining of the dead eyes. One side of the chains installed into the channels. I will have to make sure that the dead eye and lanyard aren't blocking the gun port once rigged.


- 86 replies
-
- 2
-
-
- San Francisco
- Artesania Latina
- (and 2 more)
-
Looks like a cool build. I look forward to seeing it!
-
Welcome to MSW!
-
Welcome to MSW!
-
Welcome to MSW! Look forward to seeing the build log
-
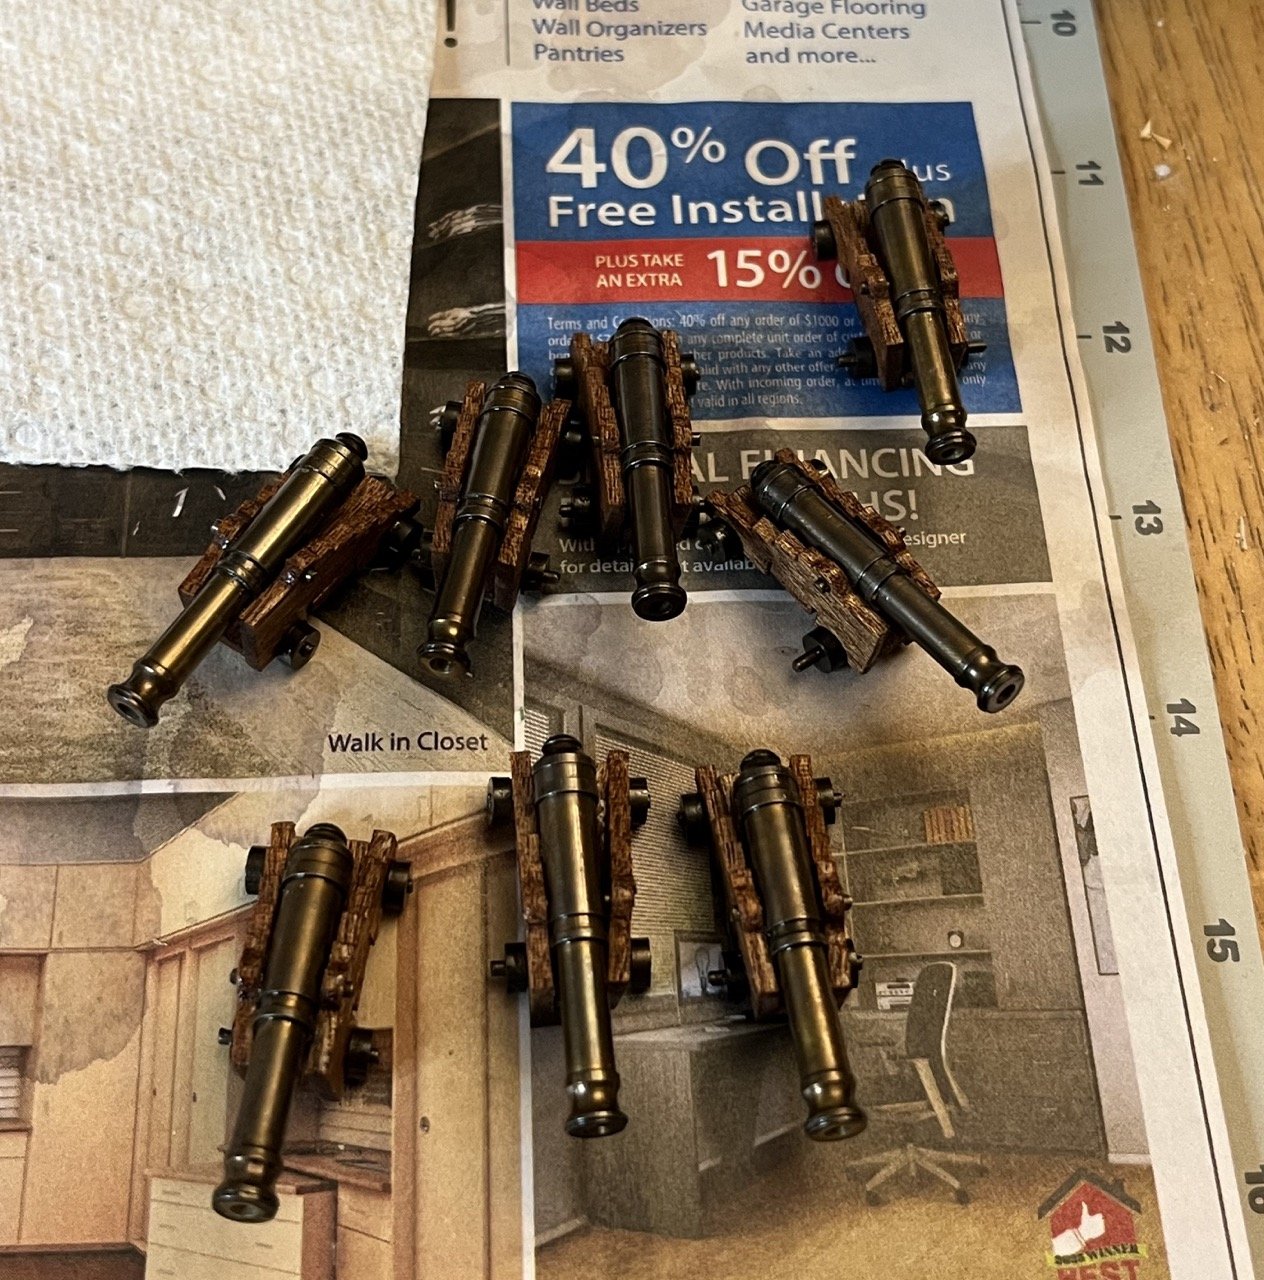
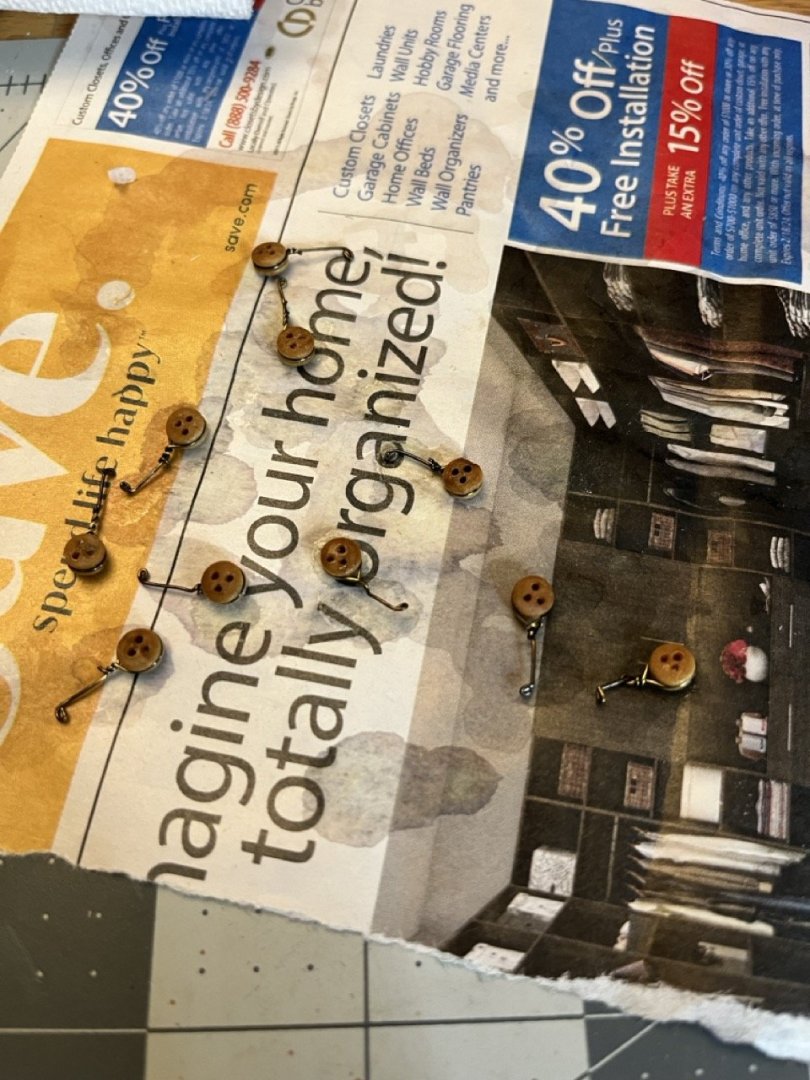
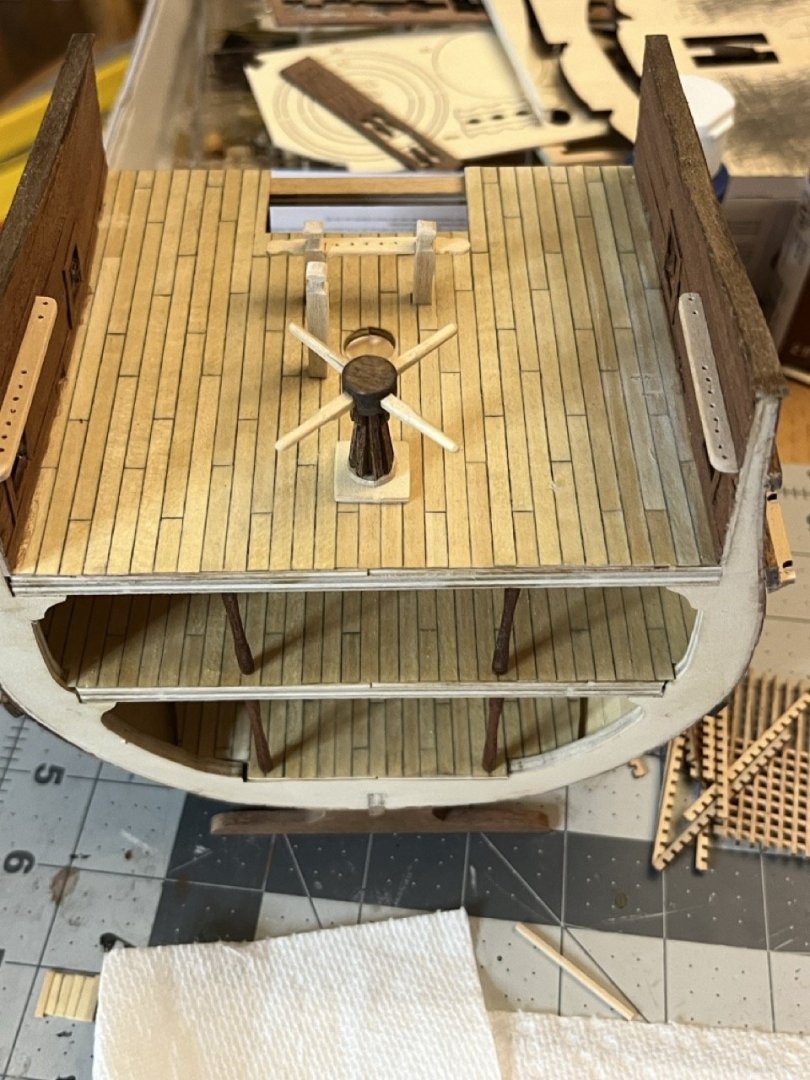
The upper capstan attached to the deck. 8 guns half way made. The guns just need the rigging and installation. A couple of the axles look like they need to be trimmed. If needed, I will touch them up with a dab of black paint.

- 86 replies
-
- 3
-
-
- San Francisco
- Artesania Latina
- (and 2 more)
-
Looks like quite the build! Looking forward to following this one.
- 207 replies
-
- 4
-
-

-
- vanguard models
- Duchess of Kingston
- (and 1 more)
-
Working with blackend brass.
SiriusVoyager replied to SiriusVoyager's topic in Metal Work, Soldering and Metal Fittings
That looks pretty good. I will have to see if I can arrange the wire in a similar way. I should be able to. -
Working with blackend brass.
SiriusVoyager replied to SiriusVoyager's topic in Metal Work, Soldering and Metal Fittings
Good to know. Thanks! I was assuming the wire would be too tight to get the deadeye in or out, but I can give that a try. Thanks! -
Working with blackend brass.
SiriusVoyager replied to SiriusVoyager's topic in Metal Work, Soldering and Metal Fittings
I can’t think of another way of doing it. The closest I can think of would be gluing the deadeye to the chainwale and making it look like the deadeyes are anchored to the hull. I’m not sure I could do it in a way that looks good. That may be the simplest solution. Thanks! Yes, with a torch. I will look into the Plum Brown. -
On the kit I am working on, the brass wire needs a bit of bending and twisting. I want to blacken it, but I am concerned about working it after being blackened. My plan is to anneal the brass, blacken it, then shape it. My worry is that I will ruin the black finish by bending and twisting the metal. If I blackened the brass after working with it, the Brass Black will stain the deadeyes. Any suggestions on how to approach this is much appreciated.