HOLIDAY DONATION DRIVE - SUPPORT MSW - DO YOUR PART TO KEEP THIS GREAT FORUM GOING!
×


SiriusVoyager
-
Posts
502 -
Joined
-
Last visited
Content Type
Profiles
Forums
Gallery
Events
Everything posted by SiriusVoyager
-
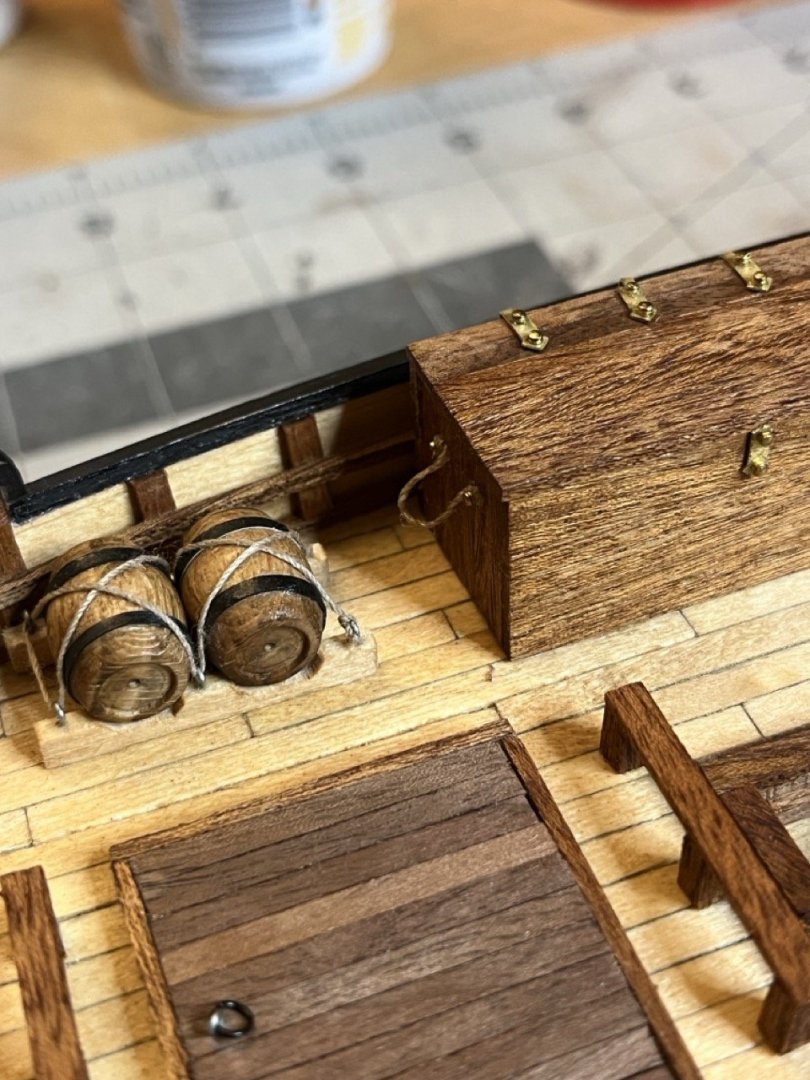
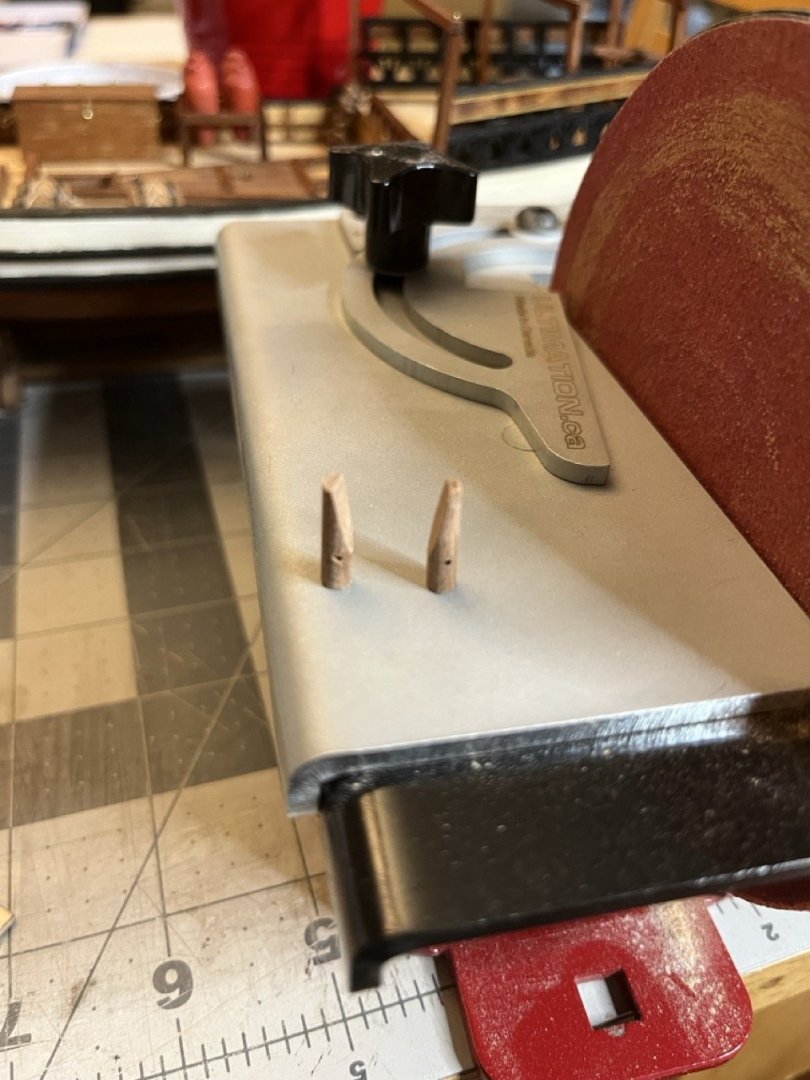
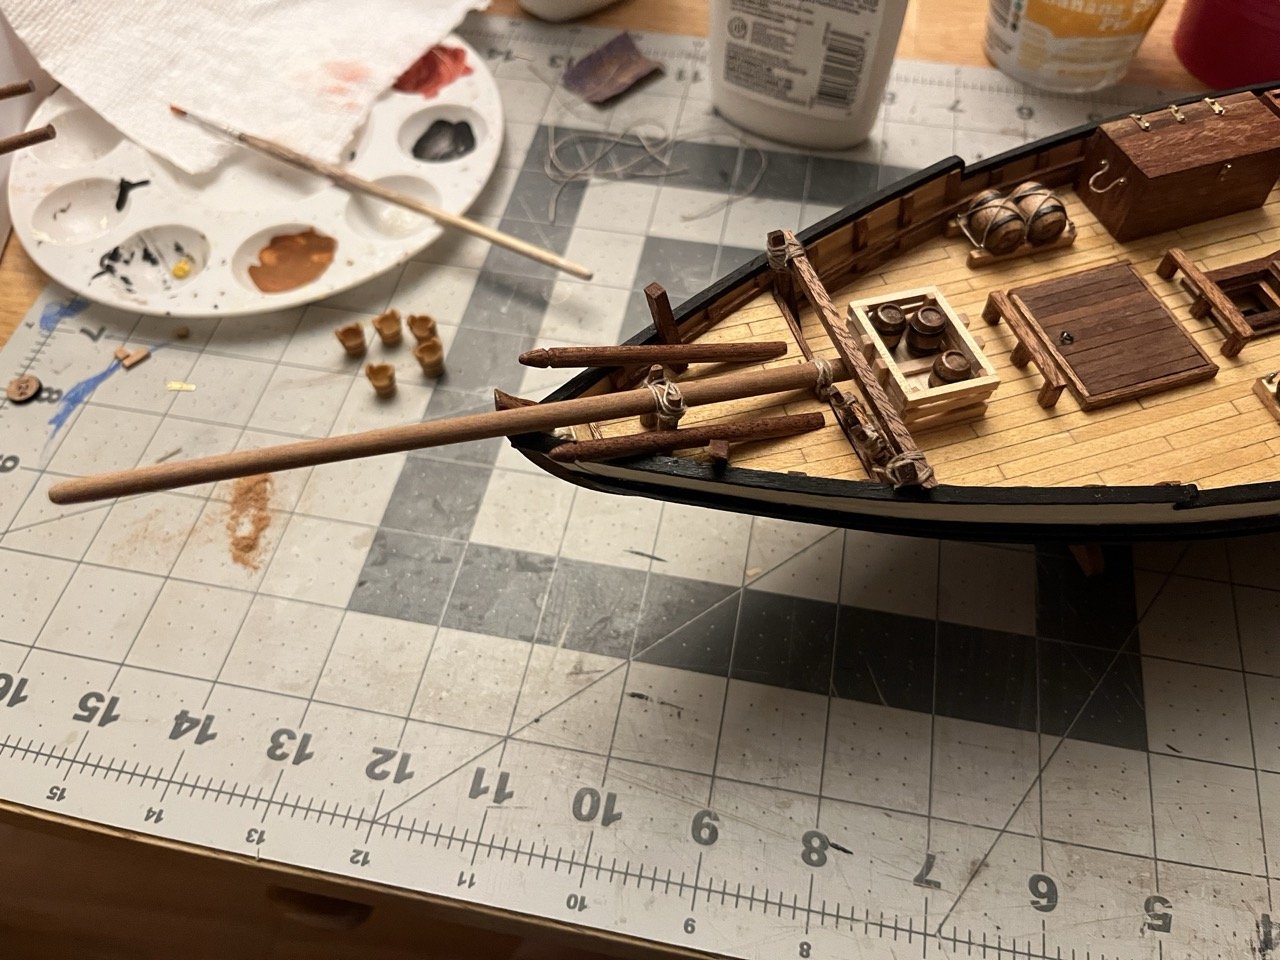
 I have been working on making deck furniture. I didn't do the best job of documenting the progress on everything, mostly because I was jumping around from piece to piece. I have to say though, having the disc sander really helps making nice clean edges. Here is part of the chest being held square with legos. You can see how nice and even the edges are. I sort of messed up the chest by gluing all of the pieces together before making the handles. My solution was to nail the handles into the chest. I think I like the look of that anyway. For the bowsprit, The sander made easy work of the supports. Unfortunately I drilled the holes in the wrong side. It shouldn't be noticeable once everything is in place. The bowsprit in place, lashed and awaiting varnishing.
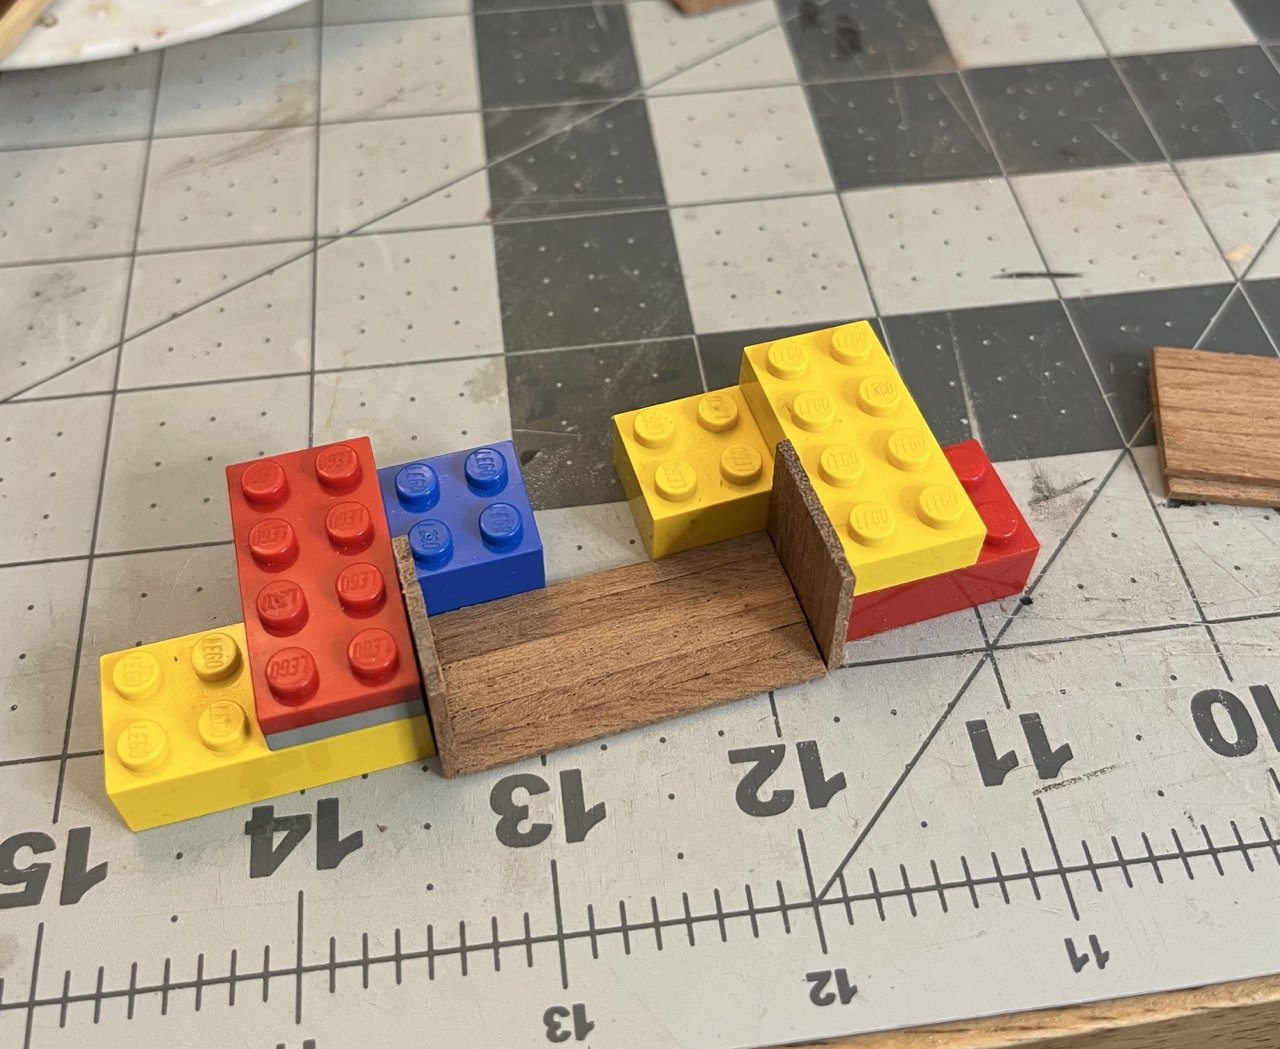
- 65 replies
-
- 6
-

-
- sultan
- Artesania Latina
- (and 2 more)
-
Unfortunately I haven’t been making any rope since I tried it out. I just haven’t been at a point to need it. I should be making some here in the next week or so.
-
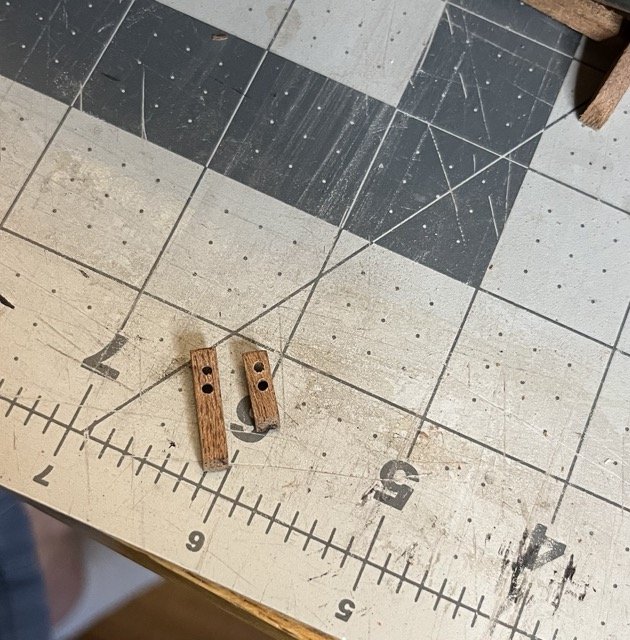
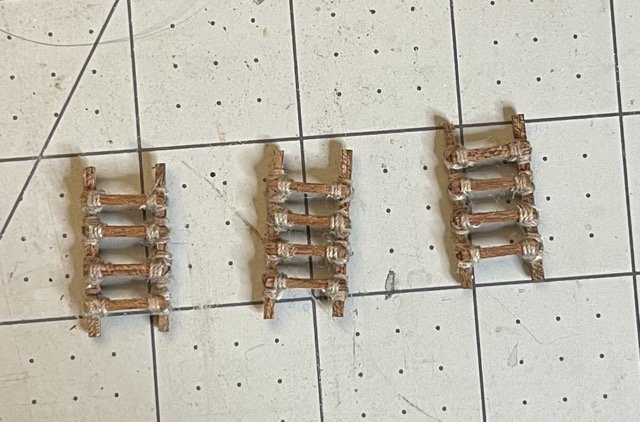
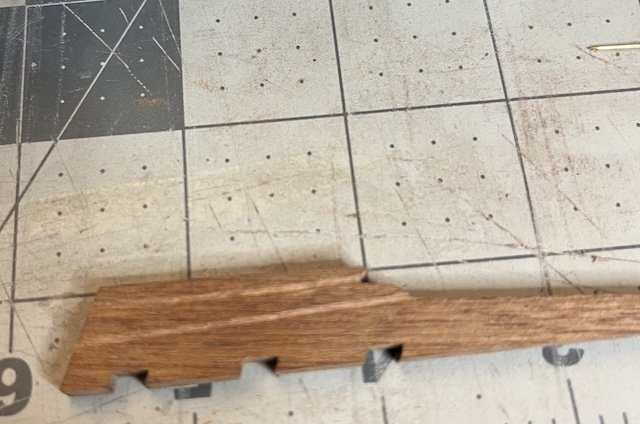
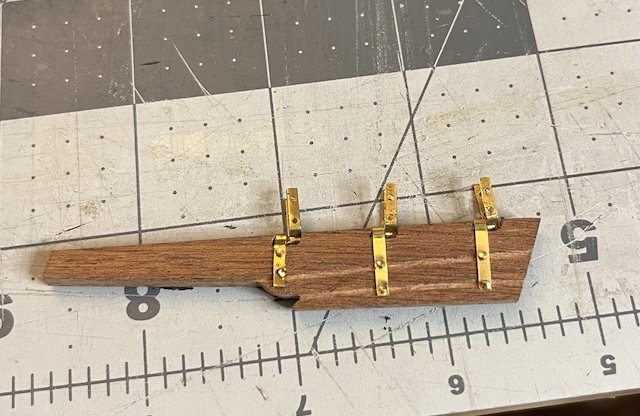
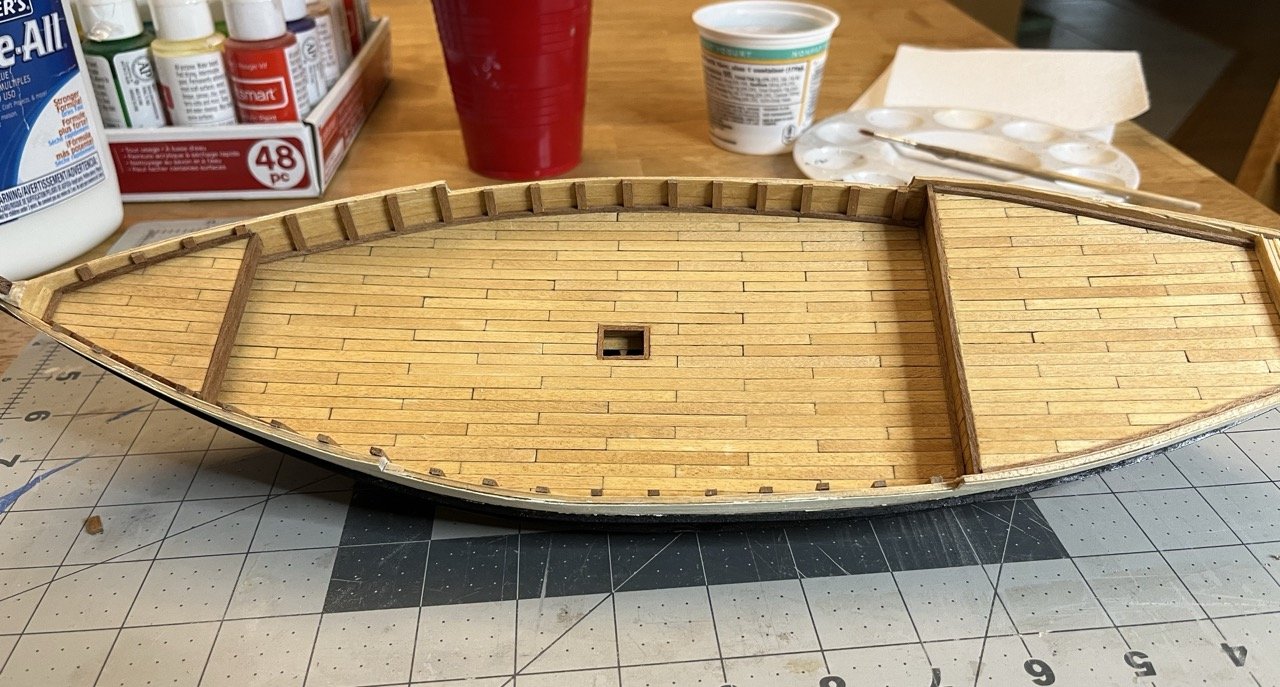
Added the planks for the amidship hatches. The next step was to make the main and mizzen mast rigging brackets. There wasn't any info in the instructions, and the pictures were not clear enough to show how the holes were supposed to be drilled (side to side, front to back ect...). Looking at some of the rigging instructions, it looks like it is supposed to be two holes drilled side by side, front to back. I was not confident that I would be able to drill two holes side by side without splitting the small bracket, so I drilled them one on top of the other. Brackets in place.
- 65 replies
-
- 3
-
-
- sultan
- Artesania Latina
- (and 2 more)
-
Thanks for the suggestion Rick. I will definitely work that into my build routine.
- 65 replies
-
- 1
-
-
- sultan
- Artesania Latina
- (and 2 more)
-
Very nice work Greg! I look forward to following your Constitution next.
- 58 replies
-
- 1
-

-
- Santa Maria
- Ships of Pavel Nikitin
- (and 1 more)
-
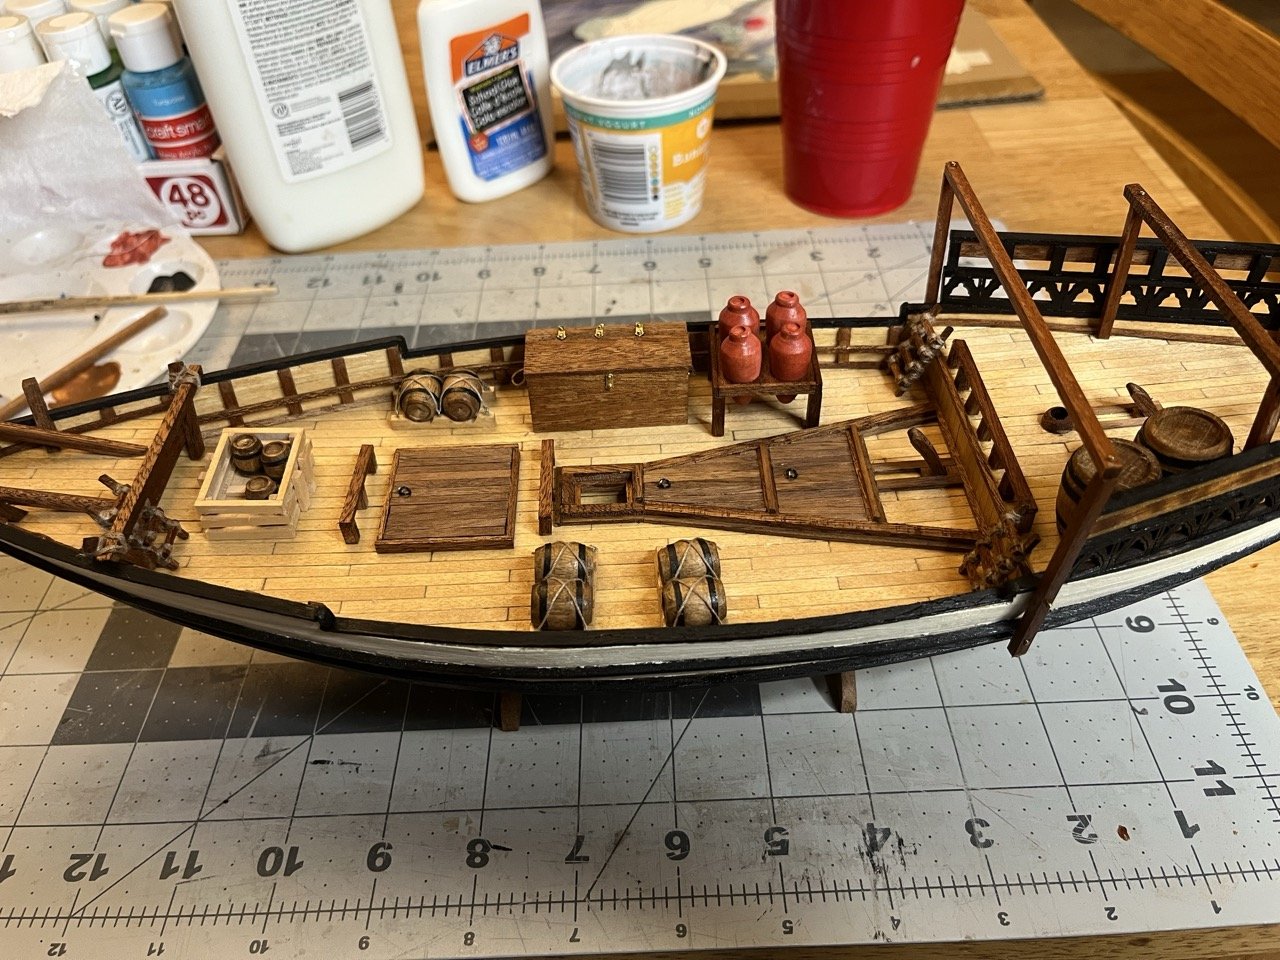
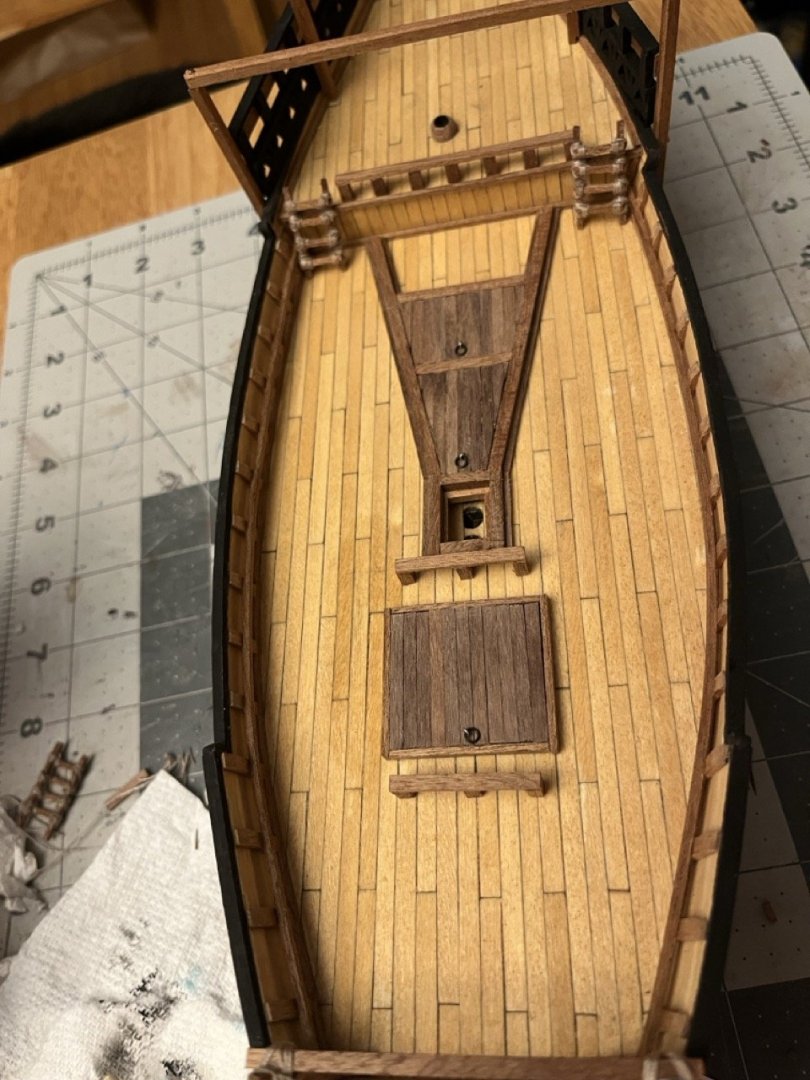
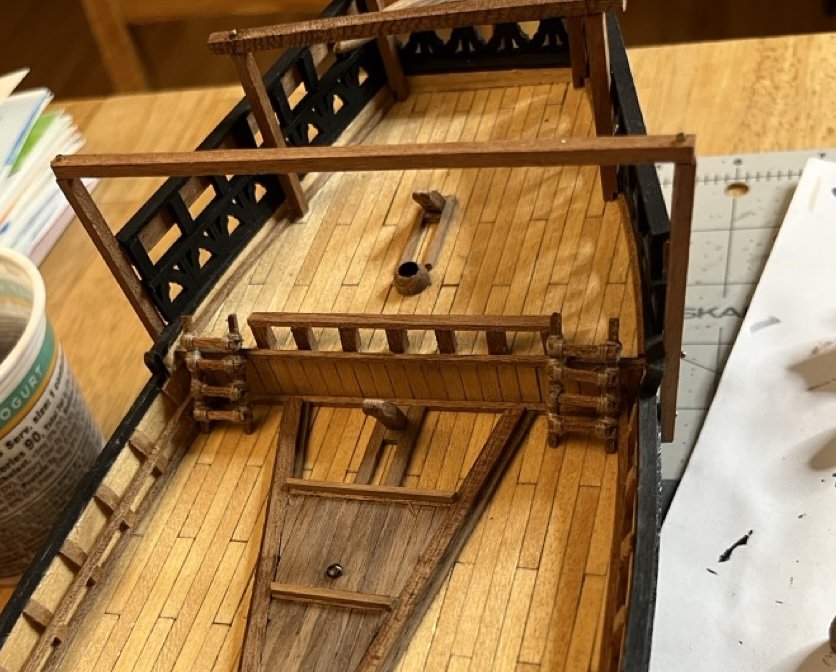
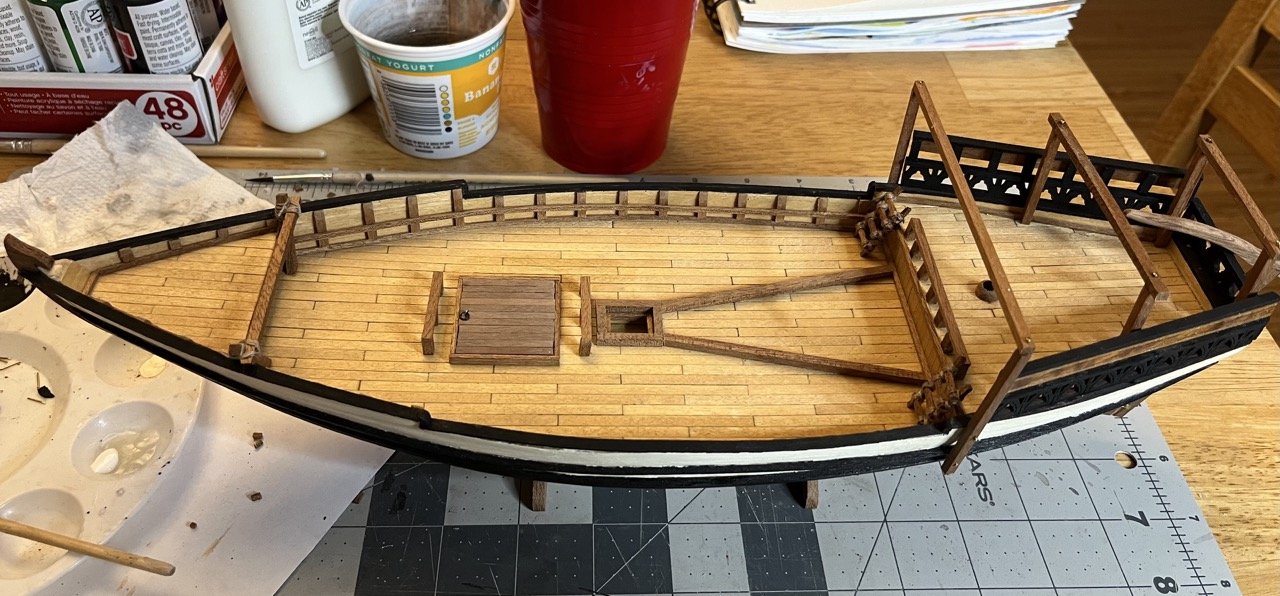
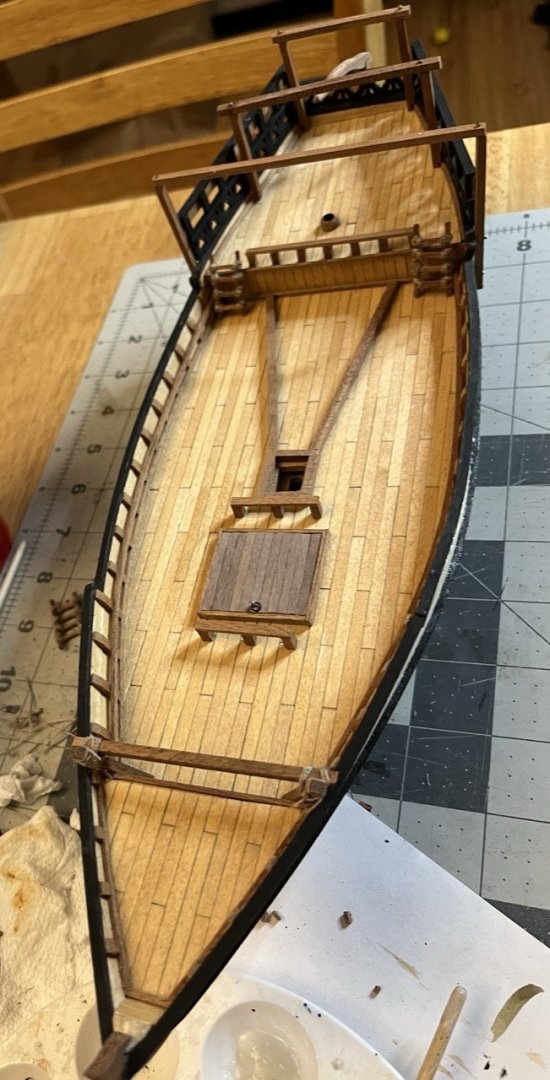
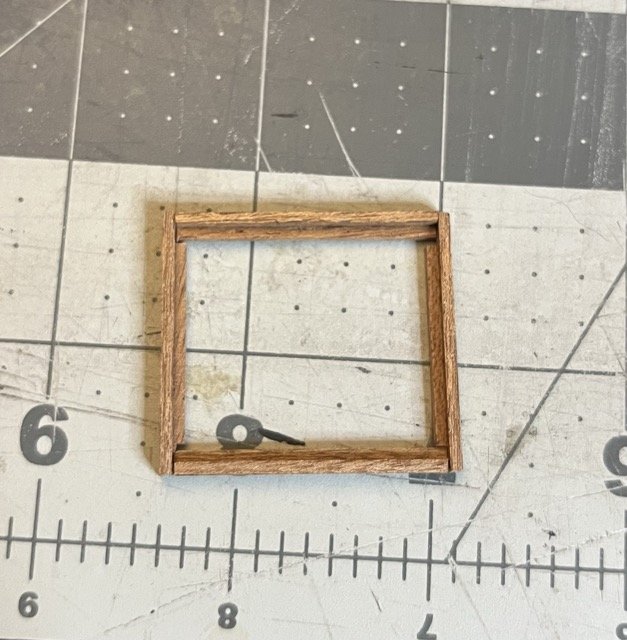
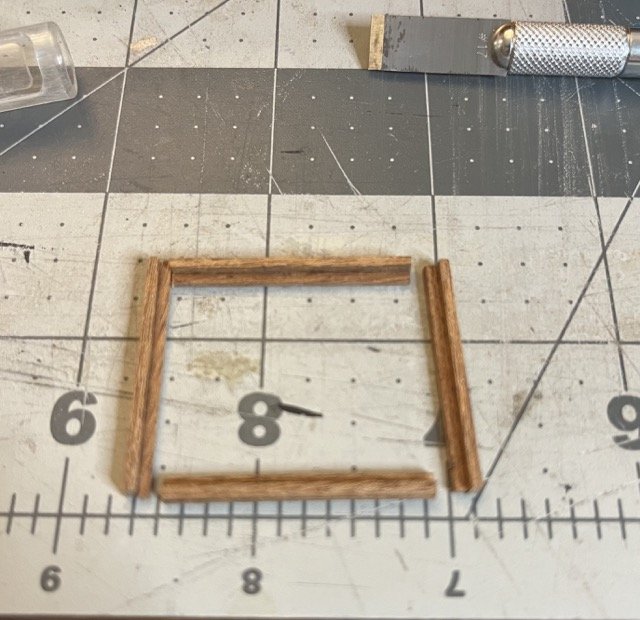
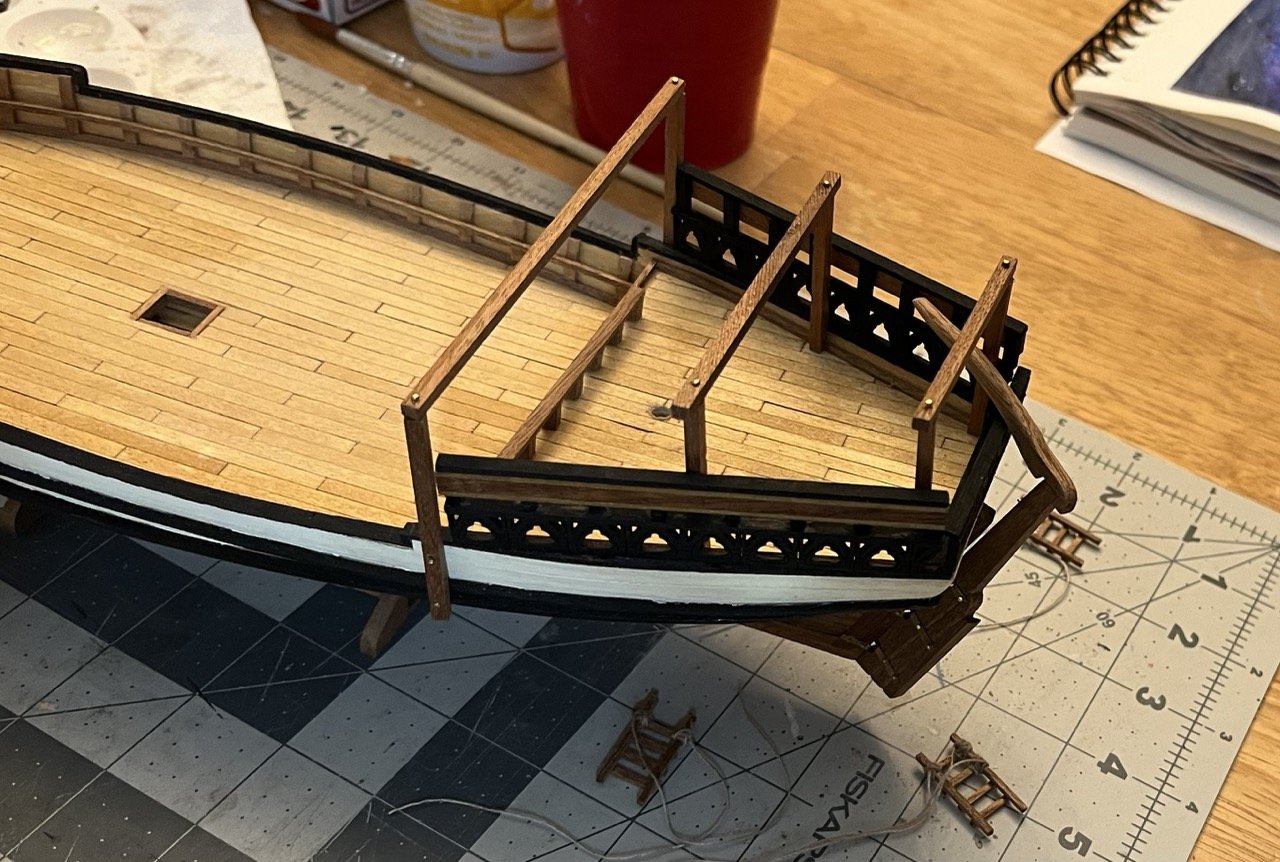
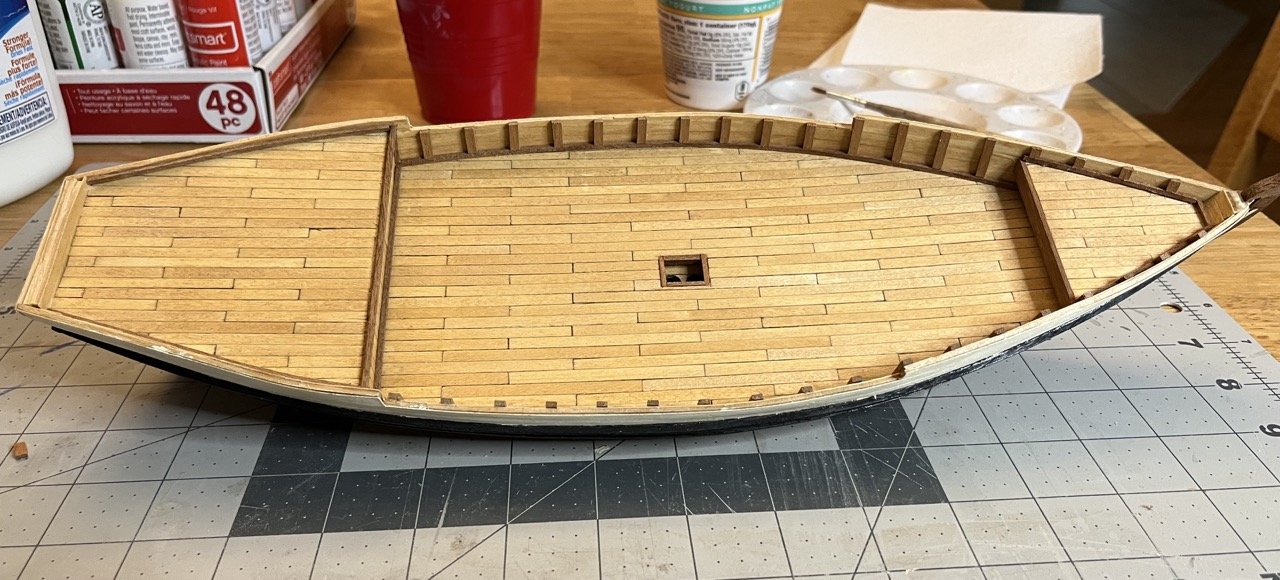
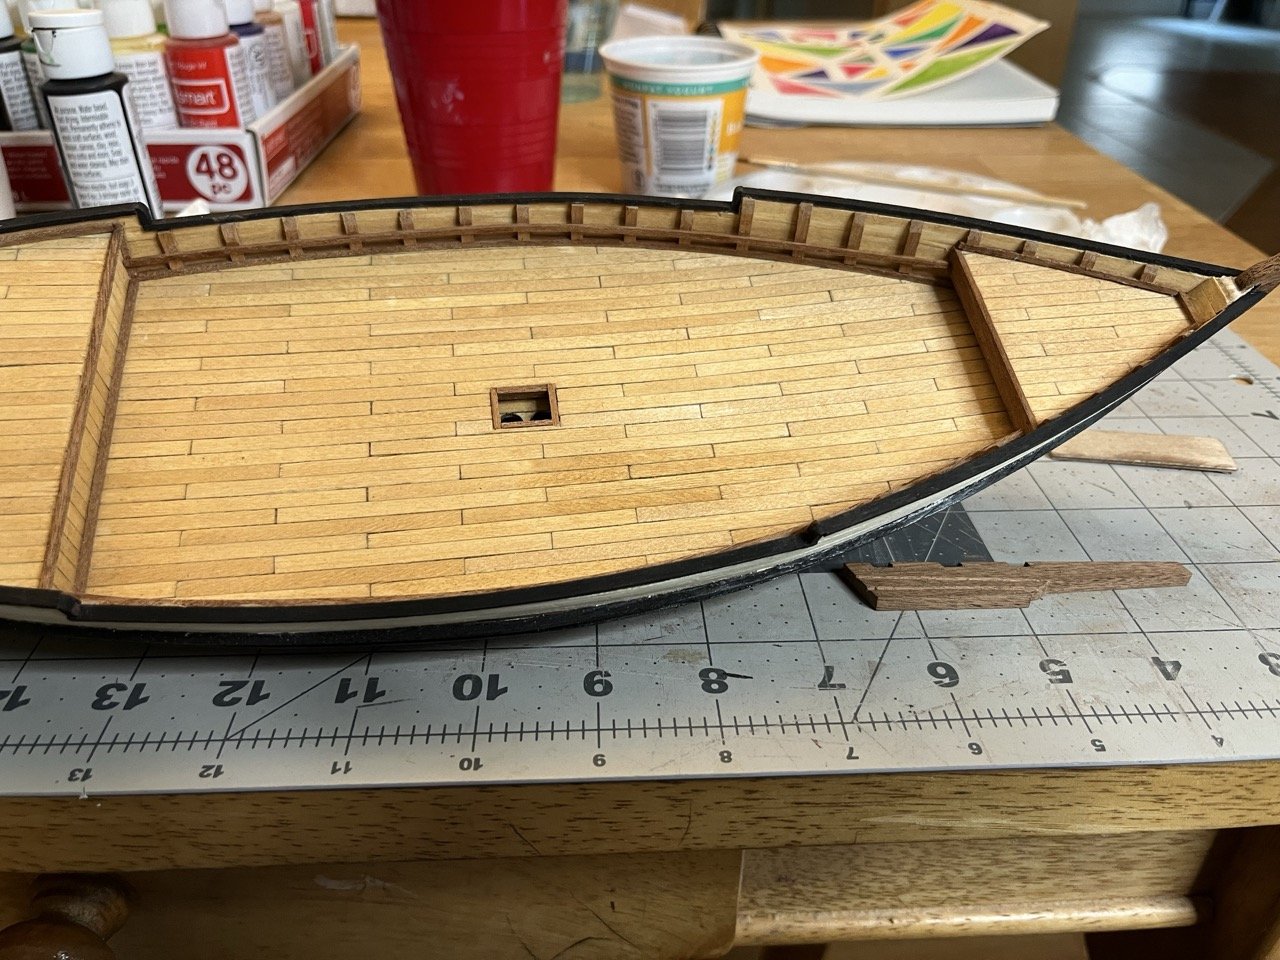
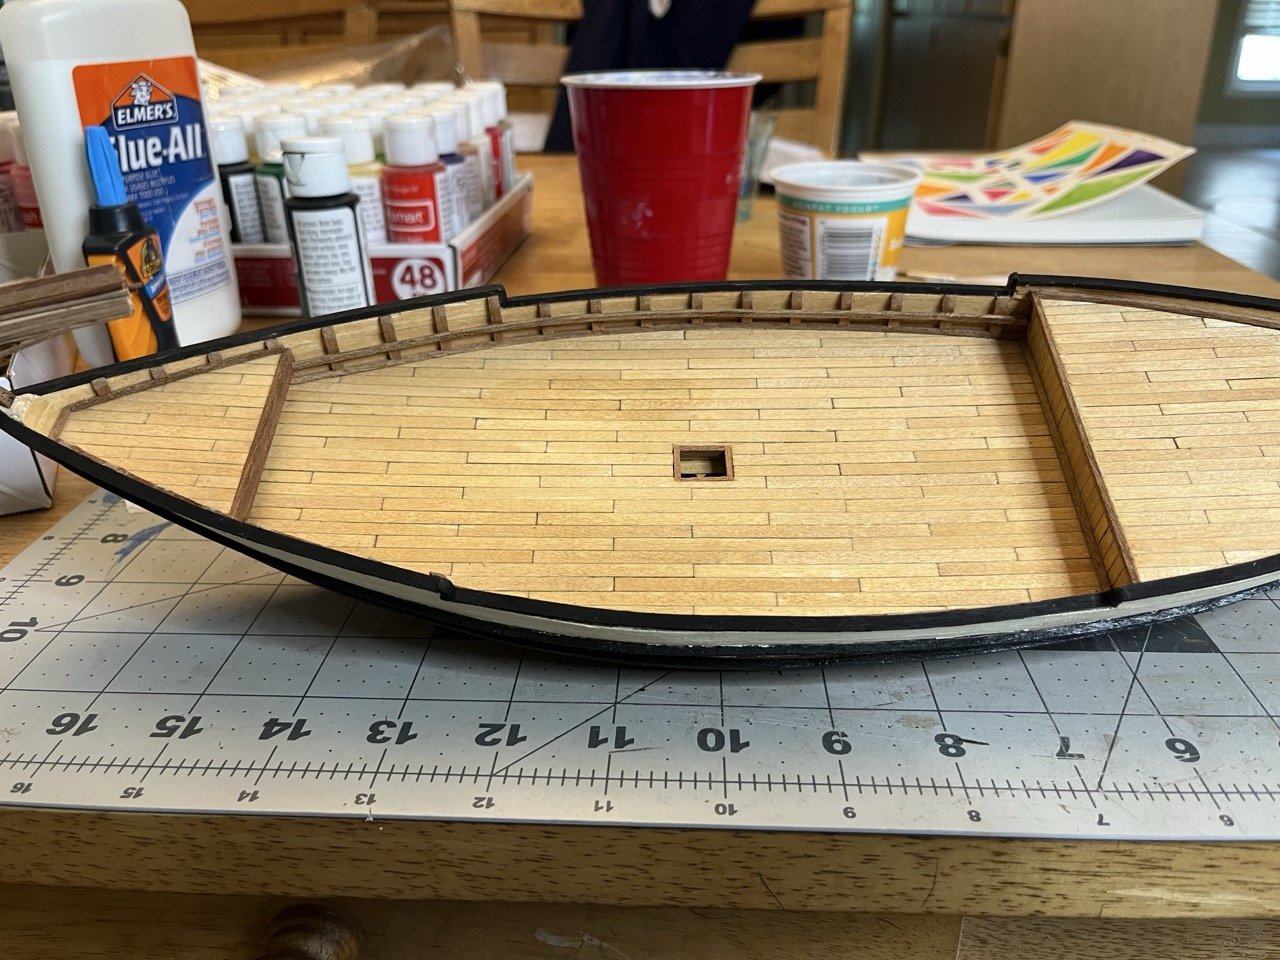
The canopy pillars are installed. I cut notches in the pillars to fit over the framing around the edge of the deck. I also drilled the hole for the stern mast. In the above picture the ladders can be seen. At first I started wrapping the string around randomly, but it was too messy. I found a pattern that looked better and redid that wrapping. I made a mistake on the forward cargo hatch frame. I didn't allow for all pieces to come together properly. Oops. At least it was an easy fix by trimming the interior framing. The forward cargo hatch in place, the center cargo hatch framing started and some deck fittings in place. I need to find a way to make more precise cuts and sanding on pieces like the hatch frames and planks. It seems like no matter how careful I am, they always seem to be just a little bit off. For the next cargo hatch I am going to fit each plank one at a time rather than trying to make all of the planks first.
- 65 replies
-
- 9
-
-
- sultan
- Artesania Latina
- (and 2 more)
-
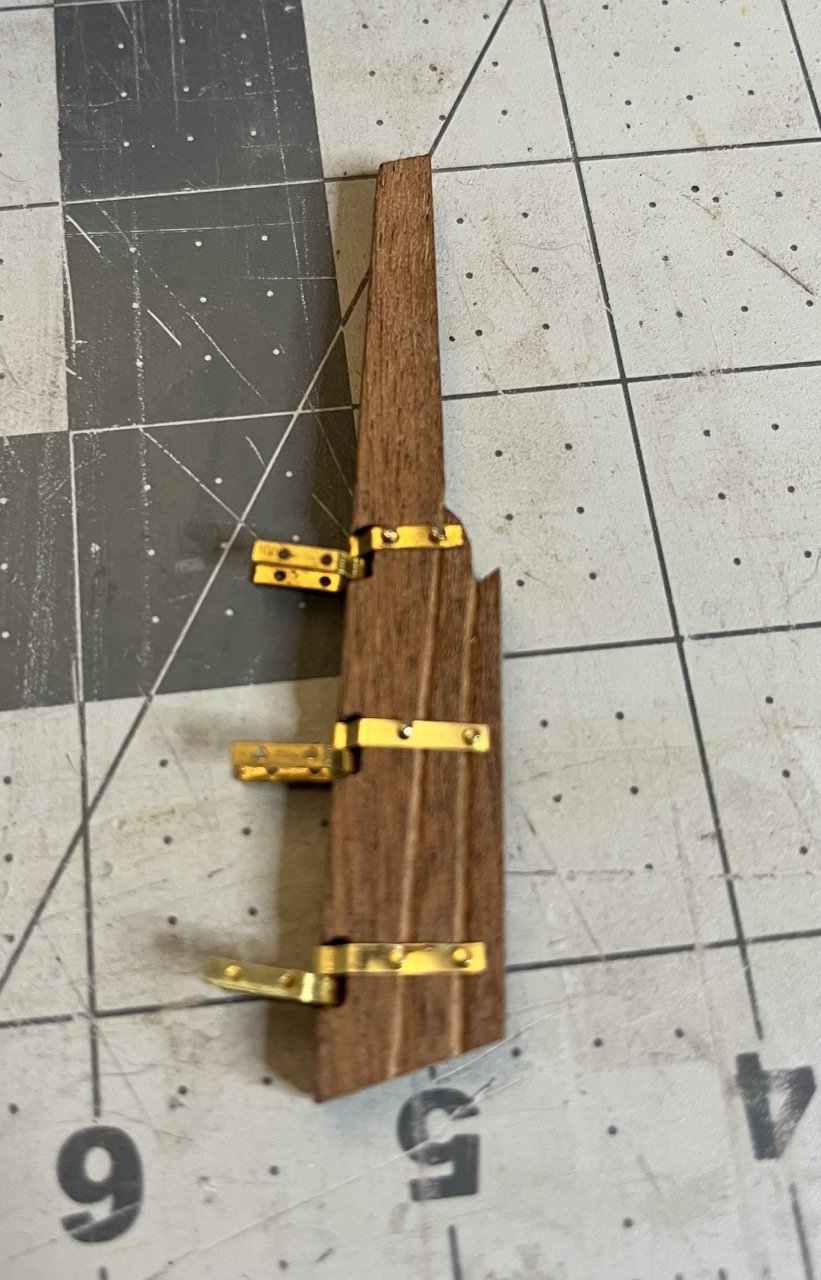
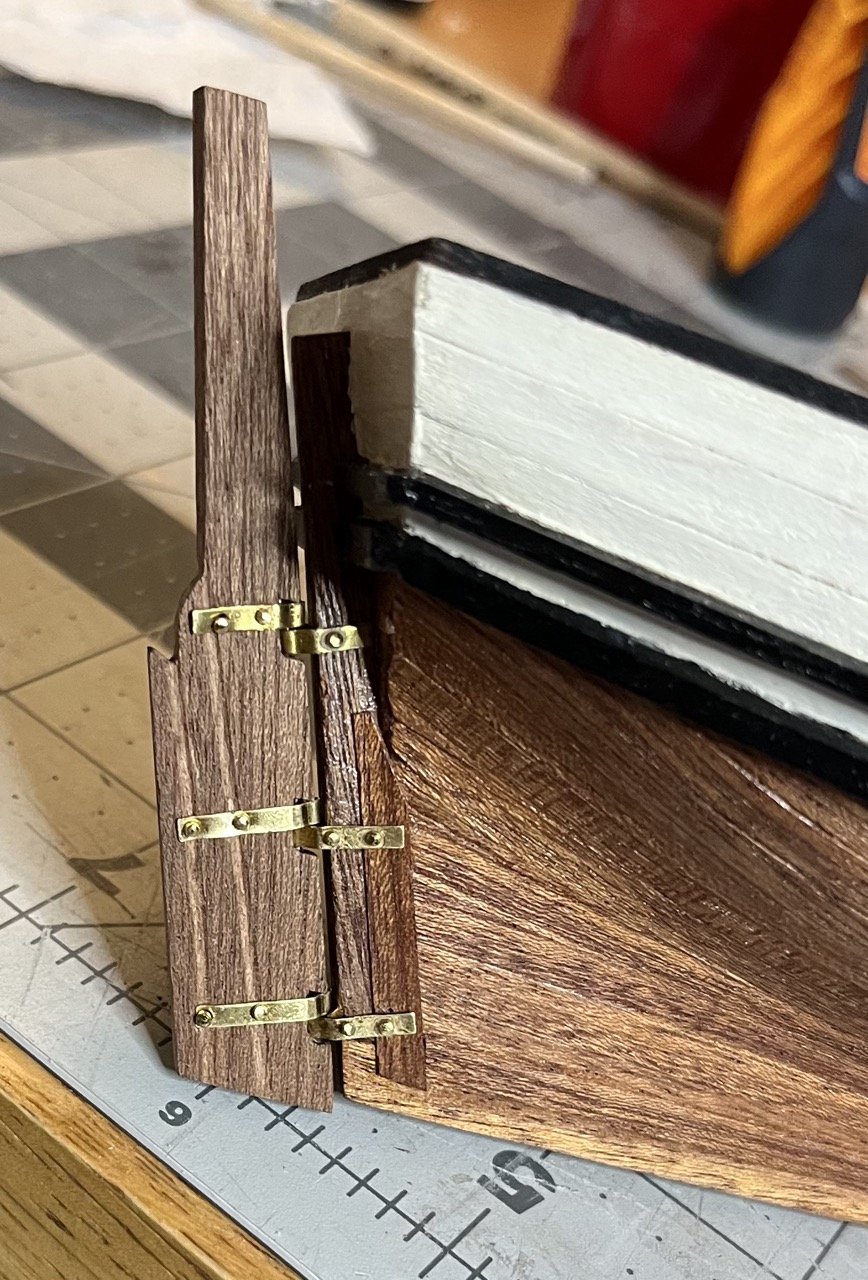
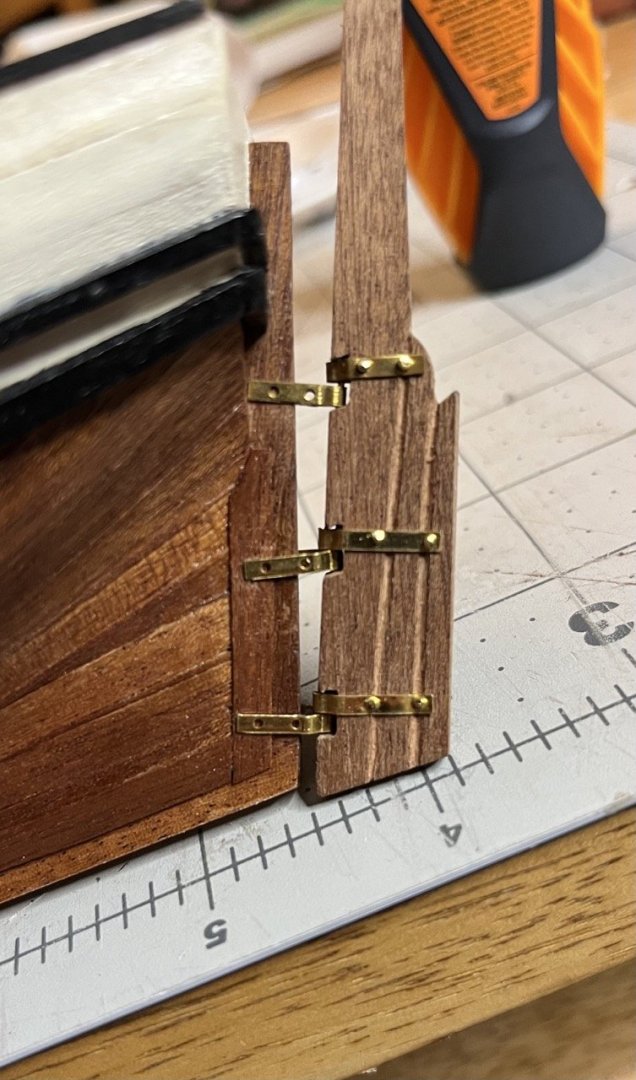
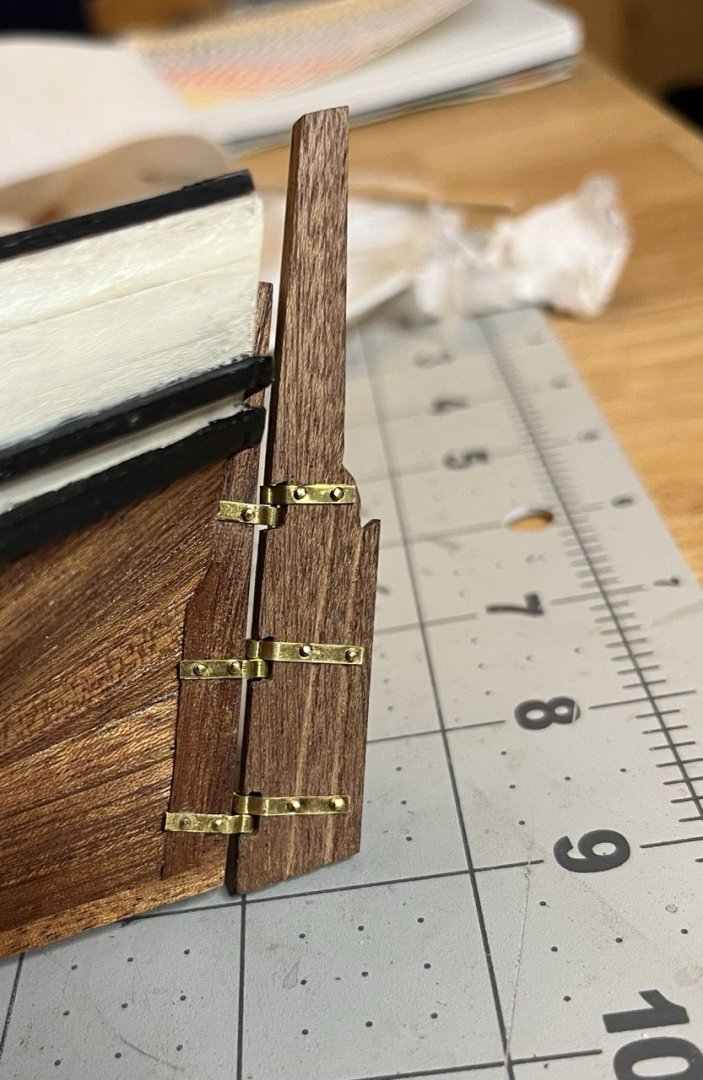
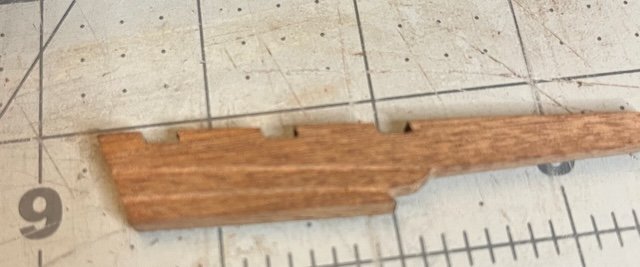
The rudder was pretty straight forward. In all of my previous "beginner" kits, I had to cut and drill my own metal strips to make the rudder hinges and fittings. This "intermediate" kit had all of the metal pieces already cut and drilled. I used a round file to etch out the grooves in the rudder. The rudder hinge pieces were a little tricky. You are supposed to drill into the notches, but I am not sure how those are supposed to be drilled straight. A shaft is then placed into the drill holes for the hinges. The shaft isn't straight, but it is hidden behind the hinges so it isn't noticeable. The instructions call for nailing the hinges into the rudder and the hull. There are two problems here. One is that the nails are more than twice the length of the thickness of the rudder. Two, the holes on both side of the hinge pieces line up with each other. Had I made my own hinges, I would have made sure that they were offset. My solution was to cut the nails very short and glue them into place. I am not sure why this happened. The top hinge doesn't have room to fit properly on the hull. The only workaround I could find was to cut the hinge short. The next step was to add the decorative railings on the stern. This was where painting the gunwales early became an issue. The railings needed to be glued to the gunwales. I simply sanded and touched up the paint where needed. The tiller was also placed on the rudder. The instructions don't mention it but I decided to round the tiller as it seemed more natural.


- 65 replies
-
- 6
-
-
- sultan
- Artesania Latina
- (and 2 more)
-
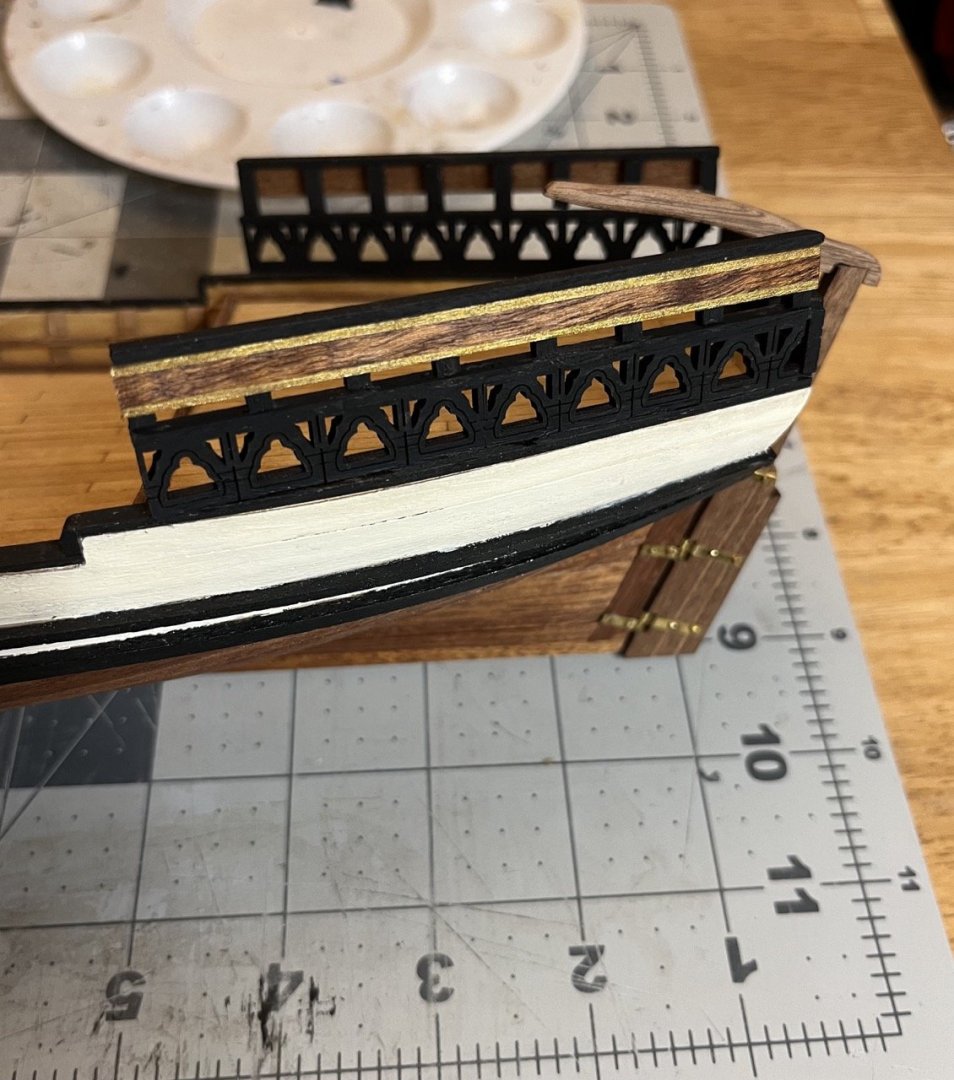
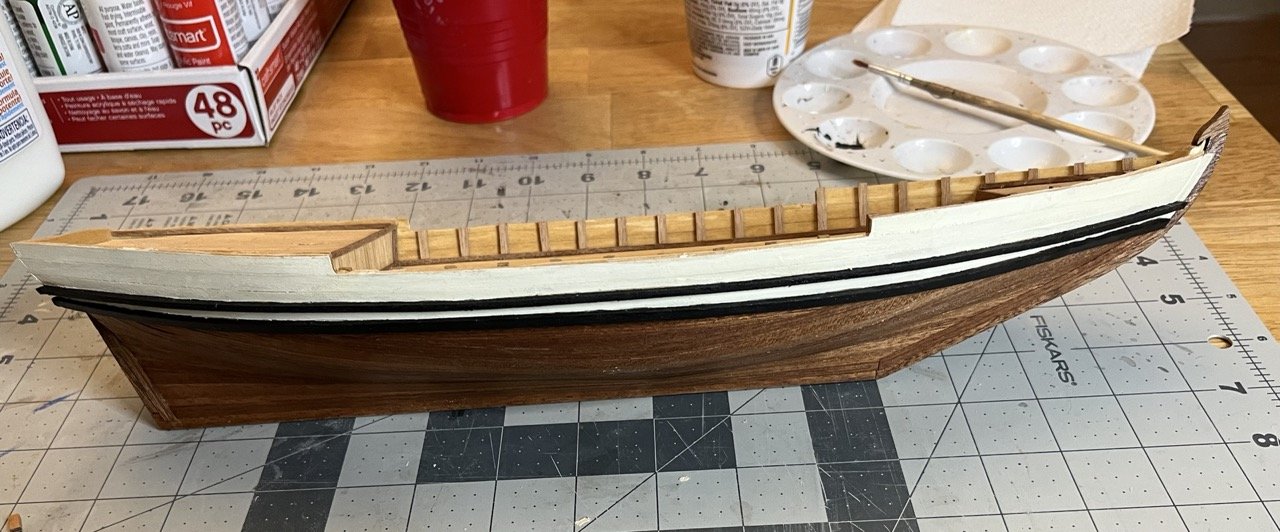
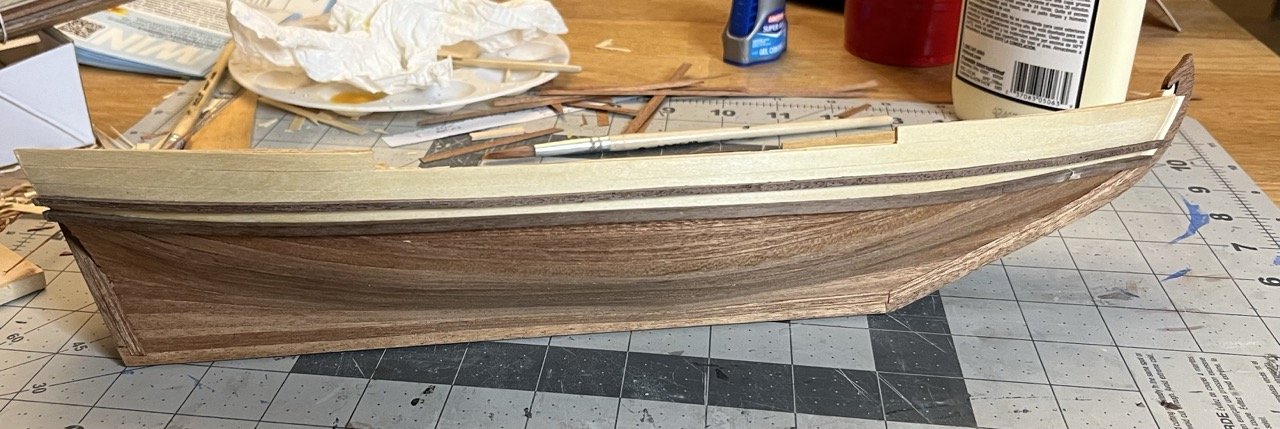
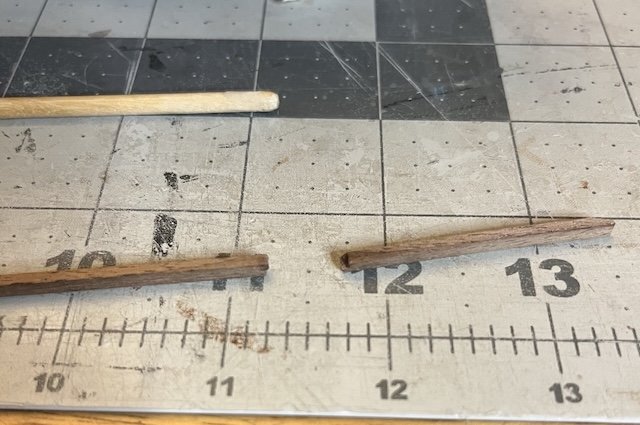
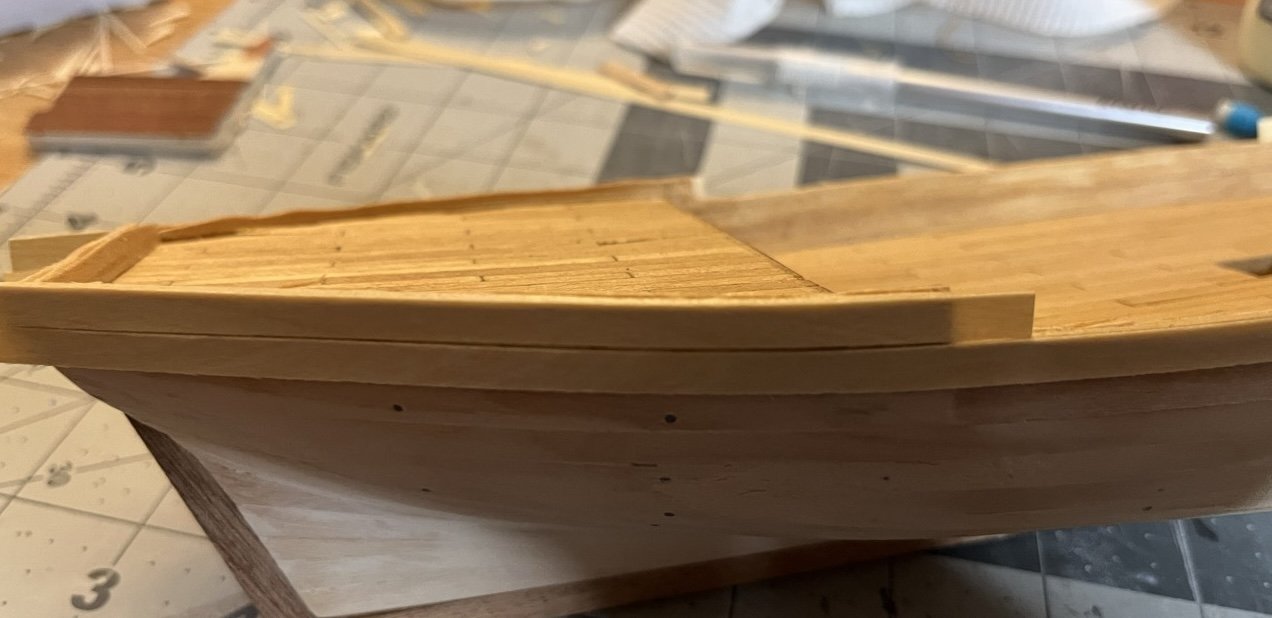
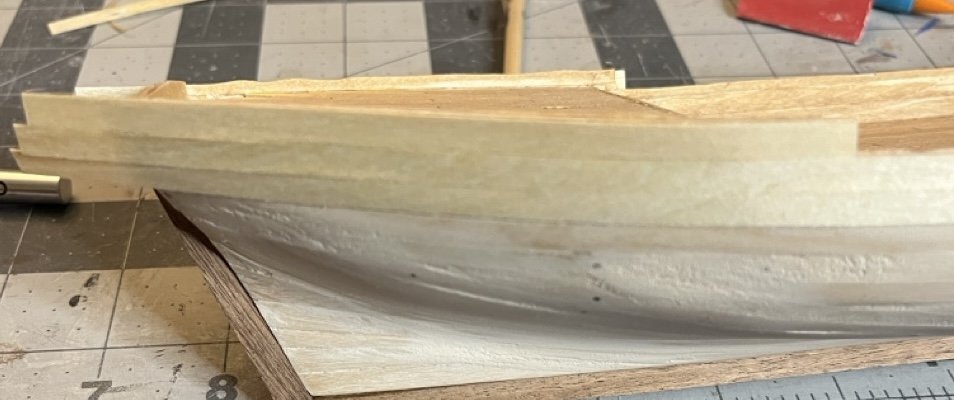
It looks like I took about a 4 month break from modeling for various reasons. I started working on the boat again about a month ago but hadn't had a chance to update the log. I will update the progress to the present point over the next day or three as it takes a bit of time to upload, crop and convert photos. I had one rub rail break on me while trying to bend it. Not having extra wood I figured I would do my best to patch it up. Since it will be painted over I think I can do it well enough to not be an issue. I painted the bulwark vanilla white to help the colors stand out a bit more. The rub rails were painted black and the break is not noticeable. I spent quite a bit of time trying to make sure everything was taped properly to give nice clean edges, and I still had paint run under the tape. I will gradually touch it up over time. I also put a coat of shellac over the hull strakes and I think it helps bring out the color nicely. Interior battens and framing. The battens along the bulwark were too wide for the gunwales supplied with the kit, so I filed them at an angle to make them more flush. I painted the gunwales off the main structure to avoid the issues with tape and paint leaking under like I did with the rub rails. It took a bit of effort to bed the wood into proper shape, painting, then fitting them to the top of the bulwarks. There ended up being an issue with this that I should have anticipated later. I will get more into that when I get to that point.

- 65 replies
-
- 4
-
-
- sultan
- Artesania Latina
- (and 2 more)
-
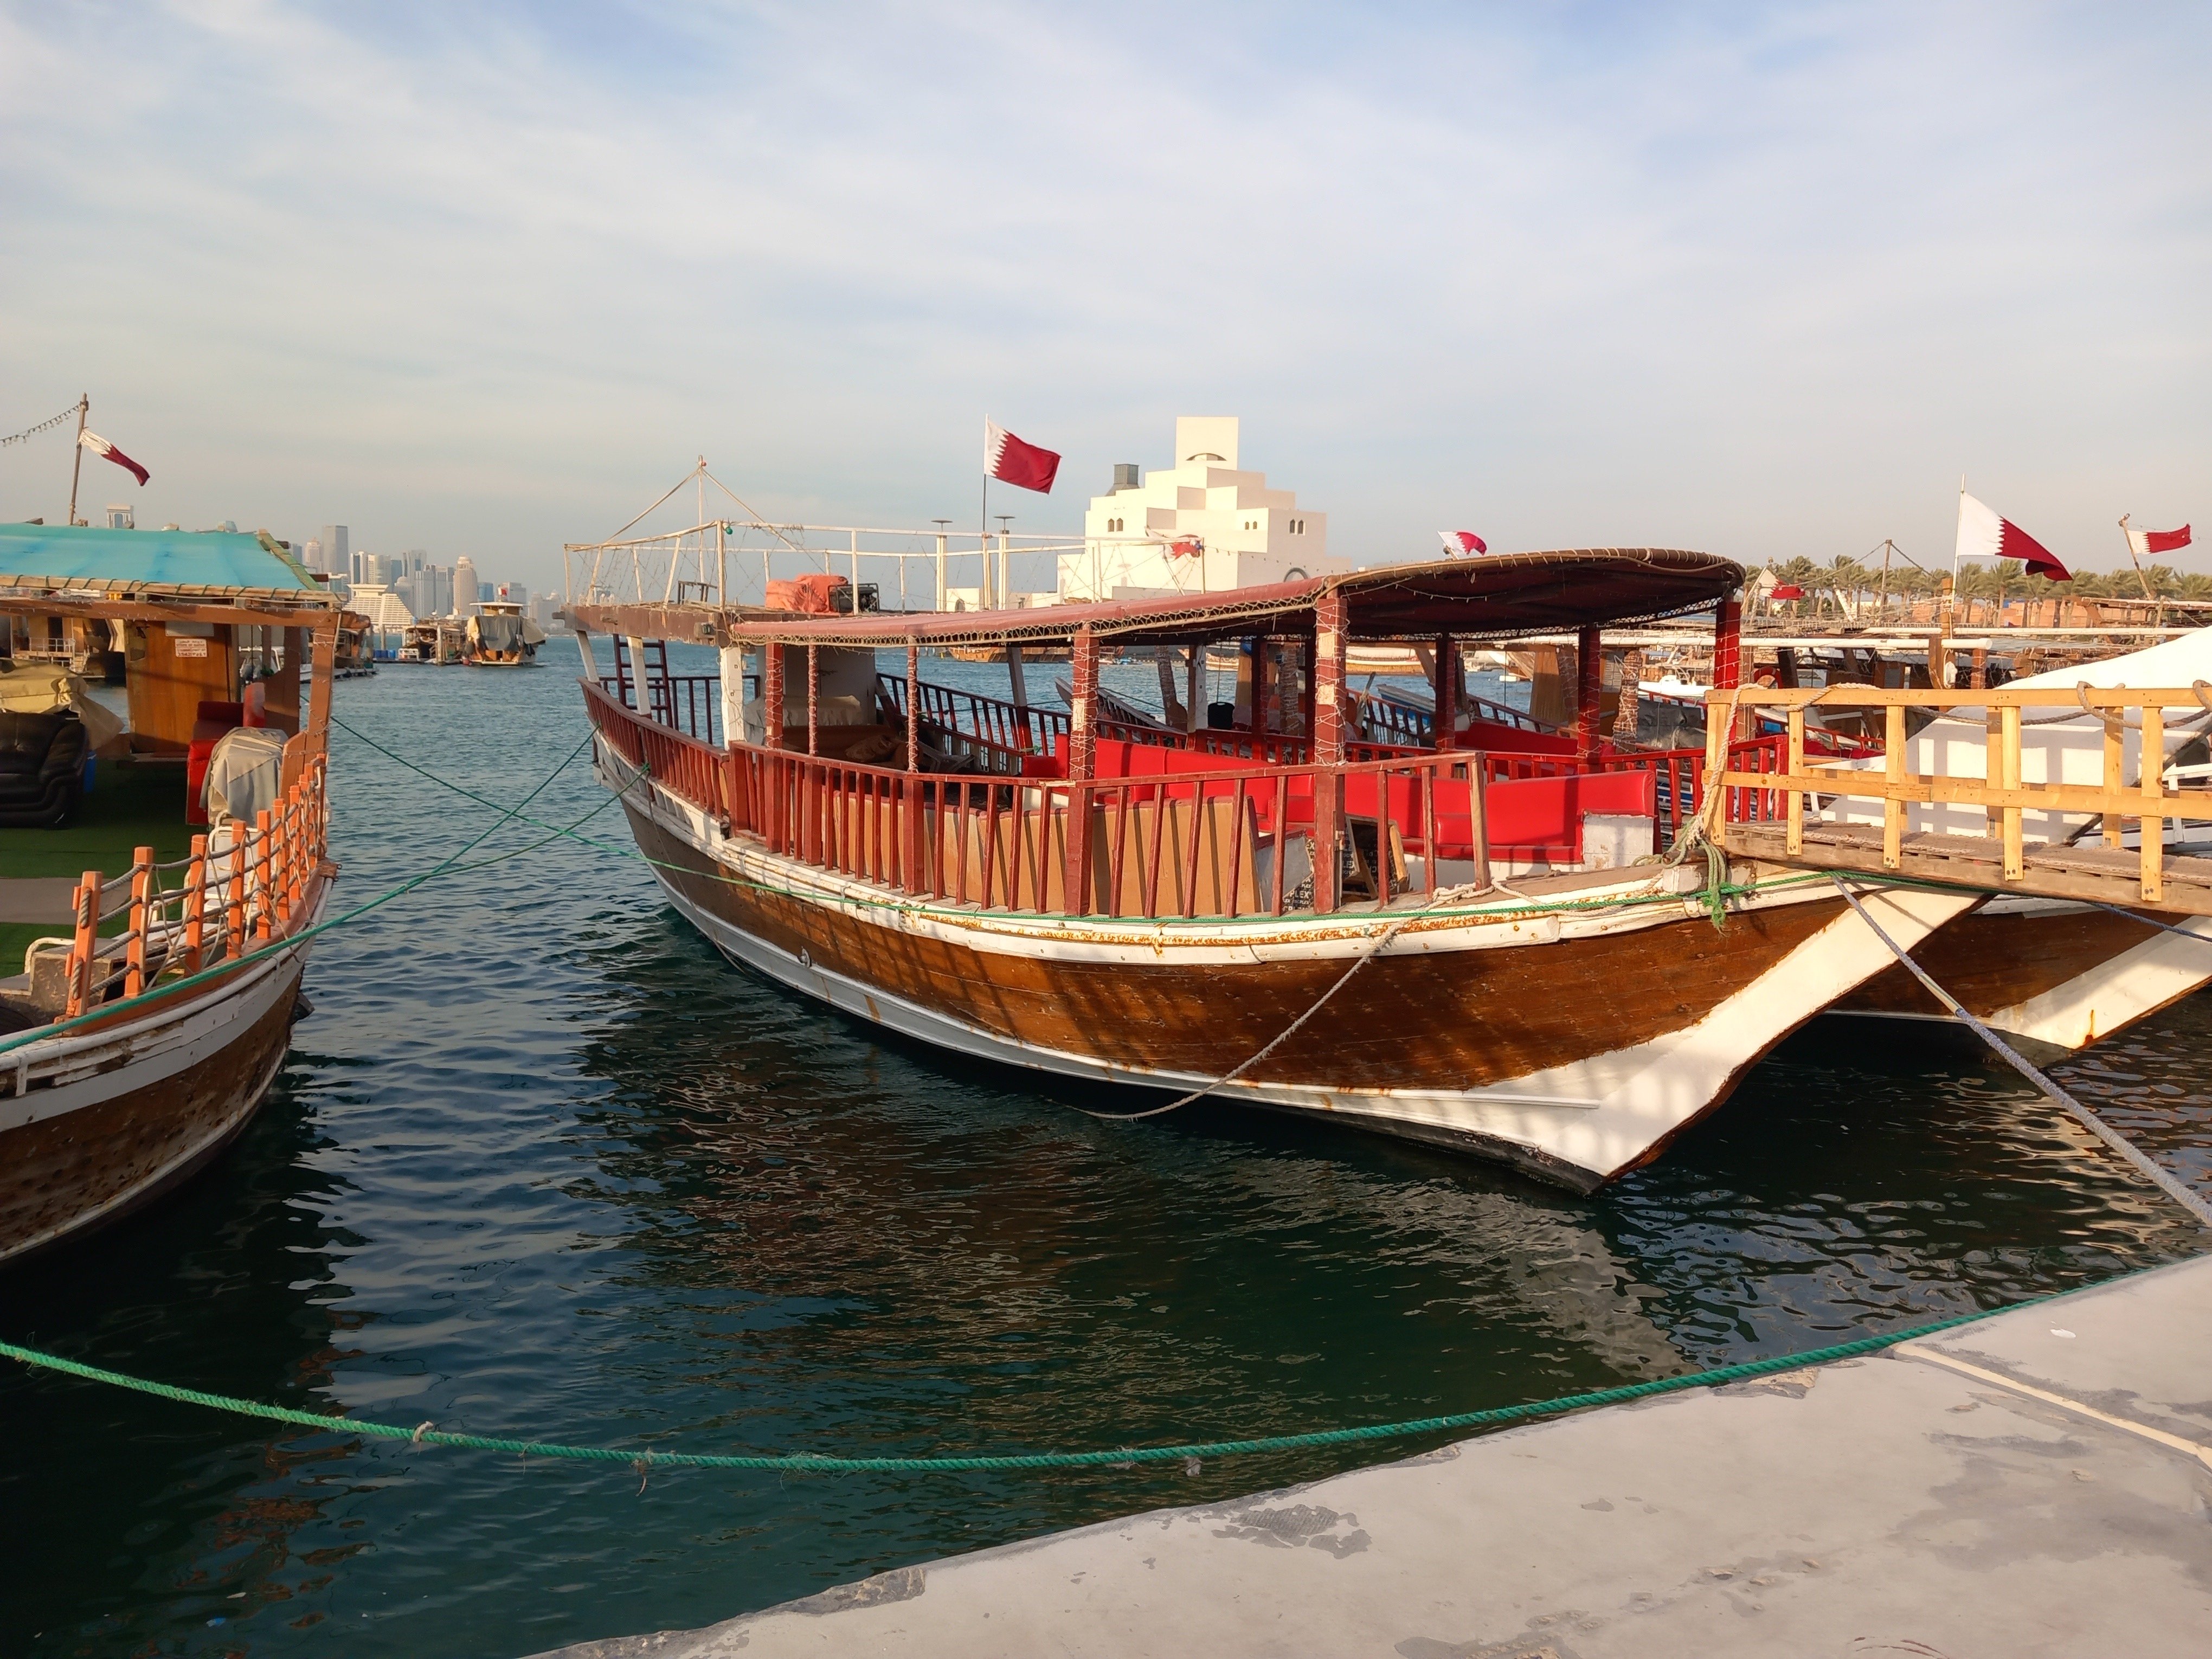
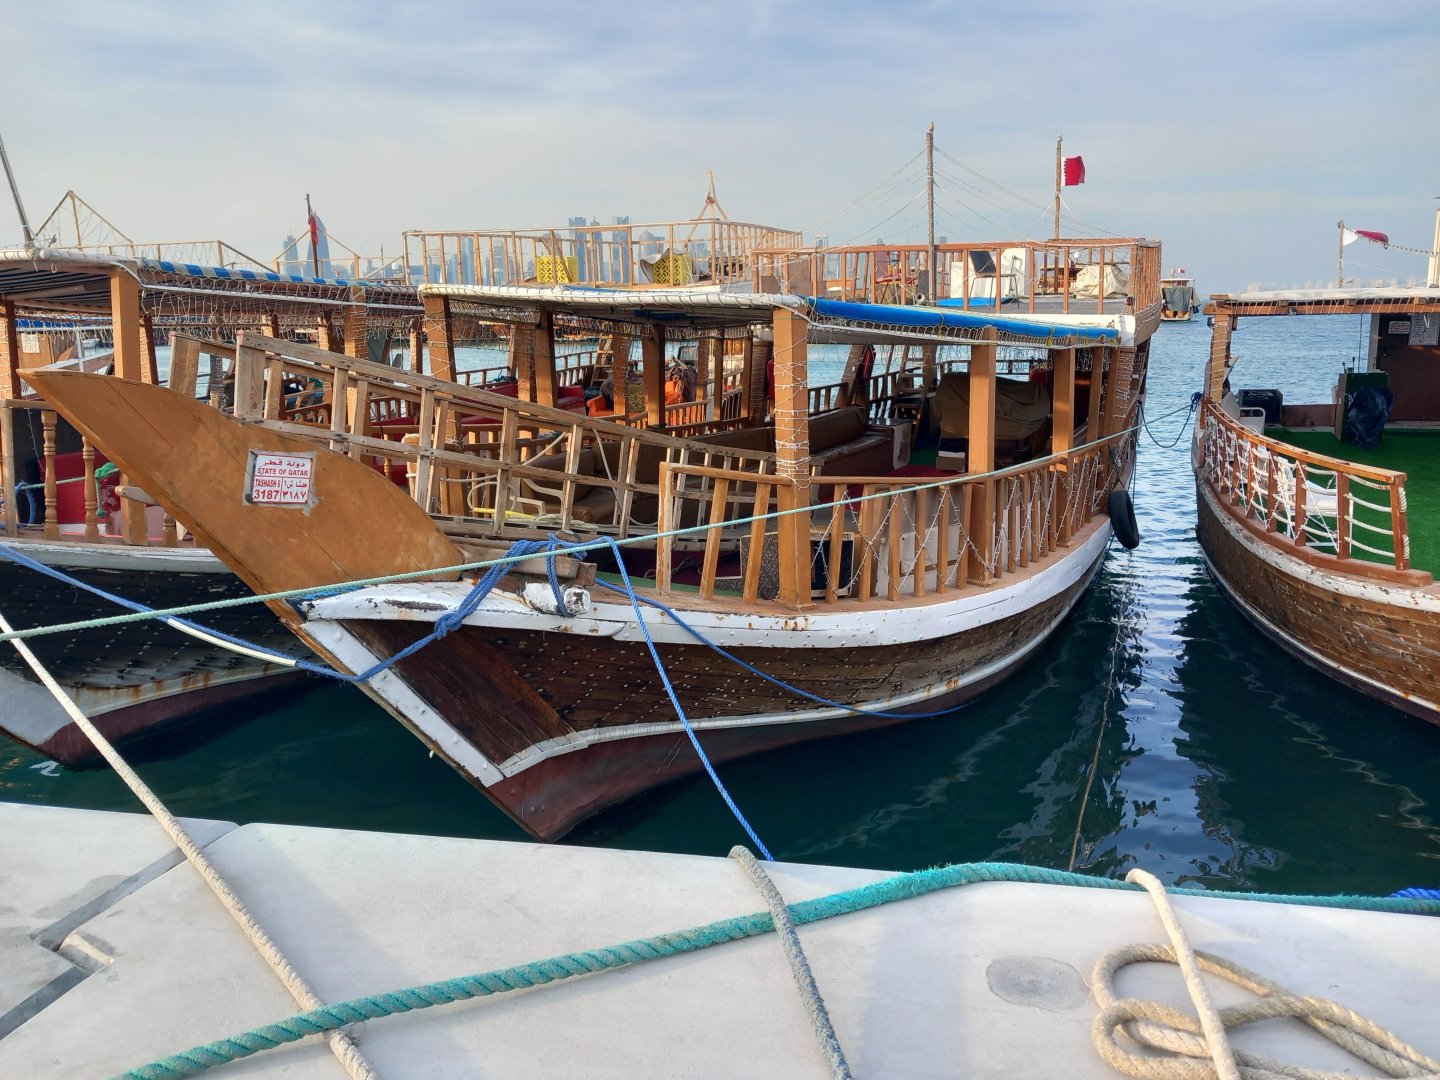
That is a nice looking dhow. Thanks for sharing. Apologies for the late reply. I haven't had a chance to do any modeling for a bit.
-
Welcome to MSW!
-
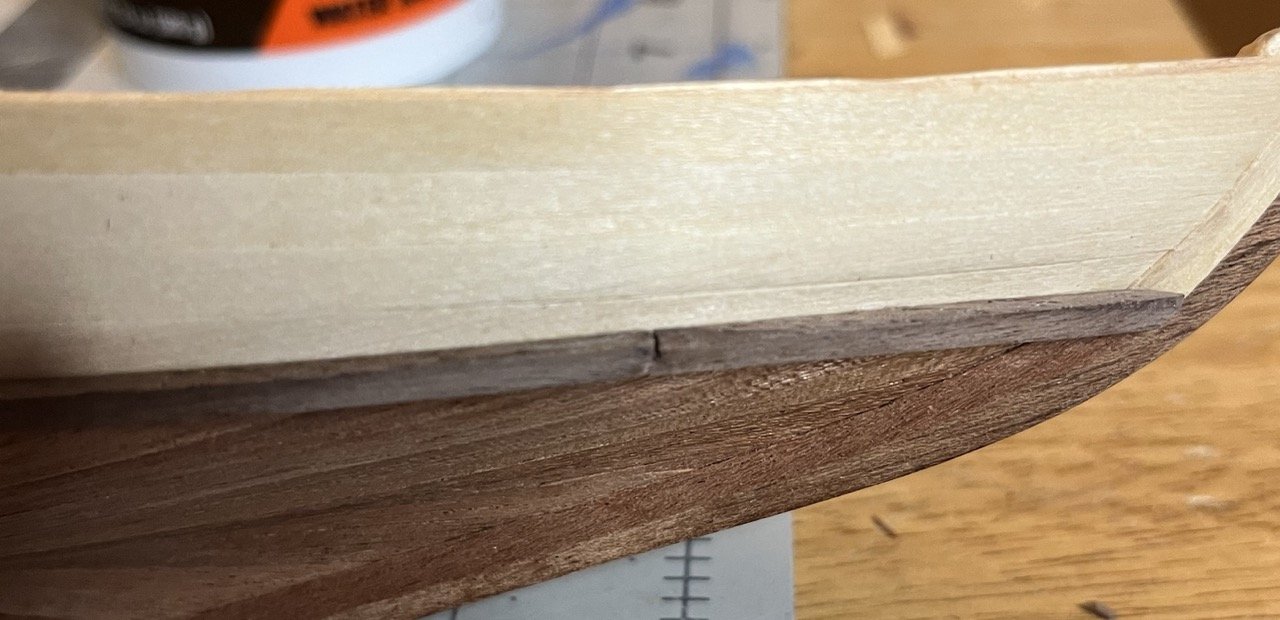
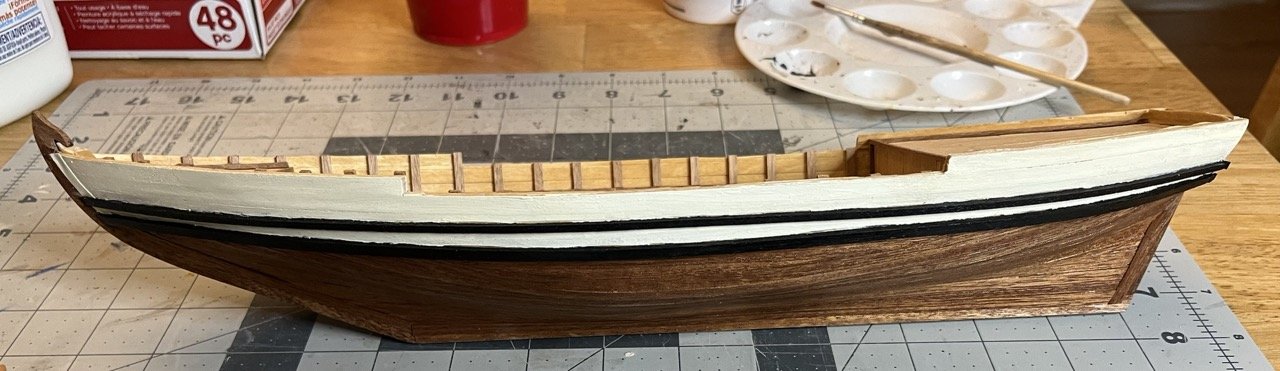
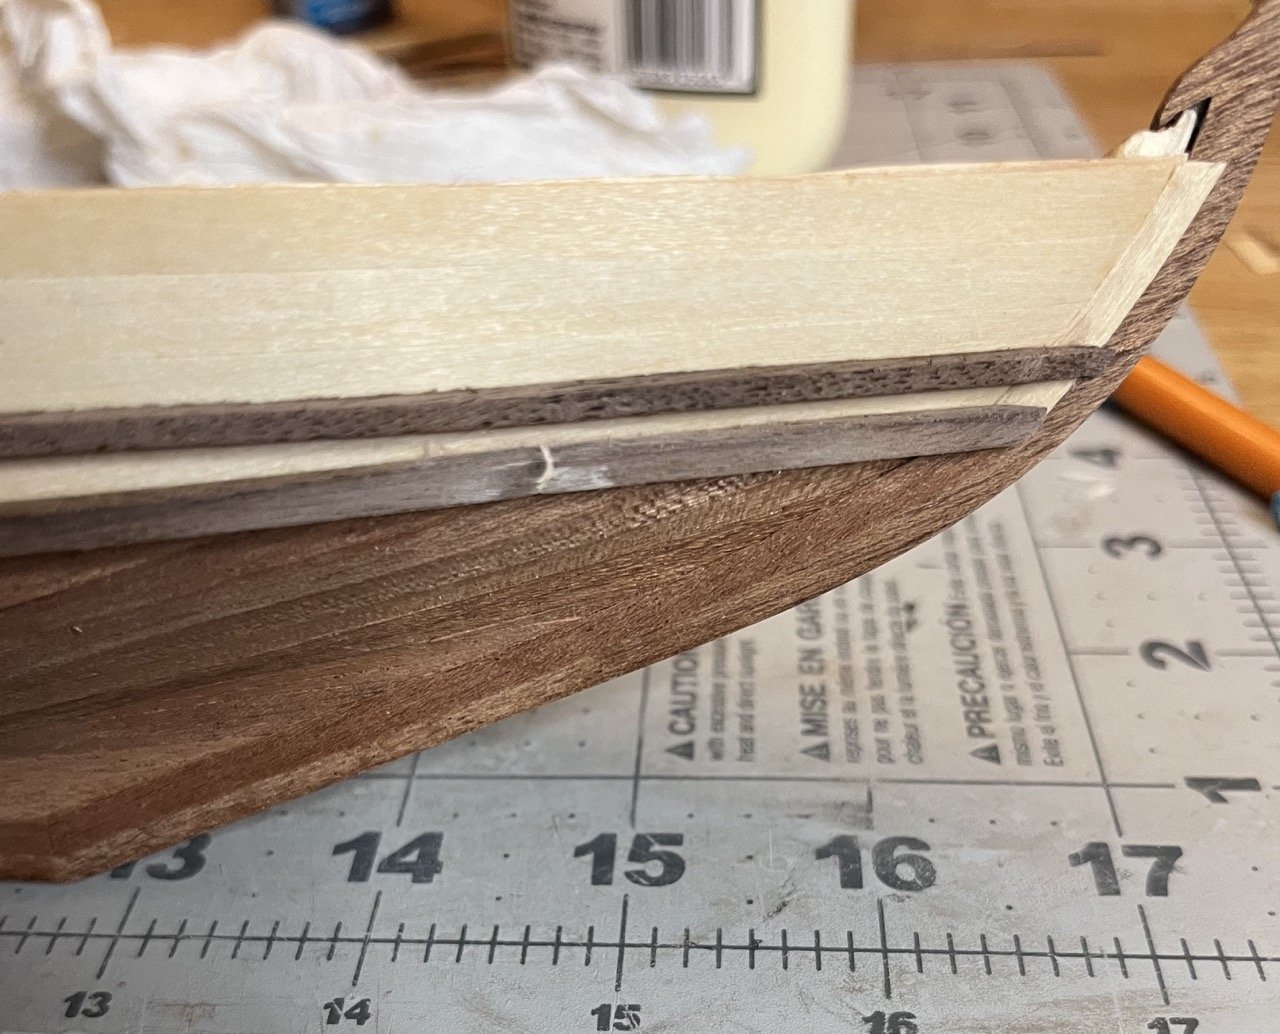
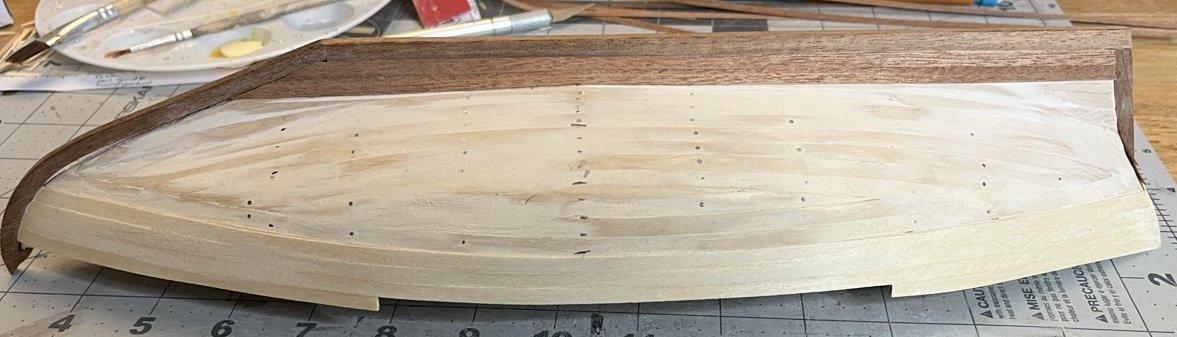
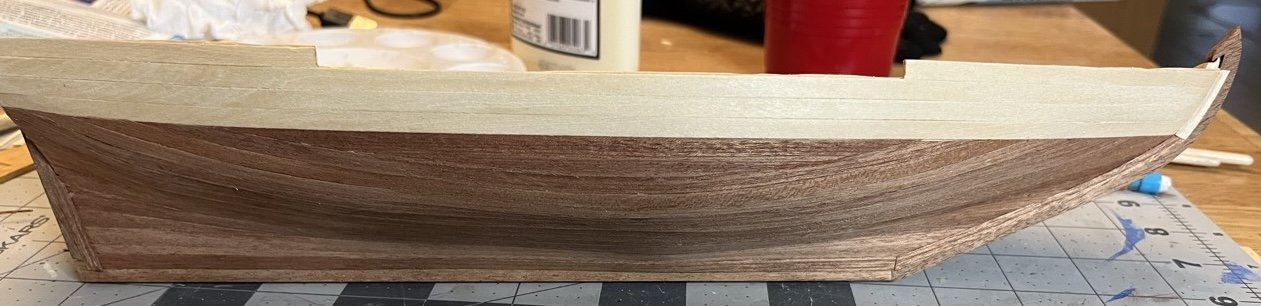
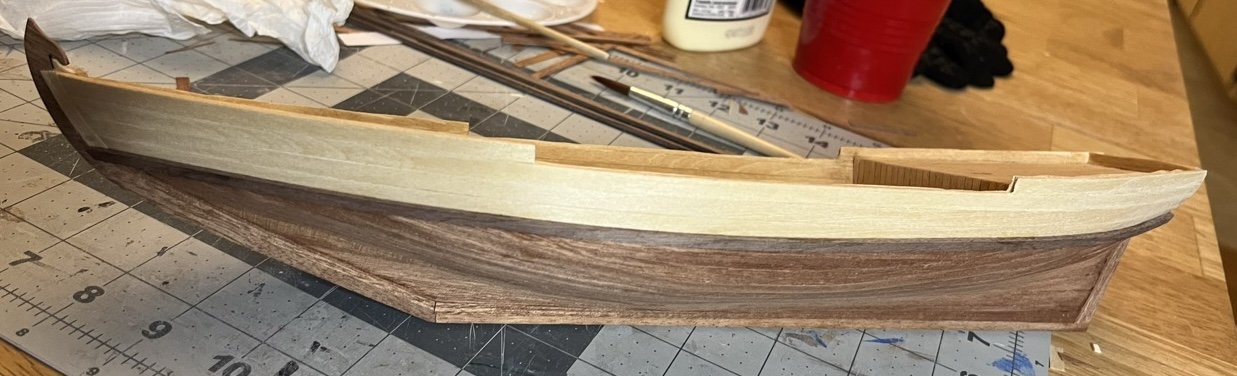
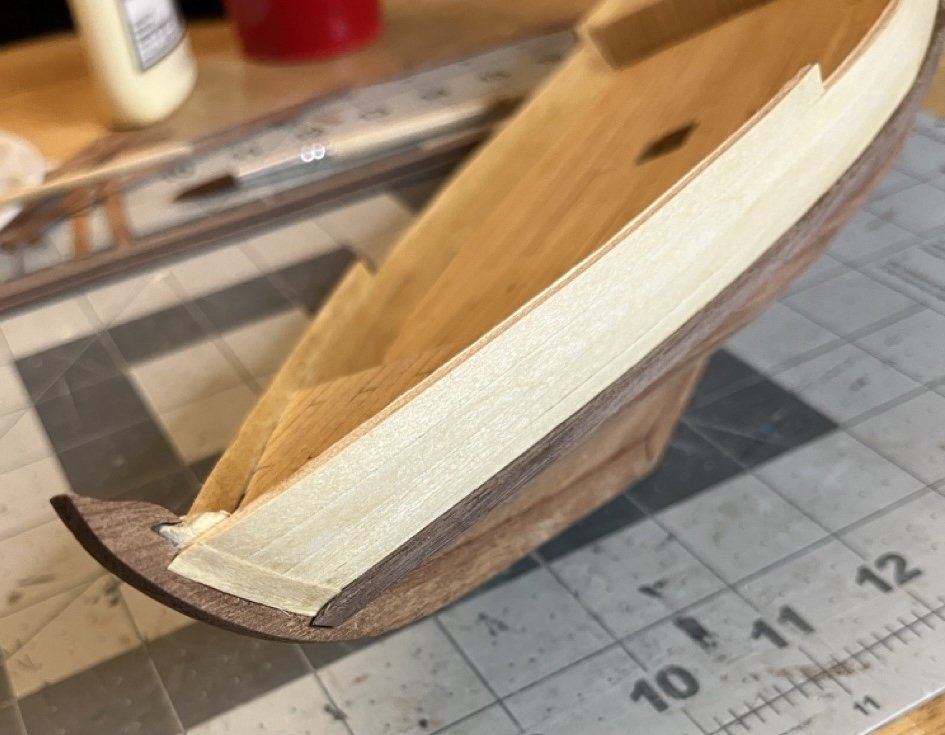
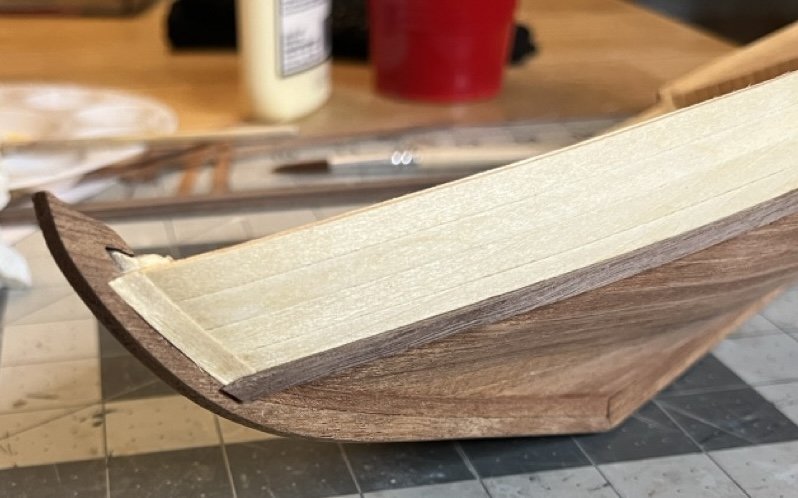
The second layer of planking is now completed. Being my second model that uses this style of two layer planking, I have mixed feelings about it. It definitely allows a less experienced modeler an easy way to have a relatively nice looking hull as the it is easy to hide mistakes. On the other hand, the wood is very brittle and difficult to bend and lay flat. Dhows don't use a rabbet with the planking so I used strips to essentially frame the edges. Thanks to @Javelin for sending me some good photos for reference, the two below were helpful in seeing how the boats are planked. I started framing the bulwarks and right off the bat I managed to create a gap that needed to be redone. Not sure how I managed that one. After replanking. Once the bulwarks were done I started with the garboard and worked back up to the bulwarks Second layer planking completed. I tried to plank it based on actual construction photos but I was having a difficult time getting the sapele wood shaped in such a way. . The next step is to add the rub rails, of which I got the first of 4 in place. There is a little lip on the front which didn't look bad when I was placing it, but it photos it looks like it isn't sitting properly, so I will sand it flush.


- 65 replies
-
- 9
-
-
- sultan
- Artesania Latina
- (and 2 more)
-
Very nice! Looking forward to seeing Lobster Smack.
- 39 replies
-
- 3
-
-
- Norwegian Sailing Pram
- Model Shipways
- (and 1 more)
-
New member-How to do build log
SiriusVoyager replied to The DReD's topic in New member Introductions
Welcome to MSW! -
Hello from Calgary, Alberta, Canada
SiriusVoyager replied to AboveTheWaterLine's topic in New member Introductions
Welcome to MSW! -
Welcome to MSW!
-
Welcome to MSW!
-
Linus Napoleonic shipyard
SiriusVoyager replied to Linus Spjutsberg's topic in New member Introductions
Welcome to MSW! That is a very nice fleet you have made. -
This is sort of my current dilemma. My workmanship isn’t at the point where I can build an intentionally tough looking model (though I easily can unintentionally). I will likely be going for the more artisanal look simply because it will be easier for my current skill level.
- 65 replies
-
- 3
-
-
- sultan
- Artesania Latina
- (and 2 more)
-
Yeah, I know a lot of dhows can look pretty rough. I didn’t want to be the one making that excuse though! I’m trying to improve my workmanship and it’s a slow process for me.
- 65 replies
-
- 2
-
-
- sultan
- Artesania Latina
- (and 2 more)
-
Great work on the painting. This has been a fun build to watch.
-
Welcome to MSW!
-
Welcome to MSW!
-
Welcome to MSW!