kgstakes
-
Posts
400 -
Joined
-
Last visited
Content Type
Profiles
Forums
Gallery
Events
Everything posted by kgstakes
-
 This is what they are (these are probably better) from Model Expo. Yeah, I figured as I'm building this vessel that it's a "general idea" type model not a scale vessel by any means. Harbor Models Inc. stanchion, 1 Hole, 13/16" https://s.turbifycdn.com/aah/yhst-72470122933521/round-stanchion-1-hole-13-16-31.jpg Item# AER5601-20 $8.95
 -
Hey everyone I have a question in building the Mississippi riverboat. The railings around the top deck they have (which looks to me) large head pins as posts for the railing. (picture 1) Can I use these instead (picture 2) and do these have a hole in them to thread "rope" through them? I like the looks of these and seems to be more in scale. Any advice would be greatly appreciated. This is how far I am as of today. (picture 3). Kurt

.jpeg.39d30c6a3d4086e8b14839751864df94.jpeg)
.jpeg.5304d4620032c7d9819bceef1c323e39.jpeg)
-
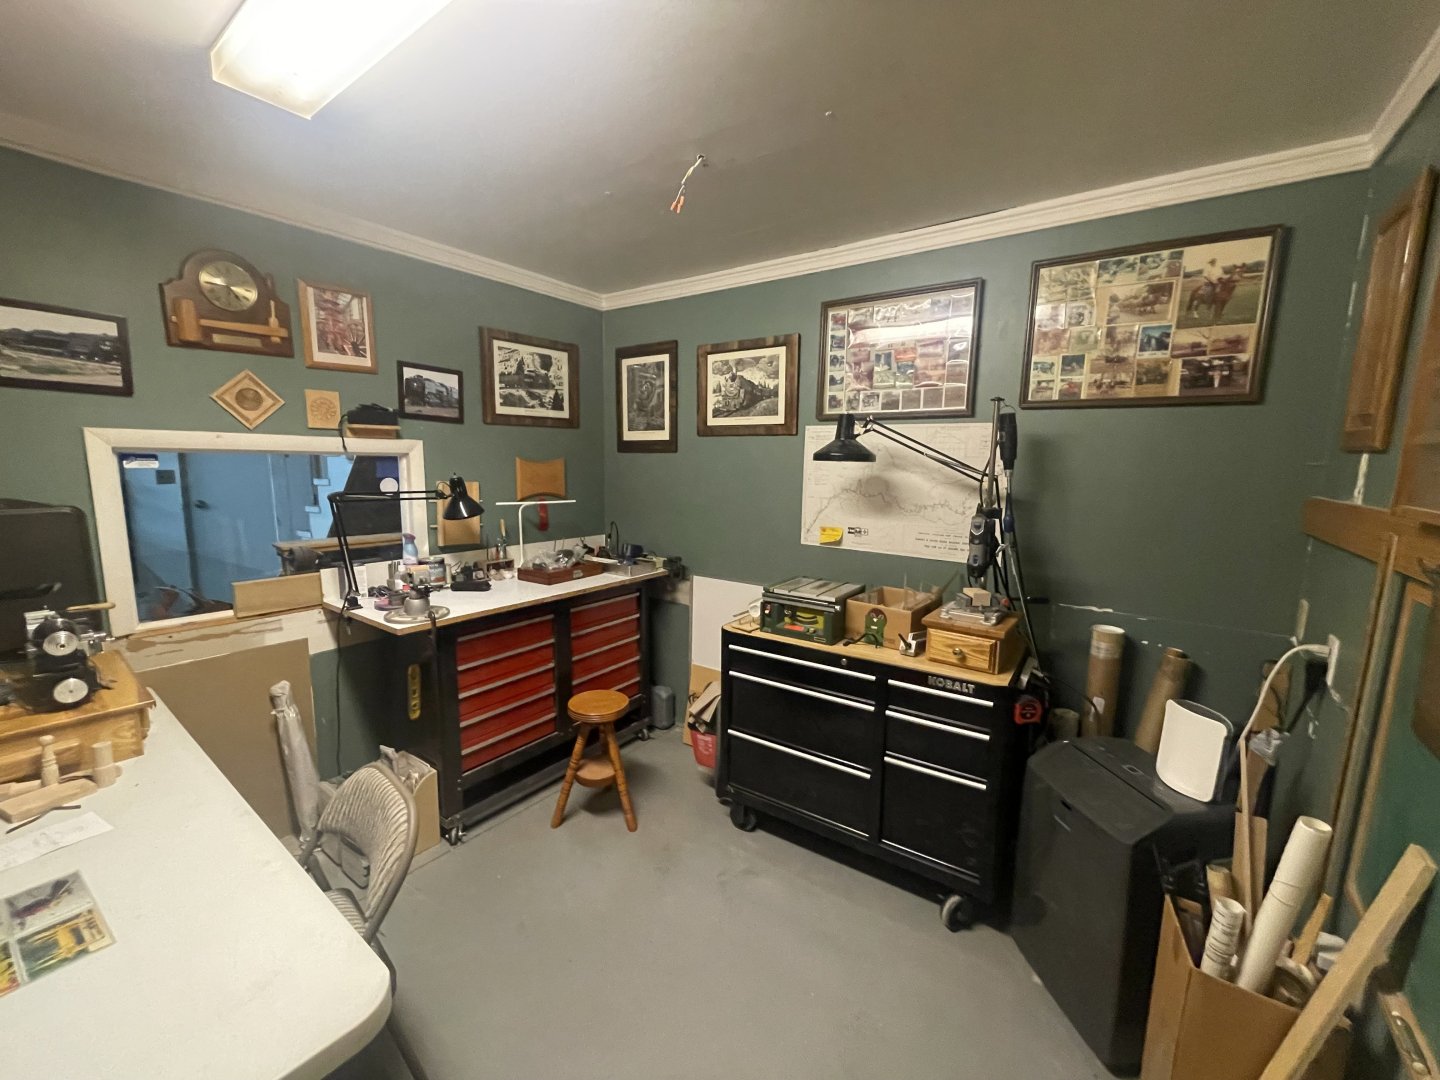
Sorry, I guess I do have to remember that some of us don't have the space to do what I'm doing. I know years back I would have to put everything away to set up for painting or bring the table saw out or just a small miter box and hand saw. Years back I only had one hobby bench to do everything on. Looking back on it, probably wouldn't change a thing, know why? It taught me as a young teenager to keep things organized, picked up, and your hobby bench cleaned off after you were done modeling. Now, LOL I have two hobby benches, a folding table now a paint booth cabinet, all in a room "office" in the wood shop and clean up? Maybe tomorrow, close door and go to the house. We all have space limitations, sure what a pain, but your organized. At least you know where things are. Small is good. Stand alone room for hobby building, has it's perks, but can get really messy in a heart beat. Keep it simply, keep it clean, and keep striving to be perfect in everything you do. Have a great day !!!
-
Been wanting to build this for a long time. I always hated setting up the spray booth then after I get down take it down and store it. Now I just walk over to the cabinet open it up turn everything on and away I go. Get done, clean up close it up and walk away. Heck, you could close it all up with parts in the booth to dry and not worry about dust or anything getting into the paint. May just work out better than I figured. It does need another coat of paint to make everything even but it's usable. Video (23).mov
- 5 replies
-
- 14
-

-

-
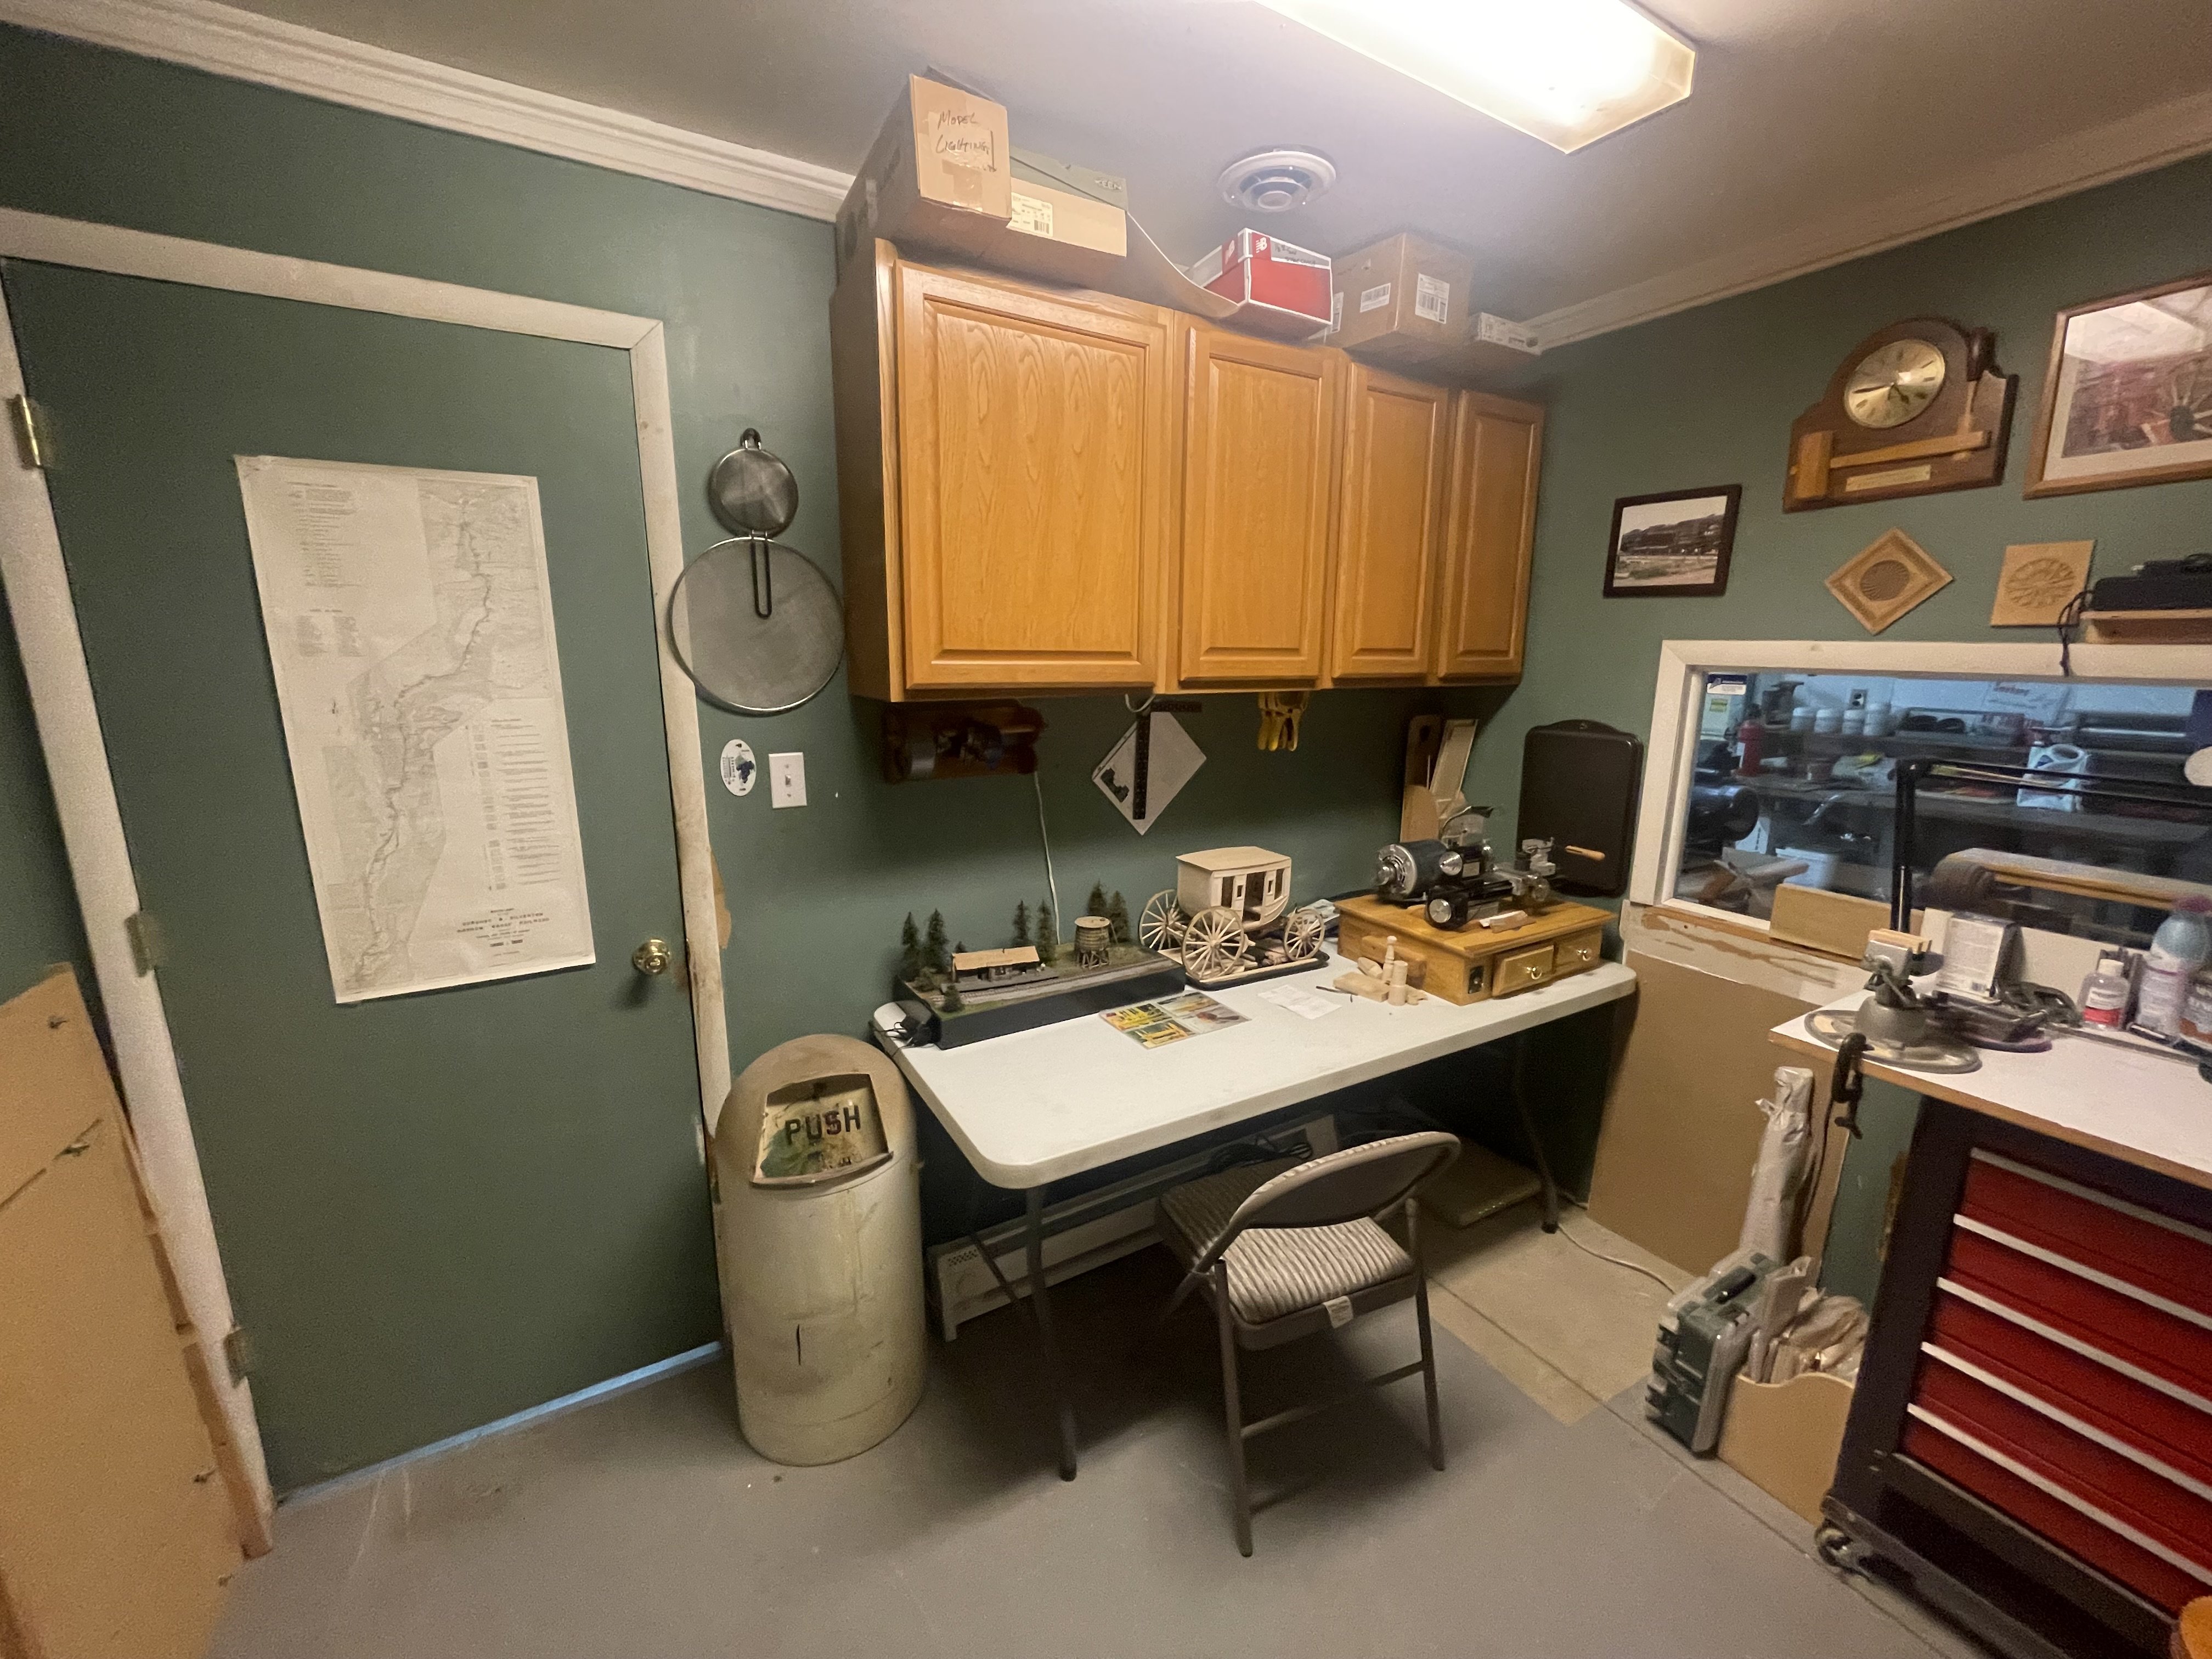
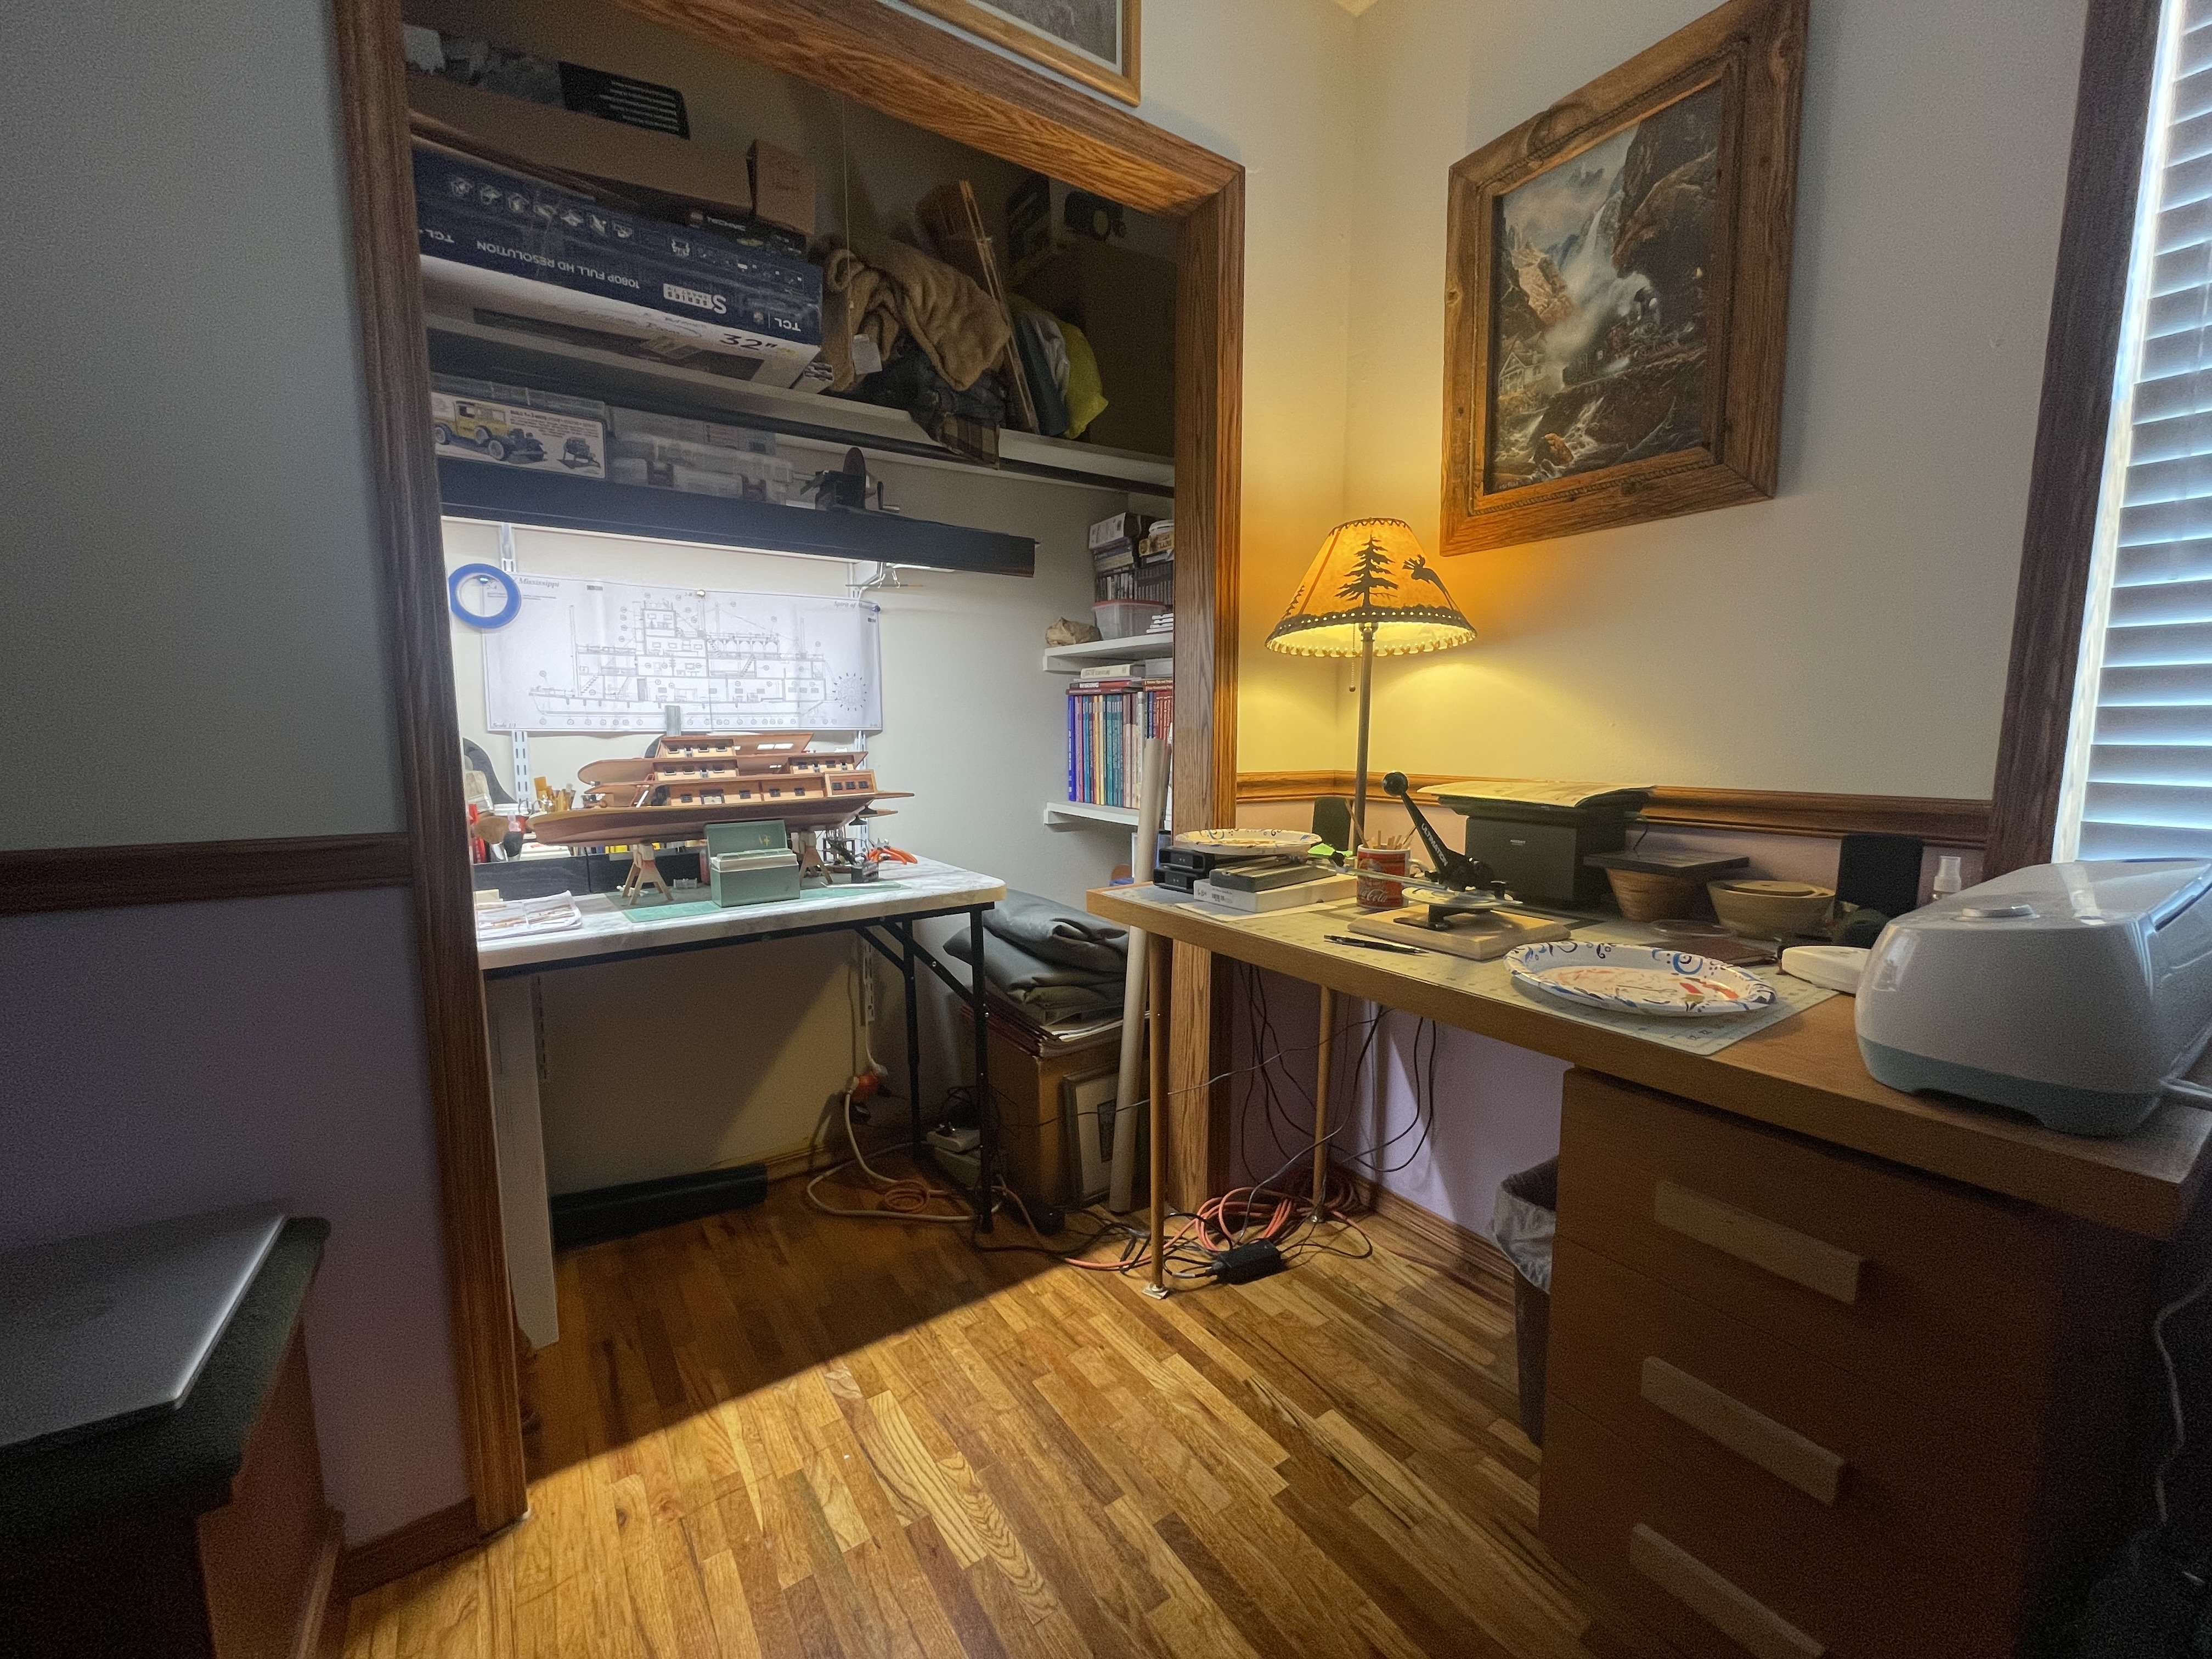
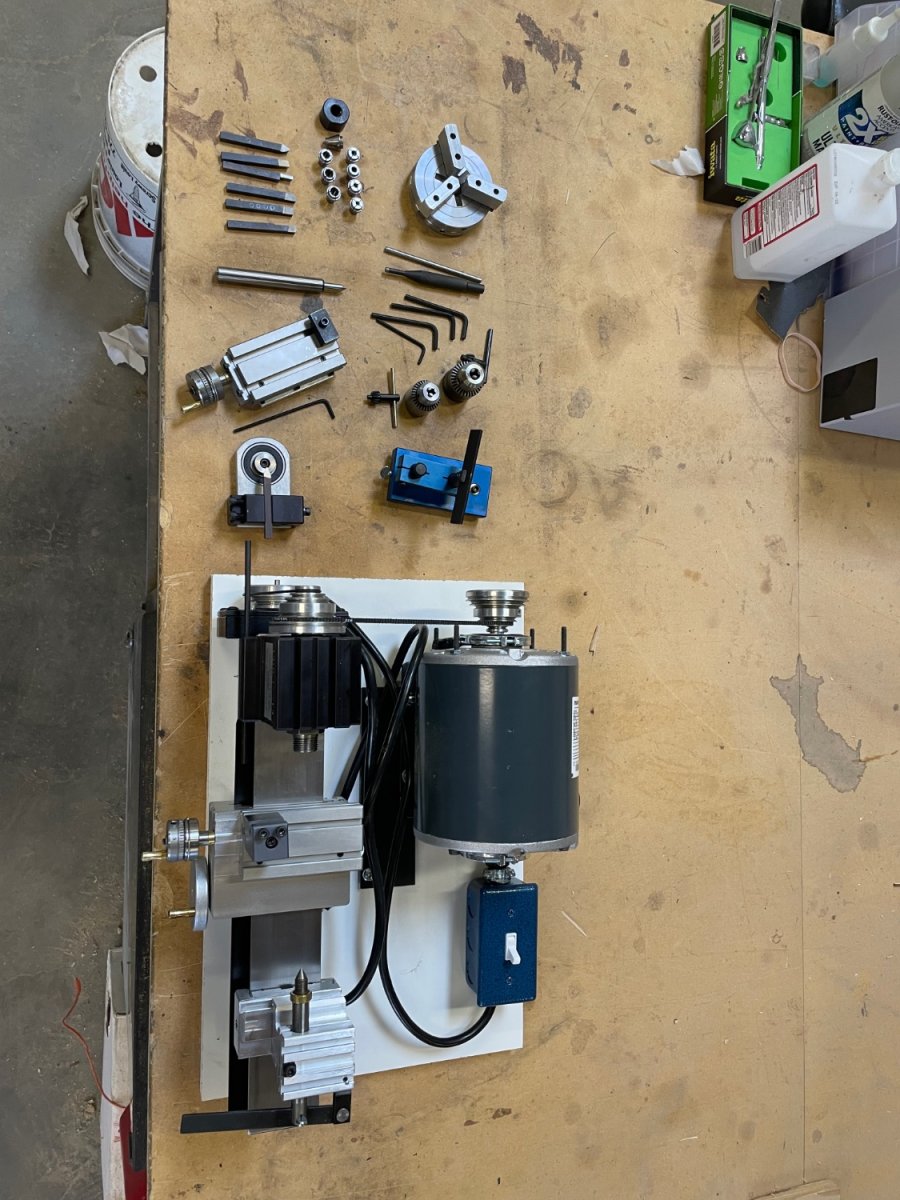
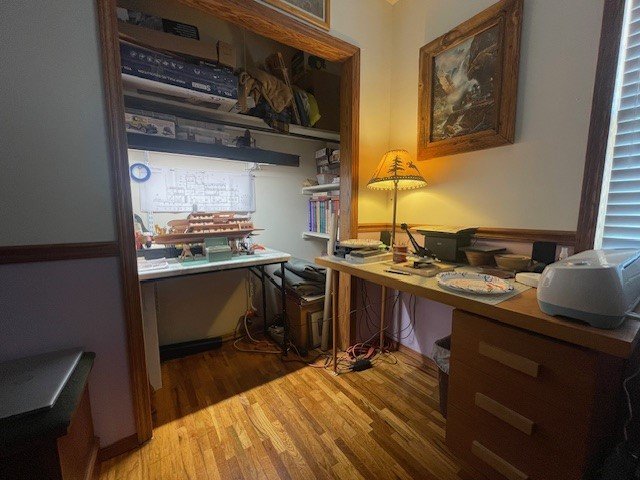
I've shown my "work area" in the house (first picture), here is a picture of my miniature workshop (second picture) in my wood shop. Still getting things set up but for the most part it's the way it's going to be for awhile until the next tool comes in (which won't be for awhile).

-
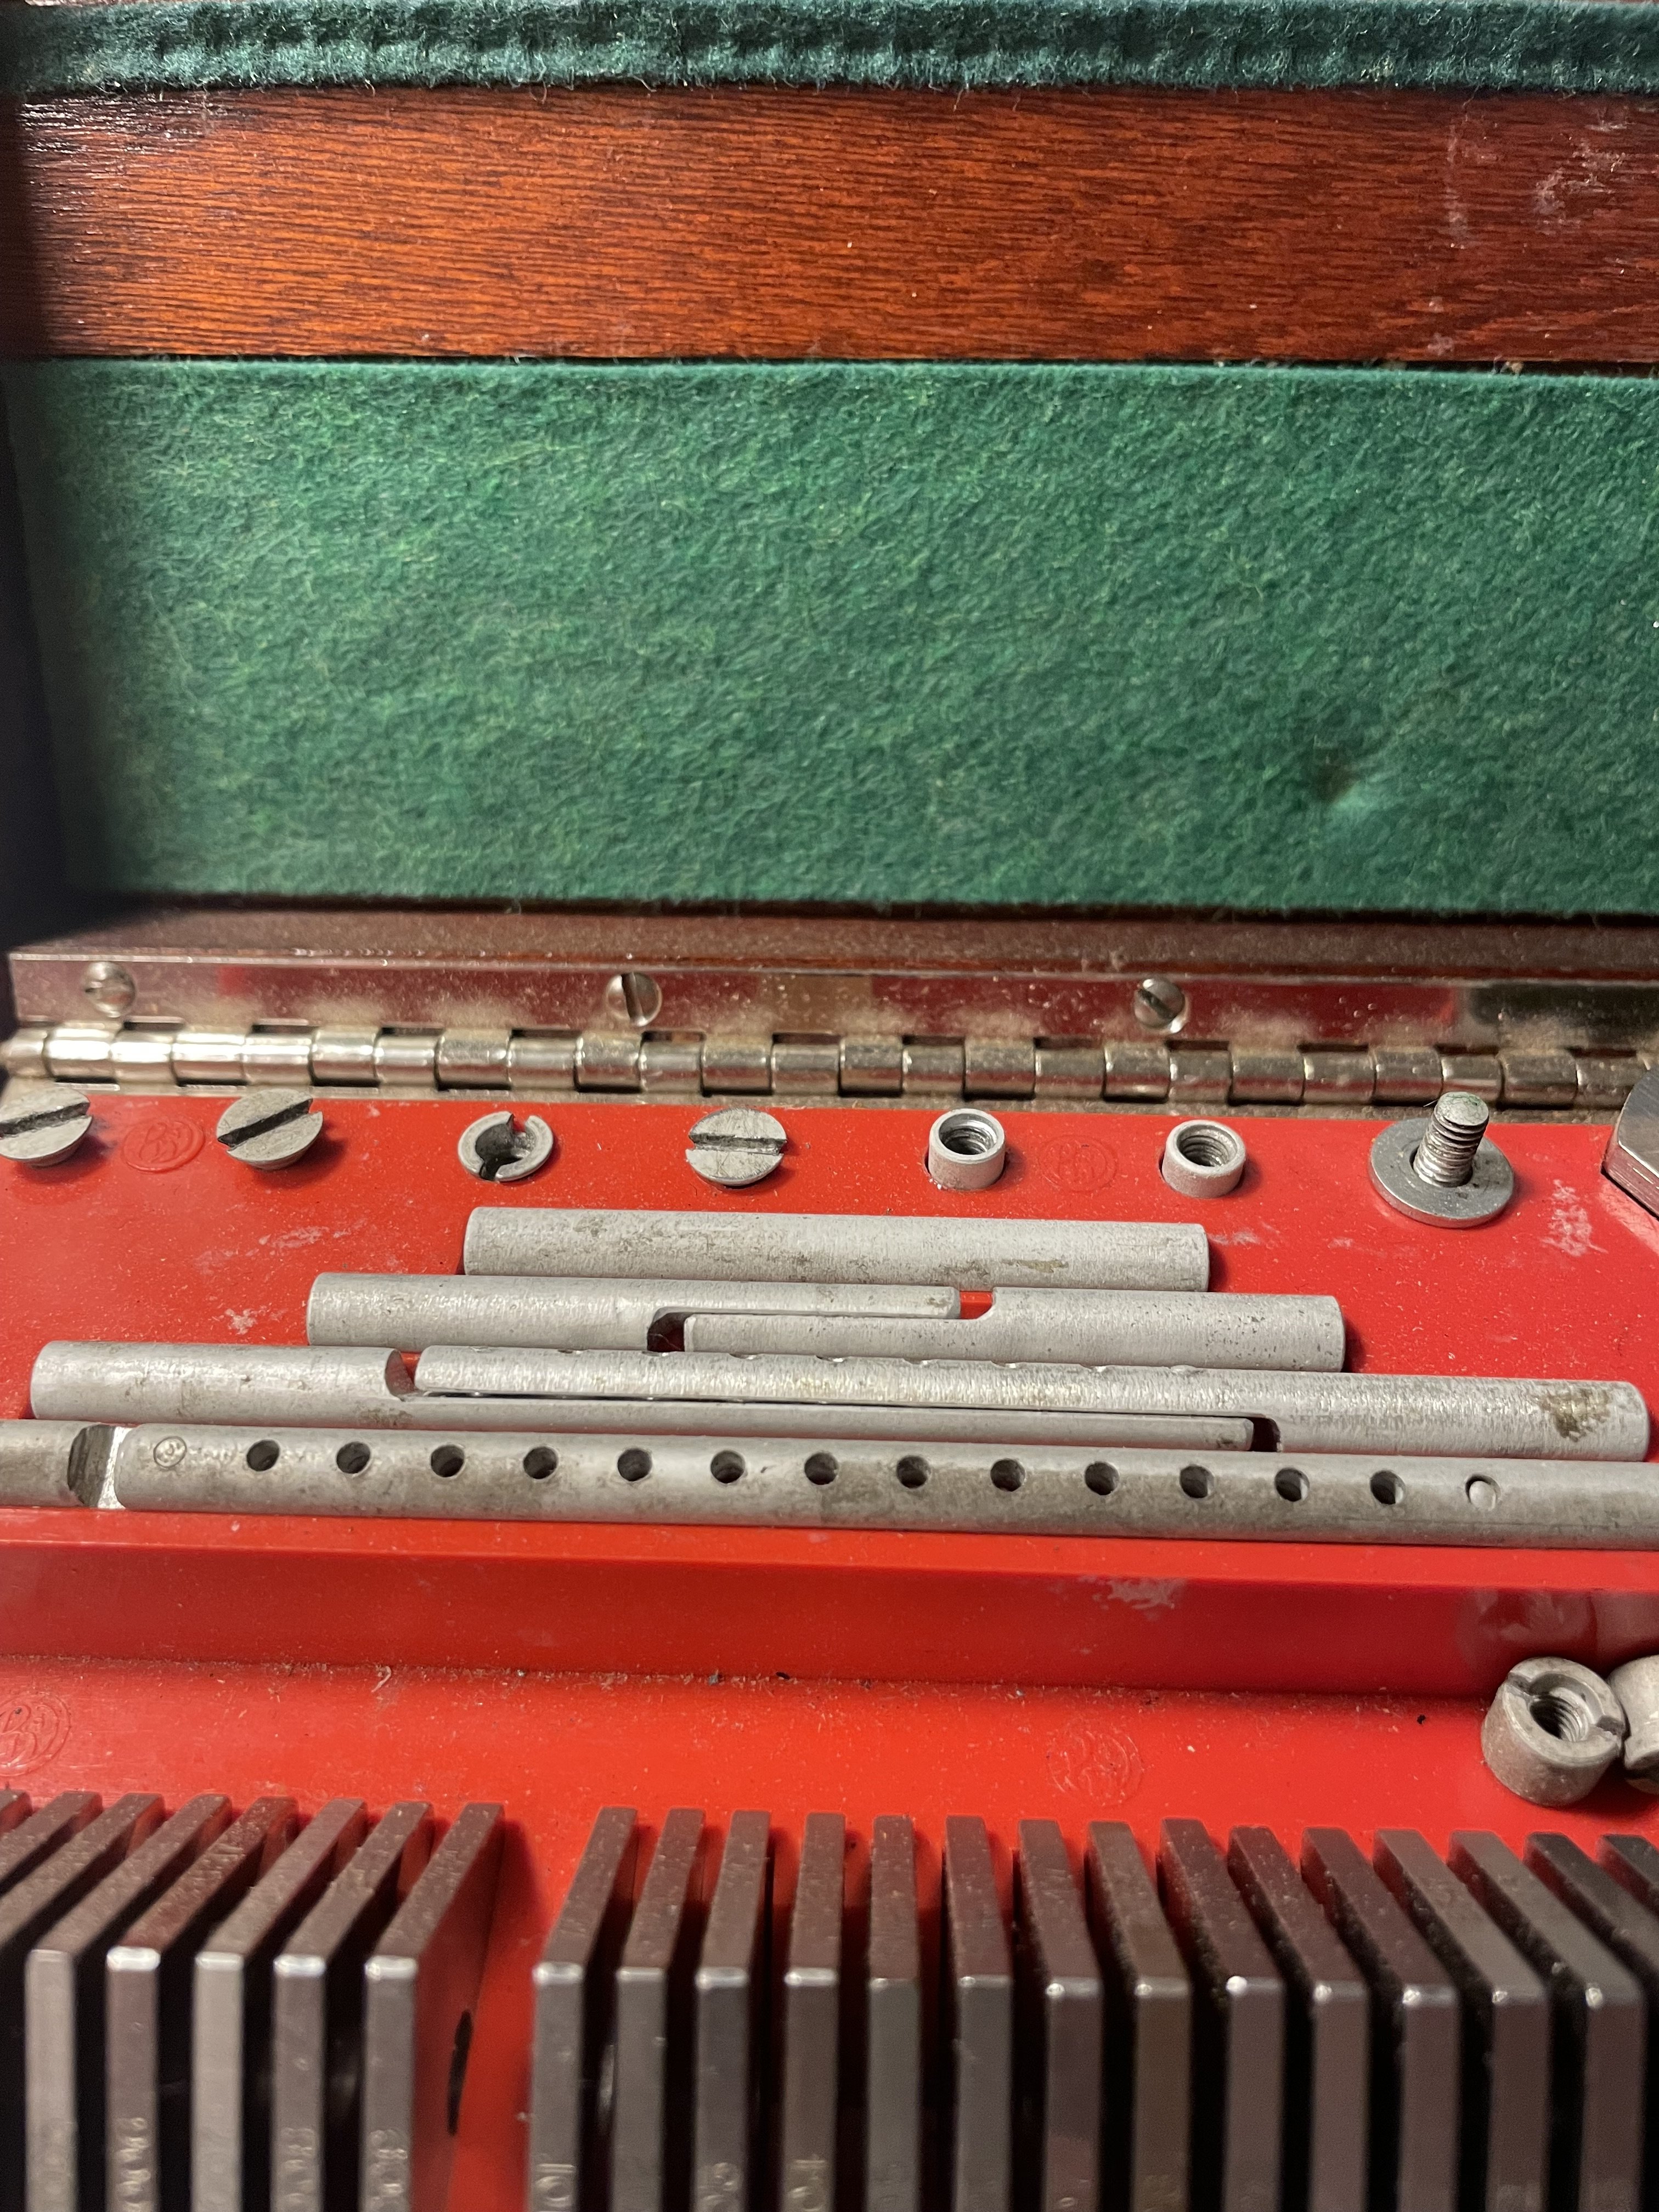
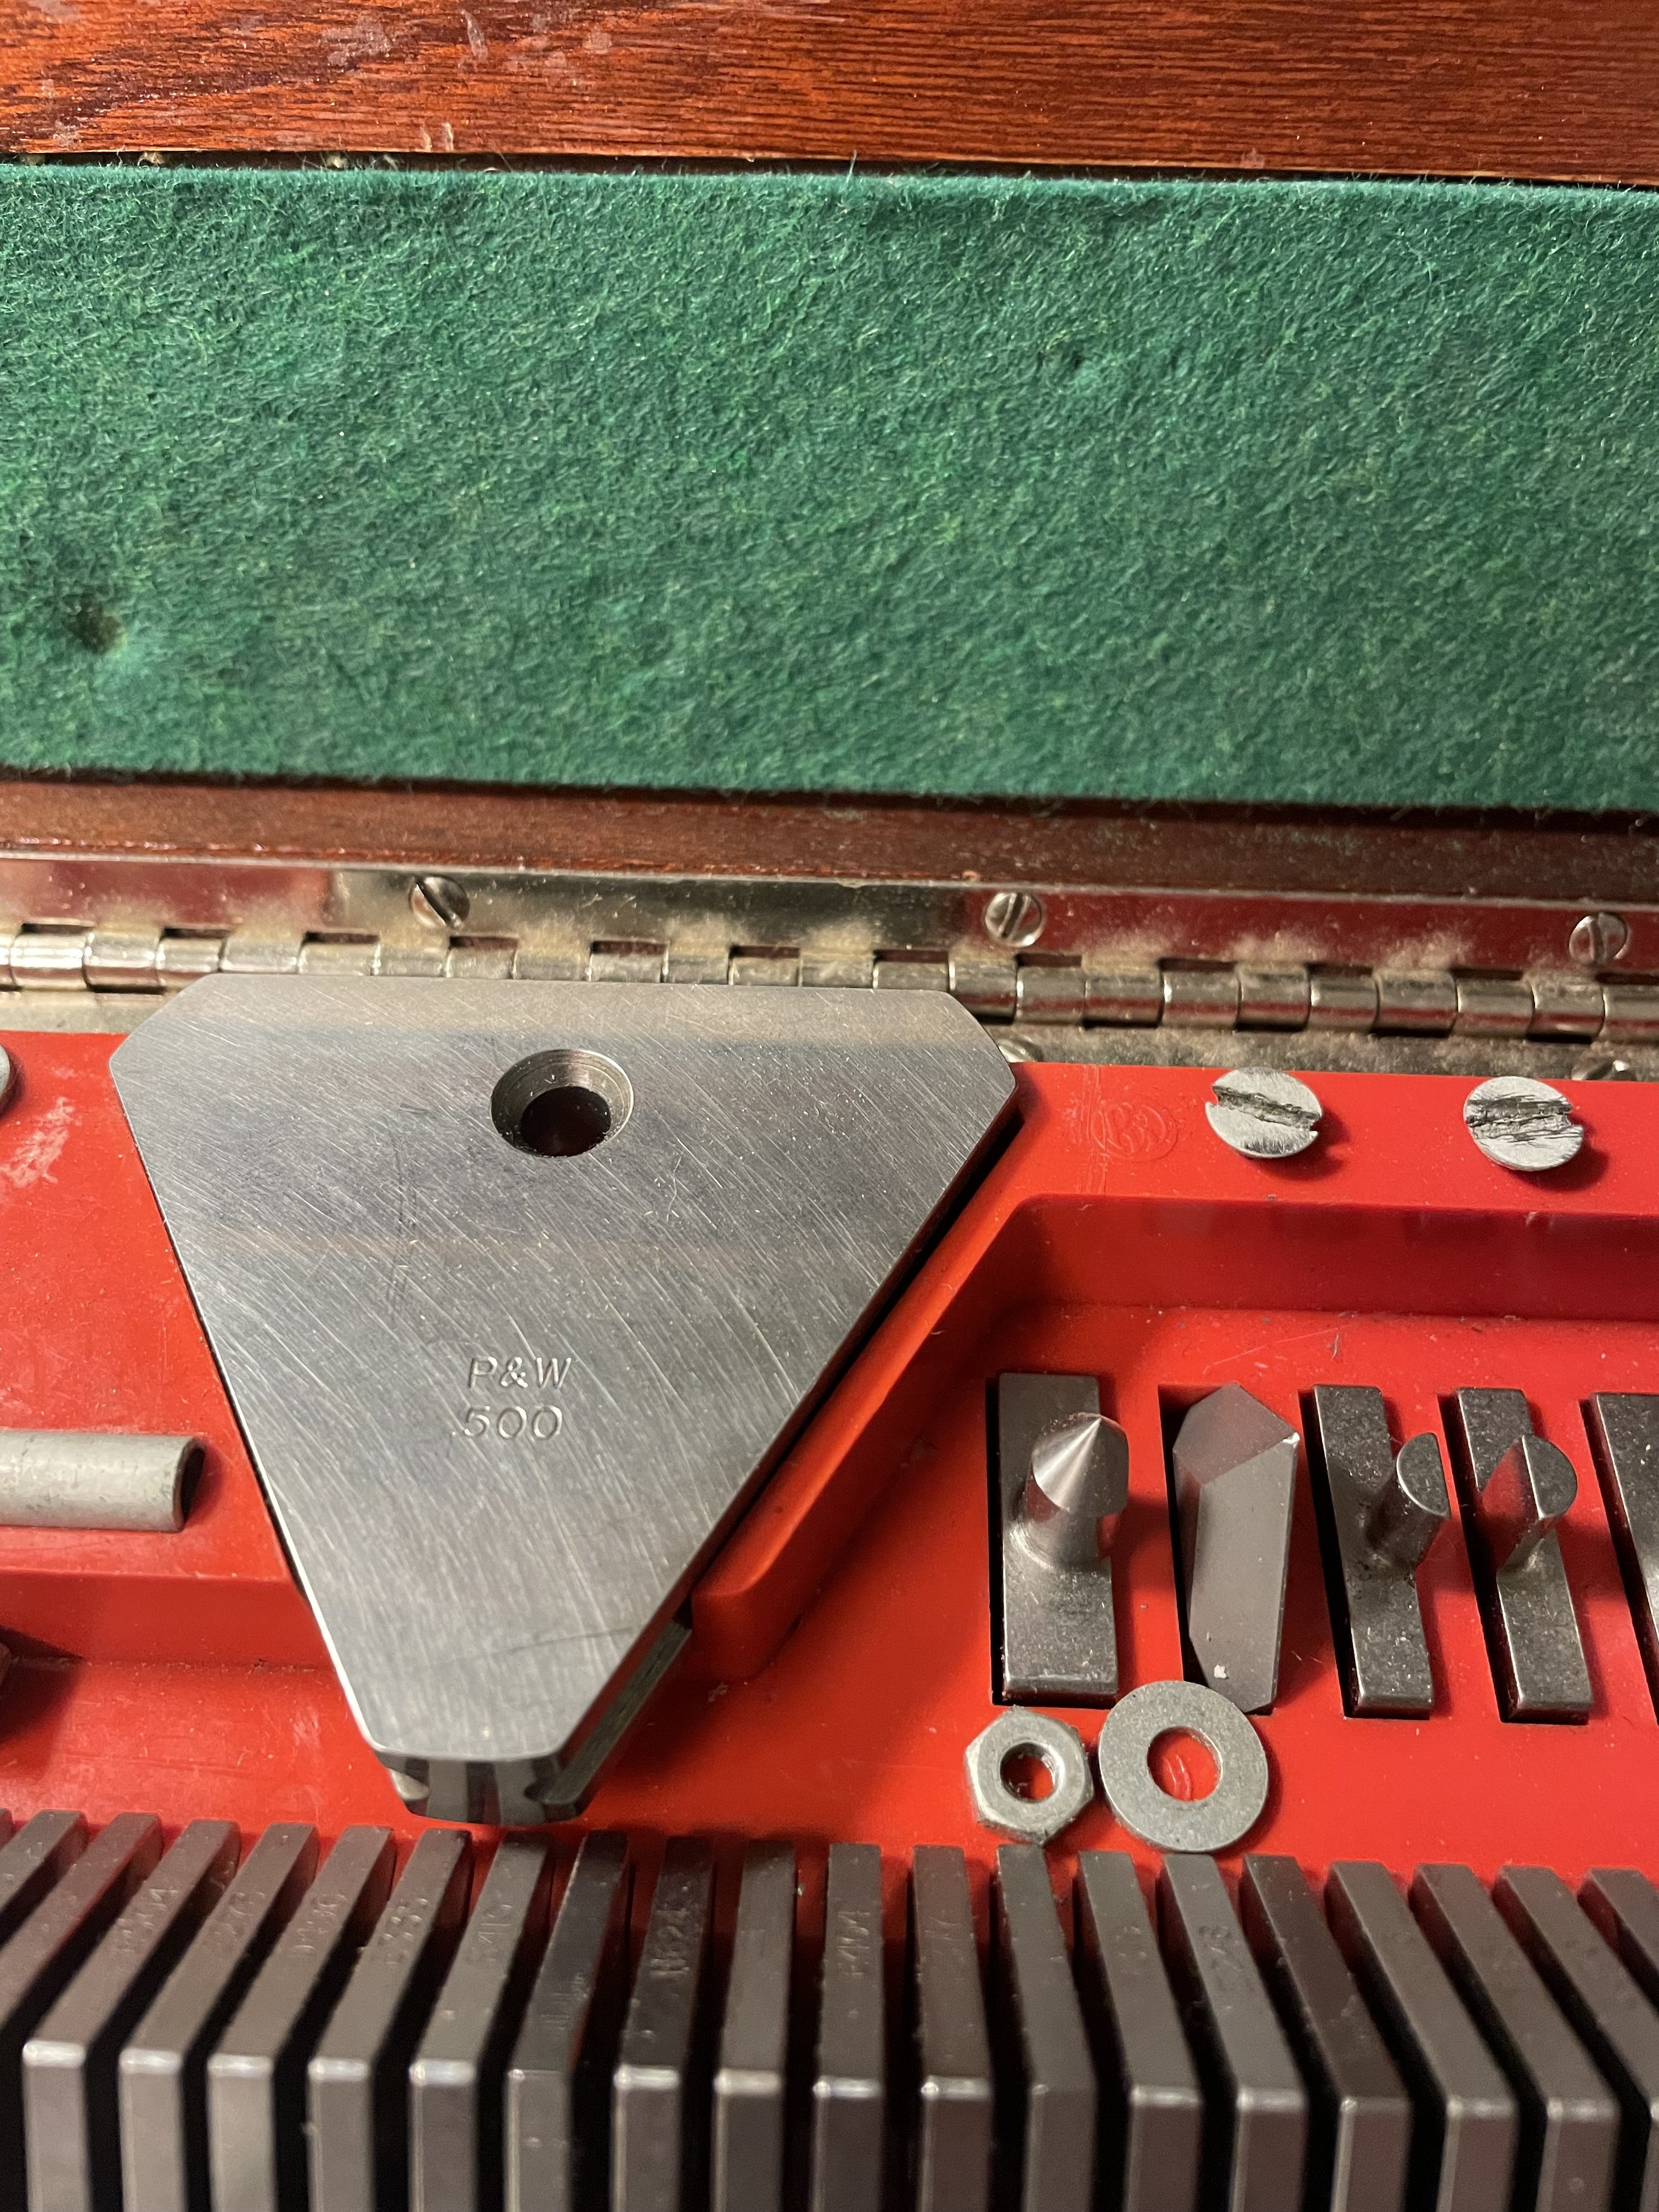
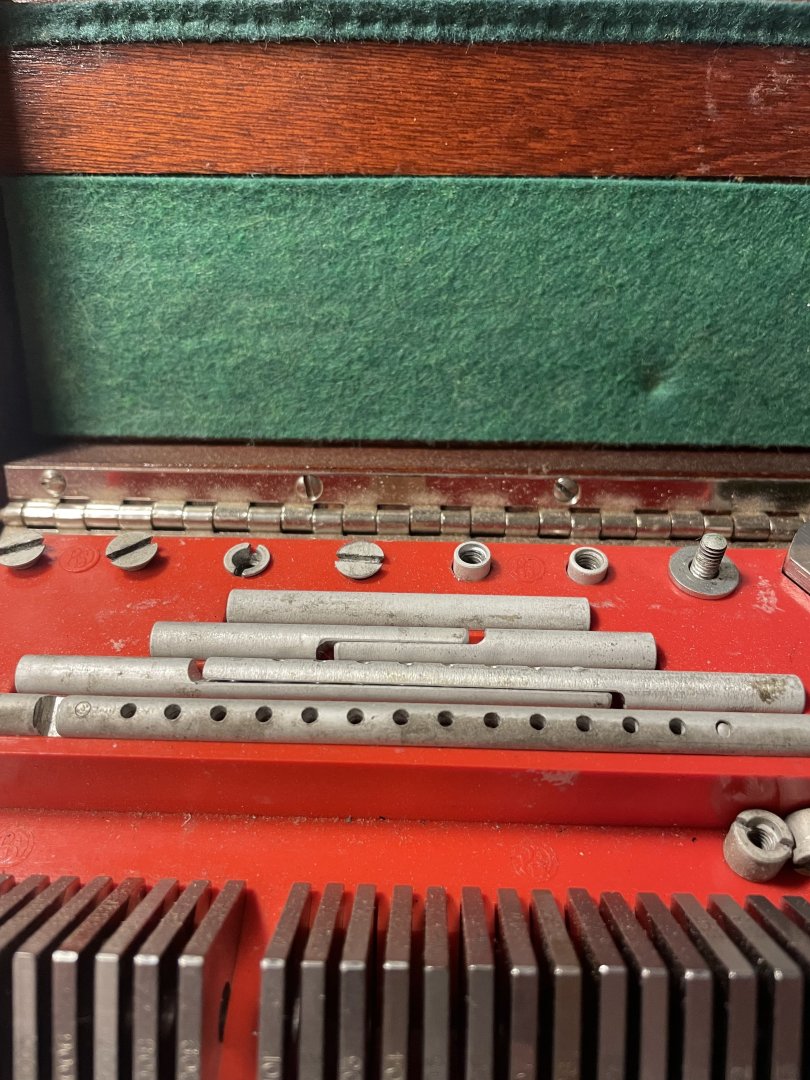
Gage Blocks for setups
kgstakes replied to kgstakes's topic in Modeling tools and Workshop Equipment
just wish I knew what some of the things were used for ( see below). Anyone know??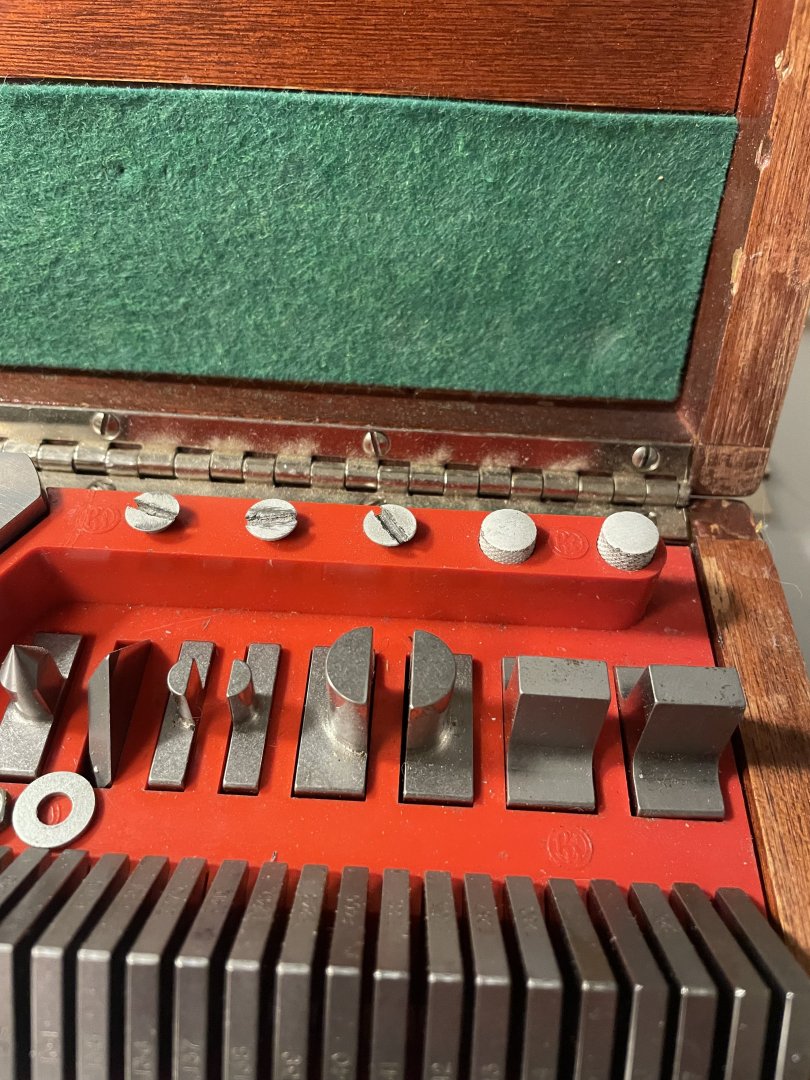

-
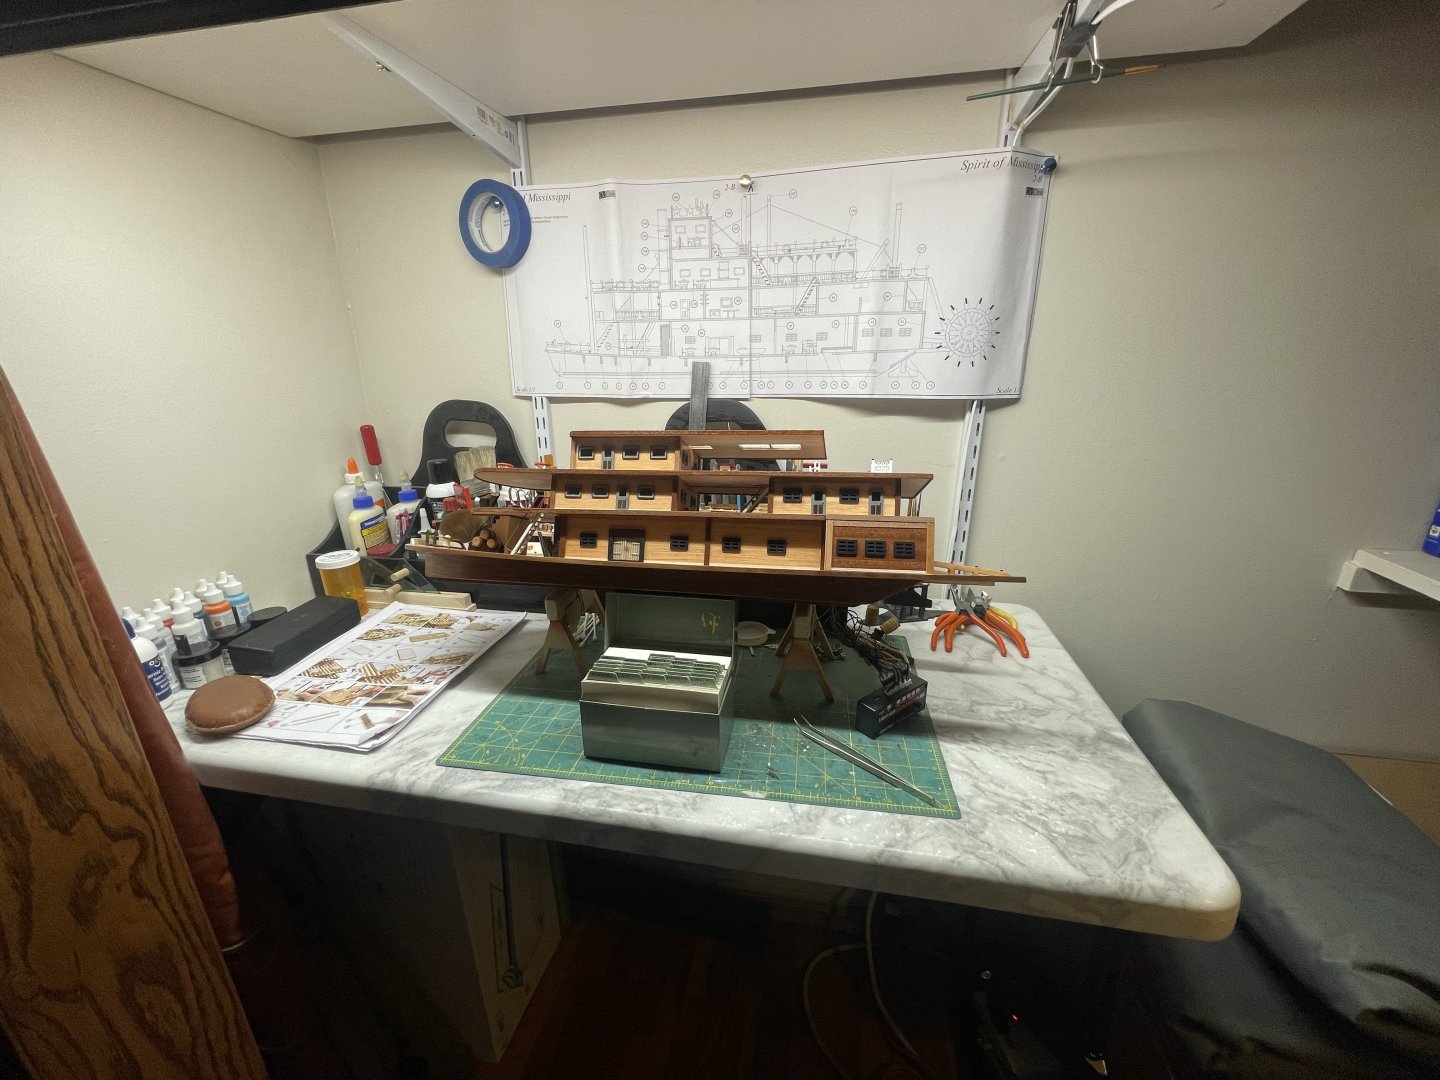
Well guys I’m back at the work bench building the river boat. I showed my office hobby room in the wood shop (see gage block post) and this is my “hobby bench” in the house. No I haven’t built a tool organizer yet but this works for me now in the house. Basically this area in the house is for building plastic kits like cars and trucks and the hobby room in the wood shop is where all my messy tools are ( table saw, lathe, drill press, etc.) let me know what you think of my set up and I’ll get back to building the riverboat. Thanks guys you’re an inspiration to me to build something every time I come here so thanks again and enjoy the pictures.

-
Just thought I would do a short video on how I use these gage blocks I received from my father in law. He was a machinist and after he passed away the family gave me one of his sets of gage blocks. Let me know what you think of the way I use them and let me know what you would use them for and other set ups I could use them for. Video (21).mov
-
Nice but wish it was in English so I could understand what you’re saying but nice video. Following in subtitles is ok but sometimes hard to follow. Just me I guess.
-
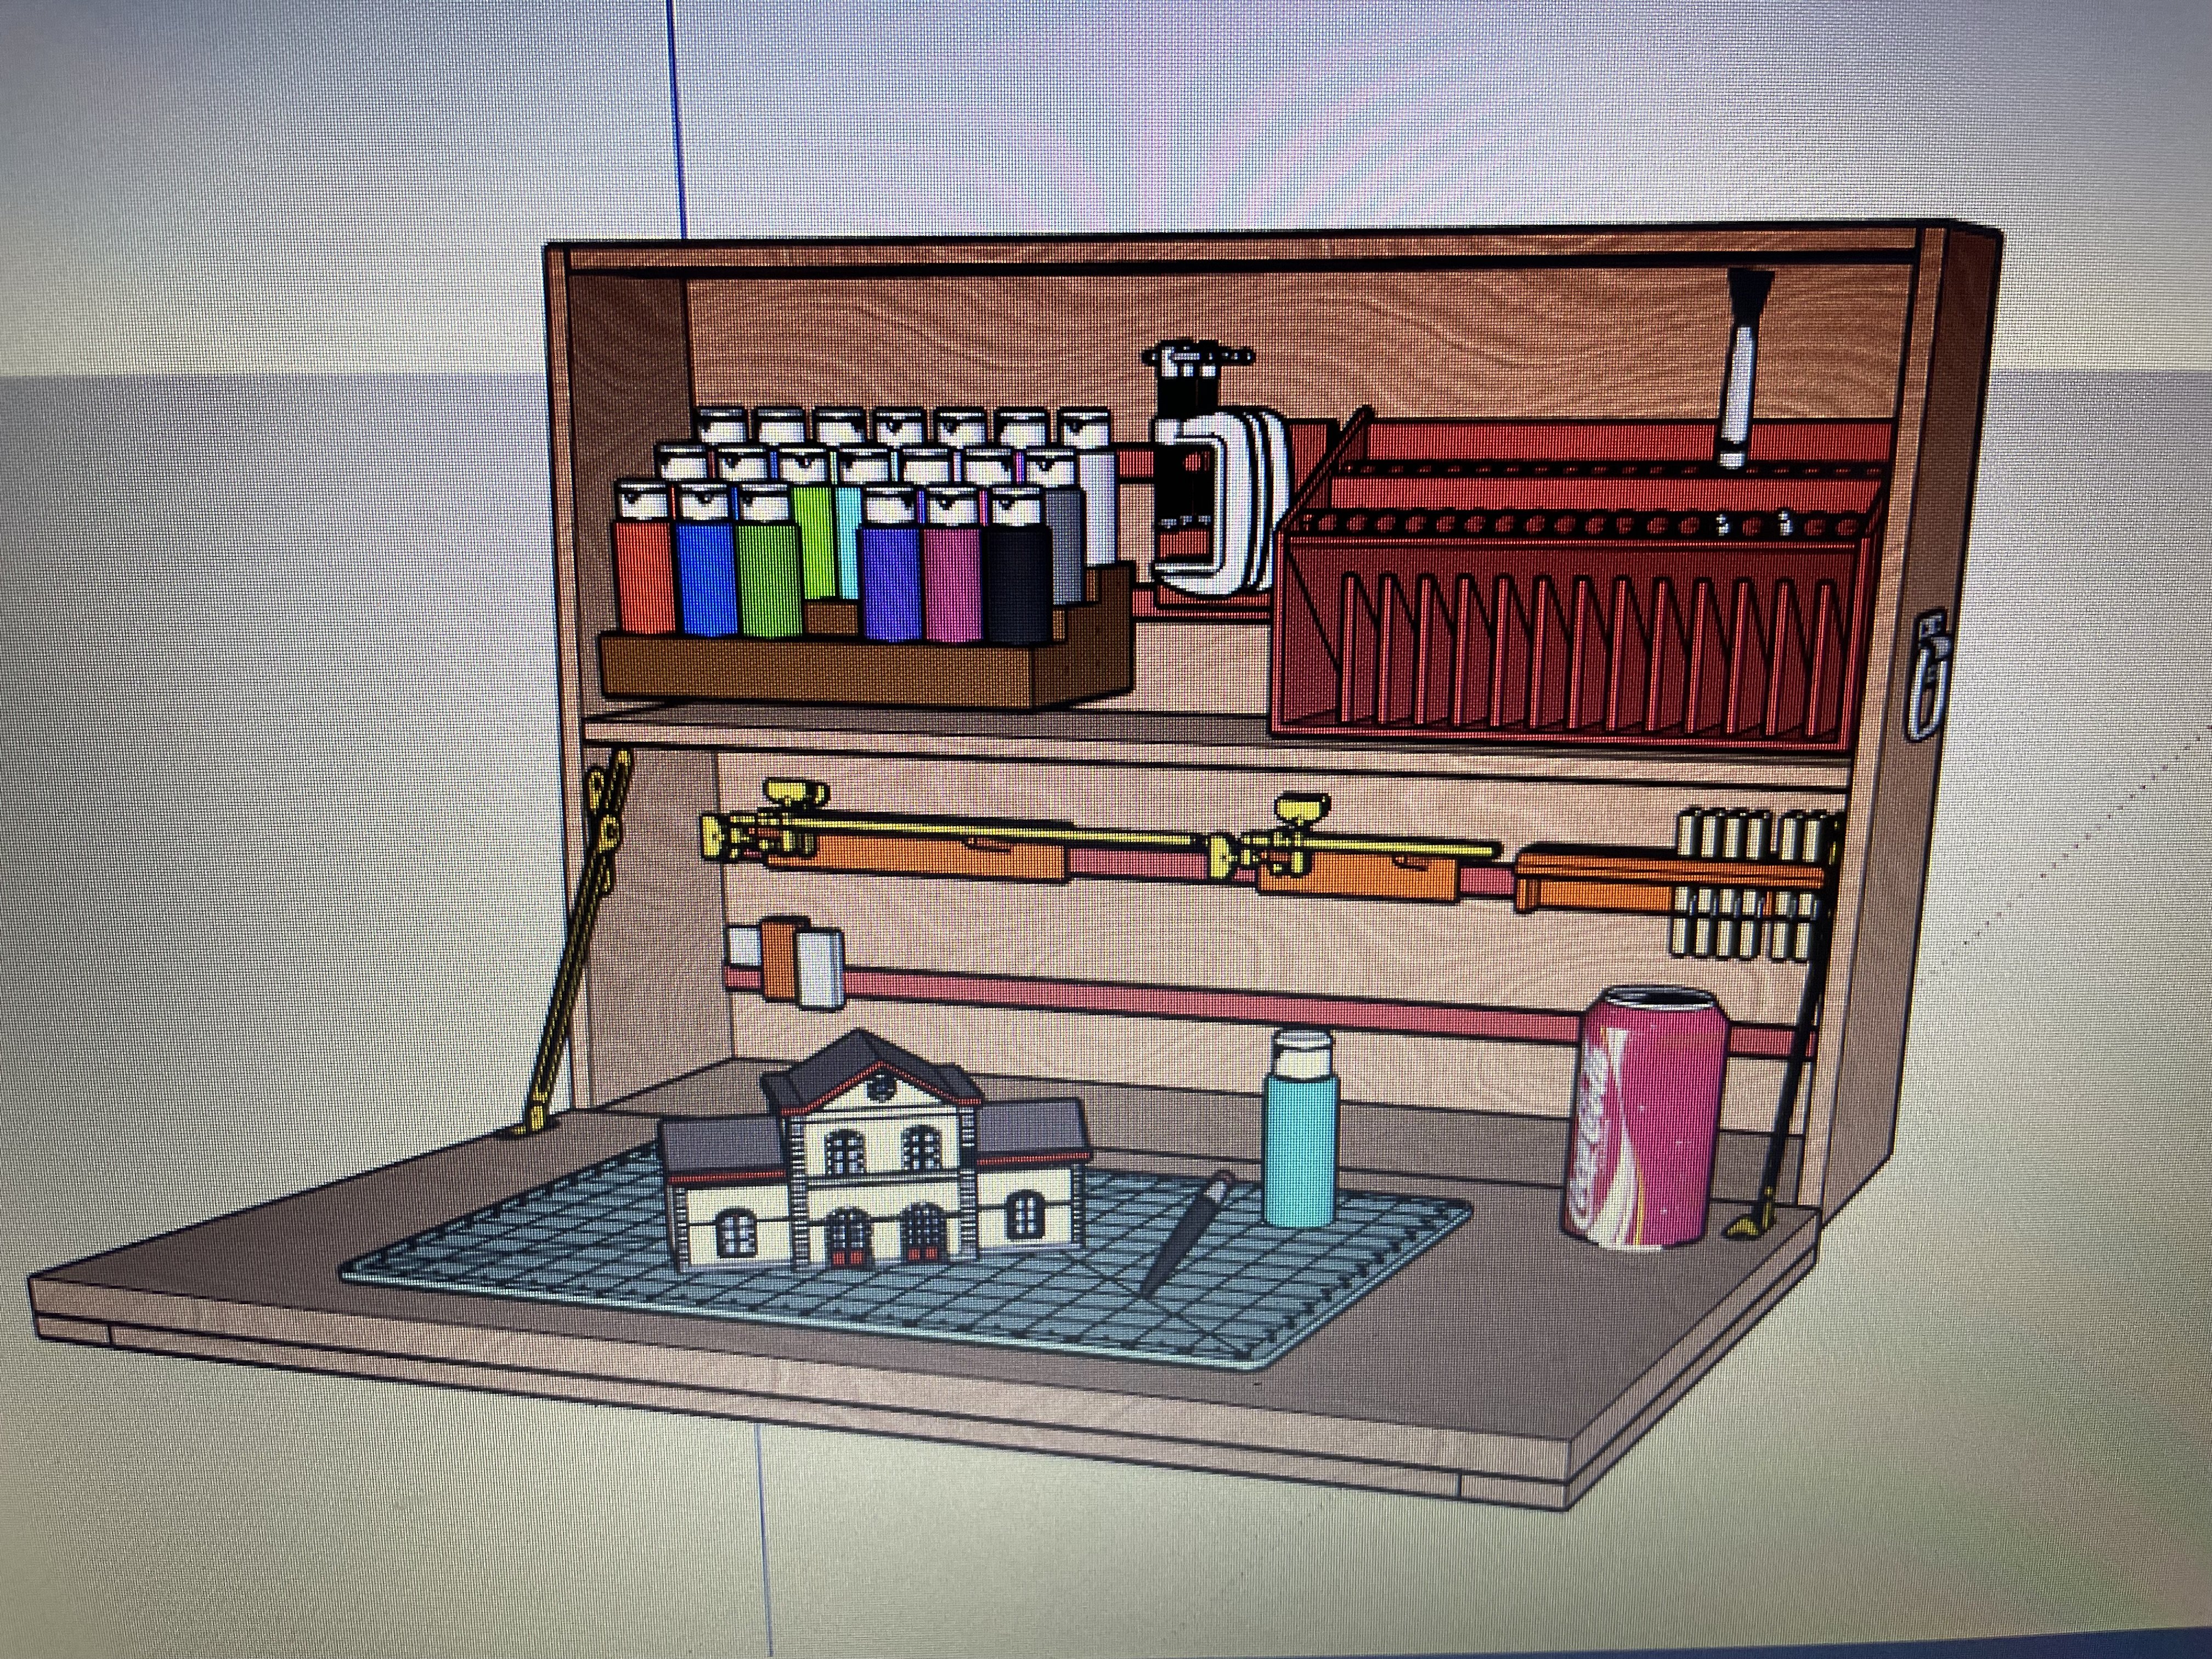
I have a question (which is happening to me more than not). I have found that every or most hobby tool storage design is for in back of the work area. At least for me, which I'm trying to fix, is that every tool that I use on a regular basis seems to be behind the model that I am working on. Now when I'm building a HO scale structure or a railroad car, the tools are right there ready to use. Yeah, I reach over the model but, they are small and never really got in the way. I'm just wondering, do you all have the same problem with reach over, around, under, etc. your model to get to a tool or is it just me? Yeah, I can put them in my drawers in my model bench (aka craftsman workbench) which I've done for years and dig through to get the right tool (yes, I do have some organization to the drawers but seems I have more pliers, tweezers, screwdrivers, etc. etc. you know how that is), and I'm trying to design, buy or both so that most of my often used tools are right there handy. After seeing the video I posted of the guy building a small (briefcase type) tool storage. I started thinking, why not design something similar but instead of having it open like a briefcase (flat), why not have it open the same way but have it vertical. See my design (not finished yet but you get the concept. Anyway, with all the humbo jumbo said ............... are you having the same problem I am with reaching tools, supplies, etc. behind your project?
.jpeg.e135ba72a3dcd4fa9828c9f3e5cb8047.jpeg)
-
Don't know if anyone would be interested in this video but I thought it was a cool idea. Basically hobby on the go sorta speak. Take a look, it's an interesting concept.
-
Pulled the Trigger == Lathe coming
kgstakes replied to kgstakes's topic in Modeling tools and Workshop Equipment
Oh any what I been doing with the cross slide is when I would back away from the cut note where it was and then come back to it then increase cut. Also if just turning down to a smaller diameter. I would just take the backlash out and the increase but 5-10 thousands and make another cut. You can take a pretty healthy cut with it but I prefer to take lighter cuts just seems to perform better. It’s a fun machine to run and figure out what I can do with it (and not). I like it. Glad I bought it. -
Pulled the Trigger == Lathe coming
kgstakes replied to kgstakes's topic in Modeling tools and Workshop Equipment
I agree cross slide has more play than I would like. To measure the longitudinal length. When turning towards the headstock there is a bar that you can adjust so you have a stop. Carriage will come up against it and stop. Even when power feeding, it will stop. Then back out and take another cut. That’s what I was doing when I was practicing how small a turning I could do. See picture.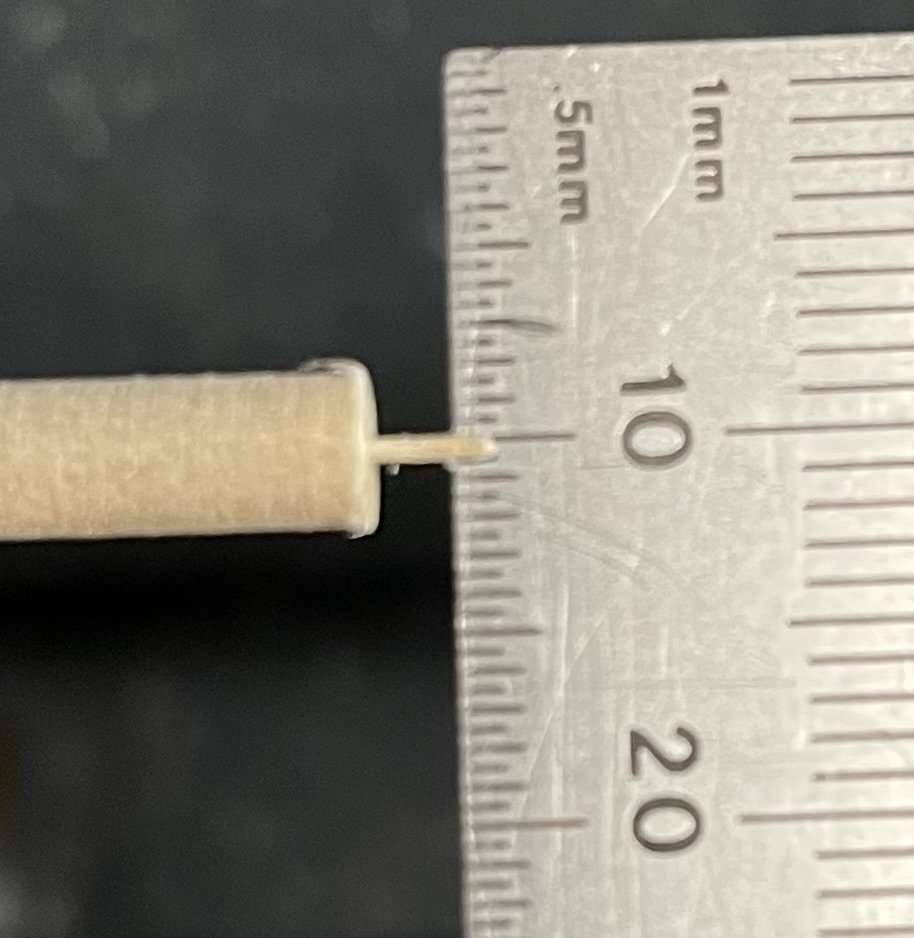
-
Pulled the Trigger == Lathe coming
kgstakes replied to kgstakes's topic in Modeling tools and Workshop Equipment
I don't have a way to measure the backlash so here is a video of the cross slide and the longitudinal rack-and-pinion. Hope this answers your question. Video (20).mov -
Pulled the Trigger == Lathe coming
kgstakes replied to kgstakes's topic in Modeling tools and Workshop Equipment
The taig lathe the way it operates with wheels in front is what I’m accustomed to with my bigger lathe. It’s true probably can’t cut threads without modification but I’ll be turning mostly wood and sometimes metal with the lathe. Threads if needed I can cut a different way with dies and taps. Every tool will have advantages and disadvantages, it just comes down to what you like with the machine and what you want to do with it. Best thing I can tell anyone looking for a tool, look at all of them study them see what the advantages and disadvantages are and pick the best one for your needs. Don’t go off of what other people say, they may have a strong opinion about one tool that may or may not be right for you. It all comes down to what you’re going to do with that tool and will it do the job you want it to do. That’s what matters most. -
Pulled the Trigger == Lathe coming
kgstakes replied to kgstakes's topic in Modeling tools and Workshop Equipment
Sorry for not getting back to you sooner, Yes it was a package deal. I bought 1017#2 Starter Set #2 (see Taig website) then I added most of the accessories they offer. I chose Taig basically for main reason, all the controls (wheels) were in "front and center", which is what I'm used to. Didn't like the hand wheel at the end of the bed like Sherline lathes. Sure I could of gotten use to it. Another reason was of course price. I bought the lathe and the "starter set" plus some other accessories for about the same price as a Sherline lathe base price would cost. I'm having fun with this lathe finding out just what it will and will not do (not much it can't do) and I find it is a very enjoyable machine to work with. Hope this answers most of your questions and as for the 'extras' I bought the picture below shows most if not all I have for the Taig lathe.
-
The work you do is amazing!! I’ve done some crazy modeling before but I’m not sure I would have the patience ( or eye sight🤪) to do all the rigging you’ve done. Great job!!!
-
After looking at all your pictures, it makes me want to get back in the shop and continue my build of this model. Great job !! If mine comes out half and good as yours, I will be happy. I'm thinking I will leave off the walls when I do all the outside "bracing" so that the interior is visible. I do have all those walls made up but will put them to the side so people know that they can be "installed" on the model. Which in reality, they can not unless some of the bracing can be removed. All in all, very nice looking model. You did a great job!!!
-
TK1 yeah that’s basically what I wanted was a place to store a project ( protect it) and have some tools at hand. Thank you for your input greatly appreciated.
-
Pulled the Trigger == Lathe coming
kgstakes replied to kgstakes's topic in Modeling tools and Workshop Equipment
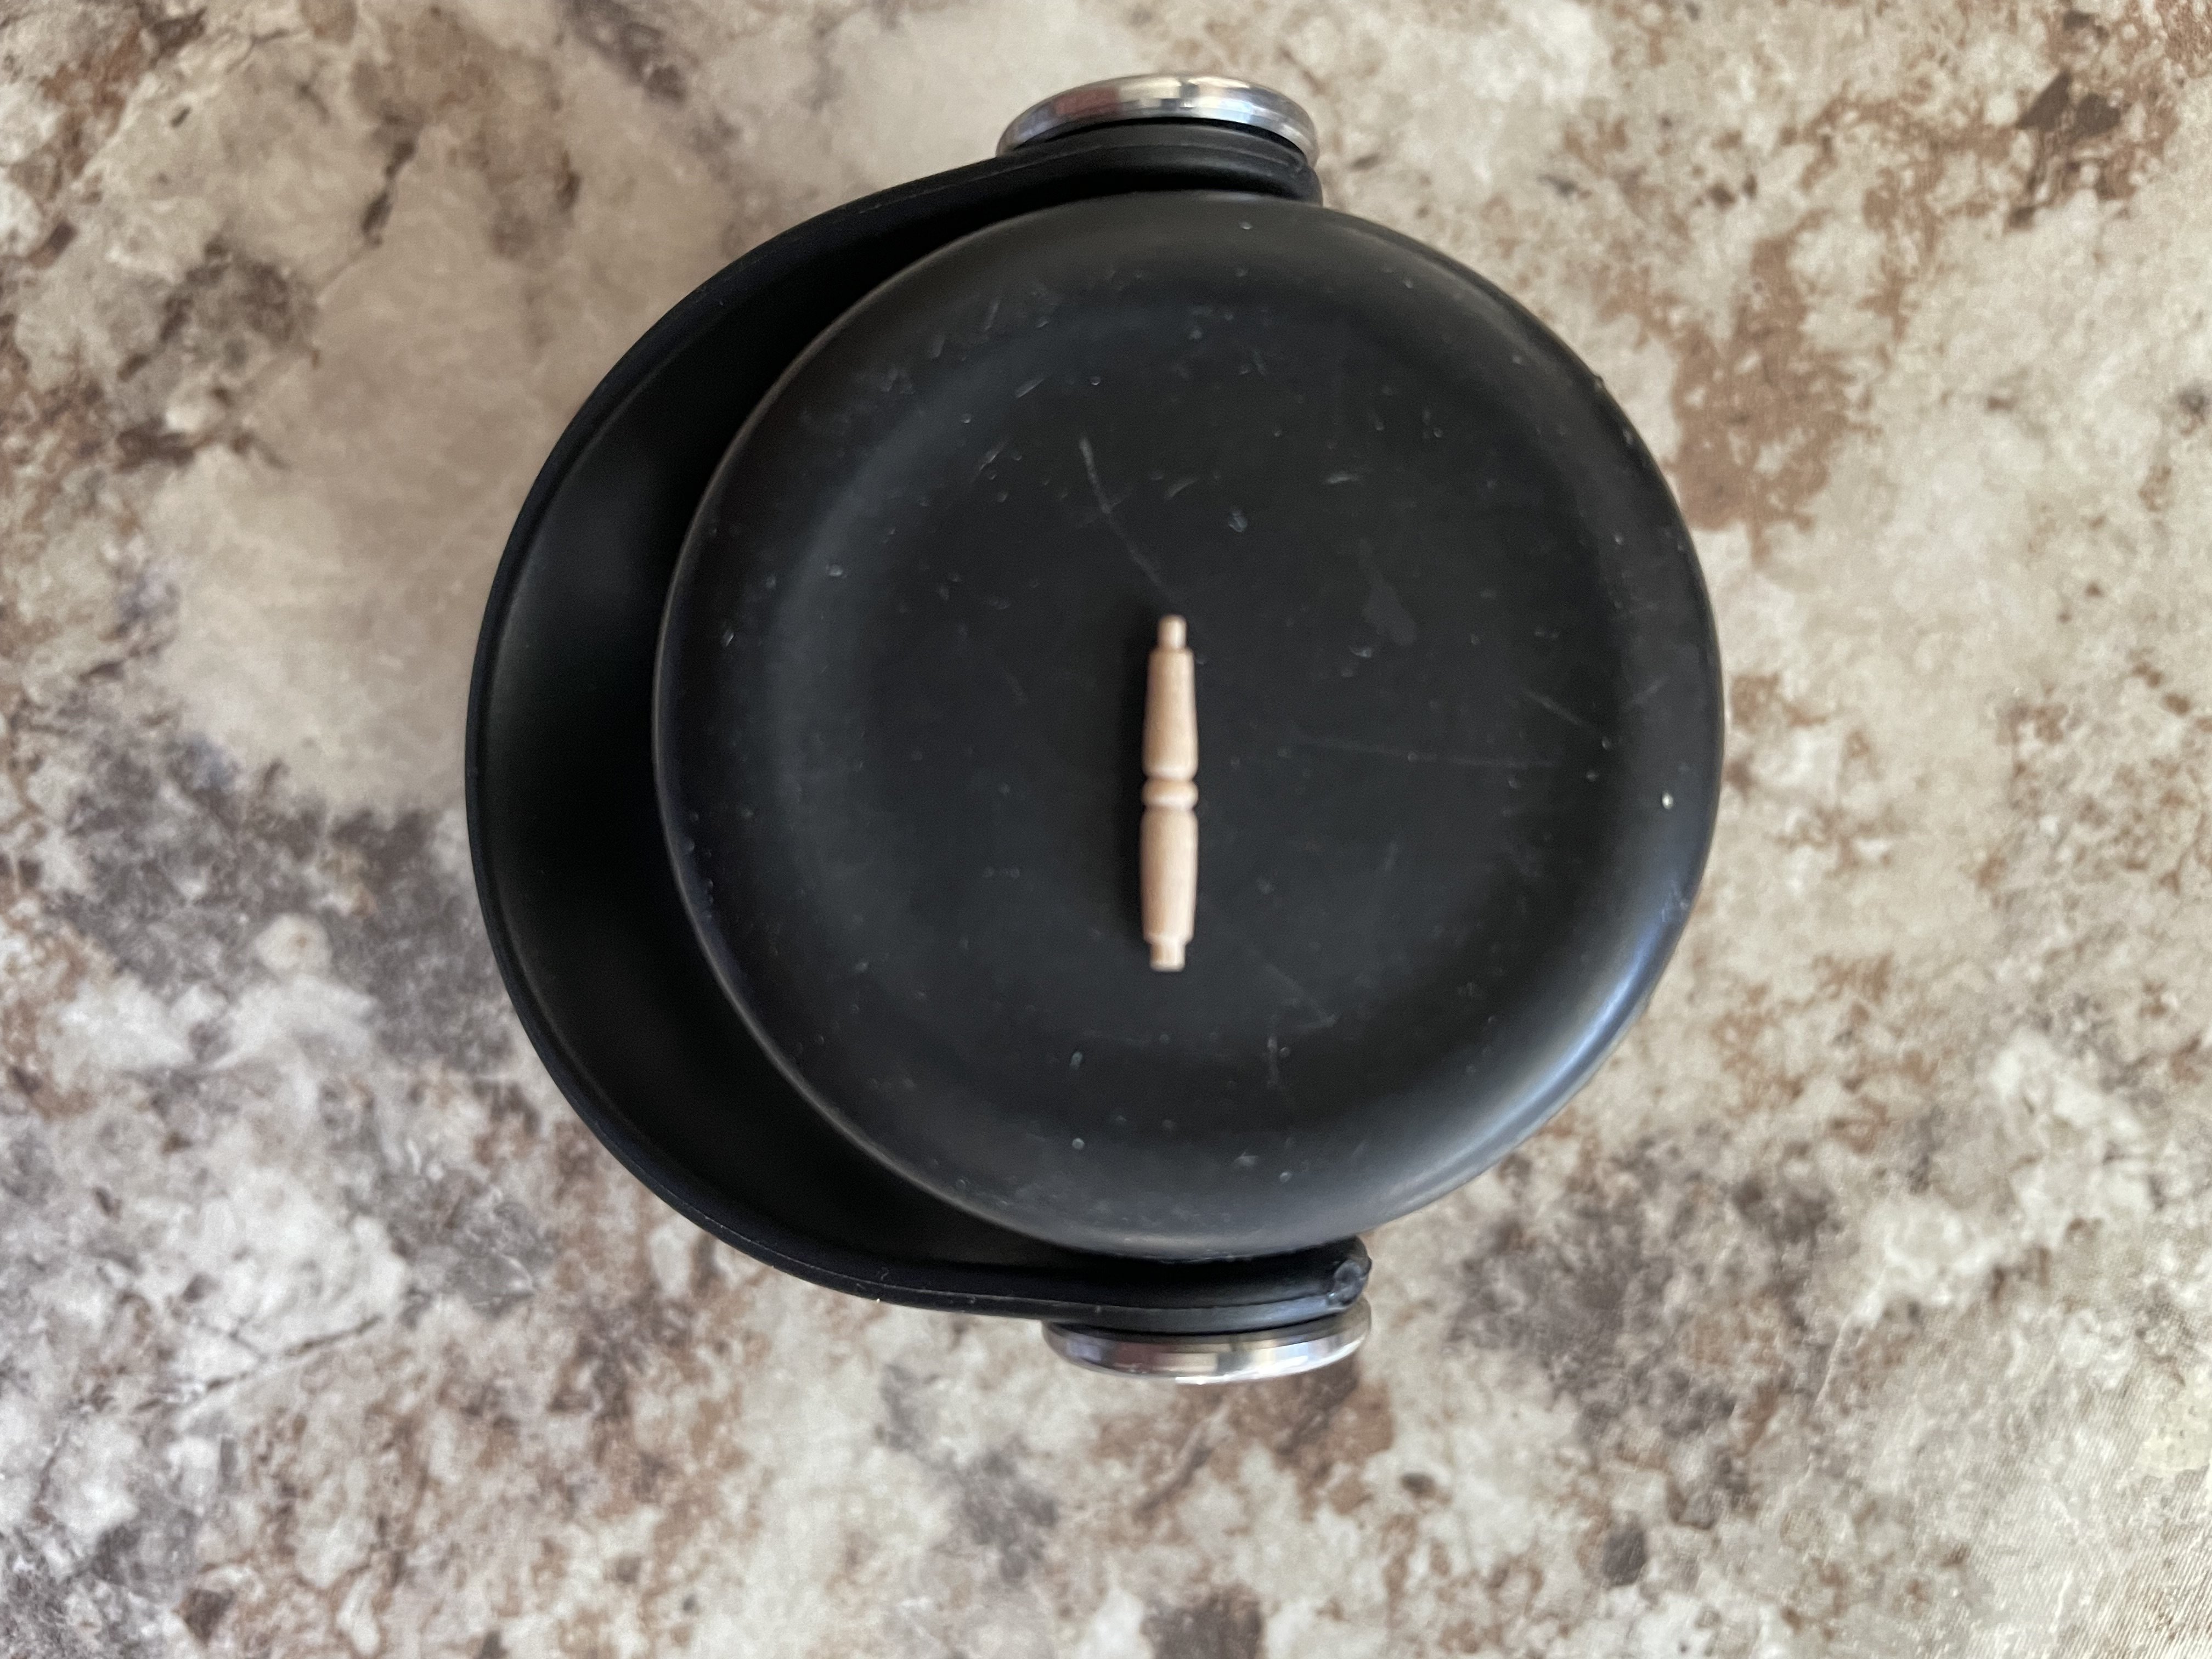
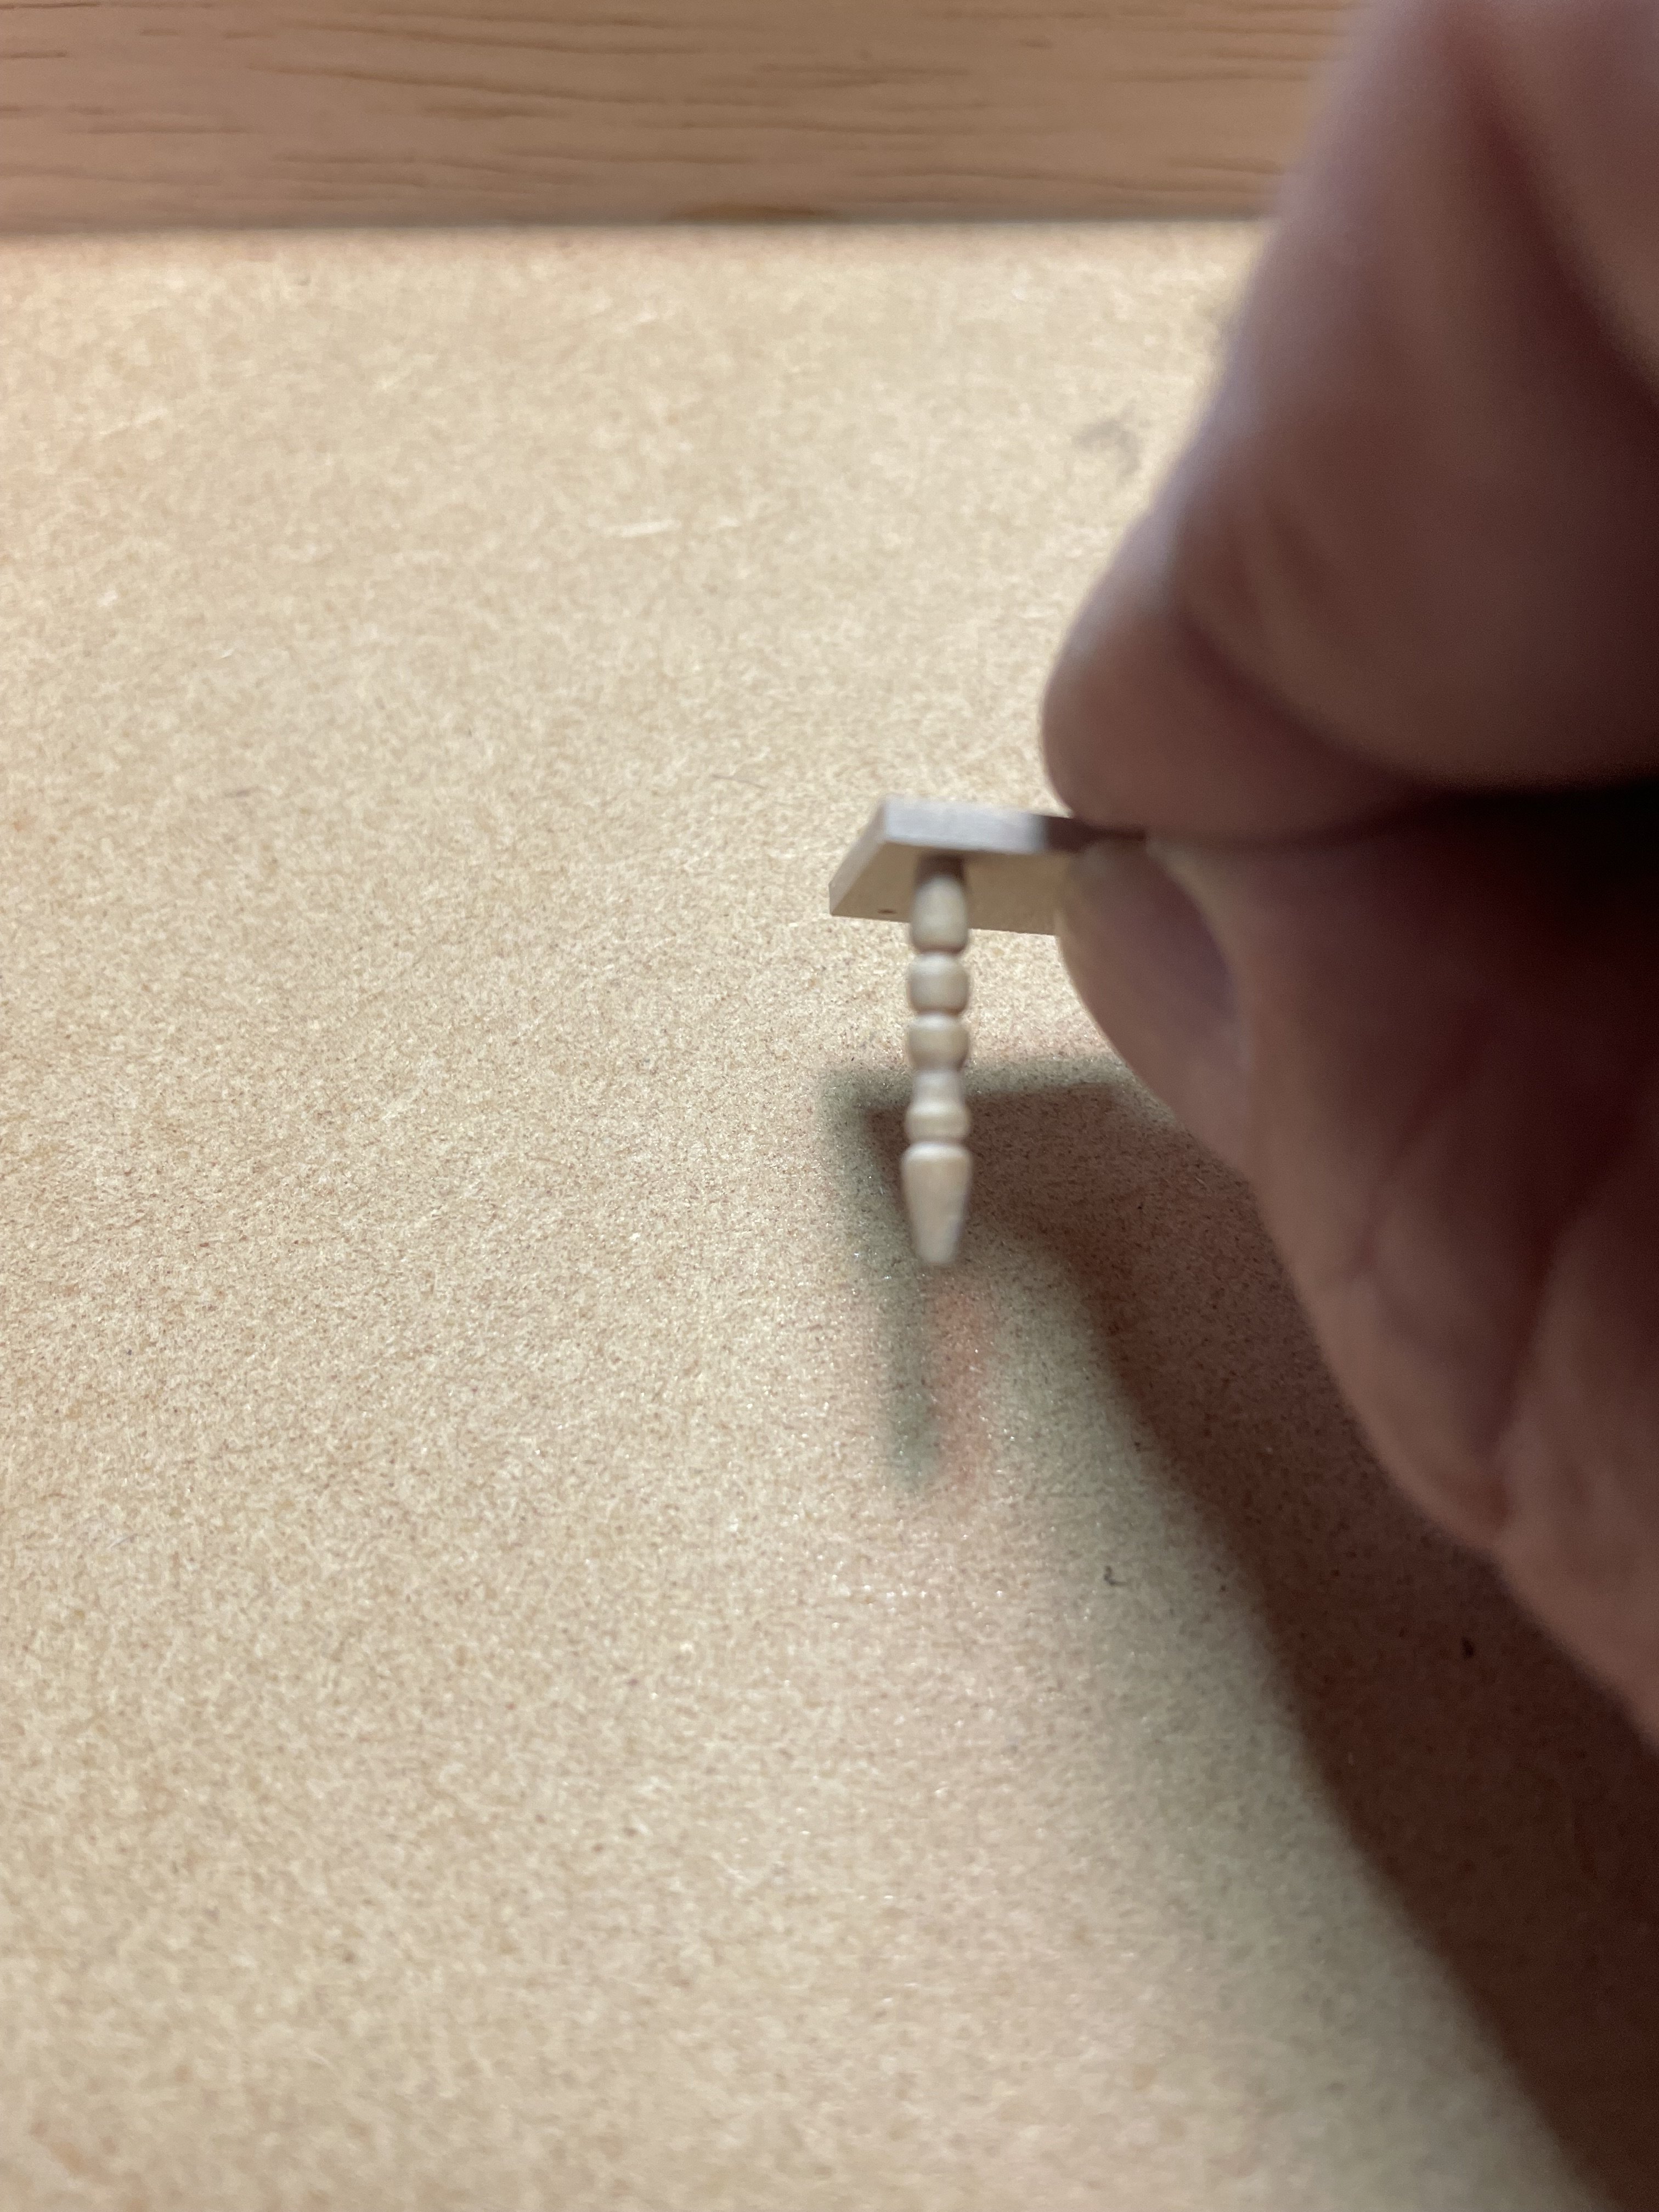
Doing some more practicing on the taig lathe this afternoon/evening. I’ll be turning mostly wood on my lathe and I was seeing just how small I could go and this is where I stopped. That’s good enough for anything I want to do with this lathe. I’m sure I could go more with metal but with wood I thought this was pretty darn good. Love this lathe!! Here’s a picture of how small I got.
-
Pulled the Trigger == Lathe coming
kgstakes replied to kgstakes's topic in Modeling tools and Workshop Equipment
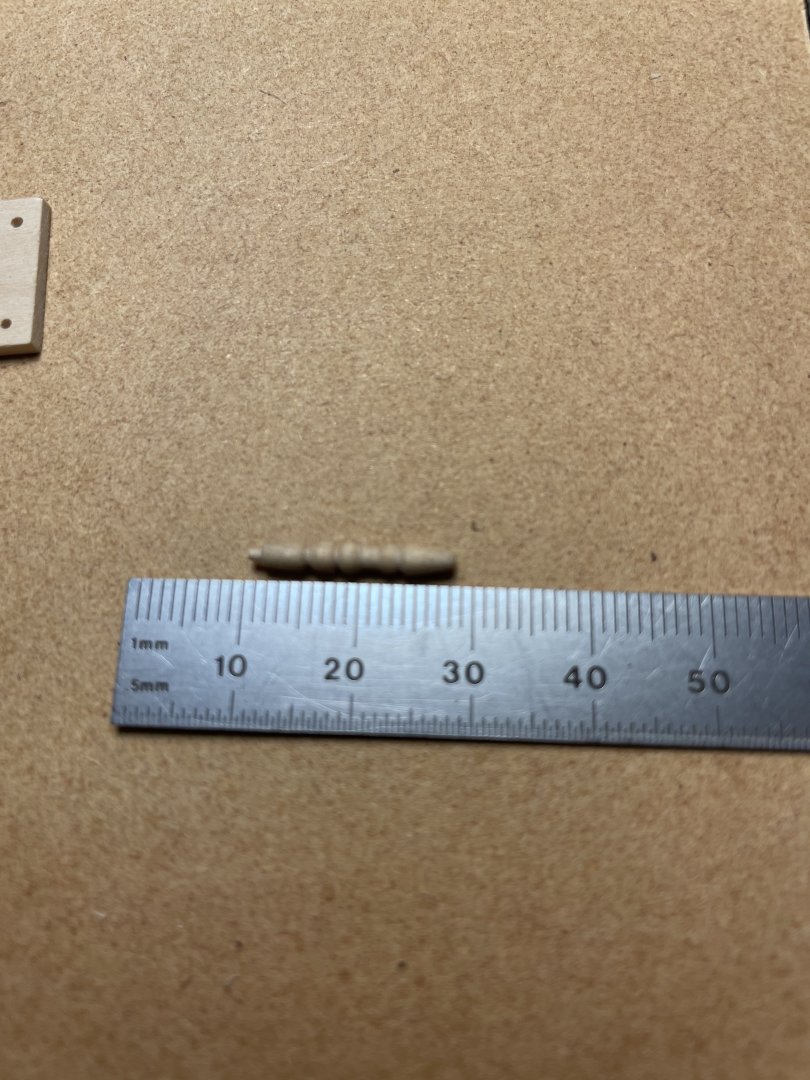
Just been messing with my taig lathe today getting a feel for how small I can turn things. Here’s a couple examples of what I’ve been doing. Practice practice, there’s a stool and a chair that has lots of turning to be done (1/12th scale) so before I tackle them I’m practicing turning on the lathe.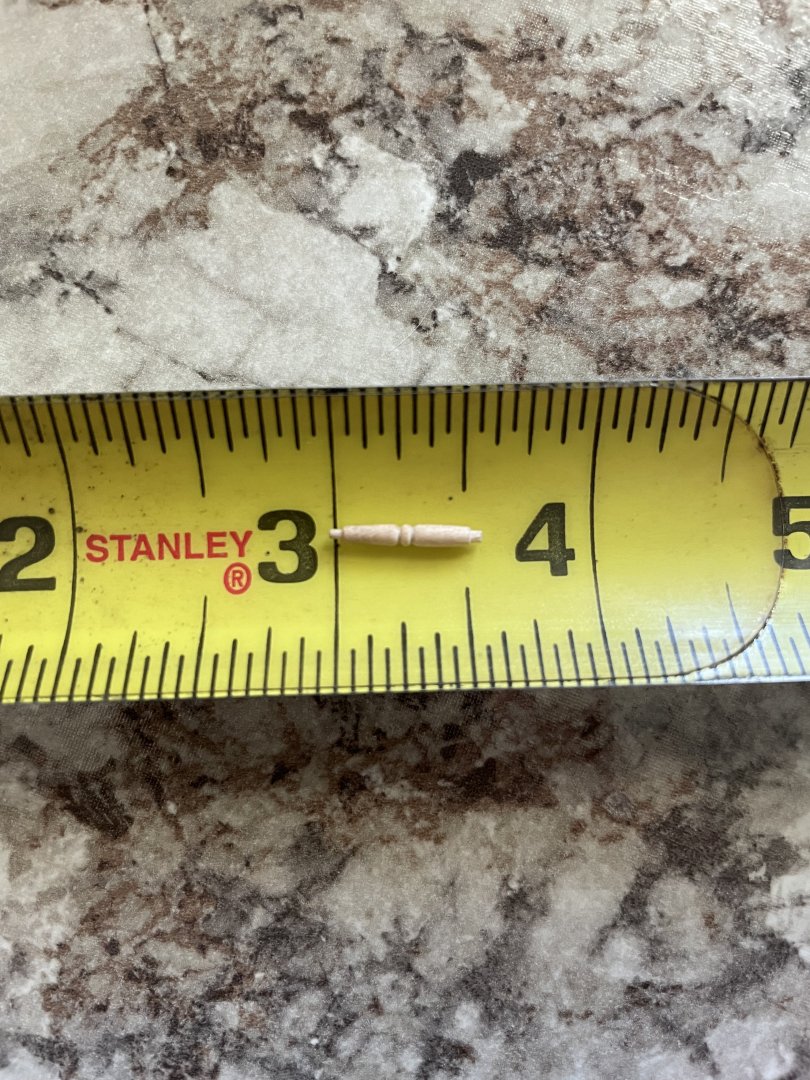


-
I’m in Cheney west of Wichita
-
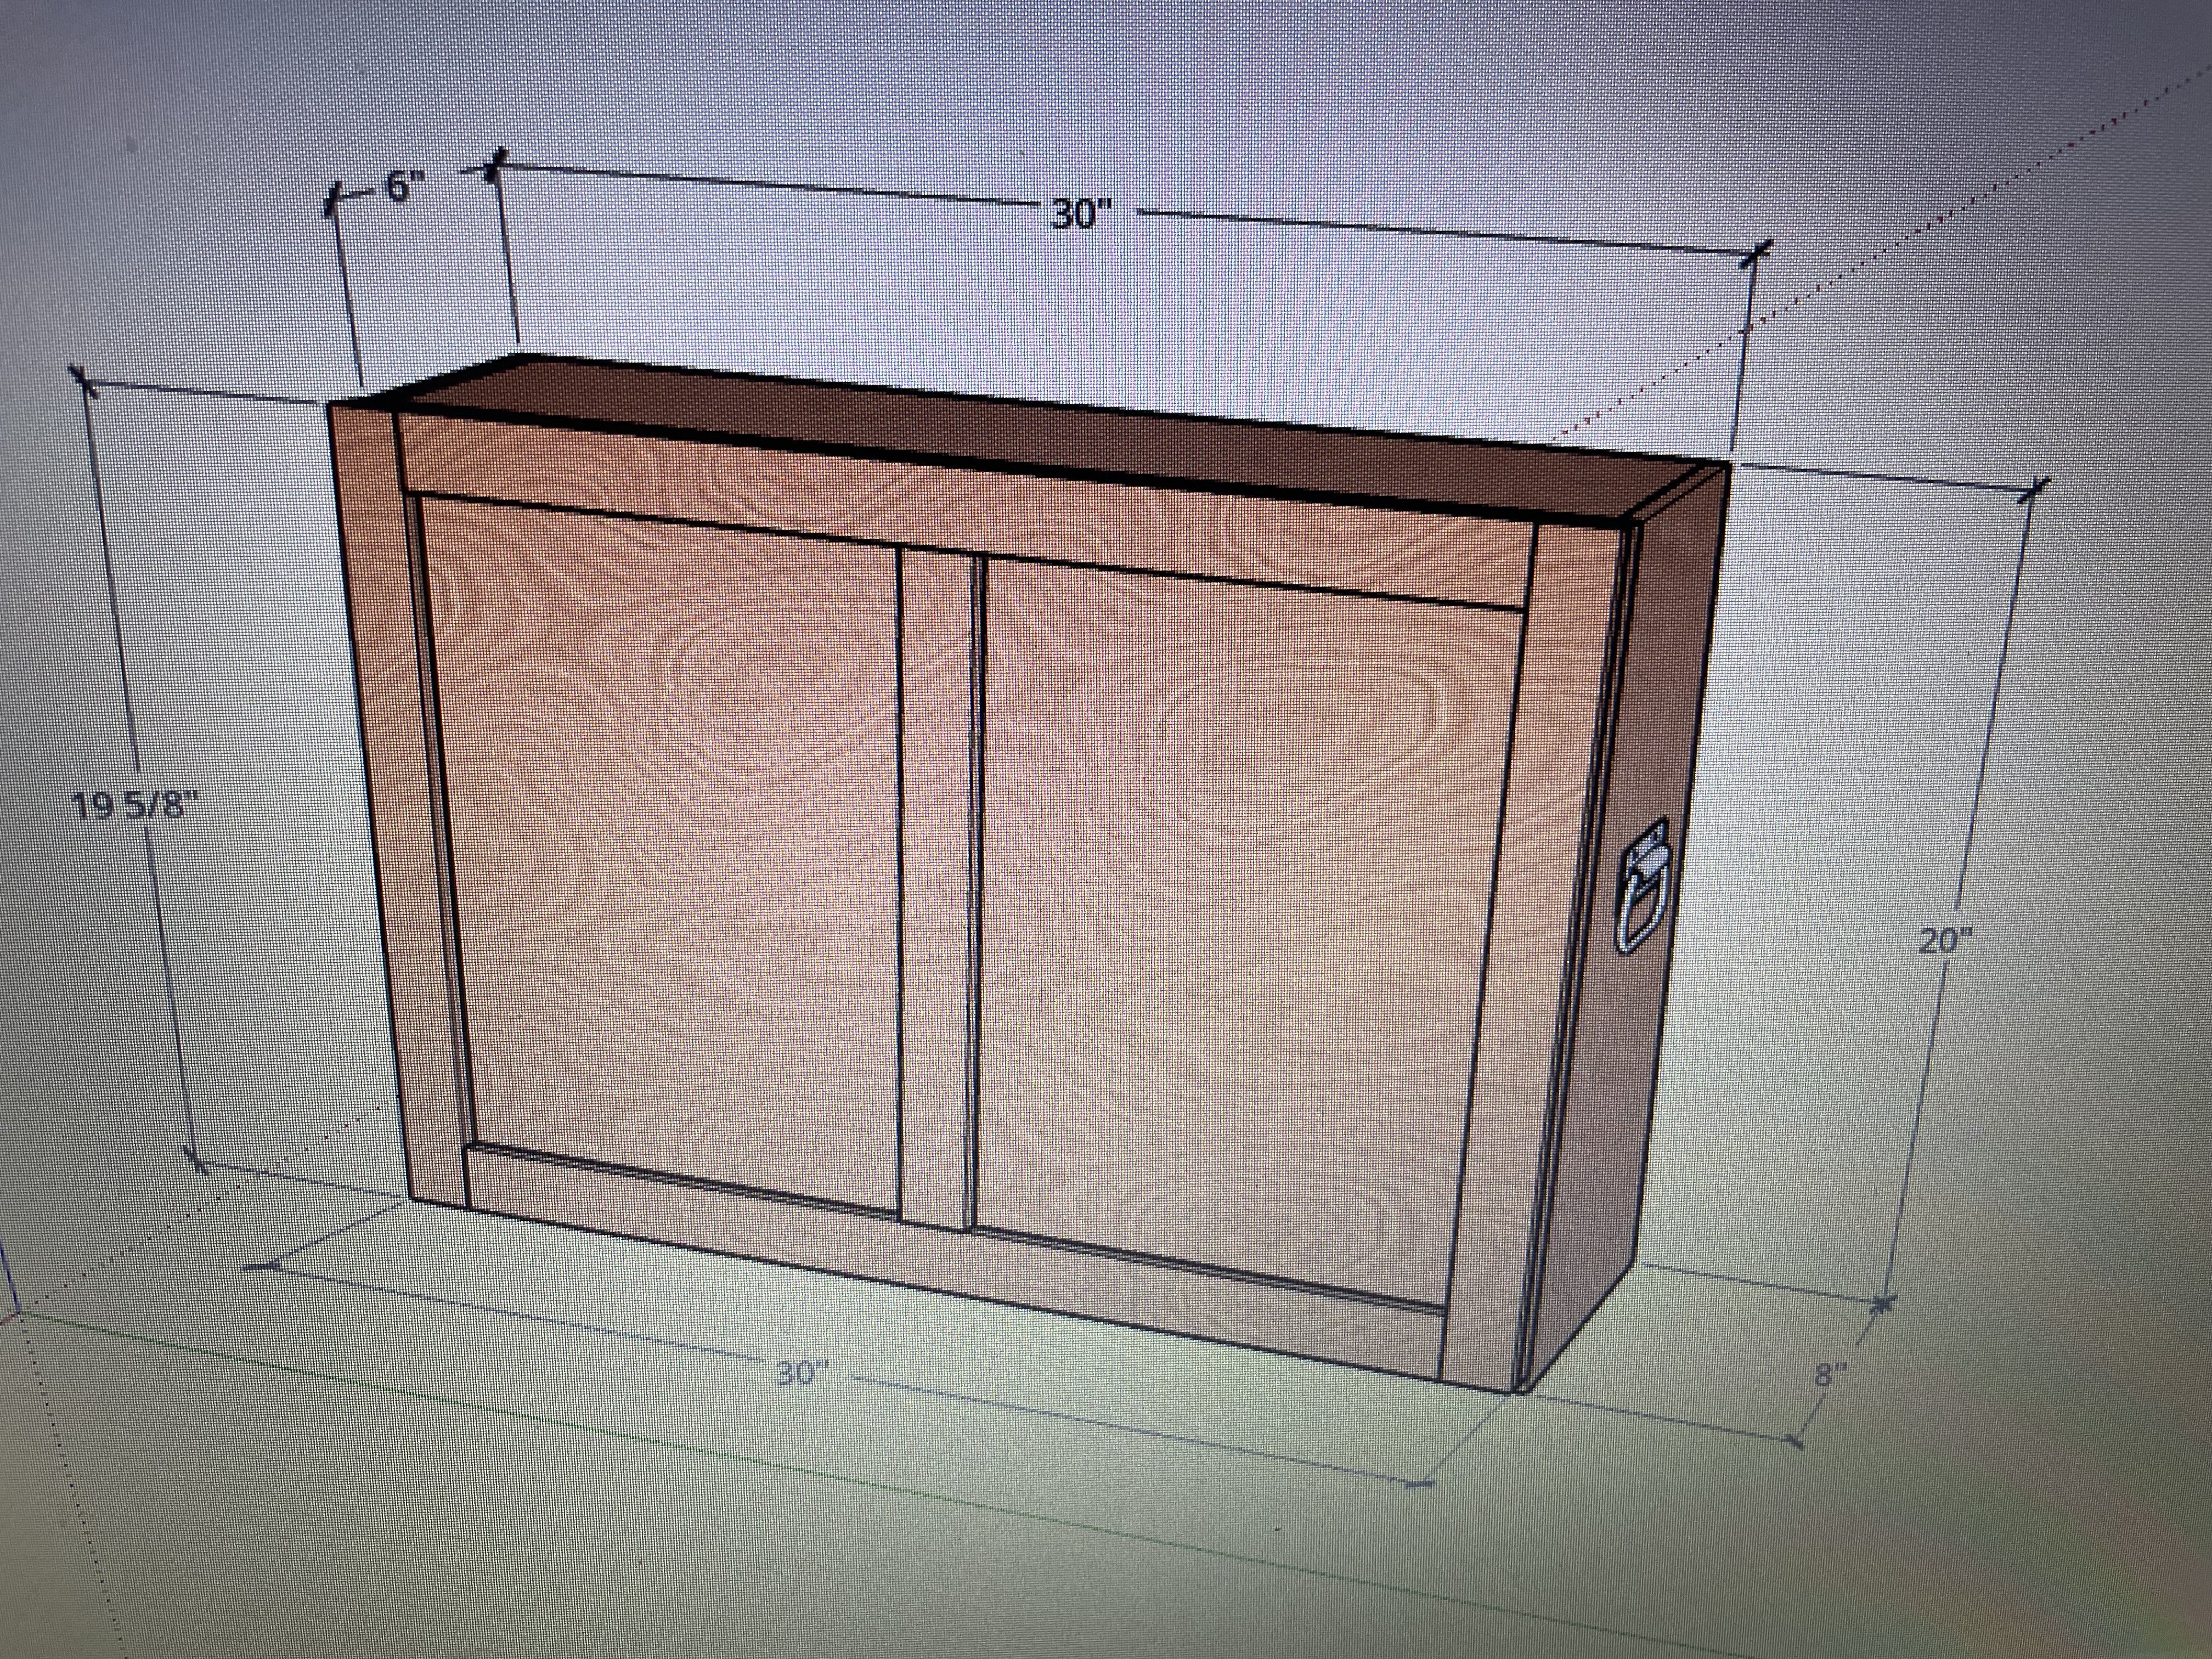
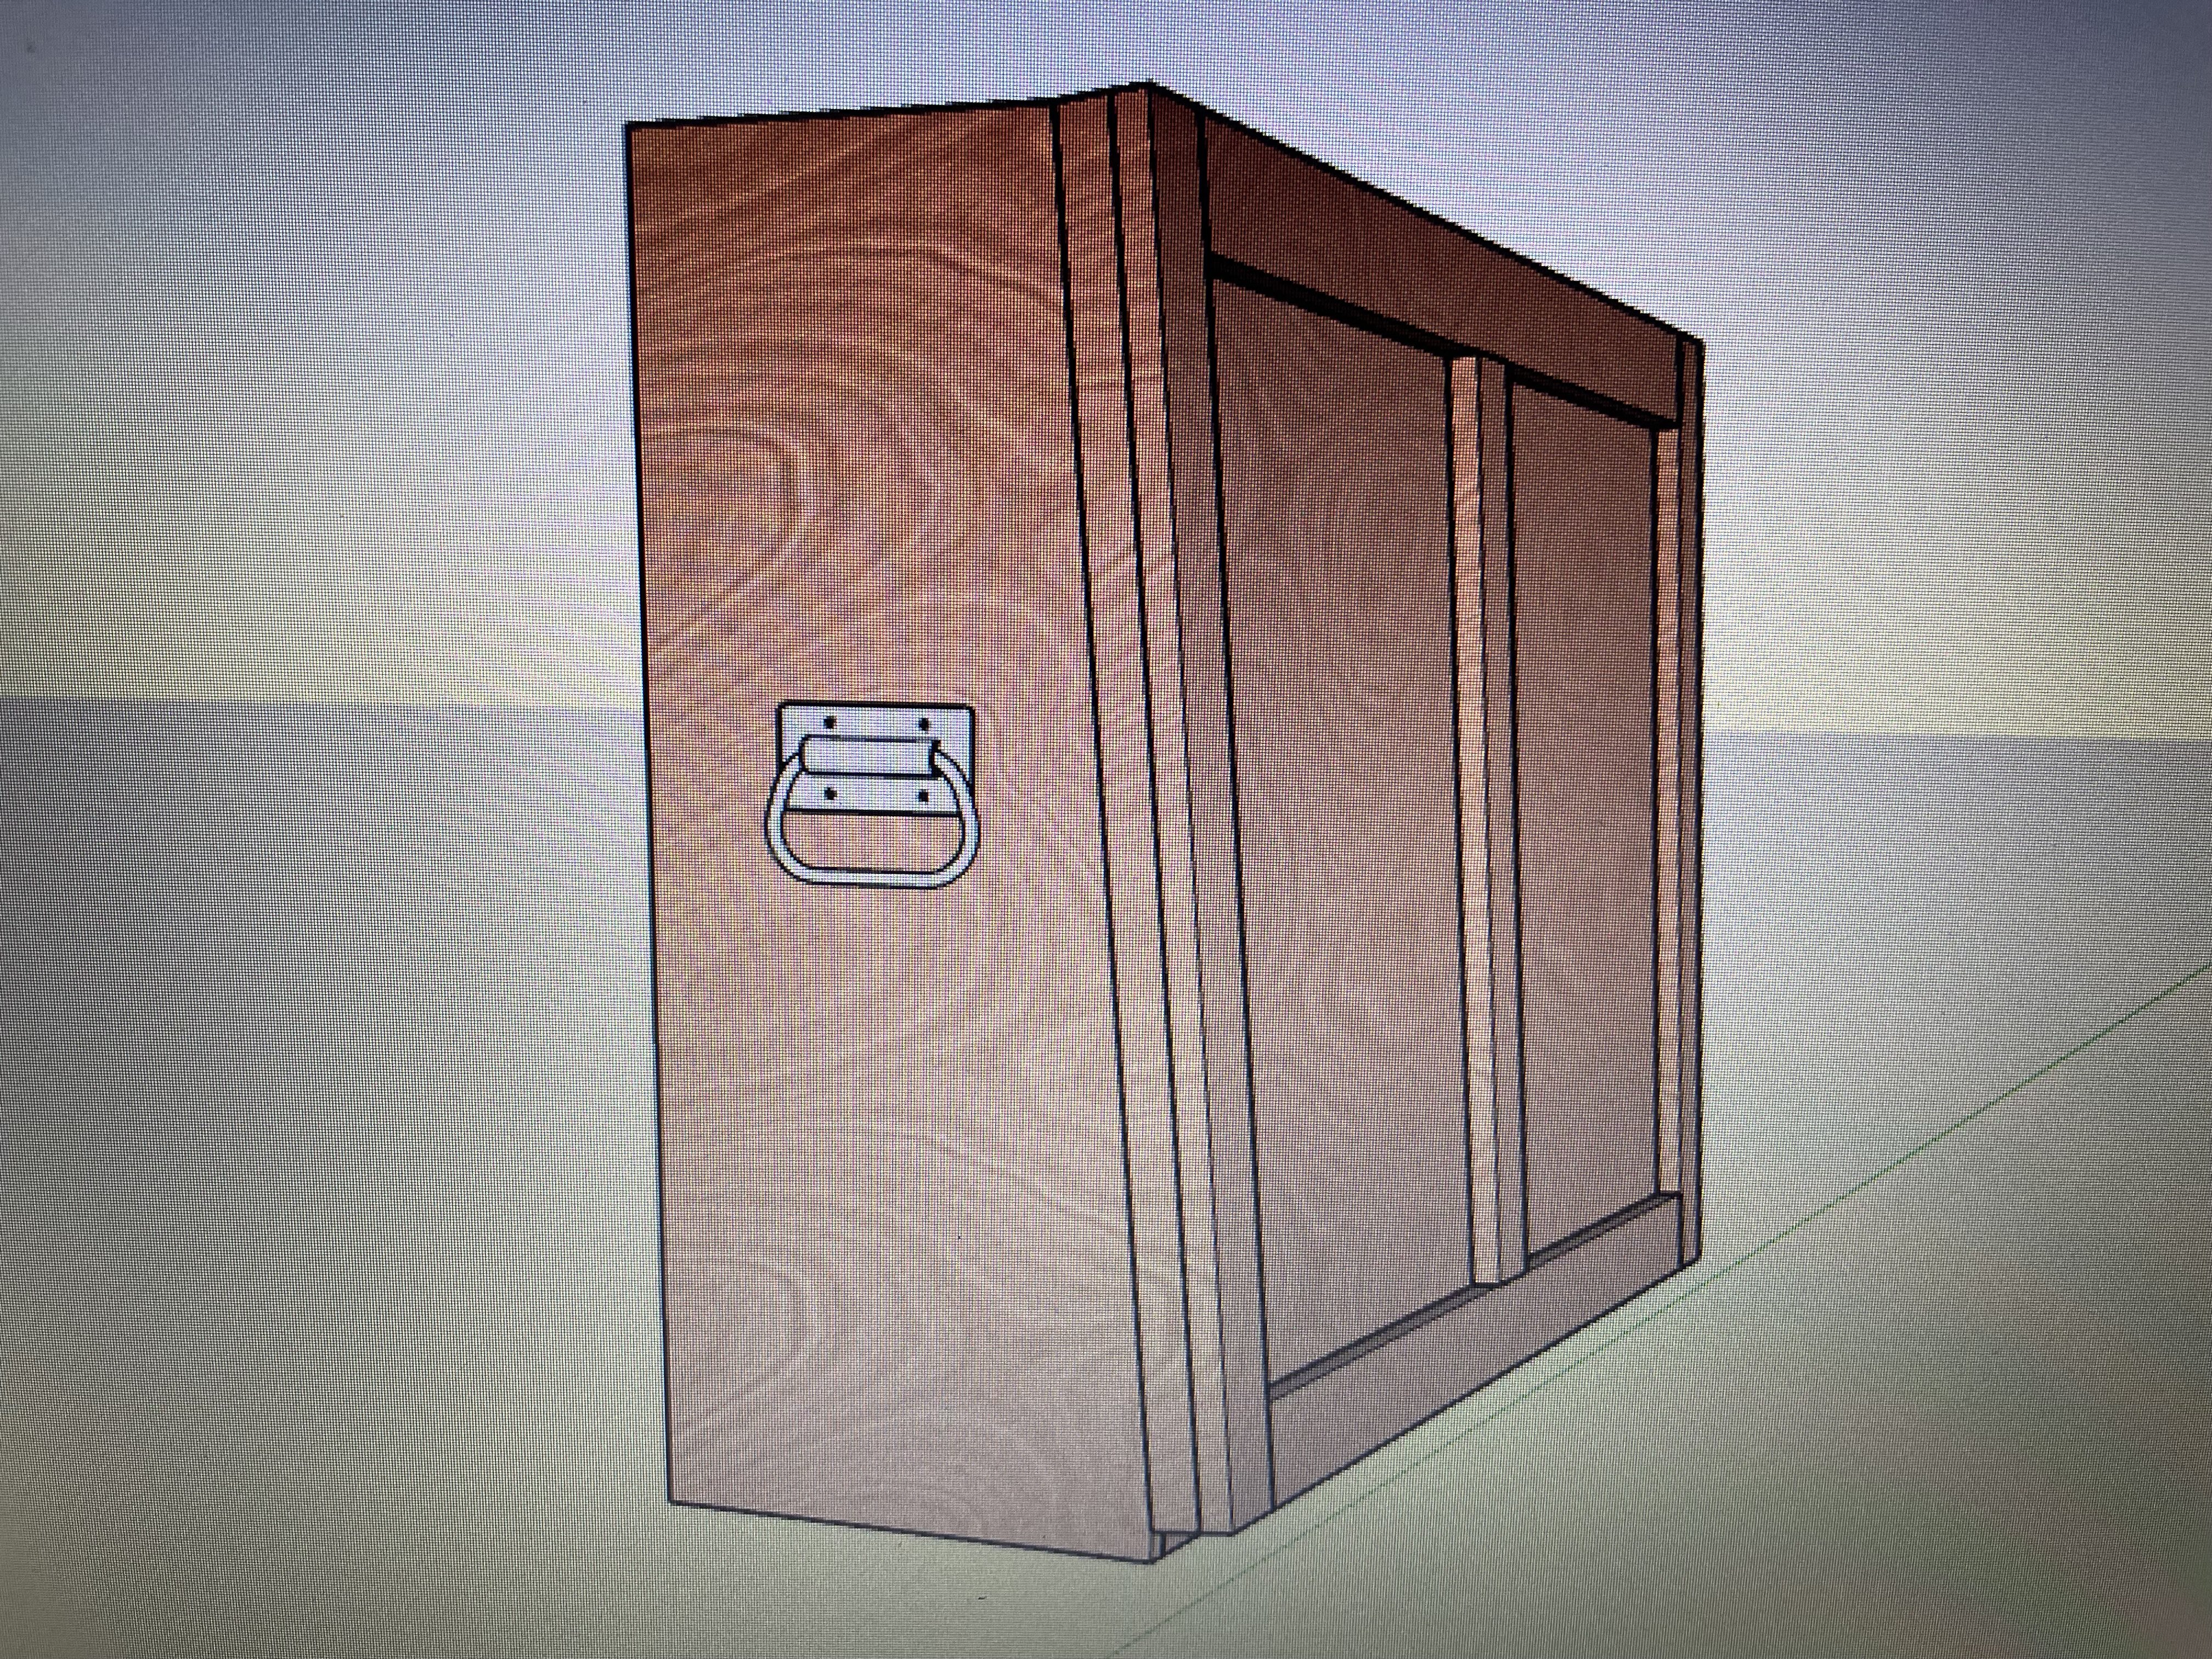
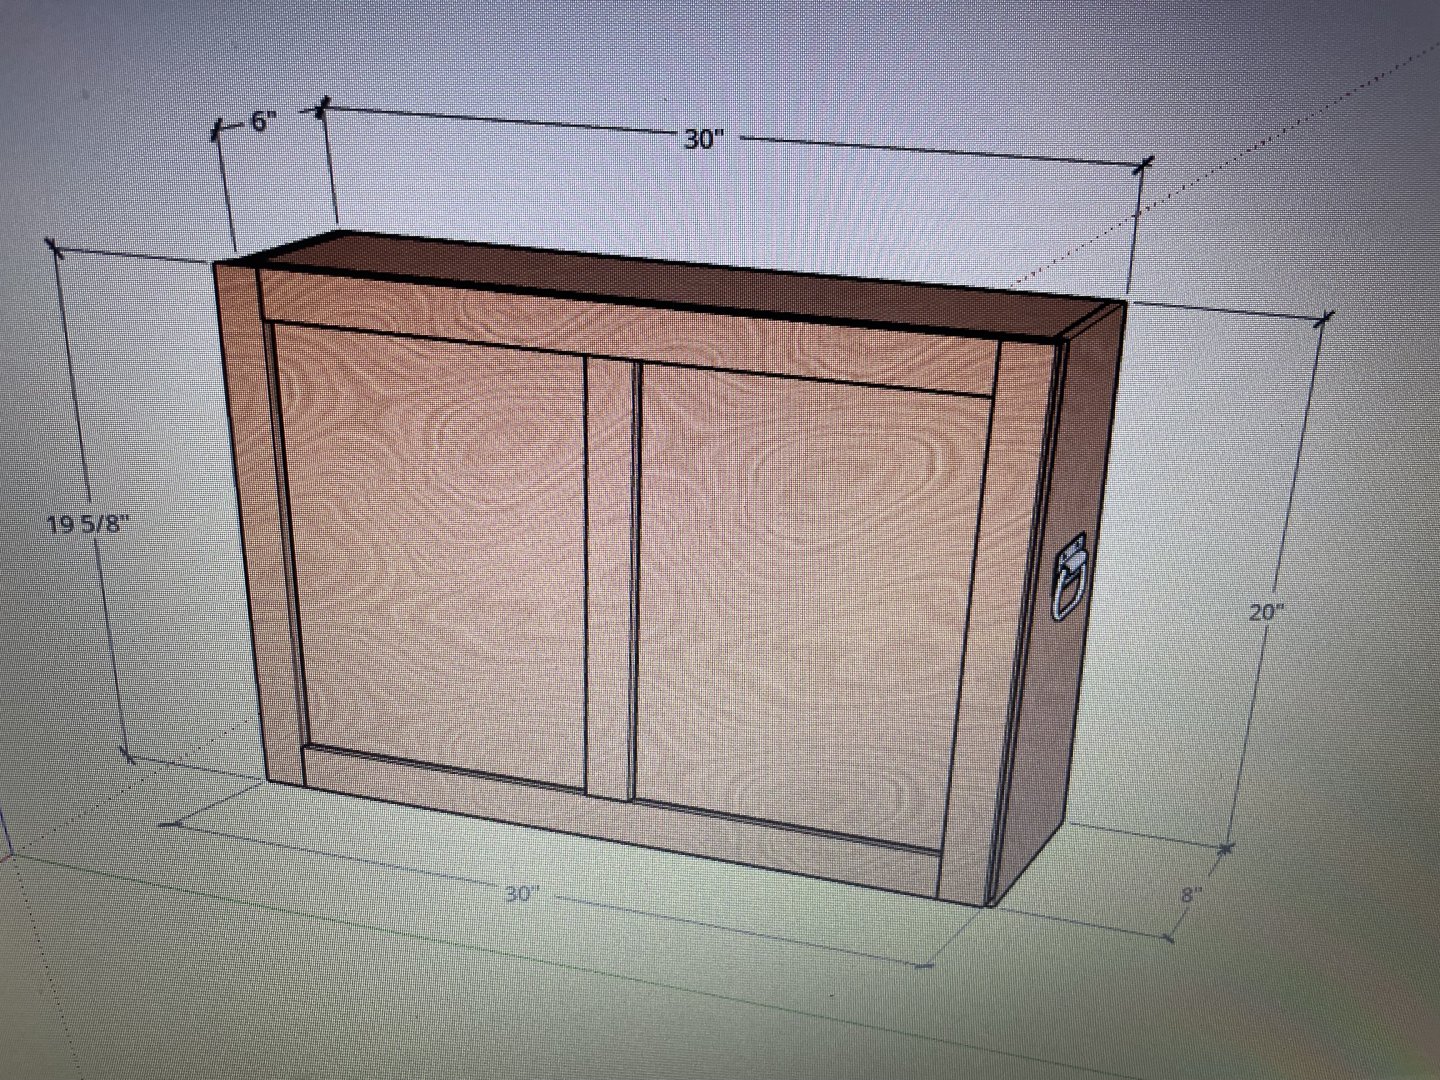
I've been doing some designing on a "portable" "workstation", something that can be taken off the wall (using french cleats to fasten to wall), and be either stored in a closet or taken to my woodshop where my hobby room is. Some place to build a model but still be in the house at night (more or less with family). But have all or most of my tools, paints, brushes, knives, etc. and still be able to close it up (with model inside) and place some where out of the way if need. I'll probably build it out of 1/2" cabinet grade plywood or maybe 3/4" with an oak veneer. Stain and finish so it will look like a wall cabinet but like I said before with a french cleat, you can take it down really easy if needed. Here are some drawings. Sorry the freebie program won't let me share the drawings (can save but not share) so I took pictures of them on my phone. Sorry if they’re bad.


-
Welcome you will find lots of talented people on this forum that is more than happy to help you out in any way they can.
-
Your modeling is incredible in my book very nice work in deed!! Great job!!
- 48 replies
-
- 1
-
-
- norske love
- billing boats
- (and 1 more)