
HOLIDAY DONATION DRIVE - SUPPORT MSW - DO YOUR PART TO KEEP THIS GREAT FORUM GOING! (Only 44 donations so far out of 49,000 members - C'mon guys!)
×


marktiedens
-
Posts
1,737 -
Joined
-
Last visited
Content Type
Profiles
Forums
Gallery
Events
Everything posted by marktiedens
-
Excellent plan - that would appear the correct way to fix it. Just take your time getting the glue joint undone. A very sharp & thin chisel may help with the joint. Mark
-
Beautiful job - I really like the dark hull. Mark
- 236 replies
-
- 1
-

-
- artesania latina
- kitbashing
- (and 2 more)
-
mtaylor has the right idea to compare the shape to the plan sheet. You have discovered the biggest problem with older Mamoli kits that are not laser cut - poorly cut parts. You may also want to compare the shape of the bulkheads to the plans before glueing them in place - you will probably find some of them a bit off. Good luck! Mark
-
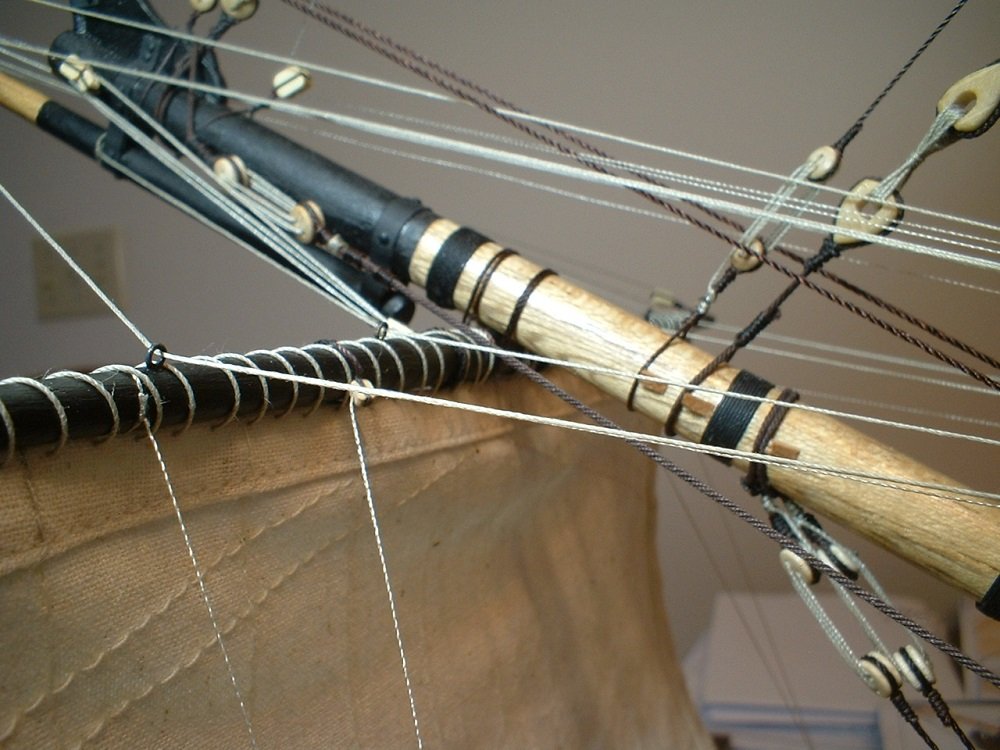
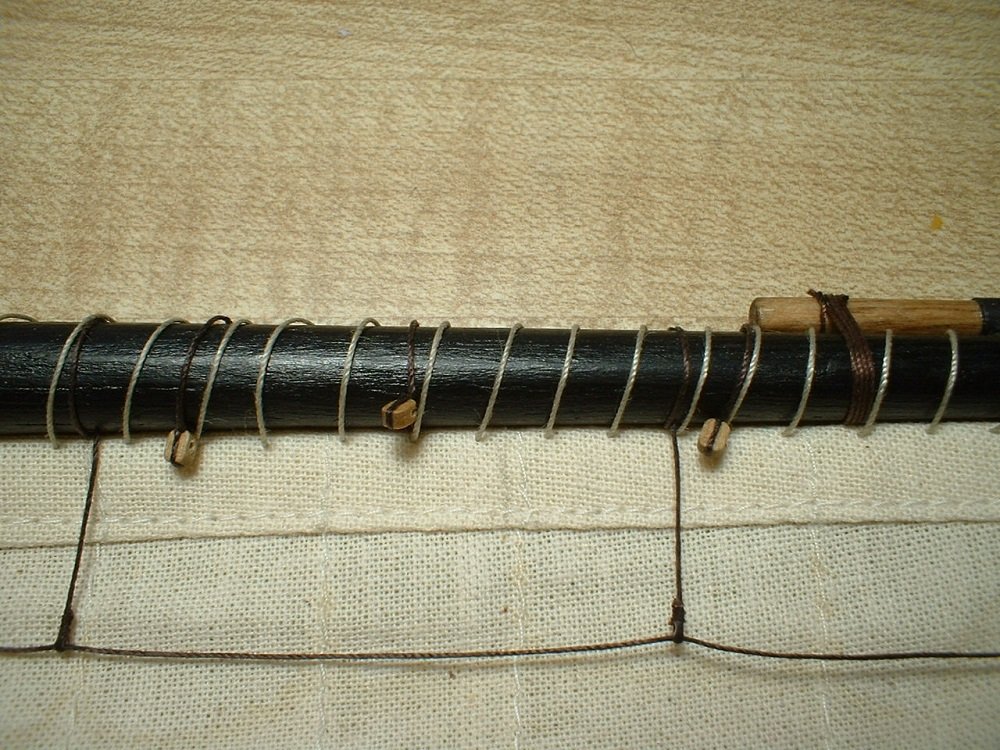
Thanks Frank. The starch I sprayed them with stiffened them up,but the wire was still needed to retain the curve. Mark
- 331 replies
-
- 3
-
-
- nuestra senora del pilar
- occre
- (and 1 more)
-
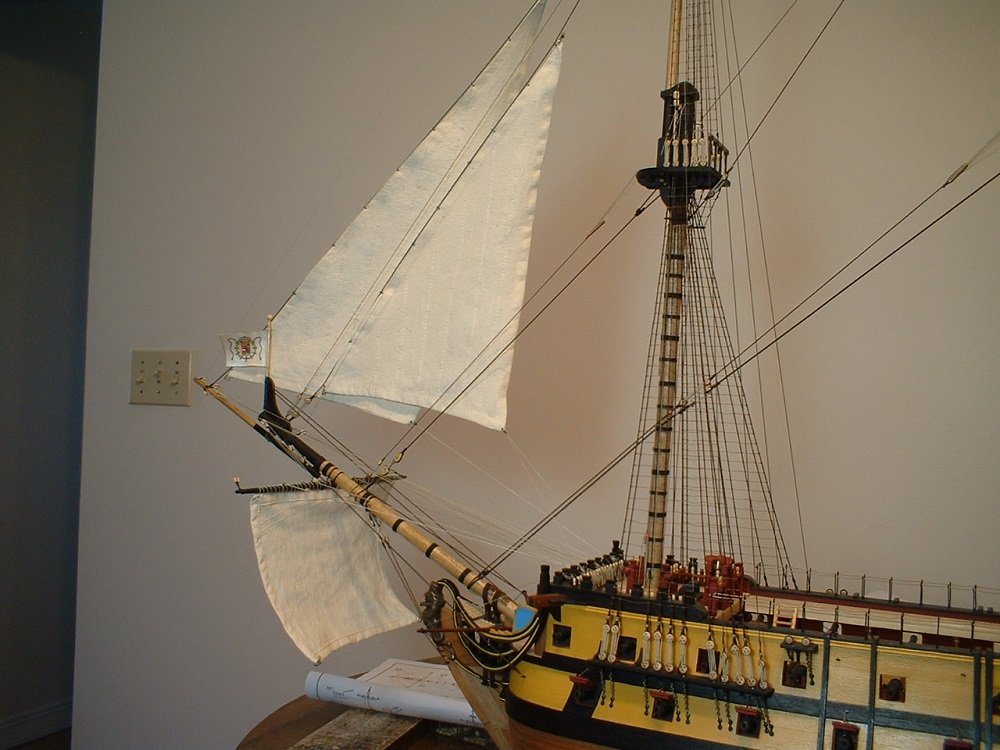
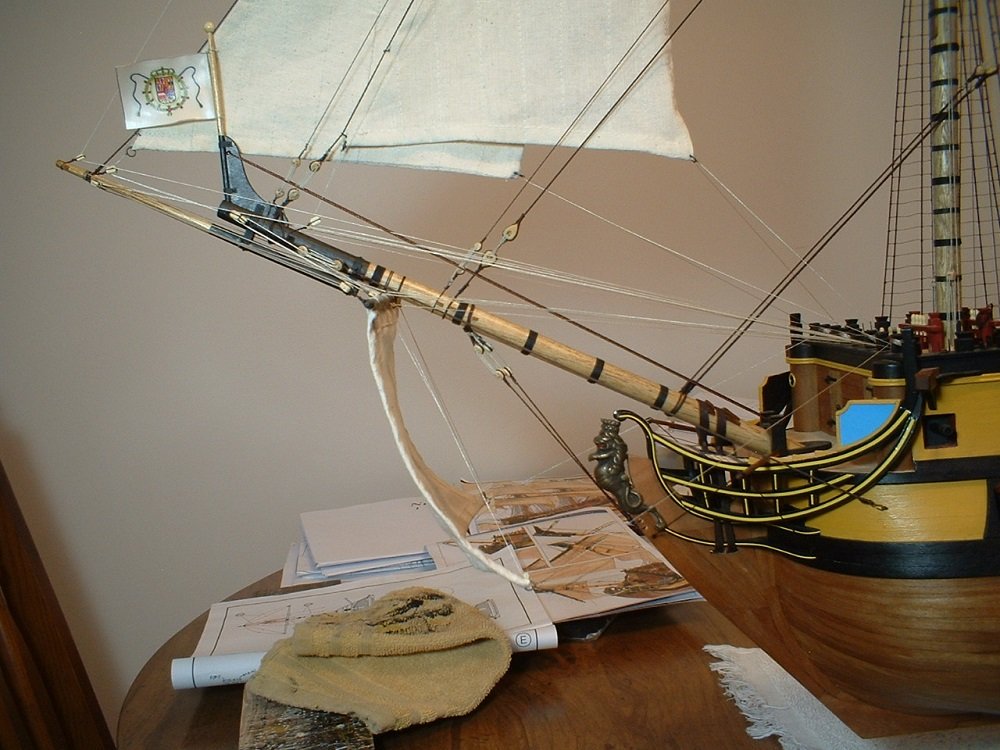
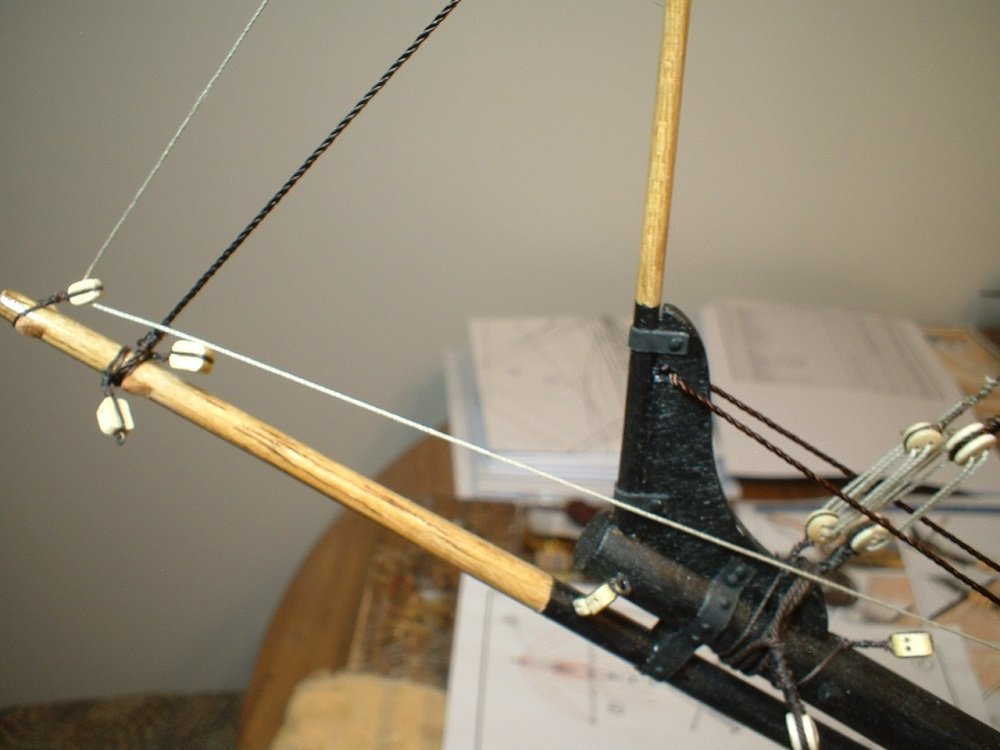
Hello again fellow modelers - time for a little update. 3 sails are now on & rigged. I ended up using some fine brass wire inserted into the side seams to help shape the sails. Rope coils are being added as I go also. The boomkins were also added to the bow knightheads with their support ropes. Another issue is the flags - although very nicely printed,they are printed on some kind of heavy cloth with an adhesive on the back . They are meant to cut out & folded together,but the adhesive was no longer sticky. So I glued them with some fabric adhesive which made them stiff as a board! I couldn`t get them shaped at all like I wanted,so they will be flying straight out. Mark

- 331 replies
-
- 13
-
-
- nuestra senora del pilar
- occre
- (and 1 more)
-
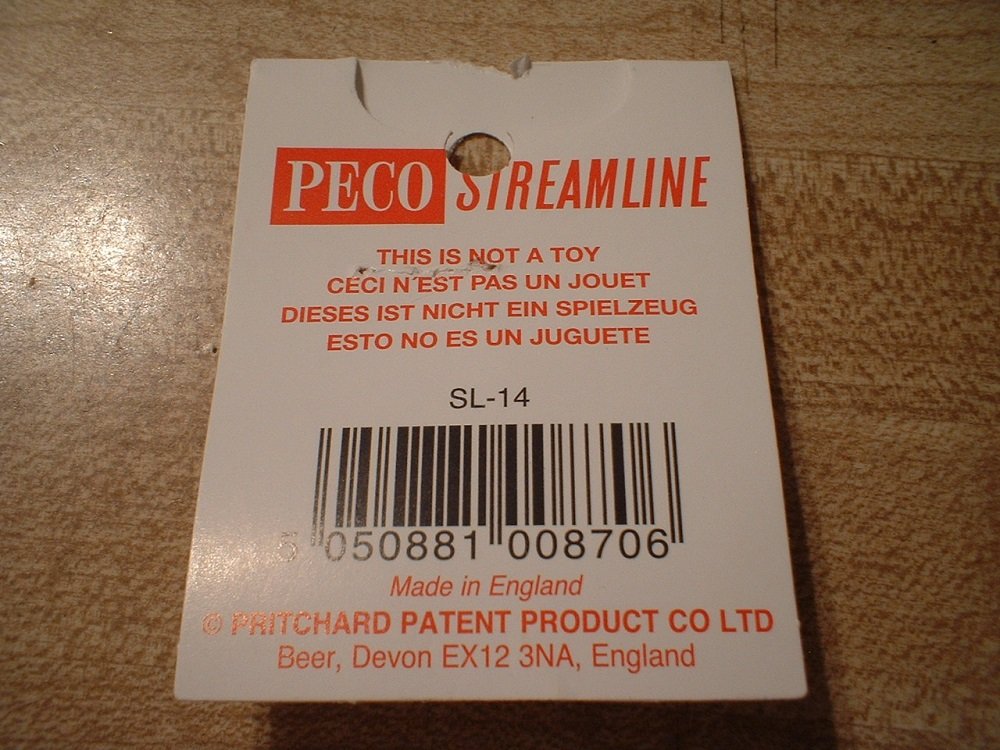
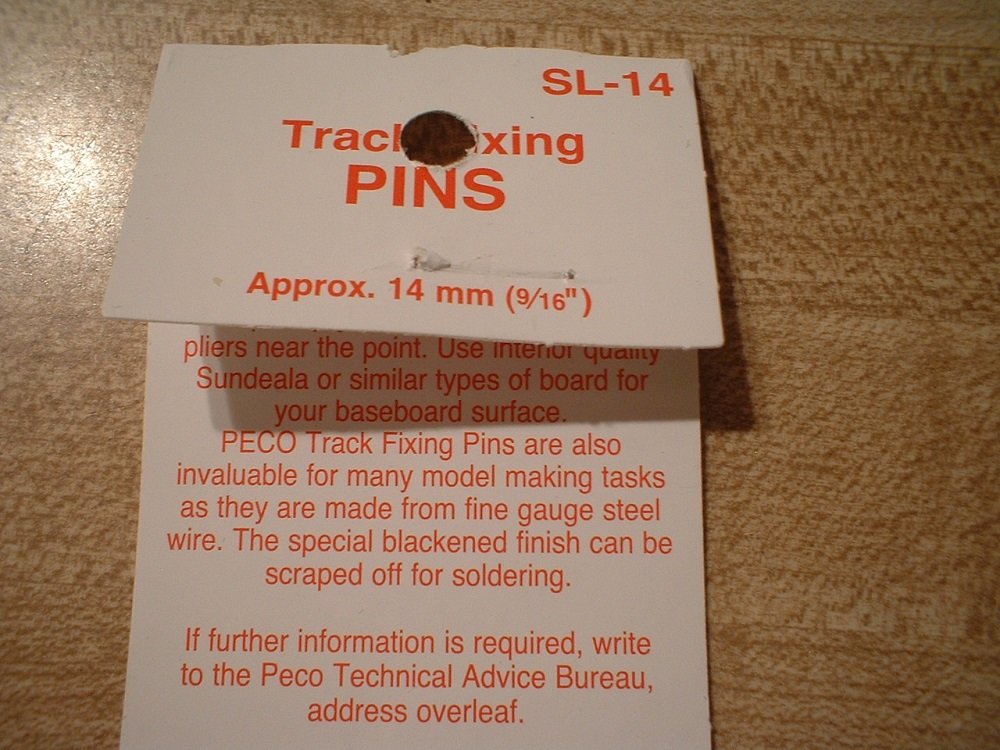
If you have a nearby hobby shop that deals in trains,they may have these track fixing pins - small black nails that have a round head. They are just about perfect for model ship work. Mark
-
Thanks ,zappto. As I plod along with the rigging,I noticed the kit supplied light colored thread for the running rigging is only supplied in one size,so I will need to dig into my stash once again for some larger line for the larger sails. The kit line is only .015" & is a shiny silver color. Mark
-
Thanks Frank. If I ever do sails again I would most likely do them furled. Mark
- 331 replies
-
- 2
-
-
- nuestra senora del pilar
- occre
- (and 1 more)
-
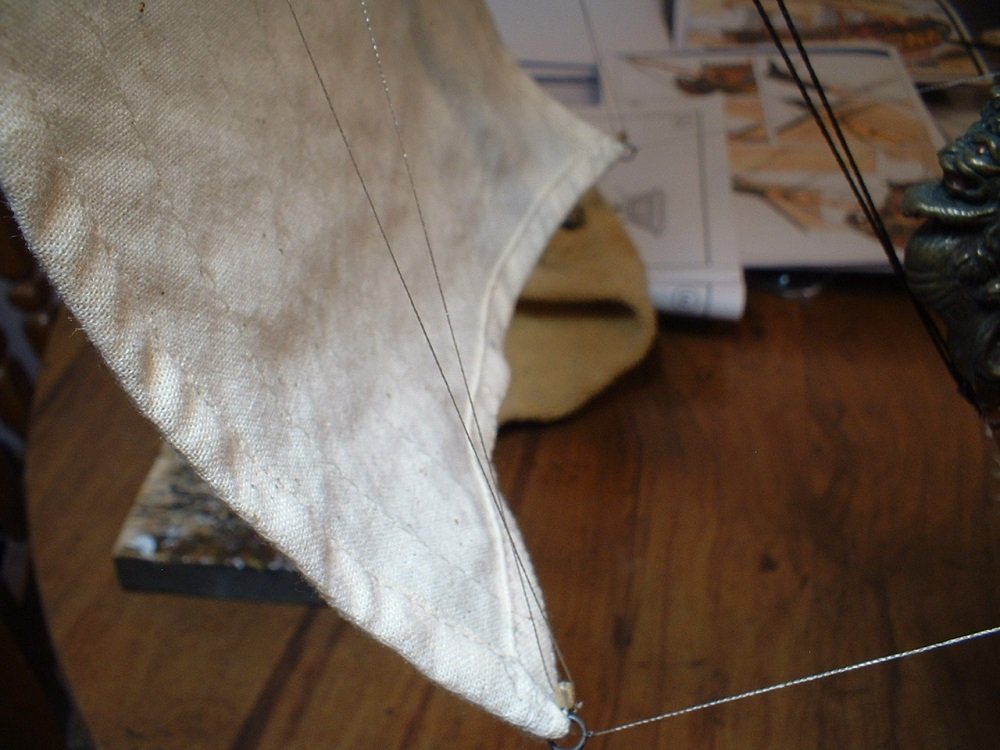
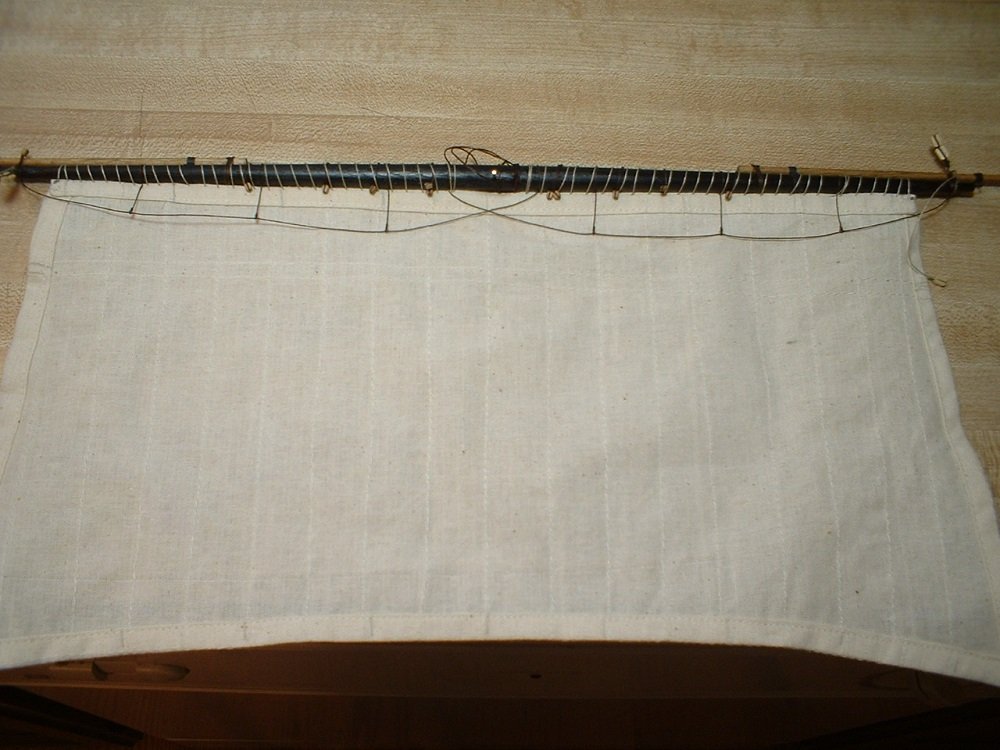
Moving along,all the sails are now attached to the yards. All the sails were pre-made,although without bolt ropes. I decided not to add them since the cloth they used is grossly out of scale & I didn`t want to spend hours & hours sewing ropes to crappy sails. The foresail is shown below as an example. Also, the studding sail booms were put in place along with all the blocks for the sail lines. I formed curves in the sails & coated them with spray starch - will see how they look after being rigged. I had thought about making new sails, but 1 - I don`t have a sewing machine & 2 - I don`t know how to sew if I had one! Mark
- 331 replies
-
- 12
-
-
- nuestra senora del pilar
- occre
- (and 1 more)
-
Wallace has a good idea - try using toothpaste. I`ve used it on plastic & can get a mirror finish. Way back when I built plastic car kits I would polish the plastic body parts with toothpaste & it would look better than paint. Mark
-
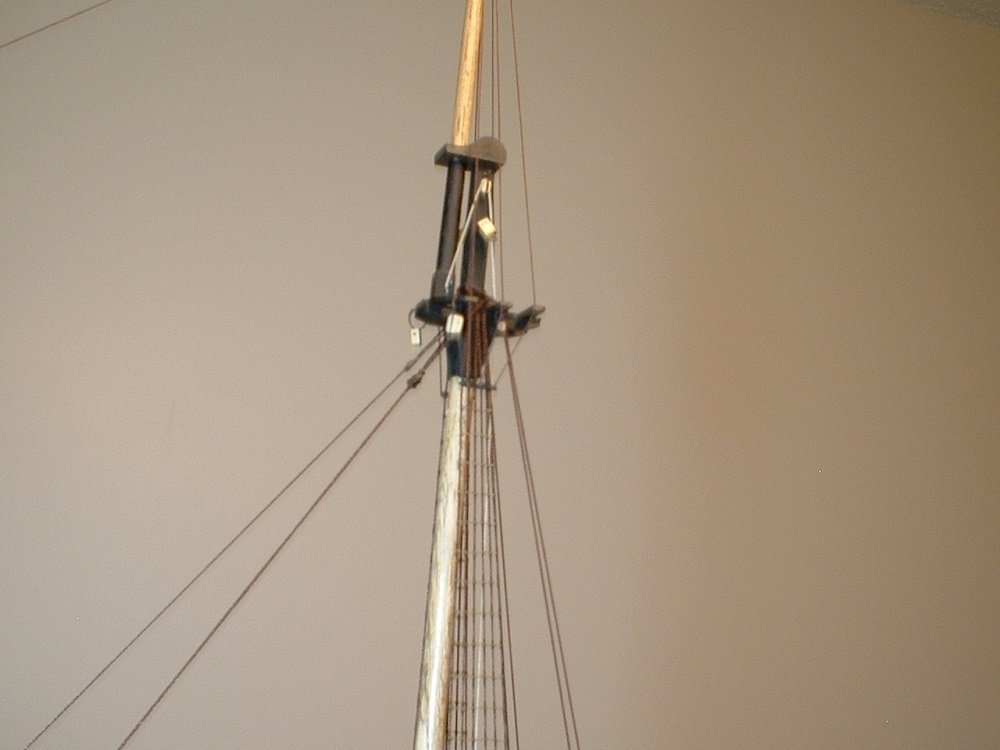
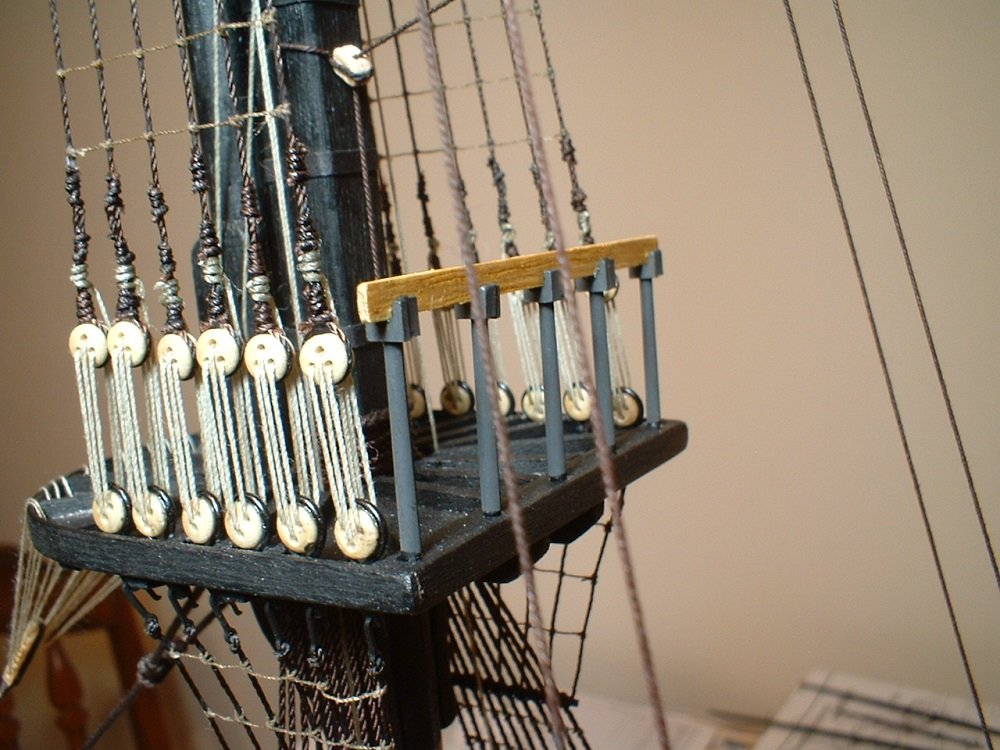
Hi - a little more progress.. All the rest of the stays & backstays are now done except for the topgallant backstays - they will be added later(very little room to get my hands in to do some of the yard rigging if I do them now). Also added the railings on the tops - almost forgot about them. Just about time to fasten the sails to the yards - this will be an adventure since I haven`t done sails for about 20 years. Thanks everyone for looking in! Mark
- 331 replies
-
- 12
-
-
- nuestra senora del pilar
- occre
- (and 1 more)
-
Don`t see it on my profile either. I am using the IPS default theme. Mark
-
Thanks Bob - that`s what I would like to do,but it seems I can`t even give them away! Maybe I should put some outrageous price on them & put them on Ebay. Mark
- 331 replies
-
- 1
-
-
- nuestra senora del pilar
- occre
- (and 1 more)
-
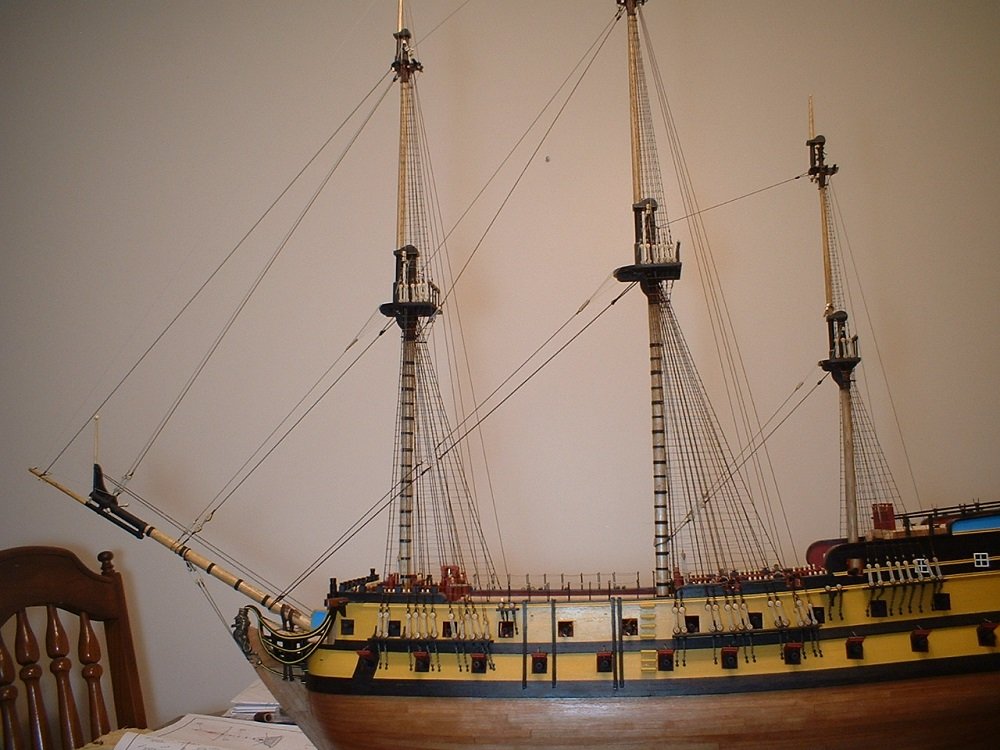
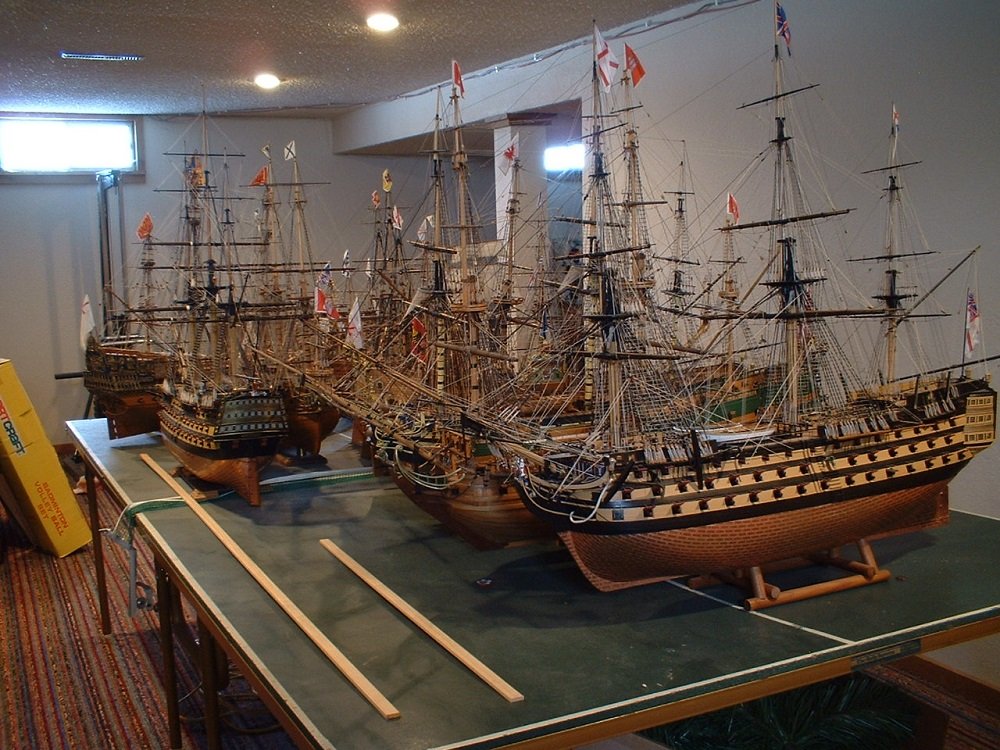
Frank - I occasionally put the reverse attachment on my vacuum & blow them clean. I don`t have any pets,so no worries there. O.C. - yes, it is a real forest of masts & yards. There are 12 ships on that table,3 more in my living room,& 1 more in one of my bedrooms! I have given a few away & it looks like I need to get rid of a few more. I`ve been thinking of giving some of the older,not-so-nice ones a proper funeral after stripping off some of the reusable fittings. If you are wondering about the Admiral,there is none. I have been single since 1980,so what better to occupy my time! Mark
- 331 replies
-
- 5
-
-
- nuestra senora del pilar
- occre
- (and 1 more)
-
Thanks guys - I still have a few more waiting patiently in their boxes. And,yes,I am running out of room....... Mark
- 331 replies
-
- 11
-
-
- nuestra senora del pilar
- occre
- (and 1 more)
-
Hi - If the top of the keel pieces are even,I would just file or sand down the uneven part on the bottom. If the top & bottom are both too low ,then you may need to file the joint of the keel pieces. Mark
-
Thanks Peter & dragzz. If I remember right, this is the 18th 3 master I`ve done - all of them different,most probably incorrectly,due to a lack of knowledge & poor plans. I wish this forum was around back when I did most of them. Mark
- 331 replies
-
- 2
-
-
- nuestra senora del pilar
- occre
- (and 1 more)
-
Thanks zappto - now back to the tiny rigging diagrams to try & see where the rest of the ropes go. Mark
- 331 replies
-
- 1
-
-
- nuestra senora del pilar
- occre
- (and 1 more)