


marktiedens
-
Posts
1,737 -
Joined
-
Last visited
Content Type
Profiles
Forums
Gallery
Events
Posts posted by marktiedens
-
-
-
-
-
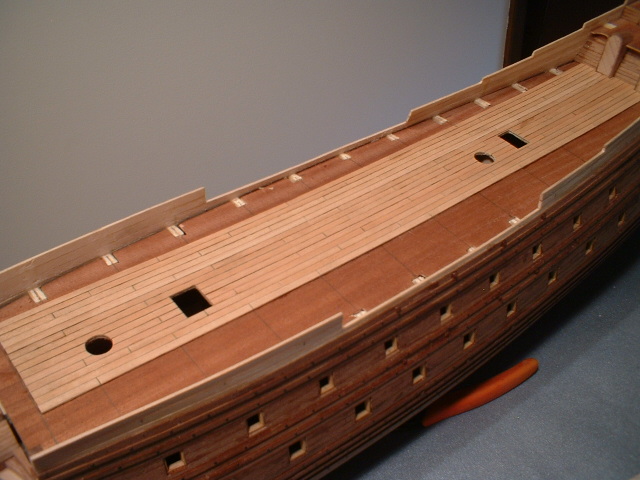
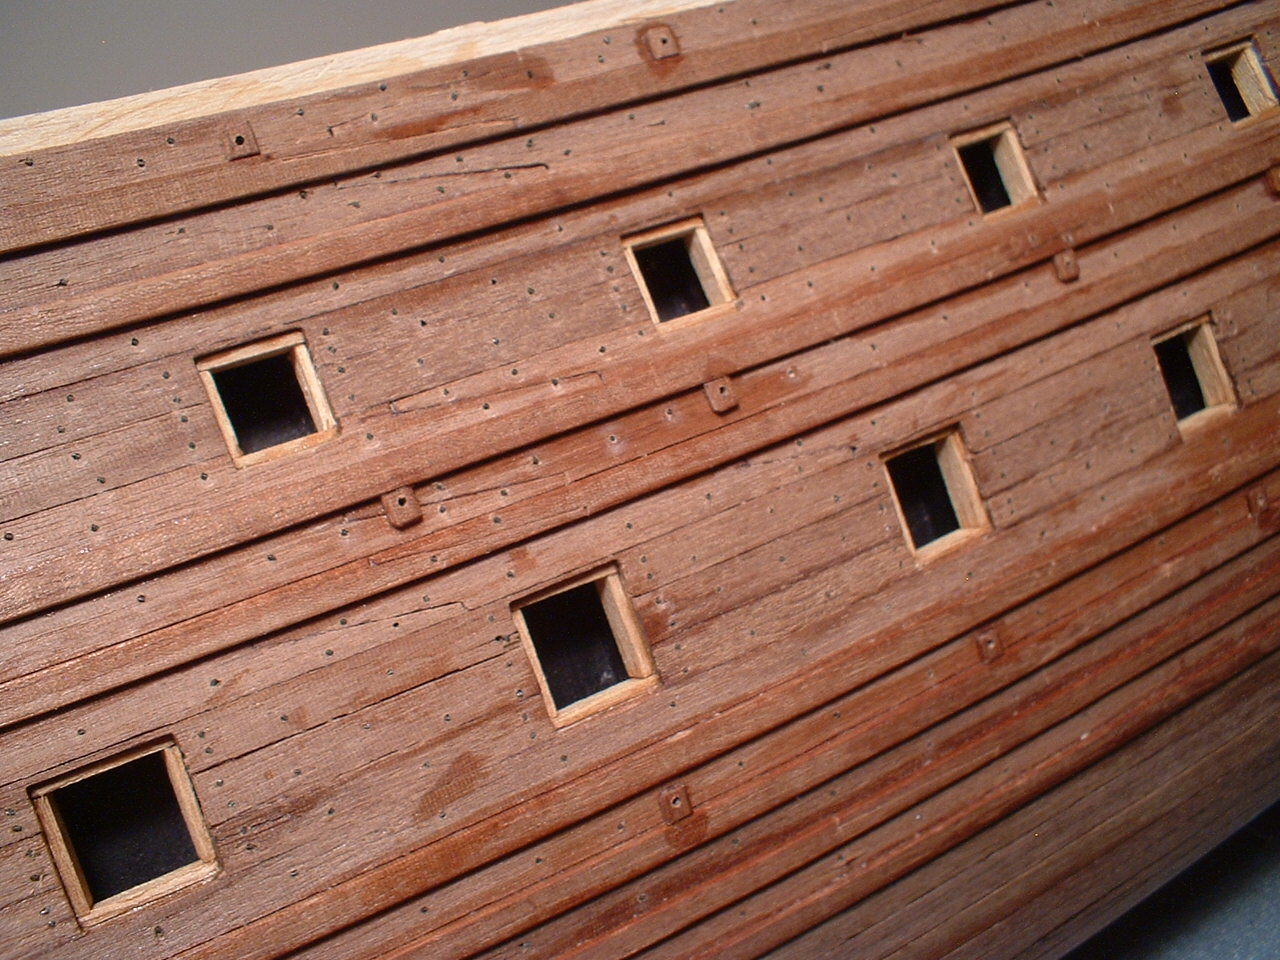
A small update - finished the hull nailing.Hard to see the small nails unless you are close up. Also started planking the decks. After planking the decks I am going to make up one gun carriage to determine where to position the round gun ports & cut them out before finishing the planking on the outer hull to try & minimize splintering.


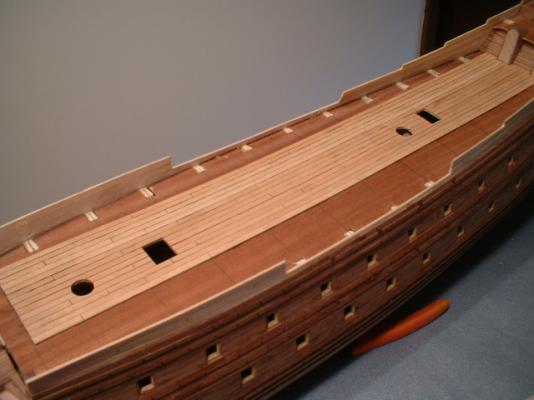
I am planking the deck with different length planks in no certain pattern as the original is.
/Mark
-
Bill,
I have built this kit and in my opinion it is worth every penny! The plans are on 18 sheets & very well done.The instructions are very detailed & not too hard to follow if you a couple of builds already done. The parts identification book alone is 42 pages. The wood is all CNC cut very accurately so there is no laser char on the edges to clean off. Also any wood that will have edges showing is solid wood - not plywood. The castings & PE parts are very well made also.My only real disappointment were the rigging blocks - they seem to be the square ones that seem to come with every kit.
/Mark
-
Nicely done. I also spaced mine by eye to what looked correct, I didn`t count mine to see if I had the same number as the original
 . Since none of the original rigging survived I assume the museum took their best guess when rigging them,so it`s possible yours is more correct than theirs
  .
./Mark
-
-
Hello Matti
One thing to keep in mind is the ratlines are usually the smallest diameter rope on the ship.I use small diameter sewing thread.At your scale you would never see the twist of the rope.Hope that helps.Also you might try doing some with both a clove hitch & a simple overhand knot.I find it`s easier to get a naturally looking sag with an overhand knot even though it`s not historically correct.
/Mark
-
-
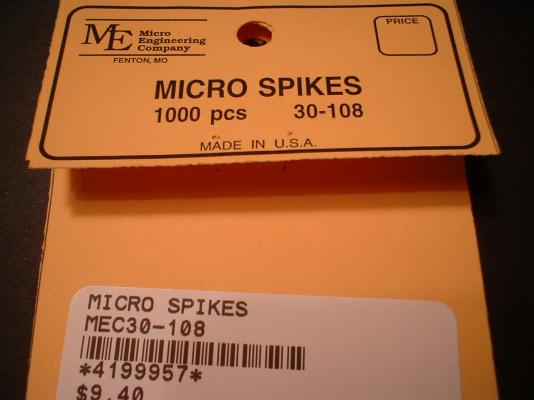
Michael - thanks for your nice comment. I cut the little "legs"off & pushed them in the drilled holes with needle nose pliers & tapped them down with a very small punch.I did not blacken them - I put them in with the cut ends down.
Here is a picture of the product.I got them at my local hobby store which stocks a lot of model train stuff. They are a bit pricey but I could not find any round nails small enough - these are actually flat,not round.
Thanks again everyone for the nice comments & likes.
/Mark
-
Thanks Mark - yes it is very repetitive. I can only work for about an hour at a time,then I have to stop for a while & rest my eyes.
/Mark
-
Thanks Frank - I figure there will be about 3000 of them by the time I`m finished. I bought out the stock at the local hobby store
 so I will have to wait a little while until their stock is replenished. I also have some slightly larger round headed nails to use on the whales.
/Mark
-
-
Hello everyone
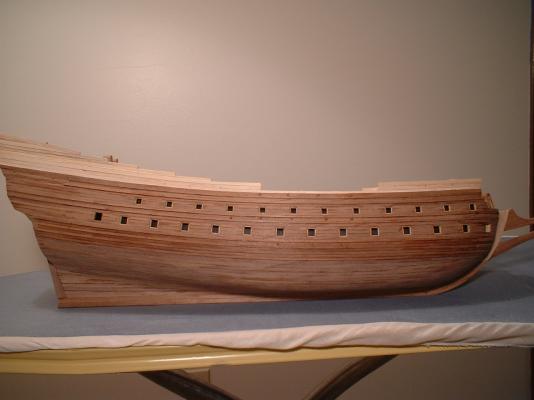
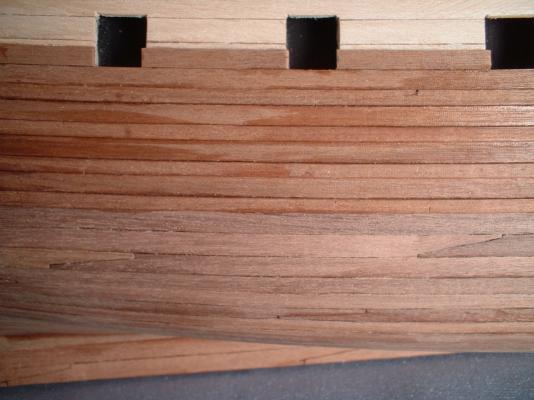
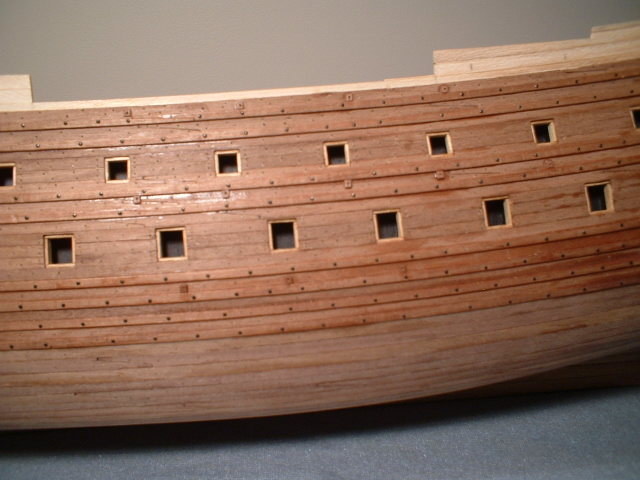
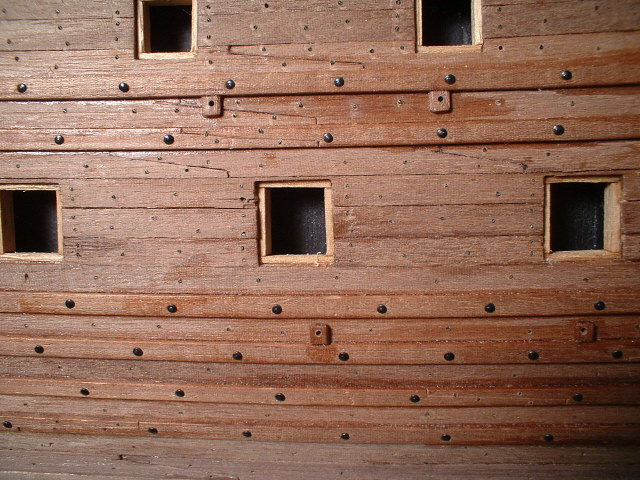
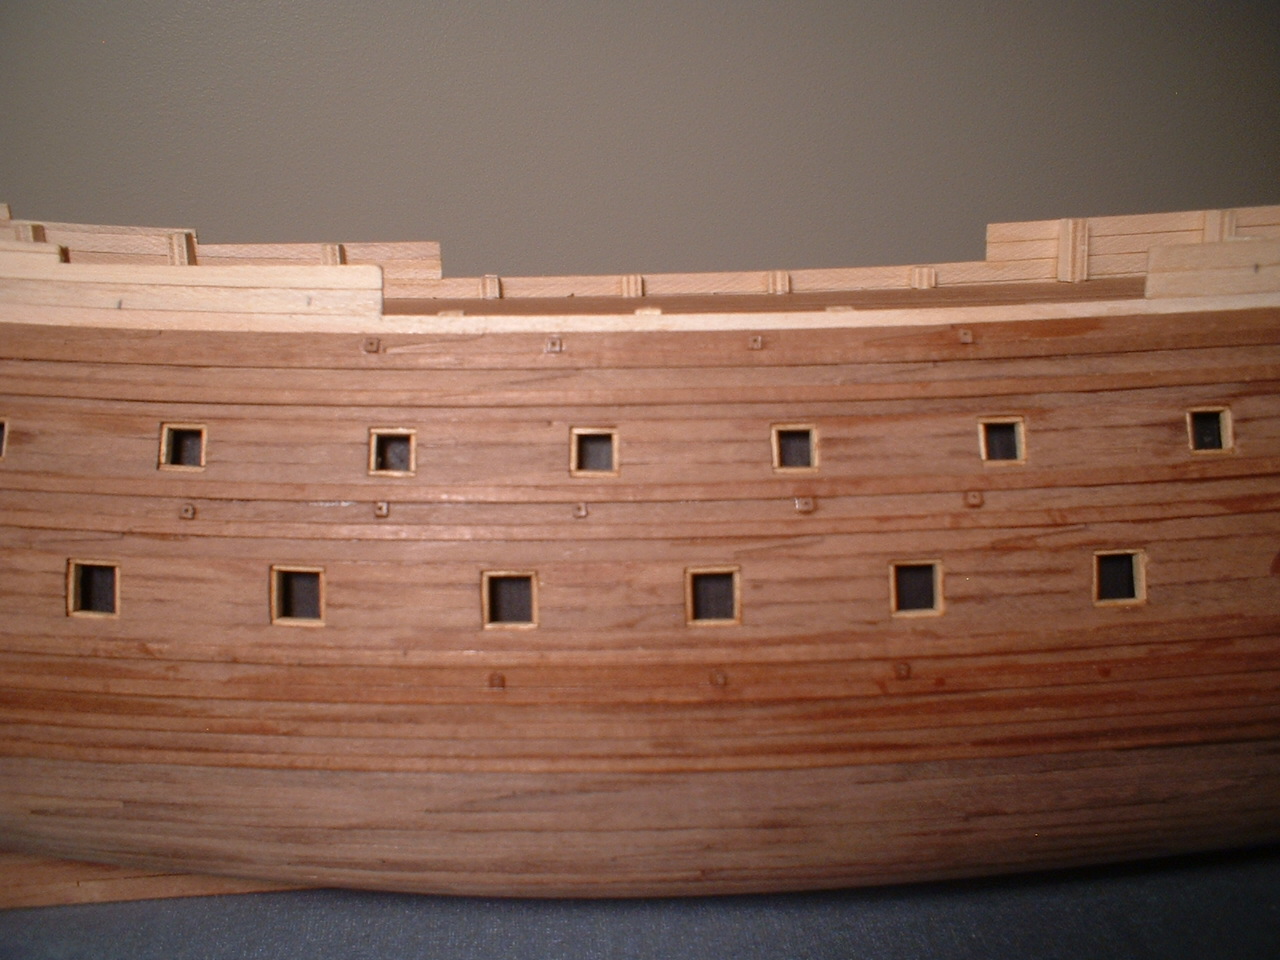
Here`s where i`m at - continued planking up to the position of the uppermost whale. I decided to do some nailing on the hull planks.There seems to be no pattern to the nailing on the real ship so I followed no pattern to my nailing.The nails I am using are actually model railroad items called micro spikes.They are really small - used a #77 drill bit to drill the holes. I didn`t want it to look like it had the measles so I used the smallest "nails" I could find. It may be overkill as they are hard to see at more than about a foot away.
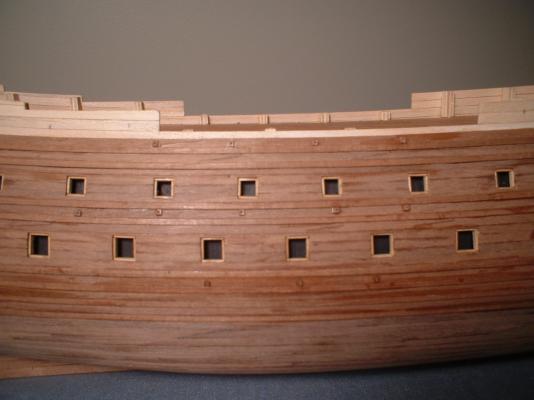

/Mark
-
Sounds like a good plan. You may want to make sure your belaying pins are installed as close to the inside part of the railings as possible. I had some issues with the pins too close to the upper handrails & couldn`t get the rigging ropes around the pins - had to pull some out & re-position them. Then I had some extra holes in the lower railings which are not noticeable now with all the rigging in place.
-
Frank -
I haven`t got that far on mine yet but I would definitely drill the holes for the railing posts before rigging. I don`t see any way you could drill them properly with the shrouds in the way. On my Sergal build I installed the railings before any rigging but at 1/60 scale they are a bit stronger. i was careful working around them & managed to not break any
. I just thought it would be too fiddly to try and fit the railings to the posts with the shrouds in the way. Just my thoughts./Mark
-
Ages of Sail has triangular deadeyes but I think their smallest ones are 5mm.
Mark
-
Hello Michael
Are you going to carve the heads on the knightheads?I am not far enough along on mine to know if the kit supplies them.BTW - happy birthday!
/Mark
-
Thanks Edwin - there is no finish applied yet so the color will probably change some.Still debating whether to show the hull nailing. I don`t think they used treenails on this ship. Even the decking was installed with metal nails - not treenails.
-
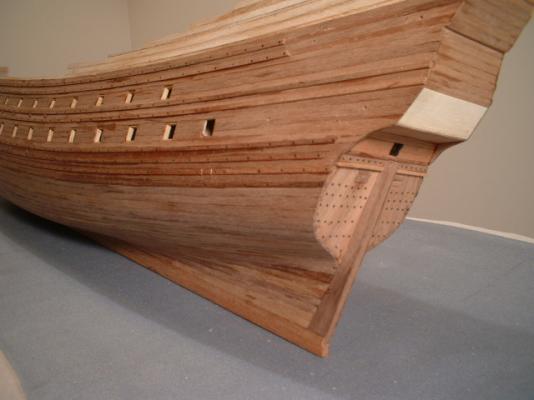
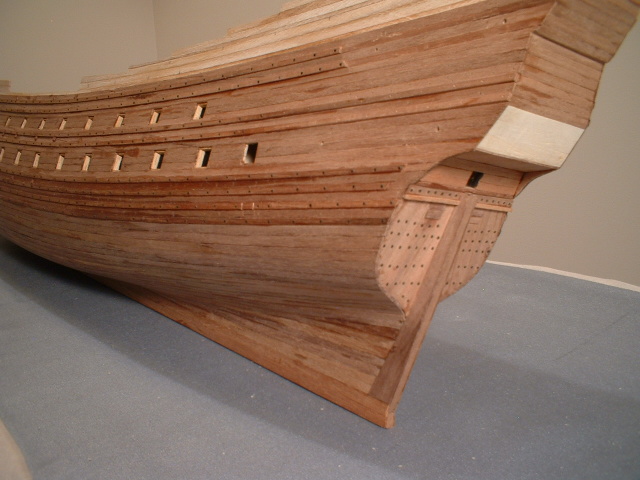
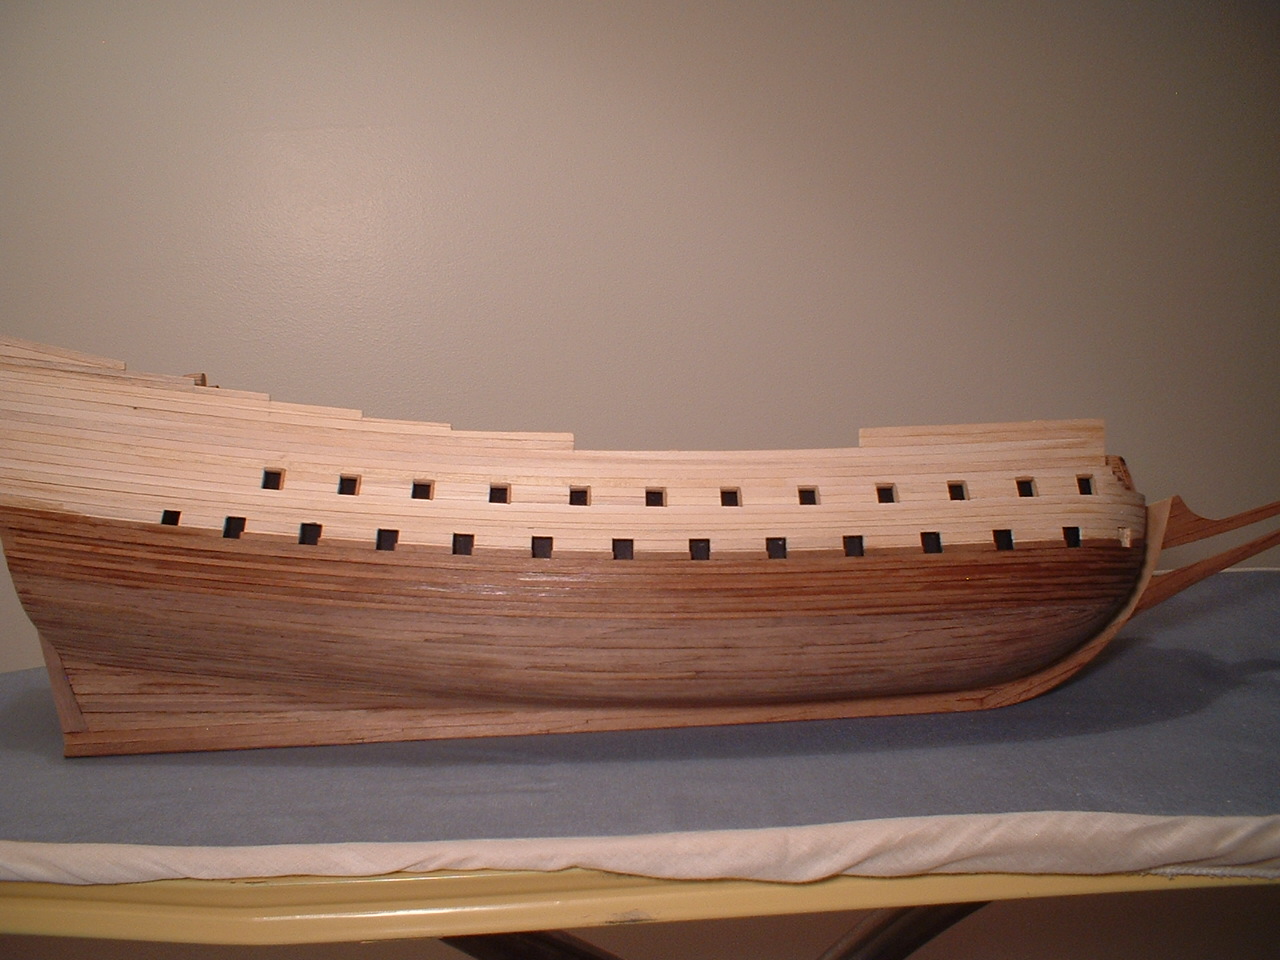
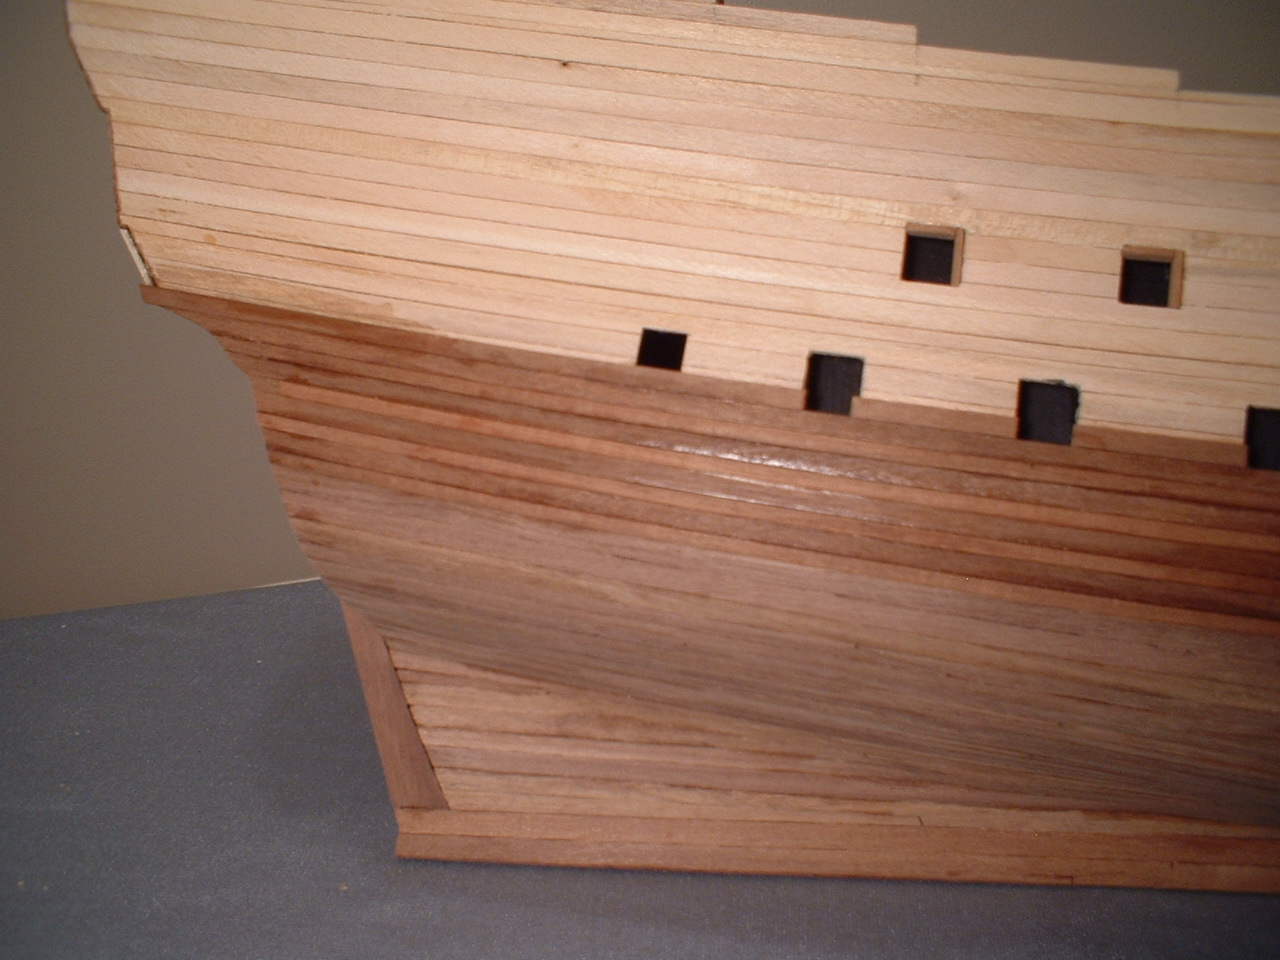
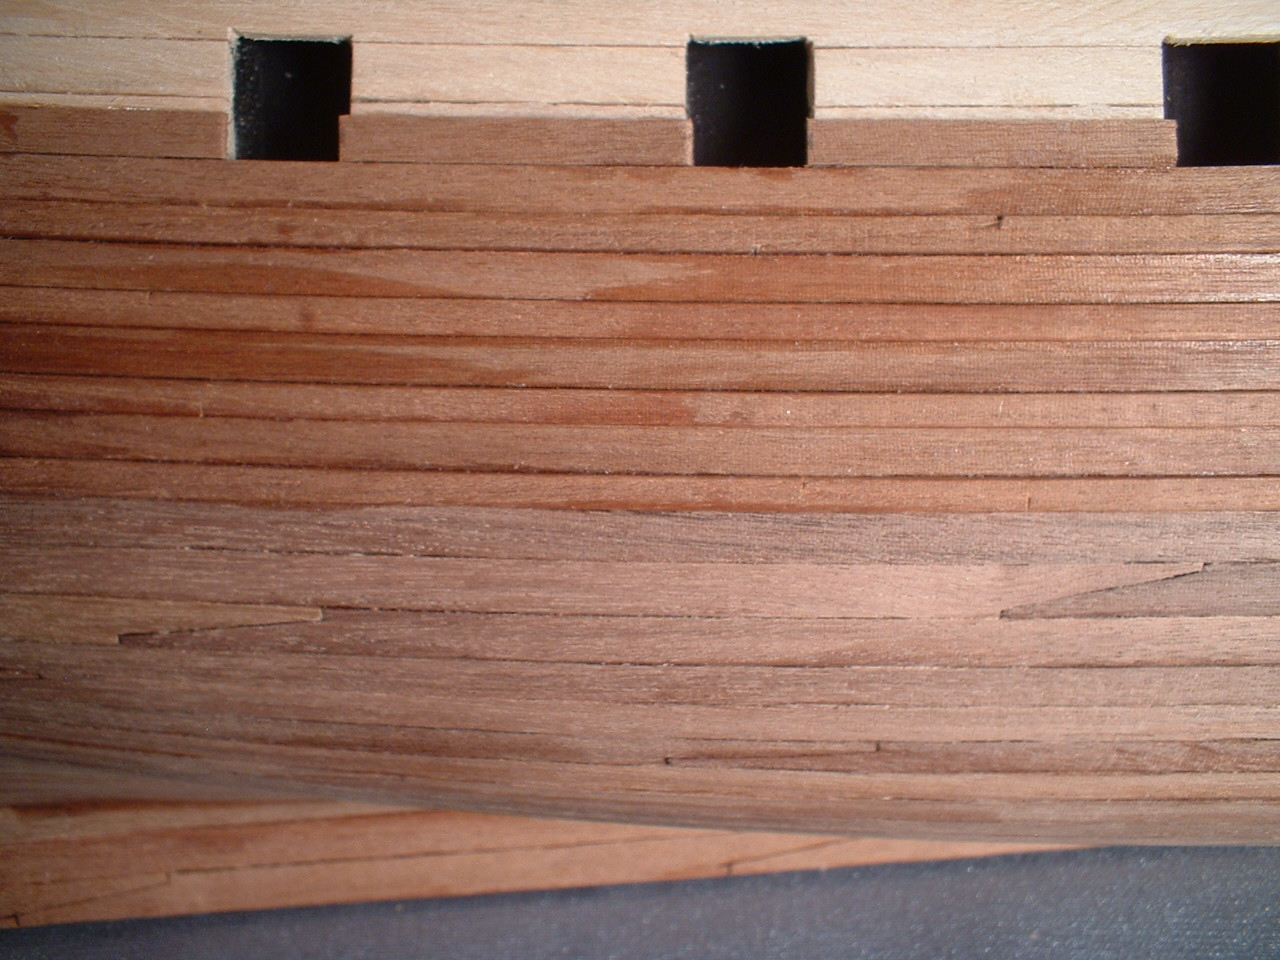
A little update - decided to start the second planking. I chose not to use the supplied mahogany planking below the lower whales. I had some leftover walnut from another kit & decided to use it.the planking on the real ship is varied with all kinds of different length & width planks with lots of scarph joints so I thought I would show some of them - not all - there`s just too many.The planking at the bow is especially odd with lots of odd shaped short planks.
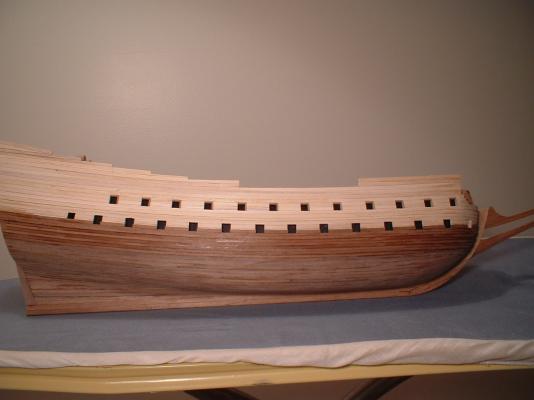
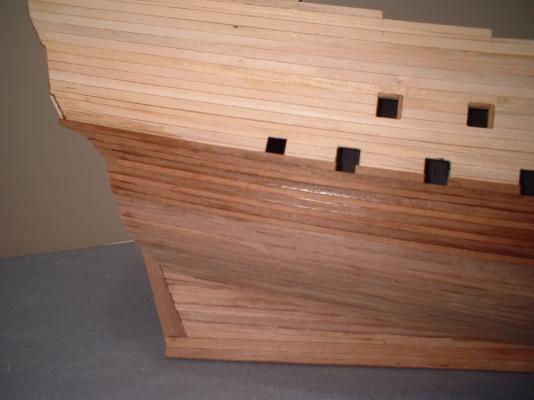
As odd as the bow planking is there are only 2 stealers at the stern!
/Mark
-
I believe they are both 1/75 scale.
/Mark
-
Hello Andy & welcome to the Vasa builders club. I am not that familiar with the Billings kit but if you check out Matti`s (Nazgul) build it is one of the best from a Billings kit. I also tried to find the Billings fitting kit to use the figures on my Corel build but but could not get it
 .It looks like you are off to a good start.I have built the Sergal kit & found that the galleries were the most difficult part of the construction to get to look right.The Billing Boats USA web sight actually shows the fitting kit available but when I tried to order it they sent my order to the U.S.distributor - Ages of Sail - & they said it was not available
  .
./Mark
-
I understand your frustration - I was at the same point in my previous build. I also removed those pin rails on mine. I am only going to move forward on my current build & not back track - if I happen to get something wrong then so be it
. If I wanted it perfect then I would do something like hand carve all the figures .At this scale that would be nearly impossible./Mark
-
Hello Michael
I got an answer from Fred at the museum about the sizes of the towers. They are different sizes - the front one is 2.12 meters in diameter & the rear one is 1.5 so I will stay with the parts that the kit came with
. Sorry about the bad news.I still think yours is really nice & would not change it.After all,no one will know but you & me,right? 
regards,Mark


Mary Rose 1545 by tarbrush - Scale 1:72
in - Build logs for subjects built 1501 - 1750
Posted
Hello John,
I am looking forward to following your progress.One nice thing about this ship is there are no complicated galleries to build .I have seen some discussion on the shape of the forecastle - do you have any opinions about it?
Regards,Mark