


marktiedens
-
Posts
1,737 -
Joined
-
Last visited
Content Type
Profiles
Forums
Gallery
Events
Posts posted by marktiedens
-
-
-
-
Thank you very much Nigel. Looking at the last photo it is my opinion that the problems everyone has building the stern galleries on the Corel kit comes from the shape of the stern being too straight up & down. It seems like it should have more taper from top to bottom. That way the upper gallery would not overlap the lower one so much. However,it is what it is & I will try to make the best of it.
/Mark
-
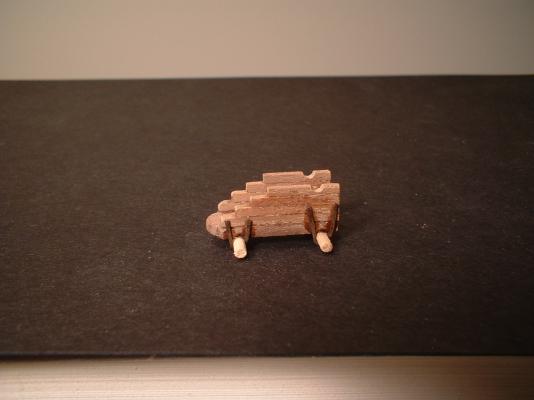
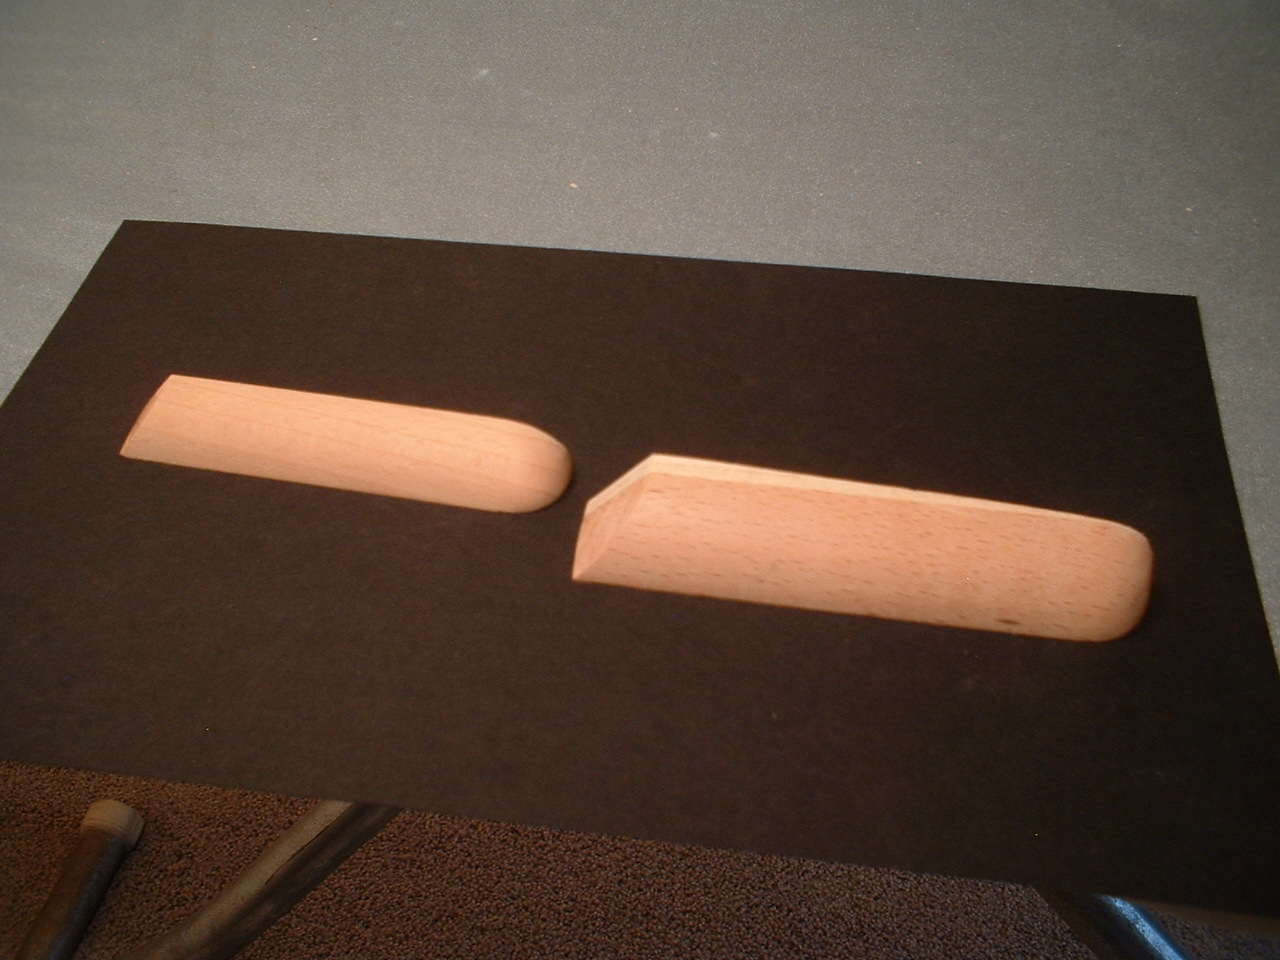
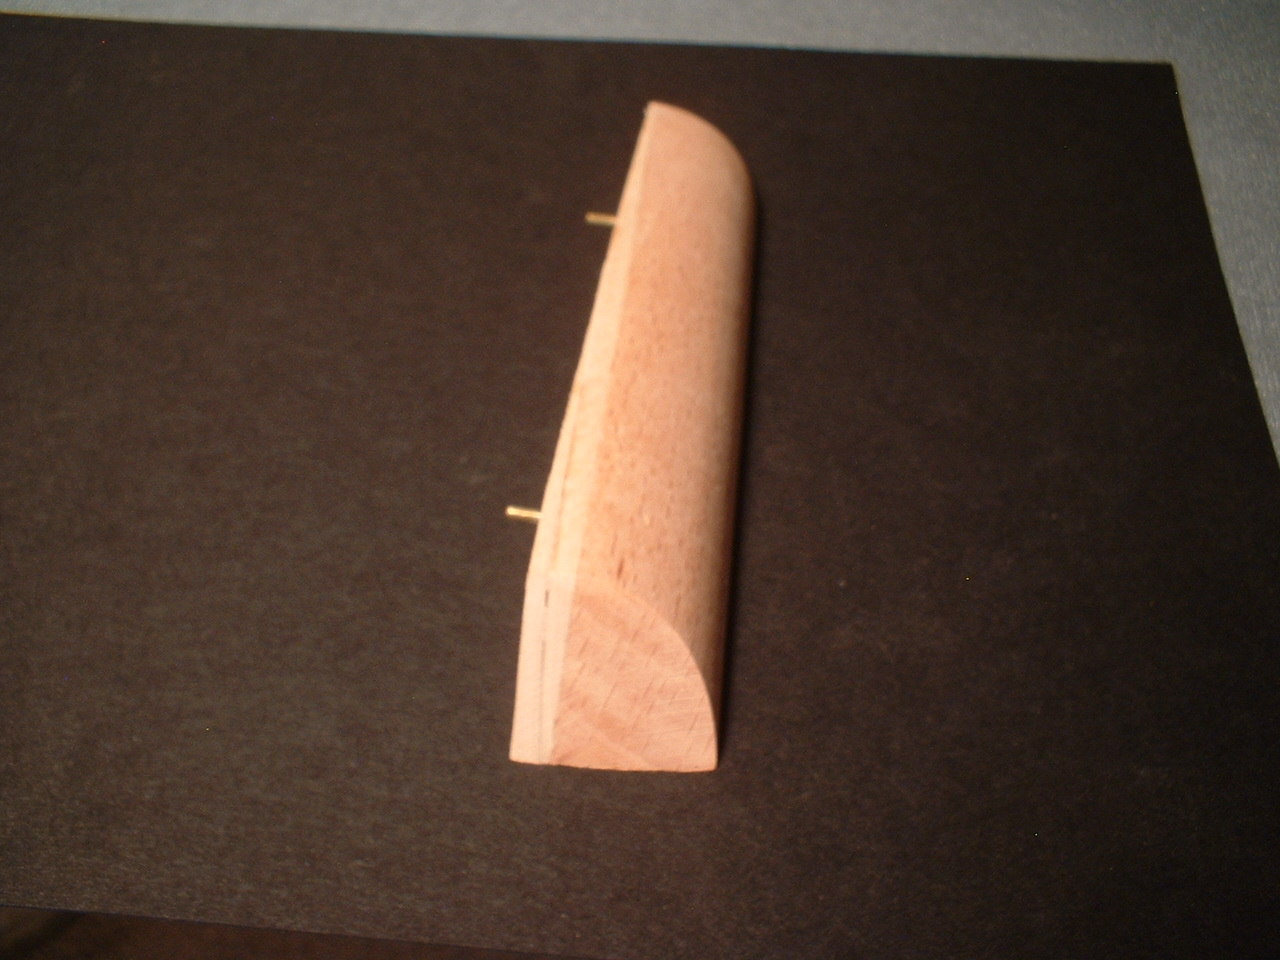
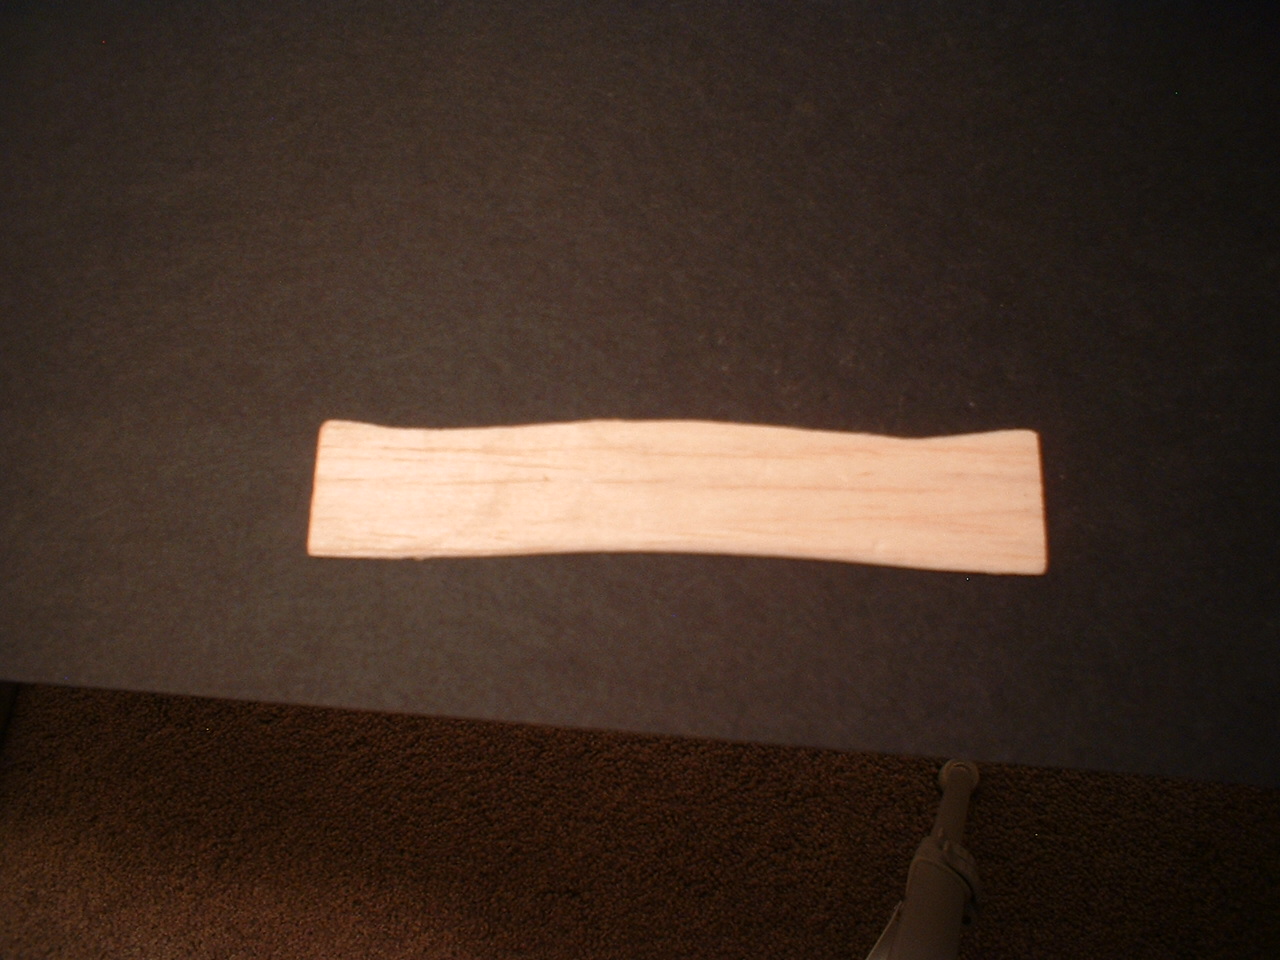
Started on the galleries - after shaping the kit supplied lower pieces I decided to add some tapered shims to the lower pieces to position them out further so that it would hopefully give a little more clearance for the rear lower tower. After painting them & gluing them on I formed some pieces from basswood & balsa to tie everything together. In the last picture the hull is not crooked - the photo was taken at a slight angle. I would also like to wish everyone at MSW a happy new year

/Mark


-
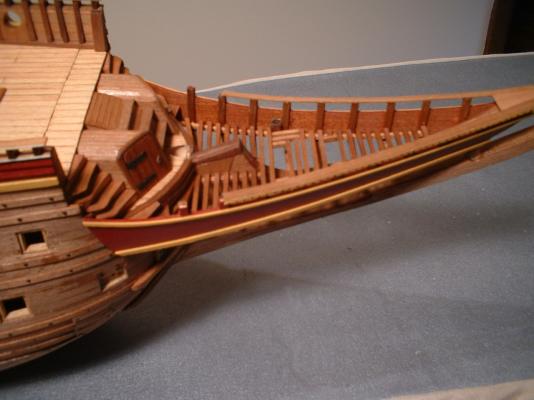
update -
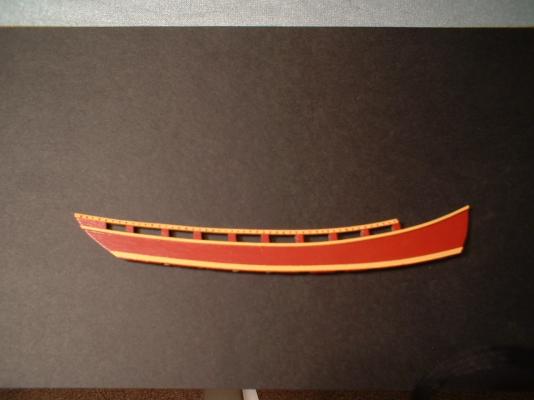
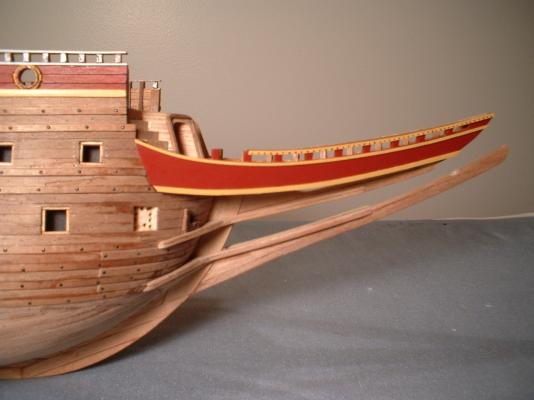
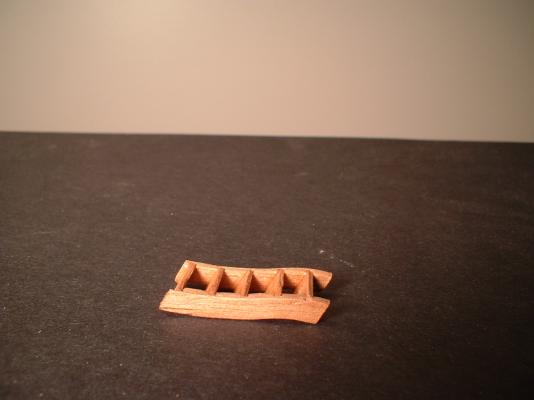
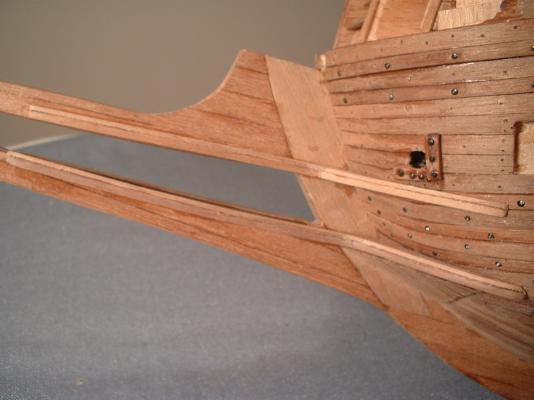
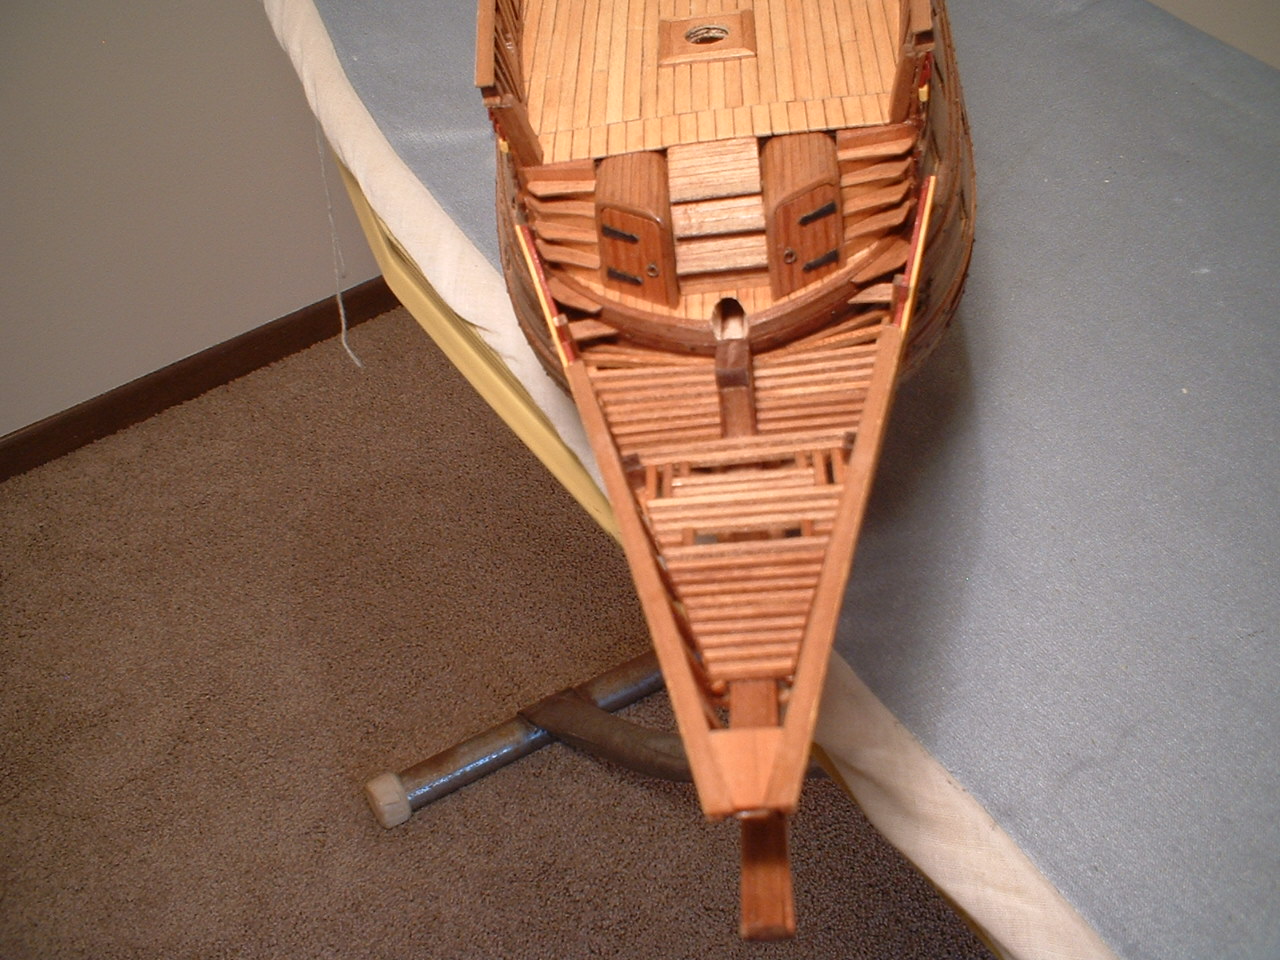
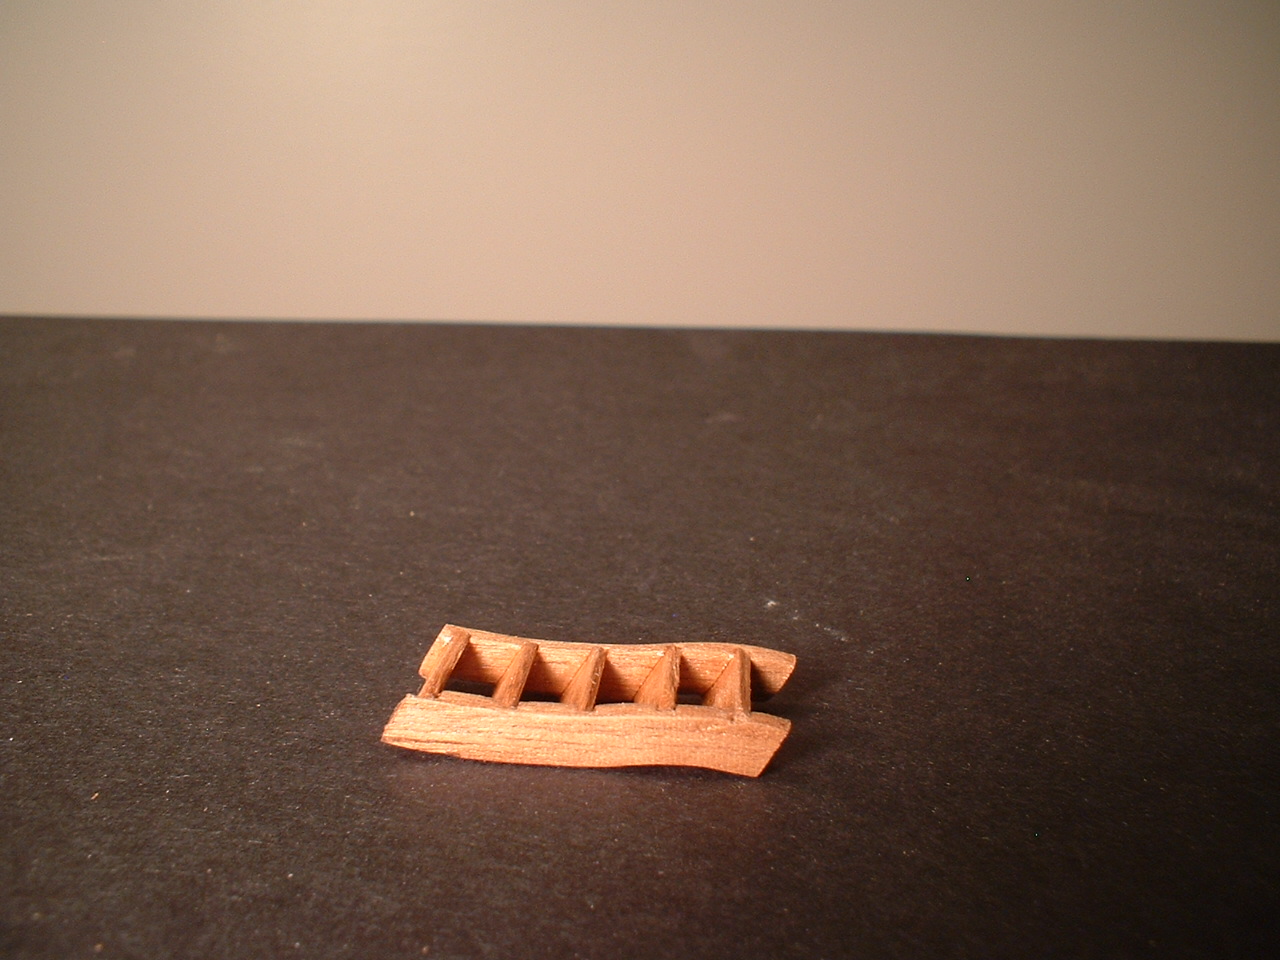
Finished the bow gratings & added a few steps so the crew can get up to the main deck
 . Also found that I had to add a small wedge to the top of the stem because the bowsprit angle was way too low. I may start on the galleries next after determining how I`m going to do them - need to figure out how to get the lower rear tower positioned so it will not interfere with the upper gallery. Seems to be a common problem with the Corel kit.
/Mark

-
-
-
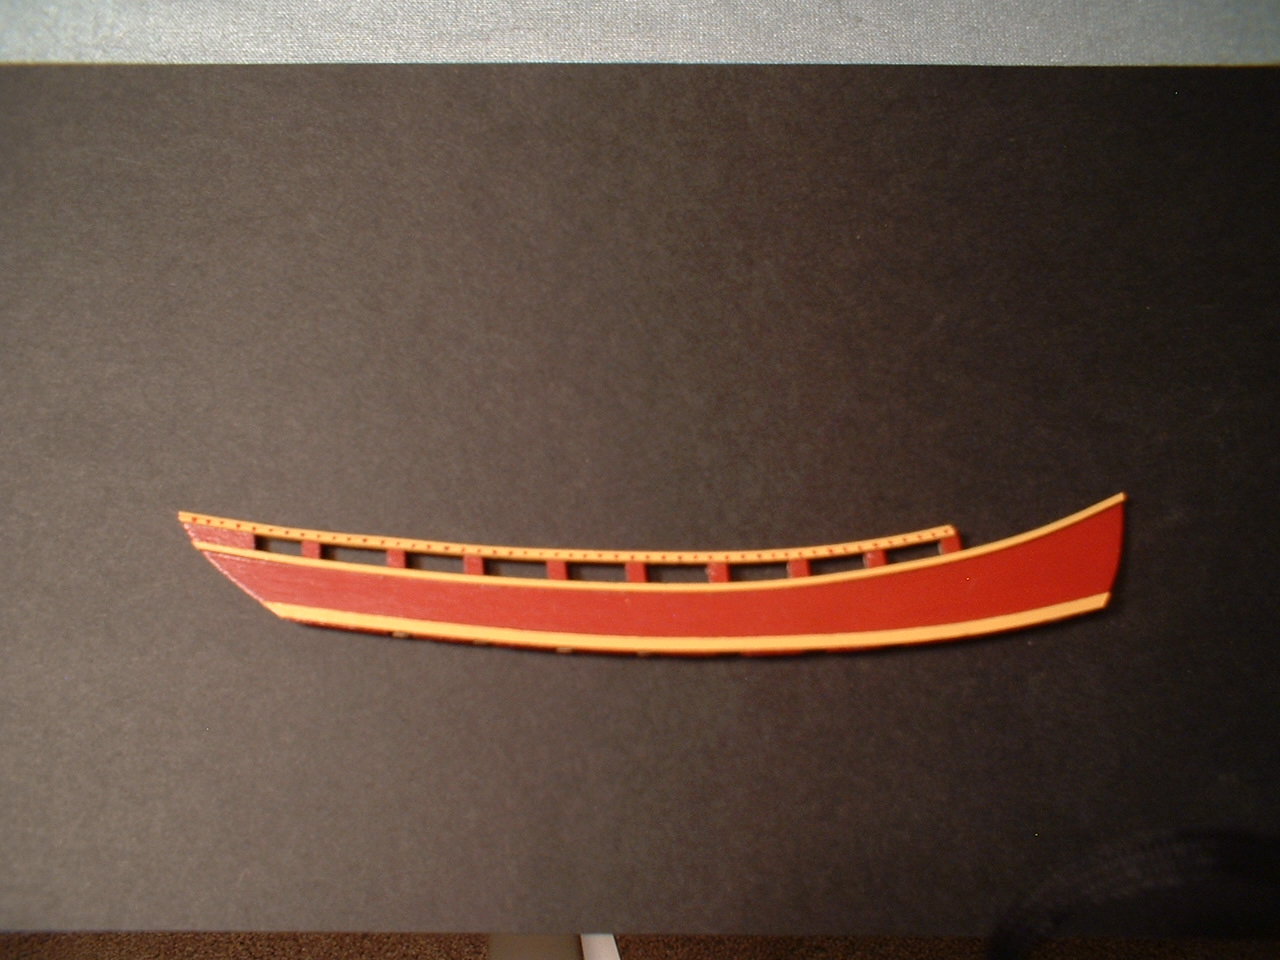
Thanks Edwin - best wishes to you also. The red I am using is a Vallejo color called gory red. It is a very deep red - in person it is not nearly as bright as in the photos. There is no finish applied to the hull yet so it looks a little spotty.
/Mark
-
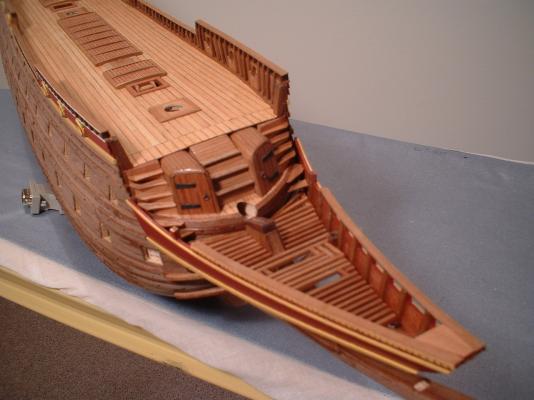
update-
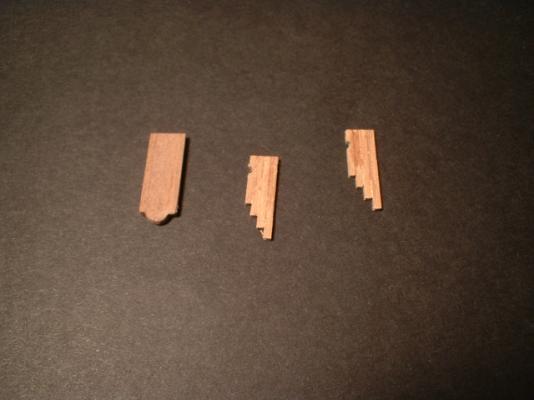
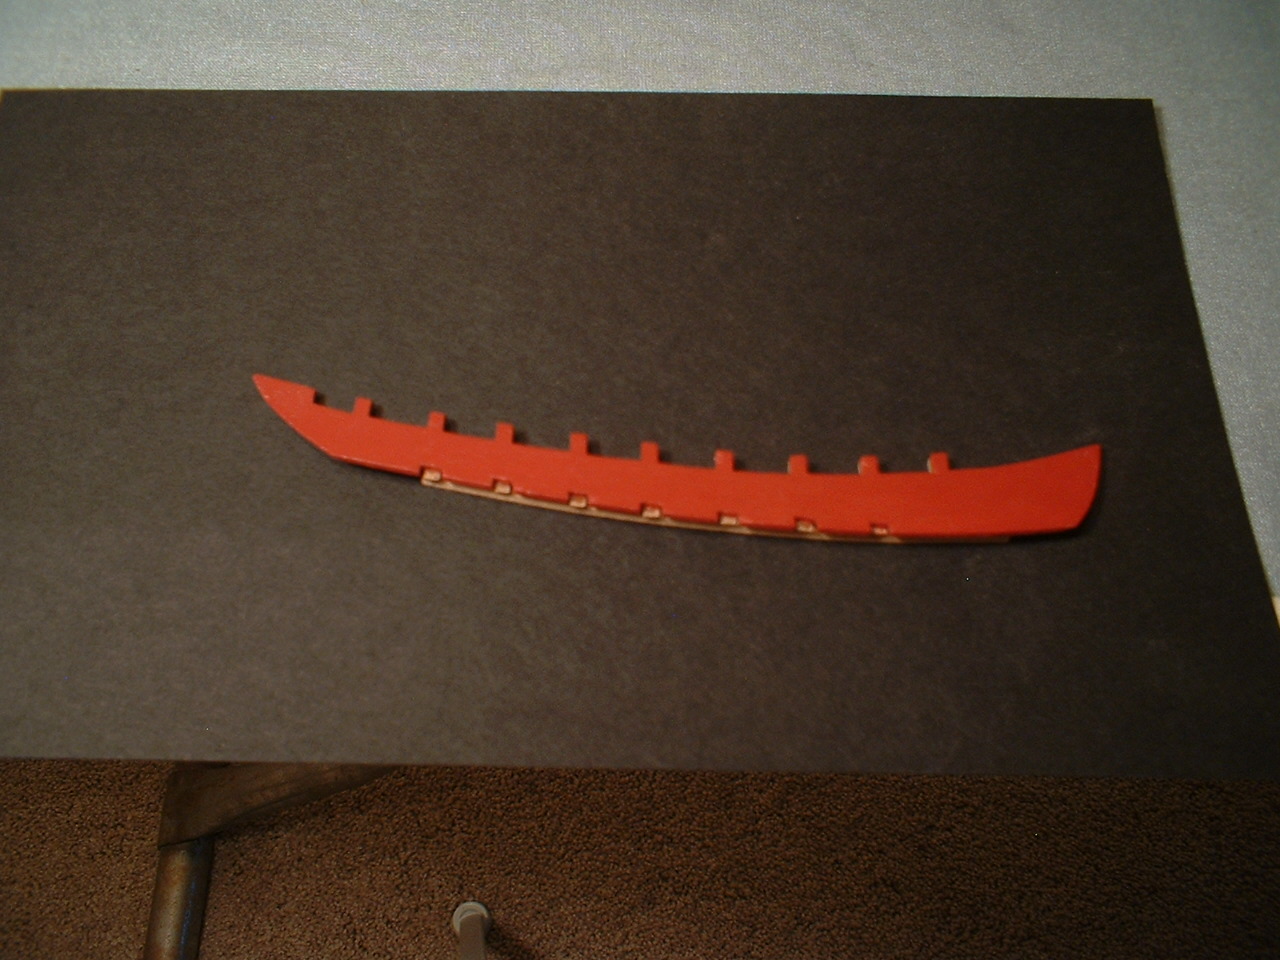
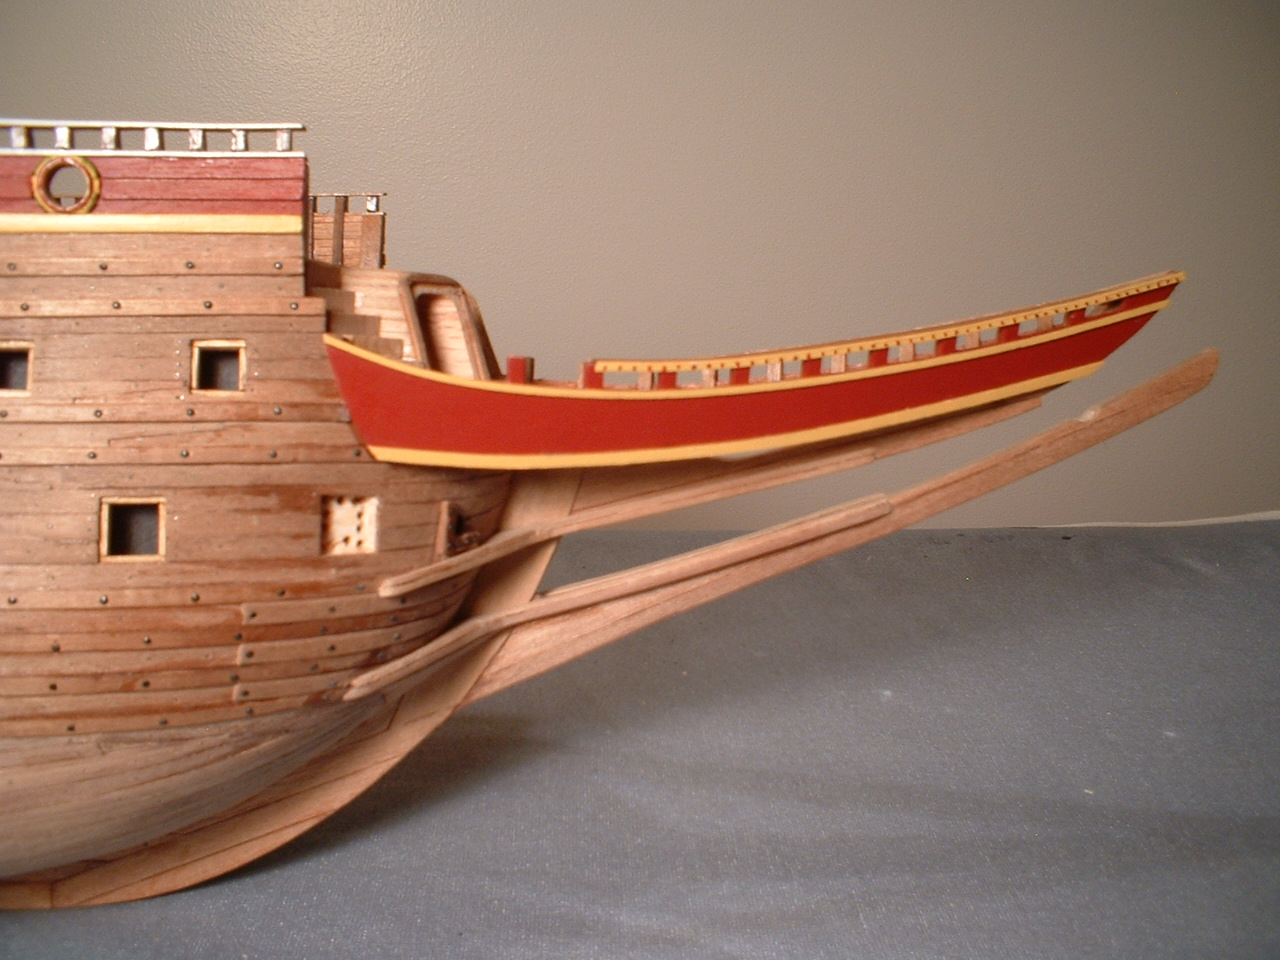
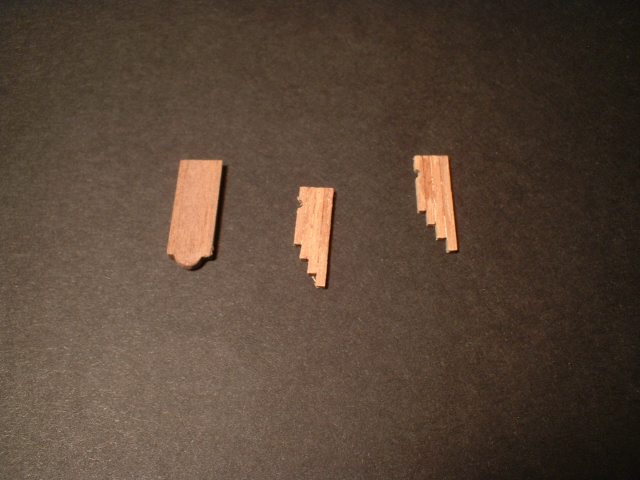
Decided to work on the bow construction. The trim pieces provided in the kit didn`t seem correct to me(forgot to take a picture of them)so I cut & filed a bit to make them closer to what seemed more correct. After painting & installing trim I am pretty satisfied with them.

/Mark
-
Thanks for your explanation Frank. I will surely refer to it when I reach that point in my build.
/Mark
-
Happy holidays Frank
I am a ways off from where you are but I am already thinking about how to make all those little brackets without a milling machine
 .
./Mark
-
-
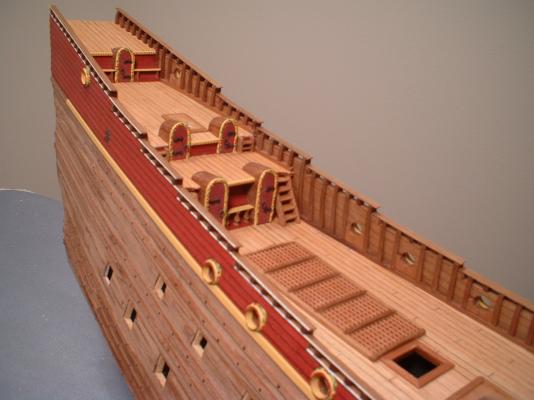
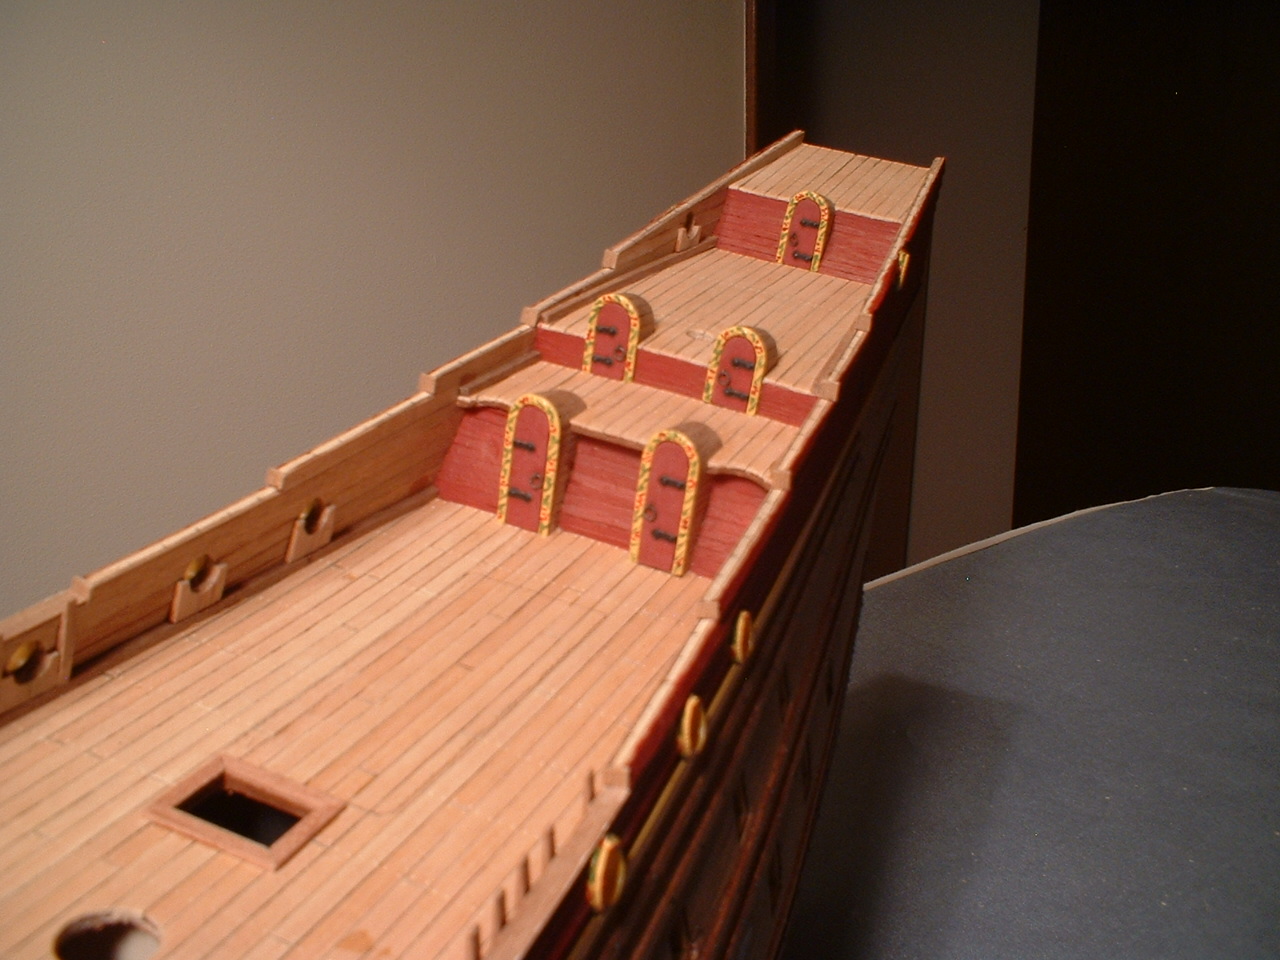
update-
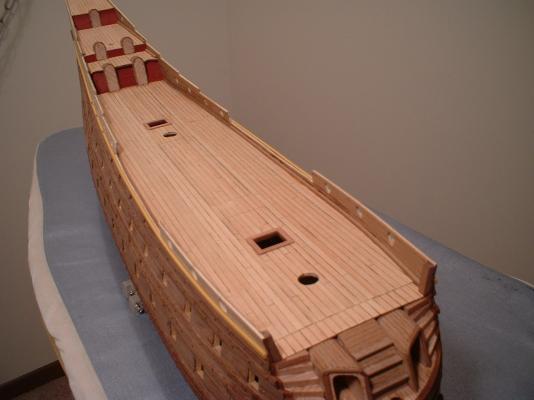
Made the curved ladders & installed them along with the gratings. Also made the benches just below the poop deck. I didn`t have any figures to put under the shelf between the 2 lower companionways so I just used some extra railing stanchions that I had. Thanks for the looks & likes.
/Mark
-
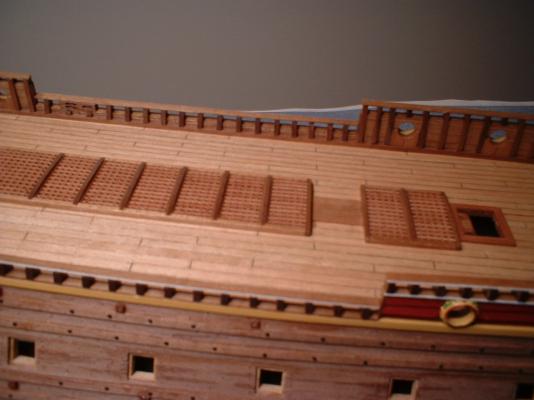
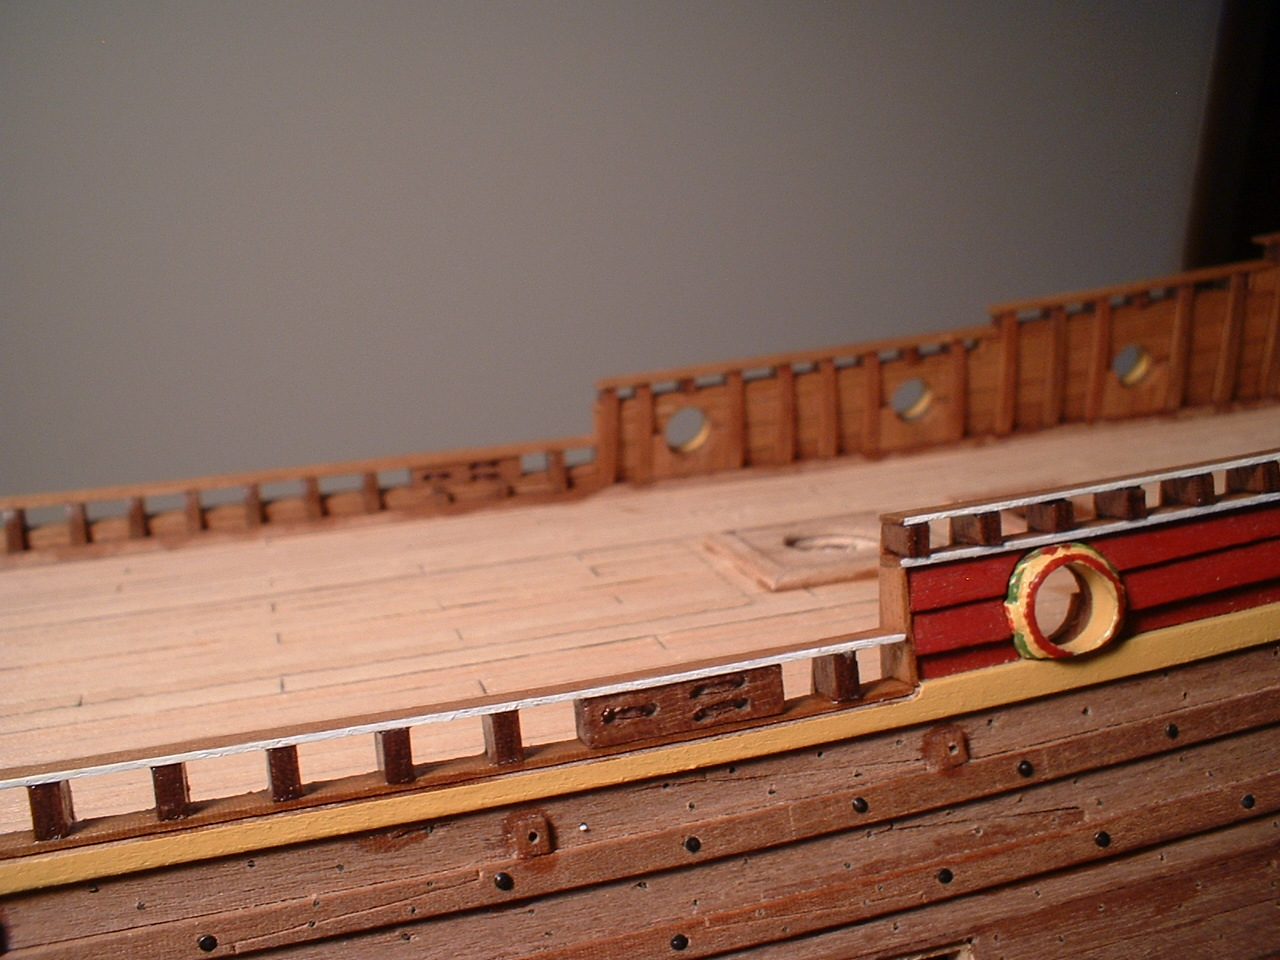
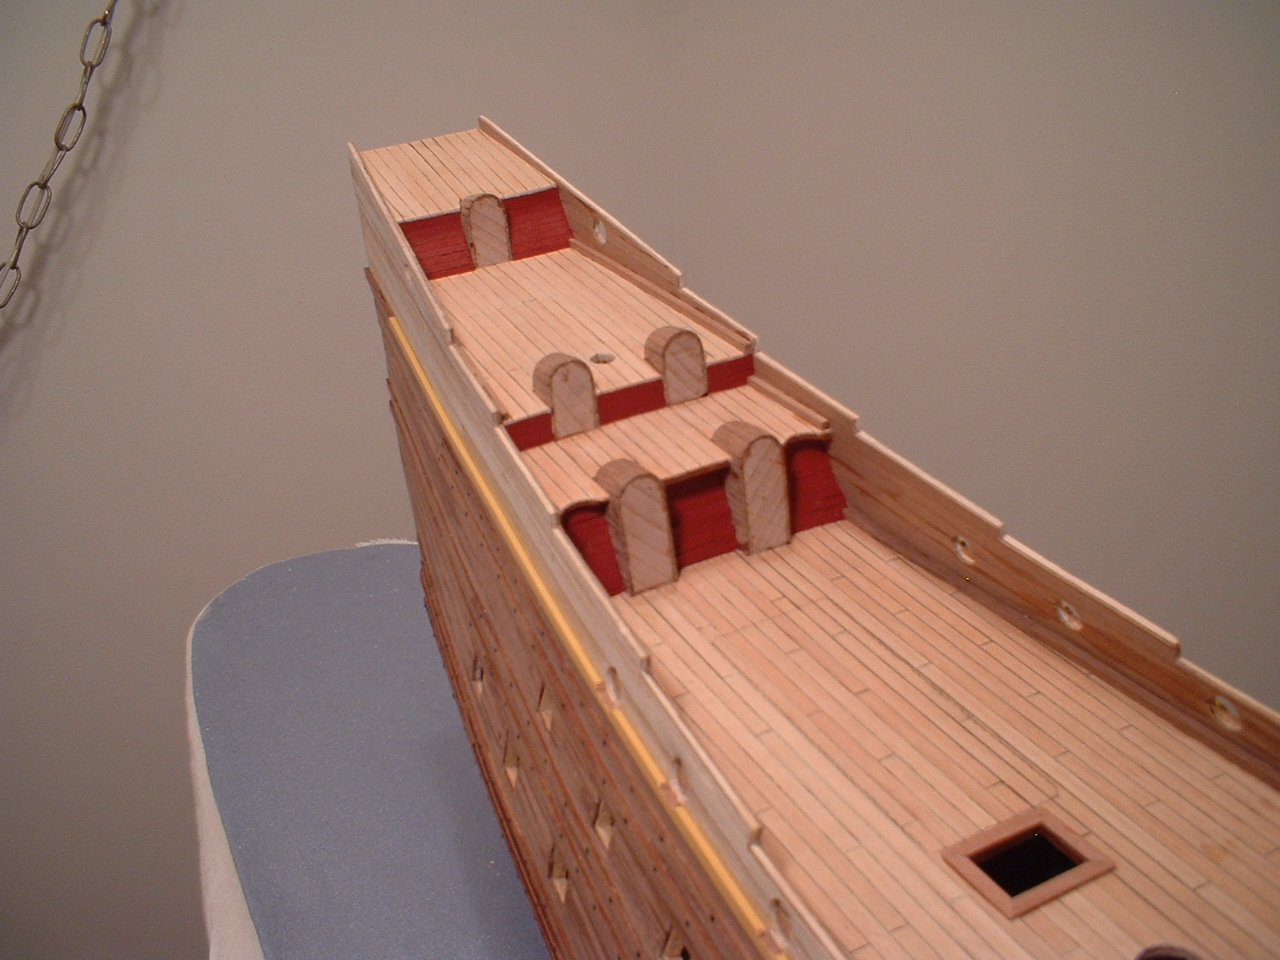
Update-
Finished the bulwark stanchions& railings - approx.390 individual pieces & a coat of poly applied.Also made the pulley block which goes between the railing at the center of the ship.Also got the gratings made. I will paint the deck flat black under the gratings.If I had paid a little more attention I would have cut the openings in the deck before fastening it down
 .
.

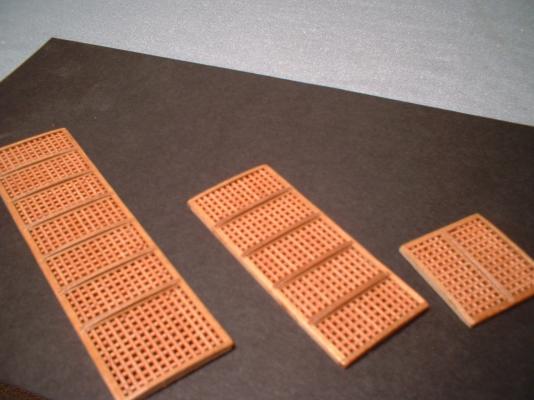
/Mark
-
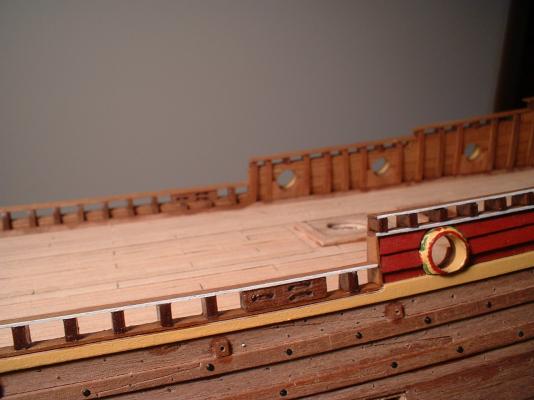
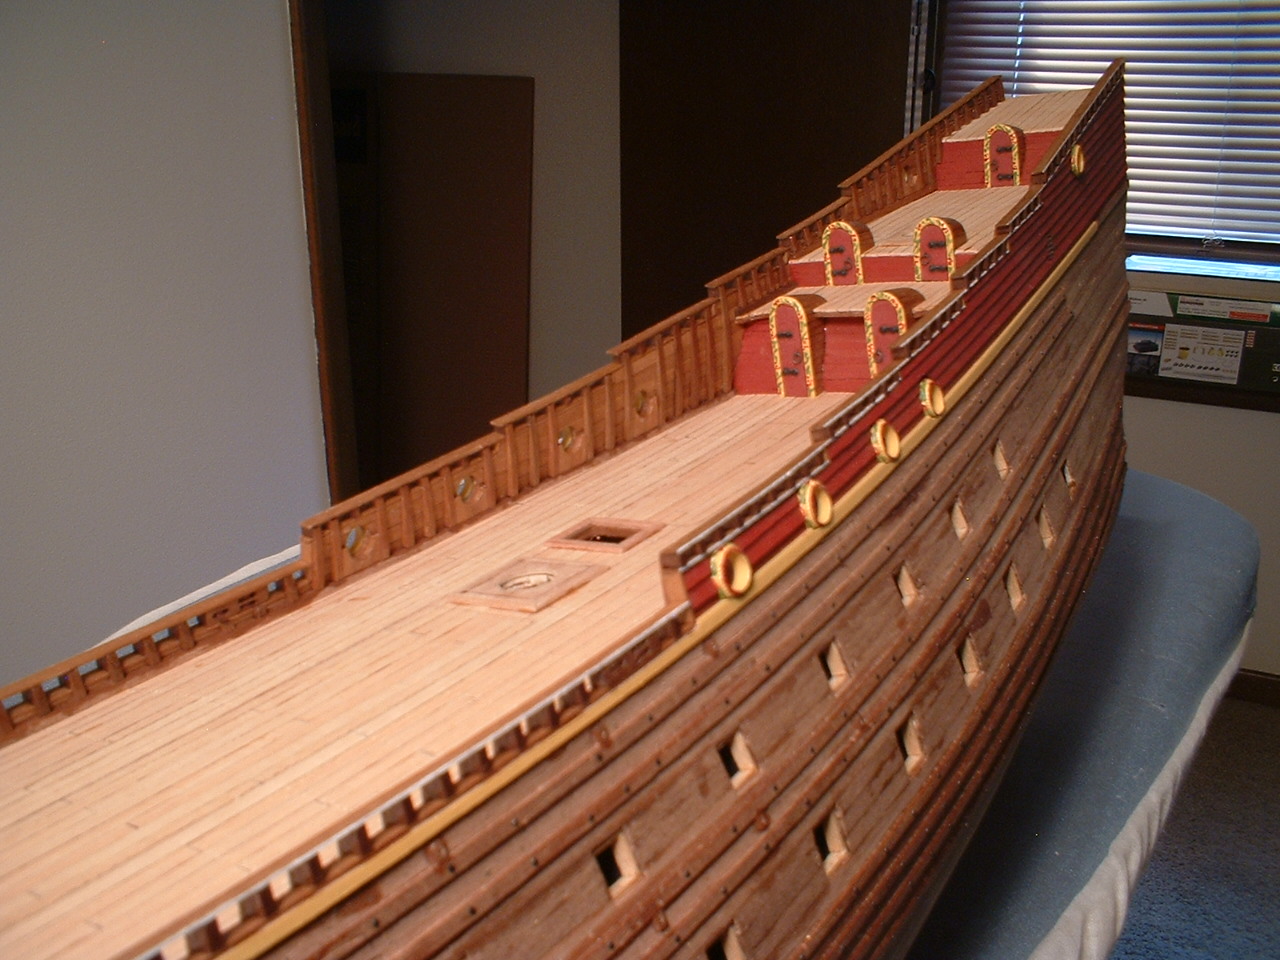
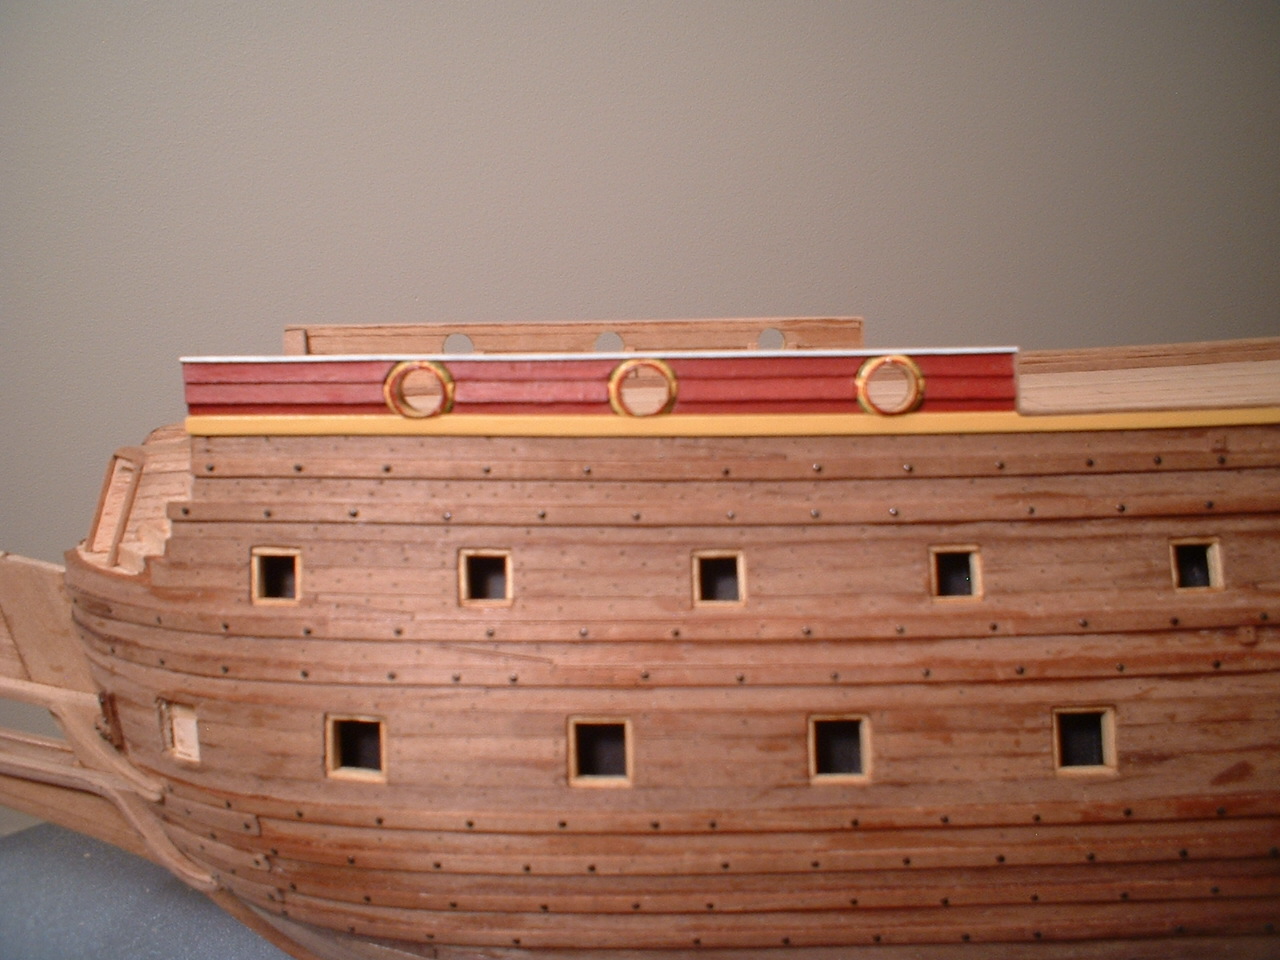
Update -
Upper hull planking finally done & the small windows made & installed - I hope I got them in the right place. I made them by gluing some fiberglass window screen to some clear acetate & just touching the screen material with some brown paint & a really small brush.Also had just enough decorative brass strip left over from my last build to make the surrounds for the companionways.then i made the doors from some 1 by 3mm strips.The hinges were from my spare parts box - a little short but they will do.Now I have started on the false top timbers for the railings.By the way - there is no finish applied to anything yet so some areas may look a little spotty.
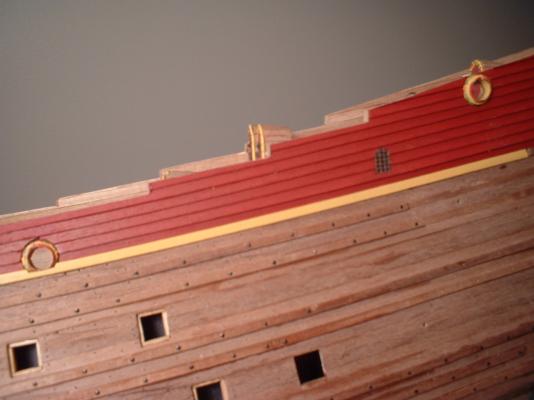


Sorry about the picture quality - I don`t have a really good camera(I don`t think I could take a good picture with a good camera anyway).
/Mark
-
Thanks Frank - I almost forgot to file out those curved areas. As you know that is not in the Corel plans. I am not actually nailing the deck planks - what I do is using a very small drill bit I make a very shallow hole in the plank. Then I sand the deck & let the sawdust settle in the holes. After applying the finish it looks like nails.I usually use a #76 or 77 bit with just one twist of the pin vise - the holes need to be very shallow.
Mark
-
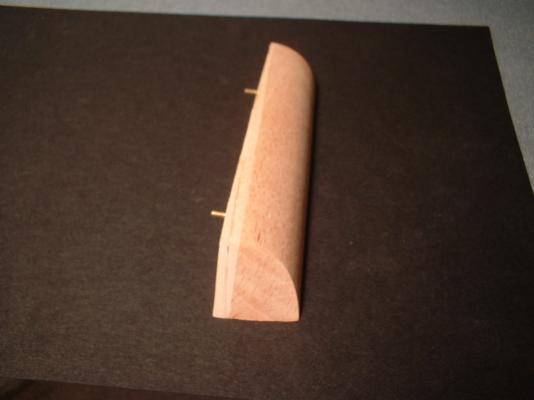
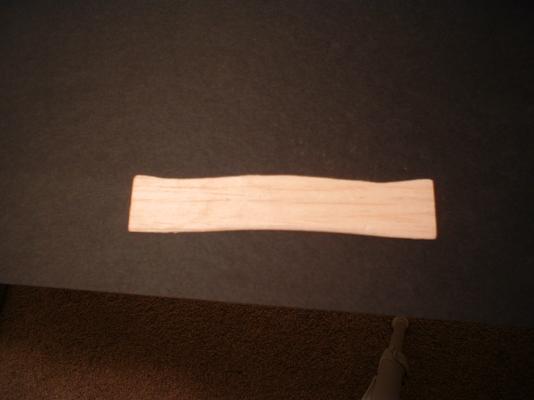
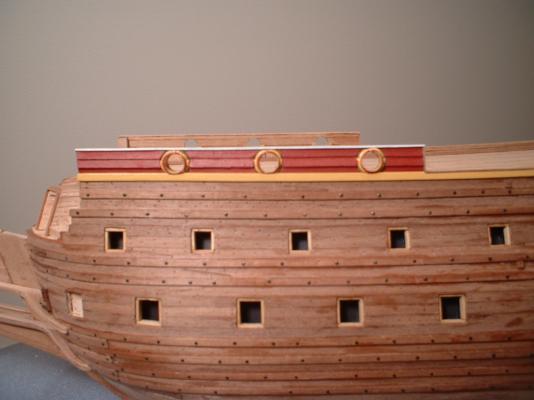
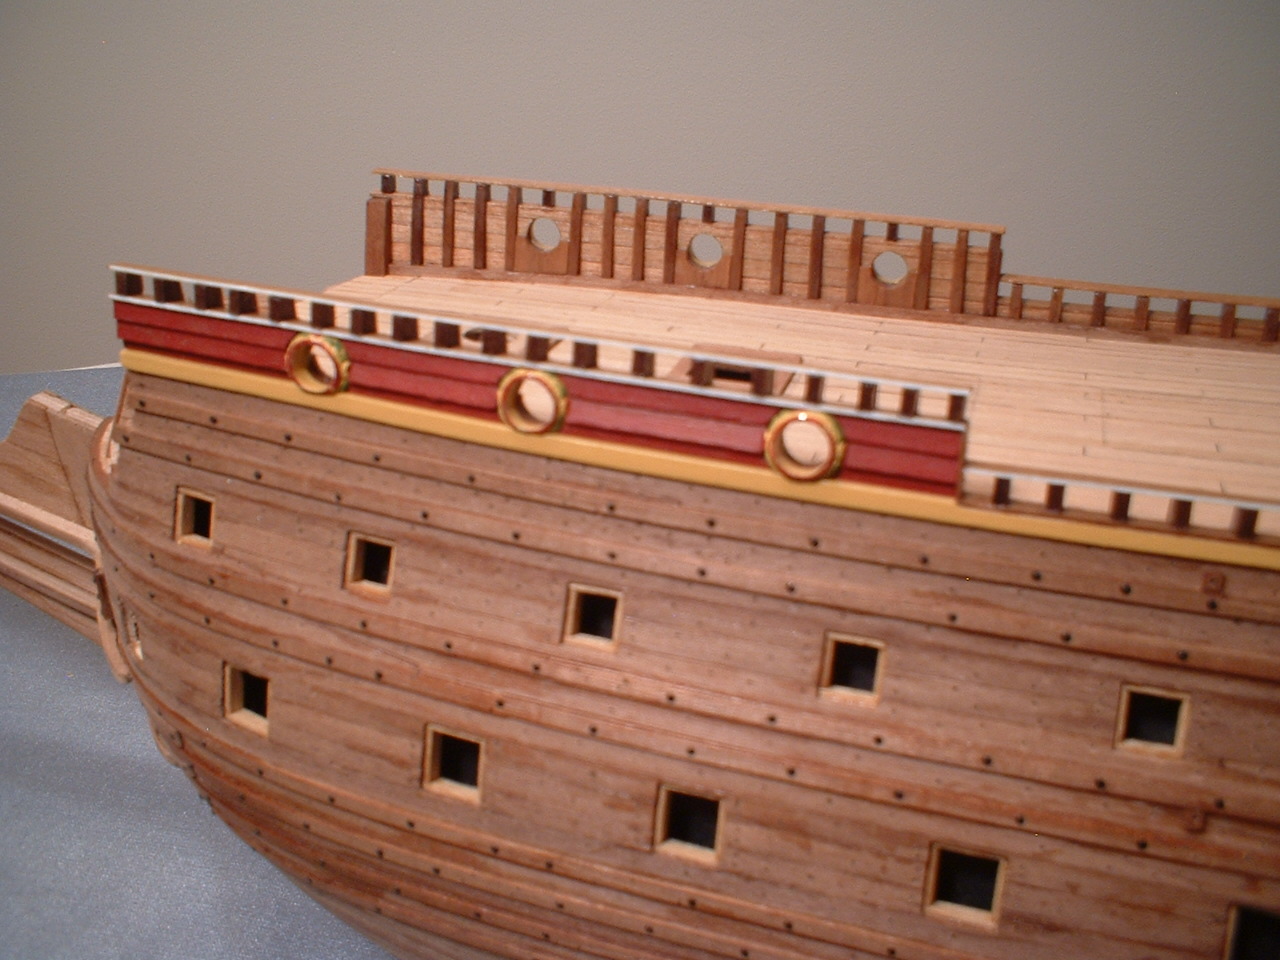
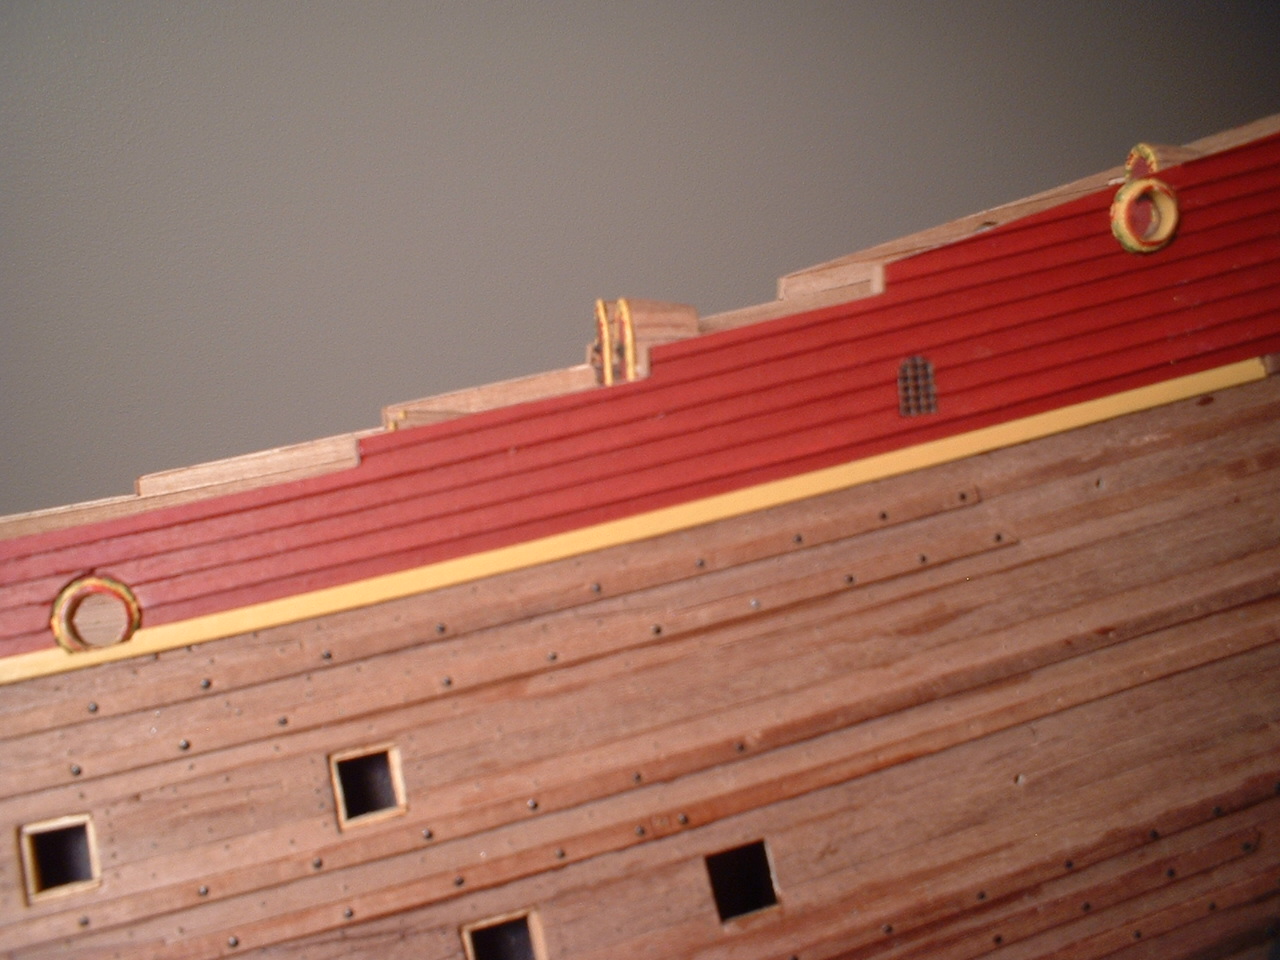
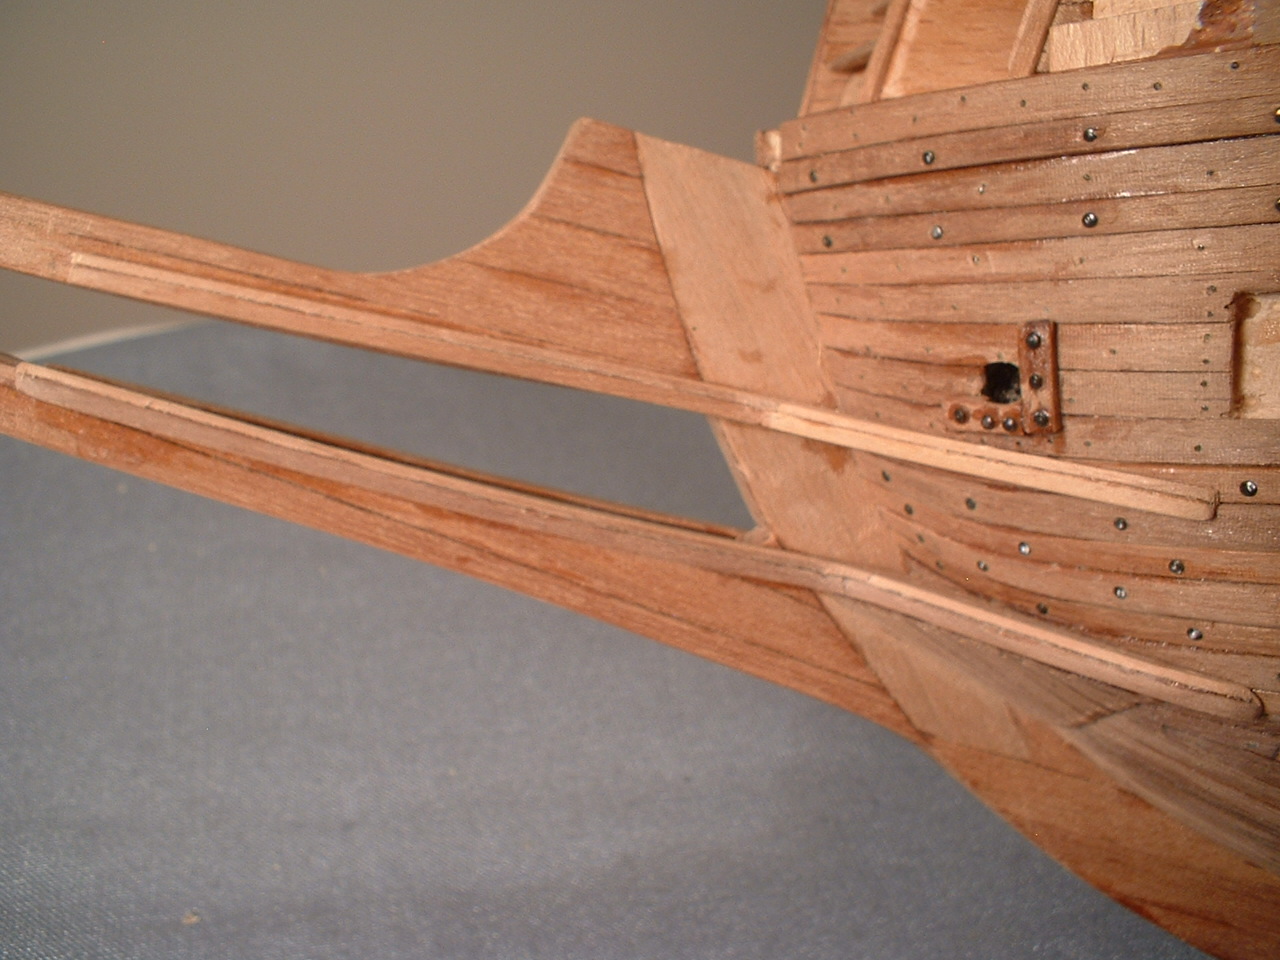
update -
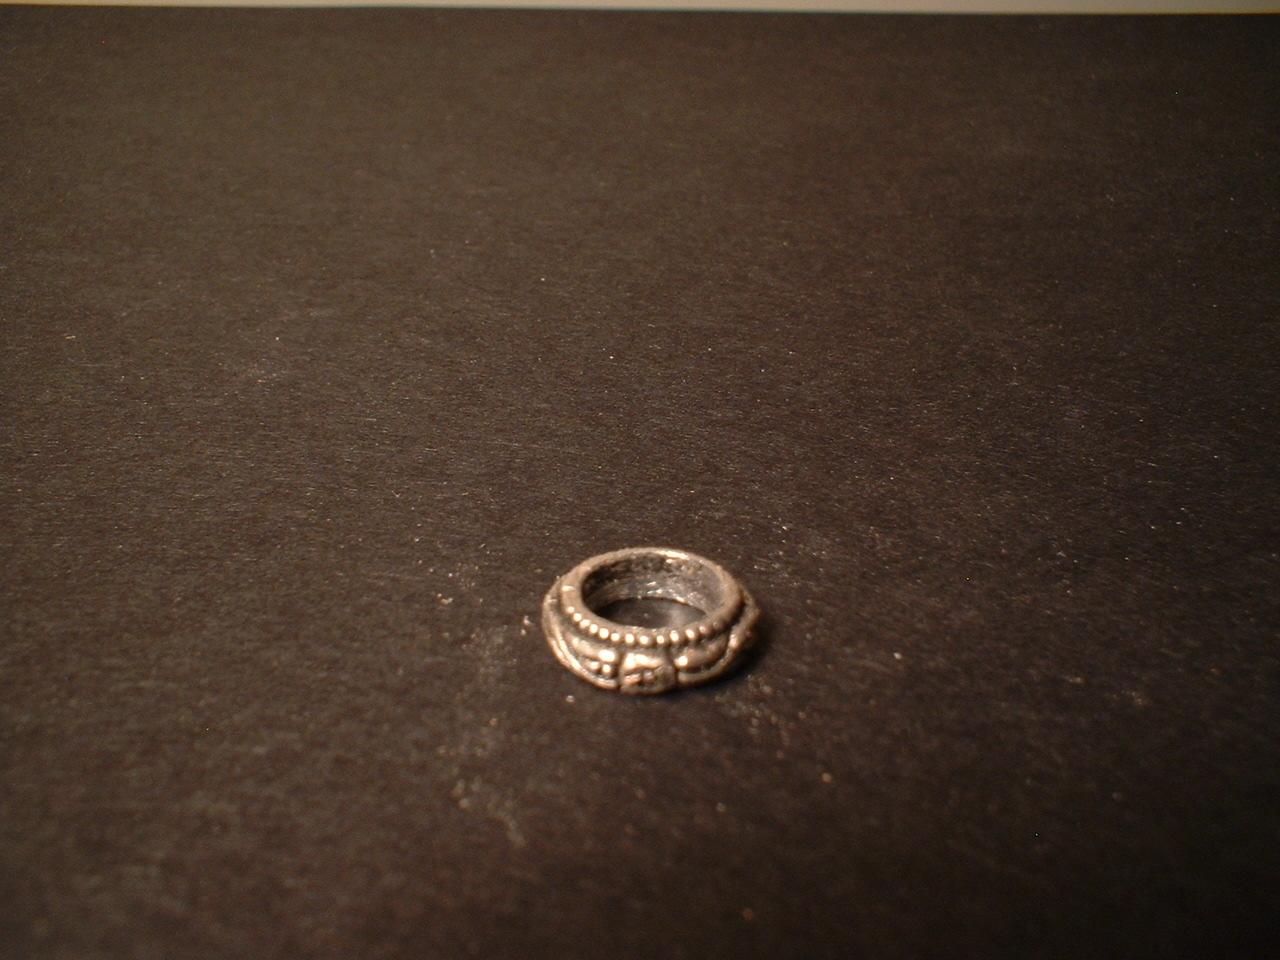
Deck & inner bulwarks planked & holes cut for the upper deck guns.Found a nice darker red paint to use on this build - not as "in your face"as the previous red I used. In looking at the pictures of the ship in the museum I noticed the stem side braces - can`t remember the proper name - seem to each be made from two pieces fastened together so I made mine that way. Didn`t like Corel`s design. I also didn`t like the design of the decorative surrounds for the upper gun ports so I went shopping for something maybe a little better. I found some decorative rings at a Michaels craft store which I thought looked a little better - they have a flowery design fairly similar to the real ones & they were the same size as the kit decorations so after a little filing & paint i think they will look ok. The kit was short 2 decorations anyway.
Mark


-
Excellent job - that is almost exactly what I did on my masts on my Sergal build.
/Mark
-
Try this - it has Fred Hocker from the museum on it .He knows everything there is to know about the Vasa.
http://warshipvasa.freeforums.net/
Also for a lot of good pictures try this -
http://www.wasadream.com/Index/indexenglish.html
/Mark
-
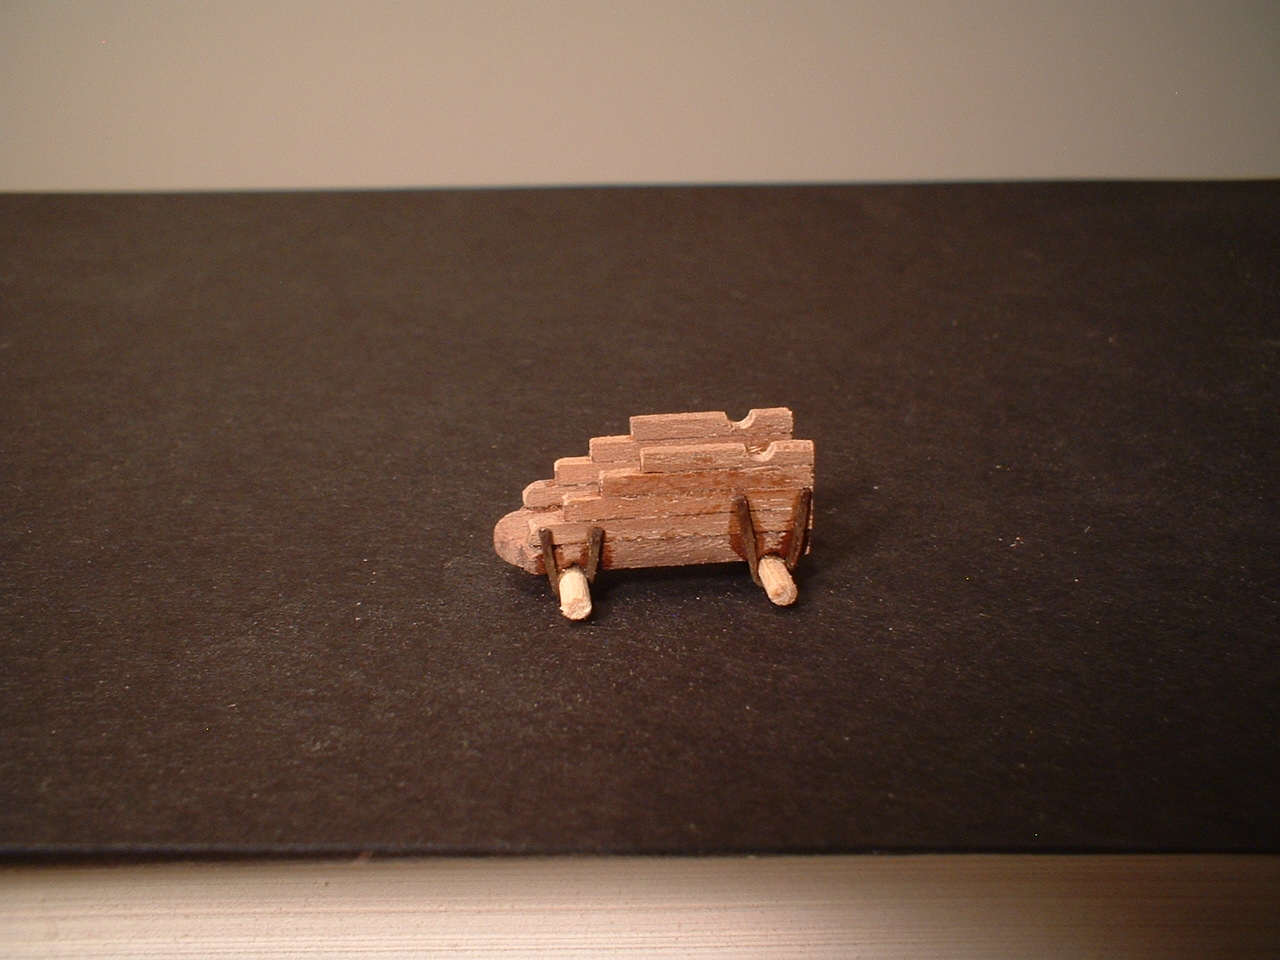
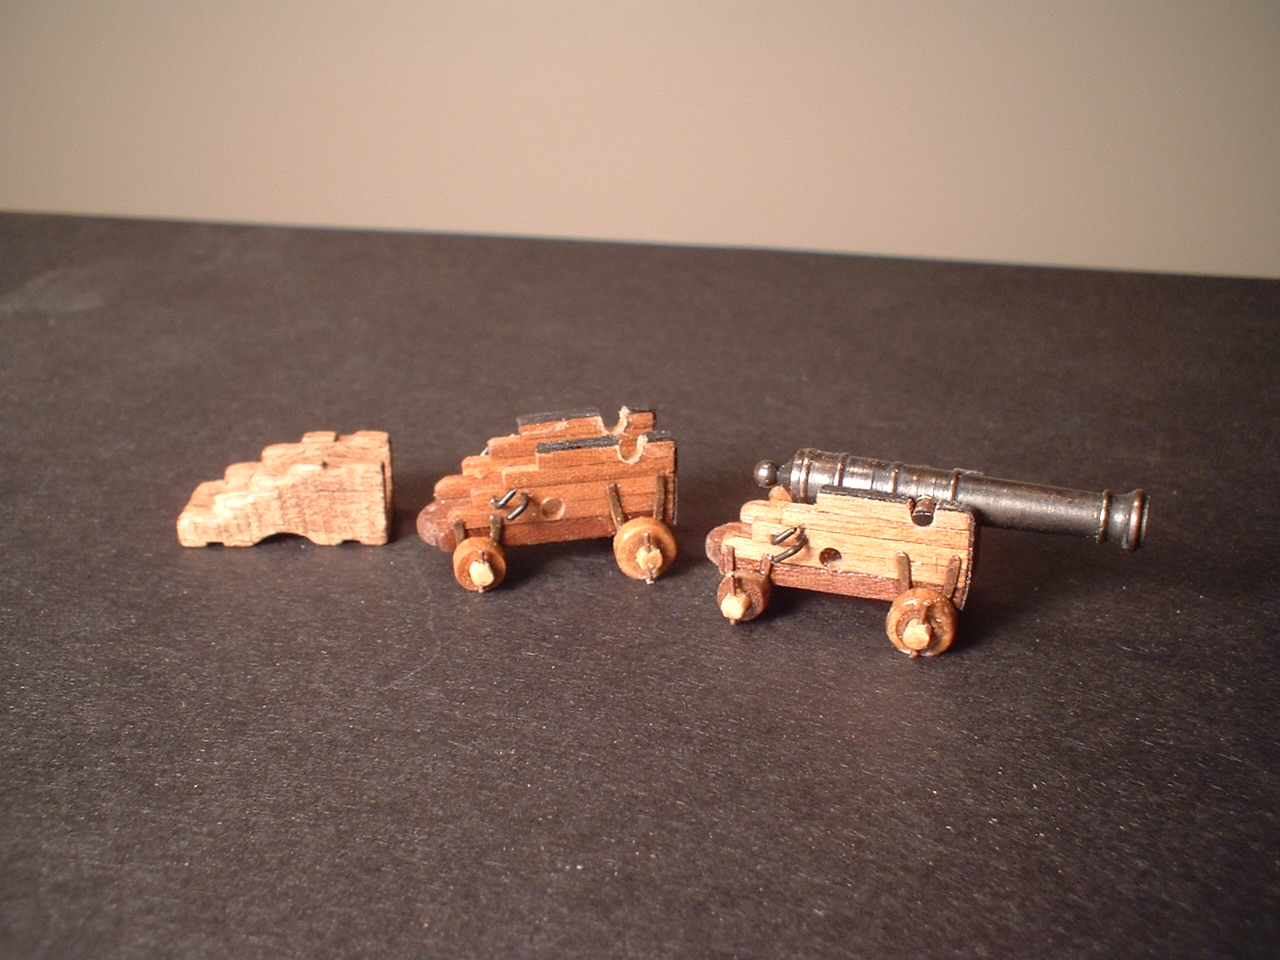
A small update - I decided to go ahead & build all 14 gun carriages.I didn`t like the generic kit carriages so I built some from scratch.The sides were built up from 1.5mm square strips.I simulated the reinforcements on the tops& fronts with black heavy paper.The pegs in the axles are made from .020 inch wire. The axle brackets were made from the same wire hammered flat & bent to shape.i have decided to use the kit cannon barrels.Each carriage will have 38 pieces when finished.In the last picture the kit carriage is on the left & mine on the right. Although they are a little taller than the kit ones would have been I am fairly happy how they turned out.

/Mark
-
Hello Frank
I am not to the masting yet but I do have the dowels cut. I set them in place & cam up with these measurements from the planked deck to the top of the lower masts. fore - 221mm main - 239mm mizzen - 195mm. I don`t know if this is 100% correct as every builder will probably come up with slightly different measurements. For example I used 1mm thick deck planking instead of the .5mm planking that came with the kit,but it should get you close.
/Mark
-
-
-


Wasa by marktiedens - FINISHED - Corel - scale 1:75 (Vasa)
in - Kit build logs for subjects built from 1501 - 1750
Posted
Thanks Frank. I can see so far that after widening the lower platforms I will also have to adjust the roof a little.
/Mark