-
Posts
3,606 -
Joined
-
Last visited
Content Type
Profiles
Forums
Gallery
Events
Everything posted by yvesvidal
-
Go for it. It is a nice little kit and will allow you to build a plank of frames hull, exactly like a real ship. Mine is currently stopped, as I am pursuing other projects, but I hope to finish it one day. The scale of 1/32nd is also perfect if you decide to build a diorama around it, with the vast choice of figures and details in either 1/32nd or 1/35th scales. Yves
-
I am putting together the main components, to make sure that everything fits more or less correctly. First verification that neck and back are fitting to the "Hangar" crane: It seems to click in place, correctly. Then verification that the LEDs are working, after some soldering: The LEDs at the top of the cranium are flickering, showing some intense computing activity. Shoulders are also equipped with LEDs. Below, I will have to paint in black, the inside of the face mask to avoid light leaks. The wires are coming out through the back and are hidden by the various pieces of the armor. They will be invisible, once finished. Finally, a teaser for our audience. Putting everything together without most of the plumbing..... Her sweet derriere.... Aerial view, showing the main cooling hoses to the computer: I hope you are enjoying this crazy project. Yves
-
The neck piece and the head have been glued. I have to go slowly and always check that the assembly of the AI creature fits in the "Hangar". Above, you can see the two anchors to the "Hangar": the large rectangular hole in the middle of the back and the small square opening in the nape of the neck. These two have to fit perfectly. The face mask is held by a small magnet: Et voila. Still plenty of work to be done on the head and back of the head. The wiring has to be centralized as only two conductors will protrude out of the back and be mingled with the plumbing of the robe, into the wooden base. I may have to do a little bit of make-up on the face.... Yves
-
With the presence of the Revell kit in 1/72nd scale, you should have no problem finding spare parts and details in the market. I will be watching your Build Log with a lot of interest. Yves
-
The head is almost finished, at least from an electrical point of view. No less than 6 LEDs have been installed inside it: 2 for the eyes, 2 for the ears (sides) and 2 flickering LEDs at the top of the cranium to simulate some kind of processing activities. It is a little bit tight, but it fits with regular Pinned components. I did not want to use Surface Mounted components, which are so delicate to handle and solder. All the wires will go through the neck, where they will merge in the back/chest, with the shoulders lights. The whole enchilada will be powered with a 5 volts source. Yves
-
Frecap, I like your explanations and thoroughness. You are taking the COREL kit to another level, for sure. Below is a picture of the CAF Model kit of the Bellona, I built a couple of years ago: This kit (1/48) is based on the Anatomy of the Ship and the fabulous 1/36 model located in England at the Maritime Gallery. You may want to consider it when you are done with your COREL model, if you still need an extra dose of Bellona 🙂 Yves
-
Before you butcher your nice decoration near the catheads, keep in mind that the Anatomy of the ship does not mention the presence of that knee pointing towards the stern, as you indicated. I think this element only belongs Slade's model and is not representative of the ships of that time. In my opinion, you should not add it as it makes the sleek lines of the Bellona less pleasant and is not required from a carpentry perspective. Yves
-

White Freightliner DD by CDW - AMT - 1:25 Scale - PLASTIC
yvesvidal replied to CDW's topic in Non-ship/categorised builds
You need to find a set of these dangerous spiky wheels lugs that truck drivers seem to enjoy so much on the front wheels of their tractors. Yves -
There are a lot of pipes, hoses and tubes on that sculpture.... It is actually kind of fun to replicate them... Below is a bundle of hoses that will connect to the back of the neck of the AI creature. There are definitely some pipes dedicated to cooling. Dry brushing is used to render the stainless steel braiding of the hoses: In situ, on the main spine of the "Hangar": Yves
-

White Freightliner DD by CDW - AMT - 1:25 Scale - PLASTIC
yvesvidal replied to CDW's topic in Non-ship/categorised builds
The "super" chrome painting is impressive. You should do something about the tires, they look too new. Yves -
I decided to install some hoses, pipes and bags as well as the hydraulic pistons to control the "Hangar": It has that ominous look of a war machine.... Pistons, below: Above, you can see the coarse appearance and texture of the PLA printing with support. Fortunately, this is the back of the sculpture. Back of the AI creature in place (above). Overall view of the "Hangar" (below): Yves
-

White Freightliner DD by CDW - AMT - 1:25 Scale - PLASTIC
yvesvidal replied to CDW's topic in Non-ship/categorised builds
Beautiful colors, very Christmassy. You did a great job with this old kit. It looks very convincing. Yves -
Most of the parts for the AI creature have been printed: The neck and head were printed with PLA (Filament) whereas all the other parts are made of resin. I tried three iterations of the head: To the right, is a missed 90% resin printing. Supports were inadequate and half of her face went wrong. In the middle is a 85% scaled head printed with PLA. To the left is an 88% head printed with PLA. This one is perfect, it is filled at 100% PLA and the face shield fits perfectly on it. I may still try another resin print of her face at 90%, changing the supports. All the armor/shield parts are holding with mini magnets, so that they can be removed to show the guts of the machine. Yves
-
I finished the building of the handrails, along the hull. This was done with styrene strips as described in the previous post. The model almost looks like the real thing.... 🙂 I increased the area of the bow, by filling up about 2 additional centimeters: The railing is not too bad and should give the illusion, once painted like the hull: At the stern, the railing goes all the way to the boarding deck. The flat pieces are the covers for the winches used most of the times, on the Mediterranean sea (Med mooring). There are still some minor details and a lot of sanding to add to the hull, but it will be ready for a first coat of primer soon. Now, we need some better weather....not 29-32 degrees F. Yves
-

Bentley Blower by RGL - Airfix - 1/12 - PLASTIC
yvesvidal replied to RGL's topic in Non-ship/categorised builds
Jay Leno had a recent show about a similar Bentley: Yves -

Bentley Blower by RGL - Airfix - 1/12 - PLASTIC
yvesvidal replied to RGL's topic in Non-ship/categorised builds
Fabulous !!! I have that kit and will be watching what you are doing with it. I'll never get to your level, but may be able to grab some ideas. There are a few aftermarkets parts for that kit, one of them being the spoke wheels. Very pricy but really nice. Yves -
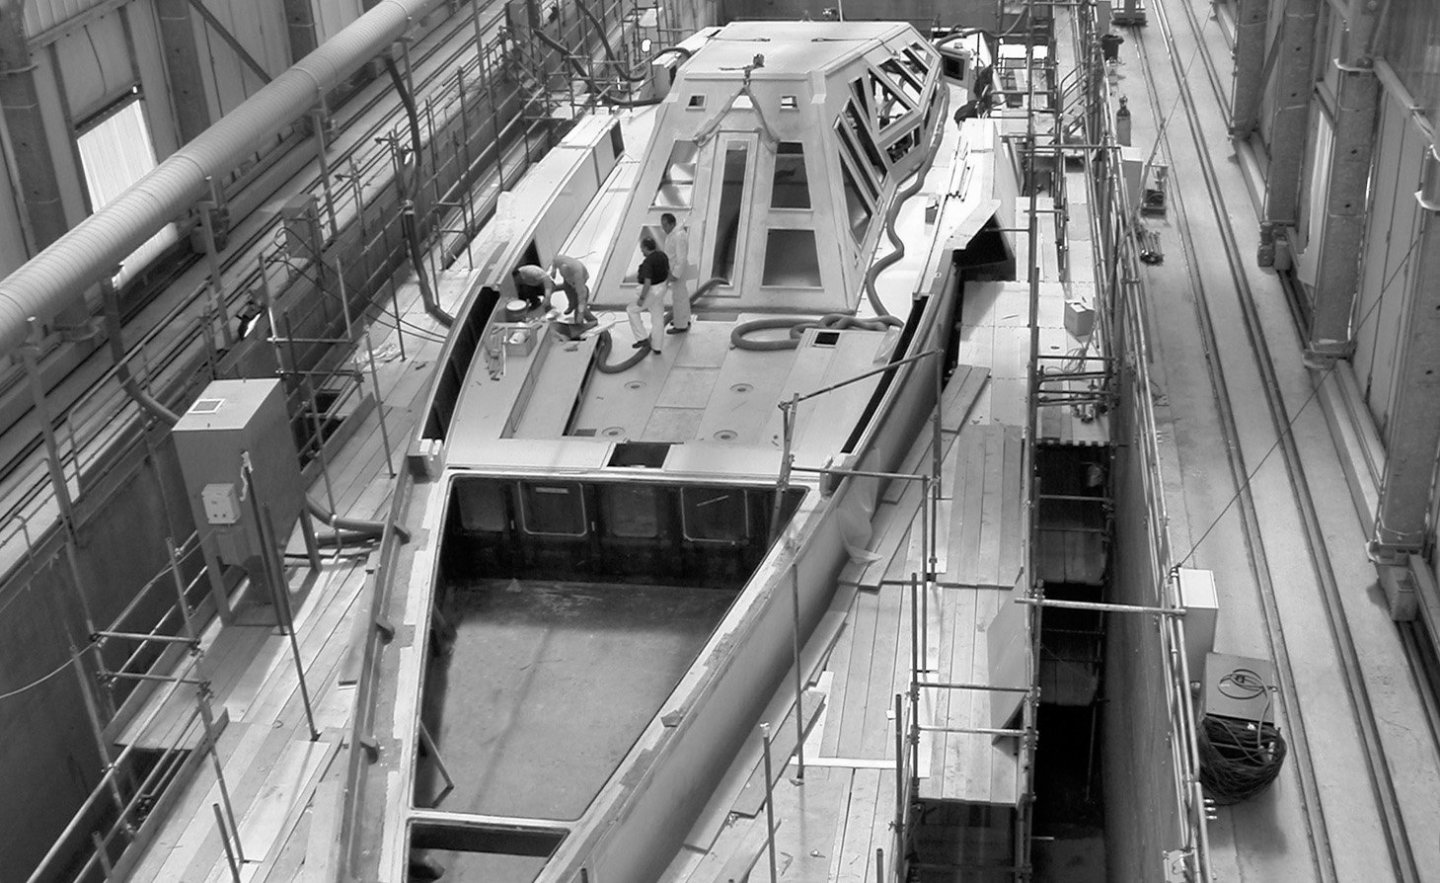
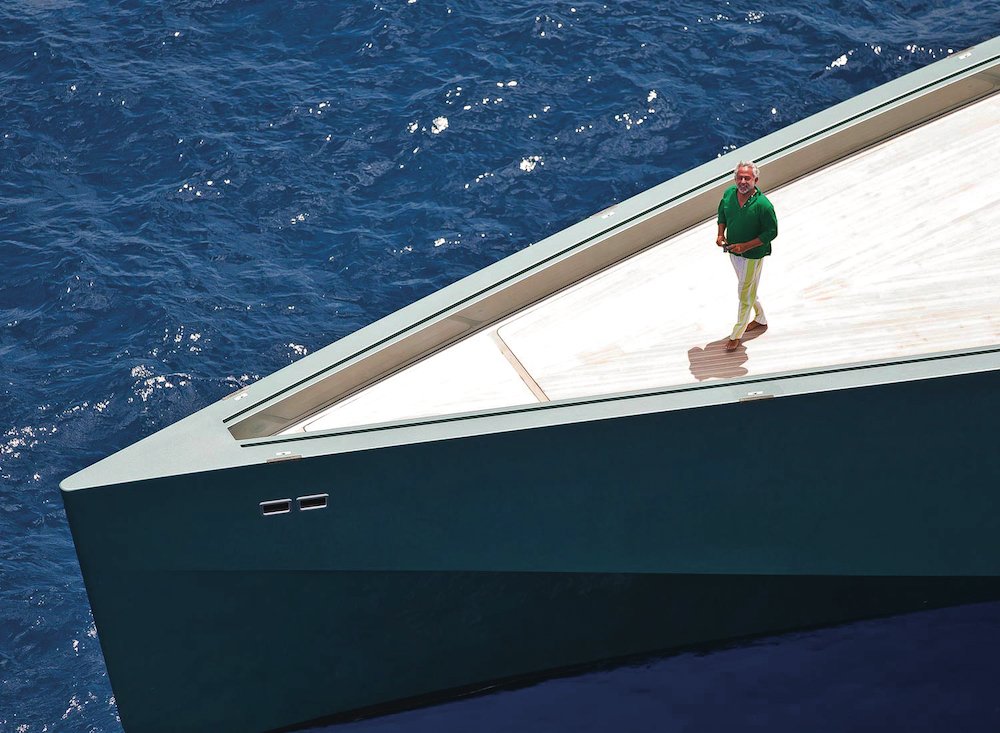
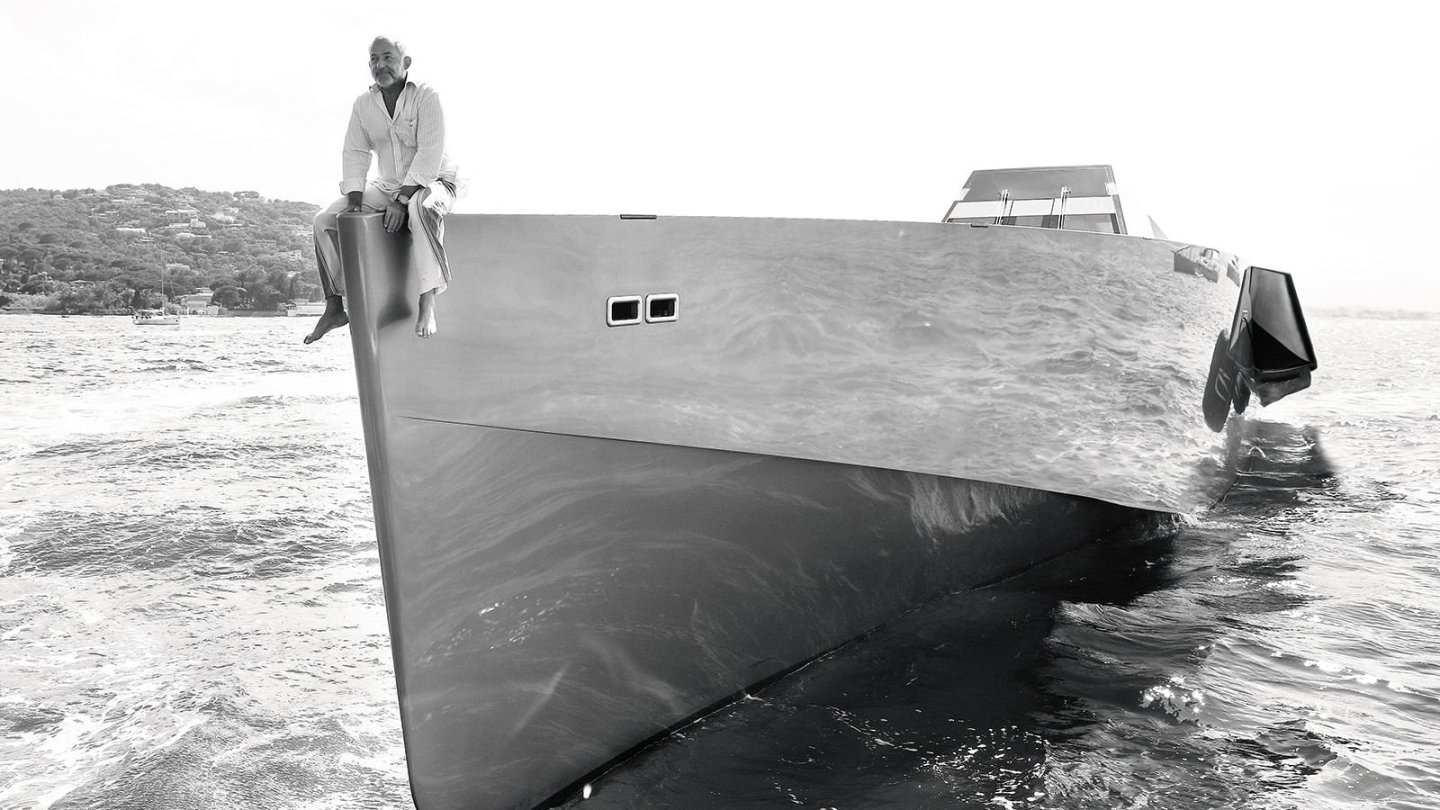
I finally finished working on the last section of the hull, the stern. The water jet system will come later, as I am studying the real vessel and how to replicate them. Here is a crude shot of the full hull: Another point that needs some modifications is the tip of the bow. On the printed model, this section is too small and needs to be extended. You may recall Luca Bassani taking a nap and sitting on the bow: I will fill up that area, so it looks more extended. Another very disturbing lack on this printed model, is the absence of the beautiful and integrated railings all along the hull (see below): Using strips of styrene, I have decided to try to replicate them in some ways. I use a small 4 x 0.75 mm spacer strip glued to a 1 x 8 mm strip. The opening is about 45 mm (in scale 1/1) which should correspond to that groove for your fingers on the real yacht. These are little details that will hopefully, enhance that very crude 3D printed model. Stay tuned.... Yves
About us
Modelshipworld - Advancing Ship Modeling through Research
SSL Secured
Your security is important for us so this Website is SSL-Secured
NRG Mailing Address
Nautical Research Guild
237 South Lincoln Street
Westmont IL, 60559-1917
Model Ship World ® and the MSW logo are Registered Trademarks, and belong to the Nautical Research Guild (United States Patent and Trademark Office: No. 6,929,264 & No. 6,929,274, registered Dec. 20, 2022)
Helpful Links
About the NRG
If you enjoy building ship models that are historically accurate as well as beautiful, then The Nautical Research Guild (NRG) is just right for you.
The Guild is a non-profit educational organization whose mission is to “Advance Ship Modeling Through Research”. We provide support to our members in their efforts to raise the quality of their model ships.
The Nautical Research Guild has published our world-renowned quarterly magazine, The Nautical Research Journal, since 1955. The pages of the Journal are full of articles by accomplished ship modelers who show you how they create those exquisite details on their models, and by maritime historians who show you the correct details to build. The Journal is available in both print and digital editions. Go to the NRG web site (www.thenrg.org) to download a complimentary digital copy of the Journal. The NRG also publishes plan sets, books and compilations of back issues of the Journal and the former Ships in Scale and Model Ship Builder magazines.


.thumb.jpg.00f6edda23605698f079bf8014a1cfbc.jpg)
